

wemattson
-
Posts
69 -
Joined
-
Last visited
Content Type
Profiles
Forums
Gallery
Events
Posts posted by wemattson
-
-
That is a great piece of craftsmanship.
-
Andre,
That looks so cool! Planking a boat like this is really a leap of faith because at first, as the planking begins, you wonder how it's going to come together especially with all the compound curves but in the end after some careful sanding, the beautiful shape of the hull emerges.
Cheers,
Wayne
-
I'm sure it was a real PIA but the frames really add a lot of visual interest and you've done a great job on them.
- ChrisSC, lmagna, Old Collingwood and 1 other
-
 4
4
-
It looks like you're off to a good start. J-class boats are very beautiful and fit in any decor. I can't wait to see how this comes out with the natural wood being left unpainted.
-
Thanks Bob. I've been doing some more work on it but haven't had anything worthwhile to post. Hopefully this weekend. I've been experimenting with different methods of creating copper verdigris, which has also held things up a little.
-
There is some really great things going on with this build and the effort you're putting into the details is really going to pay off. Also, I like the stand you built, it's a very creative use of items that wouldn't ordinarily be used in this fashion. One question though: how do you plan on keeping it from rocking on the screw heads?
-
Great subject matter and a terrific start. I really like seeing something different being built. Your work is very tidy and well done. I will definitely be following this one.
Cheers,
Wayne
- Canute, mtaylor, popeye the sailor and 1 other
-
4
-
OC,
That was a very thoughtful gesture and should bring you a lot of good ship building karma. Beautiful job on the ship by the way. I have always had a soft spot for this one; it just has cool old school lines.
Cheers,
Wayne
-
Thanks for the explanation and I'm looking forward to the next installment.
- Canute, lmagna, Old Collingwood and 1 other
-
4
-
Chris,
It looks great. What method did you use for painting the windows?
Cheers,
Wayne
- lmagna, Old Collingwood and Canute
-
3
-
Great job taking care of that seam. I'm so glad to see someone build one on this forum. This is one of my favorite liners and have given some thought to buying this kit. I'll be watching closely.
- lmagna, ChrisSC, Old Collingwood and 1 other
-
4
-
Thanks David and Rich. Now that I’m back into it, and doesn’t feel like two years has passed.
-
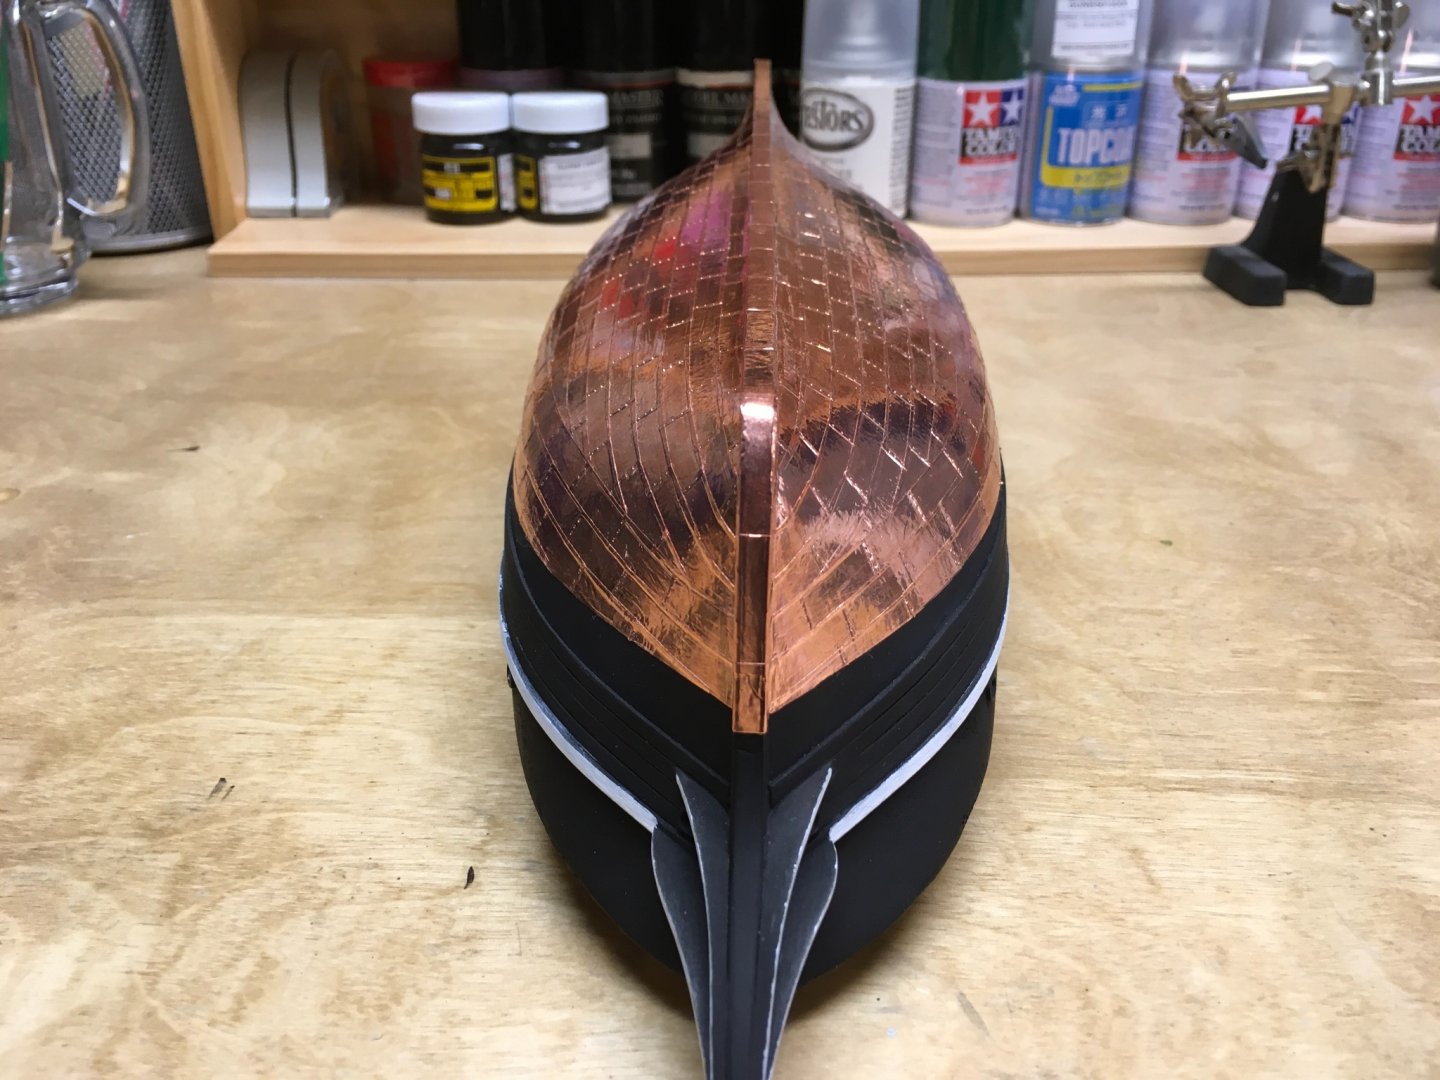
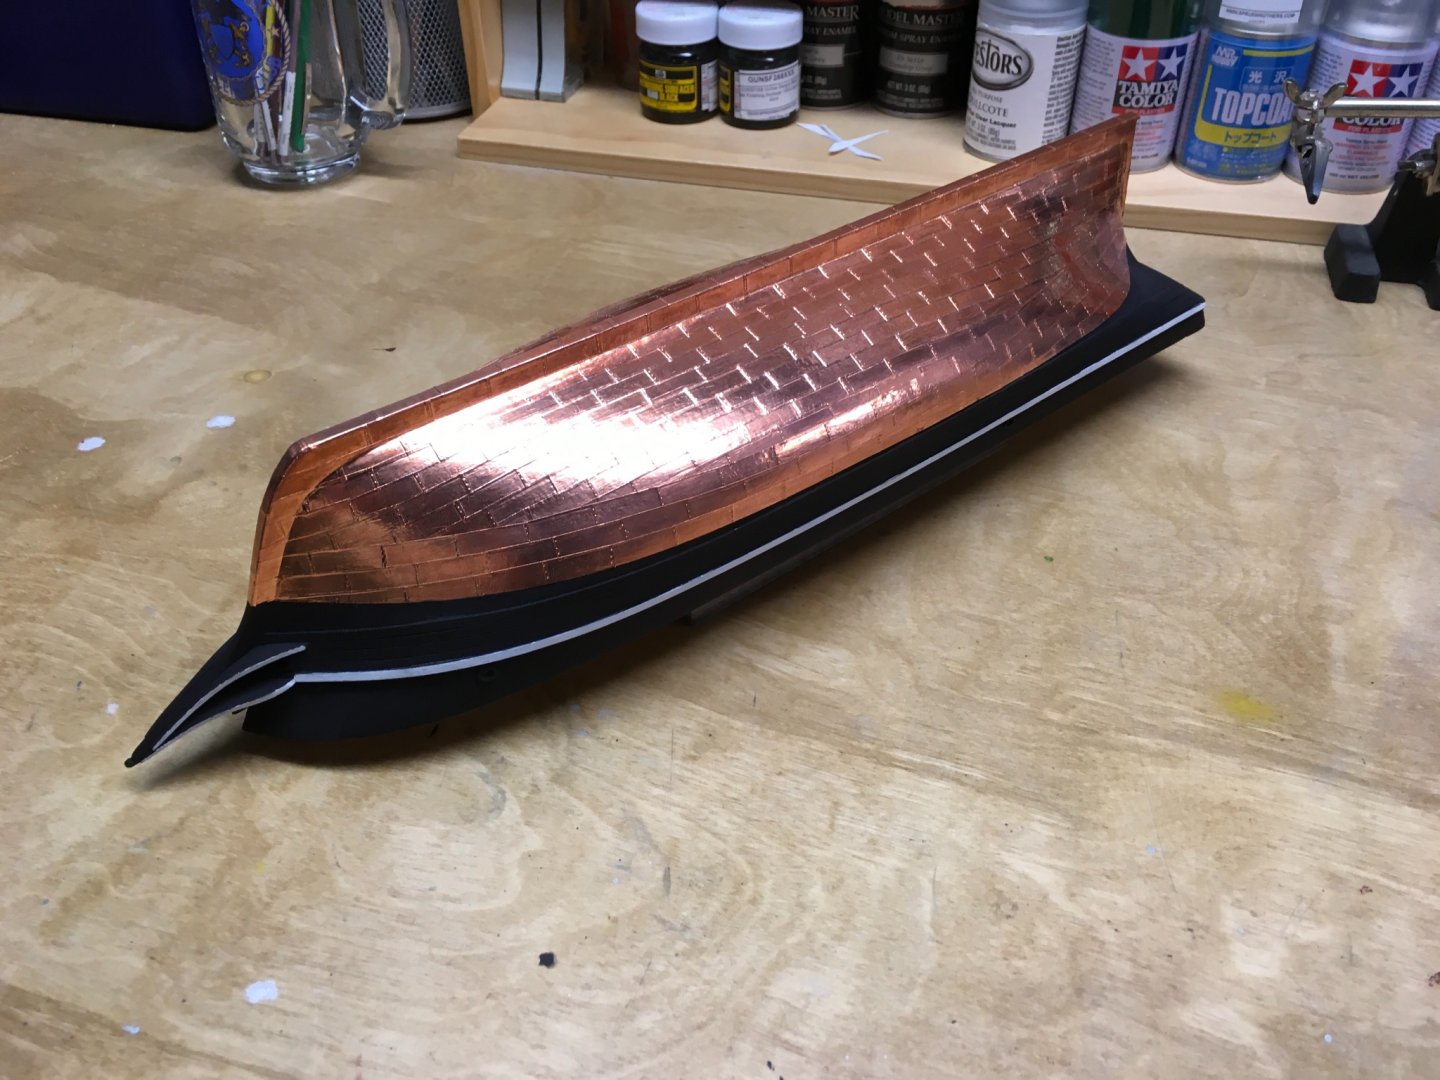
Well, it’s been two years since I did anything on the build due to life and other hobbies getting in the way but one of my New Years resolutions was to get back to what I really enjoy, which is model building, specifically ship models. Also, I’ve seen some nice builds of the Kate Cory come together on the forum such as the recent completion by Richvee.
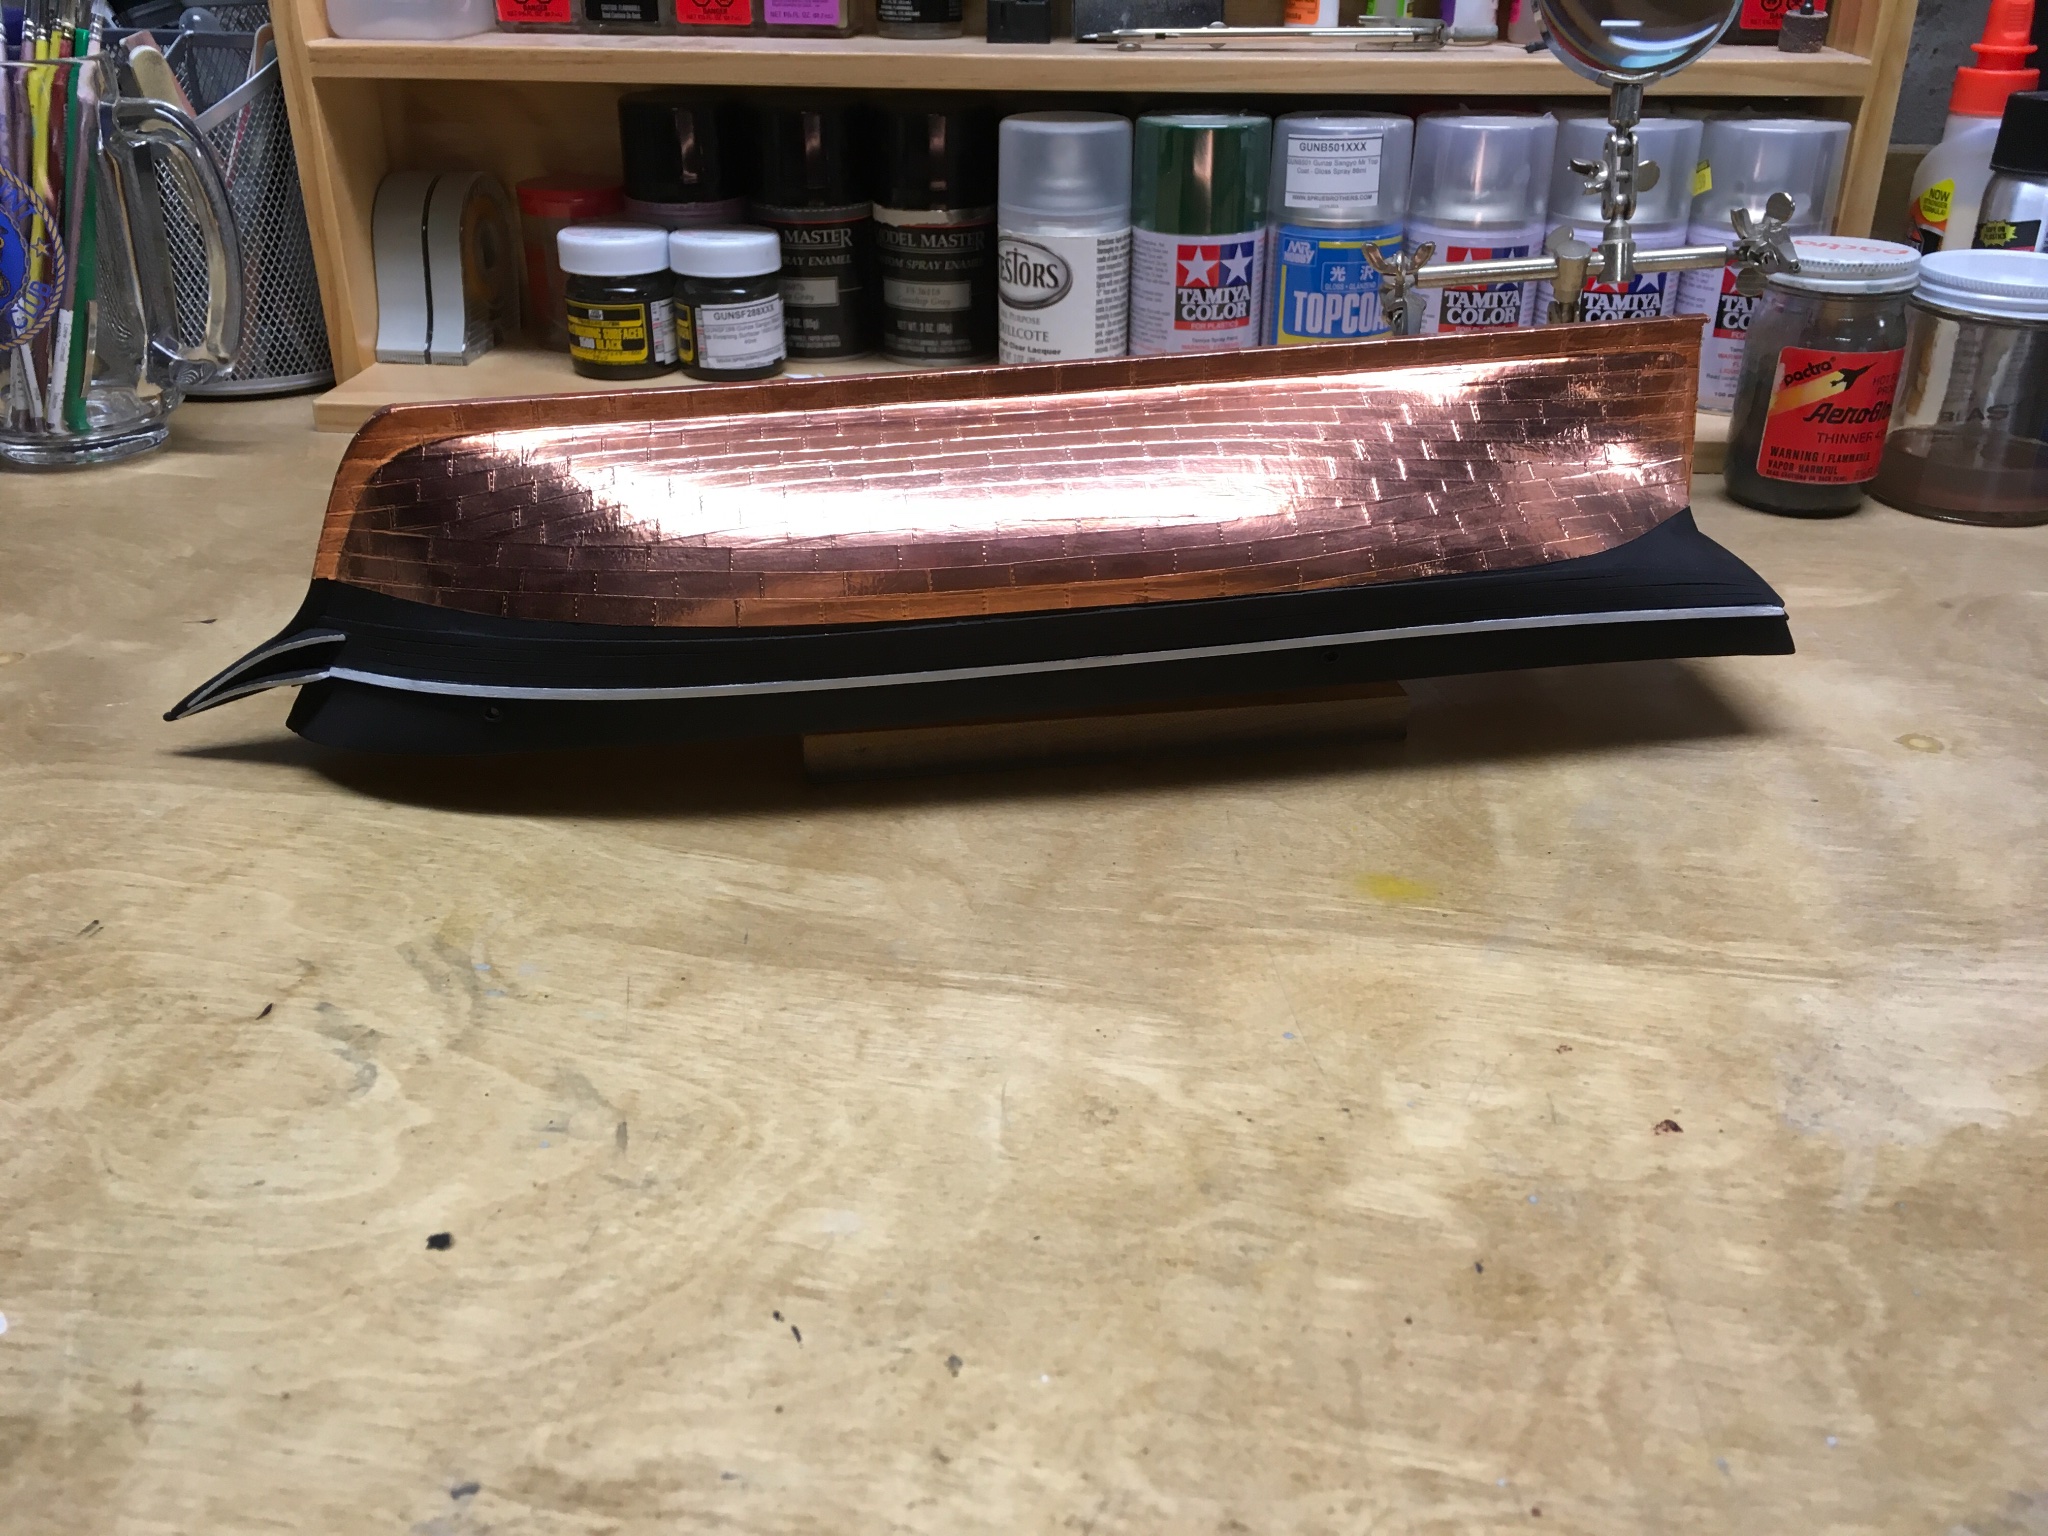
With that said, I decided to redo some of the copper work I did the last time I worked on her. I just wasn’t happy with the way it was coming out. I finally completed the copper to some degree of satisfaction. I tried very hard to keep it symmetrical and tight while trying to keep to the plans. The gore line gave me some issues at first but I figured it out and took multiple measurements from the keel towards the outboard both on the port and starboard sides where I thought the gore line should be and then connected the marks with Tamiya masking tape, which formed the boarder where the triangles could be cut before proceeding to the upper belts.
I added some rivets for visual interest. I might add more but I’m on the fence about that. Lastly, I’m doing some research on properly weathering the copper.
Cheers,
Wayne

- BobG, Duanelaker, Landlubber Mike and 6 others
-
9
-
-
Rich,
Great job on the Kate! I have recently just restarted my build of her and your thread has been very inspirational and spurred me on.
The Morgan has always gotten the spotlight but to me, the KC had more visual appeal with nicer lines. The other thing that is attractive about this kit is that it's the perfect size for my den and has the "right" level of sophistication for someone transitioning into wooden ship model kits from other forms of scale modeling.
-
J/24s are great sailboats. It was the first boat I started racing on years ago and we had a large fleet here when I was growing up. There's still quite few in the harbor and are still active. I've seen this on the Bluejacket website and I'm glad that someone here is building one. I'll be following along.
-
Wow! This build is excellent. I feel like I'm watching a master class in ship building and the speed at which you are constructing this ship is simply amazing.
Cheers,
Wayne
-
-
-
-
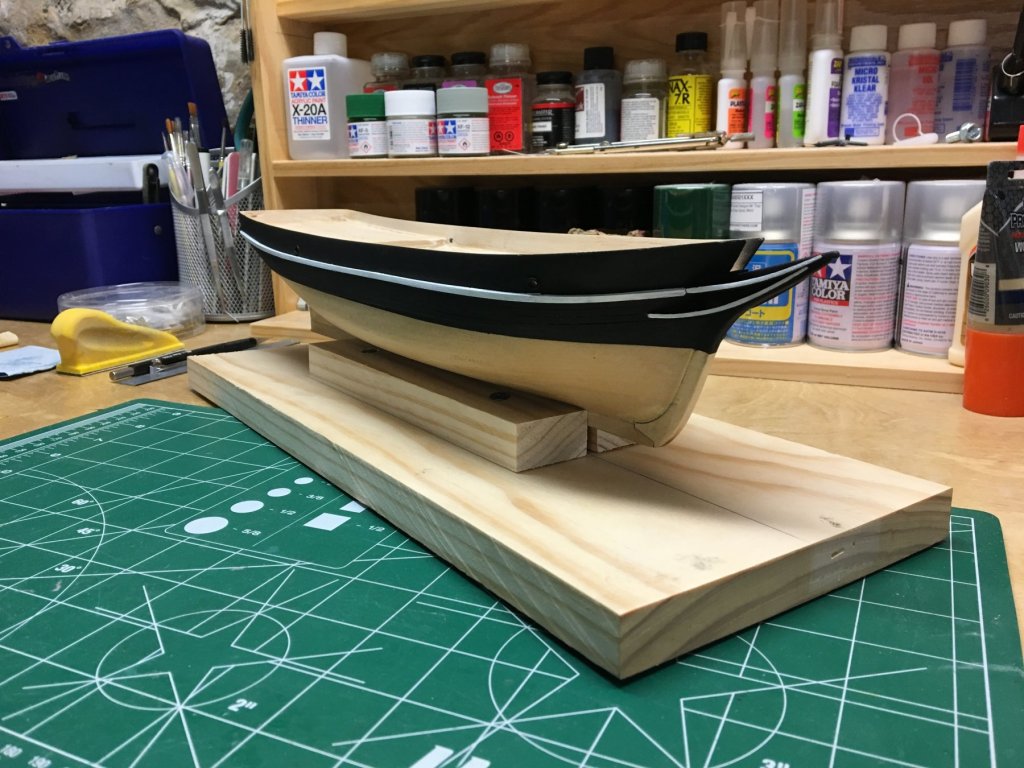
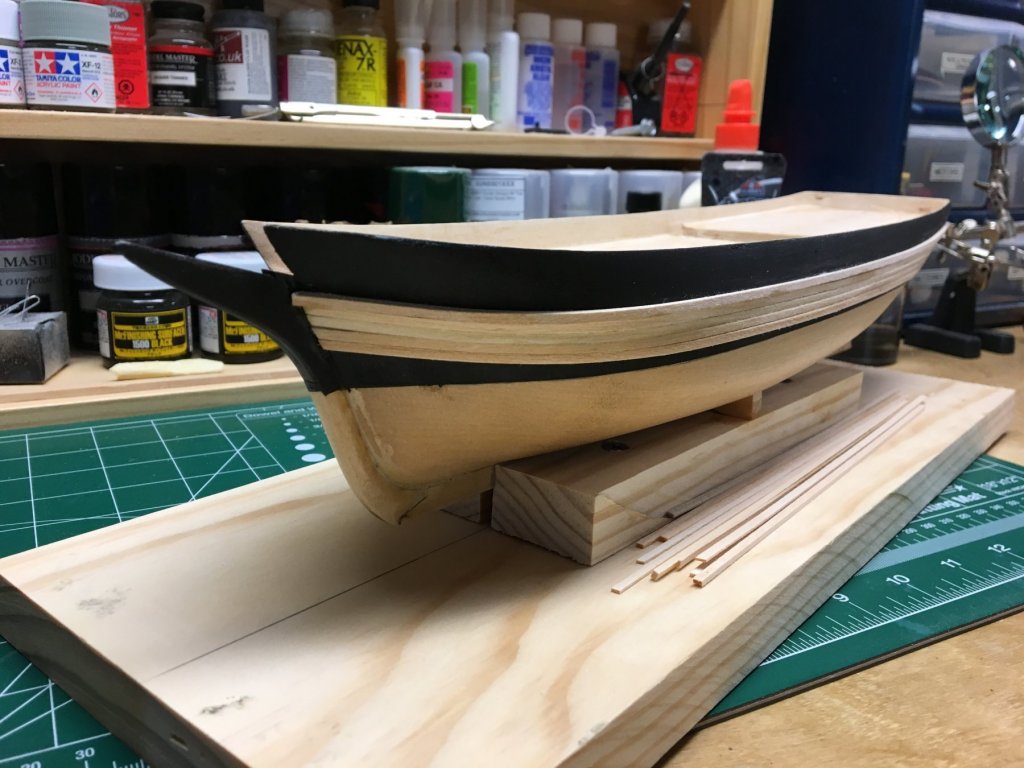
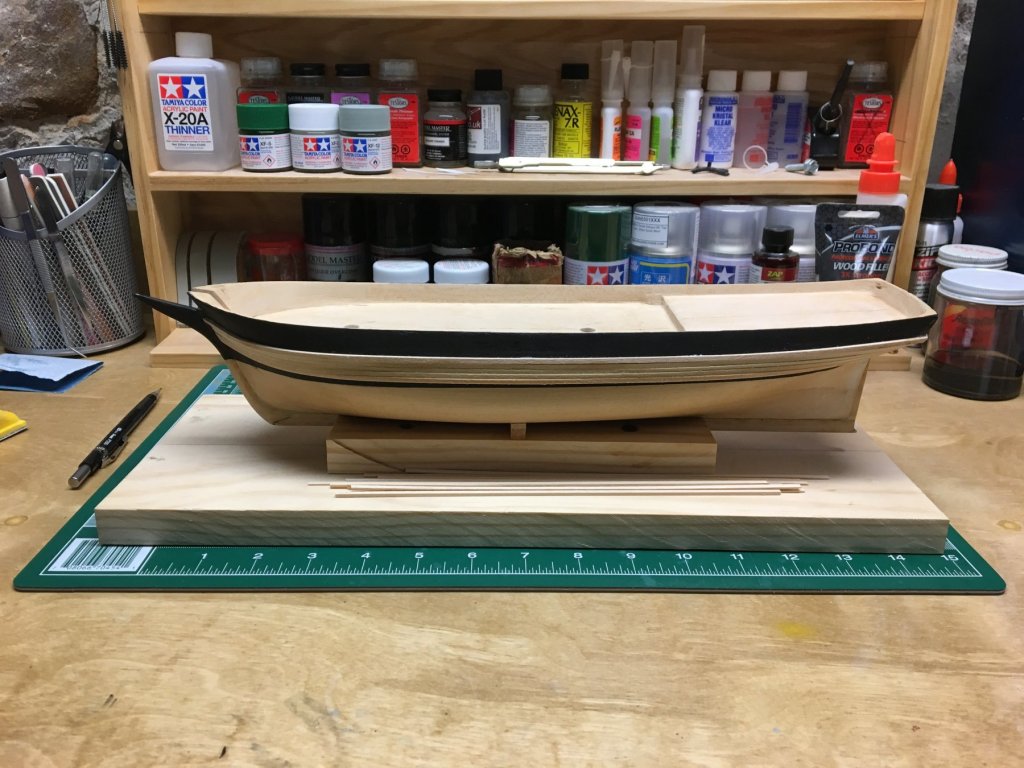
Small update. A back log of house projects kept me away from the bench for much of the weekend. I did find a little time to install the cheek knees, mooring ports and paint the outboard planksheers. Onto coppering.
- russ, Tim Curtis, Landlubber Mike and 2 others
-
5
-
-
Very nice work. I have this kit on my list of future builds. I can't wait to see more.
Cheers,
Wayne
-
Last night I was able to install the outboard planksheers and the wales. This required some careful measuring. With dividers, I transferred from the plans, to the hull, the location of the planksheer at each station. I followed these marks when laying down the plankseer, which were glued to the hull with CA and Zip Kicker. The Planksheers and wales were first soaked in hot water. The nice thing about CA and Zip Kicker is that it works with wet wood as well as it does with dry; something I learned when bending stringers for model airplanes.
I painted the hull first so that I could get a clearer picture of symmetry when laying the planks.
I noticed that one of the wales shrank a little after drying. This doesn't bother me too much since the wales will be painted black.
Cheers,
Wayne
- Duanelaker, Tom E and russ
-
3


Preussen by Ian_Grant - Heller - 1/150 - PLASTIC
in - Kit build logs for subjects built from 1901 - Present Day
Posted
Ian,
Great work on the Preussen. I have the Passat waiting in the wings and will be referring back to your build log when I finally start mine.
Cheers,
Wayne