Maury S
-
Posts
1,490 -
Joined
-
Last visited
Content Type
Profiles
Forums
Gallery
Events
Everything posted by Maury S
-

Echo by oneslim - cross-section
Maury S replied to oneslim's topic in - Build logs for subjects built 1751 - 1800
Bob, Best wishes for a speedy recovery. Catching it early (and avoiding DENIAL) is real important. Maury -
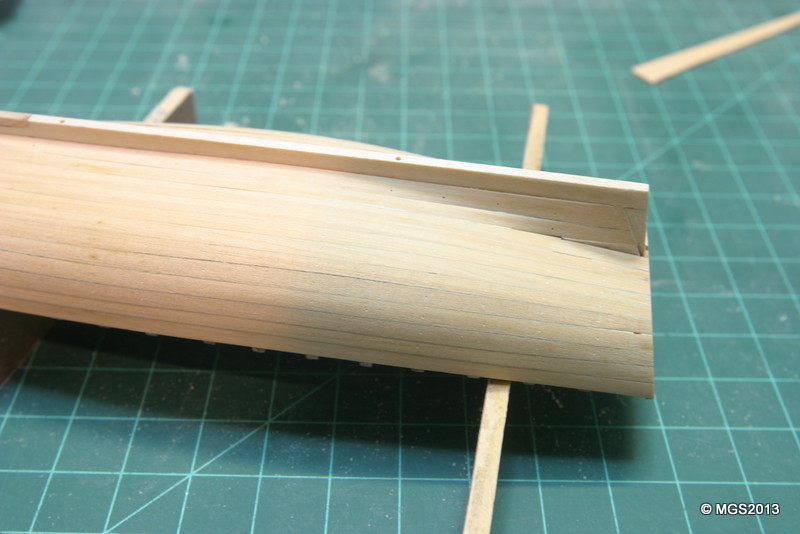
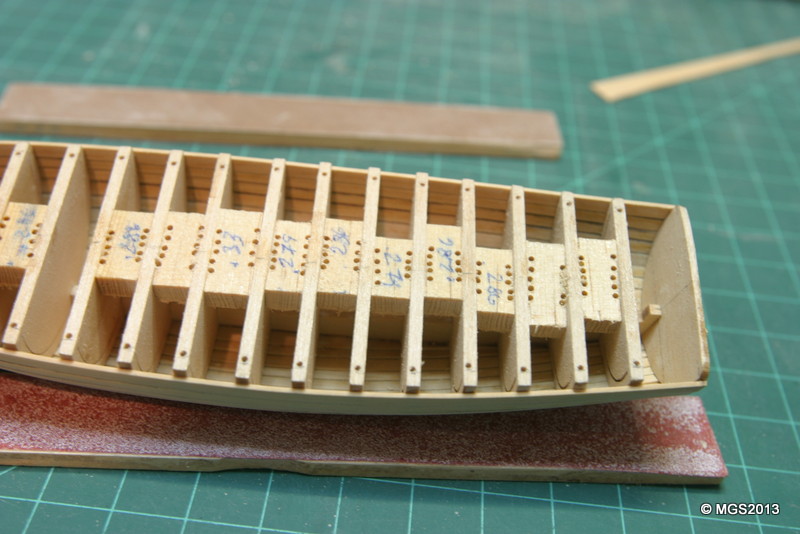
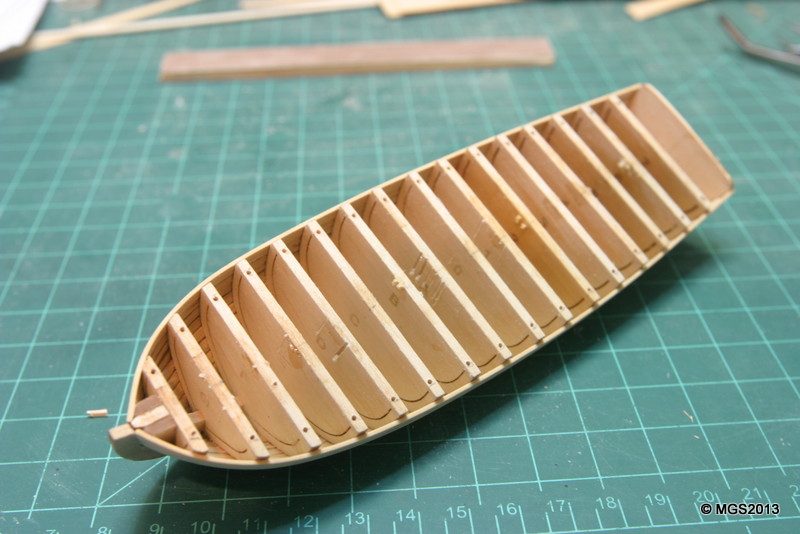
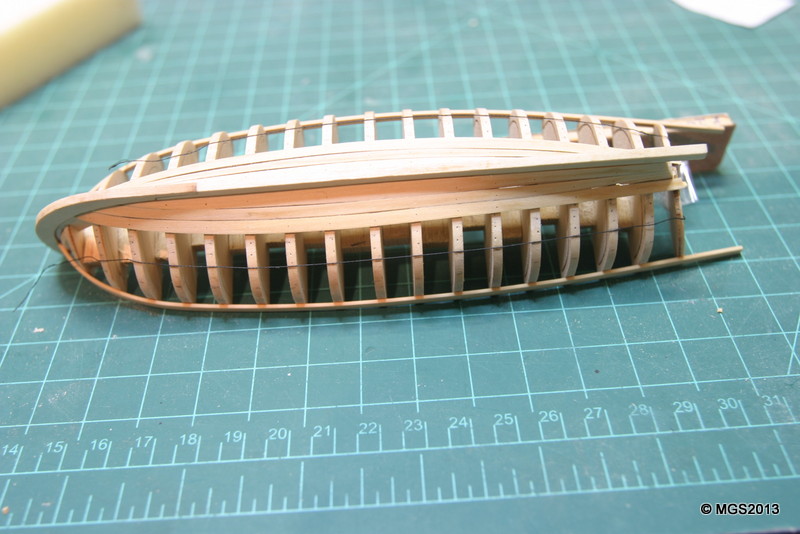
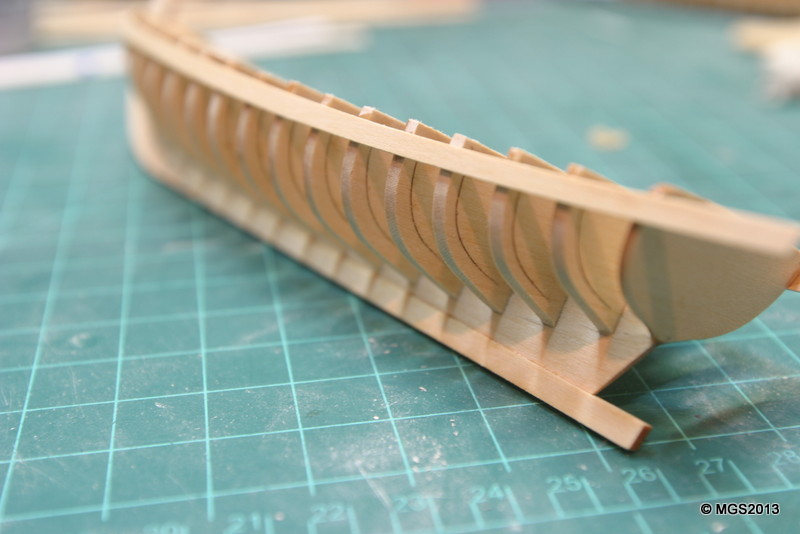
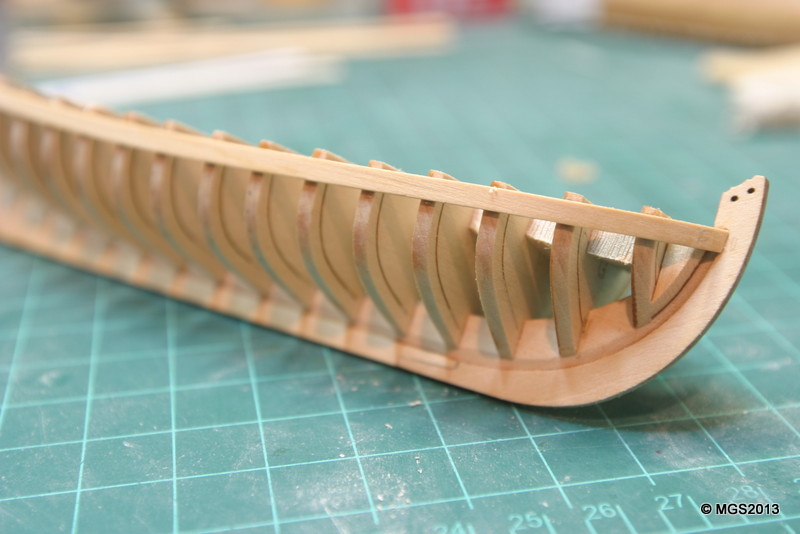
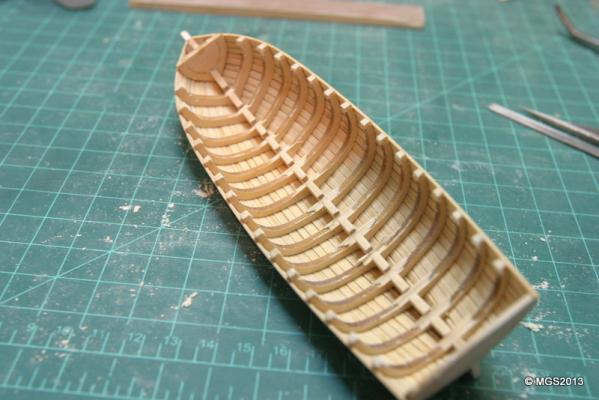
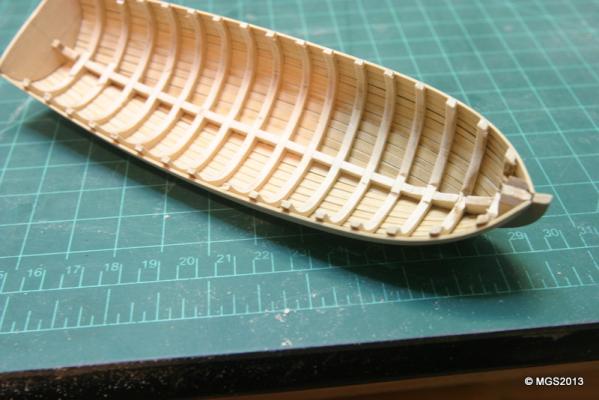
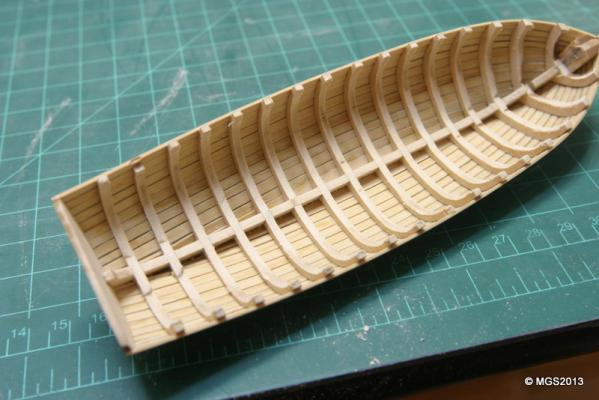
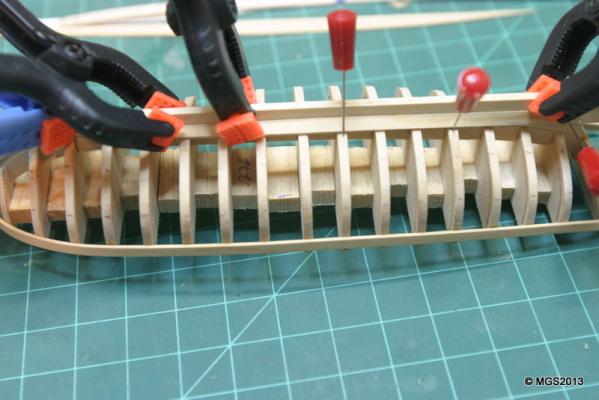
A lot more work over the last week. Spiling and planking is completed. The sternpost was installed and planks faired. Now for the insides. The spacers prevent the bulkheads from being snapped-off so they must be removed. I drilled a series of holes in the spacers so the isopropyl alcohol could penetrate better. a couple of applications and they slid right out. I also drilled the top of the bulkhead to speed the filing of the tabs. I used a triangular file since it seemed to work faster. A couple of the frames needed a glue touch-up, but nothing serious. Working from the middle to the ends, I filed the tabs and snapped the bulkheads out. The fairing was delicate. I used a rotary head to take down the frames near the wales and then a cut-off wheel to pare down the keelson. I've rough sanded (120 grit) and will check thickness before going further. I think a coat of pre-sanding conditioner is due. The joints between planks and the treenail heads will be wood putty (see my Echo Section post regarding treenails). I've got to prevent the putty from staining the wood planks so I may have to get a light coat of poly applied. Sanding down the tops of the frames will be a challenge. Any suggestions on how to do that without snapping the little bones? Maury


- 74 replies
-
- 2
-

-
- 18th century longboat
- model shipways
- (and 1 more)
-
Ed, Fantastic as always. While I really enjoyed the re-visit, I'm happy you're back to real-time. Maury
-
Bob, Very nice job. Maury
-
Thanks, I've just posted the tip to the "Tips and Tricks" section. Maury
- 74 replies
-
- 1
-
-
- 18th century longboat
- model shipways
- (and 1 more)
-
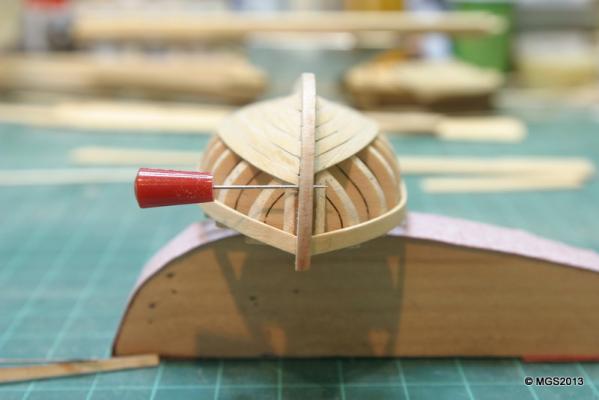
Aligning the ends of the strakes at the bow has been a problem for me so I now just push a pin through the deepest part of the rabbet at the top of one side to align the top of the opposite side strake. Remove the pin and you have a nice clean dot. It works for me better than measuring. Maury
- 74 replies
-
- 3
-
-
- 18th century longboat
- model shipways
- (and 1 more)
-
There is a water-based matte finish poly by Rustoleum that I really like. Maury
-
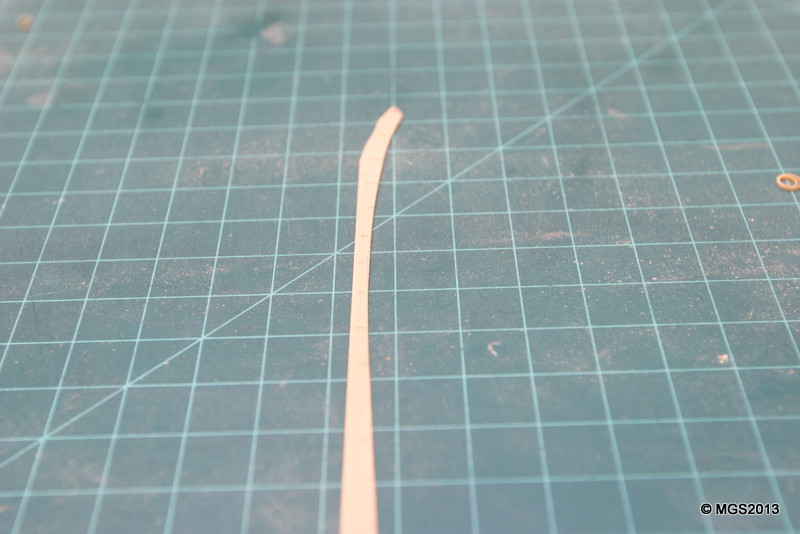
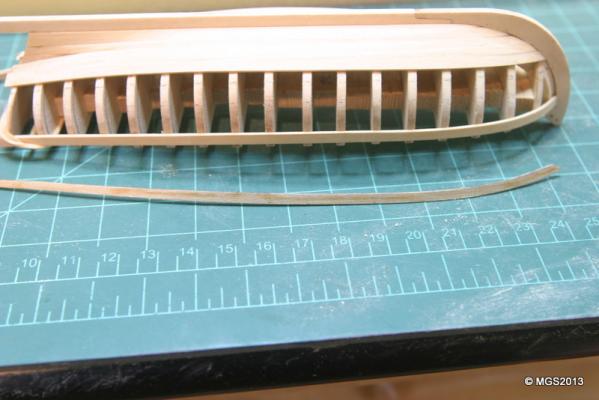
Here is the 5th (port) strake spiled and bent. It's ready to be glued in place. One edge is rubbed with soft pencil lead to simulate caulking. Maury
- 74 replies
-
- 1
-
-
- 18th century longboat
- model shipways
- (and 1 more)
-
Thanks for sharing. An amazing project Maury
-
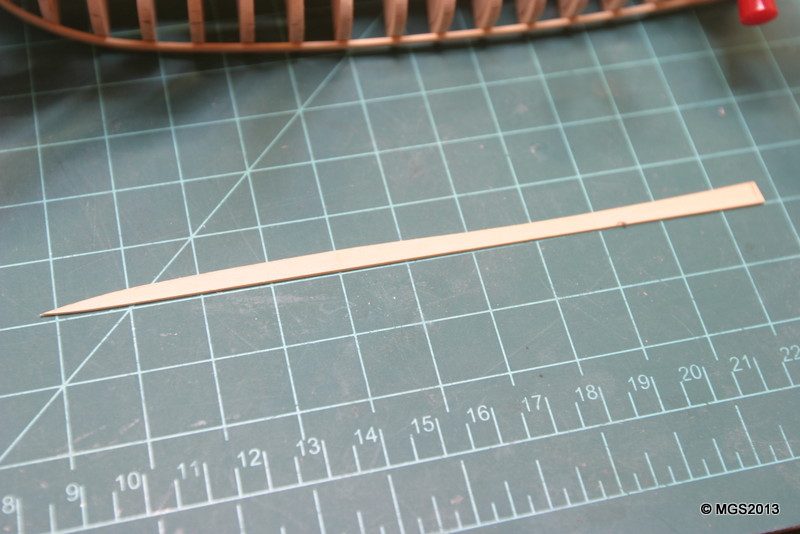
One strake at a time...lots of other committments so progress has been slow. Fourth strakes installed, spiling the fifth. I'm using stiff card stock and lining out with a compass. Cut along the line by hand, transfer to a wood plank and cut on the scroll saw. Match up with 120 grit sanding (this is the stage shown in the photo), then take tick-strip measurements at each frame and mark from the matched edge. Connect using a ships curve, cut to the line with a chisel and sand to fair. Three minutes in the microwave (wrapped in a soaking-wet paper towel) gives plenty of flex. I re-soak the forward part and bend with a hot iron to get a "perfect" fit. Lots of practice to do it right, but once you do it this way, you'll probably never go back to edge-bending. Maury

-
Very nice Mike. Maury
-
Harbor Freight Workbench
Maury S replied to Landlubber Mike's topic in Modeling tools and Workshop Equipment
I have that work bench and I left off the (lower) shelf and one bank of drawers so I could have room for my legs to fit under. I also laid another piece on top to extend the surface area a bit. I cant make a bench for the price. maury -
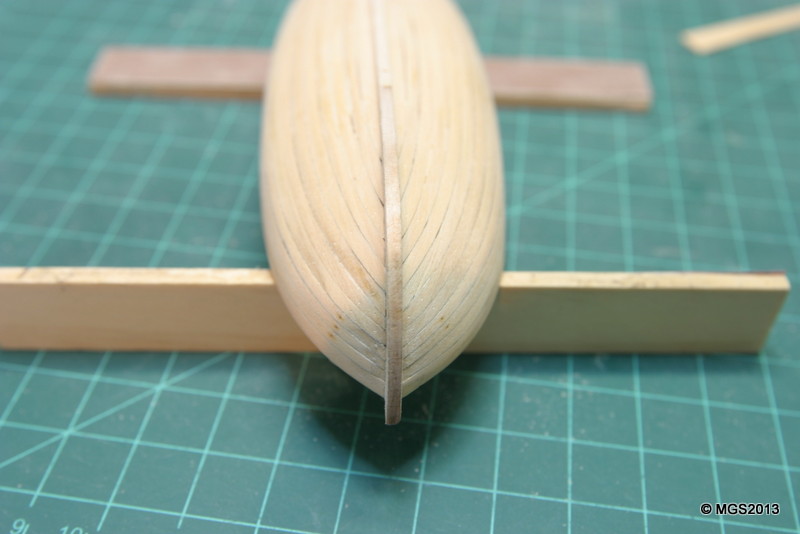
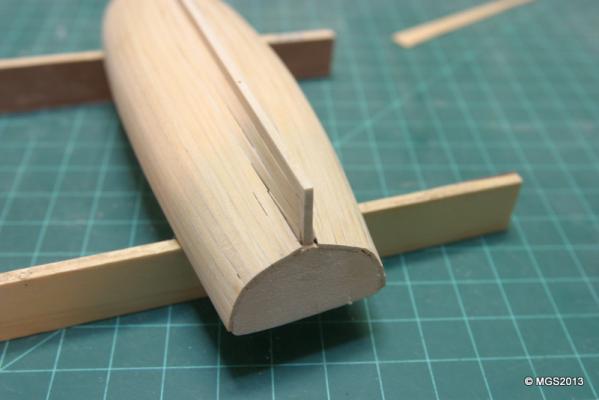
Chuck S, The third strake did not match up side to side at the stem post. Still some minor adjustments but it's better now than before. Errors like that never get better...they just keep growing. M
-
Thanks Chuck.
-
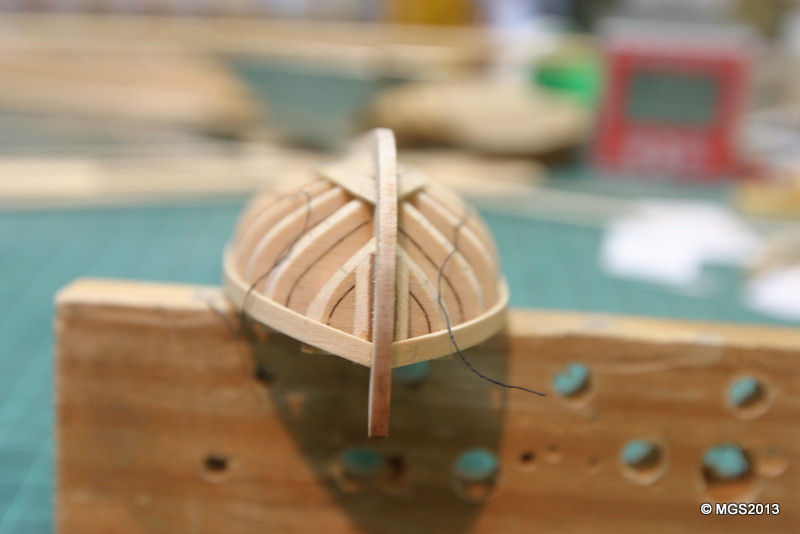
Adjusting 3rd strake. First picture is how it lays now, vs earlier (2nd picture). Not quite there, but getting closer. Funny how I can't see as much difference just by looking at it. Maury

- 74 replies
-
- 1
-
-
- 18th century longboat
- model shipways
- (and 1 more)
-
Robbyn, When you start the lining off for the planks, consider one band ending at the junction of the sternpost and transom. That way you wont have to fill in (like I had to) or make an odd bend in the plank. Maury
- 234 replies
-
- 1
-
-
- 18th century longboat
- model shipways
- (and 1 more)
-
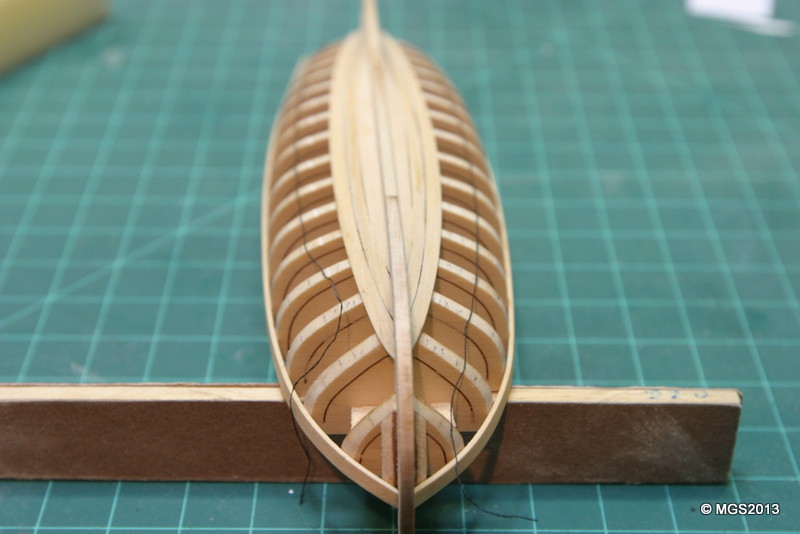
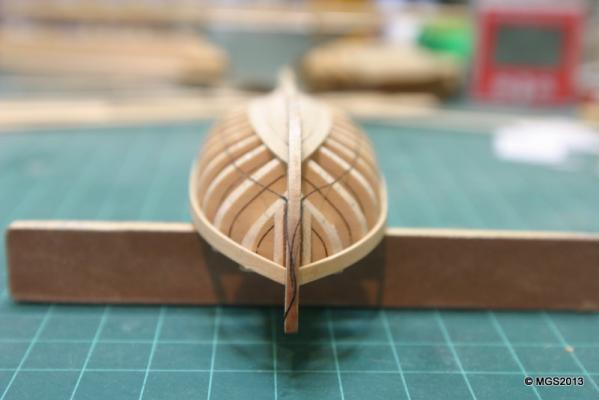
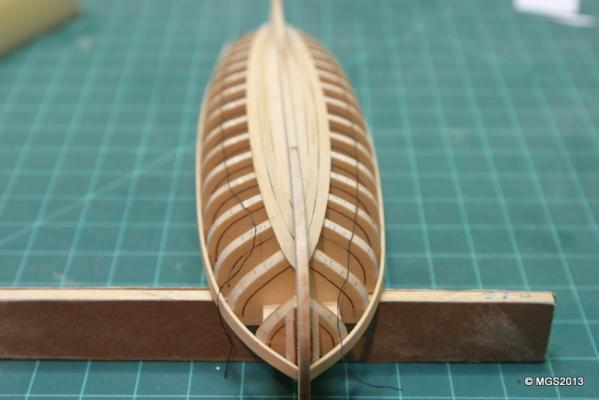
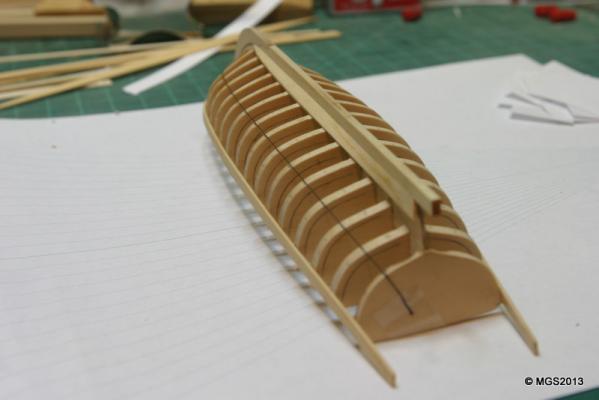
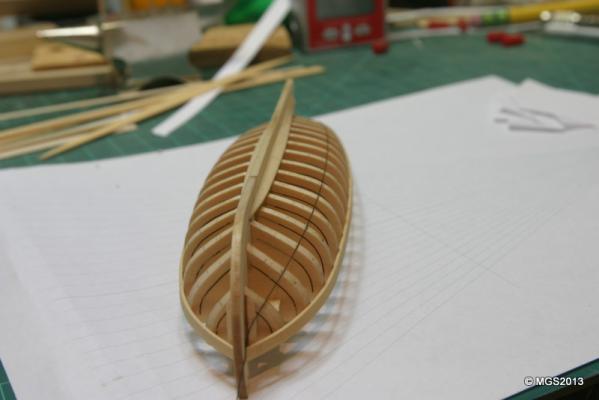
The 3rd strake up is installed. I've turned the corner at the sternpost / transom so it will be easier from here. A few gaps near the stern but they will not be visible when it's turned upright. A camera shot is critical. The mis-alignment of the strakes at the bow shows up on the bow-on photo. I need to sand the one on the left. Maury


-
Thanks Toni, you're correct...the string seems to come up too high at the bow. I'm going to re-work that before I get farther on. Maury
-
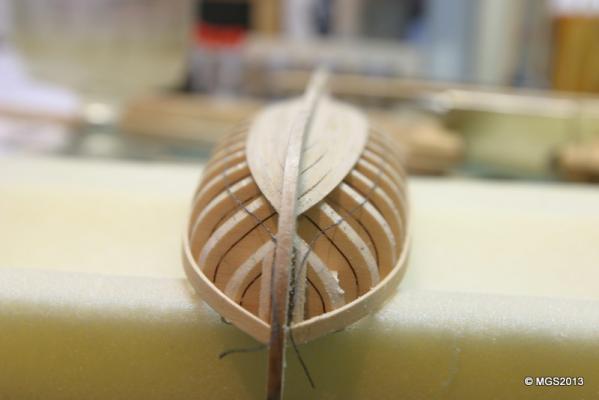
Thanks for the comments. Every bit helps. Lining out for the rest of the strakes. Two bands divided by a thread to see how fair the line is (credit David Antscherl ). The first attempt at the next strake had me cutting it a bit too thin in one spot...back to the scroll saw with a finer blade. This one has a big twist in it as well and takes care to align properly. Maury
-
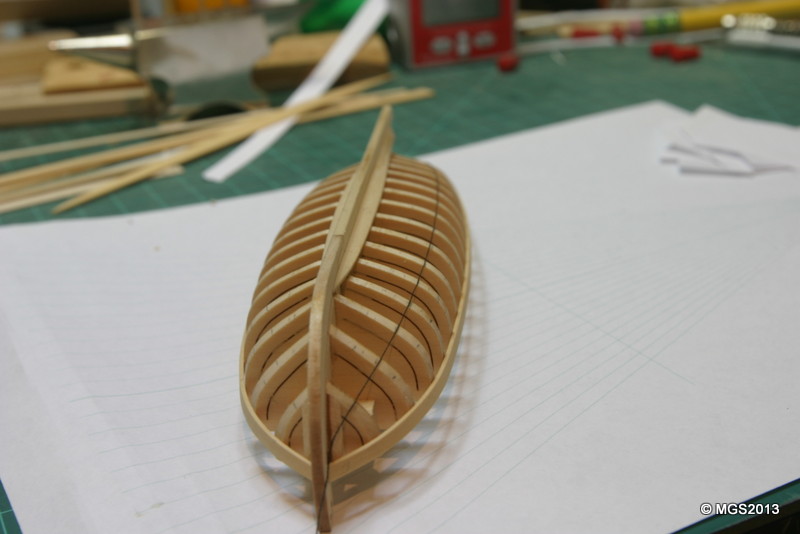
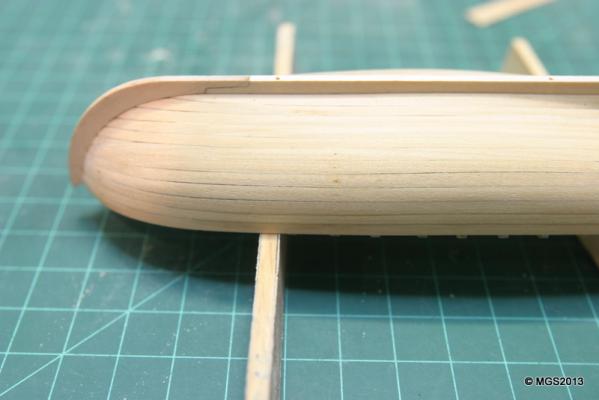
Thanks Toni, that is the plan (garboard up from here-on.) Typical Garboard shape in first photo. It gets a wet cooking in the microwave for 2 minutes, then held in place to dry (with the help of a blow drier). Then glued down. Maury

- 74 replies
-
- 1
-
-
- 18th century longboat
- model shipways
- (and 1 more)
-
Chuck (S), There is an obvious shape in the plank (see all the friezes) so I spiled the piece (no edge bending for me). I actually started with one of the friezes as a rough shape copied onto card stock. Remember, I'm using Box wood which wouldn't edge-bend like the bass that MS provides. Maury
-
Kevin, The boats would have been launched (and towed behind) prior to battle. Maury
-
She's looking great Toni. Maury
-
Plain old packing tape? I tried writing on the stuff I have here and neither pencil nor ink takes. Is that a "special" tape? Maury
-
Chuck, I was wondering where it went... I spiled the top (box wood) strakes, cooked them in the microwave (in a paper towel soaked with water), bent the fore ends around a bottle cap, dried them and installed them along the bulkheads. PROBLEM. I guess the pressure of me holding the stbd strake in place while the CA dried twisted the whlole boat a bit...discovered it after the port strake was installed. I removed both strakes and built some supports to keep the frame stable (no twist) on the building board and carefully re-installed both planks 3 - 4 frames on a side worling back from the stem. Everything came out fine this time. Chuck, I was going to try your clear-tape method to layout the planks and could not find it at the local art / hobby store nor on the internet. Do you recall the manufacturer (?Scotch?) and where you bought it? Maury