HOLIDAY DONATION DRIVE - SUPPORT MSW - DO YOUR PART TO KEEP THIS GREAT FORUM GOING! (89 donations so far out of 49,000 members - C'mon guys!)
×


Shipyard sid
-
Posts
1,106 -
Joined
-
Last visited
Content Type
Profiles
Forums
Gallery
Events
Everything posted by Shipyard sid
-
 Greeting all Well first of all I would like to thank you all for viewing and you comments. I did not intend to post yet, but my main overhead light has conked out so my work top area is too dim to use. Well this is me at the minute. I have started the standing rigging and completed most of the stays that run towards the bows apart from a few on the foremast that run to the bowsprit, as they cannot be fitted at the moment. The main and main preventer stays are completed and fitted as is the fore mast stay and preventer. The mariners walk and the knightheads are also in position. The bowsprit is fitted and lashed plus the deadeyes and blocks around the bees area ( I don't know the proper terms for this) are fitted. I tried to fit the snaking on the mainstay but it was a total failure so will be done later, probably with all the other failures. The snaking on the foremast stay is just about passable. Next?? Not sure, but all the stays that run towards the stern need fitting. I want to finish the bowsprit but I think it is to early given the length of it. I do have to return to that yet to be finished dam bit of shroud and ratline work on the top of the mizzen mast. Ok that's me for now. Here's some photos, which may be repetitive at times. Enjoy your builds chaps. Thanks once again chaps I'm off to amazon for a new light. DAVID
- 439 replies
-
- 5
-

-
- victory
- caldercraft
- (and 1 more)
-
Hello Jerry 0.04 am here. Here's 3 photos, note the diagonal cut away on the third one helps to retain the strop. I finished the stays with the closed hearts and open hearts . Some weird names coming up here.. Flying jib horse, flying martingales, jib halyard, I love this part of the build, it's very relaxing. Keep enjoying it . Bed now good night, DAVID


- 900 replies
-
- 1
-
-
- victory
- caldercraft
- (and 1 more)
-
Hello Lawrence I don't know how your hinges are attached, but on the jotika model the hinges are not set flush with the back of the lid, but set forward 1mm to allow the lid to sit in the 1mm recess which is created by the gunport linings being set back 1mm in the gunports. There is a 1mm recess under the jig backstop which allows the hinge to be set forward 1mm if you follow. I simply glued two guides on the backstop for a guide on the hinge positions. Simple but it worked. As I say I don't how yours fit. Good luck Lawrence. DAVID
- 439 replies
-
- 2
-
-
- victory
- caldercraft
- (and 1 more)
-
Hello Lawrence I will look for photo and send it to you. DAVID
-
Greetings Jerry Well once again you come up with some excellent work. The facia and the decoration look splendid. Enjoy the quarter gallery's . DAVID
-
Hello Eric Excellent info and instructions from Patrick, and as ever from mort. Good luck with your adjustments. Just keep enjoying your build DAVID
-
Hello Eric The problem is probably because the pattern is not laying flat on the bulkheads and the bulkheads needs fairing. you need to sand the front edges of all the bulkheads in this area so the pattern follows the curve around, and the pattern lays flat on the bulkhead if you understand and not on the edge were it will just bend. Fairing must be done. Others will probably tell you exactly how to do it correctly, but don't go any further until you get it sorted DAVID
-
Greetings Jerry Well once again you have done a fine job. The stern facia is very impressive, and I reckon you Will be well pleased on its completion. Well done Jerry. DAVID
-
Hello Patrick What a cracking job you have made of those bands. And alongside the coppering the ship looks really smart, and the paintwork looks very smooth. You must be very happy about the way this is coming along. I still have not finished that last shroud, I could not rescue the deadeyes and lost some in the carpet., so have had to order some. They are so small 2.5mm. If you order any gear I would order a few spares. Yes Patrick it looks great DAVID
-
Hello Eric Good that you got it sorted. Have you decided what you are to do about you gunport linings.? Keep up the good work DAVID
-
Hello Jerry Well what can I say about those buckets!!!!!!! I warned you about that bottle of Jack Daniels !! Be careful you don't mix those window frames up . I pigging did!!! Looks like you are about done on the deck. Well done. Don't worry about replying yet , wait till you sober up DAVID
-
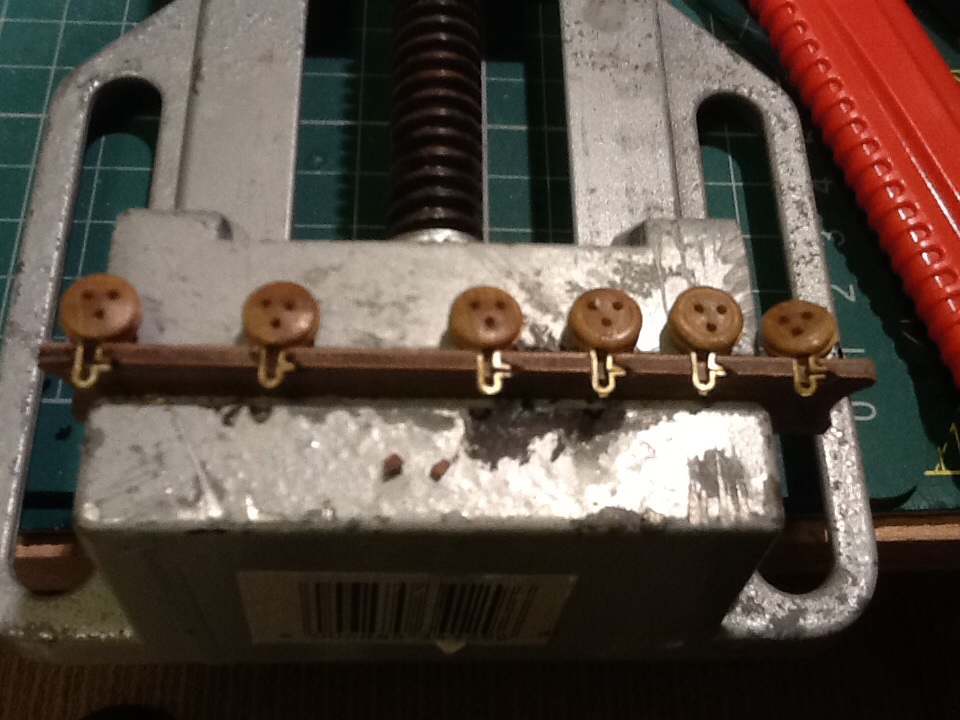
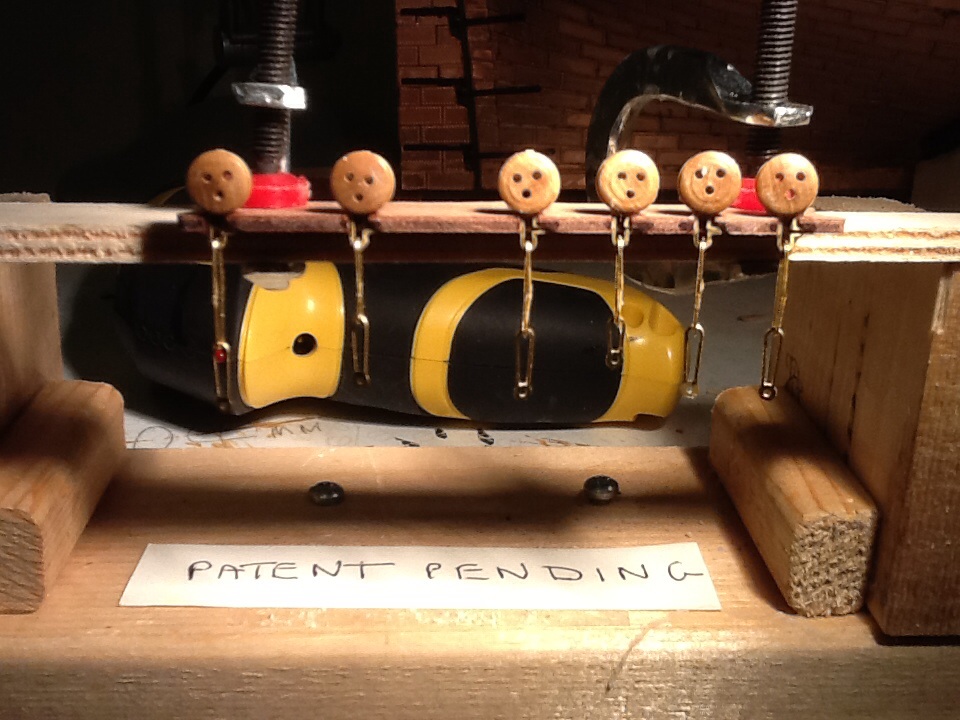
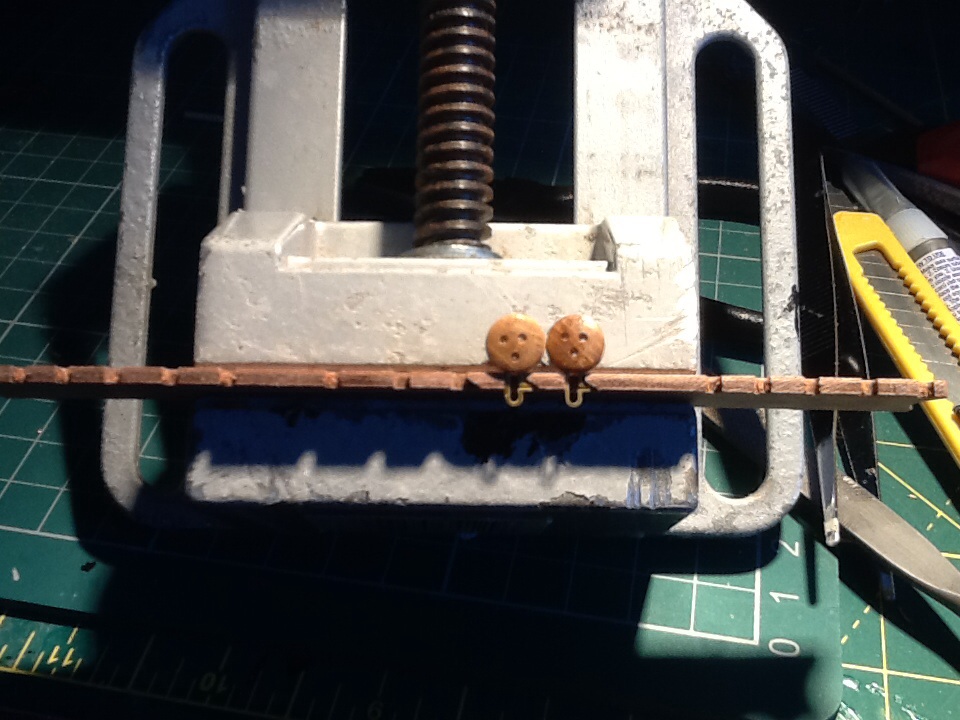
Hello Lawrence I was looking at your build and it is looking good. The buckets???? I drilled holes in them for the handles and used thread for the handles and then hardened the the thread with CA.. I had an idea later that you could glue the buckets to a length of strip, then use thin wire for the handles. You can then glue the strip with the buckets completed to the facia. You don't need to use all the buckets. Mine look congested and are not very good at all. Keep enjoying it DAVID
- 439 replies
-
- 1
-
-
- victory
- caldercraft
- (and 1 more)
-
Hello Eric Looks like you have made a fine start on your build. The visible bulkhead ??? Just cut it clear of the gunport enough to allow the gunport lining to fit. Are you fitting shelves around the inside of the gunports before you secure the the linings ? Keep up the good work . DAVID
-
Hello Lawrence I have just been looking at your build and it is looking very good . The same standard continues, and it looks like you only have the poop deck barricade to fit. I only started on my build again last night after a few days off , with our son coming up for a few days holiday. I have left the shroud for now and will go back to it later. I fitted the bowsprit last night and fitted the vertical lashing around it, but it still needs to be lashed horizontally. I am now looking at the rigging around the cleats. Bob stays and things it all Chinese to me, but will sort I hope. Keep enjoying your build DAVID
- 439 replies
-
- 1
-
-
- victory
- caldercraft
- (and 1 more)
-
Hello Eric I just answered your post on my log by mistake, DAVID
-
Hello Eric Thanks for your reply. I would suggest you should fit shelves around the edges of the gunports before you attach the patterns. If you do fit the linings now remember the gunport linings need to be set back 1mm from the hull side ( see page 5 second paragraph) and your walnut planking is only 1 mm thick, and needs sanding . It's up to you how and when you fit the linings as it is your ship, but personally I would fit shelving around the inside of the patterns and fit the linings after the hull planking. I just used something like 3mm x 3 mm balsa for the shelves. Hope this helps . Enjoy your build DAVID
-
Greetings Eric Well done, looks like you are off to a good start. Are you intending to fit your gunport linings before your planking ? I look forward to following your progress. Just enjoy your build. DAVID
-
Greetings Jerry These are your best photos to date. Your build is looking really impressive. Well done with those lockers and the poop deck. I said to you I was a bit concerned about height of the poop deck at the barricade. But I was totally wrong as your capping rail shows. Well done Jerry . DAVID ....BTW Topping up of the buckets with water was a joke. Well it was supposed to be.
-
Greetings all Thanks Patrick, John and Lawrence. So you are off and running again Lawrence and things are as ever excellent. I am getting used to these little set backs, they don't seem to matter anymore and will easily sort. John you were not supposed to spot the upside down scrolls!!!!!!!! Yep I knew about them . For some reason I could not make them fit correctly. The side of the scroll was overhanging the sides when it was the correct way up. Gil middletons and Kevin's are correct , but as you say I am probably not the first to have them upside down. I am off back to the bowsprit now, to hell with those clove hitches!!!!! Thanks again chaps. DAVID
- 439 replies
-
- 1
-
-
- victory
- caldercraft
- (and 1 more)
-
Hello Jerry Well you are still buzzing along and soon the gallery's , the speed you are going ,!!!!!!!!. Alas I have messed up on my last ratline and had to chop it off. So I have abandoned it for now. Will do it next week. You will find the buckets a bit tricky, an idea you could try is to fit them onto a strip and fit the strip when they are done. If the buckets do not hang level top them up with water till they are correct. you will need a small funnel. Well done Jerry... DAVID
- 900 replies
-
- 1
-
-
- victory
- caldercraft
- (and 1 more)
-
Hello Patrick and canoe Sadly once again it's gone wrong. I finished the ratlines completely with the mizzen being last. But when I fed the two threads from the futtock staves up to the area were they terminate ( at the top were there are two single blocks) I can't remember what they call it, the shroud and ratlines twisted around. I had criss crossed one of the shrouds, and was always wary about that happening, but there you go. I tried to bodge it but it got worse, so I have chopped them off. I am leaving it for now and having a look at the bowsprit as per manual. I will go back to the shroud next week sometime. So be very wary when fitting the shrouds. Another good idea is to buy a few spare small dead eyes with any order you place, they are a bit awkward and I have a few floating about in the carpet. I have also lost one of the little chaps who are standing next to the shied but have a spare. A photo of my chopped off ratlines, and starting on the bowsprit. Thanks everybody for your replies. David
- 439 replies
-
- 1
-
-
- victory
- caldercraft
- (and 1 more)
-
Greetings Patrick You have done a cracking job on the copper plates, and the whole build looks really good. Those four photos you mention really are pathetic, I have had it mentioned to me a few times. Keep up your excellent work. I have just finished my ratlines and heading for the the bowsprit!!!! Approximately 2800 clove hitches , WHOOPS!!!! Sorry . DAVID
-
Hello derek Well done with the ratlines. Yes it's a bit laborious , and awkward at times. I have only only one short run of ratlines to do on the mizzen which will take about an hour. I like your spice jar containers. Ok away you go with those ratlines, WD 40 to hand for your aching joints. DAVID
-
Greetings sparrow As ever wonderful work . I am looking at this kit as my next build, and I love your sculpey work, it's amazing. Keep plenty of these pictures coming, And just enjoy your build. Sculpey??? I might have a go at it, and see how it goes. Regards DAVID
-
Greetings Eric Welcome to MSW, with another Caldercraft Victory. I think most of the Caldercraft Victory builders kits have had parts missing, but yours takes the biscuit. You should have no problem as Caldercraft have a very good customer service. I look forward to following your progress over the next few years. Just enjoy your build. Regards DAVID