


Ulises Victoria
-
Posts
1,790 -
Joined
-
Last visited
Content Type
Profiles
Forums
Gallery
Events
Posts posted by Ulises Victoria
-
-
-
Thank you demonborger. You clarified the point!!!
Karl... thank you. I downloaded those photos some years ago!

-
Please: some photos Per. I'm exactly at that point in my build.

-
demonborger: You seem to know a lot about this build.
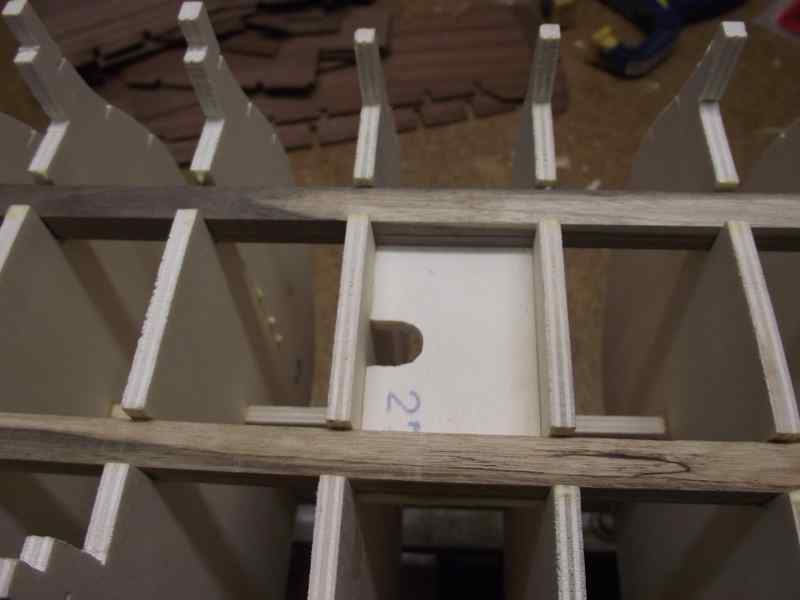
Instructions say, or that's what I understand, that after placing the lowermost false decks to plank from frame 2 to frame 6 and then from frame 12 to the end, leaving the area between frame 6 to 12 unplanked.
The way I see it it is exactly the opposite, as it's the area between frame 6 and 12 what is left uncovered by the upper decks, so this is the area that should be planked.
What are your thoughts?
Thank you very much in advance.
-
Wow Chris. Such a wealth of information you have given in one single post. I truly appreciate it!
I now remember I have a book called Les Vaisseaux do Roi Soleil by Lemineur.
Thanks for the generous input.
-
Hey Ulises -
You probably know this but just in case - the planks follow the curves of the bulwarks on a French ship not off a centerline. Look forward to seeing your progress.
Chris
Hmmm no... I did not know that, but I agree with GaryM.
Do you happen to have a photo, Chris?
-
Good points demonborger. Thank you for your comments.
-
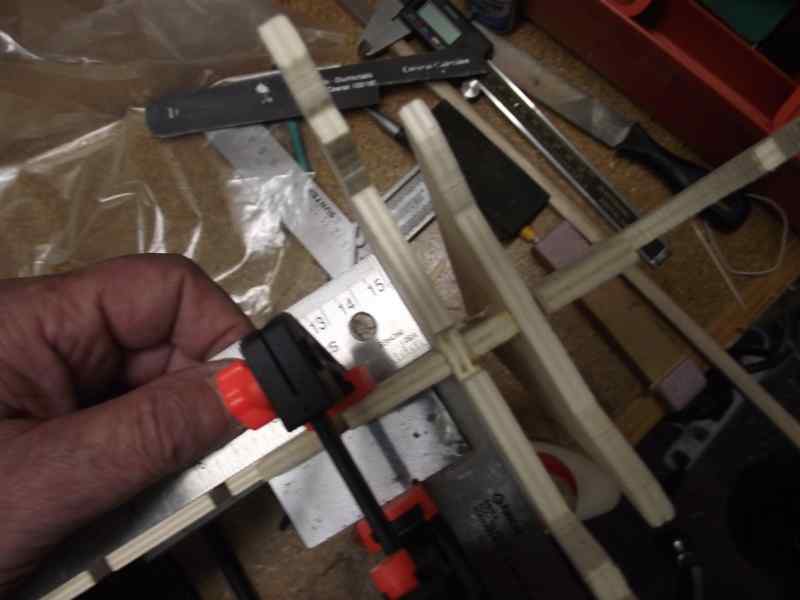
Thank you GaryM. My plan was to cut 68mm planks over 17mm steps to form precisely a 4 step pattern. (68/4=17)
Thank you for reassuring my decision.
-
Tim: I think it's too soon to make a fair evaluation, but so far I am a bit (just a bit, it actually is not that bad) disappointed with the amount of metallic parts. Some things I feel MUST be wood, like the steering wheel, belaying pins, the boats. I agree that making some of them at scale in wood has to be nearly impossible.So I guess we have to compromise certain things. One batch of wood, looks like its called Tulipie, measuring 1 x 2 mm is awful. Looks like it was ripped instead of cut. The rest of the wood looks very nice, though. Instructions are definitely for the advanced builder. The instructions are included within the plans, and even at my early stages of build I have seen some things not very clear, but I have managed nevertheless (I think). All in all, so far I can say I have no real complaints with this kit. No kit is perfect. In every kit you will find good and bad things. The thing here is that I love this ship. It was in my dream list for so many years but just couldn't afford it at its regular price. When Model Expo put it at 450 dlls, I just couldn't pass the offer, and I don't regret it.
Thanks for your interest.
- FrankWouts, coxswain, mtaylor and 1 other
-
 4
4
-
-
Anyone has a clue of what pattern steps did the Royal Louis, or similar ships of that era/country had?
By pattern steps I mean how many planks between butt joints there were?
Were there some rules, or was by the builders whim?
Any input greatly appreciated.
-
-
Demonborger: Did you glue the frames first and then the false decks per the instructions? GaryM said he had to place the frames without gluing, then adjust the decks and once the decks in place, glue the frames with the decks in position. My frames are already glued, but I'd like to know if the decks can be adjusted once the frames are glued.... of if I quit this build altogether.
Thank you.
-
Thank you Azzoun.It is indeed a large model, and to me is so very beautiful. I am actually surprised there are so few build logs of this ship here in MSW as well as some other ship modeling forums I visit.
It's not a cheap kit, so that may be one of the reasons.
If I'm building this right now, is because I got it at a super discount at Model Expo back in 2010. I couldn't afford it at its regular price.
-
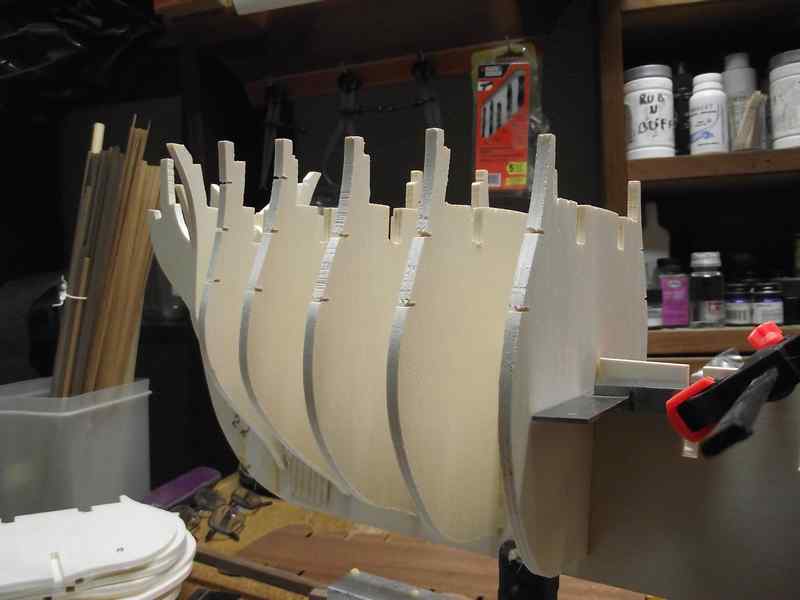
Update April 15.
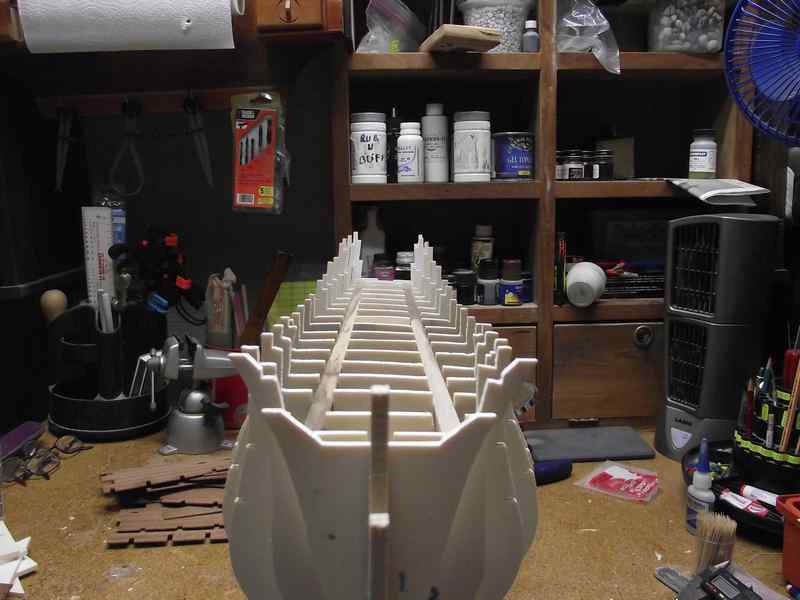
Glued all the frames, the 2 square bars that go all the length of them and a small piece that seems to be some sort of a holding place for the main mast.
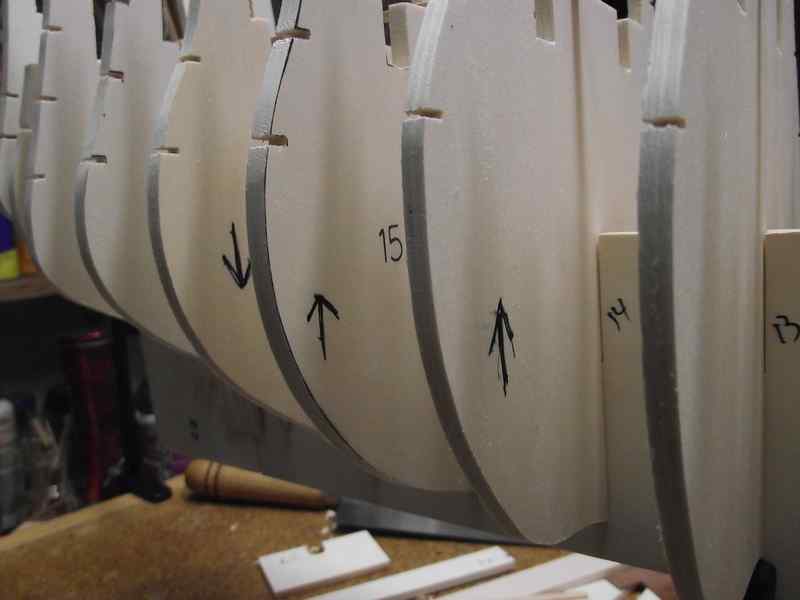
Making sure frame one is 90o to the keel
Double check

A few more frames
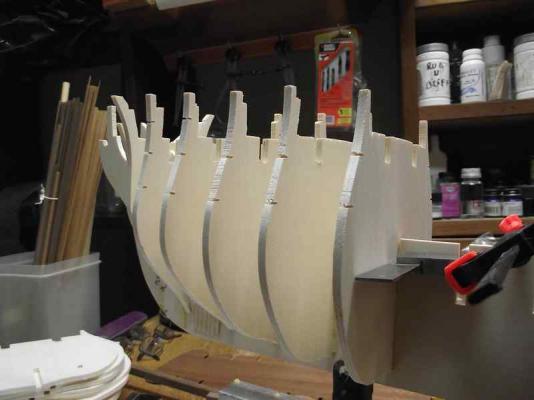

Making sure at every step along the way, that everything is as it should.... and still mistakes happen

Completed all the frames. Views from different angles.
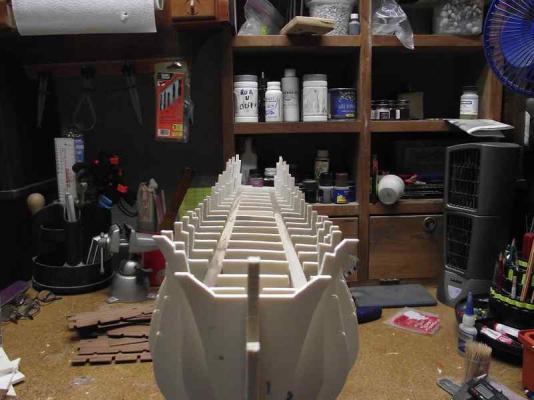
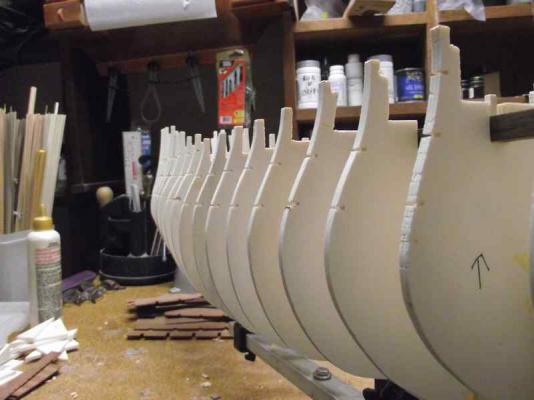
So far, so good!
Thanks for watching.
- fnick, Sjors, CaptainSteve and 12 others
-
15
-
Thanks Ulises Now all I have to do is finish my rigging

Go for it. All the rigging in my Vasa came from that machine.

-
-
-
Hello all. I've read some information regarding my present kit didn't come with enough wood. Trying to be one step ahead, where do you recommend buying scale wood, preferably already cut to size?
Thank you in advance.
-
-
Gracias Pepe.
My next project is now my current project.
Follow link in my sig.
-
Hi Ulises,
Is it so much bigger than the Vasa?
I'll be happy to follow your build, le Royal Louis is one ship from my favourite period of history.
Enjoy your build!
Hello Padeen.
Vasa: 940mm at 1/75 scale ; Royal Louis: 1080mm at 1/90 but a lot wider at the waist.
Thanks all for visiting and commenting.
-
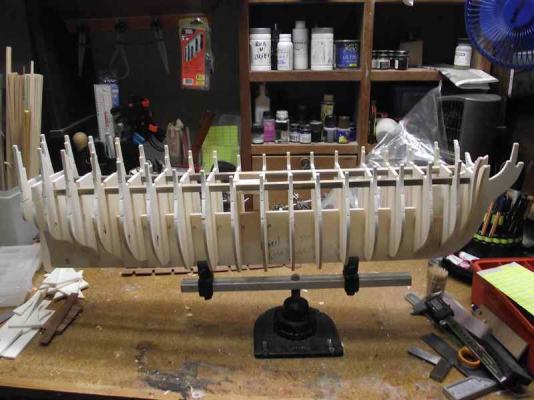
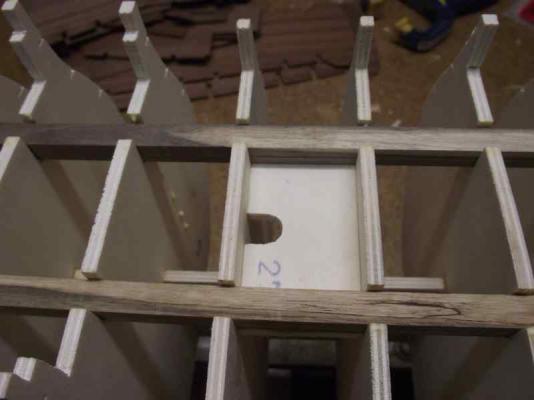
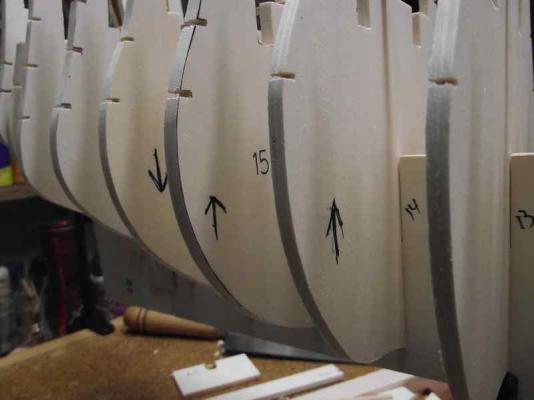
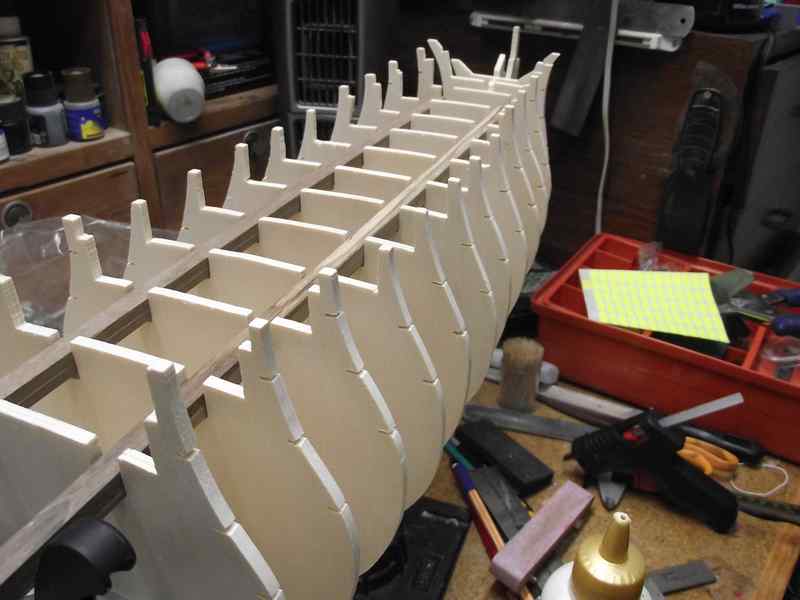
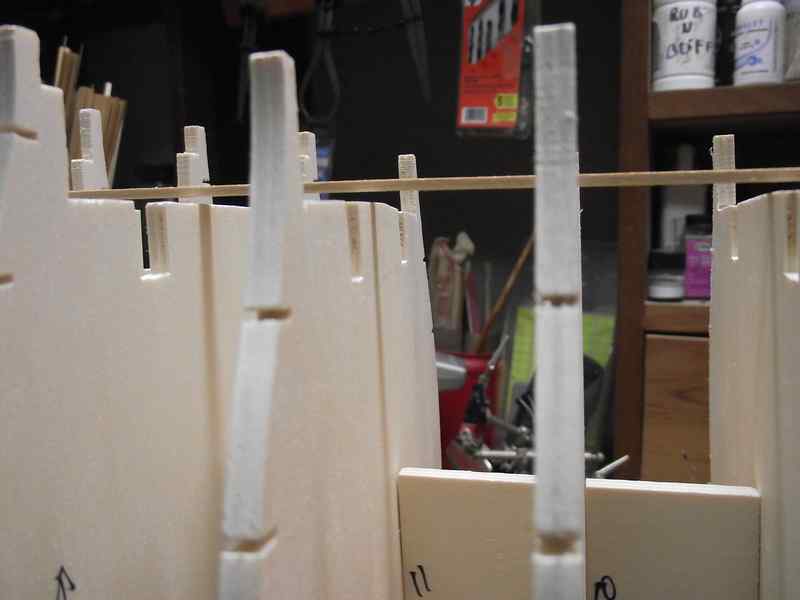
Running a strip of wood over the upper surface of the frames, revealed that they were not properly aligned. Marked with arrows the direction in which some frames had to be adjusted. When they needed to be rised, a small bit of wood was glued in the slot.

-
start is there Ulises, I think you have to move to an other room in your house.
If there was one, I would've already.
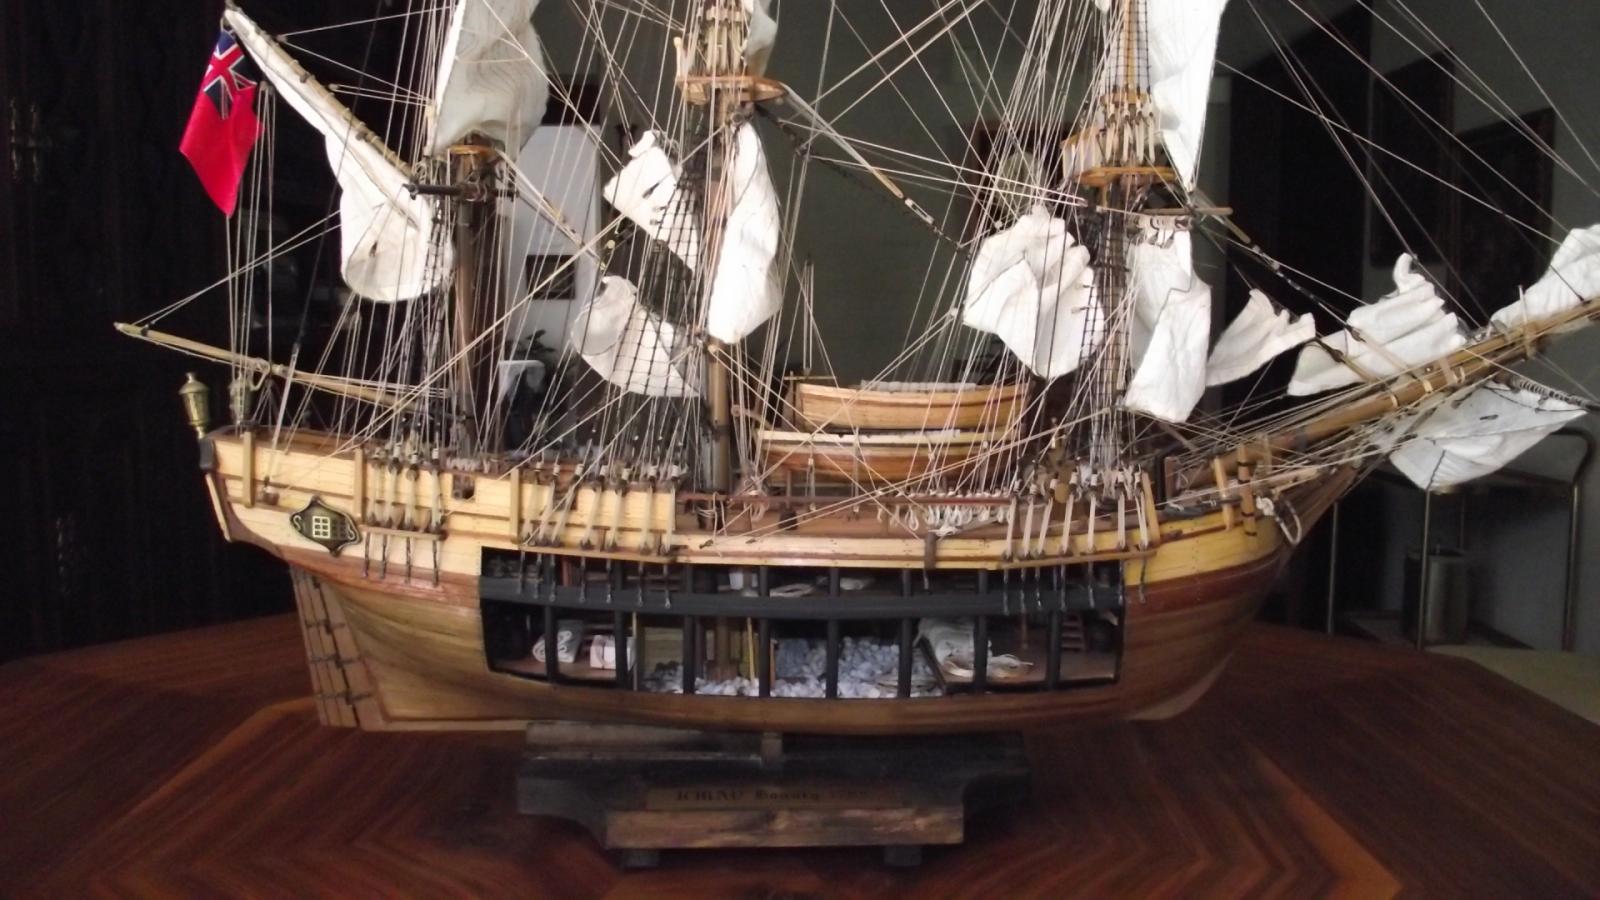

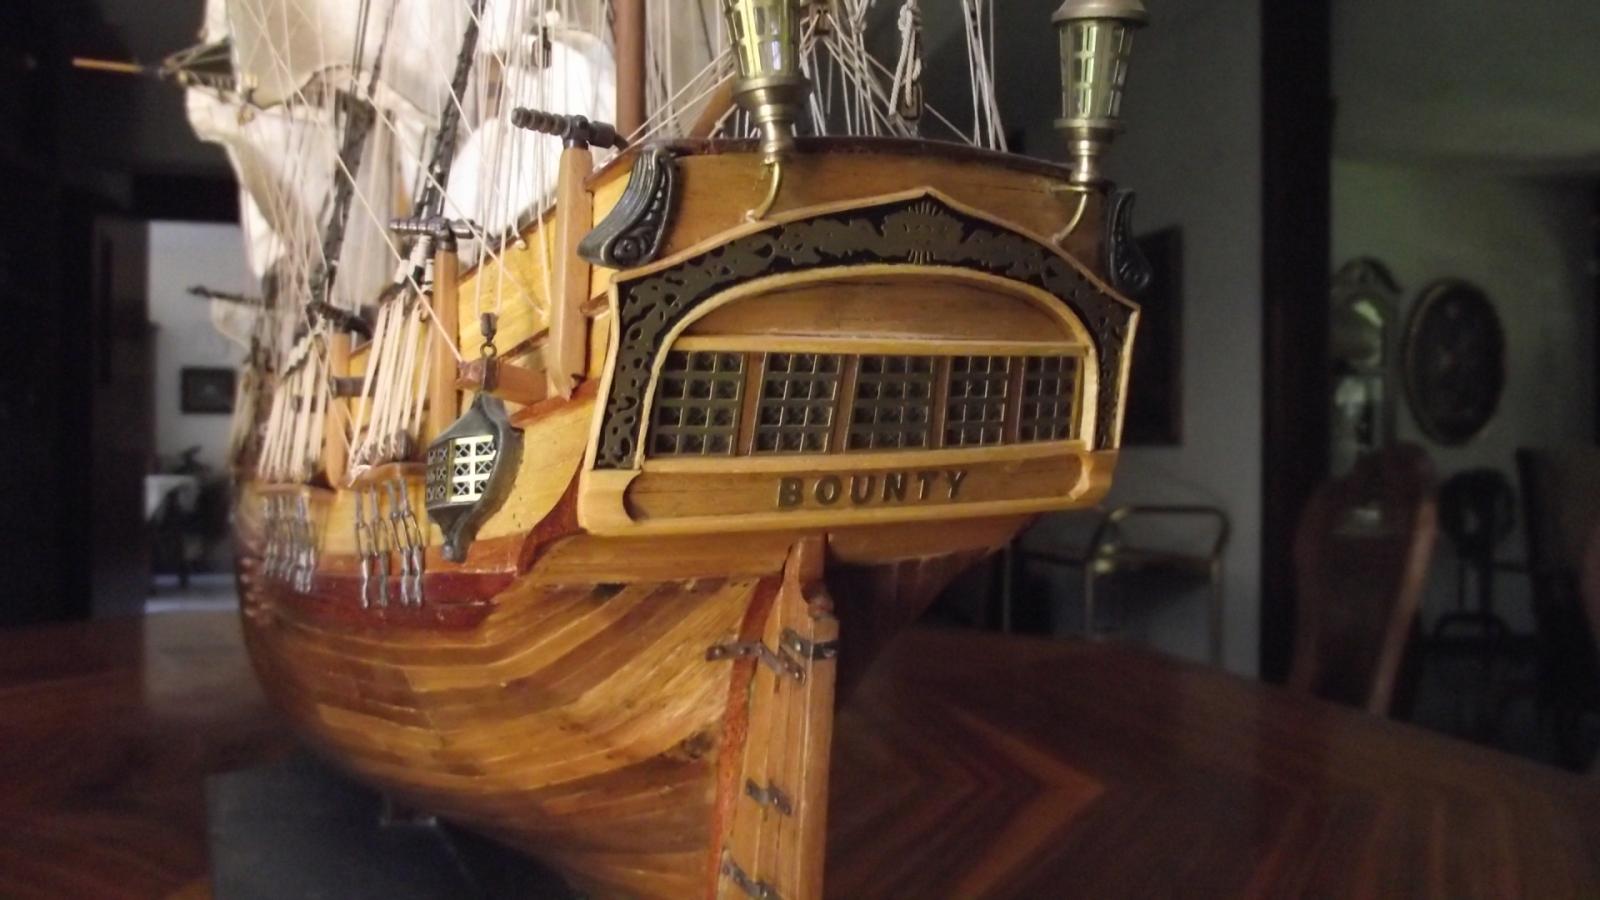
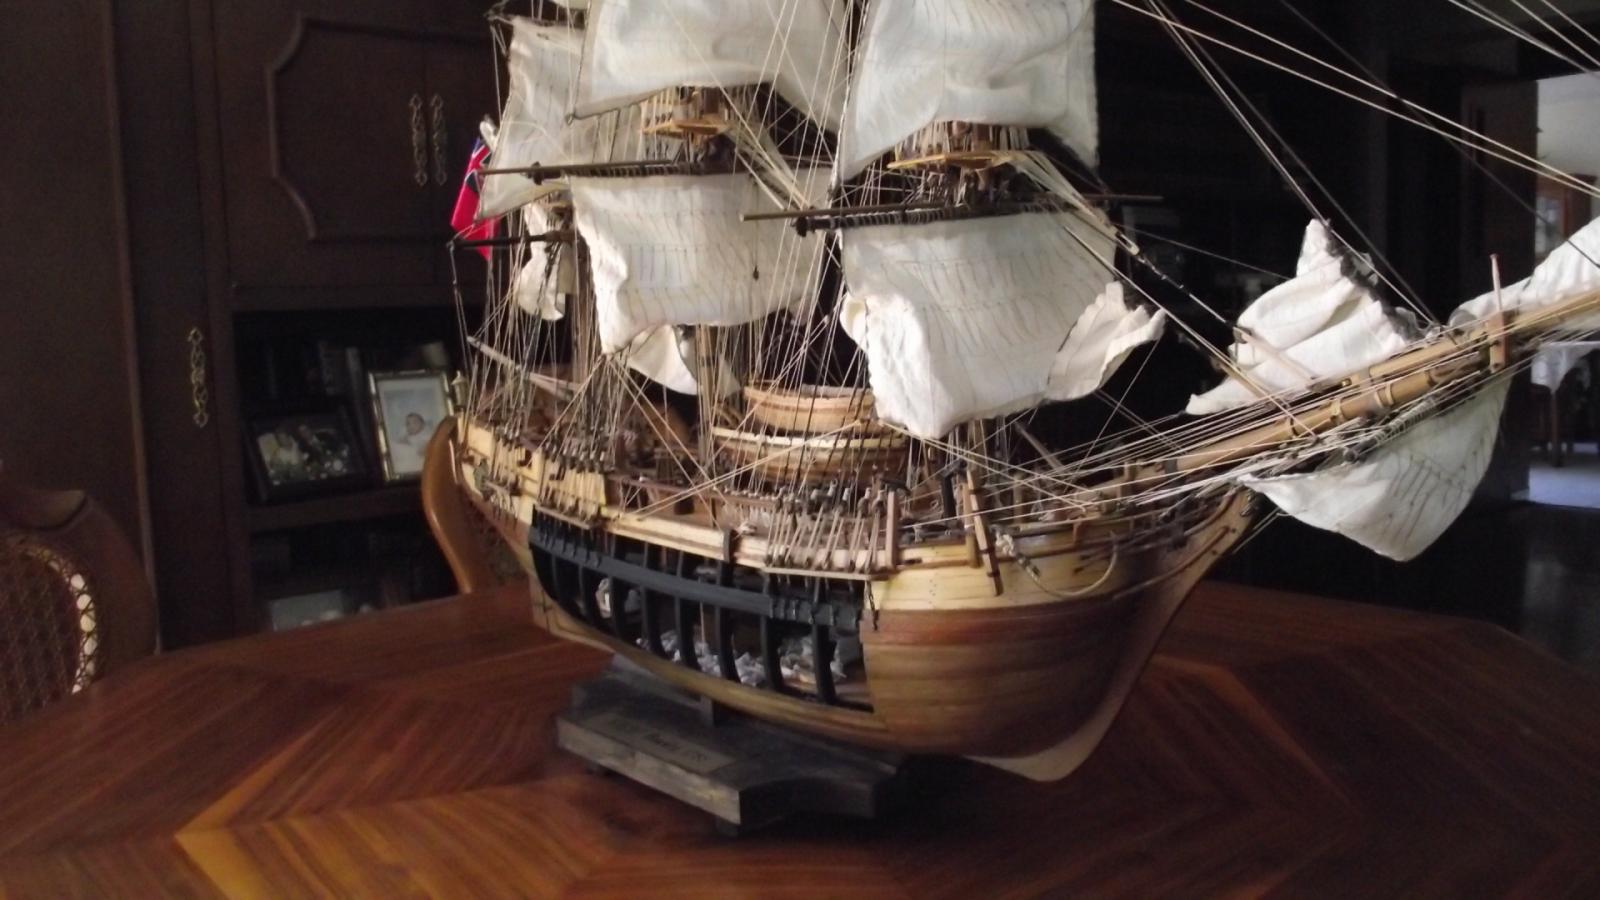


Royal Louis 1780 by Ulises Victoria - FINISHED - Mamoli - Scale 1/90 - French 126-gun ship
in - Kit build logs for subjects built from 1751 - 1800
Posted · Edited by Ulises Victoria
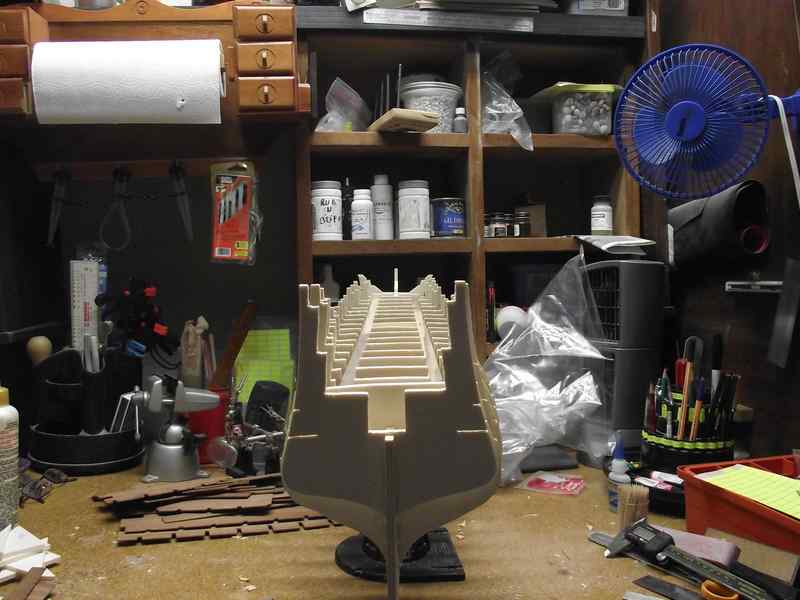
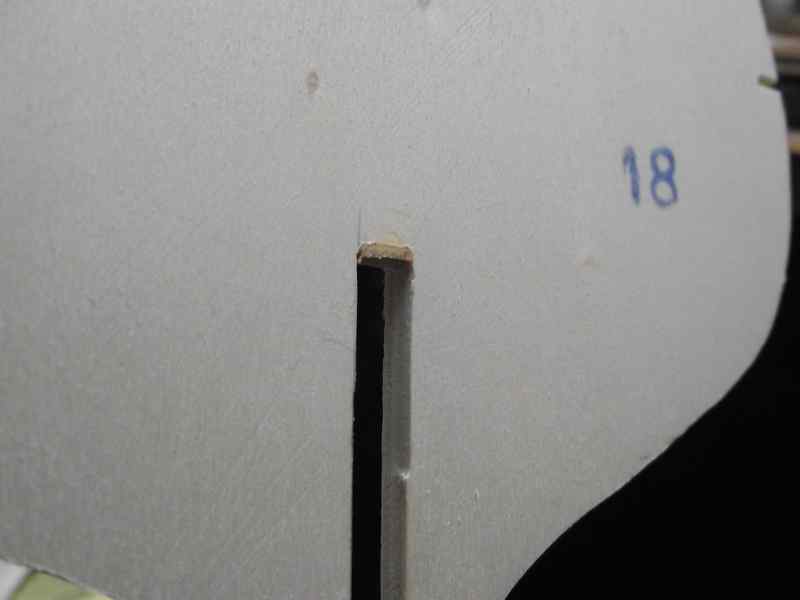
Update april 18
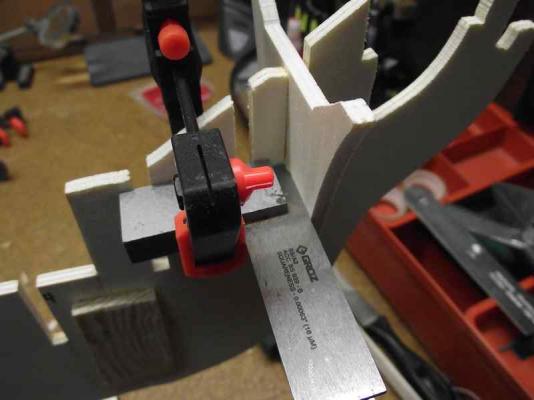
Cutting 68mm planks
First batch of deck blanks for testing.
A little sanding to planks sides
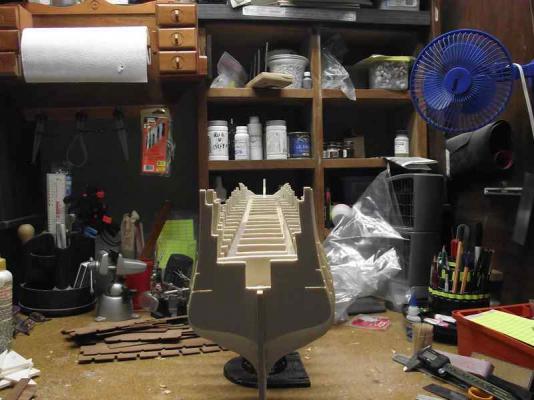
False gun decks installed, glued and nailed
Test run of planking. I know this doesn't look good. I am using leftover planks from other previous builds to test different methods of caulking. Two black smears in the middle is where bowsprit and fore mast holes are located. No wood from the kit has been used yet in this step. This area will be covered by an upper deck, so it will be almost invisible. The area to the right, which starts looking better, is the area that will be seen after the decks are done. Sanding and finishing will make this look better.