HOLIDAY DONATION DRIVE - SUPPORT MSW - DO YOUR PART TO KEEP THIS GREAT FORUM GOING! (Only 20 donations so far - C'mon guys!)
×


Ulises Victoria
-
Posts
1,790 -
Joined
-
Last visited
Content Type
Profiles
Forums
Gallery
Events
Everything posted by Ulises Victoria
-
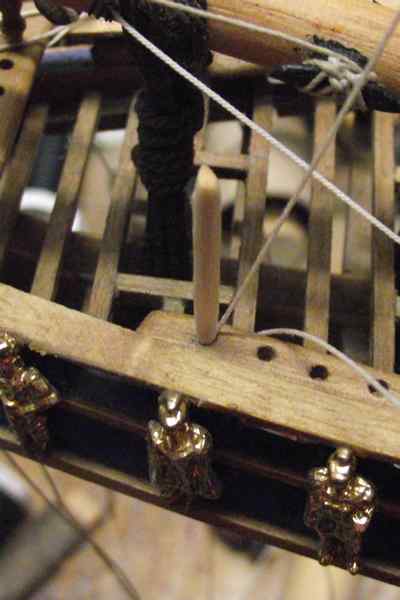
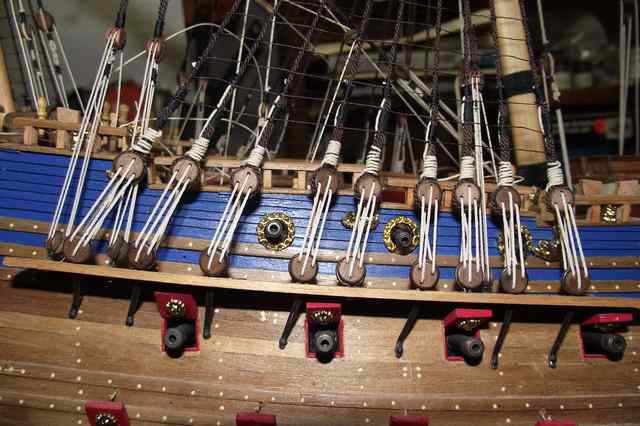
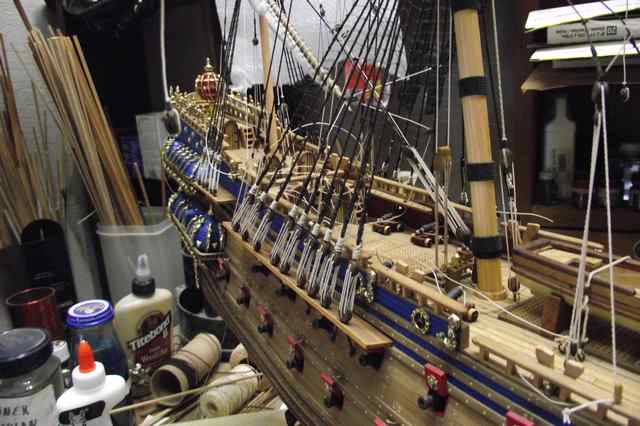
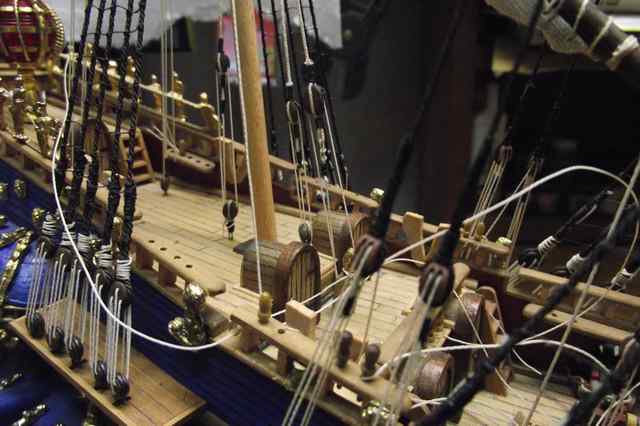
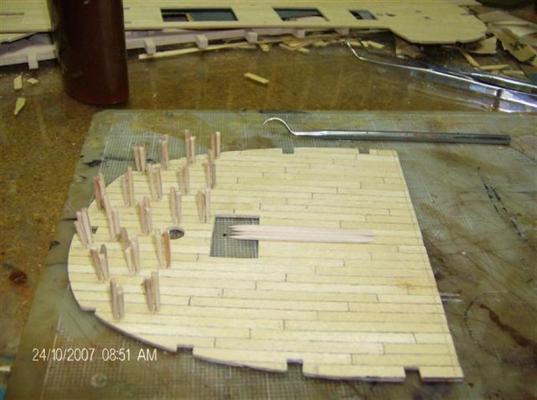
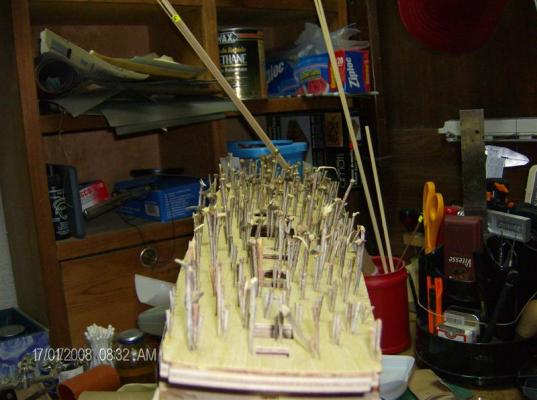
 ROUND TOOTH PICKS (Yet one more use) As "plugs" to temporarily fix the line in their belaying pin holes, while making adjustments and making sure everything is as it should be. I use these instead of the actual belaying pins as these are easier to handle, and if one is lost, it really doesn't matter. Once I'm sure everything is OK I glue the definitive pin in the hole, and add the coil. Photos of this last step later.
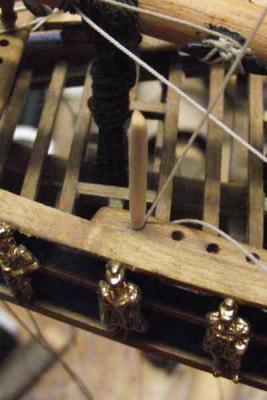
- 396 replies
-
- 7
-

-
- Idea
- Bright Idea
- (and 1 more)
-
Very nicely done Matti. Your work is an inspiration. I hope I will be able to copy some of your procedures in my next build. Sincerely Ulises
-
Nice update Viv! Your planking looks very well done, both hull and decks. Keep on it!
-
WOW Viv! ...hats off! You made a lot of modifications any beginner wouldn't dream to do!!! And what I like the most is your attitude of "I didn't do this just because I didn't like it." That shows that you put your own personality in your builds. I can see a Master builder to emerge here soon!!! My congratulations!
- 188 replies
-
- 1
-
-
- latin caravel
- artesania latina
- (and 1 more)
-
BEESWAX FOR SHIP MODEL RIGGING
Ulises Victoria replied to vas1949's topic in Masting, rigging and sails
Amazon has it. http://www.amazon.com/s/ref=nb_sb_ss_c_0_13?url=search-alias%3Darts-crafts&field-keywords=thread%20heaven&sprefix=thread+heaven%2Caps%2C262 -
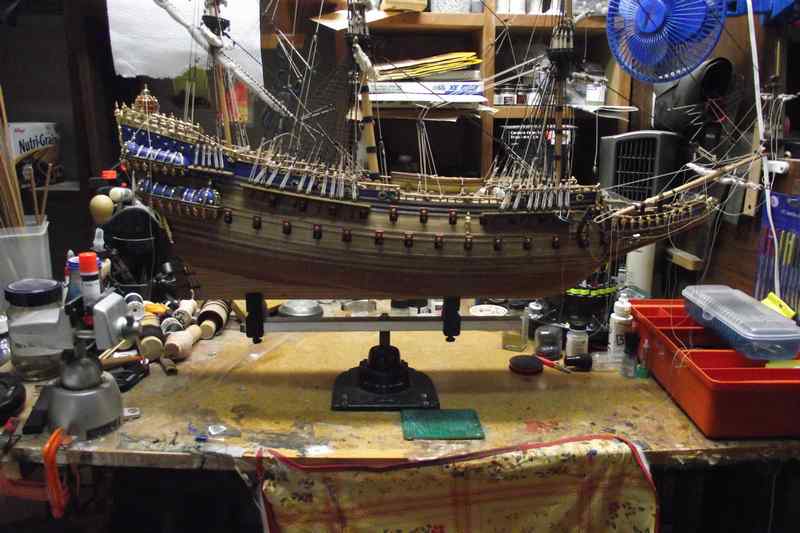
I couldn't help it but to be a bit embarrassed by Sjors' remark. So here is a photo of my bench after a bit of clean-up. I bought new tools this weekend so I thought that a clean bench and new tools would be better to start the last phase (running rigging) of my Vasa. (Before and after photos)


-
BEESWAX FOR SHIP MODEL RIGGING
Ulises Victoria replied to vas1949's topic in Masting, rigging and sails
Like everything else. Key word here is "Quick" -
BEESWAX FOR SHIP MODEL RIGGING
Ulises Victoria replied to vas1949's topic in Masting, rigging and sails
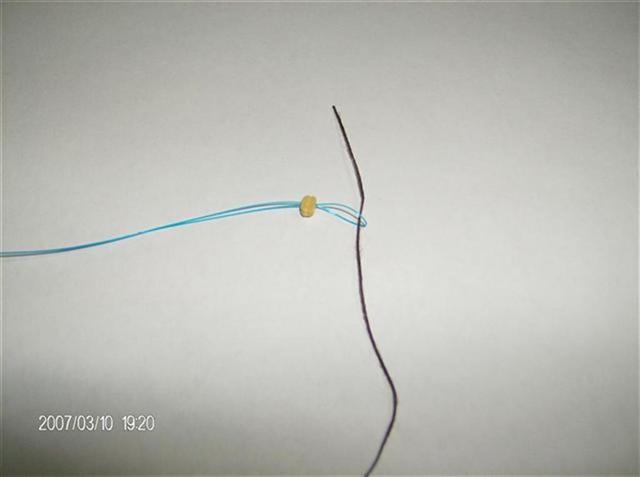
(Big smile: ...) however: Running the line over beeswax does not "eliminate" fuzz on it, just hides it. To really eliminate the fuzz, I clip one end of the line in a small clamp permanently fixed on my bench and while holding the other end with my fingers, run a really quick pass of a lighter flame over it. Every single line that goes on my ship, receives this treatment. Just another option. -
Thank you for sharing, Viv. Great video.
-
Passing ropes through blocks.
Ulises Victoria replied to Romanov's topic in Modeling tools and Workshop Equipment
My dental thingies have worked for me 98 times out of 100. Of course, no tool can do everything! -
Hehe...this is the kind of encouragement I need. Mil Gracias!
-
Passing ropes through blocks.
Ulises Victoria replied to Romanov's topic in Modeling tools and Workshop Equipment
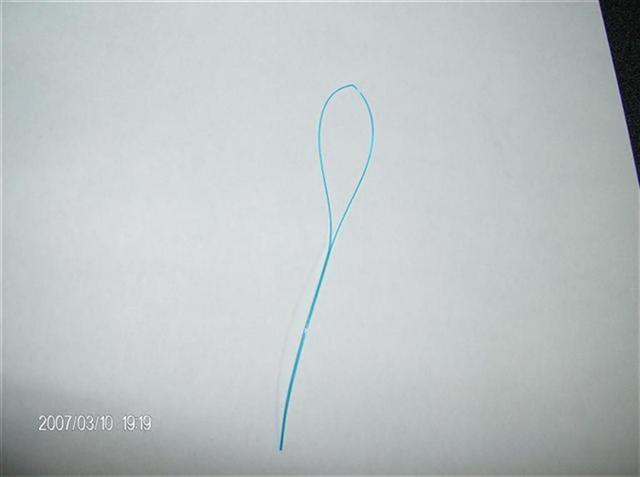
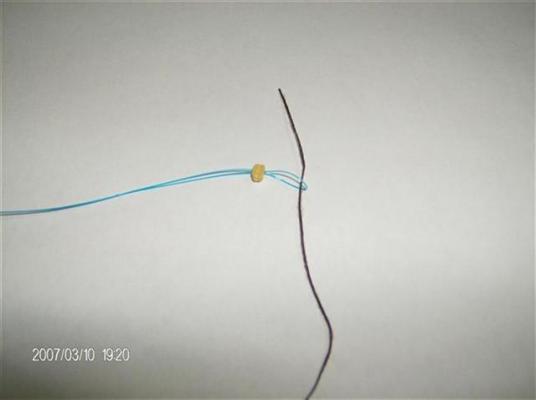
You can buy these things for pennies at any department store Walmart, Target, etc) These are used by people with dental braces to pass dental floss through them. Long flexible stem, really wide eye and super resistant. I bought a bunch of these about 6-7 years ago and still have plenty.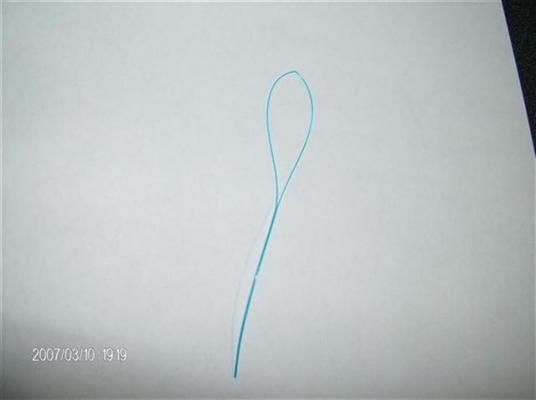
-
LOL: If there is one thing I am bad at, is to keep my workspace clean and organized. I've been like that all my life. I doubt I will ever change. Take into account that what you see in the photos is just about ALL the room I have to build. That is a blanket closet, so I have everything cramped in a small space. :mellow: Forget about power tools bigger than a Dremel. The tip about taking photos in a "clean" environment is totally valid, though. I will take it into account my next photo sessions. Thank you for your input!
-
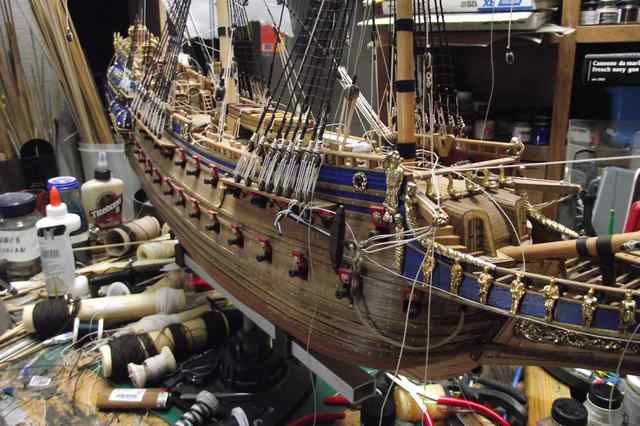
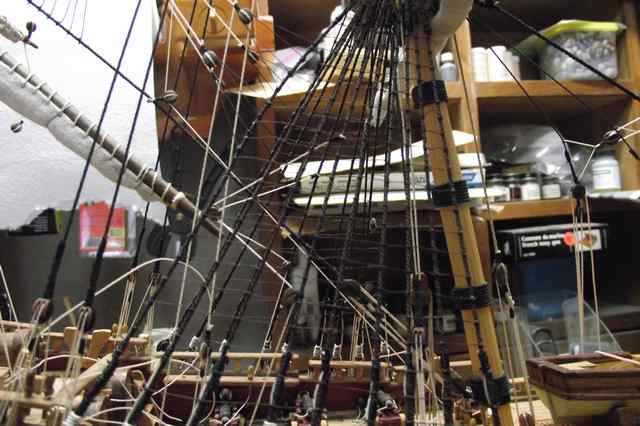
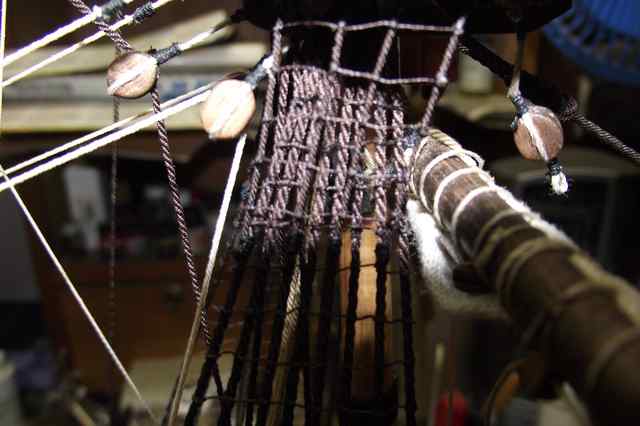
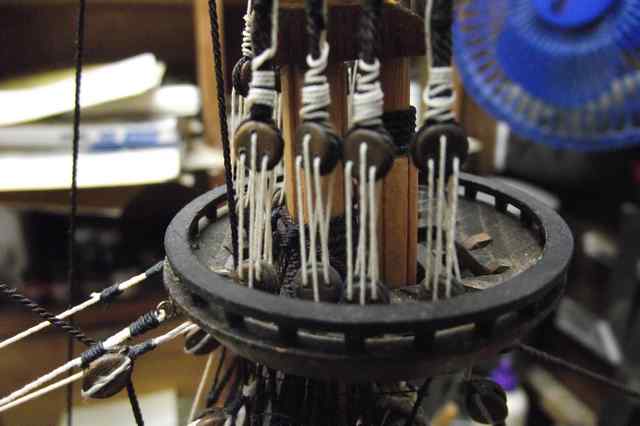
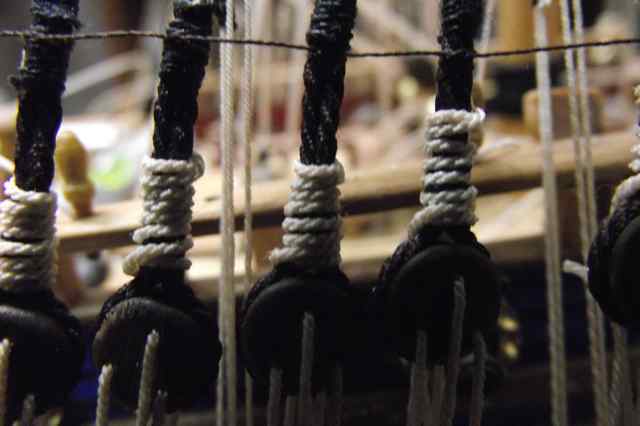
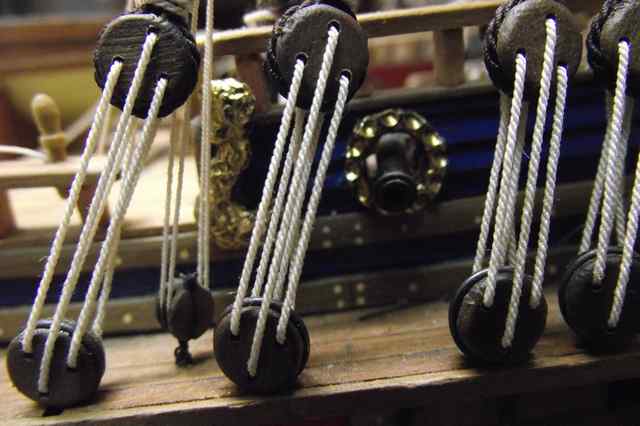
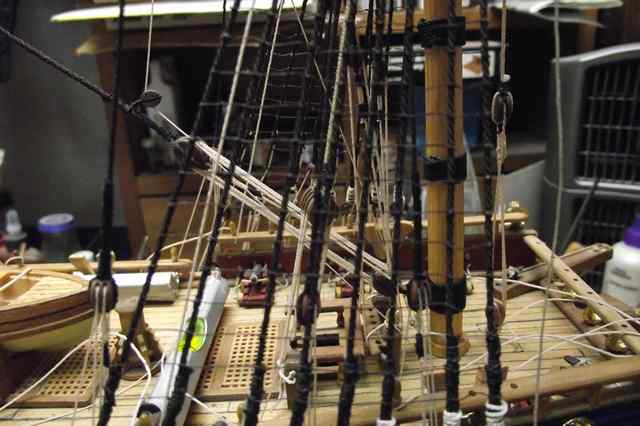
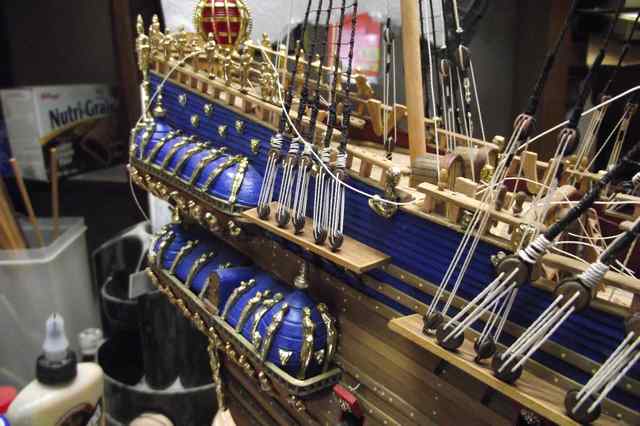
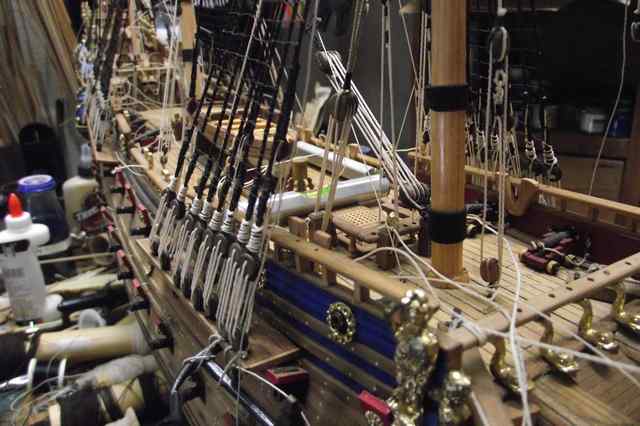
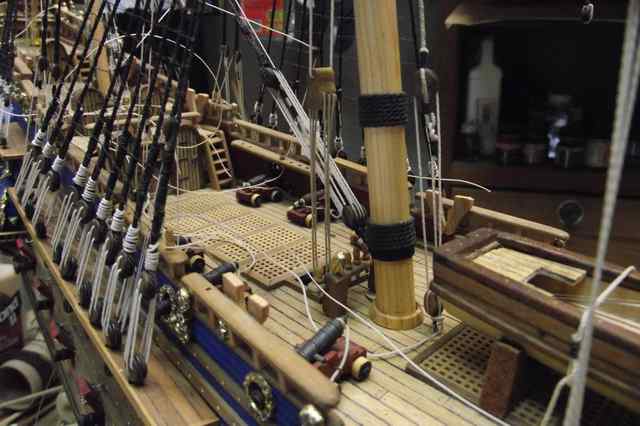
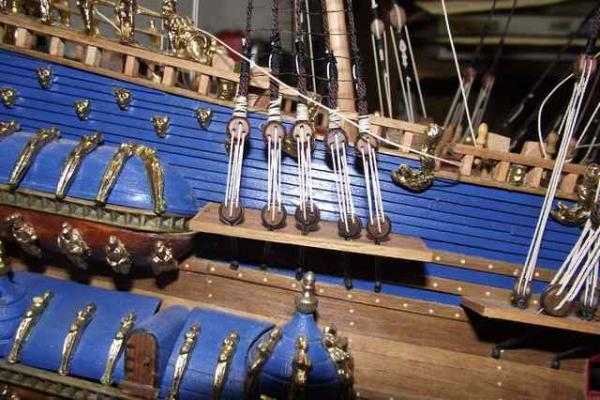
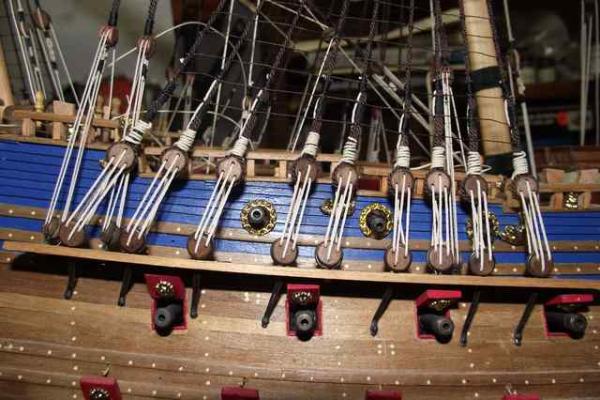
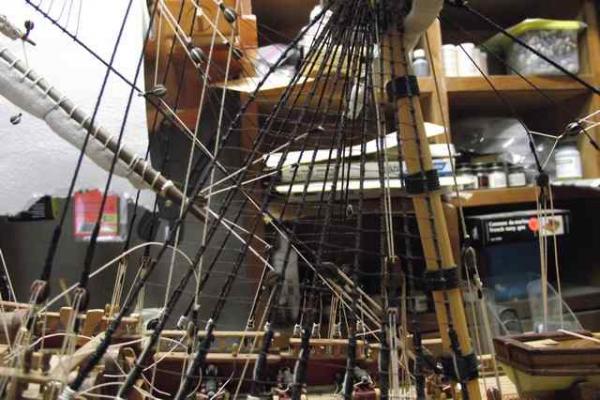
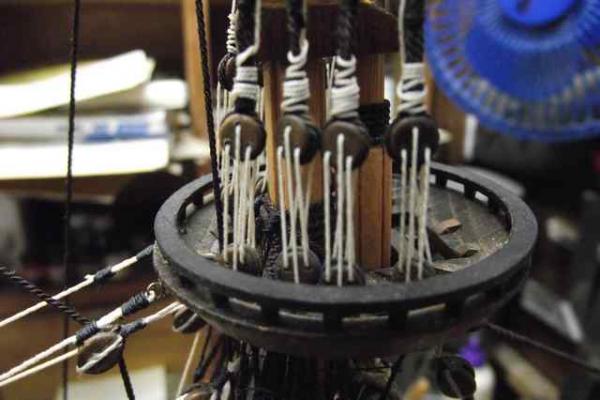
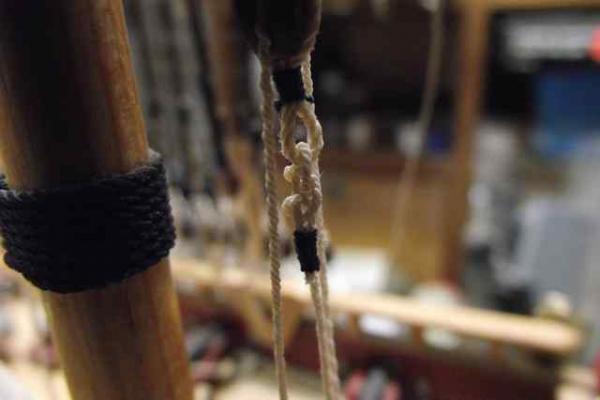
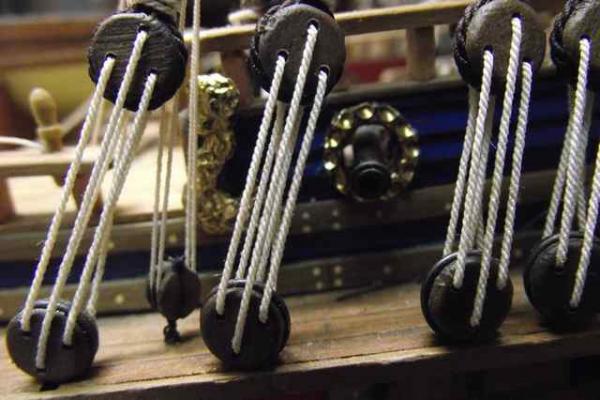
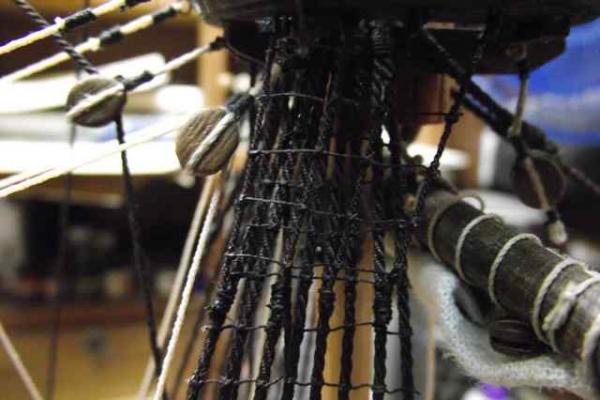
Update Feb/12/2014 Today, at 9:52 AM I tied the last of the clove hitches that form my Vasa's shrouds and ratlines. This may mean nothing to you, but to me it marks the finish of the standing rigging in my ship, (buh-bye ratlines tying.See you again in my Royal Louis, a few years from now. ) I'm including some photos. If you notice some loose lines laying around, it's OK. They will be properly trimmed when the time comes. Comments, critiques and anything else you may write: Welcome!!!


-
Happy BD, Kim. Hey! We have not seen any updates or posts from you in a long time. Hope everything is alright. Best wishes Ulises
- 118 replies
-
- 1
-
-
- jolly roger
- lindberg
- (and 2 more)
-
Hey Viv. Nice kit!!! I will follow it closely. My favorite part of building a ship, is the very beginning...
-
Hello. Not sure if you are aware of this, but the book "The Period Ship Handbook" by Keith Julier, ISBN 1 55750 678-7 Naval Institute Press, features a full chapter (Chapter 4, 35 pages long with plenty of text and photos) to the building of the Euromodel kit of the Royal William. Just for your information. Hope this helps.
-
Hey Viv: To further help you in your quest to become a better builder, I suggest you look for and buy the book " Ship Modeling Simplified" by Frank Mastini I think this is a MUST have for any beginner shipmodeler.
- 188 replies
-
- 1
-
-
- latin caravel
- artesania latina
- (and 1 more)
-
Hello Jimmy Do the easier and less attractive first. That way, you will learn as you go and if you spoil something, it will not hurt that much. You will get how to do things to apply to your harder and better model. I an Not familiar with the San Martin, but I would bet that it is a simpler kit than a Victory. Greetings
-
Looking good, Karl. Nice planking job. Keep on it. Saludos!
-
There is also a Corel kit in 1/98. Sorry I am not familiar with the other kits.
-
Hello. Go here and look for my article "Simple butt-shift deck planking" It seems to have helped some people to do a proper planking job. http://modelshipworldforum.com/ship-model-framing-and-planking-articles.php Hope this helps.
-
I have to say it one more time, Viv. Your build came up at a level very rarely attained at the first or second attempt. My first attempt at wood building was an embarrassing disaster. And those photos you took as if taken at deck level look really good. Very realistic. And sails are not an easy part to do. Yours look very well done! Mil Felicidades, linda!!!
- 188 replies
-
- 2
-
-
- latin caravel
- artesania latina
- (and 1 more)
-
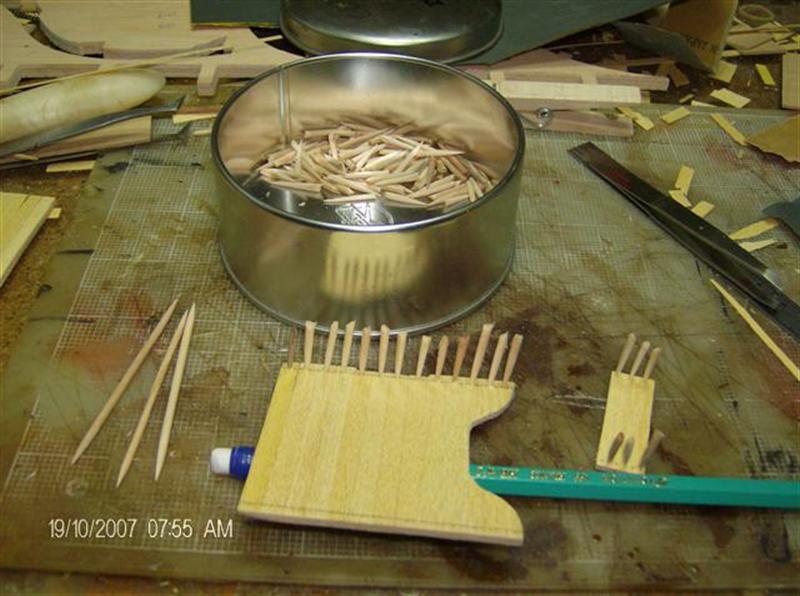
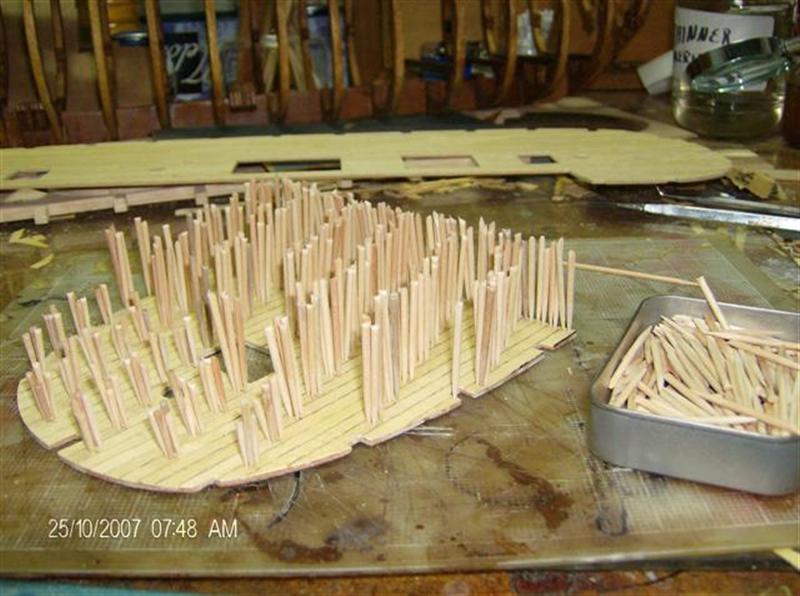
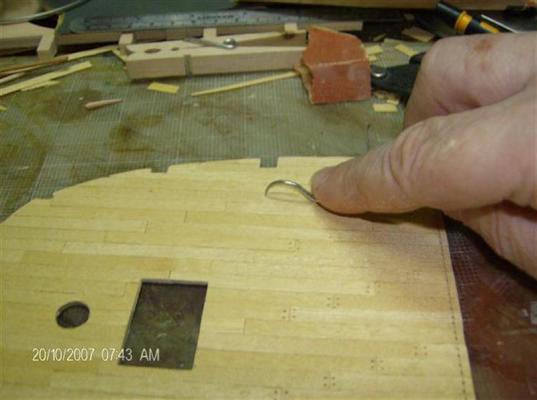
ROUND TOOTHPICKS (AGAIN): To simulate treenails. 1- Cut a bunch (big bunch) of round toothpicks in half. 2- Drill the hole in your deck or hull of the desired size. 3- Dip one point of one of your half toothpicks in full strength wood glue. 4.- Stick it in the hole and let dry. 5- Cut using a toe nail clipper or similar utensil. A nail clipper is better because it has a straight edge and both edges come to close at the same level. Unlike scissors which overlap the cutting edges and put more tension on the object being cut. This 'may' tear the toothpick out of place. 6- Sand until flush. 7- Apply your favorite finish. Sometimes is better if the treenails do not stand out too much, so I prefer not to stain the toothpicks. When you apply your finish, the treenails and the surrounded wood, being different, will assimilate the finish differently and provide a nice smooth contrast.


- 396 replies
-
- 3
-
-
- Idea
- Bright Idea
- (and 1 more)
-
Excellent work, Viv. You are definitely growing in this hobby. And very nice photos also. Felicidades!!!
- 188 replies
-
- 1
-
-
- latin caravel
- artesania latina
- (and 1 more)