-
Posts
2,589 -
Joined
-
Last visited
Content Type
Profiles
Forums
Gallery
Events
Posts posted by AON
-
-
Tuesday 04 November 2014
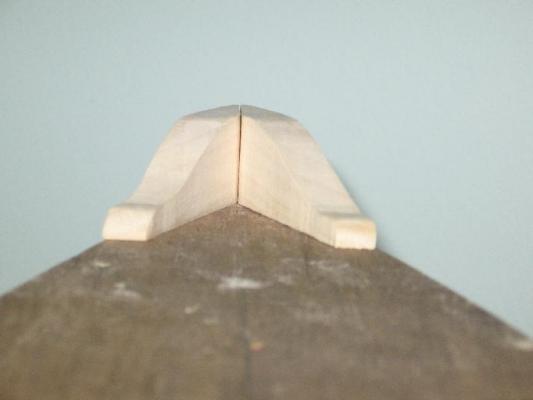
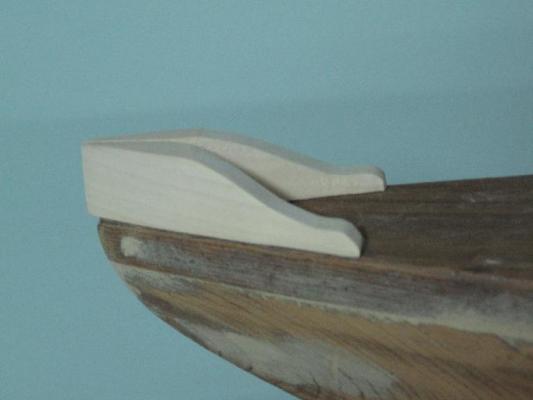
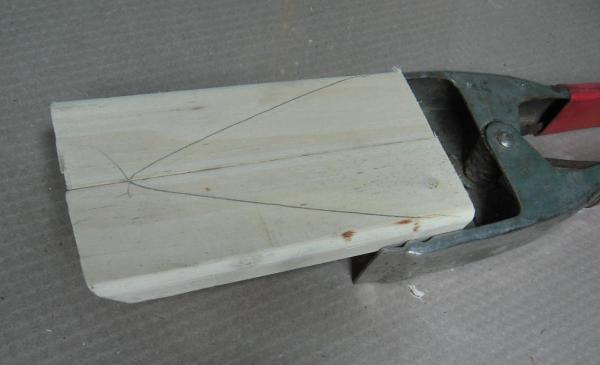
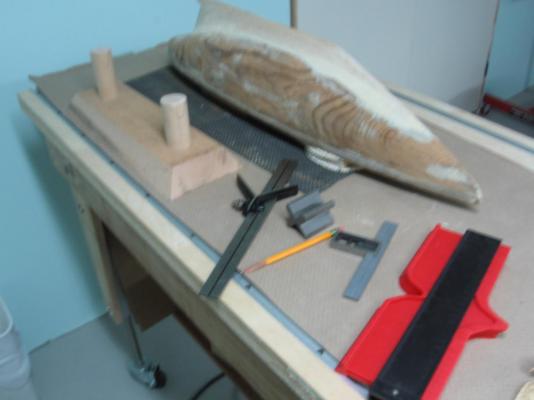
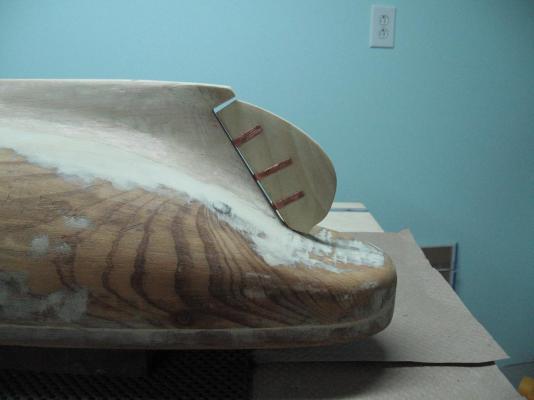
cut the shape with my scroll saw
lightly sanded
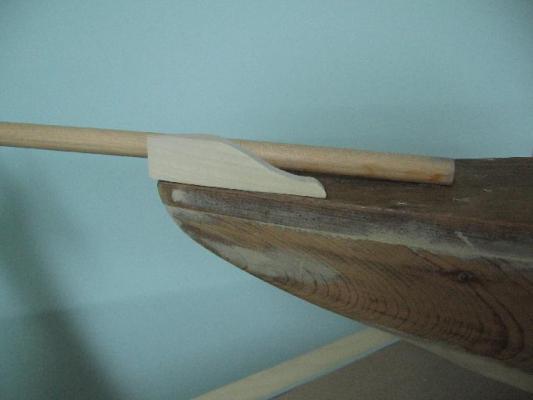
needs more shaping and a clearance hole for the bowsprit but here is the idea
by my calculations the bowsprit should be approximately 0.4666" dia and 4-1/2' extension beyond the bow
the dowel is 7/16" dia = 0.4375"
PS: forgot to mention the warts... I cut one piece backwards and had to start it all over
-
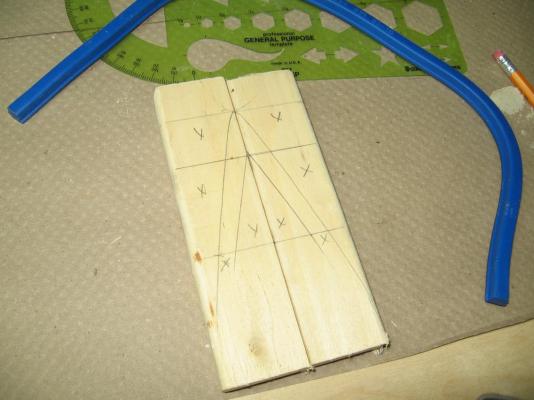
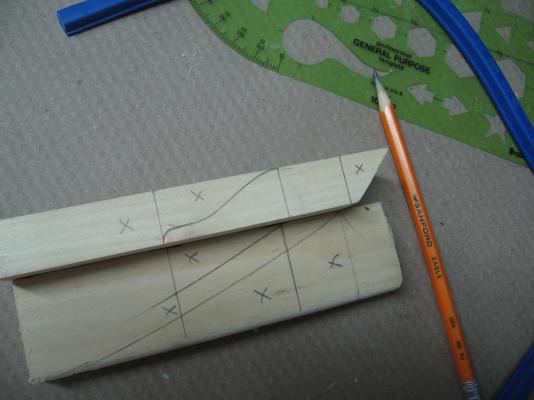
Had some time to kill this morning before I go to the doctor's office to get my flu shot so completed the outine on the addition for the bow and took some photos.
I will cut it out tonight or tomorrow and will scallop it to suit the bowsprit when that item is ready.
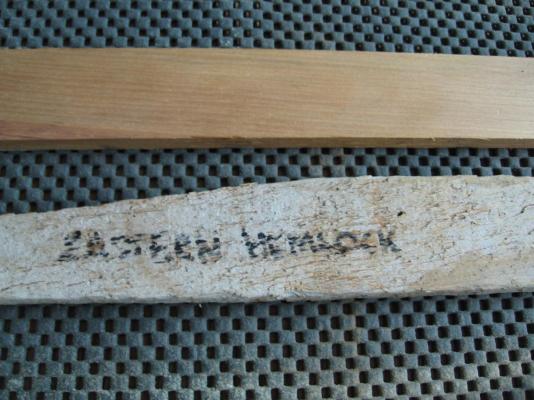
I also took a photo of the lathing material before and after planing so you can see what was revealed under 100 years of hanging on a wall under plaster.
-
16 sided figure is a hexadecagon
(Google is a wonderful tool)
-
If you could only hear me laughing ... you nailed me perfectly!
Problem is, usually my plans make perfectly good sense in my head but somehow don't always follow my plan in real life.
As Druxey would say, make sure your carving Knife/Chisel have a really good edge before you begin
It makes a world of difference.
-
Monday 03 November 2014
Completed drilling all the stanchions
Had to scrap five halves as the holes were too close to the edge
Flattened new pieces and will drill them tonight.
Also started on a bow gunwhale/combing to assist in holding the bowsprit in place
Not much to look at/show as yet. Just traced the outline onto scraps of maple.
Developing my plan of attack in my minds eye.
Also
The plaster wall lath my son is tearing out of his home was thought to be ash but in fact it has been found to be eastern hemlock.
I passed a short piece through my planer and edger last night and I am left with a beautiful finished piece 0.32" thick (8.1mm) x 1.37" wide (35mm)
It has got me as excited as the oak base had.
I think I'm in love.

I'll be grabbing more of this from his wood pile before he burns it all!
-
-
I'll be watching also!
I know just how disruptive any move can be.
I am just getting use to where all my toys... I mean tools are stashed now
-
Sunday 02 November 2014
Managed to get all stanchions (and a few spares) ready to be drilled through.
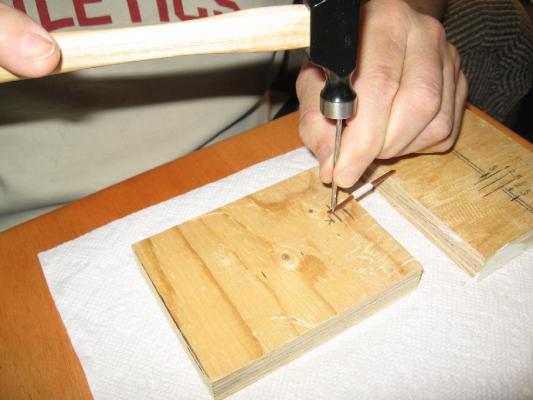
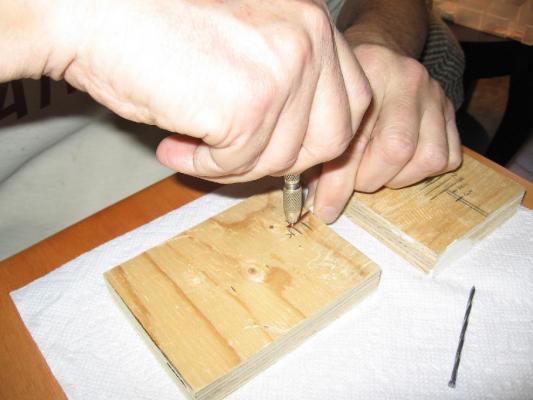
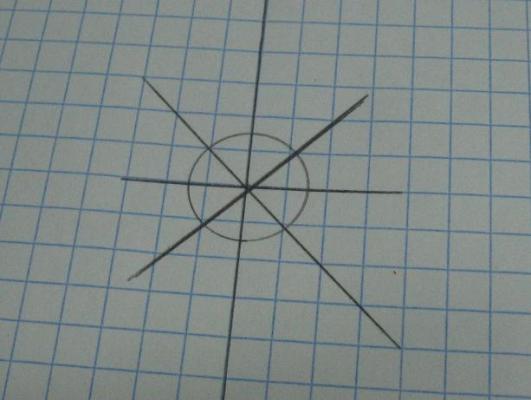
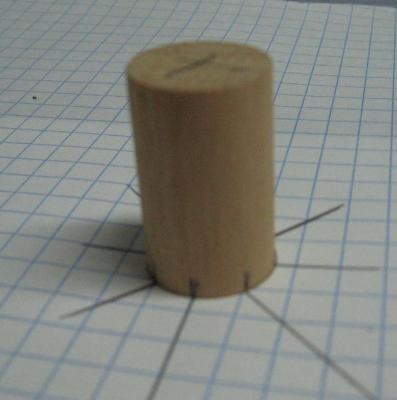
First I punch marked the hole location with a nail I ground a sharp point on.
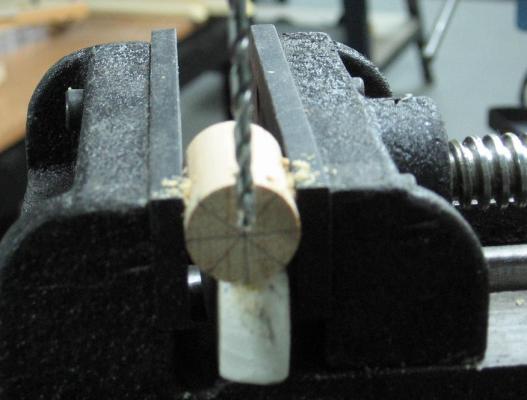
Then I drilled a dimple into the stanchion with a #66 bit in a pin vise so that when I go at it with my dremel the bit will not wander.
I will start drilling them all through tomorrow night.
-
Thank you!
I was very concerned with the possibility of having taken too much off one side when shaping or ending up with a wiggly snake like surface.
It is not "perfect" but I believe it is because I know where the "issues" are.
I dare not shape it any further or my concerns will come true.
Stripped the jackets off the ends of the wires last night for the stanchions.
Going to clamp the flats, drill the holes, shape the tops and cut into two pieces today.
Thinking ahead to the rest of the deck and bowsprit.
-
Saturday 01 November 2014
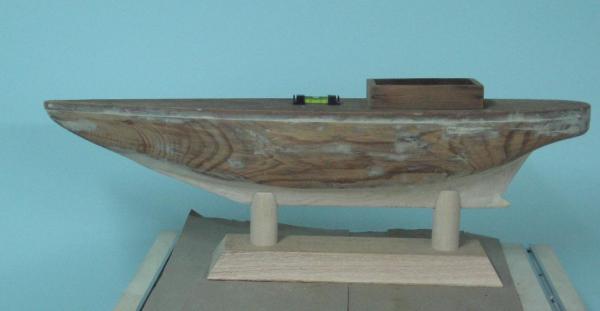
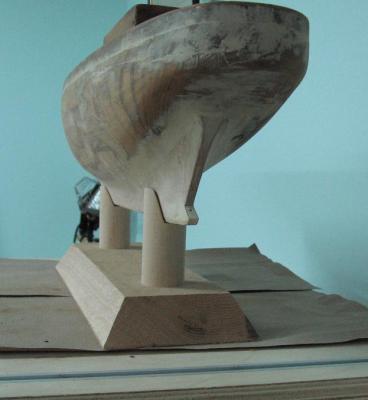
Completed the base also
Rough cut the vee notch with my bandsaw then rasped, filed and sanded
Had to cut 1/8" off the longer aft post to have her berth level
I have planed and sanded the base after these photos
nothing is glued as yet
The oak looks fantastic... I think I'll stain it and paint the posts white
Very sturdy!
I am happy with this.
-
SATURDAY 01 November 2014
HORRAY! I did it
I successfully repeated the stanchion drilling process
The problem was it needed parallel flats on both sides to lay steady
I removed the jaws from my vise and clamped flats on both sides at once
Flipped it over to do the other end as one wire is two stanchions when cut in half.
This time I used a #66 drill bit, slightly smaller
I think I will only put in two handrail wires as three looks to be too busy
-
Thank you Bob
My first (and successful) attempt was done with the drill twist on both bits exposed completely (full length)
My second (failed) attempt was similar
All successive trials were choked up as short as possible to minimize the buckling effect on the tiny thin column (drill) as I figured as you suggested it might give me more control.
Darn thing skips away on me!
My flattened surface isn't flat enough?
My guide dimple isn't deep enough?
I am not steady enough?
I am going to give it another go this weekend.
Make sure I am well rested and take my time.
Hope to have it mastered... must practise some mental Yoga before!
-
Good morning Druxey
YUP... you are absolutely correct (as usual
 )... it has to do with the round stock and a wandering bit.
I need a good flat surface and managed to accomplish it the very first time and since have not replicated it.
I am not prepared to throw in the towel just yet and purchase square stock... I'll give it another go
I did try my son's plunge mill bit and it might work if I managed an X-Y-Z clamping rig... Otherwise it does not work for me
Possibly my speed was wrong too?
I'll have to get my son more involved before I scrap this idea.... he seems to love a challenge
Thursday 31 October 2014
Had a clear vision of the "simple" crutch mounting base and decided to get-er done
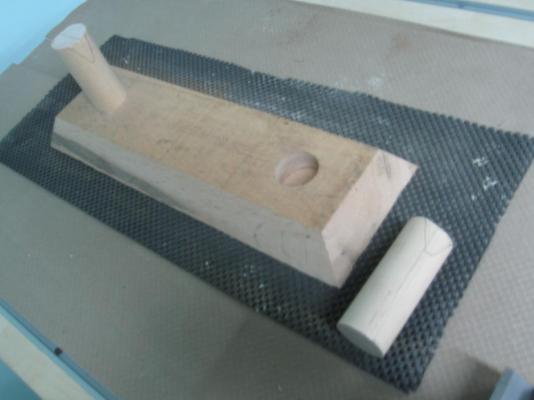
- I took a piece of heavy hard and weathered shipping skid stock (1-1/2" x 5" oak) and cut it to 16" length on the table saw
- bevel cut all four edges at 30°
- used a 1-1/2" brad point bit to drill blind holes (1" depth) for the 1-1/2" maple dowels
- copied the skeg shape to the dowel to mount Charlie to it
I will yet need to:
- cut the sloped Vee notches in the dowels with my band saw
- shape to fit, radius the edges of the notch to make it look a little less harsh
- cut dowel lengths to suit to assure Charlie berths with a level deck
- mill the top and bottom of the base plate, radius the edges and then sand all surfaces
- glue the dowels to the base
-
Thank you for the words of encouragement Bob.
Haven't gotten anything done since last week. Popped my back out Saturday morning and made it back into work yesterday. Managed to survive the day and took the evening off.
I need to get my homework done for the sail making seminar on November 7th, 8th before I do anything else.
My son (the machinist) leant me a small plunge type mill bit to possibly machine some flats onto the wire using my drill press.
I am game to try anything once... or twice.... or....
-
I have had a nail pusher for finishing nails and used it around the house for years
Mine looks more like the second one
The nail loads inside the barrel... but I wish the pusher was magnetised to hold the nail in place... the barrel would need to be a different material (300 series stainless steel?)
If I don't get it up to the wood carefully it slides out (I plug the end of the barrel with my finger)
I like it because it can be a pain holding a small finishing nail and trying to tap it with a small finishing hammer... tweezers or no tweezers... I use to use needle nose pliers to hold the nail
-
Wednesday 22 Oct 2014
Because of my problems experienced with the stanchions I spoke to a working associate in our shop and he lent me a pin vise that I could put in my drill press chuck to possibly keep the drill steady (half the problem)... but I was too busy with other things in the evening to try it out
Thursday 23 Oct 2014
Continuing to have trouble with the stanchions.....
I took a long finishing nail and ground a very fine point on it to try and mark the drill spot better prior to hand dimpling the spot with a pin vise
I had the drill press belts adjusted to 600 rpm where as my dremel operates at about 1000+ rpm at its slowest speed
The pin vise mounted in the drill press chuck was of no use as it spun off centre (wobbly)
I also cannot seem to keep the copper wire steady (presently holding (clamping) it down to the board with my finger)
I need to have a better way to hold the wire down and steady and also hold the drill steady
Tried a piece of wood dowel as opposed to the copper wire and it seemed easier but was not as good looking (to me) as the wire was
I ask myself: Why was the very first attempt so easy and now so difficult?
-
I have found the following charts quite useful over the years and so thought I'd share them
below are links to three charts
DRILL SIZES
http://www.accuratebushing.com/pdf/ENG-FractionalChart.pdf
AWG (WIRE GAUGE) SIZES
http://www.calmont.com/pdf/calmont-eng-wire-gauge.pdf
STEEL WIRE & SHEET METAL GAUGE SIZES
http://www.mesteel.com/cgi-bin/w3-msql/goto.htm?url=/info/carbon/thickness.htm
-
Tuesday 21 October 2014
Drilled ships wheel spoke holes in a new length of 7/8" dia doweling
It may seem silly increasing the size 1/8th of a inch but I think it will look better
I also decreased the size of the spoke holes so the spokes will be thinner than the outside wheel handles that will be separate add on pieces
I have ordered a 14 (dia) x 17 (dist between ctrs) wood turning lathe and will wait for it to finish this piece along with any tapering of masts and spars ( www. general.ca - model 25-114QC MI variable speed (250 to 3600 rpm)
It will take up to 2 weeks to arrive
I also ordered the 40" extension, 4 jaw scroll chuck, and set of mini chisels
This should complete my workshop.
I think my glorious tool buying days may really be over this time
Having some issues with the stanchions
It is quite difficult drilling the holes in the wire and keeping them properly aligned. The wire also curls out of straightness ... not the end of the world as this can be rolled back to be straight but if the handrail wires are not aligned I am concerned it will present very poorly.
Haven't given up yet as I like the "bling" factor the copper wire will add but I have a plan B (wood dowelling)
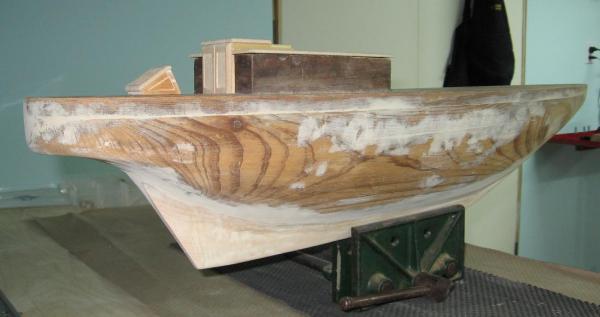
Completed the sanding of the hull and have started sanding the deck
I will need to add wood filler to cracks here also.
-
Monday 20 October 2014
Did more sanding and hopefully a final spot application of wood filler
Will need a final sanding with progressively finer grit paper
The lower rudder mounting block is attached and I am happy with the look
Attempted the ships wheel
Created a template to mark the spoke locations and transferred the marks to 3/4" diameter dowel
The holes are located 1/8" in from the edge, half the thickness of the wheel (1/4")
Aligned the mark to the drill
Drilled four holes through for eight 1/8" diameter spokes
Not happy with this first attempt (threw it away)
Need holes to be smaller yet for smaller diameter spokes between the hub and outer wheel
The outer spoke grip will be thicker diameter and shaped a bit to look more realistic
Good news is I got the "go ahead" with the idea of painting!
Also asked about any name going onto the hull, as we are calling her Charlie should I apply it?
The answer was yes.
-
-
-
Sunday 19 October 2014
completed the second sanding
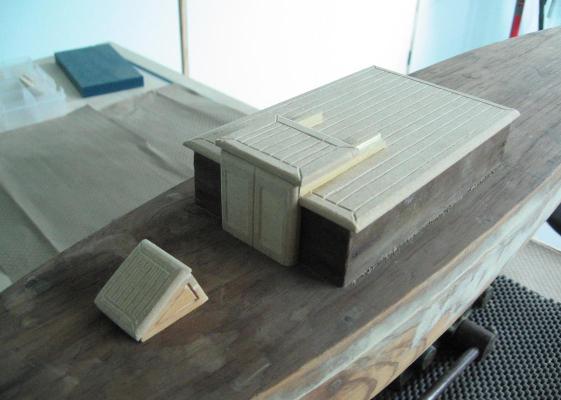
completed the wheelhouse, cabin roof and door
dry fit to the deck
did a test oak stain on a piece of scrap and did not like the results
glued the rudder lower block to the keel and will drill and pin it tomorrow
will start the stanchions and the ships wheel next
-
Saturday 18 October 2014
Completed the first sanding of the hull and fine tuning the shape and blend of the skeg to the hull
Re patched and will give it another sanding Sunday or Monday
Completed a trial stanchion with the 14 AWG wire and one out of three holes was good. The wire is too small for me to locate and drill properly and then too much material is removed so wire strength is compromised.
I've decided to stay with the 12 AWG wire and also calculated the spacing necessary for the handrails
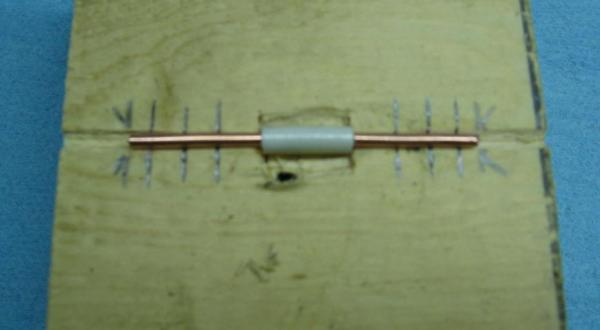
Made a jig out of scrap wood to allow me to stamp and drill the wire at a reasonable consistent location
The jig set up allows me to do two at once with one 2 inch long strand of wire
I'll cut them in two pieces when done
I also prepared 32 pieces of wire, 64 stanchions (a few extra)... so ready to start.
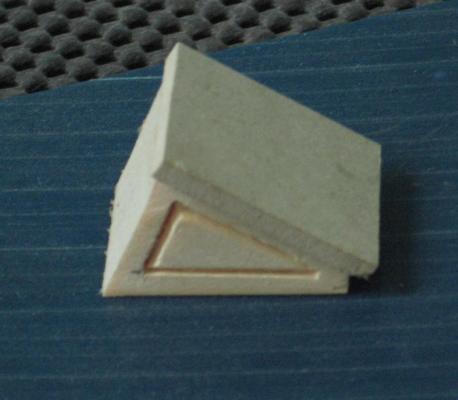
I made the wheelhouse. Took three attempts to get it right.
This needs to be gently sanded after I scrape the edges down a bit.
I am also working on the main cabin roof.
The edges have been given a radius and am presently carving in slat joints.
When done the whole thing will be roughed up a bit with sand paper
-
Friday 17 October 2014
Completed the third and last band for the rudder.
These need to be cleaned up a bit and nailed on but I won't be doing nailing for awhile for two reasons
1. my son has my propane torch nozzle so I cannot yet heat up the end of a length of wire to attempt to roll it over to create the button head of a nail.
2. due to the many colour tones on the hull I have my friend thinking about allowing me to paint the hull to make it look better. I would not want to fix any copper bits to her if I'll be painting
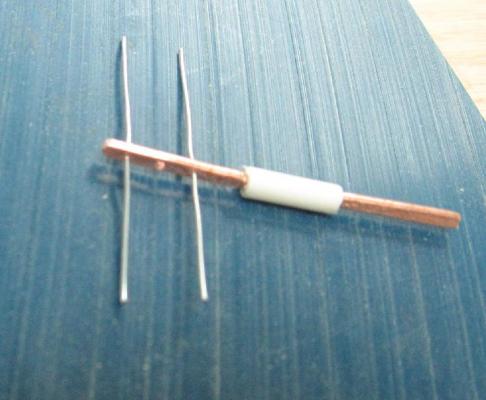
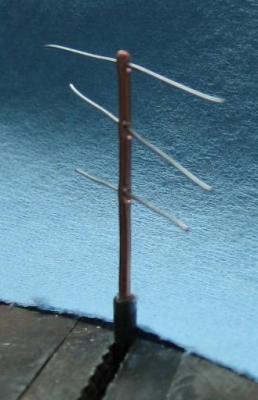
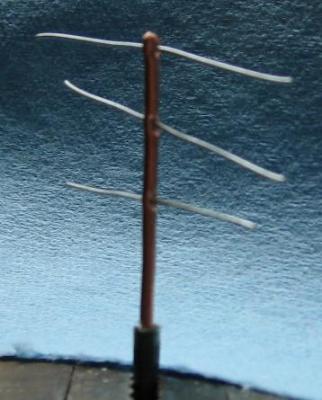
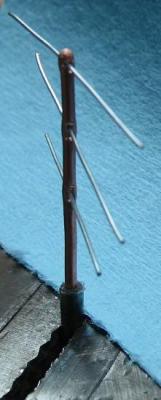
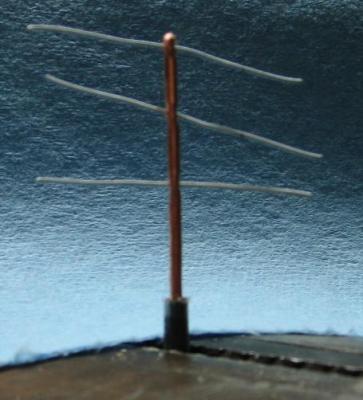
I attempted to create a handrail stanchion using 12AWG copper wire (0.0808" dia.).
Ratios of model to photo to actual Bluenose length suggested 18AWG wire (0.0403" dia) might be a better choice to simulate a 3" diameter stanchion but as this is my first attempt I thought I'd make it easier on me.
- I cut a length and bared a portion of the wire
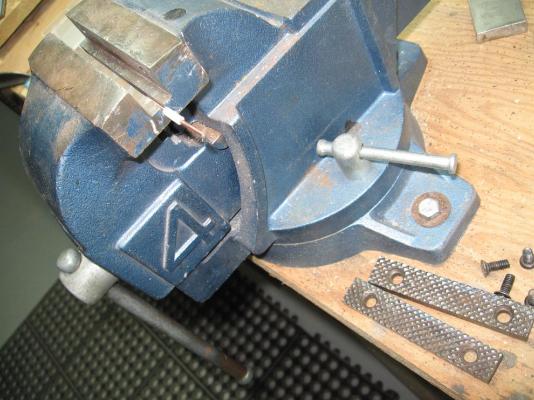
- I created a small flat on two opposite sides (if I can say that for a round wire) using a Robertson screw bit (the square one) and light taps with a small hammer
- using my pin vise and a #60 bit I created a dimple in the flat to drill a hole (keep the bit from wandering)
- using my dremel and a #59 bit I drilled holes through the wire
- I rounded the top of the stanchion off on my wet grinding wheel
- inserted short lengths of 22 gauge (hobby) Bright Wire to simulate the handrail cables
I think it looks fairly believable.
Now I need to calculate proper lengths and spacing and try it on 18AWG wire.
I also have determined Charlie is a bit shorter than the Bluenose so if I have trouble with the 18 ga wire I might stay with the 12 ga ... keeping my options open.



Review of the Admiralty Model Sail-making Workshop, NOTL
in Masting, rigging and sails
Posted
Good morning world
I am feeling exceptionally chipper this fine Sunday morning having spent two days attending the sail-making seminar held in historical Niagara on the Lake (a 34 minute drive for me).
What a fantastically wonderful experience! I am relatively new to all this and felt I should mention the comradery you feel from the help you get on this site DOES actually extend to real life meetings.
Of course my sorrowful looking first attempt at a sail is nothing to brag about but I have never learnt so much about 17th century sails (and other off menu ship building tidbits) that I just had to post a review. I am actually thinking of framing and hanging my first miserable sail in my workshop as a reminder of the experience.
Just felt I had to share this feeling I am having.
David Antscherl is a wonderfully knowledgeable and patient instructor. Unfortunately Greg Herbert could not be there; I was so looking forward to meeting the gentleman.
I said it before and I'll say it again (and again, and again ....) what a wonderful site and fantastic group.
Thank you.
Alan