


AON
-
Posts
2,589 -
Joined
-
Last visited
Content Type
Profiles
Forums
Gallery
Events
Posts posted by AON
-
-
Saturday 29 November 2014
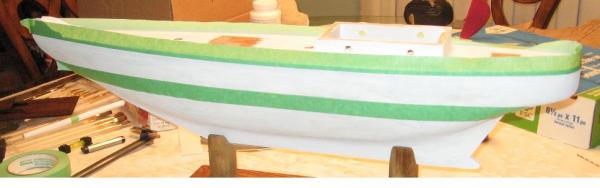
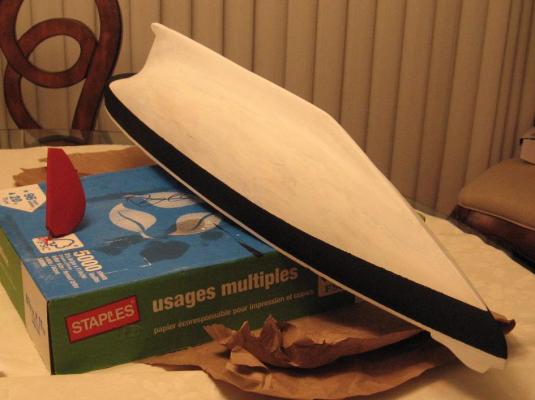
Painting and staining today (and tomorrow)
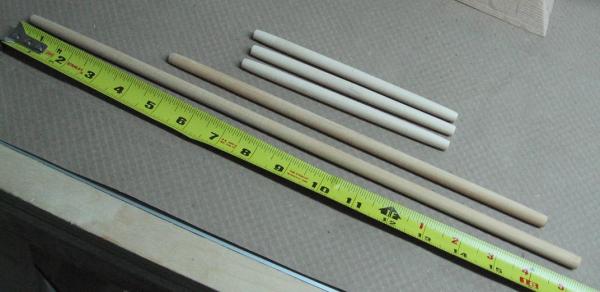
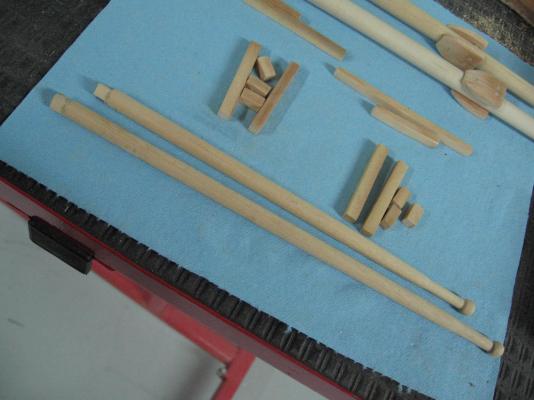
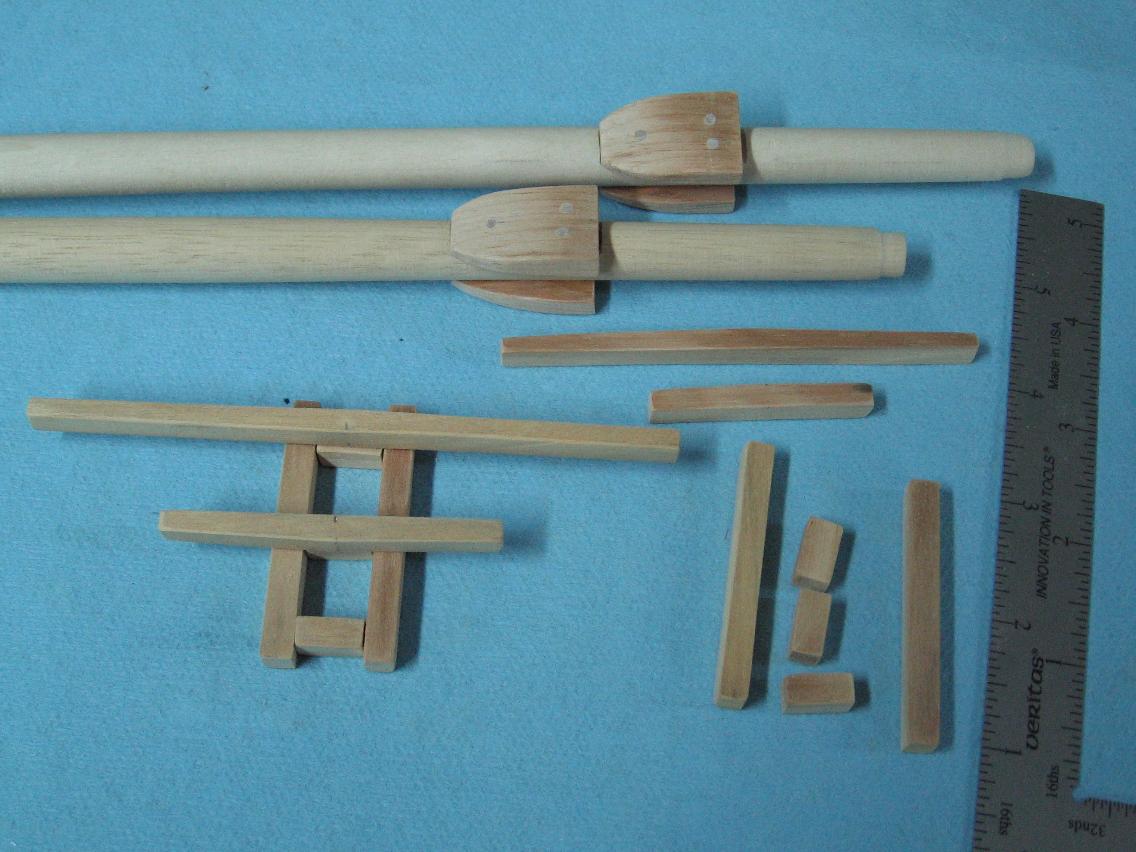
Also a pic of the booms and gaffs... they need more work yet.
I am very happy with the staining and hope the painting ends up looking as good
I also started assembling the build photos in some chronological order to bind together to go with Charlie when she is done.
I think they will all (father-in-law, daughter and son-in law) enjoy seeing all that went into her.
I am going to be spending some time figuring out the standing and running rigging.
If anyone has a cheat sheet they would like to share I am quite receptive to the idea! (hint, hint)


- druxey, kapiteinhadock, mtaylor and 2 others
-
 5
5
-
-
one more thing I needed to know how to do smarter!
Thank you
-
Thursday (evening) 27 November 2014
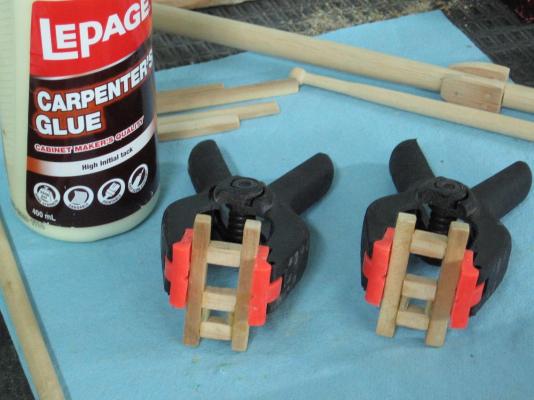
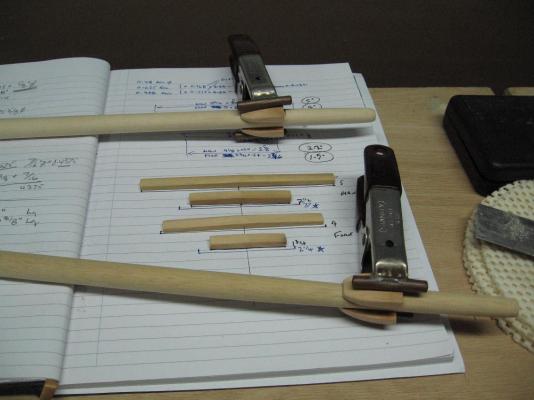
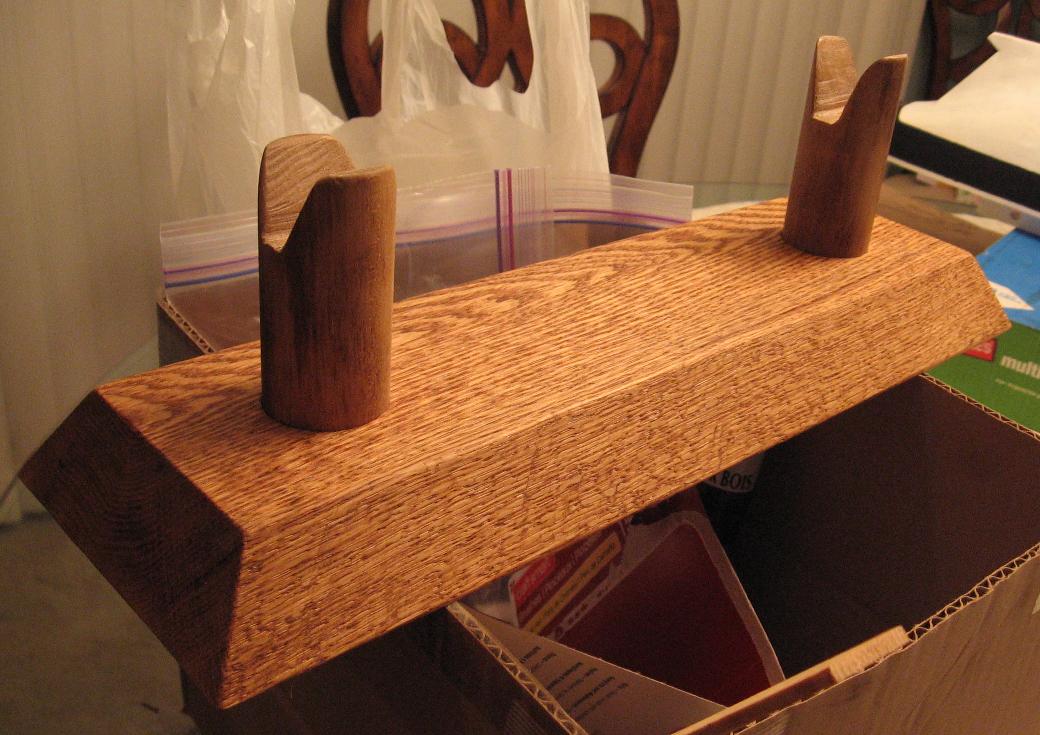
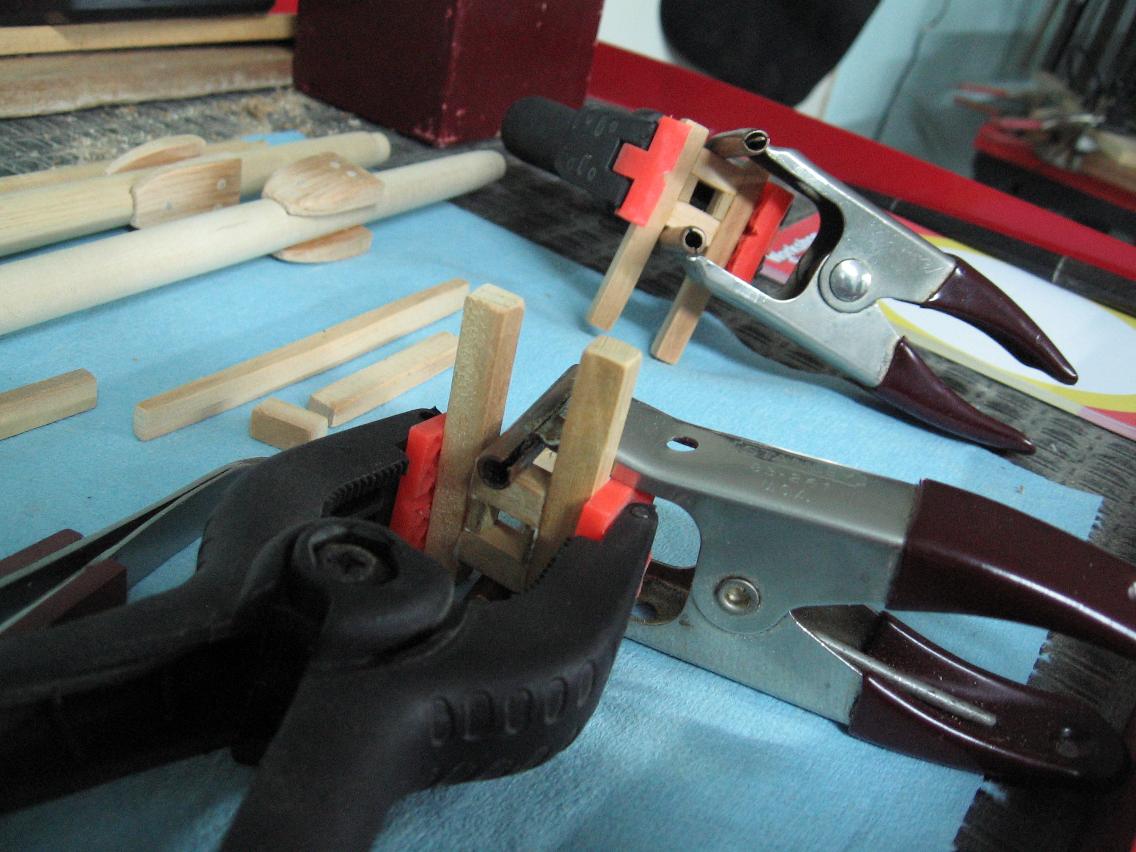
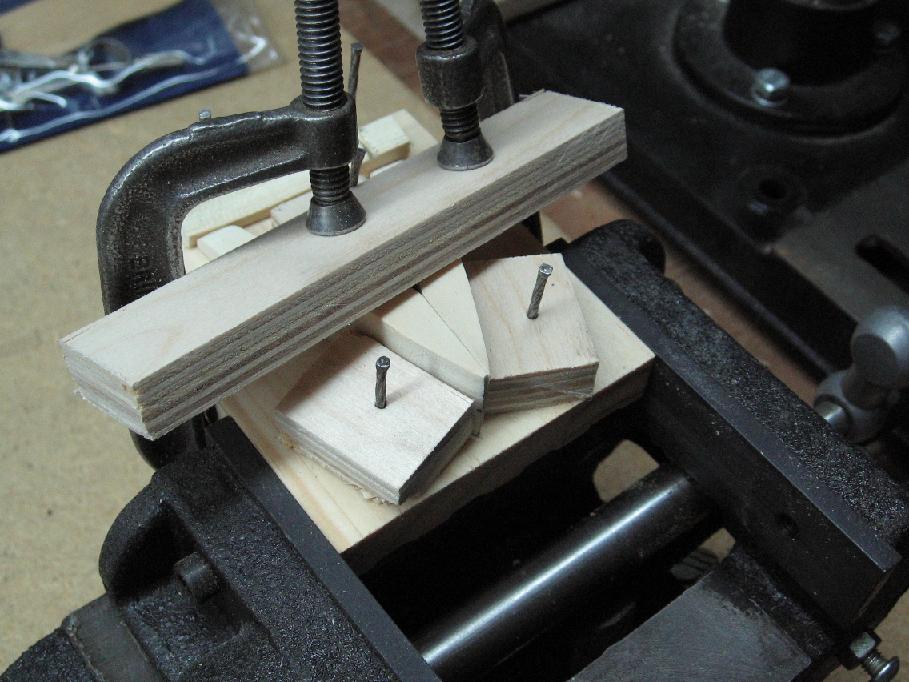
Completed assembly of the trestle trees
- dry fit last block
- marked location
- glued and clamped
will lightly sand tonight and make the two caps
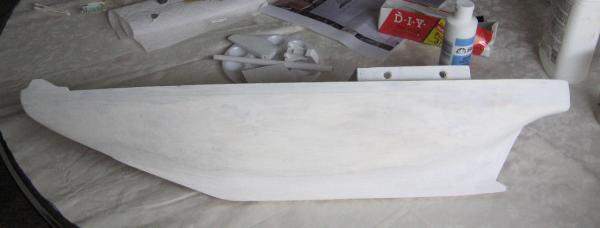
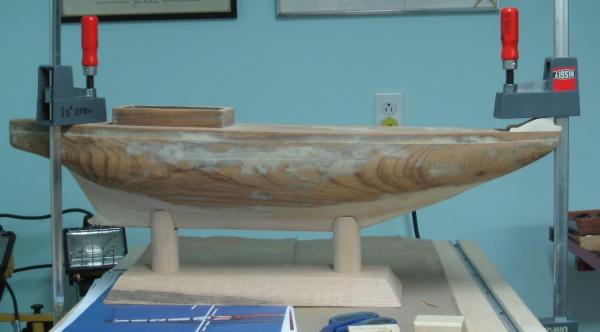
I also cleaned (vacuumed) off the hull which revealed a couple more minor dents that were filled
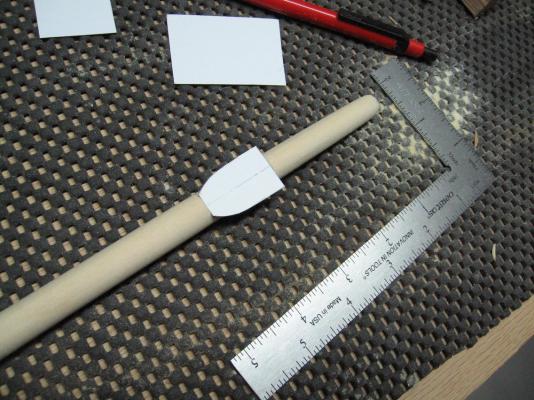
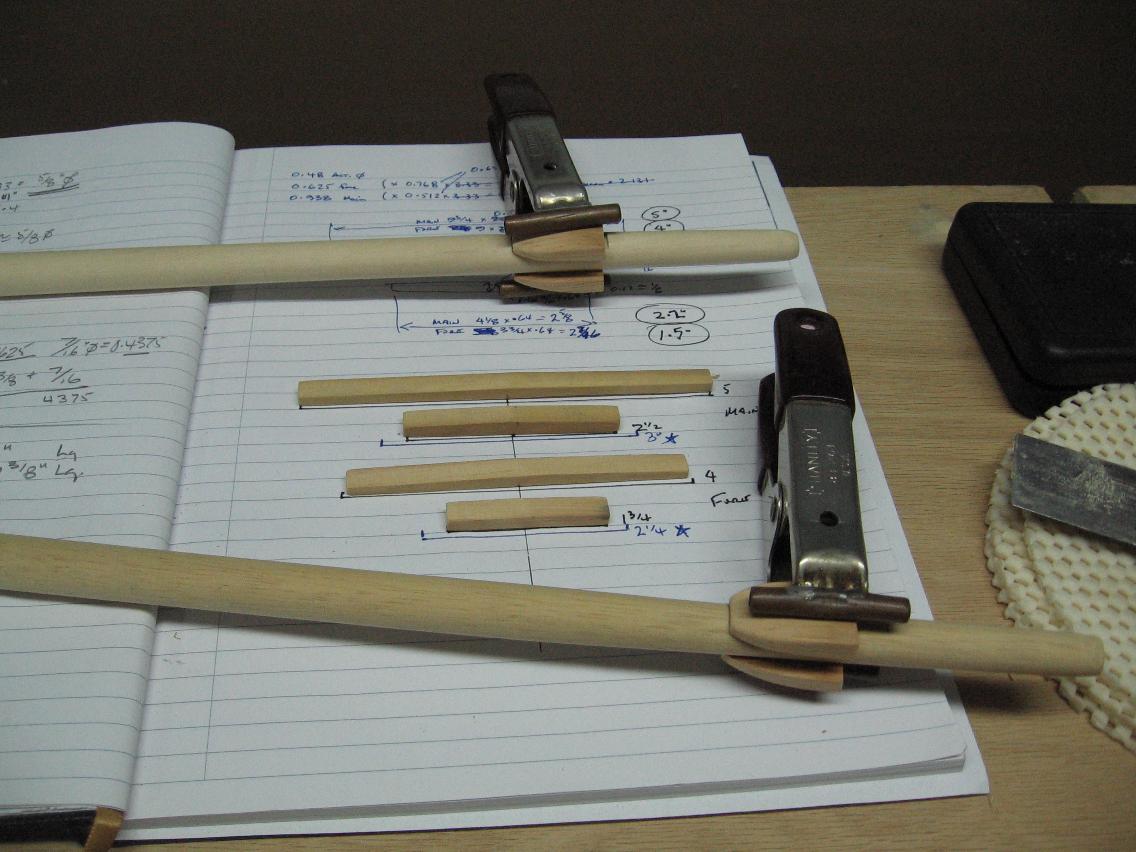
And I determined the sizes (diameters and lengths) of the booms and gaffs (again by ratios) and cut my material
Still plan to start painting this weekend!

-
-
Wednesday 26 November 2014
Glued and pinned the bow cowling
- cut off the excess wood pins with a carving knife
- sanded flush
- clamped down
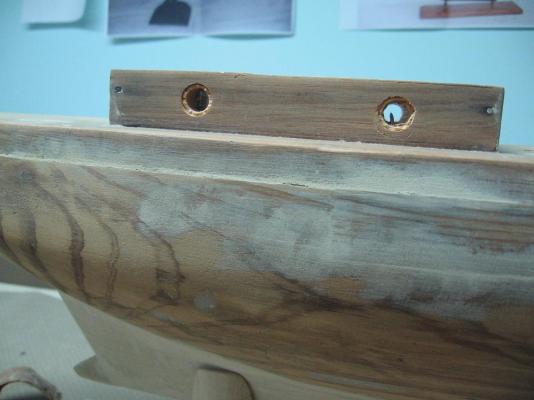
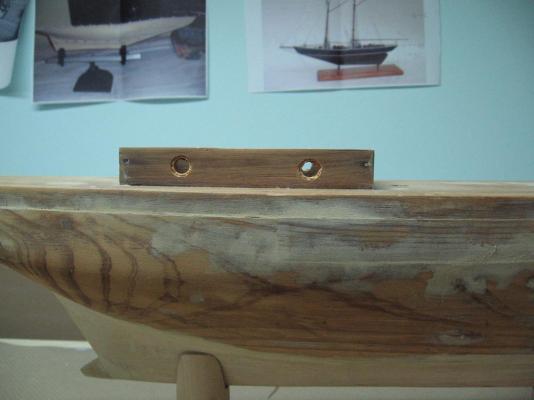
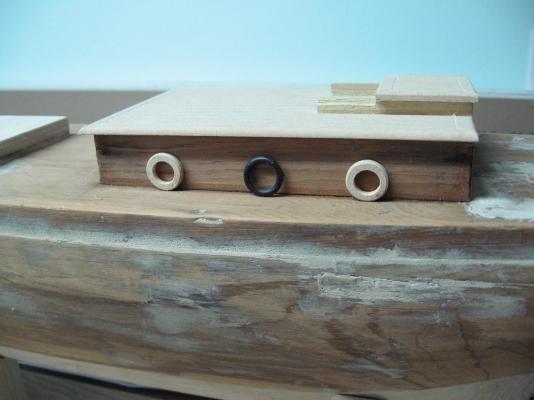
Drilled out the port holes
- measured and marked locations
- scoured outer marking with 7/16" diameter brad bit. this will outline the recess or spotface for the clear plastic window to be set into
- drilled through with a 3/8" diameter brad bit holding a back up piece of scrap wood in behind to avoid spinters
It happened on the second hole I did and then I was worried. I hit a nail!
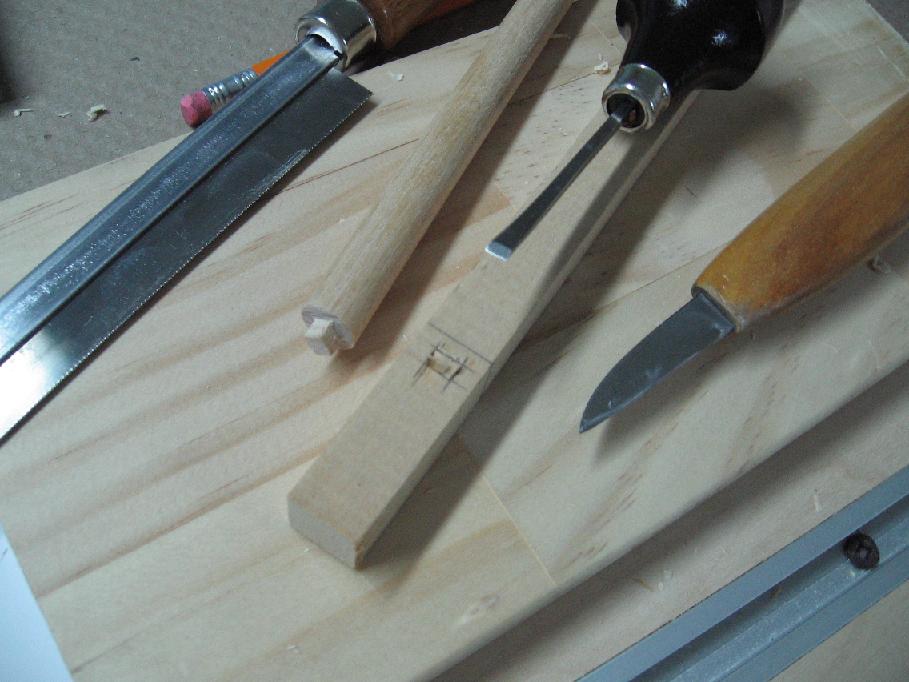
Used mini chisels to cut around the nail and through the wood
Used small files to cut off the nail and shape the hole
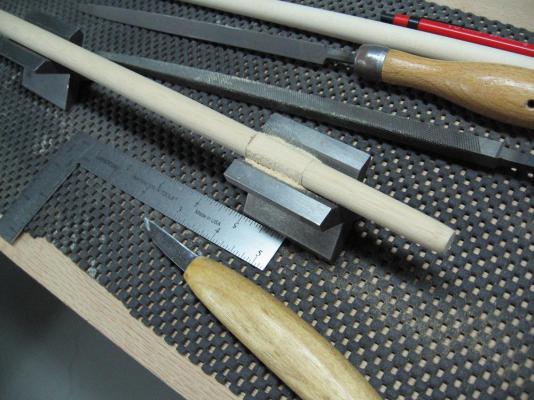
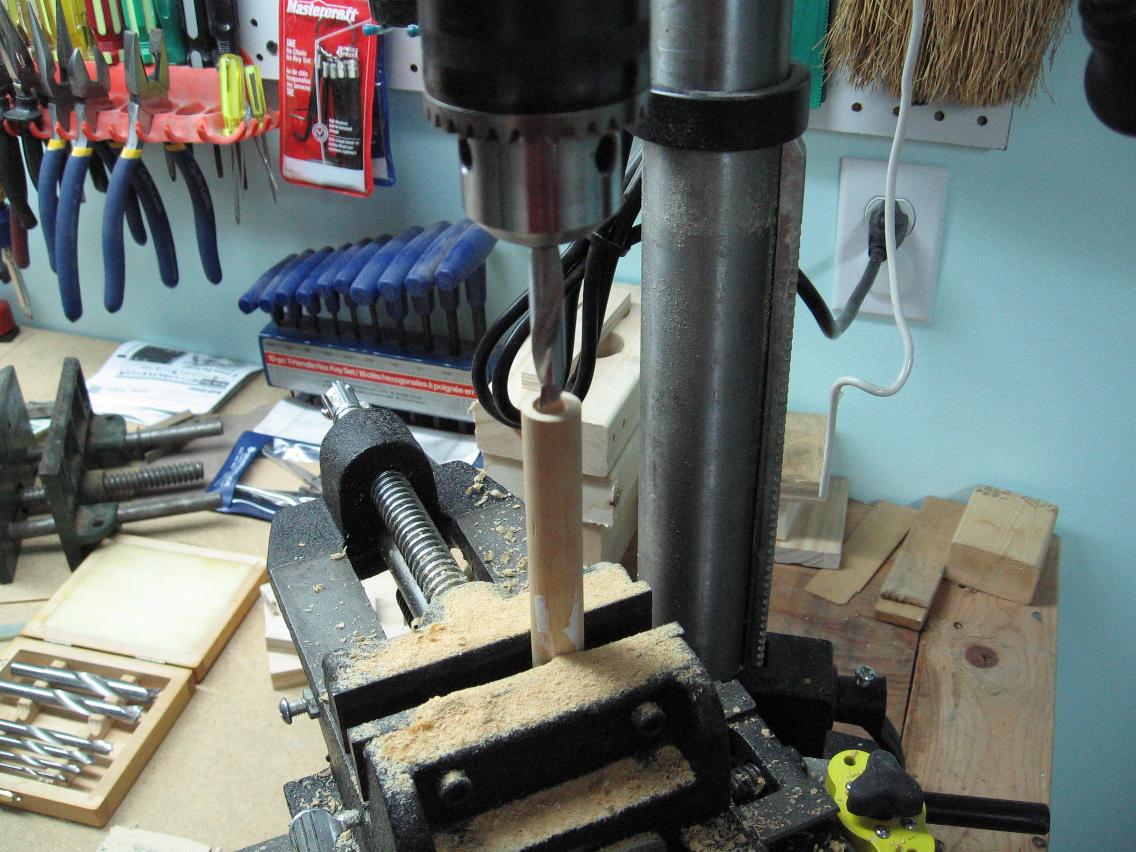
Turned the main and fore topmasts on the lathe using a wood rasp file and sand paper
- cut off excess on band saw
- put the mast into the chuck of my drill press and finished the shaping with sand paper
- squared off the foot with the belt sander
-
Thank you everyone for the encouraging words and votes of confidence in my drastic action with the cabin height
I have pieces of plastic to use as window glass for the port holes and am thinking of drilling four holes through the cabin bulkhead, countersinking slightly to set the faux glass in, white washing the inside of the cabin so if looked into it is a bit brighter.
Monday 24 November 2014
- Drilled and pinned the cheeks to the masts with a slight interference fit (no glue) so I won't have to worry about this falling apart
- cut the pins off flush and lightly sanded
- cut and sanded the trestle tree pieces
Tuesday
since I am up early this morning I may as well go do another sanding of the hull as painting her will happen soon

- michael mott and mtaylor
-
2
-
Part 2
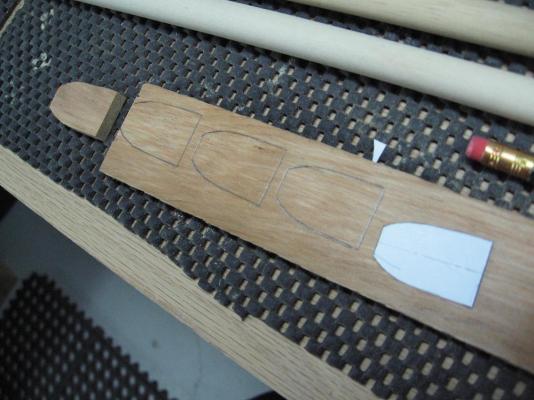
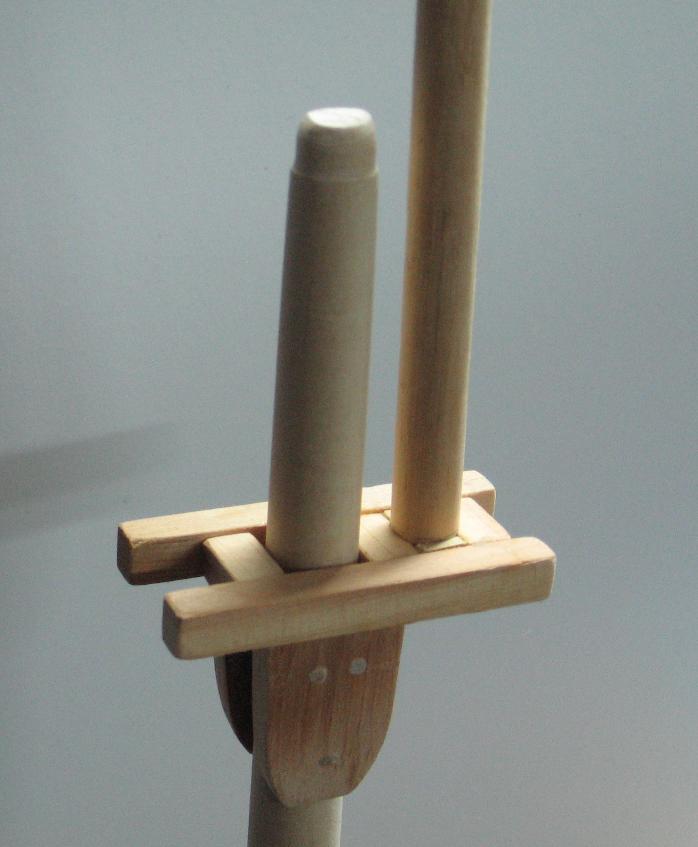
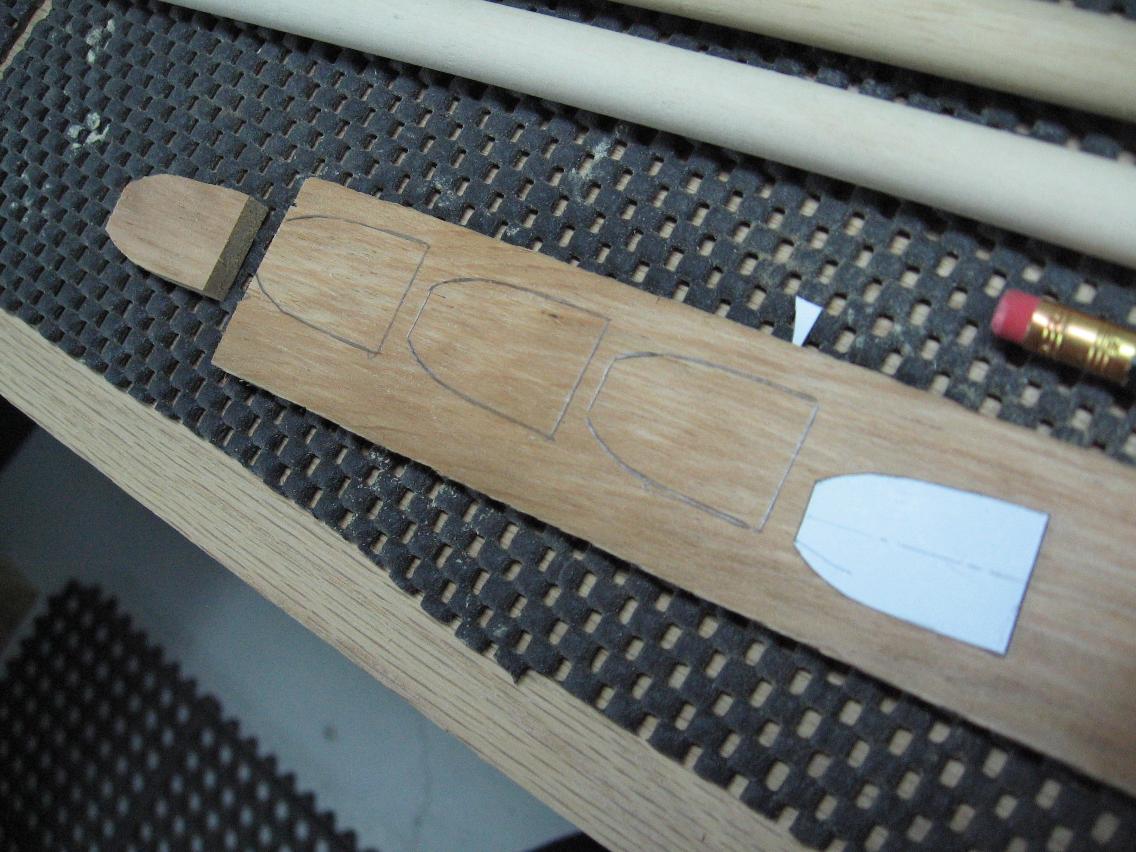
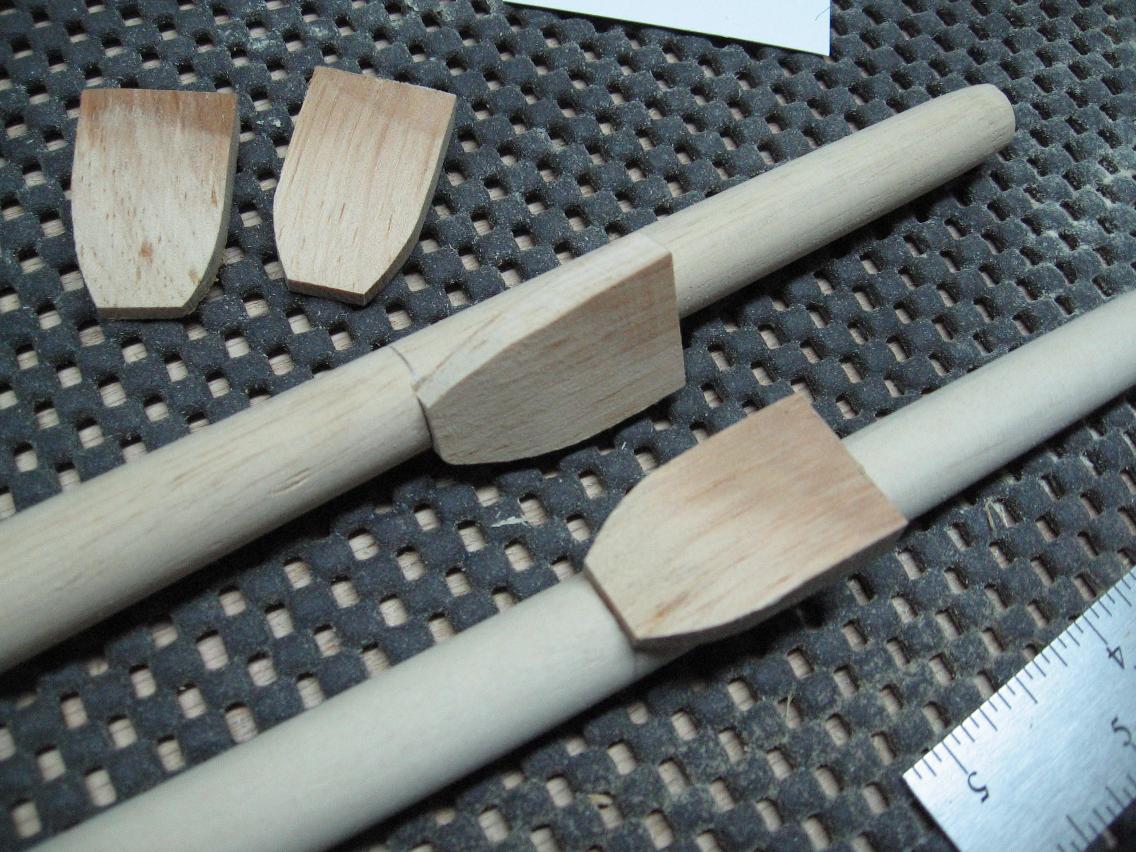
Went back to the masts and started on the cross tree assemblies
- marked the location of the support cheeks
- rasped, filed and squared off cheek pocket with a knife
- made a stiff paper template of the cheek and fit it to the pockets
- transferred shape to wood and cut out with the scroll saw
- sanded to shape
- dry fit and finally glued and clamped in place to set overnight
I then worked on the cross trees
4 trial pieces (you can call them errors
 ) before I got anything near what I was attempting.
Trestle trees will be next


-
Sunday 23 November 2014
Part 1
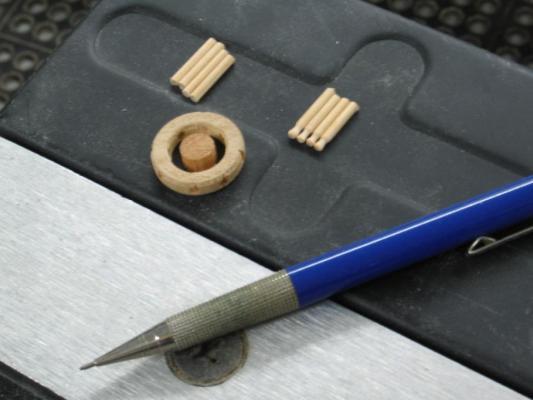
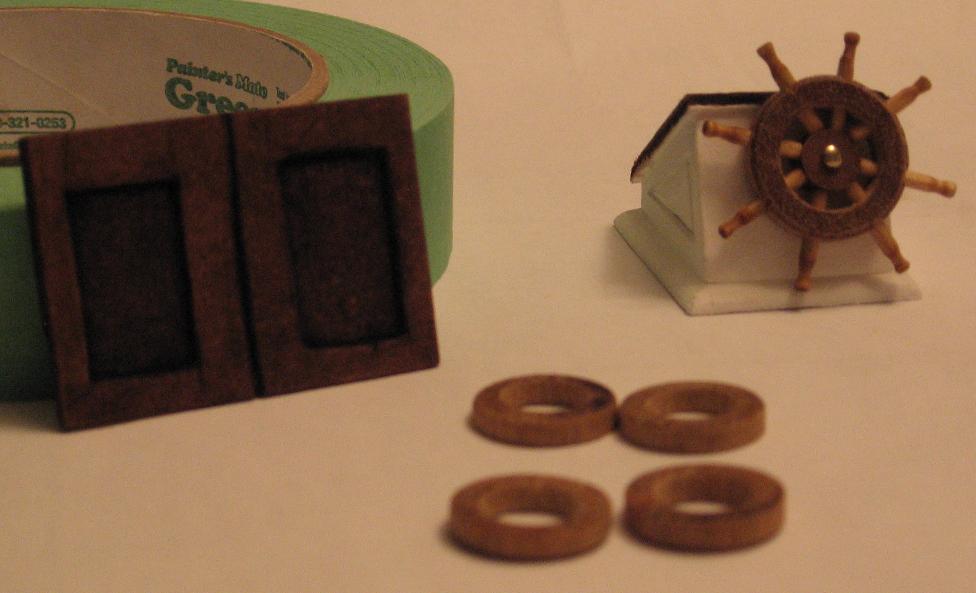
Worked on the cabin port hole rings.
My inspiration was a garden hose snap on O-ring as it seemed the perfect size.
After numerous attempts with the lathe I had to come up with a plan B
- set up dowel in clamp, squared to drill bit and drill hole though the end (the tough part was centering it)
- cut four pieces about twice as long as needed on the band saw
- prepared a "holder" and square up ends and thinned to size on disc sander


-
PART 2
I couldn't take it anymore!
I've tried to ignore it but it was sticking out like a sore thumb
I tried convincing myself that it was one of the few things the gentleman had done and I should leave it alone.... but then I talked myself into believing he will likely never notice. I also believe it is easier to get forgiveness than permission so it did it!
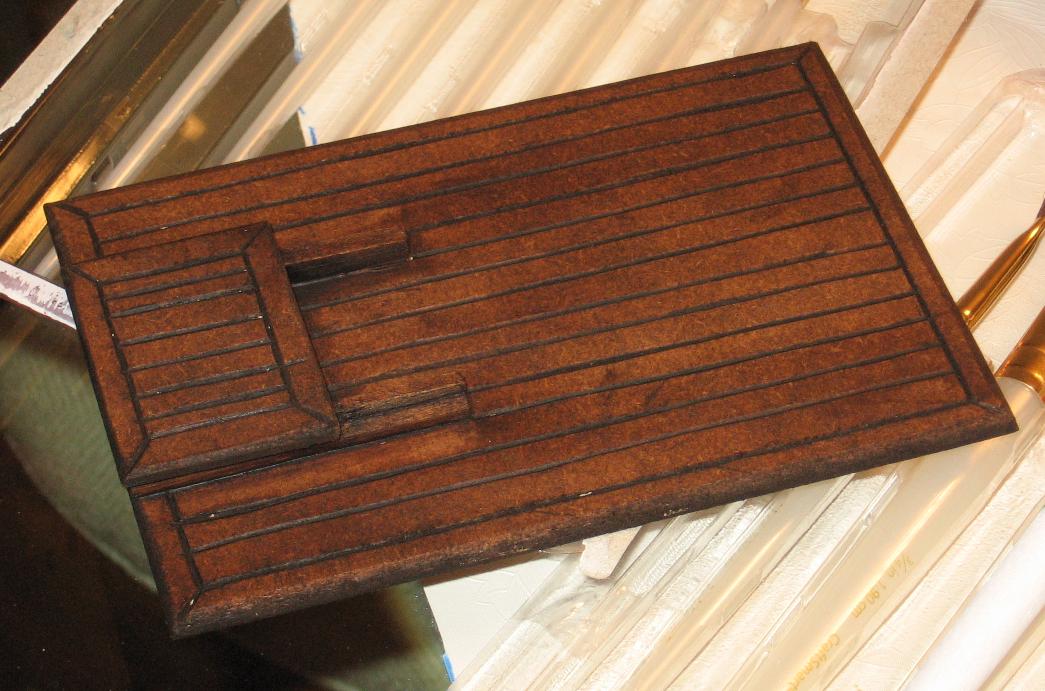
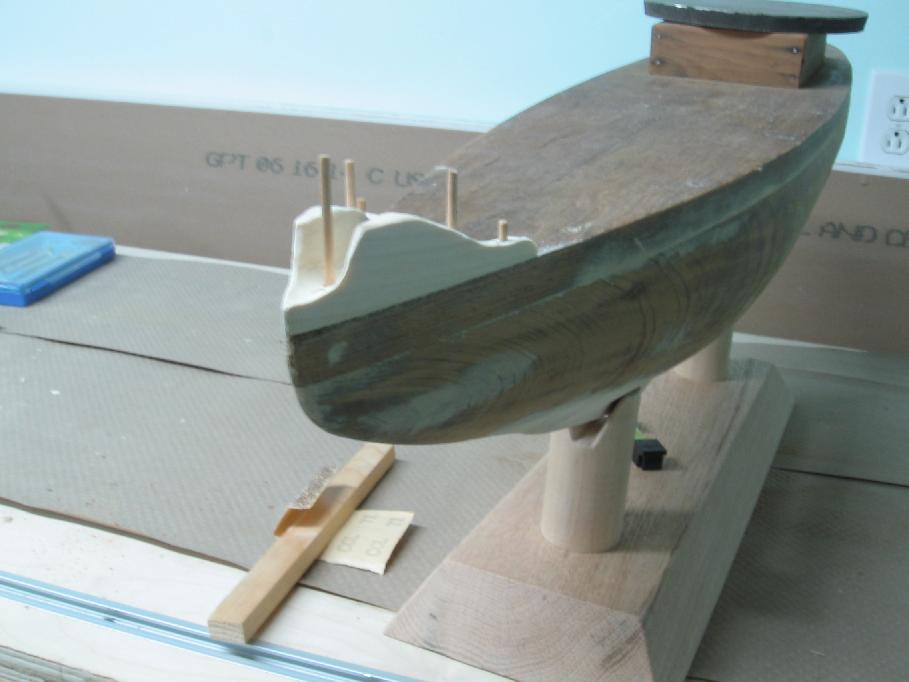
I cut the cabin height down to get it more into a proper scale
Of course this meant redoing the door.

-
Saturday 22 November 2014
(PART 1)
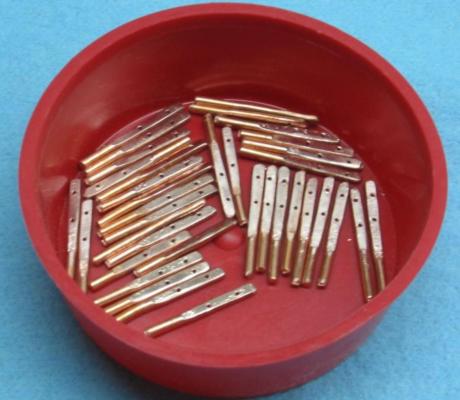
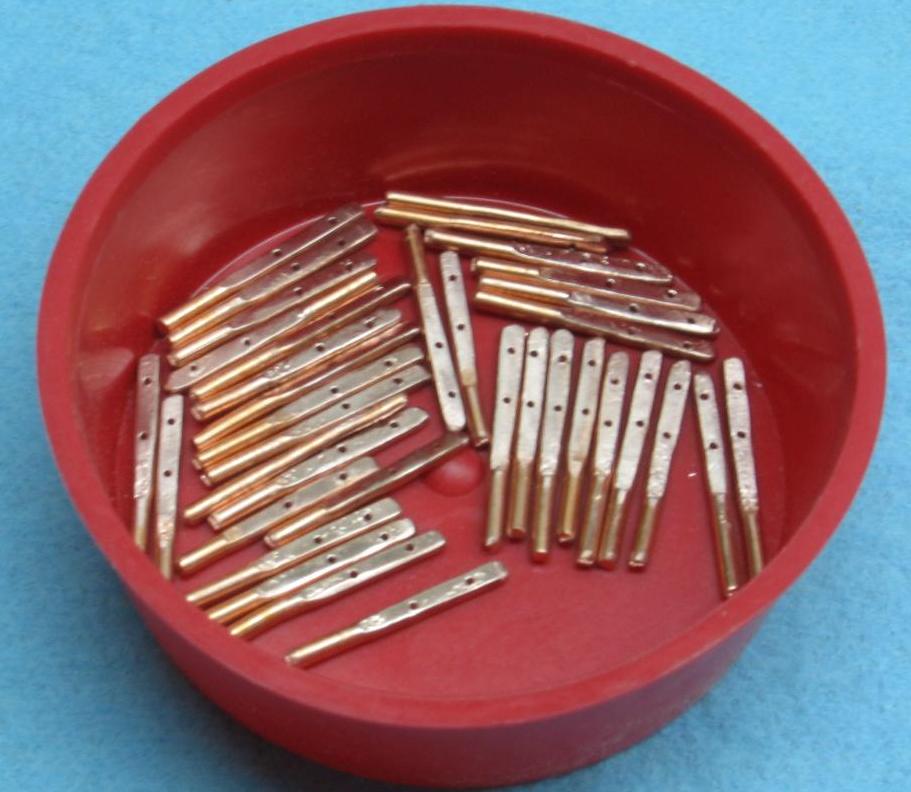
Completed the handrail stanchions
- drilled
- deburred
- reclamped in vise to straighten face and turned 90° to straighten edge
- drilled again
- polished with wire brush wheel on dremel with my dremel clamped in a vise
I also sanded the deck and filled cracks and dents
It will need another sanding
-
-
Further progress will come to a crawl as I'll be back to working overtime this week.
-
Sunday 16 November 2014 (Part 3)
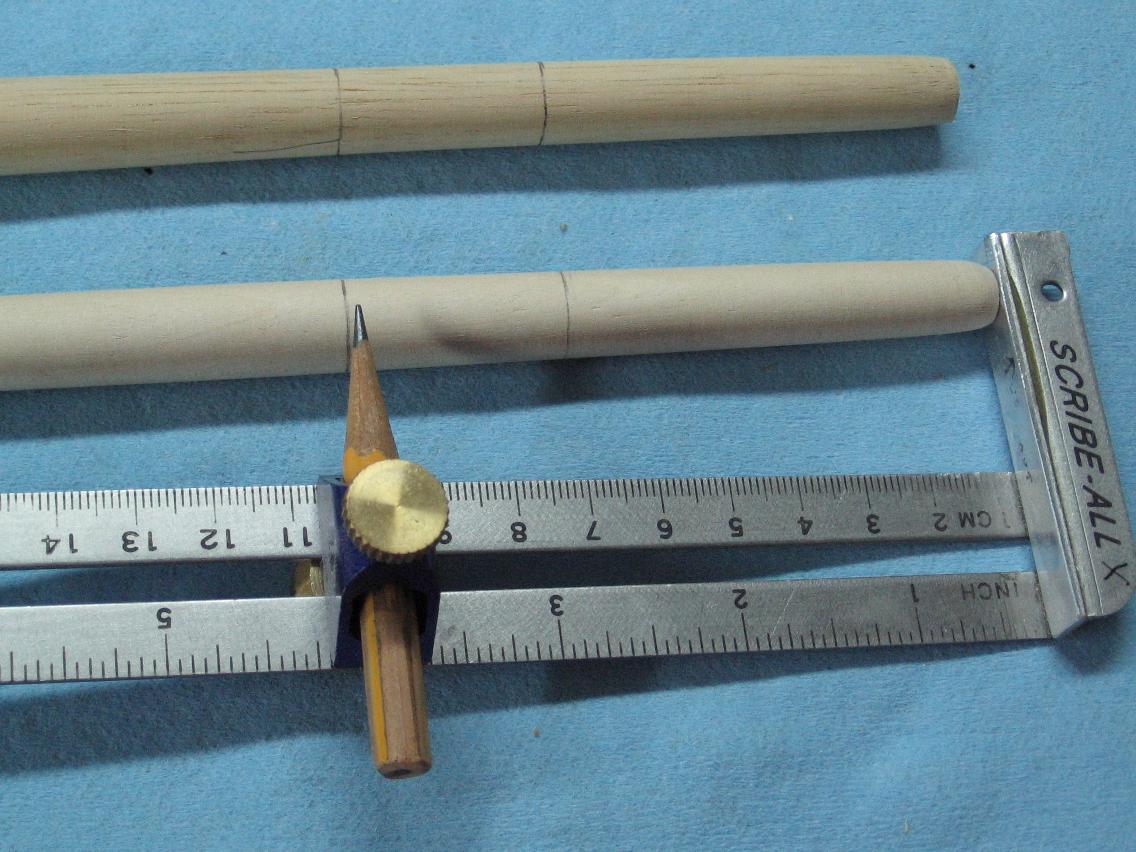
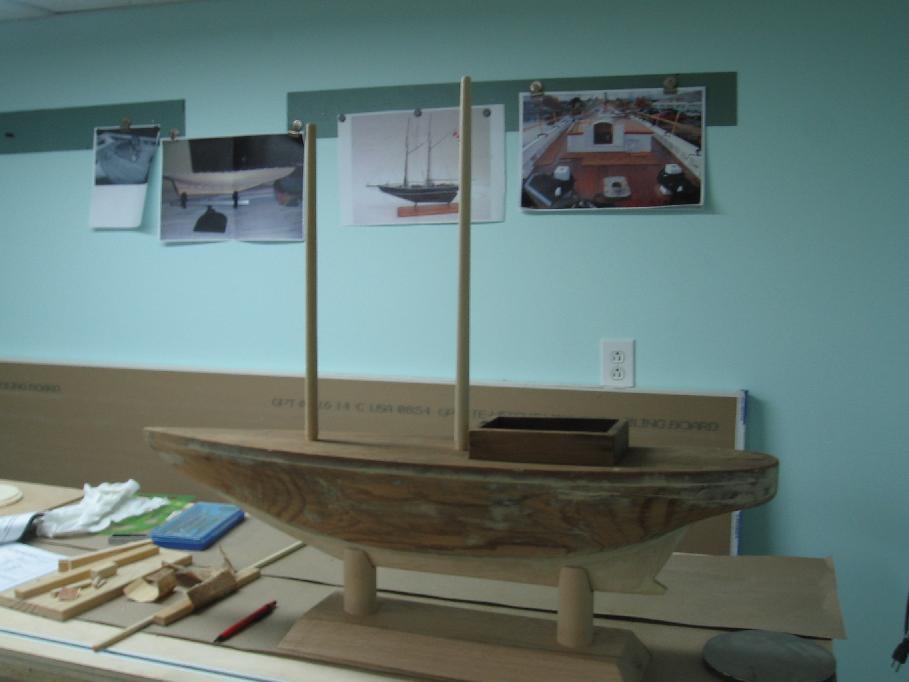
Worked on the masts
Calculated (by ratios from an image) the scale length and diameter of the masts
5/8” diameter, 14.1” and 15.5” long
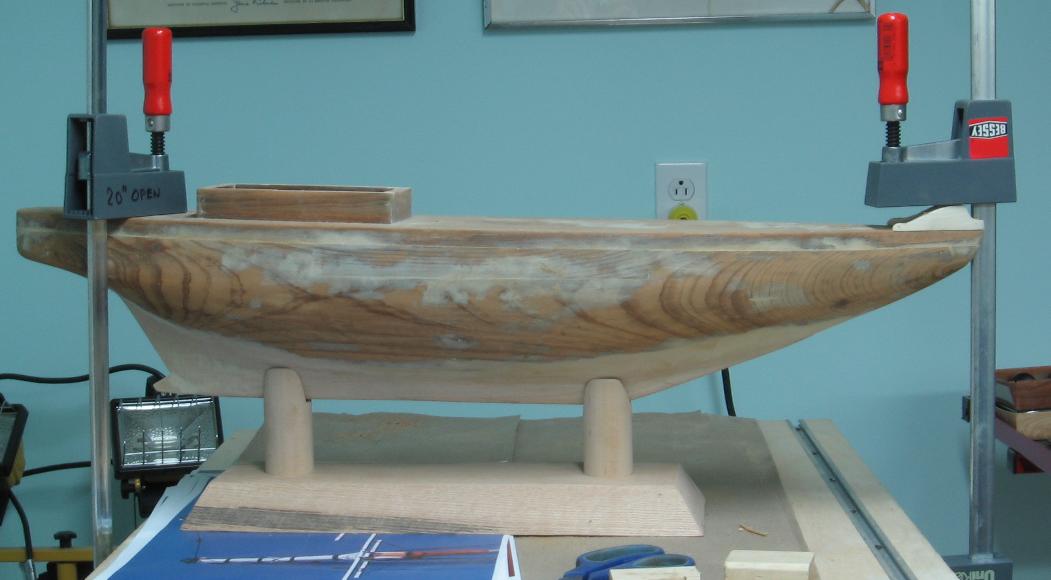
Calculated the rough locations and set angle of the masts
Set the hull up to my drill press at 3° angle and drilled two ½” diameter holes for the masts to be stepped into.
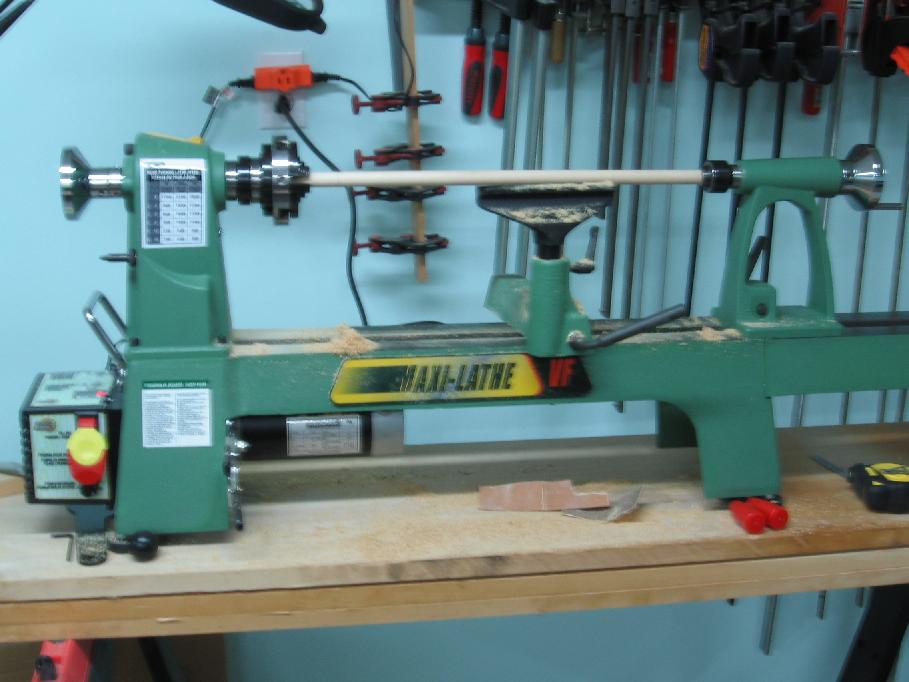
Found some 5/8” diameter dowels and cut them 4 inches longer and mounted them in the lathe
Turned the deck stepped fit portion 0.510”+ diameter to fit (Tapered the lead end to assist assembly)
Turned the top end to +/- 0.400” diameter
Tapered the length between and sanded in place on the lathe.
Dry fit into deck (not driven in as I would not get them apart again) to check.
I am happy with these.
I have not made the cabin port hole pieces yet.


- Omega1234, captainbob, mtaylor and 1 other
-
4
-
Sunday 16 November 2014 (Part 2)
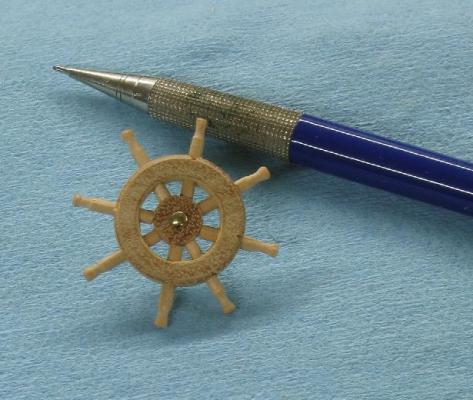
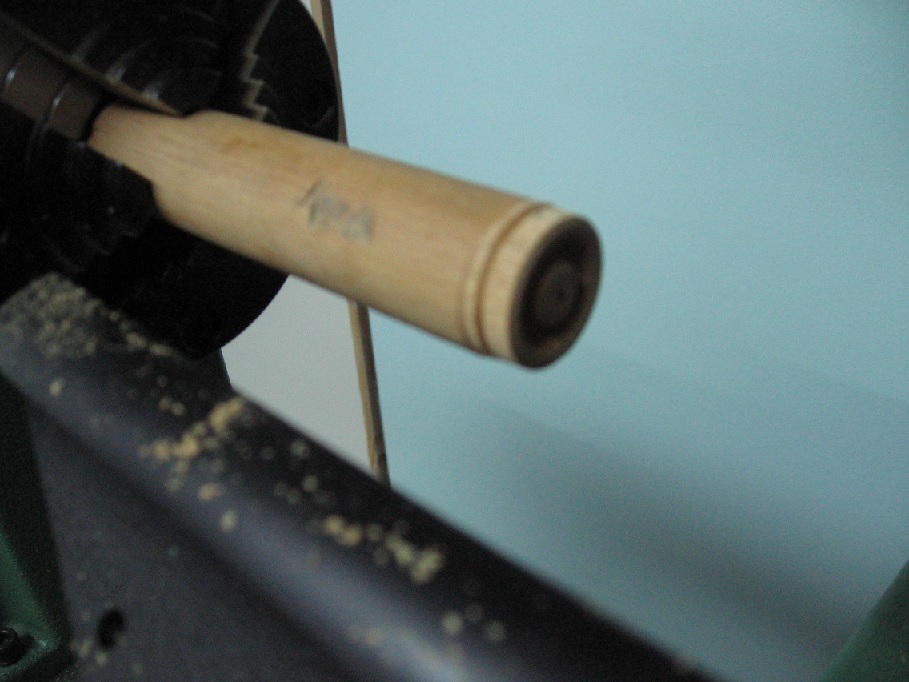
Made a new ships wheel
Re-drilled the spoke holes
Turned the wheel on the lathe and once again the hub vaporized
This time I saw it happen. The holes (thru what would be the hub) remove all structural integrity in the material and it tears apart.
Did my final cut to part it from the dowel on the band saw
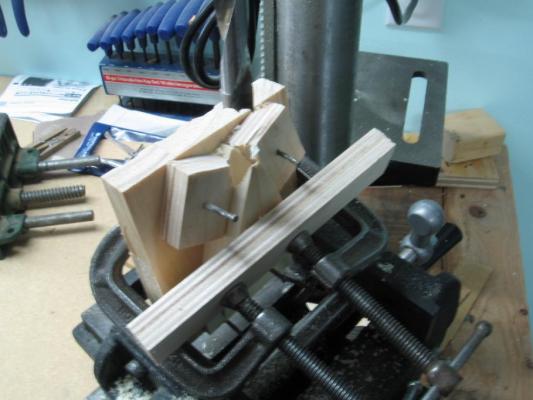
Cut a smaller dowel to make the hub
Of course it was not “square” so I drilled a shallow pocket hole (big enough to fit the hub into) in a piece of scrap and used it to hold the hub square against the disc sander to true it up.
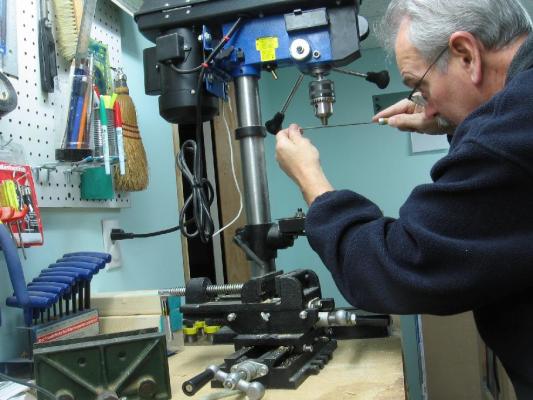
Cut my spokes to length
Installed them in my drill press chuck and used small files to shape the handles.
(I should be wearing safety glasses but it was so tiny I couldn’t see what I was doing… I had to look over my lenses to focus… getting old sucks)
Dry fitted and remarked the shorter lengths for the spokes.
Drilled another pocket holder and disc sanded the spokes square to length
Reassembled and glued (small dabs) from the backside.
Drilled and installed a brass pin nail as the hub pin.
-
-
Thank you Druxey
It doesn't look like much but it is making good use of scrap pieces and surprisingly did the job
I admit I was concerned it might fly apart.
-
-
Saturday 15 November 2014
Today I find myself a year older but not one iota smarter!
I completed my test piece on the lathe and was very happy with the results so I decided to do the ships wheel. I set my predrilled doweling up and began cutting away.
The centre hub, a crucial part of the wheel, vaporized in front of my eyes. Never giving in I decided I could make a new hub so I carried on. Completed the outer part and set it against the wheel gear house.
Decided it was too thick so I sanded the two faces to thin it down. This is when it happened.
I thought I had learned the lesson of knowing when to say ‘when’….. it was now too thin. Into the trash bin! Time for a ‘do over’.
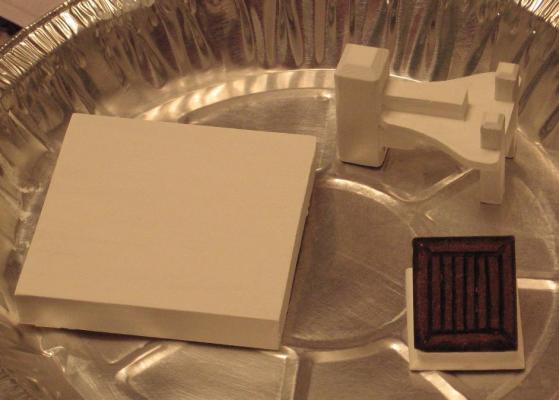
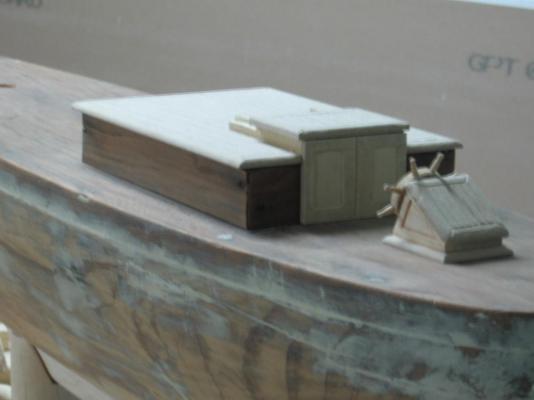
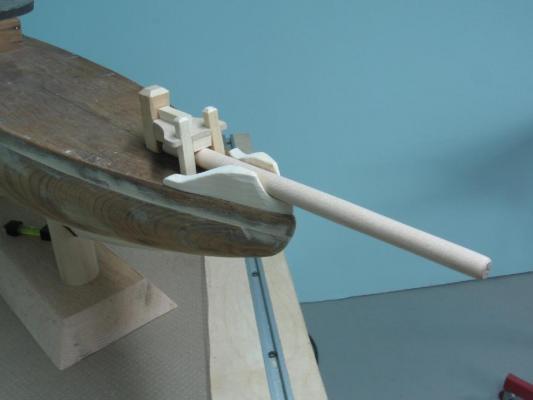
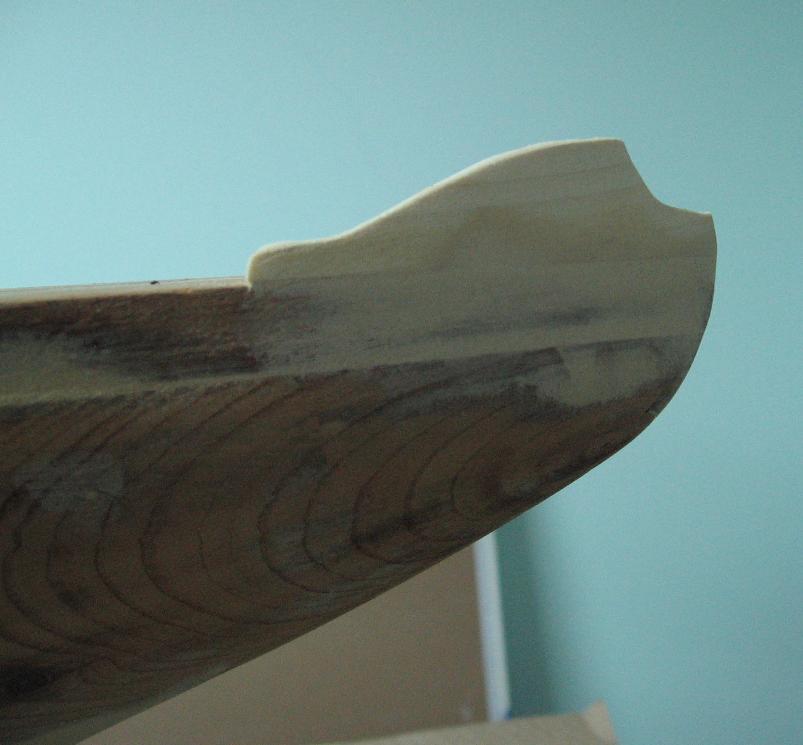
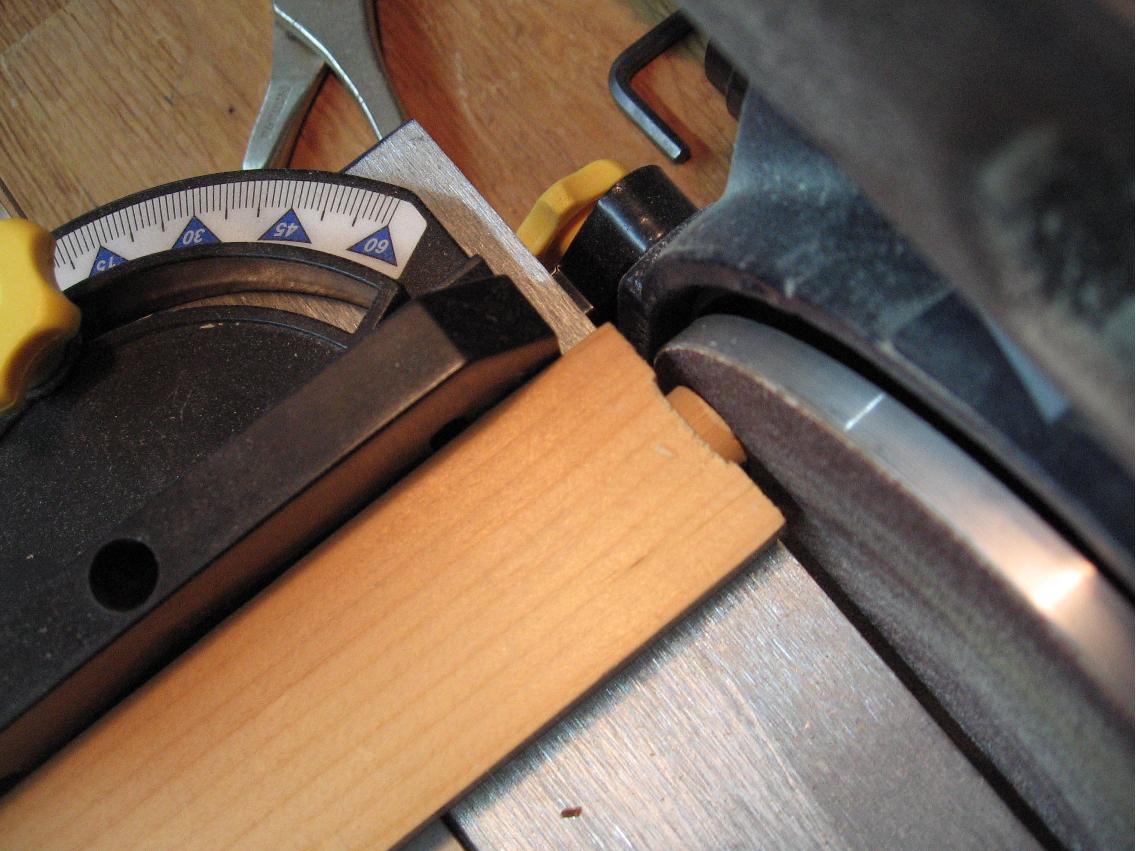
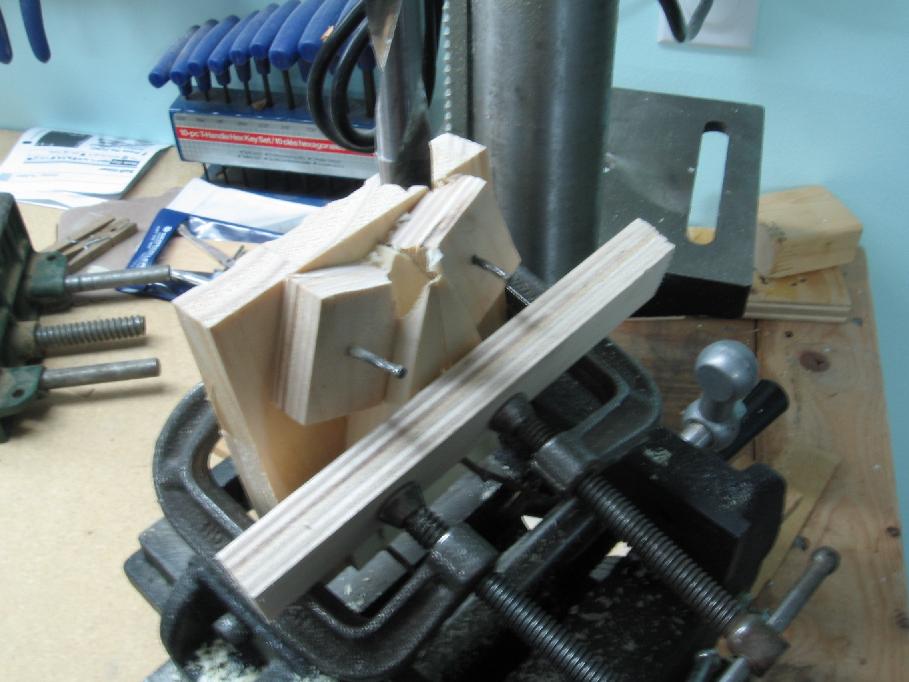
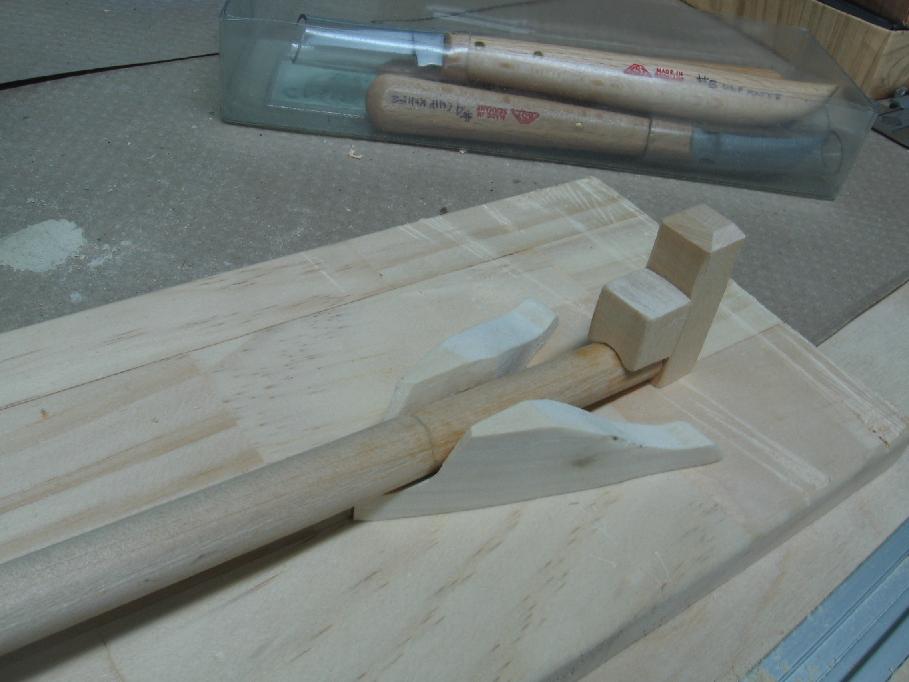
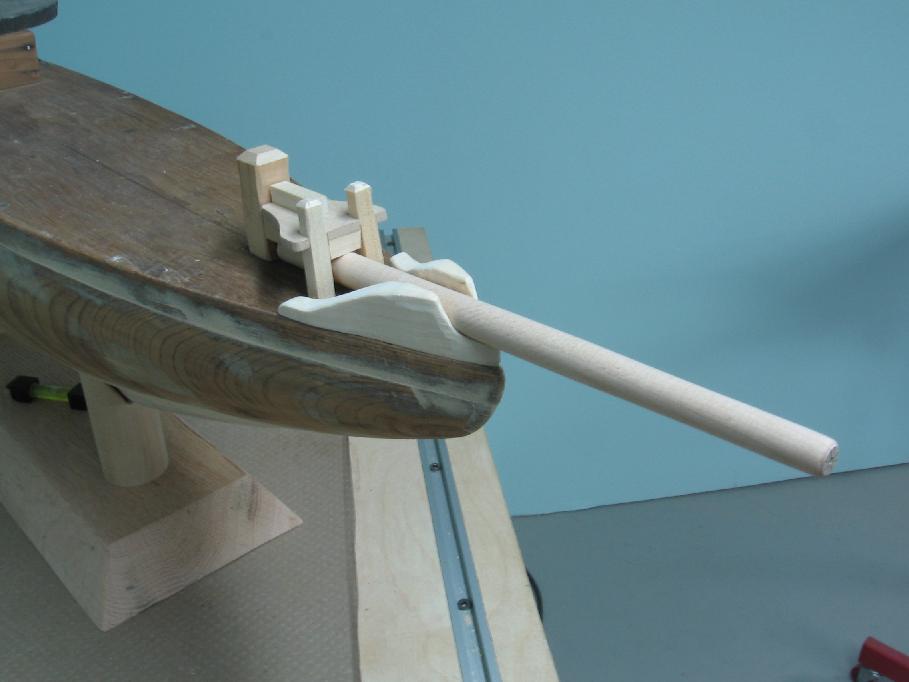
I started on the bowsprit cowling. Set up the piece on my drill press at what I determined to actually be closer to 6-1/2° angle (4 separate readings) and plunged into it.
This, to my surprise, worked out okay (photos below)
I will eventually drill, pin and glue this to the deck and then sand the outside face to blend in to the hull.
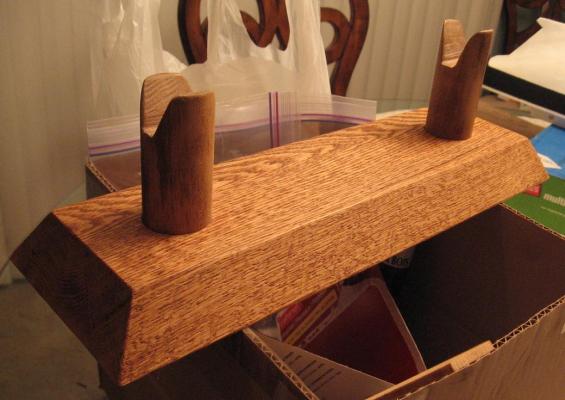
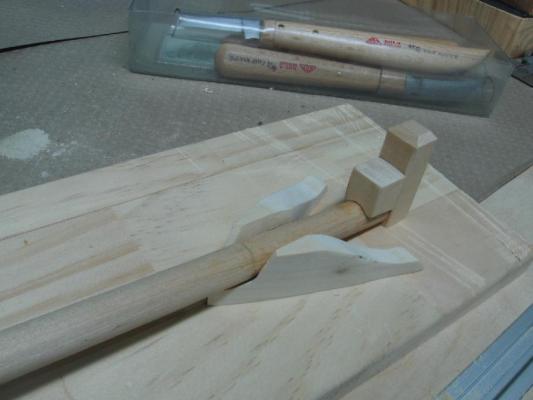
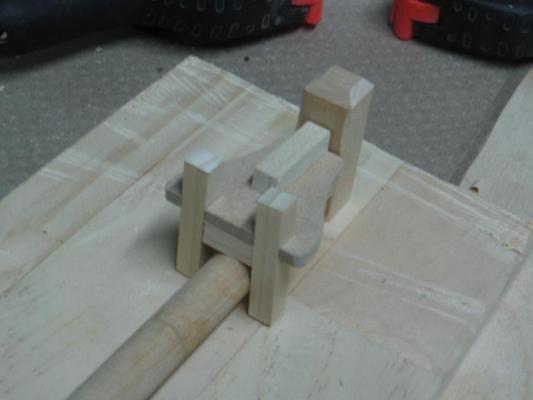
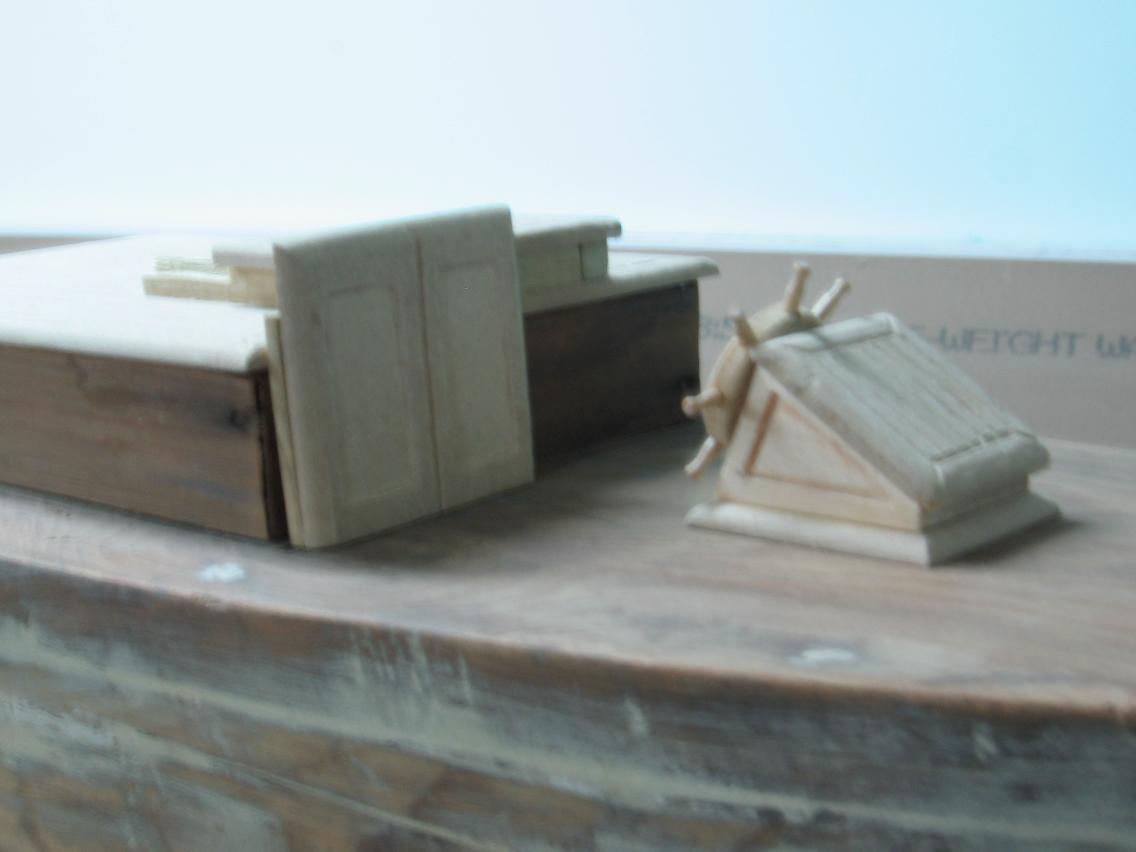
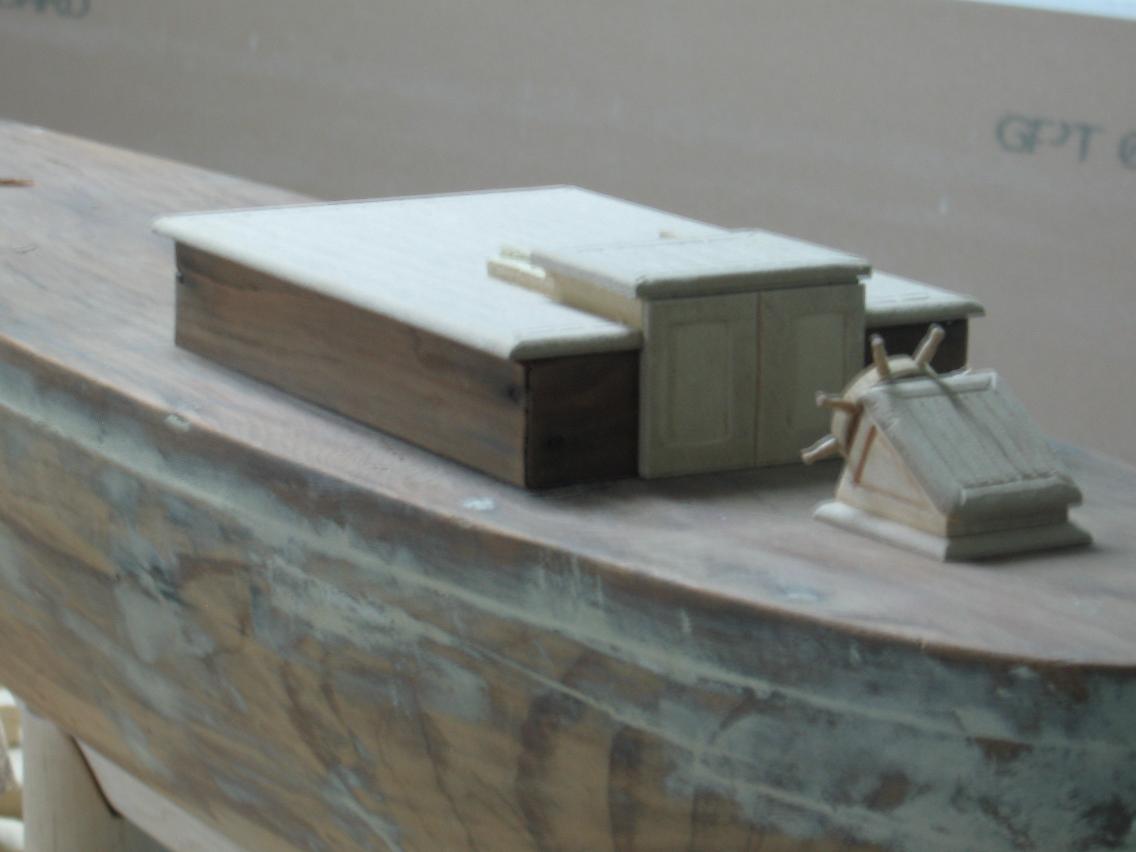
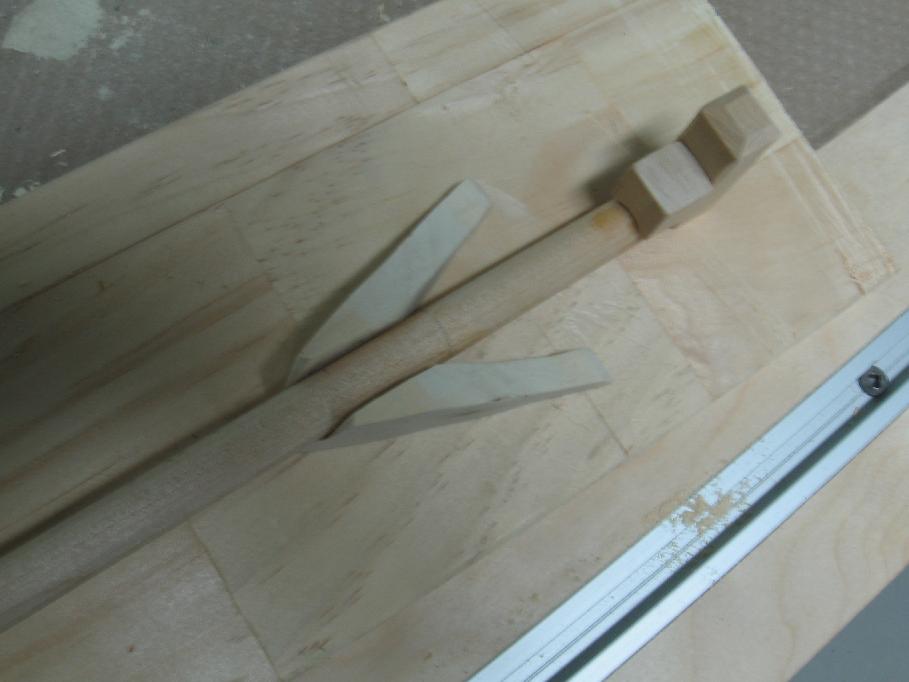
I then worked on the Bowsprit Bitts and Samson Post assembly. Having completed them, dry fitting to check I moved on to shaping the bowsprit (photos below)
I mounted the bowsprit to my lathe and turned/tapered it to rough shape. I then finished it on the lathe with sand paper. Dry fit it all together and found I needed a wee bit of shaping on the cowling. Now I am happy.
Went to Michael’s (hobby & craft store) and bought some brushes and paint (primer, black, dark red and white). Also picked up a tube of wood stain at Canadian Tire which I am hoping will work better on the cabin roofs.
Once I have the masts located, all holes drilled and the deck sanded it will get a good cleaning and then a paint job. But for now I need to redo the ships wheel and make four port holes for the cabin.

-
Friday 14 November 14
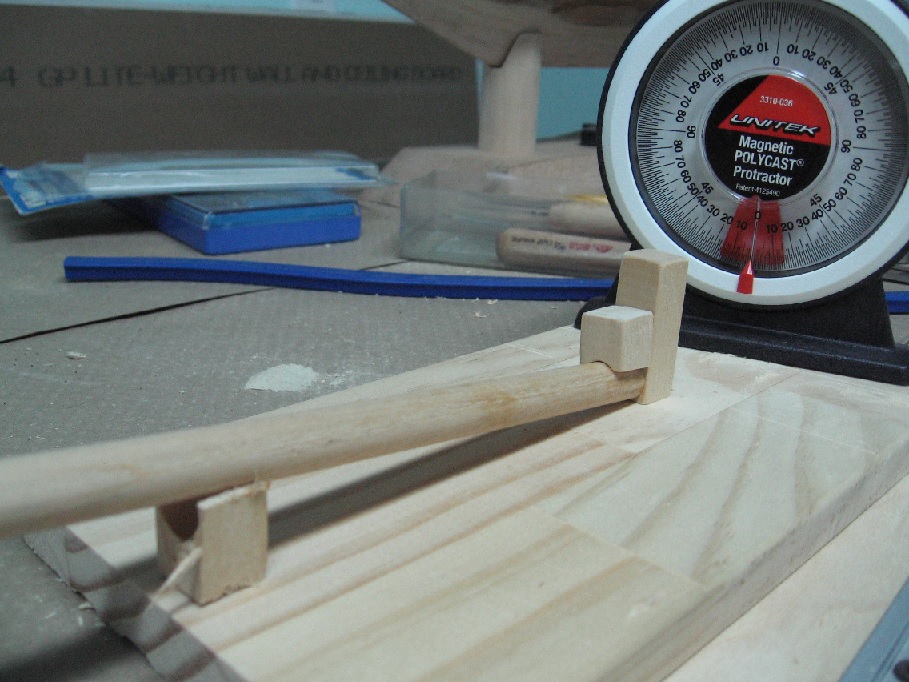
Managed to recut the Samson Post (still requires some shaping in the top 1/3)
- Dry fitted with Bowsprit
- Set up to measure angle (8°) of assembly so I can set up the bow cowling angle for drilling the bowsprit hole
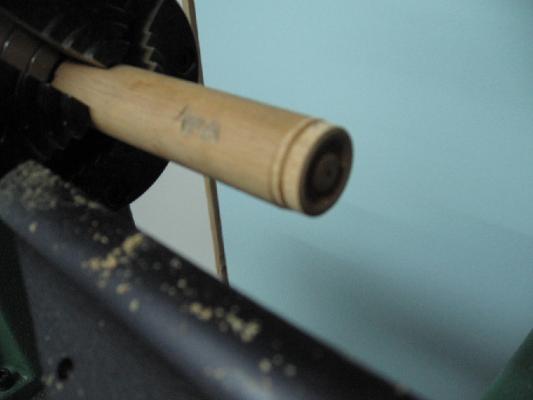
Also did some practise cutting on my wood lathe for the ships wheel shaping
- Turn round
- Cut out centre hub
- Mark part line
I will finish this one to make sure I am happy with it and then do the real one that has been predrilled for the spokes
As this looks like a good port hole cover for the cabin I may do the same thing with smaller dowelling
Hope to accomplish considerably more this weekend.

-
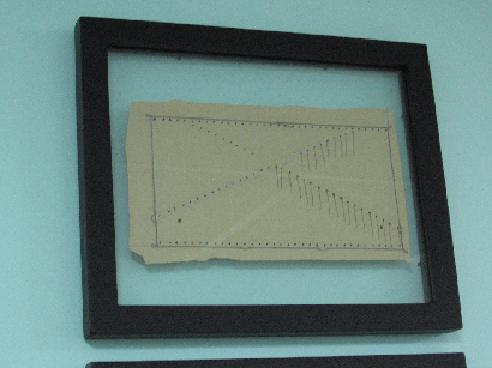
Framed and Hung
Decided to add a bit of artistic look by cutting it clear of the bolt rope with a ragged edge
The frame is see through both sides so I can look at the reverse if I need to refresh my memory of the work on that side.
- JesseLee, capnharv2, Mirabell61 and 2 others
-
5
-
-
-


tool sharpening
in Modeling tools and Workshop Equipment
Posted
I would use this type item on a new dull blade or edge to get it started
I always finish with wet stones
Once you have established an edge it is easy to keep it extremely sharp with wet stones
If it gets a bad ding in it I might go back to the grinder to start again