James H
-
Posts
6,142 -
Joined
-
Last visited
Content Type
Profiles
Forums
Gallery
Events
Everything posted by James H
-

2023 Donations drive
James H replied to James H's topic in Using the MSW forum - **NO MODELING CONTENT IN THIS SUB-FORUM**
Hi Allan, It's on the front page sidebar.
-
I'm on that ship next year! Welcome to MSW.
-
With the prototype, I made sure all the plates were buffed down as much as possible to remove any wrinkle, and then I used some isopropyl alcohol to remove any grease from my fingers. From there, I used 0000 steel wool to really shine it up before then applying acrylic matt varnish to it. That makes it look nice and uniform without the shine. If you want patina, don't varnish and let the copper tarnish itself, BUT don't go touching it again or you could see fingerprints in that patina, from the acid in your skin.
- 106 replies
-
- 3
-

-
- Grecian
- baltimore clipper
- (and 4 more)
-
You'll find things a LOT more solid from this point, especially when you get the inner bulwarks added.
-
Hi all, MSW will ALWAYS be free to use for all members, but this ship still needs a few £/$/€ etc. to keep afloat. We generally try to do this via our sponsor banners, but we also still rely on the generosity of our membership to help us with costs. We operate a dedicated server for this site, which isn't an insubstantial cost, plus the various other things we need, such as our domain names, anti spam and proxy firewall. It adds up to a pretty penny. I know the old adage of 'if every member donated $1 etc' goes without saying, but we're realistic! Times are harder for many folk at the moment with the way things are with global economics etc. but if you do want to, or have considered throwing a few $ our way, then I guarantee it will be very much appreciated. It all helps keep this wonderful and info-packed community afloat and preserves our valuable resource for years to come. Should you wish to donate, then we have a tool on the forum home page sidebar. Kind regards, MSW/NRG staff
- 43 replies
-
- 12
-
-
Focus Stacking
James H replied to Dennis P Finegan's topic in Photographing your work. How to do this.
Focus stacking is a doddle.......if you use Photoshop! -
And that's actually how we suggest to do it in the manual. The curve is so subtle in many areas as not to be noticeable.
- 233 replies
-
- 4
-
-
- Indefatigable
- Vanguard Models
- (and 1 more)
-
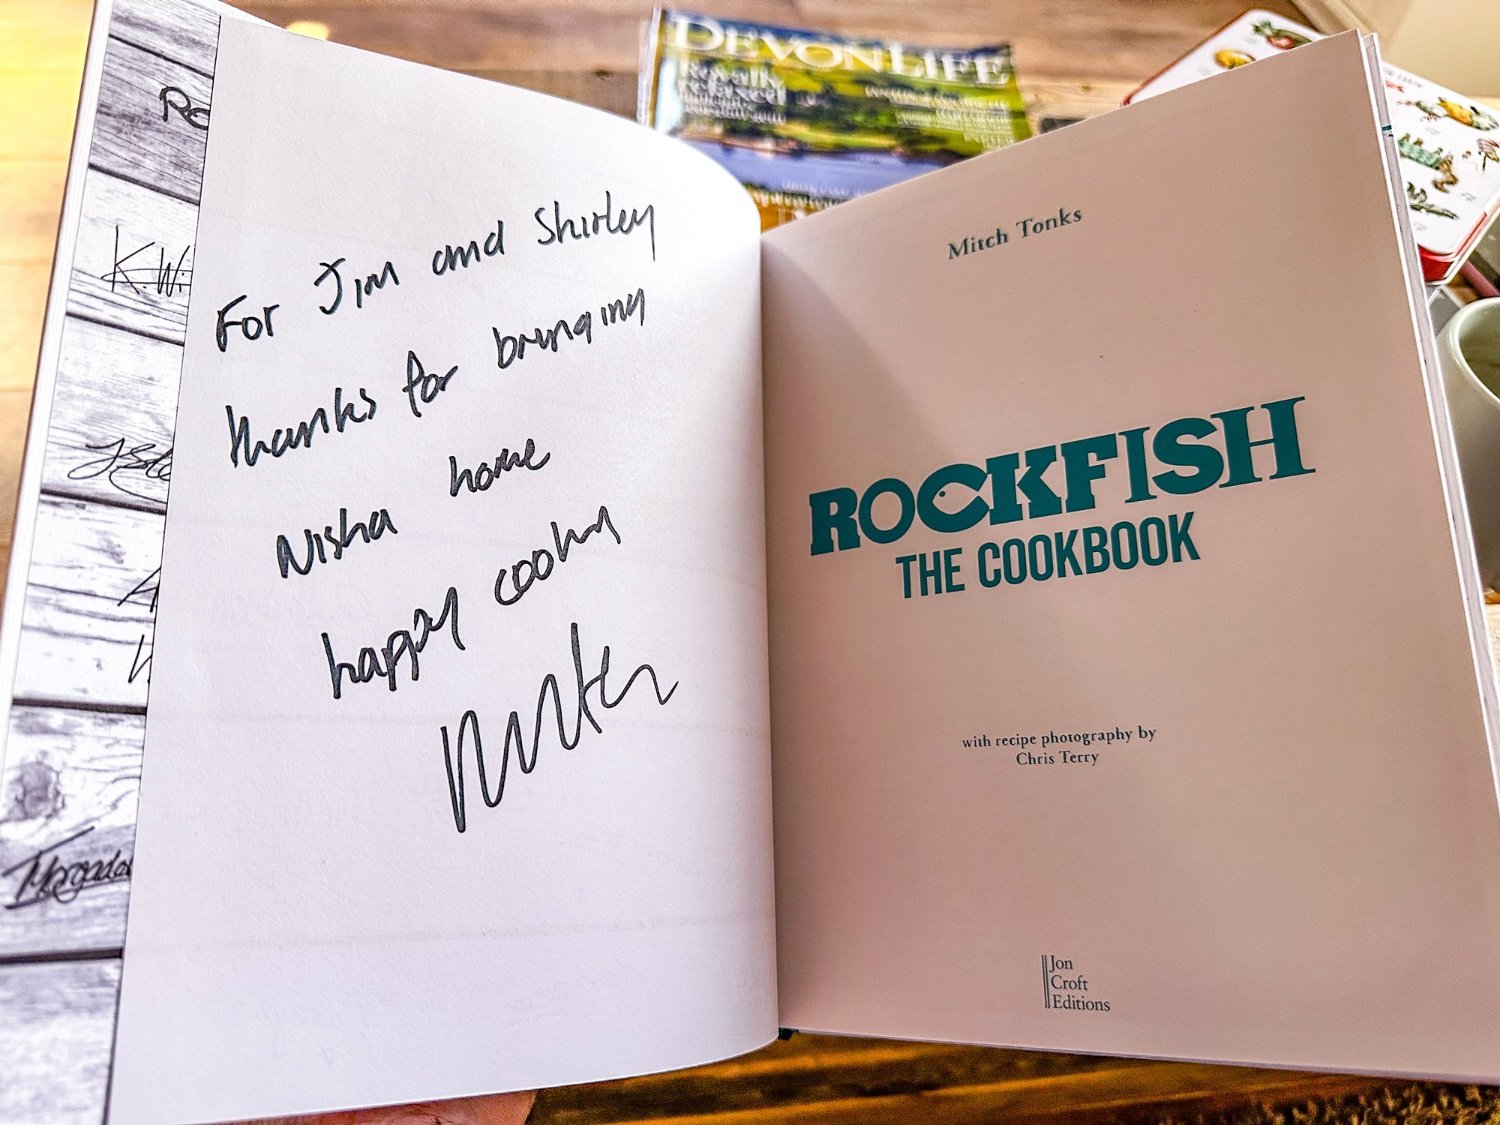
A quick footnote to Nisha's log. I'm currently on holiday in Devon, UK, and had arranged to return Nisha to her real home....so to speak. Whilst here, I've met with Mitch Tonks who is the CEO of the Rockfish chain of seafood restaurants. Our meet was in Brixham, so before lunch, I handed over Nisha to him and he was delighted with it. She's now on display in the restaurant, behind the bar area, for visitors to see. Mitch gave me a signed copy of his 6th cookbook and a rather nice pack of locally caught and tinned specialities. What a lovely bloke!


- 28 replies
-
- 13
-
-
- vanguard models
- Brixham trawler
- (and 2 more)
-
Yes, the plans have this detail, should the modeller wish to do it. It would be up to them.

- 426 replies
-
- 4
-
-
- Vanguard Models
- Sphinx
- (and 1 more)
-
It took me about 3 evening bench sessions (about 3hrs each) to make enough plates. I don't think any lack of nail detail on the tape takes away from the appearance. They are so much easier to get a waterline with too as you just add the waterline mark to the tape and then score along the length before peeling away the excess. Any plates that are damaged are also a cinch to replace.
- 648 replies
-
- 7
-
-
- Indefatigable
- Vanguard Models
- (and 1 more)
-
Hi Allan, I’ve seen you pass this info on it several kit build logs recently. This can and will eventually get lost in the pages. I think it’s a better idea to start a topic about this separately , so it’s easily referred to.
-
You're still better giving it an initial polish with 0000 steel wool before allowing to age so that it ages evenly. If you leave greasy fingerprints, they will be seen in the final finish as the acidic residues leave actual fingerprints on the thin copper tape.
- 443 replies
-
- 6
-
-

-
- Indefatigable
- Vanguard Models
- (and 1 more)
-
I know what Allan means here. There is no provision in the manual for this, but a modeller can do this if they see fit. I admit I’ve also never tapered there either, so o can’t offer up a model to show this. @allanyed maybe you can show where you’ve done this on your builds? It could be useful for reference in case anyone wants to add that feature.
- 233 replies
-
- 4
-
-
- Indefatigable
- Vanguard Models
- (and 1 more)
-
Very nice work indeed. That looks so clean.
- 233 replies
-
- 2
-
-
- Indefatigable
- Vanguard Models
- (and 1 more)
-
Foudroyant was wrecked about 30 miles from where I live. She was tethered to a pier when she broke loose in a storm and wrecked her.
- 233 replies
-
- 3
-
-
- Indefatigable
- Vanguard Models
- (and 1 more)
-
There really should be zero bowing. Before you glued, I'd have suggested every bulkhead was fully seated and the deck located exactly into each ear. The deck is designed to lie absolutely flat onto the frames, with zero elevation anywhere.
- 106 replies
-
- 2
-
-
- Grecian
- baltimore clipper
- (and 4 more)
-
Just a quick note about the orientation of your photos. Check this out so you can post pictures so they are the right way around:
- 106 replies
-
- 2
-
-
- Grecian
- baltimore clipper
- (and 4 more)
-
I use a fine sanding sponge. This is similar to the type I use.

-
I seriously would love to see you tackle her sometime. The hull is sat here in front of me, and it's monumental!