James H
-
Posts
6,133 -
Joined
-
Last visited
Content Type
Profiles
Forums
Gallery
Events
Everything posted by James H
-
 Ok, that has always been turned off by default, but I've now activated it so you should see signatures. The key reason for them originally being turned off was to reduce page download times over a mobile connection. We generally have fast mobile connections these days. See how that goes.
 -
Thank you very much for letting us all know. That is so terribly sad. Please pass on MSW's heartfelt condolences to his family. I'll change his MSW status 😔
-
Nice solution to cutting those sections evenly.
- 587 replies
-
- 3
-

-

-
- Indefatigable
- Vanguard Models
- (and 1 more)
-
tool review Perma-Grit tools
James H replied to James H's topic in REVIEWS: Model Shipwrighting Tools, Parts and fittings
I use the broad, flat stick for pairing down dowel to make mast lower sections. Been doing that tonight.- 17 replies
-
- 3
-
-
- permagrit
- perma-grit
- (and 3 more)
-
Strap you to a plank for a week and be spoon-fed your meals. You'll be right in no time! Hope it's fixed up soon.
- 587 replies
-
- 5
-
-
-
- Indefatigable
- Vanguard Models
- (and 1 more)
-
I don't doubt there's probably a few more anomalies on my rigging, but don't tell anyone if you see them 😆 I figured Chris didn't need me hassling him any more than I normally do during a prototype build, so I go into 'get it done' mode more often than not.
- 426 replies
-
- 4
-
-
- Vanguard Models
- Sphinx
- (and 1 more)
-
More likely me not knowing anything about rigging and just wanting to get the job done. Do it the way Chris explains. This is also a reason I hate doing rig for instructions as I am clueless with it.
- 426 replies
-
- 4
-
-
- Vanguard Models
- Sphinx
- (and 1 more)
-
And cows only have two feet.
-
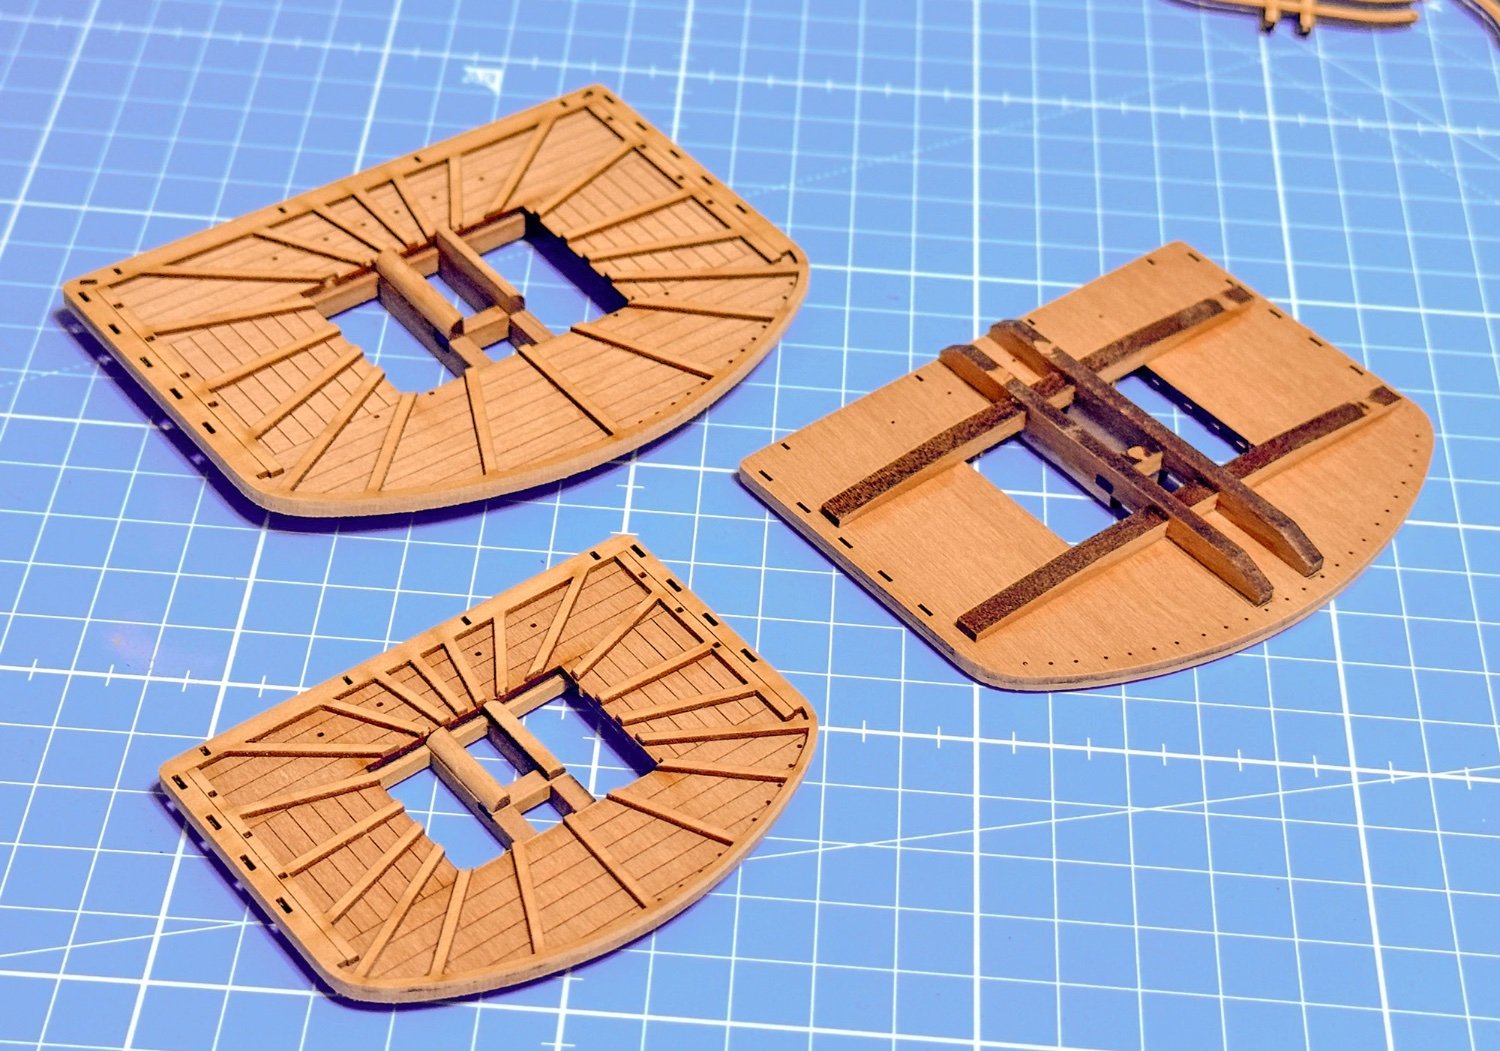
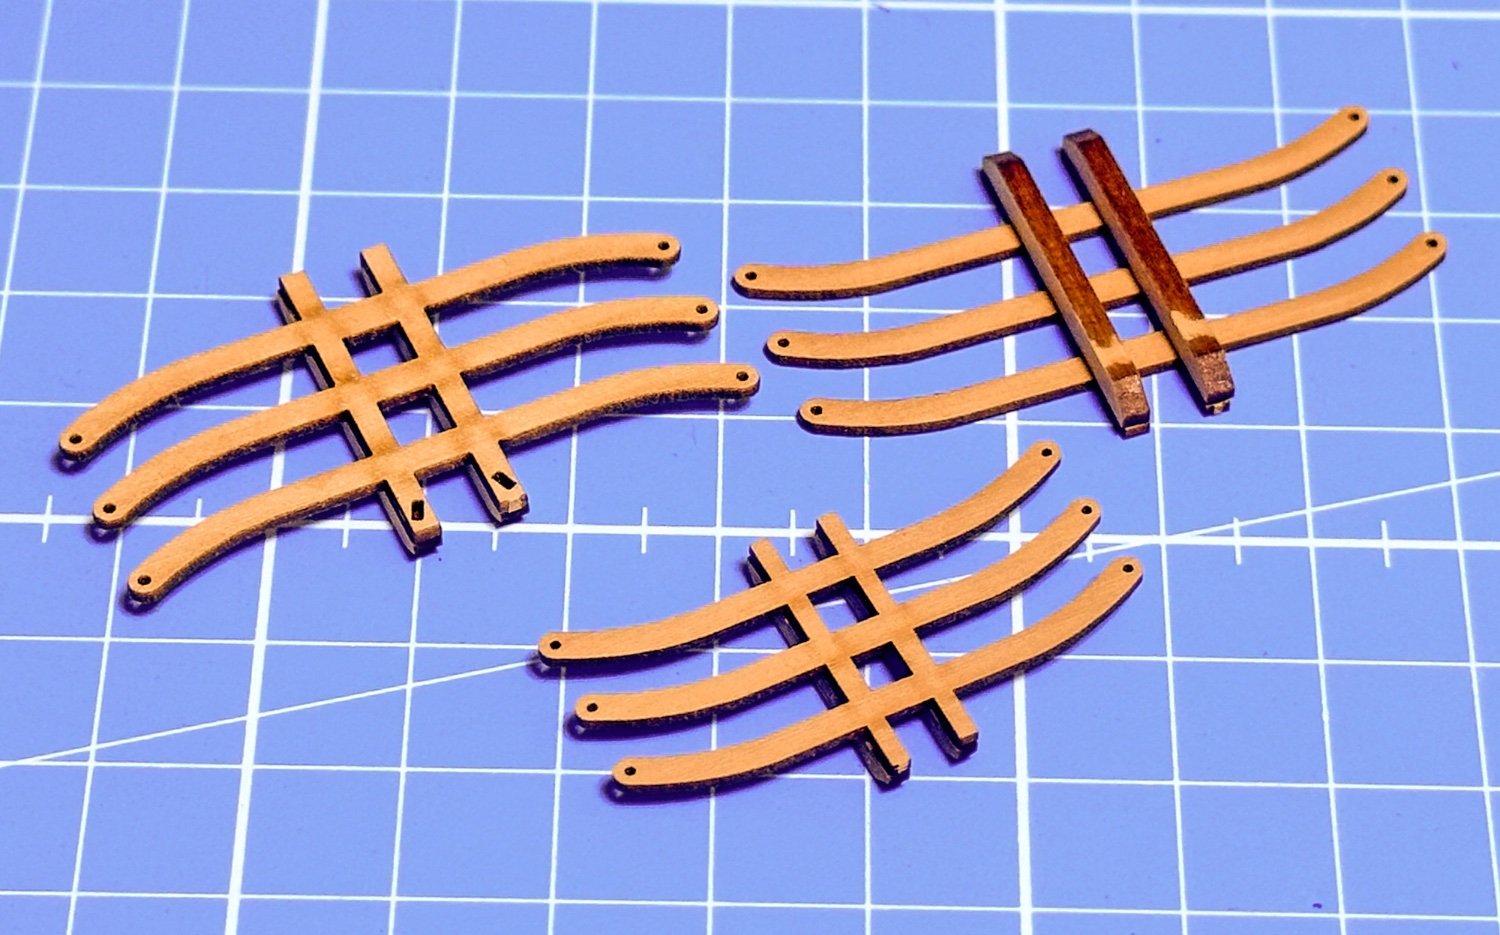
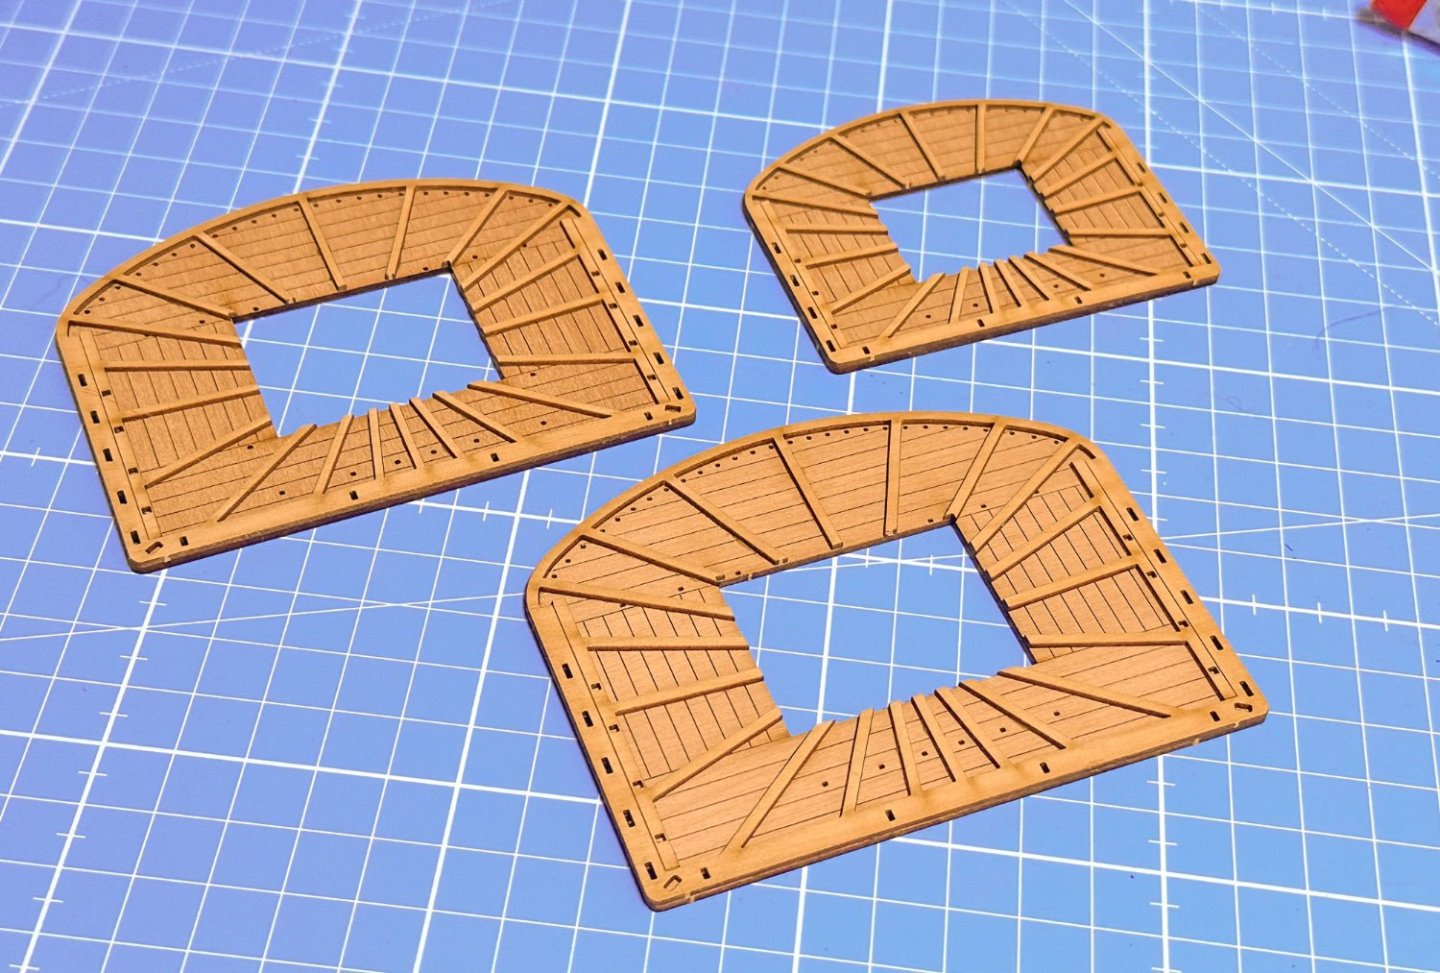
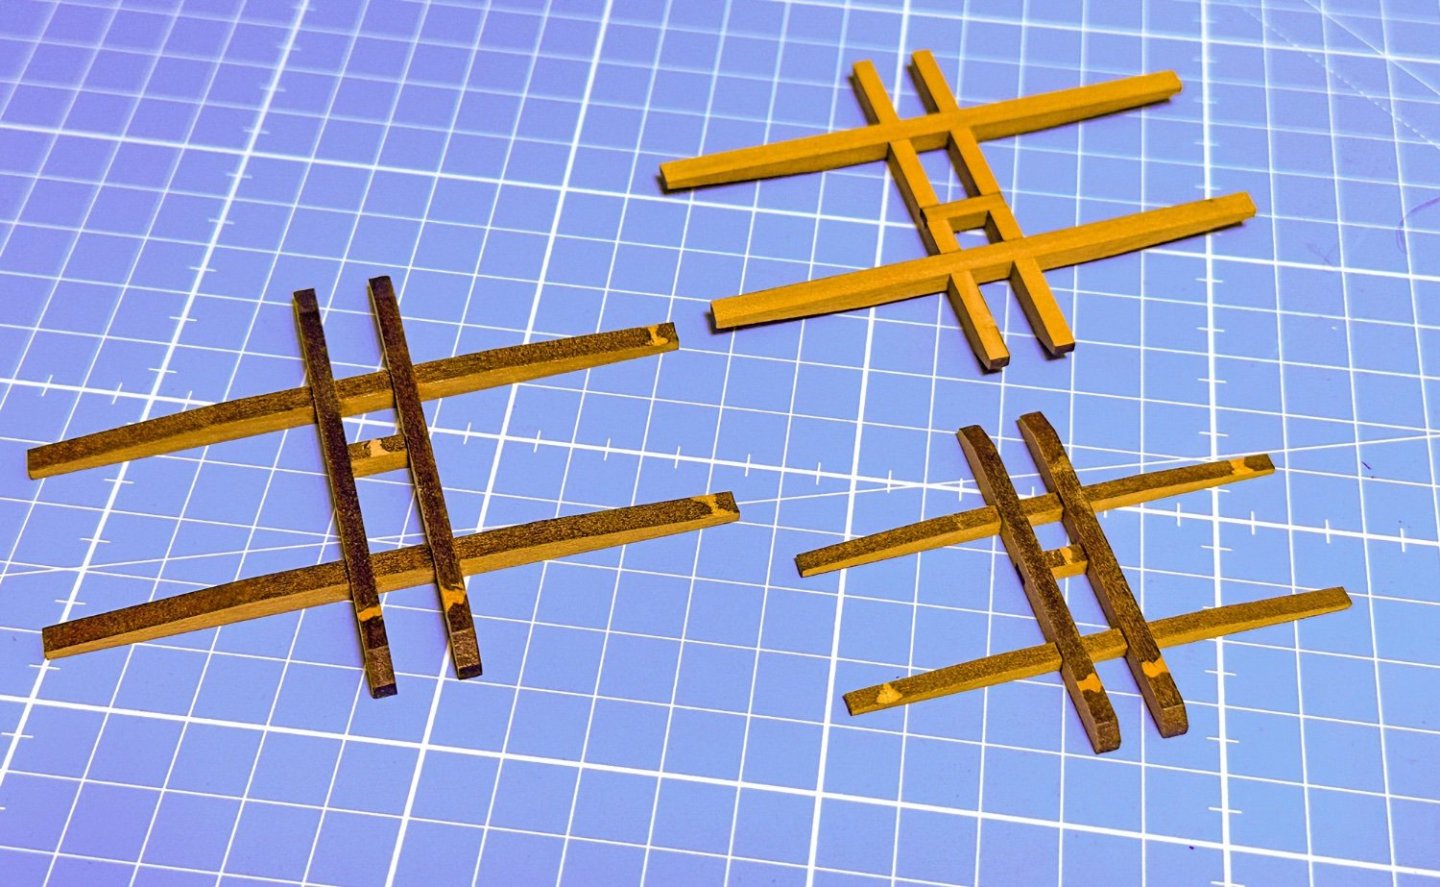
Some work has started on making mast parts. At the moment, it's anything but tapering! I've just set up my lathe to make a start on the various dowel sections. In the meantime...


- 488 replies
-
- 35
-
-

-
- Indefatigable
- Vanguard Models
- (and 1 more)
-
No, this is an entirely different thing. The site's security certificate has expired and I'm dealing with the host in getting it sorted. It really is nothing to worry about.
-
I've just performed a server restart. With the power on/off sporadically over the weekend, at least I will now know that all our services will have restarted properly.
- 24 replies
-
- 13
-
-
-
I'll be starting my bowsprit sometime this week. I can see from yours that the rake will make it extremley imposing.
- 443 replies
-
- 7
-
-
- Indefatigable
- Vanguard Models
- (and 1 more)
-
You can add fewer photos to each post. Just make more posts. That way a single page won't be about 100 miles long and will be far more readable as you and others post to your build log.
-
This one was an issue at the datacenter and not any issue with MSW itself. There was a problem with the power which supplied many server cabinets at the datacenter and the outage took probably many 1000s if not 100,000's sites offline what depended on that datacenter. We were simply a casualty of that. The engineers there upgraded the power supplies and now we are back.
- 24 replies
-
- 17
-
-
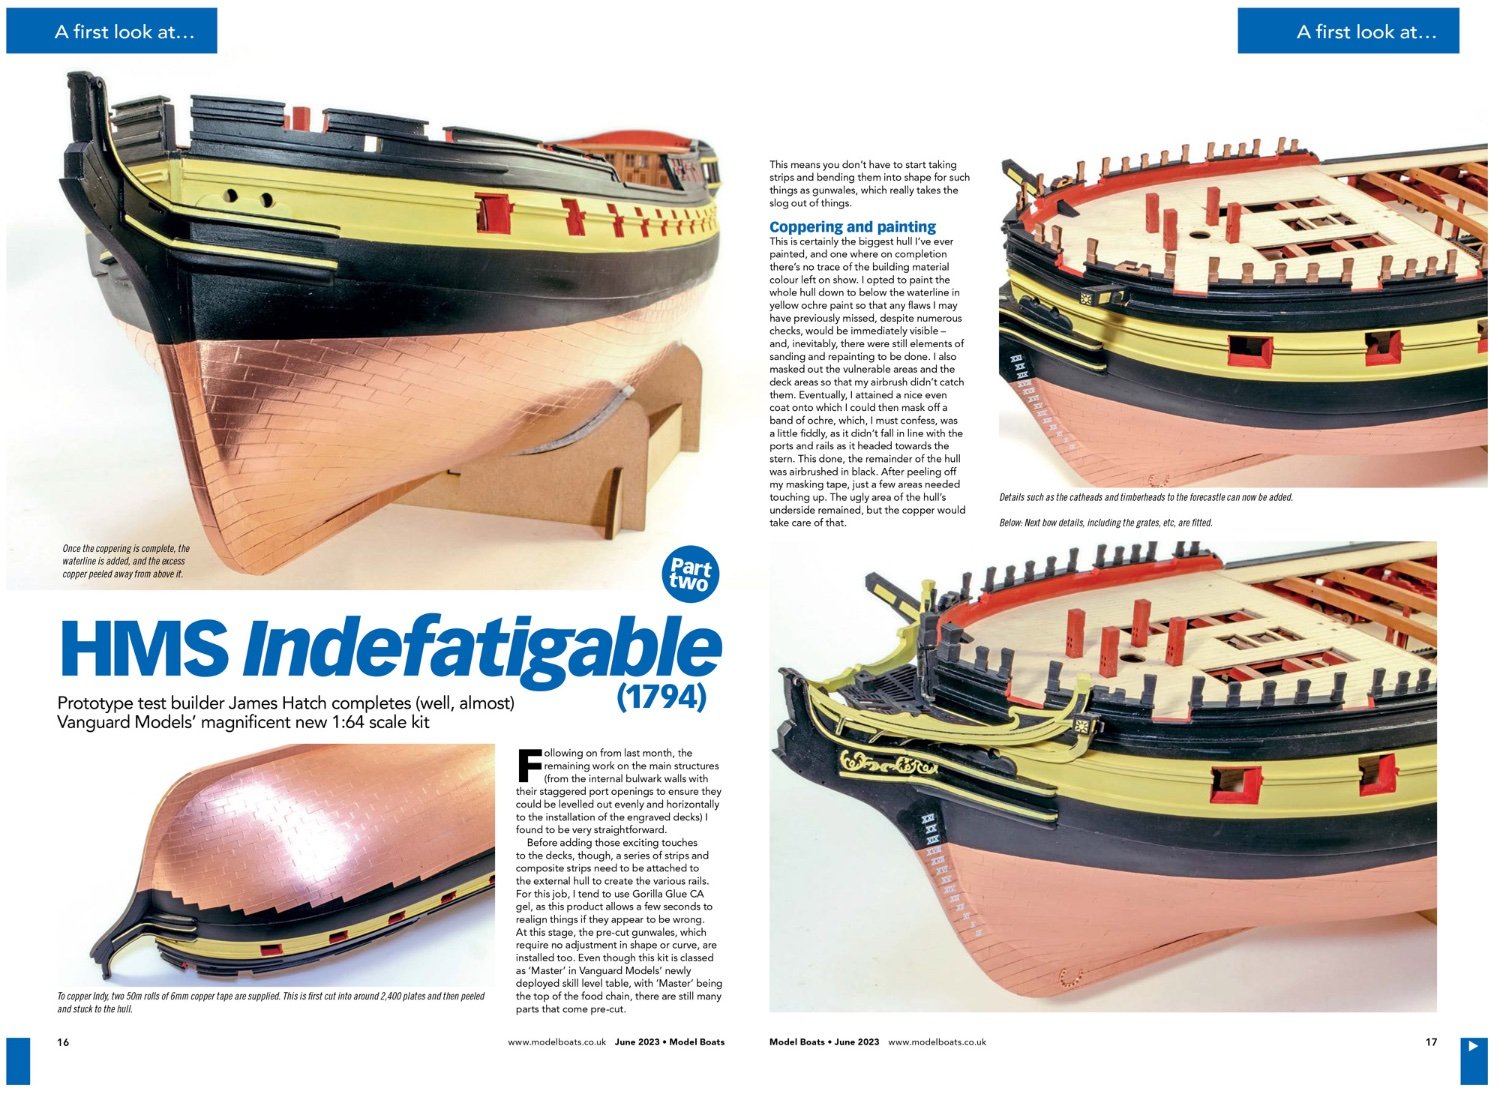
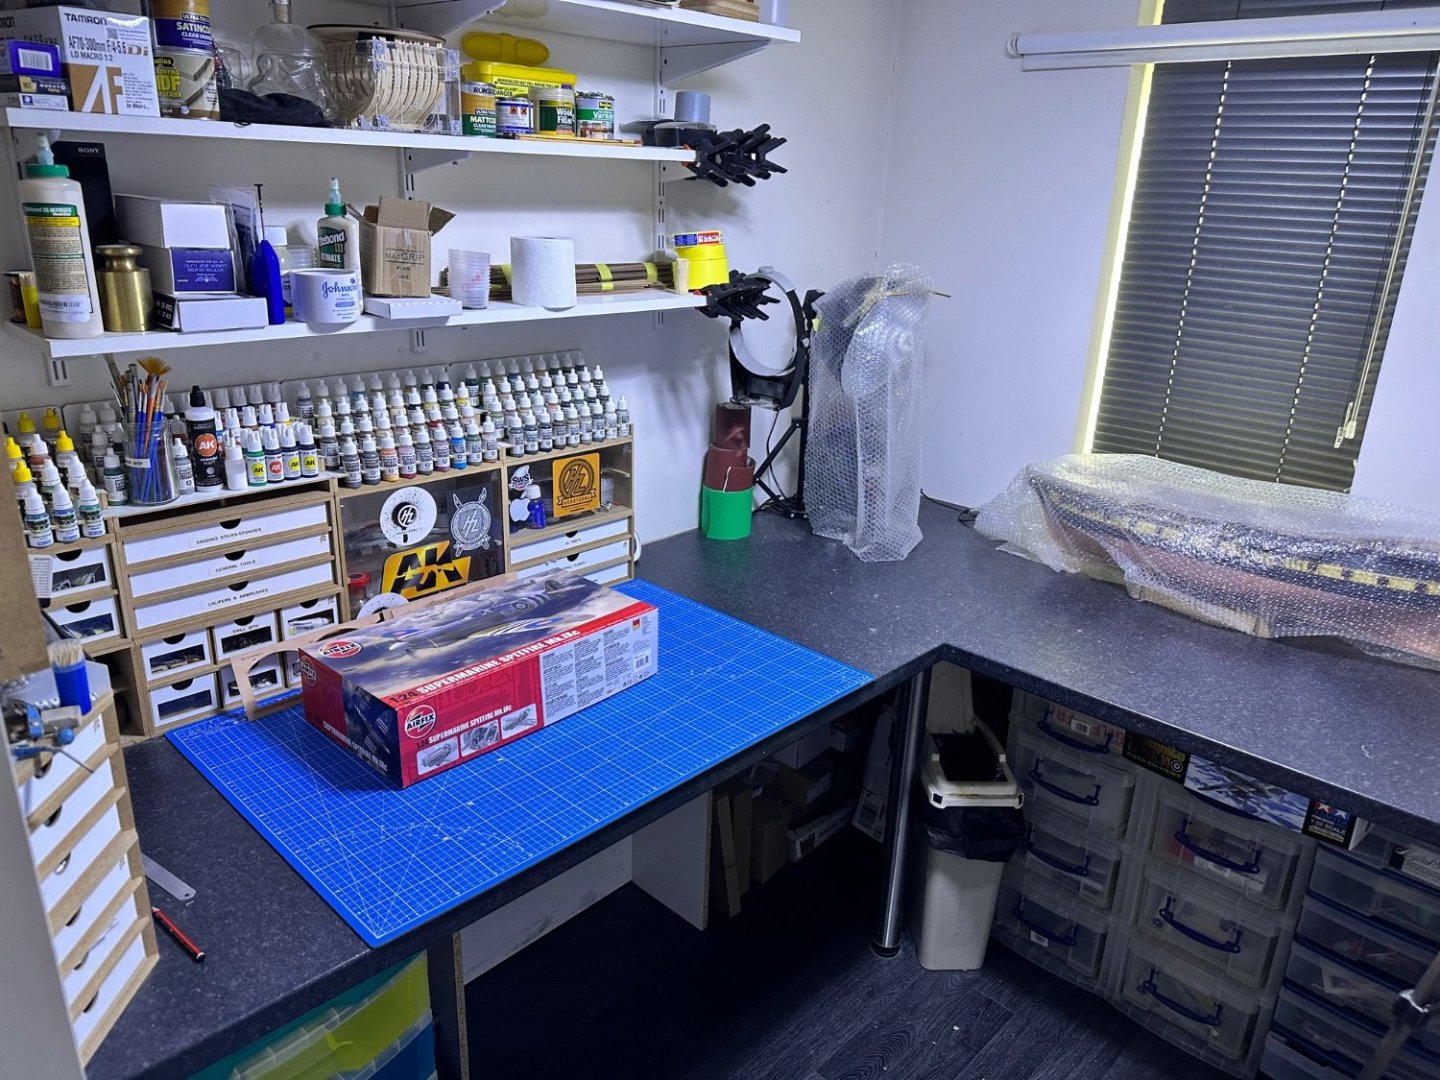
Just for note, Pt.2 of my Indy article is now out in the Model Boats mag. Here's the intro pages. My workroom has also had a serious deep clean too. It really needed it. I've reinstated my beck storage station, and stripped down the photo area where you can now see the Indy hull. New cutting mat and this weekend I'll have a new chair so I can work more comfortably. Ignore the Spitfire kit. That will be started after Indy is complete and I go on a small hiatus from wood.

- 488 replies
-
- 28
-
-
- Indefatigable
- Vanguard Models
- (and 1 more)
-
I just love how this is turning out. You're at one of my favourite points in this build. 🍿
- 443 replies
-
- 6
-
-
- Indefatigable
- Vanguard Models
- (and 1 more)
-
The manual for this shows a couple of clear photos. All I did was run a single strip of tape along the keel, up against hull. From there I just added the plates in a brick fashion. That single run of tape can then later be scribed to fit the brick pattern. Add the tape plates above the waterline and then add a feint waterline over the copper. Use a fresh blade and cut along the line before removing the excess from above the waterline.
- 80 replies
-
- 7
-
-
-
- Grecian
- Vanguard Models
- (and 3 more)
-
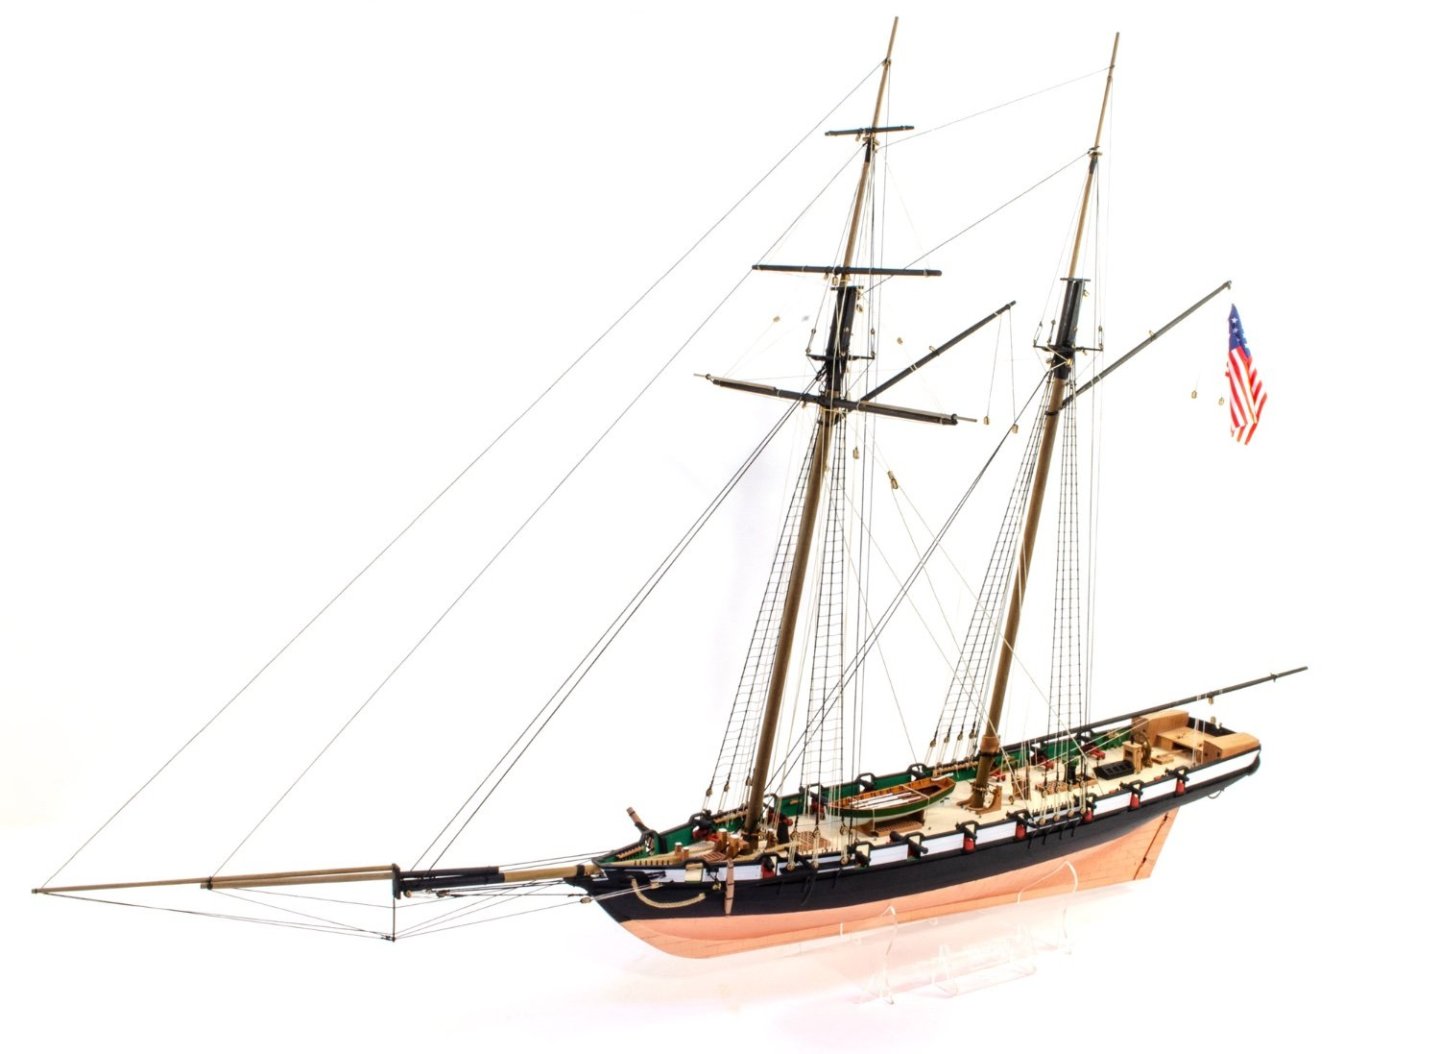
One last small update as I'm heading off to watch TV with my better half. Grecian now has her flag. This is sprayed in a mild starch solution, weighted with croc clips until dry, and then small spots of PVA used to tack into final position.

- 80 replies
-
- 21
-
-
-
- Grecian
- Vanguard Models
- (and 3 more)
-
To be bluntly honest, I don't really think most kit builders would really care about stuff like this. Maybe as 'some' modellers progress down a more serious route, would they contemplate details such as tapering of those areas. I would think that most kit modellers wouldn't want to progress down that route and are happy to build very respectable finished projects without the sort of things that only a purist would look at.
-
Here's a pic I took of the optional flag. This is perfectly screen printed on both sides and has zero bleed. I'll fit this to Grecian this week.

- 80 replies
-
- 11
-
-
-
- Grecian
- Vanguard Models
- (and 3 more)
-
There will also be an optional American flag. I'll post another picture next week showing the flag mounted to the model.
- 80 replies
-
- 5
-
-
- Grecian
- Vanguard Models
- (and 3 more)
-
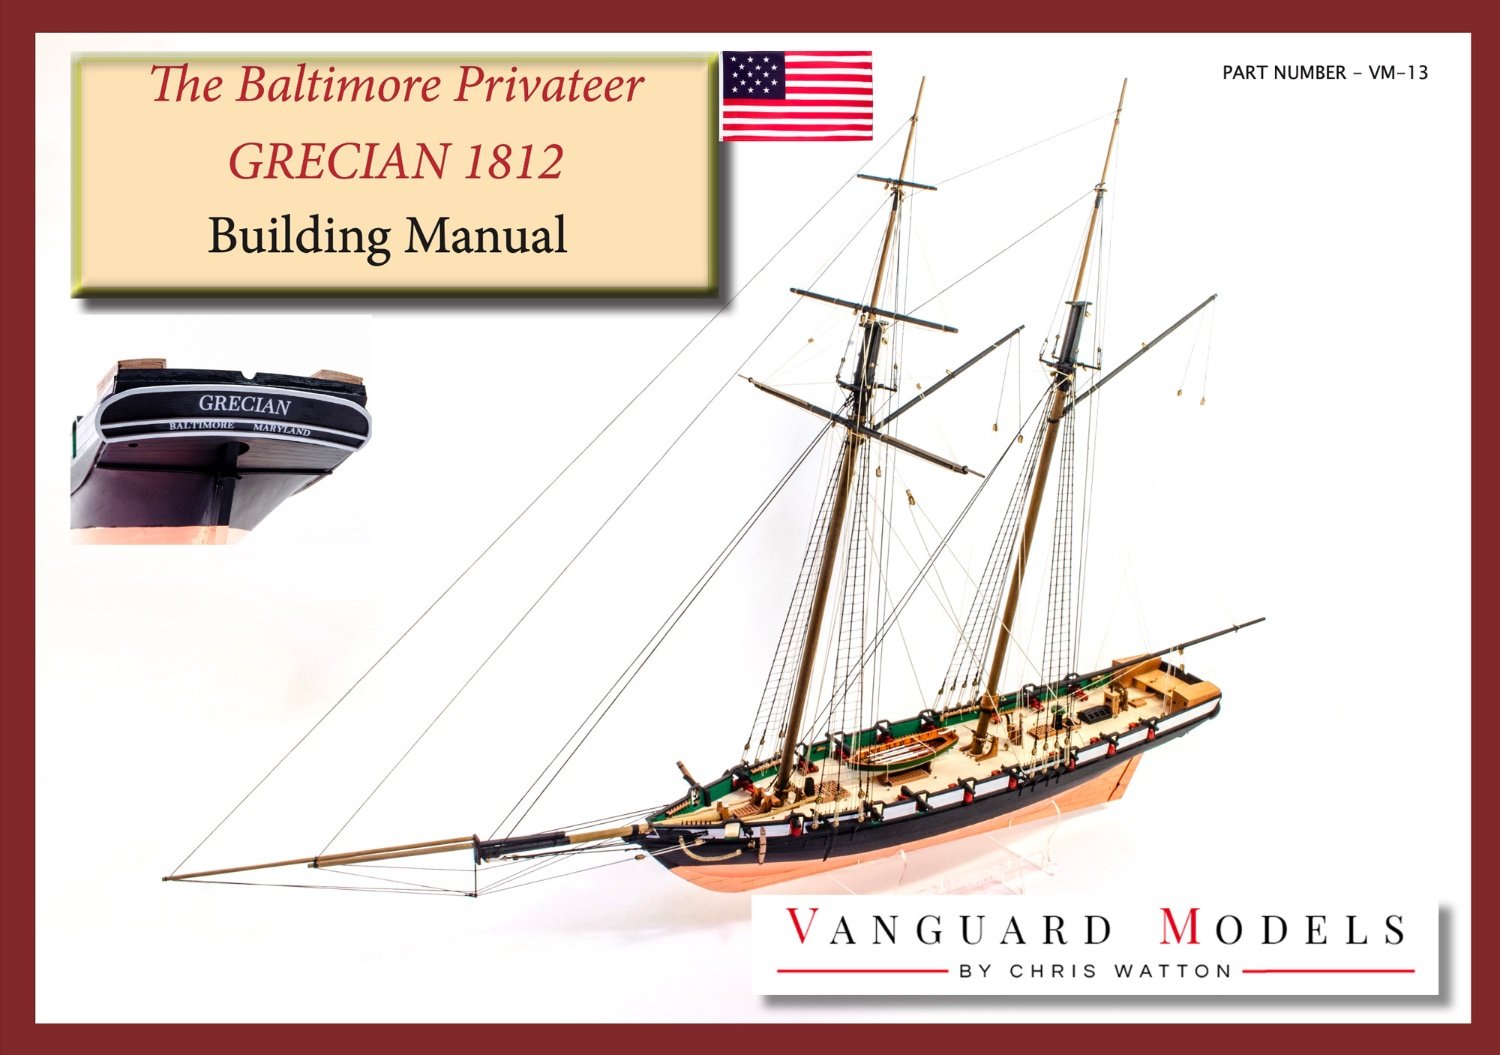
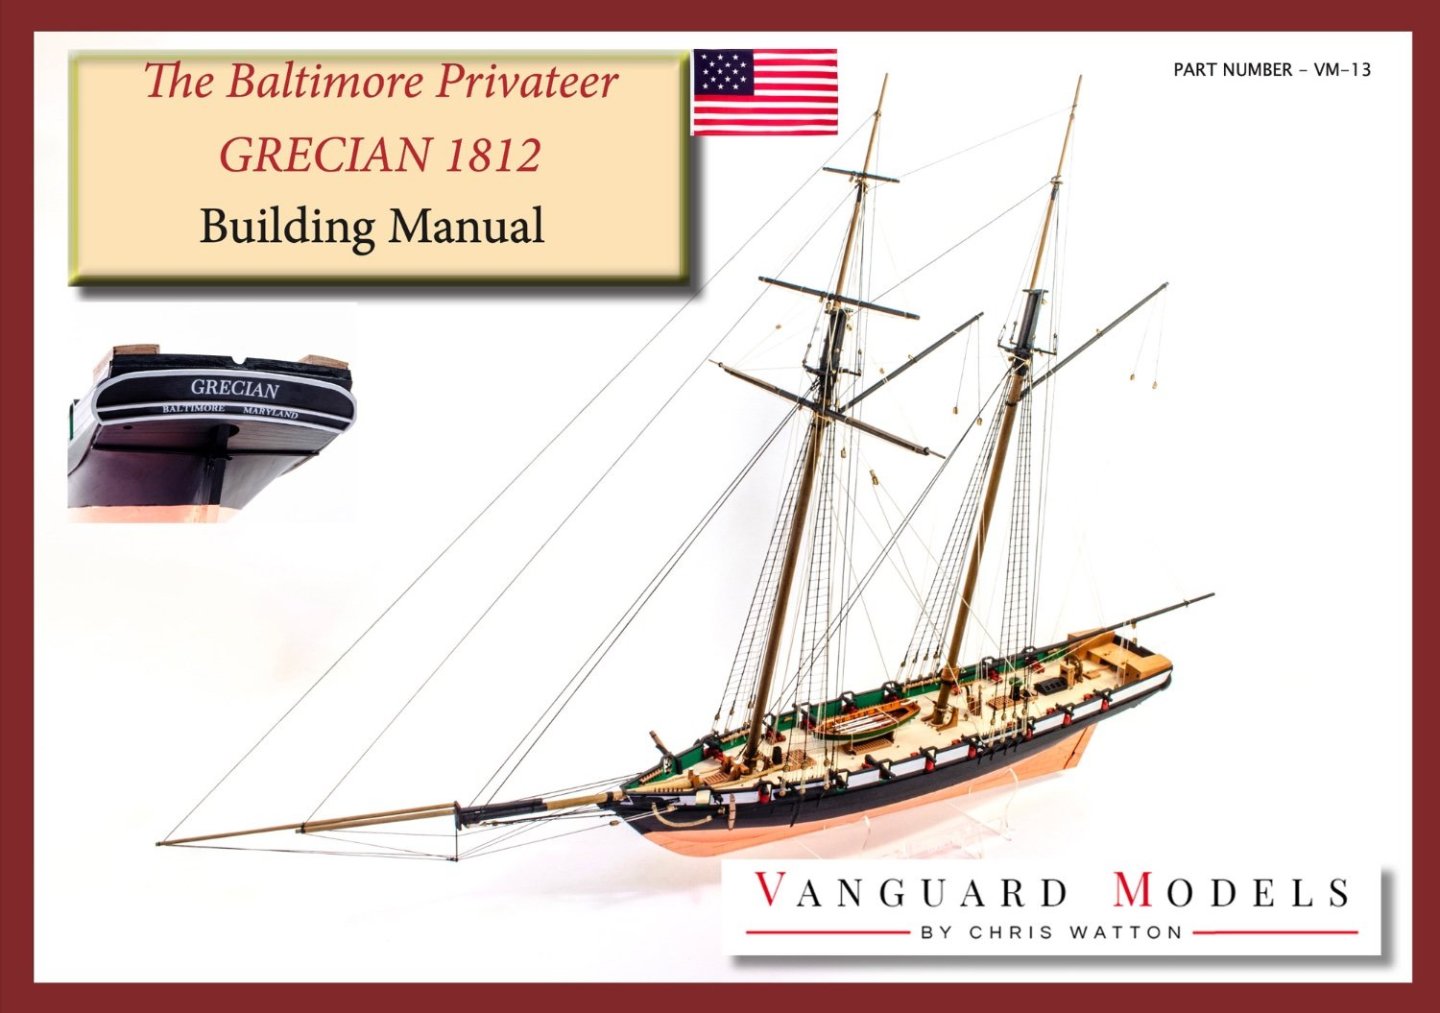
Here's the front page of the manual. There will be a pre-order open early next week too At that point, you'll also be able to download and look at the manual. Options will be available for a period-correct flag and also a limited number of PE copper plate sets instead of the standard copper tape that's supplied.
- 80 replies
-
- 16
-
-
- Grecian
- Vanguard Models
- (and 3 more)