-
Posts
6,067 -
Joined
-
Last visited
Content Type
Profiles
Forums
Gallery
Events
Everything posted by James H
-
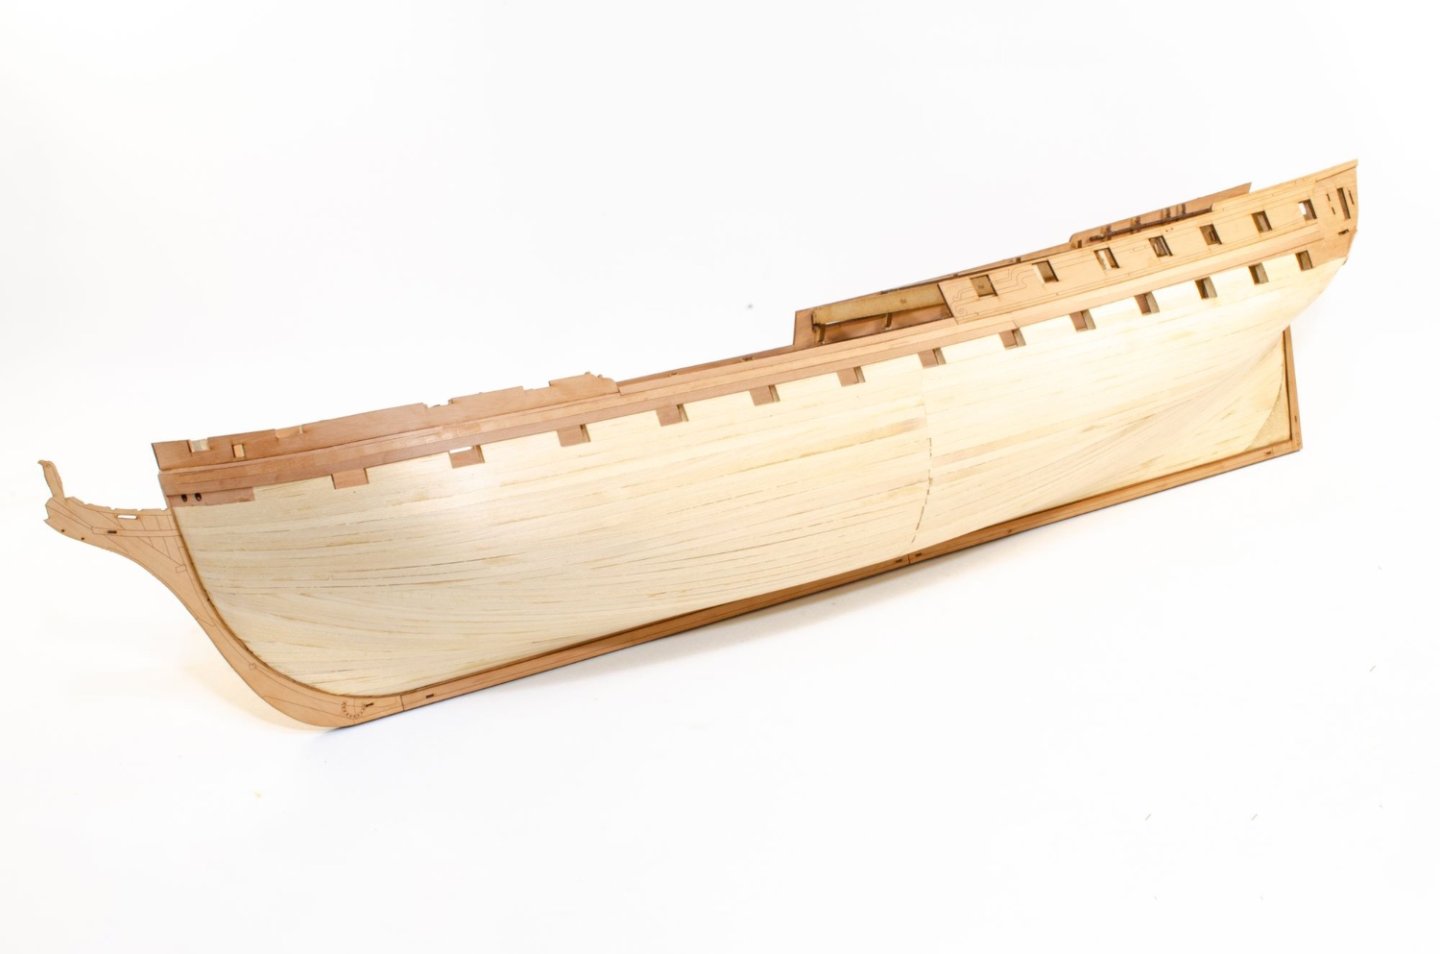
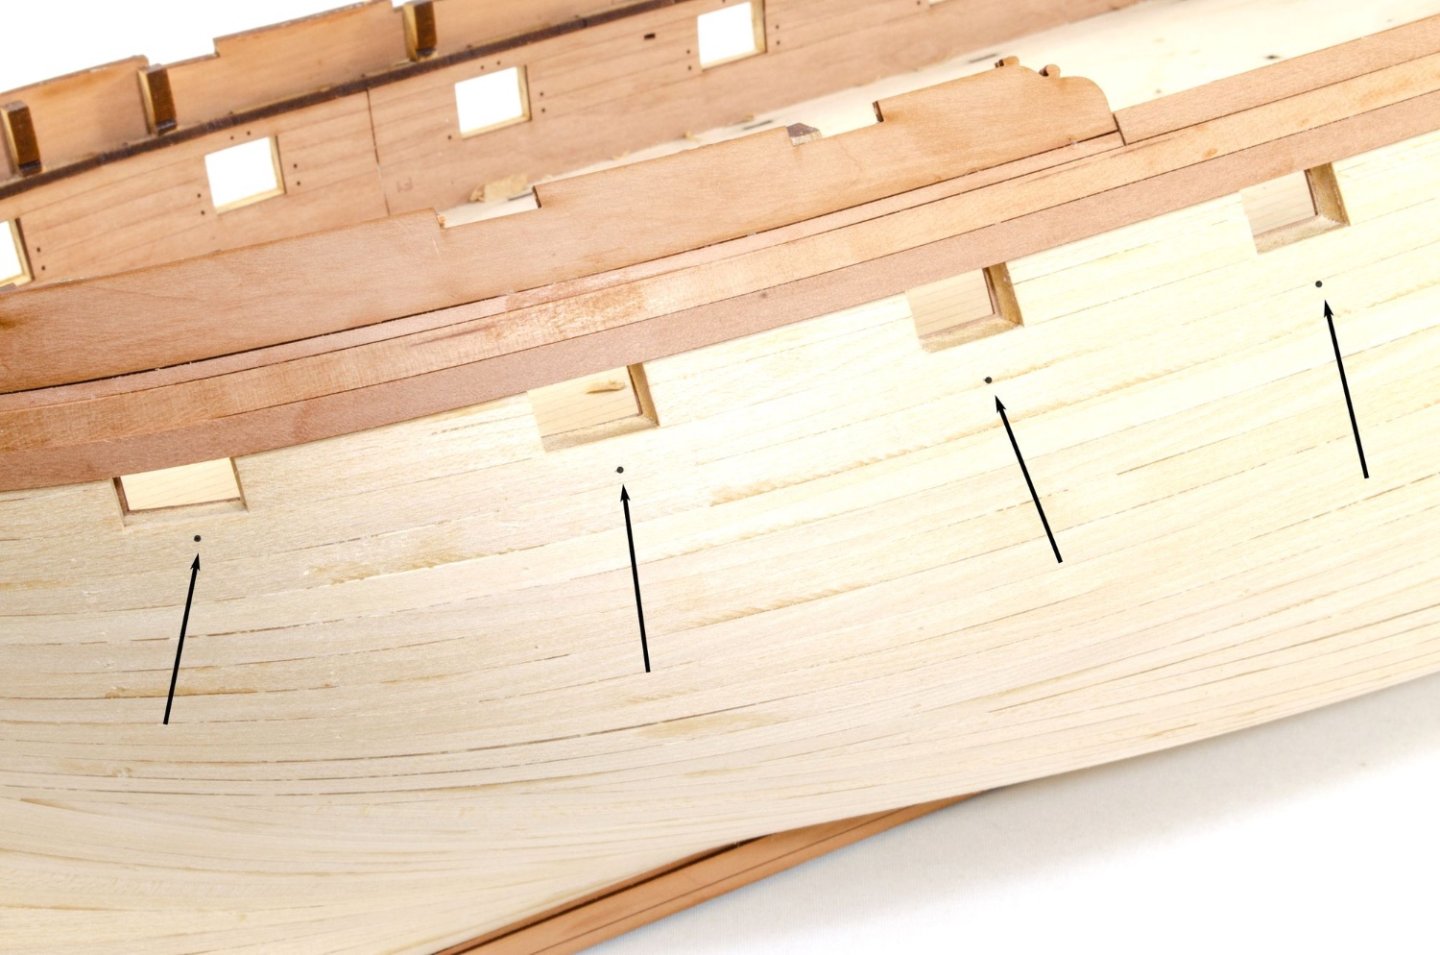
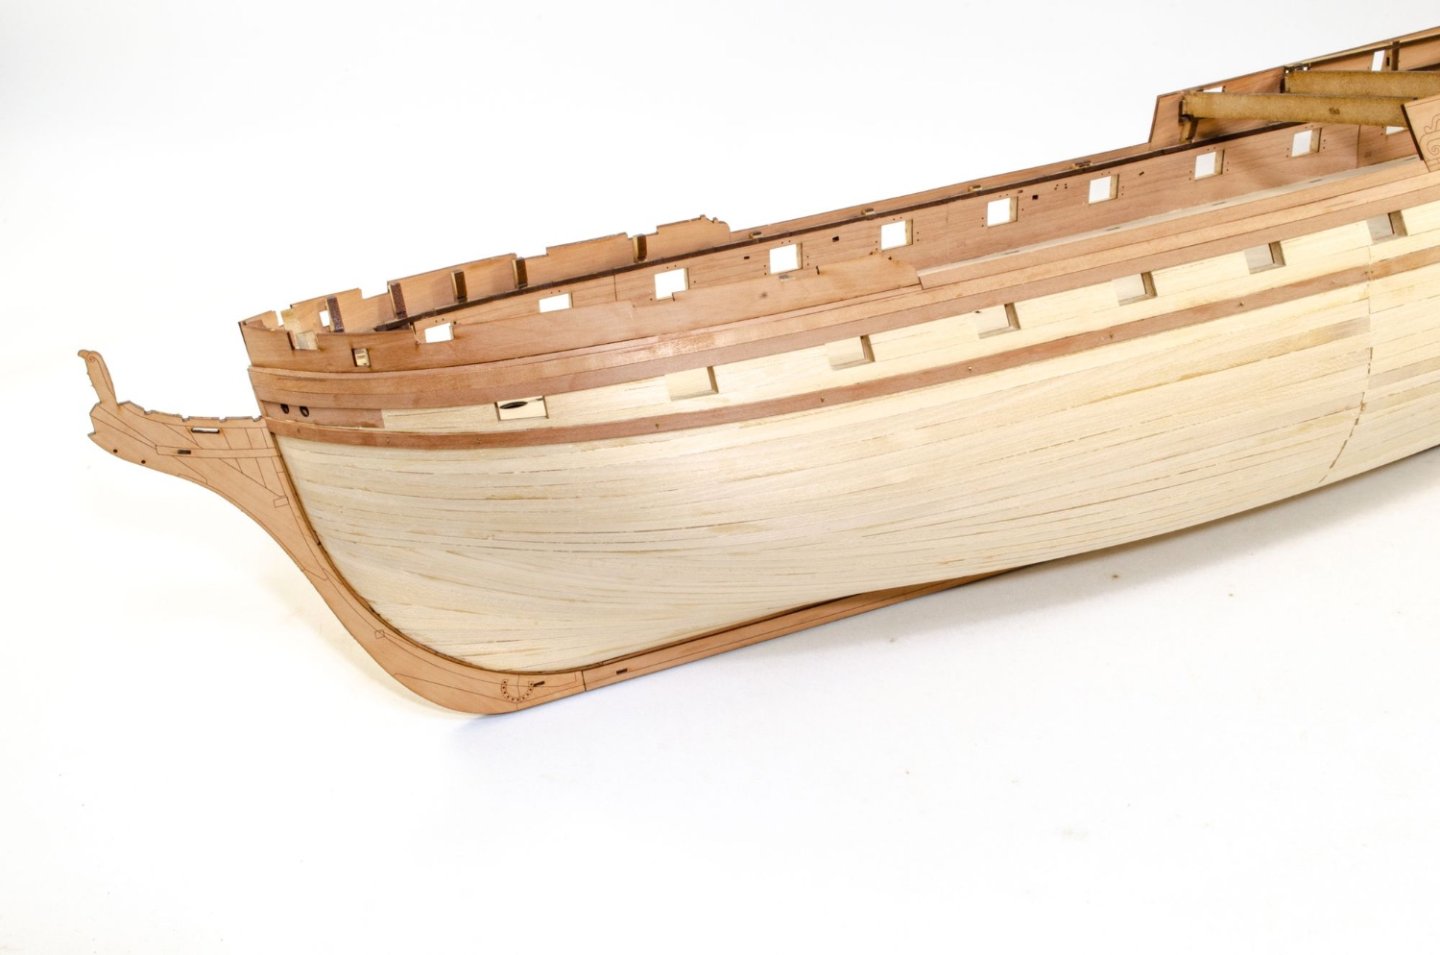
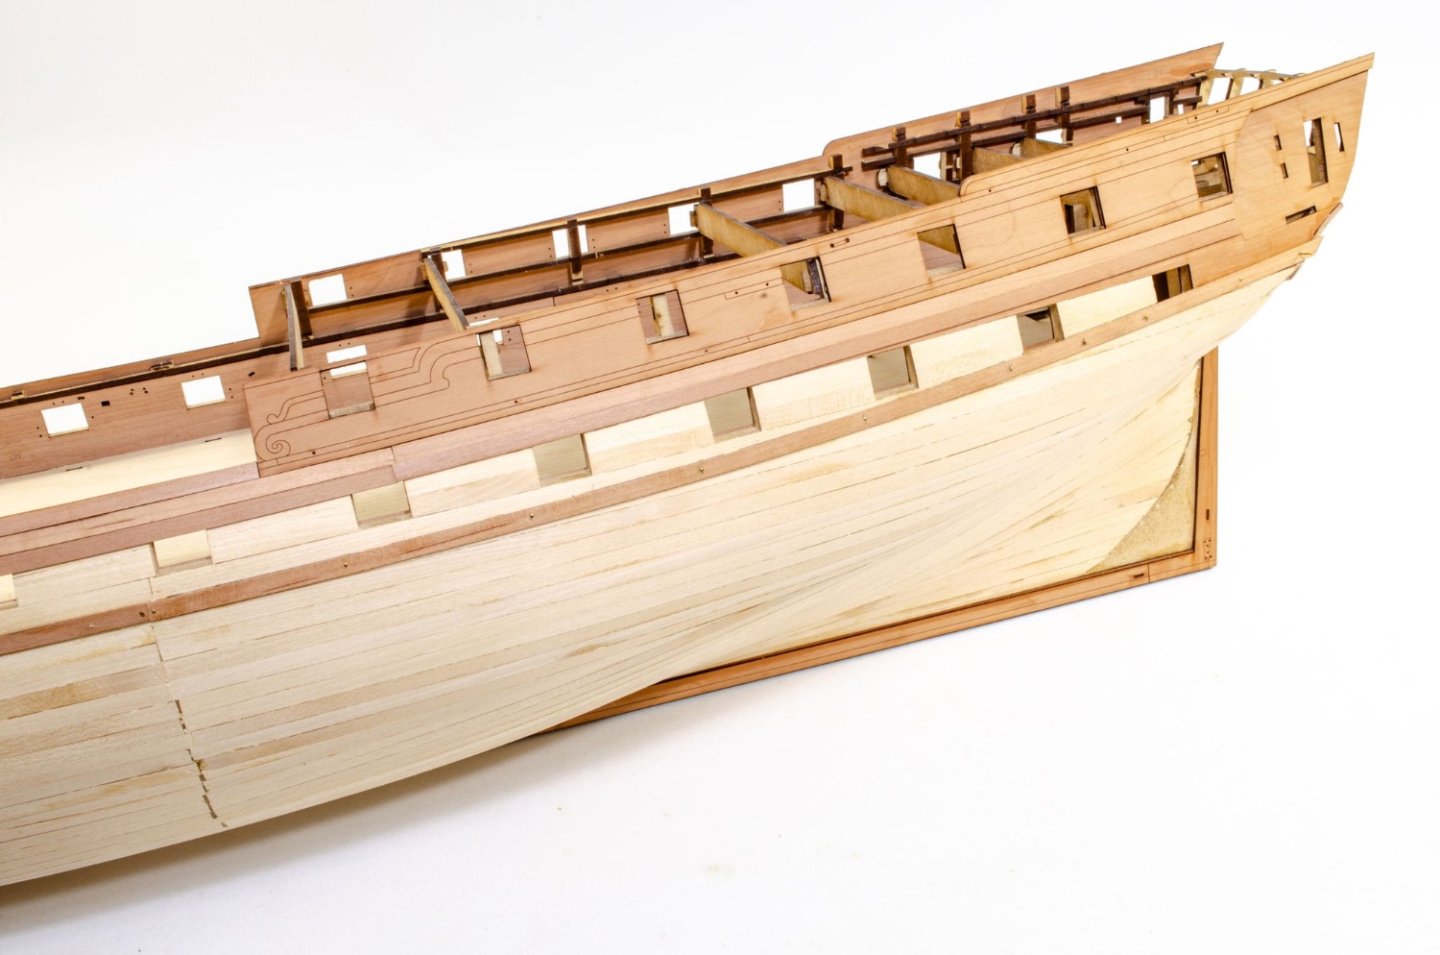
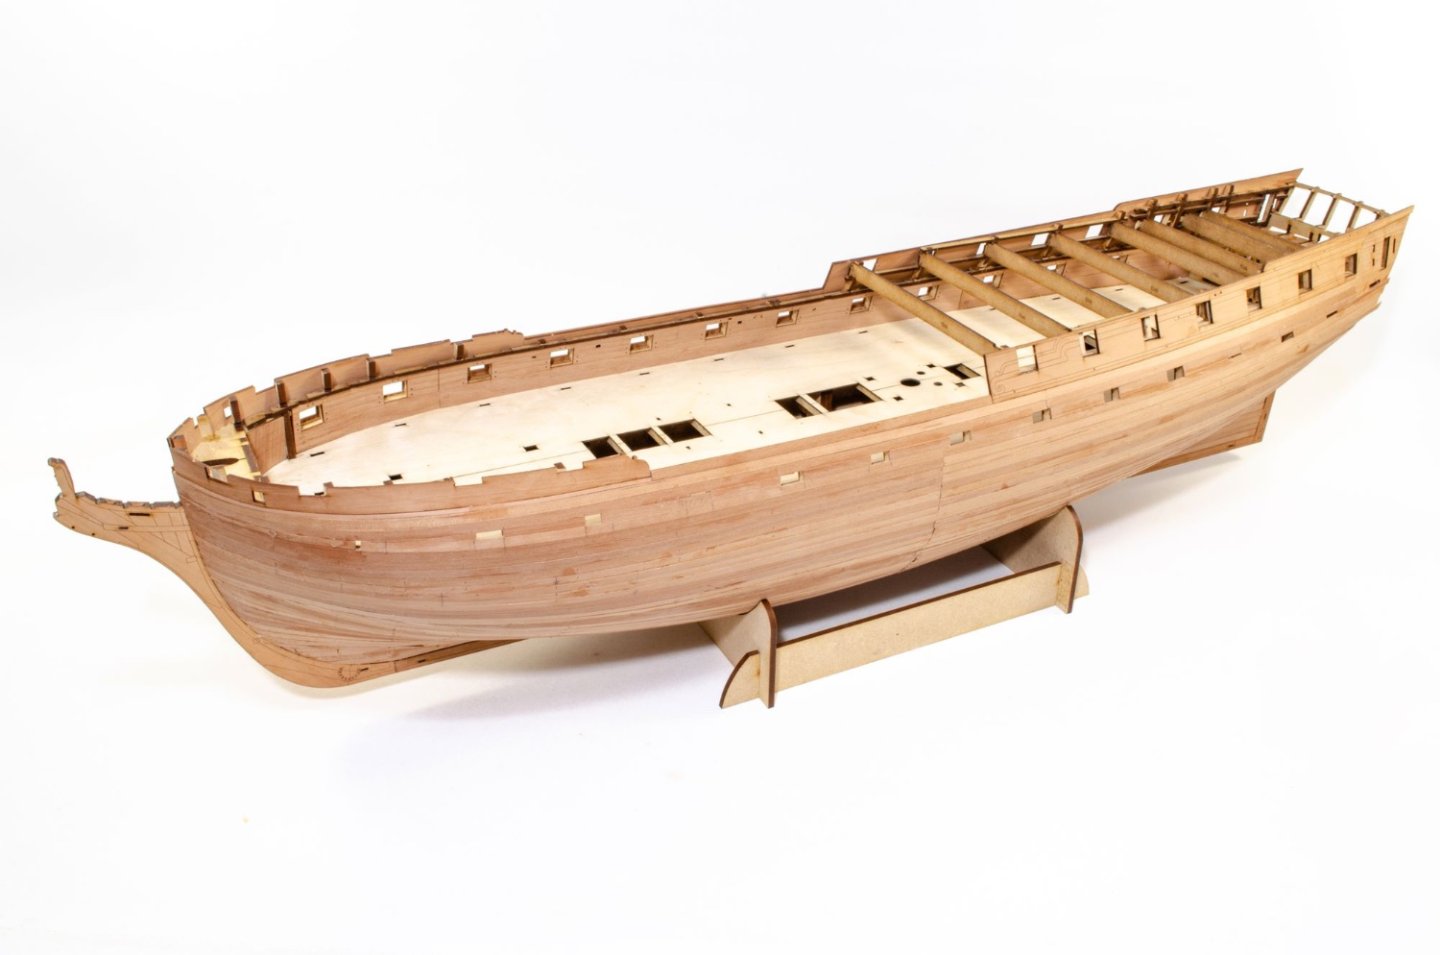
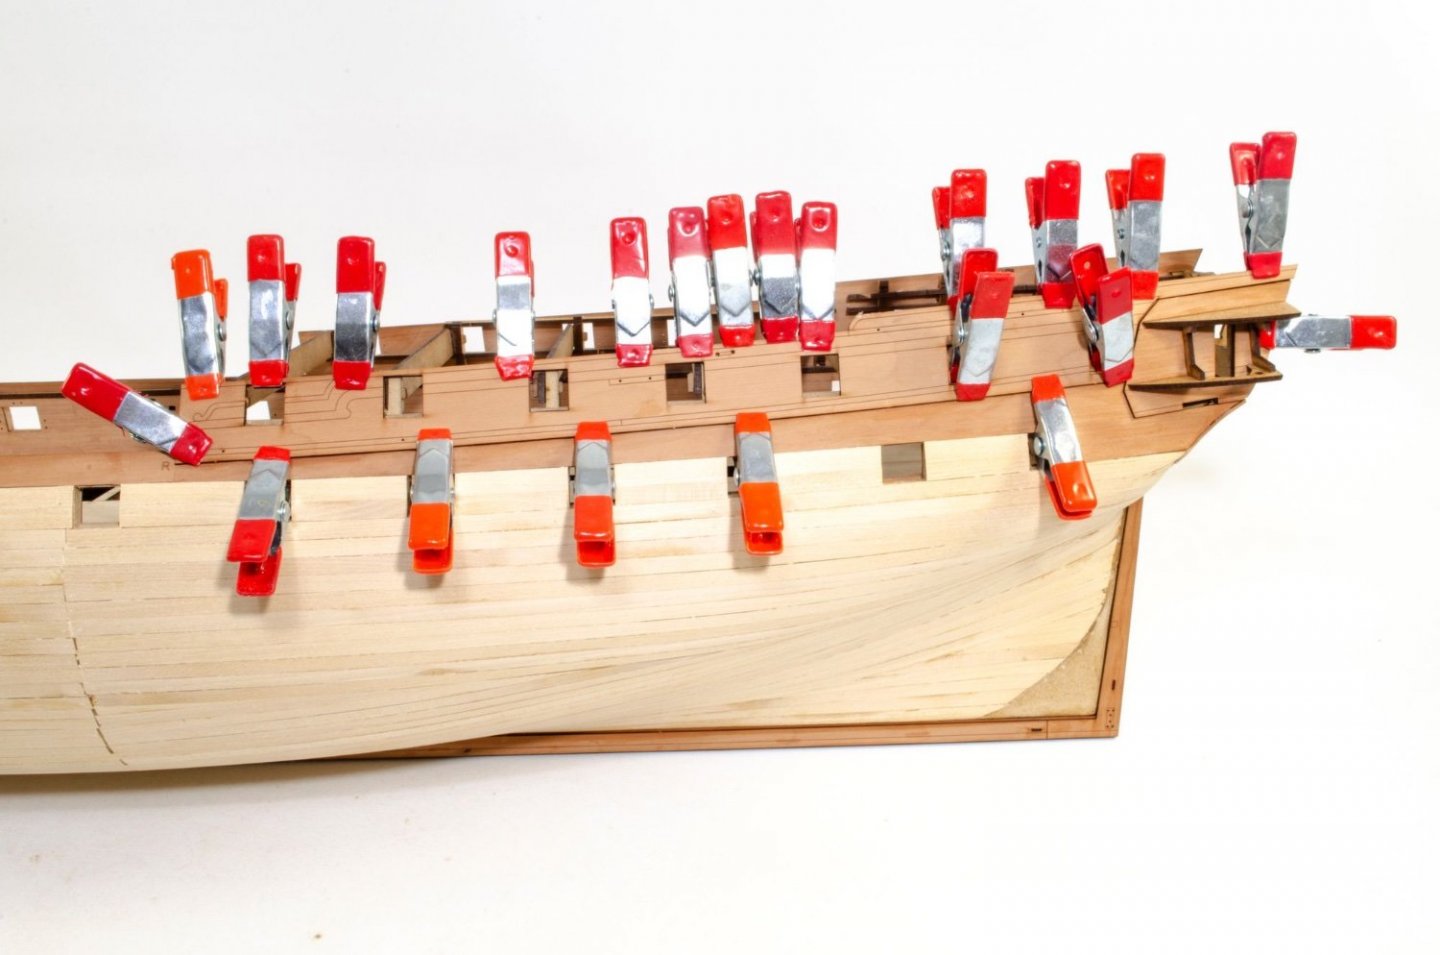
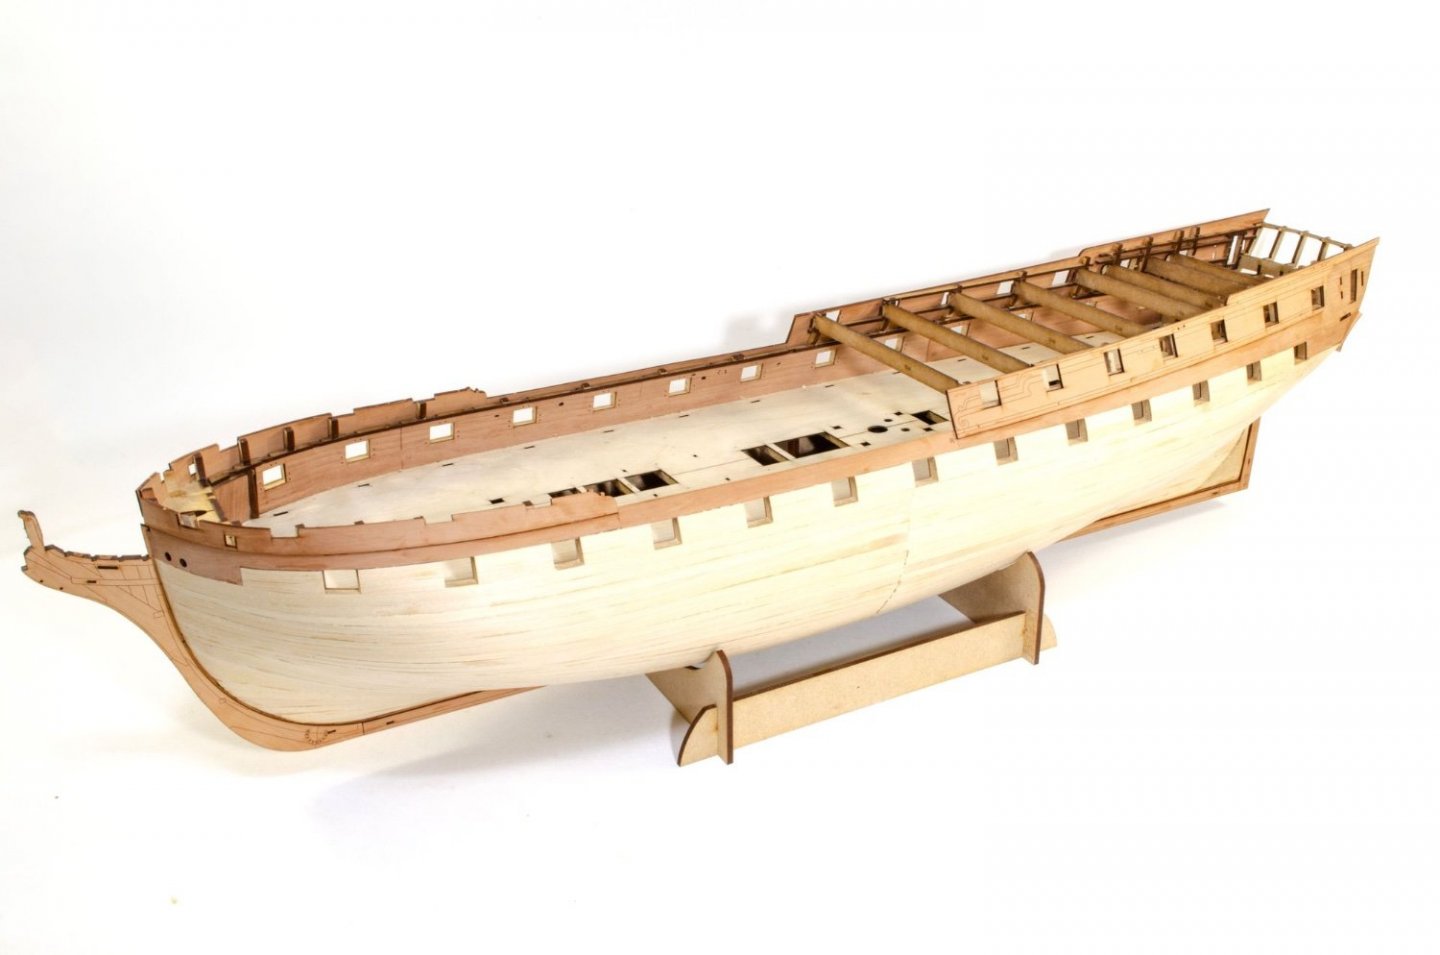
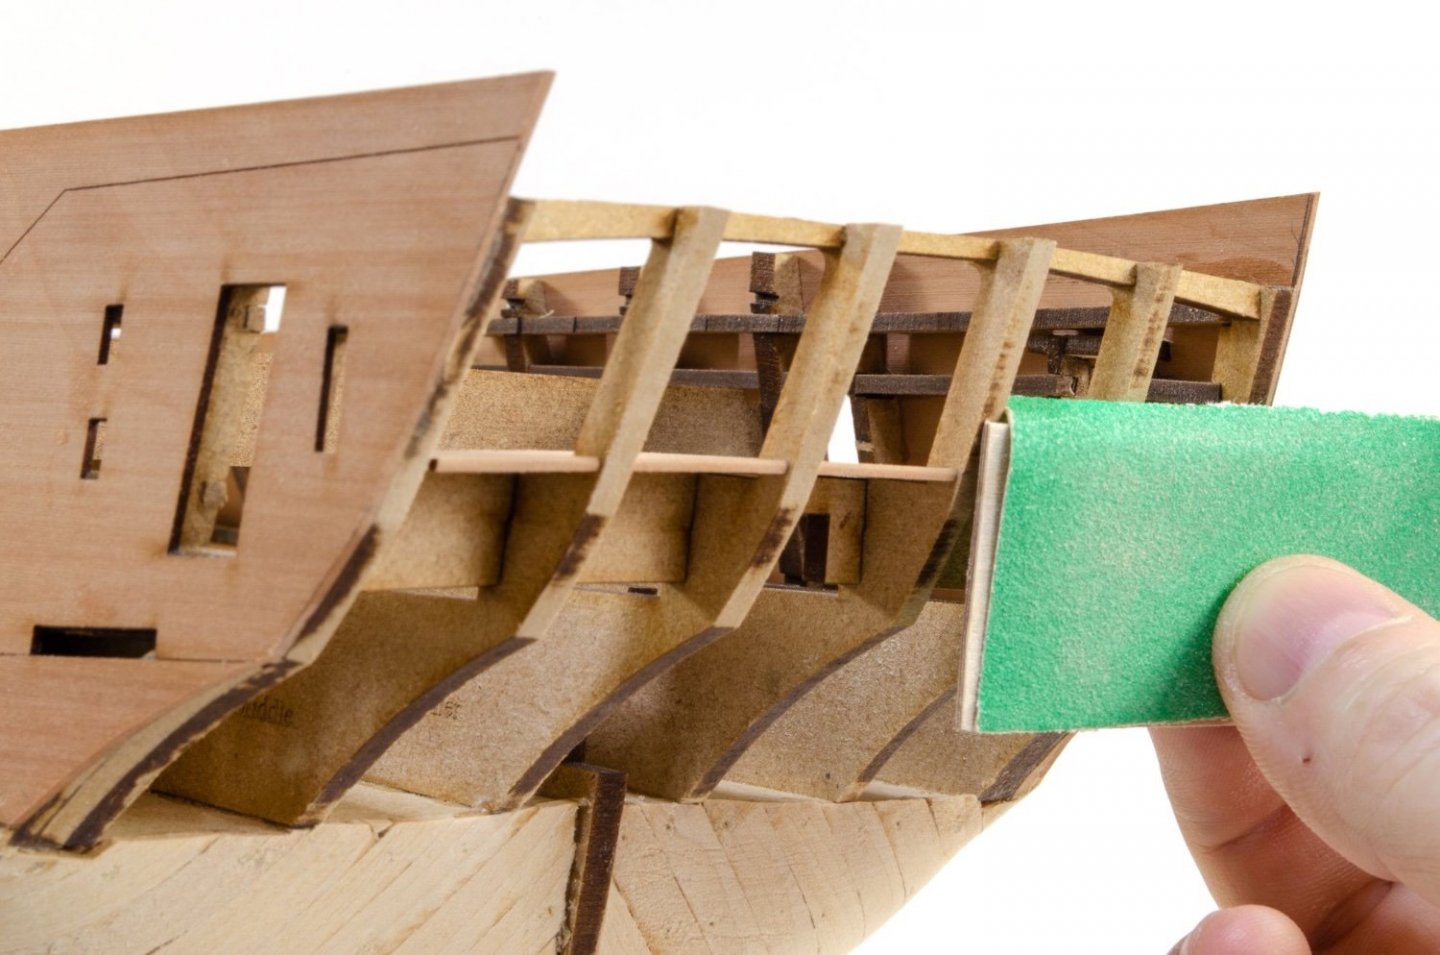
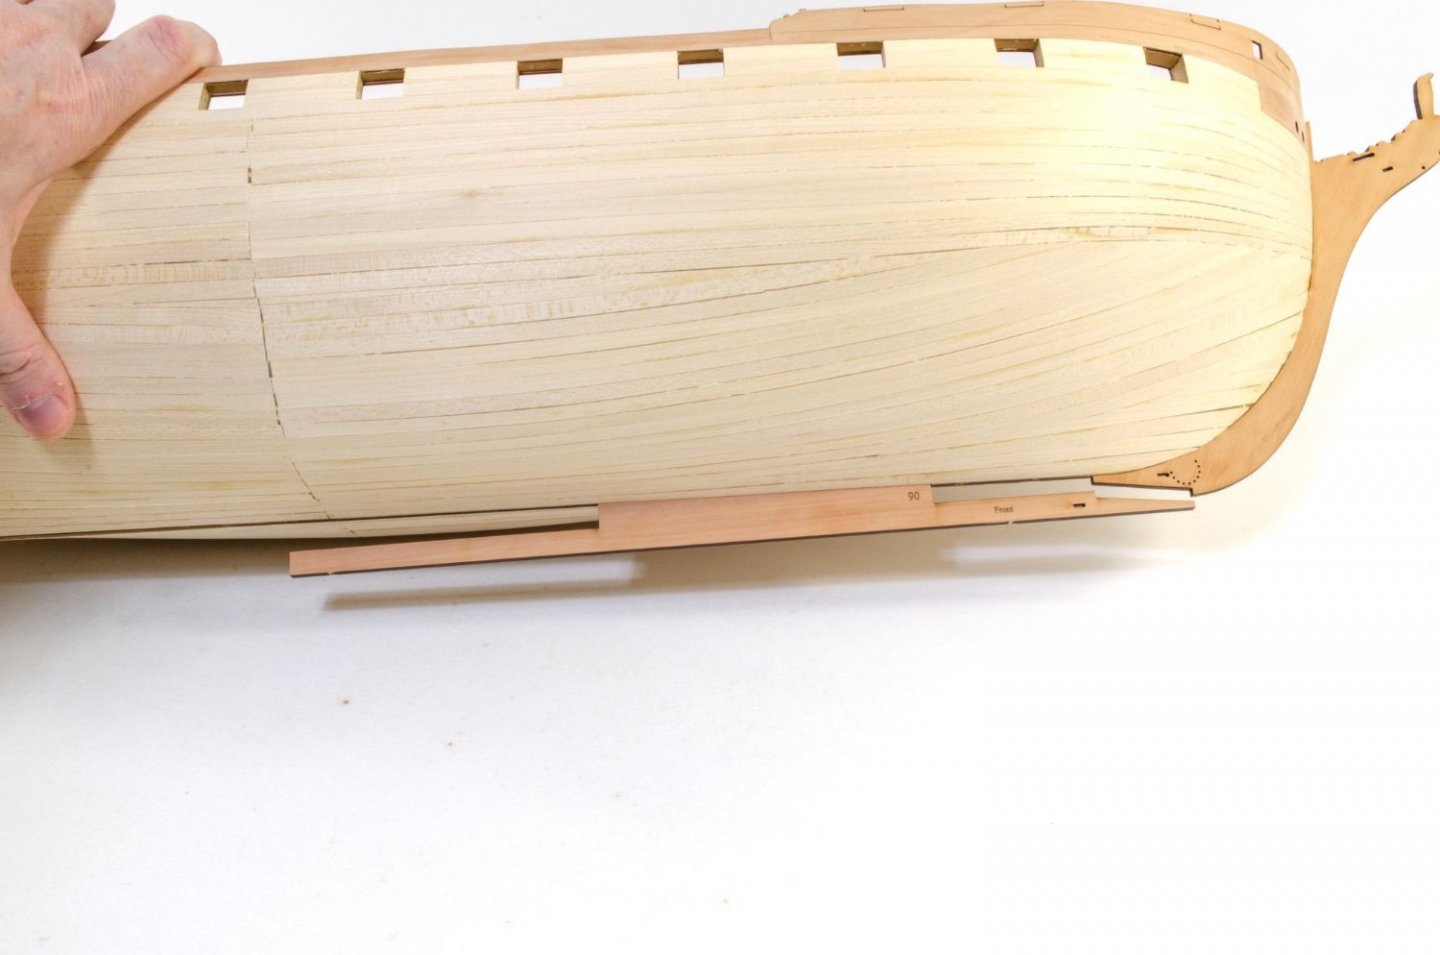
This is only a mini-update as I've been away on holiday. This shows the hull up to completion of second planking, but I have started on sanding this smooth, which will be seen in next update when I've added the wales and done some other stuff. The plan will give a position below each gun port, where a mark will be added. It's here that a plank will be run, from stem to stern. It also gives a nice reference to the upper wale strake which will lie directly over the top. The hull is now sheathed in pear. Sanding begins.
- 488 replies
-
- Indefatigable
- Vanguard Models
-
(and 1 more)
Tagged with:
-
I'm sure you'll be just fine with that kit. We don't even know if you've been a modeller in some other form before. My first kit was an AL San Francisco....a lit which doubtless I'd be told is too hard for a first build, but here I am 20yrs on. AND....I'm still full of bad habits. Just enjoy your build.
-
You tend to find that someone who is not on Facebook will rarely use any other social media platform, generally. Social media is really the only way we can communicate that we are down. We can't send out 42k emails to tell our members as our mail server would also be un-operational. We could, theoretically, open a Blog page which we can use for service updates in such eventualities, but again, it's just something else for me to do, plus our downtime is so rare that if it happens, it's not worth the effort.
-
A higher latency is really not what we want. We've had higher latency before, and it just frustrates folk. We are actually using a cloud proxy, as you've seen, so there's a bulwark between the site and the outside world. We've also used globally distributed DNS providers before, with minimal success. To be fair, our downtime is so rare (and our connection speed so good), that implementing other things really isn't worth it. If you count the site downtime since 2013 (and even before), you'd see we're pretty good.
-
You shouldn't have too much trouble with that kit. Just take your time and ask questions. We do have a gallery of her here. I see you only live 10-15 miles from me too, so good to see another local!
-
Not similar in the slightest, thankfully. 2013 was a hardware failure. This problem isn't even related to our server, but a service which our host is provided with via a 3rd party, affecting some server cabinets. No data is involved. As an aside, MSW has backups on separate drives to the one we primarily use. We were supposed to have had that in 2013, but our host failed to set it up.
-
It's not an issue with MSW, per se, but with an assigned block of IP numbers that isn't specific to our server. Our host is trying to get this sorted with the company that they use for this purpose, and it's taking time. The site may appear, then disappear. Unfortunately for MSW admin, we are powerless to do anything. We just have to wait for the issues between the two companies, to be resolved.
-
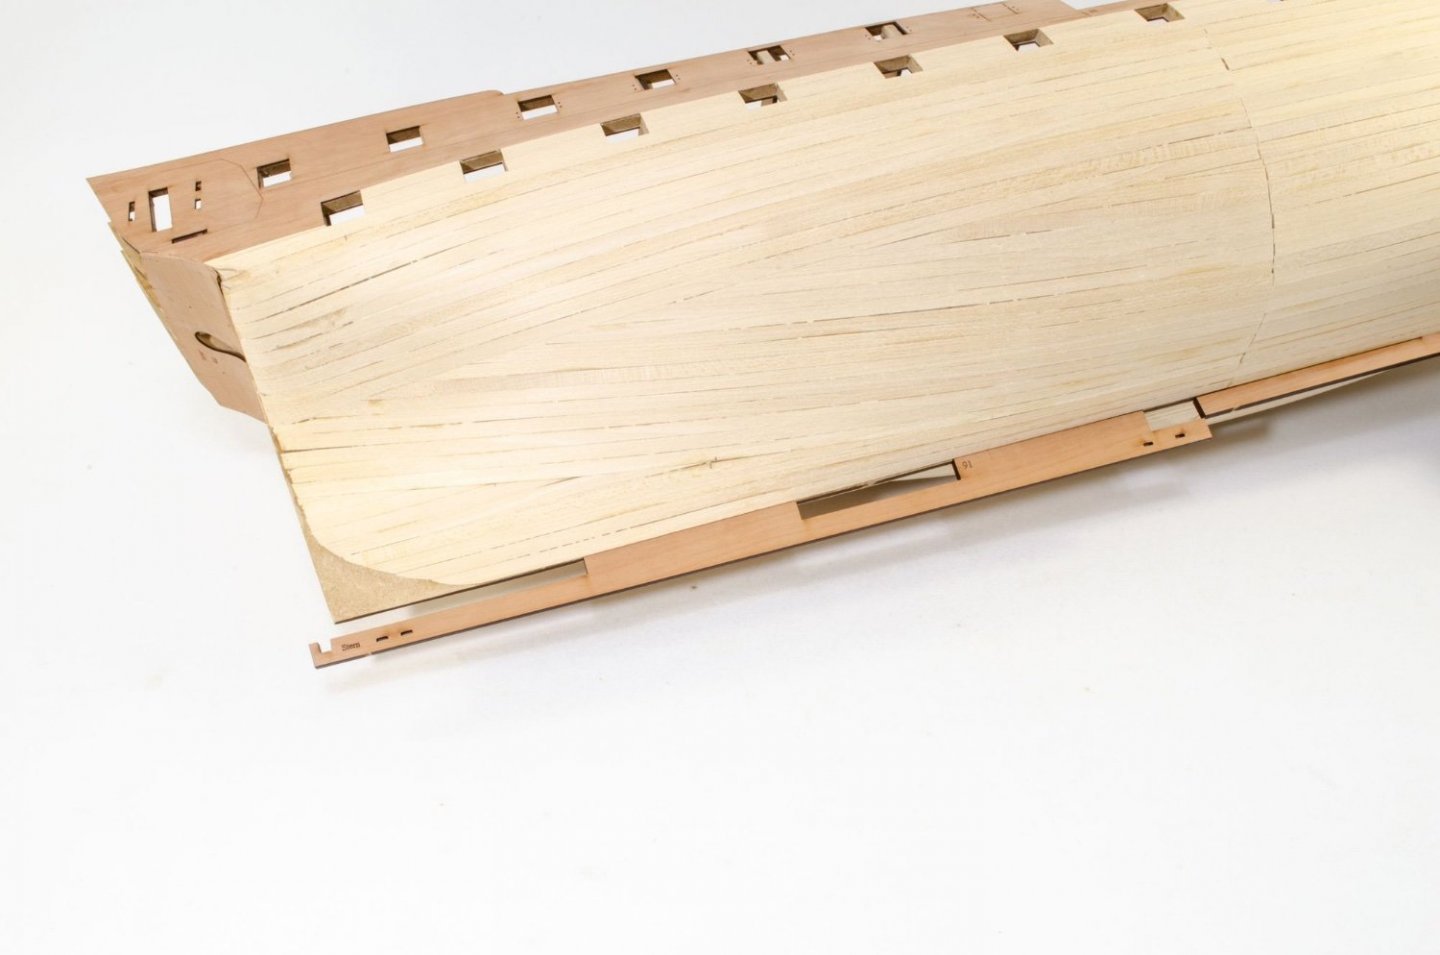
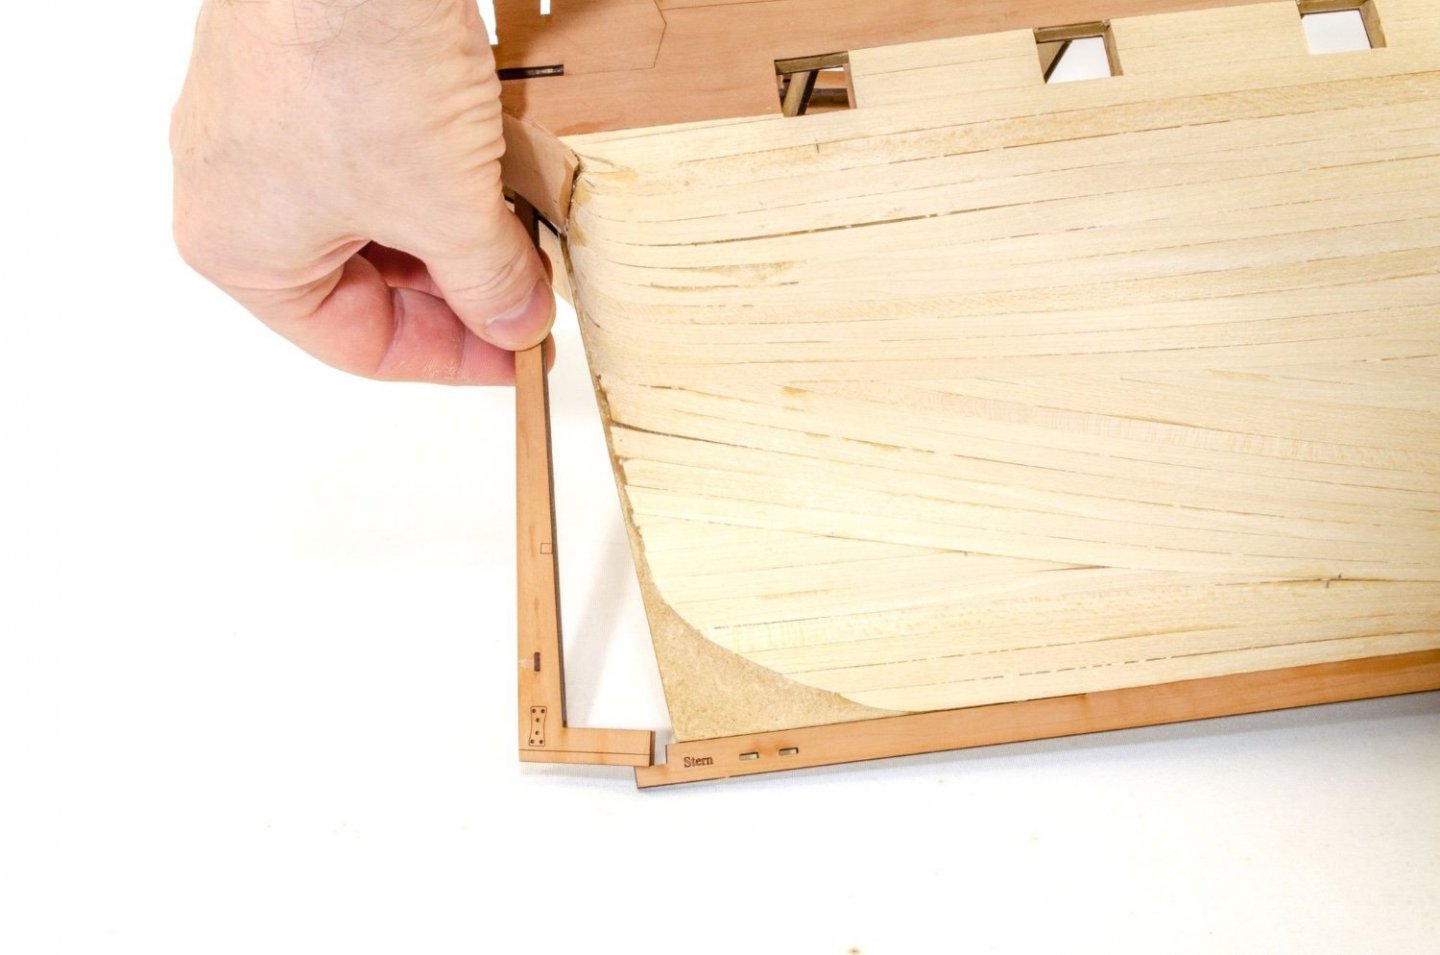
You can probably plank right to the front, over that MDF so that the planks come to a 'point'. From there, you can sand this back, flattening off that 'point' until you have the maximum joint area when the pear prow is slotted into place.
- 426 replies
-
- Vanguard Models
- Sphinx
-
(and 1 more)
Tagged with:
-
That is where the pear keel plugs in. I'm a little concerned that you've sanded the MDF central keel to a point at the prow and going around the underside. That should've been a flat face which is part of there the prow glues. The planks would've butted up to the side of in and been sanded, leaving that flat face for a glue surface.
- 426 replies
-
- Vanguard Models
- Sphinx
-
(and 1 more)
Tagged with:
-

kit review 1:200 German Battleship Bismarck - Amati
James H replied to James H's topic in REVIEWS: Model kits
You're best asking Amati for a copy. We can't, and won't, scan drawings and distribute them. It's illegal. -
I wouldn't worry too much about it. It's obvious that it's part 60 when you are working on the model. I write all this away from the bench session with about 6 different files open, switching between them. The occasional thing will slip through the proof, but they won't cause any problem. We probably spend more time on manuals than anyone else, so you'll have to forgive little things like this.
- 426 replies
-
- Vanguard Models
- Sphinx
-
(and 1 more)
Tagged with:
-
No resin or 3D parts in that photo 🤫
- 488 replies
-
- Indefatigable
- Vanguard Models
-
(and 1 more)
Tagged with:
-

Closing membership
James H replied to a topic in Using the MSW forum - **NO MODELING CONTENT IN THIS SUB-FORUM**
Members can't delete themselves. I don't know of any forum software that will allow that. Deletion requests need to be made to admin. -

Closing membership
James H replied to a topic in Using the MSW forum - **NO MODELING CONTENT IN THIS SUB-FORUM**
Ok, I'm deleting this account as you already have one, @SpyGlass The email on your main account is changed as you ask. -
You're not really going to see it at all, unless you have a medical endoscope! Personally, I'd just leave it as it is.
- 426 replies
-
- Vanguard Models
- Sphinx
-
(and 1 more)
Tagged with:
-
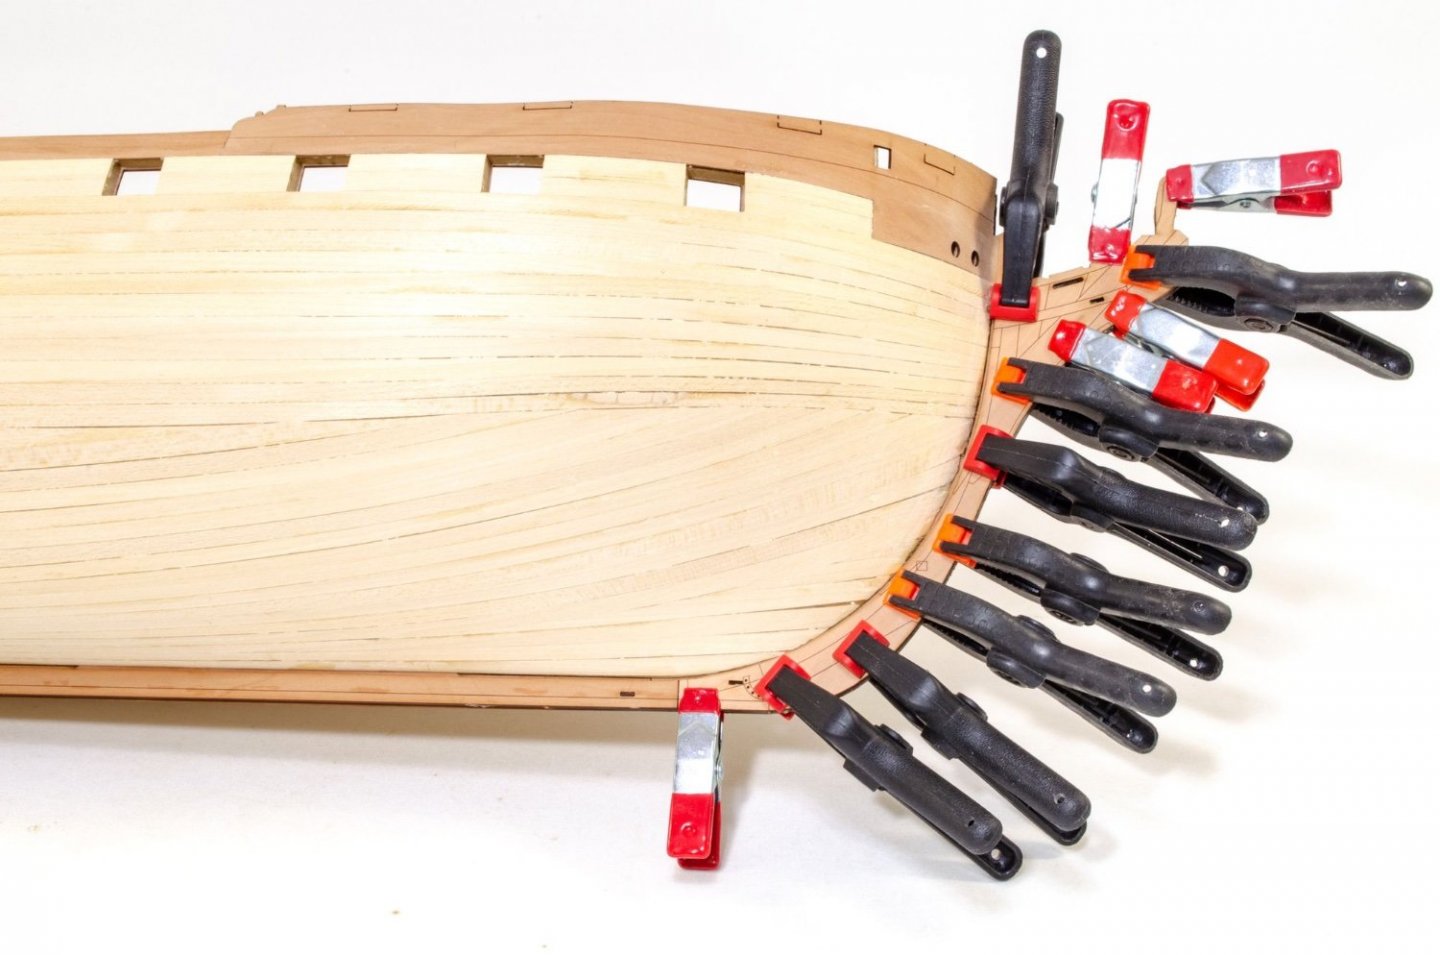
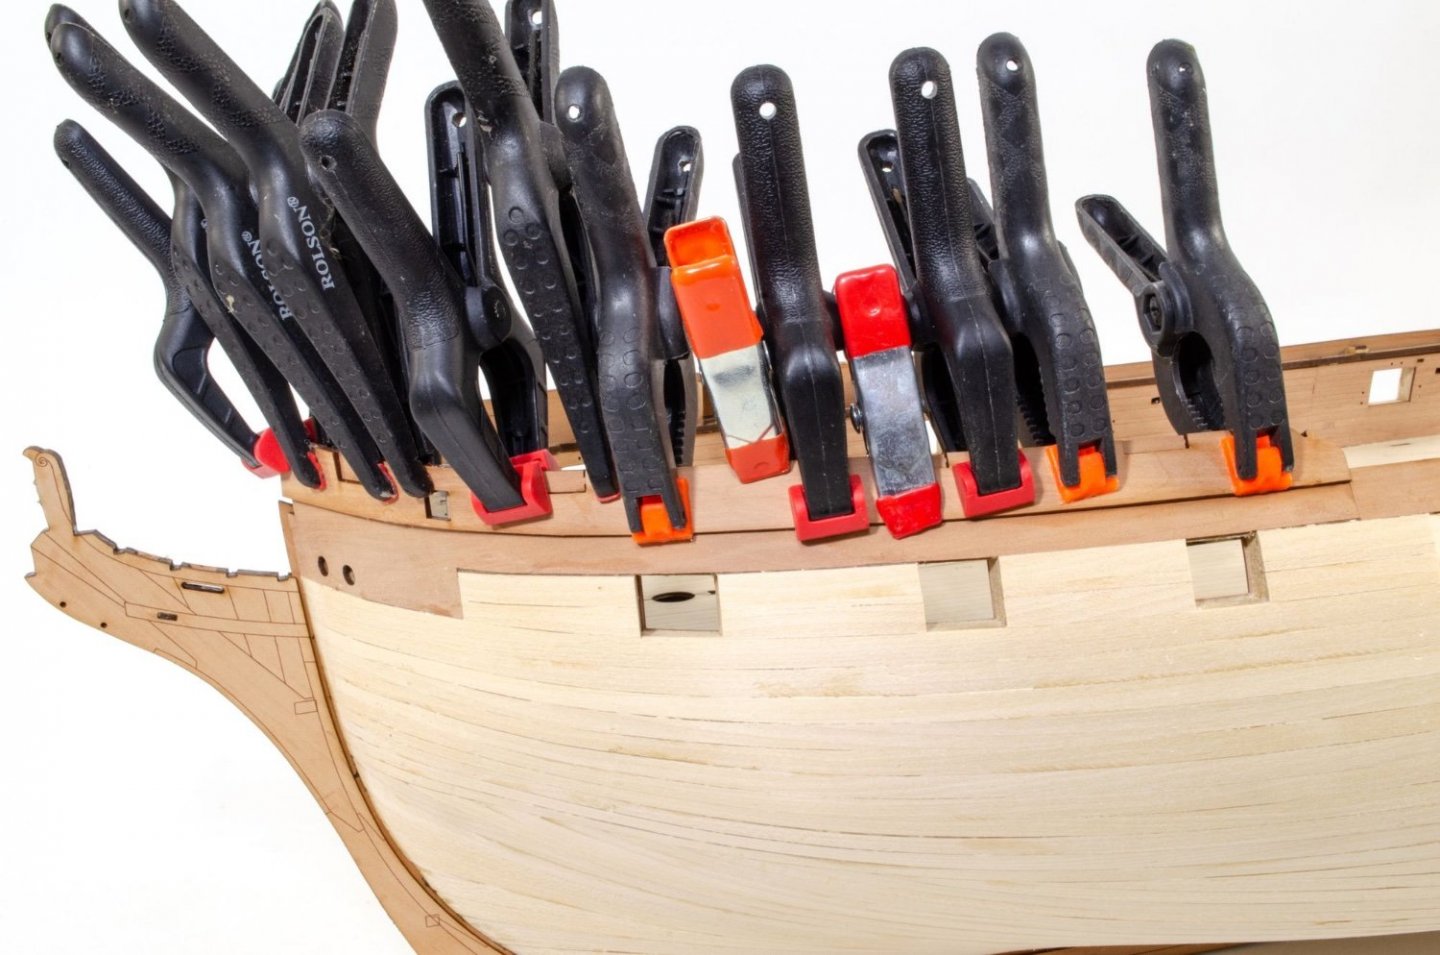
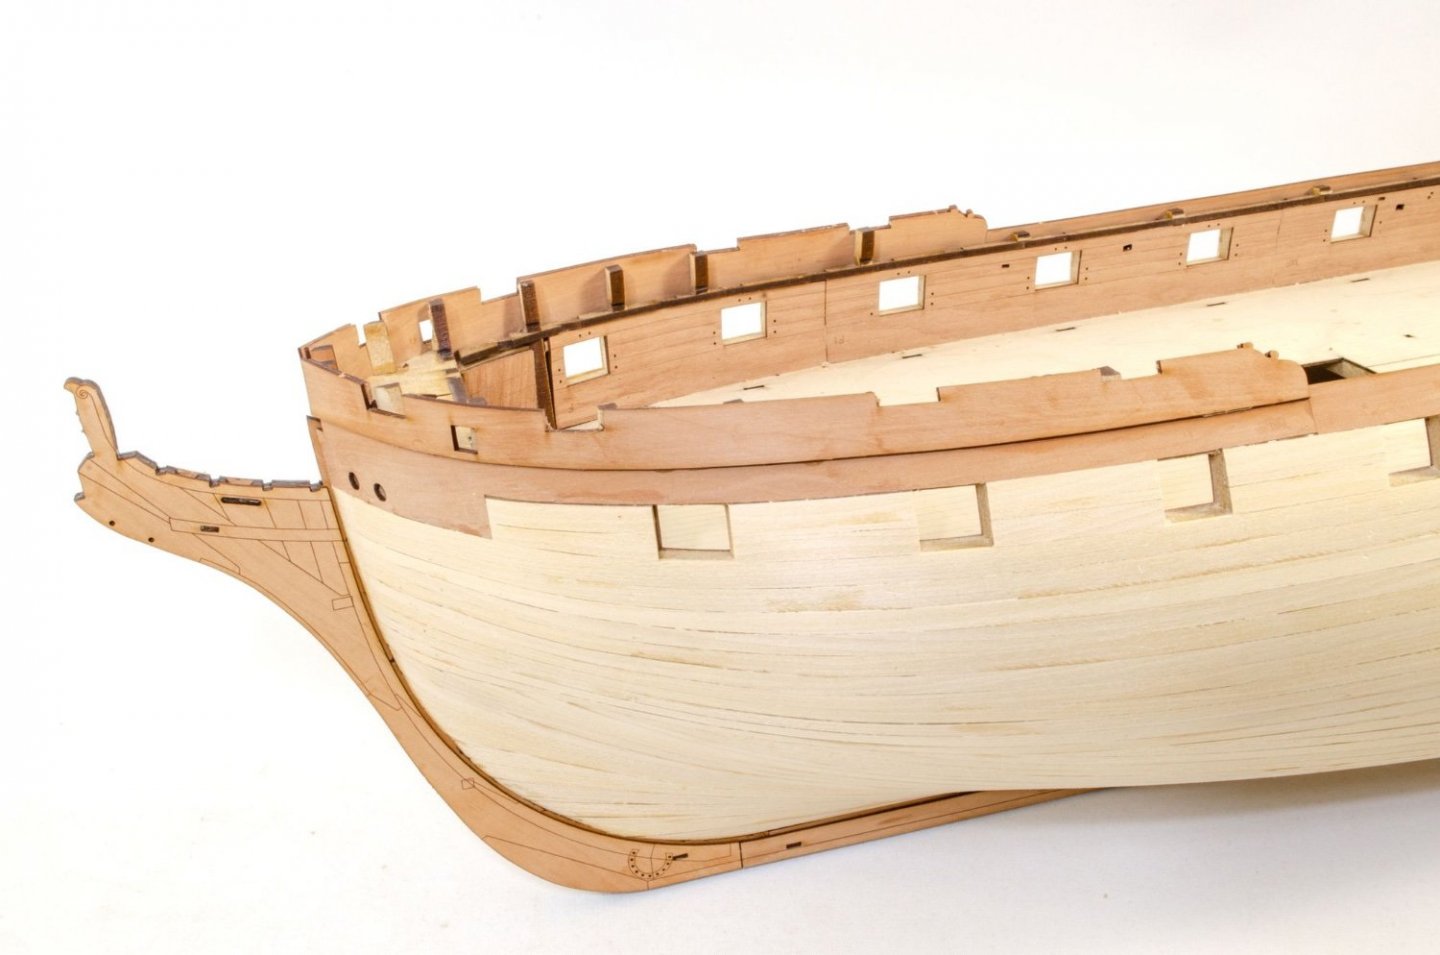
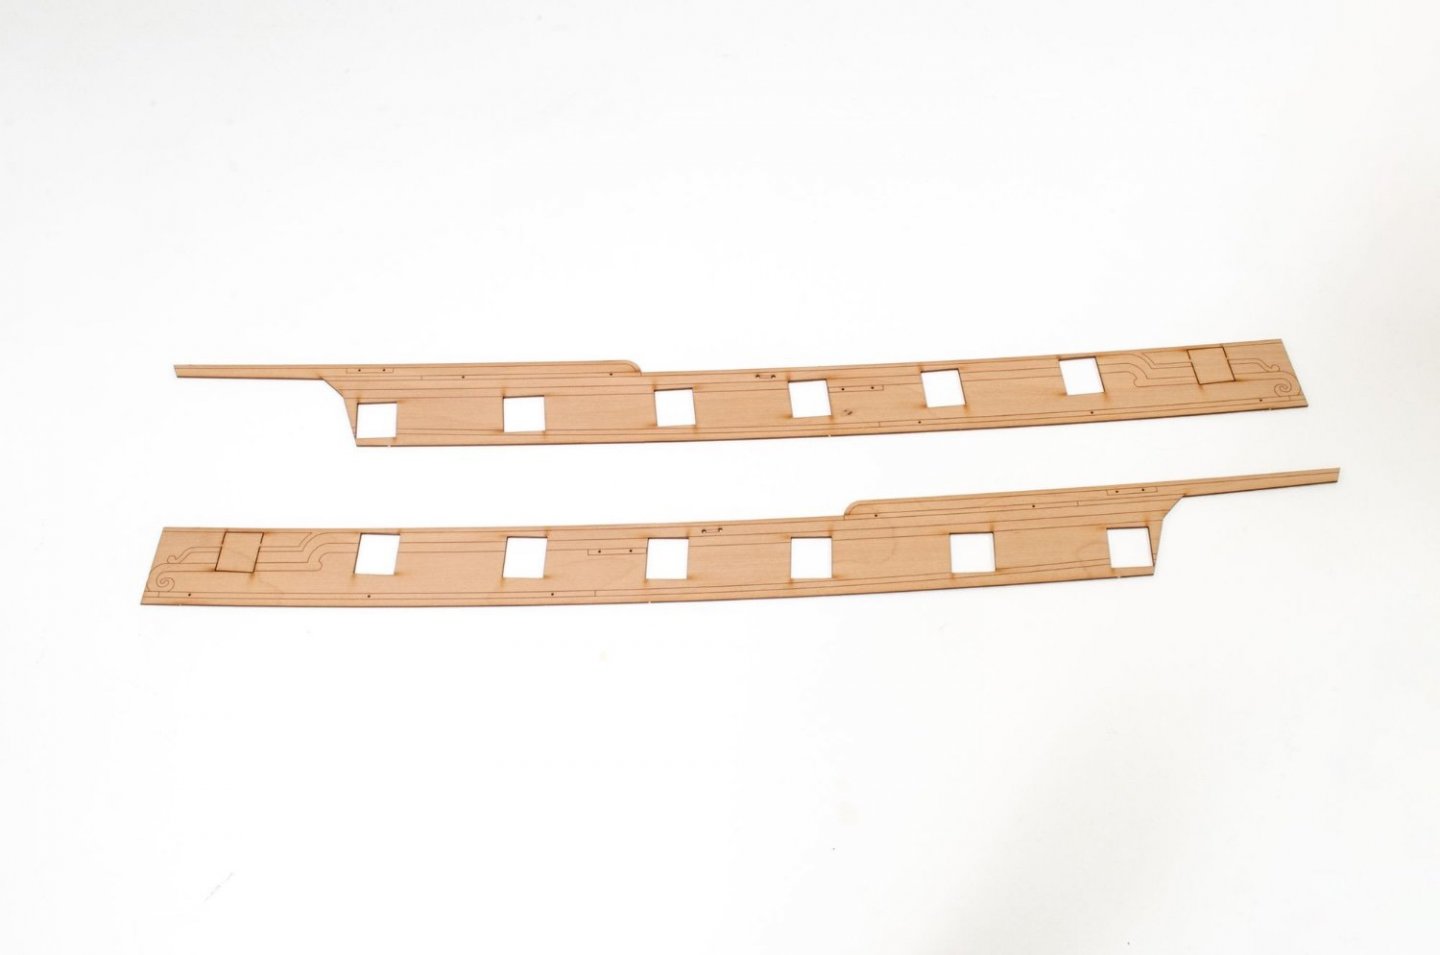
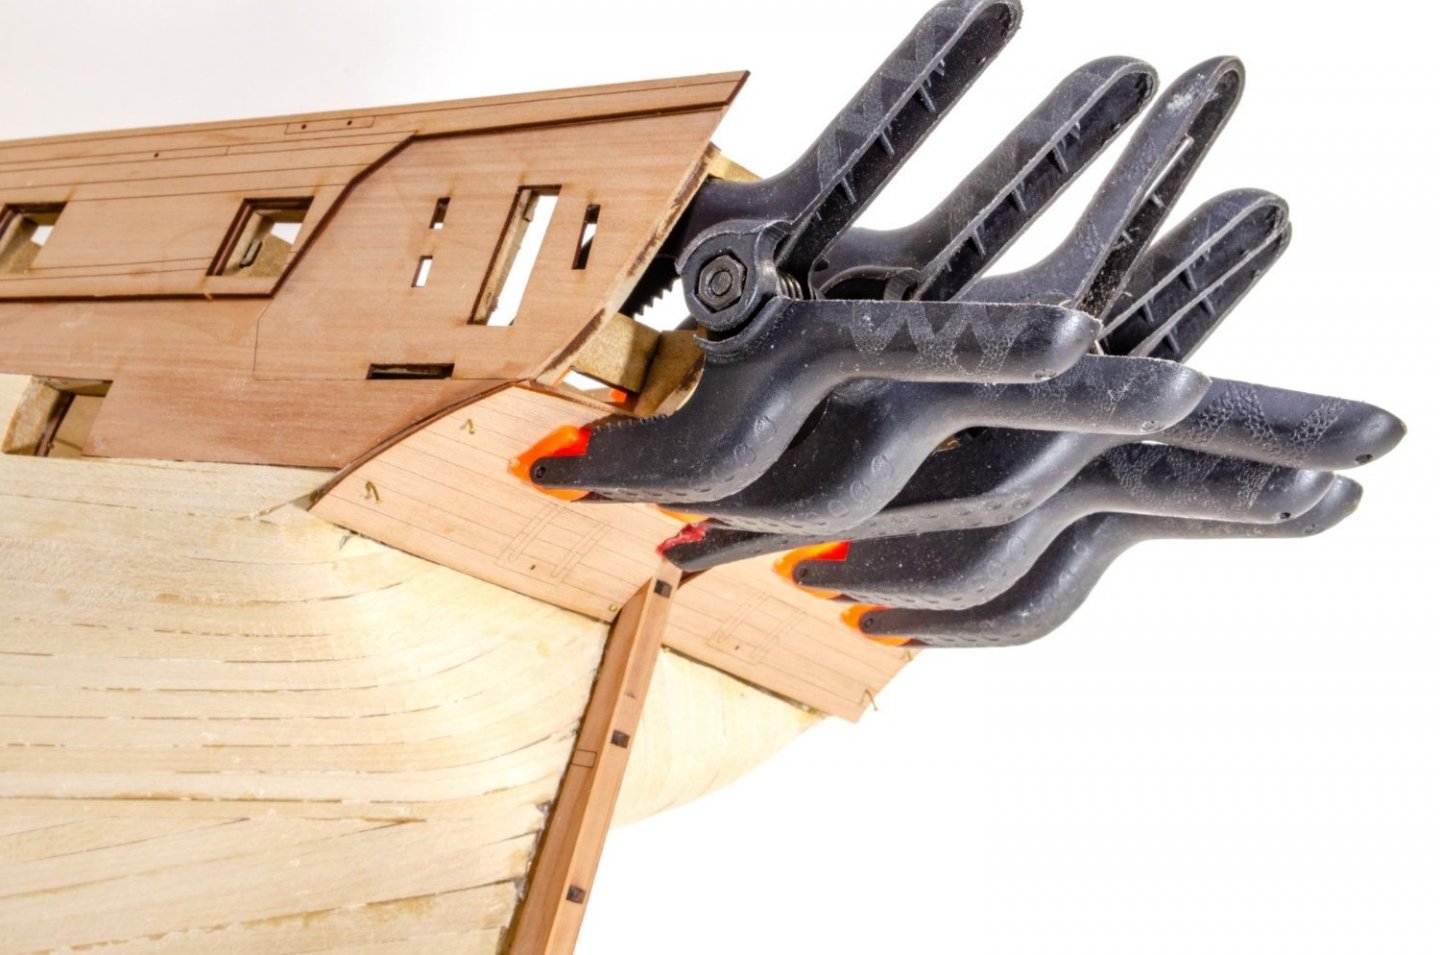
The rest of the keel is now added, and then the rudder post is fitted with its engraved facings and installed. This part sits into the notch in the keel and pushes tight up against the inner stern construction. No clamping needed! The rest of the keel and prow engraved facings are added and copiously held with clamps. You can never, ever have enough of those. The second layer of timber starts by fitting the outside forecastle bulwarks. When these are dry, the gun port blanks are removed and the hull starts to transform a little. The rear outside bulwarks are now to be fitted. The quarter gallery frames are temporarily clamped into place and the parts glued. Note that I've remove the blank in the fore gun port hole. The lower, outside counter is now glued, clamped and pinned in place. Indy now looks like this. ☺️ Until next time.
- 488 replies
-
- Indefatigable
- Vanguard Models
-
(and 1 more)
Tagged with:
-
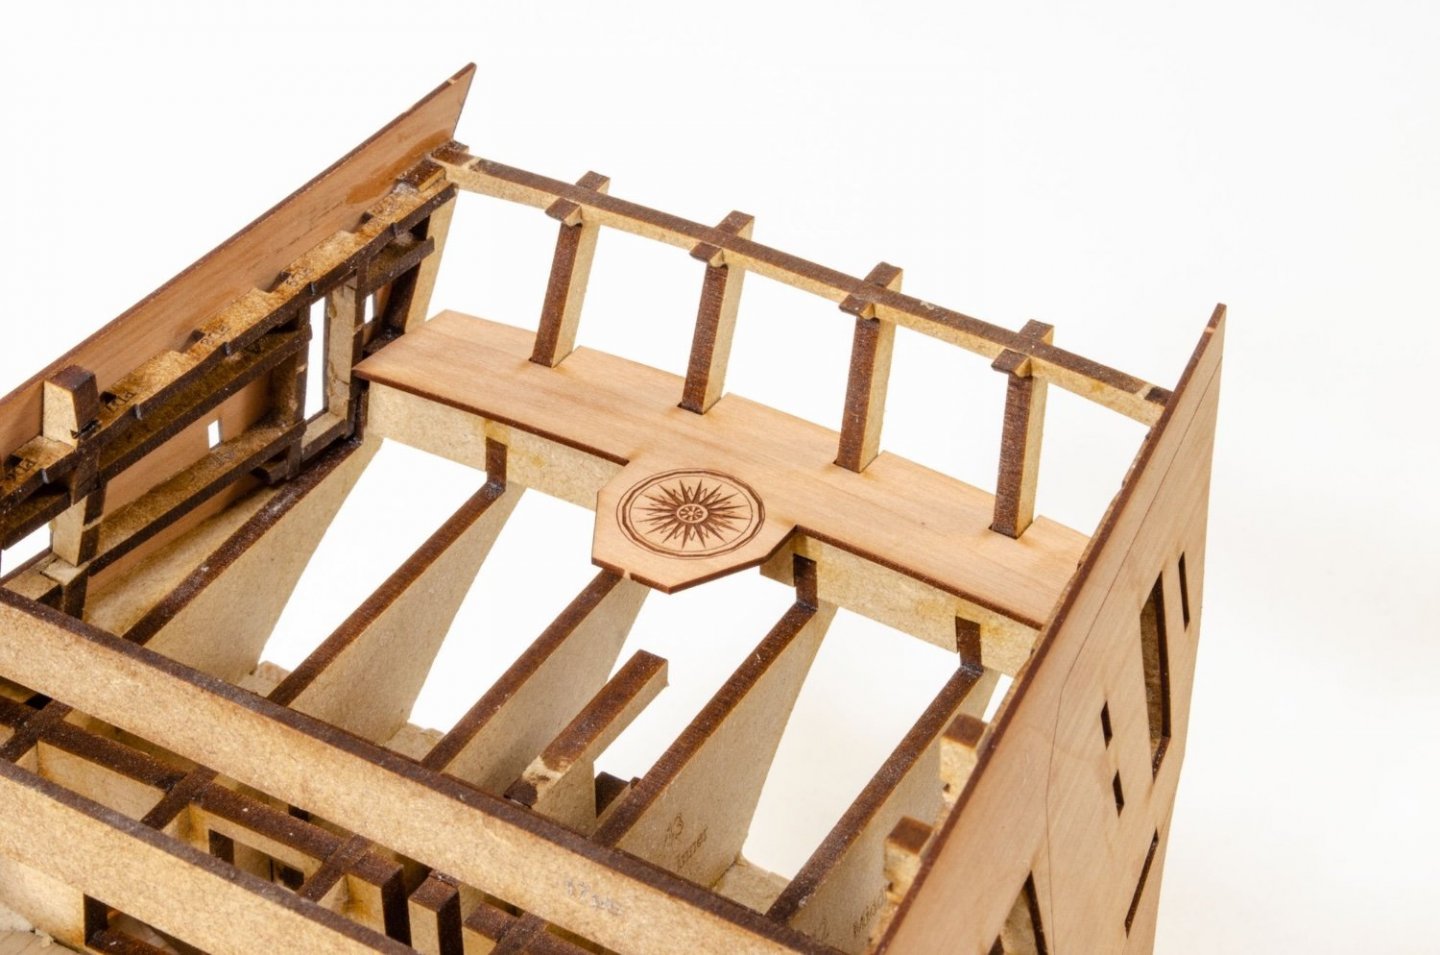
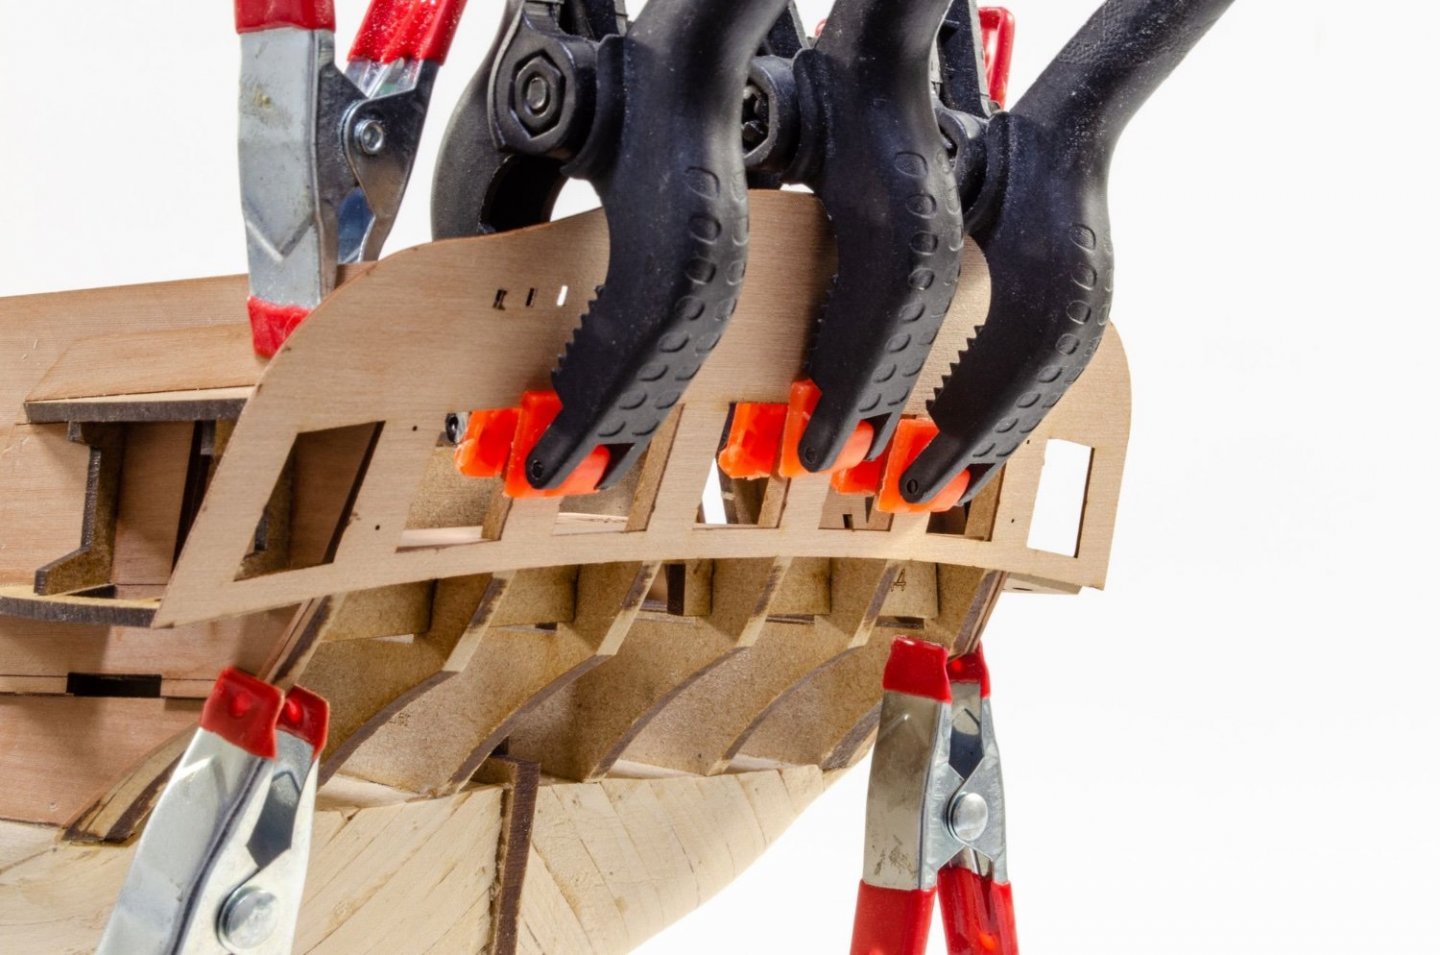
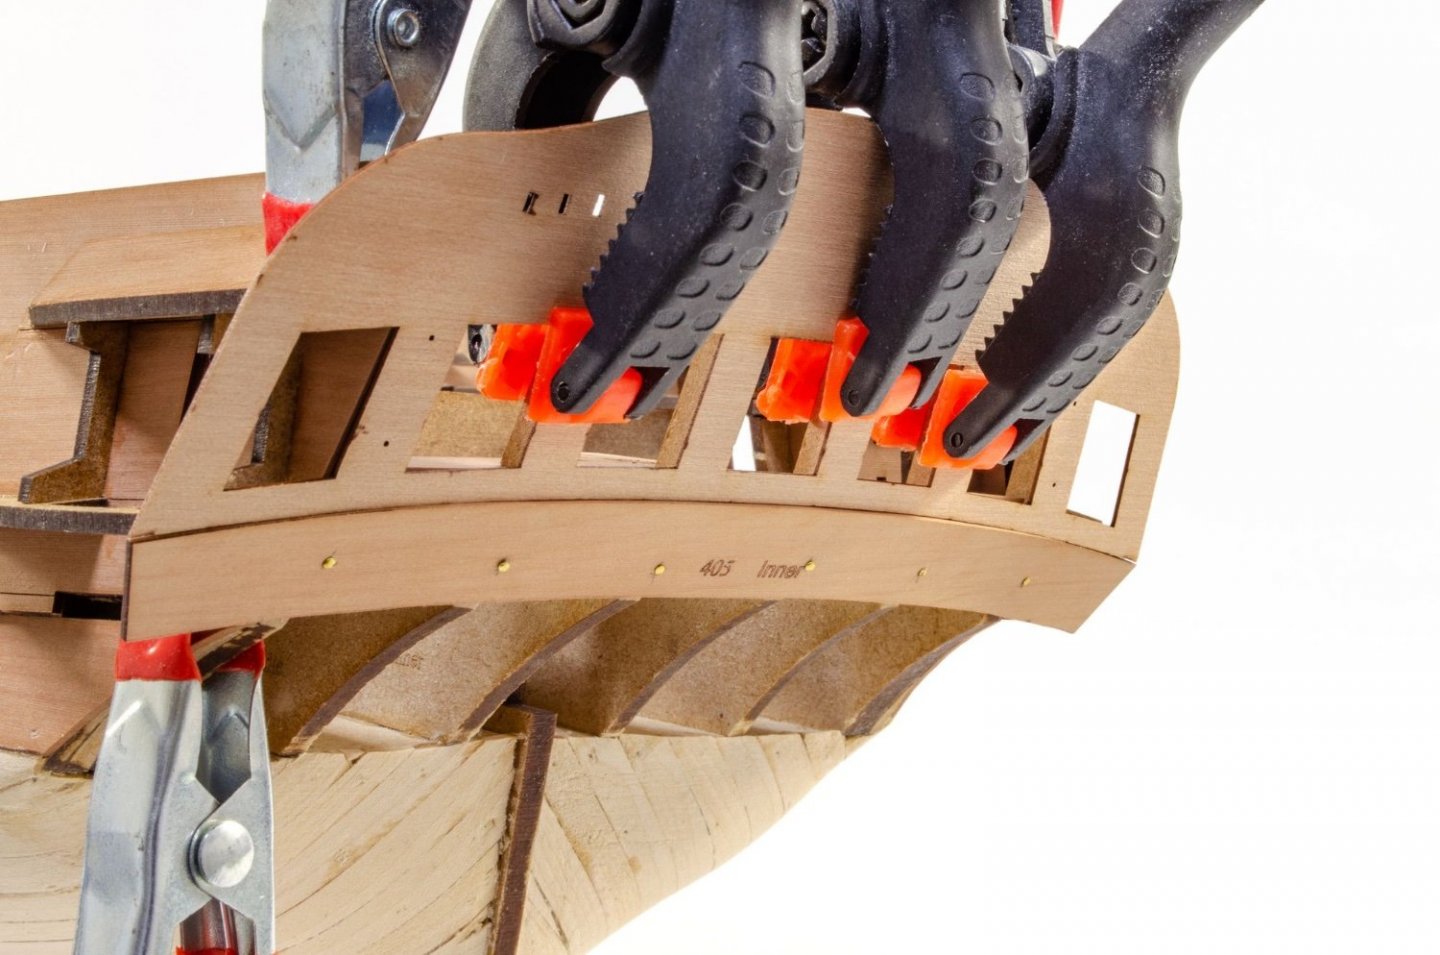
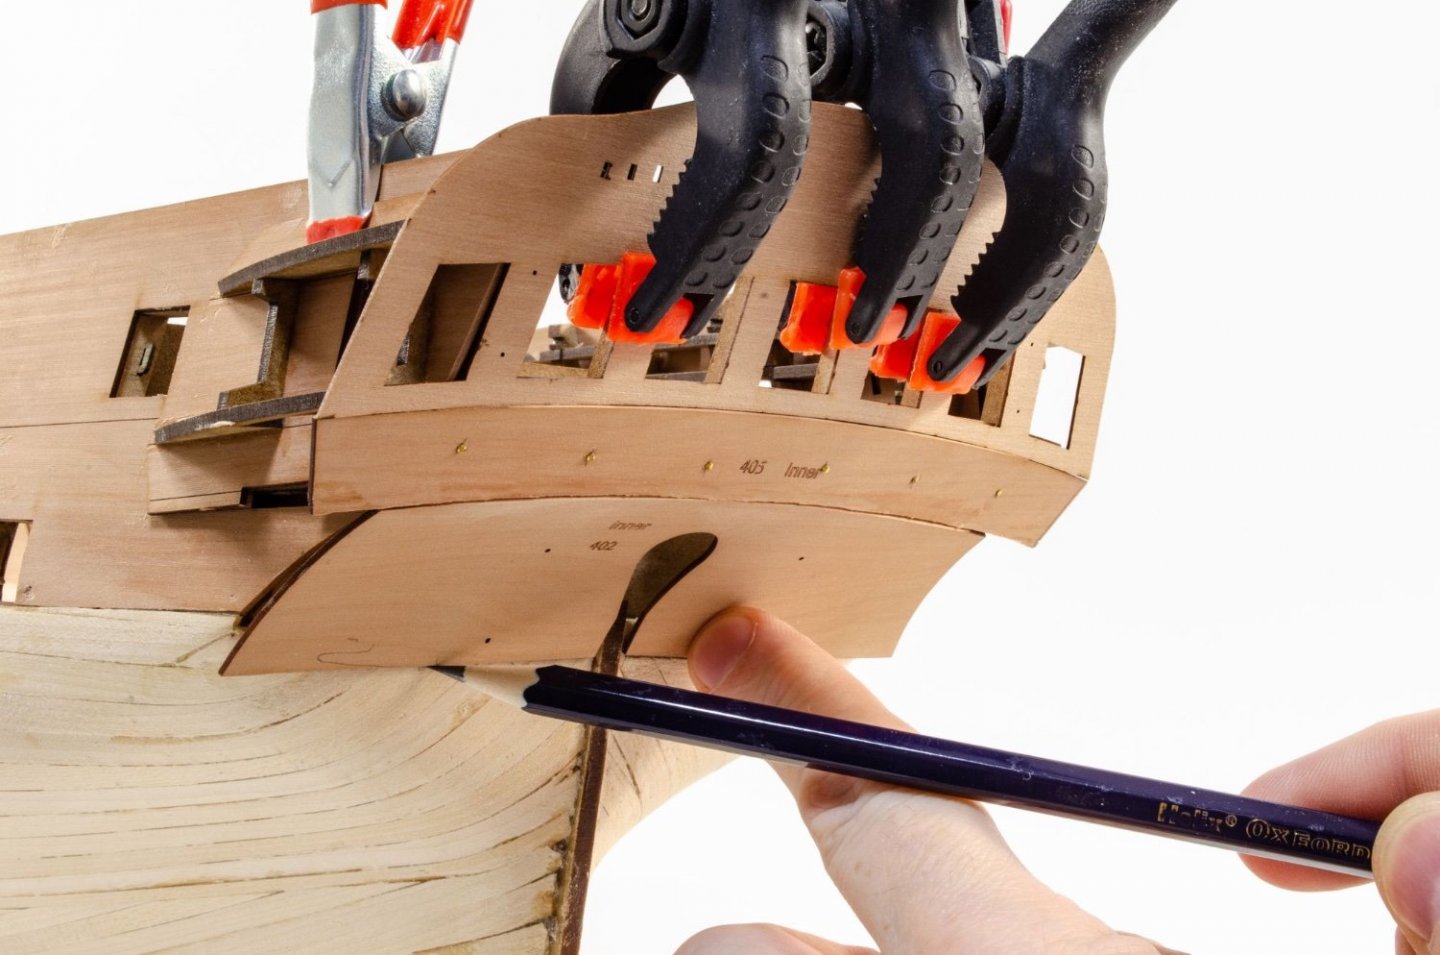
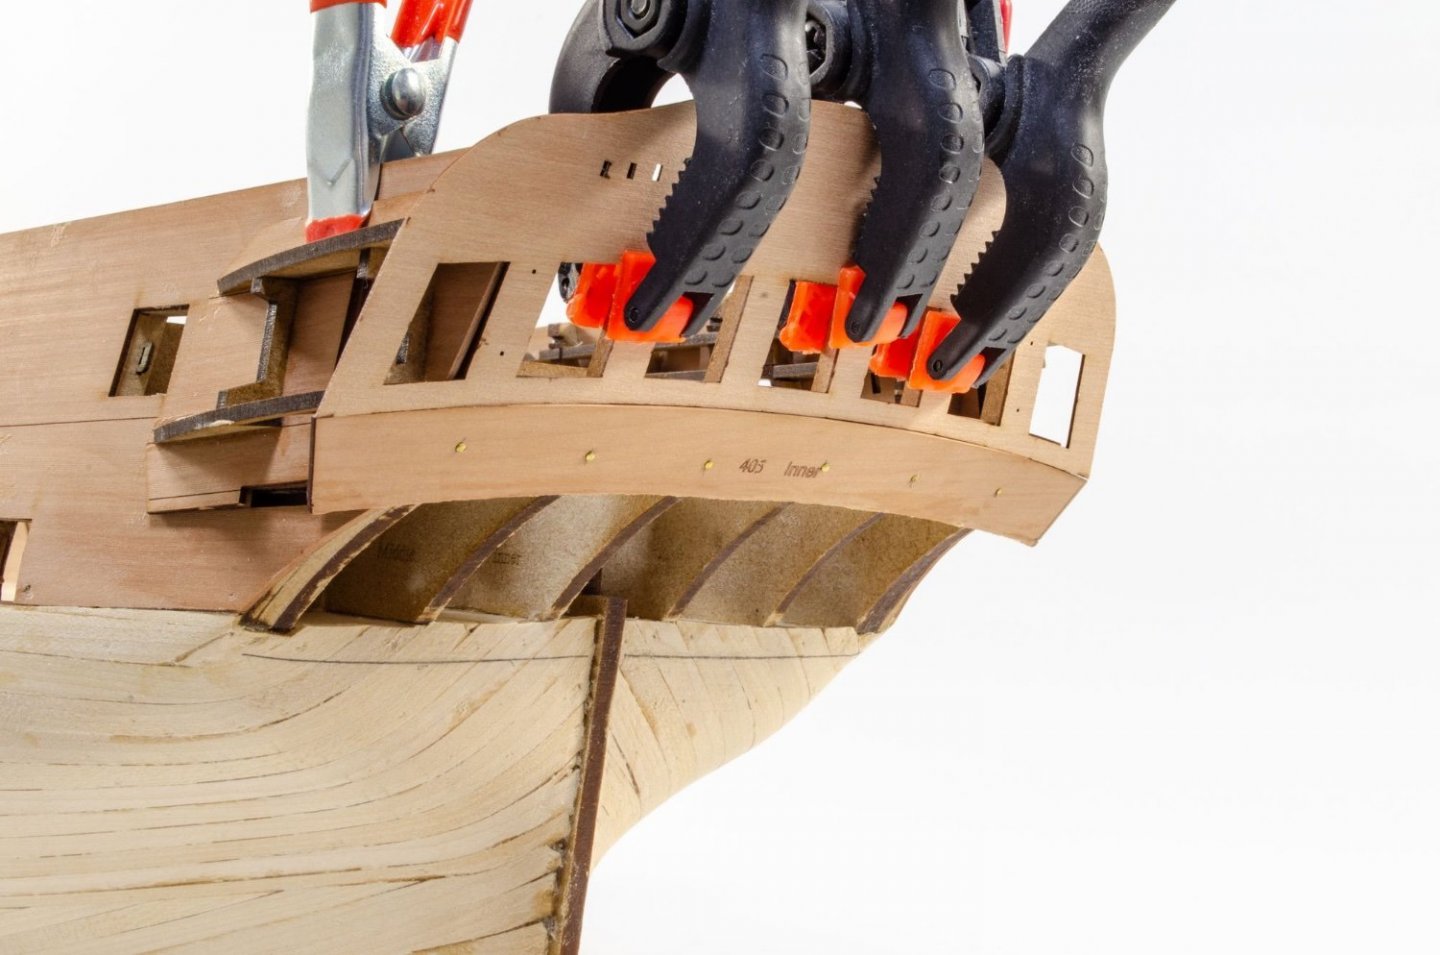
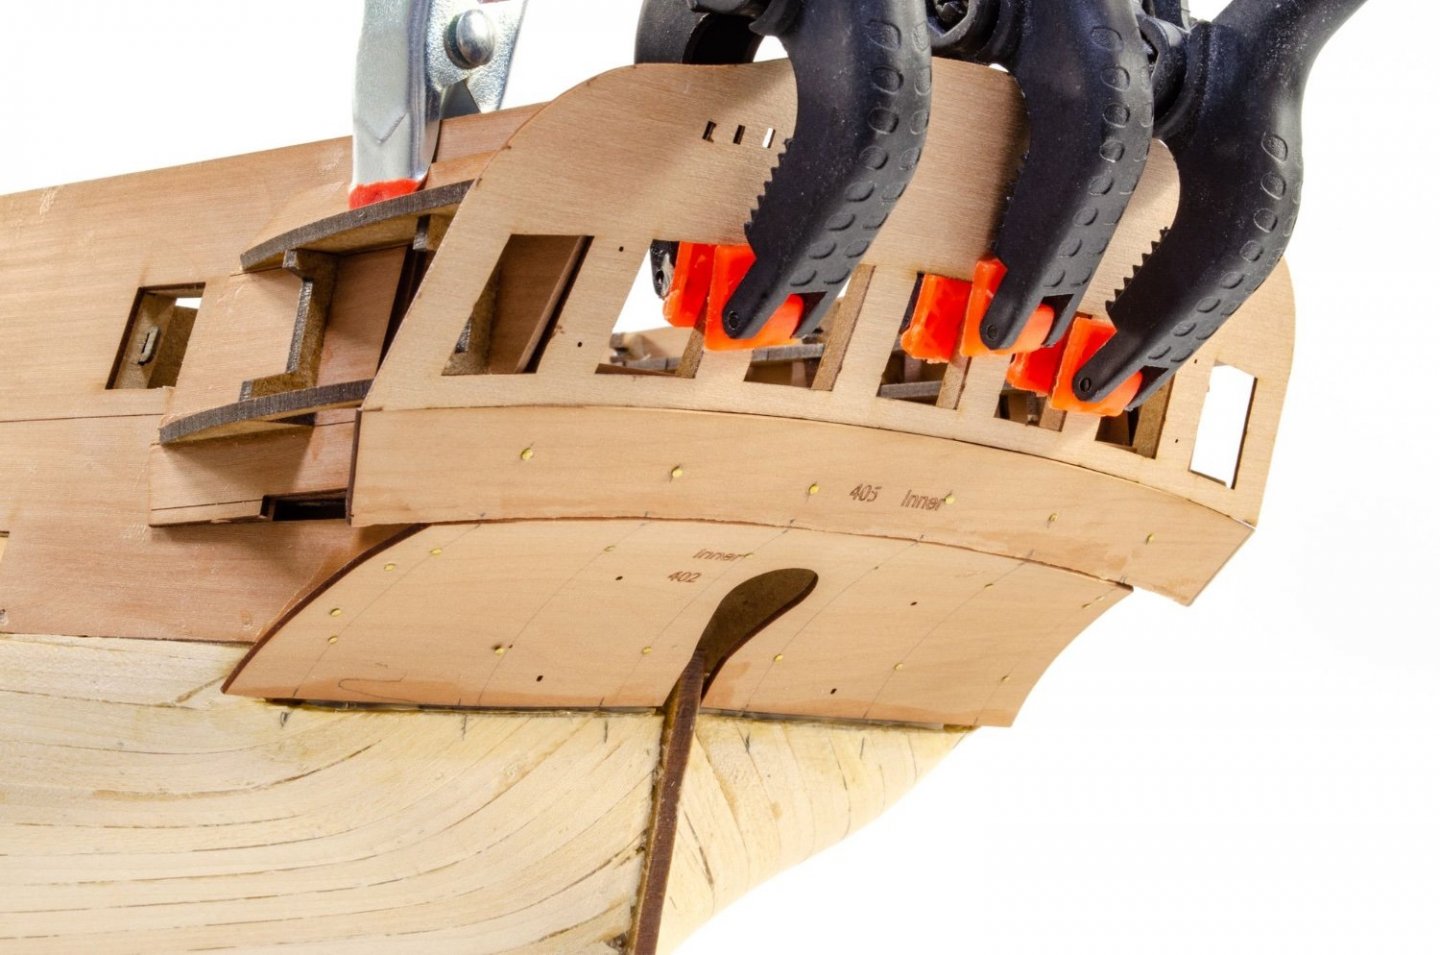
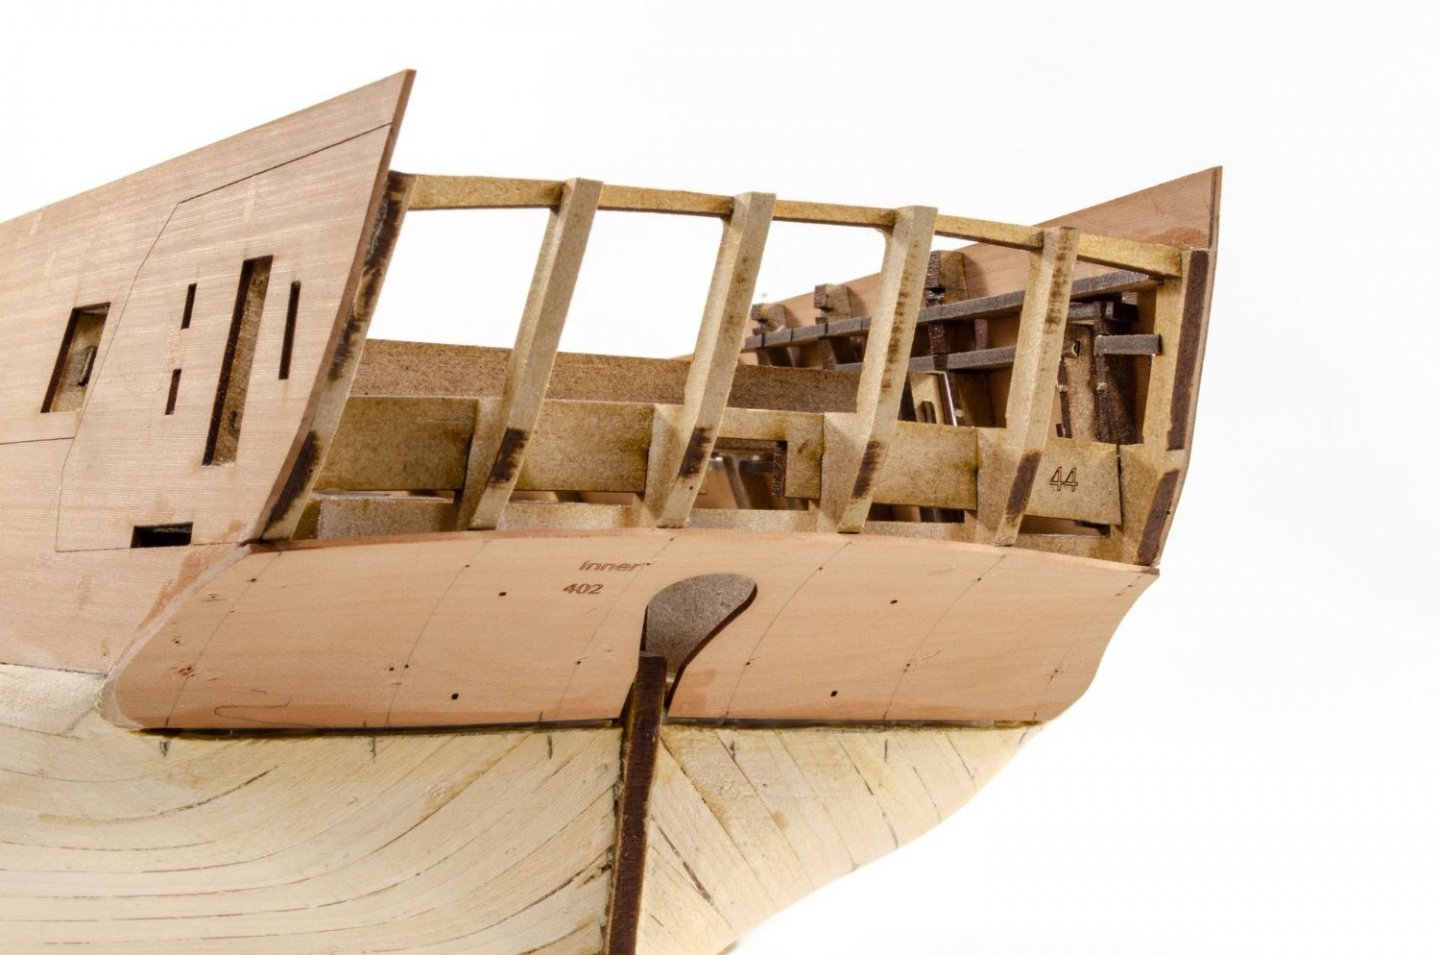
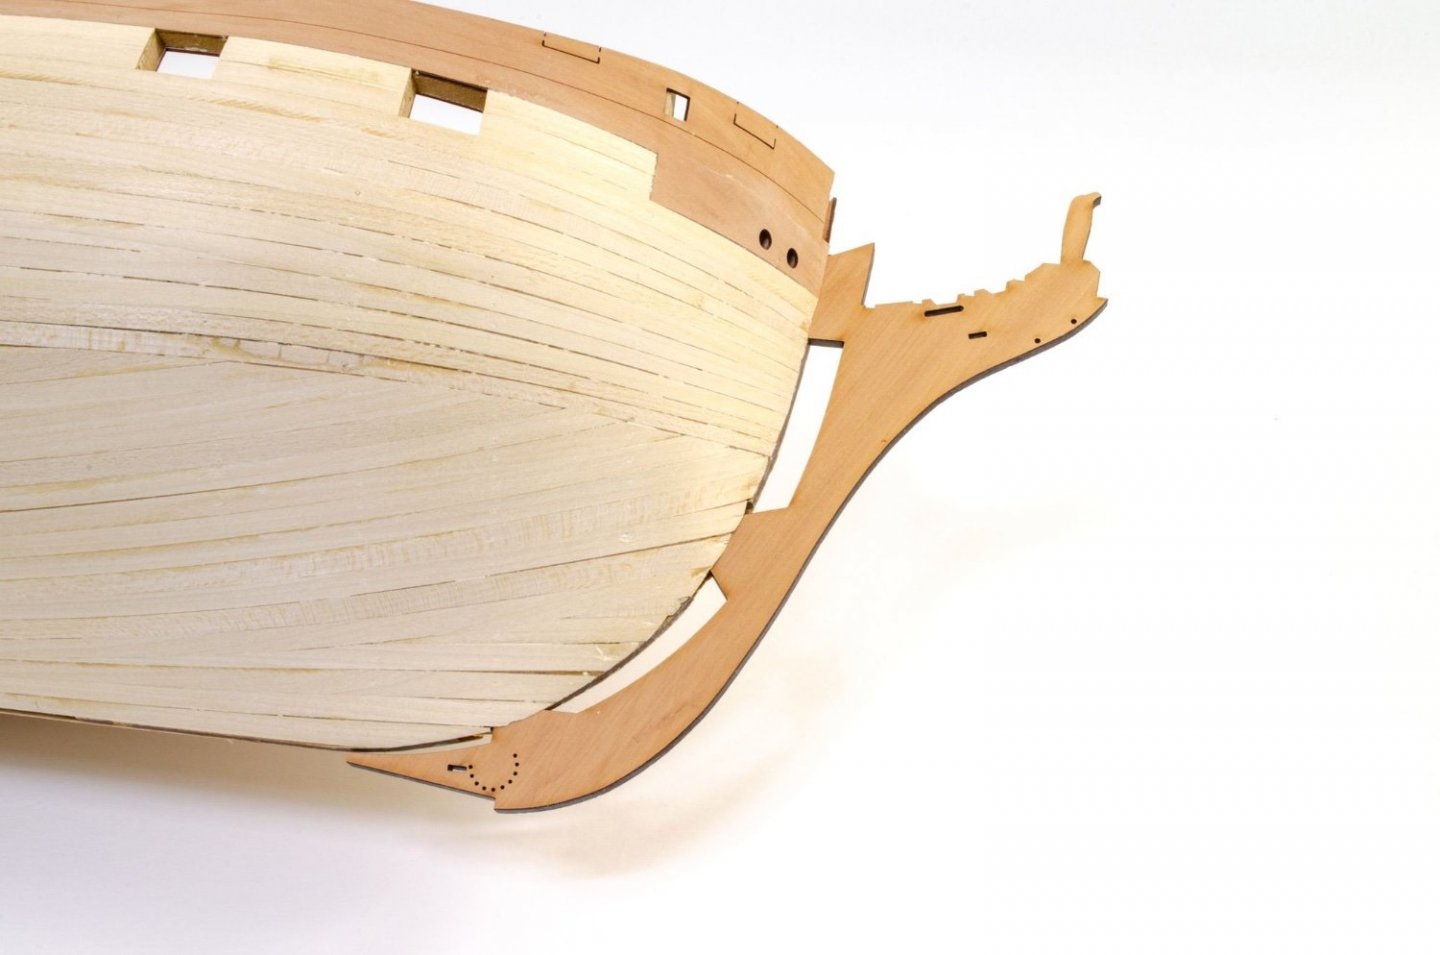
Let's bring this up to date. Another element that needs to be temporarily fitted is the shelf that sits in the rear of the day cabin, encompassing the rudder housing.This piece slots into the stern timbers and needs to be pushed the whole way in so the whole protrusion will stick out at the back. That is then sanded flush with the stern. To make sure the placement of all stern parts is exact so the rails run around the rear and onto the quarter galleries, it' VITAL that we work from the top, downwards. The main, inner stern is first temporarily clamped into place. It pays off to get this in exactly the right position. When it is correct, the stern will be 2mm above the bulwark, and the inside edge of the outer window will sit flush with the quarter gallery frames that are also clamped into place. The bottom MDF quarter gallery frame will also angle in line with the bottom of the stern. Lastly, the shelf we fitted just earlier, should sit slightly below the height of the lower window frame. It's a lot to adjust, but trust me, this is the best way of doing it. The middle counter is now positioned directly underneath this. Some bevelling is done to make sure it fits snug against the upper stern. The bottom edge of this part will sit at the point where the stern flows into the lower curve. If it doesn't, this part can be trimmed slightly. Pins are now used to hold this in place. Again, NO GLUE! The bottom stern counter can now be fitted. This was first soaked and allowed to dry around a tin so that it had a gentle curve that would take the strain off the next task. The counter is pushed up directly underneath the middle counter and the bottom edge of this part is marked with a pencil. My prototype varies very slightly to the production kit, and that will be reflected in text in manual. I now cut along the pencil line and remove the planking from above that line. The lower counter is now glued and pinned and into place. The upper parts are now removed as adding them at this stage will mean they'll get snagged. The lower counter is now shaped into the hull. The prow underwent its third revision to cater to the figurehead, and this new part was now glued into place on the hull. Next, the lower keel parts are added...
- 488 replies
-
- Indefatigable
- Vanguard Models
-
(and 1 more)
Tagged with:
About us
Modelshipworld - Advancing Ship Modeling through Research
SSL Secured
Your security is important for us so this Website is SSL-Secured
NRG Mailing Address
Nautical Research Guild
237 South Lincoln Street
Westmont IL, 60559-1917
Model Ship World ® and the MSW logo are Registered Trademarks, and belong to the Nautical Research Guild (United States Patent and Trademark Office: No. 6,929,264 & No. 6,929,274, registered Dec. 20, 2022)
Helpful Links
About the NRG
If you enjoy building ship models that are historically accurate as well as beautiful, then The Nautical Research Guild (NRG) is just right for you.
The Guild is a non-profit educational organization whose mission is to “Advance Ship Modeling Through Research”. We provide support to our members in their efforts to raise the quality of their model ships.
The Nautical Research Guild has published our world-renowned quarterly magazine, The Nautical Research Journal, since 1955. The pages of the Journal are full of articles by accomplished ship modelers who show you how they create those exquisite details on their models, and by maritime historians who show you the correct details to build. The Journal is available in both print and digital editions. Go to the NRG web site (www.thenrg.org) to download a complimentary digital copy of the Journal. The NRG also publishes plan sets, books and compilations of back issues of the Journal and the former Ships in Scale and Model Ship Builder magazines.


