-
Posts
6,100 -
Joined
-
Last visited
Content Type
Profiles
Forums
Gallery
Events
Everything posted by James H
-
The kit, I believe, is supposed to be based on Hahn plans. It's also produced by Unicorn, who are known IP thieves, so the subject matter is irrelevant. I'm afraid that if you openly buy that kit, then you will lose your MSW privileges/membership.
-
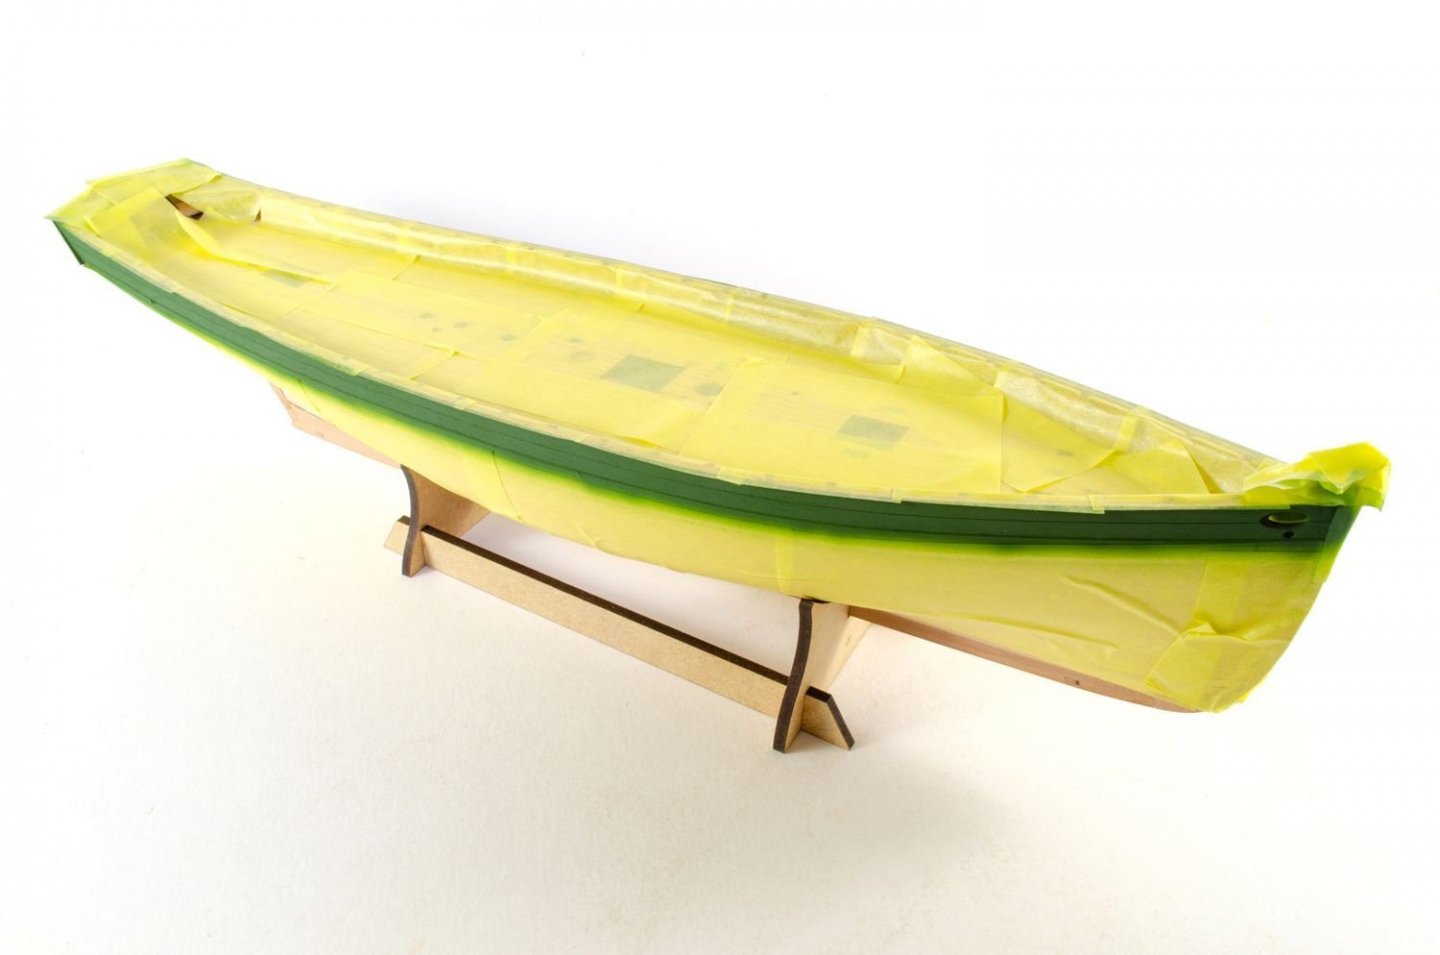
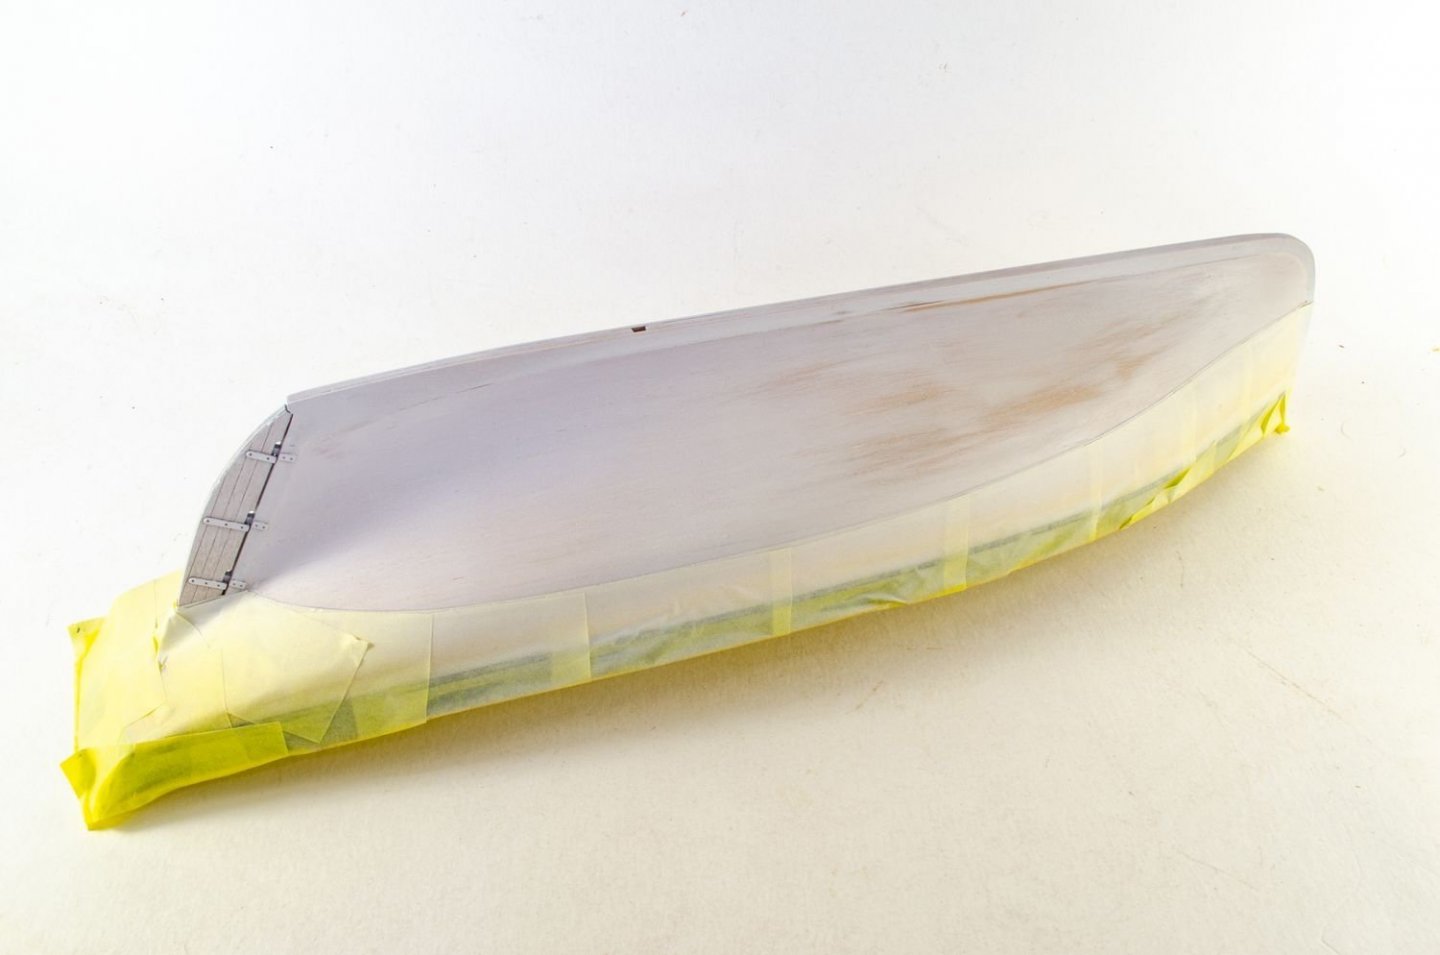
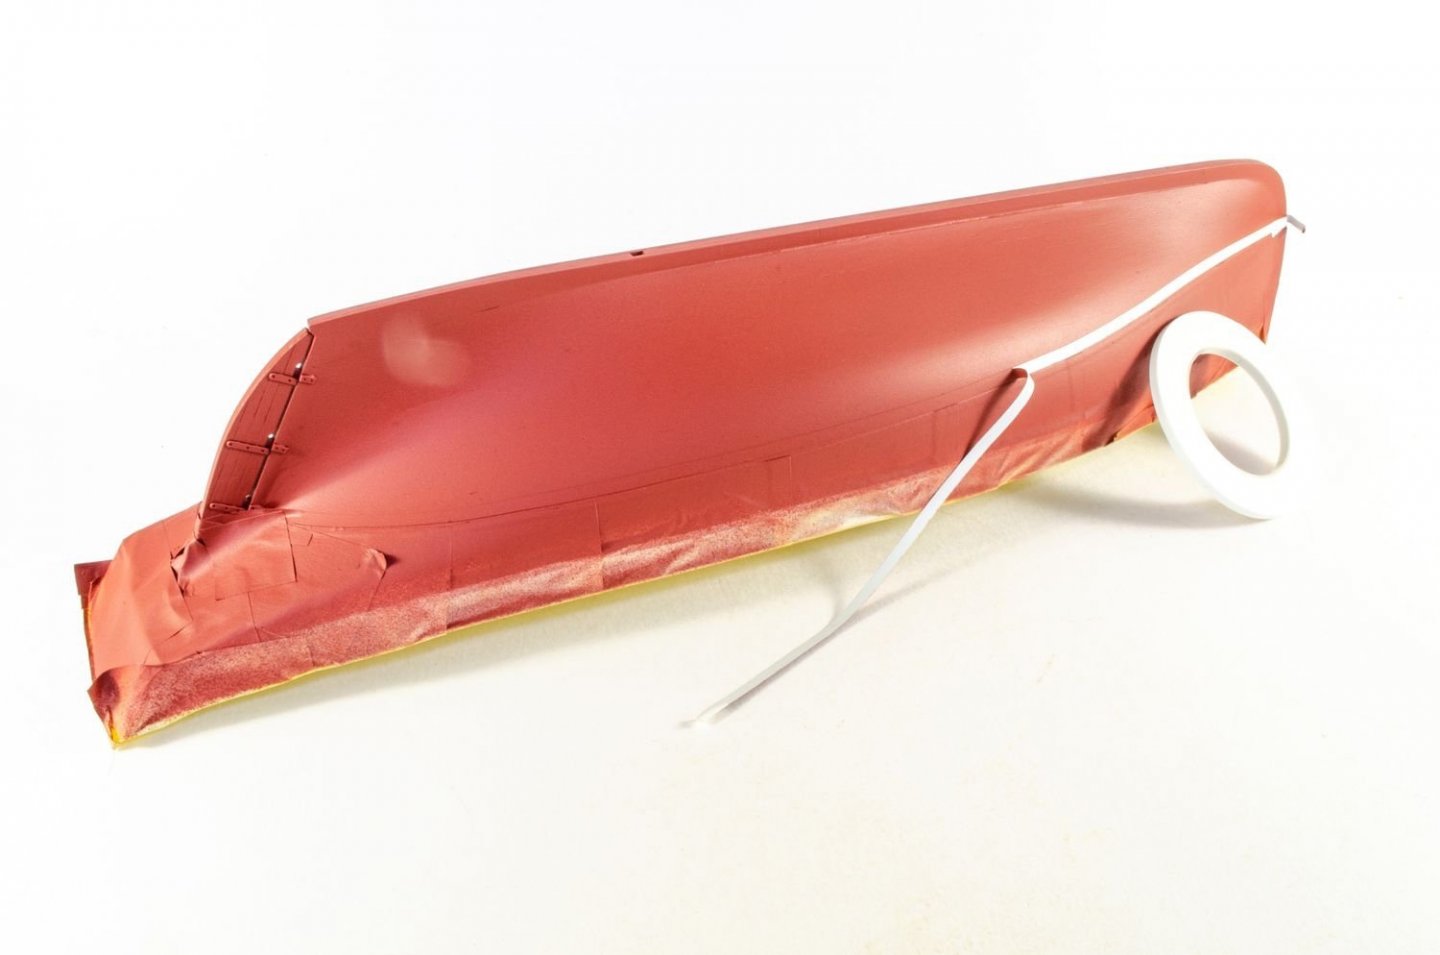
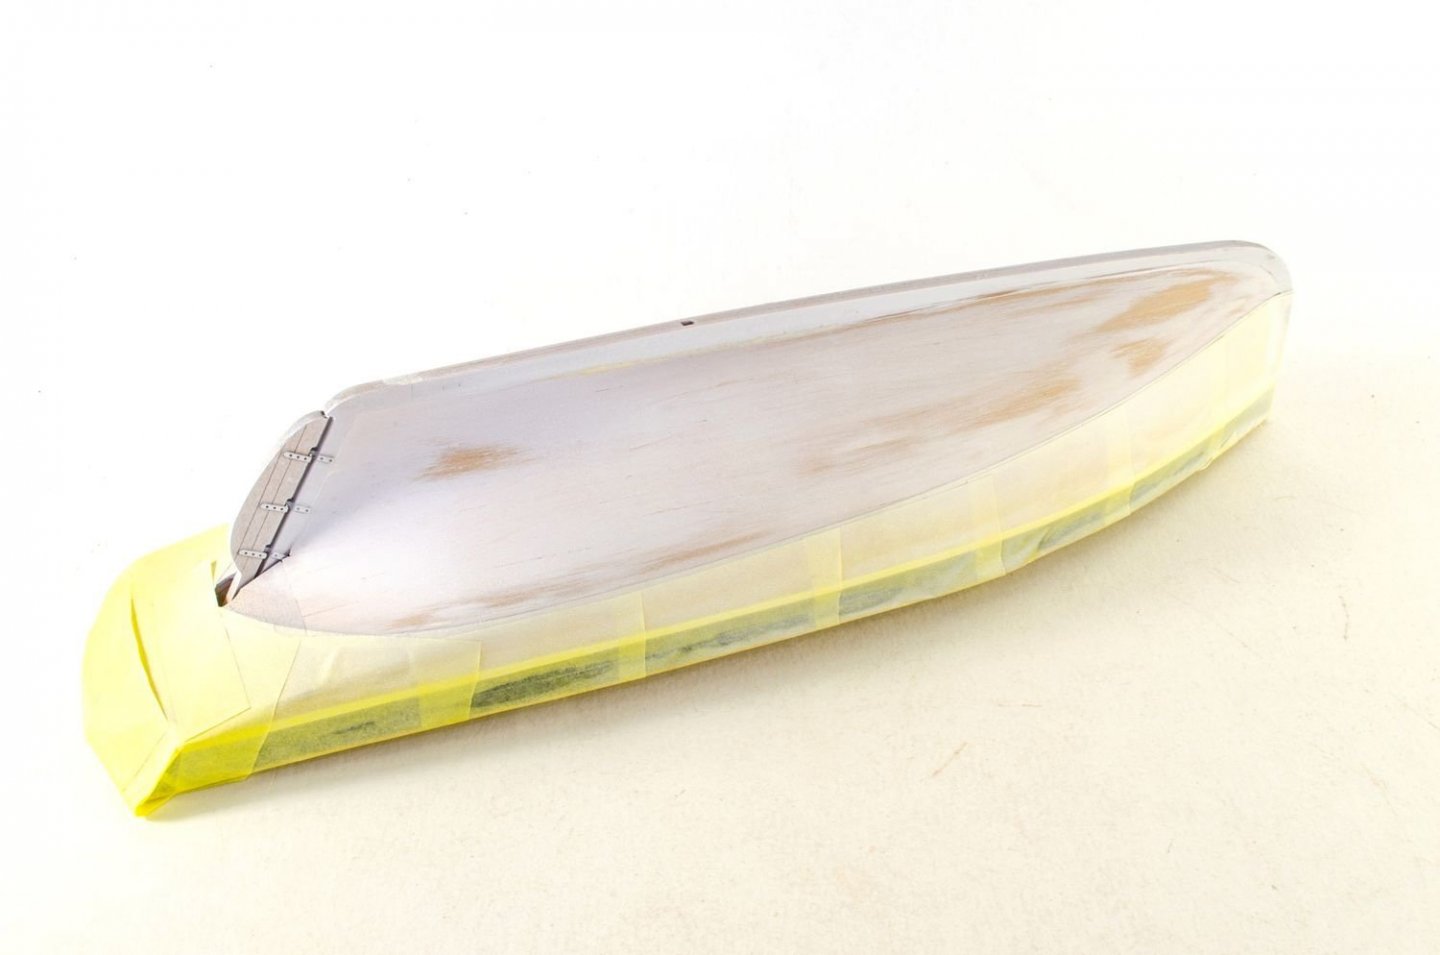
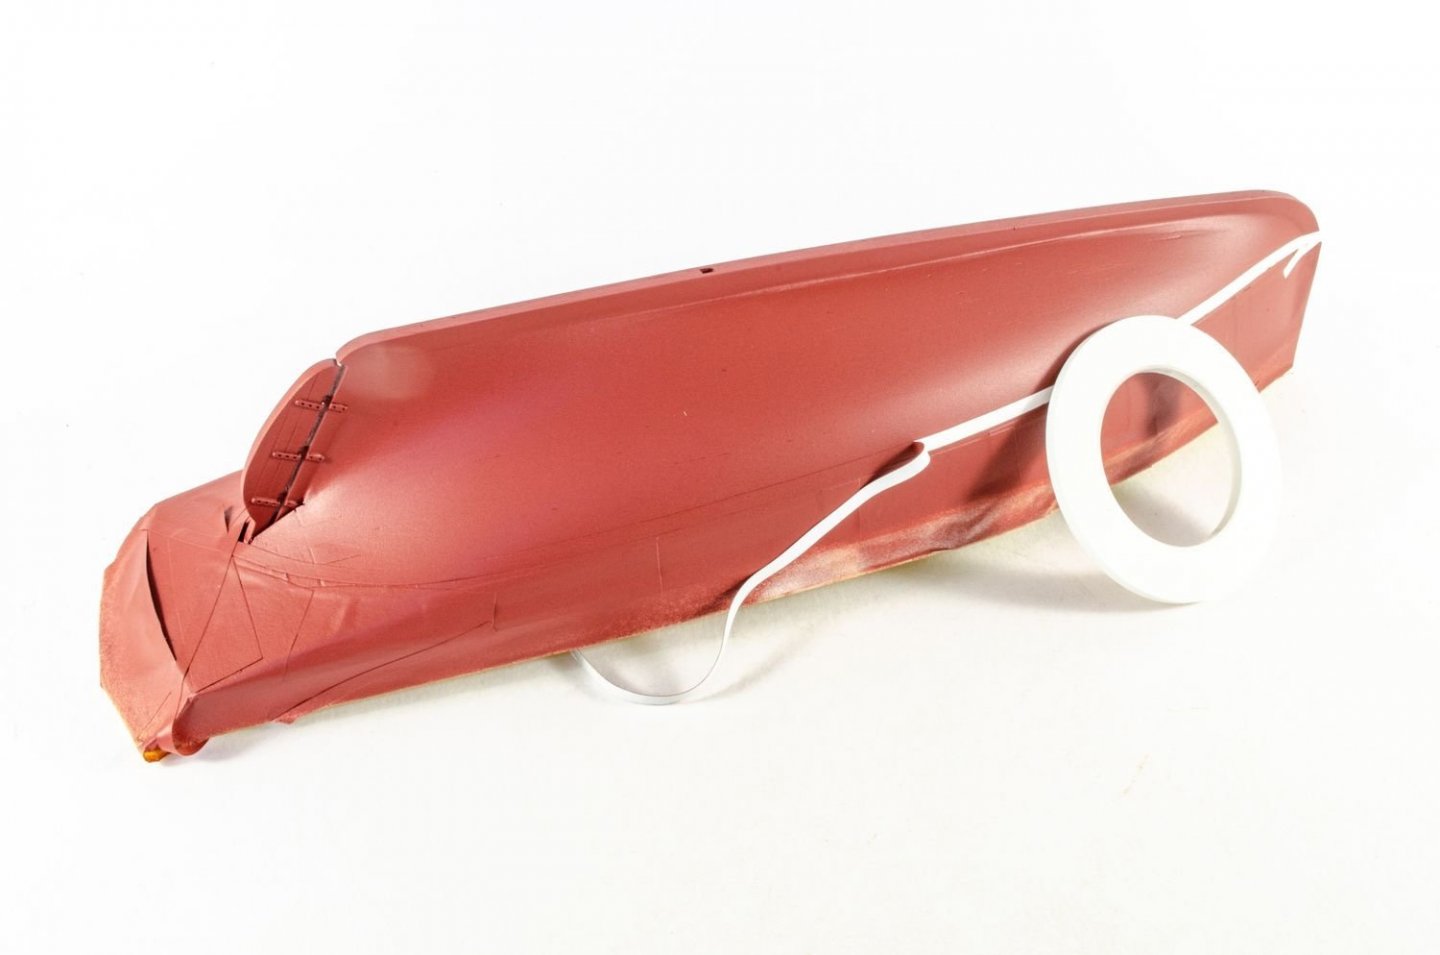
Yes, the hull was primed and painted white, then the flex tape was run along the waterline, just under the masking tape. That kept the strip white while I sprayed red oxide onto hull.
- 36 replies
-
- vanguard models
- Erycina
-
(and 2 more)
Tagged with:
-
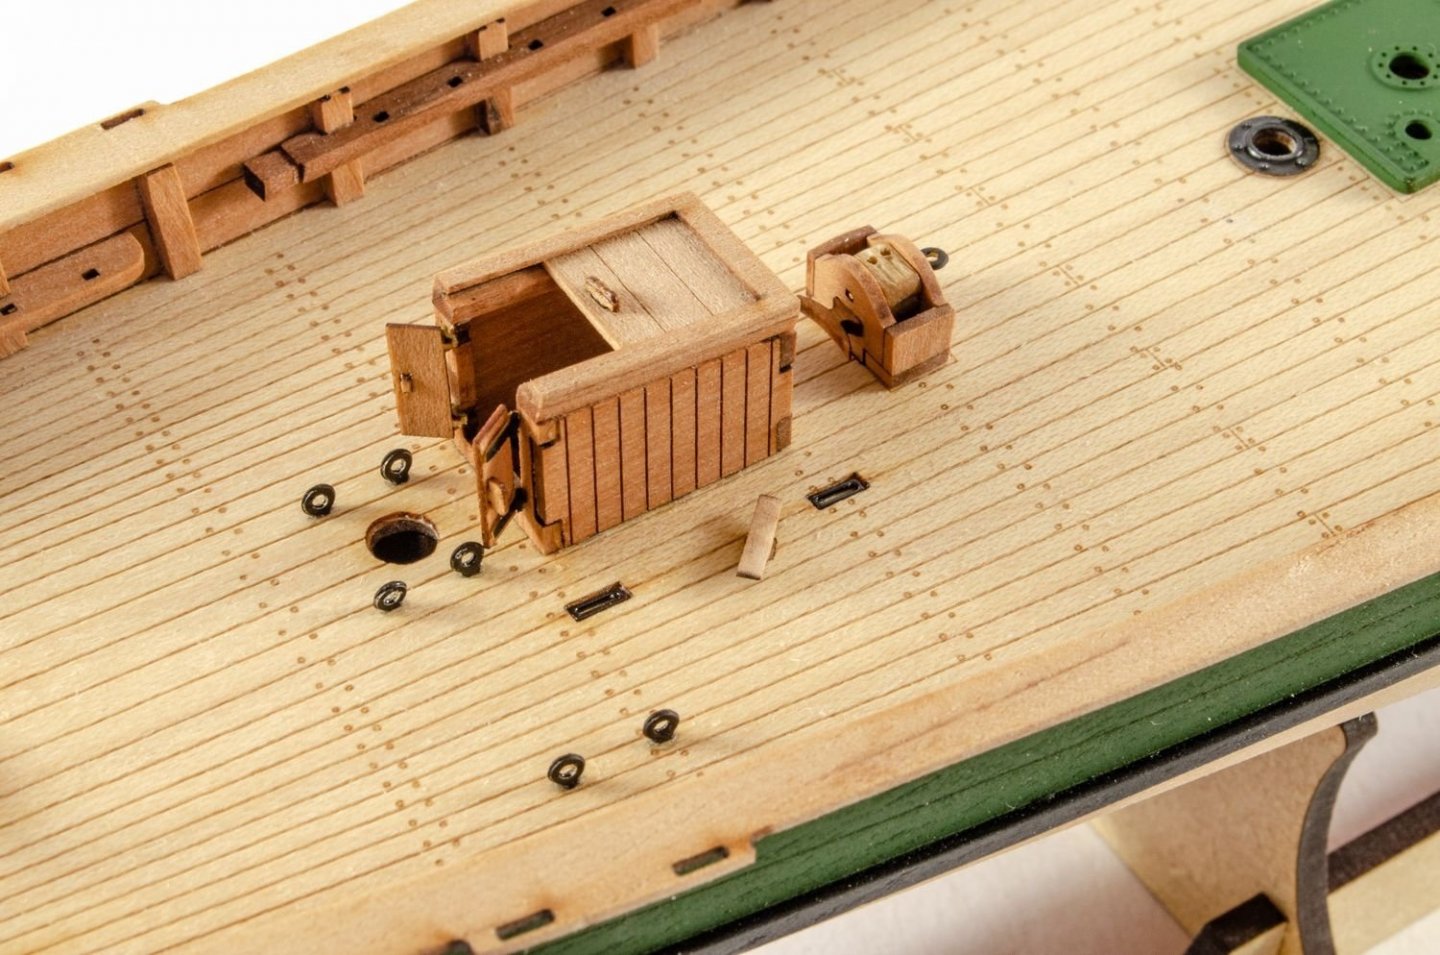
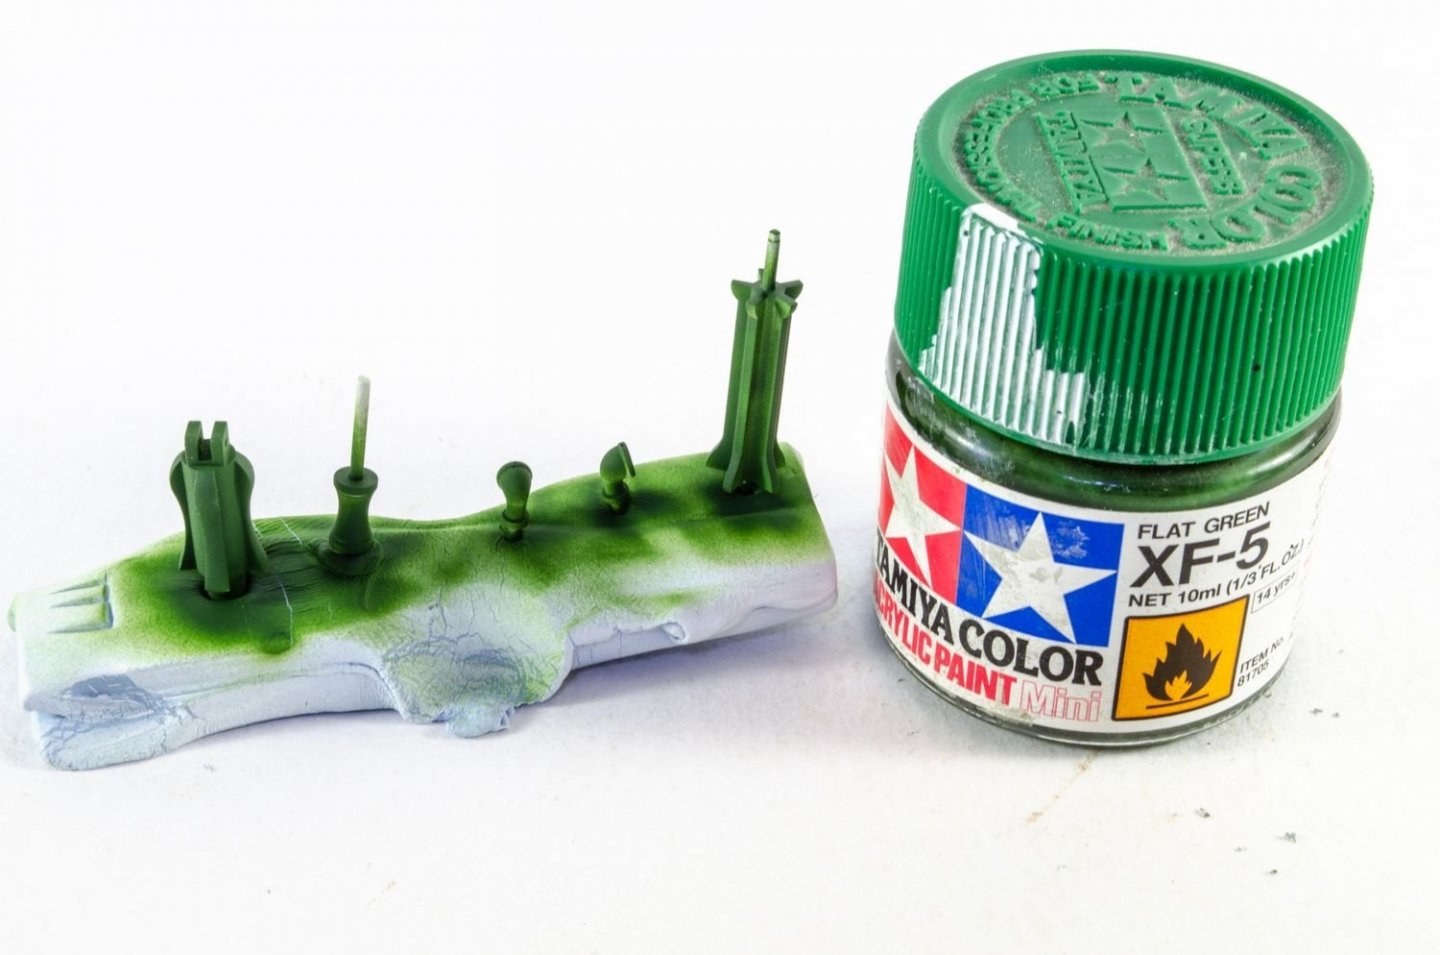
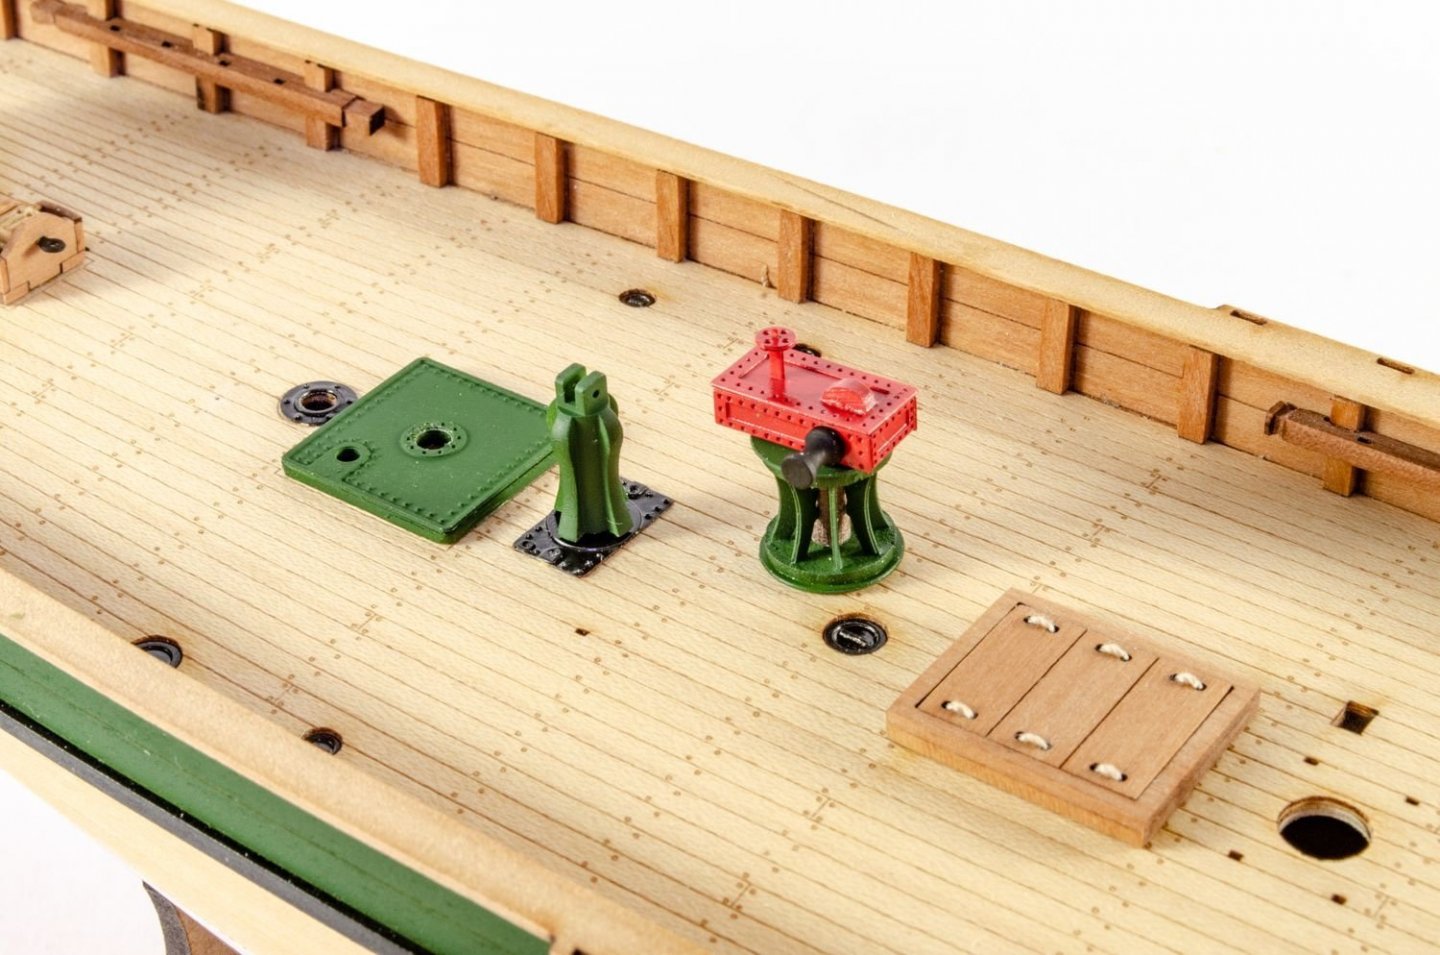
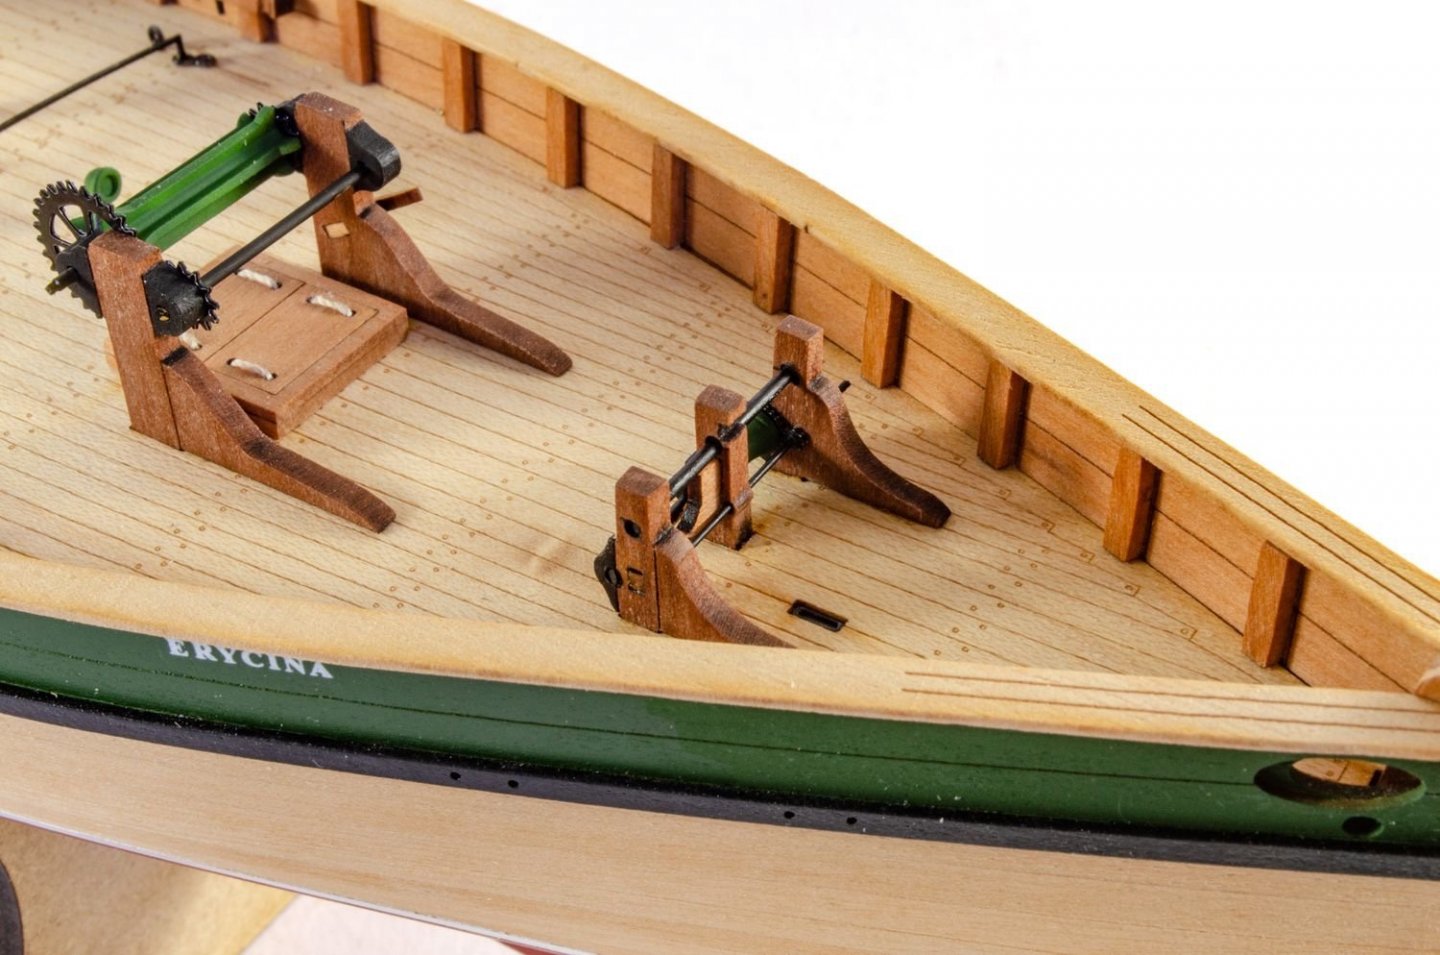
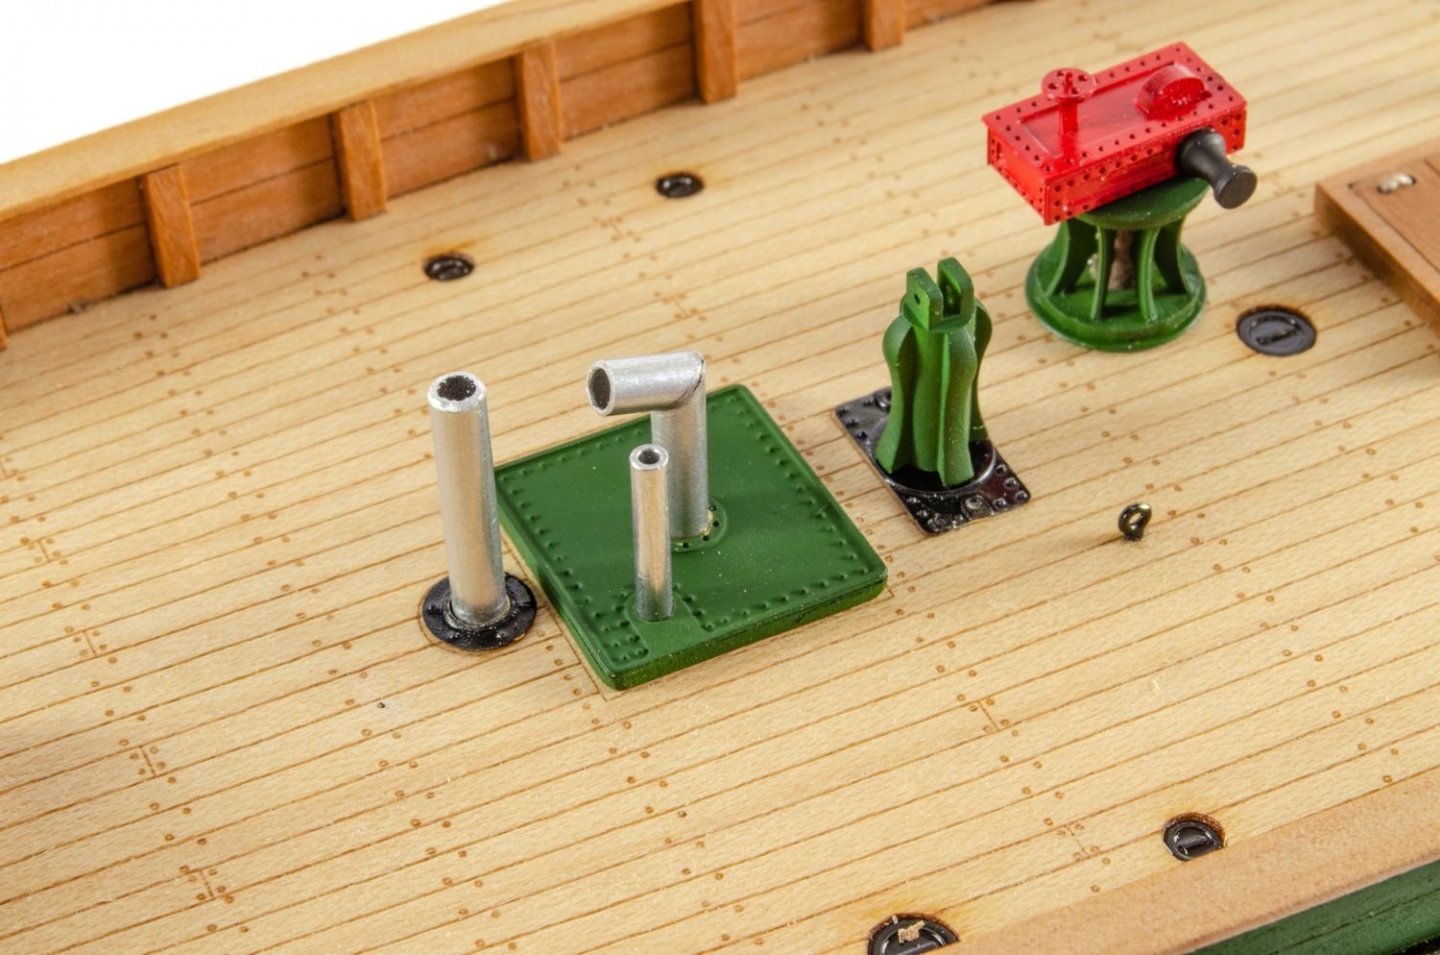
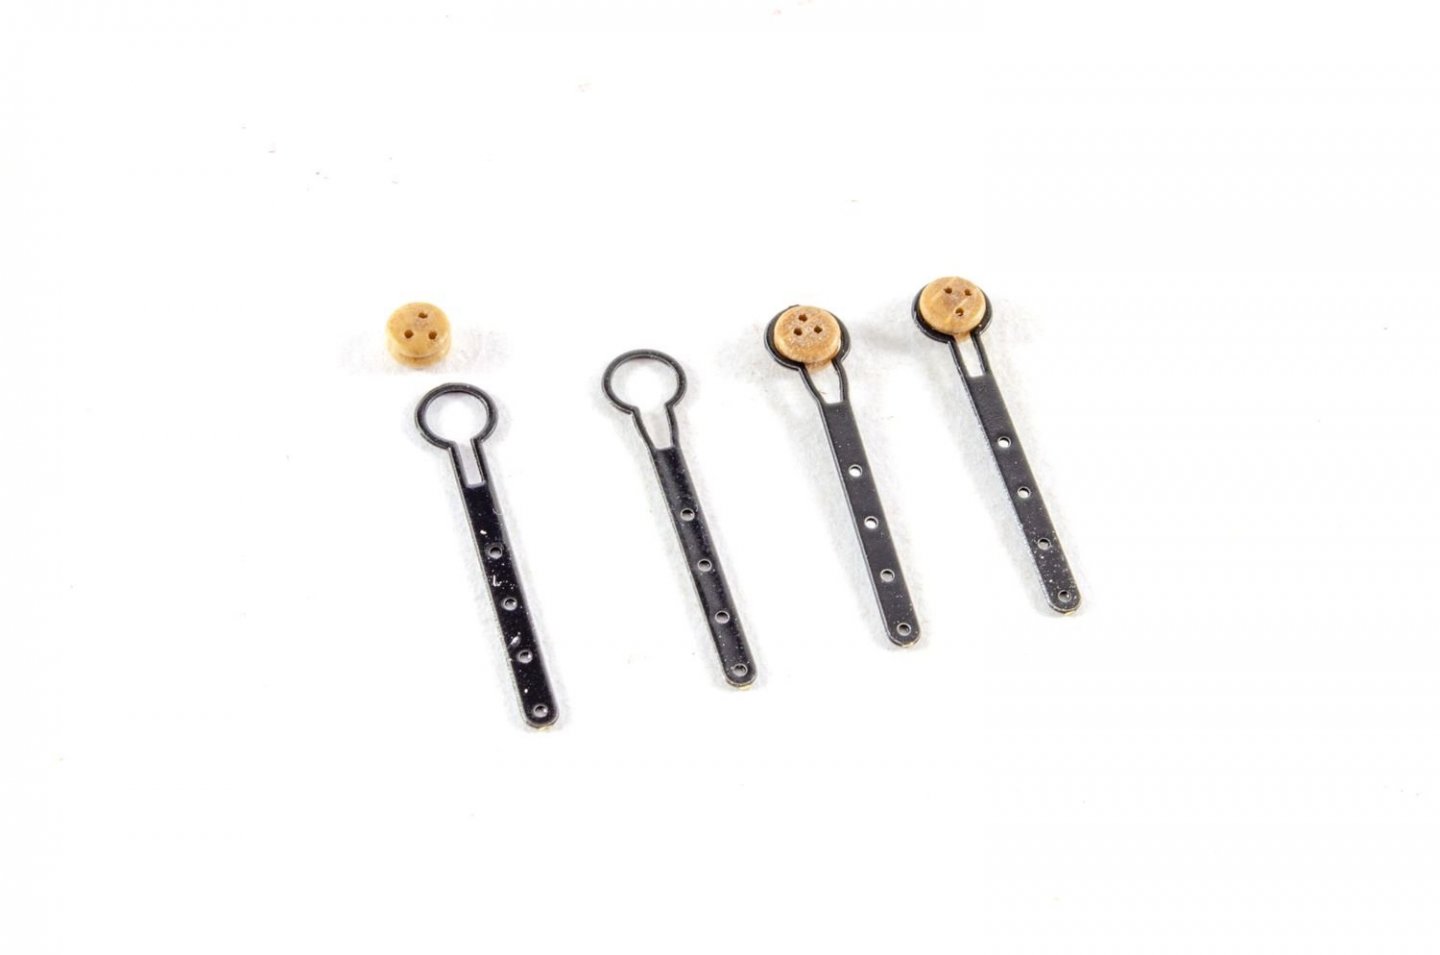
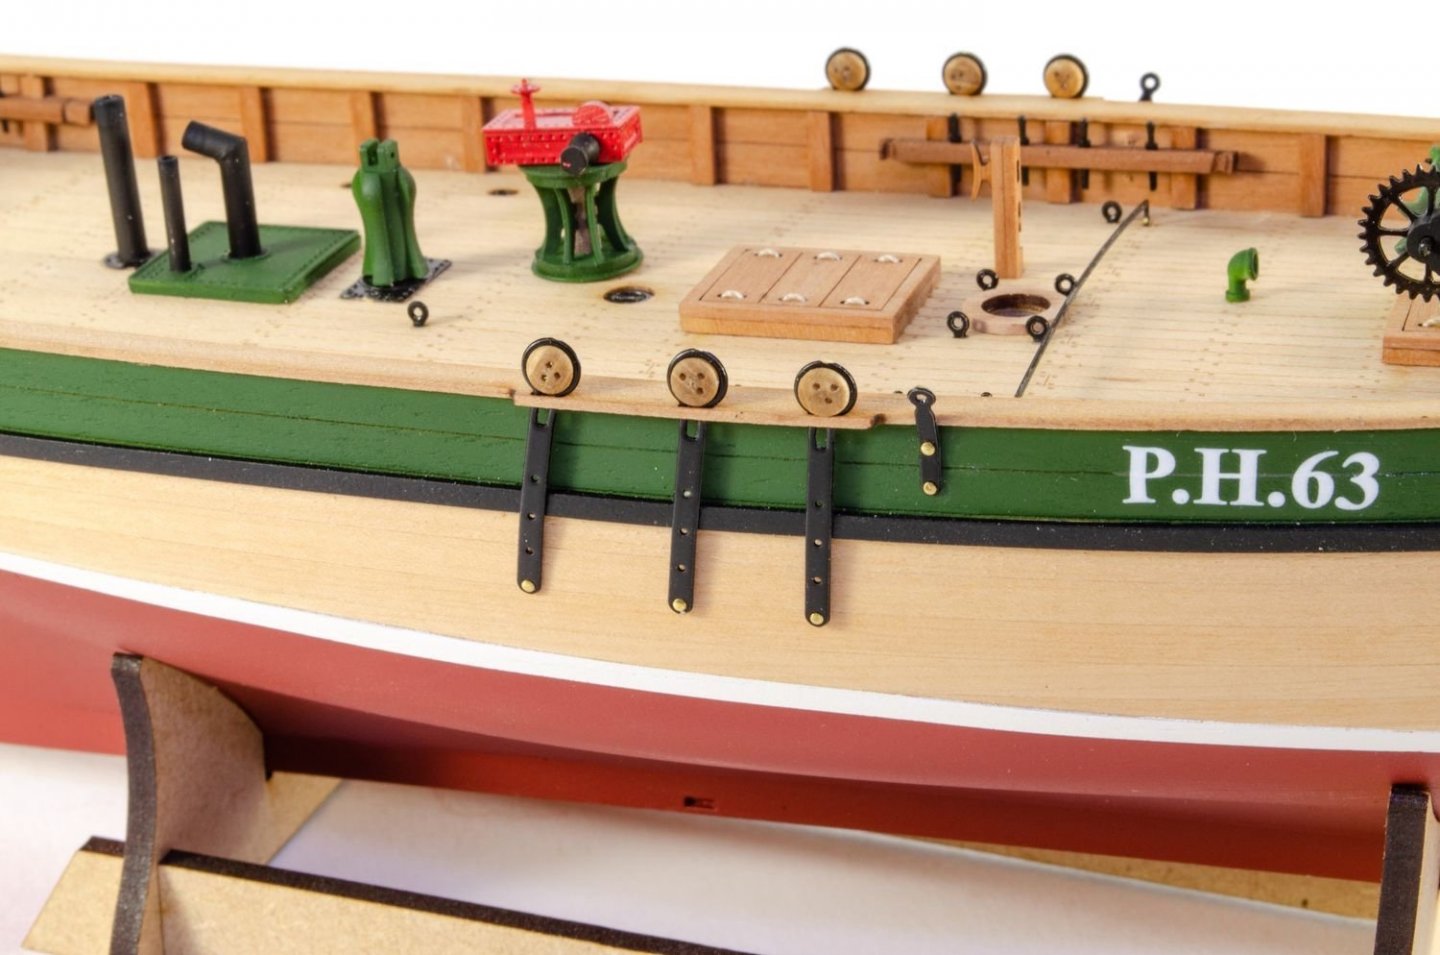
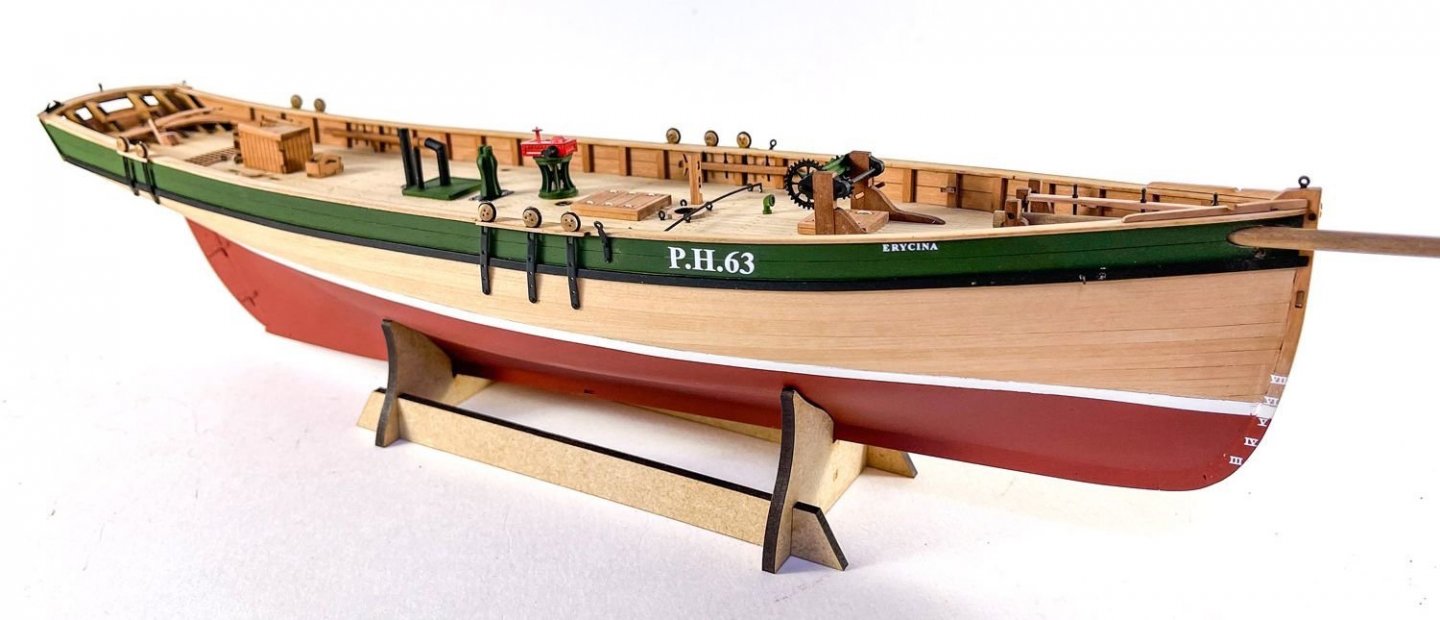
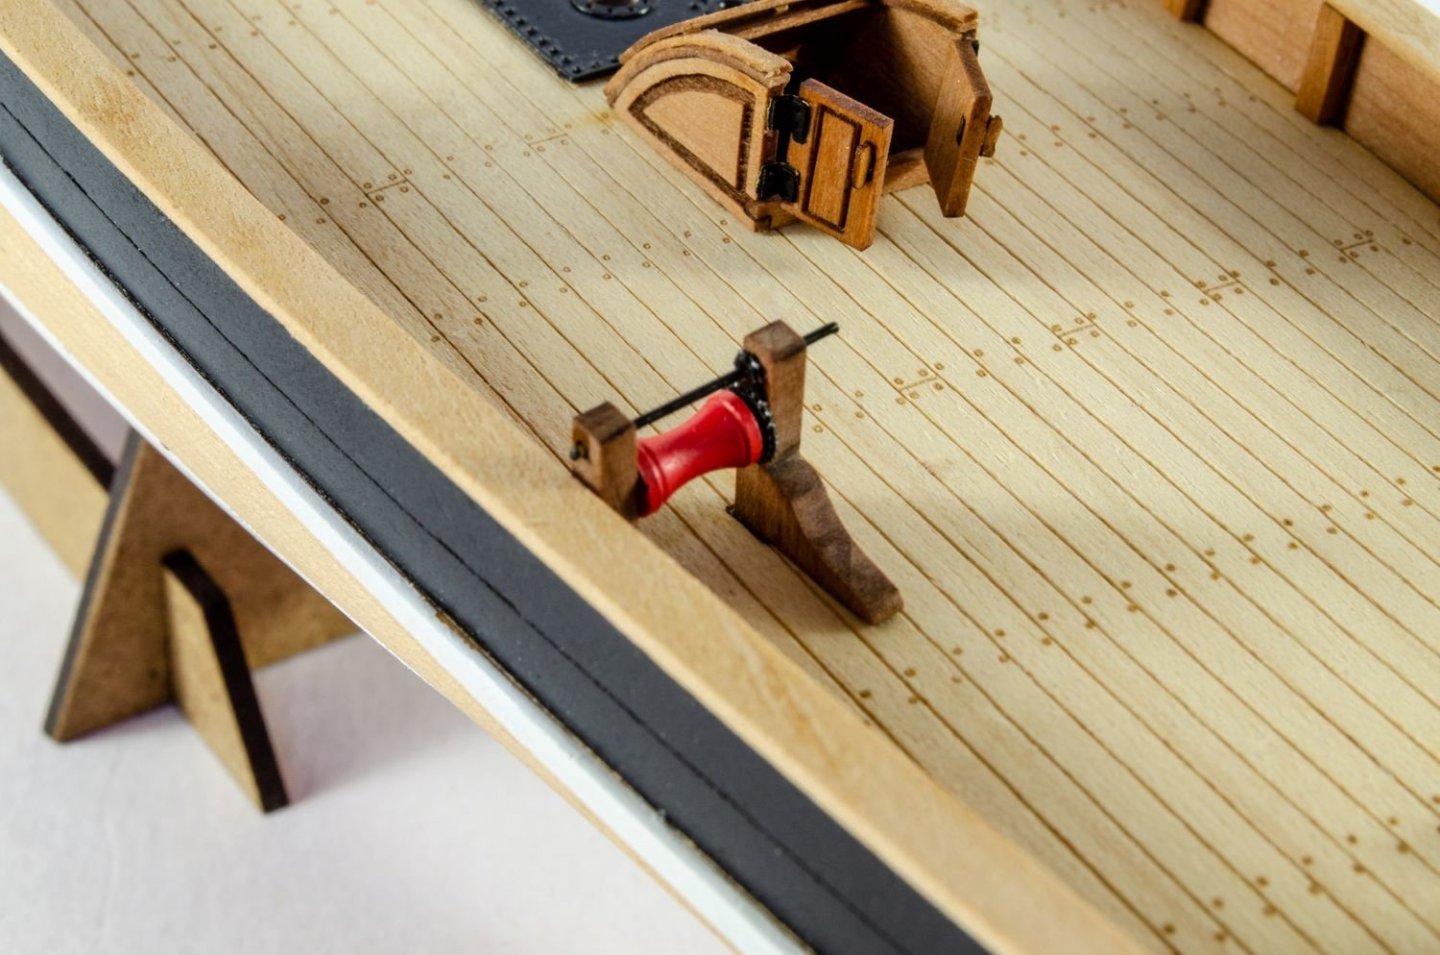
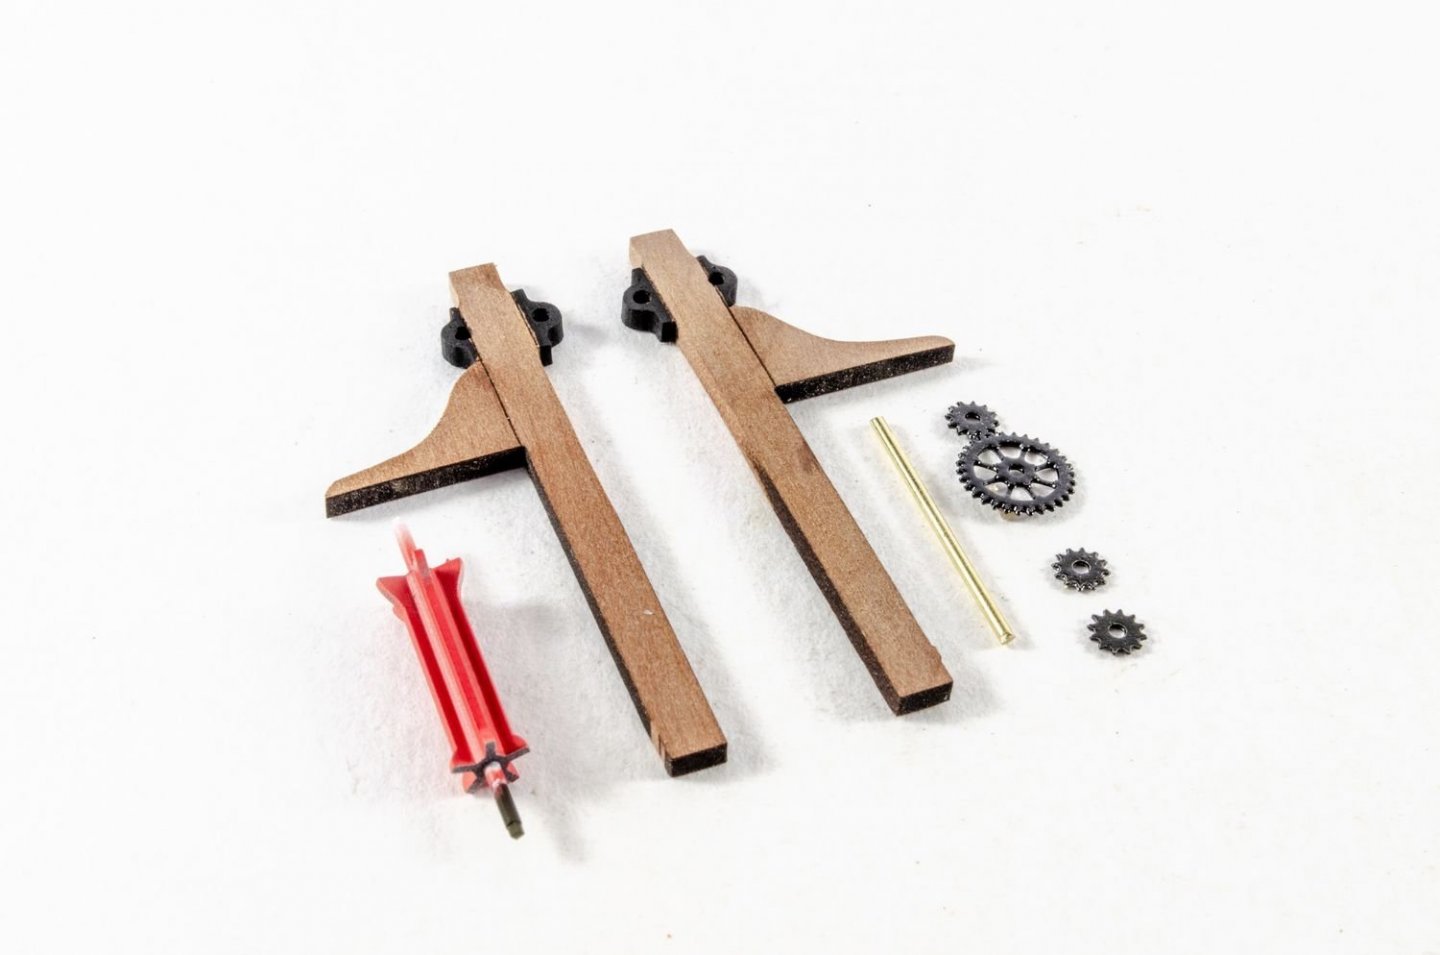
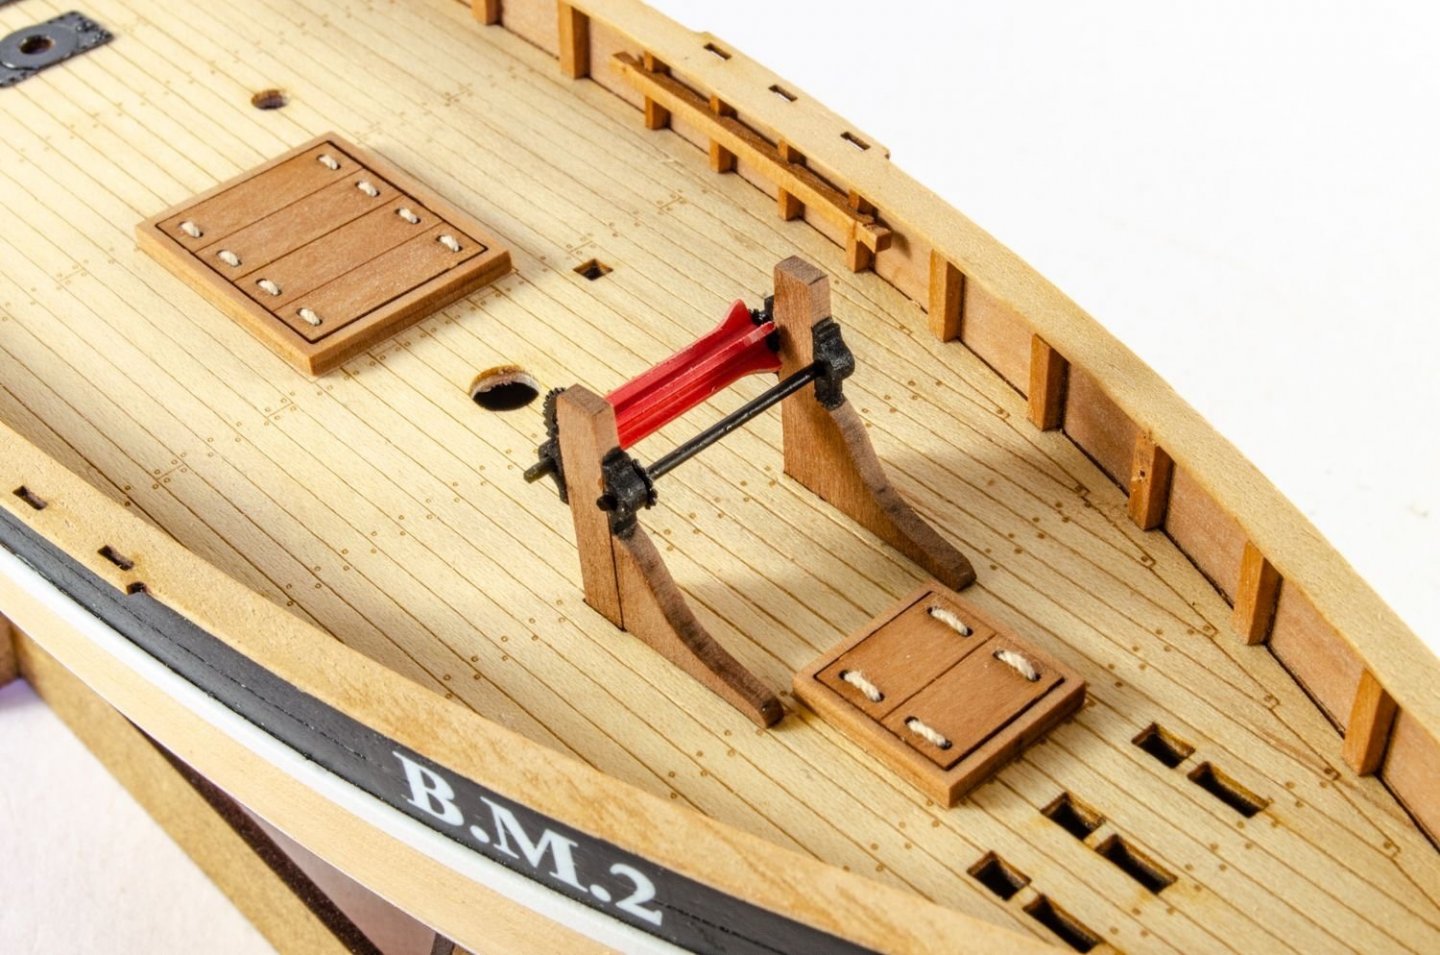
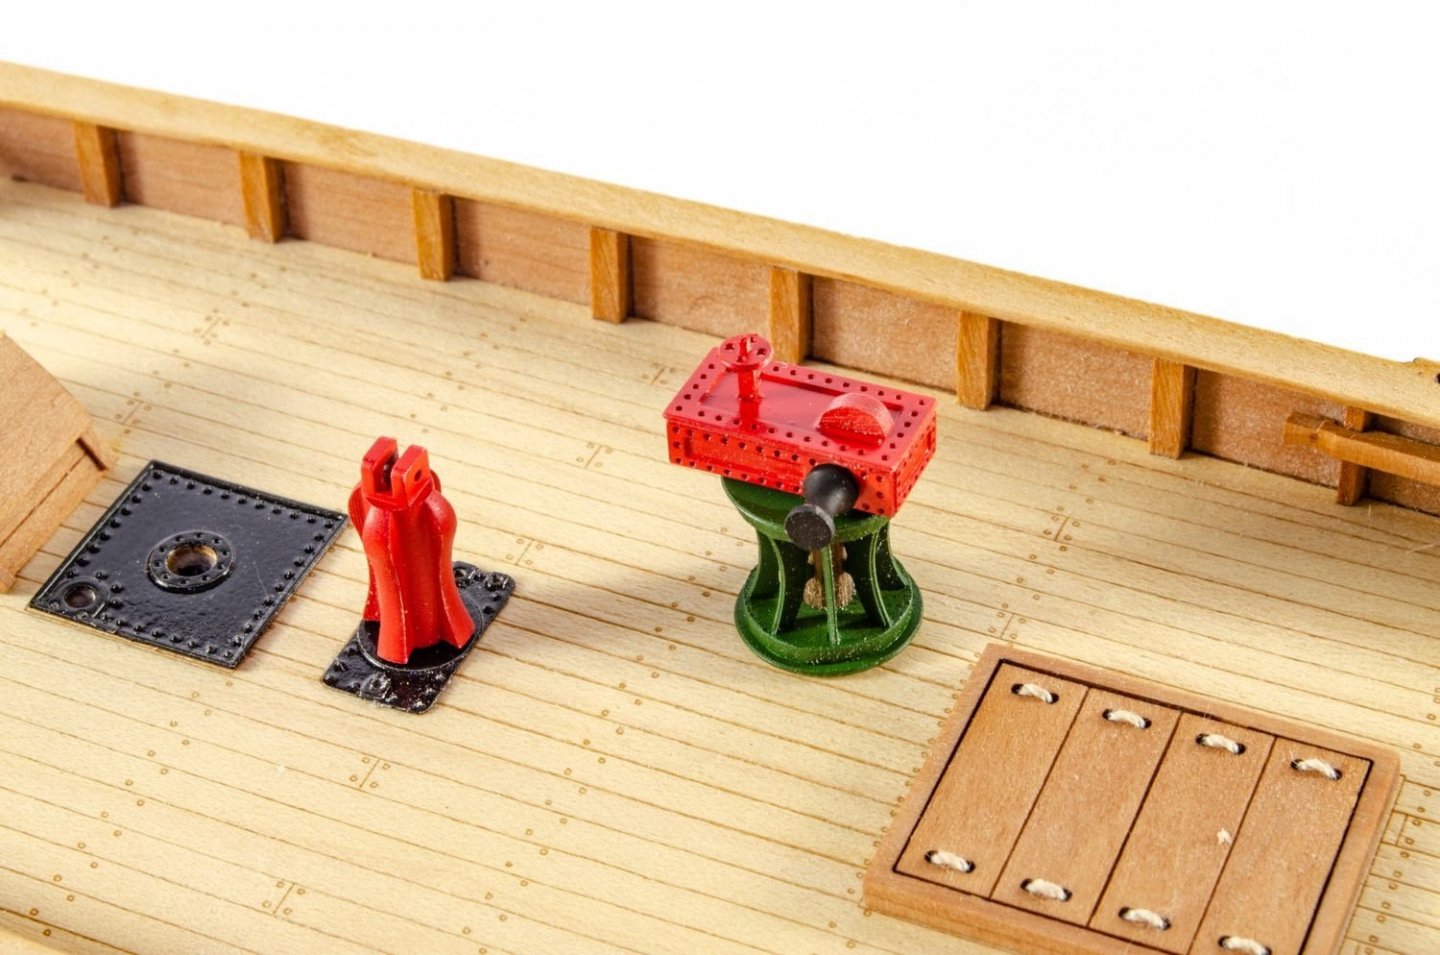
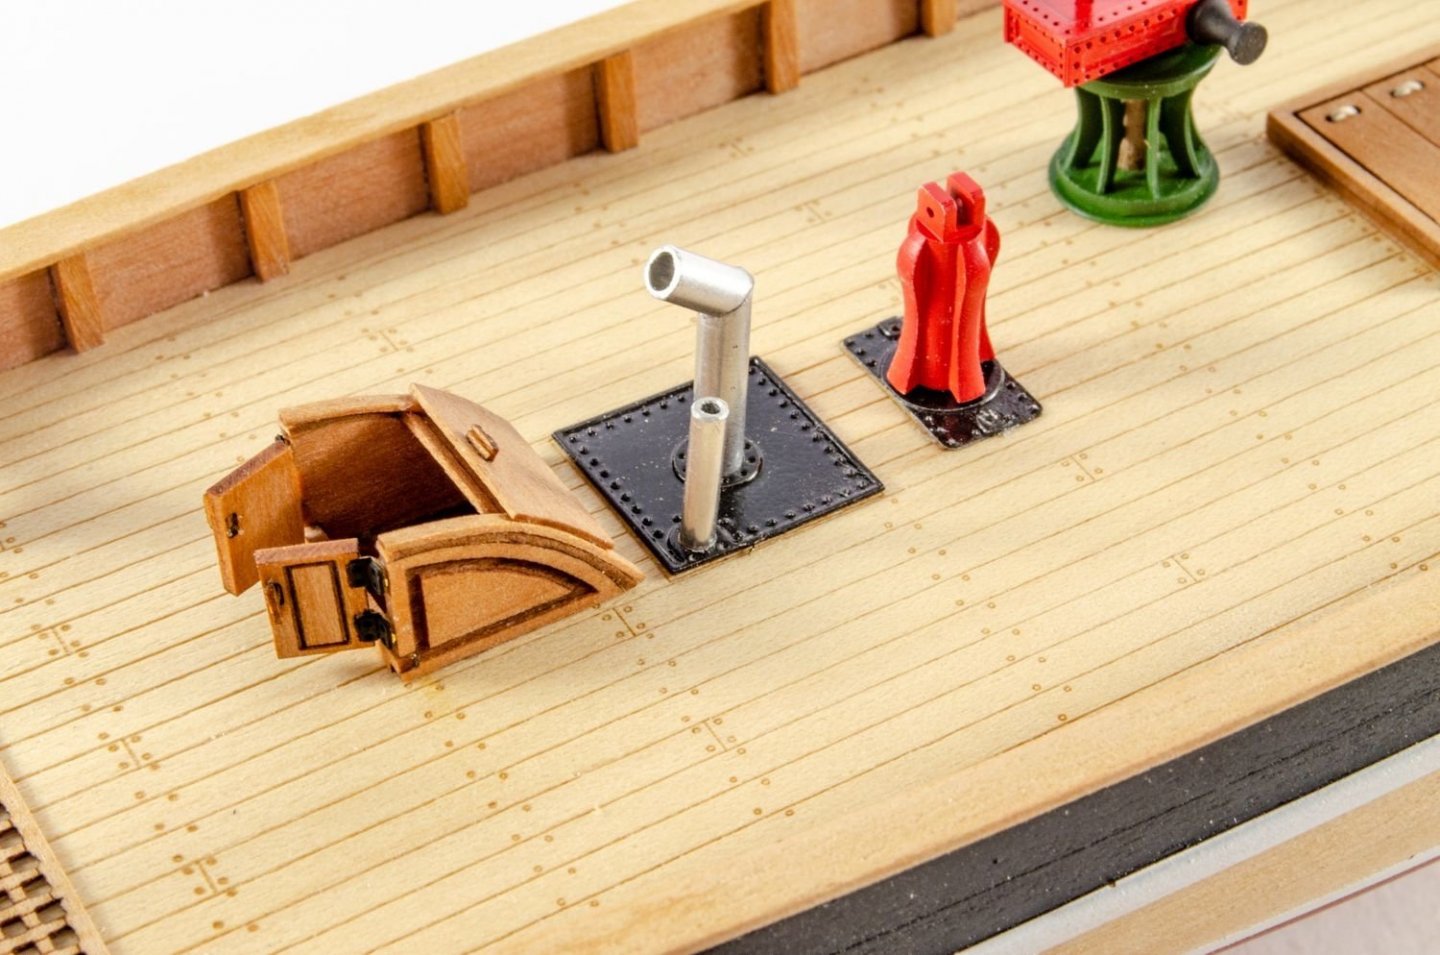
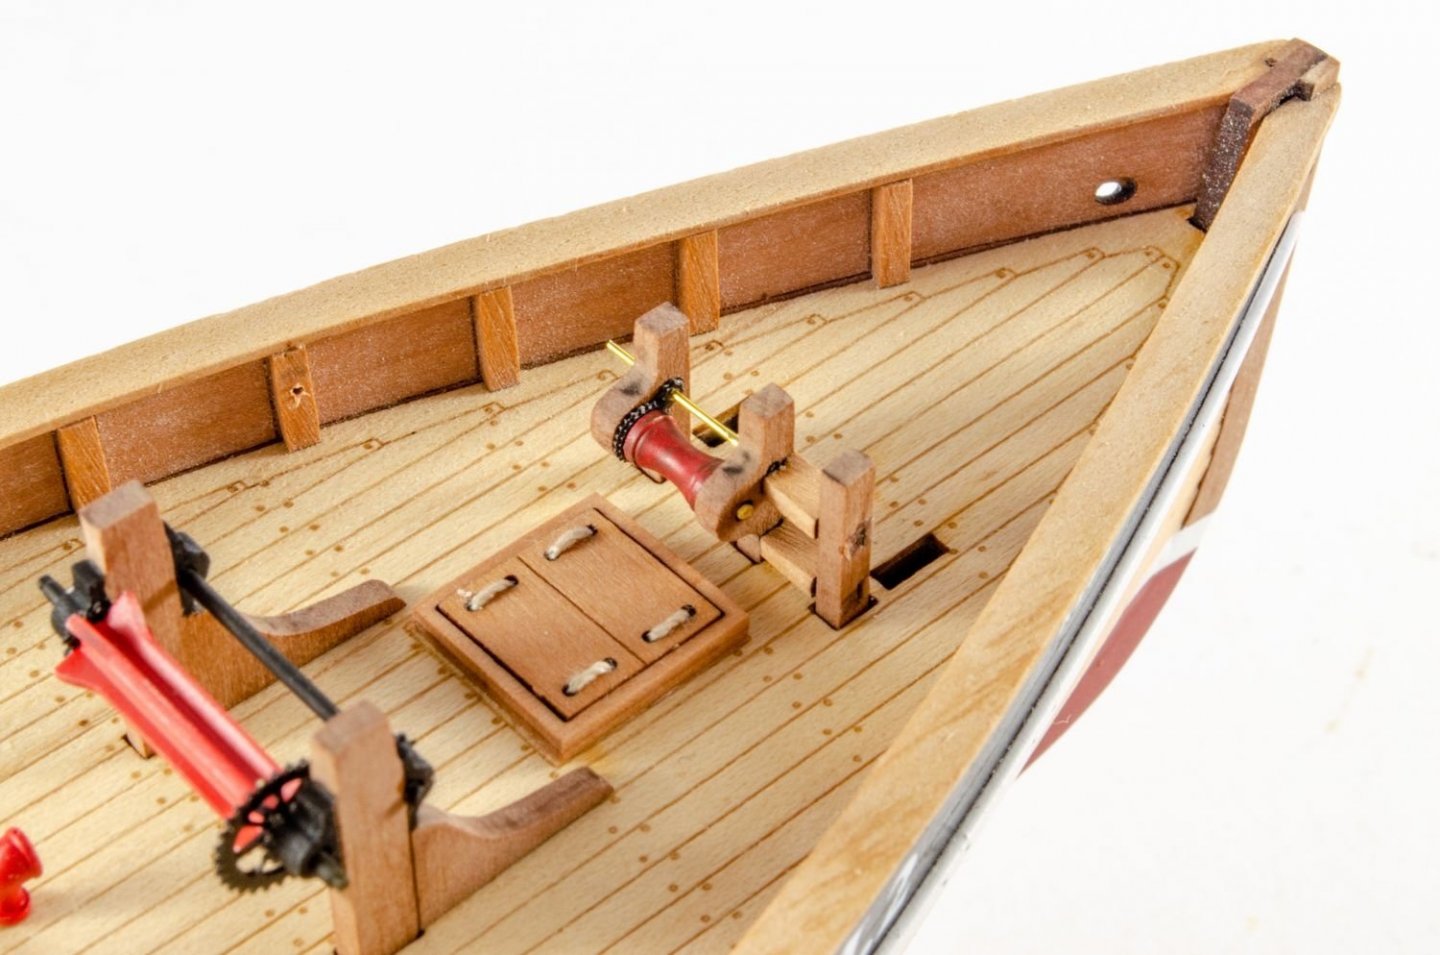
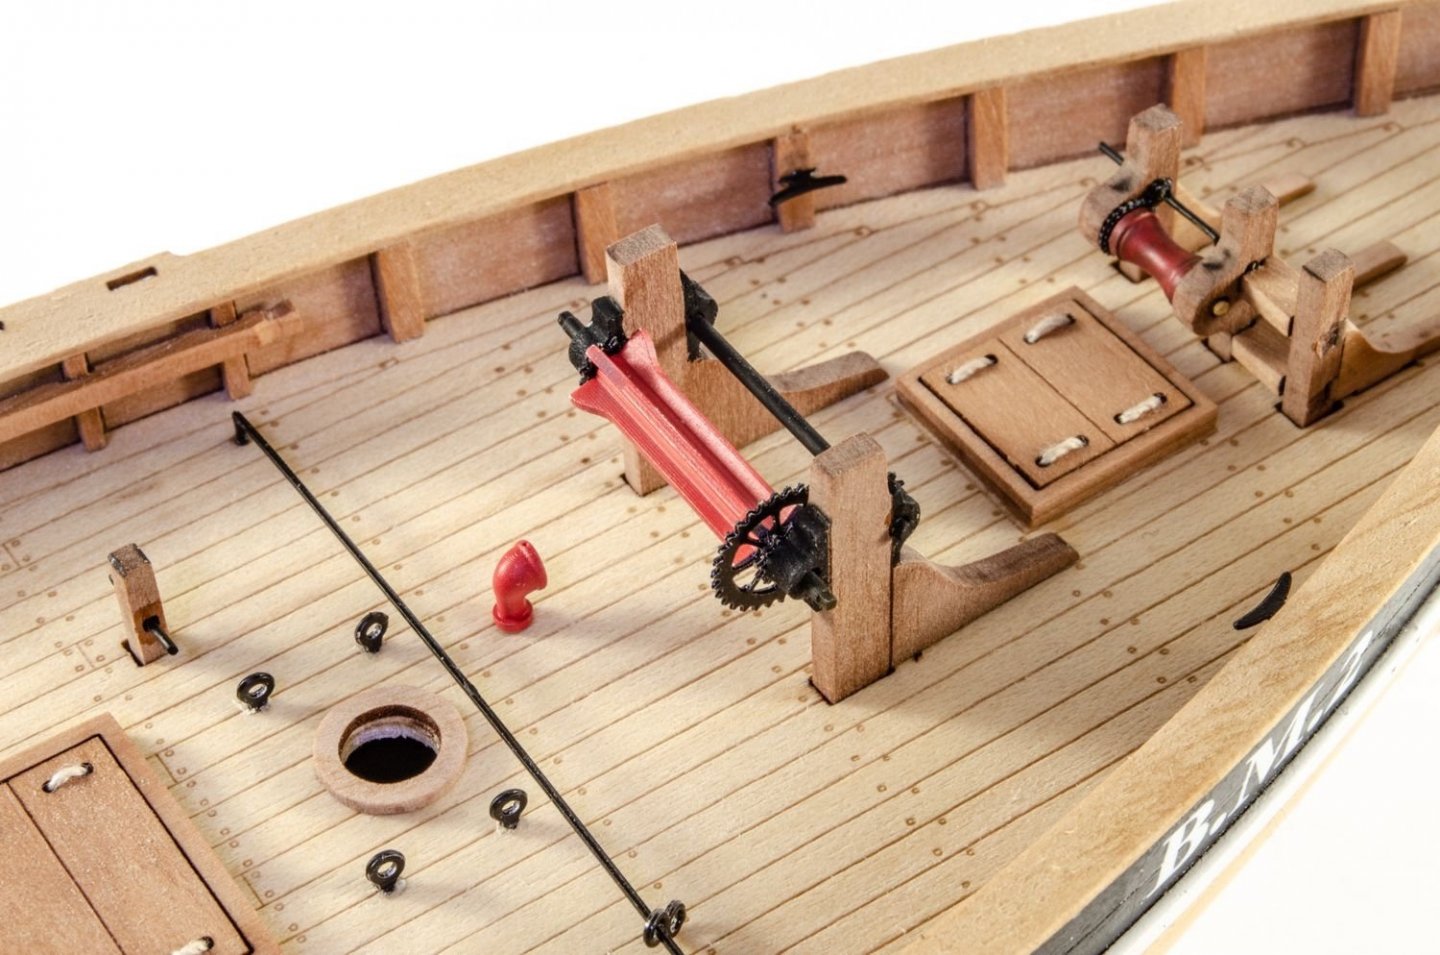
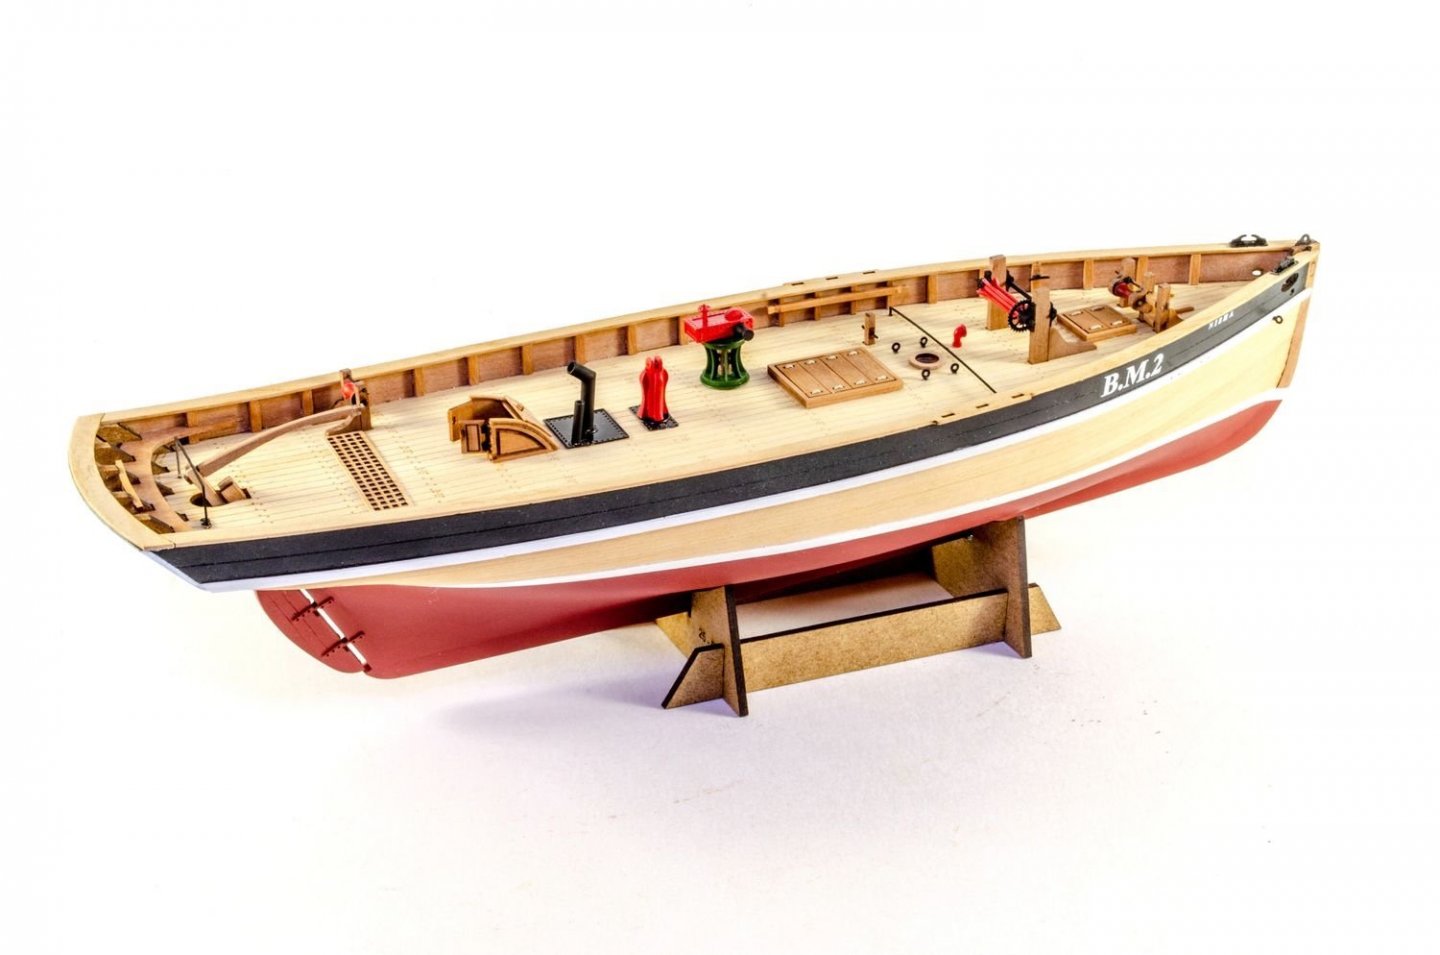
The main sail housing is now fitted. All of these items have either engraved lines or slots for fitting. After priming, all the 3D parts were painted in green, to match Erycina's outer bulwark. You can use whatever colour you like, but this sort of green was quite common for the period. And of course, the steam winch. This is exactly the same sort fitted to Nisha. Deck fittings ongoing. Three chimneys on this one, as opposed to two on Nisha. This one is quite a bit larger than Nisha, and looks more purposeful, in my opinion. Both are quite beautiful though. The next log entry here will be the last for Erycina, in around a week.
- 36 replies
-
- vanguard models
- Erycina
-
(and 2 more)
Tagged with:
-
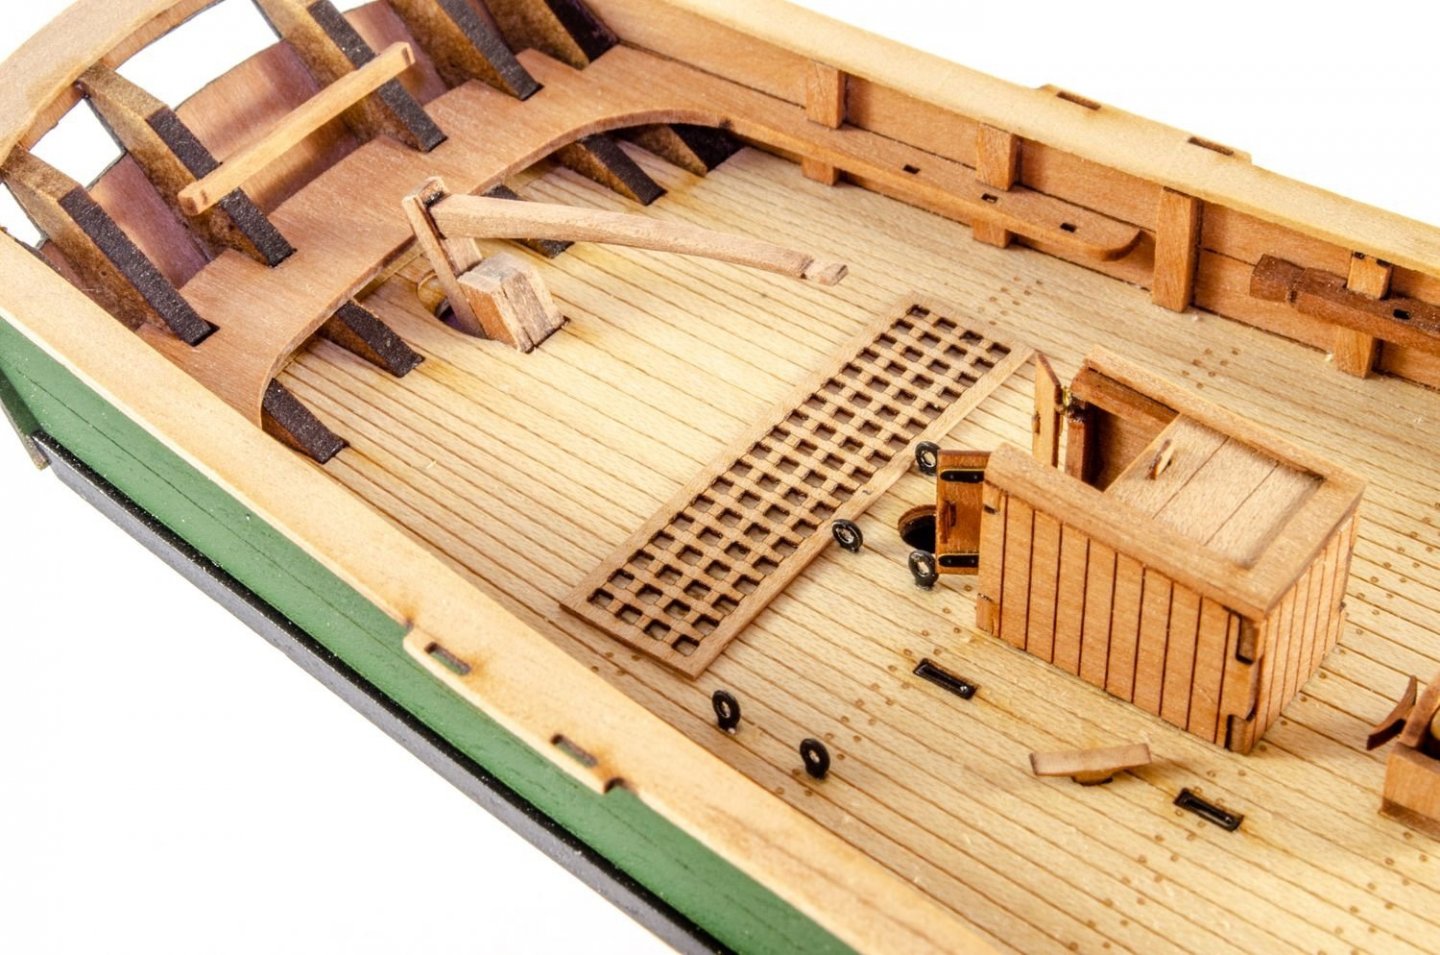
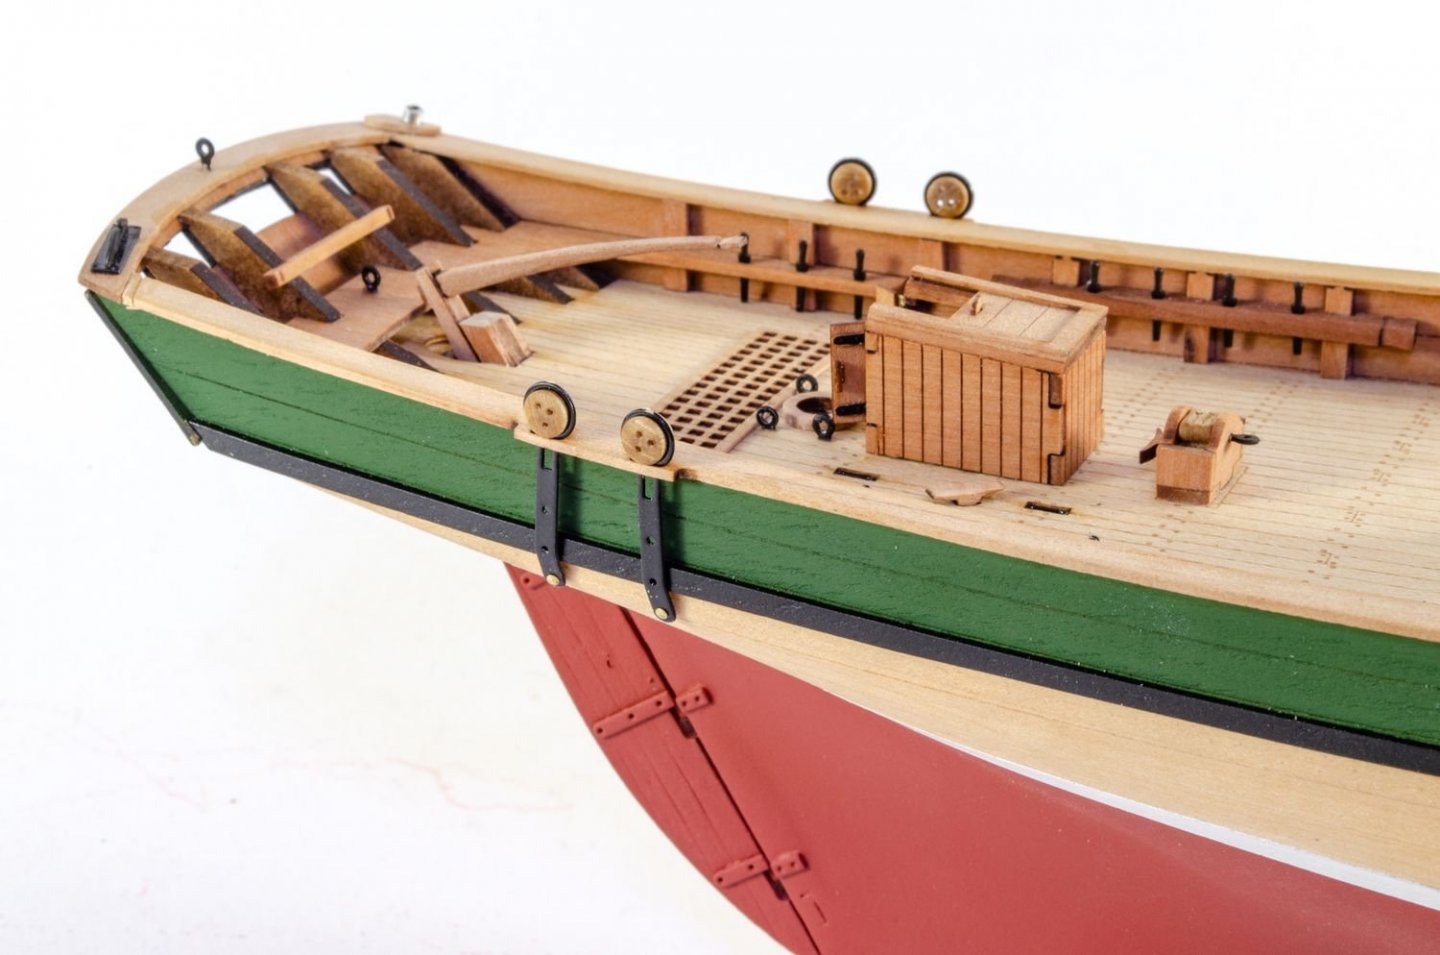
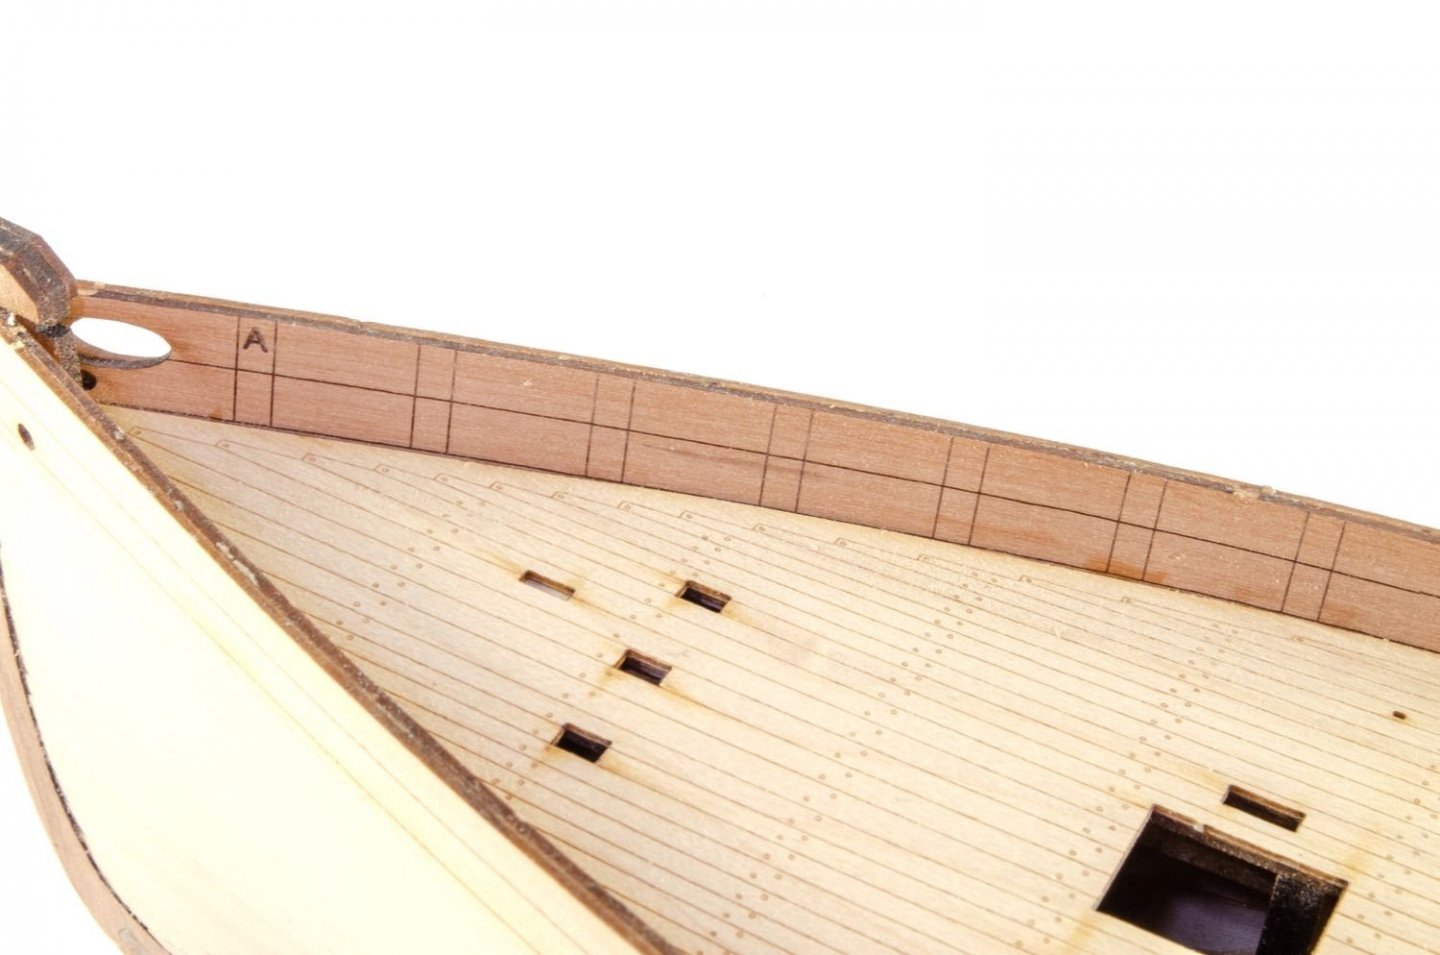
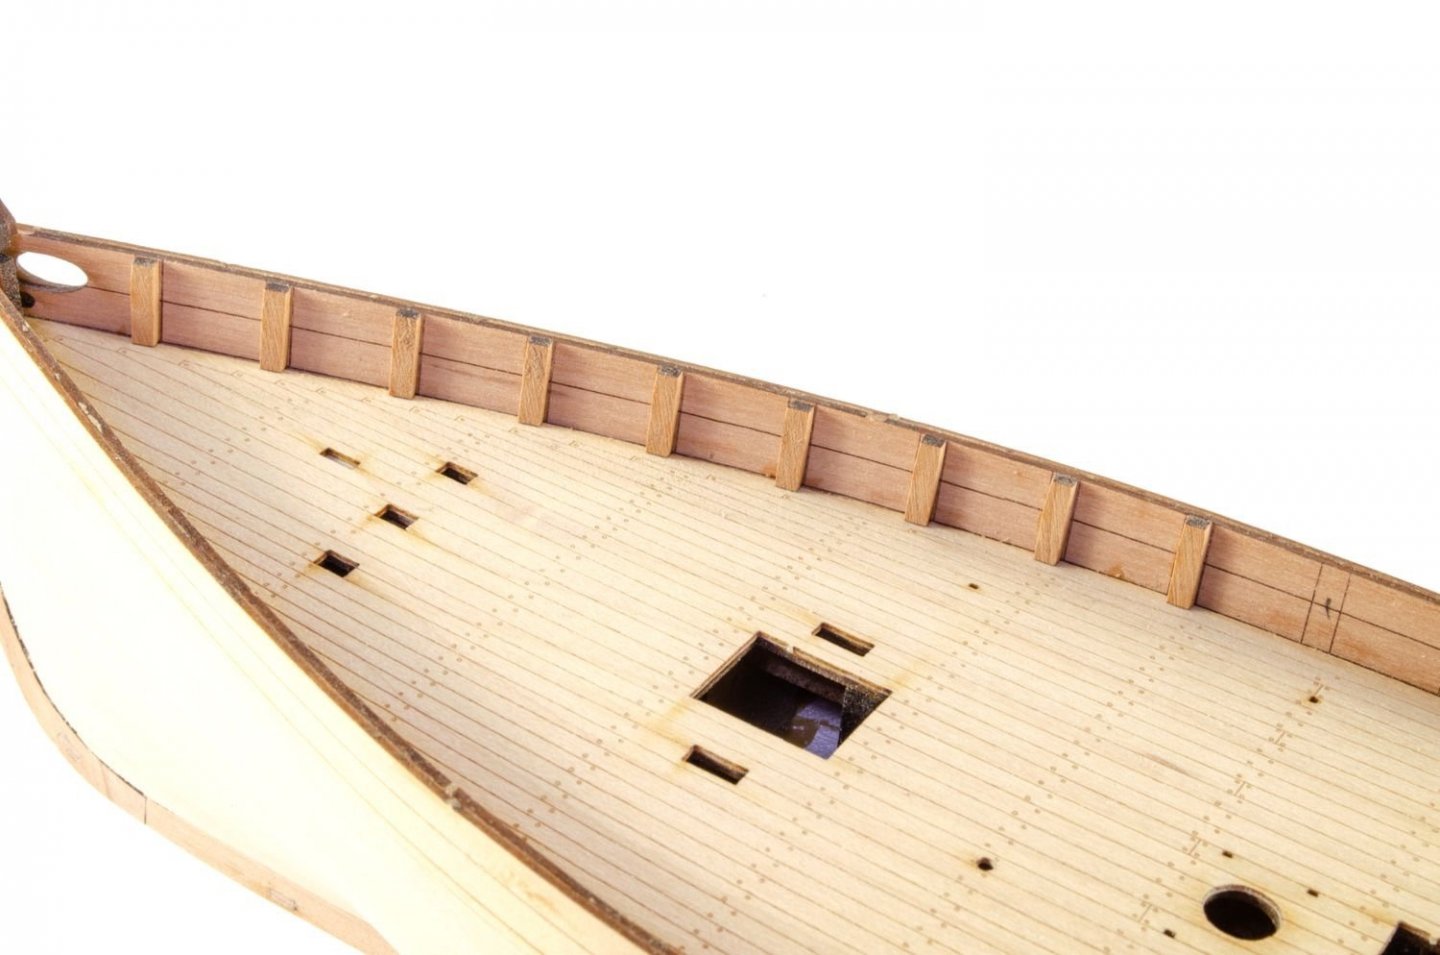
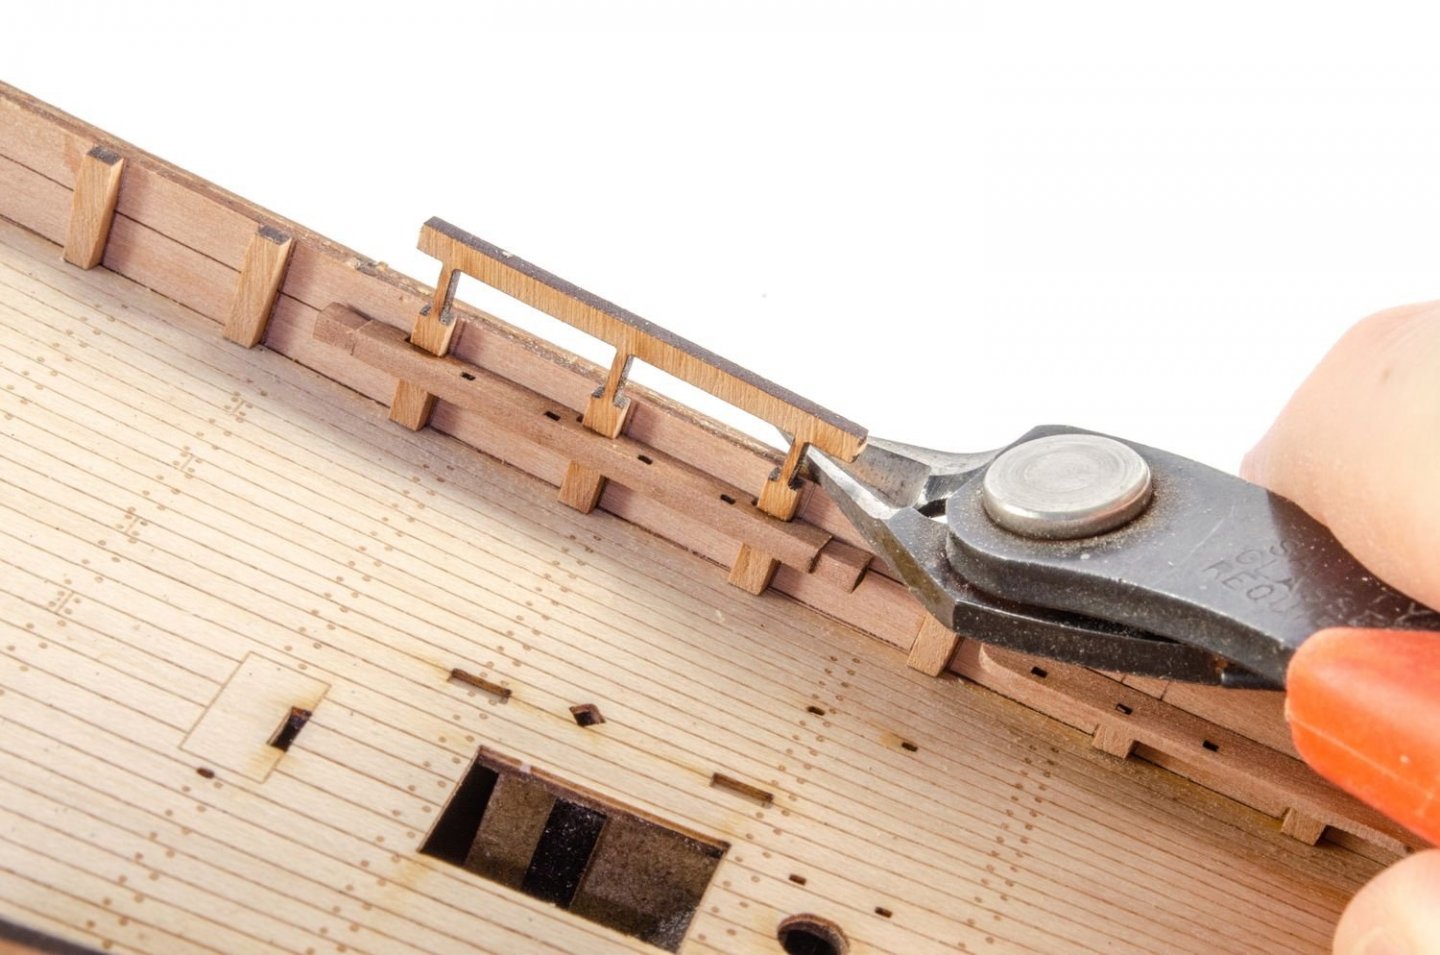
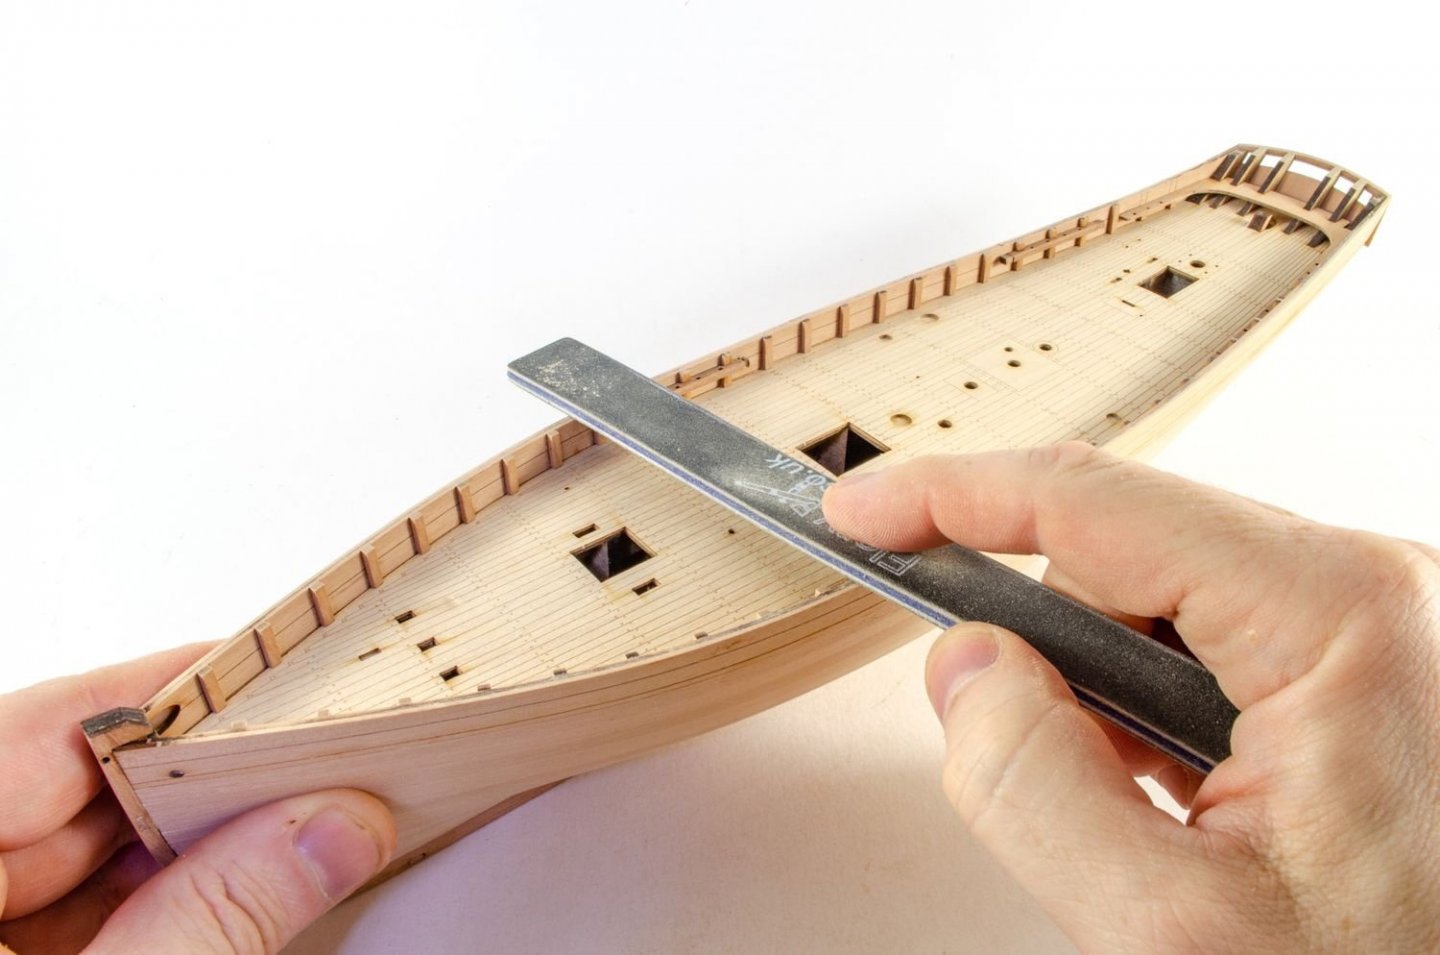
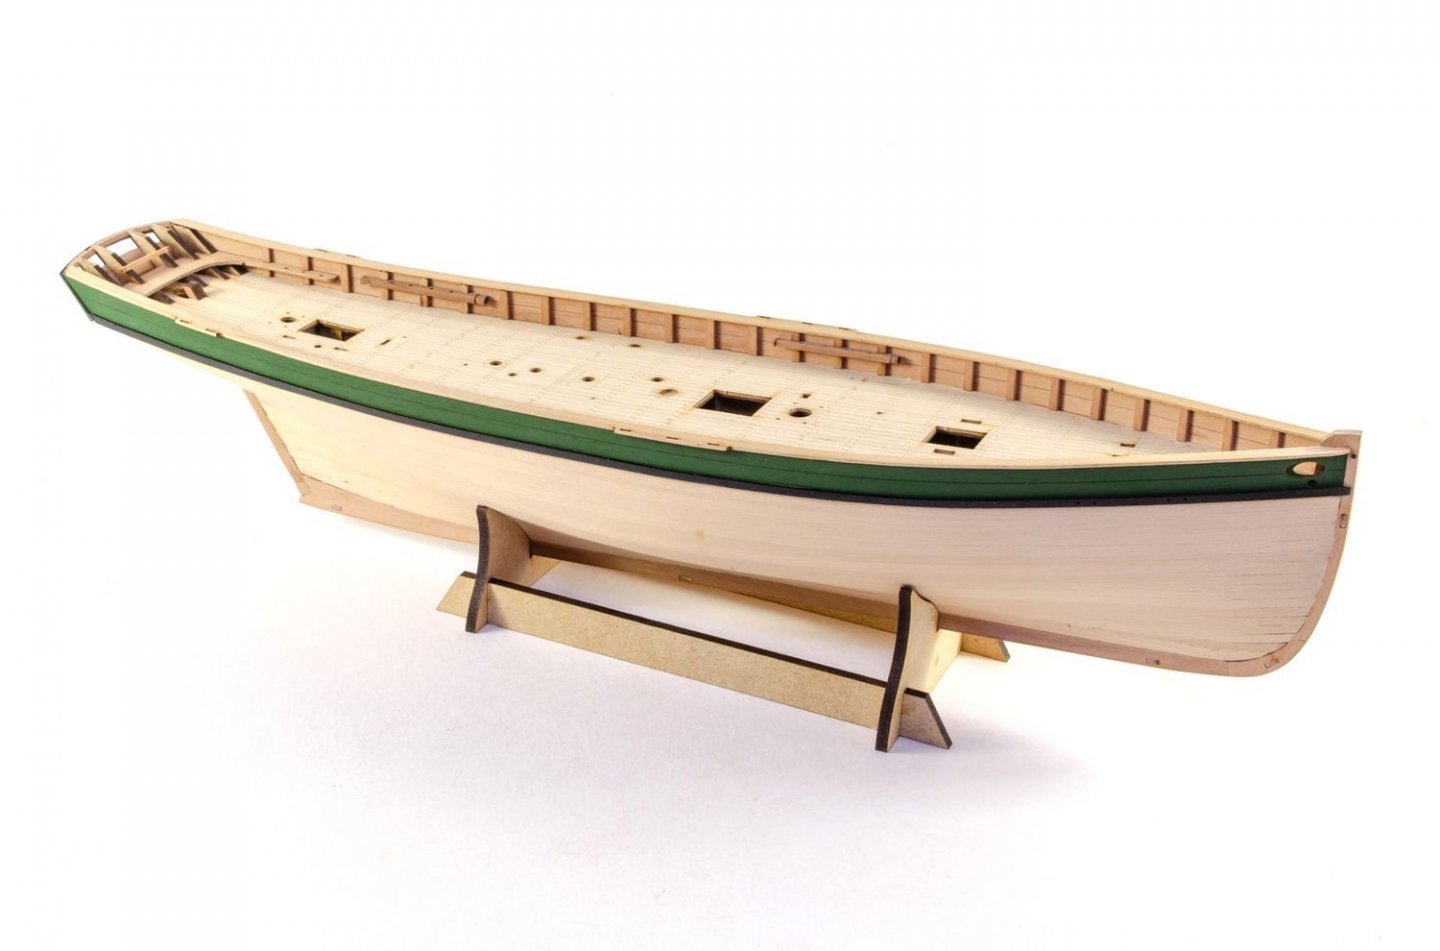
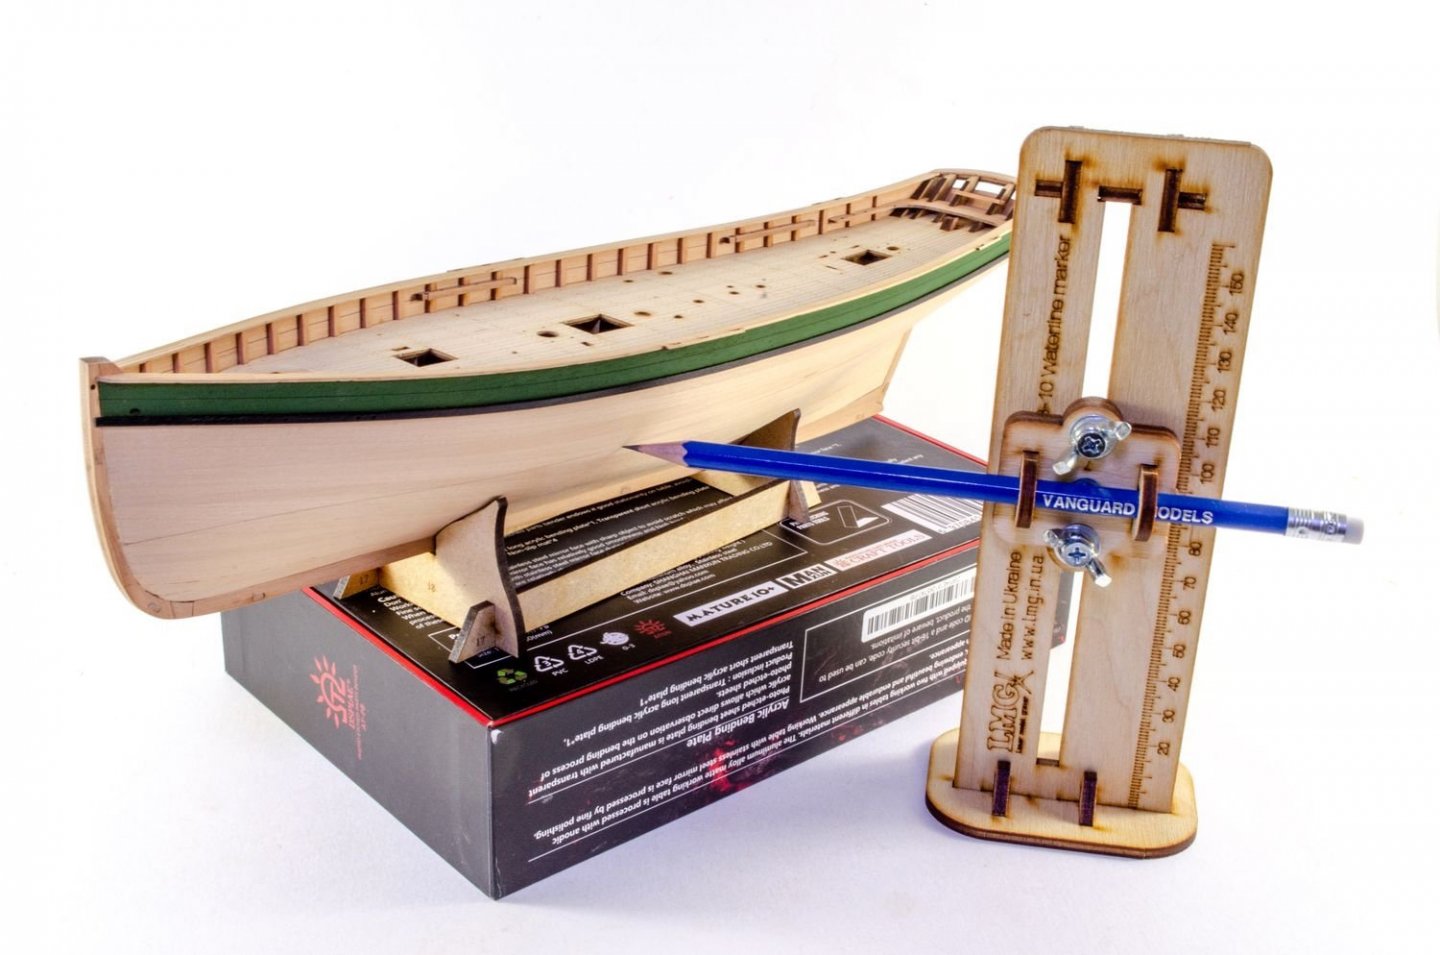
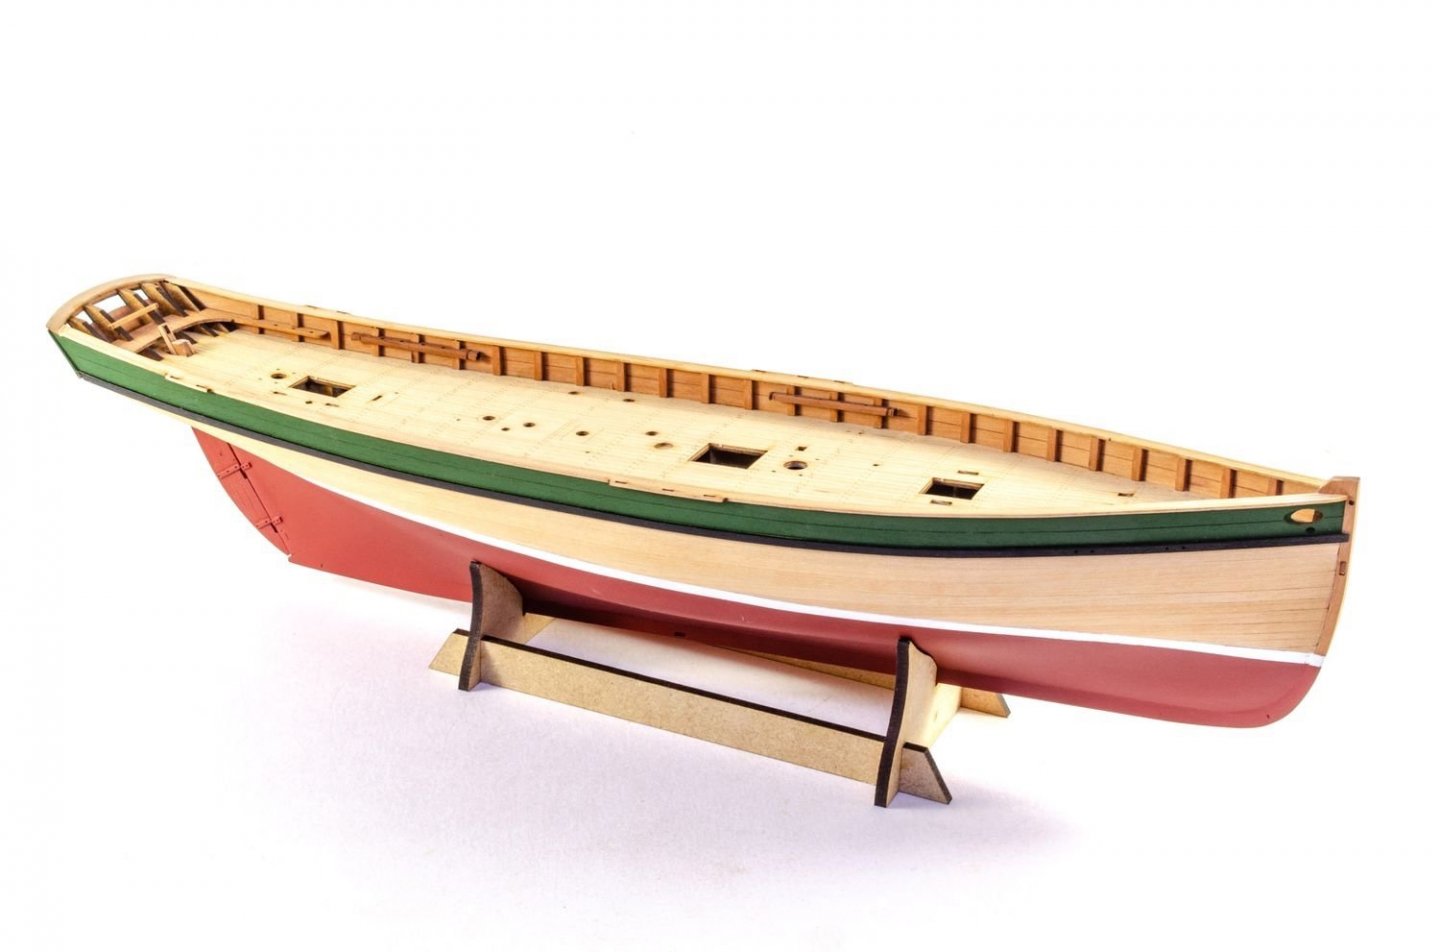
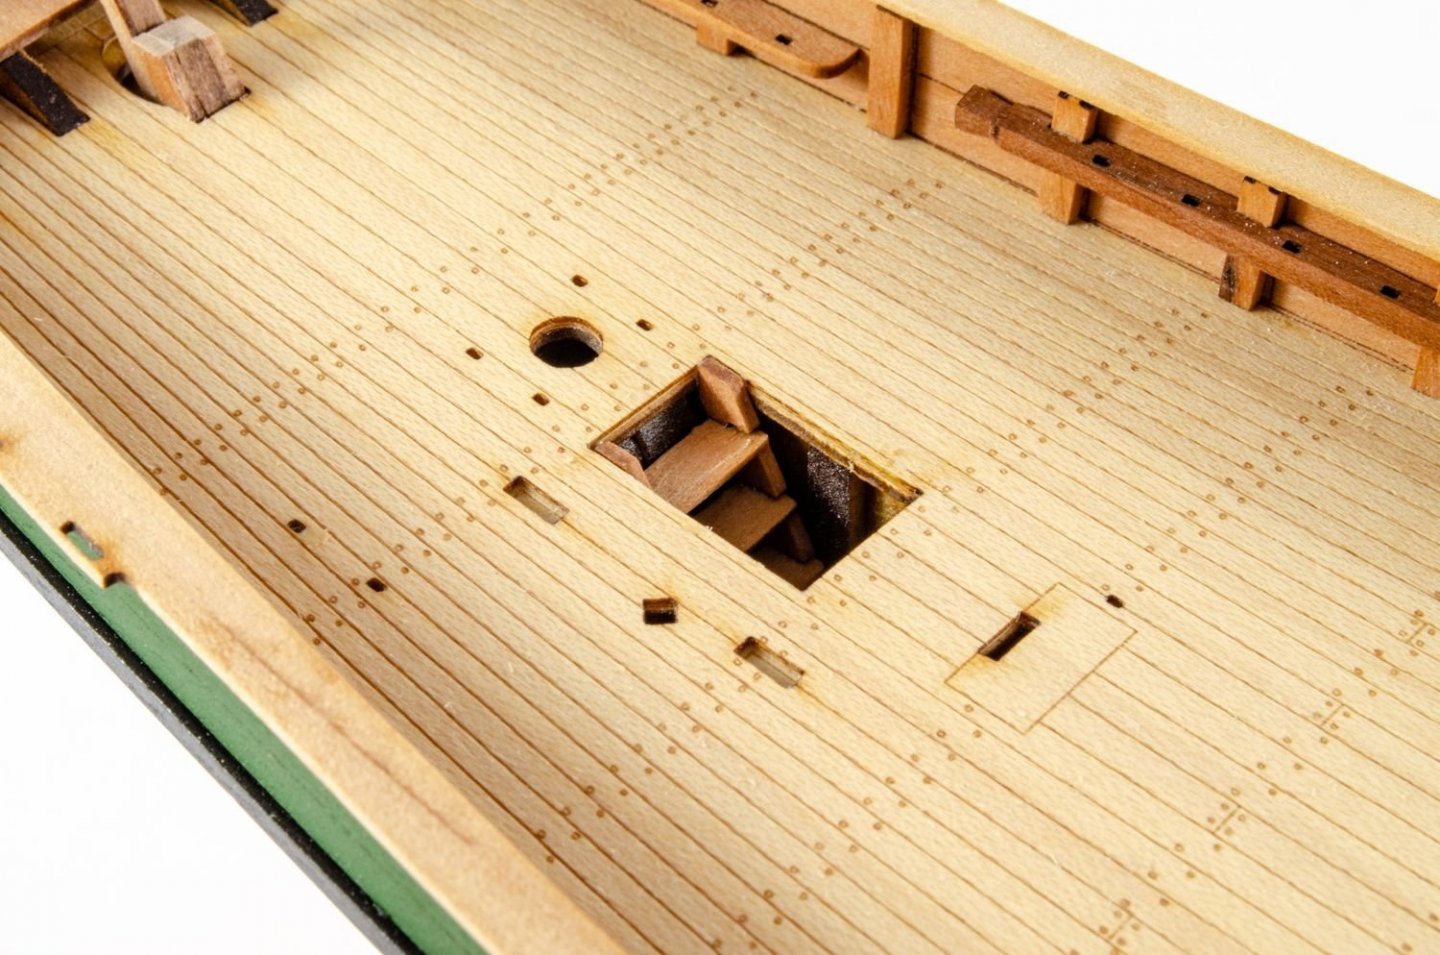
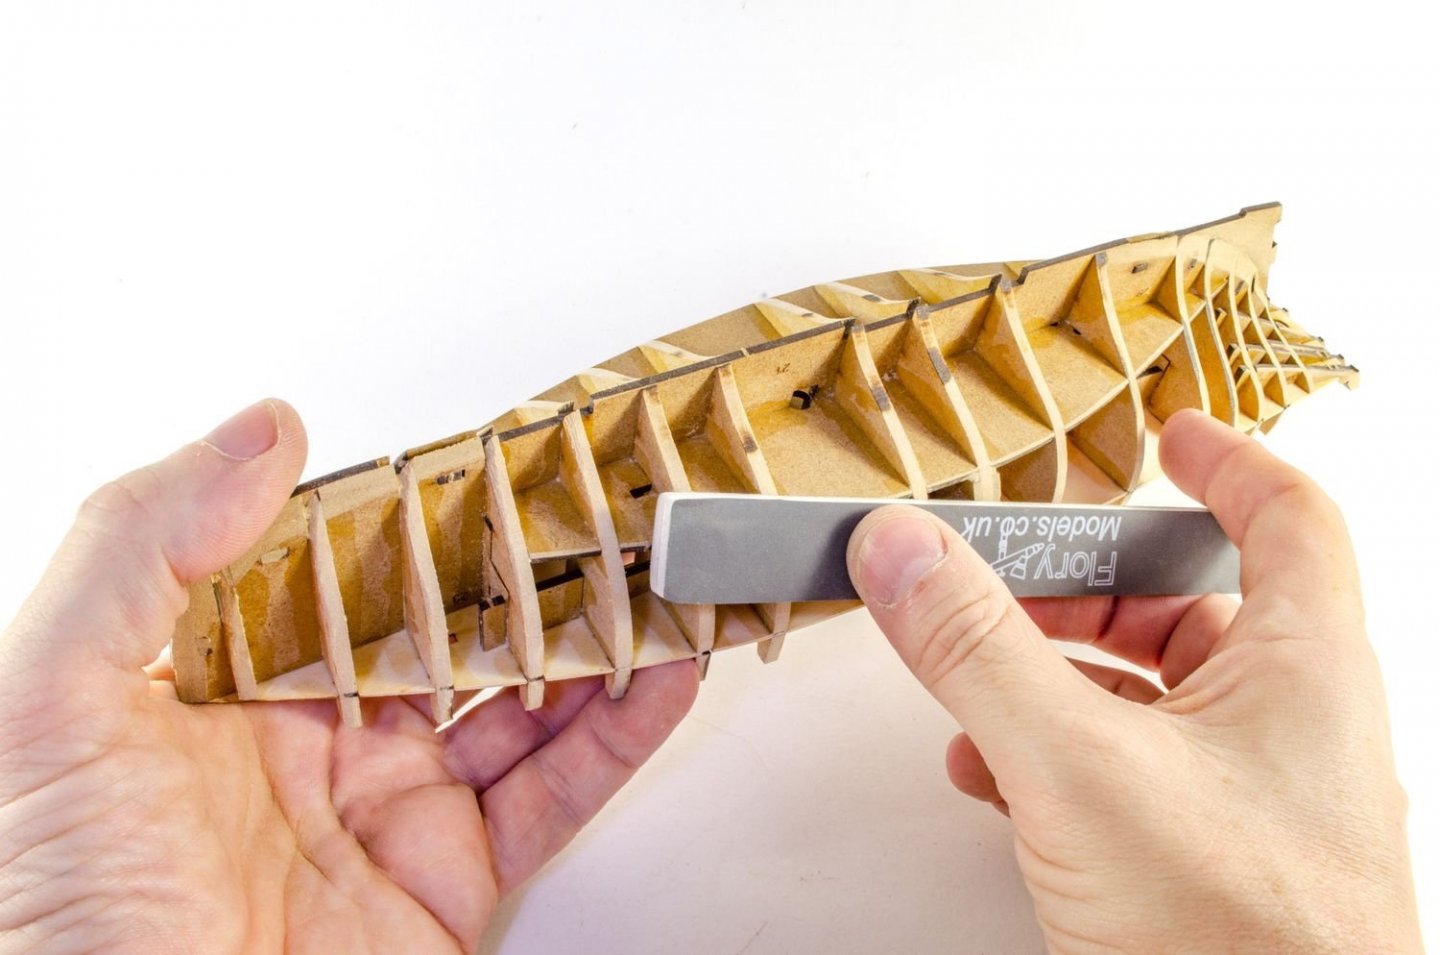
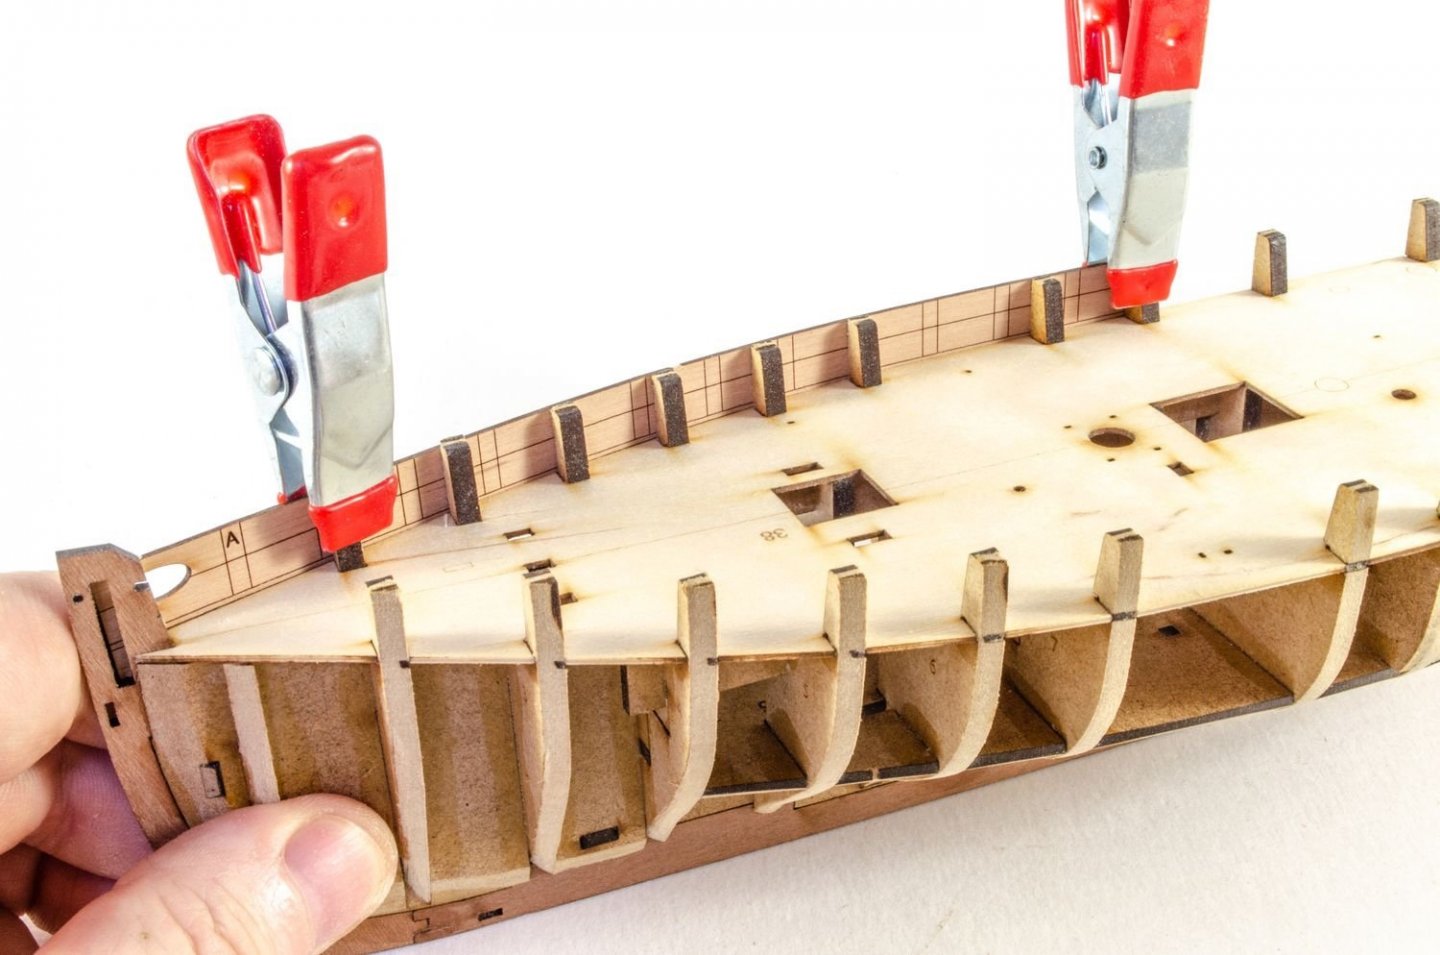
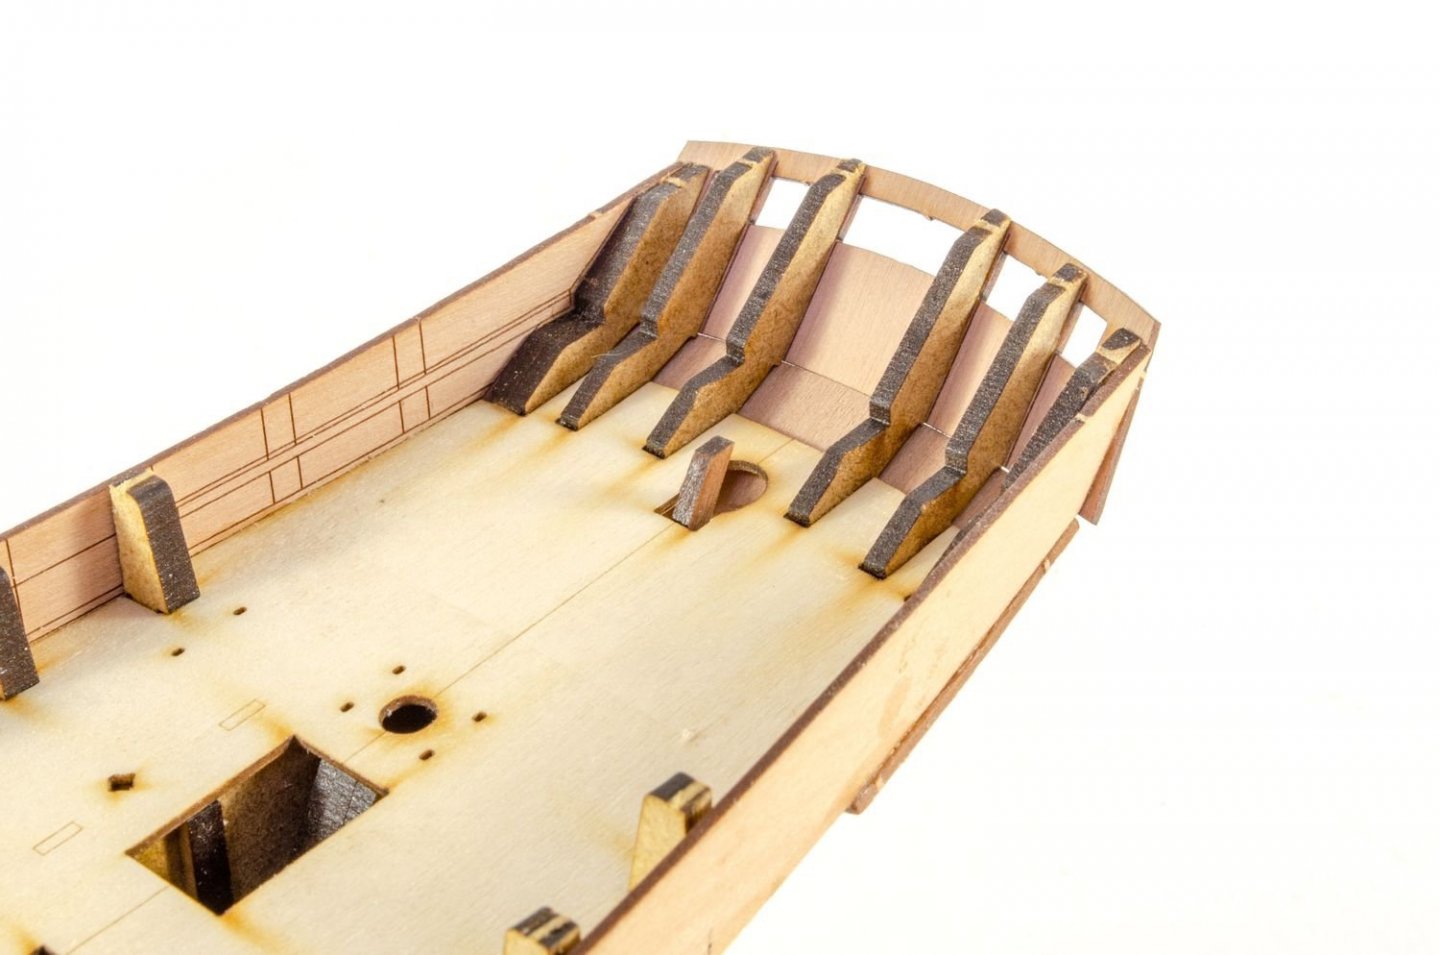
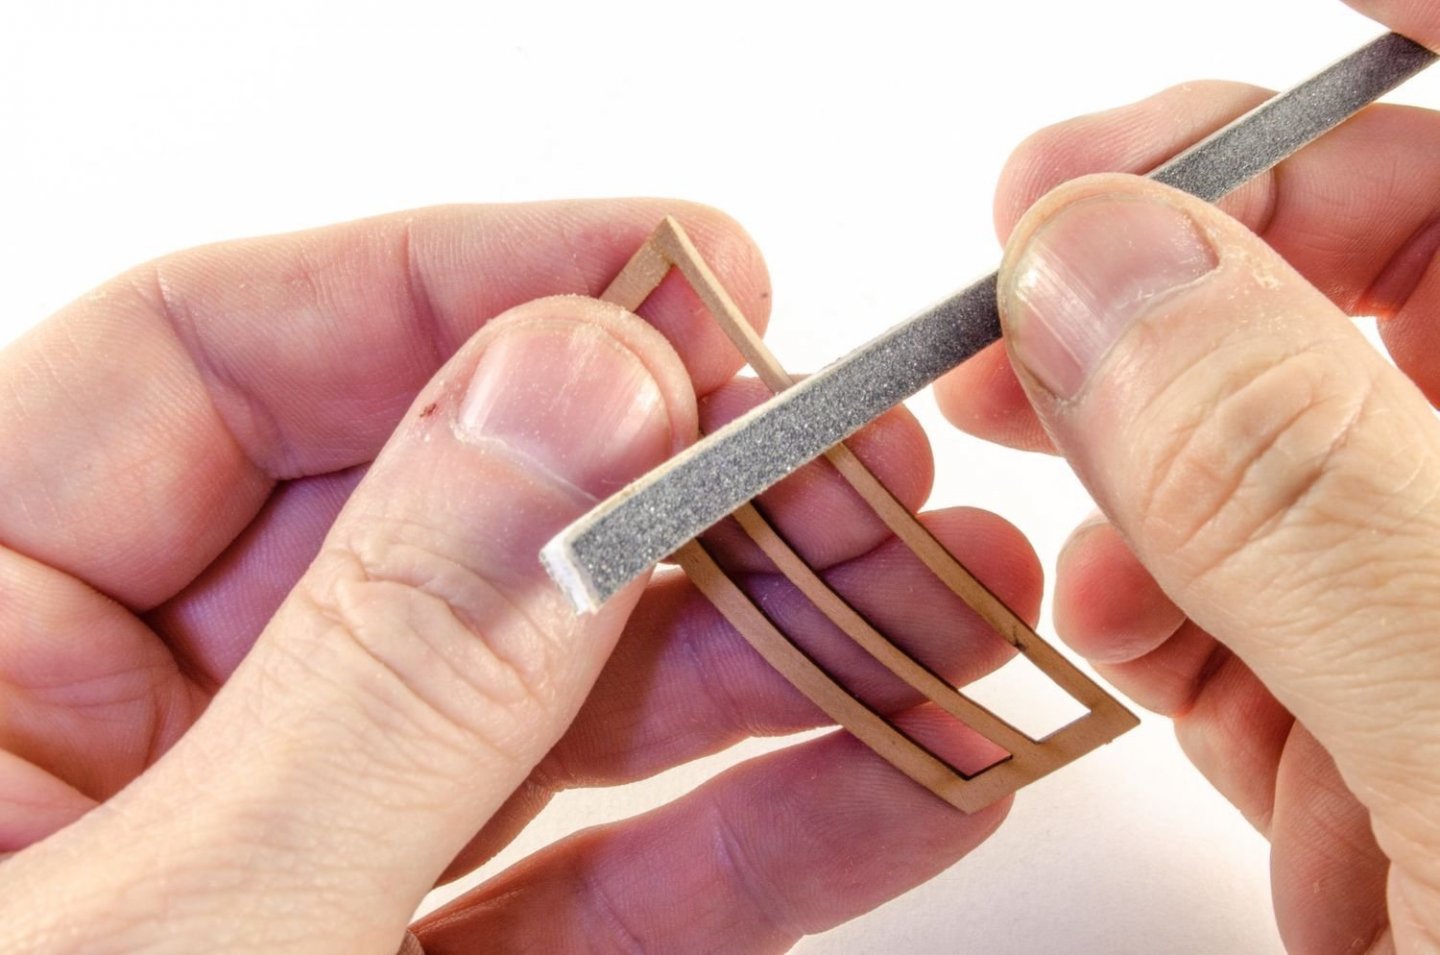
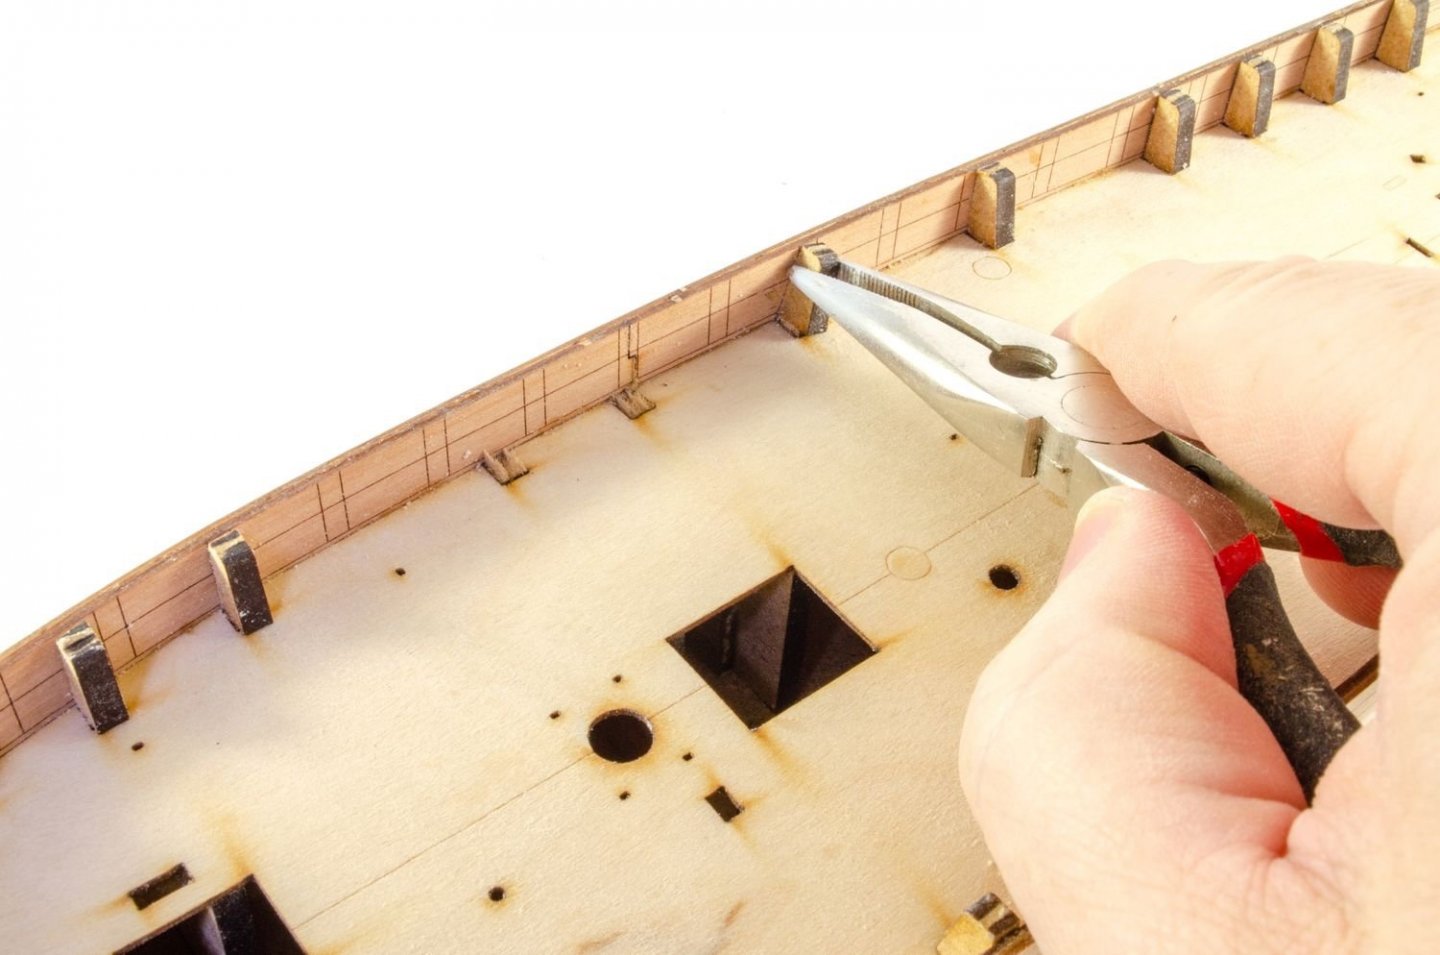
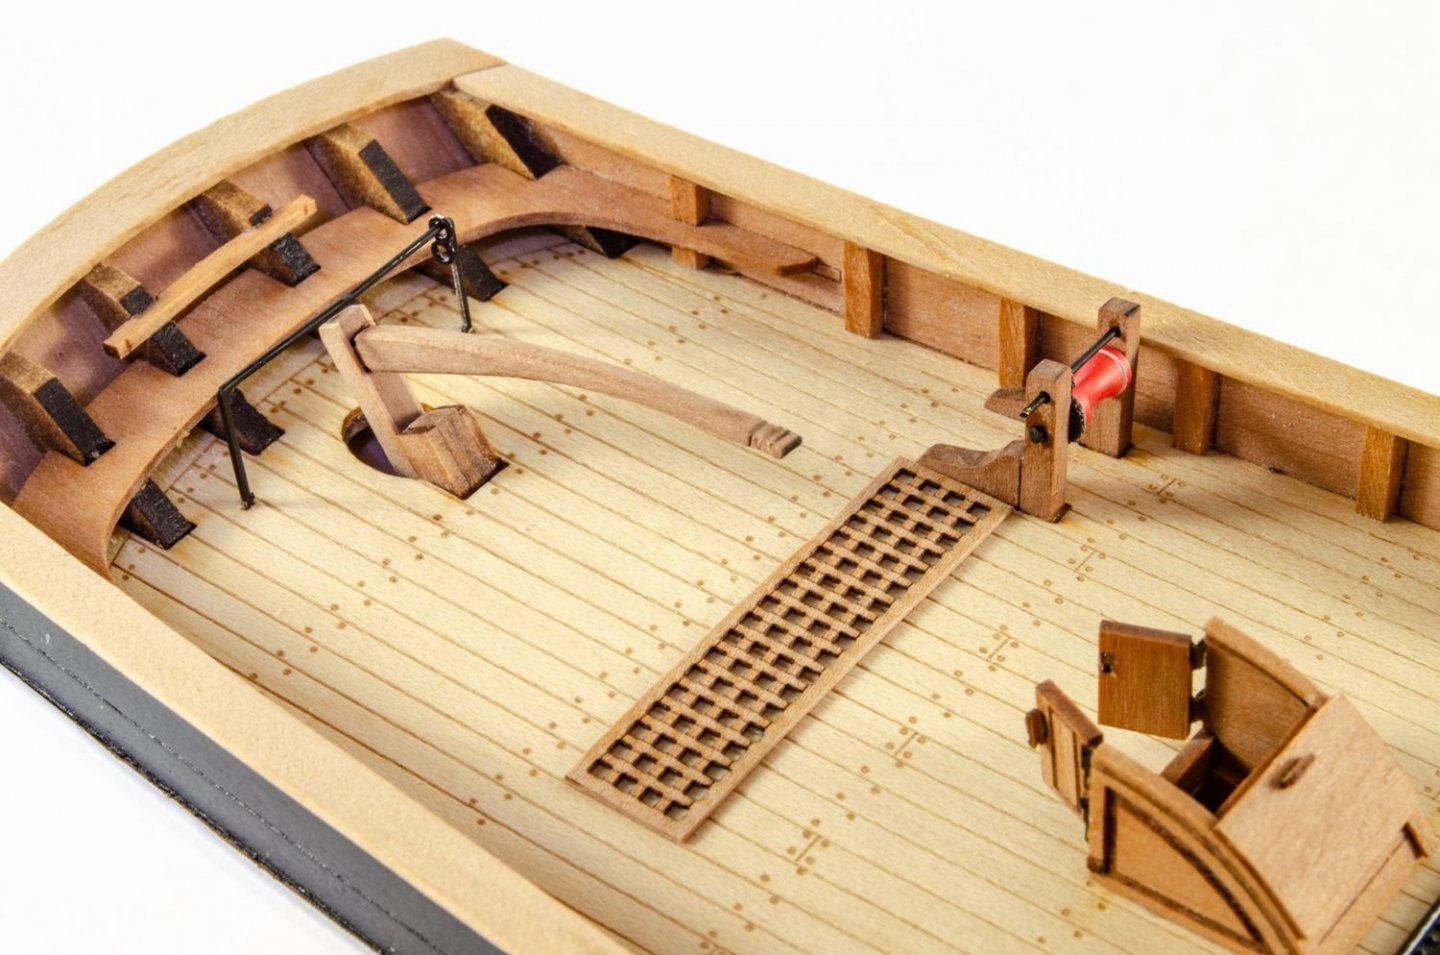
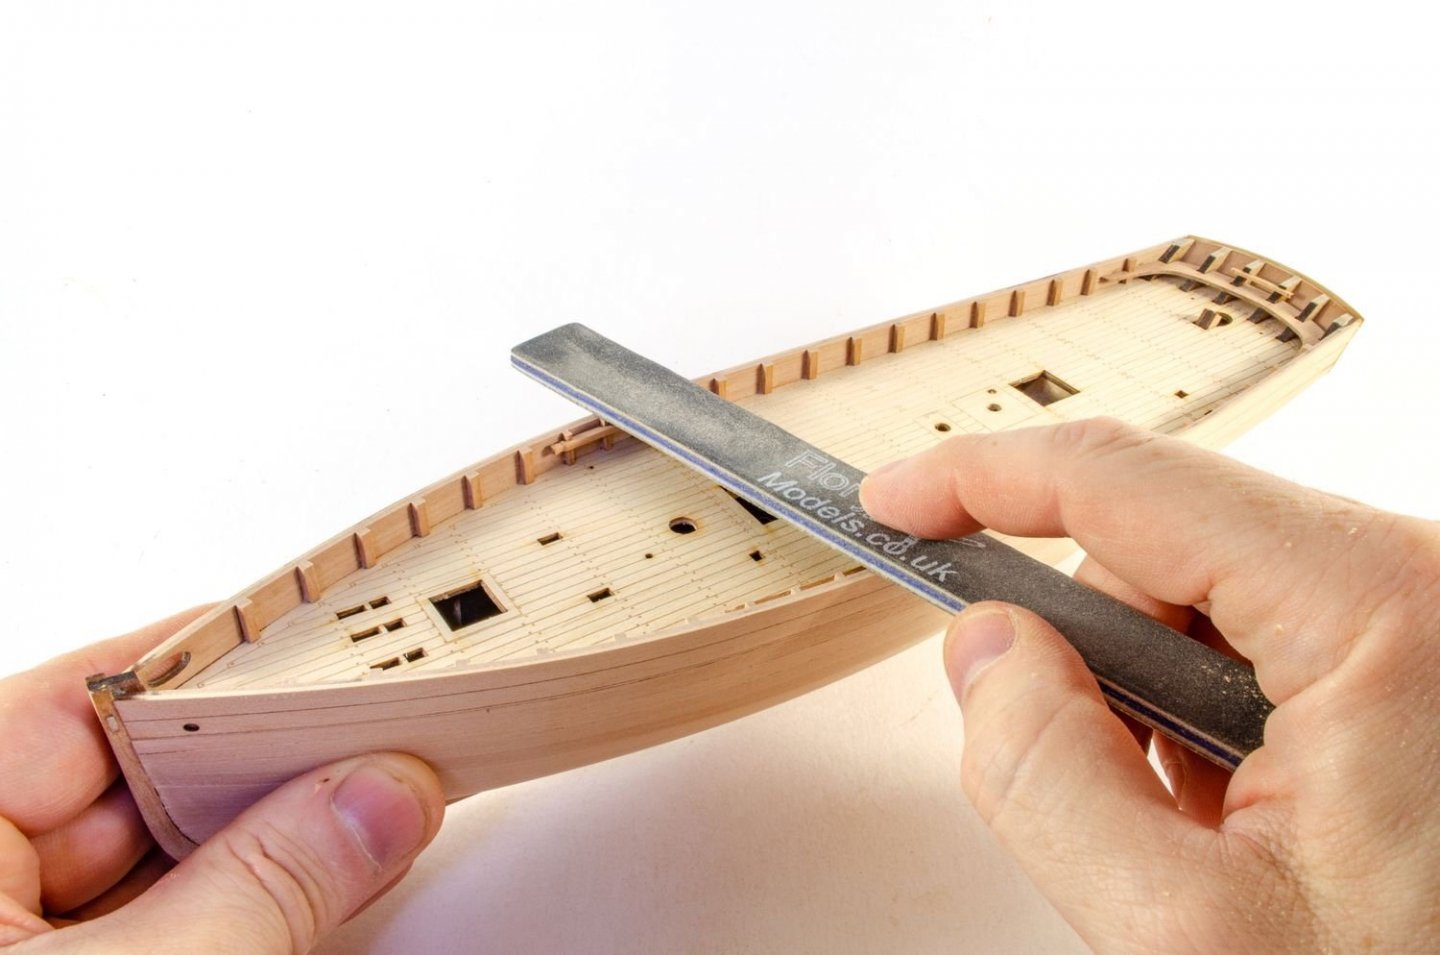
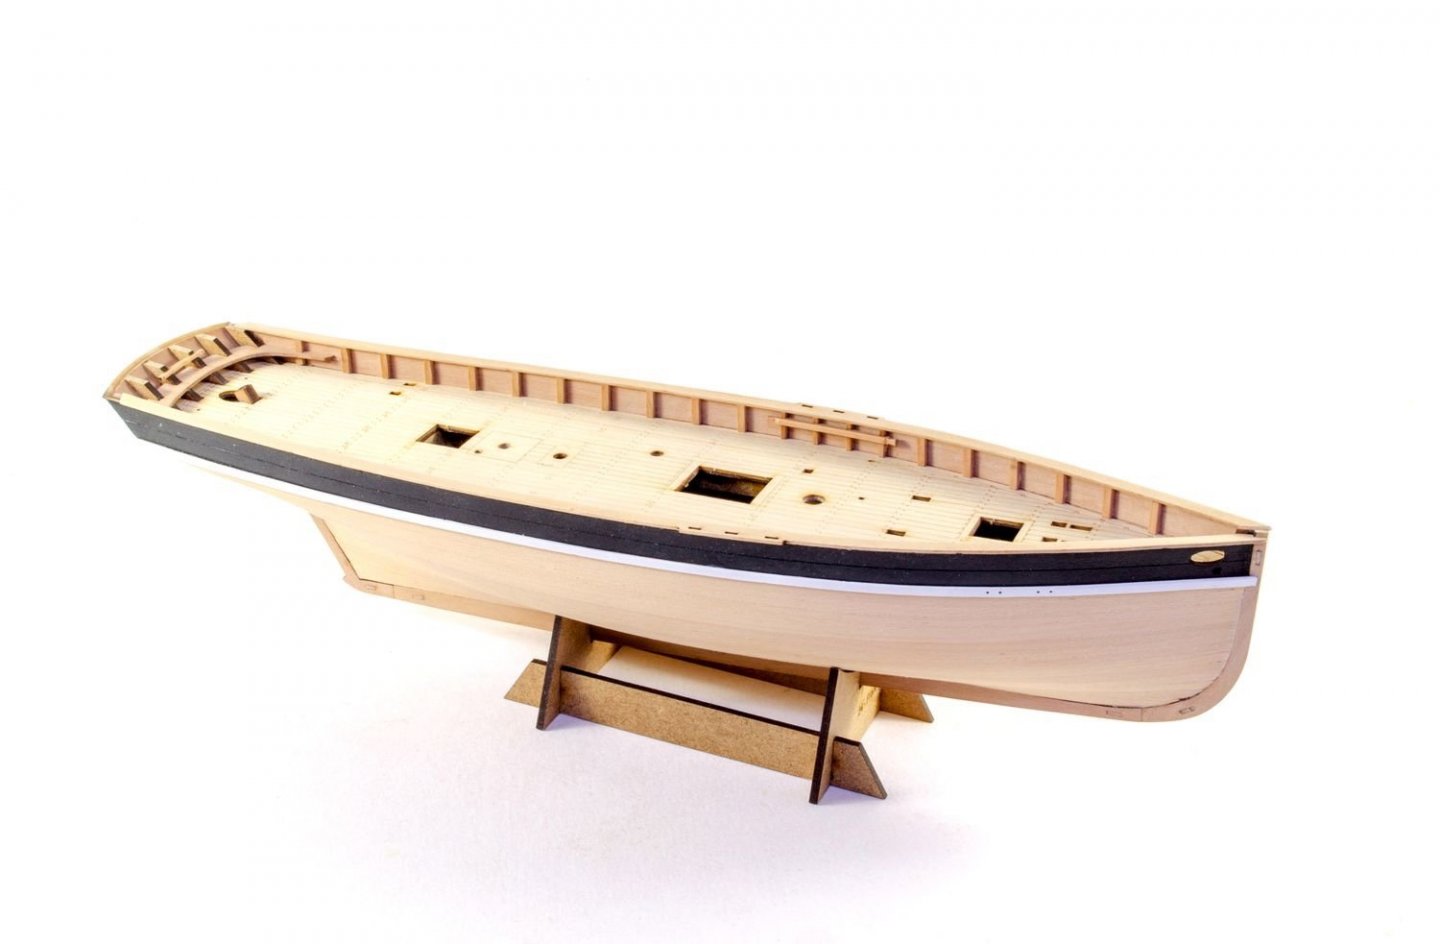
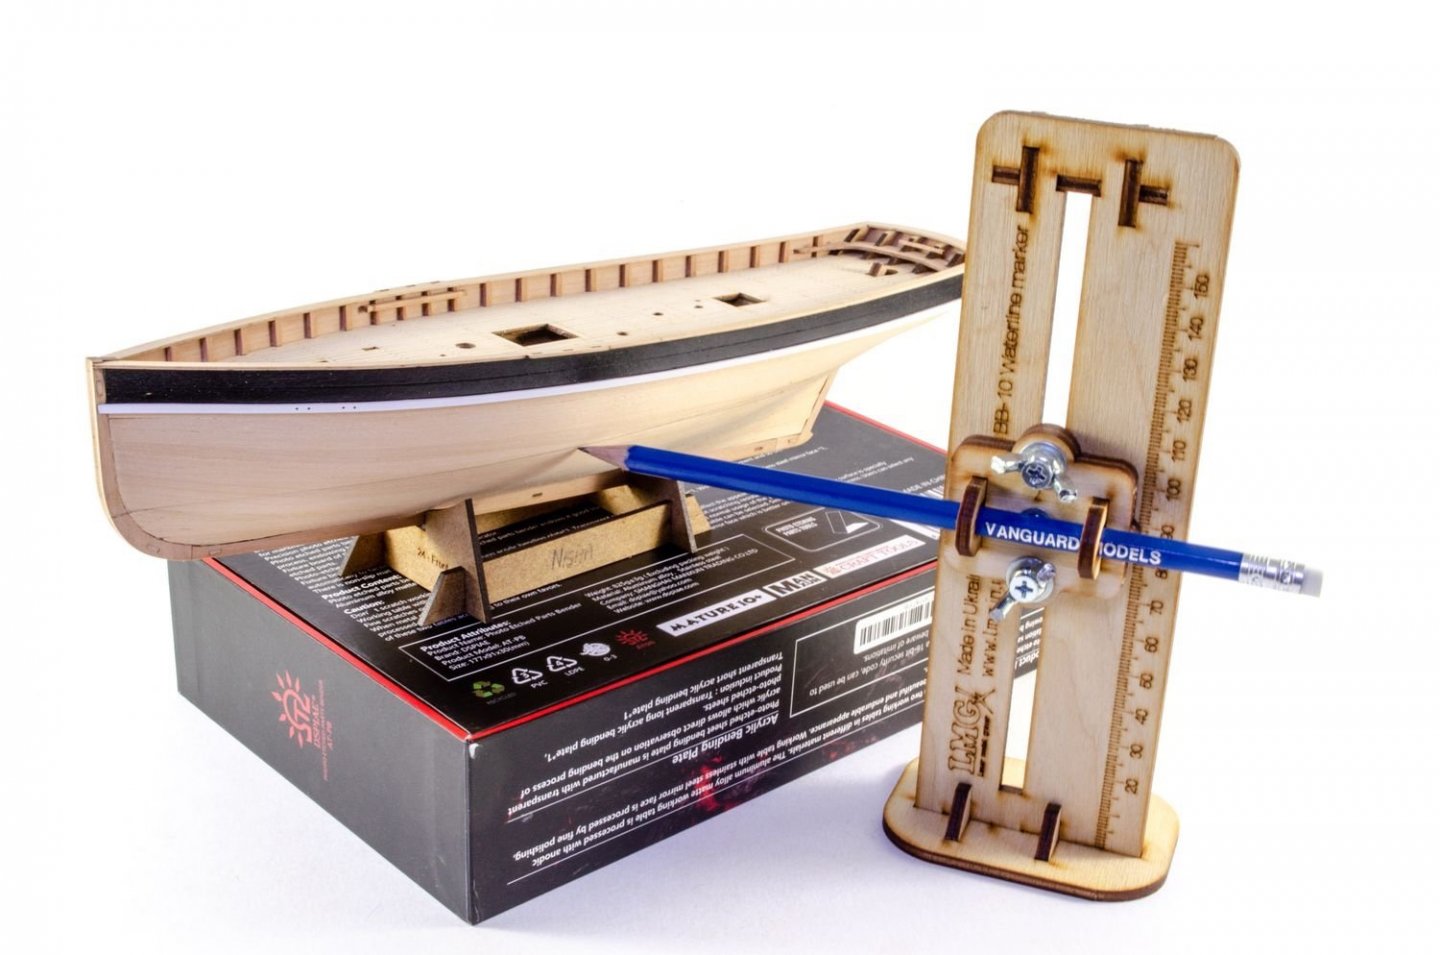
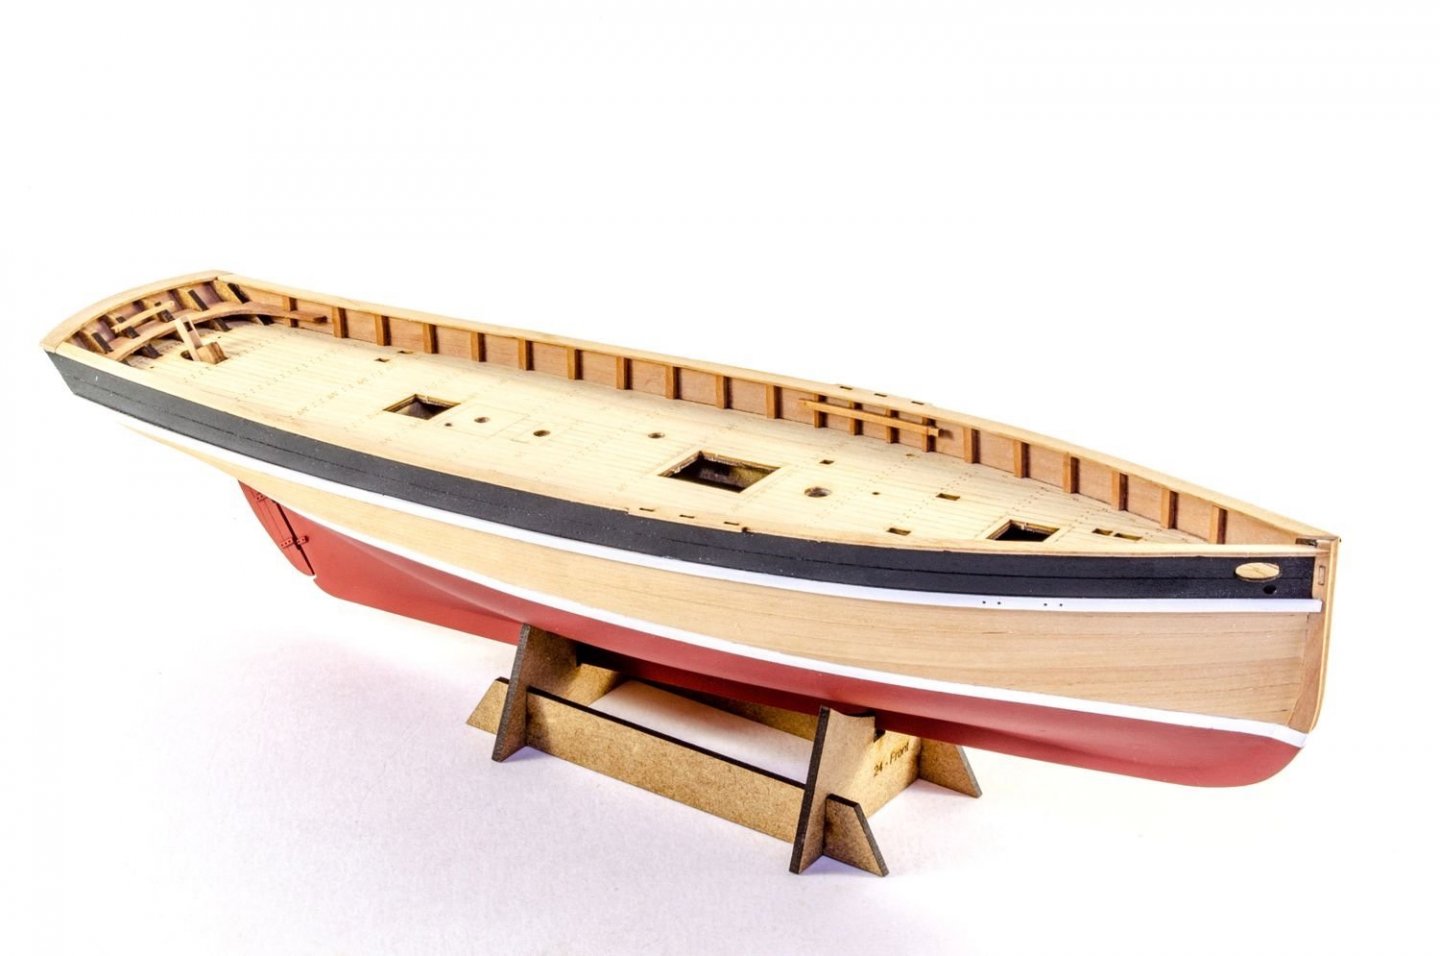
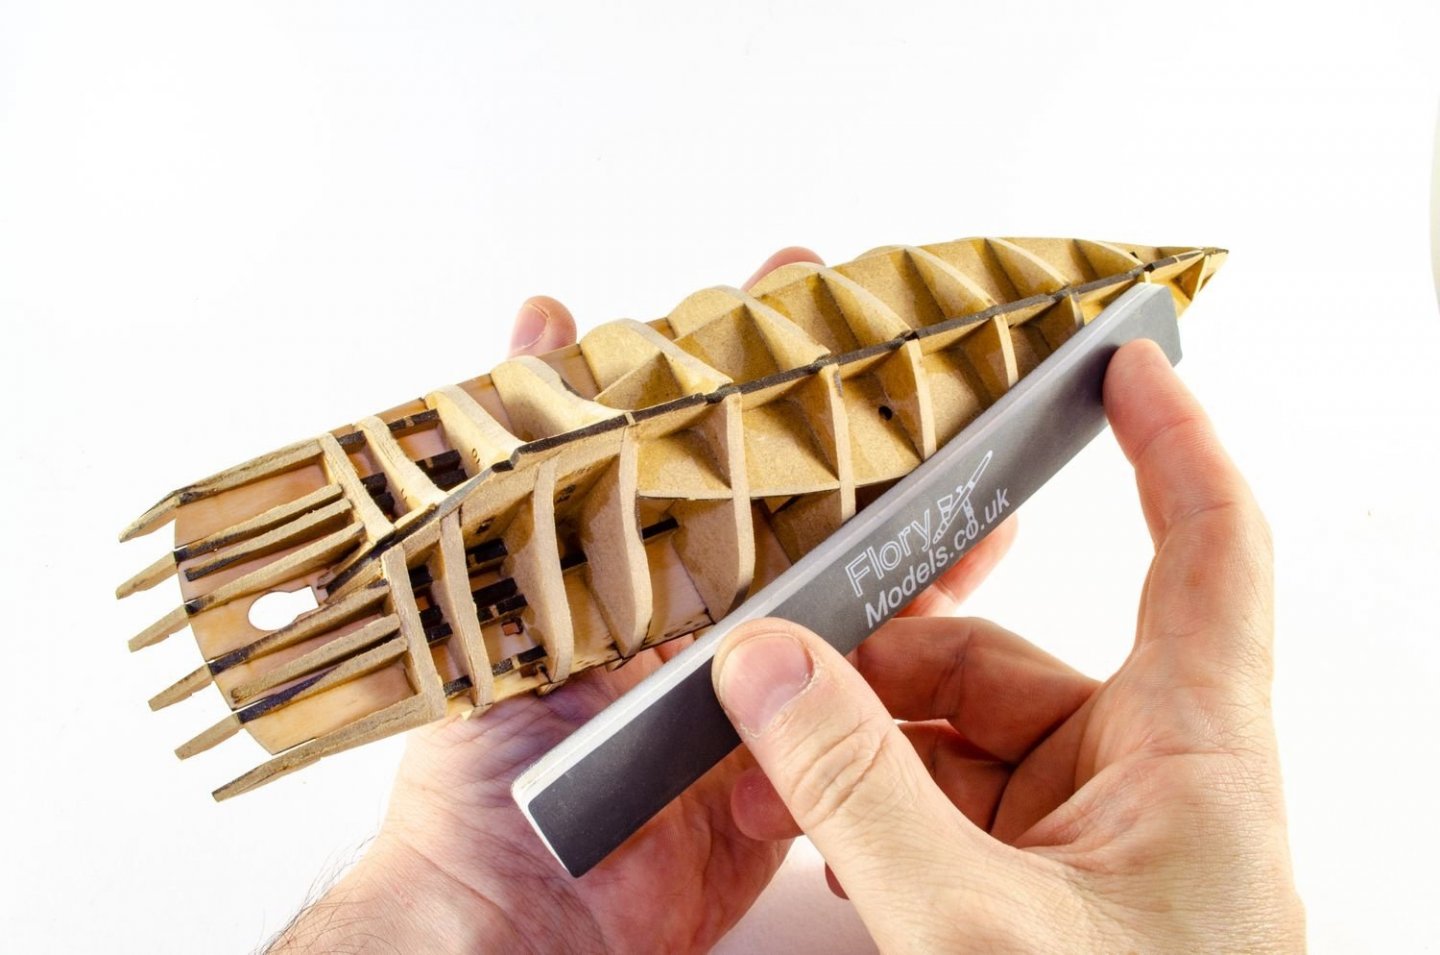
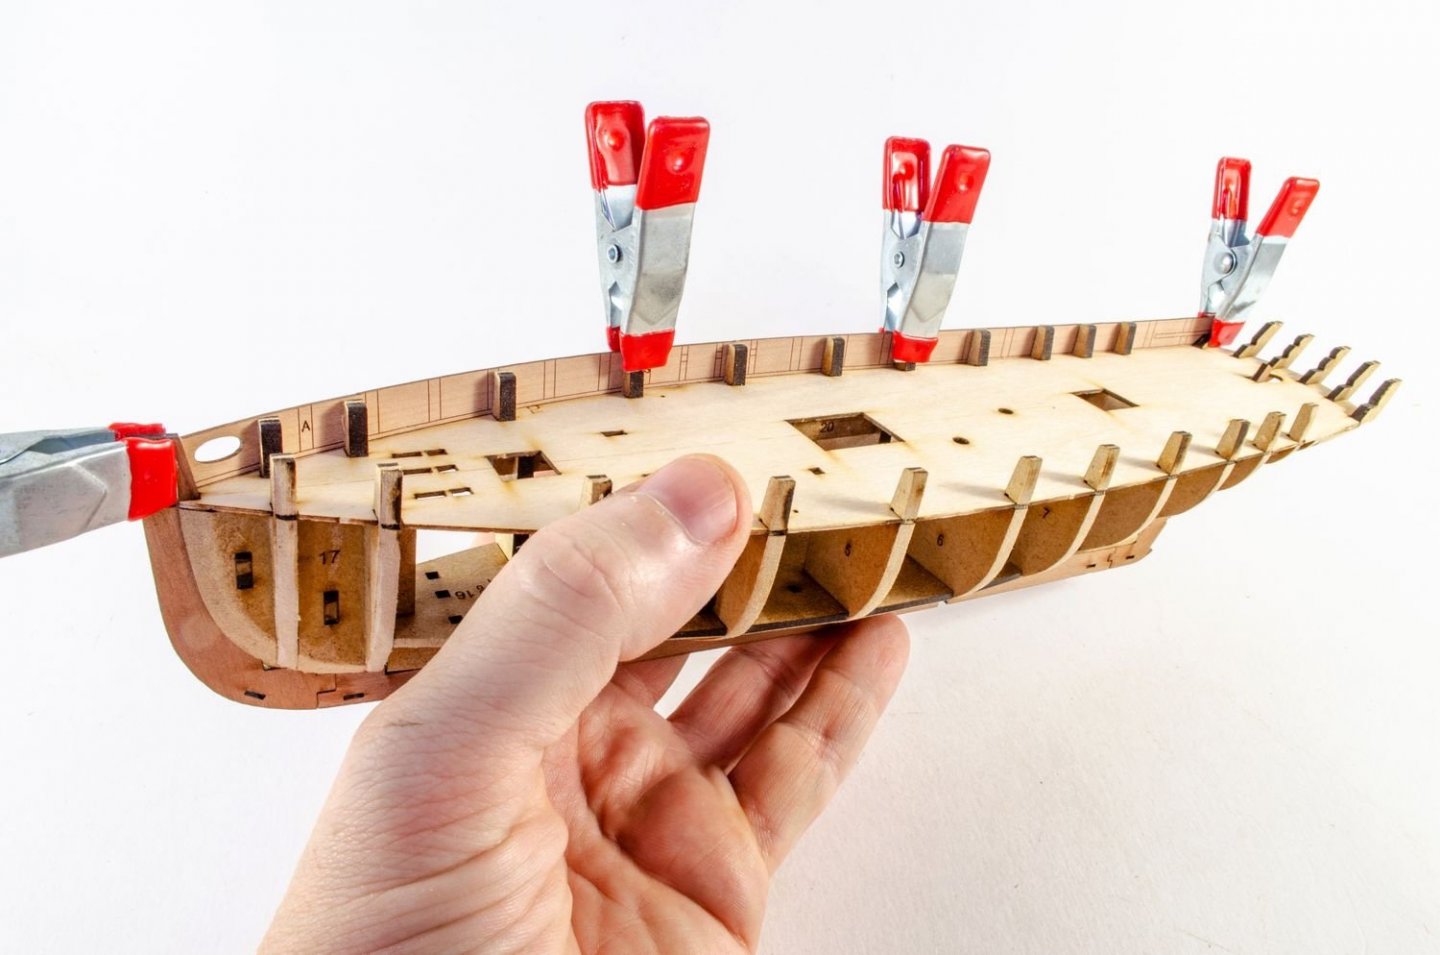
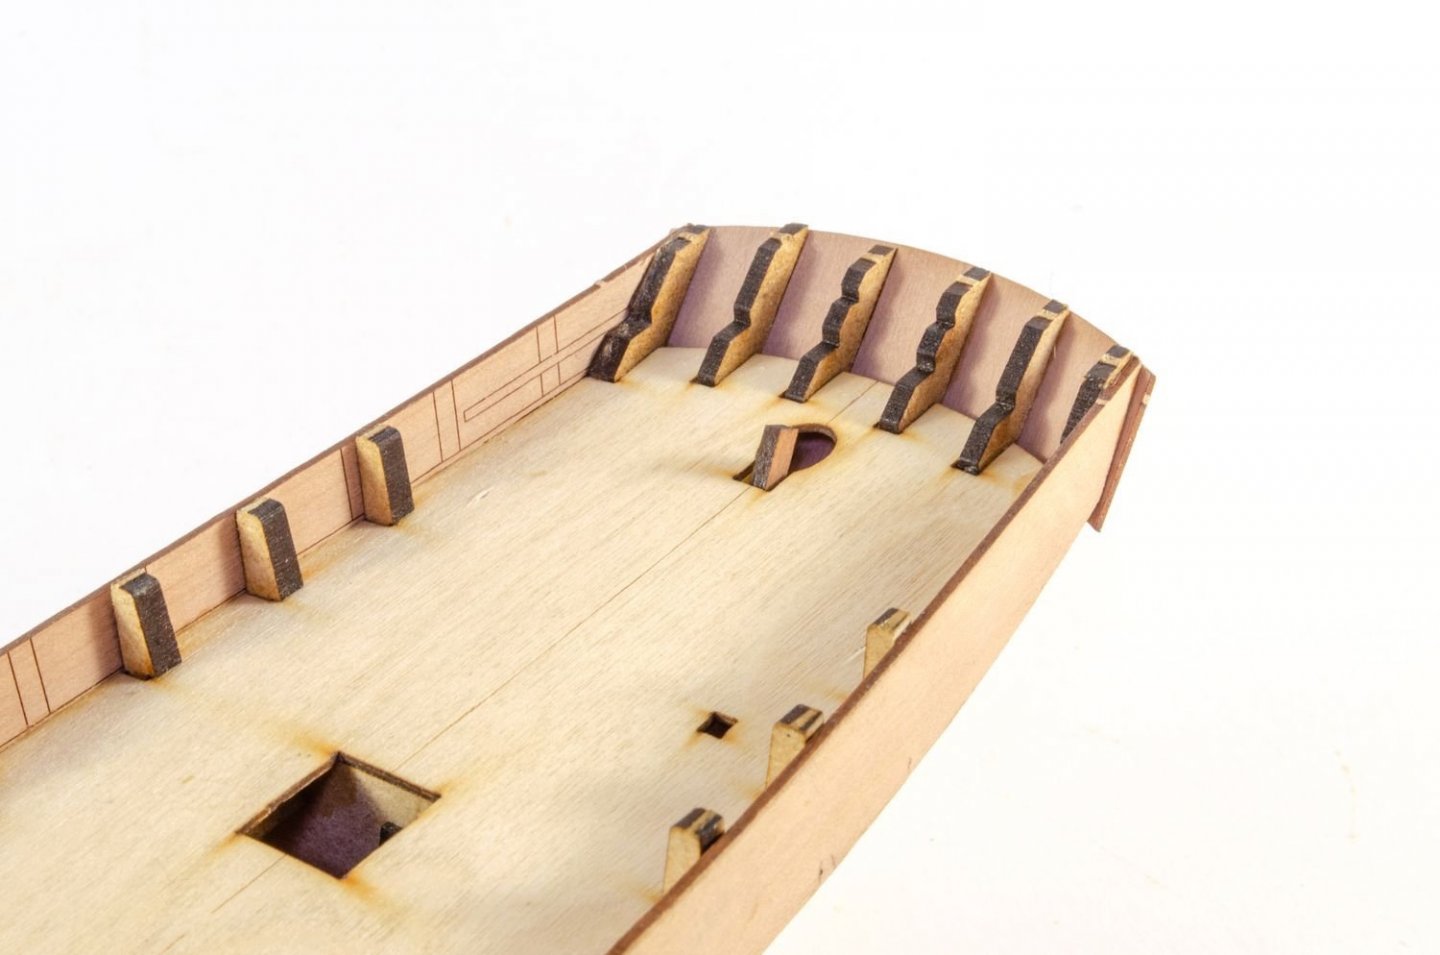
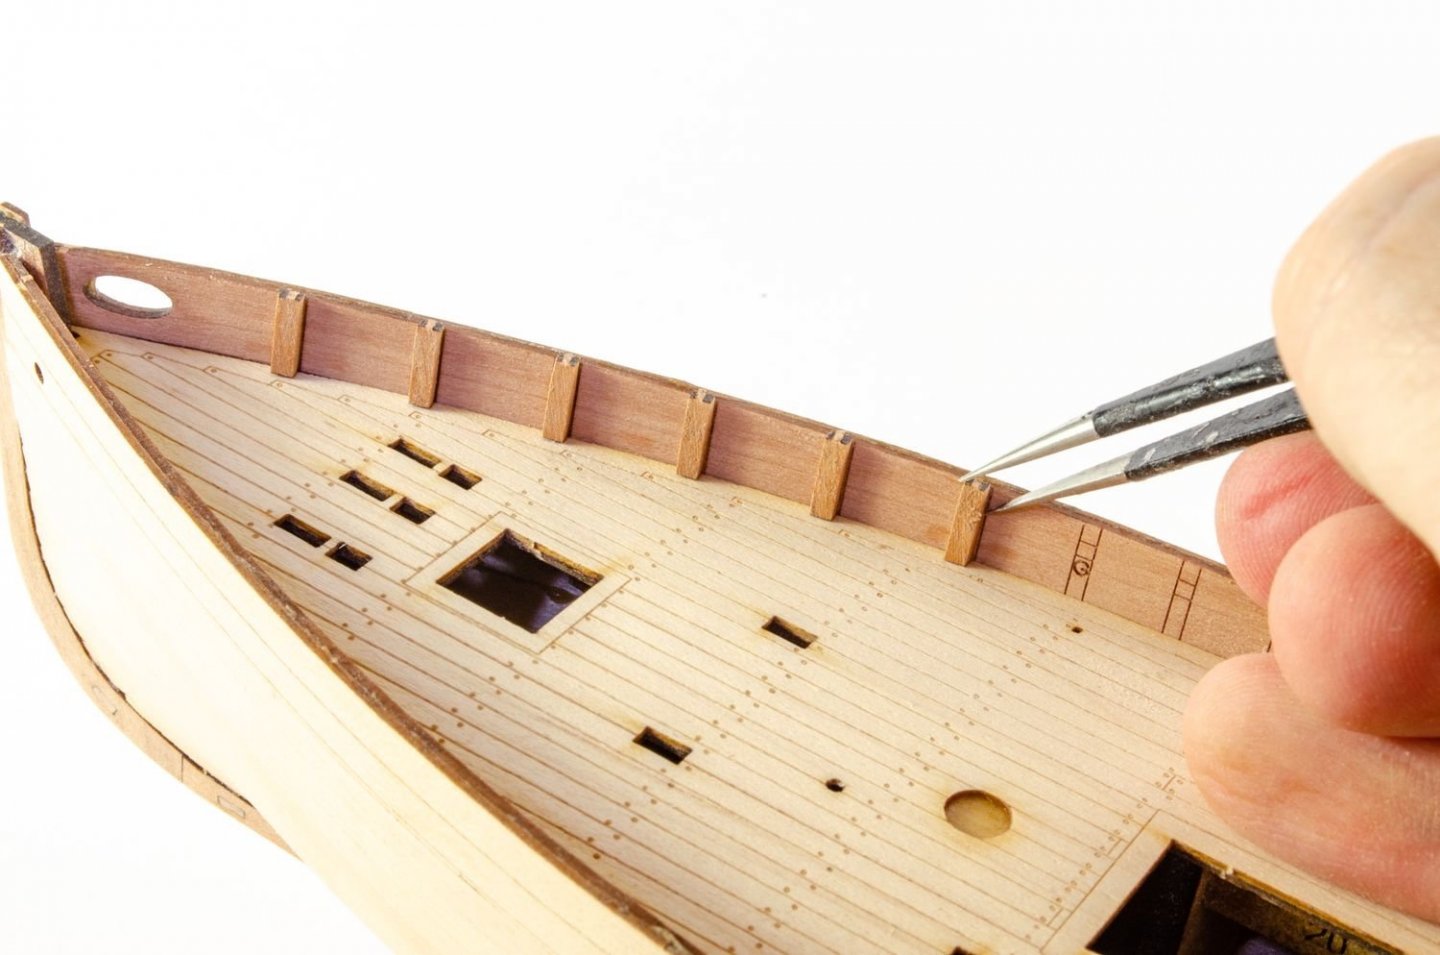
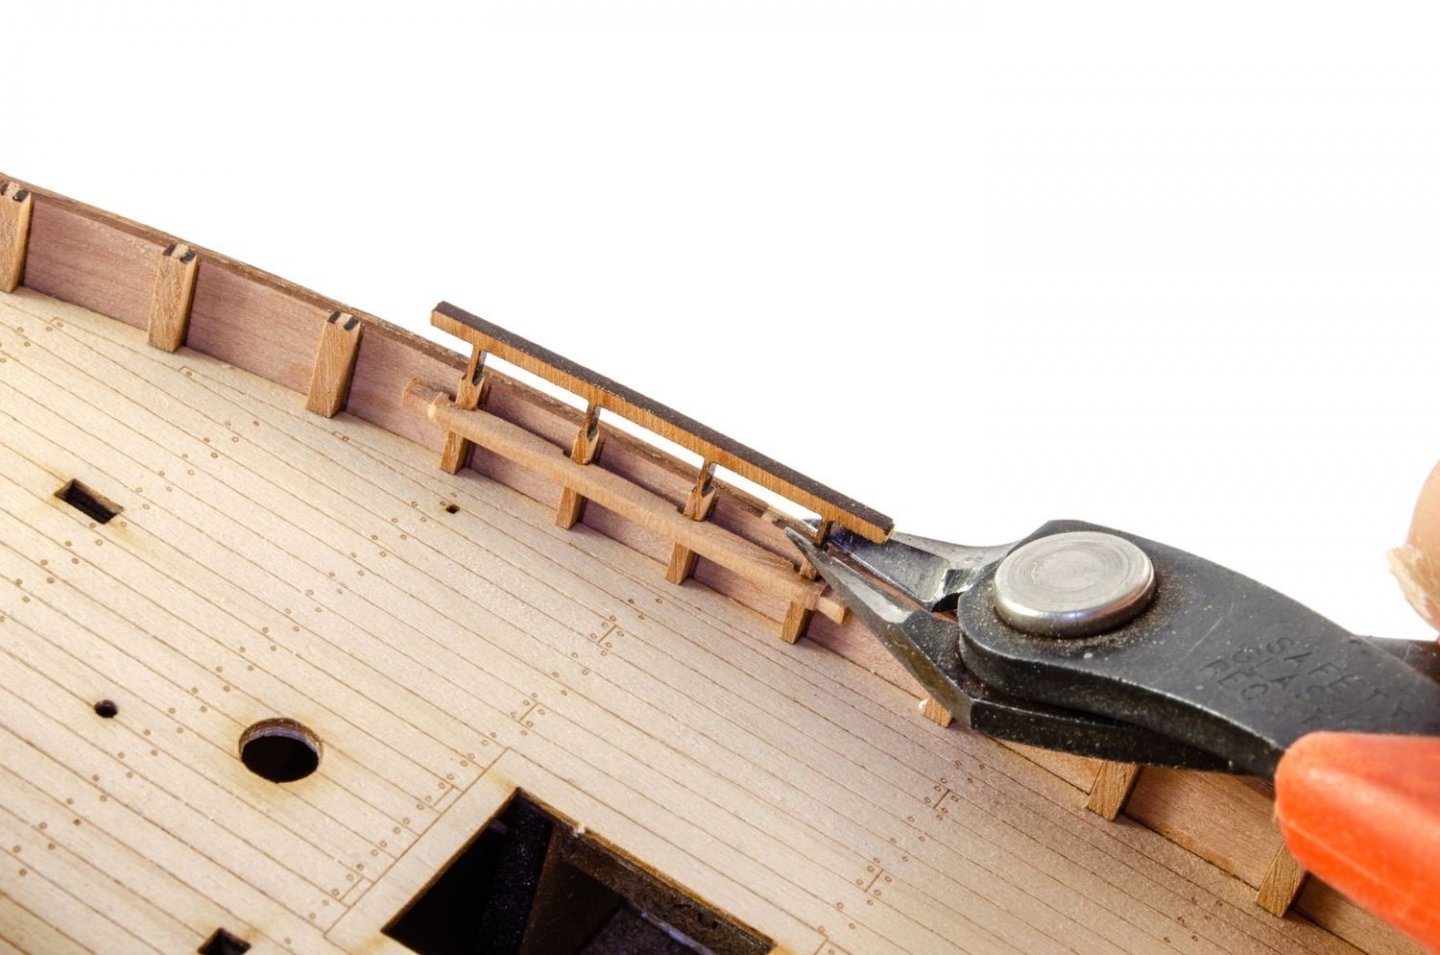
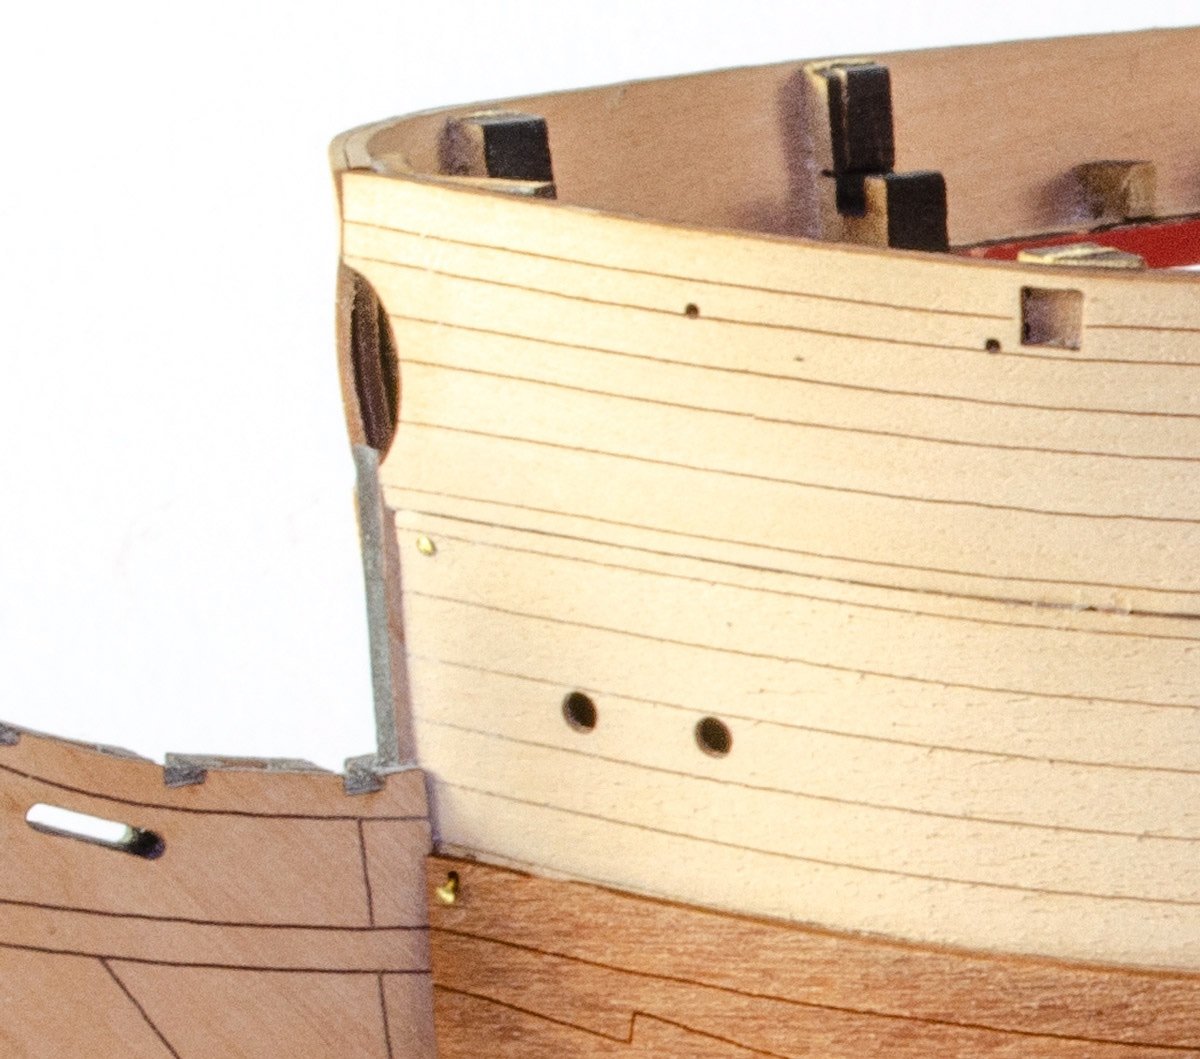
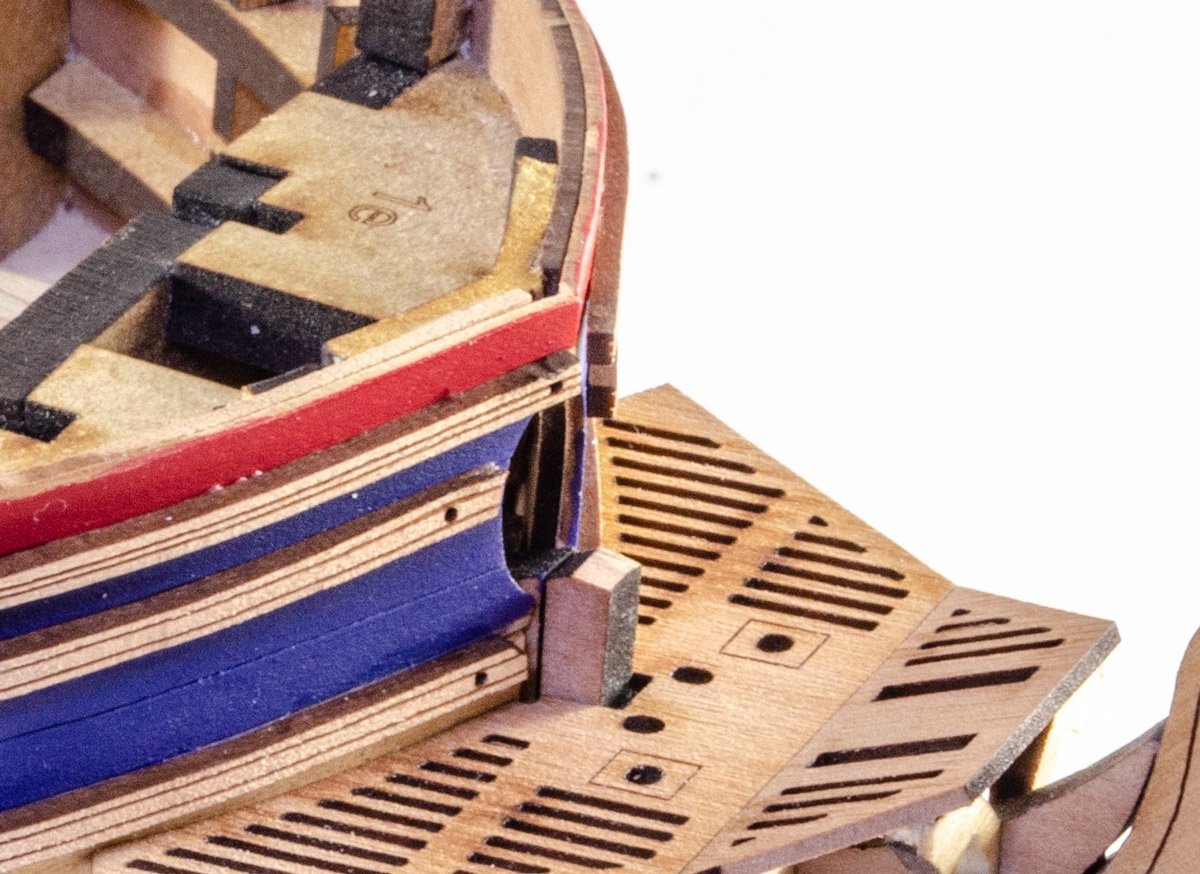
As with Nisha, the inner bulwarks are engraved with timberhead positions, with the first being 'A'. The pre-cut timberheads just need cleaning up and the bottom bevelled accordingly. More fitting out as the stern 'bench' is fitted. Where timberheads are fitted with a rail, they are adjoined with a temporary beam which makes sure the spacings are correct for these. Once in place and dry, the beam can be snipped away. A sanding stick makes short work of neatening up the tops of the bulwarks, levelling them in relation to each other. Before the gunwales are fitted, the model is masked and the upper bulwarks airbrushed in green. Gunwales now fitted. Before we splash some real colour onto the hull, a waterline is first added which runs along the top line of the white boot. Prep is king here as the hull is filled and sanded. Any imperfections are fixed. A coat of primer is added and it that shows anything further, that is also fixed until I'm happy with the result. This could take all day to do but it's worth the effort. After a final coat of white, 3mm flexible tape is added along the edge of the masking and the hull then sprayed in red oxide. When even and dry, all tape is removed. 🐟 enter here ➡️ Stairway to heaven. And a nice companionway to gimme shelter. Main sheet housing assembly.
- 36 replies
-
- vanguard models
- Erycina
-
(and 2 more)
Tagged with:
-
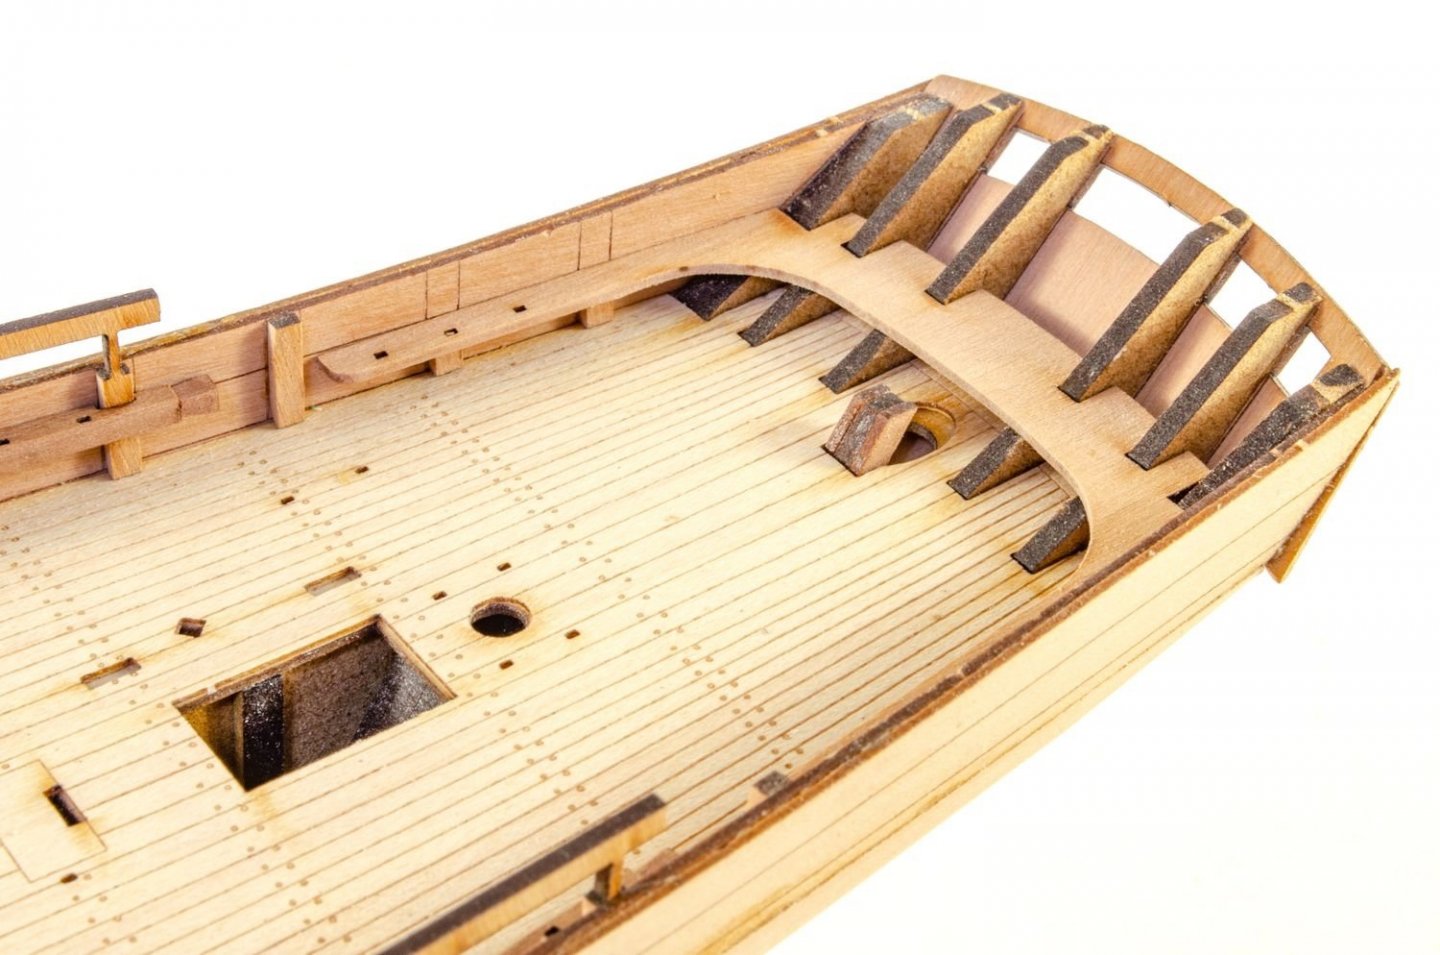
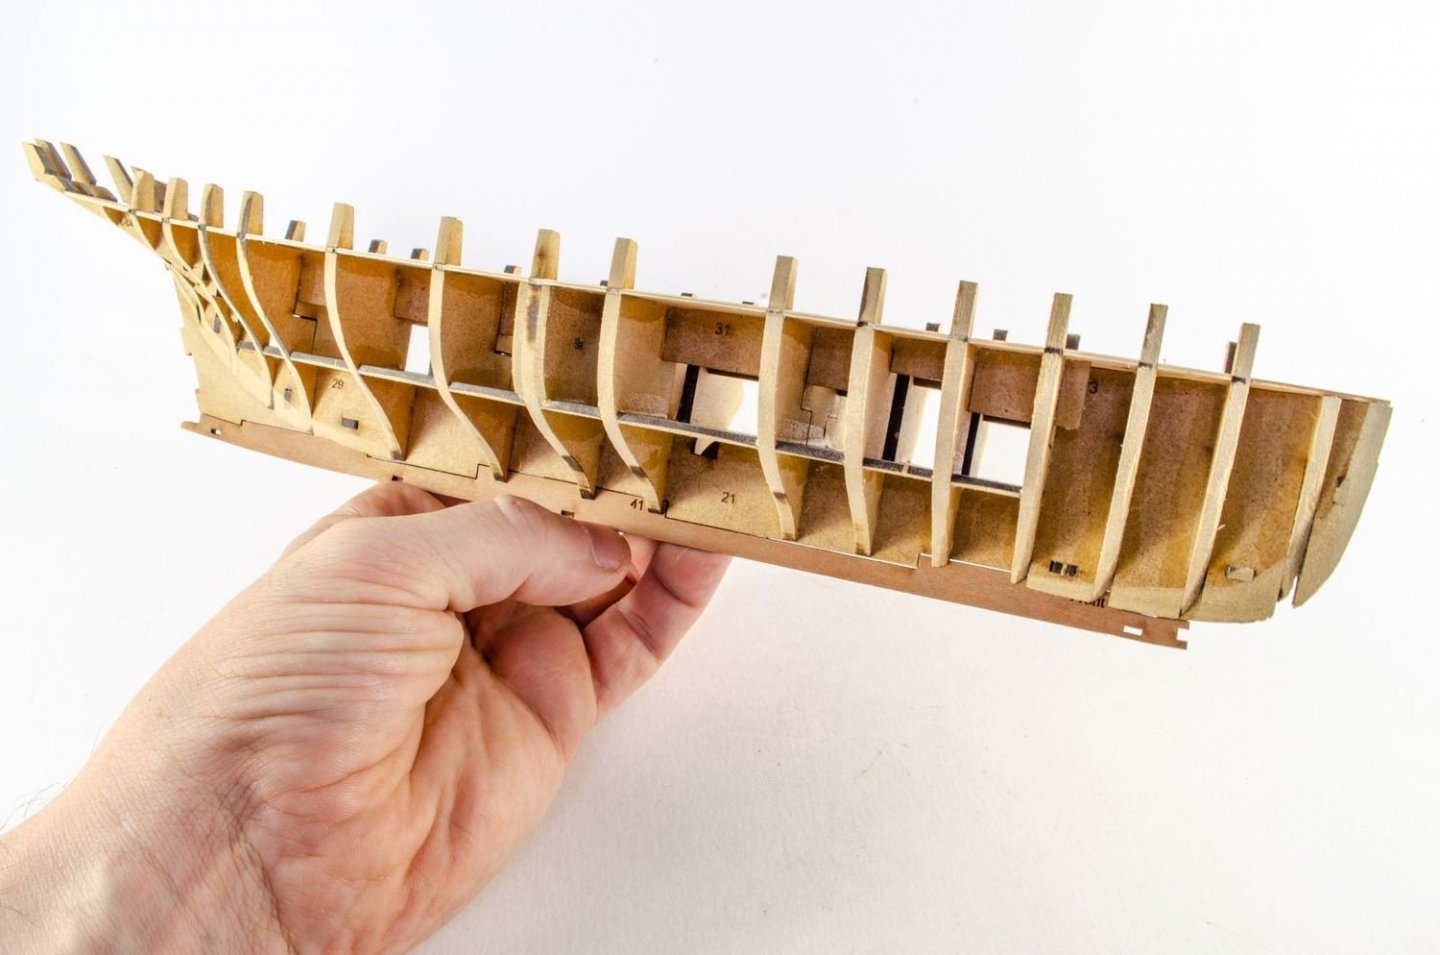
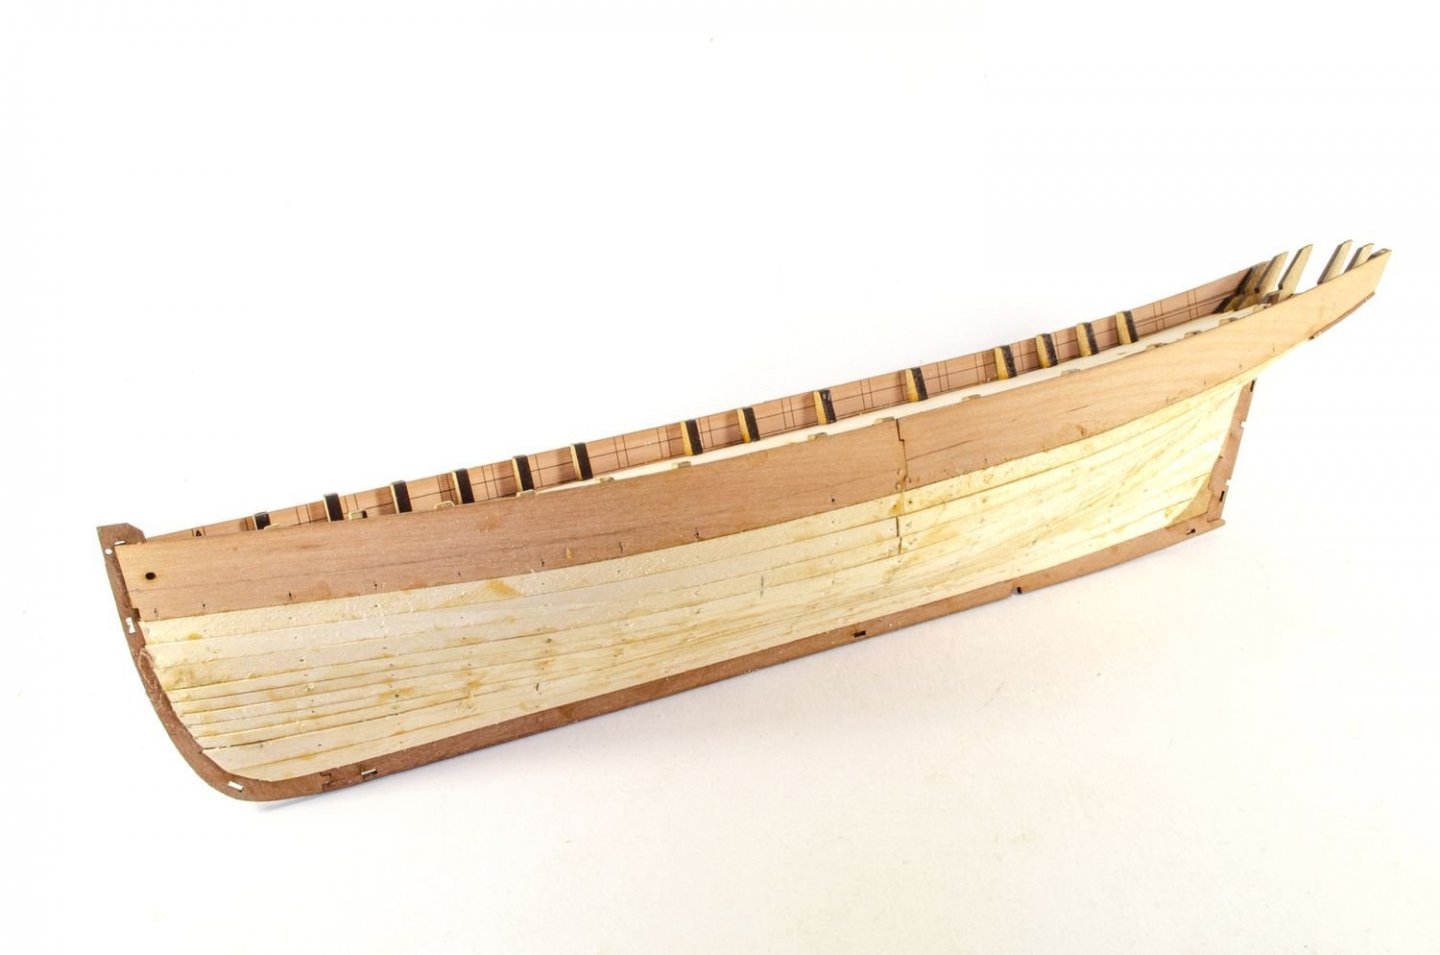
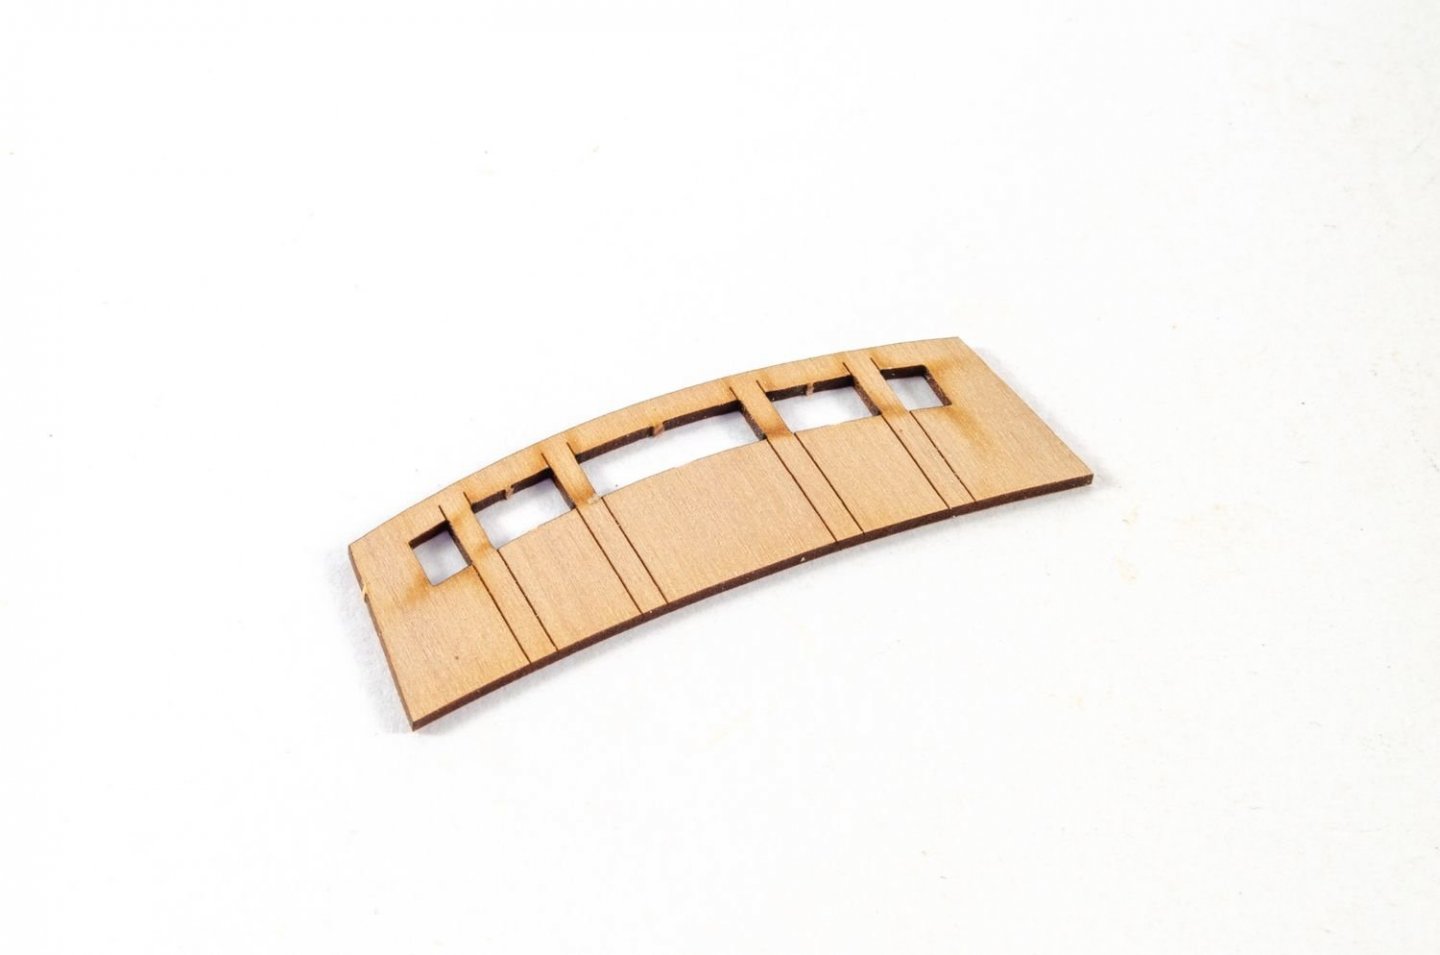
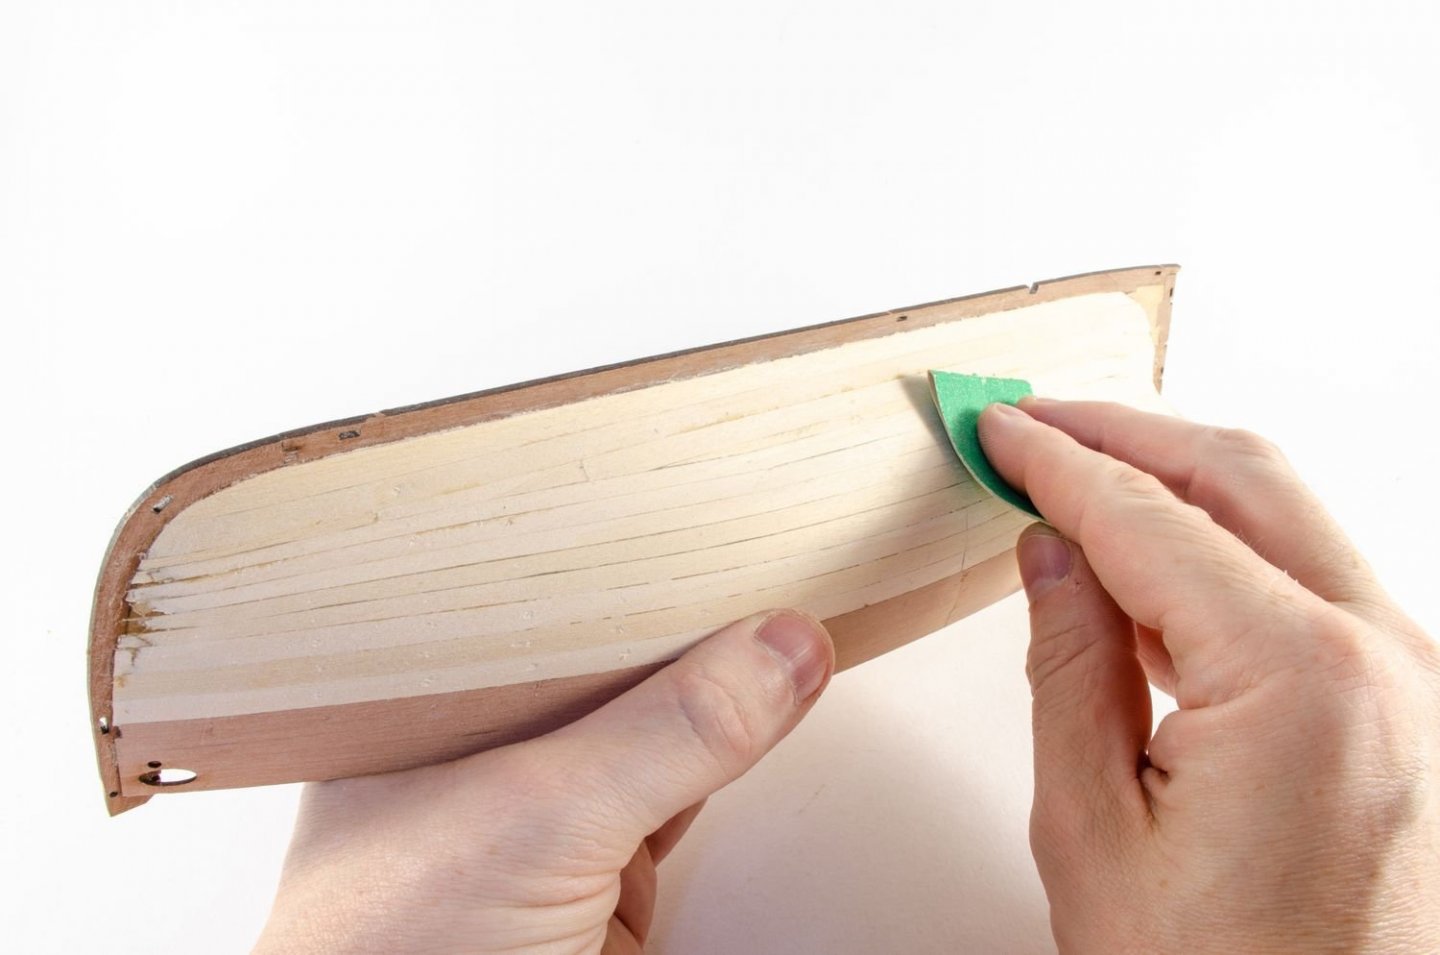
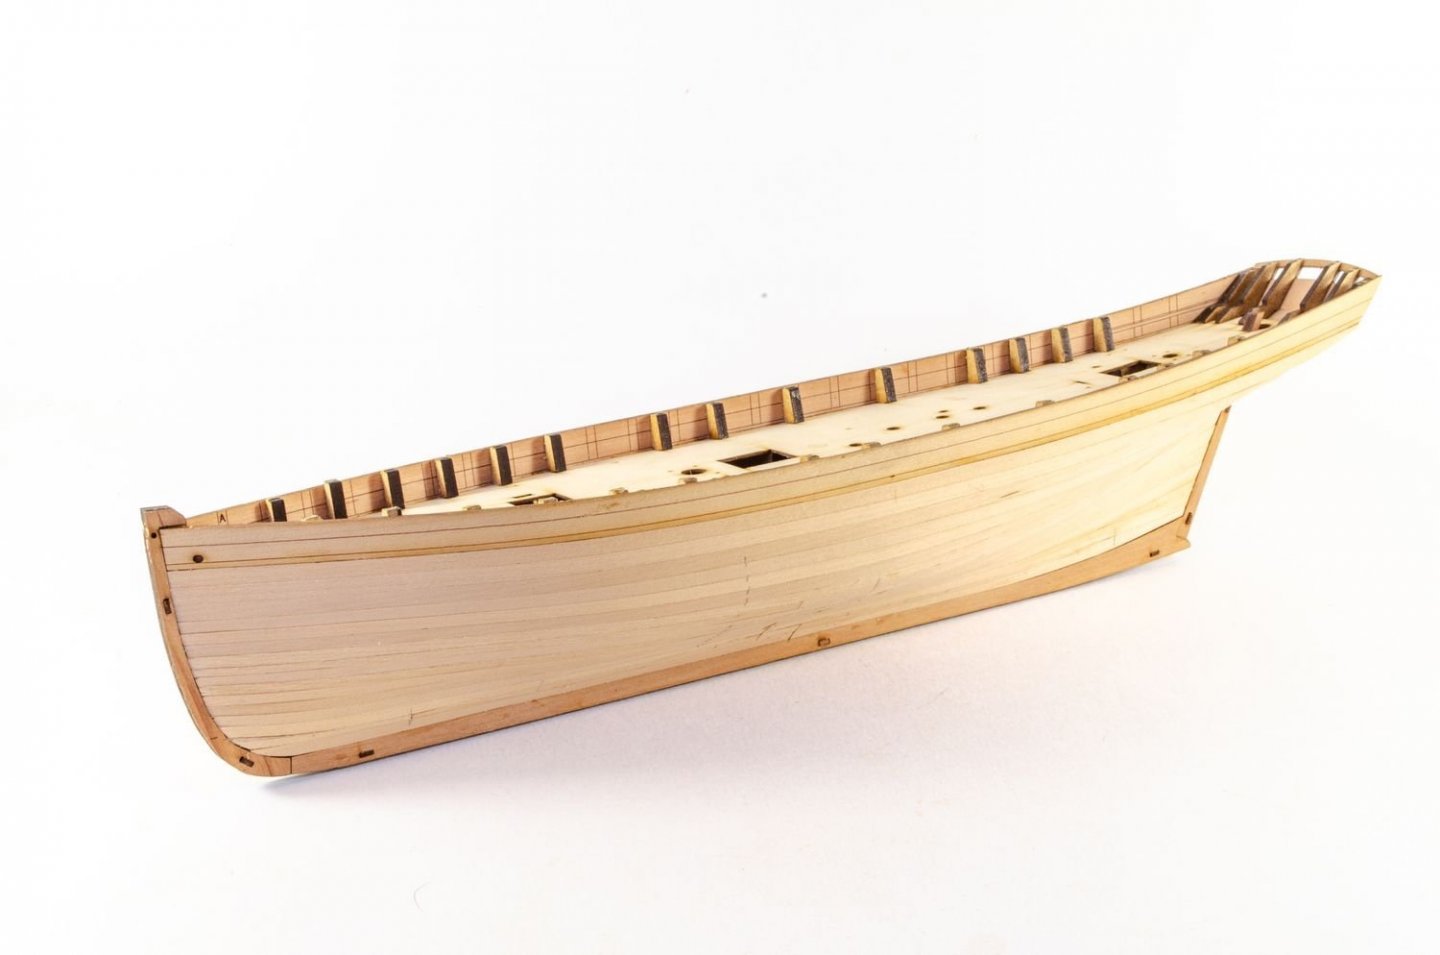
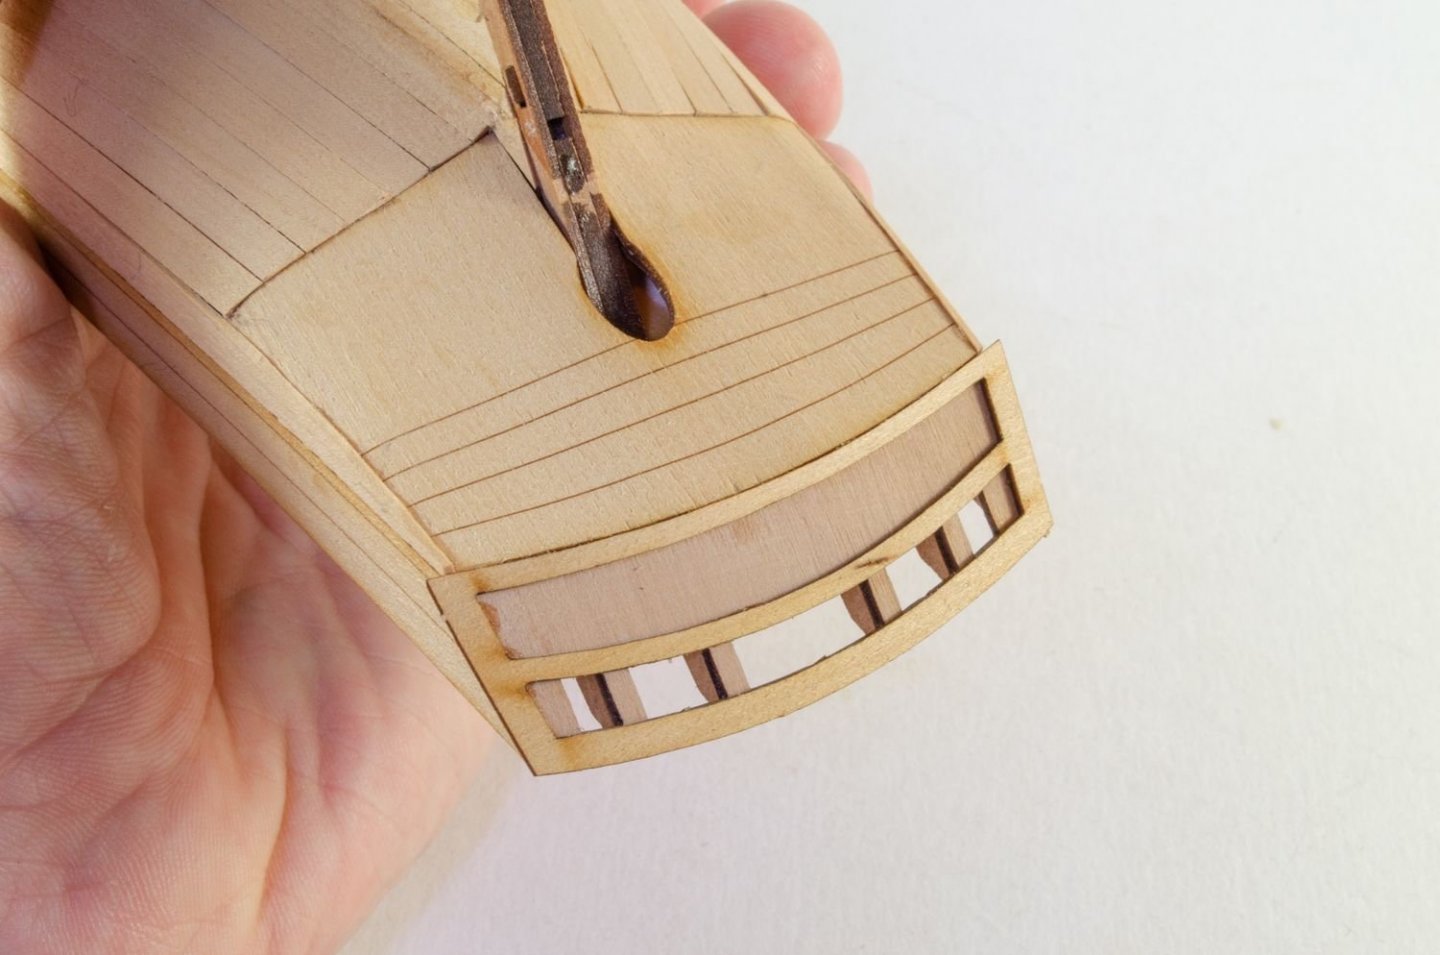
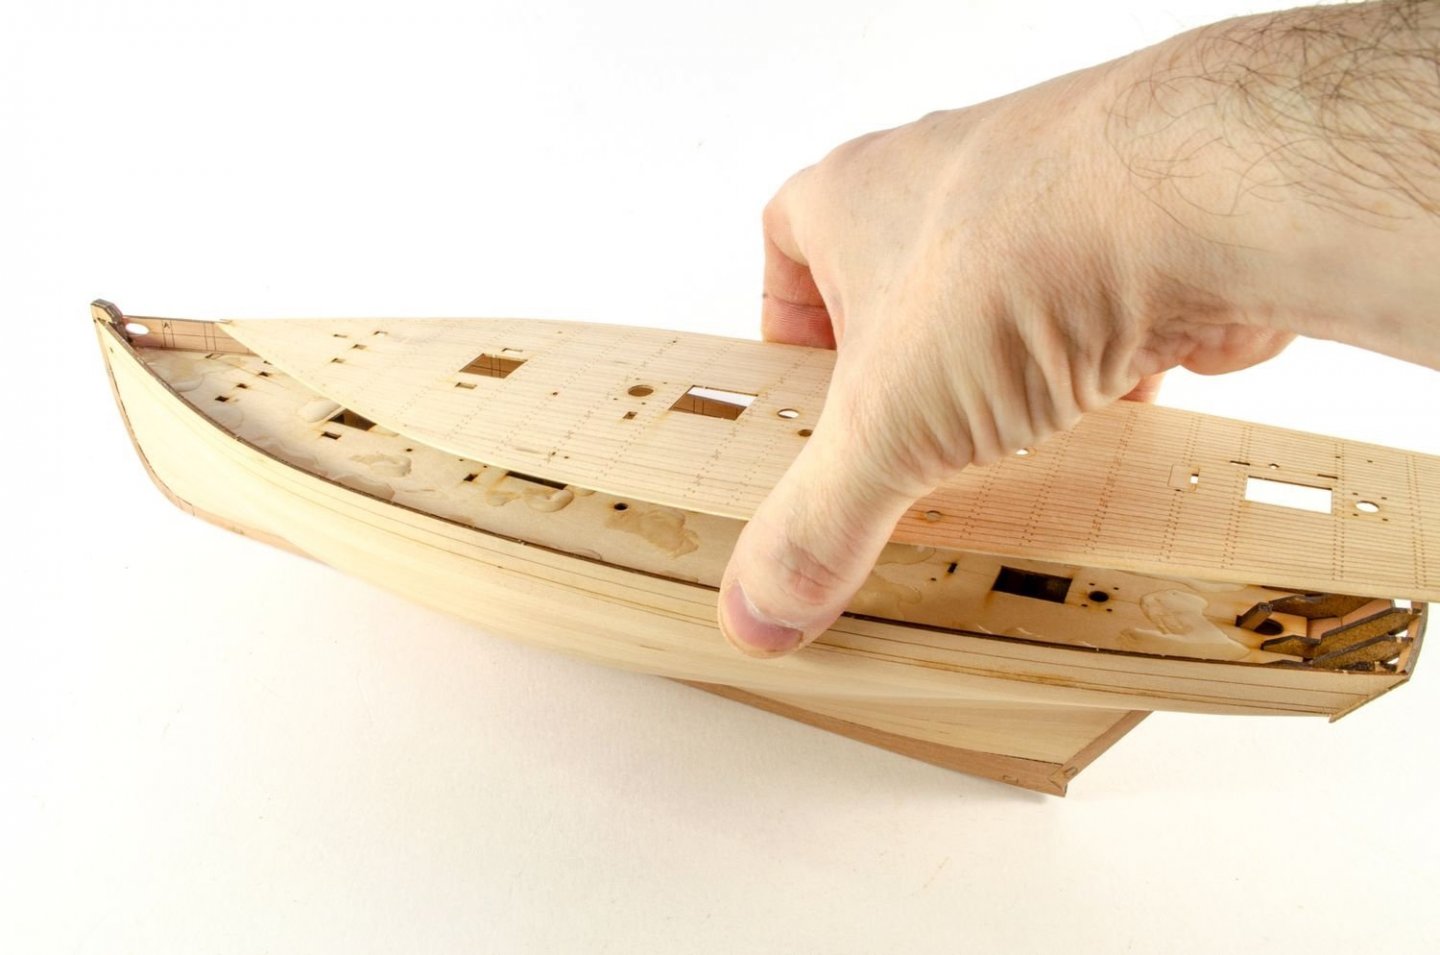
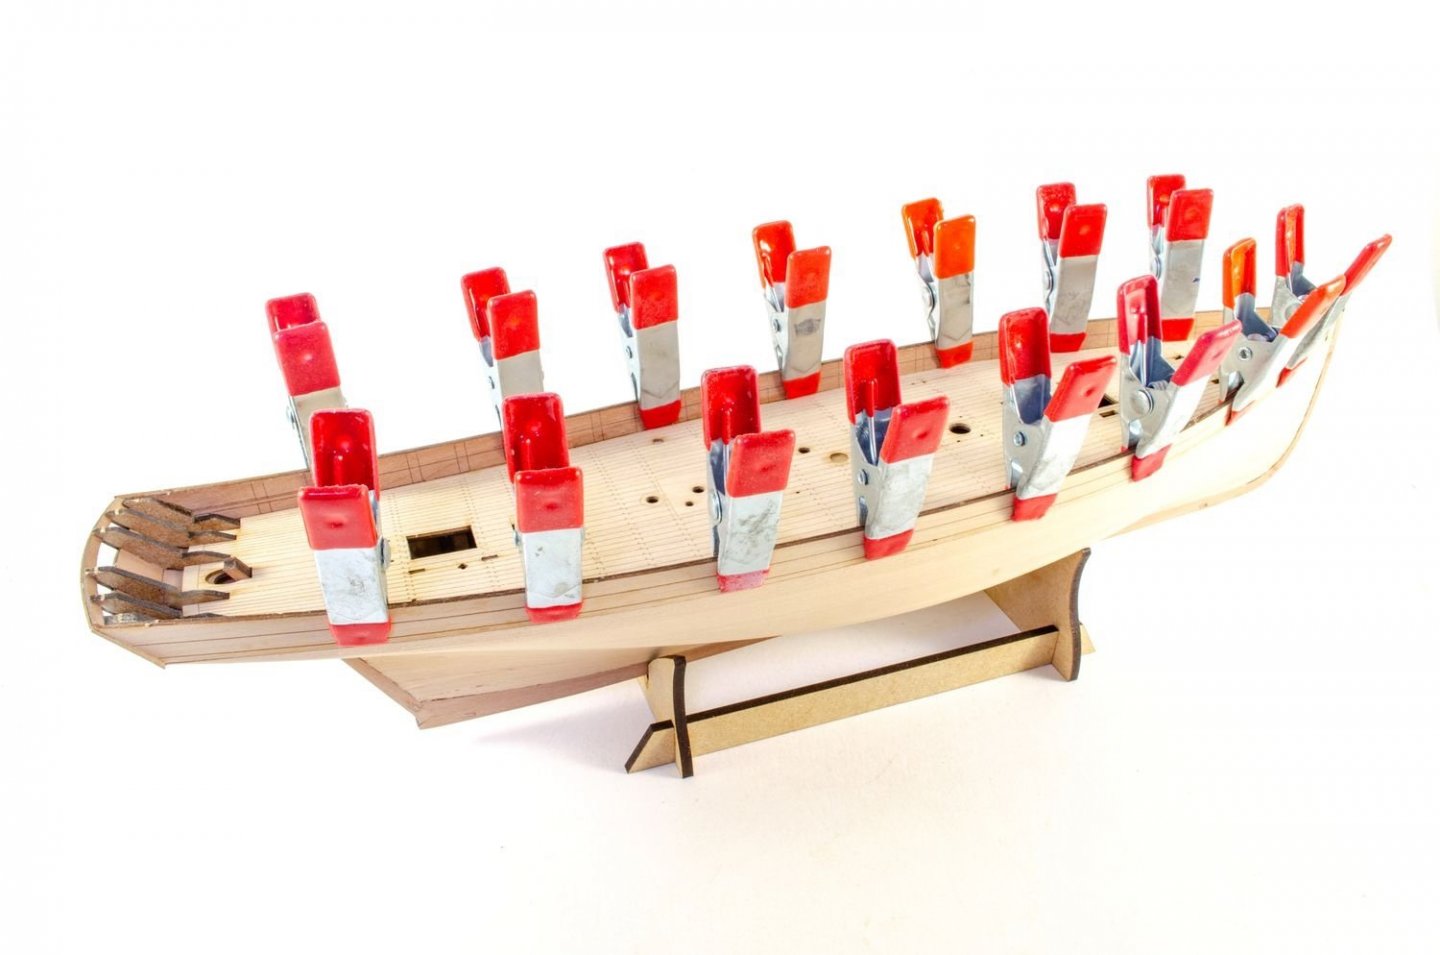
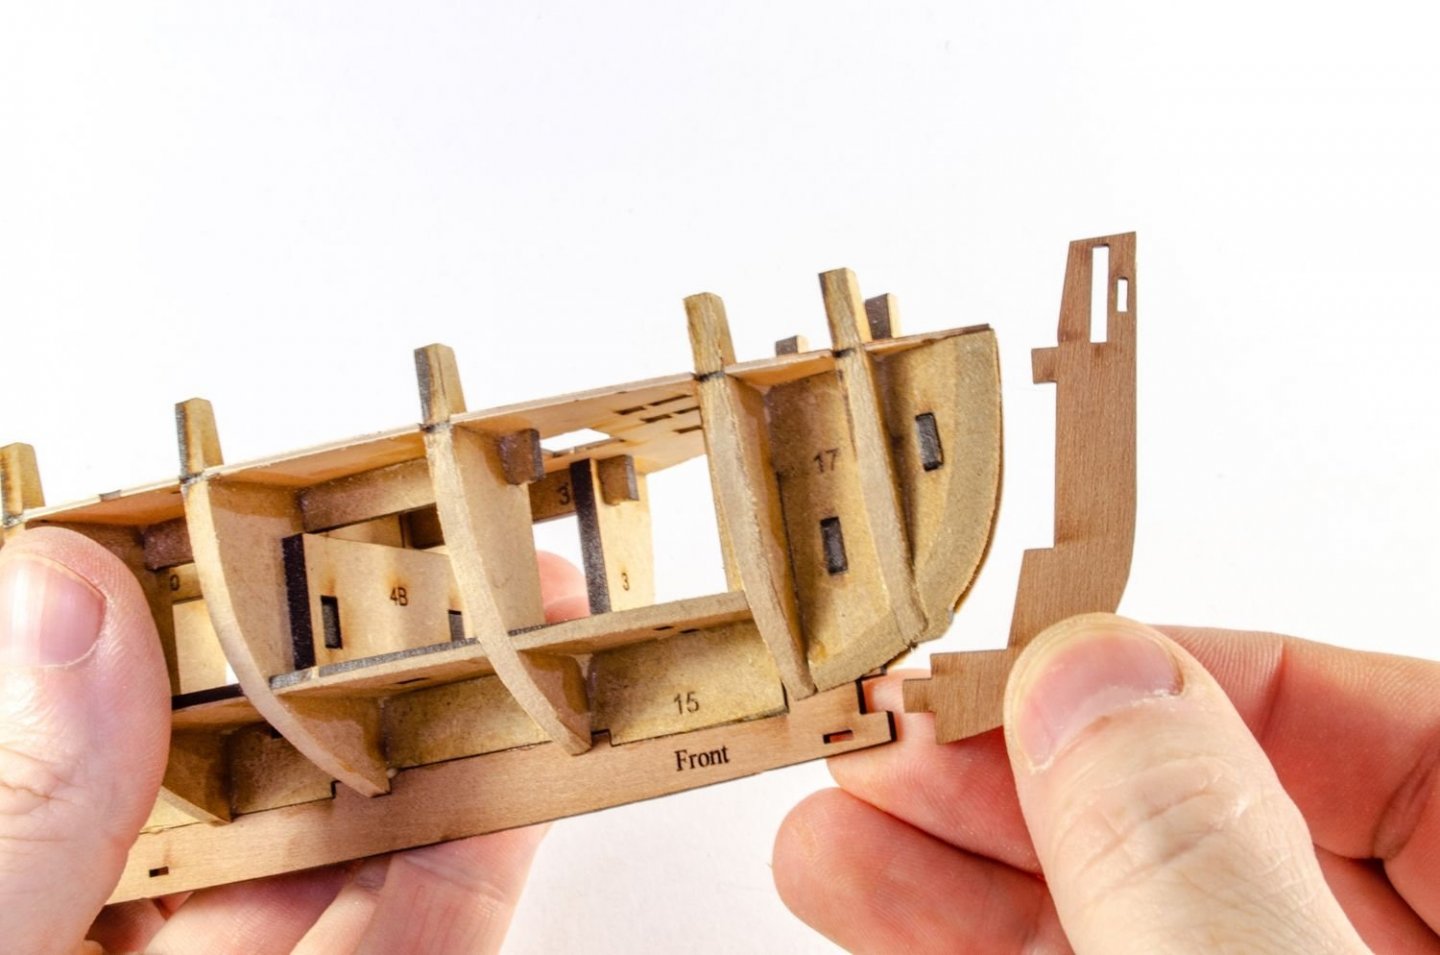
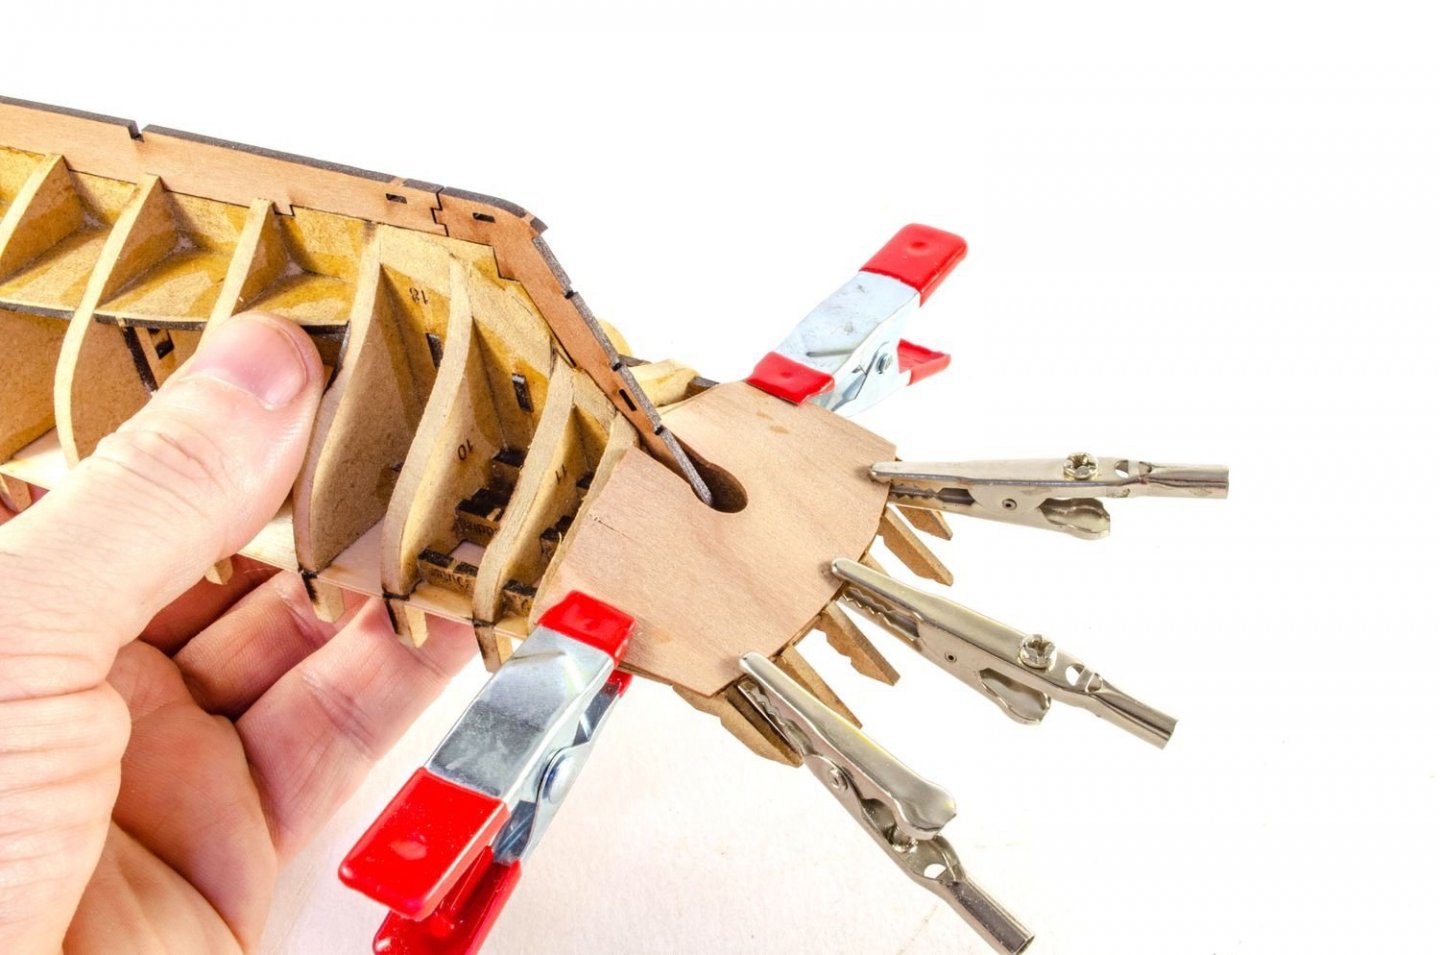
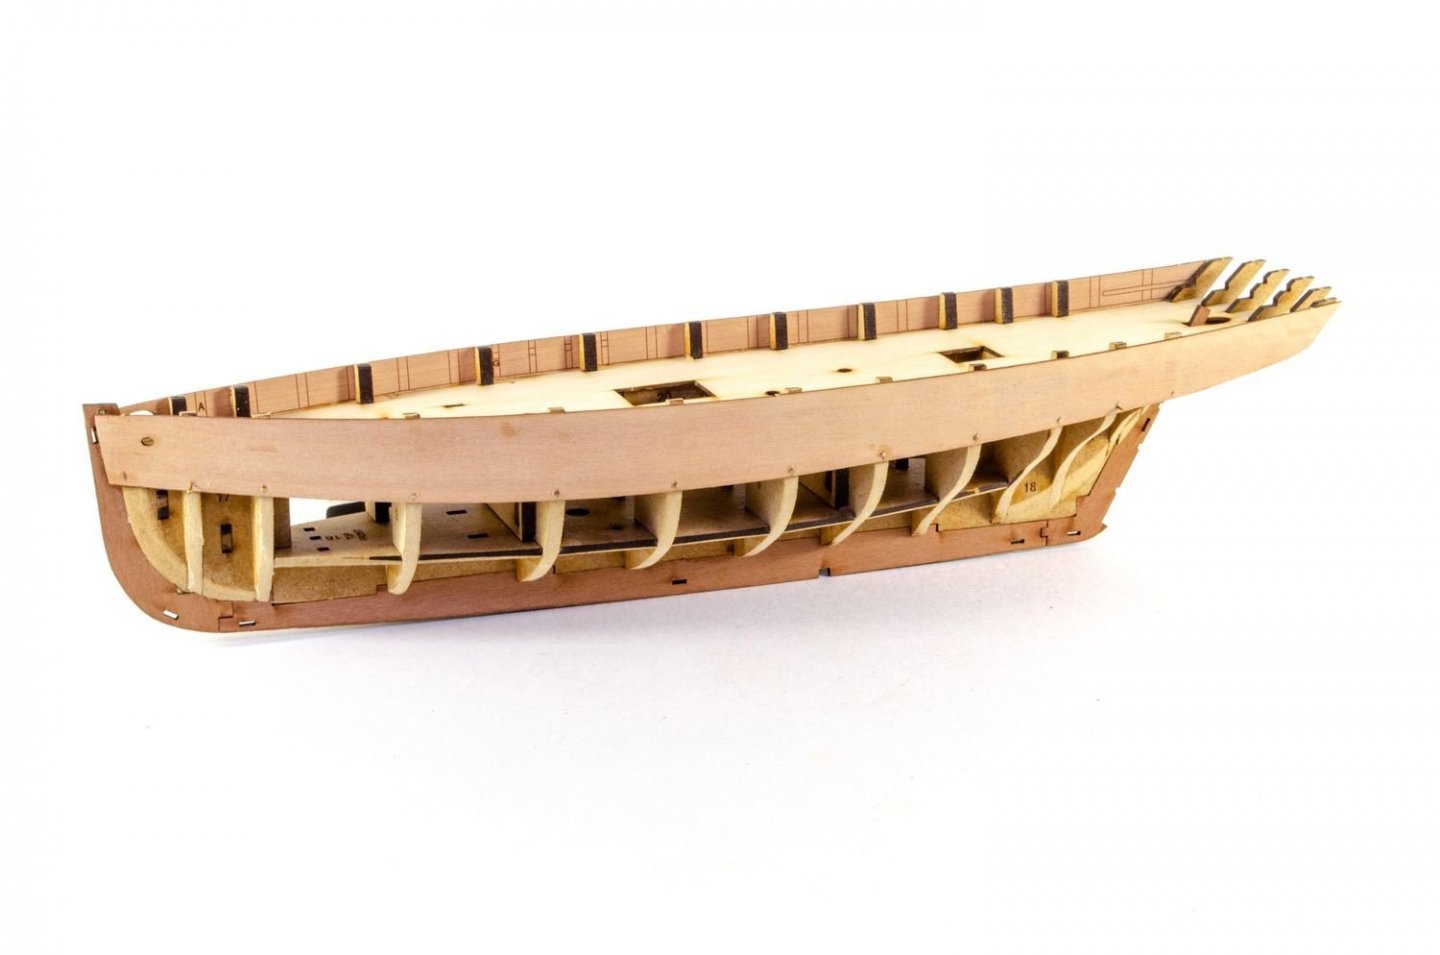
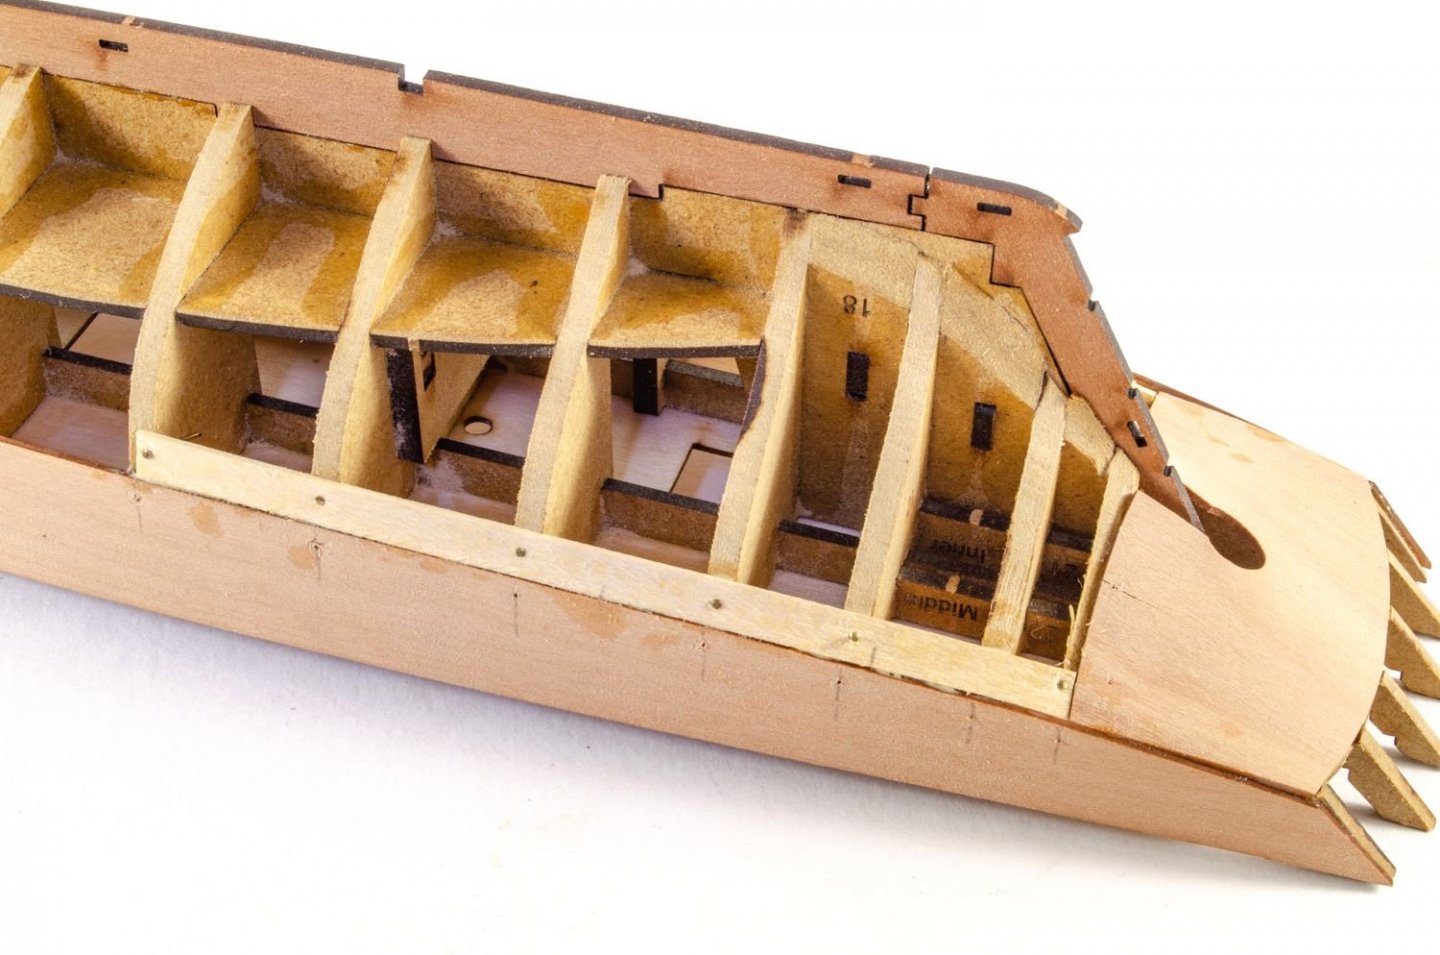
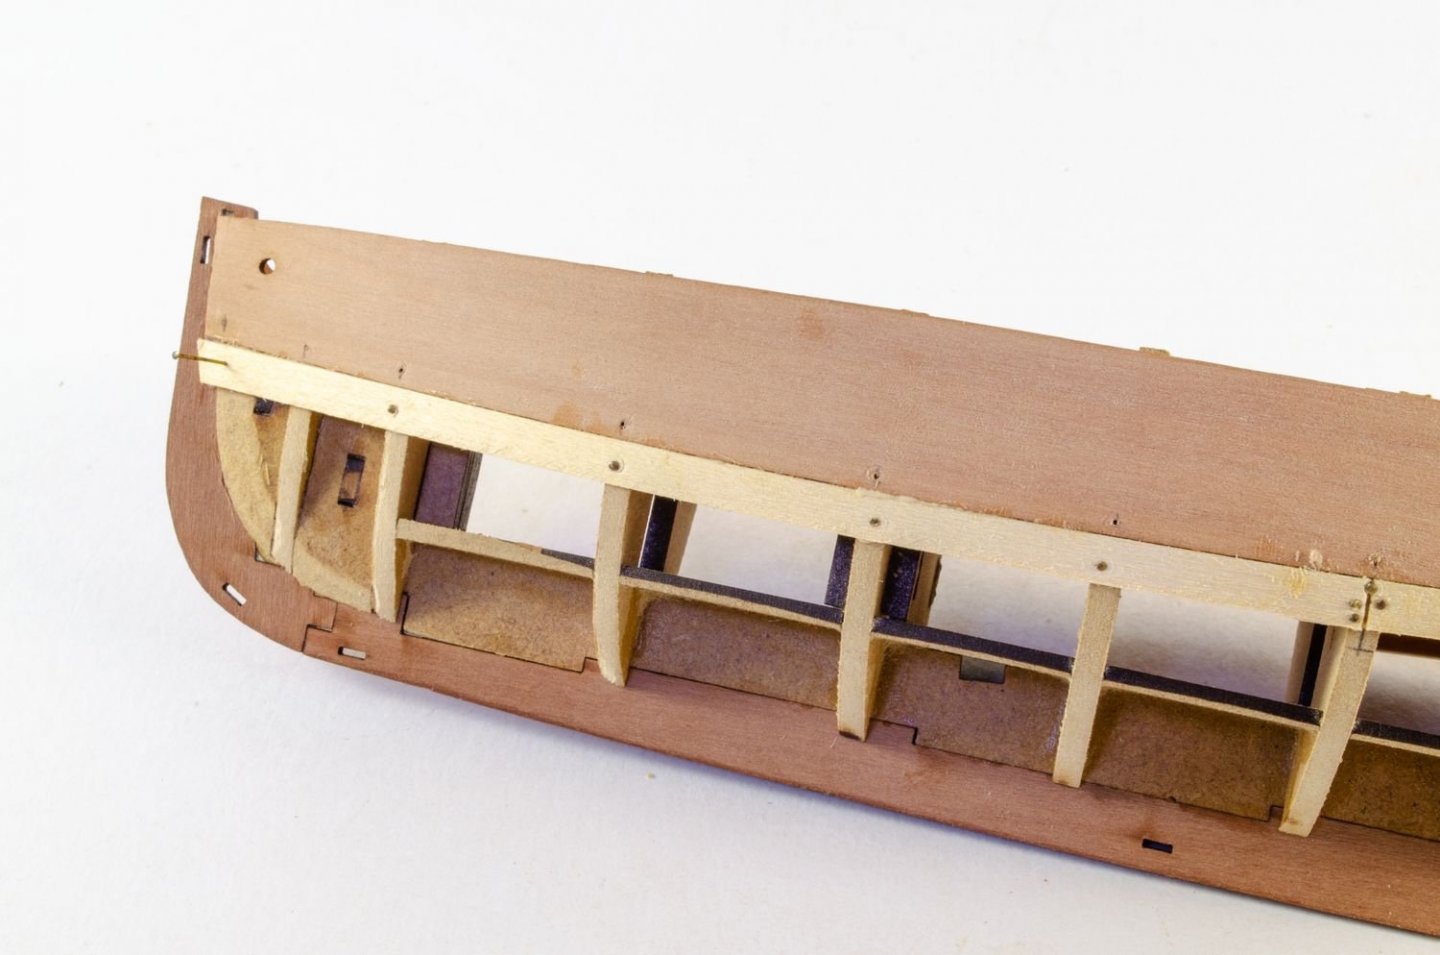
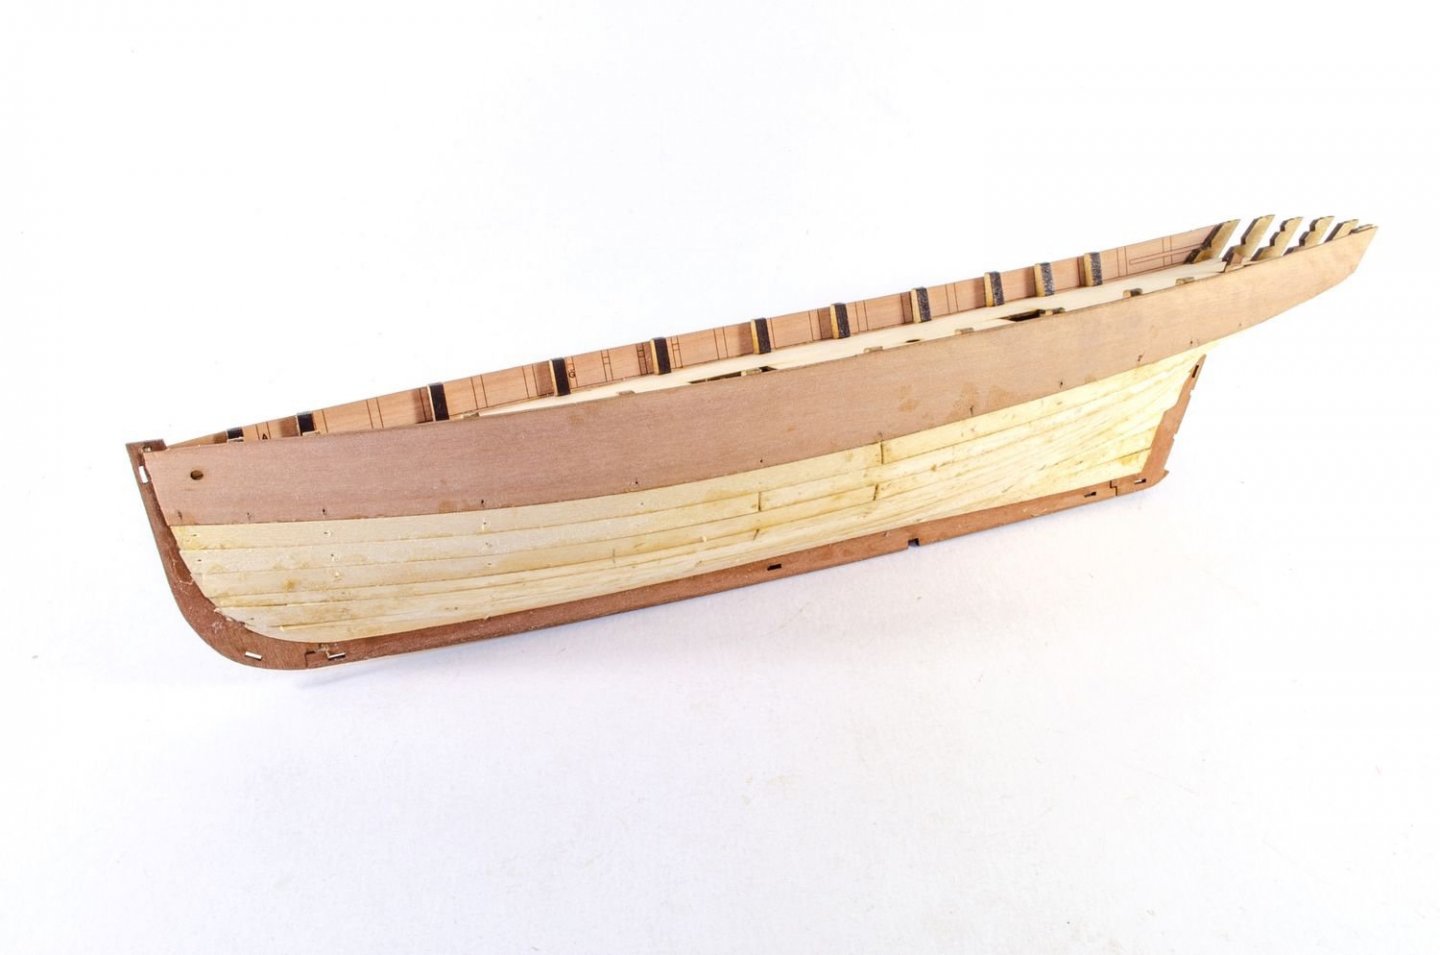
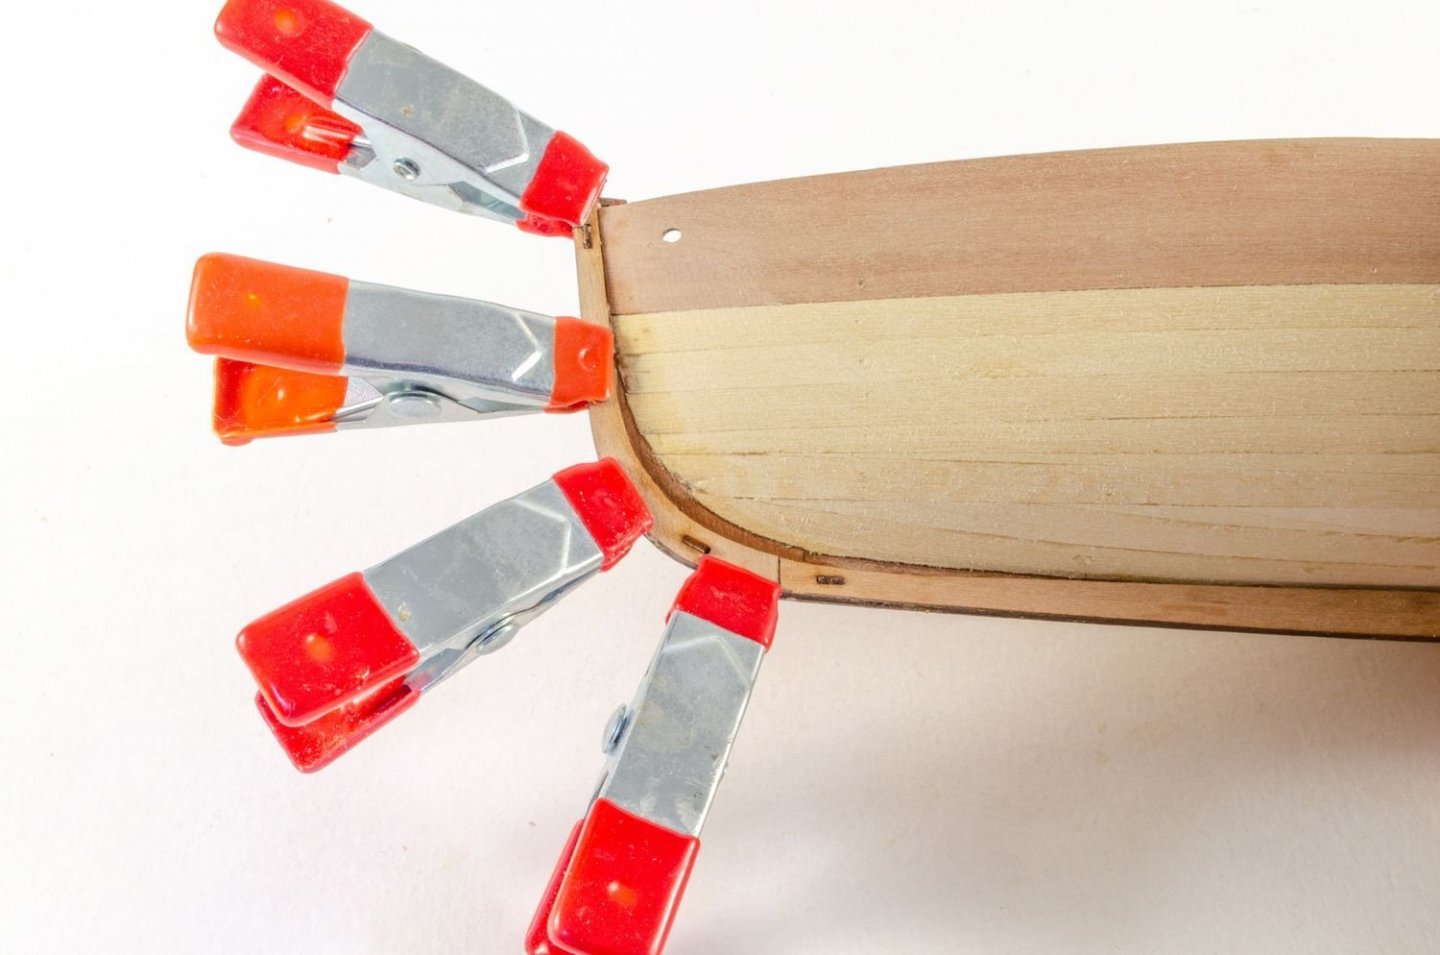
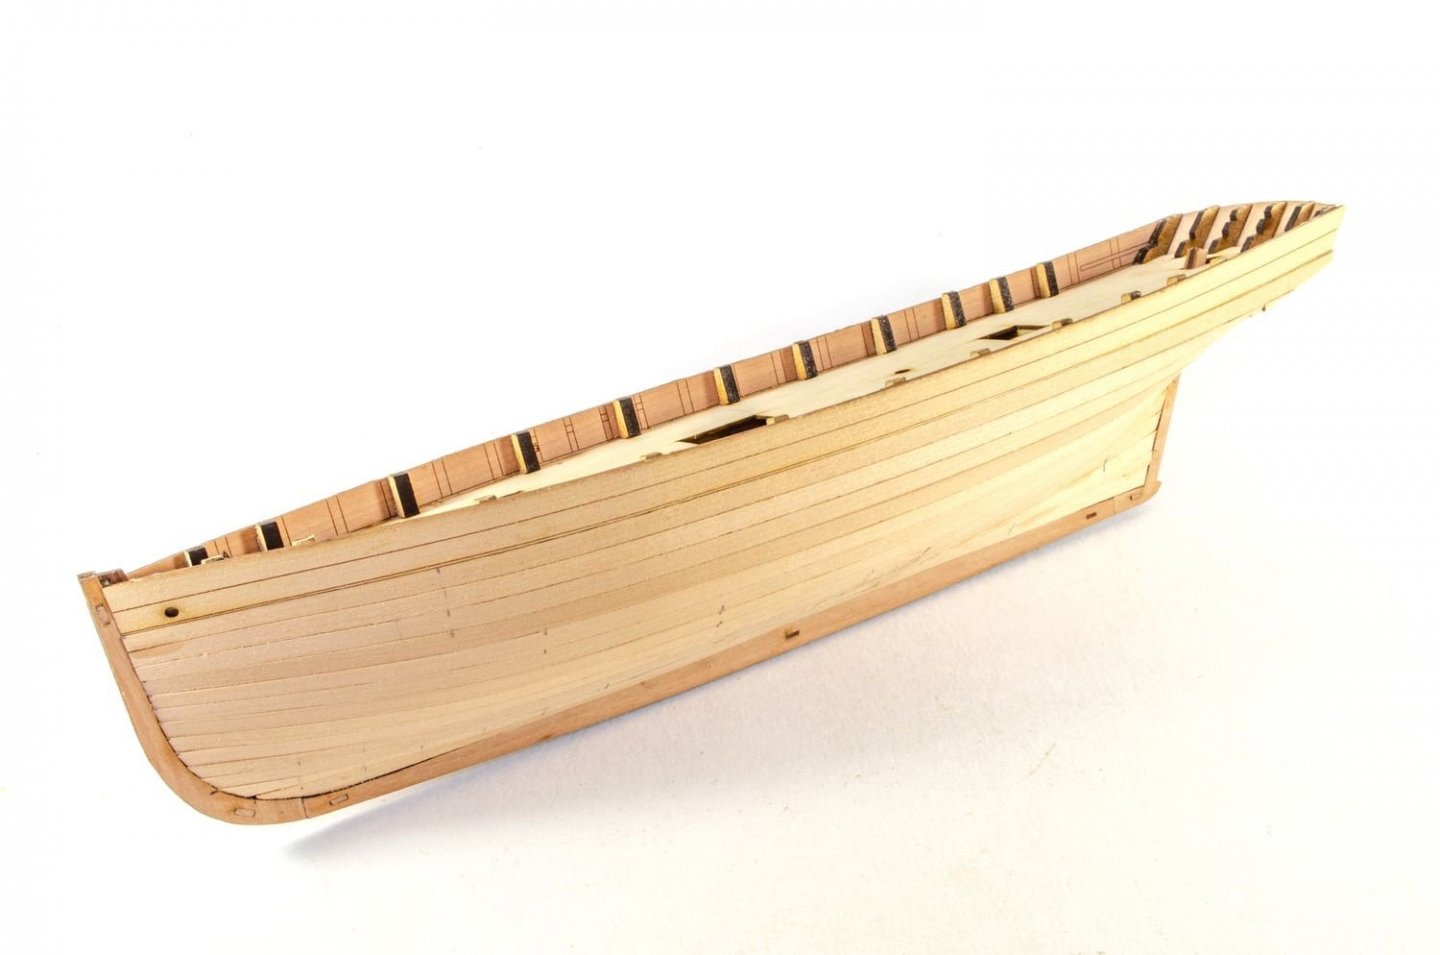
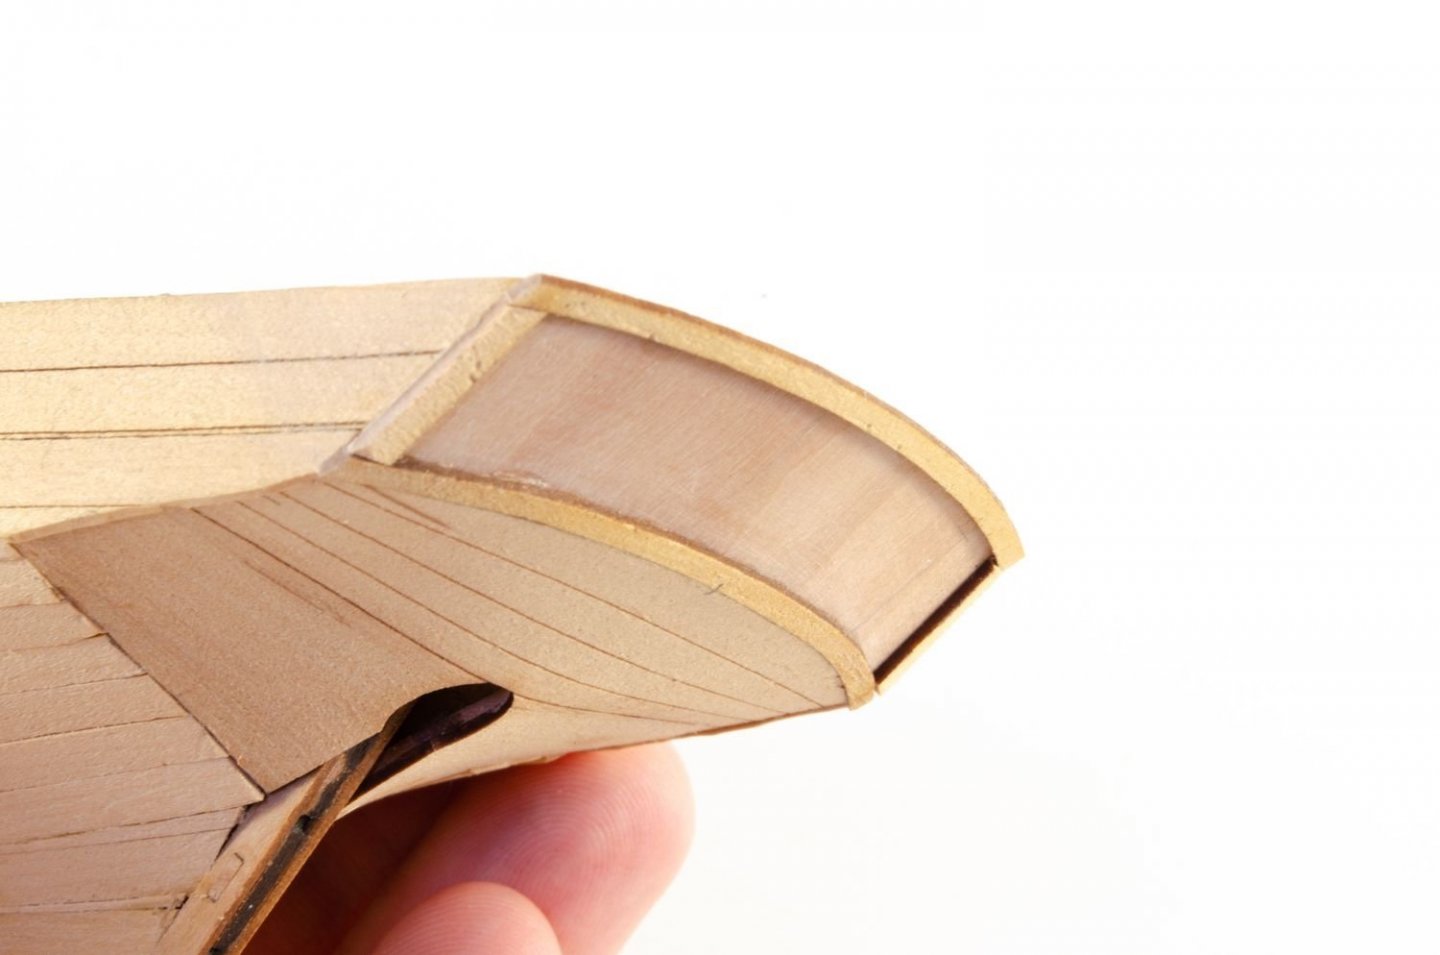
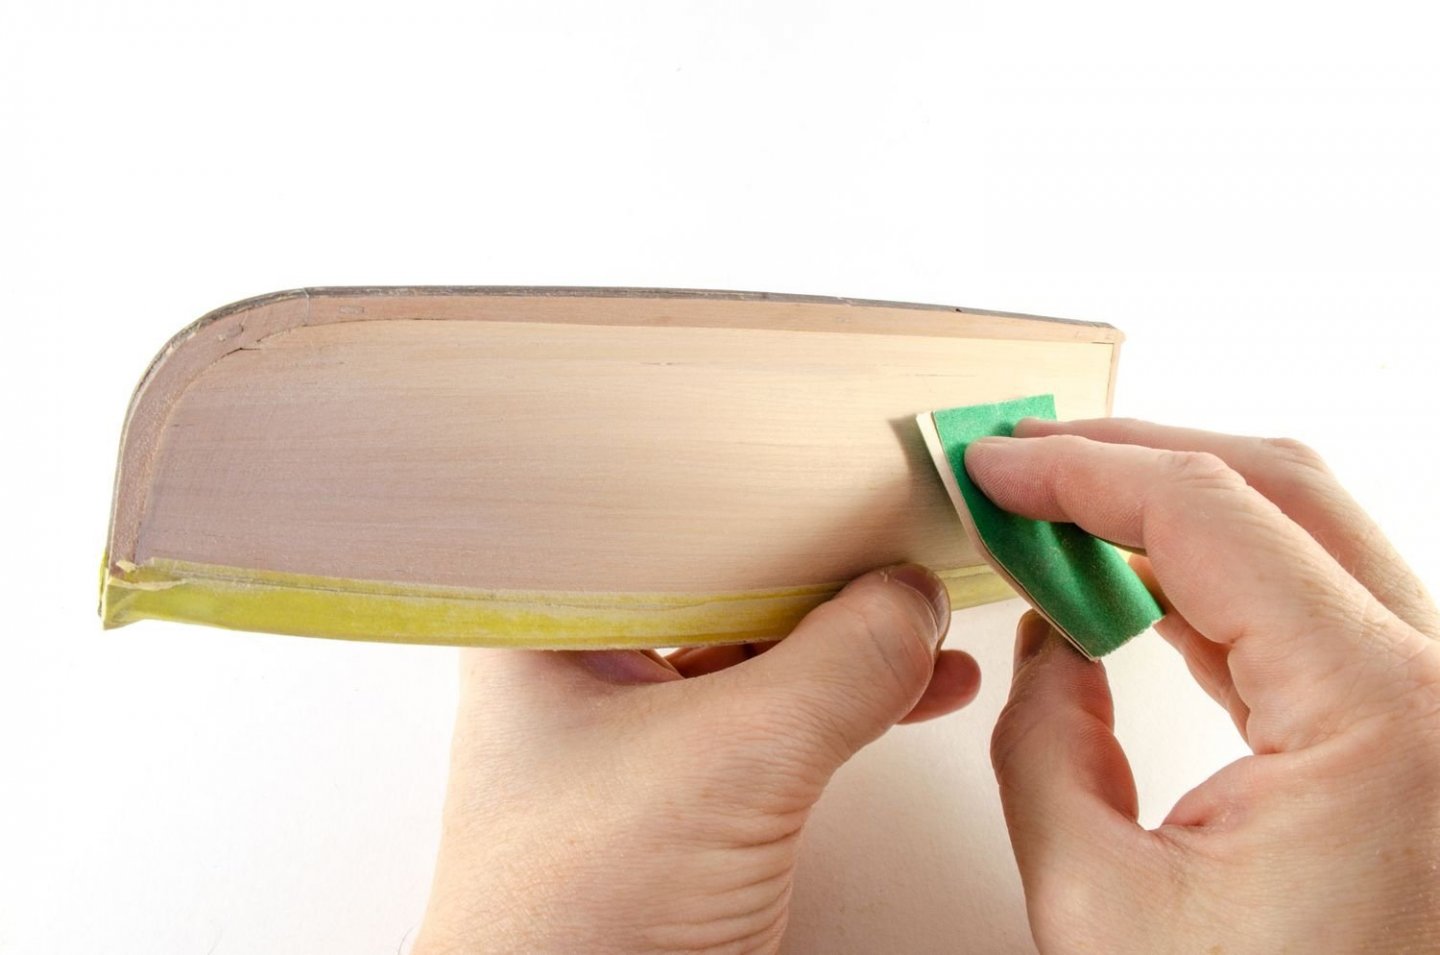
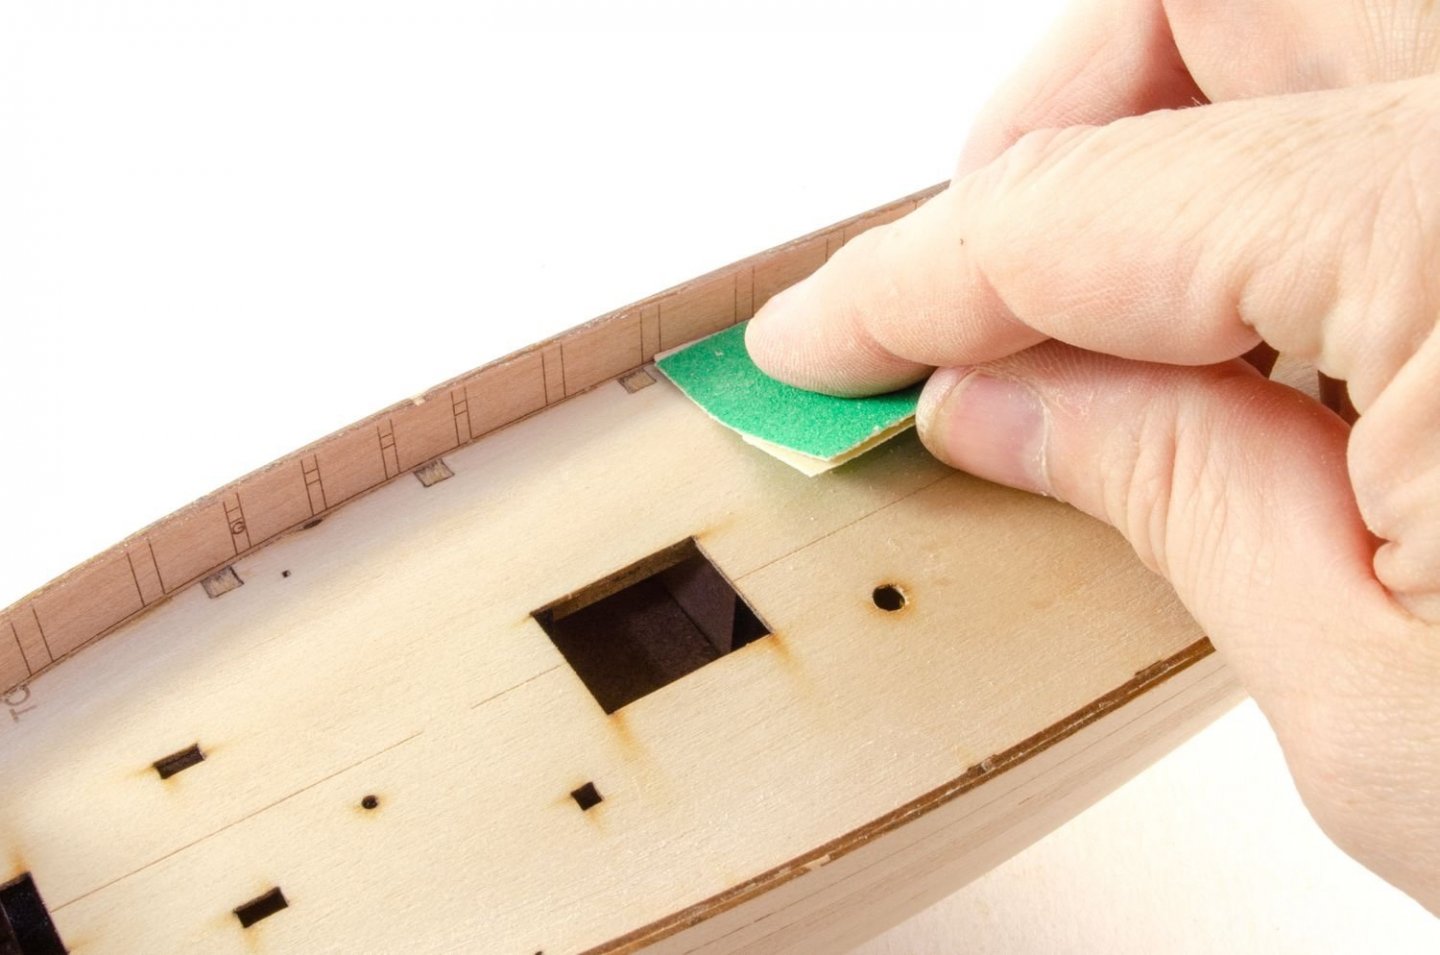
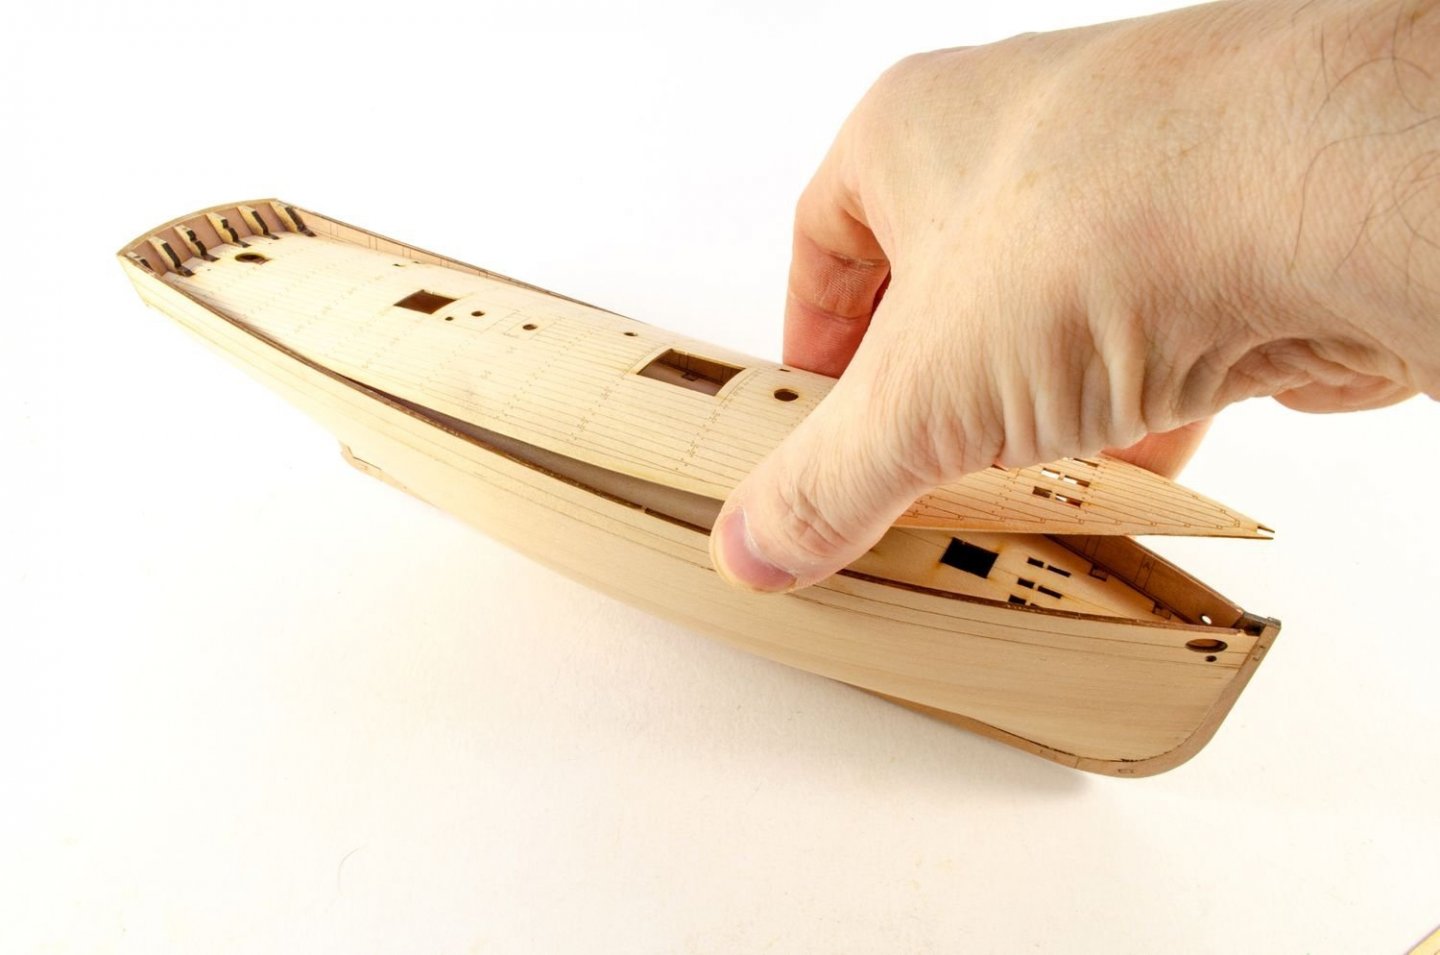
Work has been ploughing on with Erycina, alongside Nisha. The masts for both are actually built, but I'll post those on the next and final update for both logs. Again, fairing the hull is one of the single most important prep stages. Take time to get this right! Erycina has 16 bulkheads, so there's plenty of real estate for your planks to plonk onto. The three part inner 2mm keel is now fitted. Erycina's bulwarks are in halves, and this makes them nice and easy to fit. Align the bulwark so the lower engraved line is at deck height. Add all 4 sections and let dry. Like Nisha, a lower counter is used to attain the shape needed for this nippy little boat. All planking that butts up to the counter, is added as halves. It's just easier that way so you don't get any gaps. The stern board is added. Note the engraved lines which perfectly line up with the stern timbers. Preparation is ALL! The outer counter is now fitted, and the outer keel facings fitted. The latter creates the rabbet for the second layer of planks. The second layer starts with the outer pear bulwarks. With these in place, the lower hull can be planked. A small bevel to the lower underside of the stern frame, and it fits great! Time for those MDF bits to go. These are twisted off and sanded flush. The only thing I needed to do to get the laser engraved deck to fit was to remove the edge char. It was then glued into position.
- 36 replies
-
- vanguard models
- Erycina
-
(and 2 more)
Tagged with:
-
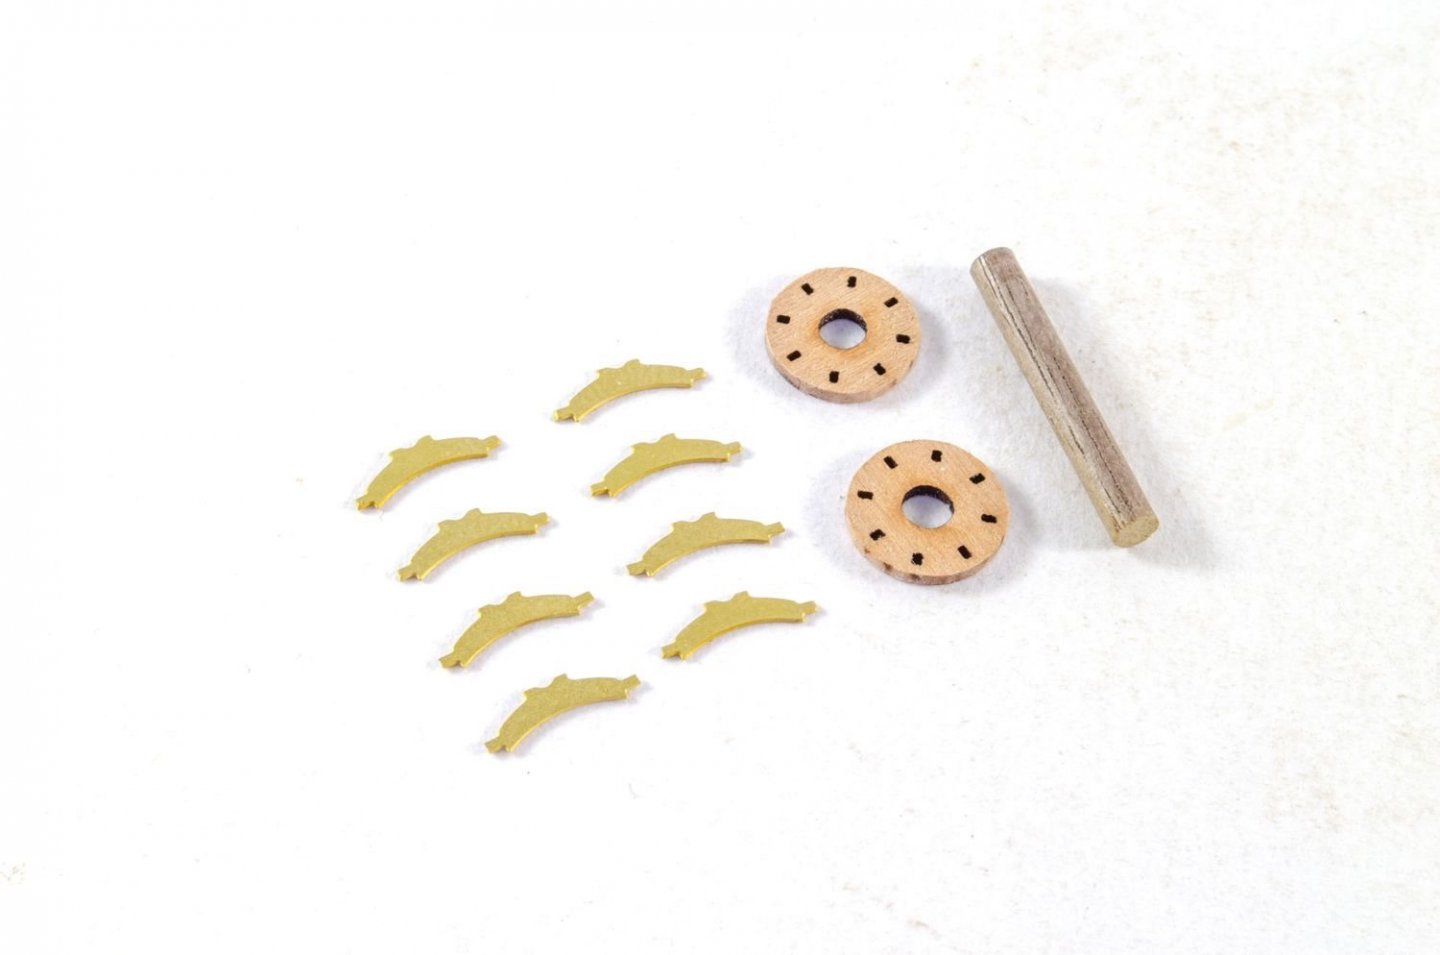
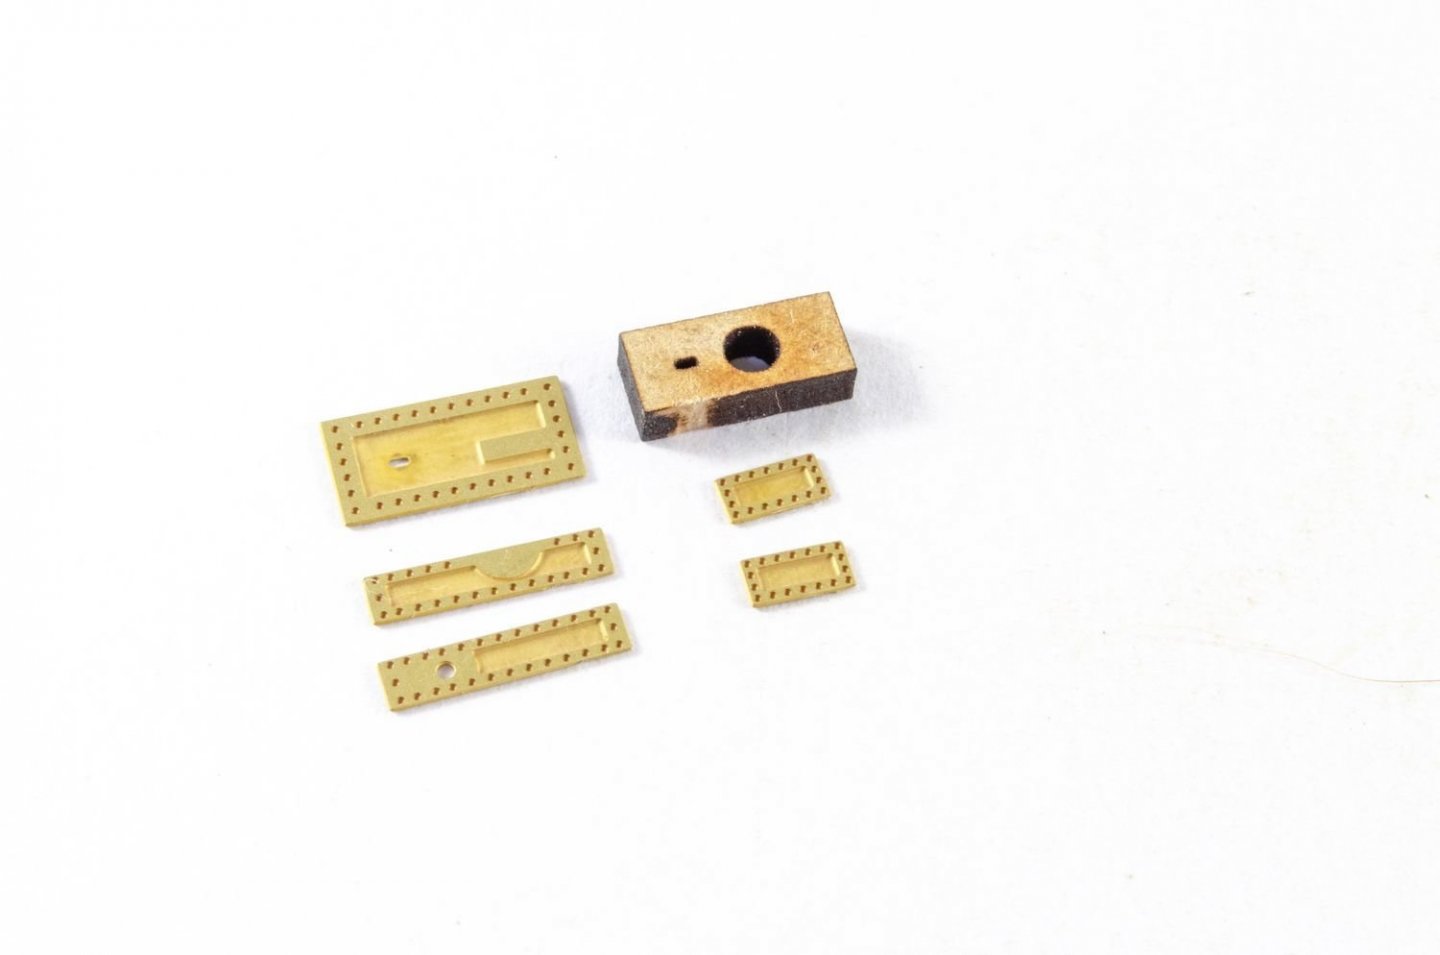
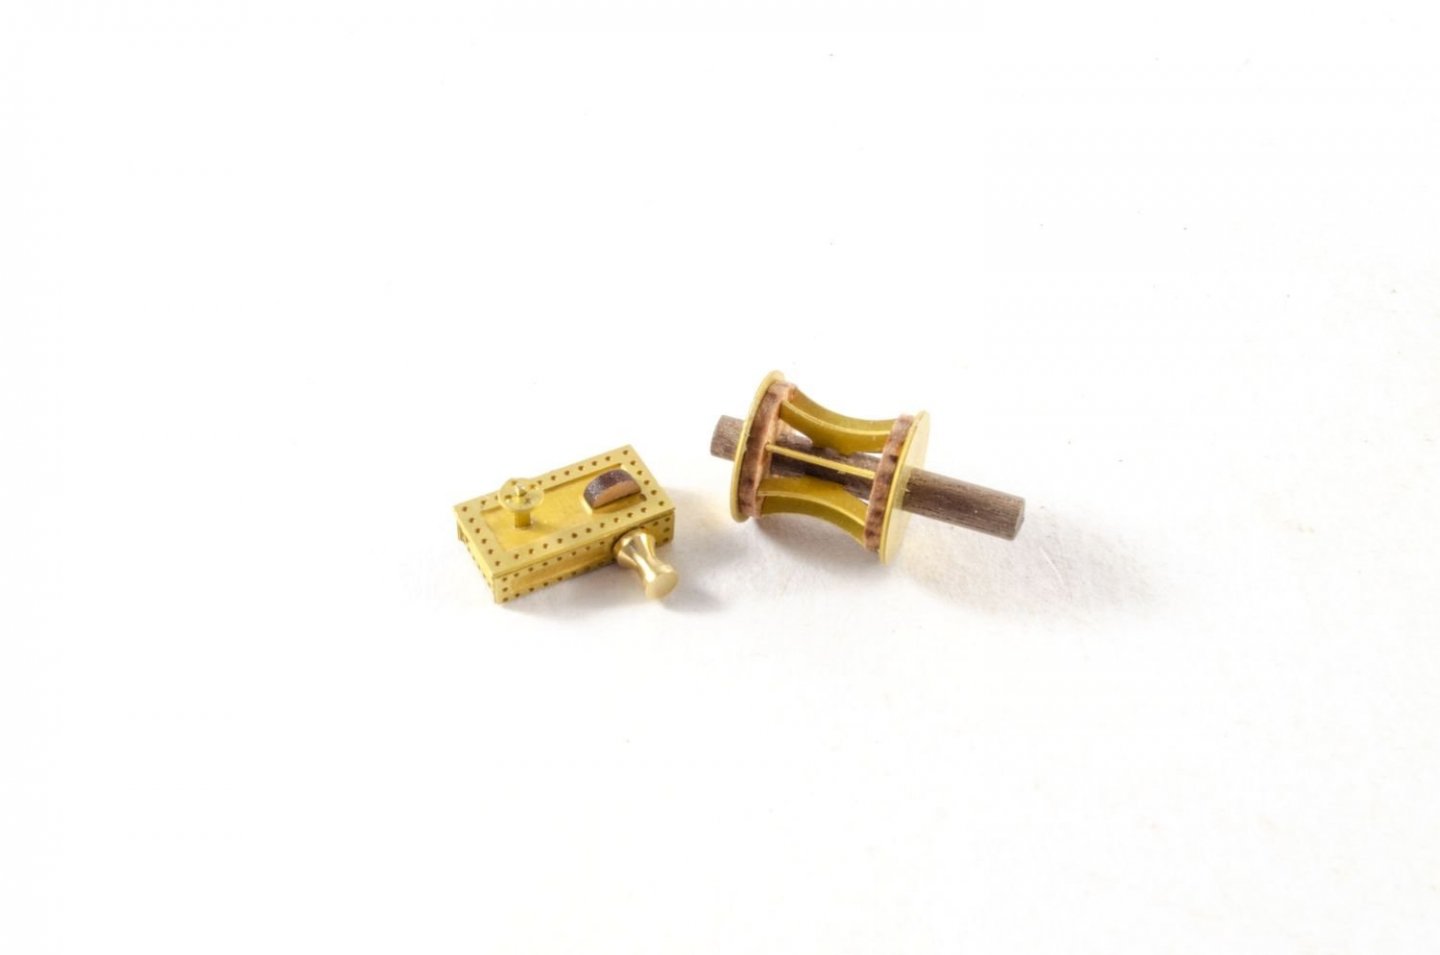
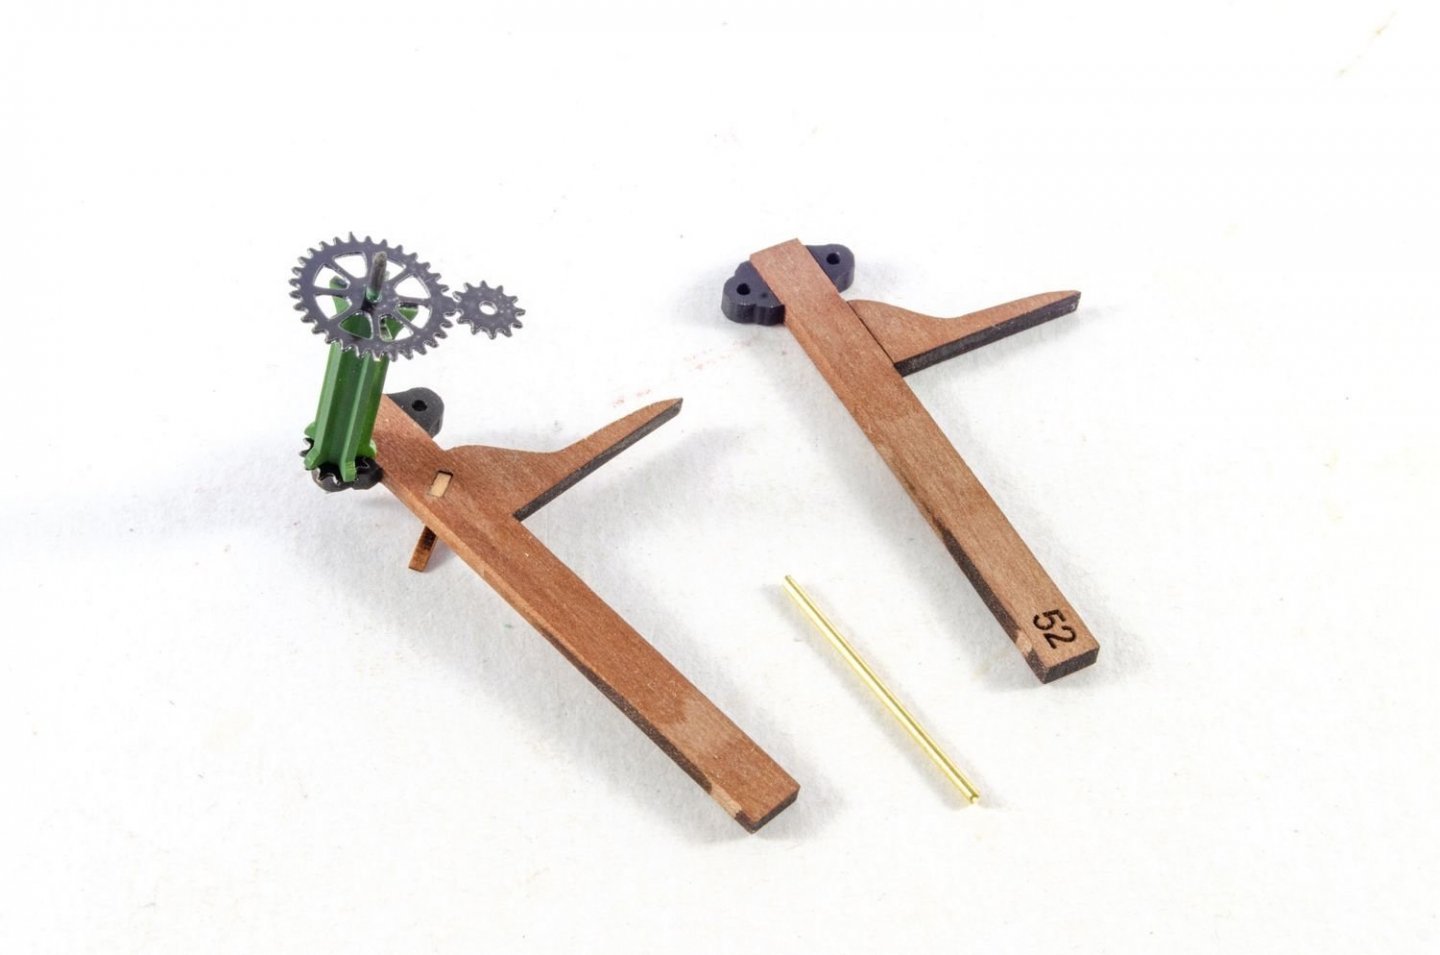
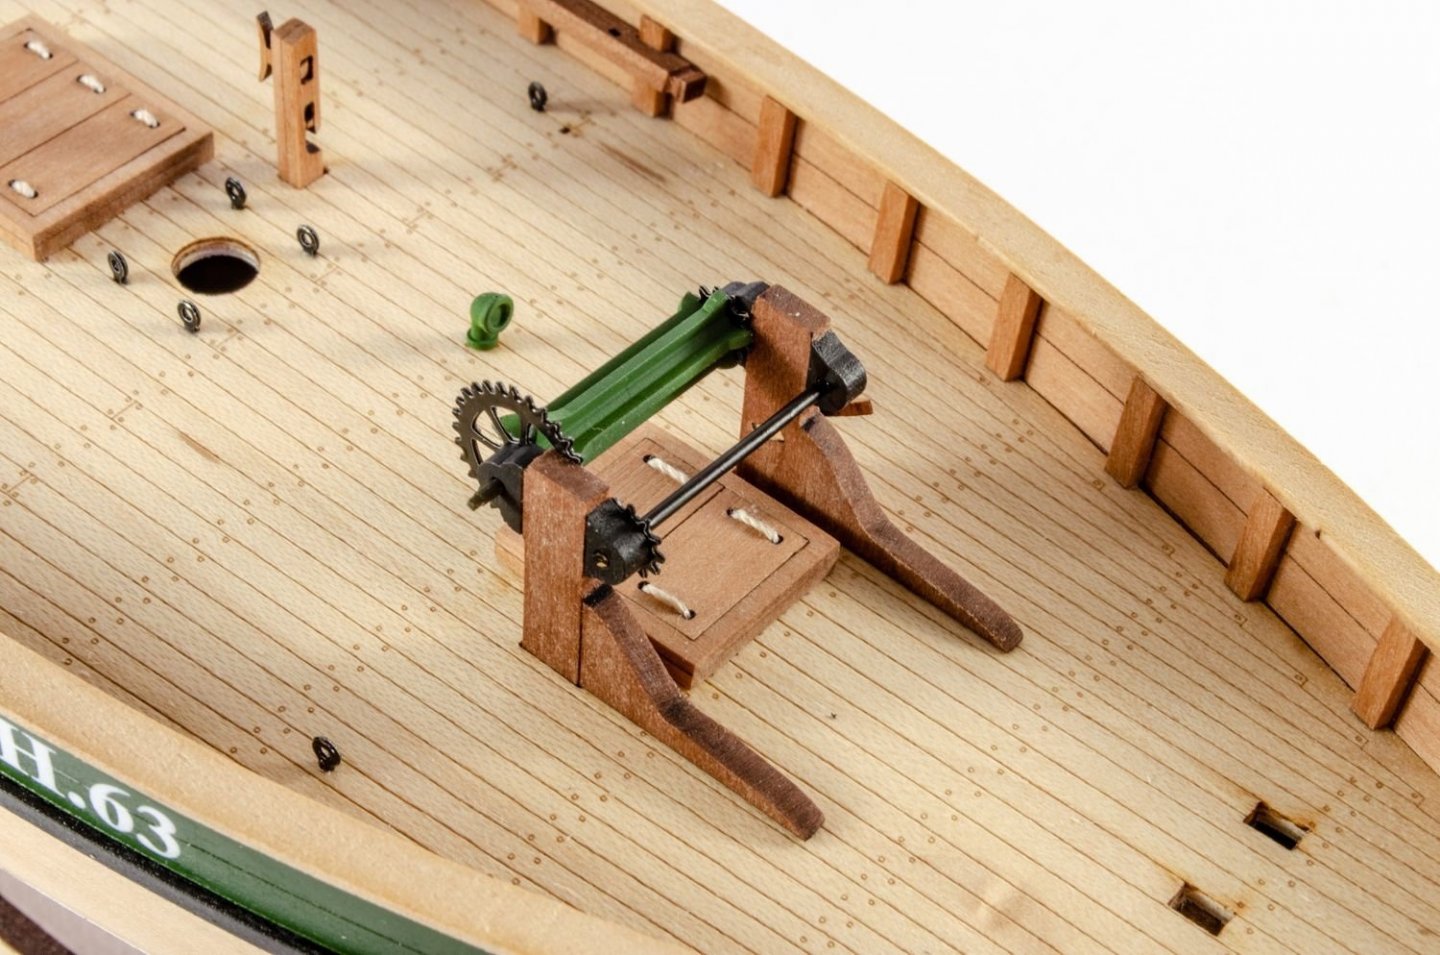
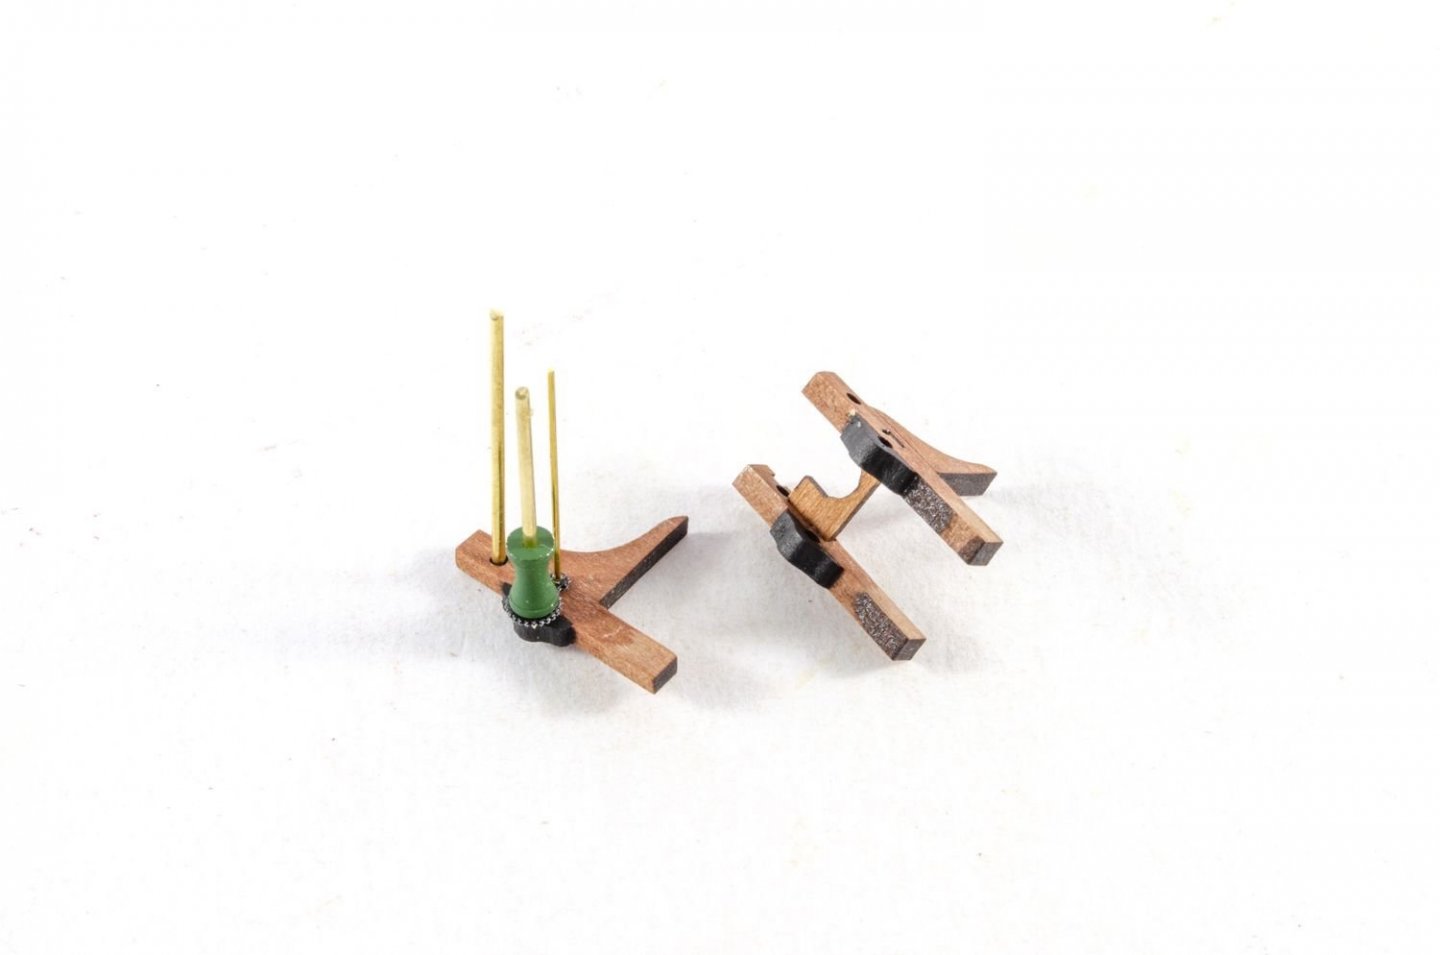
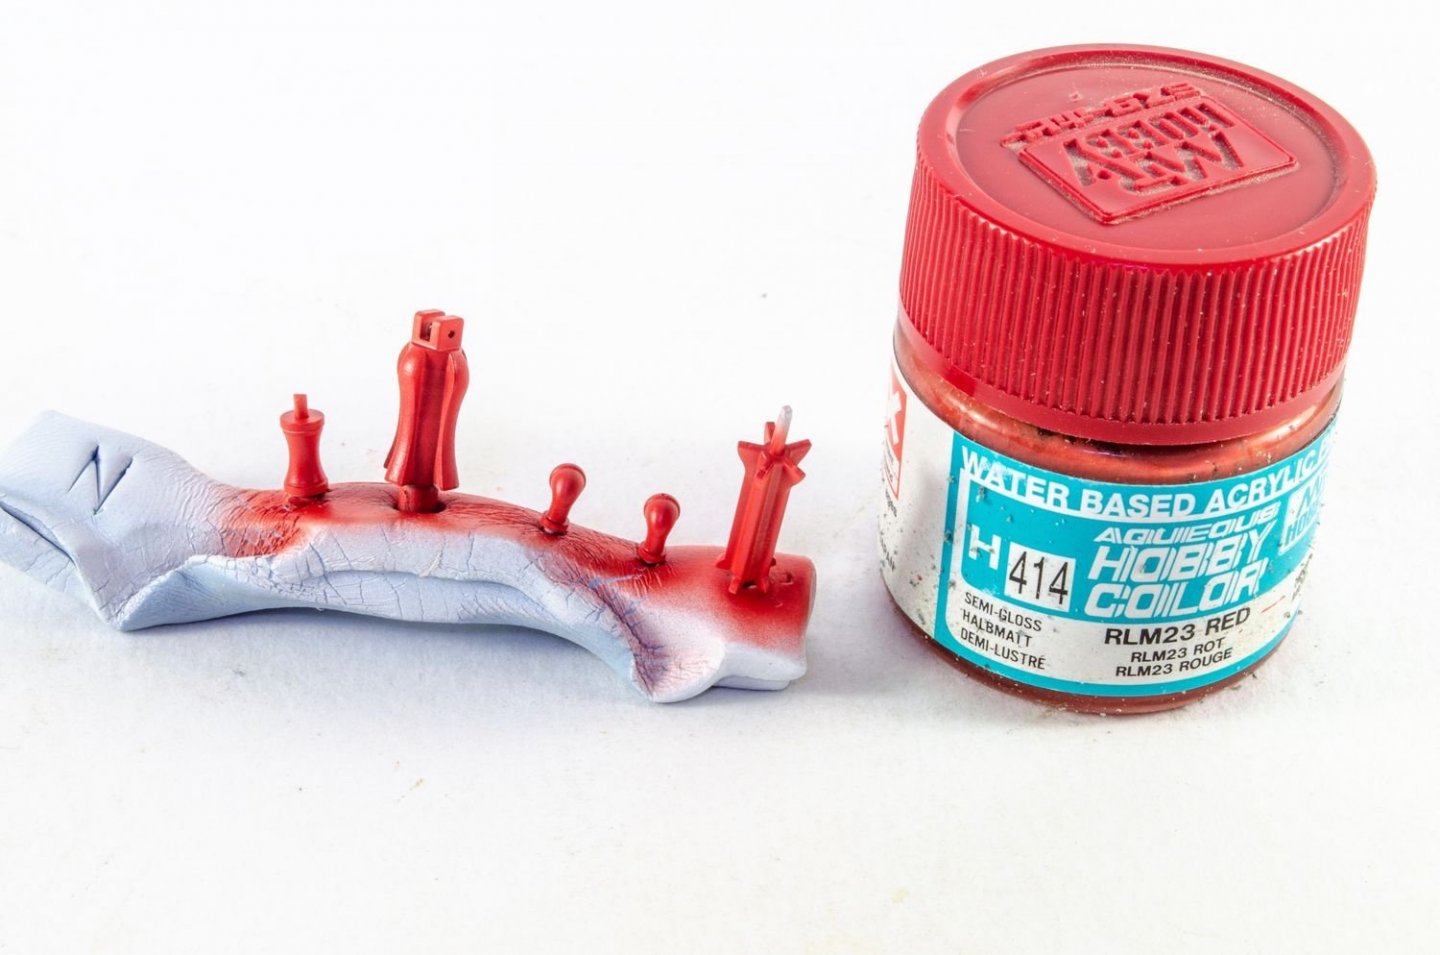
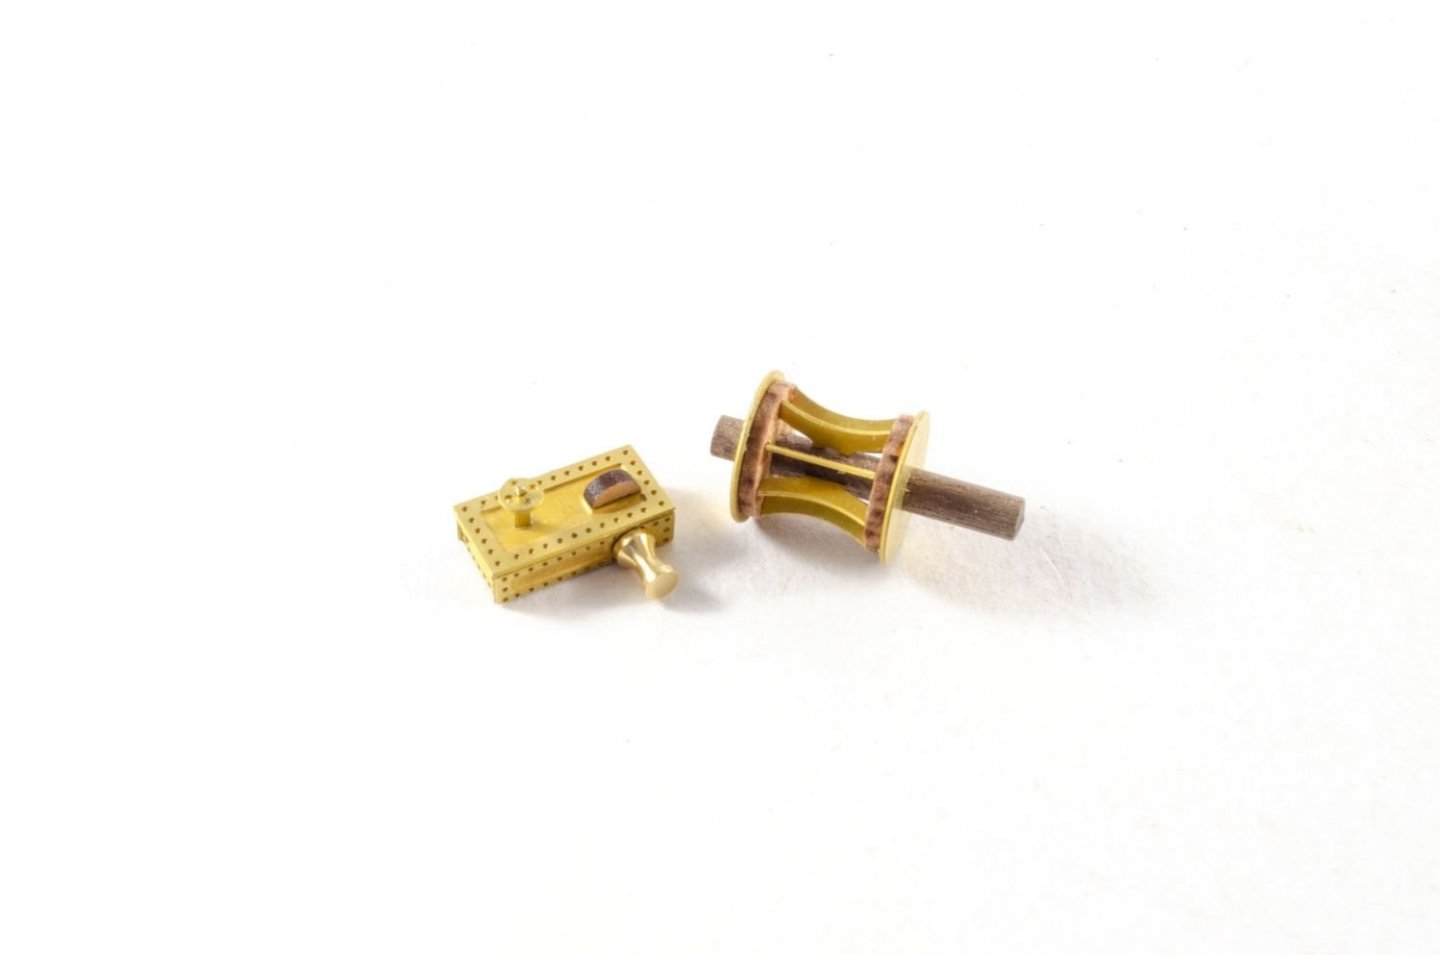
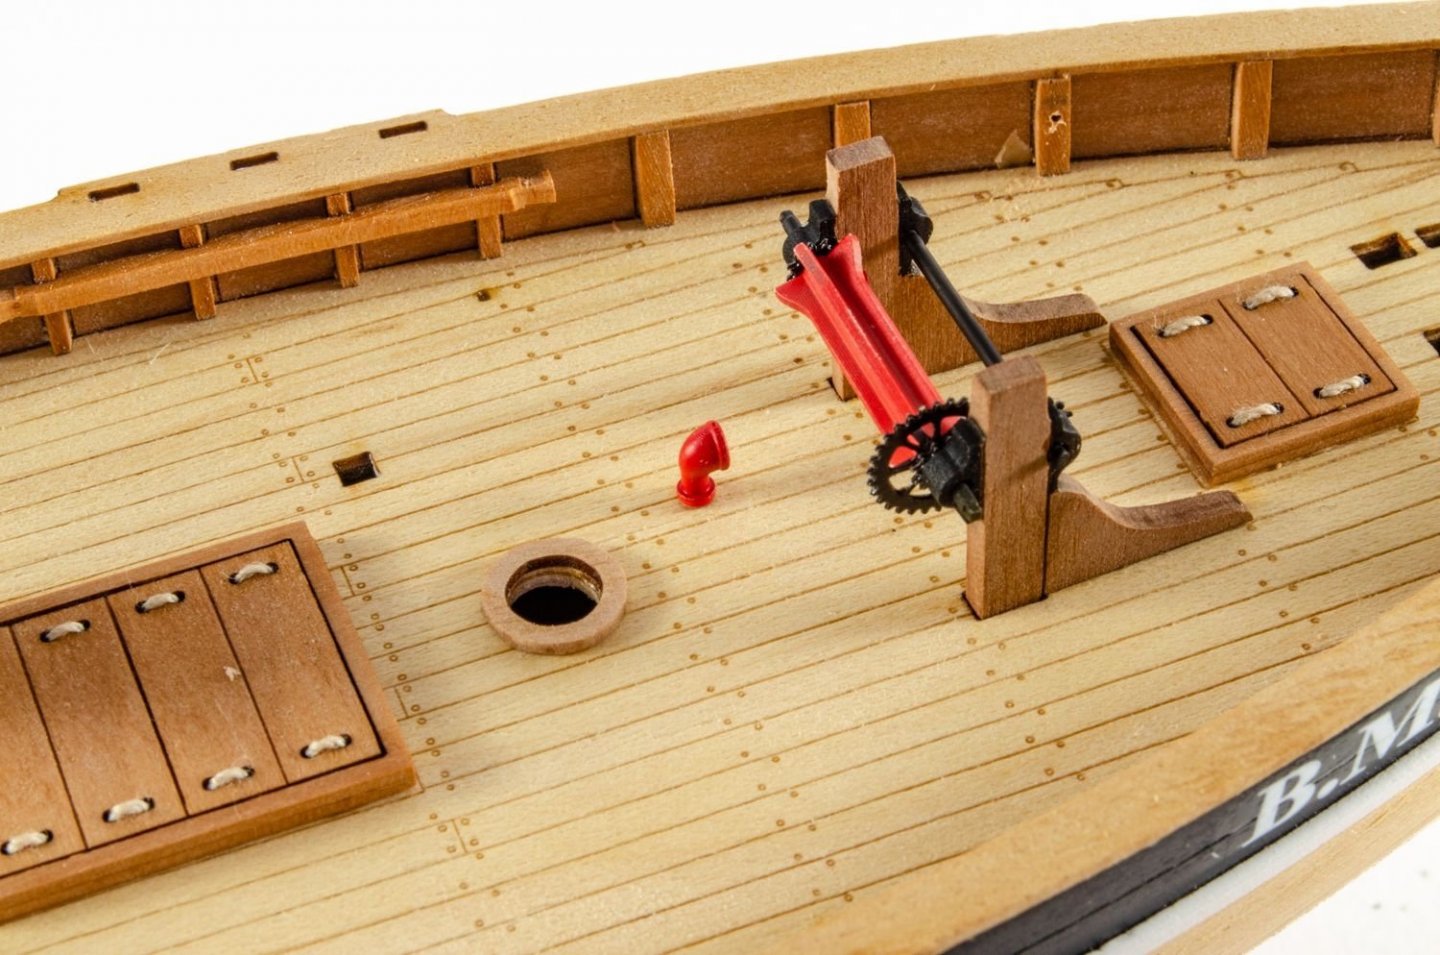
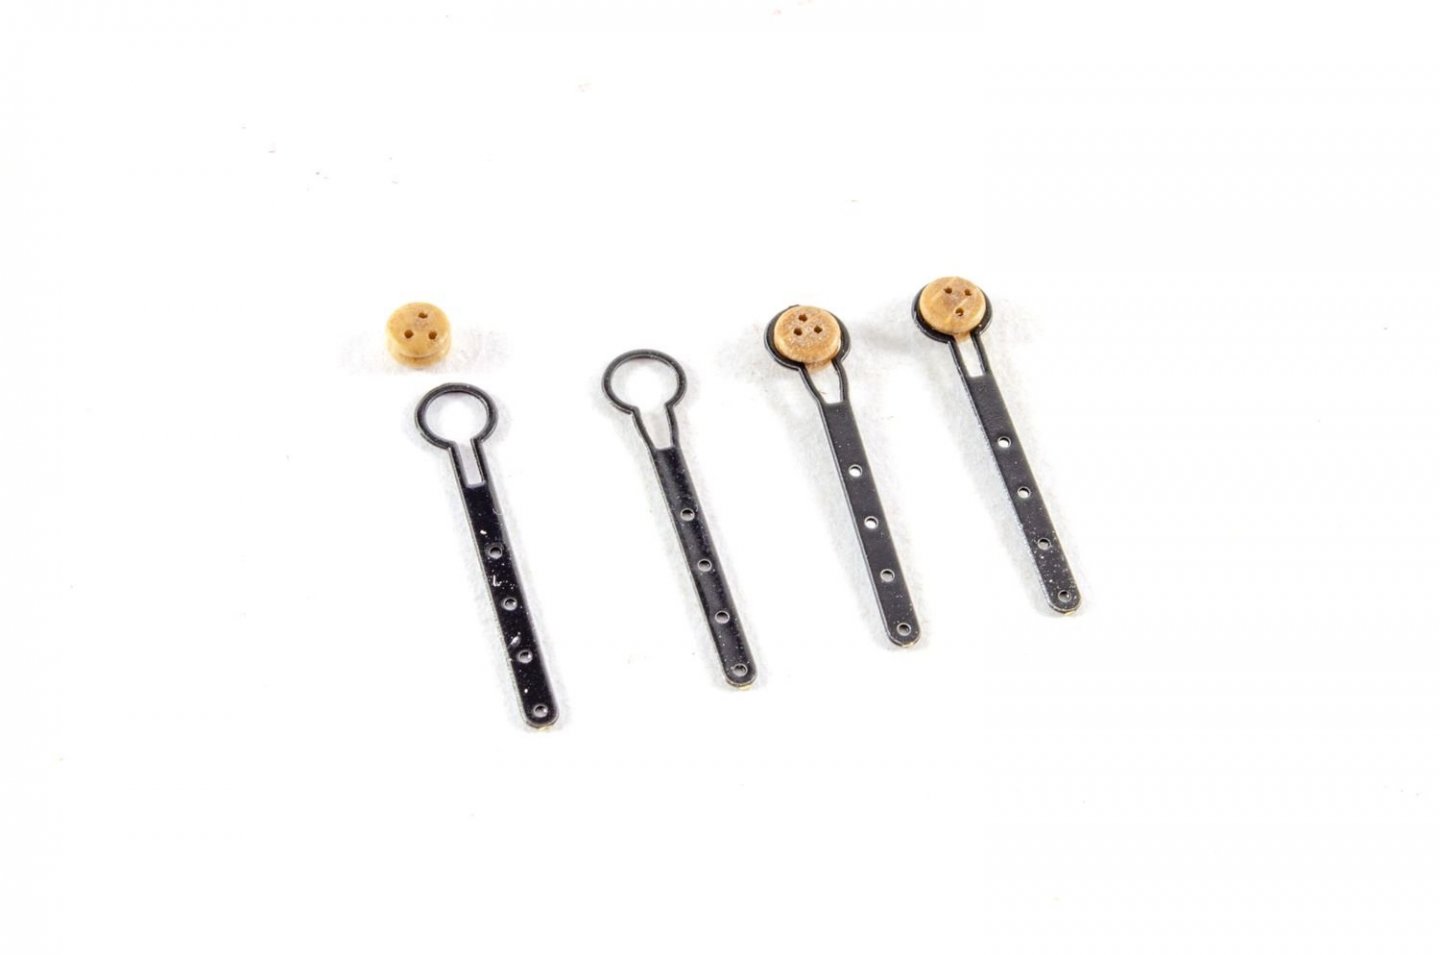
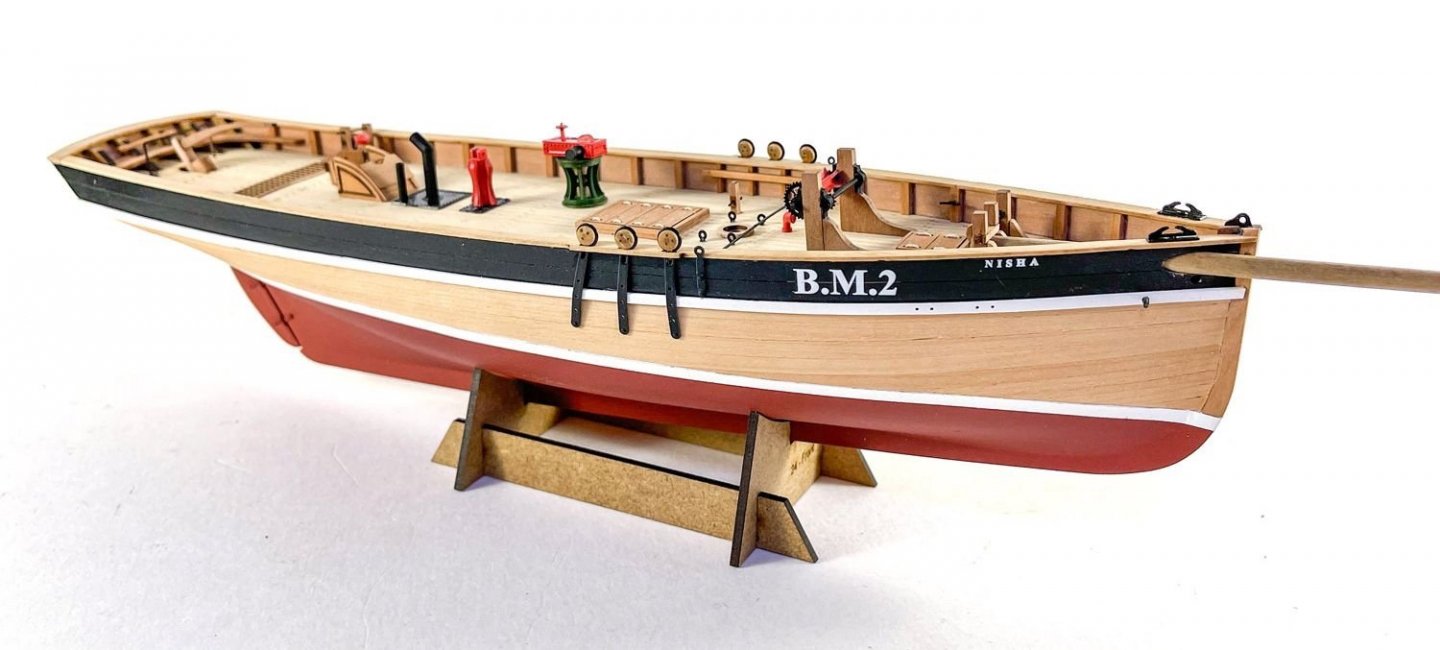
Nisha has a number of brass and 3D printed parts. These are first primed and then airbrushed in red. I use this specific colour as I didn't want anything too bright. RLM23 is a WW2 German Luftwaffe colour. The wonderfully named 'dandy wink' is now built and fitted. More deck hardware... A steam winch also finds a home on Nisha. All parts are primed with Tamiya Fine Surface primer before airbrushing. A little bit of metalwork is required for the chimneys. Yes, this one has some shrouds and rats! Very simple stuff though and it'll take almost no time. \ That's it until next time!
- 28 replies
-
- vanguard models
- Brixham trawler
-
(and 2 more)
Tagged with:
-
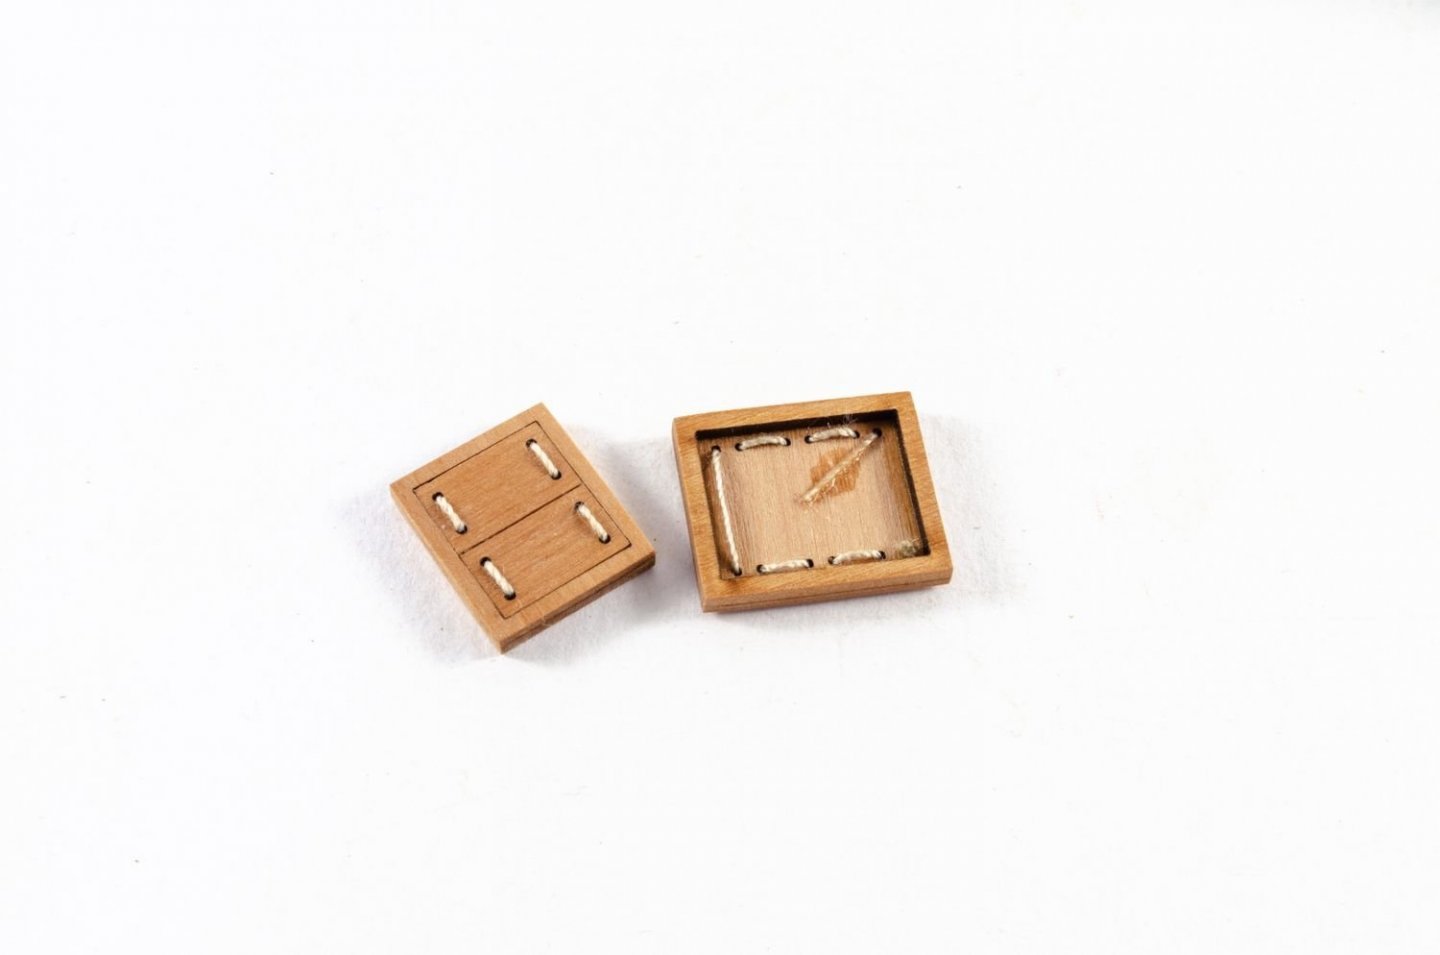
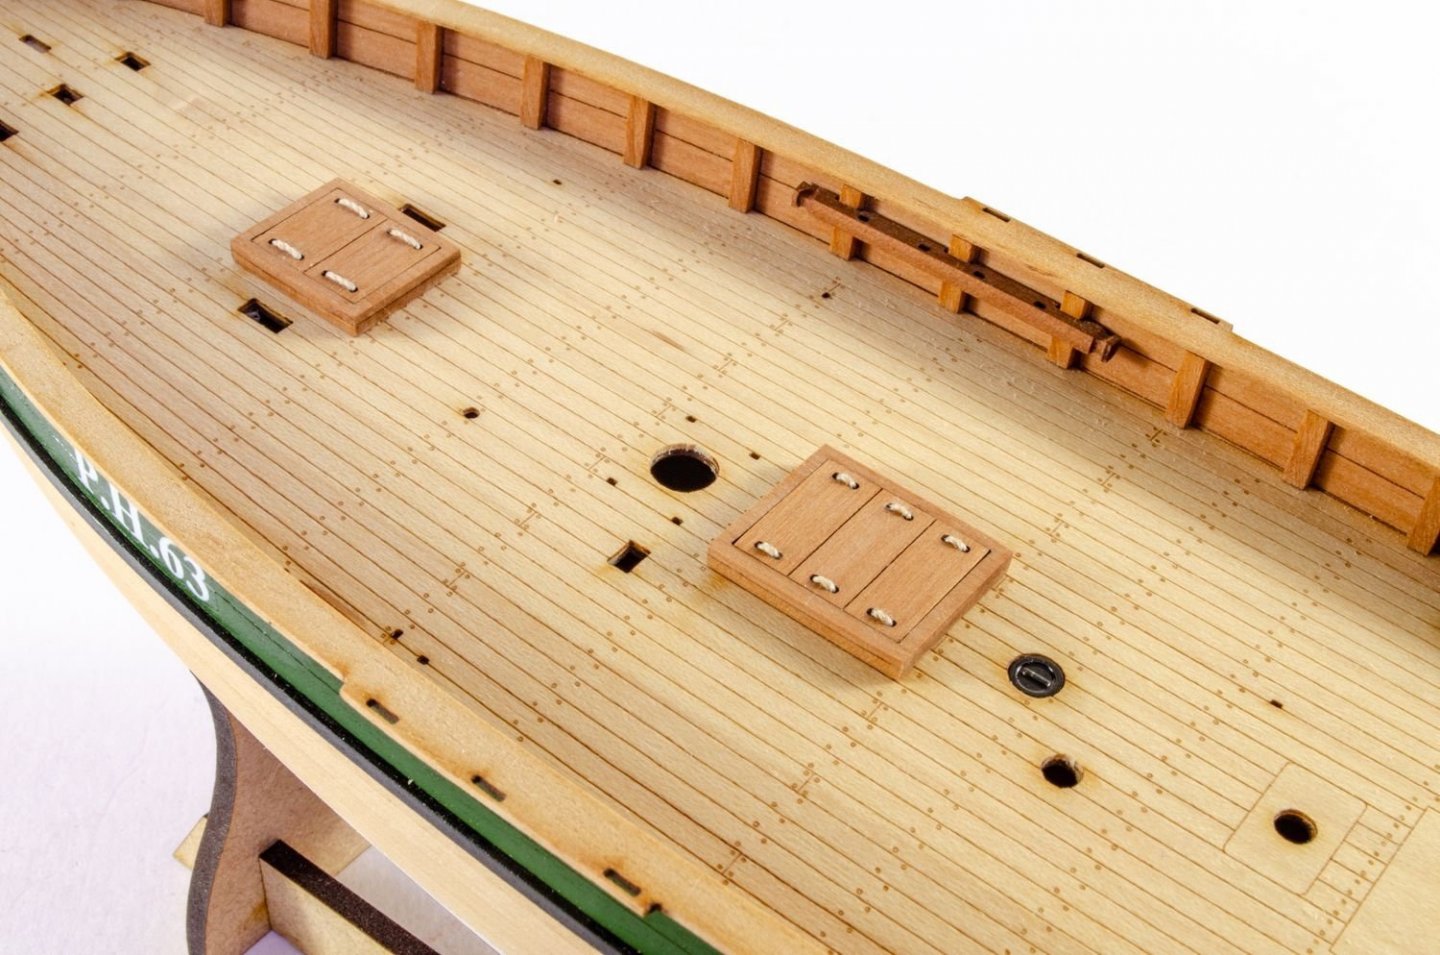
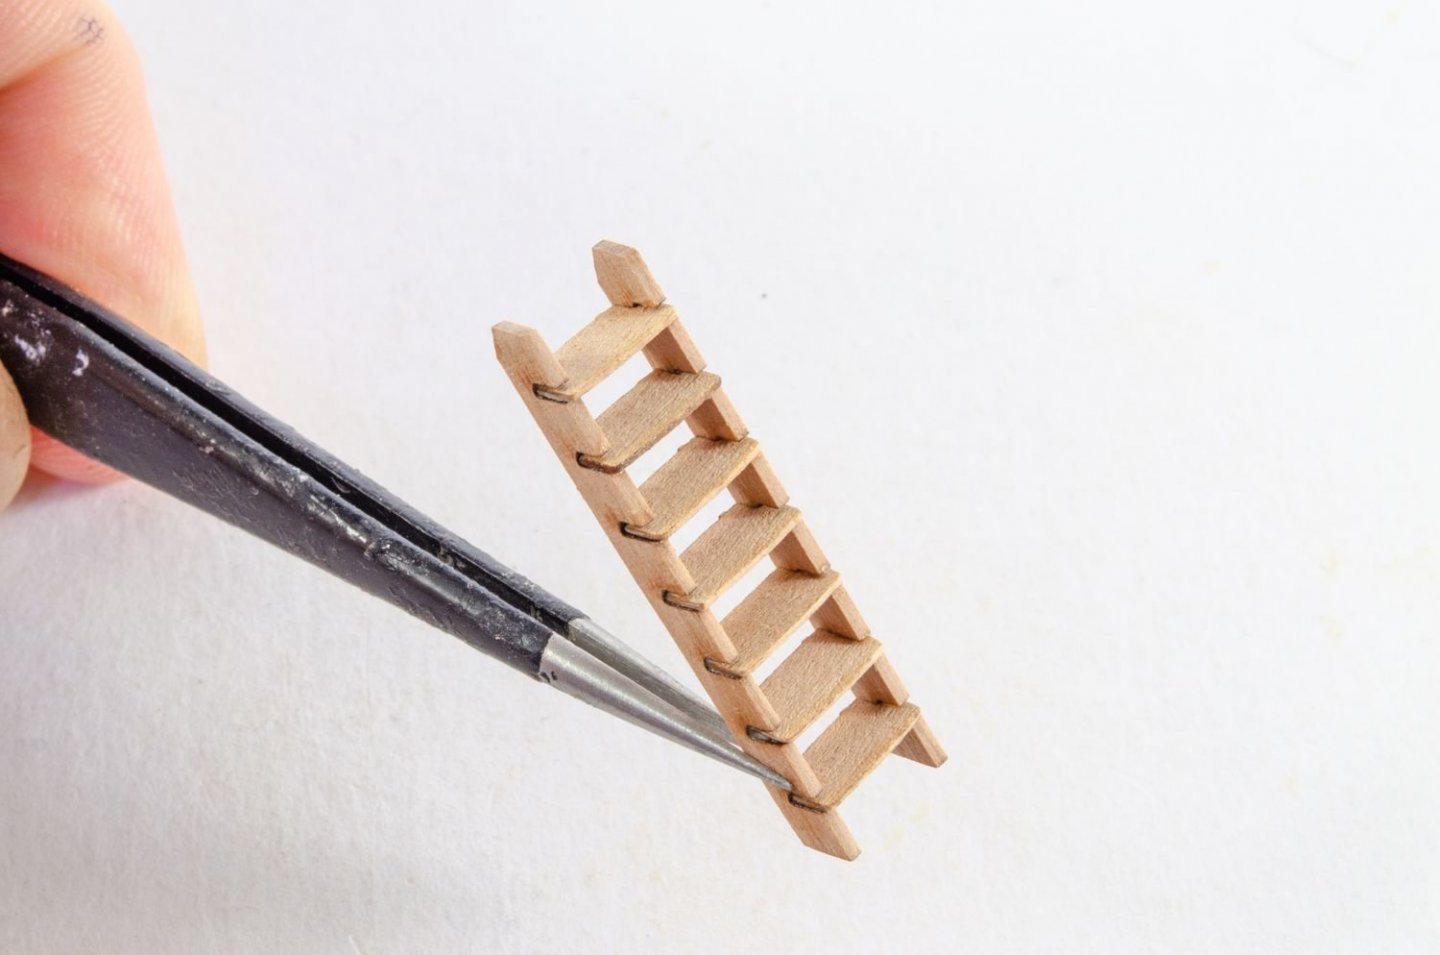
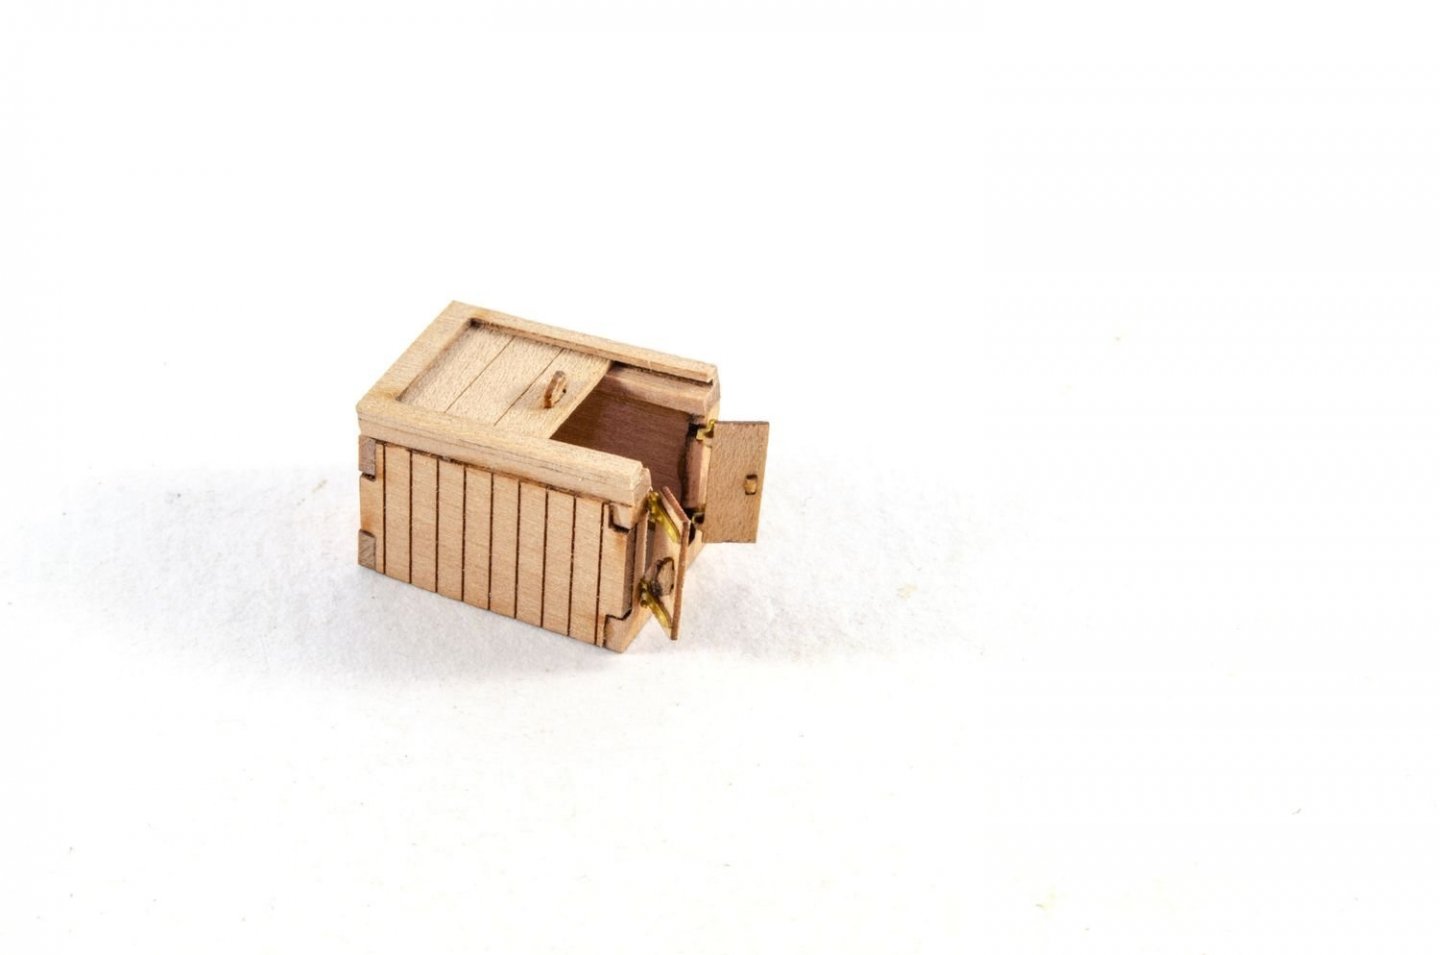
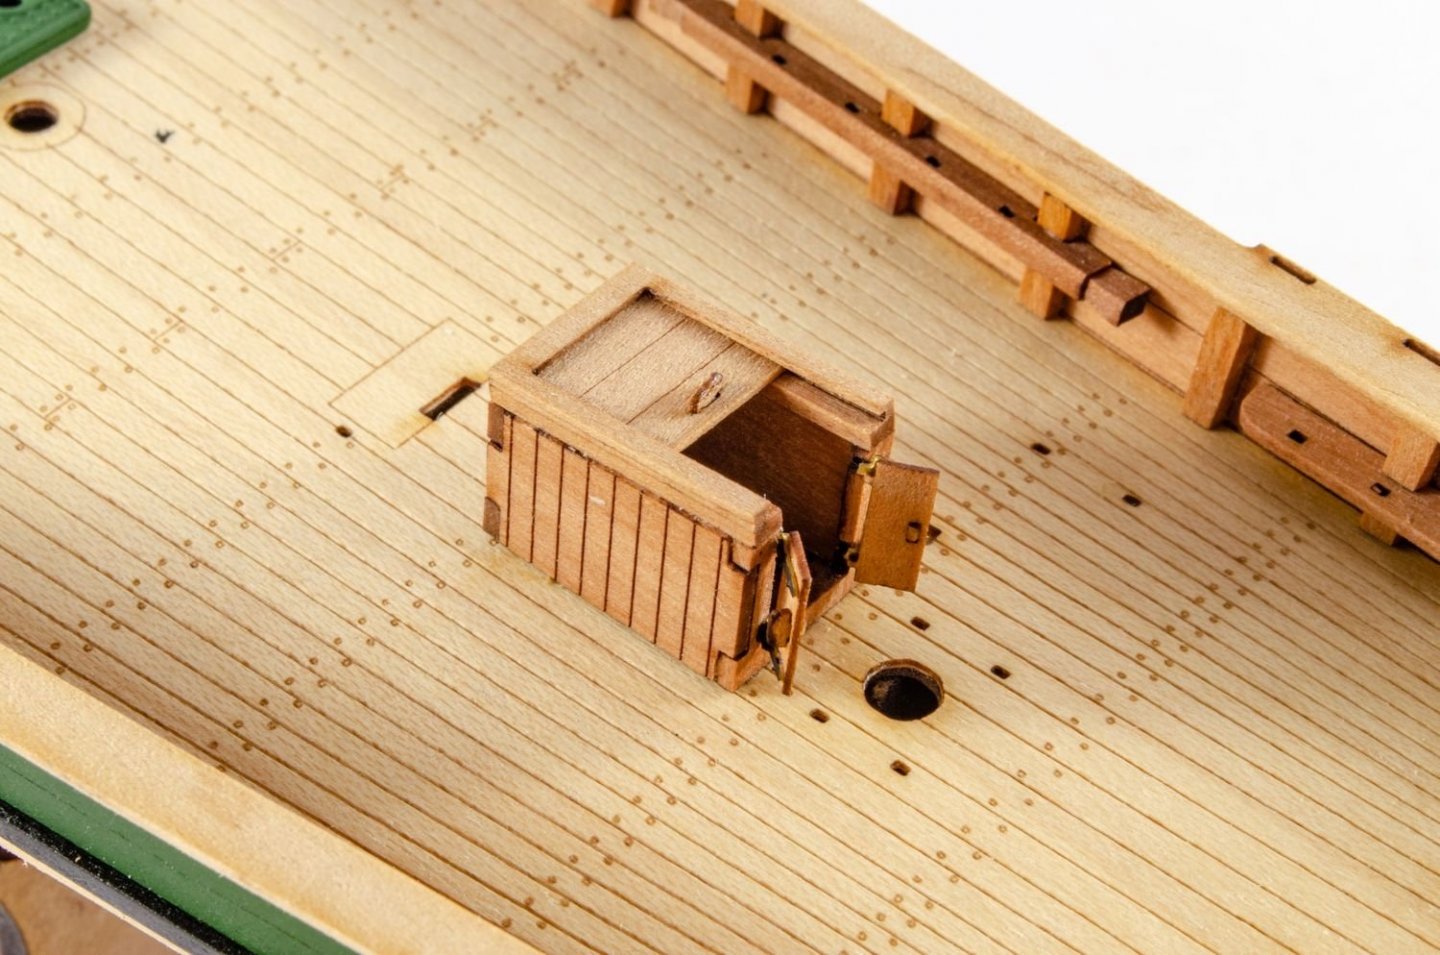
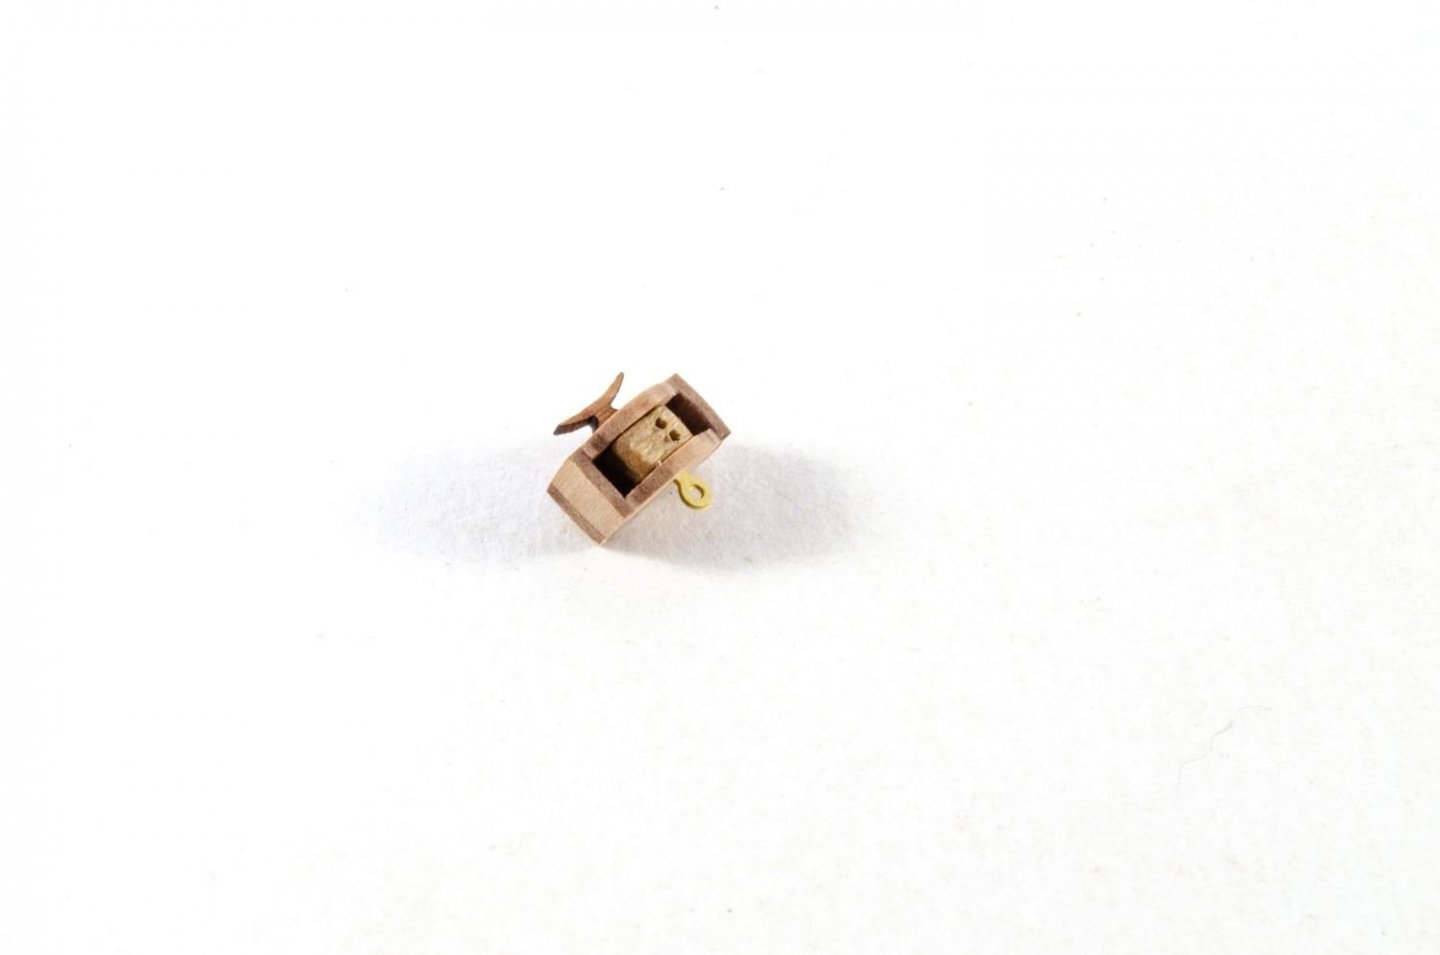
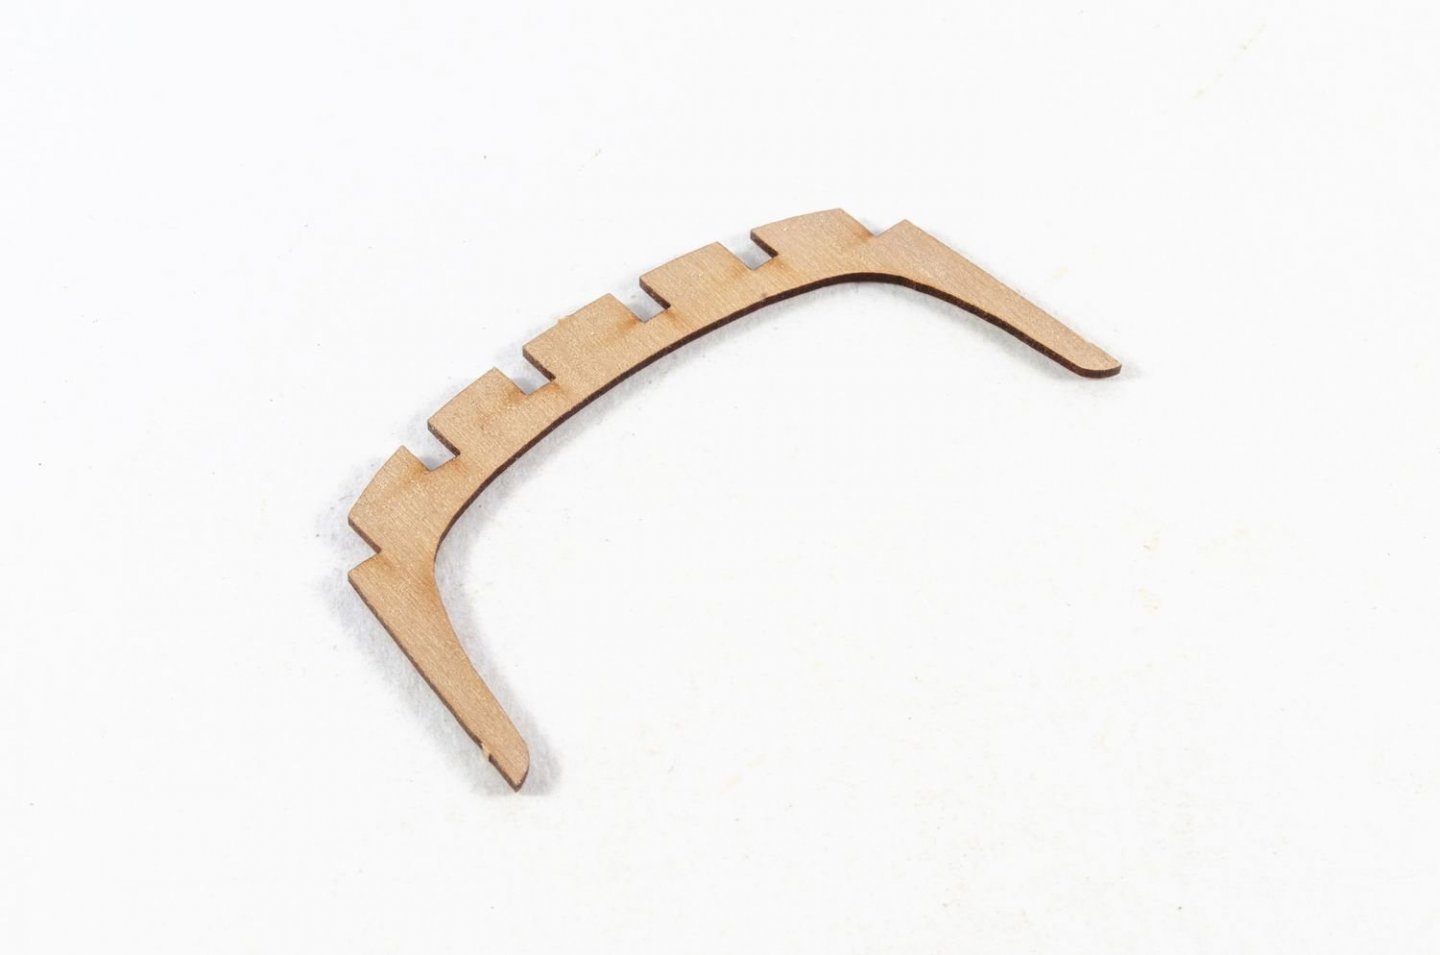
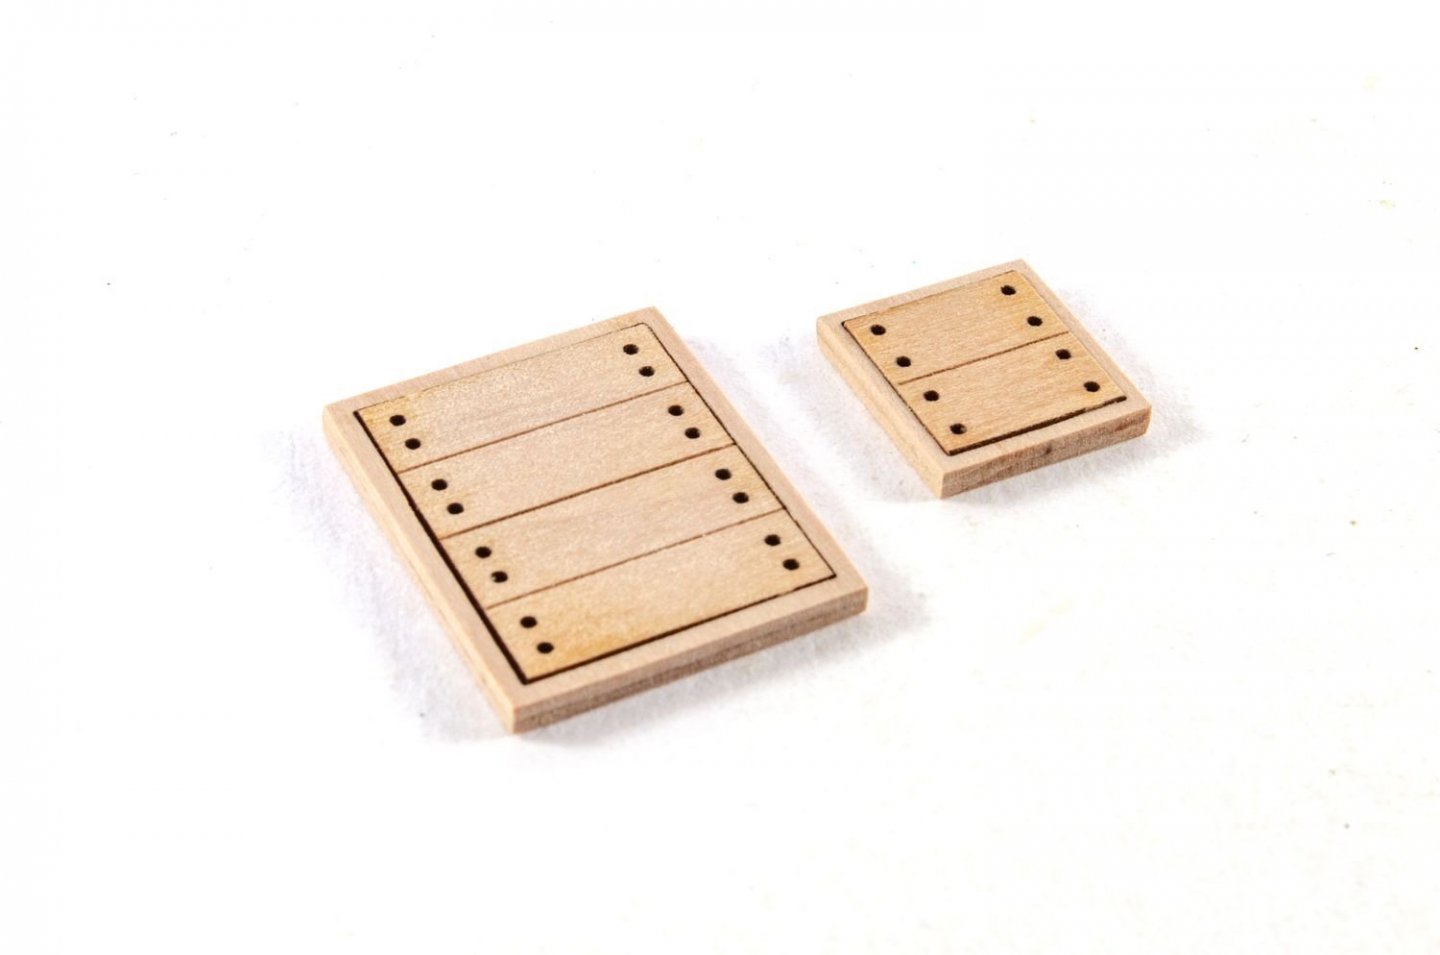
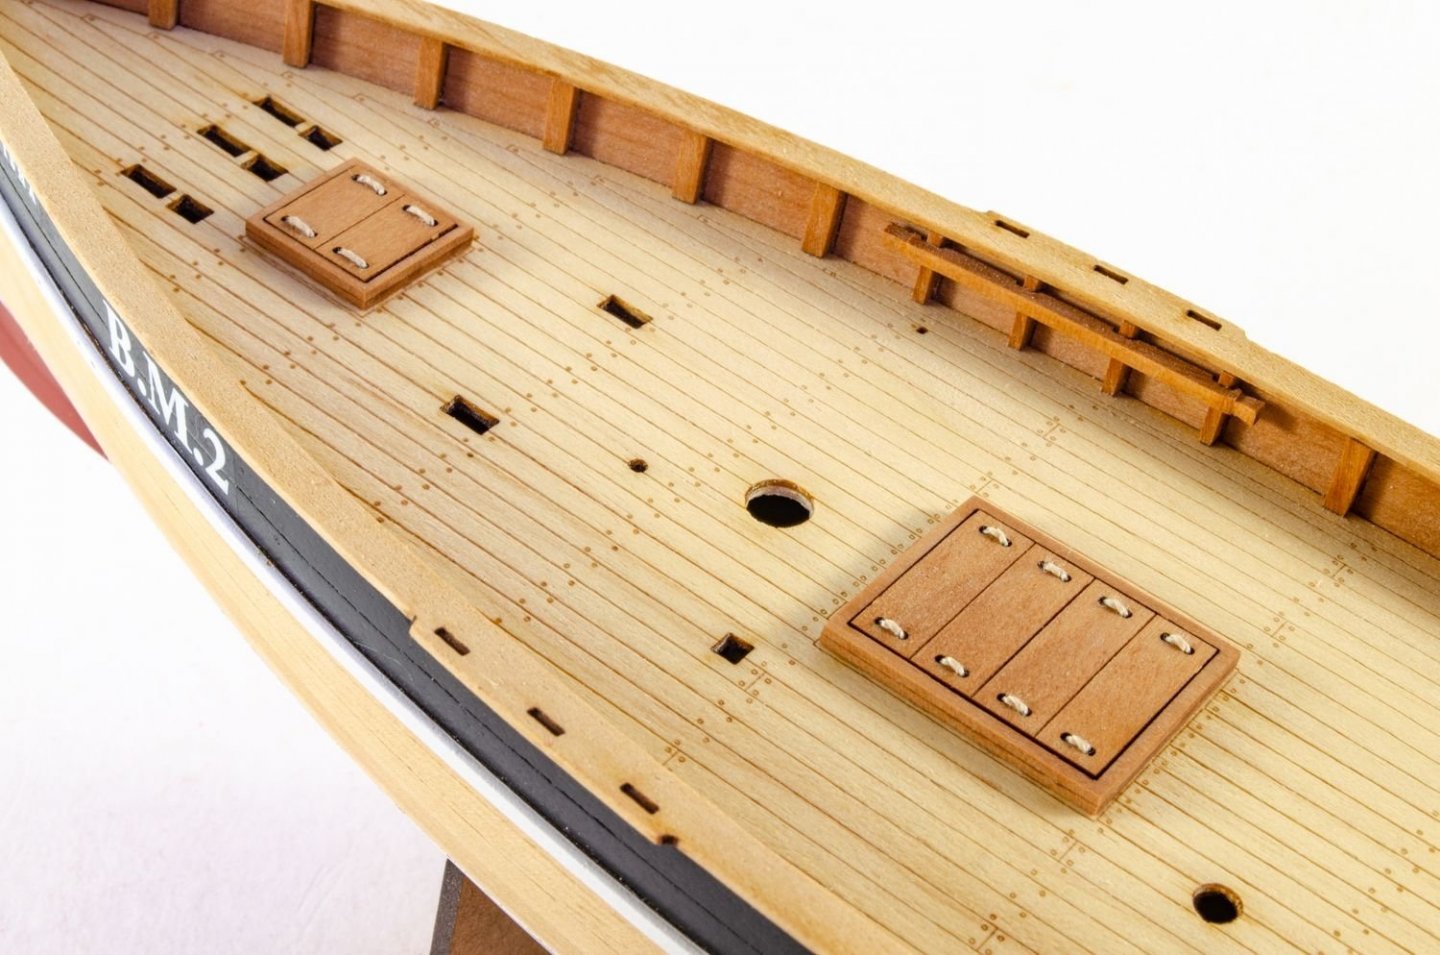
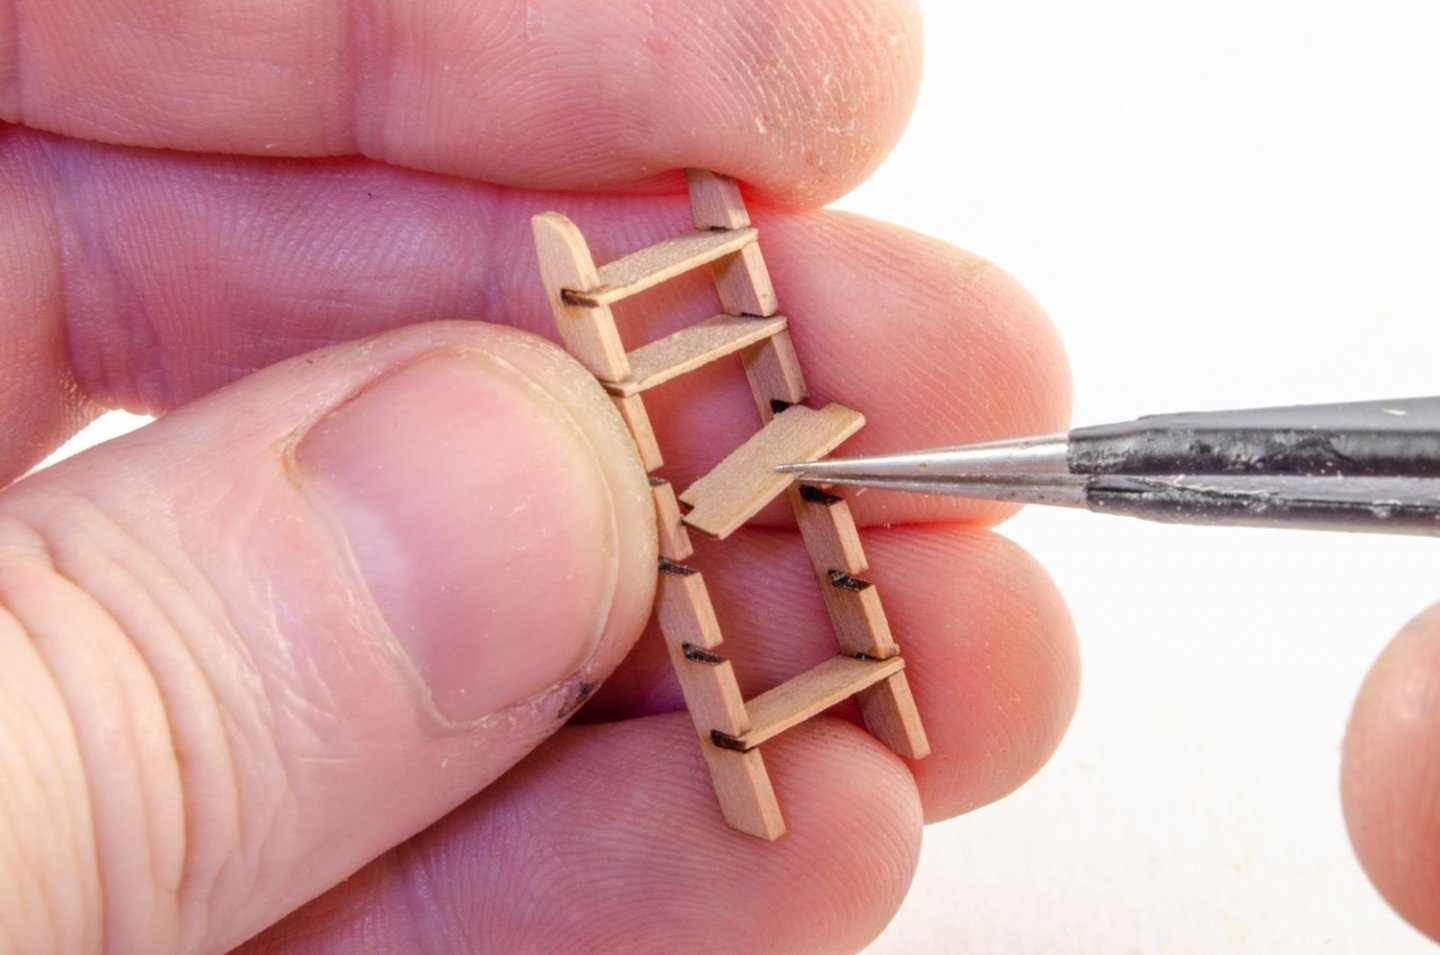
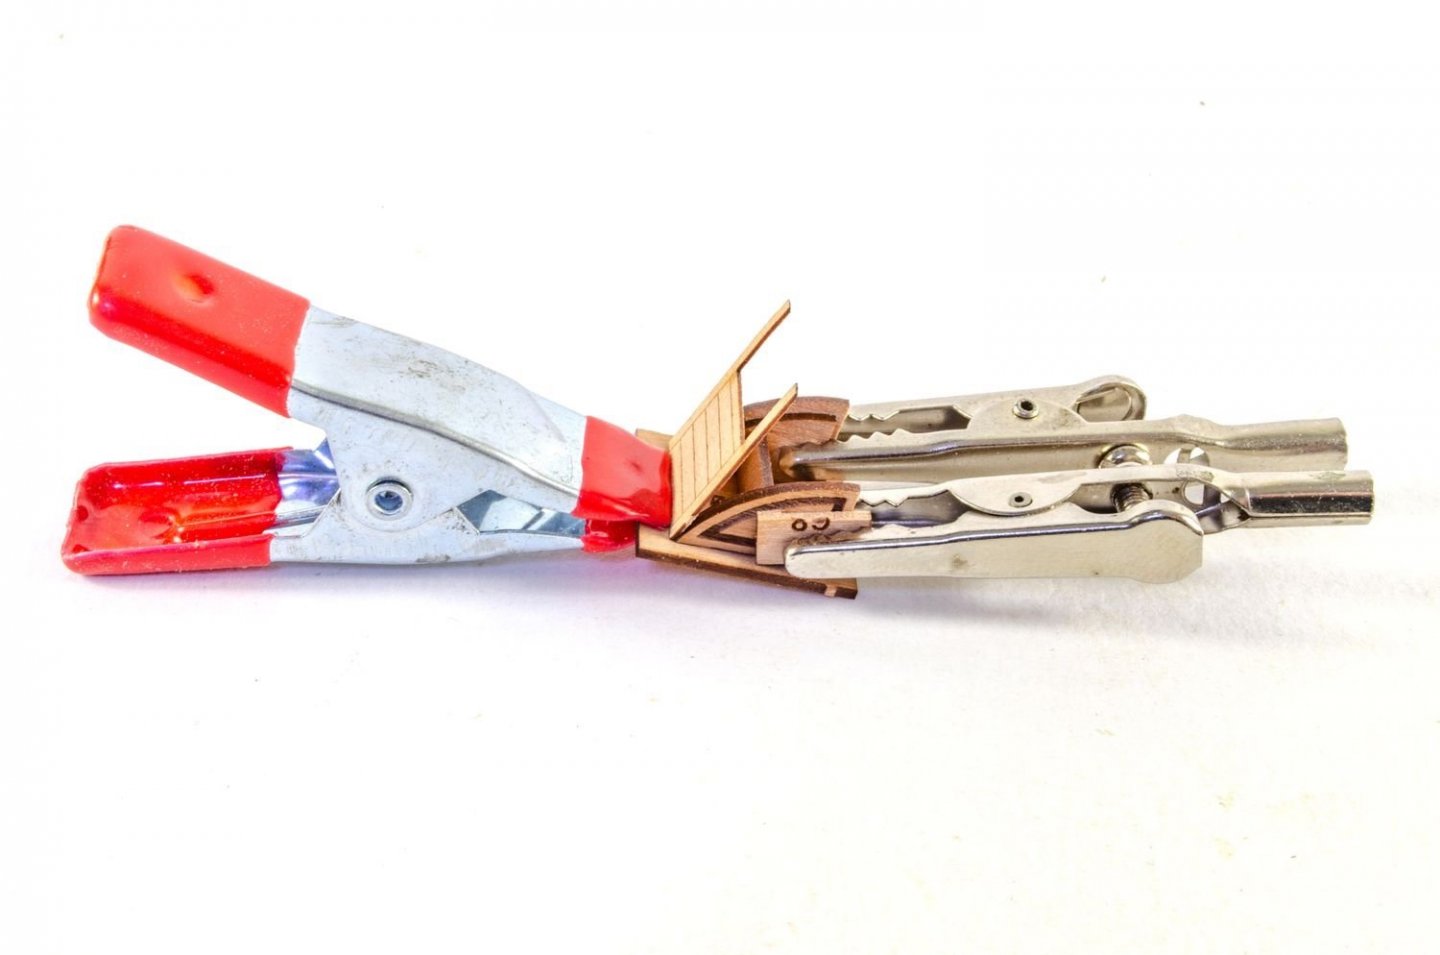
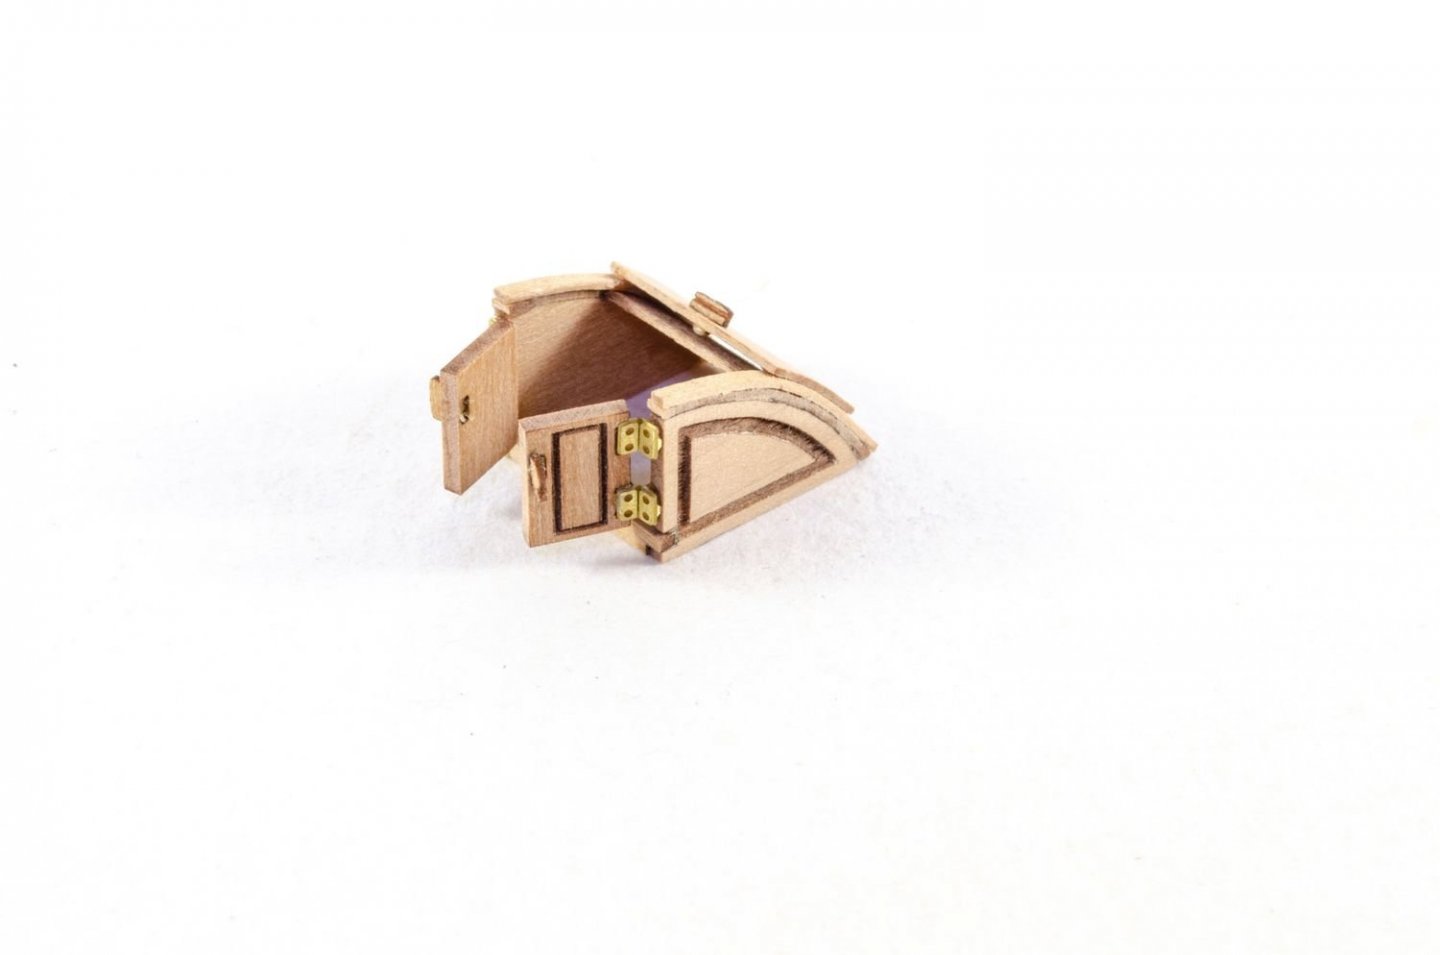
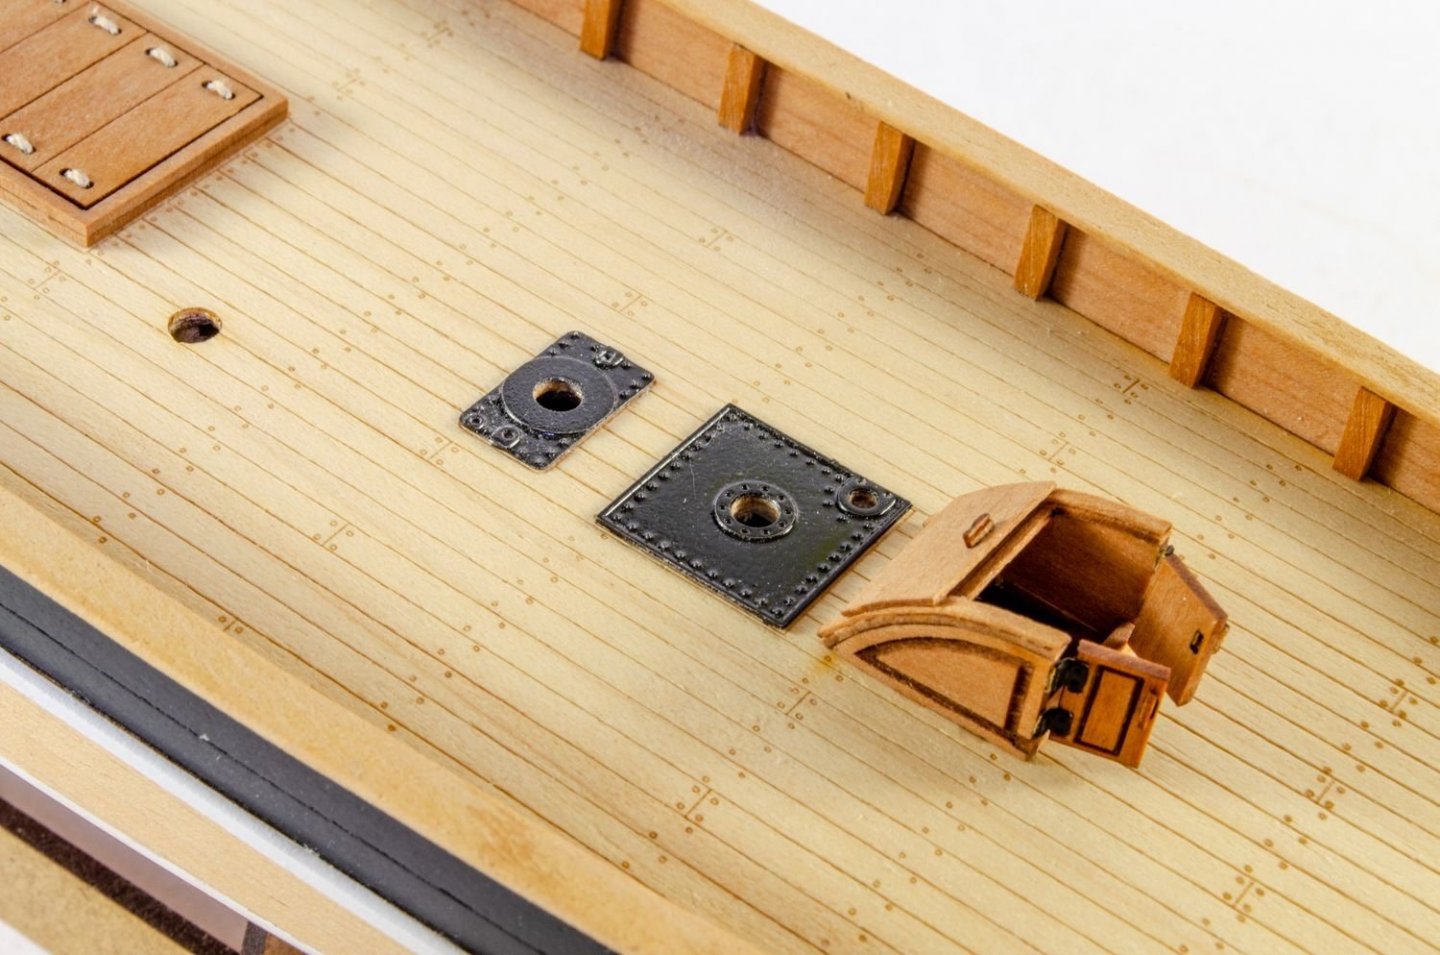
I can't recall the name part at the moment so always call it the 'bench'. This is now fitted into the stern, and it sits in the notches in stern timbers and on the lower timberheads. An engraved line shows the absolute position. I use a rigid sanding stick to draw across the bulwarks to make sure they are level to each other. A good surface is needed here for the gunwales which are fitted after painting the outside bulwark in black. The lower rail, now fitted, is in white. A waterline mark is now added to coincide with the to top of the white book line. The hull is then masked from that line, upwards. Filler is applied to the exposed area and then sanded. White primer is also now sprayed and any further imperfections filled and sanded out. This is a tedious task that will take a good day or so to get right, but it's important it's done if you want the lower hull to look neat. After painting a finish coat of white, a 3mm flexible tape line is run around the edge of the current masking, and then the hull is sprayed red. When dry, all tape is removed. Fishers need hatches. These are made and then fitted. Same with ladders. A jig is provided to build the curved-roof companionway. Here you see the assembly still sat on the jig, with the curved roof part clamped at rear with glue, before curving over the sides.
- 28 replies
-
- vanguard models
- Brixham trawler
-
(and 2 more)
Tagged with:
-
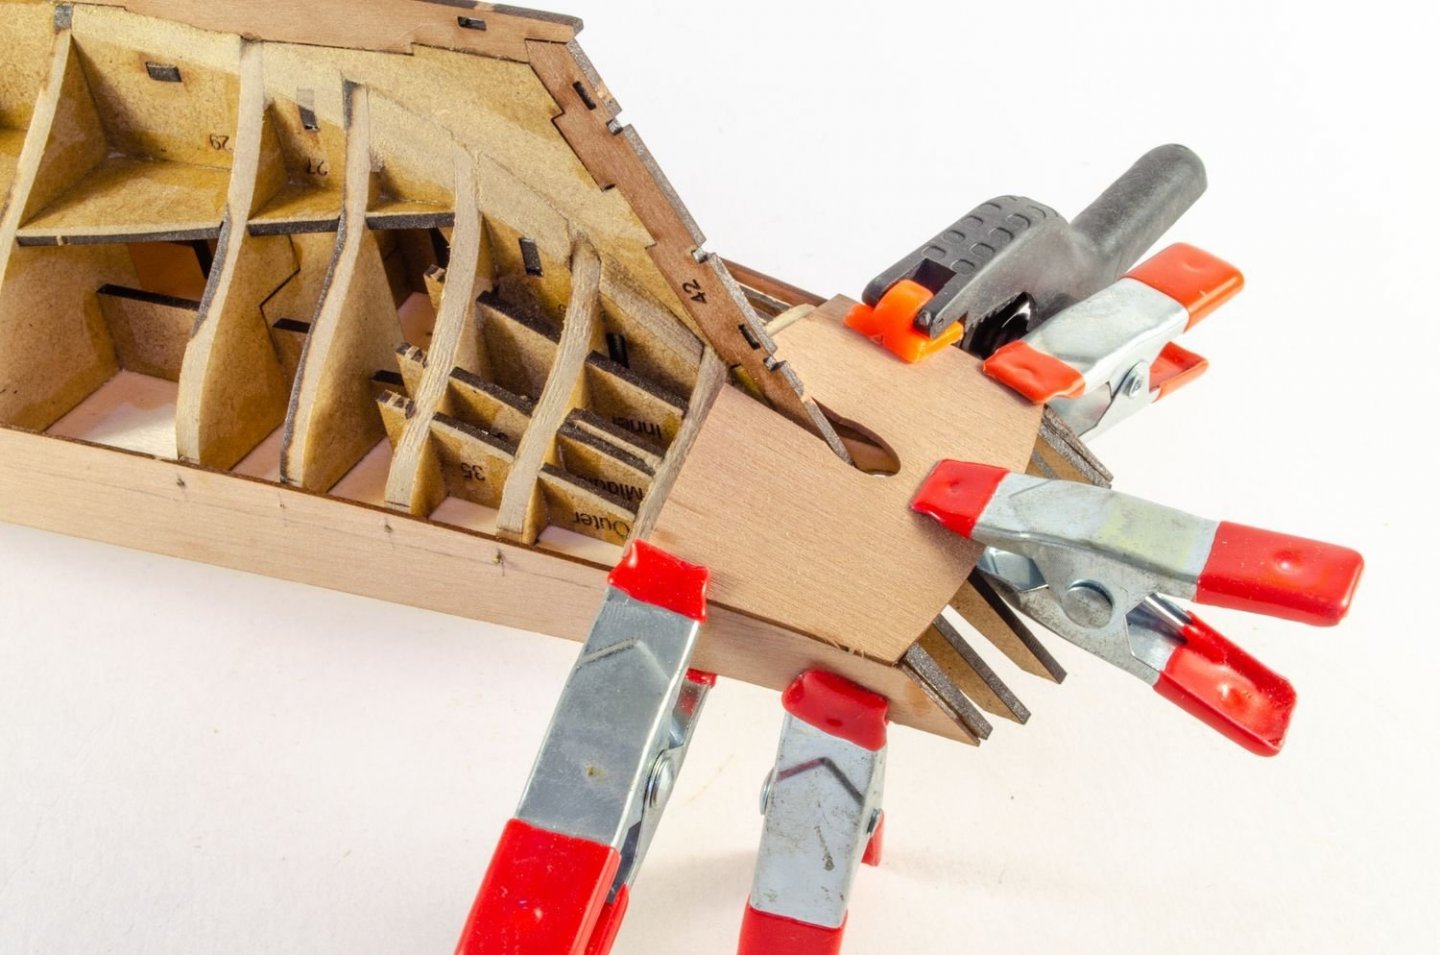
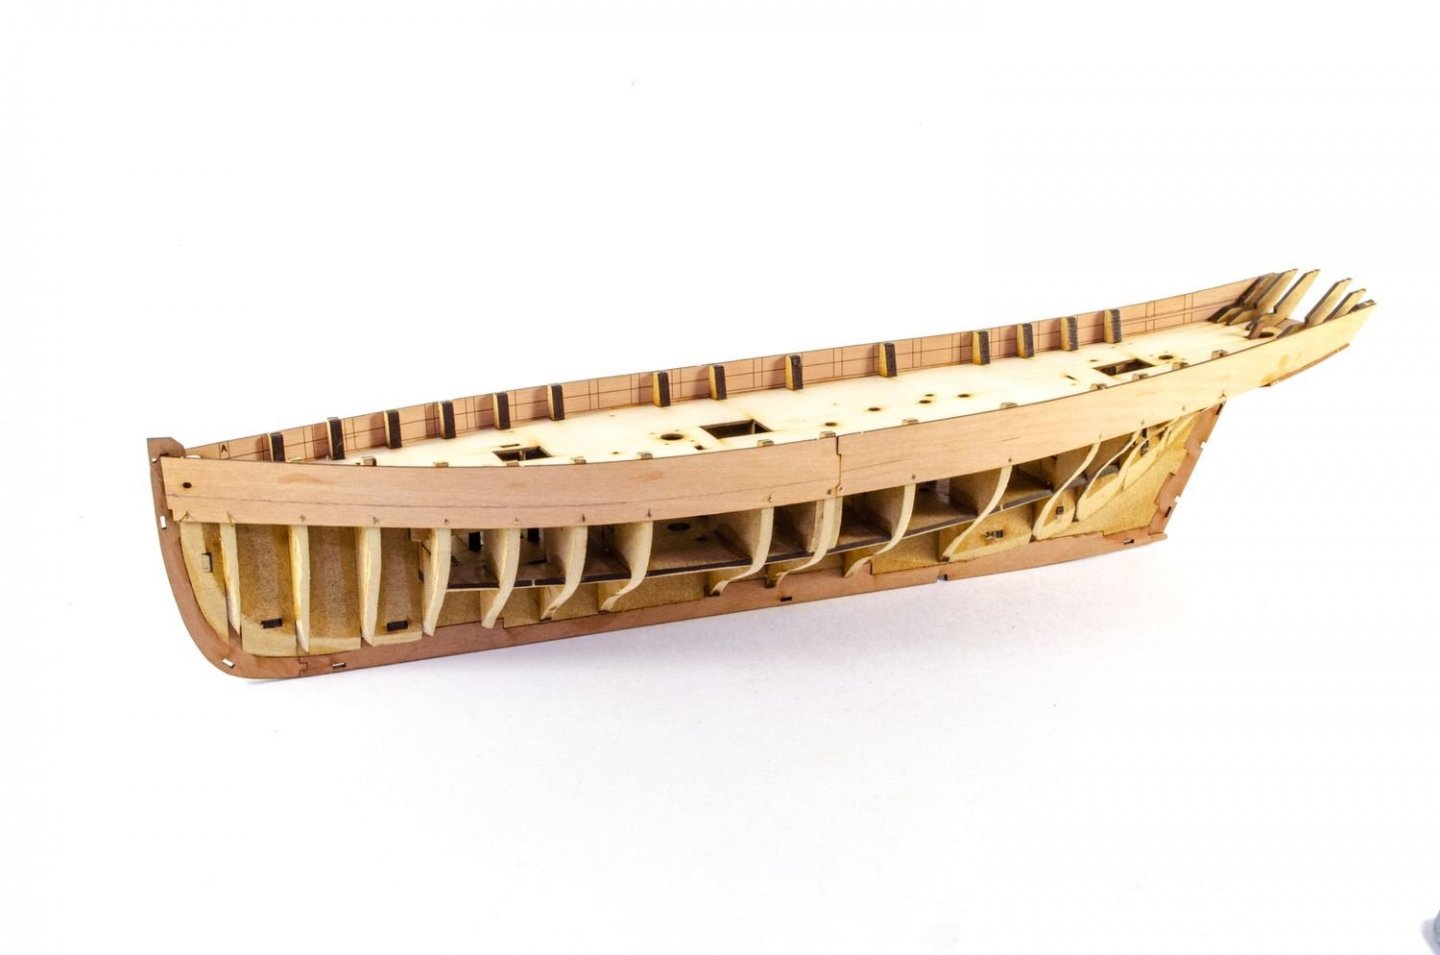
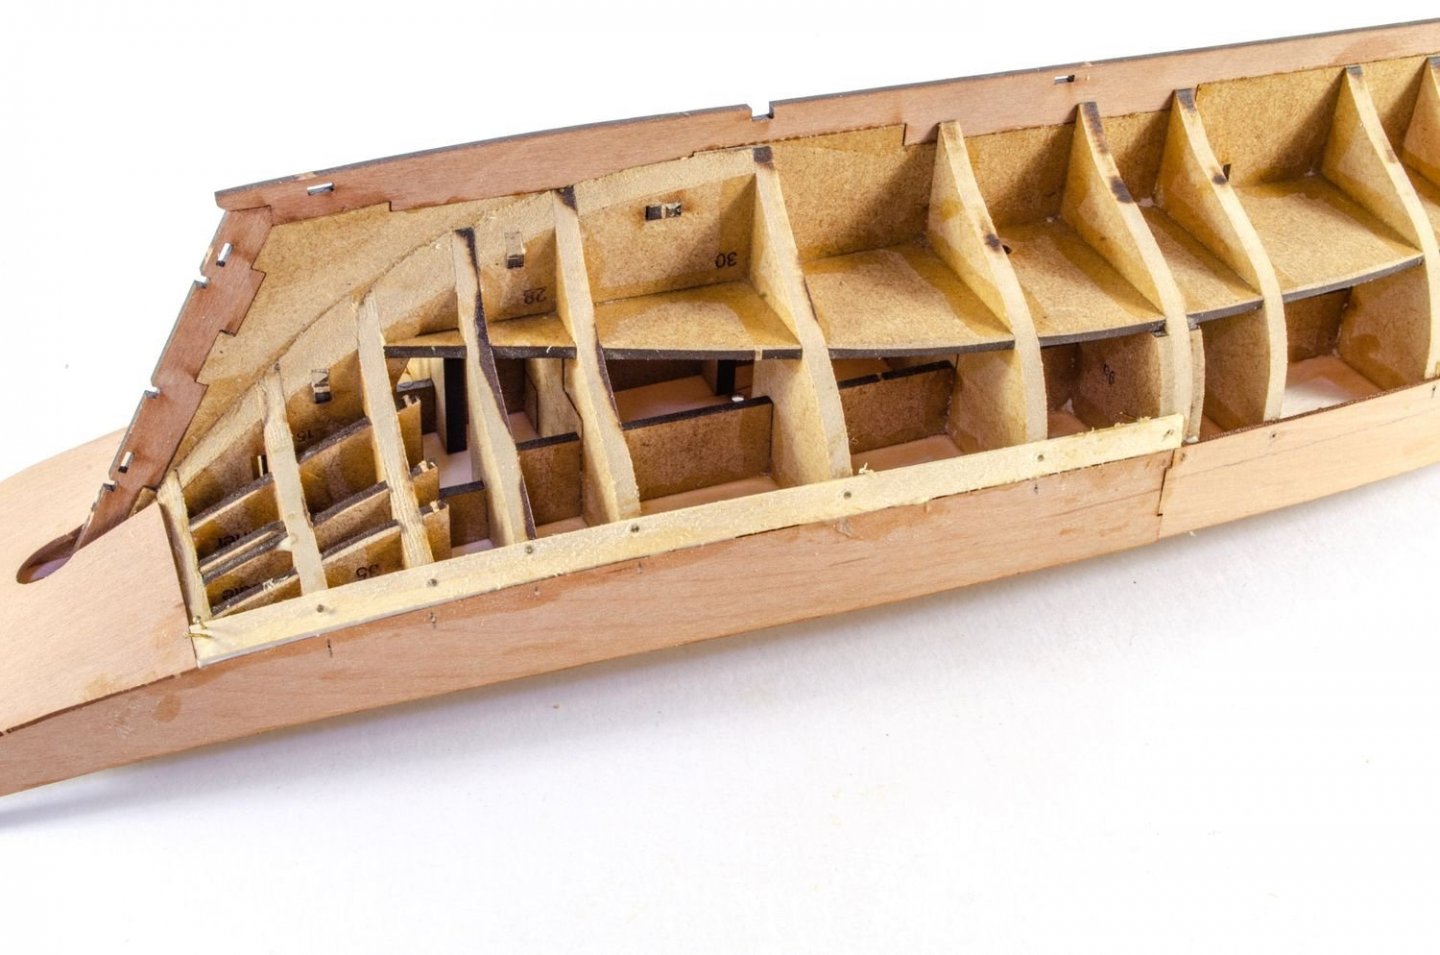
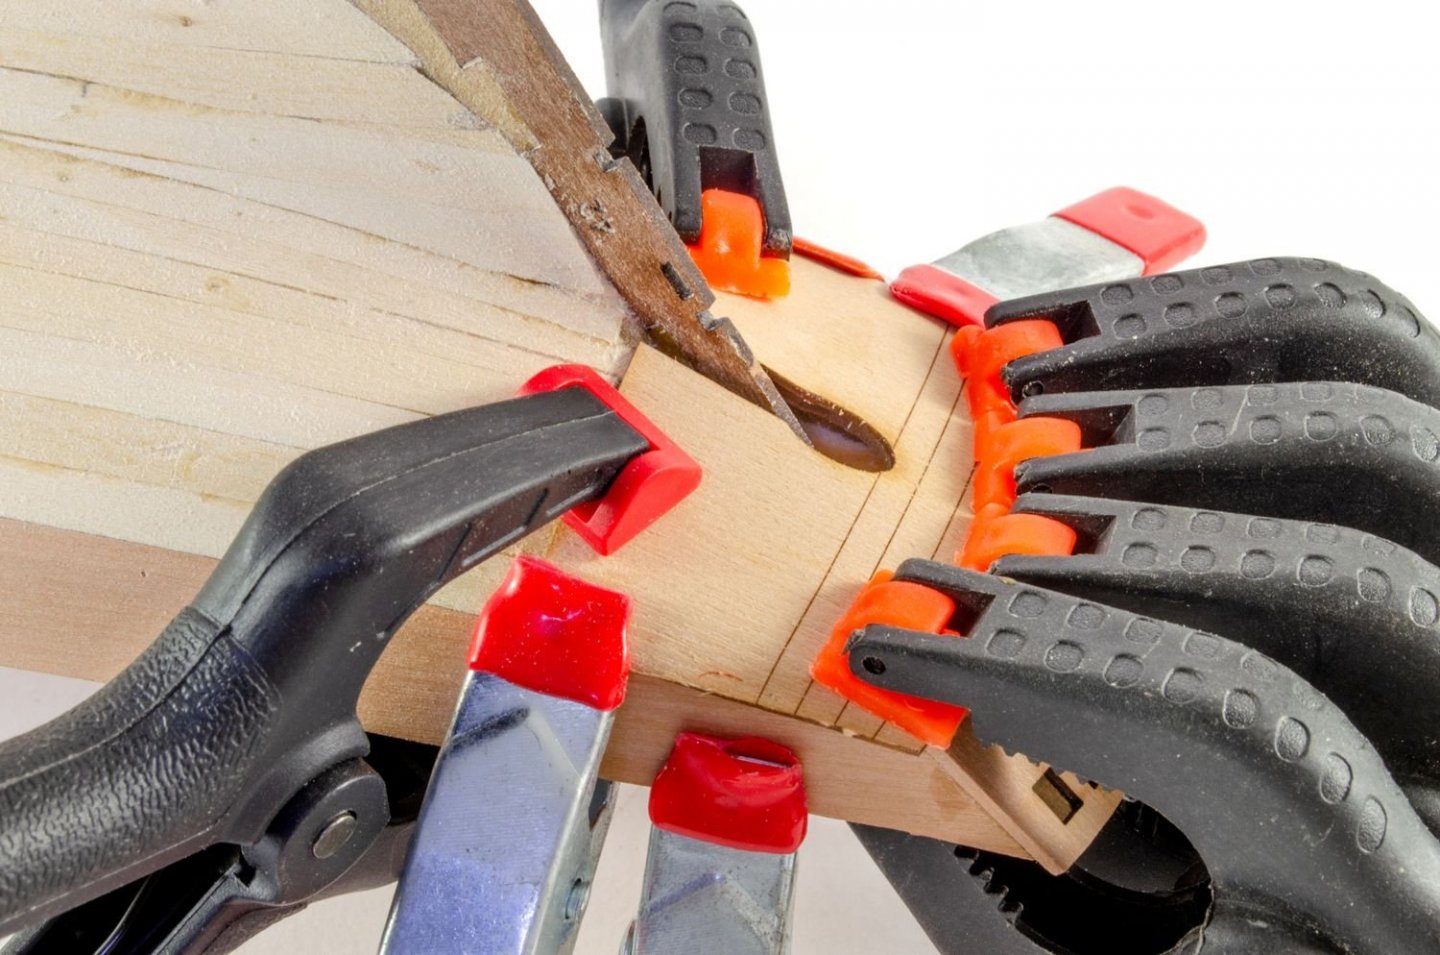
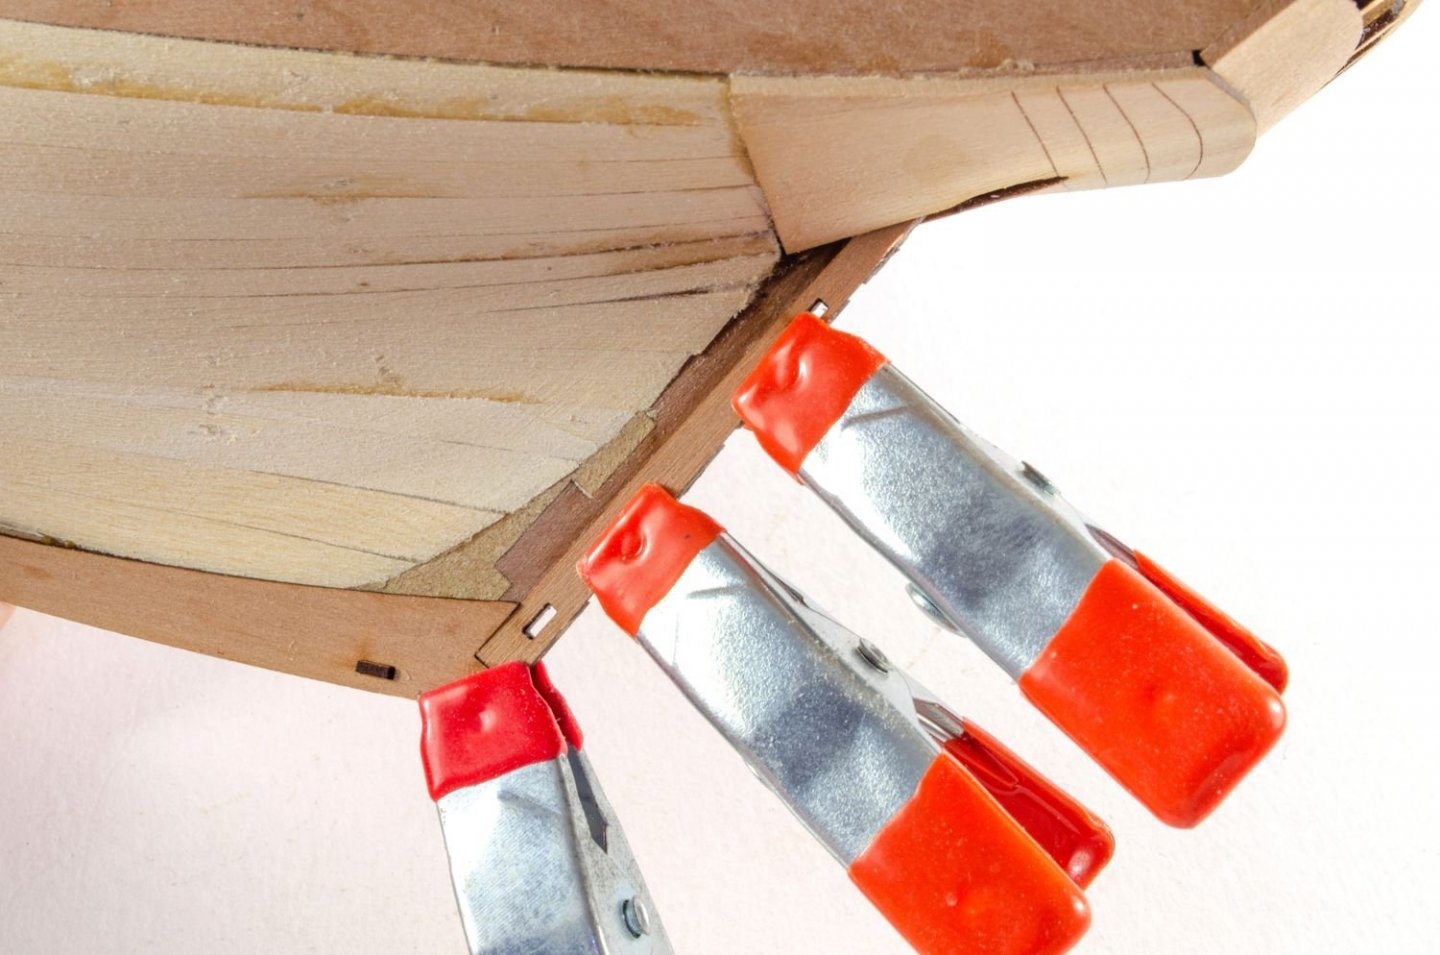
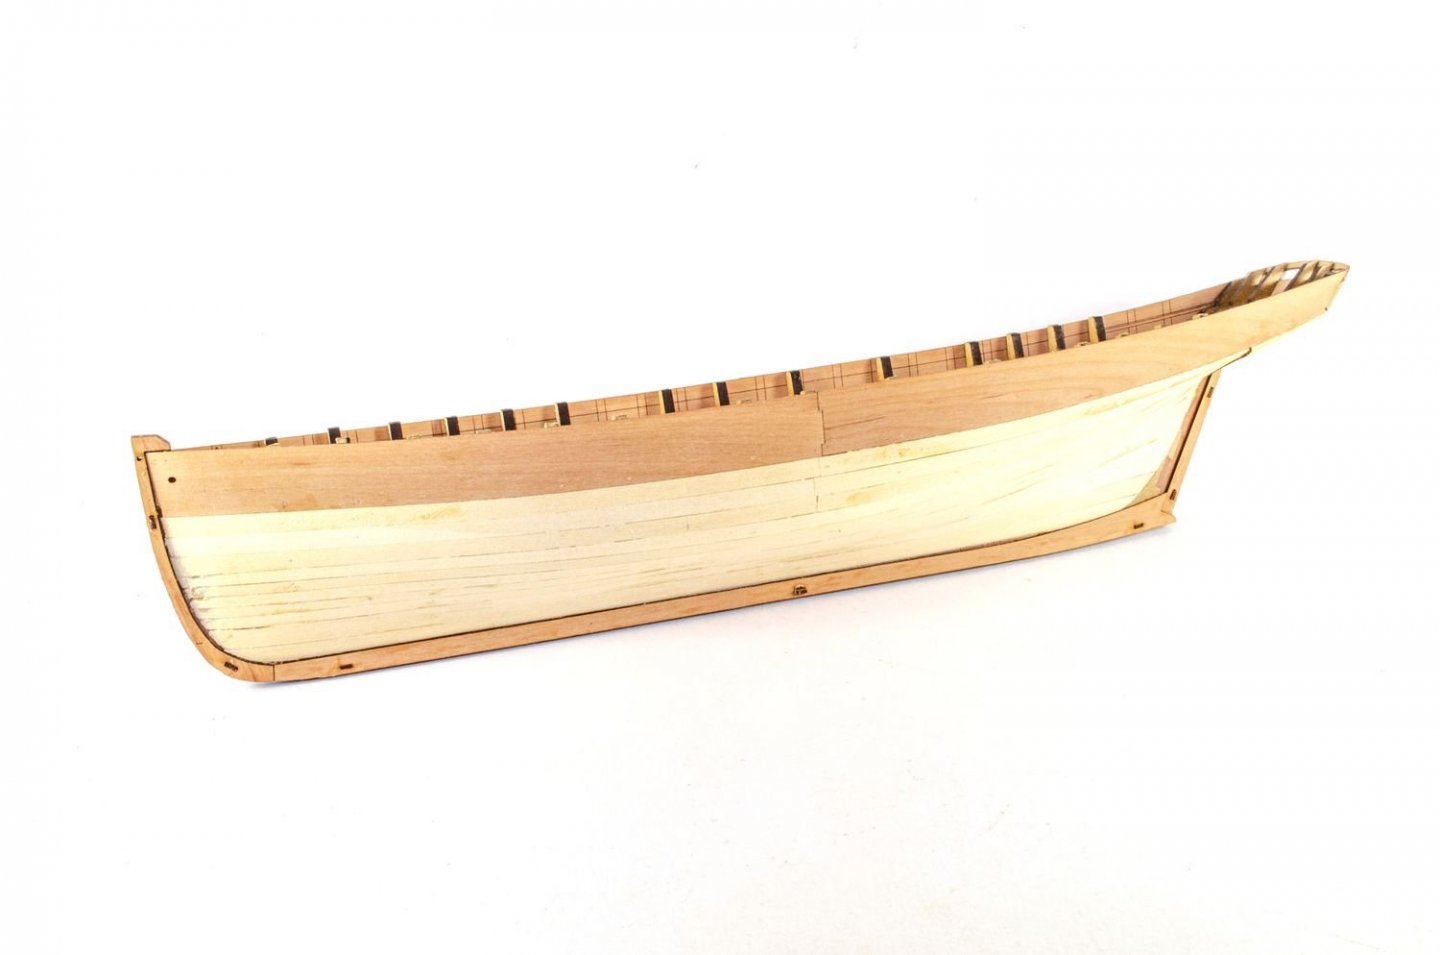
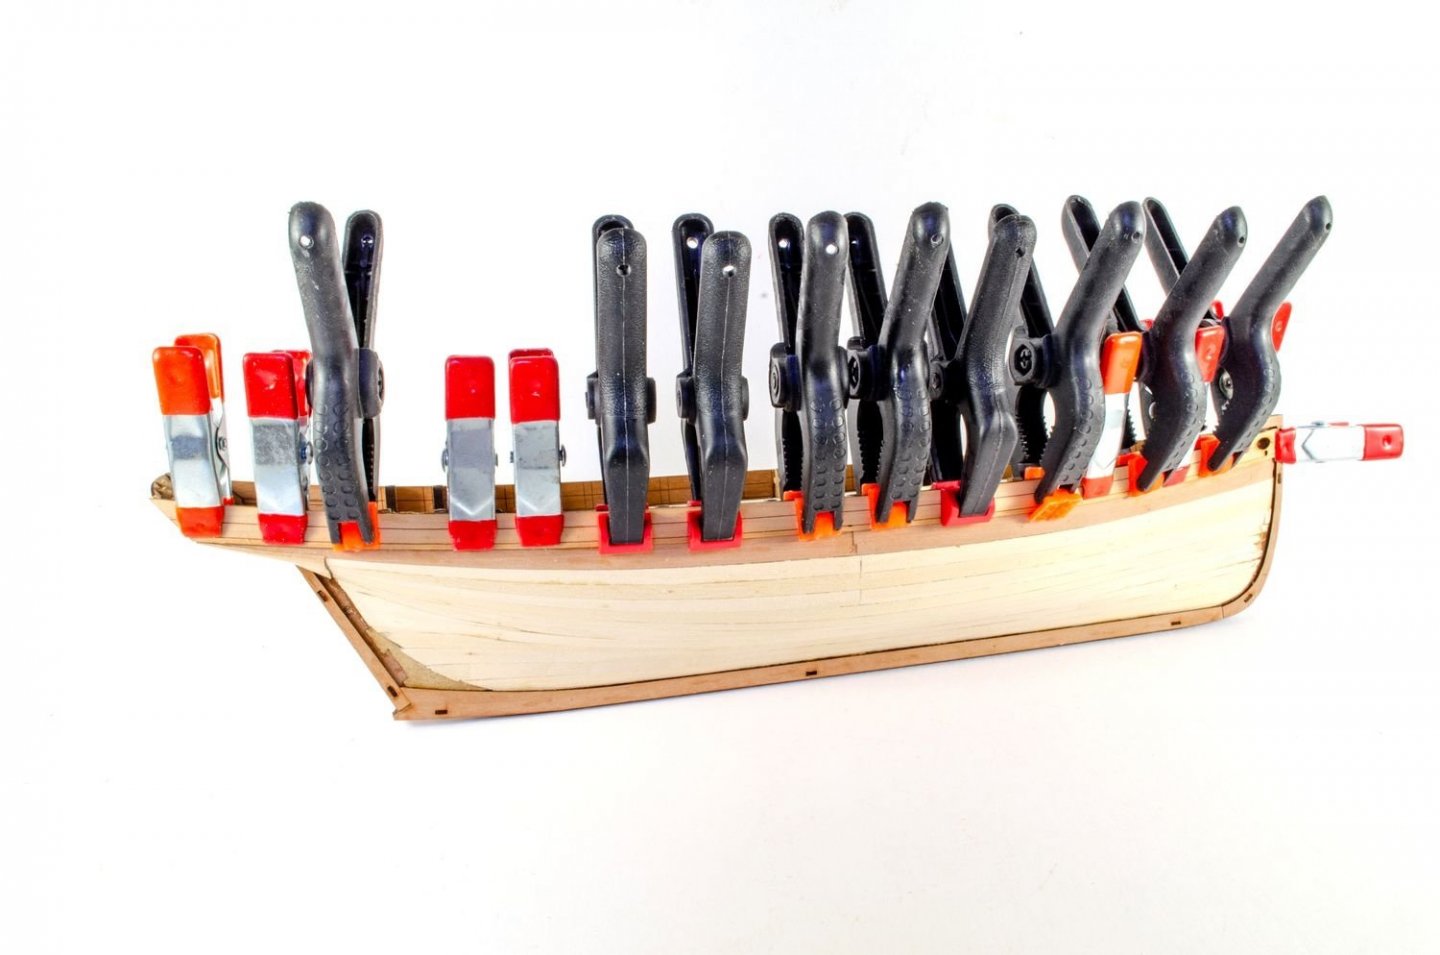
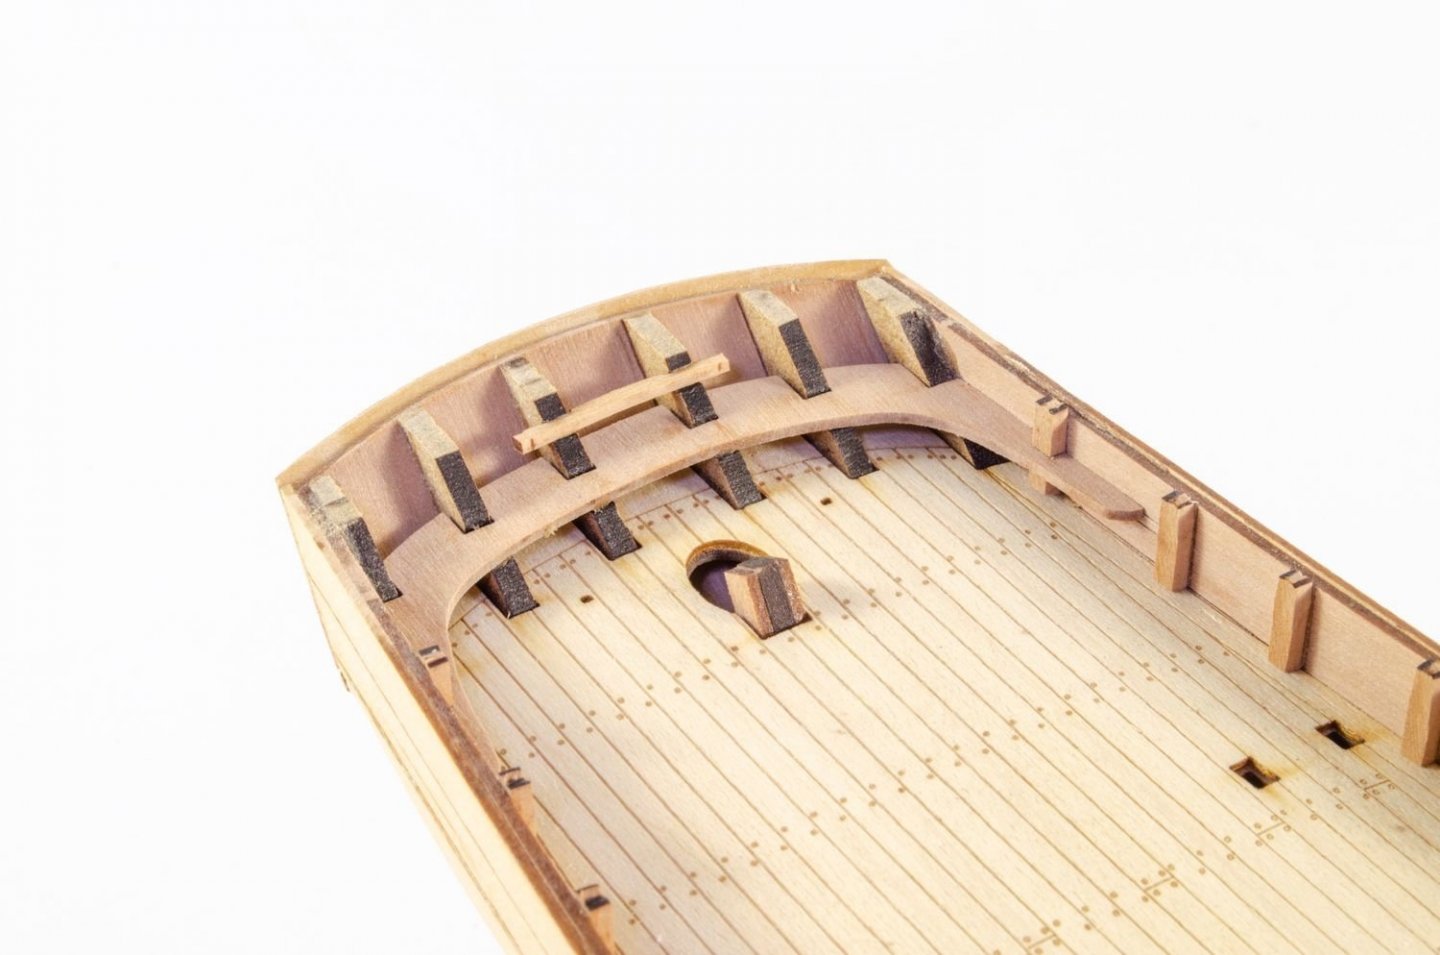
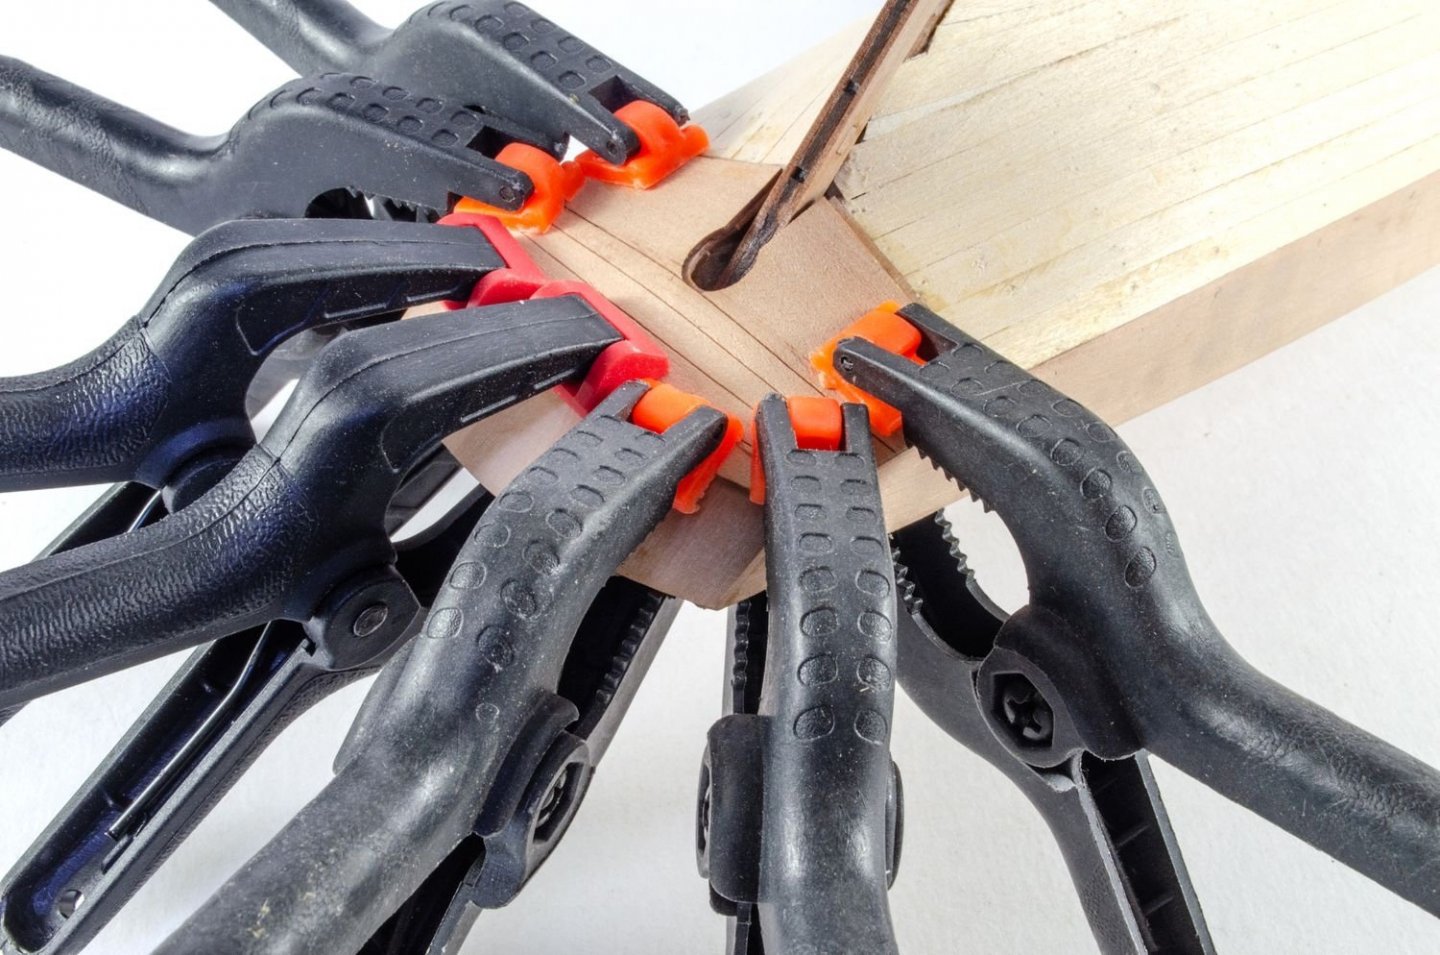
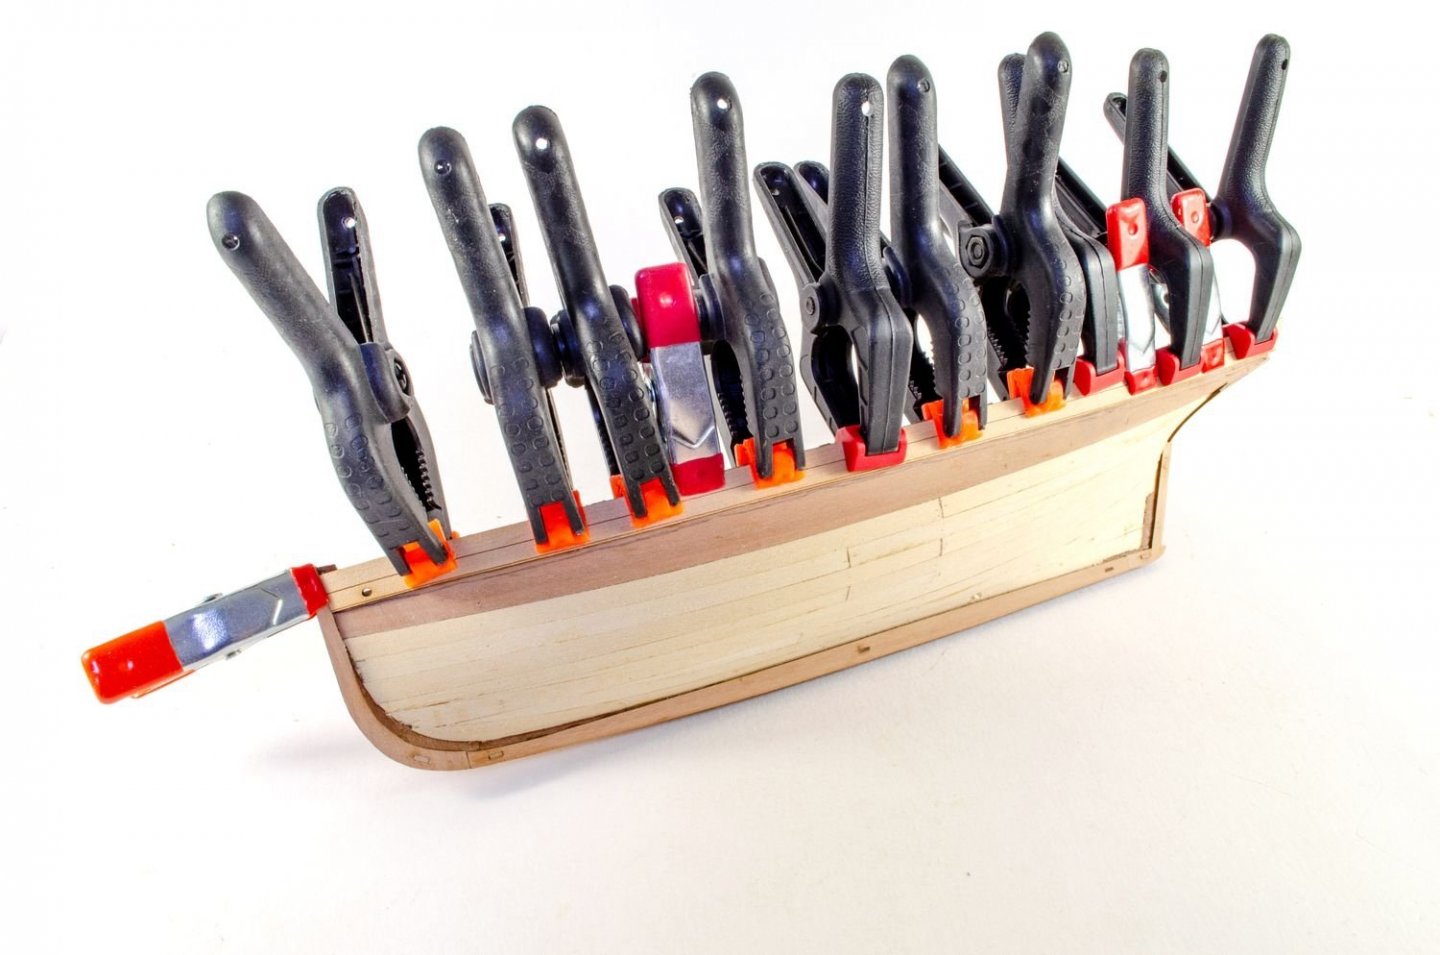
Has it really been almost 2 months since my last update? I suppose I have done a lot of work, and on two vessels. This update will be in 2 or 3 posts due to all photos. Work on Nisha continued with hull fairing. This probably took no more than about 30 minutes due to her size. Always remember to run a lime plank along the lines to make sure there's no nasty surprises later on. The multipart pear keel is now added. All fits perfectly. The stern is tackled in a different way to normal with a single counter piece that deals with what would've been the hardest element of Nisha. This is the part for the first layer of planks, glued and clamped. This was also soaked to help it conform to the curves. On with the inner bulwarks. These are a doddle to fit, with no ambiguity. Just make sure the ply deck hits the lower engraved line on the bulwark. Clamps and pins hold things while the glue dries. On the first layer, we have the option to plank this is sections, so this is what I did with the lengths of lime that butt up against the counter. Not many planks are needed for this one and it planks real quick. The stern board is now fitted. This is engraved with the timbers position so it's not ambiguous. If you've built a VM kit before, you'll know the format of the keel with the outer facing parts that form the rabbet. All sections are now fitted and clamped. The outer stern counter is now glued. You can never have too many clamps... Both outer bulwarks are now fitted. This also has a lower engraved line near the bottom. That is the indicator for where to fit the lower rail. That rail covers the joint between bulwark and regular planking. The hull is then planked in pear and the stern board frame added. Always check your hull to make sure it's sanded nice and smooth. Touch is definitely as useful as the eye when it comes to this. In fact, I rarely look at the lower hulls for smoothness and instead feel for unevenness. MDF bulkhead ears are now removed and the area sanded flush to deck. Talking of decks, the engraved deck is now fitted. This was a precise fit that only needed the char edge removing. All timberheads are fitted. These are identified from 'A' at the bow, working backwards. Only a little bevelling is needed at the bottom in some areas. Some timberheads that have a rail fitted, are installed as a single piece to aid proper spacing. The spacing rail is then snipped off afterwards.
- 28 replies
-
- vanguard models
- Brixham trawler
-
(and 2 more)
Tagged with:
-

Black scroll bars
James H replied to Dr PR's topic in Using the MSW forum - **NO MODELING CONTENT IN THIS SUB-FORUM**
-

Black scroll bars
James H replied to Dr PR's topic in Using the MSW forum - **NO MODELING CONTENT IN THIS SUB-FORUM**
Could be a theme thing, but no, we don't go out of our way to make things difficult for you. It could be the way your own browser interprets our theme too. There are no colours or settings that we have ever changed that alter the colour of the scroll bar. Period. Also remember, Windows is the system you operate. For others, like me, it's MacOS. There are no specifics for changing stuff like this to some Microsoft standard. Try MSW on a different browser, just to see if it looks different. Either way, we can't change what you experience on your computer with your system/installed software. I don't also take too well to people calling any choices perhaps made as 'asinine'. Perhaps your rhetoric needs changing instead of a scroll bar colour. -
Looking real nice. Noted your fix at the front too, so that'll be a help if anyone experiences that. I worked to the last production prototype that was changed for parts that were amended, and this was my build in that area. Some things are unfathomable 🤣
- 542 replies
-
- Sphinx
- Vanguard Models
-
(and 3 more)
Tagged with:
-
I did the instructions for Lady Eleanor. That is a very simple kit which you would find to be a nice subject to cut your teeth on. Timber is also pearwood, hence the relative pricing. A very sweet kit indeed.
-
Only just stumbled on this build, so now following along. Outstanding craftsmanship and subject. A large model too. 😵
-
Nice, tidy job. I hate filler, so I know what you mean.
- 91 replies
-
- Speedy
- Vanguard Models
-
(and 1 more)
Tagged with:
-
Nope, I'm not thriving for a level I can never achieve, and nowhere have I ever stated that.....ever. My aim is to do the very best I can and not to cut corners if it can be helped. That's just making the most of our own skills and learning some new ones to better the outcome. For char removal, I use a combo of sanding sticks, sanding sponges and a 6inch steel rule with 400 grade paper wrapped around it. For the record, I don't think anyone needs to calm down. I can't see anyone getting angry at the moment. Just crack on with your builds!
-
Hi Glenn, I think Chuck's comments are more borne out of frustration that you could all make your models so much better looking with almost zero extra effort. It's not a case of using advanced skills. These are very basic skills, and I have to admit that I can't understand those who wouldn't want to use those very basic skills. Yes, it's a hobby! But why shouldn't someone want to do their very best in that hobby, even if they know they won't ever produce museum quality models. I know that I never will, but would hate to think I spent my free time creating something I knew could be better with no extra skills needed other than the very basic. Why shouldn't we do our very best.....even in a hobby? Because it's a hobby, it doesn't mean we should ever be tardy in our efforts, or cut corners in some mad rush to get to a finish line. If I only ever built one model again, I'd rather it was the very best I could achieve, than a dozen I was less proud of. I should be proud of showing my work, even if only average, to anyone who wanted to see it....including visitors to my home. Please take Chuck's words as more an effort to nudge folks into using the very basic skills, and not jumpstarting you into becoming the next David Antscherl or Harold Hahn. That wasn't the intention. He certainly wasn't there to belittle. Some things are so glaringly obvious that I have to ask myself sometimes why they were left in all their non-glory. As a member of said 'admin team', and someone who helped Chris with this development, I feel I had to reply. Until now, I've kept quiet publicly.
About us
Modelshipworld - Advancing Ship Modeling through Research
SSL Secured
Your security is important for us so this Website is SSL-Secured
NRG Mailing Address
Nautical Research Guild
237 South Lincoln Street
Westmont IL, 60559-1917
Model Ship World ® and the MSW logo are Registered Trademarks, and belong to the Nautical Research Guild (United States Patent and Trademark Office: No. 6,929,264 & No. 6,929,274, registered Dec. 20, 2022)
Helpful Links
About the NRG
If you enjoy building ship models that are historically accurate as well as beautiful, then The Nautical Research Guild (NRG) is just right for you.
The Guild is a non-profit educational organization whose mission is to “Advance Ship Modeling Through Research”. We provide support to our members in their efforts to raise the quality of their model ships.
The Nautical Research Guild has published our world-renowned quarterly magazine, The Nautical Research Journal, since 1955. The pages of the Journal are full of articles by accomplished ship modelers who show you how they create those exquisite details on their models, and by maritime historians who show you the correct details to build. The Journal is available in both print and digital editions. Go to the NRG web site (www.thenrg.org) to download a complimentary digital copy of the Journal. The NRG also publishes plan sets, books and compilations of back issues of the Journal and the former Ships in Scale and Model Ship Builder magazines.


