James H
-
Posts
6,139 -
Joined
-
Last visited
Content Type
Profiles
Forums
Gallery
Events
Everything posted by James H
-
 I'd better do an update to finalise my log!
 -
Bet you love ratlines! Weird there's a cannon sticking through the shrouds. I'd never noticed that before.
-
Looking real nice with all aligned properly and those inner bulwarks meeting the deck.
-
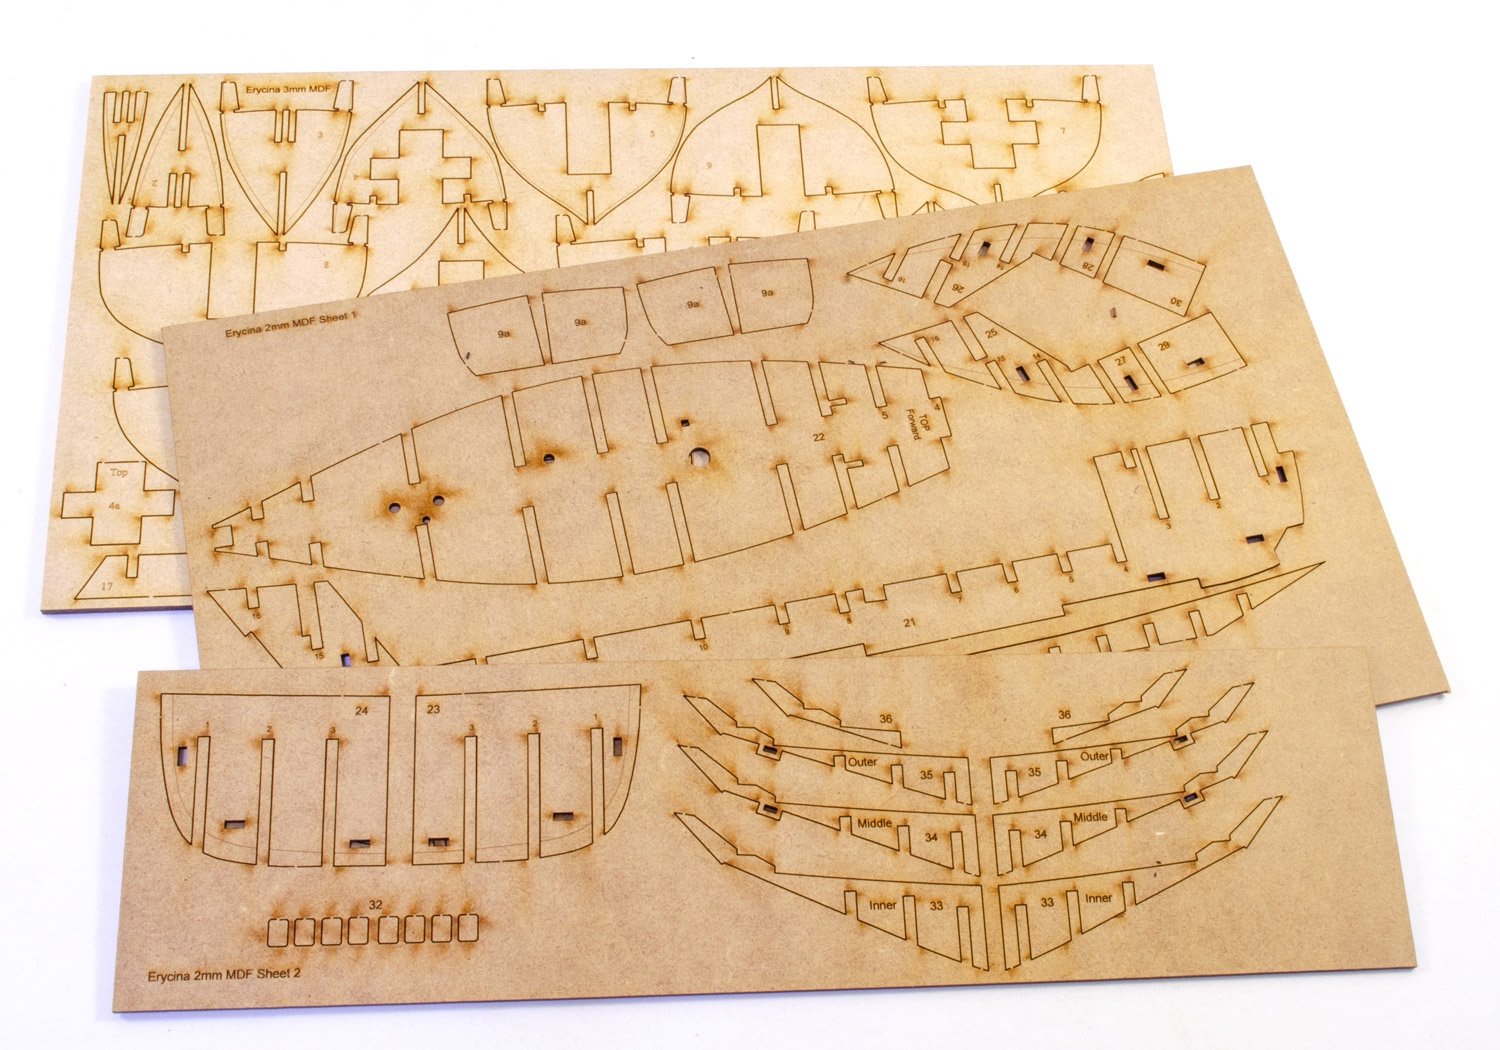
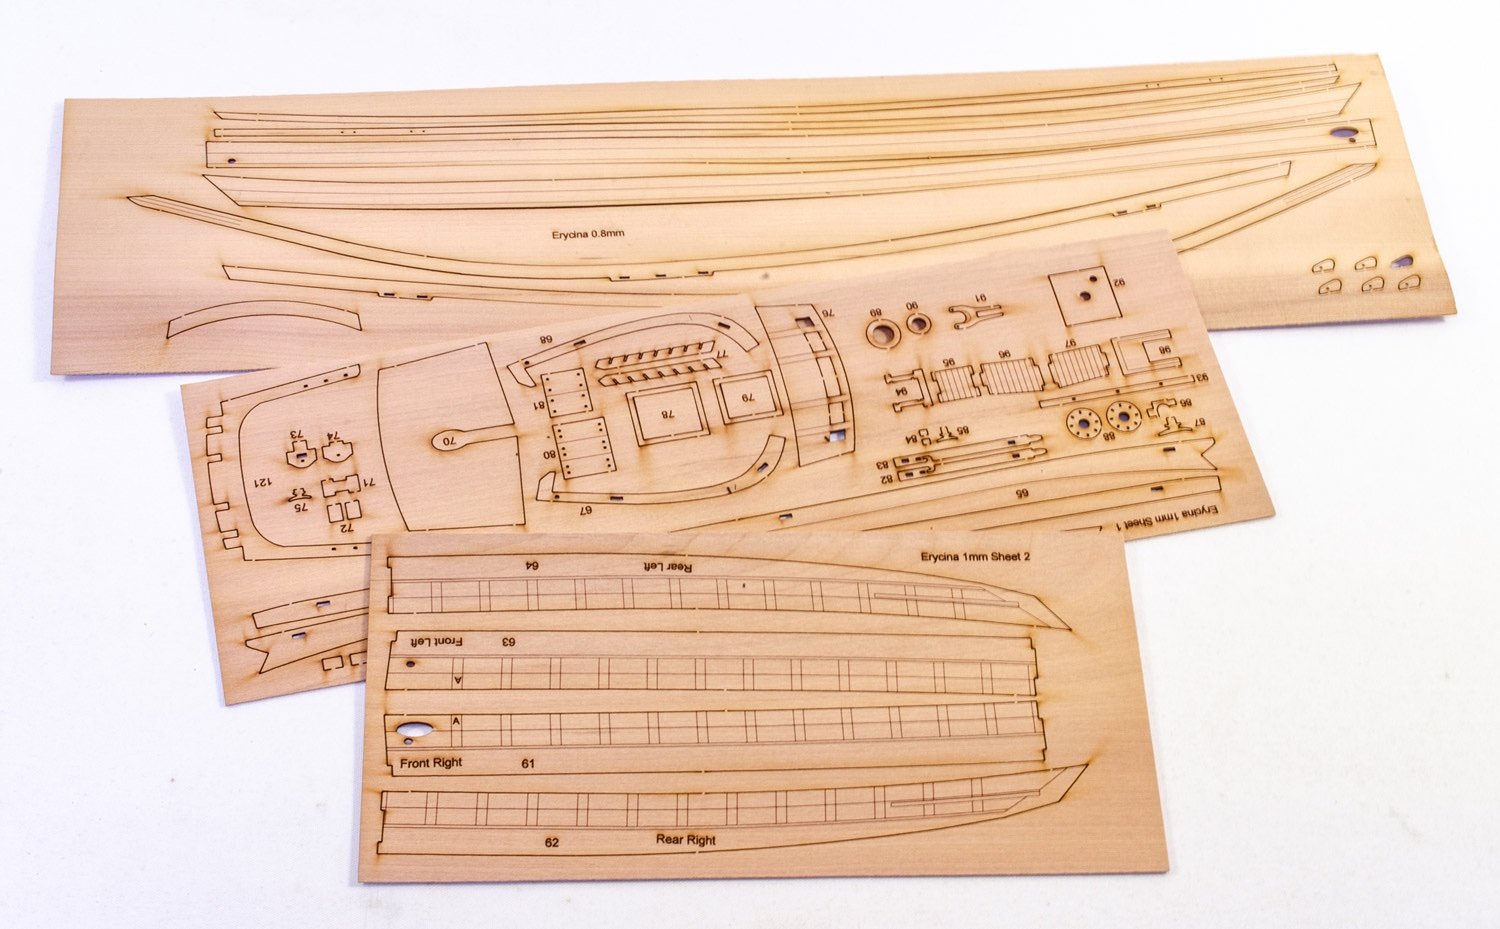
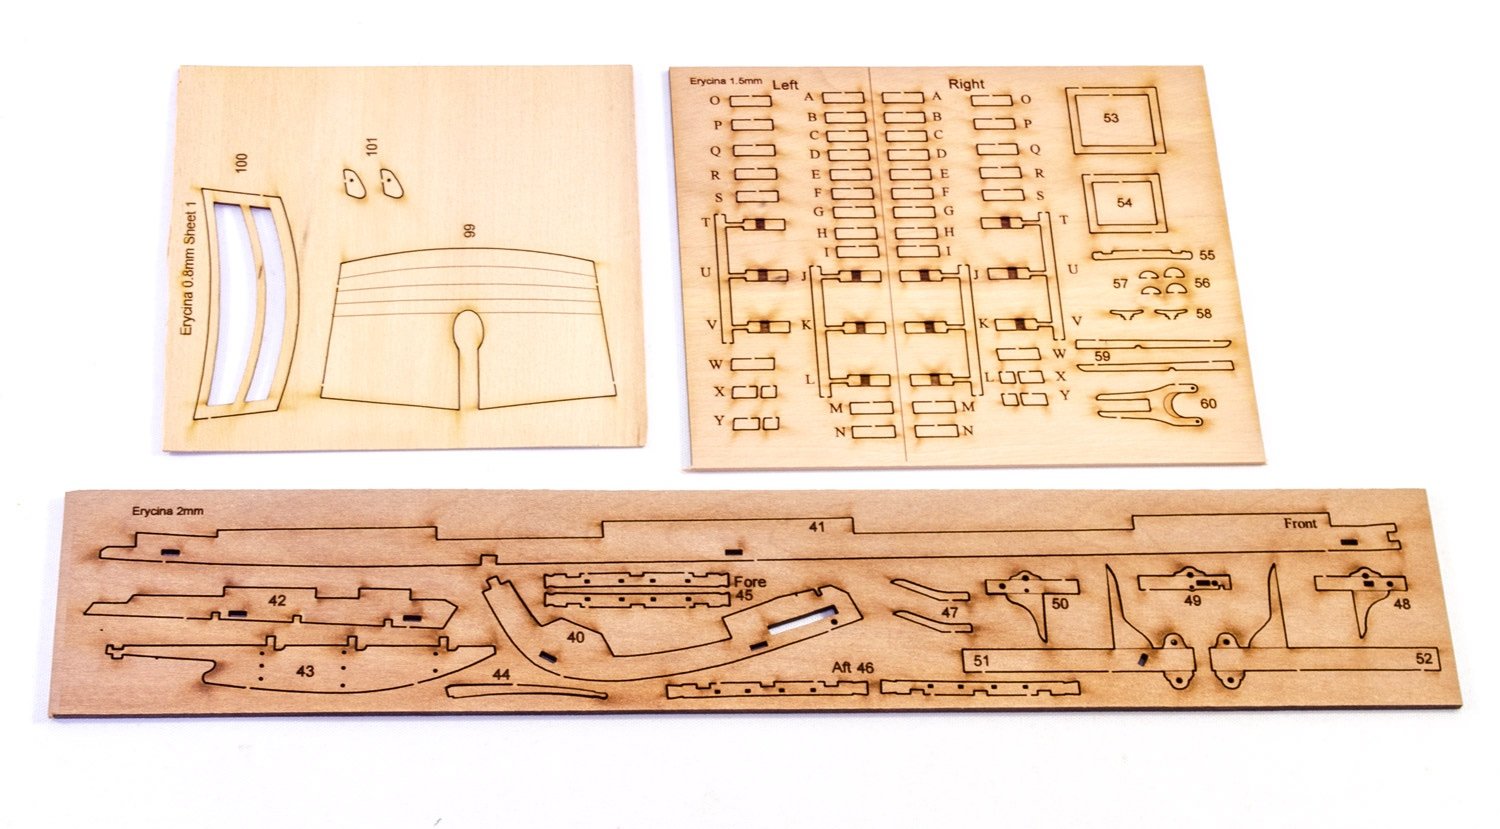
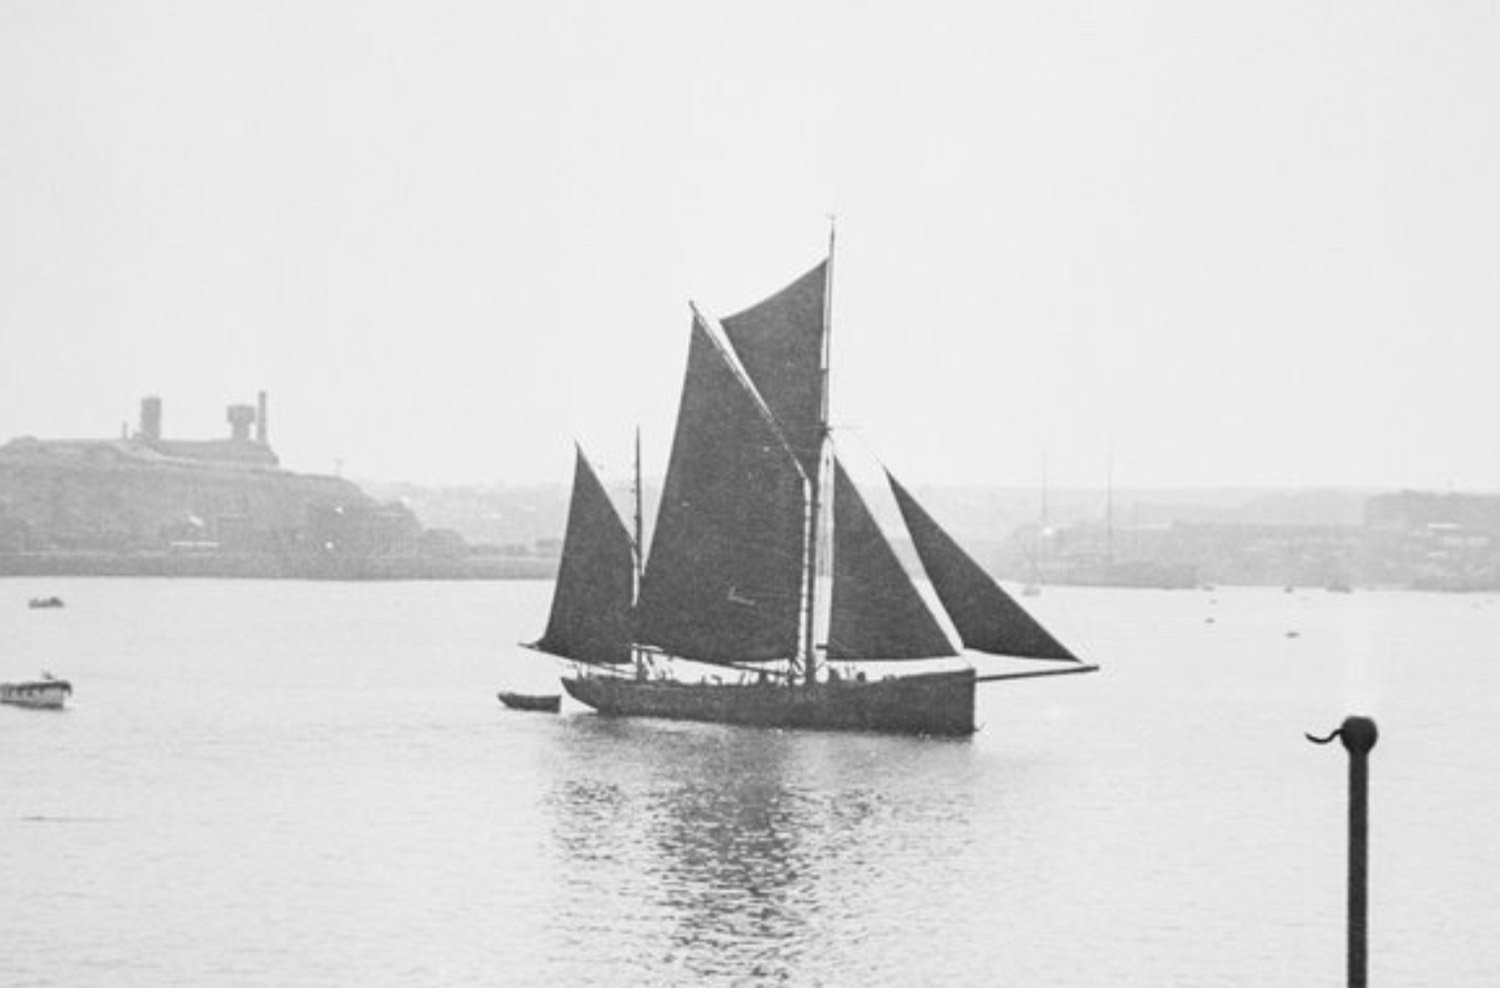
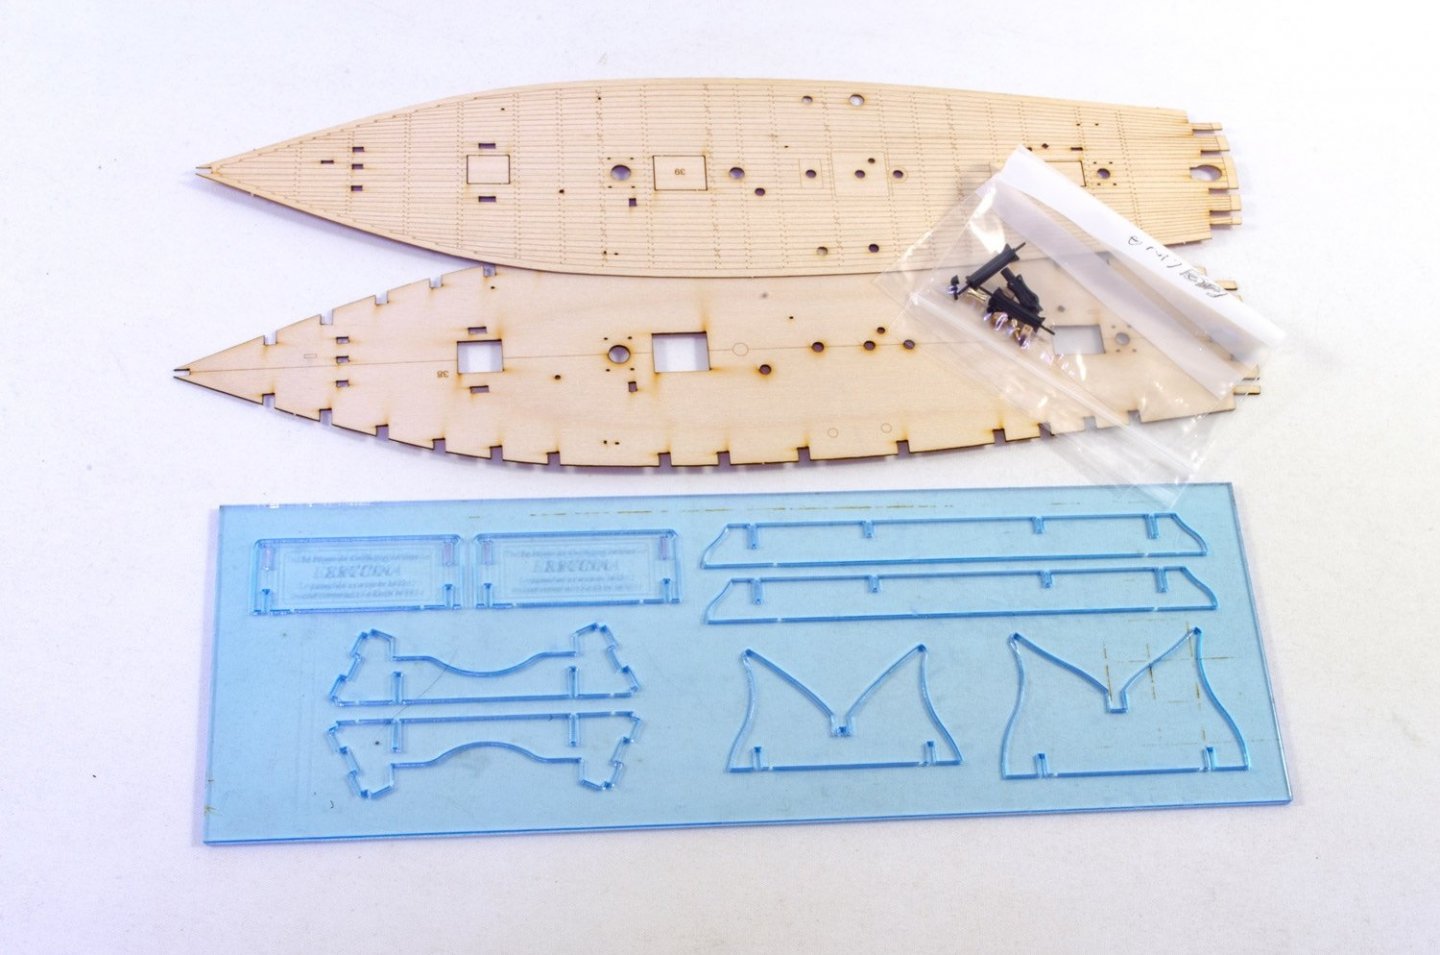
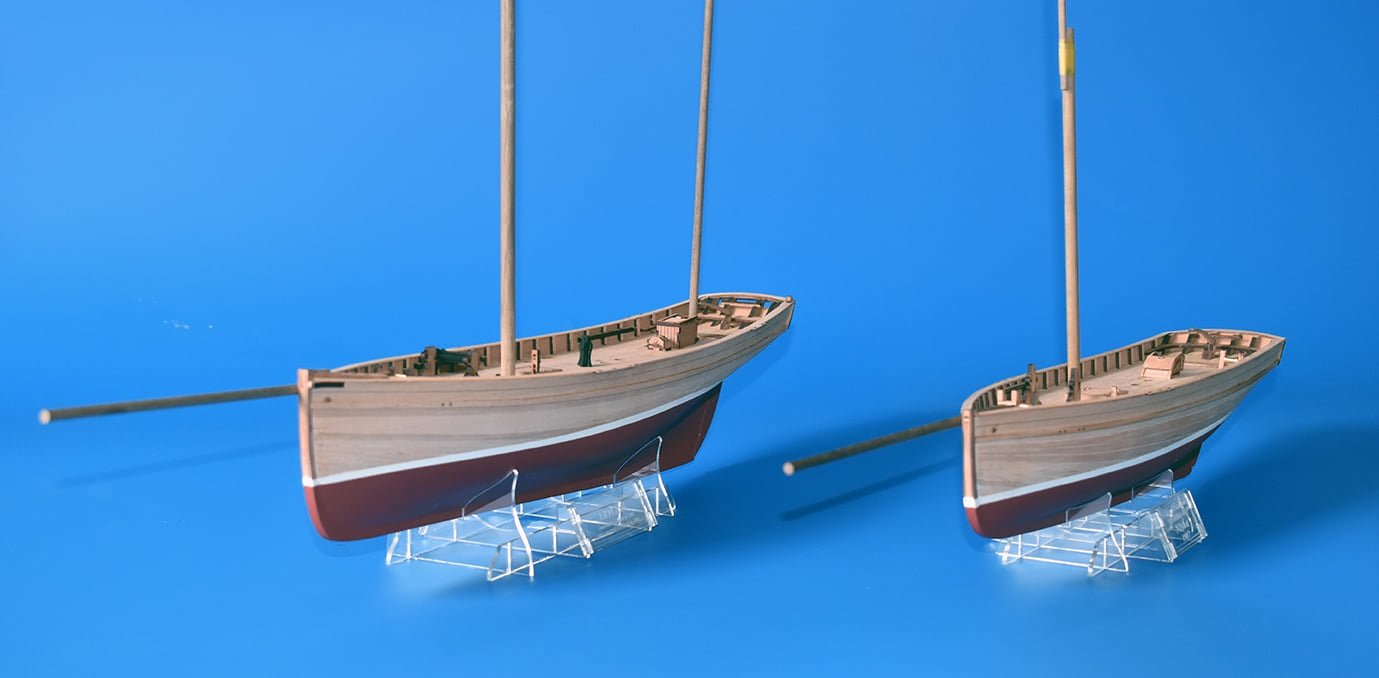
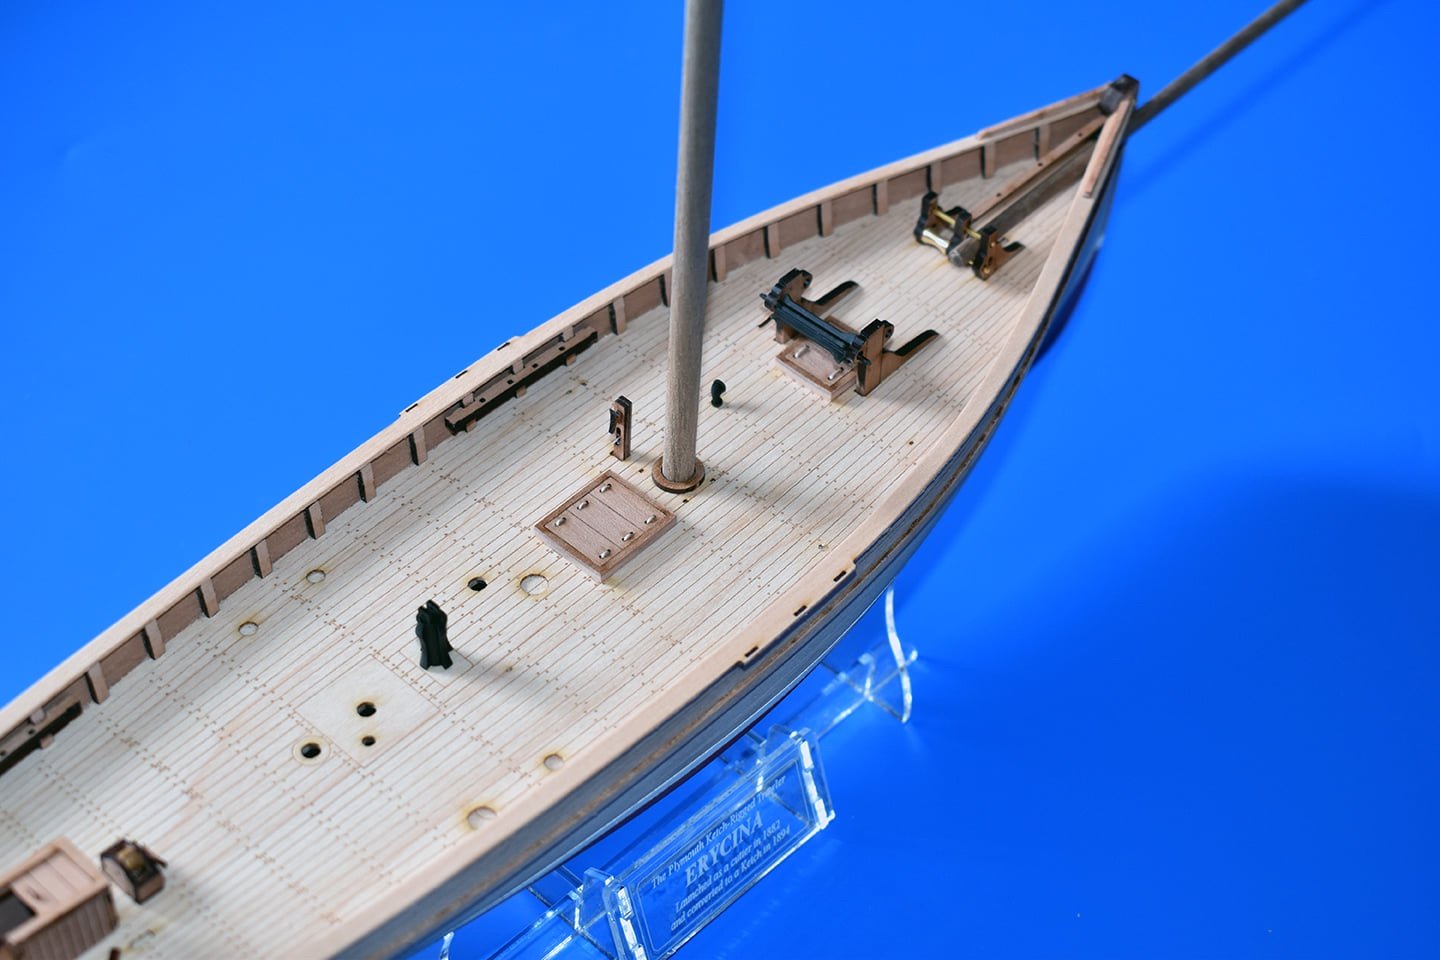
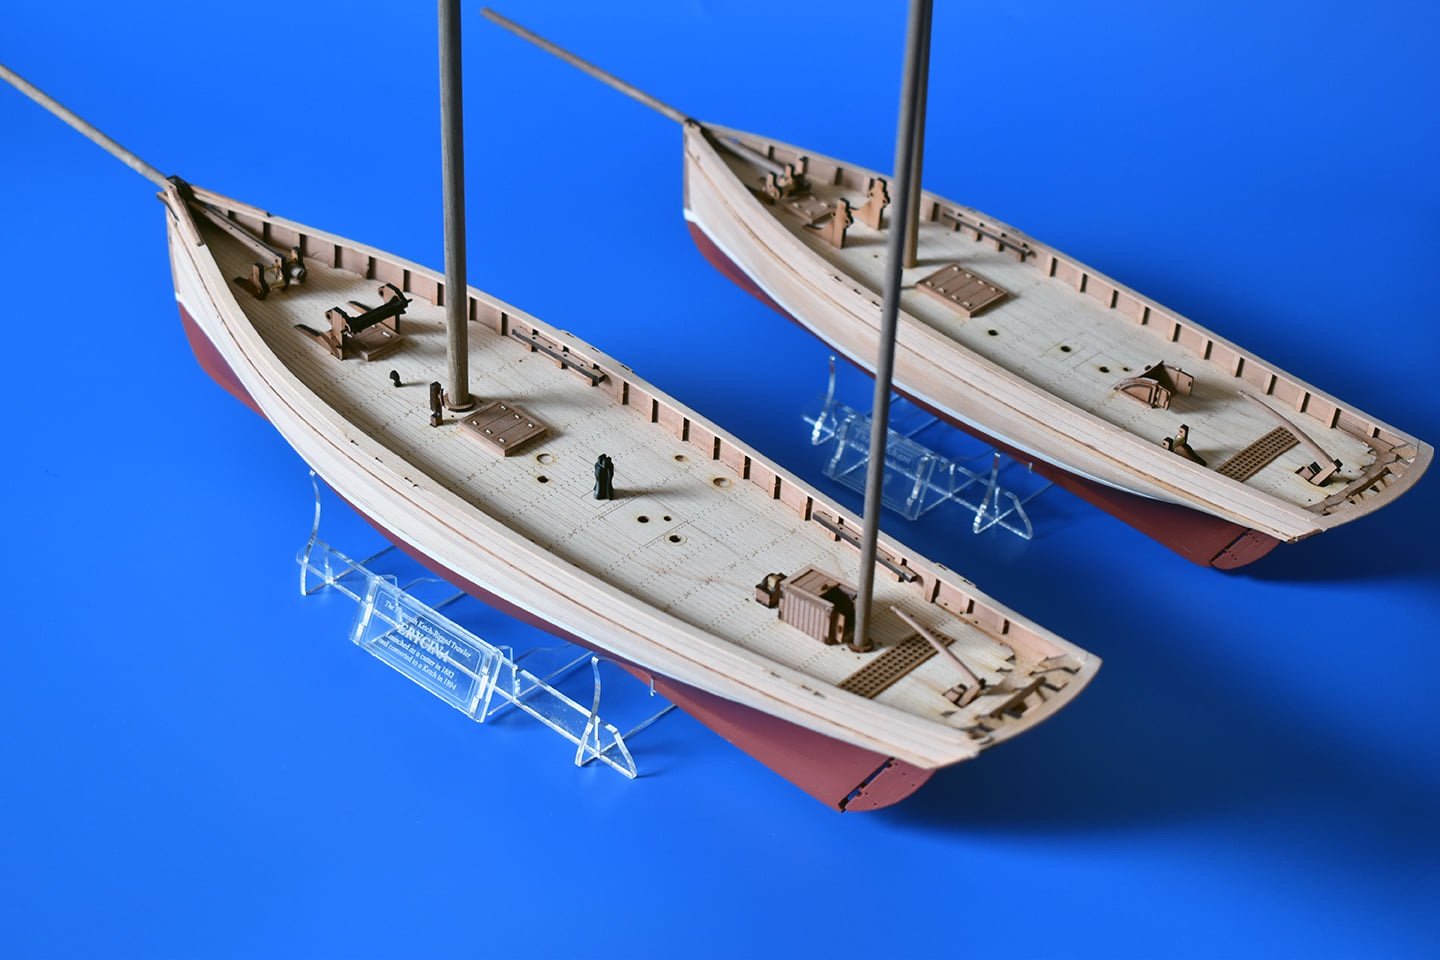
Erycina was a Plymouth Ketch-Rigged Trawler, launched as a cutter in 1882 and converted to a Ketch in 1894. This is one of three next subjects from Vanguard Models, following on from their previous Fifie and Zulu fishers. I'll be starting build logs for the other fishers when I'm ready. One of those, Nisha, will be built concurrently with this one. Out of Erycina and Nisha, Erycina is the large one, as you'll see from a cut test prototype in a photo below. Again, construction is an MDF core, with lime/pear planking and an engraved maple deck. There will be sail sets available for these. Here is Erycina! Here's some photos of the initial test prototype which is refined to make the production parts. Erycina is of course the larger vessel: My HMS Sphinx is now in the last days of work, so I'll be taking a day or so off afterwards to indulge in my PlayStation5 and mindless killing in Assassin's Creed, then work on this will begin. Until then, here are the parts (minus planks). More when I have it


- 36 replies
-
- 28
-

-
- vanguard models
- Erycina
- (and 2 more)
-
Yes, I varnished as I went along. I part-varnished the deck, excluding an inch along each side. When the cannon were glued down to the bare wood deck, I then infilled those areas in varnish. A little time-consuming, but quite easy. I didn't want to glue anything down to an already varnished deck, for the sake of joint integrity.
- 355 replies
-
- 4
-
-
- vanguard models
- Sphinx
- (and 1 more)
-
Certainly no harm in using them as early as you can.
-
A number of the plans are supplementary as you'll see the whole build through the manual, but you can at least refer to the plans too for peace of mind. As far as I'm aware, there is no coating on the brass. I tend to prime the brass with Tamiya Fine Surface Primer before I add paint. That stuff has a good bite to the surface.
- 505 replies
-
- 9
-
-
- vanguard models
- Sphinx
- (and 1 more)
-
I usually dilute about 50:50, depending on glue/varnish type.
- 355 replies
-
- 1
-
-
- vanguard models
- Sphinx
- (and 1 more)
-
HMS Granado 1742 Kit - CAF Model - 1:48 Scale
James H replied to cafmodel's topic in Wood ship model kits
That looks wonderful work, Tom. Is this far off release now? -
Absolutely outstanding!! 👍
-
That's right. We don't support HEIC filetype. You really need to use a common format such as JPG.
-
That's very, very odd. With the deck halves in place and fully seated into the slots, the deck edge falls directly on the centreline and both sit nicely up next to each other. 🤔
-
Don't forget to use those jigs extensively too when you make them. They'll help make sure the quarter, main and fore decks maintain their widths.
-
That looks real good. You see how quickly the shapes come together and the reason behind the sequence? All designed to make sure you minimise risk of breakage. I've finished for the night on rigging now. Time for wine.
-
Watching along. Feel your pain with customs. Perhaps kit smugglers are the future...
-
That's how it felt for me with those 900+ photos and almost 30,000 words.
-
I'm getting a feeling of déjà vu. Nice to sit back and watch someone else tackle her.
-
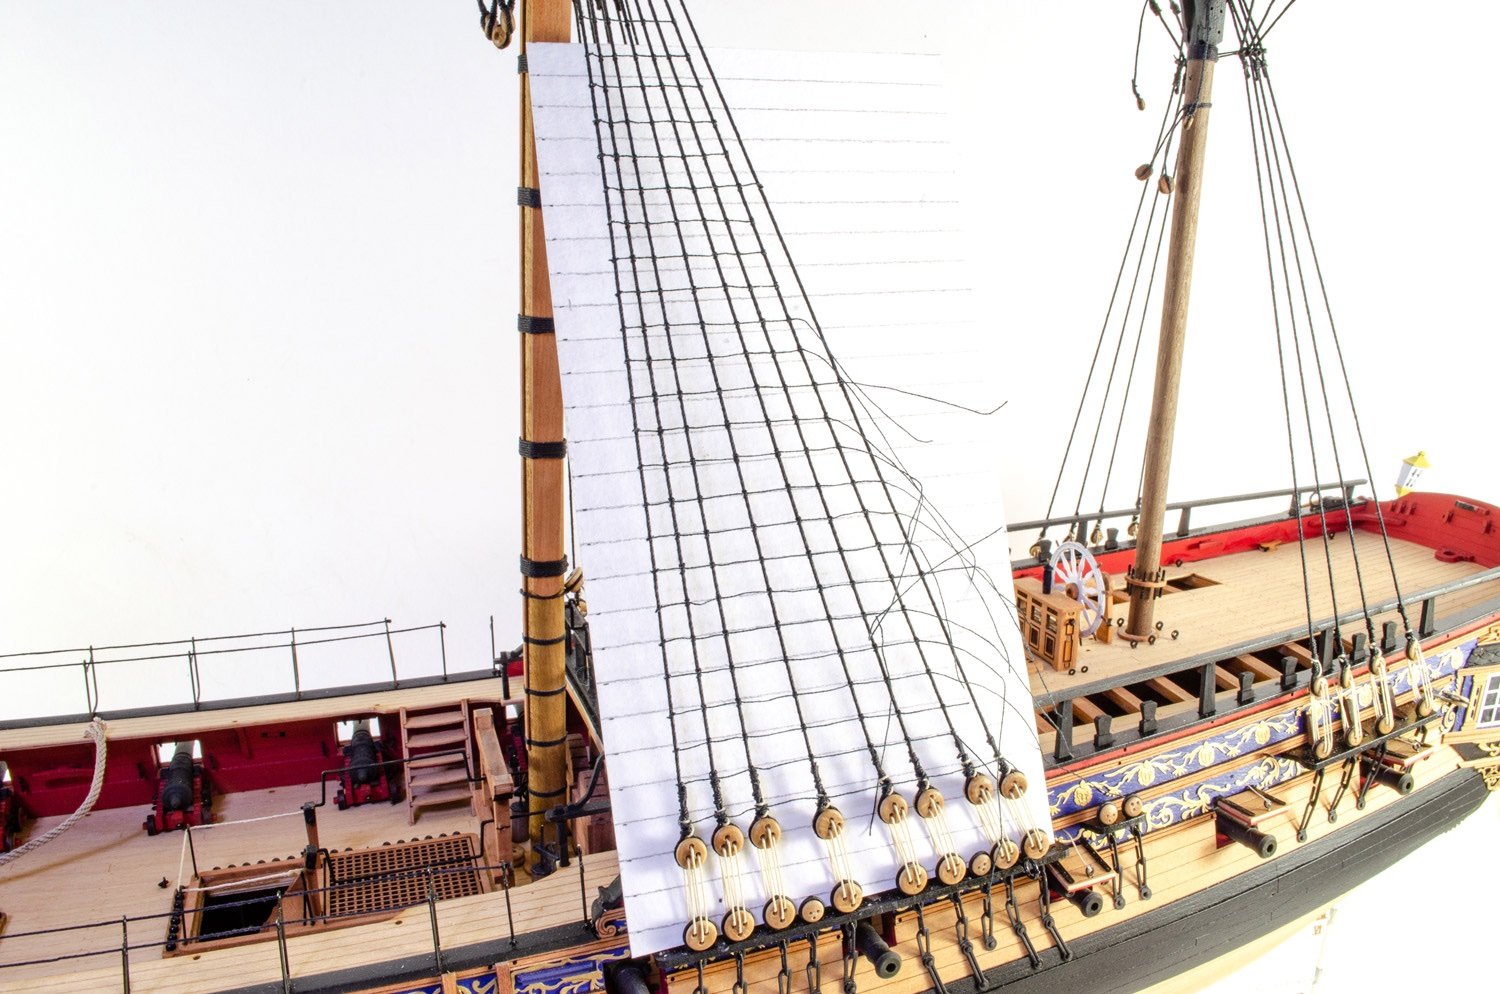
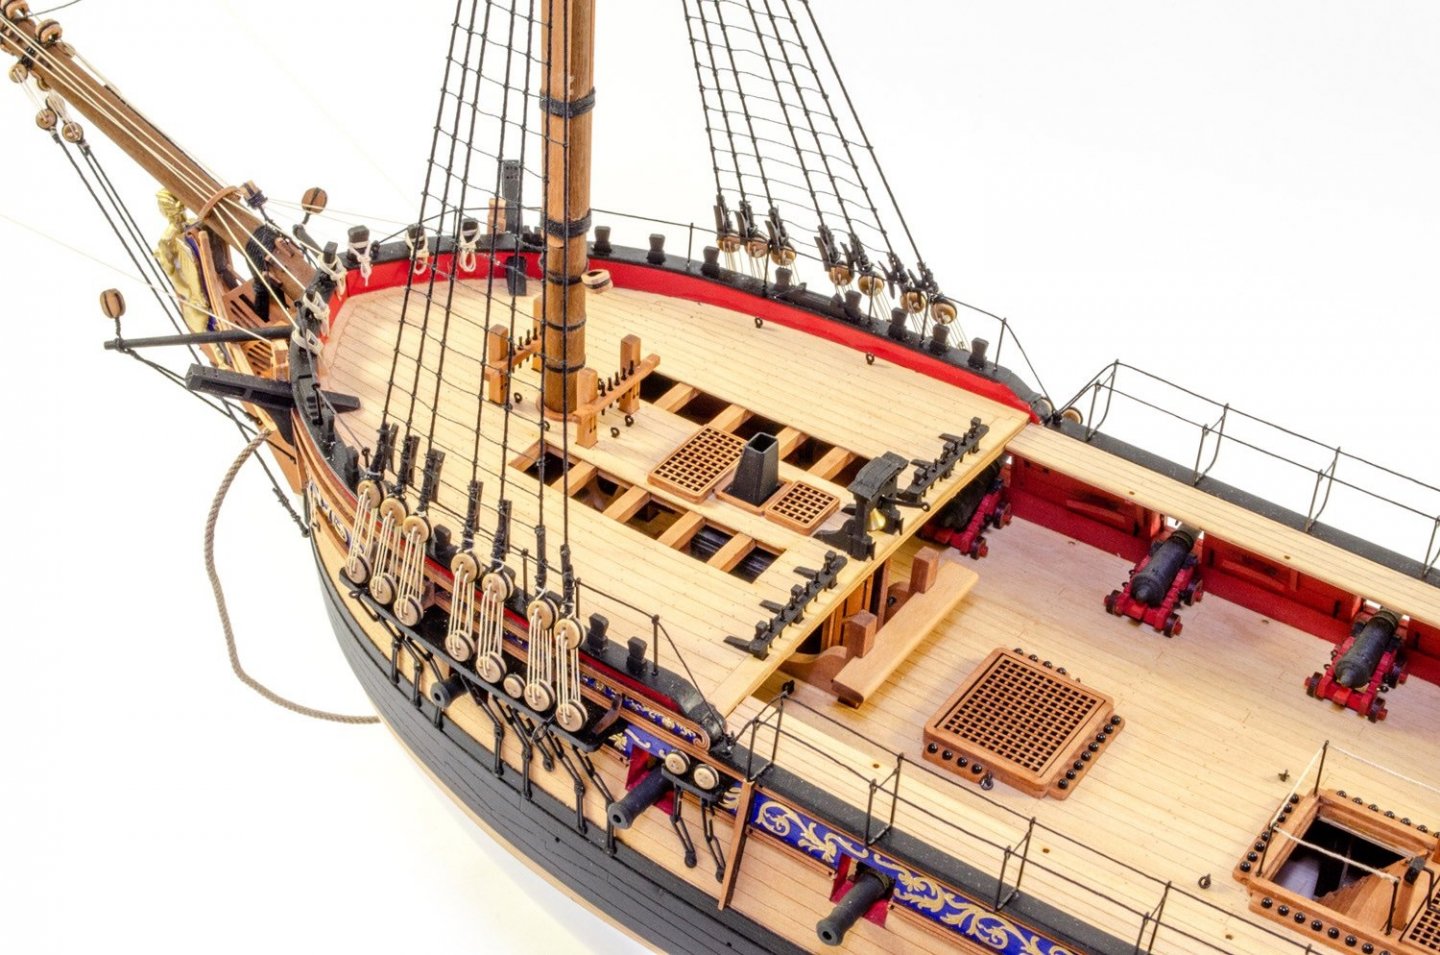
I'm about a week or so off completing Sphinx, so thought I would post a few progress pics here showing shrouds and shroud cleats in place. I really, really love ratlines. Did I ever tell you that? All 1270 of the lovely little knots.


- 355 replies
-
- 28
-
-

-

-
- vanguard models
- Sphinx
- (and 1 more)
-
Slowly is the way to work and you'll do just fine. Nice shape, isn't she?
-
Fairing those parts 'off model' is only about removing a rough quantity of material so that it's easier when you have everything together. The quantities you see me removing in the manual were further faired in when the full was ready for overall fairing.
- 857 replies
-
- 7
-
-
- Sphinx
- Vanguard Models
- (and 1 more)
-
Finished yet?