James H
-
Posts
6,139 -
Joined
-
Last visited
Content Type
Profiles
Forums
Gallery
Events
Everything posted by James H
-
 STAGE 73: FIT COMPONENTS FOR THE LEFT SHOULDER AND ARM First, the shoulder joint is assembled. The the piston shafts are built. These shouldn't be tightened too much as they'll not fit into the piston bodies, otherwise.
 -
STAGE 72: THE FIRST PARTS FOR THE LEFT ARM We are onto the bicep for the left upper arm. This is simply a piston body which connects to the shoulder joint and will eventually terminate at the elbow.
-
PACK 8 STAGE 71: ASSEMBLING FOOT PARTS AND ATTACHING THEM TO THE RIGHT LEG This pack is a continuation of the right foot, and also sees it complete. It really is very important that the photos are studied and the orientation and numbers of the parts. There are 2 rods per toe and some of these have a slight kink in them to accommodate the lie of the toes as they sit on the foot. These are assembled as before, and also using some thread lock on the grub screws. Care is also needed in orientation in fixing these to the feet too.
-
Nope, none whatsoever! Just add some to a small brush and brush the area you want to add PE to. Properly wet the area, then add the PE. Use a dry brush to wick away any excess and leave to dry. Seal with another brushing of Klear/future.
- 201 replies
-
- 6
-

-

-
- Duchess of Kingston
- Vanguard Models
- (and 1 more)
-
I used Johnsons Klear (Future) floor polish. Just brush some in there and plop the PE into position. Wick away any excess and leave to dry for 30 mins. I then brushed some extra over the top. No glue and it's settled solidly into place with no glue marks. As for using Tamiya tape....don't waste your money. Buy Tesa Tape. Same stuff and a fraction of the price for the quantity. https://uk.rs-online.com/web/p/masking-tapes/9139532/ Same grade. Same tack. Exactly the same, I promise.
- 201 replies
-
- 5
-
-
- Duchess of Kingston
- Vanguard Models
- (and 1 more)
-
I'm having Déjà vu !!! Looking real good and that white area looks flawless.
- 201 replies
-
- 2
-
-
- Duchess of Kingston
- Vanguard Models
- (and 1 more)
-
Wishing you all the best for 2021 too, and for everyone here. Let's hope that in the real world, it's a darn sight better than 2020! 😆
-
That really does look very pretty. Looking forward to seeing the finished product.
- 67 replies
-
- 1
-
-
- granado
- cross-section
- (and 1 more)
-
No worries! Your build deserves to have its own log so it can be referenced. If you've any more photos, please feel free to add to your log.
-
Ok, I've split those photos into a separate build log.
-
Split from another build log to create one for @BigDan
-
Lady Nelson is a perfect model to build when starting out. Only one mast and limited ratlines to tie.
- 139 replies
-
- 1
-
-
- Lady Nelson
- Amati
- (and 2 more)
-
Wait until you’ve done 9 or 10 in a row. They’re like falling off a log by then 😆
-
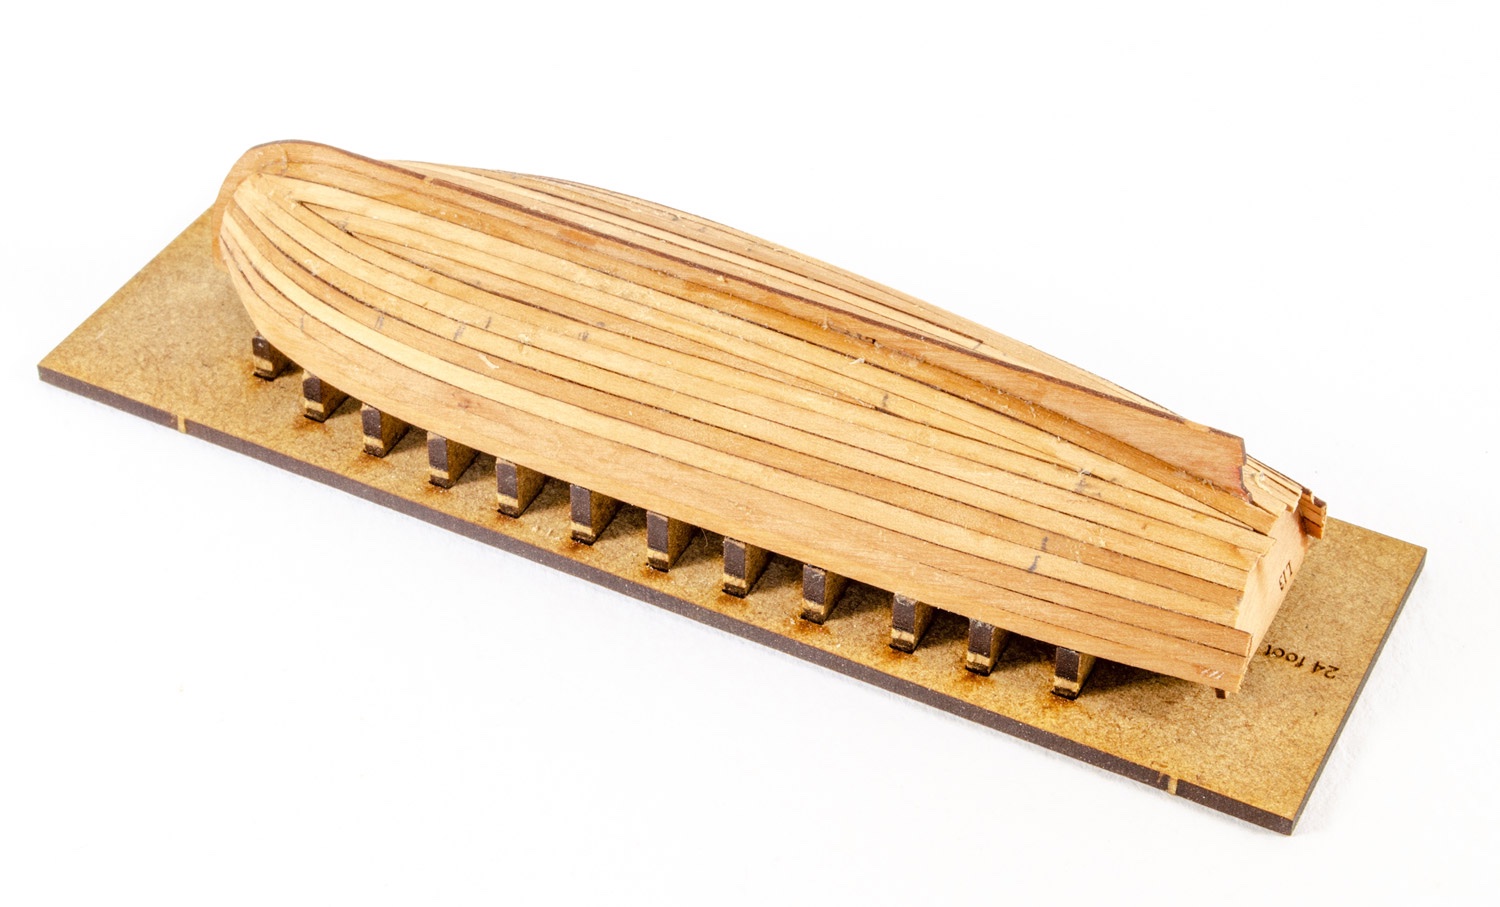
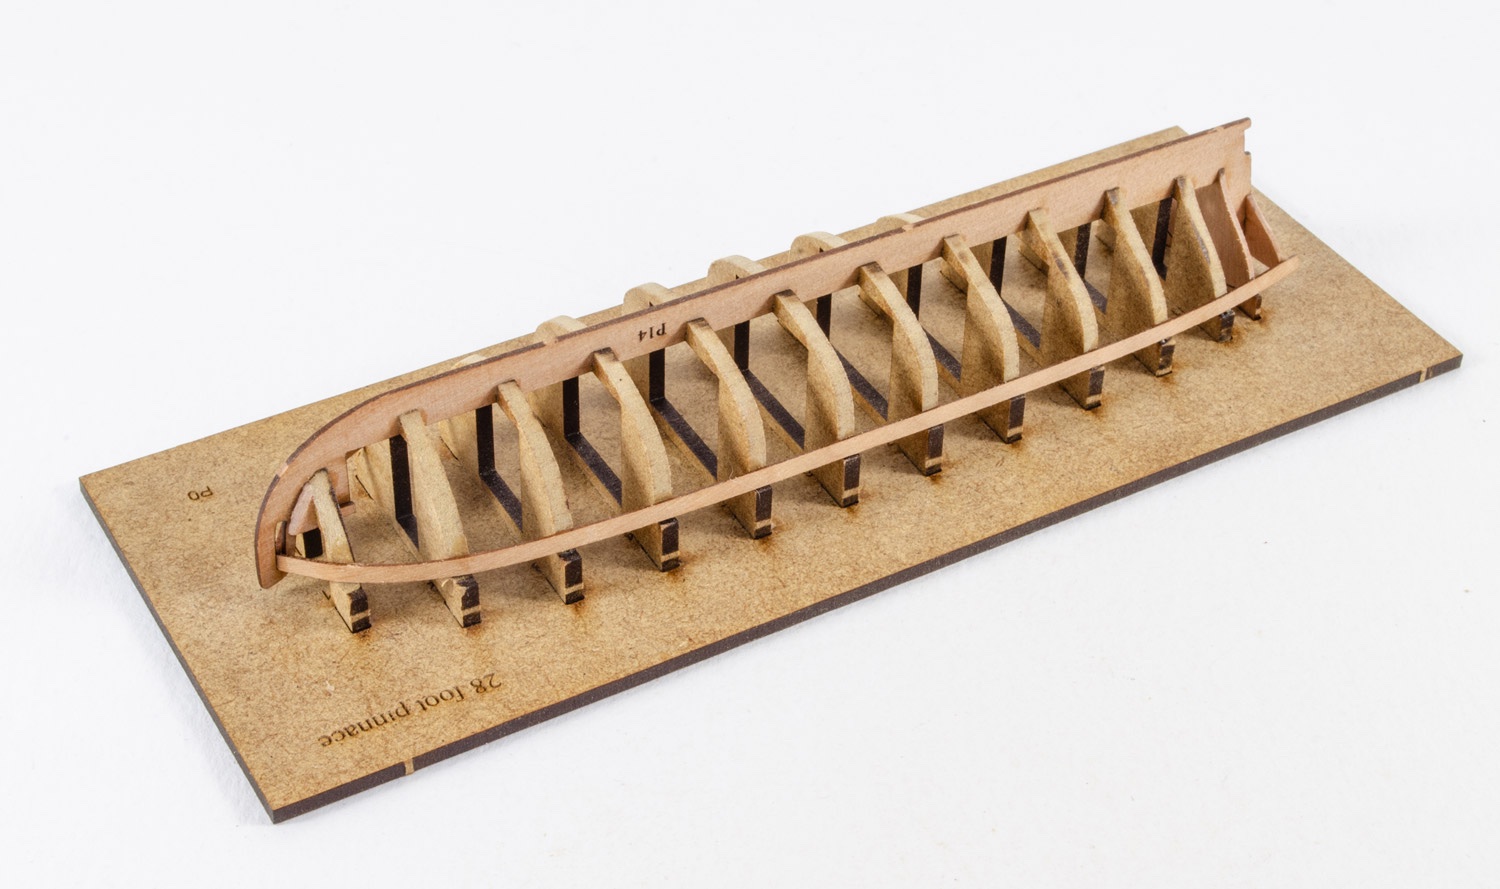
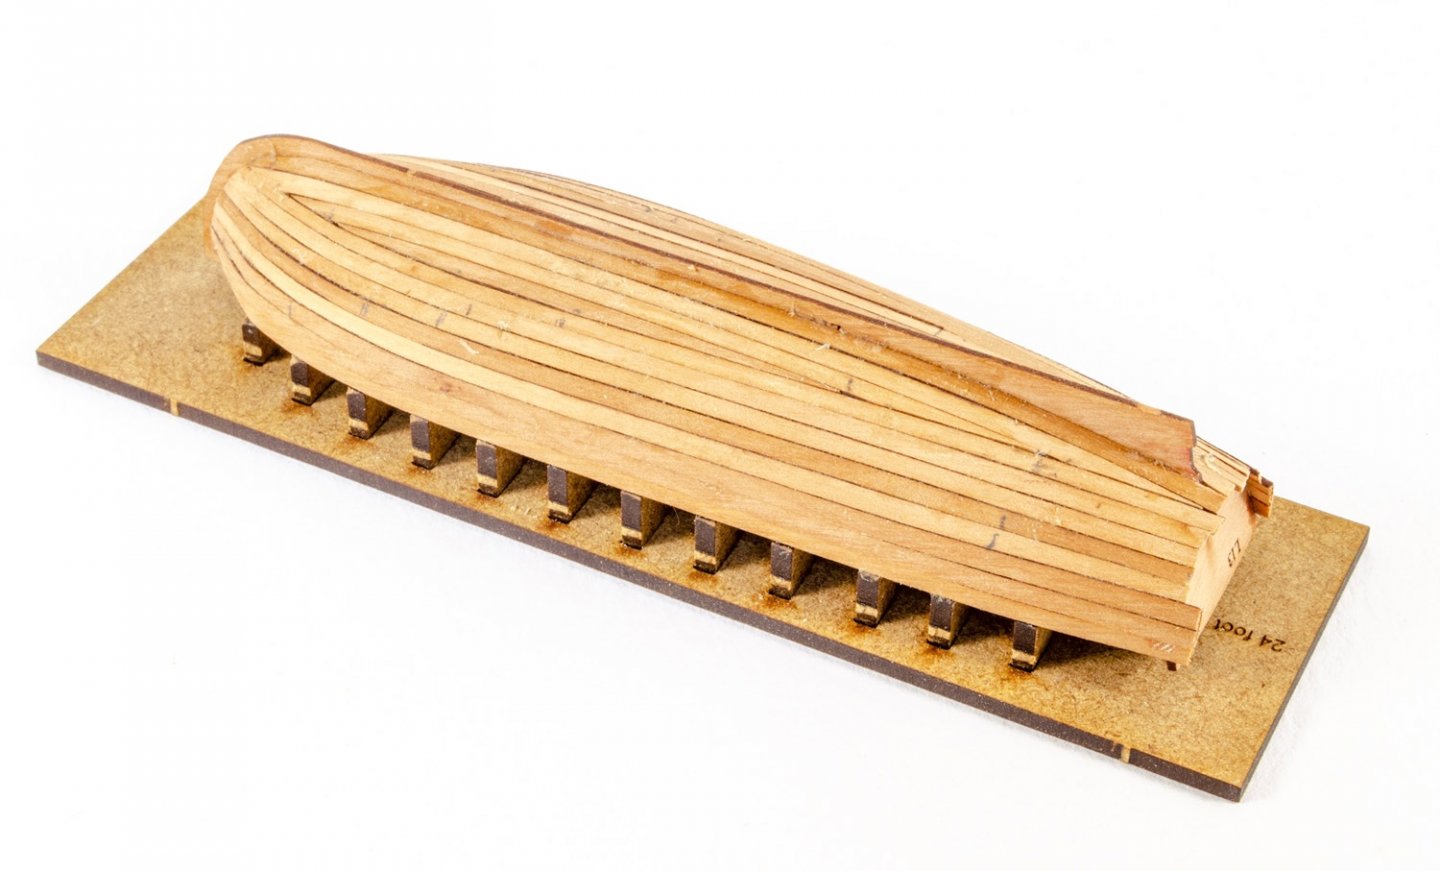
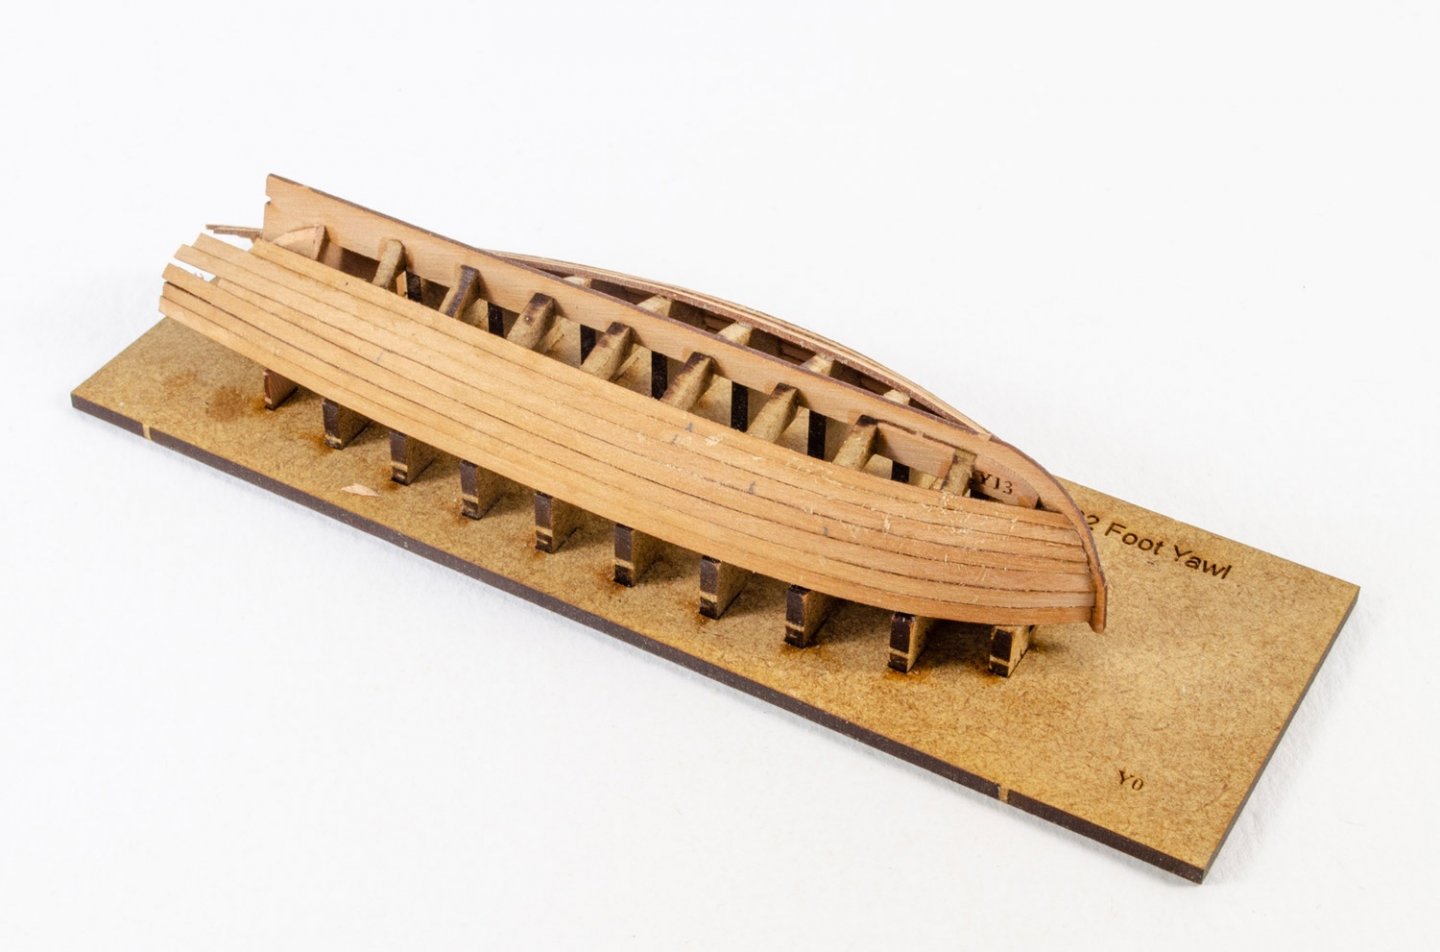
Not at all!!! These are for Sphinx: 24ft Launch 28ft Pinnace 22ft Yawl

-
That looks so exacting. Loving the photos too. Very clear to follow.
-
Decaling carrier deck.
James H replied to reklein's topic in Painting, finishing and weathering products and techniques
You're always best glossing before decals, and if there's lots of moulded details on the deck, consider using a decal setting solution too. Once your decals are down, gloss over them before any weathering and a flat coat. -
She is looking smart. You started painting the bulwarks yet?
-
Robert Shaw came from a town a couple miles from me too. (Westhoughton). There's a pub named after him. Quite ironic when you consider his predilection for booze!
-
That looks great! That pear came out real nice 😁
- 201 replies
-
- 2
-
-
- Duchess of Kingston
- Vanguard Models
- (and 1 more)
-
I think I was 7yrs old when I saw this film. Scared the cr@p out of me. Looking forward to watching this.
-
She's looking real purdy 😍 There's not too much bare pear can be seen above the waterline, so it should be easy to sort a few of identical shade. I know my poly varnish did sort of level the colour across the ones I chose.
- 201 replies
-
- 1
-
-
- Duchess of Kingston
- Vanguard Models
- (and 1 more)
-
A good degreaser is acetone or nail varnish remover. There should be no need to wash afterwards, but you can just rinse them in water.
- 382 replies
-
- 3
-
-
-
- Vanguard Models
- Duchess of Kingston
- (and 1 more)
-
If this was my model, I'd retire immediately afterwards. Just outstanding.
- 1,784 replies
-
- 9
-

-
-
- winchelsea
- Syren Ship Model Company
- (and 1 more)
-
I never tire of seeing this one come together. Looks like you've gripped this with both hands.
- 201 replies
-
- 3
-
-
- Duchess of Kingston
- Vanguard Models
- (and 1 more)
-
Following along 👍