James H
-
Posts
6,135 -
Joined
-
Last visited
Content Type
Profiles
Forums
Gallery
Events
Everything posted by James H
-
Not that I'm aware of. For example, the cannon were made in various sizes and specifically for this ship. You couldn't really make them generic. Same with the gun carts, as they are designed to plug into the decks at an even distance from the bulwarks. It's not an easy model to make compromises on, so I can't envisage anything really changing from the initial design.
-
 Really liking this and how quick it's come together. She's certainly gonna be tall when complete.
 -
No doubt, but I know Amati want to bring in the cost so it's as little as possible extra £/€ than the Caldercraft in 1:72. The good news is you have time to save whilst I get the building done! This one is around 1.6m long, height approx 106cm. I'd have to ask @chris watton about beam and width of main yards (and to check my other numbers!)
-
Except this time, there is only one choice 😄
-
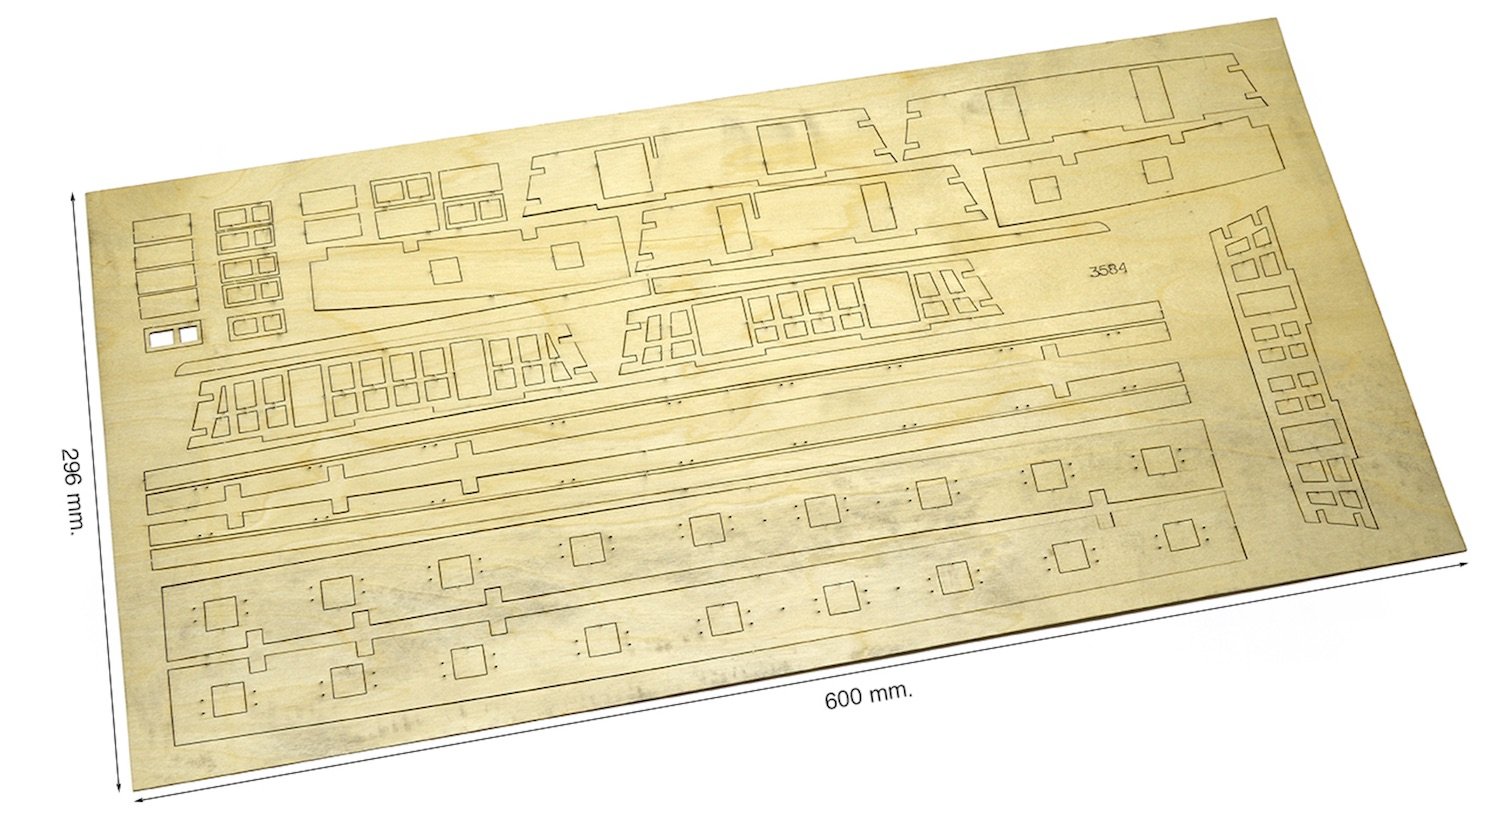
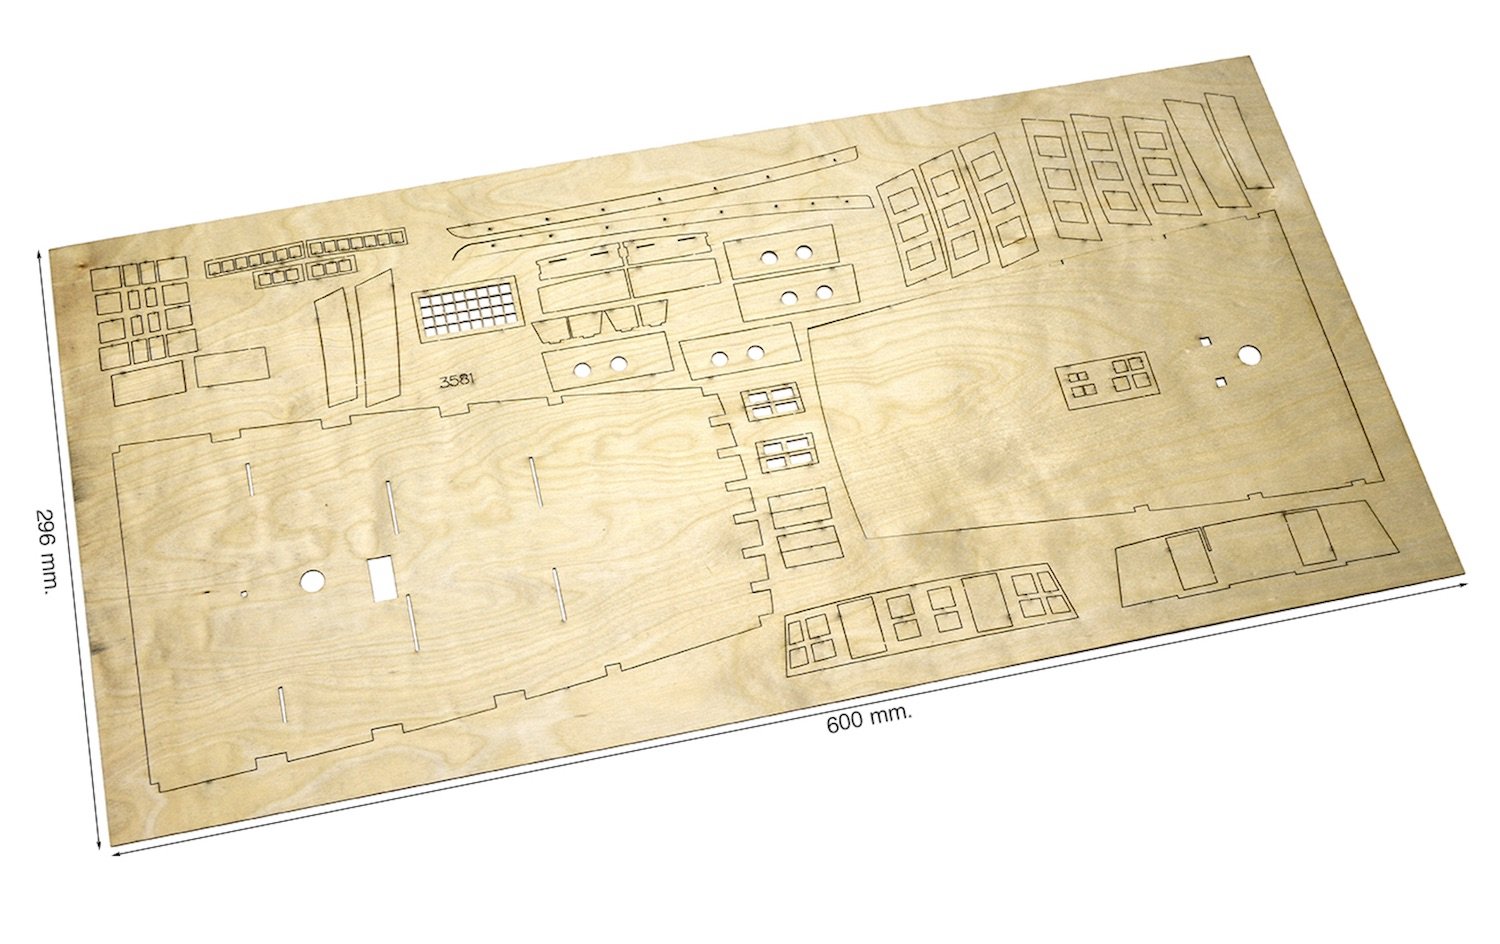
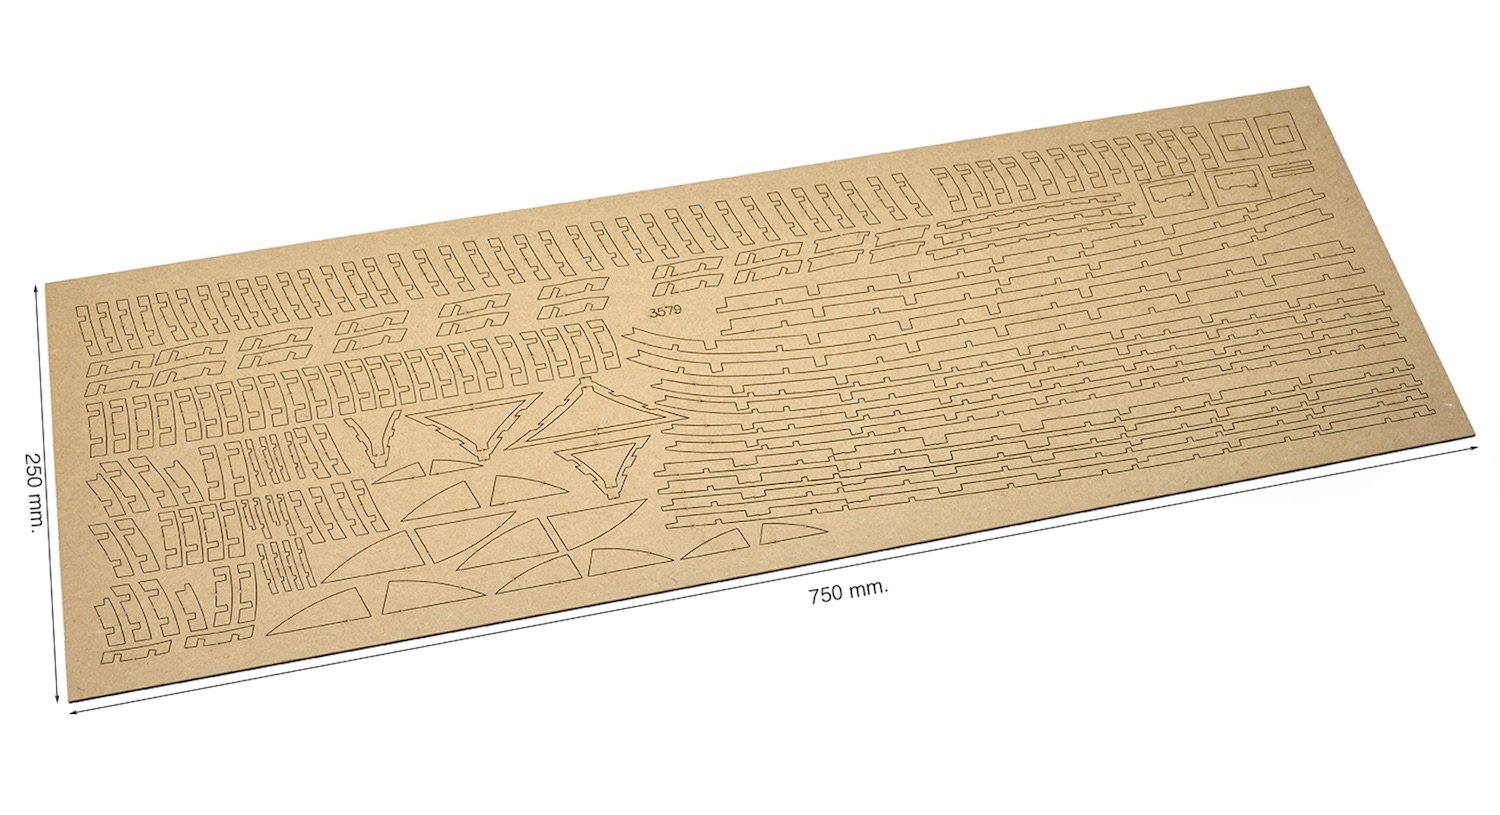
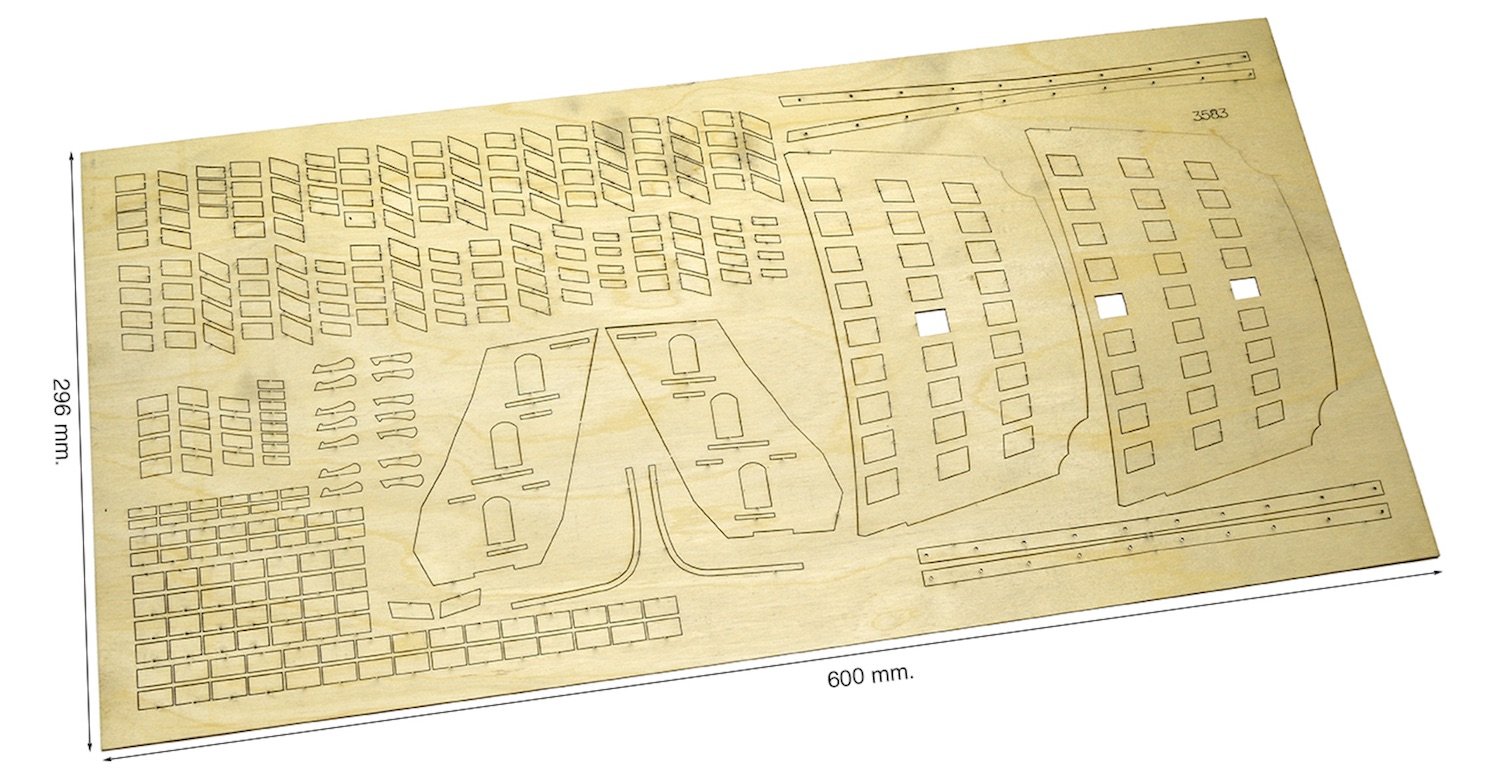
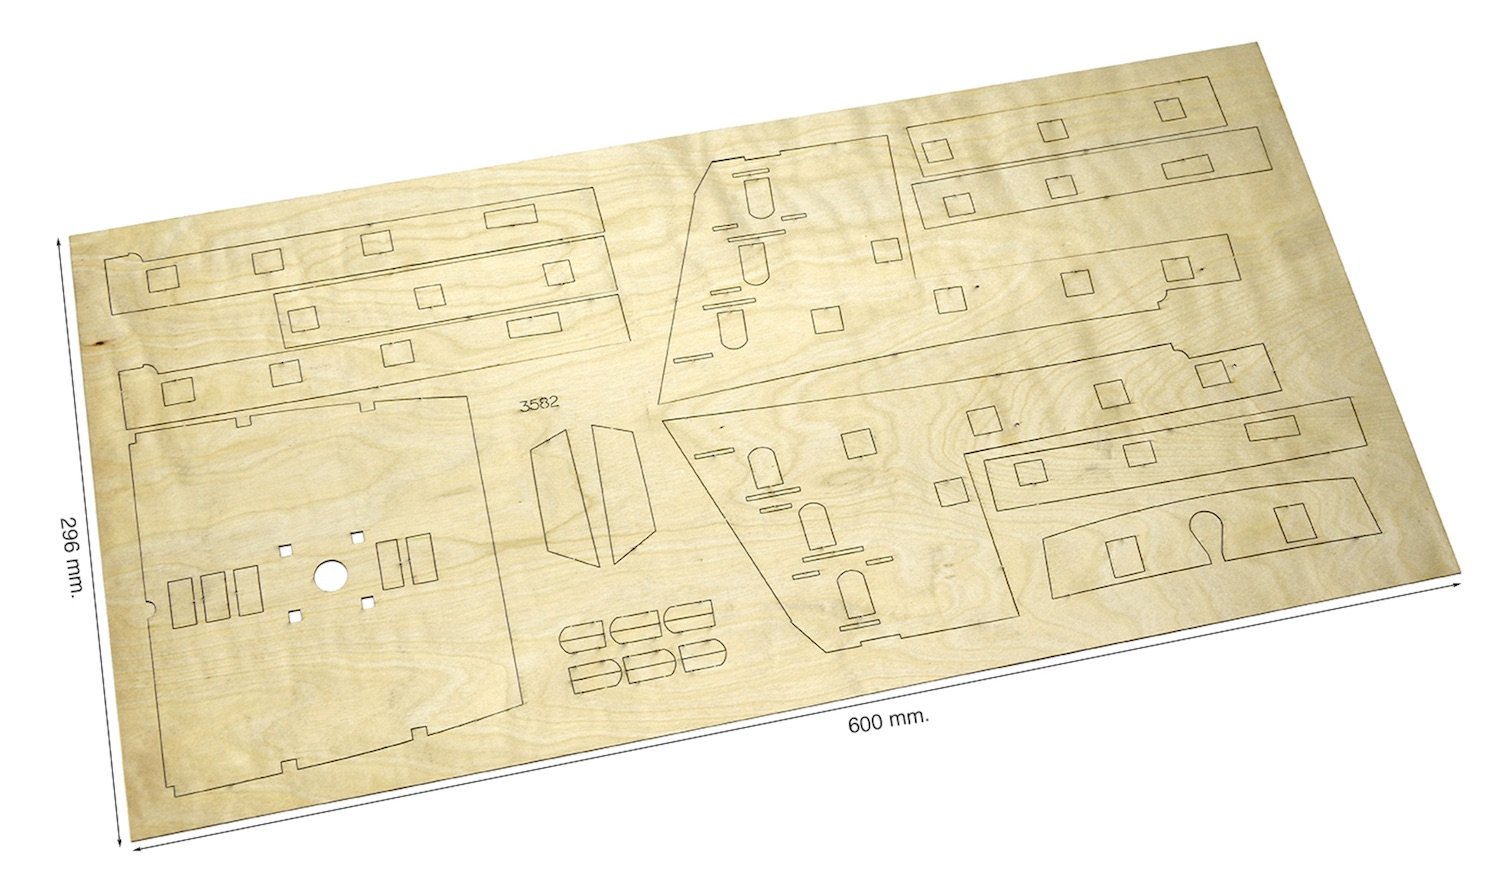
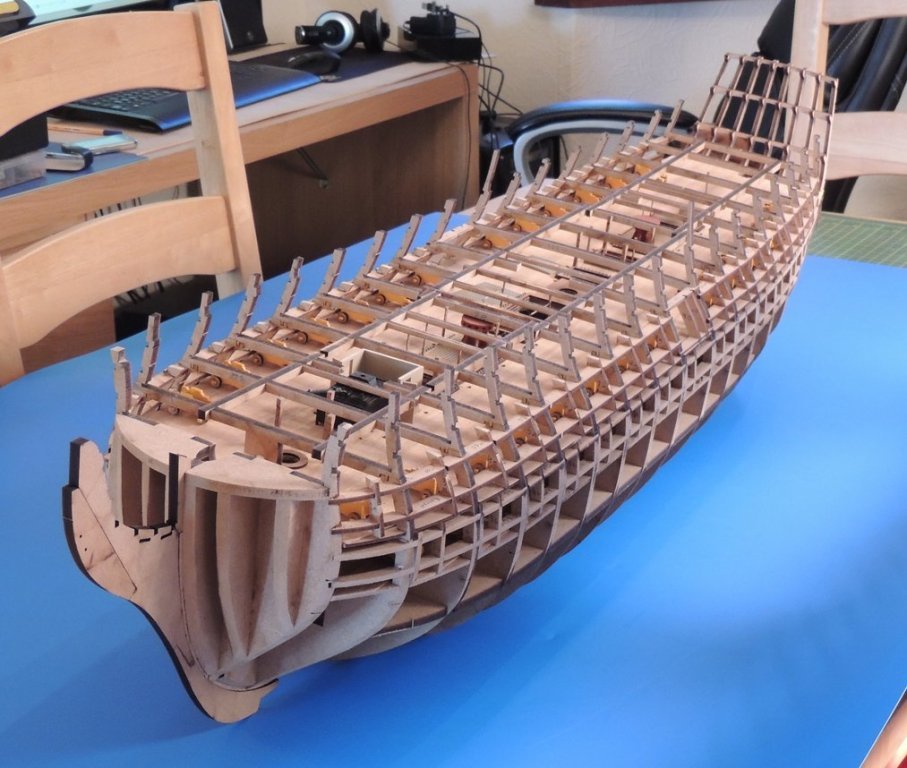
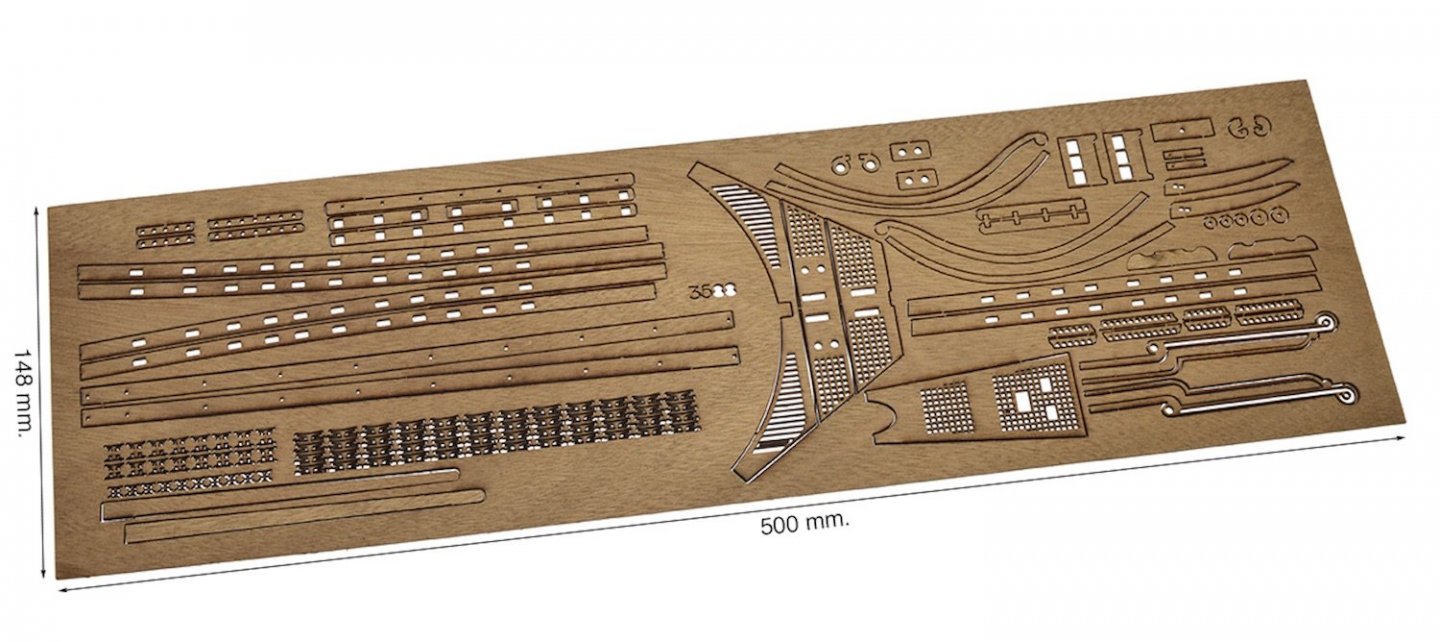
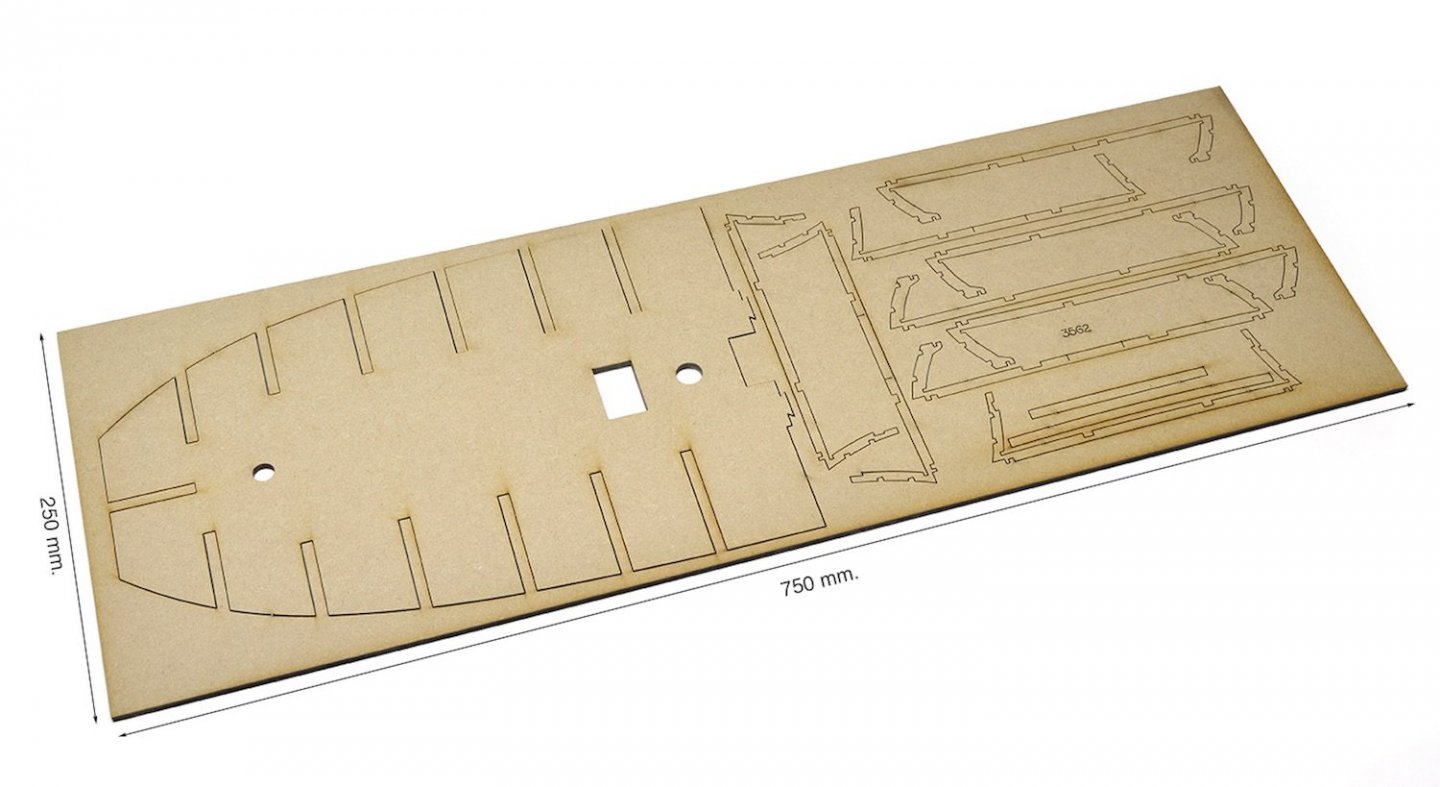
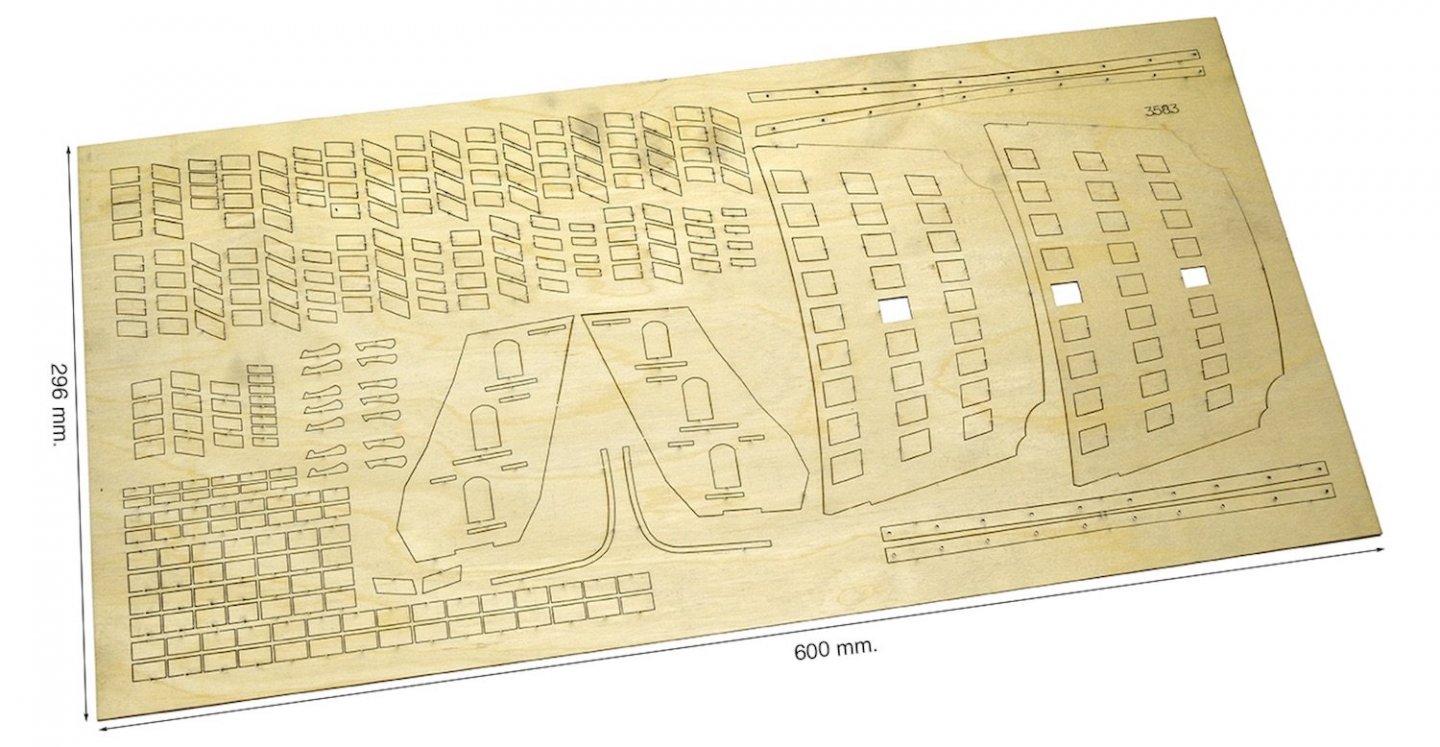
Well, some lesser-informed types think this kit is just mythical and they are unlikely to see it in 5-10yrs. We know different, and present the challenger to the crown for the Ultimate kit for HMS Victory. Amati now have all the laser and PE parts ready to ship to me and as soon as everything gets here, I'll start my promised build log. If you were thinking of getting a Victory kit, you might just want to hold off until you see this kit! Here are a very small number of sheets of laser. And I mean small number!


-
Added for you. I hope that's ok.
-
Second planking soon Don't forget, start from below those engraved bulwark marks.
-
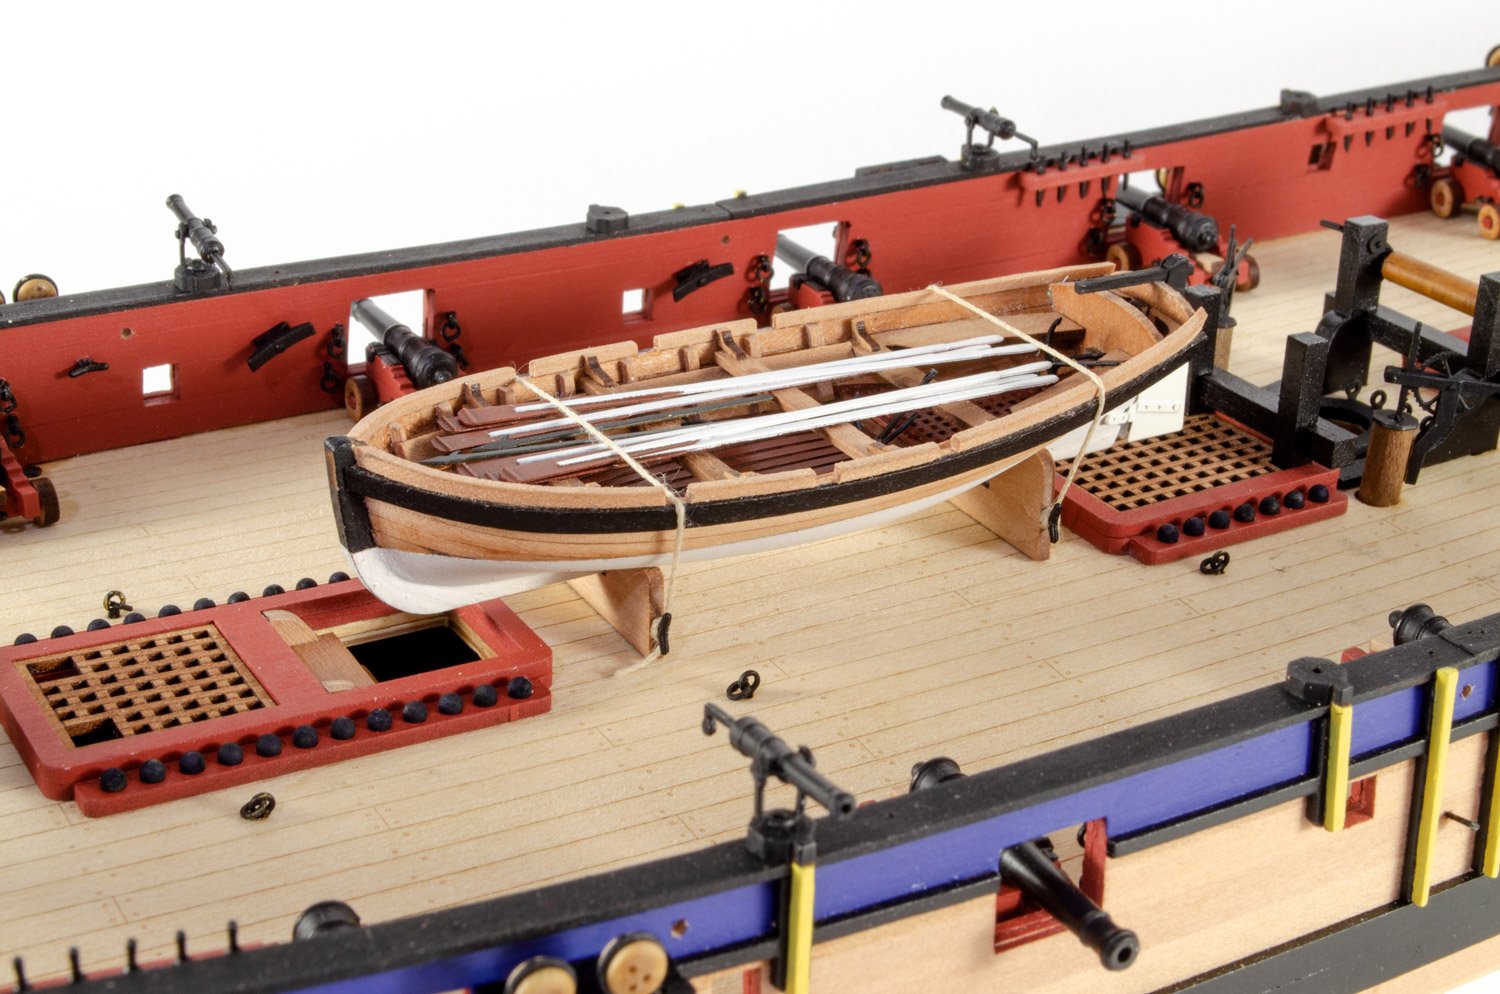
Maybe @chris watton can verify about the launch? Lovely model, and sits comfortably on my worktop.....unlike the Victory which will eventually sit there!
- 109 replies
-
- 3
-

-
- Vanguard Models
- Flirt
- (and 1 more)
-
Blackening brass advice
James H replied to Bossman's topic in Metal Work, Soldering and Metal Fittings
I hope you post your results after this. -
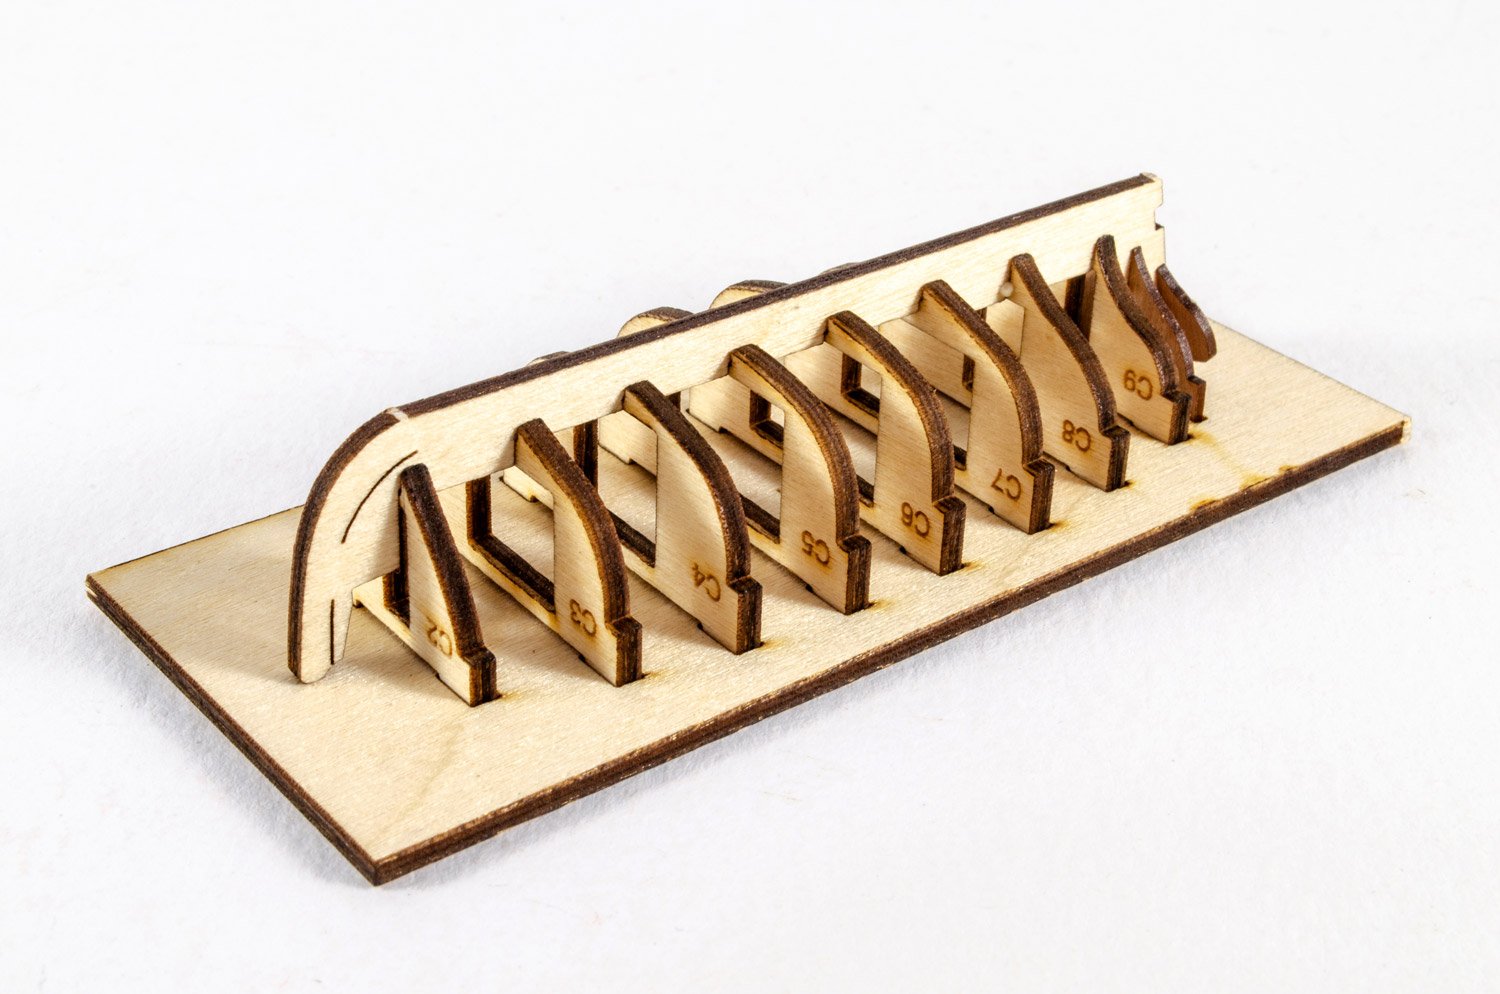
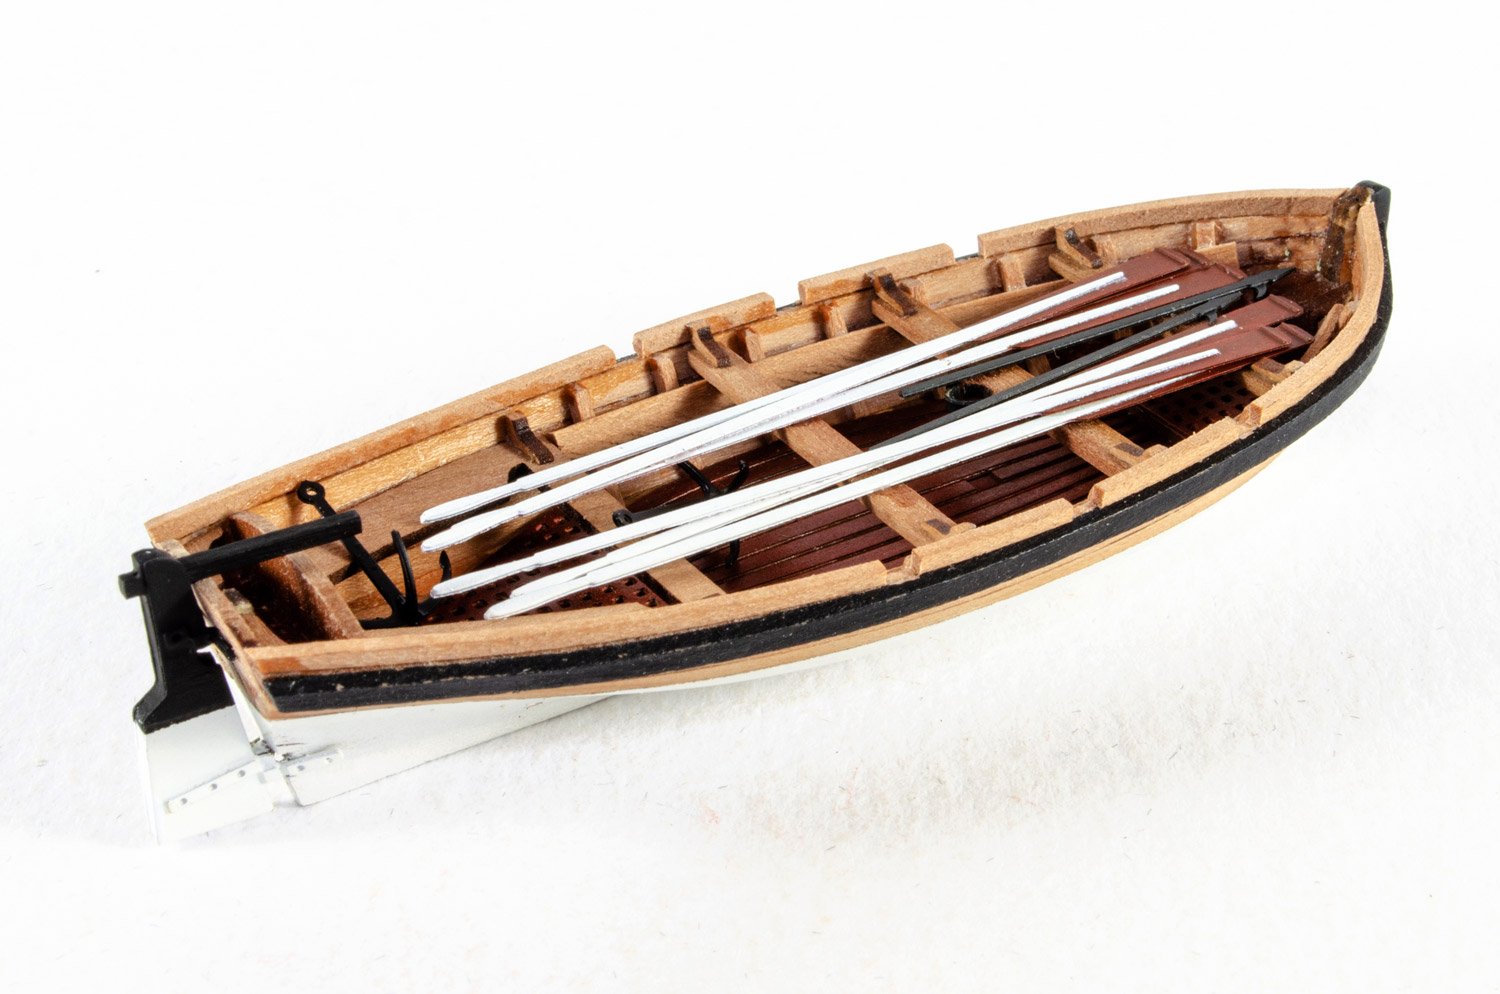
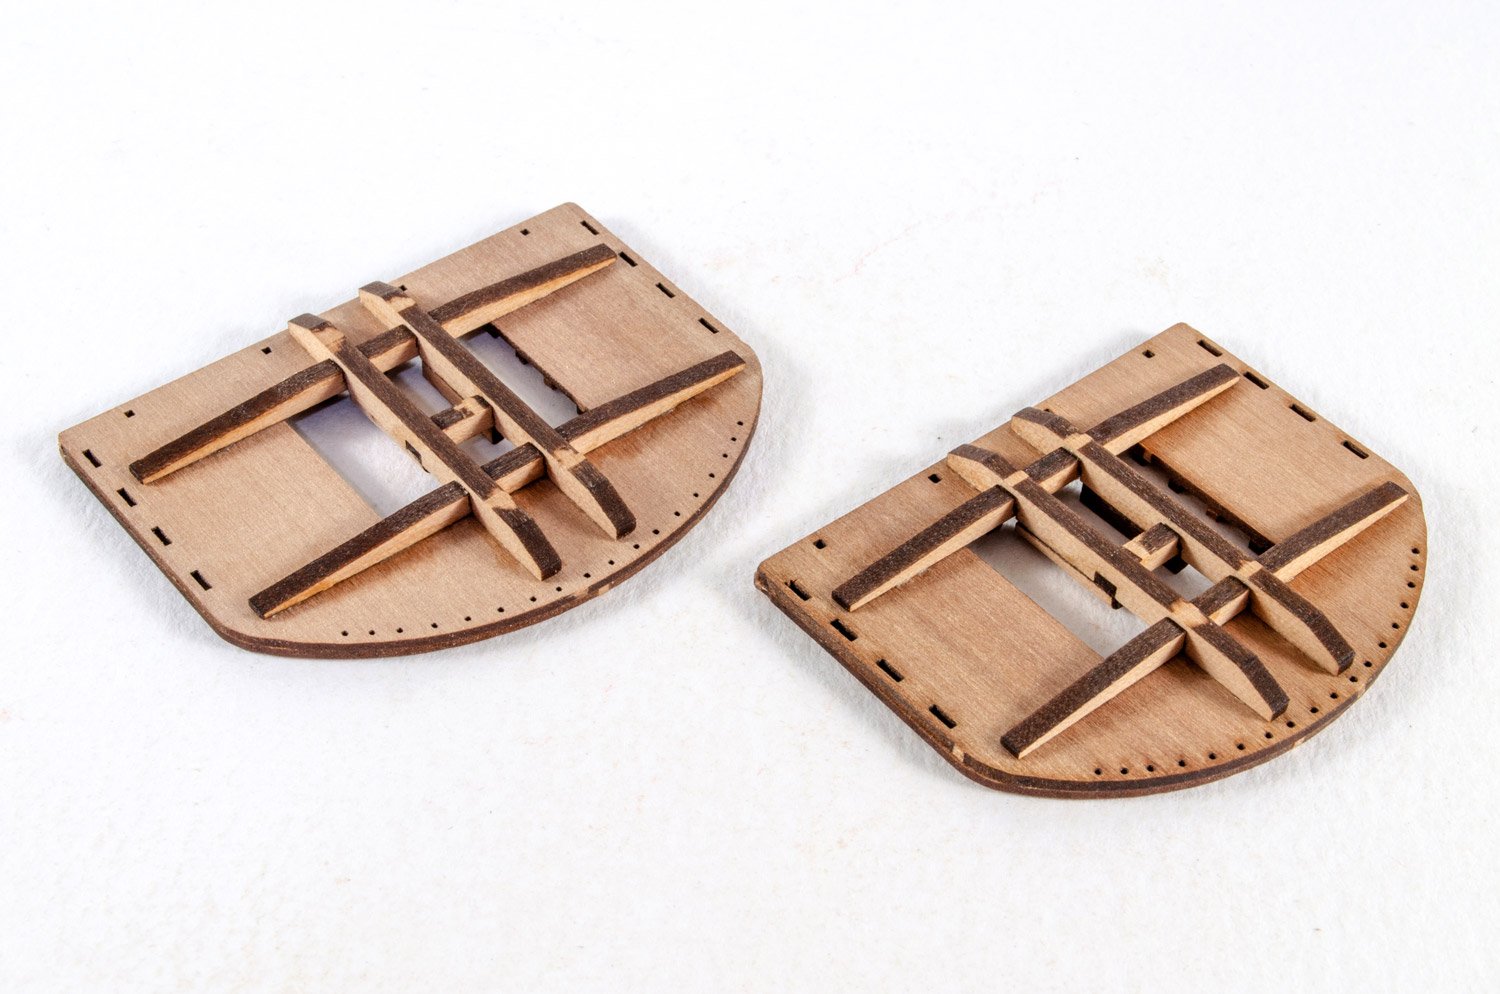
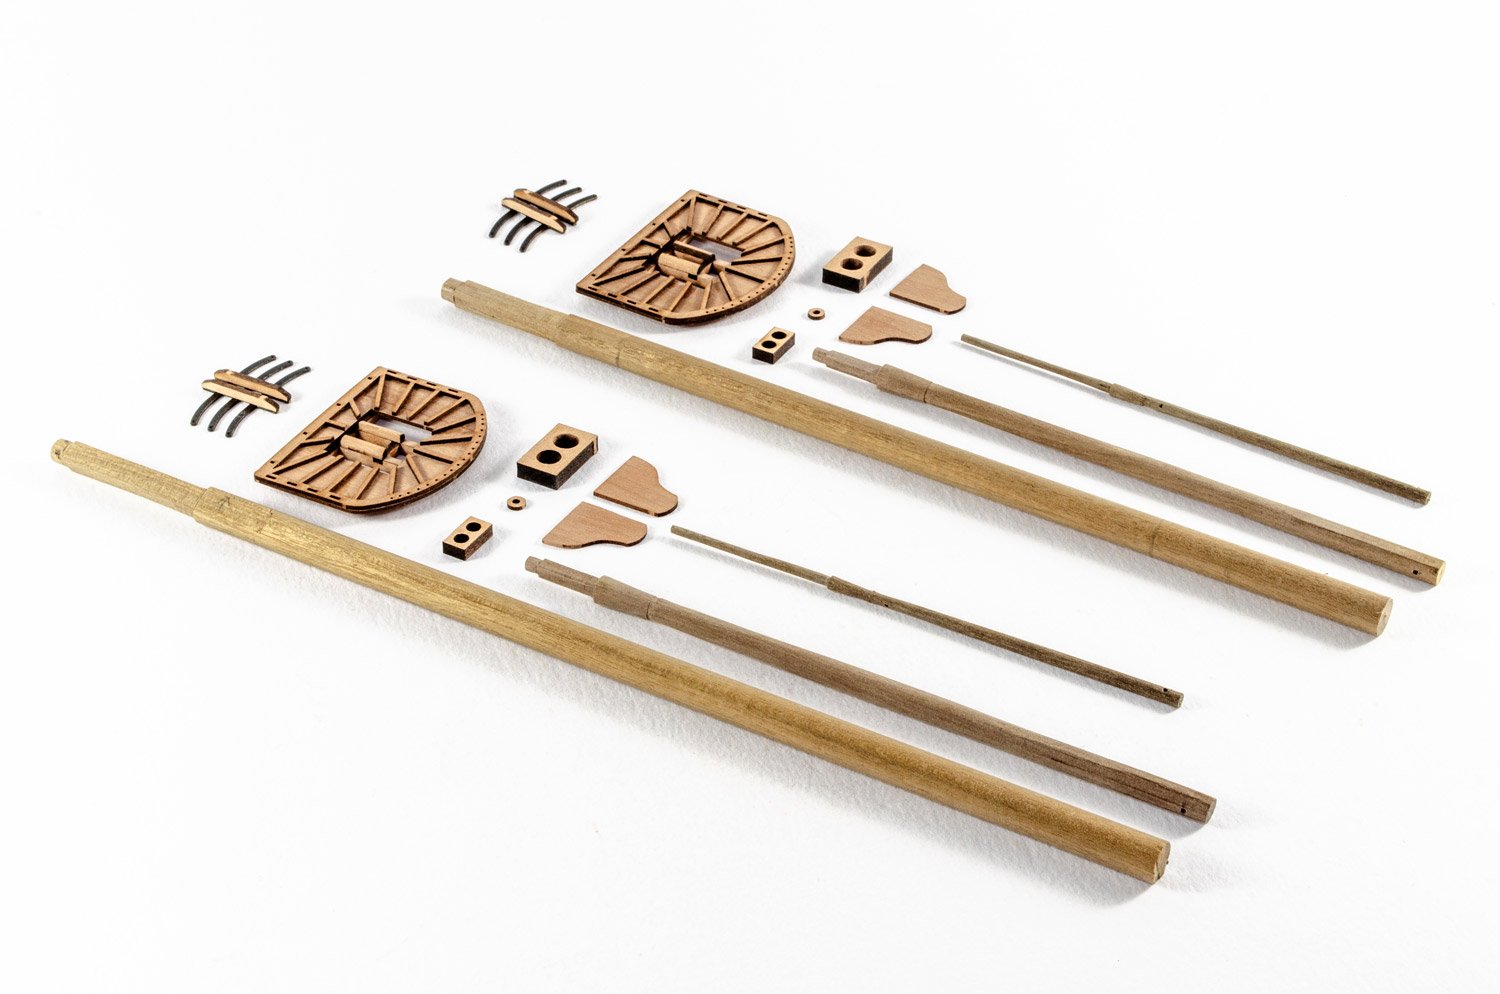
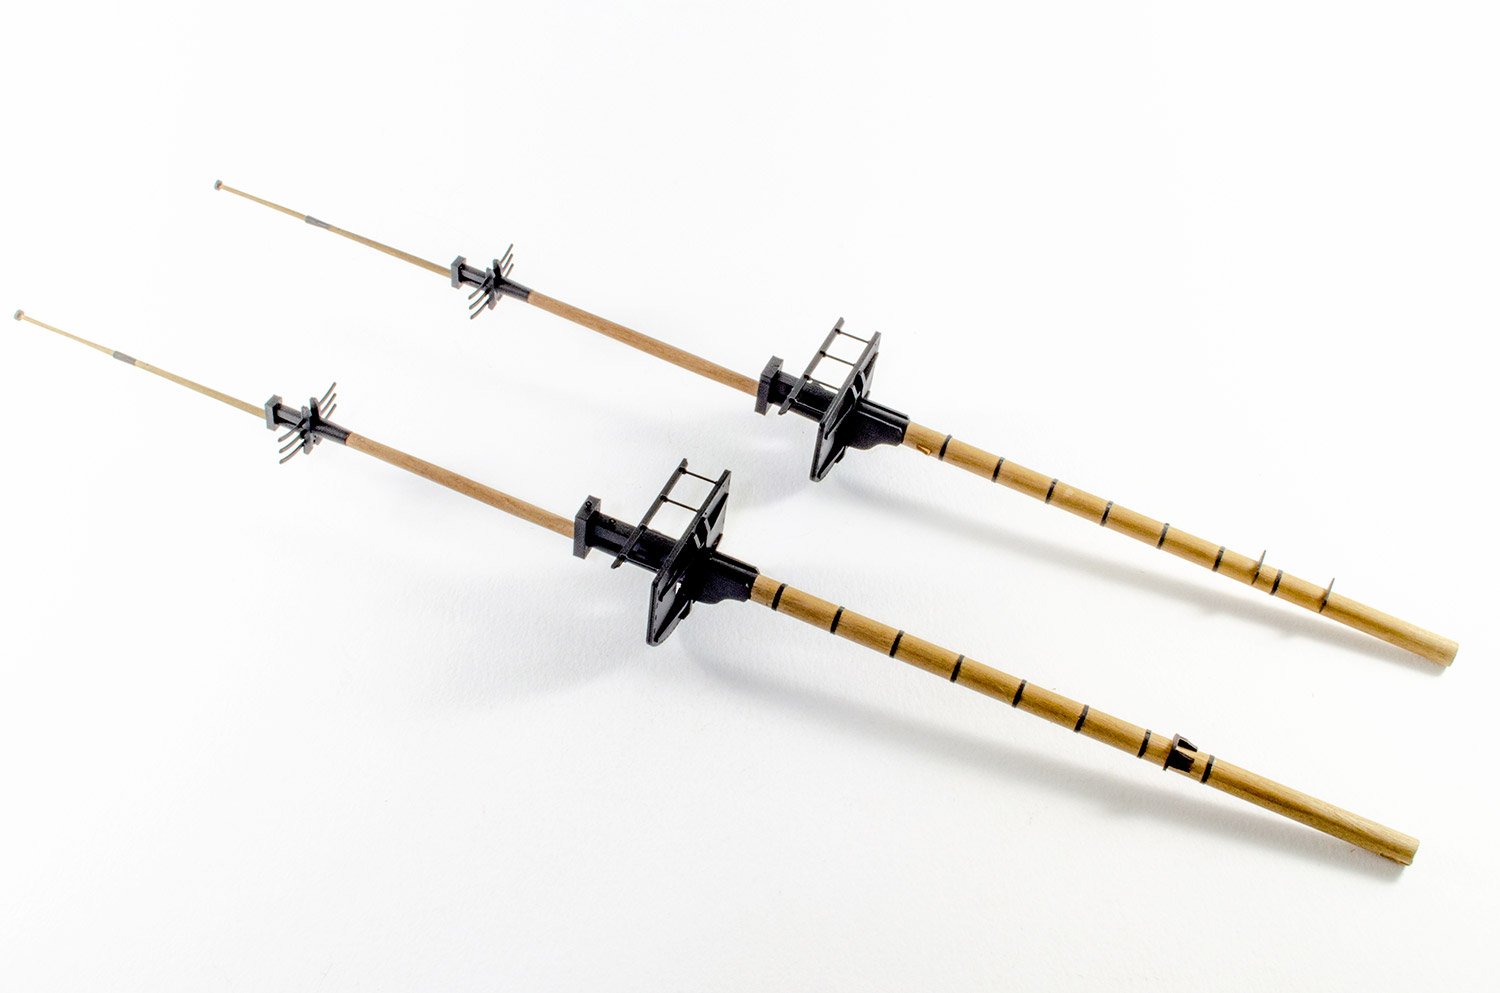
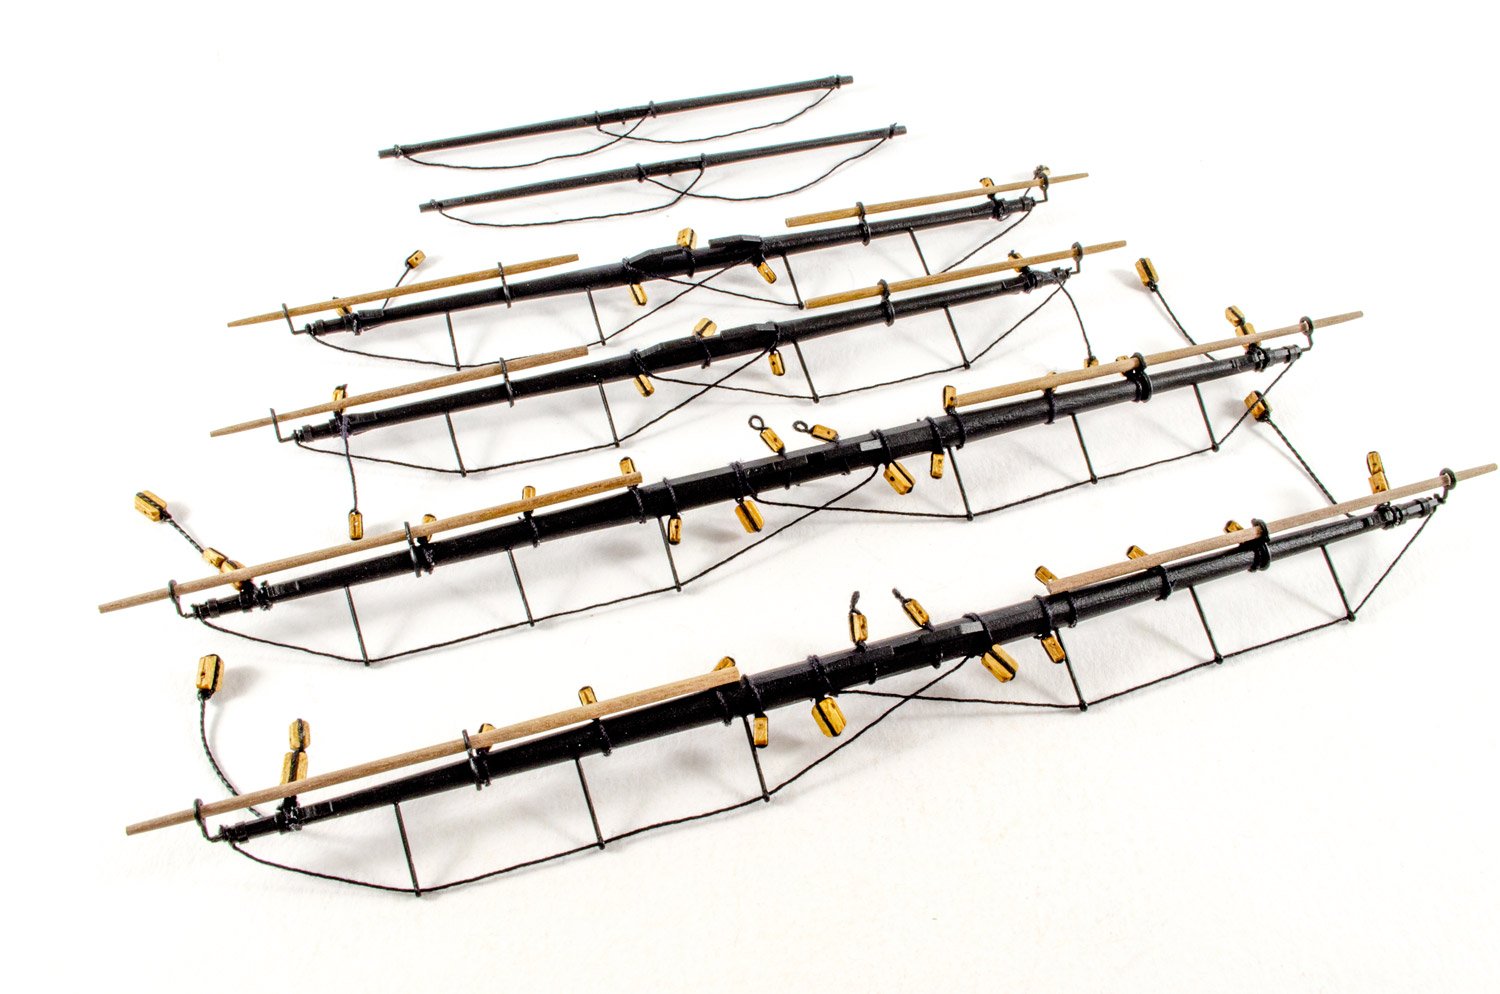
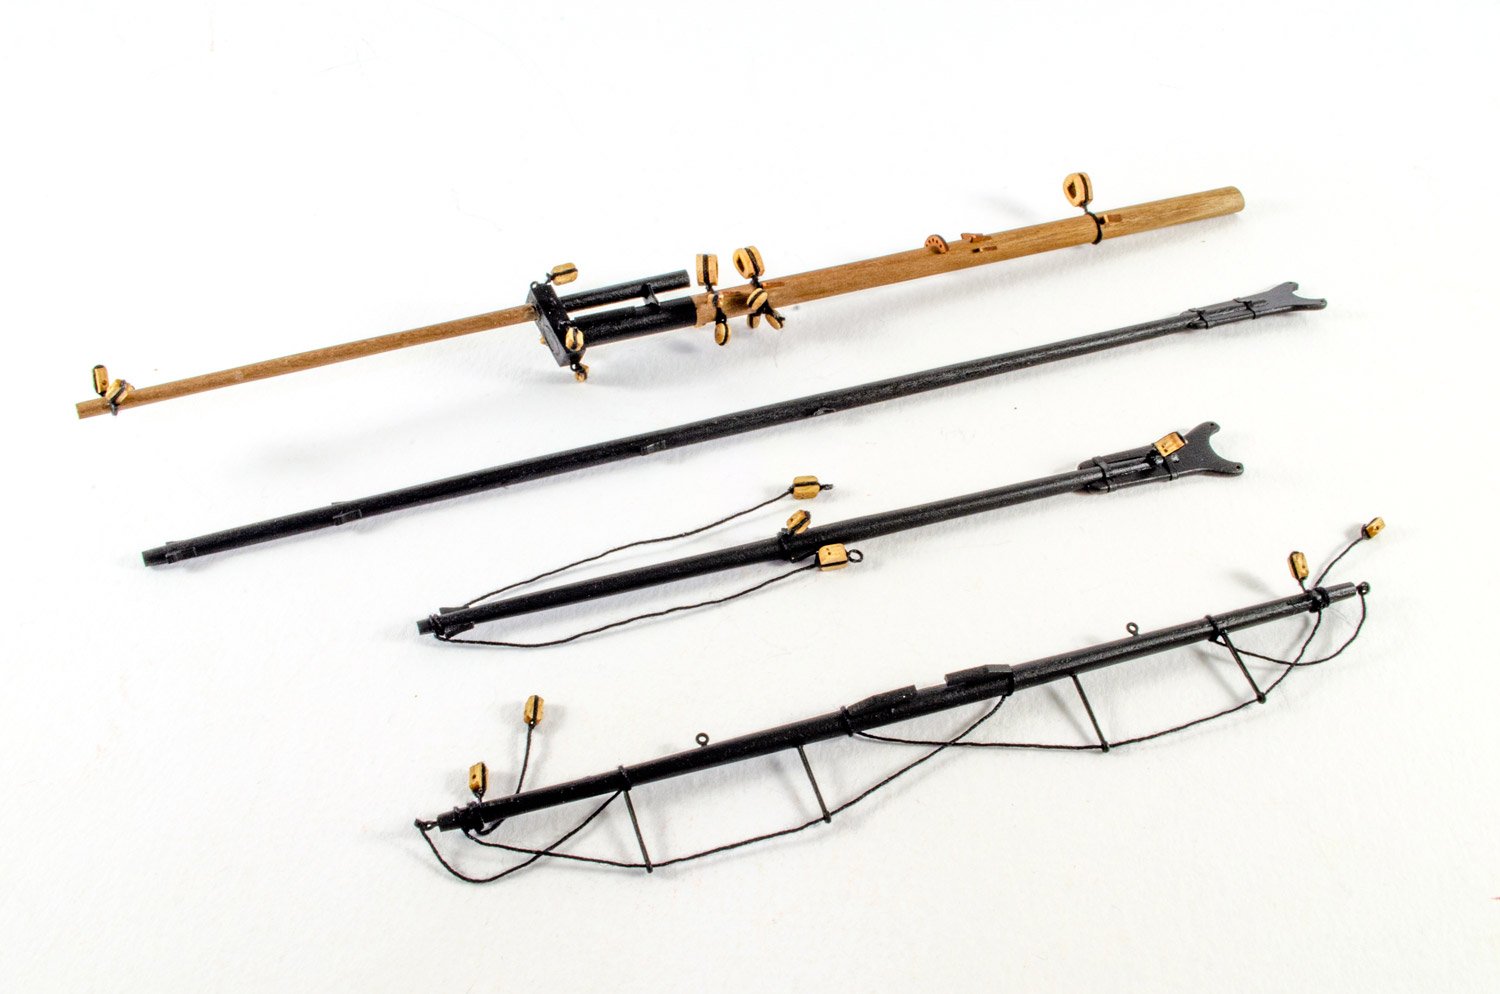
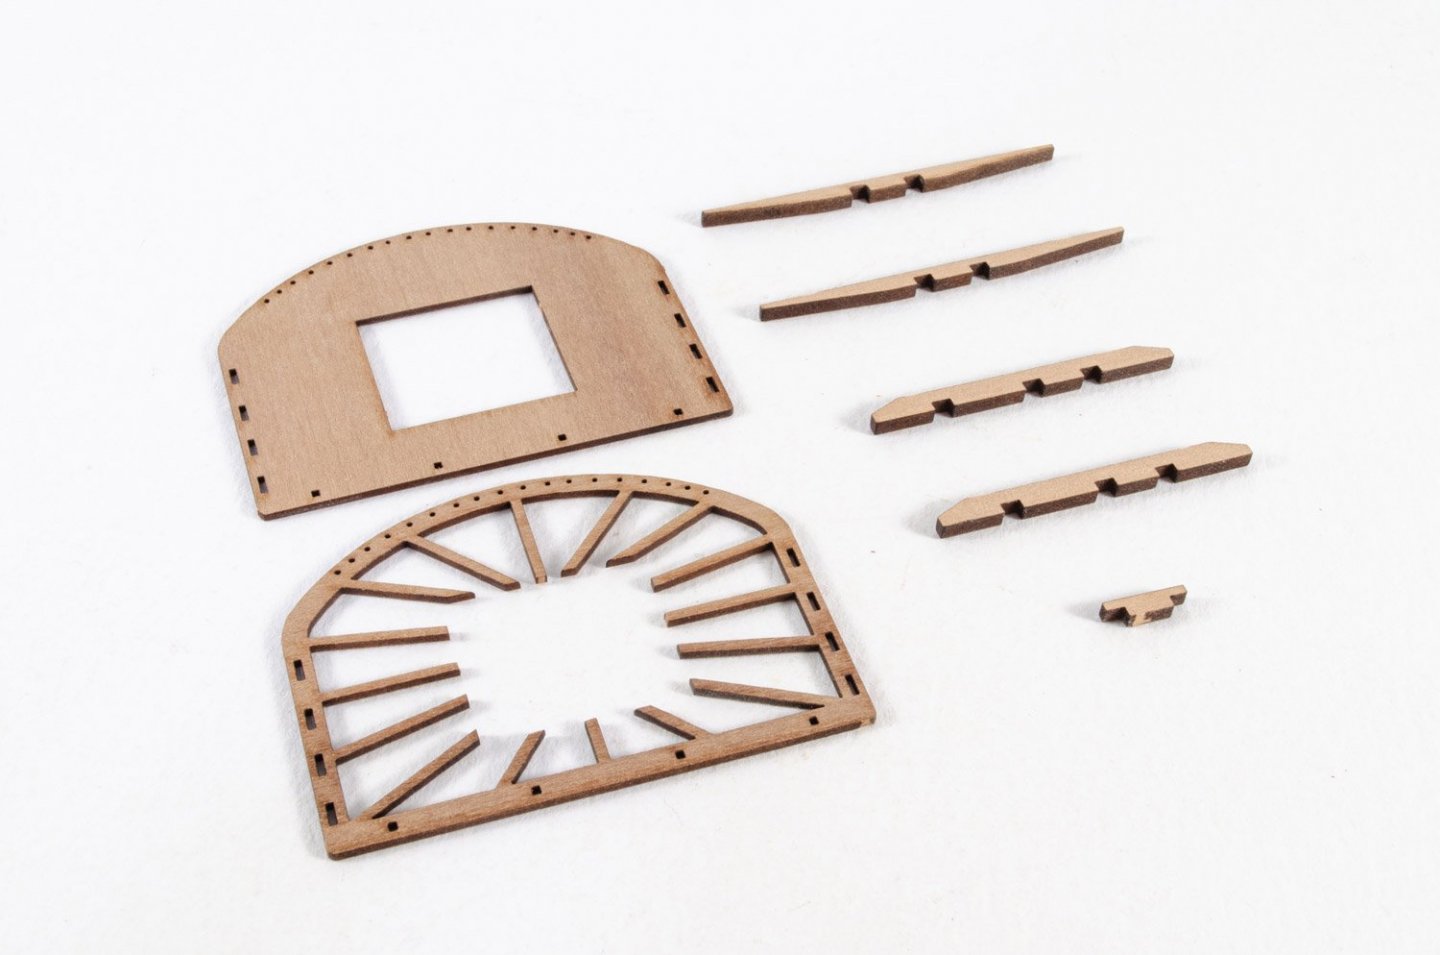
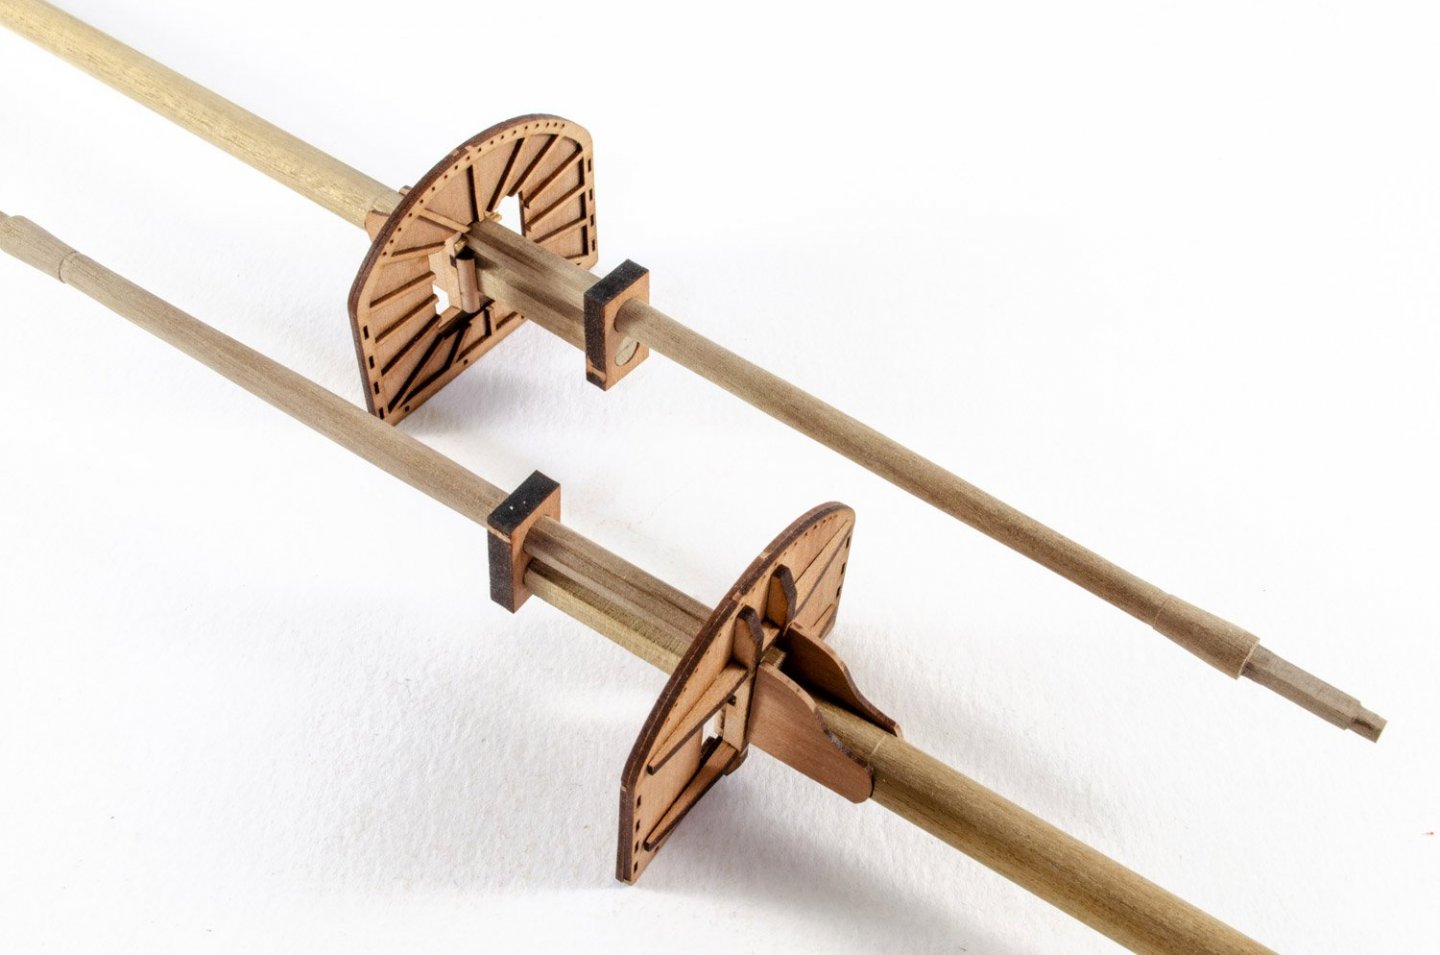
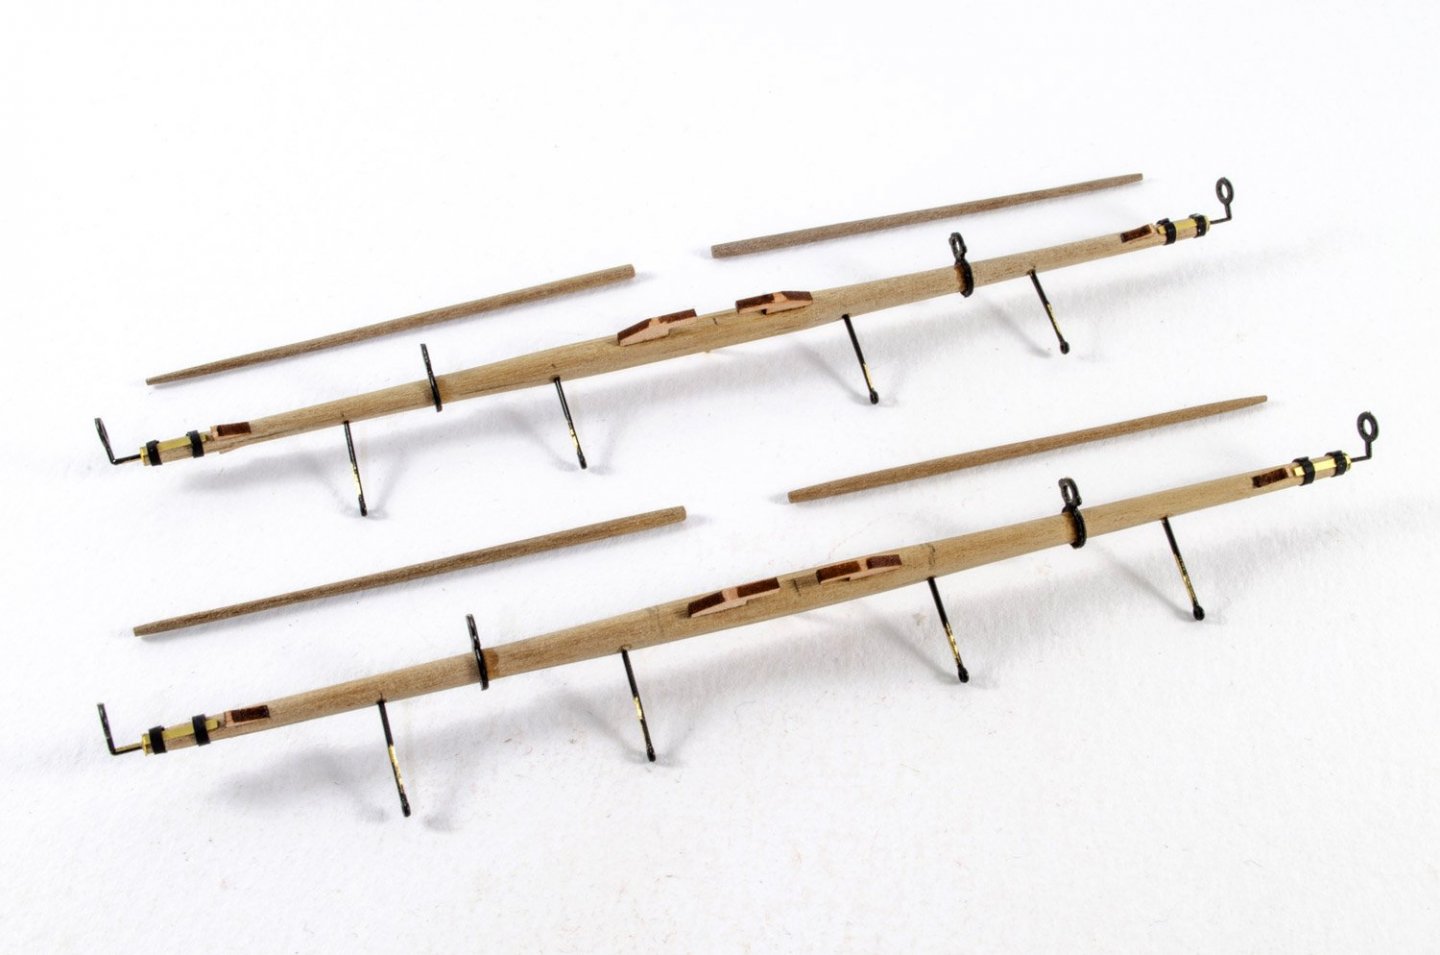
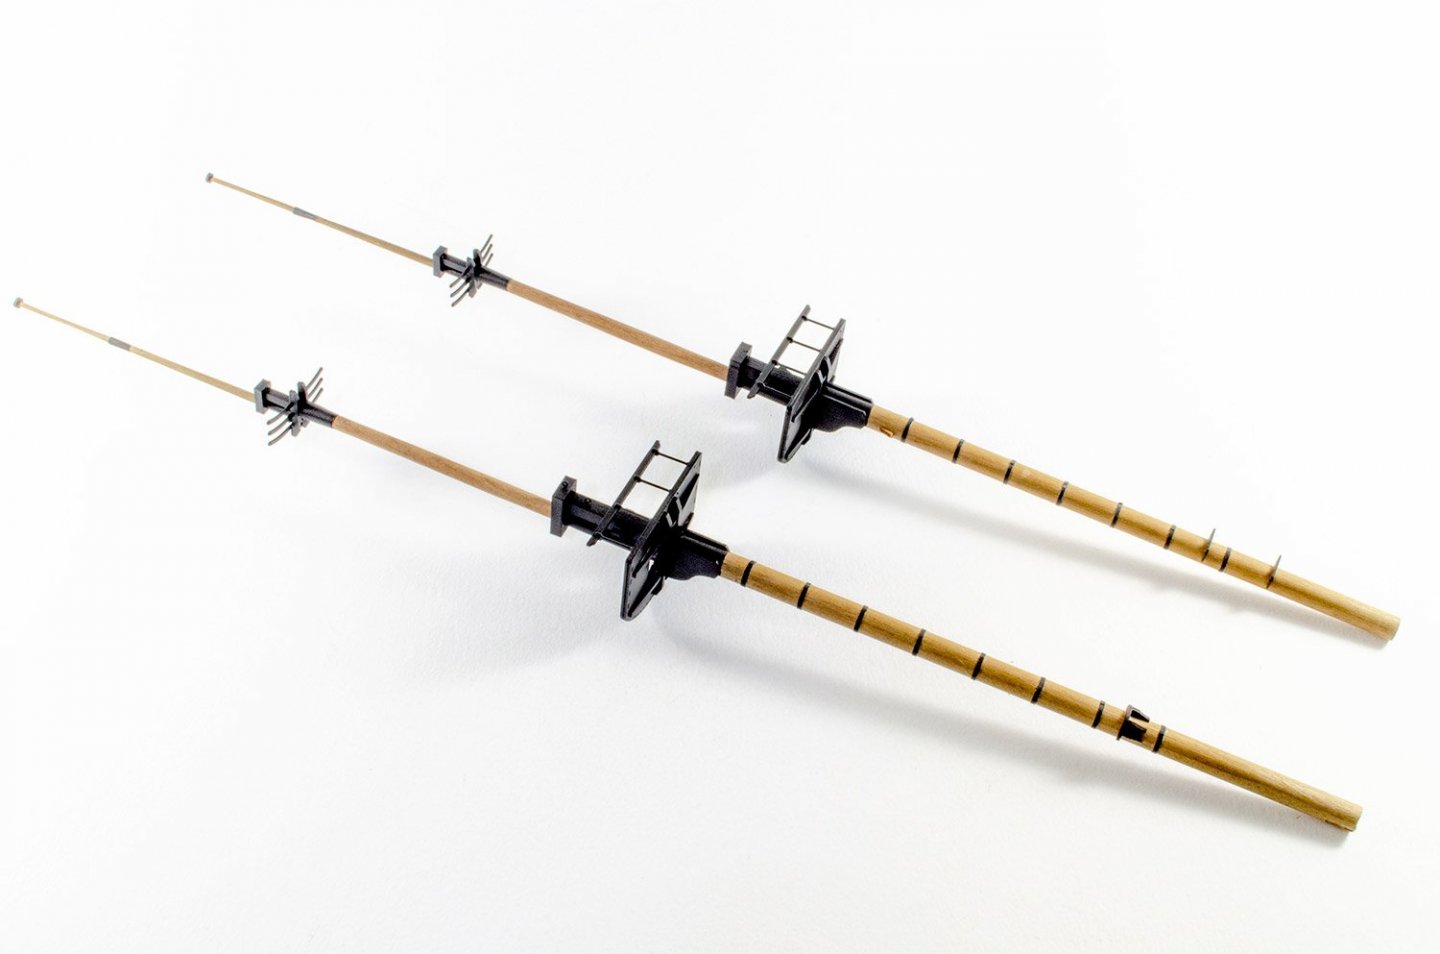
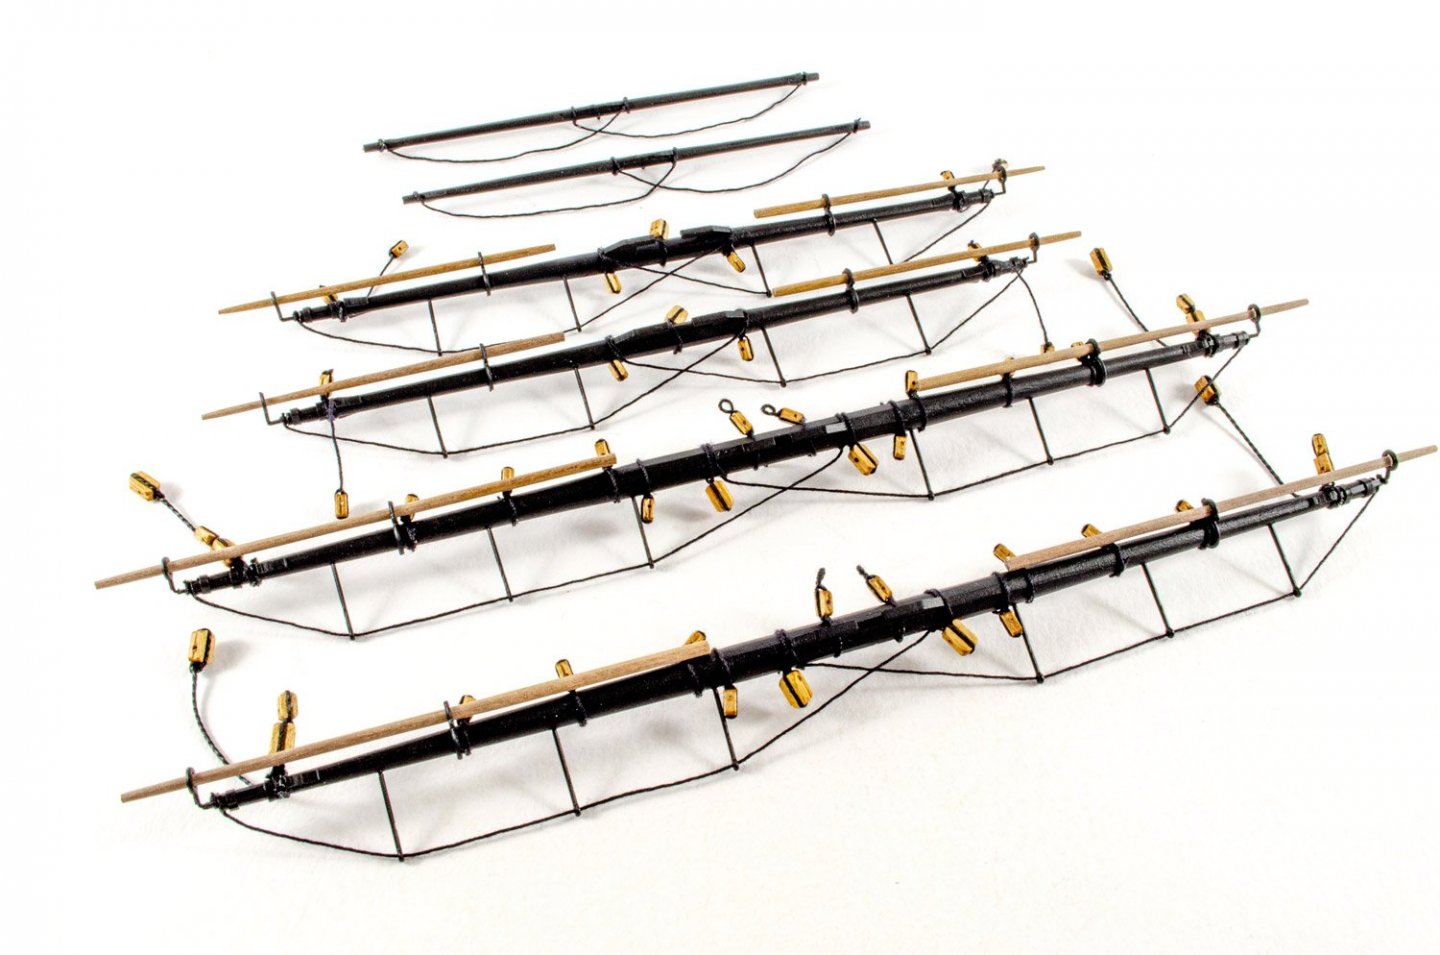
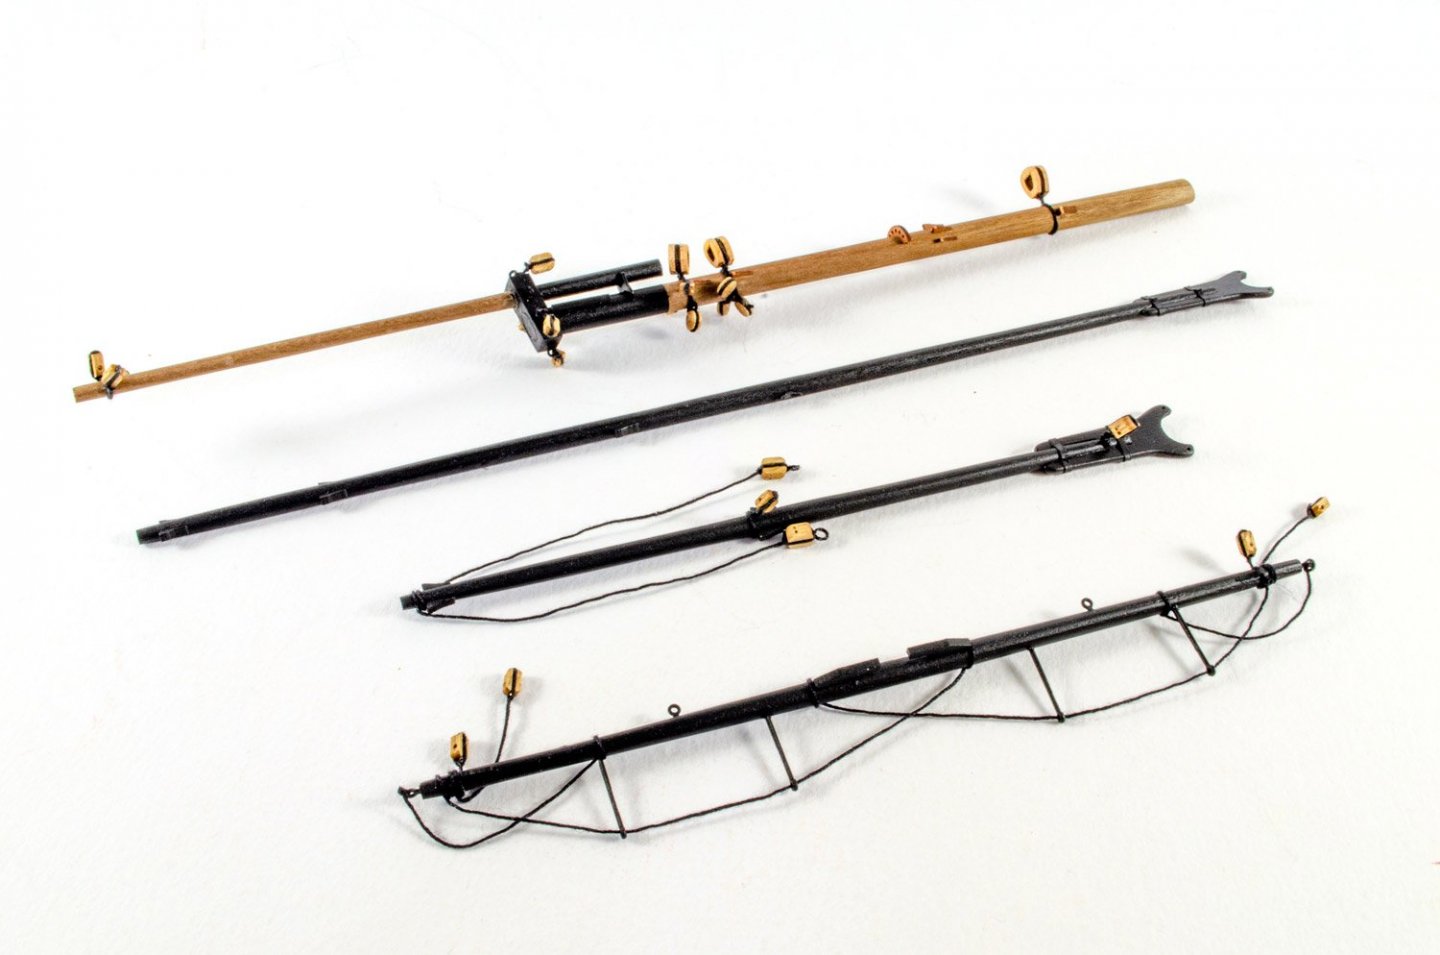
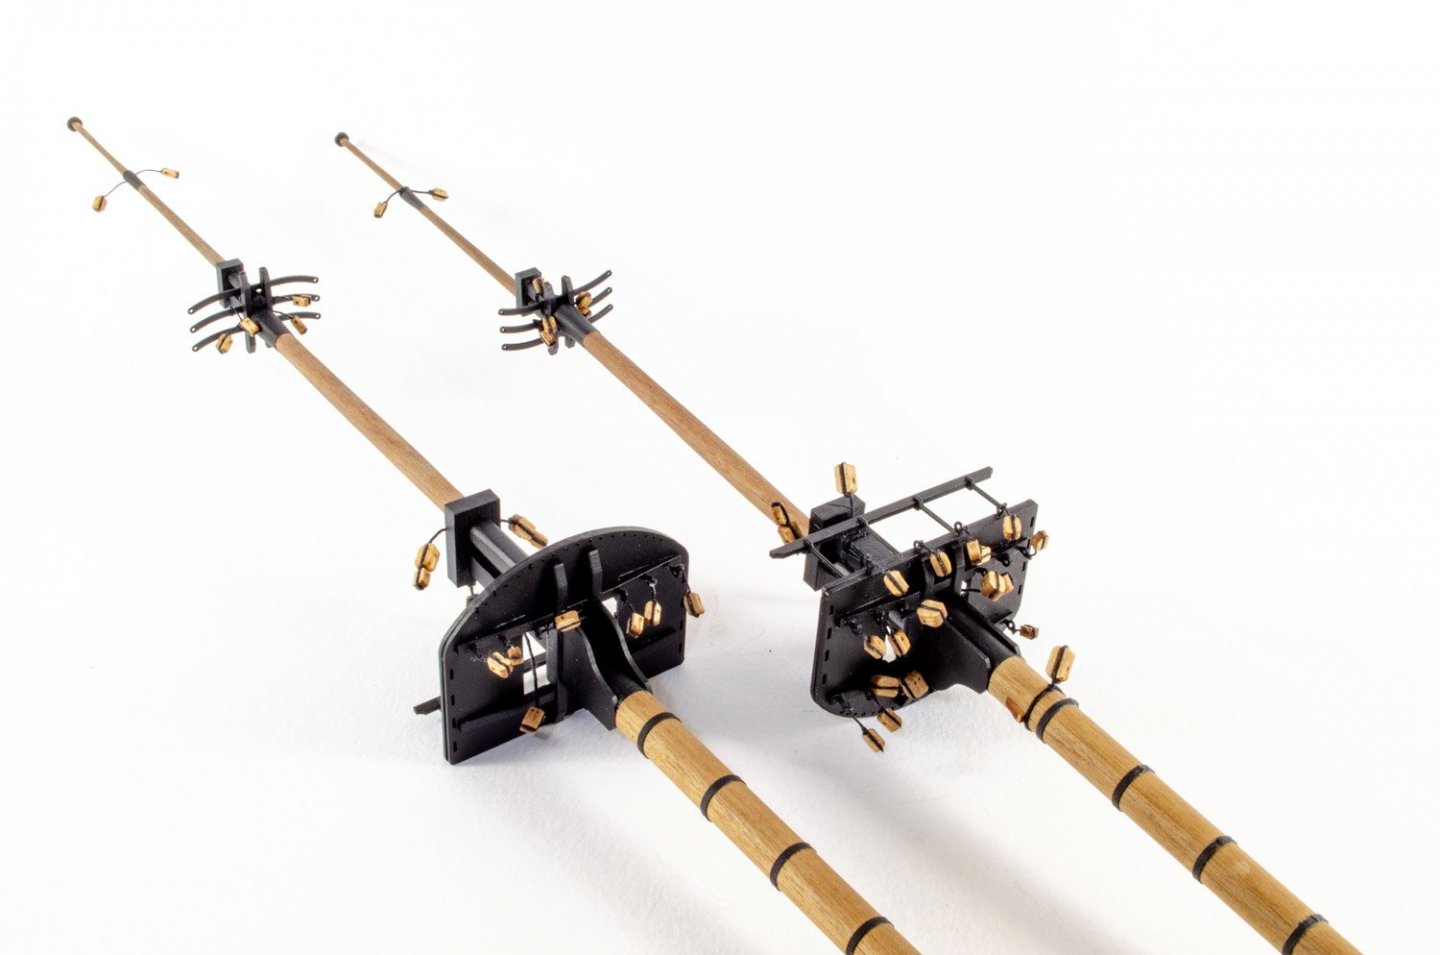
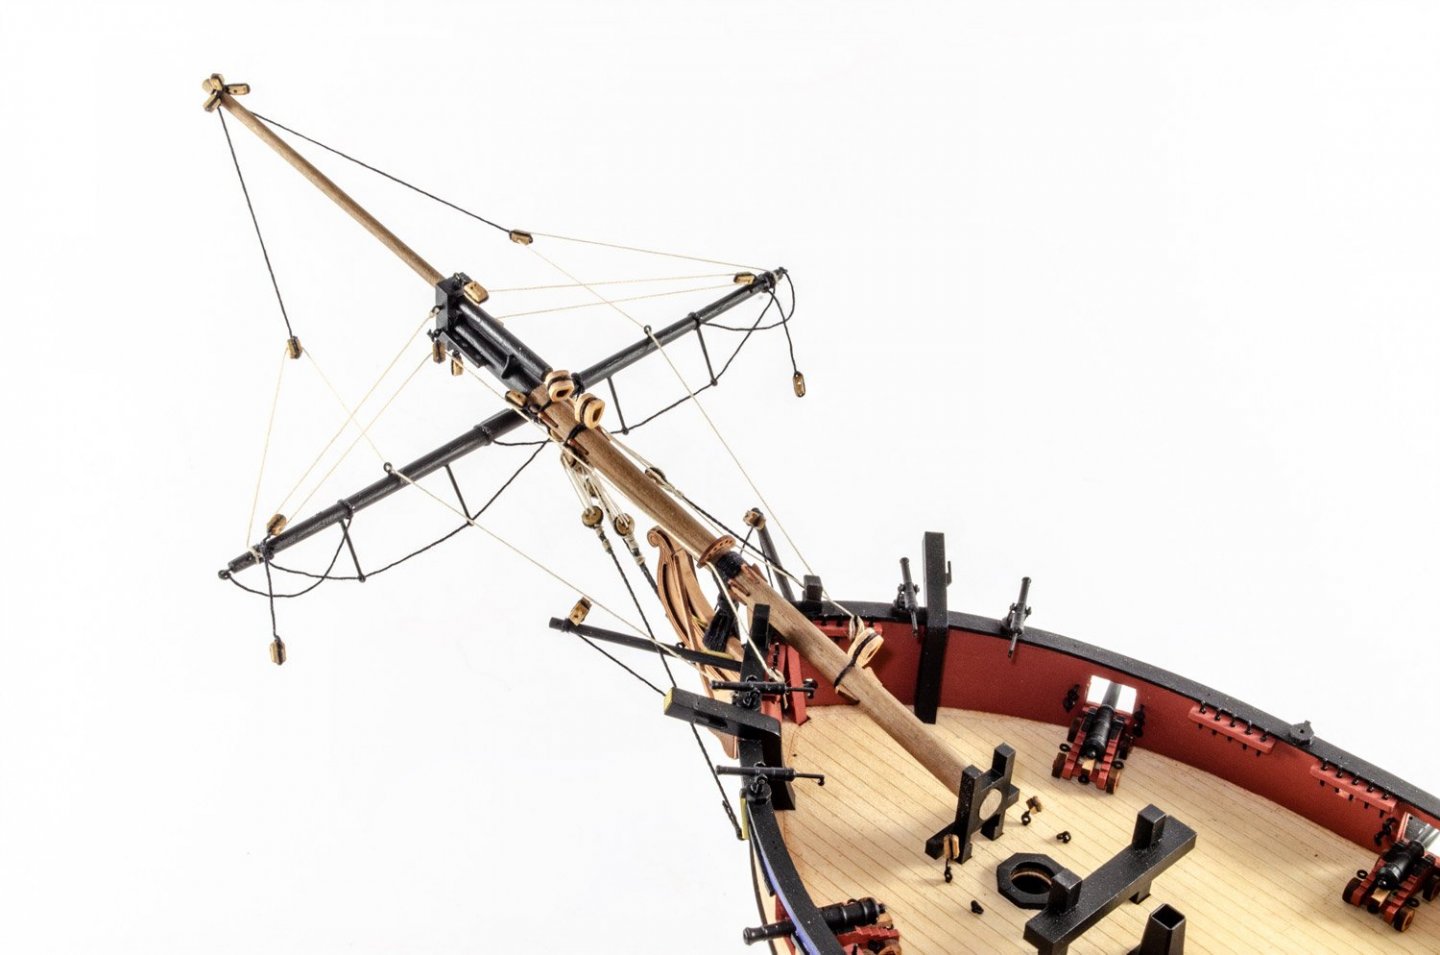
Ok, this will be my last log update before I post the finished photos in a few weeks. I'm now on the rigging stage, but thought I'd keep you up to date with what to expect of HMS Flirt, when the kit is released. Flirt will come with an optional launch, except for the Master Shipwright version which will have it as standard. This is built on an upside down jig and planked into 1mm x 2mm pear strips and then fitted out, including anchors, rudder, pikes, oars etc. I admit I loathe making these little things, but I'm happy with the result! The launch will only temporarily sat on the model as it will be removed for the kit instructions and box art. Now it's time to concentrate my efforts on the lower mast tops. These are different in size, so it's important not to get them mixed up, as I almost did! All mast sections are now tapered, squared-off etc. and then test fitted. More woodwork as the yards and booms are made. When finished, all parts are coated with polyurethane varnish and then masked before areas are sprayed in Plastikote Black. A further coat of varnish is applied over the black areas so they have the same sheen as the bare timber. Mast bands etc. are added using black cartridge paper. The masts and yards can finally be fitted out with blocks. Rigging begins with the bowsprit, spritsail boom and boomkins. This differs a lot to the Speedy kit. Note also there is no flying jibboom on Flirt. There are different, significant changes between Flirt as she's depicted in her early rigging style, and the later rig depicted in the Speedy kit. The masts are then drilled to accept the yard pins which will help keep everything in place whilst I rig. The yards are only temporarily fitted for this post. The masts are then glued into position, pending the shrouds being fitted. Catch you when I've rigged her... 😆


- 109 replies
-
- 25
-
-
- Vanguard Models
- Flirt
- (and 1 more)
-
Welcome to the best, busiest and most helpful model ship site around. Loads of knowledge, content and friendly souls here to share your work with and learn along with the rest of us.
-
Blackening brass advice
James H replied to Bossman's topic in Metal Work, Soldering and Metal Fittings
I would make sure your parts are thoroughly degreased before blackening them. A good way to do that is to wash them in acetone or ethanol etc. That 'might' be your issue. -
To continue the conversation about piracy, check out our section on this subject, and take part in the conversation and initiative:
- 1 reply
-
- 2
-
-
The red looks ok to me. Easy enough to change though if you think otherwise.
- 195 replies
-
- 2
-
-
- lady eleanor
- vanguard models
- (and 1 more)
-
It's all just common sense. Look at the thickness of stern post and asses that against first planking while you sand...taking into account the thickness of the pear.
-
such lovely, clean work. Following along 🍿
-
What's TFFM Stands For?
James H replied to Oskar24's topic in Using the MSW forum - **NO MODELING CONTENT IN THIS SUB-FORUM**
Please keep this forum area for site issues only, as clearly stated. Topic locked. -
Click on the tags in the title above (shown in black) for an instant list of all the build logs for that kit subject.
-
Click on the tags in the title above (shown in black) for an instant list of all the build logs for that kit subject.
-
As long as the keel at the sternpost area is around 1mm-2mm, you can always sand down the pear so it's flush (or doesn't step) with the 3mm sternpost/rudder post. If the stern was left at 3mm before second planking, then your sand away the pear at the stern to make things level. I know most of this area is coppered, but it's good practice to thin it beforehand.
-
6 and 9, the wrong way round?
-
Click on the tags in the title above (shown in black) for an instant list of all the build logs for that kit subject.