James H
-
Posts
6,150 -
Joined
-
Last visited
Content Type
Profiles
Forums
Gallery
Events
Everything posted by James H
-
 There's no way that adding the new forum theme has rotated your images. I really can't explain how that could've happened. The easiest thing to do is to edit the affected posts, delete the image and upload the correct orientation again.
 -
Removing a link
James H replied to Blue Ensign's topic in Using the MSW forum - **NO MODELING CONTENT IN THIS SUB-FORUM**
Ok, I edited it for you. You'll need to set the colour as you like it. Posting a straight link will usually mean you get a photo-link to a topic. You needed to add the link to the name of the ship instead. -
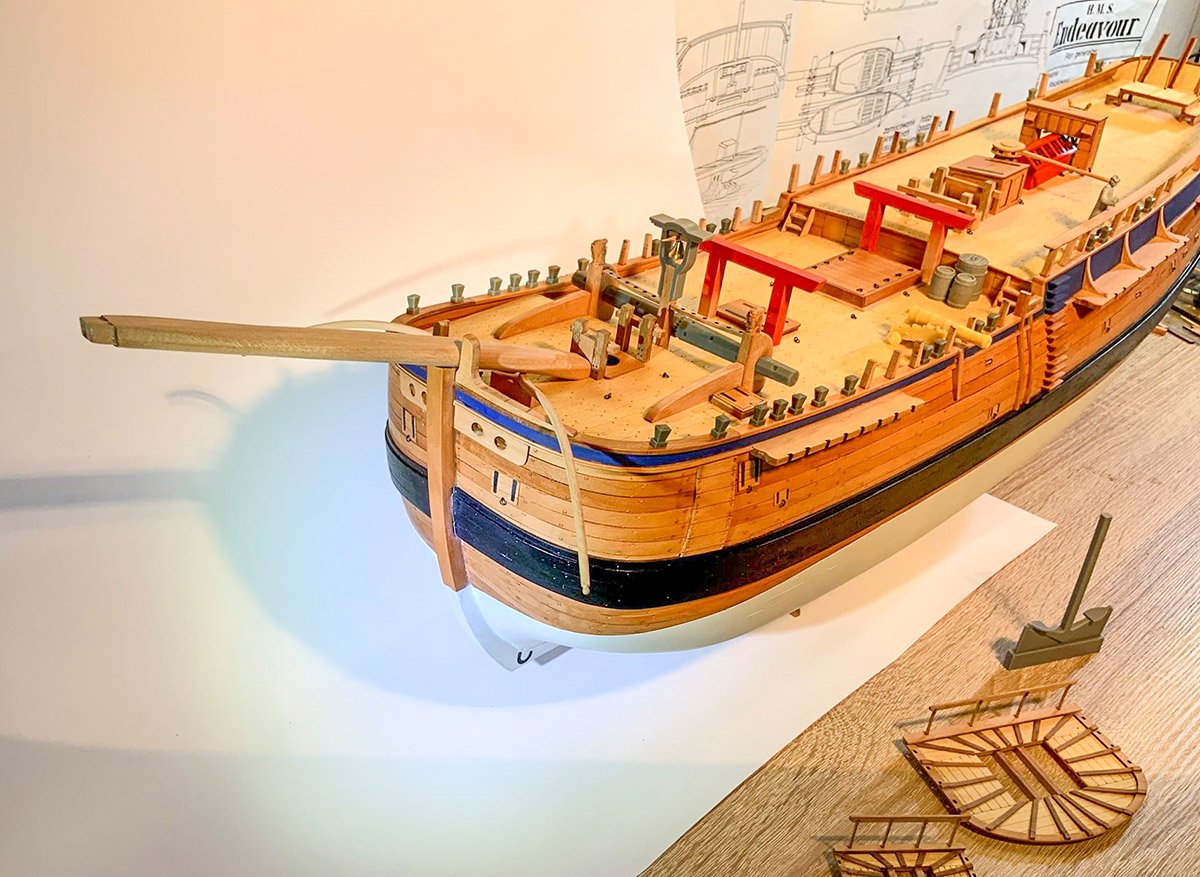
A new company from the Czech Republic will release a 1:48 HMS Endeavour later this year. This is actually another brand of a company that has produced some excellent plastic and resin models for a few years, but this is of course a wooden kit, and we have the very first pictures of it to show you. The model is generally pearwood, with other elements in there that you'd expect such as various castings etc. and these photos show that it looks pretty darn good. I also have the plans here that I've been looking at, and all I can say is you're in for a treat. This is a welcome release of this famous ship, especially as the ones on the market are now quite old. I won't name the company yet...

- 17 replies
-
- 14
-

-
ancre Coureur by cafmodel - 1/48
James H replied to cafmodel's topic in - Build logs for subjects built 1751 - 1800
It is, I understand the formula -
I always wondered how easy it would be to plank that deck with that joggled master plank. I guess I'm now going to see 🤣
-
Change Theme
James H replied to cog's topic in Using the MSW forum - **NO MODELING CONTENT IN THIS SUB-FORUM**
We can remove that, but it's a quick-navigation/search feature of the website, so you don't need to scroll to the top etc. -
Change Theme
James H replied to cog's topic in Using the MSW forum - **NO MODELING CONTENT IN THIS SUB-FORUM**
Both themes now have black text on a white background. The only reason the new one didn't is because I hadn't yet tweaked it at that stage. -
ancre Coureur by cafmodel - 1/48
James H replied to cafmodel's topic in - Build logs for subjects built 1751 - 1800
I work in science and chemistry, so that info is very useful to me. 👍 I never new KMnO4 would be in that mix! -
ancre Coureur by cafmodel - 1/48
James H replied to cafmodel's topic in - Build logs for subjects built 1751 - 1800
The cannon look very nice with the emblems. Are these supplied in bare brass or already painted/blackened? -
Change Theme
James H replied to cog's topic in Using the MSW forum - **NO MODELING CONTENT IN THIS SUB-FORUM**
Your text is now black.. -
Change Theme
James H replied to cog's topic in Using the MSW forum - **NO MODELING CONTENT IN THIS SUB-FORUM**
I've also made the Uniform theme available for those who don't like the effort we've put in. -
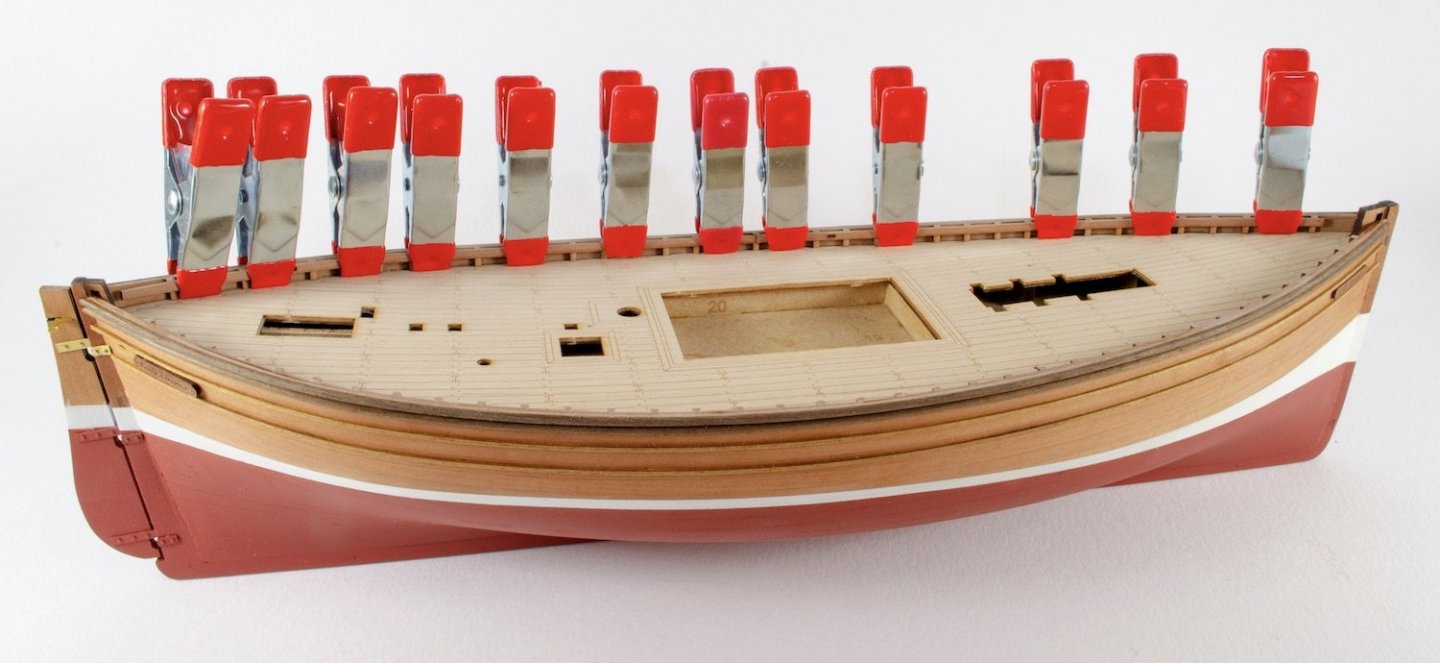
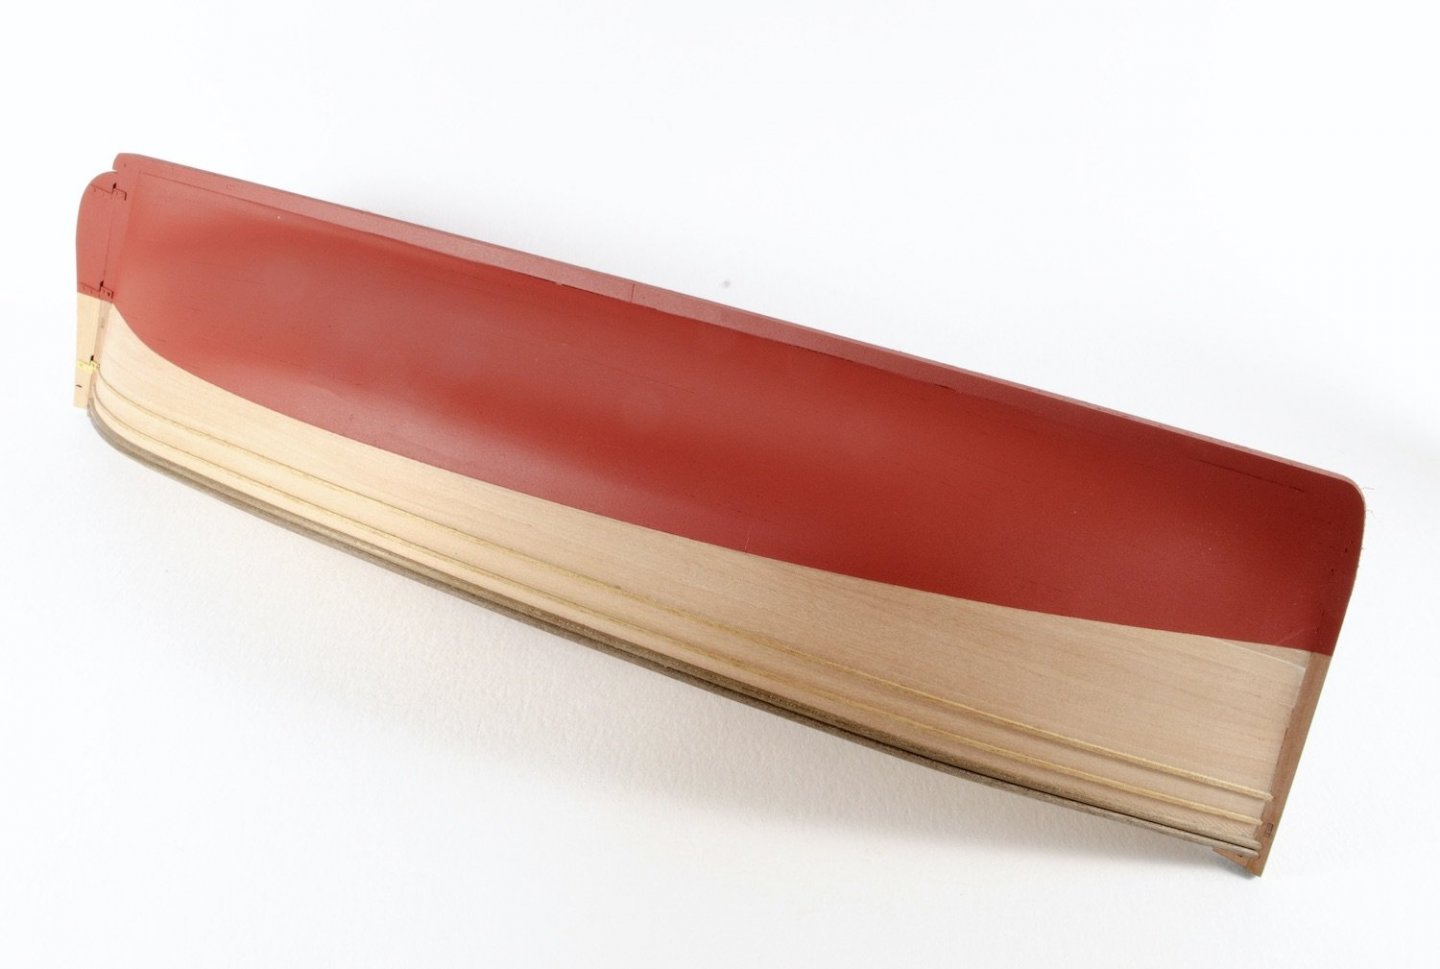
Looking good! That waterline does indeed come close to the rubbing strakes. Without a doubt, you would need to remark and spray to that line. Check the position of the waterline at the stem and stern against the plan to make sure you can join those points with the waterline tool. At the moment, the red paint is way too low. This is mine, marked off against the plan.
- 195 replies
-
- 6
-
-
- lady eleanor
- vanguard models
- (and 1 more)
-
Consider it done!
-
Welcome to MSW. You'll find loads of info here and plenty of folk willing to help you out too. Looking forward to a build from you.
-
Nice to have you with us, and perhaps a build log in the future too....of an Enterprise.
-
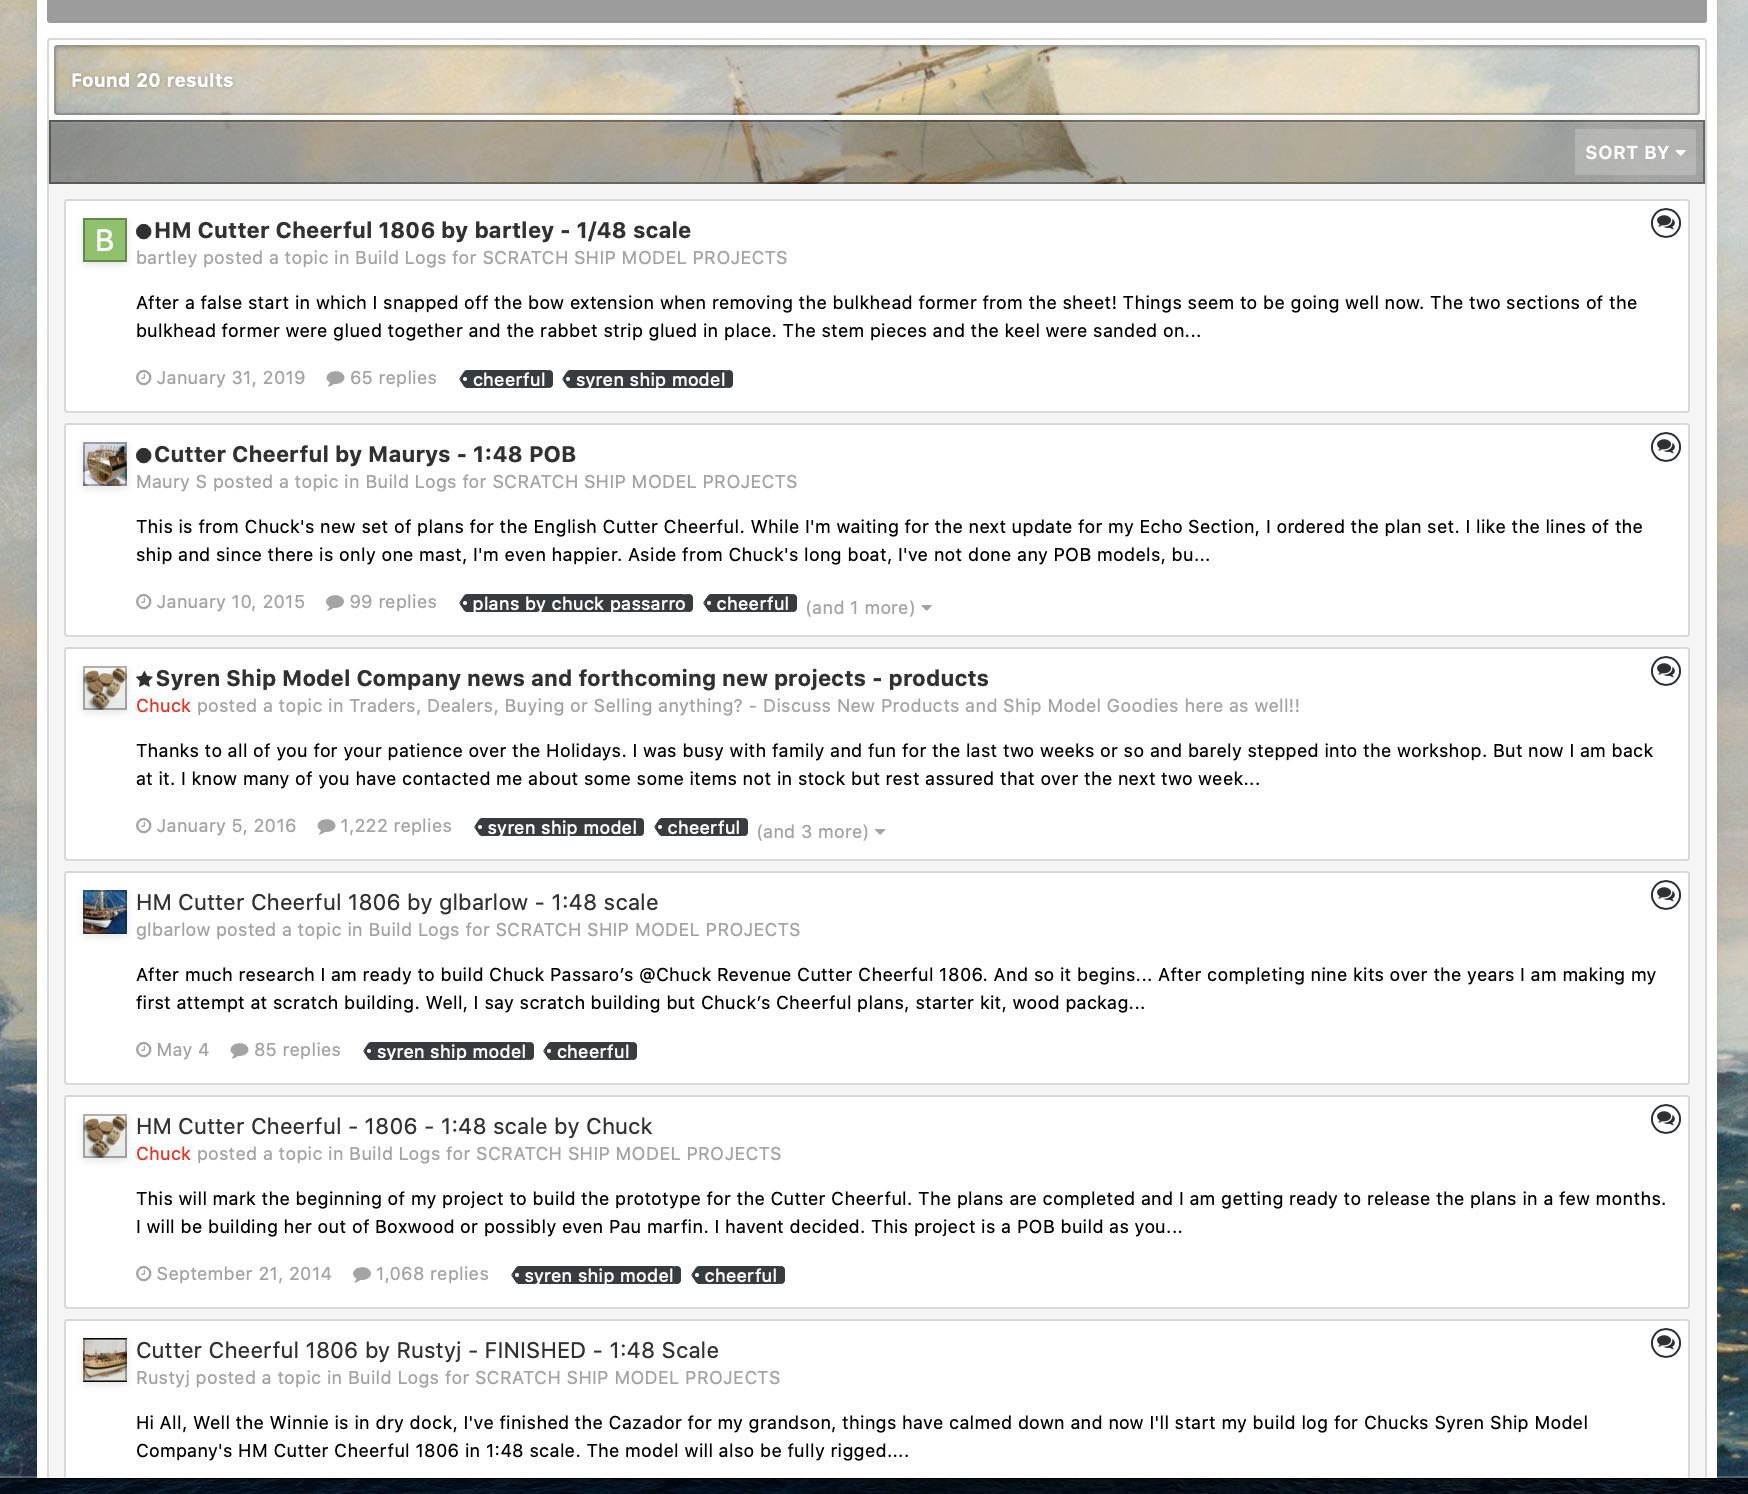
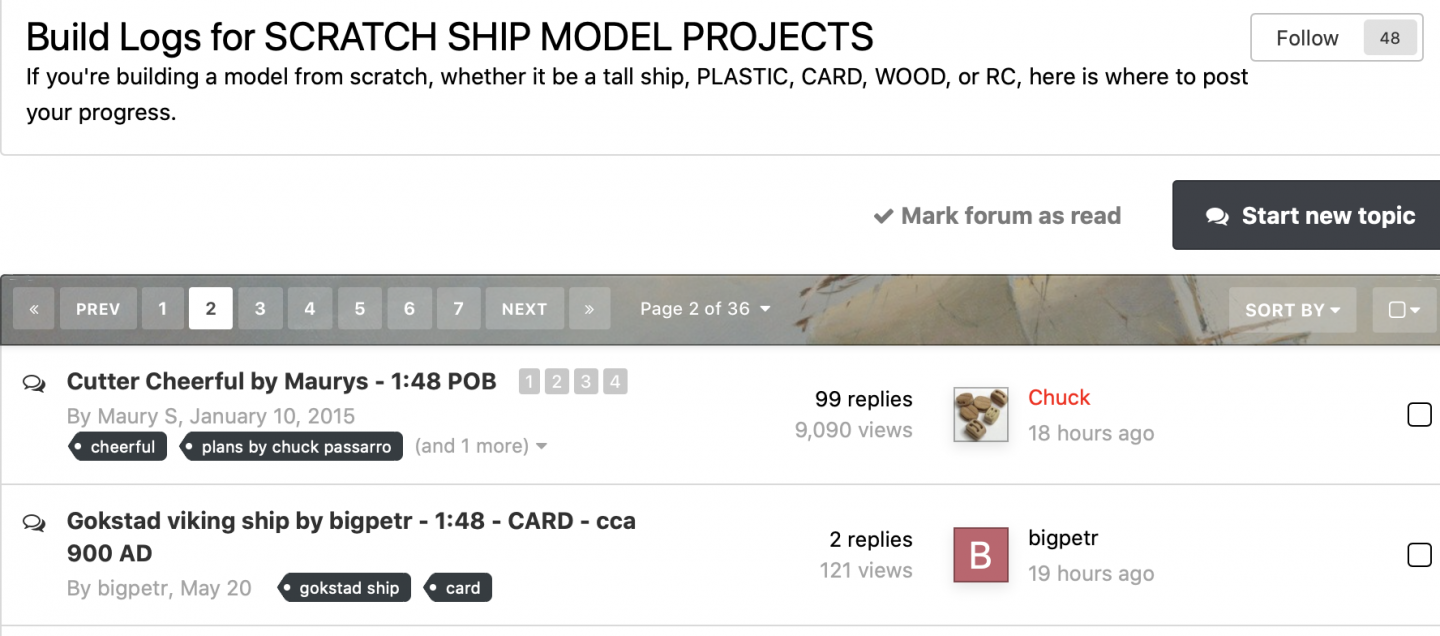
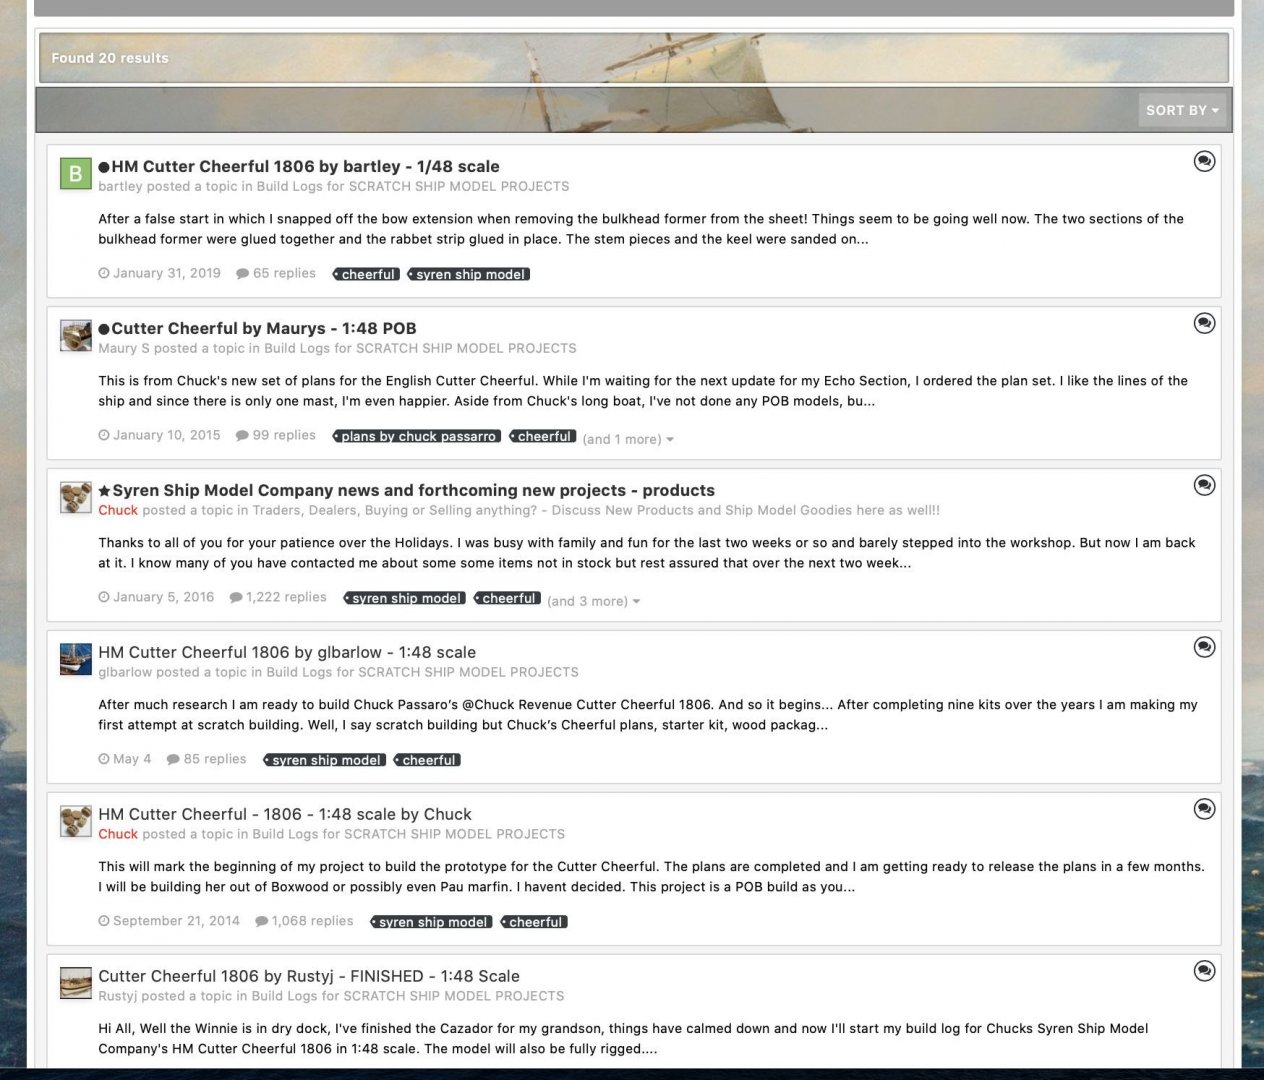
PLEASE READ! Model Ship World is a massive website with a wealth of information, build logs etc. Navigating your way to the information you want can be tricky, especially if you don't type in the exact search term. Normally, if you wanted to look for something on MSW, you could use the Search feature we have here, and that can be used quite effectively, but there is another way to find exactly what you need, and that is by adding TAGS to your topics. This refines the system amazingly and you'll be surprised how much information you can find when tags are used. So, what is a tag? Tagging content is a quick and easy way to categorise and highlight the content your topic. Members/guests can then use these to find information about a similar subject, using the tag as a sort of filter. You can add your topic tags when you start your topic, or you can edit your first post on your current, existing topic and add them. What can I use for my tags? We suggest you use specific words, such as the name of your ship/boat, manufacturer of kit, name of drawings company if scratch built etc. You can also use the vessel type, such as yacht, brig, sloop etc. If your topic is not a build log, but a post on tools, for example, you could tag it 'lathe' or 'proton' etc. These are simply key words to help other find those specific topics. What should I NOT use for my tags? This system will only be s good as the tags you use, so please don't use generic stuff such as hull glue wood my first project planks etc. etc. etc..... Those are totally pointless and will dilute the tags system to the point where it will be worthless. Please don't do it. If in doubt, contact a moderator or administrator. How do I add tags? This is so easy. When you start a topic (or edit the first post of an existing topic), underneath the Title box, you will see another box called Tags. Enter your chosen words into there, adding a comma after each one. That comma will turn that word into a tag. Just use words that are pertinent to your topic, as I've already said. We suggest no more than three words maximum. Noice how when you then make your first post, there are some black tags also showing. Those will display the words that you chose. See the red tag? That is called a 'prefix', and it a staff-only feature, but is the same thing as a tag and is used in exactly the same way. However, the staff here may choose to use one of your tags and make it red if it's important enough. FINALLY........How do I use tags in my searches? Ok, here is a page in the Scratch Build Log area. Notice that the Cutter Cheerful has two tags? The first one is 'Cheerful'. Now, what if you wanted to see all build logs of that vessel? ...Simple! Click the tag, and you'll see this: There you go!!!! Ok, what if you want to look at all the builds and reviews etc. we have for Ancre? Do the same. Here's a screenshot of the same forum area, and we'll choose the red tag for Ancre. Click the Ancre tag, and you'll see it does the same thing. Here's just a few of the search results! There you go. PLEASE make use of this feature and use words which are useful for these searches.


-
'Not great'? That's certainly better than some of my attempts! It's only a base for the second layer anyway, and as long as you sand it nice and smooth, you'll have zero problems with what I can see.
- 38 replies
-
- 3
-
-
- vanguard models
- fifie
- (and 2 more)
-
I'm so pleased you found the instructions easy to understand, and from what I can see, they work well! Lovely work so far, and I can't wait to see another Fifie in my regular updates here.
- 38 replies
-
- 2
-
-
- vanguard models
- fifie
- (and 2 more)
-
Very useful. Tags are massively useful for finding specific content that you want to see. Reminds me I need to order the Coureur for the CAF kit too. 🤩
-
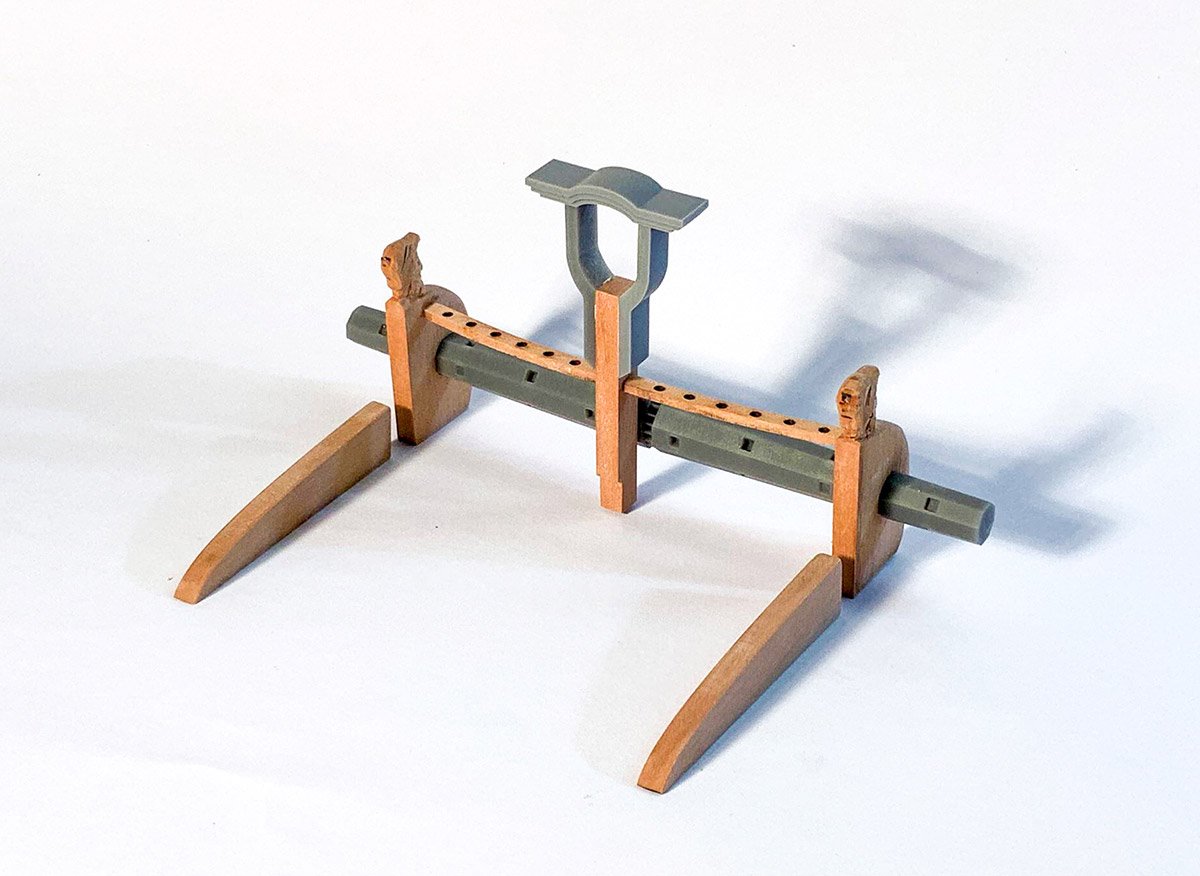
ancre Coureur by cafmodel - 1/48
James H replied to cafmodel's topic in - Build logs for subjects built 1751 - 1800
Even the capsquare opens! -
This looks superb. Is this entirely from the kit?
-
The contrast looks good to me. I can't remember what timber they supplied with the kit.