HOLIDAY DONATION DRIVE - SUPPORT MSW - DO YOUR PART TO KEEP THIS GREAT FORUM GOING!
×


James H
-
Posts
6,062 -
Joined
-
Last visited
Content Type
Profiles
Forums
Gallery
Events
Everything posted by James H
-

ancre Coureur by cafmodel - 1/48
James H replied to cafmodel's topic in - Build logs for subjects built 1751 - 1800
The gilding does look very good. Would this survive a modeller ageing the sail material? -
Having seen the insipid excuse for what is being called the 'correct' colour, I think I'll be sticking with the traditional yellow ochre.
-
I bet!!!! 😆 One HMS Victory will be enough for my lifetime, so I'm glad it's this one.
-
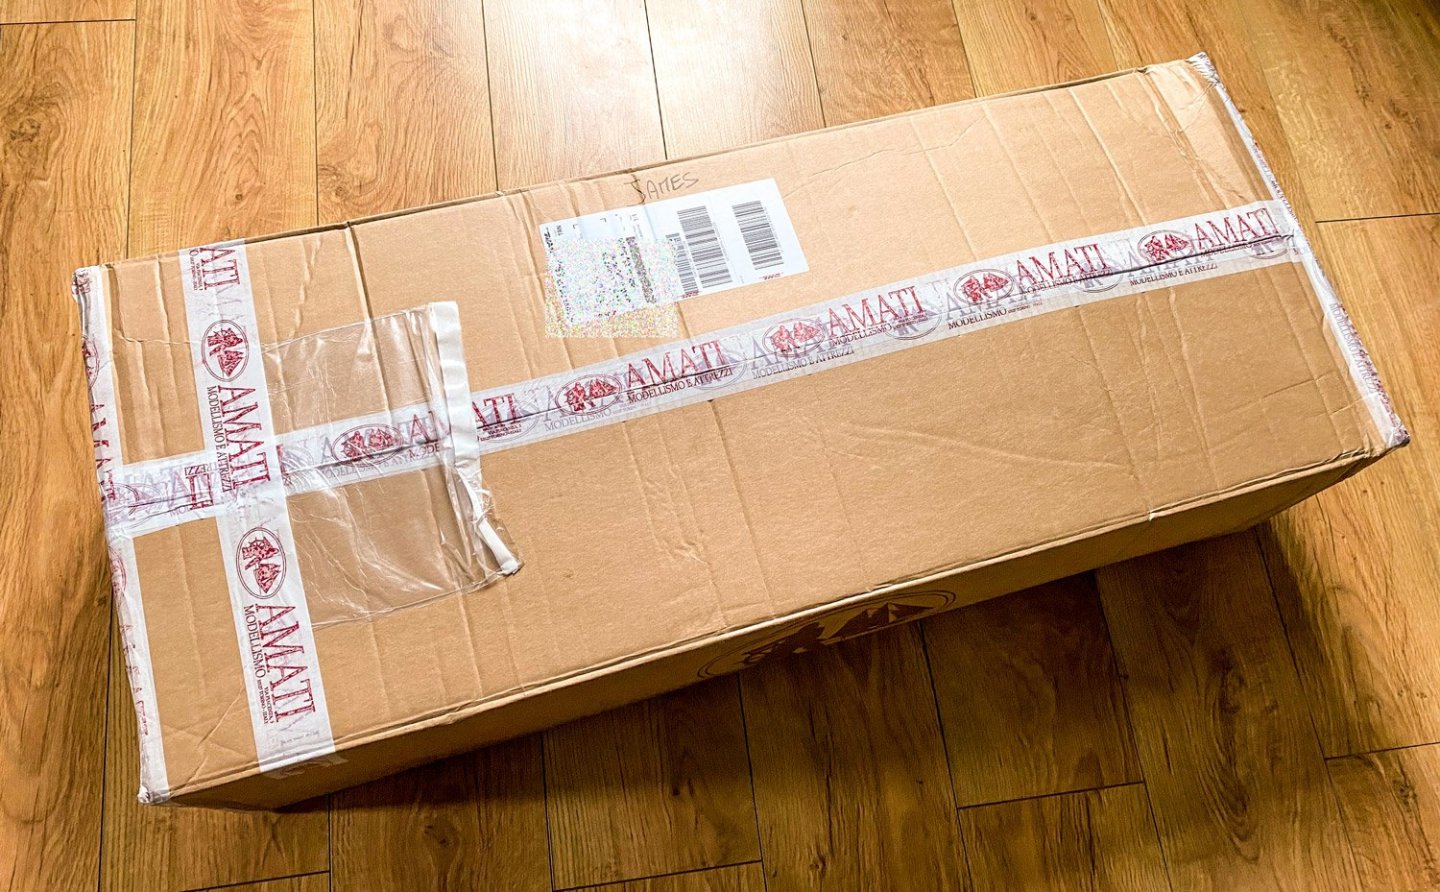
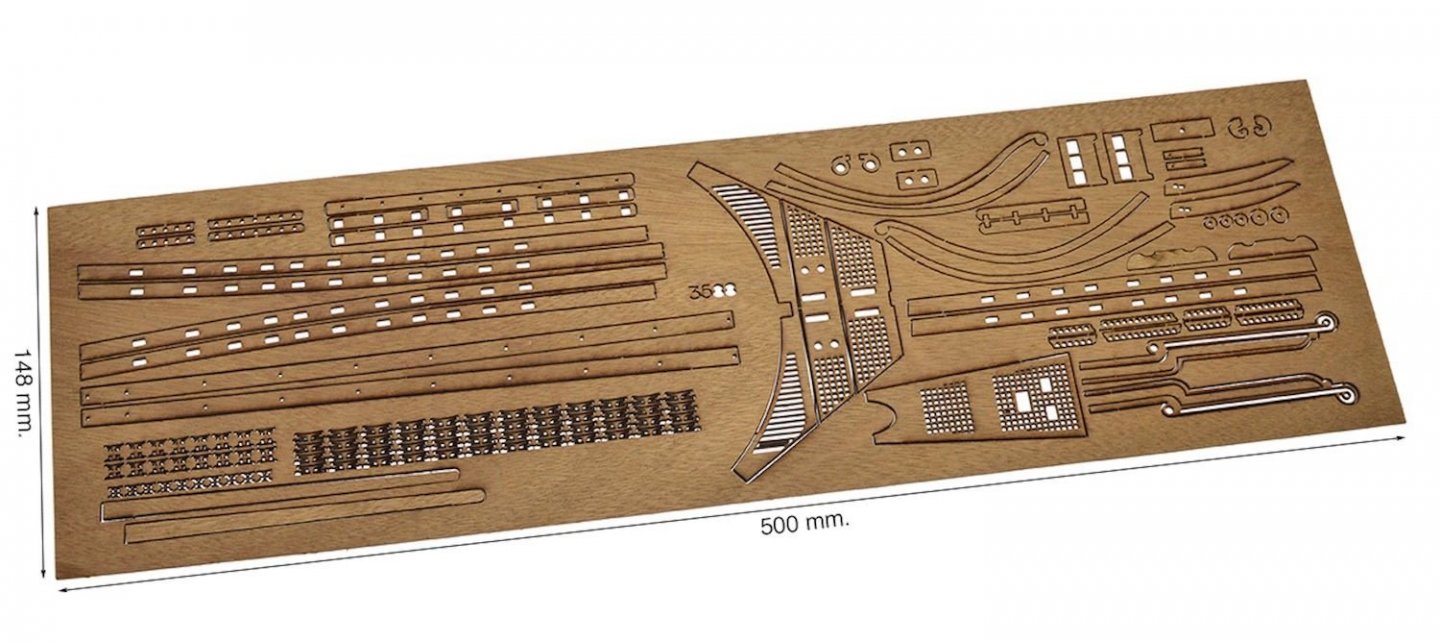
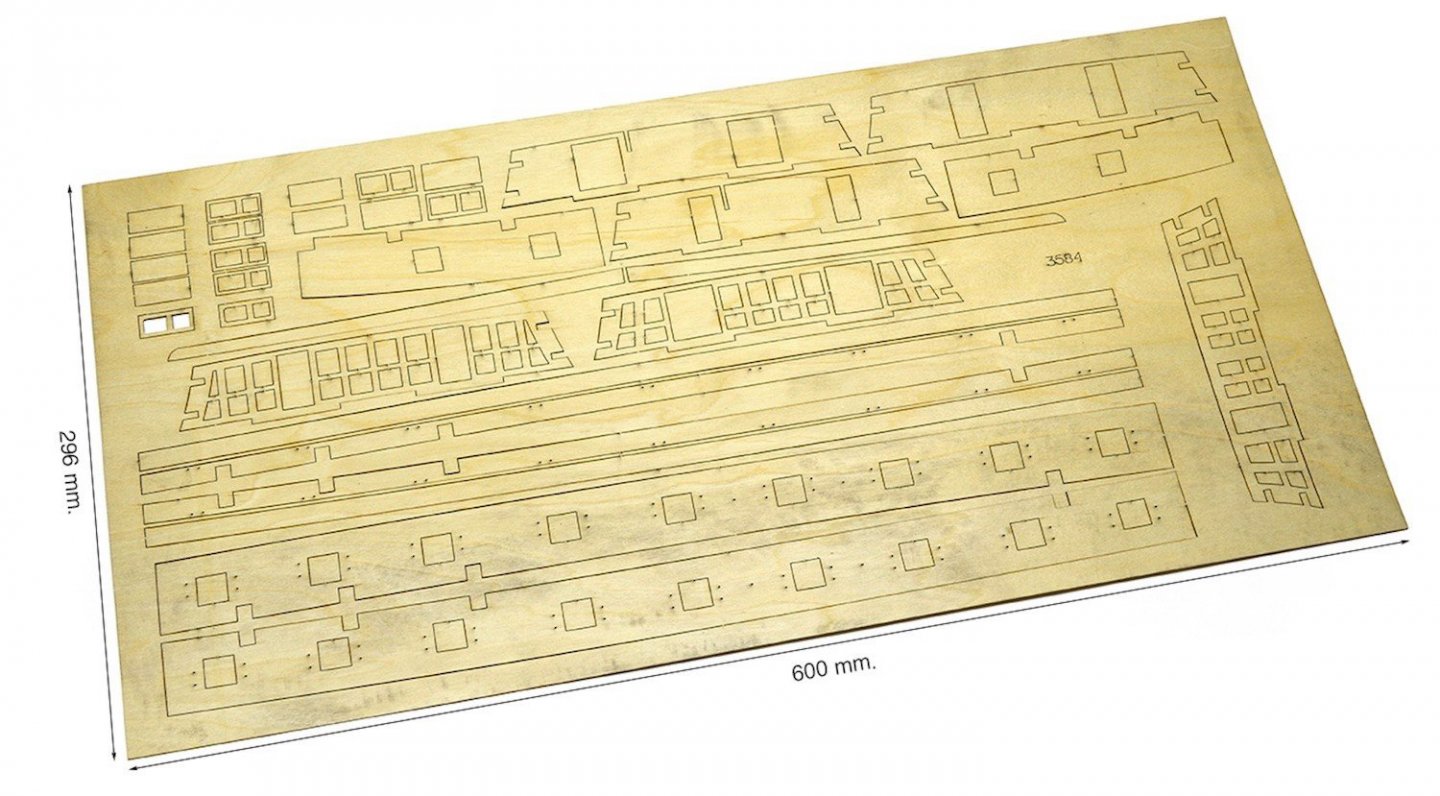
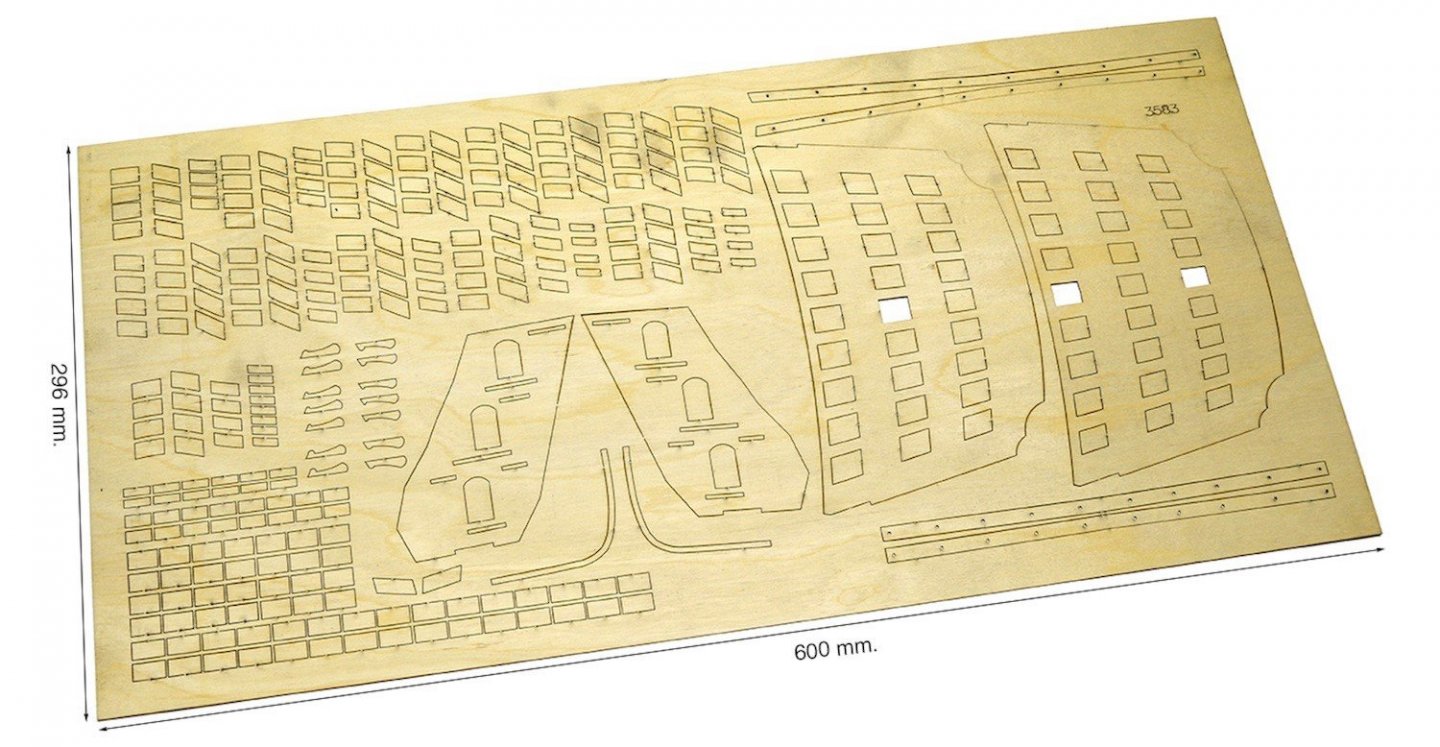
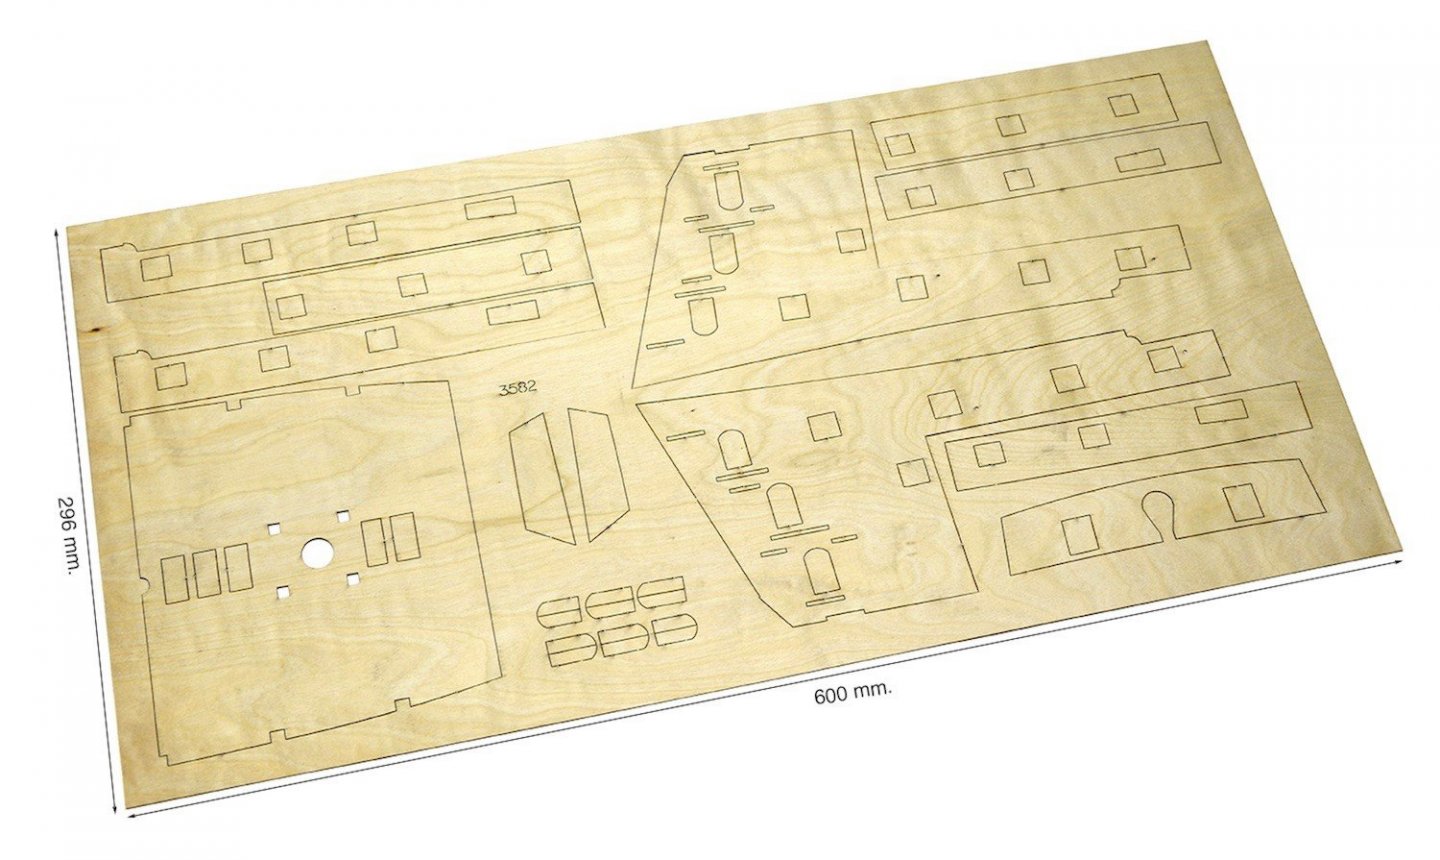
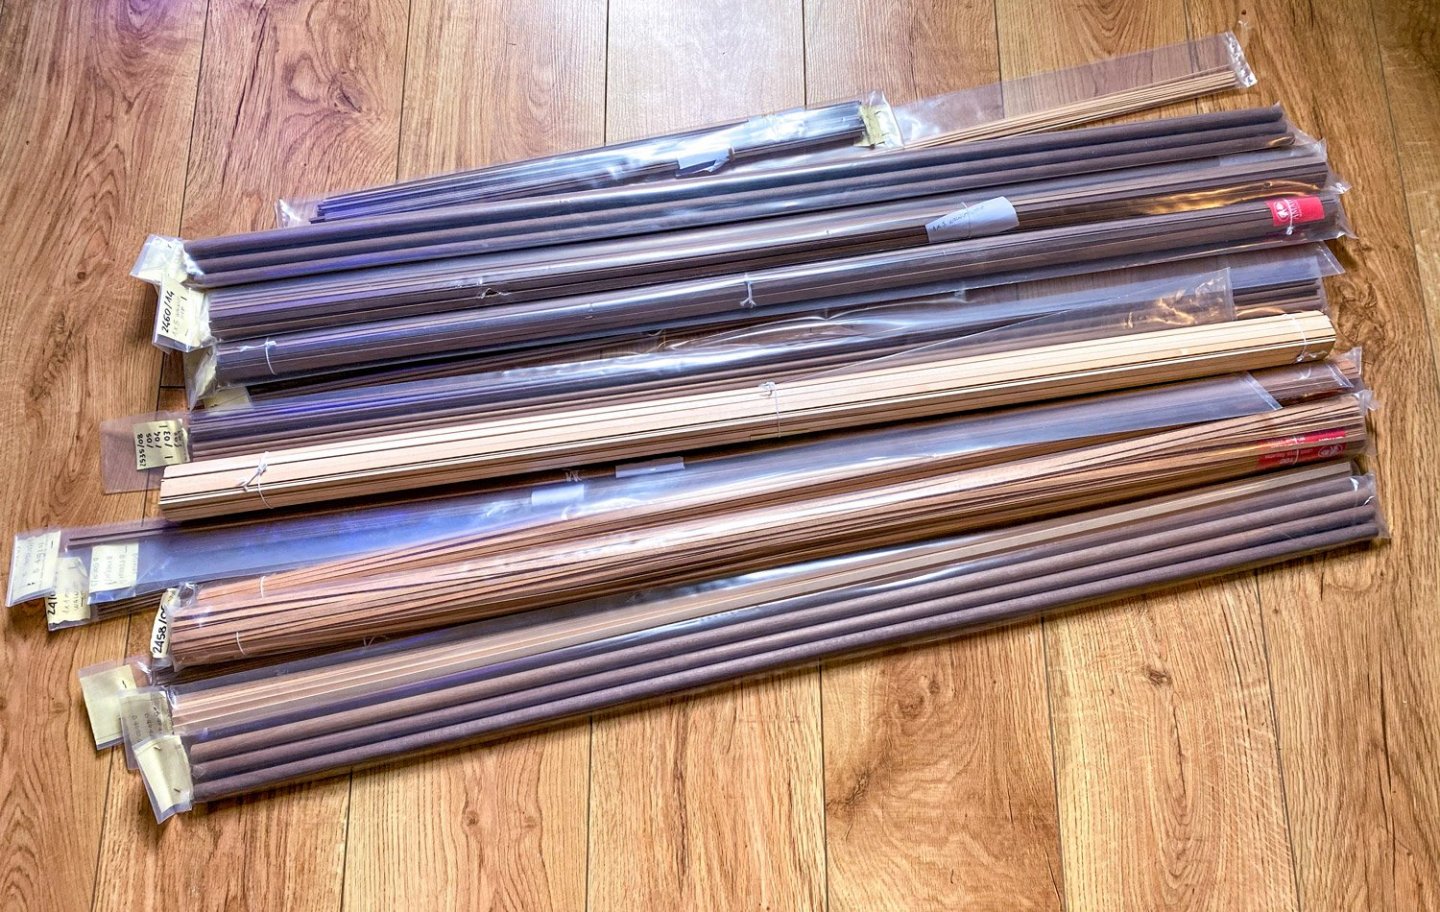
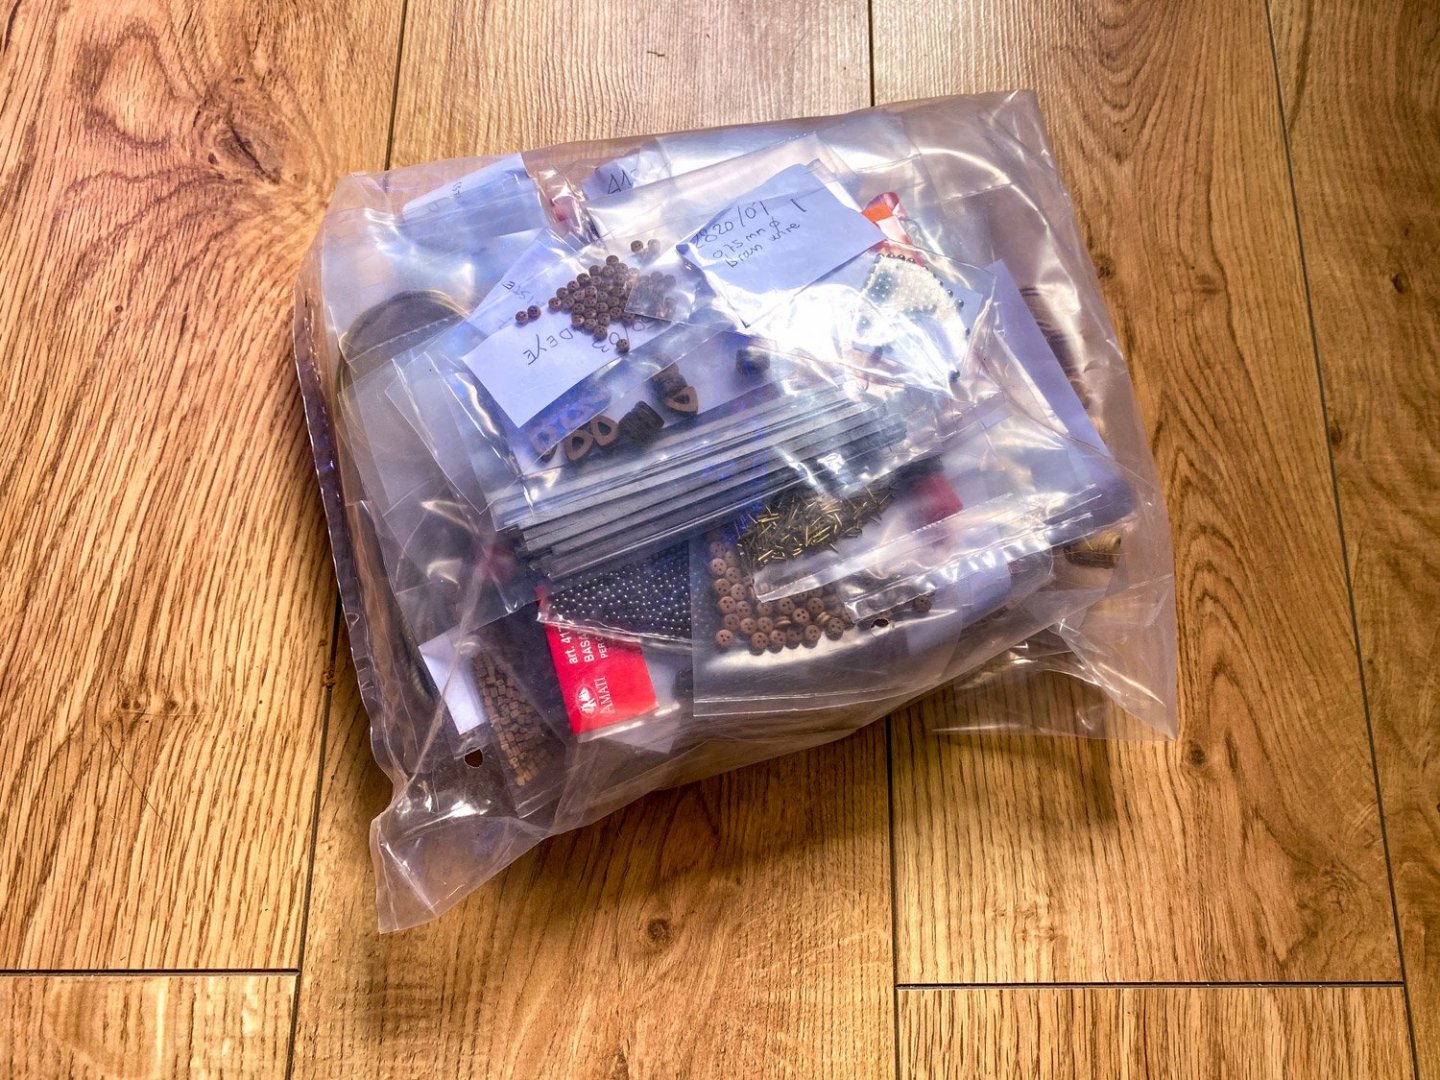
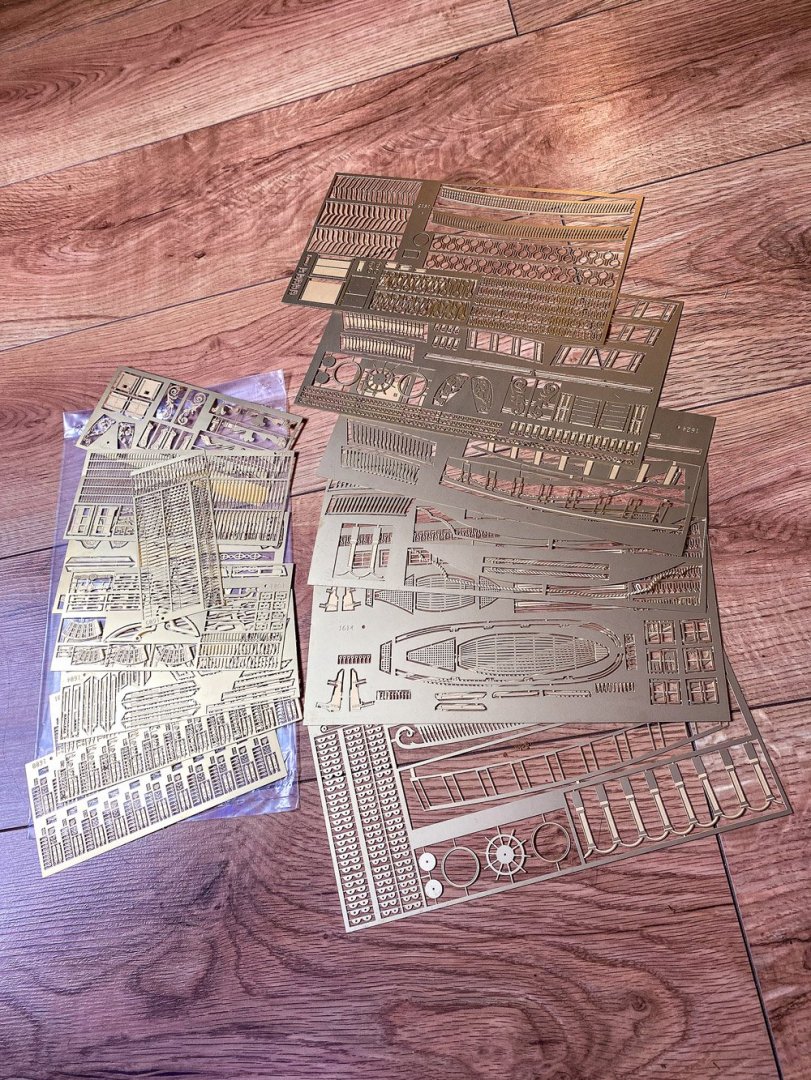
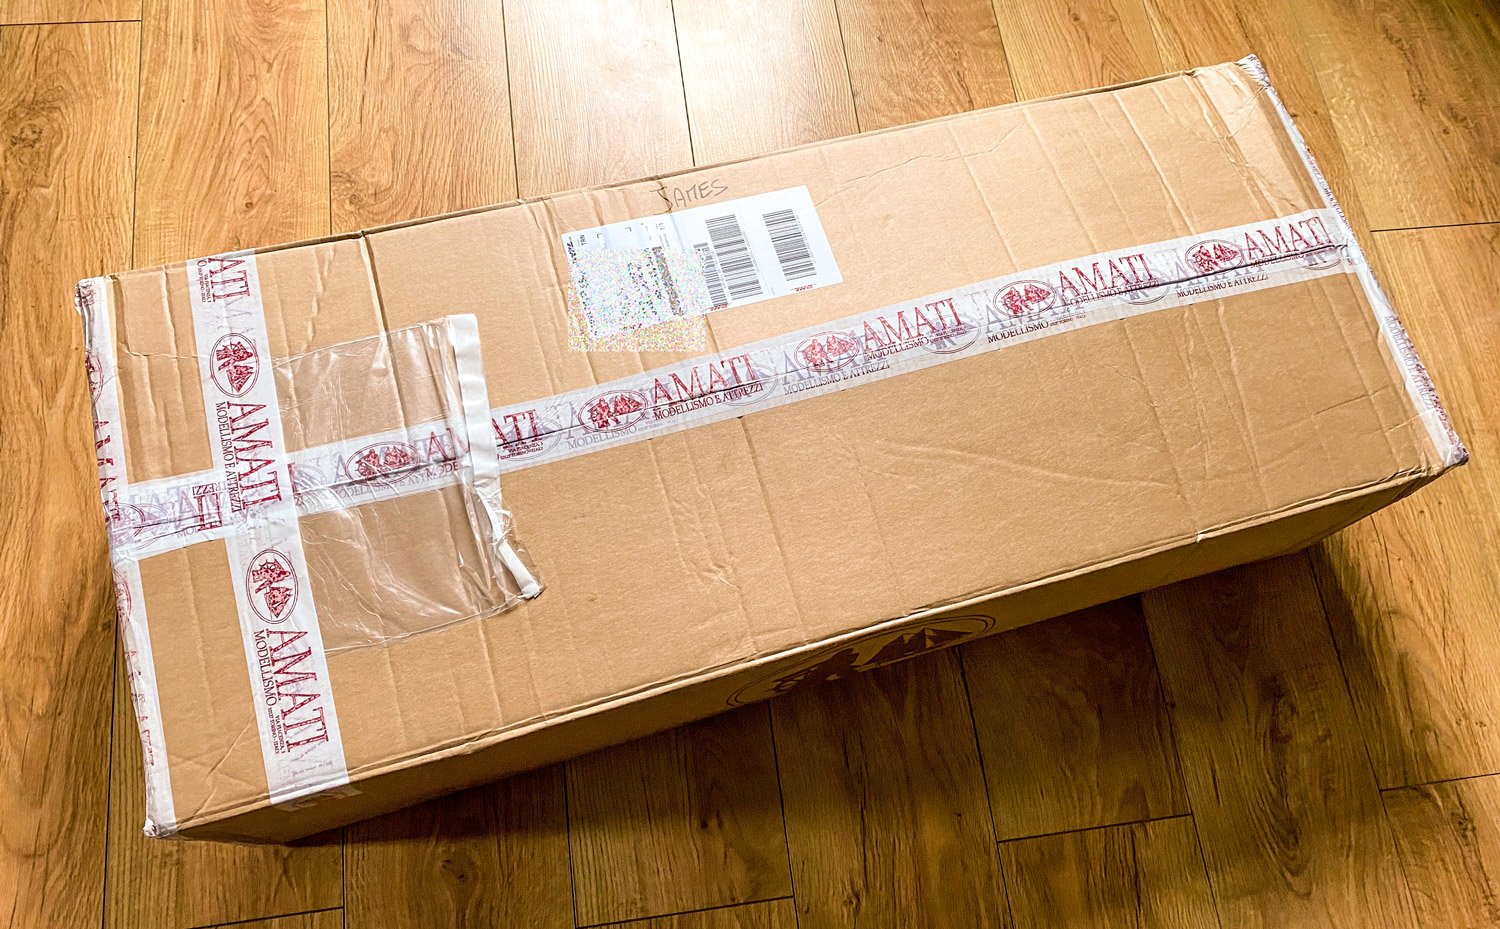
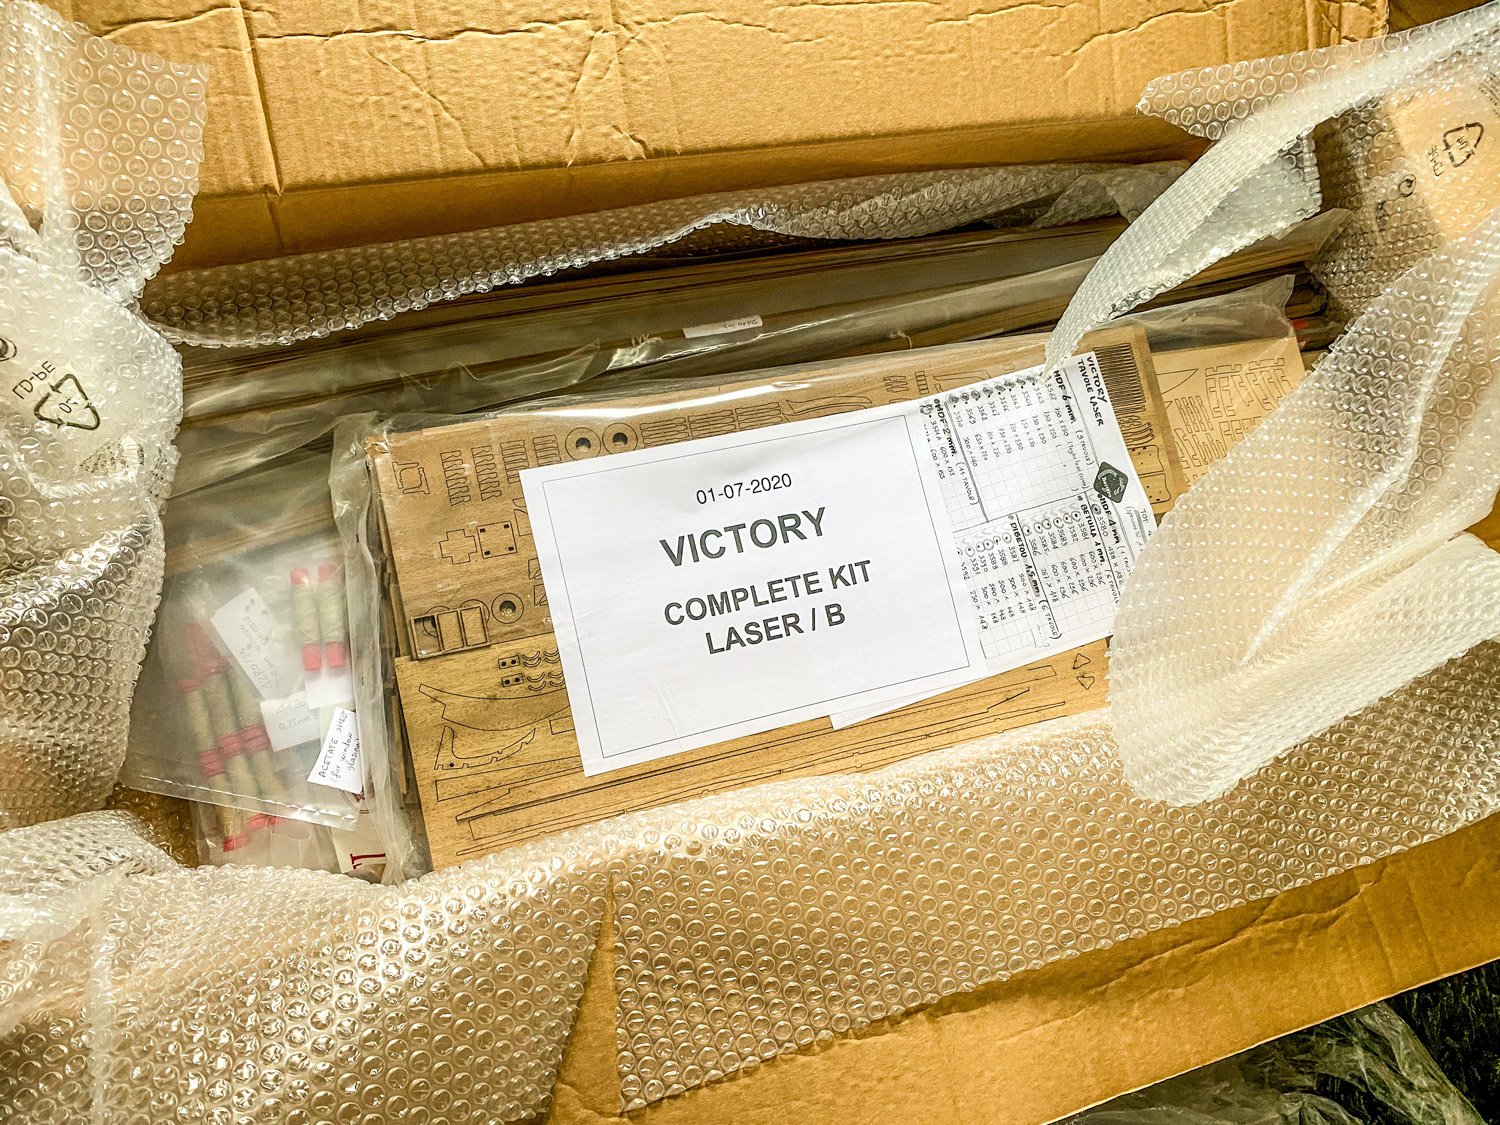
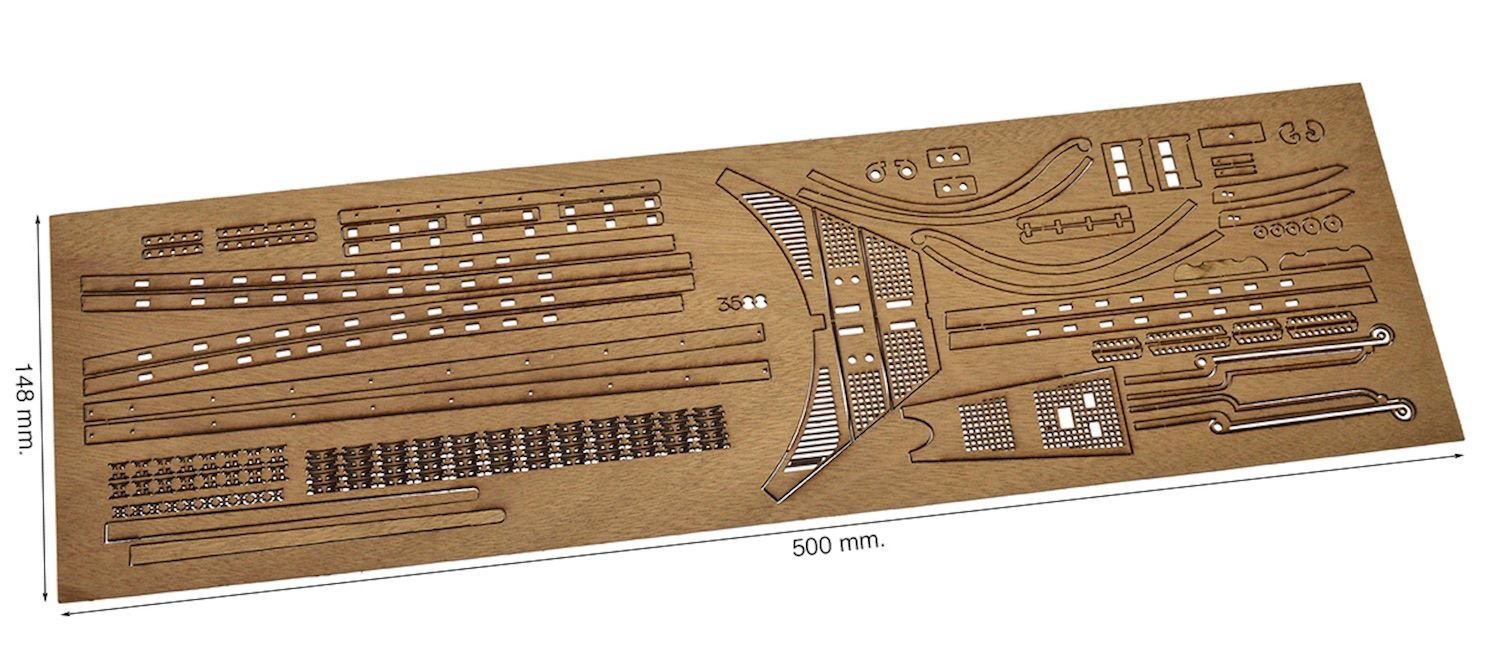
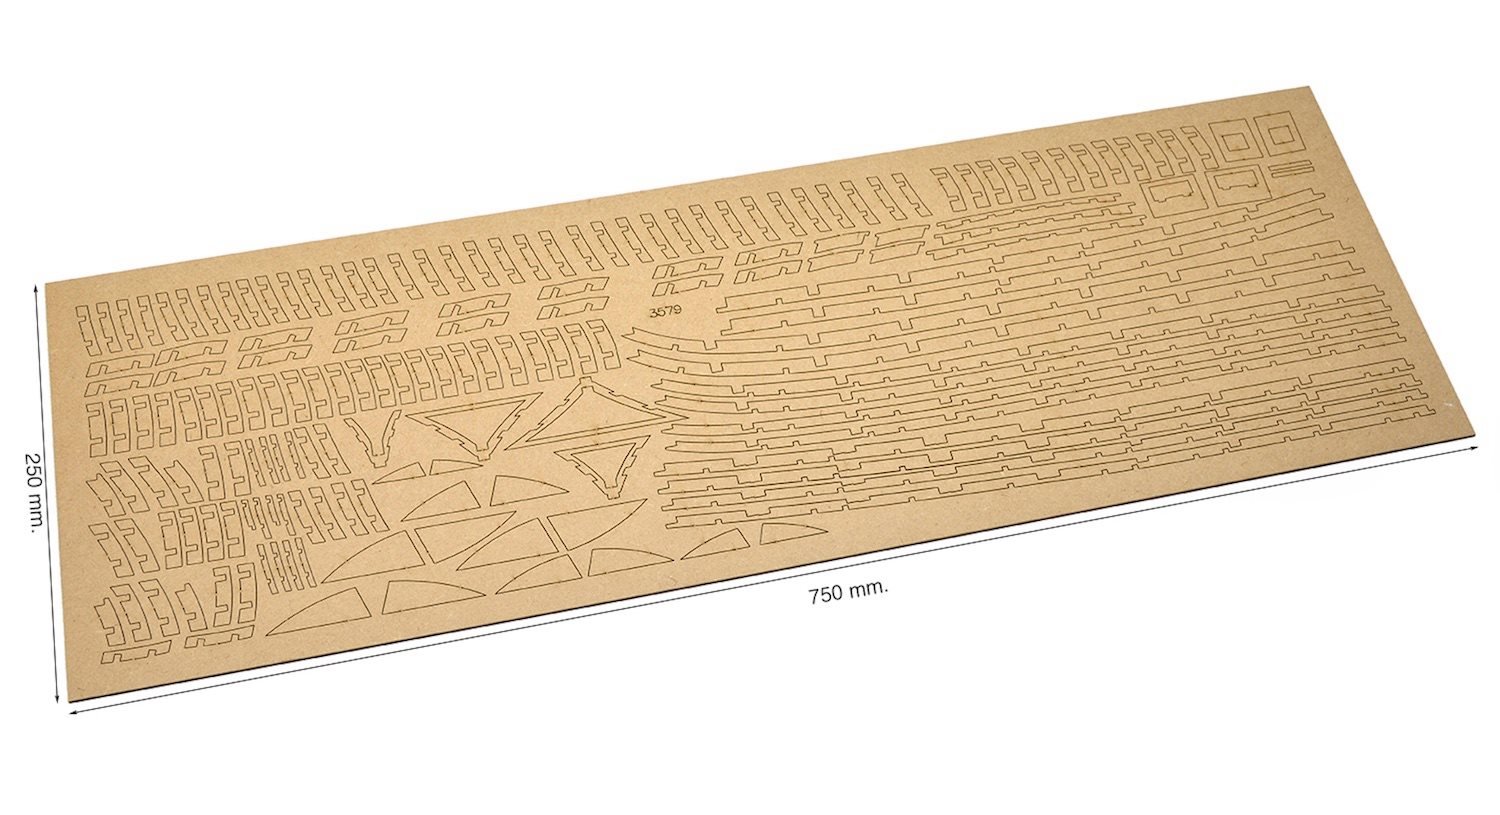
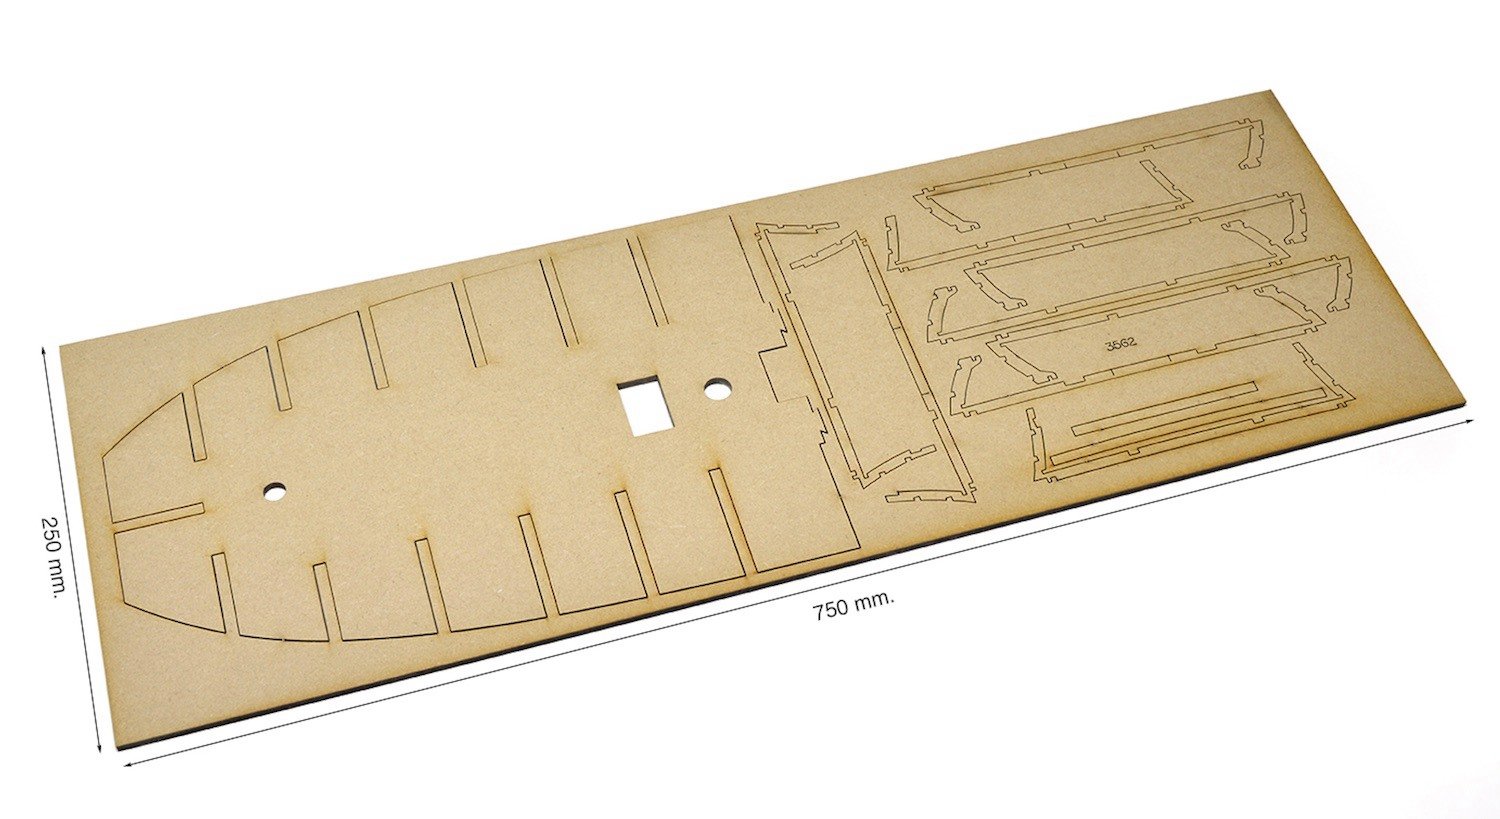
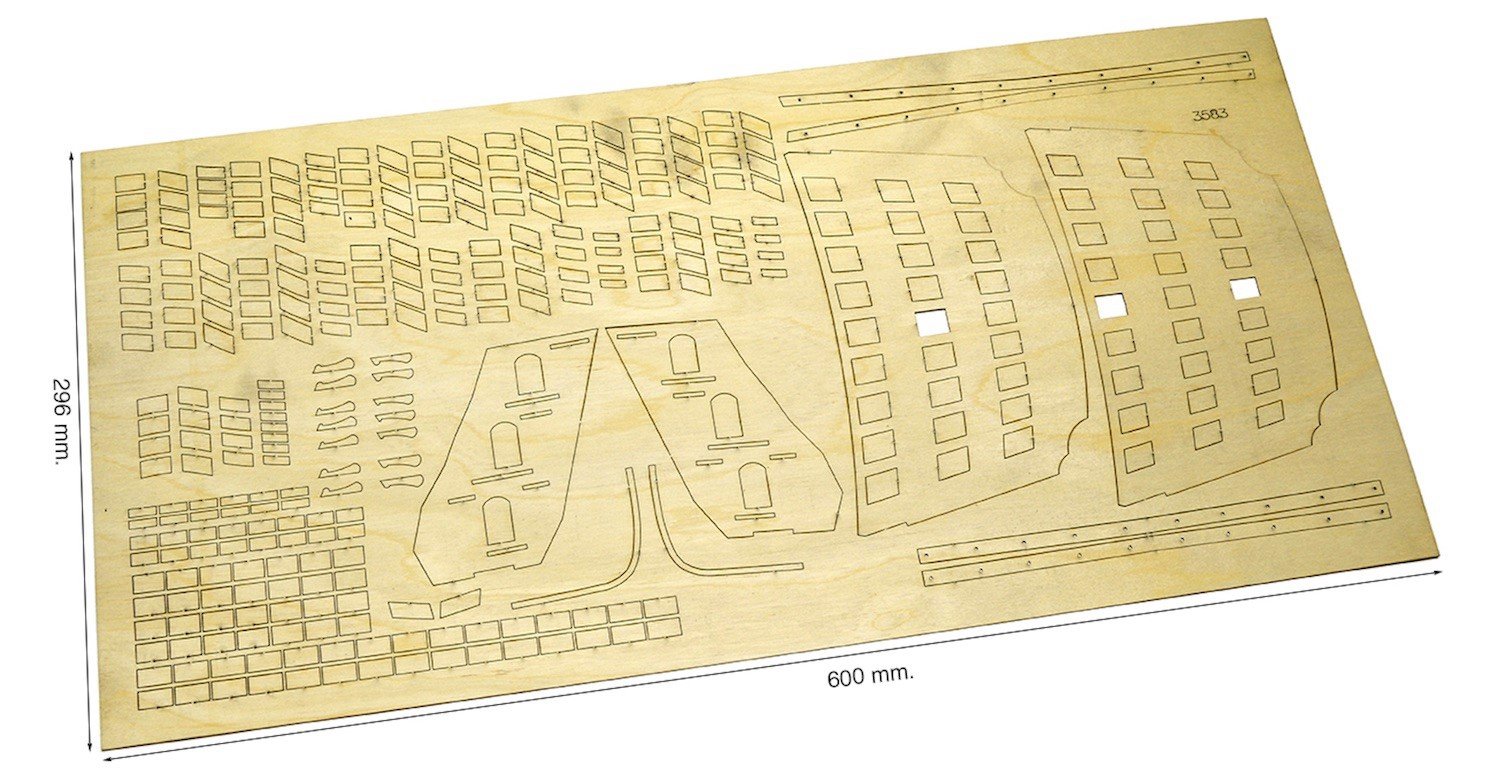
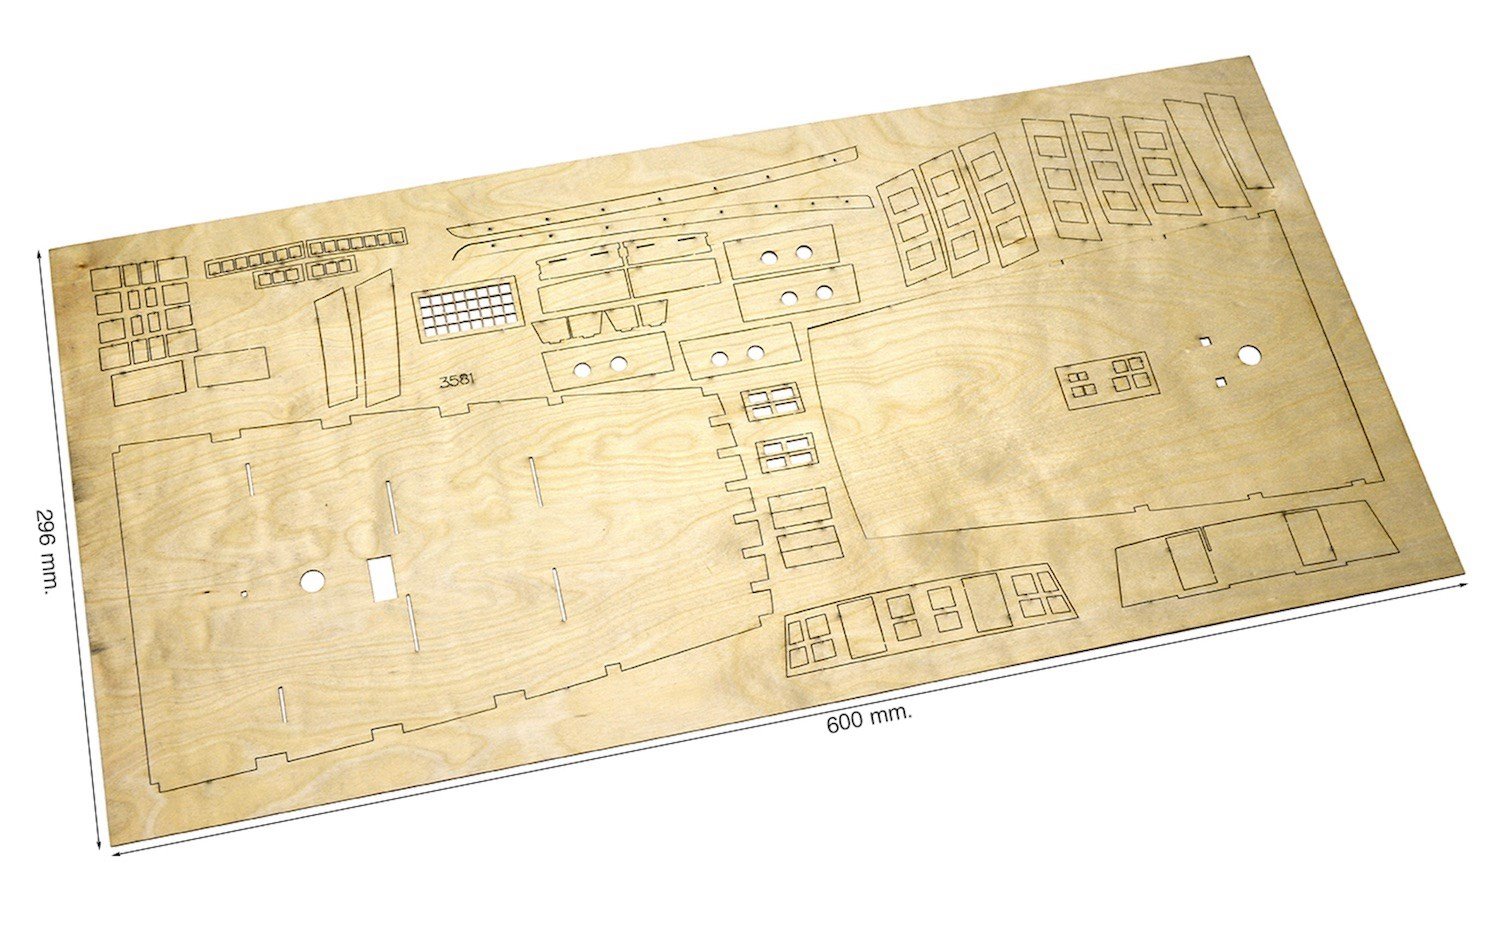
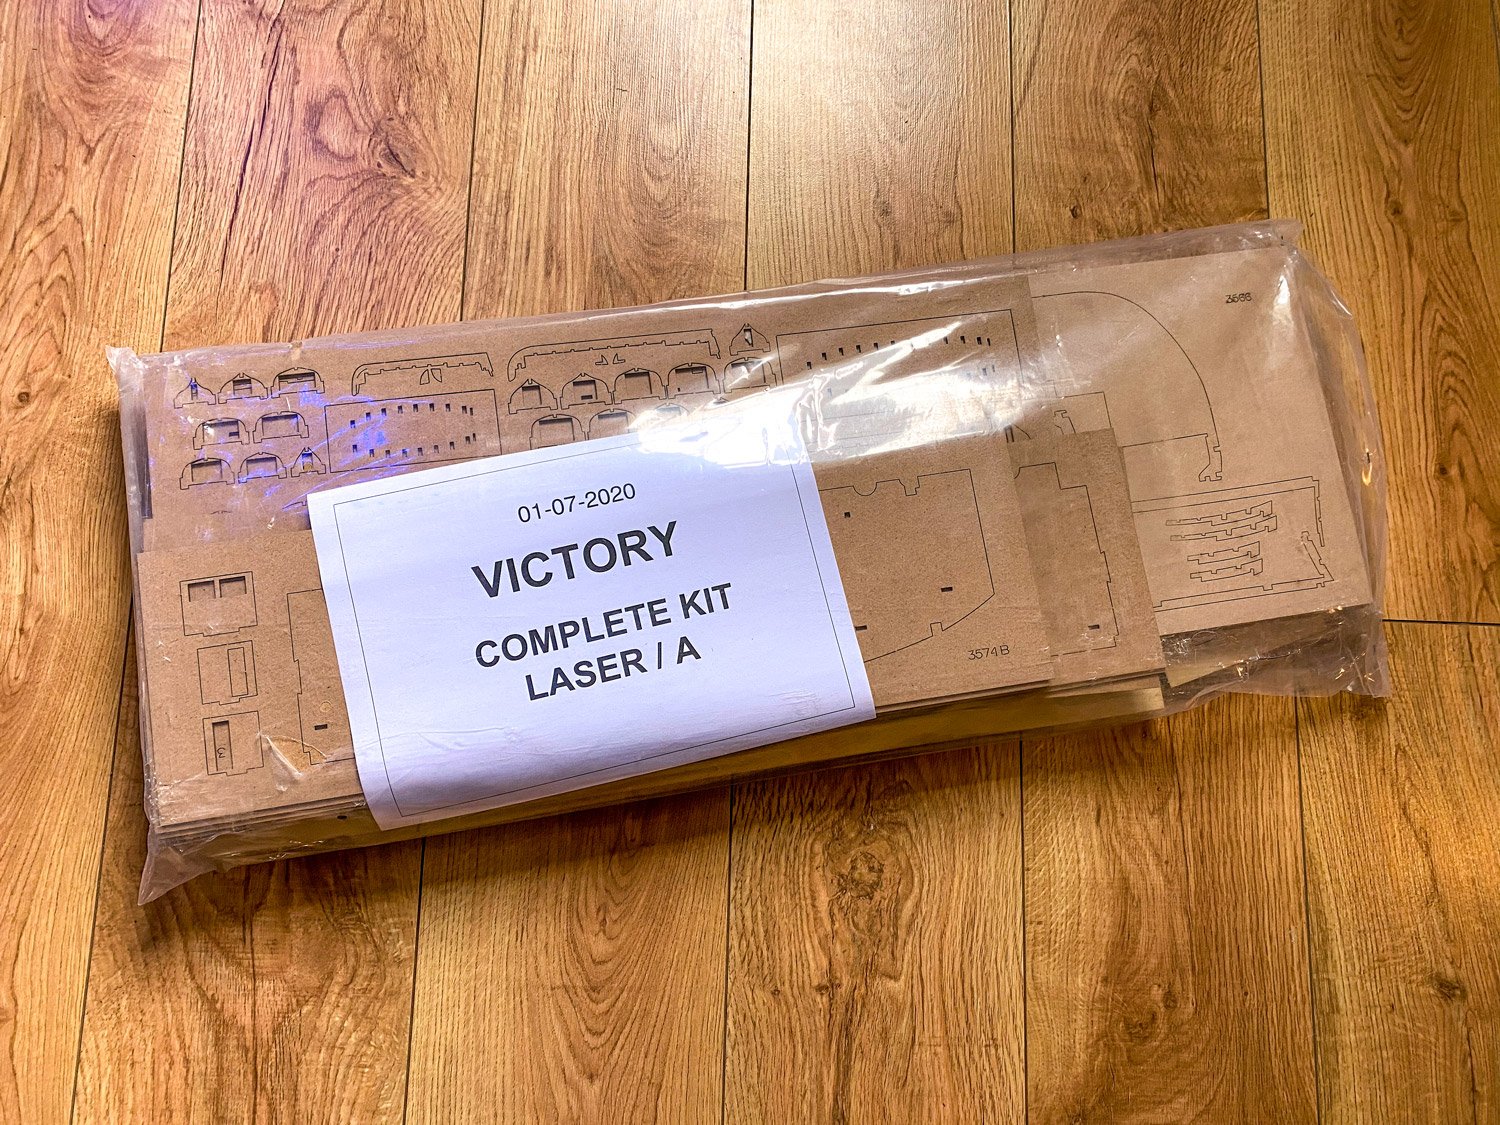
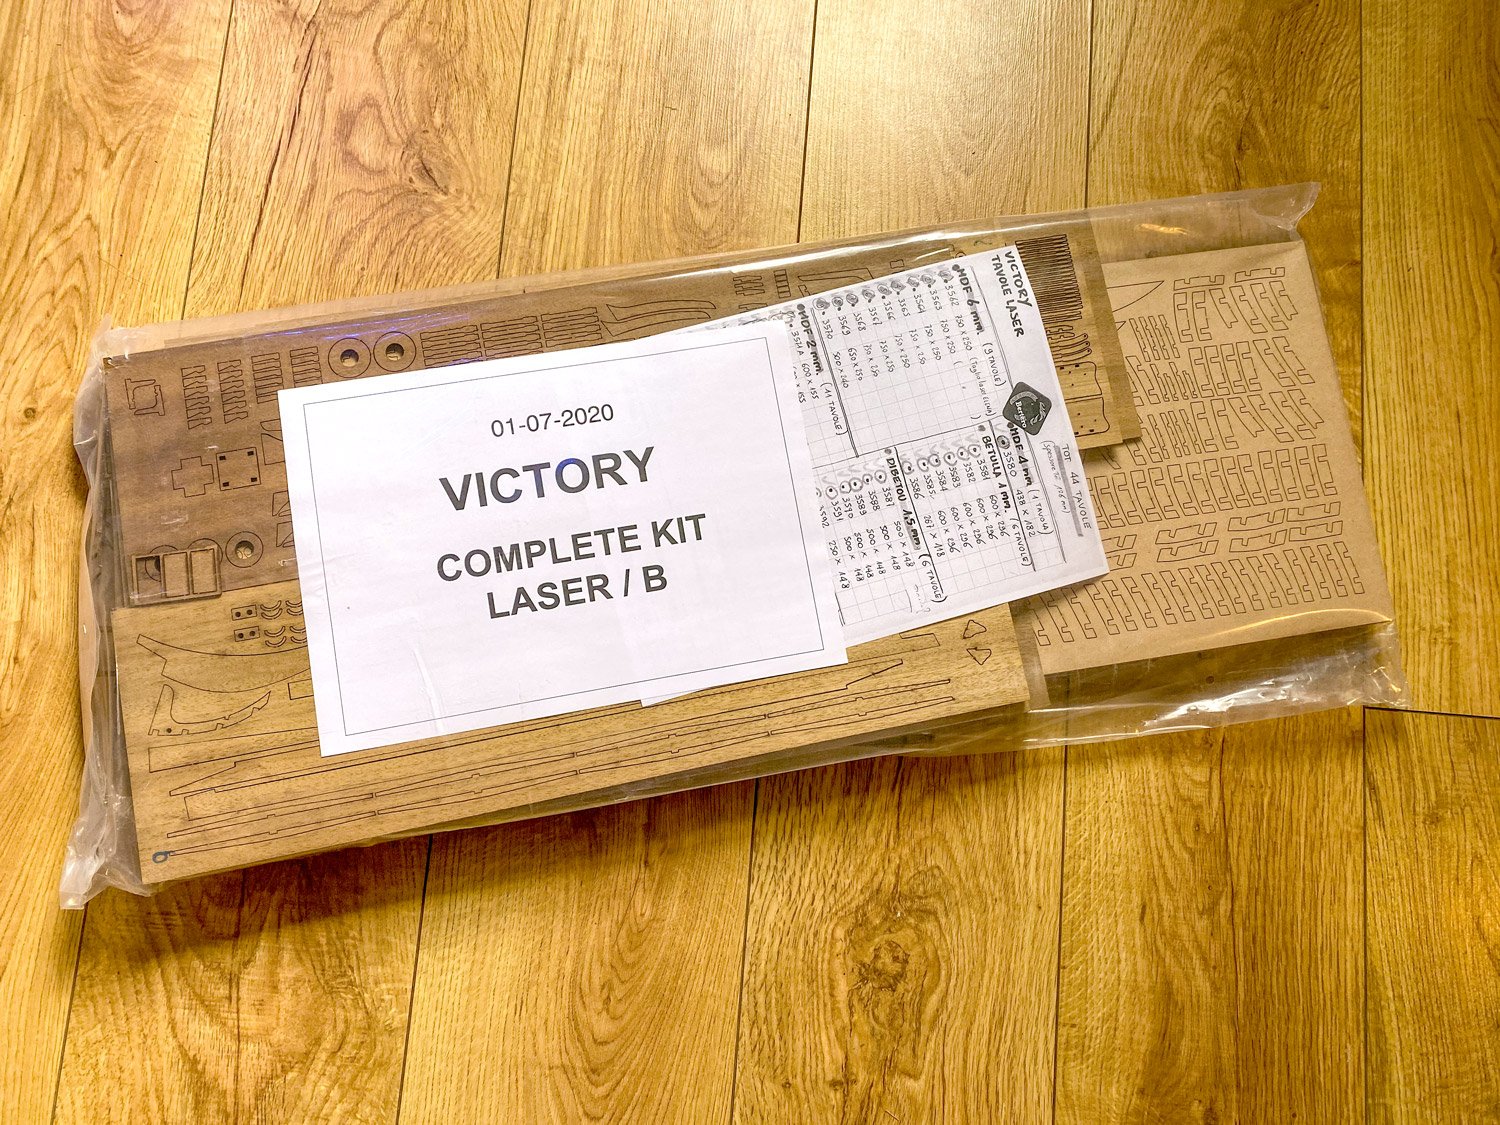
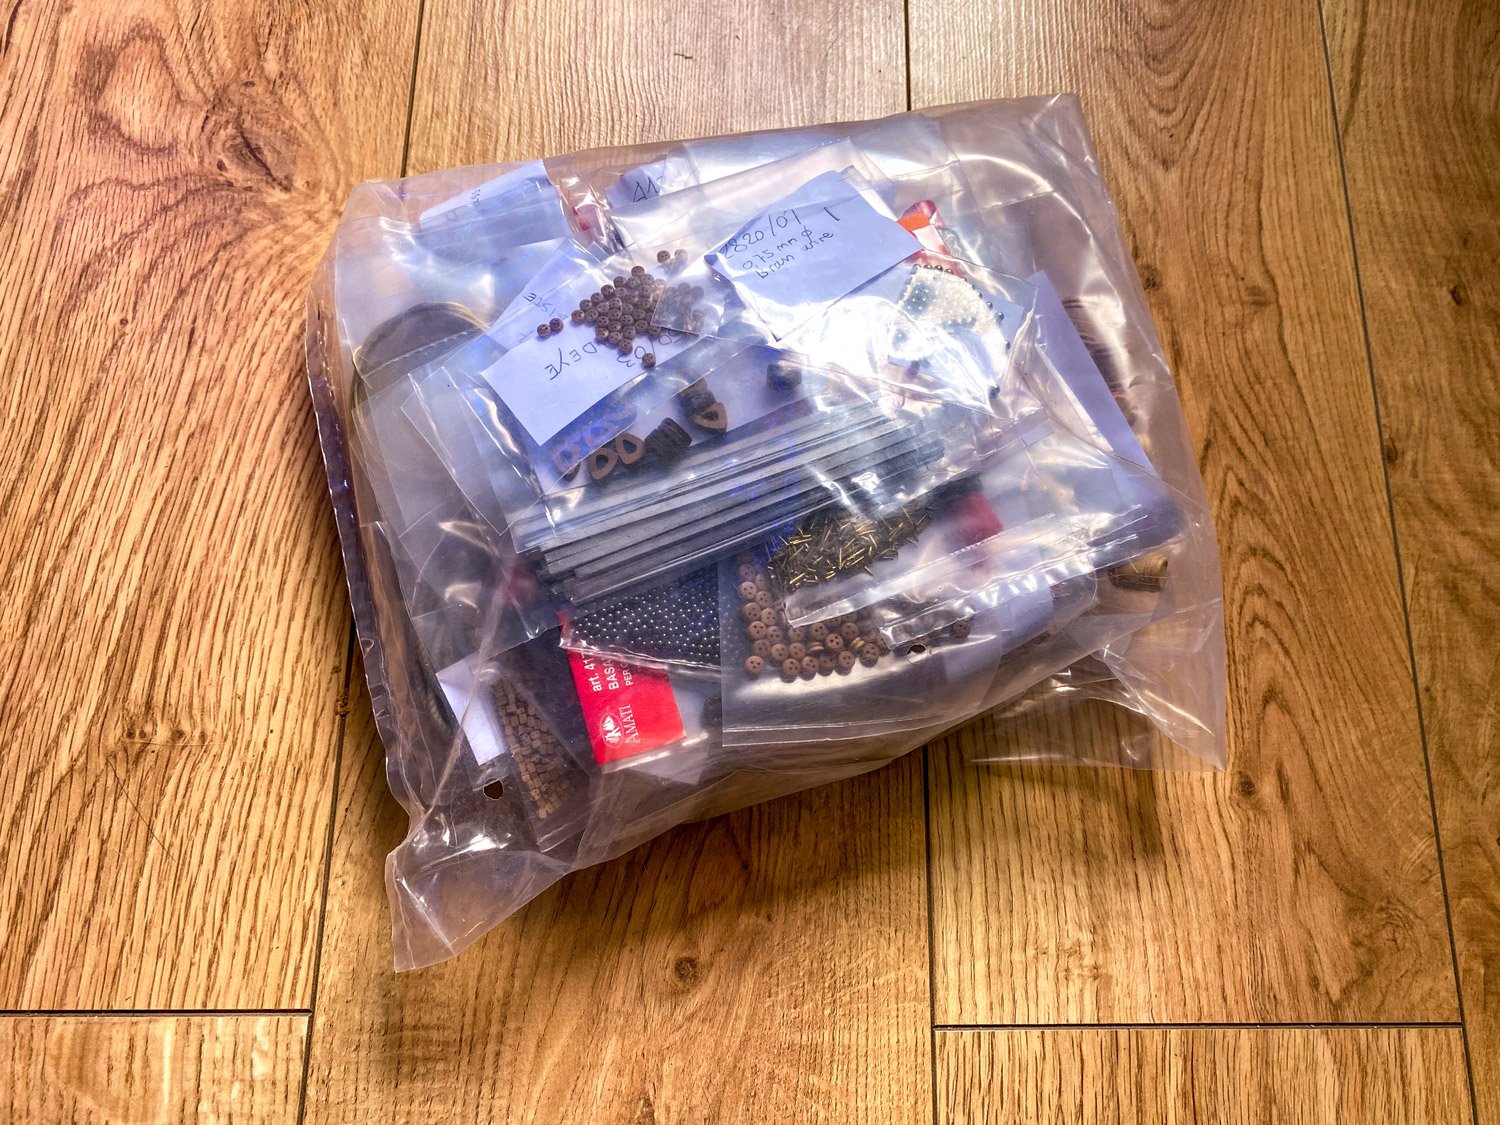
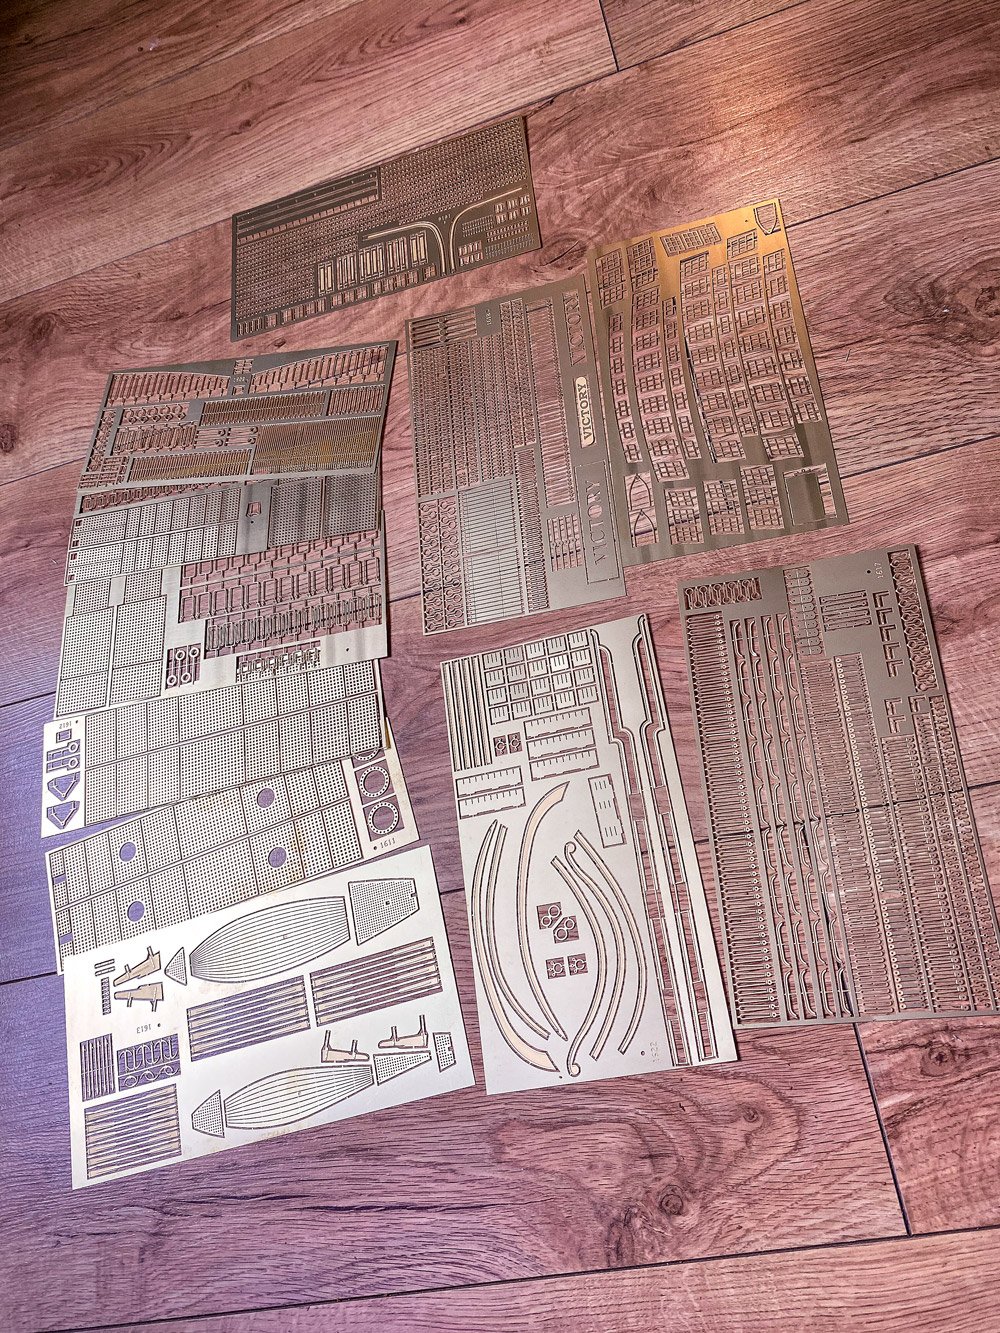
Well, this one has been a LONG time coming. I mean, this lockdown seems to have lasted a lifetime, so the original notice of Amati's now almost mythical 1:64 HMS Victory seems to have been such a long time ago! A lot of water has passed under the bridge since 2013 when Chris drove to Italy with the original design model in late 2013. Amati had enough general interest about their Victory from modellers to warrant then asking me to build a production prototype for the new format instruction manuals they now use. There were a few changes from Chris' original kit too, and Amati wanted those incorporated in the new manuals. Those manuals (yes, plural!) will contain (tentatively) around 1500 build photos, and be perfect-bound, glossy productions. I've already broken down Chris' construction into a multitude of chapters, with each depicting a specific sequence/task. For example, there will be a chapter for building each size of gun, each of the launches, the stove, first planking, but also for fitting out whole decks. For this build, I will use the existing manuals that Chris made when he finished his kit. Since Chris designed the model, Amati's laser manufacturer had changed the specs on sheet size that they could cut, so the sheet layouts needed to be rehashed for the new sizes. That was done earlier this year, but just when everything looked like it was going to plan (again), Italy, then the rest of the world, went into lockdown. So here we now are on the other side....just about. DHL delivered the HUGE box not long ago, and it is fantastically heavy! What is omitted at the moment are some first layer planks that they will ship when back in stock, and the cannon and figurehead. They won't be needed for a long time. They are also waiting on the copper PE, but I do have all the sheets of brass PE here. So, we have bags of laser-cut material (MDF, ply, timber), sleeves of strip (lots of them!), bags of PE and a whole bag of various fittings. I already have the thirty-one sheets of plans. Remember, this isn't a review, but just a build log. I cant review something like this which isn't quite complete. That's not the purpose. Inside the box, all the laser cut parts were bagged into two thick poly sleeves. These packs were of course the real weight behind this delivery. I'll open them later to look through them but I've included a few images they sent me of the parts before they shipped out. The sheer quantity of strip and dowel in this model is bewildering. The only time I've seen as much as this is when I've been in a hobby shop! Fittings. Usually Amati pack these into trays, but for this purpose, all the stuff is in little bags and sleeves and bundled into this substantial bag. You name it, and it's in here... Photo etch: Here's all the brass sheet stuff. I am waiting on the copper parts yet, but thought you'd like to see these. As I've been promising this kit arriving for a long time, I felt the need to stick my flag in the ground and start a build log showing the stuff that I now have. I won't be actually starting this until after 3rd August as I'll be away, plus I also have a project I need to take care of before that (written article, not a build). So....there we have it!!! **Apologies for phone camera pics too. The build will be done like my typical studio photos**


-
hi, this is Medy lin, I am ship model bulider
James H replied to Medy lin's topic in New member Introductions
Hi Medy, Nice to see you and your work here at MSW. Those models are beautiful, especially the top photo. That's very classy! -
ancre Coureur by cafmodel - 1/48
James H replied to cafmodel's topic in - Build logs for subjects built 1751 - 1800
Fantastic stuff! Not long to go now 🥳 -
Your models are wonderful, Hans. You can't tell these from a fully wooden model when built.
-
You're making such a lovely job of this, so I'll watch as I have this kit too. Oh...welcome to MSW!
-
It will just come in whatever they have. I don't know the diagonal measurements of HMS Vanguard box etc. but there is a lot more material than the Vanguard anyway.
-
The only thing this will be without (at the moment) are the cannon and figurehead as they need to be cast. Those won't be needed until the hull is complete and just before masting anyway. Amati were also a little low on their 1.5mm x 7mm x 1000mm lime strip, so sent me what they had until the rest comes in. That's for the first planking, but there is a LOT of work to do before even reaching that stage, so that's no issue.
-
I promise that as soon as the stuff lands, I'll do some photos and they'll form the start of a Build Log that I'll link here and in my signature. The kit is scheduled to be here on Monday, so you can bet by the end of that day, or Tuesday, there will be a proper log for it. Work on it won't start for about a couple of weeks after that as I'll be going away, but at least you'll see the materials and it'll be 'official' 😆
-
It's there now. The product didn't want to show on a specific kit category, but now it's sorted. You can pre-order! https://vanguardmodels.co.uk/product/order-164-hms-flirt/
-
I do have some news for you on this. Amati have now shipped the Victory out via DHL, and it should be with me on Monday. I'll then post some pics etc.
-
New to MSW, Tom from The Netherlands
James H replied to Articcie's topic in New member Introductions
It's frustrating. They have all the stuff being kitted, but they are also very busy with fulfilling orders post-lockdown too. But hey, we've waited for 7yrs, so I suppose another week or so doesn't matter. -
New to MSW, Tom from The Netherlands
James H replied to Articcie's topic in New member Introductions
Welcome to MSW, Tom. You'll soon have plenty more to see about that Victory kit here. Are you planning a build before Victory? -
New to ship modelling? But what do you build first?
James H replied to MSW's topic in Wood ship model kits
I'm on hiatus until a large parcel turns up from Italy. 😆 -
I spent the last weeks bending Chris's ear about stuff. You've him to thank for Flirt 😆
- 109 replies
-
- 3
-

-
- Vanguard Models
- Flirt
- (and 1 more)
-
I want one of those lathes too, with the extension bed.
-
Pretty much. I've been doing book and magazine work for about 10yrs in a lot of international titles, but that was in plastic modelling. I just needed to adapt it to wooden ships, which takes up far more space 😆
- 109 replies
-
- 3
-
-
- Vanguard Models
- Flirt
- (and 1 more)
-
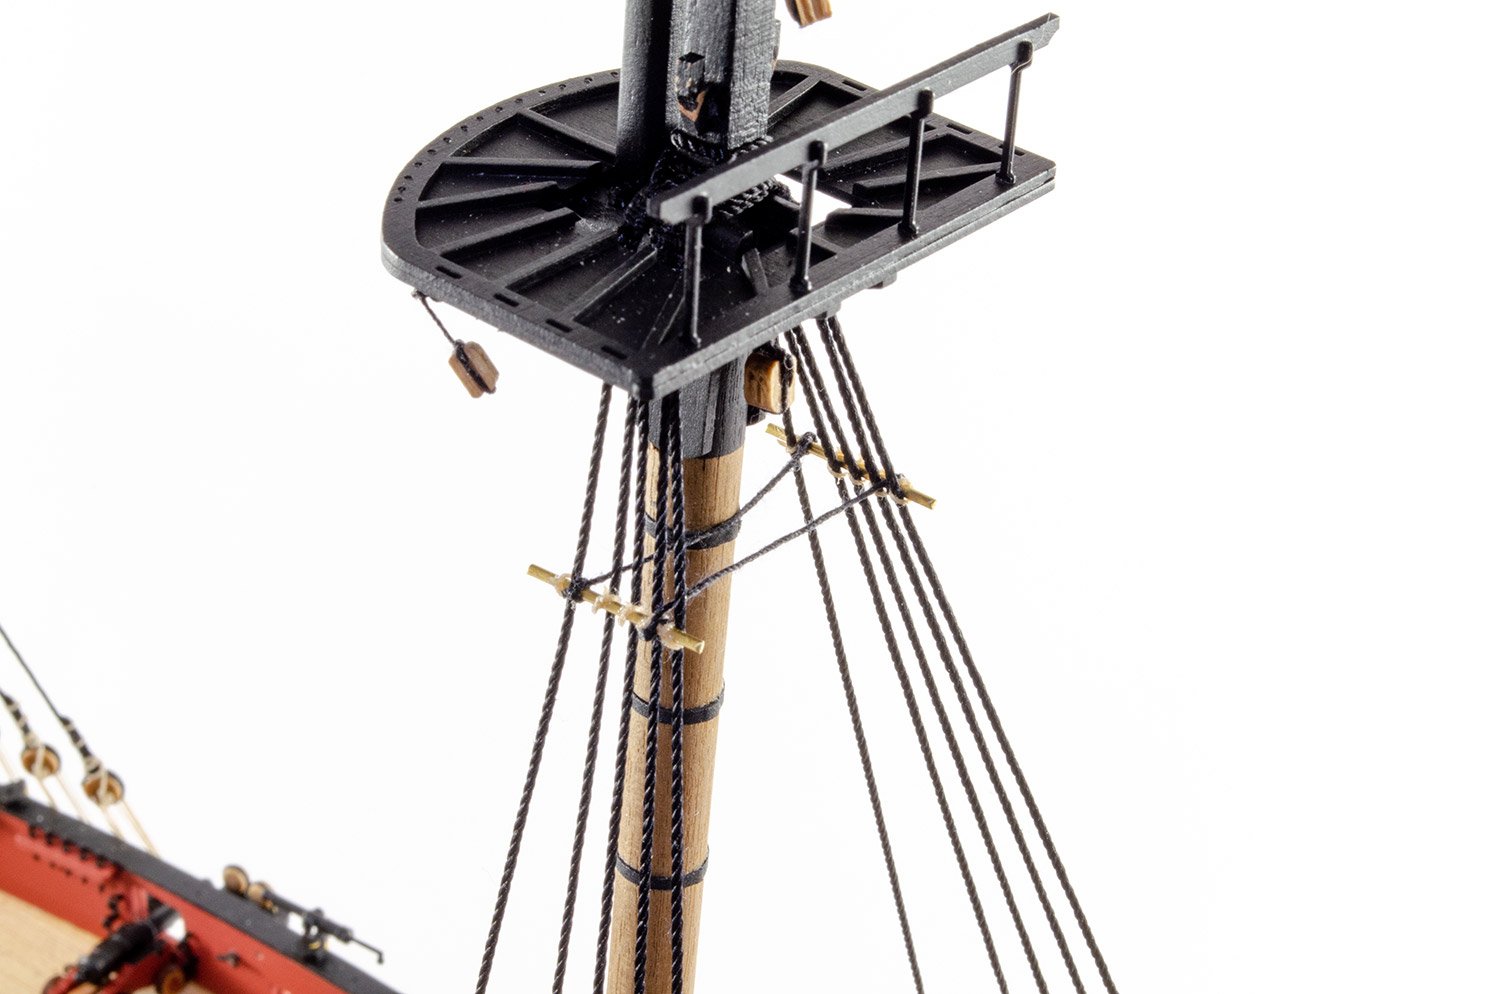
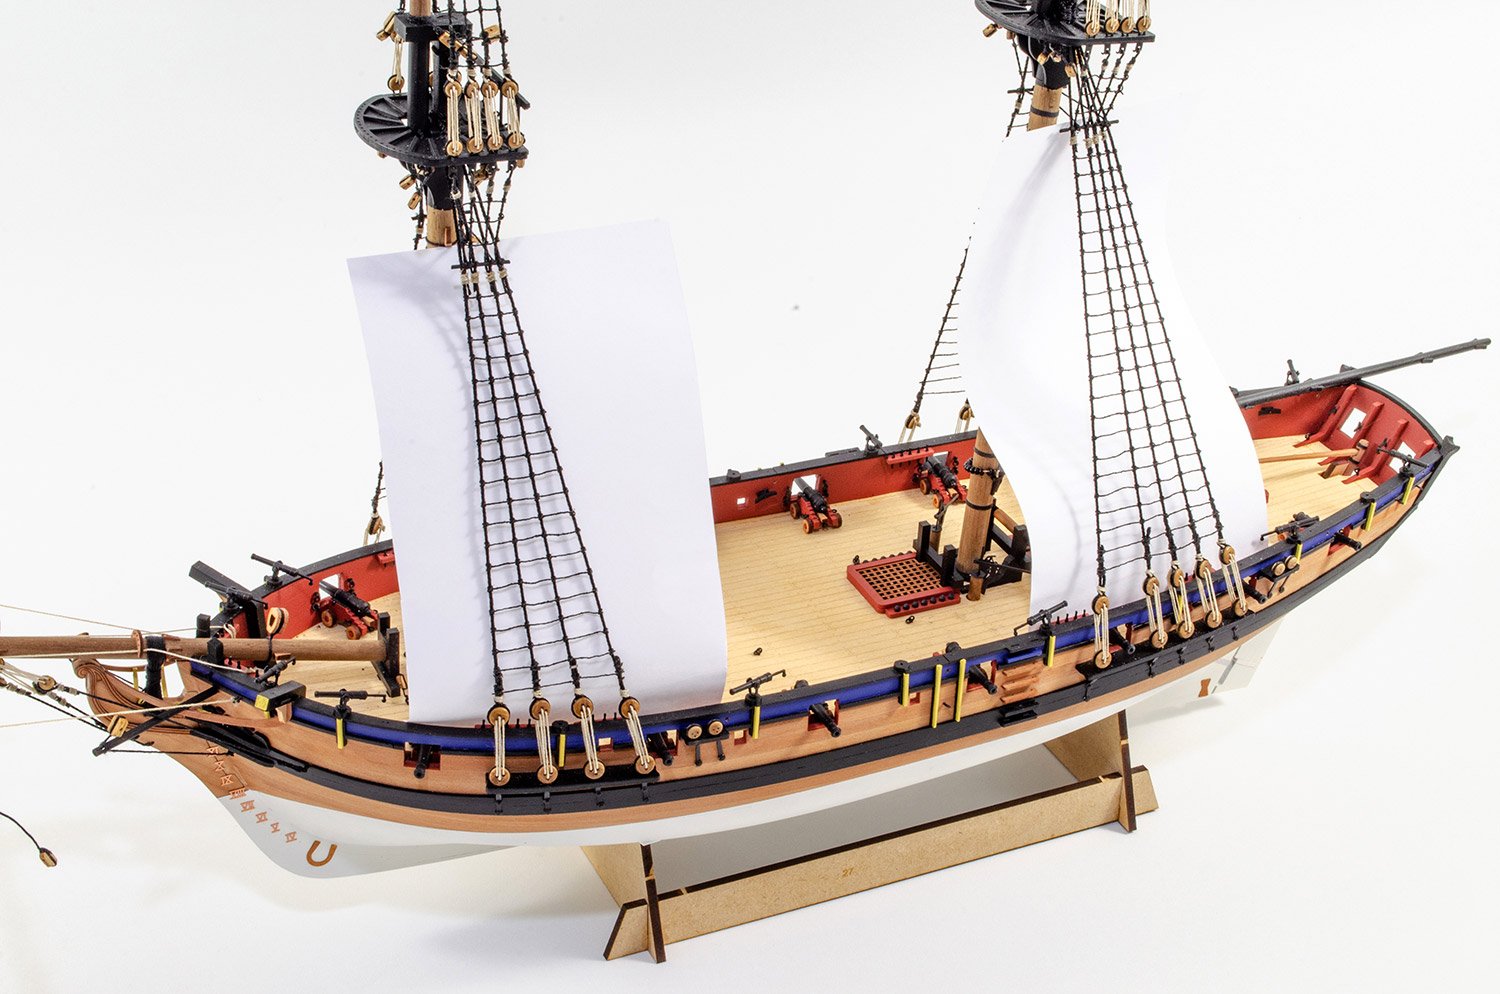
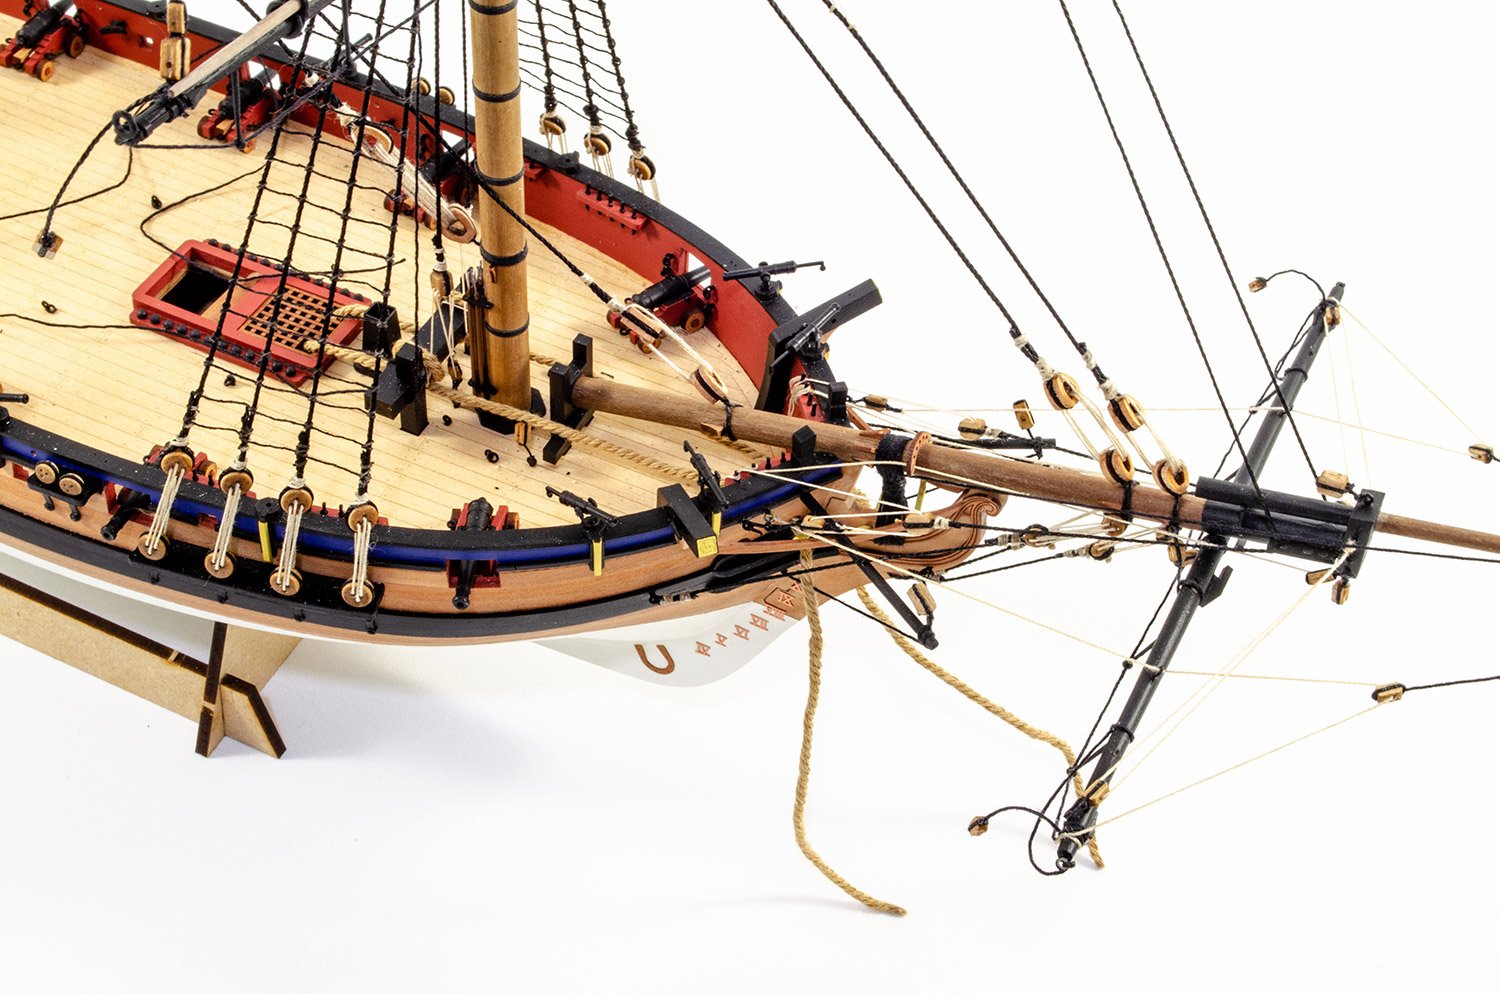
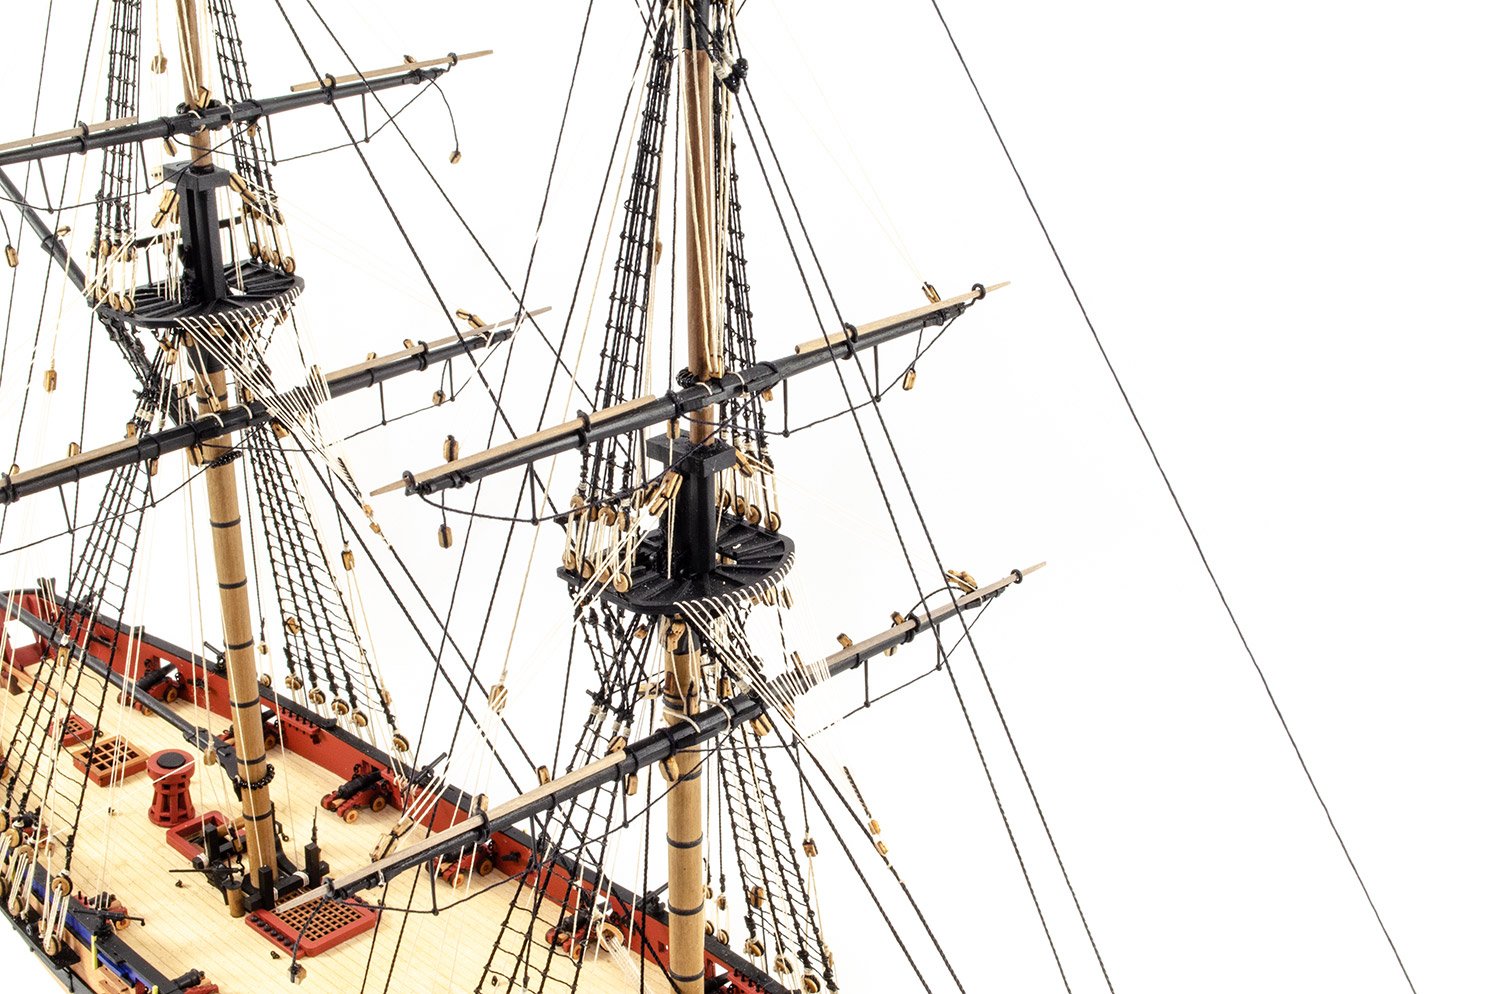
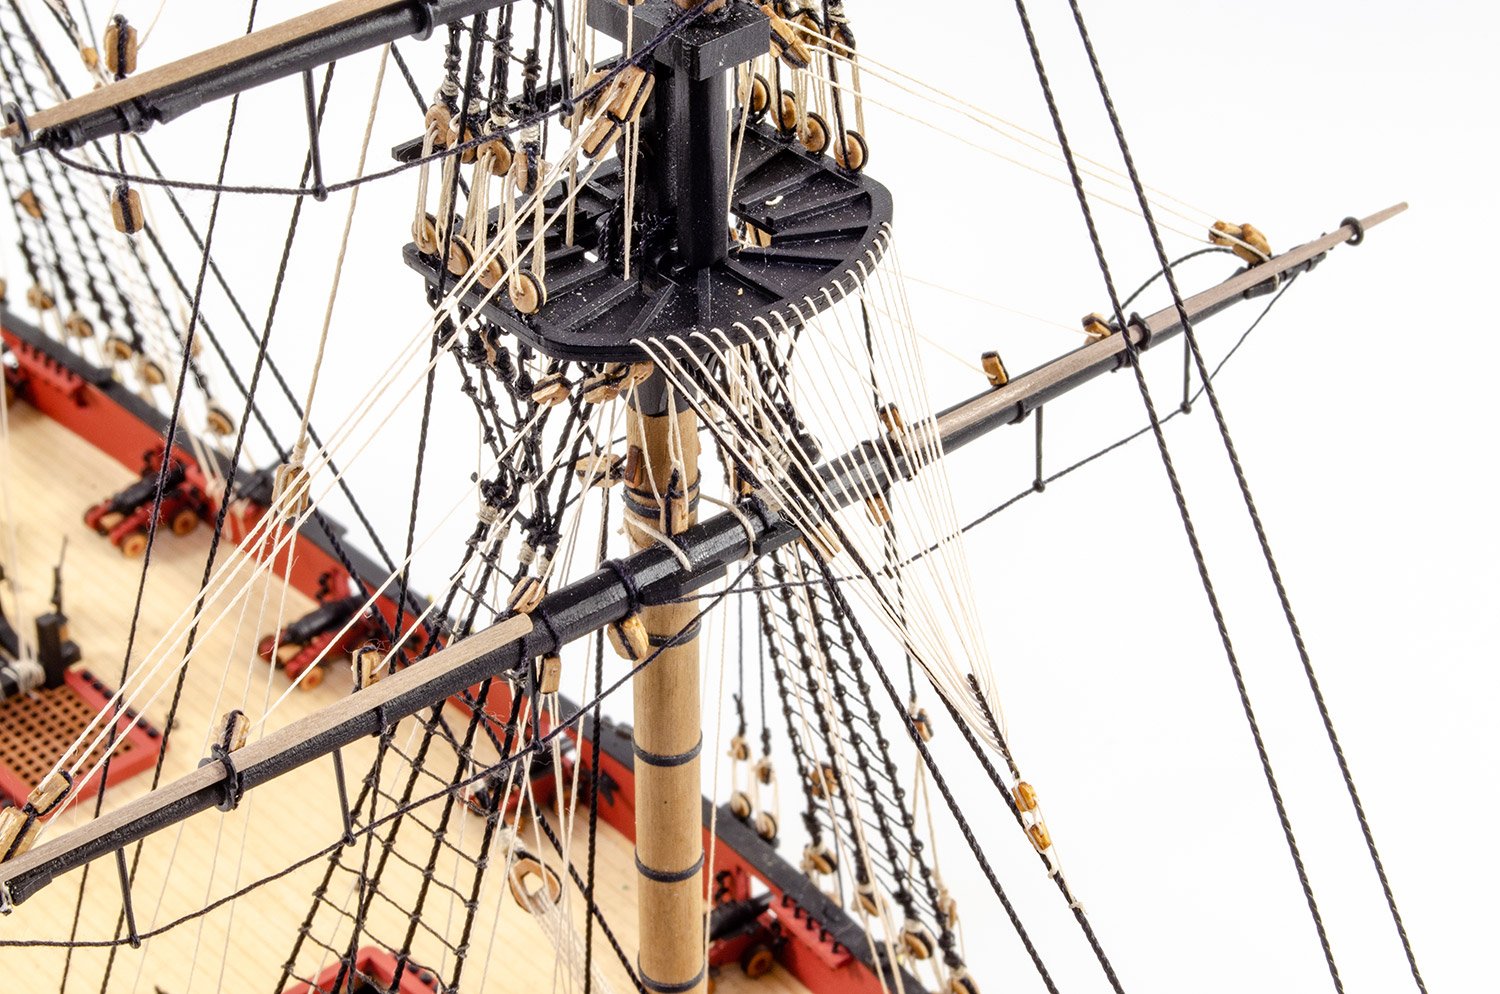
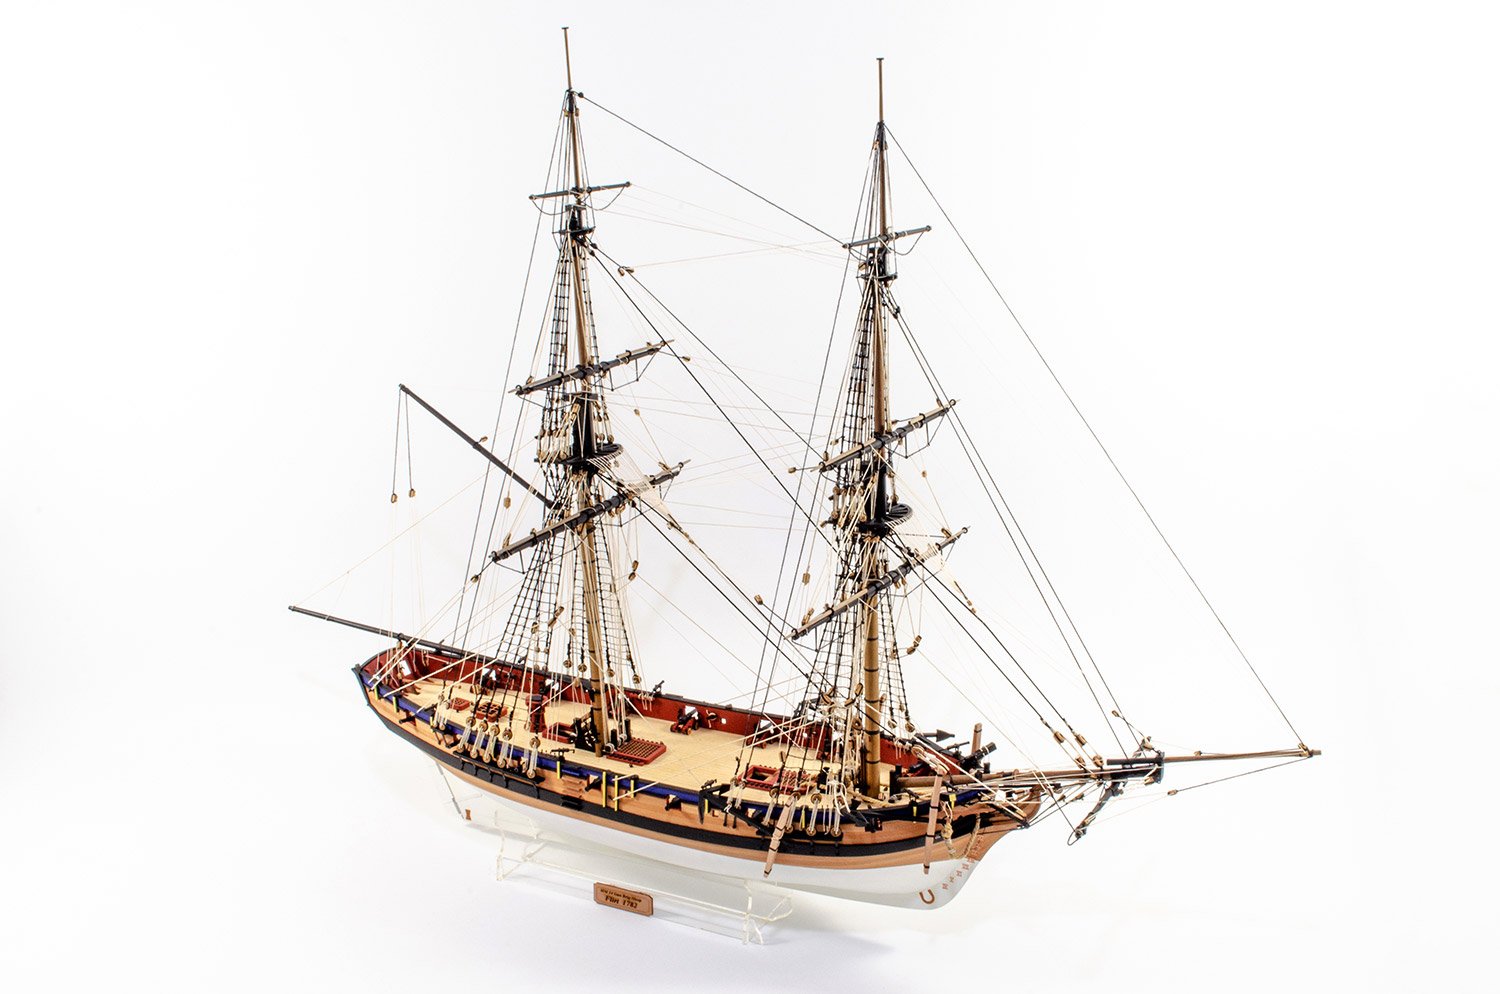
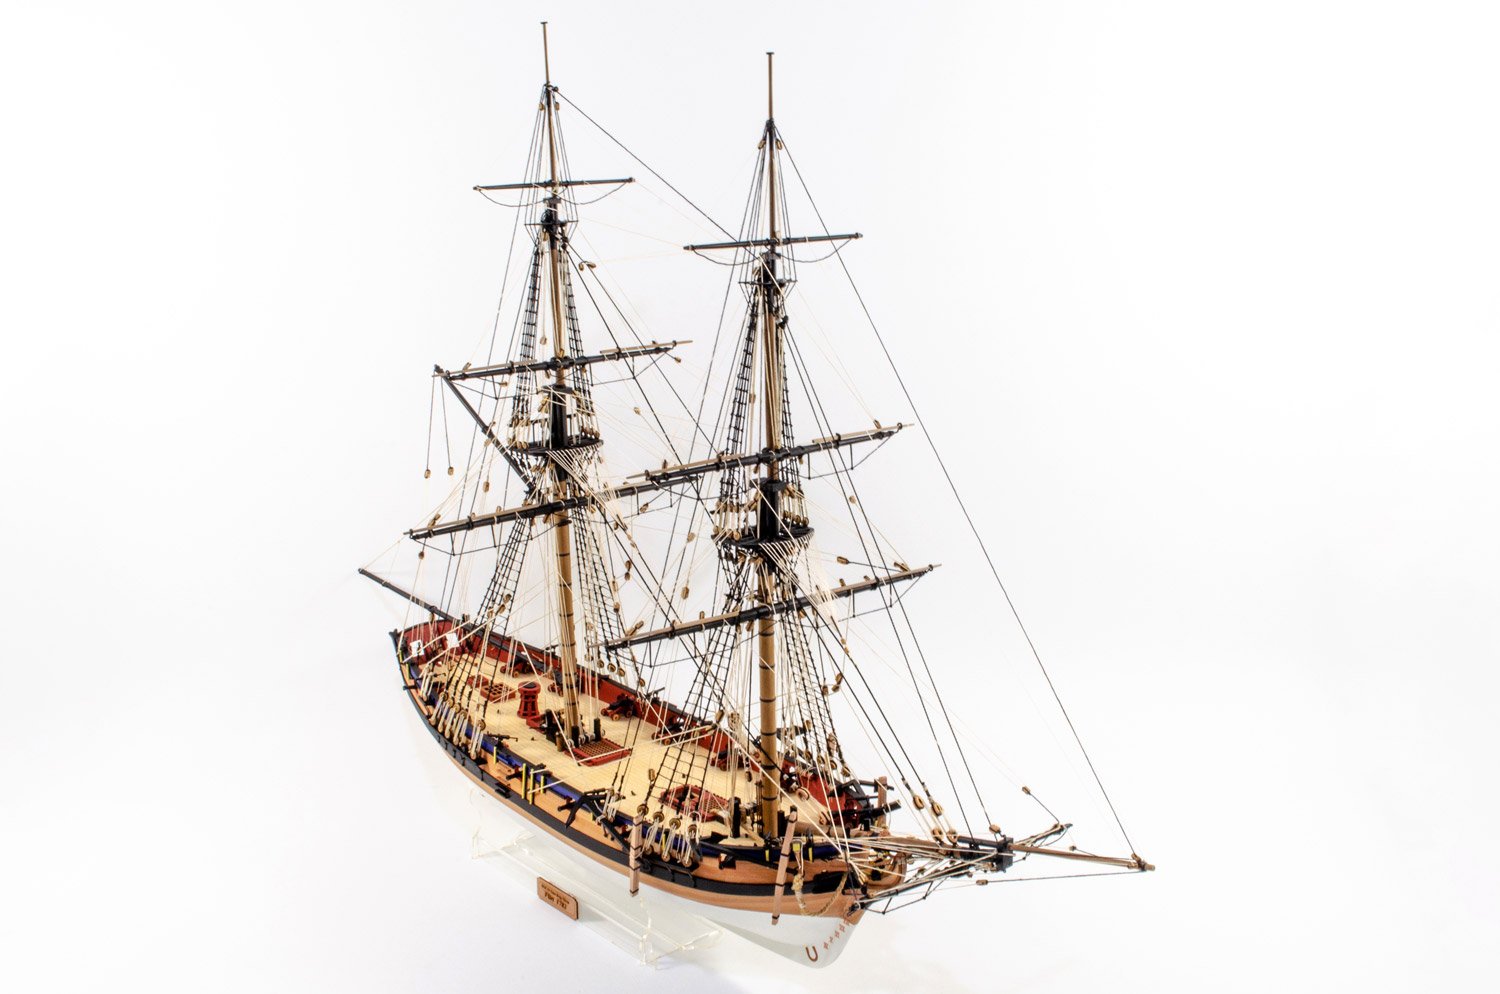
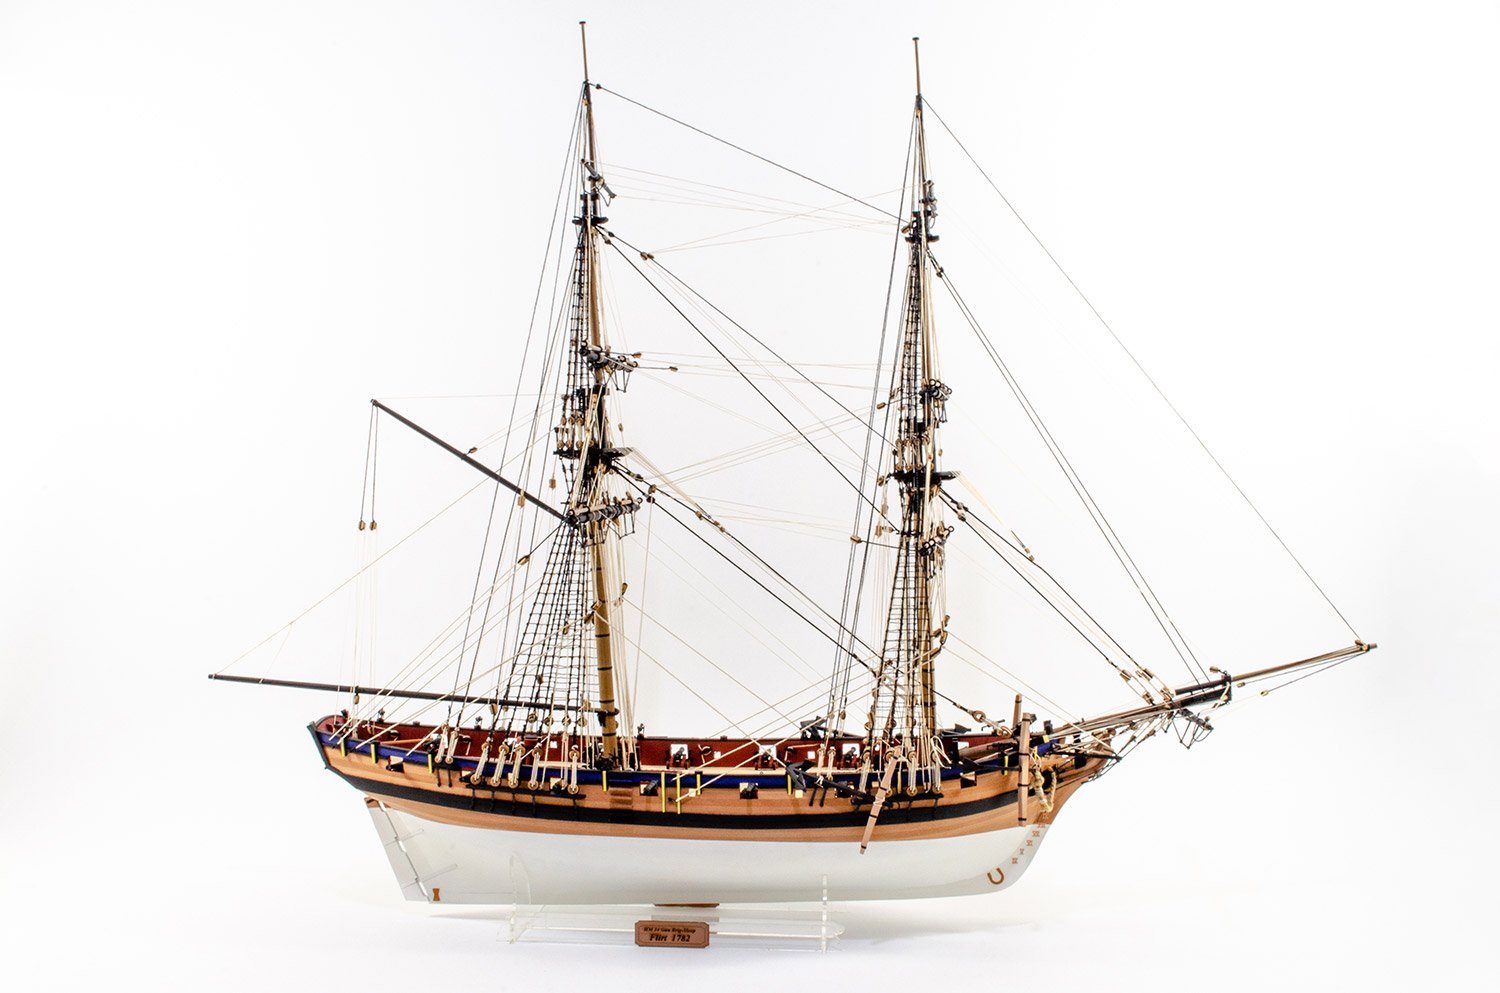
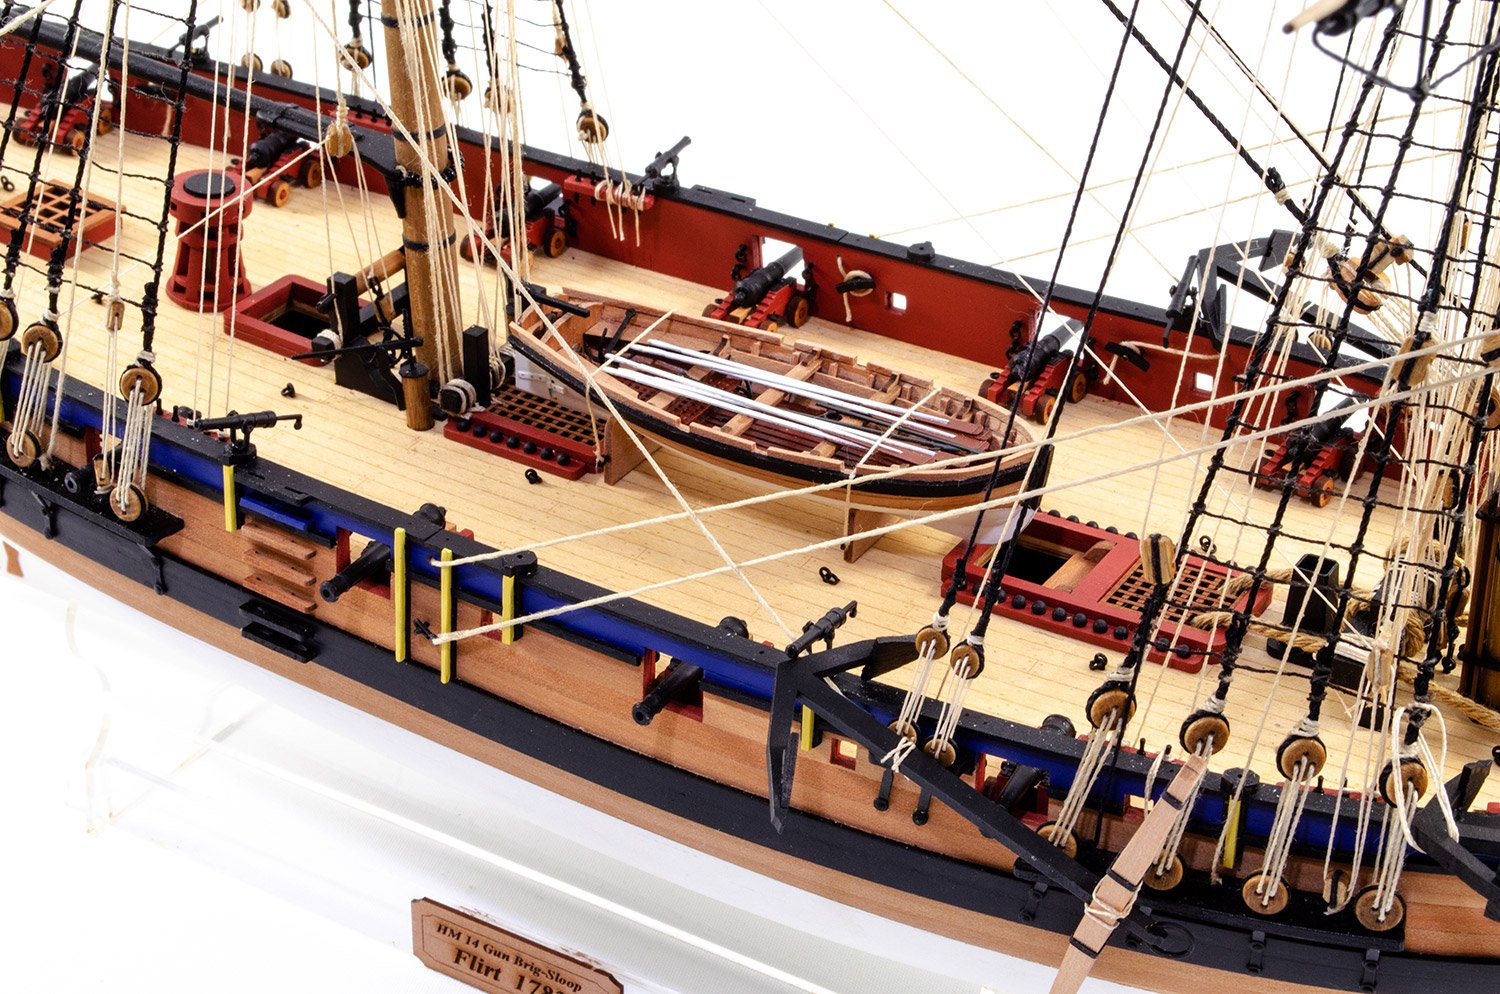
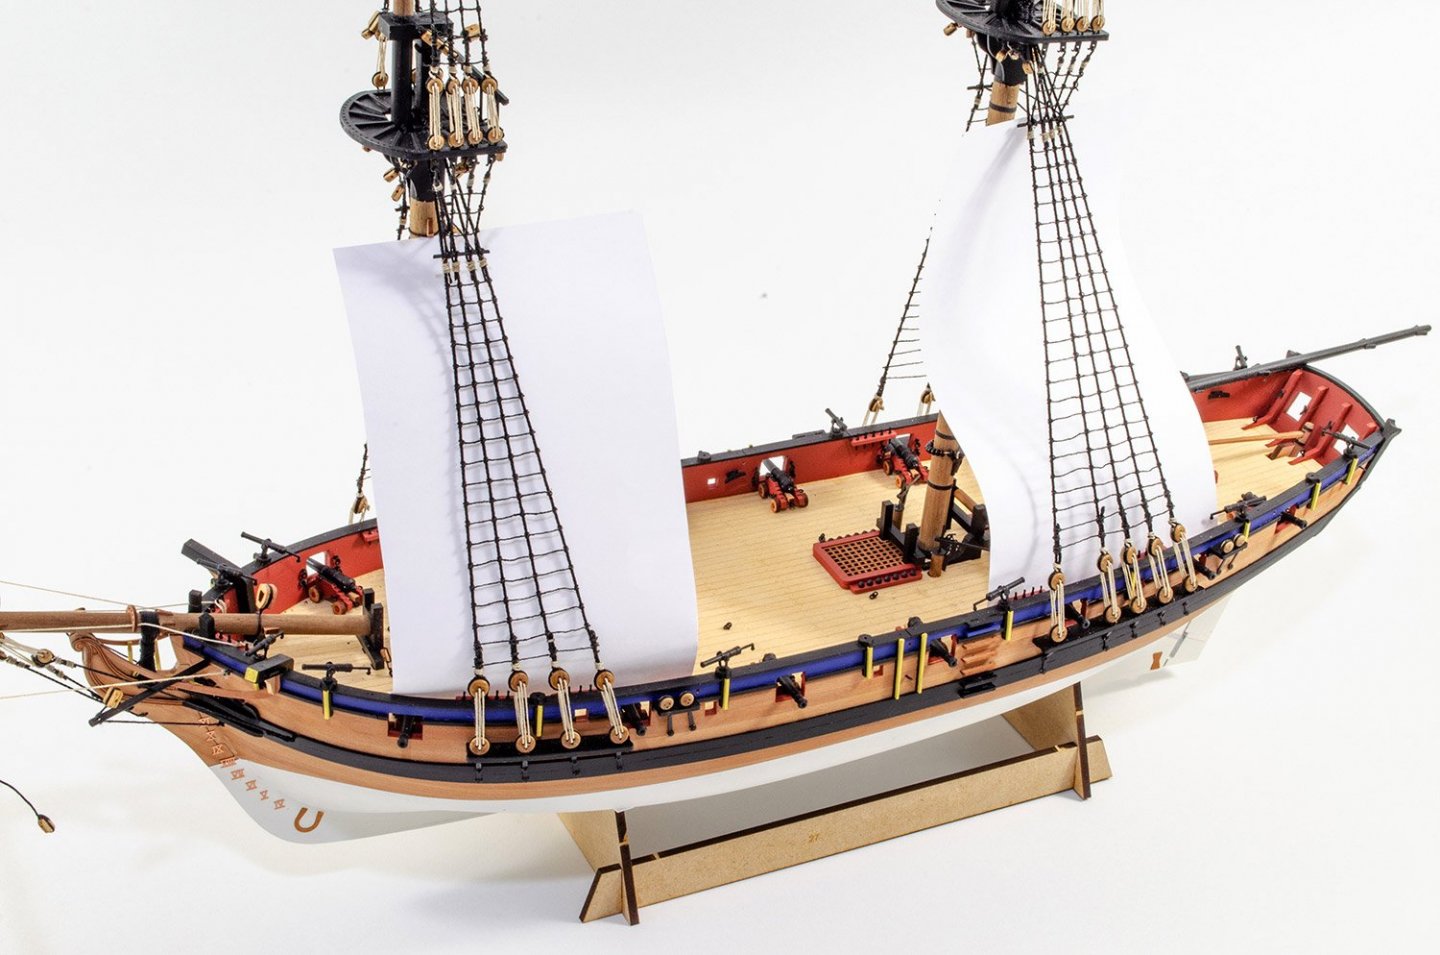
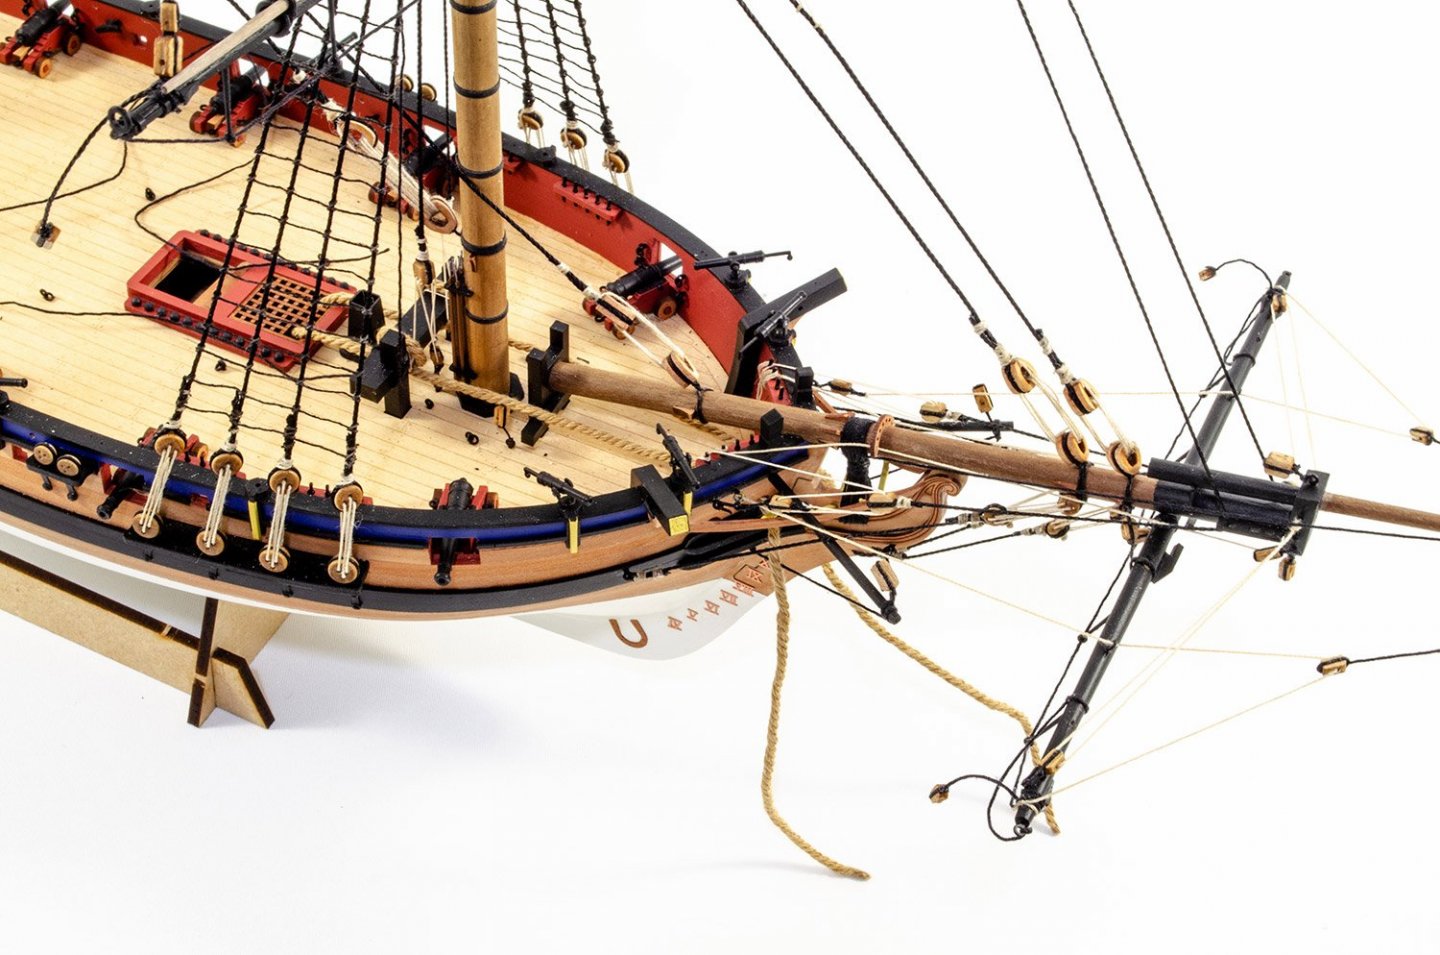
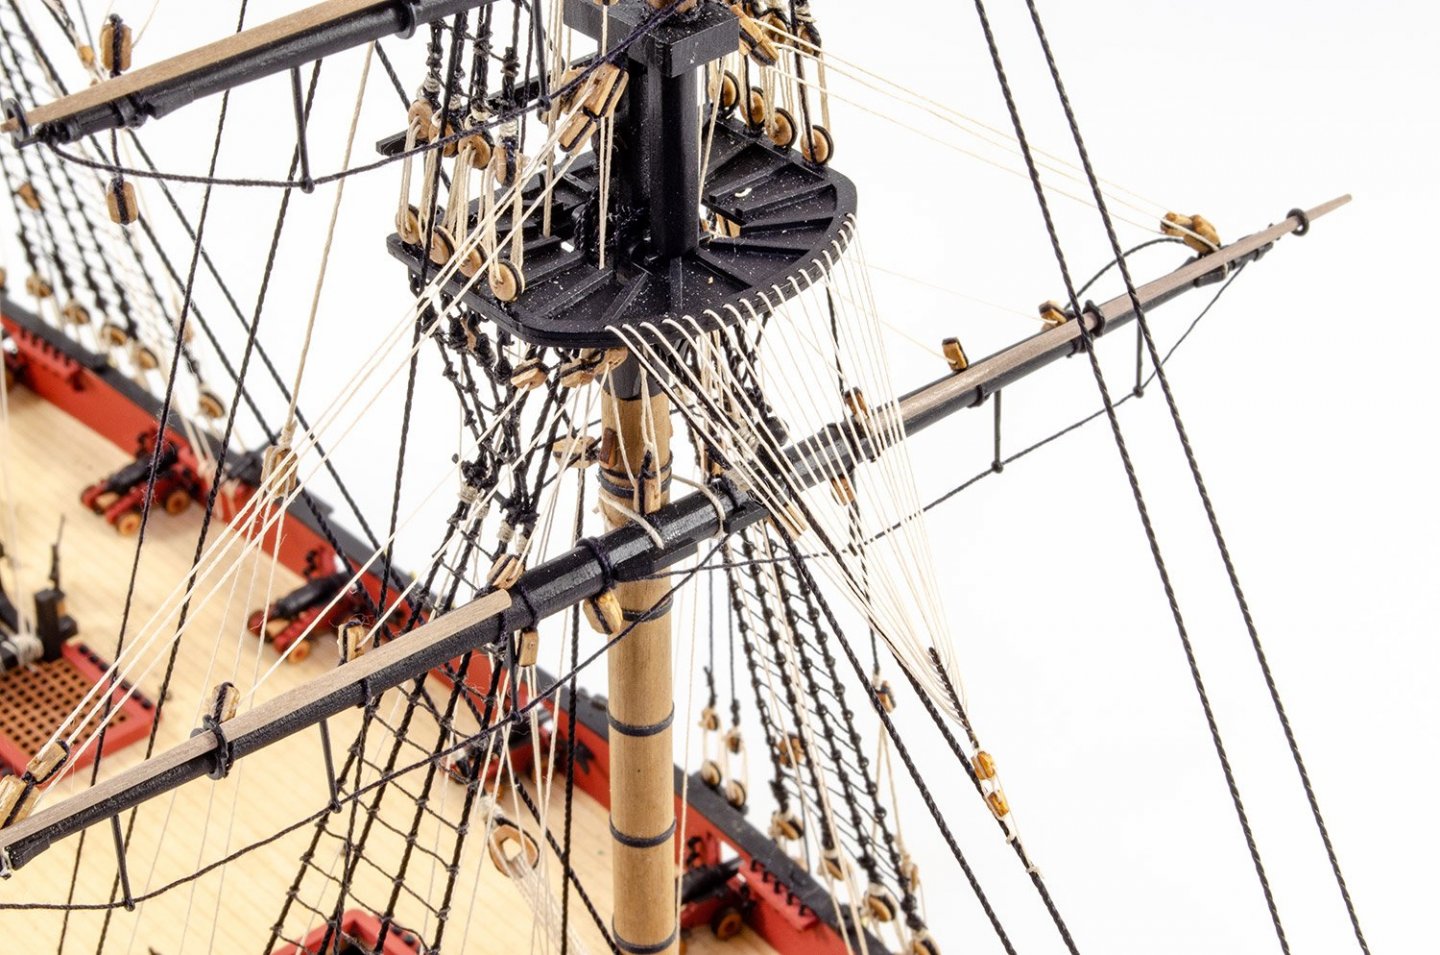
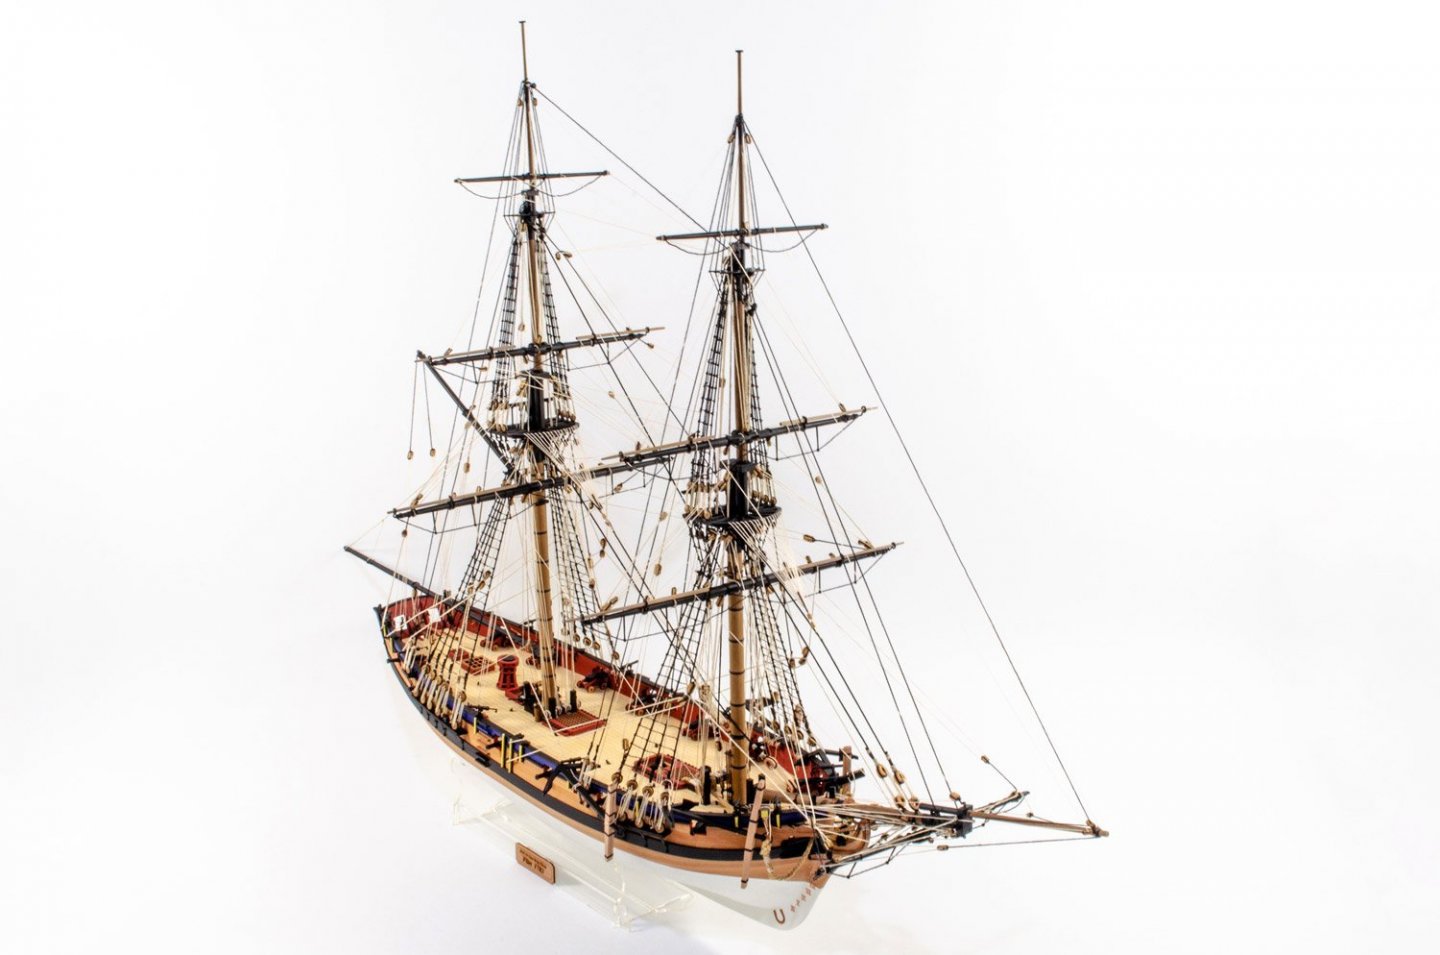
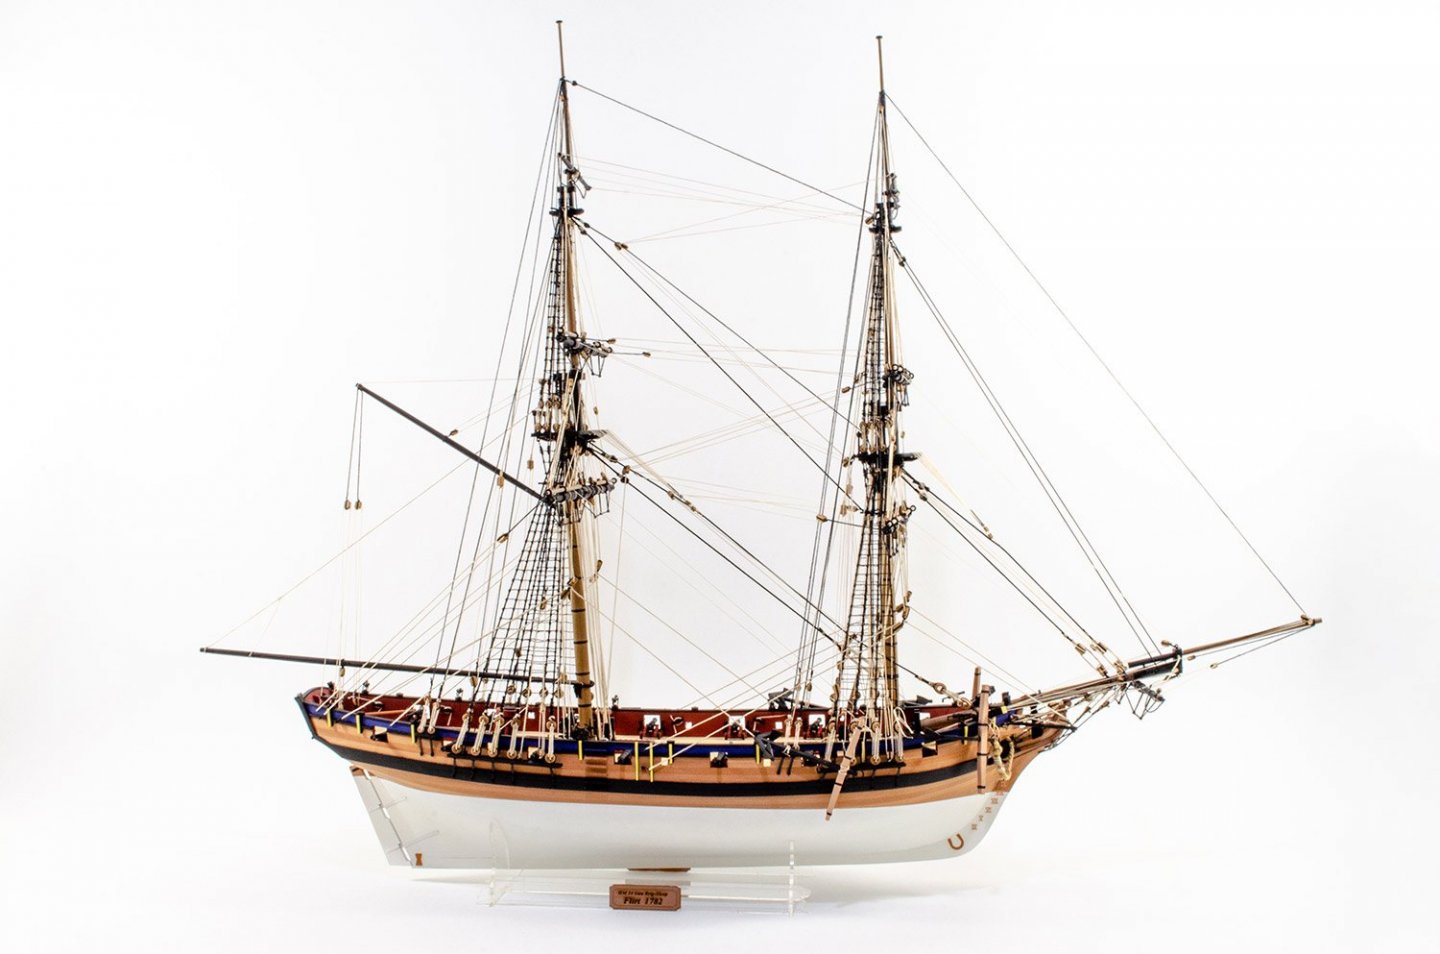
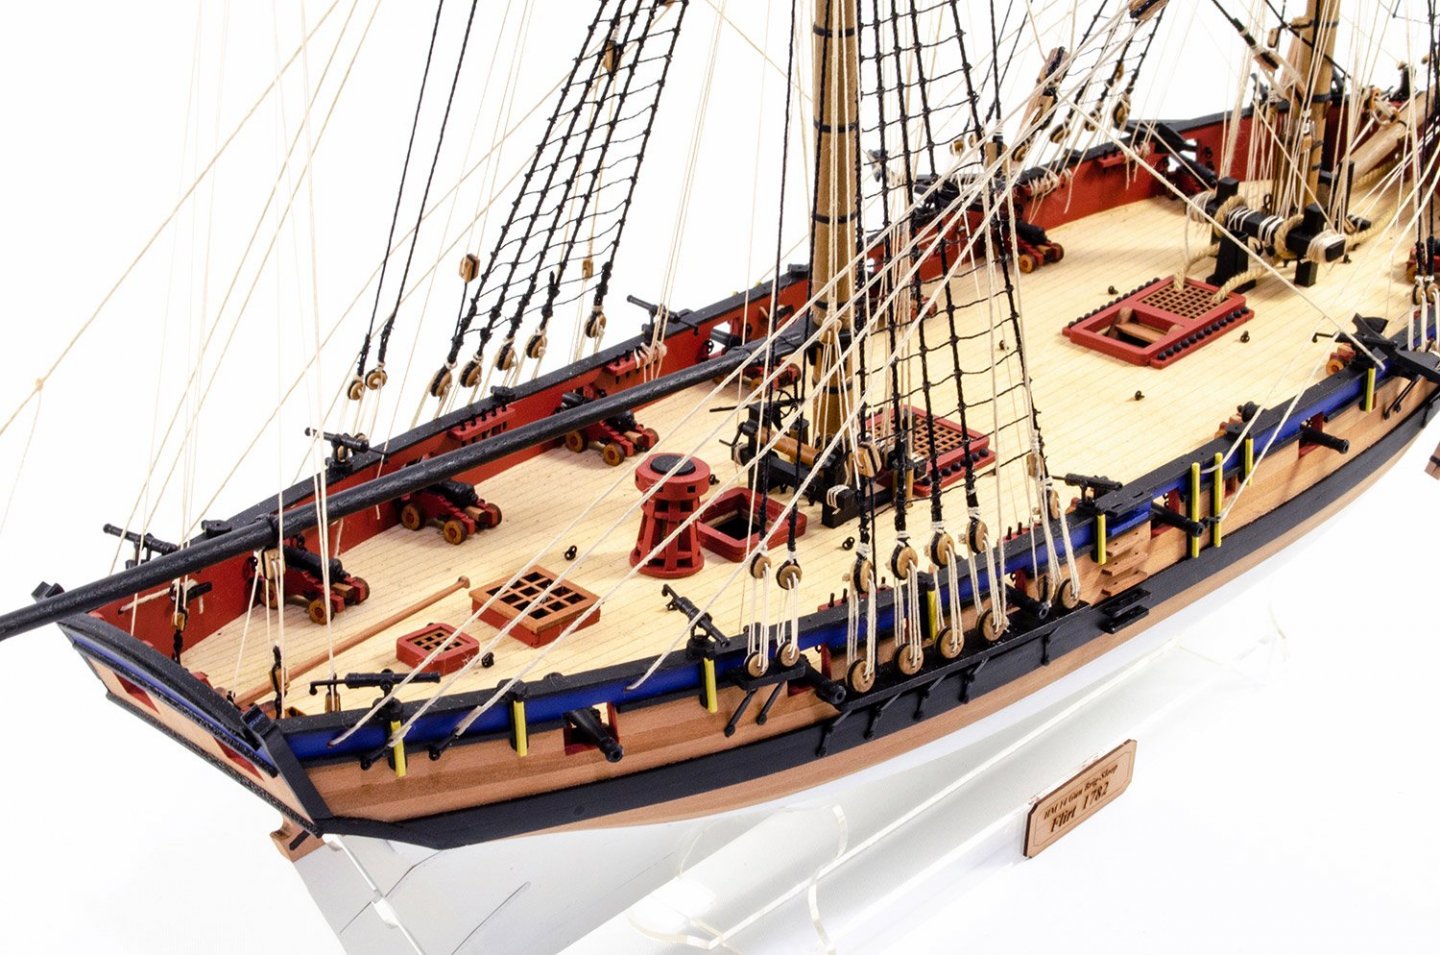
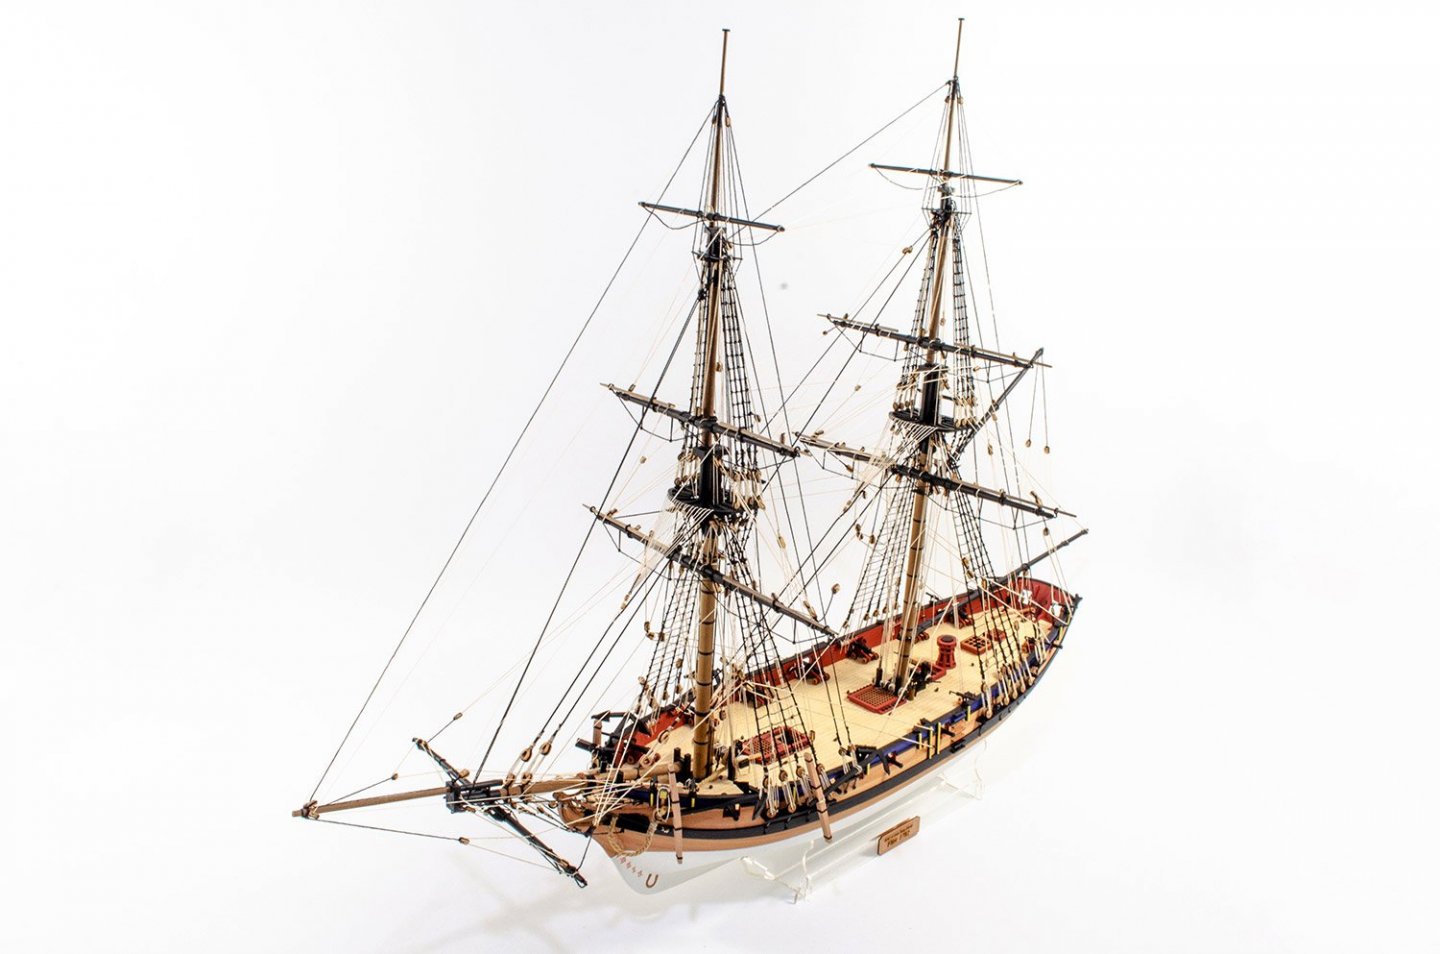
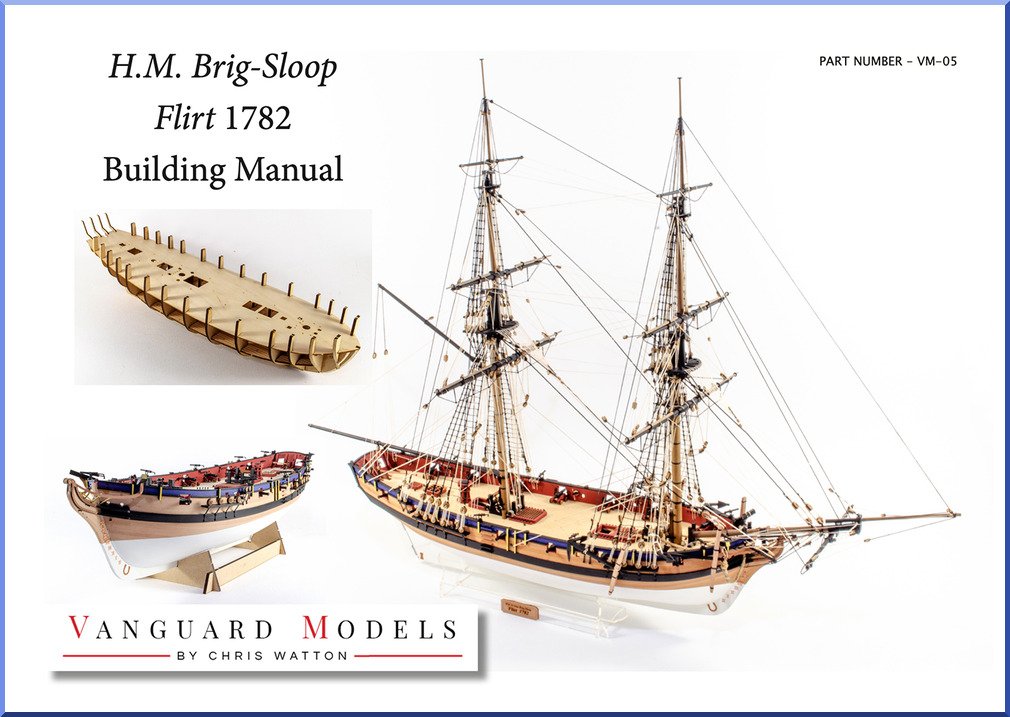
Well, this is it folks, it's all done. It's taken me just under 11 weeks from start to finish, and that's around 10 days longer than I planned, simply because I've had to re-learn rigging again. The last time I did a fully-rigged warship was about 13yrs ago, so I was just a little rusty. I rigged this model in about 12 or 13 days, in total. I actually re-learned swear words that I'd also long forgotten. I have cut corners, there's no doubt, but that's more through necessity as I know Chris needed to get this kit sorted. Ordering the boxes is by far one of the longest jobs when it comes to wait times. But I can tell you that the model will now be available in early August (tentatively), and in standard and Master Shipwright editions. Please ignore the strange rear shroud line in this first photo. They don't cross. It was just me moving blocks etc. And here is the finished model, in various angles. Remember that the launch is only in one shot for effect as that will only be included in the Master Shipwright edition, and not shown on the box art. And here's the manual's cover... For me now, it's a very short break before I plough into the Amati Victory which I've just been told is being kitted for me at this moment. Hope you liked the Flirt build! I know it's abridged, but you can see the full manual in the kit
.thumb.jpg.fc3a61ff6b4c5931f292cb11bff6fdd1.jpg)


- 109 replies
-
- 29
-
-
- Vanguard Models
- Flirt
- (and 1 more)
-
If you like those type of ship, then go for it. OcCre's kits are well presented with good instructions and some of their range have videos too.
-
Ok, I've had a play with your settings. See if that works now.
-
ancre Coureur by cafmodel - 1/48
James H replied to cafmodel's topic in - Build logs for subjects built 1751 - 1800
Will the sails be pre-stitched as shown? -
kit review 1:32 Fifie – The Scottish Motor Fishing Vessel by Amati
James H replied to James H's topic in REVIEWS: Model kits
Definitely! I'll follow that build, without a doubt. -
I think you'd be ok with one strake. Don't beat yourself up over it. Pretty sure there were so many variations in stuff with the strakes. You'll love that pear when under varnish. Under polyurethane it looks great!
- 38 replies
-
- 2
-
-
- vanguard models
- fifie
- (and 2 more)


.jpg.54fba8ec1f48bada1ef1199c9923abb4.jpg)