


popeye2sea
-
Posts
1,797 -
Joined
-
Last visited
Content Type
Profiles
Forums
Gallery
Events
Posts posted by popeye2sea
-
-
To answer the last part of your question. The halyard actually has two ends. The upper end has a toggle and the lower end an eye. When no flag is bent on it indeed forms a continuous loop. The top of the flag would have an eye and the bottom of the flag has a toggle spliced on a short tail rope. So to bend a flag onto the halyard the toggle from the halyard is put through the eye of the flag and the eye of the halyard is attached to the toggle on the bottom of the flag. Thus you maintain the continuous loop but now you have a flag hooked in between the two parts of the halyard. Both parts are belayed together on the same pin.
-
Much easier than the way I was doing it with a small ball peen hammer and anvil. Thank you!!
-
-
Those lines look to be halyards. Their purpose is to raise or lower the yards into position. Lines number 11, 13, 14 and 15 are all halyards. Lines number 12 are lifts. They control the horizontal angle of the yards (one end higher or lower than the other).
-
The following is excerpted from Steel's Elements and Practices of Rigging.
Ropes should be made of nothing inferior to Riga or the best Petersburgh hemp, well hatchelled, to clear the ends, which else, in spinning, would run in with the long hemp. One pint or more of oil, according to the quality of the hemp, should be used to every hundred weight, to oil the ends, (which is done with a wad of hemp,) that they may pass free in hatchelling, and from the sides of the spinner when spinning.
After the hemp is properly cleaned by the hatchell, it is spun into yarn. In spinning, the spinner must be careful to hold his hand close; otherwise the yarn will be neither round nor smooth. The spinning-wheel must be kept turning a constant regular pace, that the yarn may be spun with a regular turn or twist; for, if slack-spun, it will break in warping or straining up.
60
In general, every yarn or thread for cordage should be spun the length of one hundred and sixty fathoms, and weigh from three and a half to four pounds; it should then be wound upon winches, and warped into hauls for tarring.The yarn for tarring has a slight turn put into it,* and is laid by the side of the tar-kettle: a piece of rope is then tied to one end of the haul, and carried under the step in the tar-kettle, through the nipper and round the capstern, which, being turned, draws the yarn through the kettle, from whence it is hauled off and placed in the yarnhouse.
The tar must be well boiled before used, and kept gently boiling while the yarn is in the kettle. (Some think a brisk boiling makes brighter yarn.) If too hot, and the yarn not kept clear of the bottom, it will burn; if too cold, it will make it overweigh and clog. That all parts of the yarn may be equally tarred, the capstern should be kept regularly going; for if, by accident, it should stop, the yarn would burn; to prevent which, the step that keeps the yarn down must be instantly raised, and the yarn taken out.
Yarn for cables requires more tar than for hawser-laid ropes. For running and standing rigging, the less tar the better, provided the thread is well covered.
After yarn is tarred, it is laid in the yarn-house, for a day or two, to harden, before the hauls are opened, for making into ropes or strands for cables.
-end-
Ropes made up from tarred yarns were considered to be stronger than untarred.
Perhaps there were exceptions, but I think that all rope was tarred to some degree or another. I also think that people are assuming that the tar was applied after the rope was laid up. It was actually applied to the yarns before twisting into strands. I also think that is why the standing rigging is darker. I believe that those ropes were tarred again after being laid in order to make them more impervious to the wet.
-
Typically, the order of fitting the standing rigging over the mast head on the actual ships was as follows:
1. Mast tackles
2. Shrouds (alternating port and starboard)
3. Stays
4. Winding tackle pendants
Perhaps that will help you decide what to rig first
-
The building slows to a crawl during the summer. I am kept busy impersonating a marine from the war of 1812 aboard the USS Constitution. You can see some of our pictures in various places on MSW. Some of them are in the museums and clubs forum. My avatar is a pic of me in uniform aboard the ship.
-
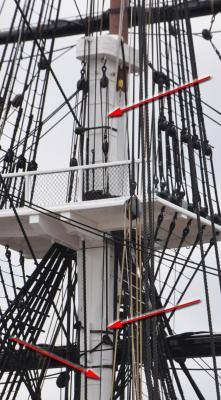
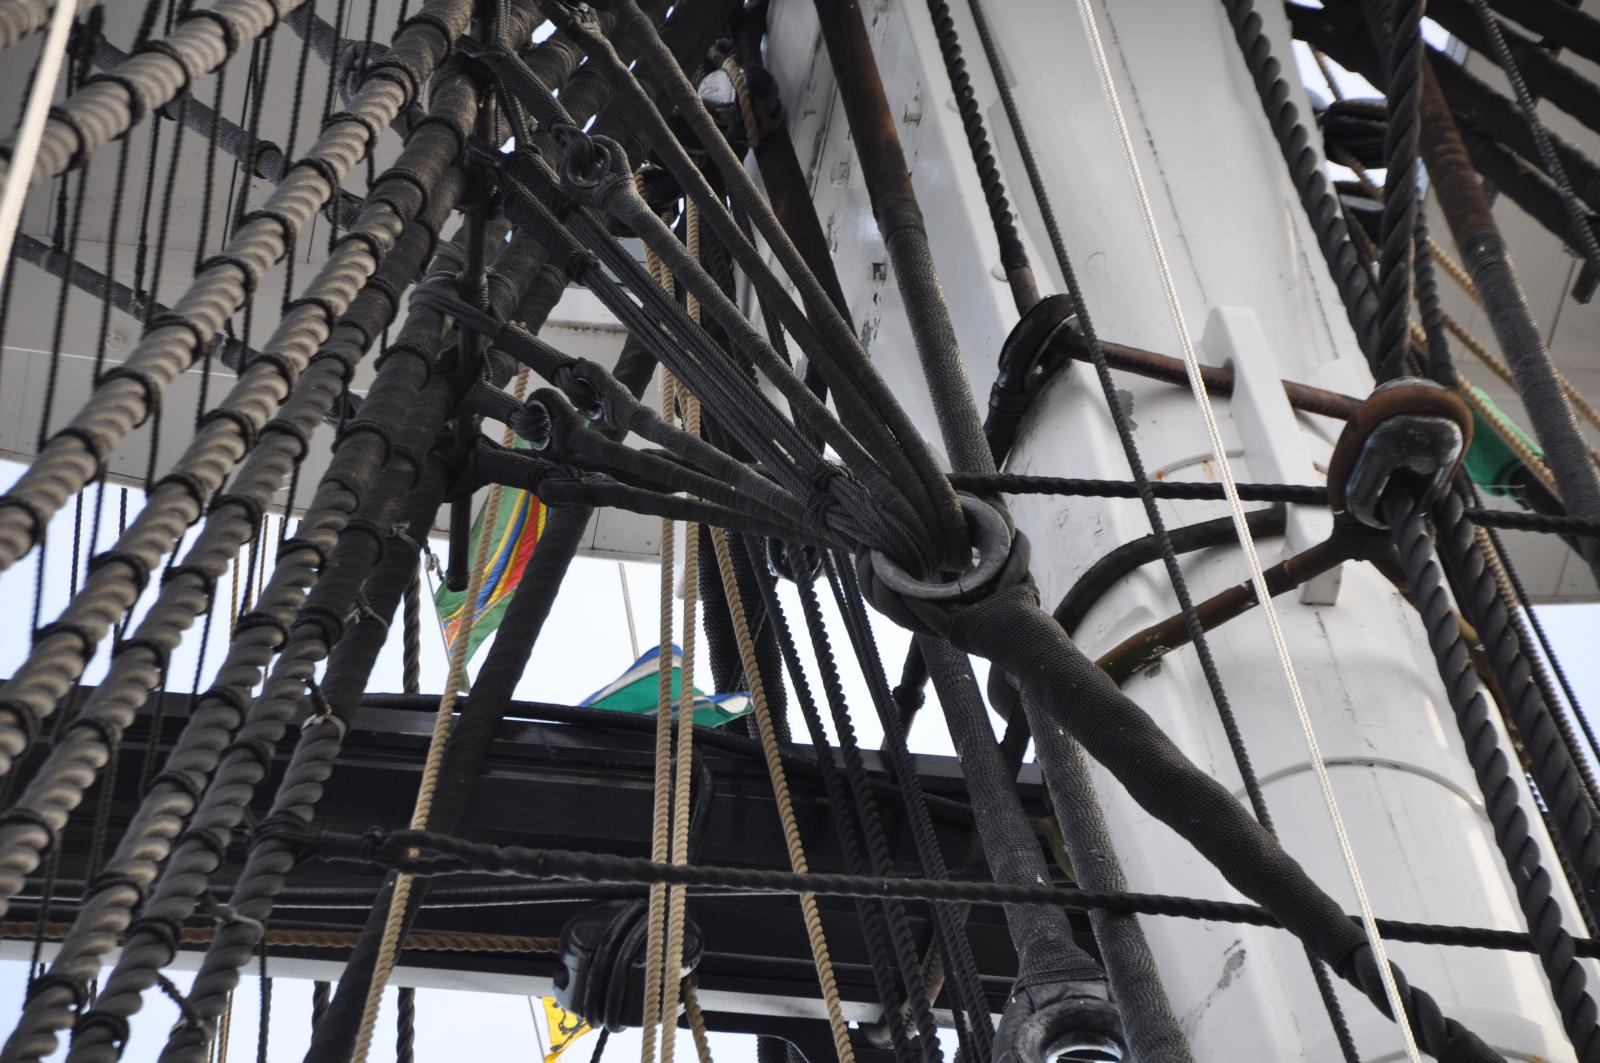
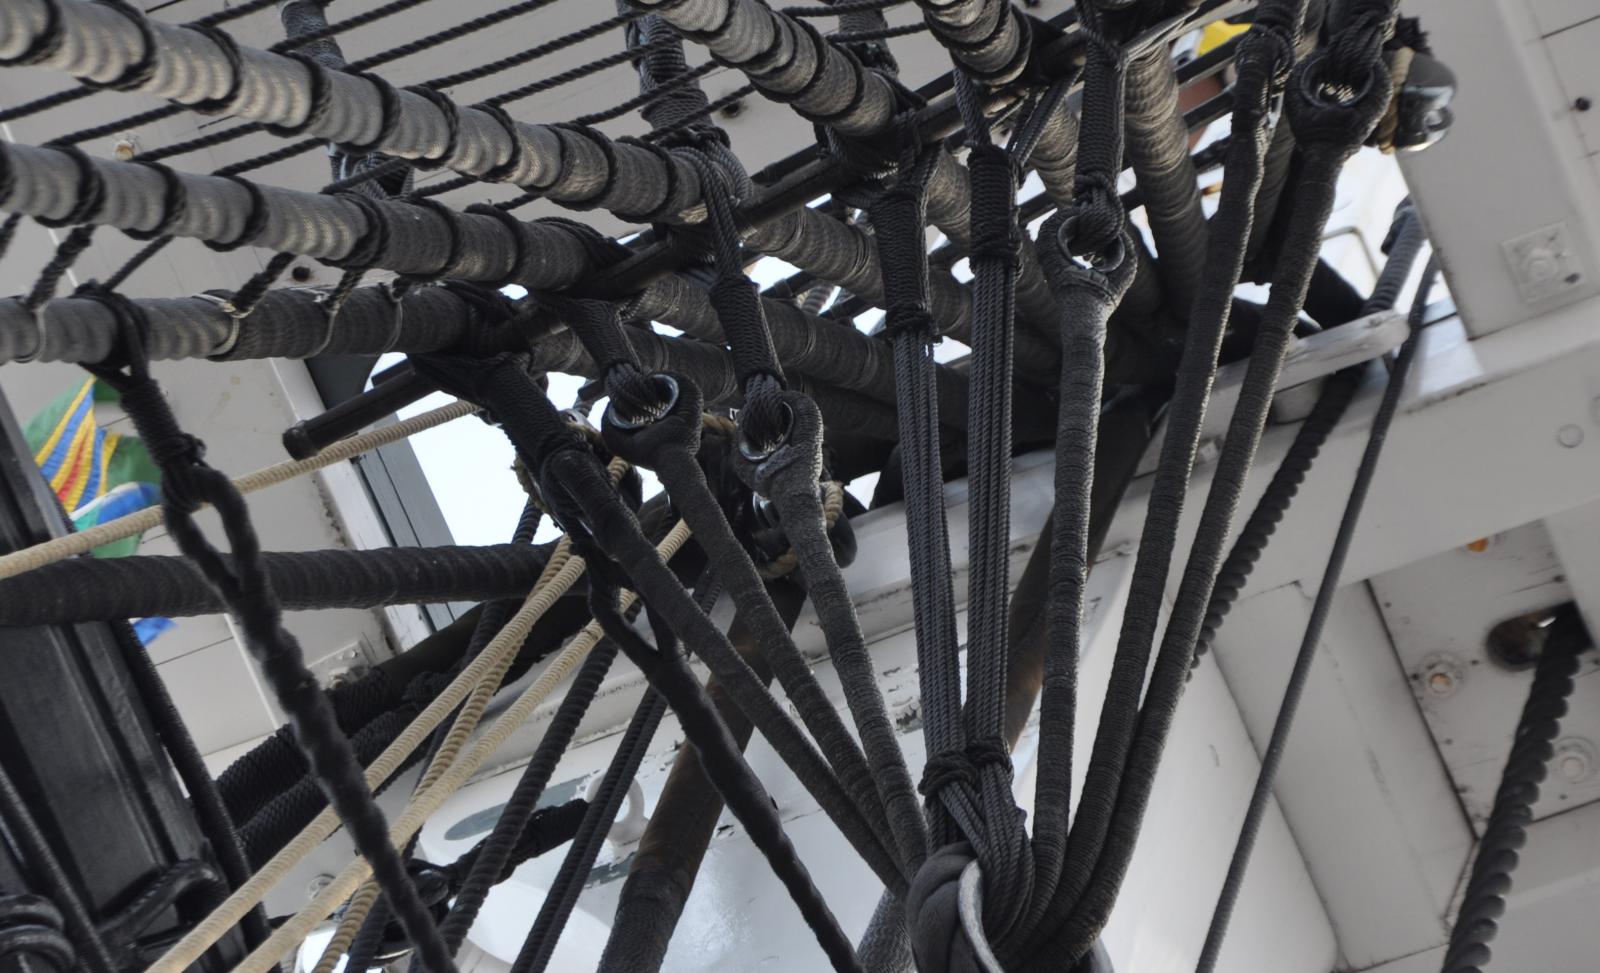
Went by the ship today and took a couple of photos. Those are truss tackles for the lower yards. From top to bottom in the photo:
1: Truss tackle
2. Truss pendant
3. Truss tackle fall (belays on deck aft of mast)
I could not get aboard to check exactly where this belays.
BTW: The signal flags NAPJ are the ships call sign. A unique radio signal identifier for all vessels and/or broadcast stations. All US Naval vessels call signs start with N. Civilian radio stations west of the Mississippi start with K and those east of the Mississippi start with W. US Army and Air Force start with A
-
Going to be there again soon. Will investigate and take pictures.
-
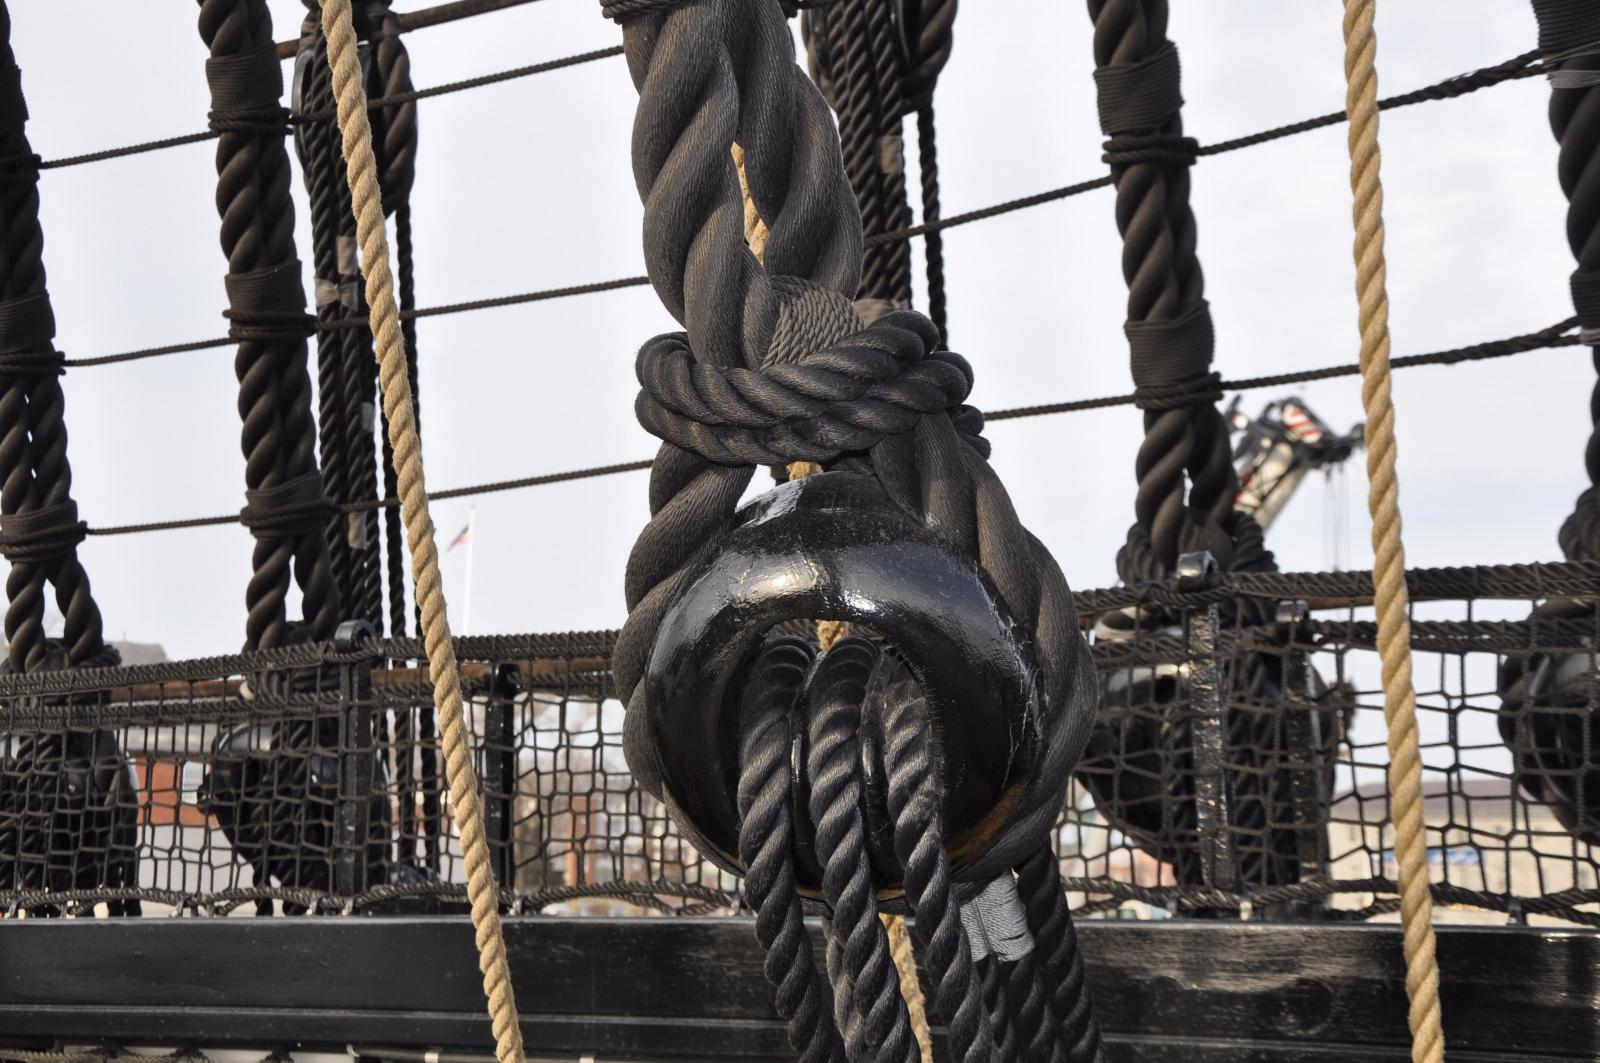
They look like they might be truss tackles. The pendant clearly goes through the lubbers hole. But, I can not tell if the tackle belays in the top.
-
Has anyone got any information on older vessels of halyard buckets being used to coil and hold the long lengths of halyard that you end up with when the yards are hoisted?
-
A spar is a pole. It is a collective term for every pole on the ship. Vertical spars are called masts. Spars that cross masts and extend to both sides are called yards. Spars that extend to one side only are called booms or gaffs.
You will often find that the same object used differently on a ship will get different names depending on it's usage.
-
Once you get the basics of seizing a strop around the block the rest is just variations on the same theme. For the becket at the bottom of the block you can do two things. 1. Make the strop longer and create another eye just like the one at the top or 2. make a small grommet (a circle of rope like the picture of the strop above) looped through the bottom of the strop. The standing part of your tackle fall will the be attached to this grommet with a becket bend.
For the attachment to a boom or spar, again there were different ways to accomplish this depending on the particular location and type of block. One way is to strop the block is with two long eyes that would just about meet around the boom. The two eyes would then be lashed together to hold the block securely against the boom. The other method is to strop the block with any eye and a tail. The tail is passed around the boom through the eye and the seized to itself.
The idea behind seizing blocks to a spar in this way is that it allows the block to be removed without cutting the strop. All you would have to do is cut a seizing. Re-stropping blocks all the time would be a pain in the ****. Blocks were normally fitted with their strops off the ship in the ship yards were the proper tension could be applied to the seizings.
-
There are many, many lines not currently rigged on Constitution, since she never sets most of her sails. The ship currently only has the 3 top sails, a fore topmast stay sail, and a spanker. She also does not have any yard, mast, or stay tackles. It's pretty much just the standing rigging.
-
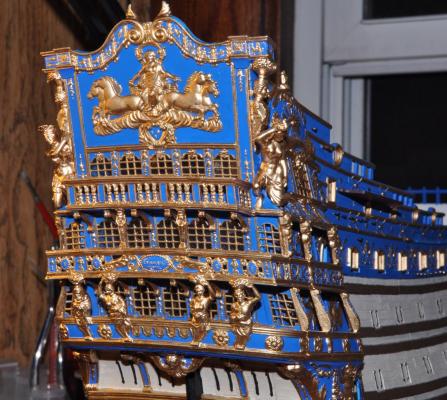
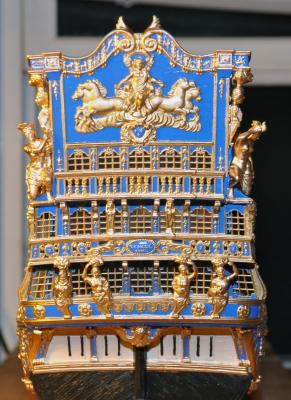
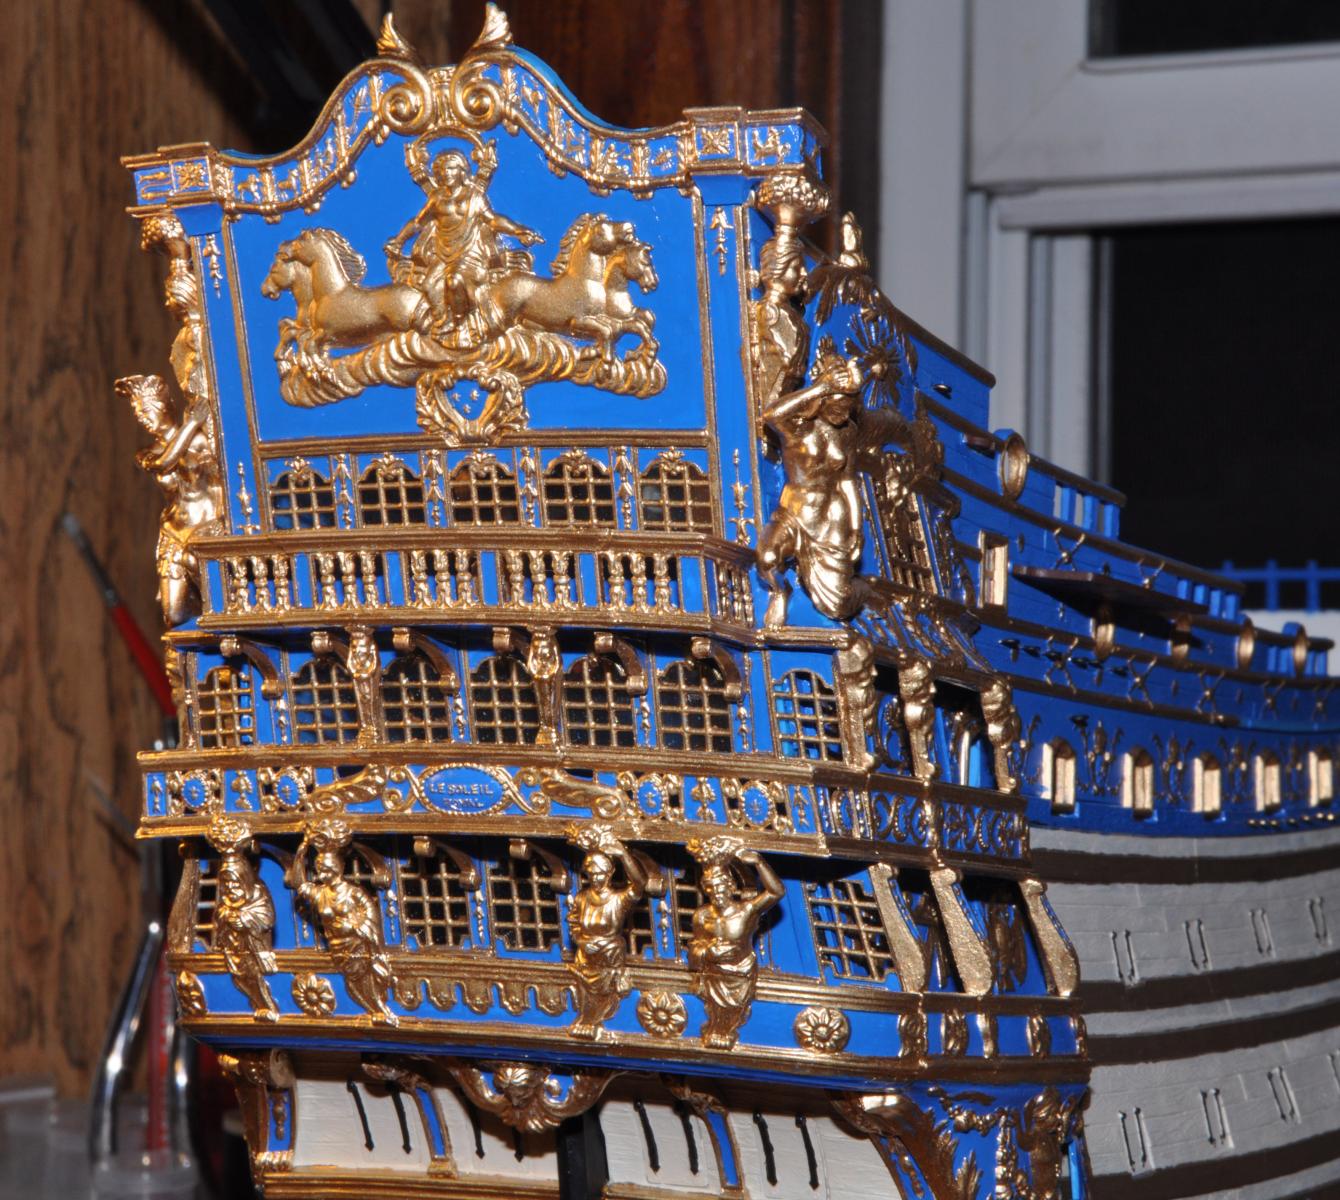
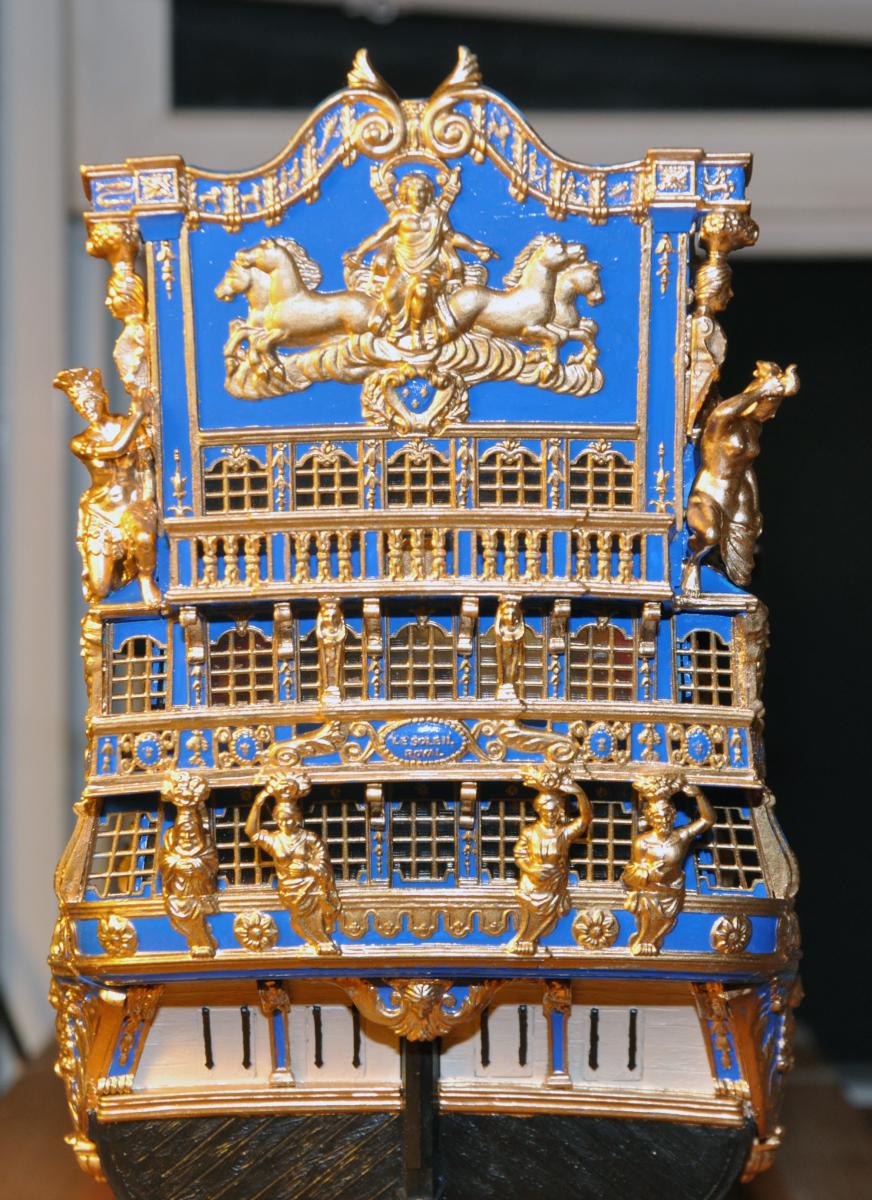
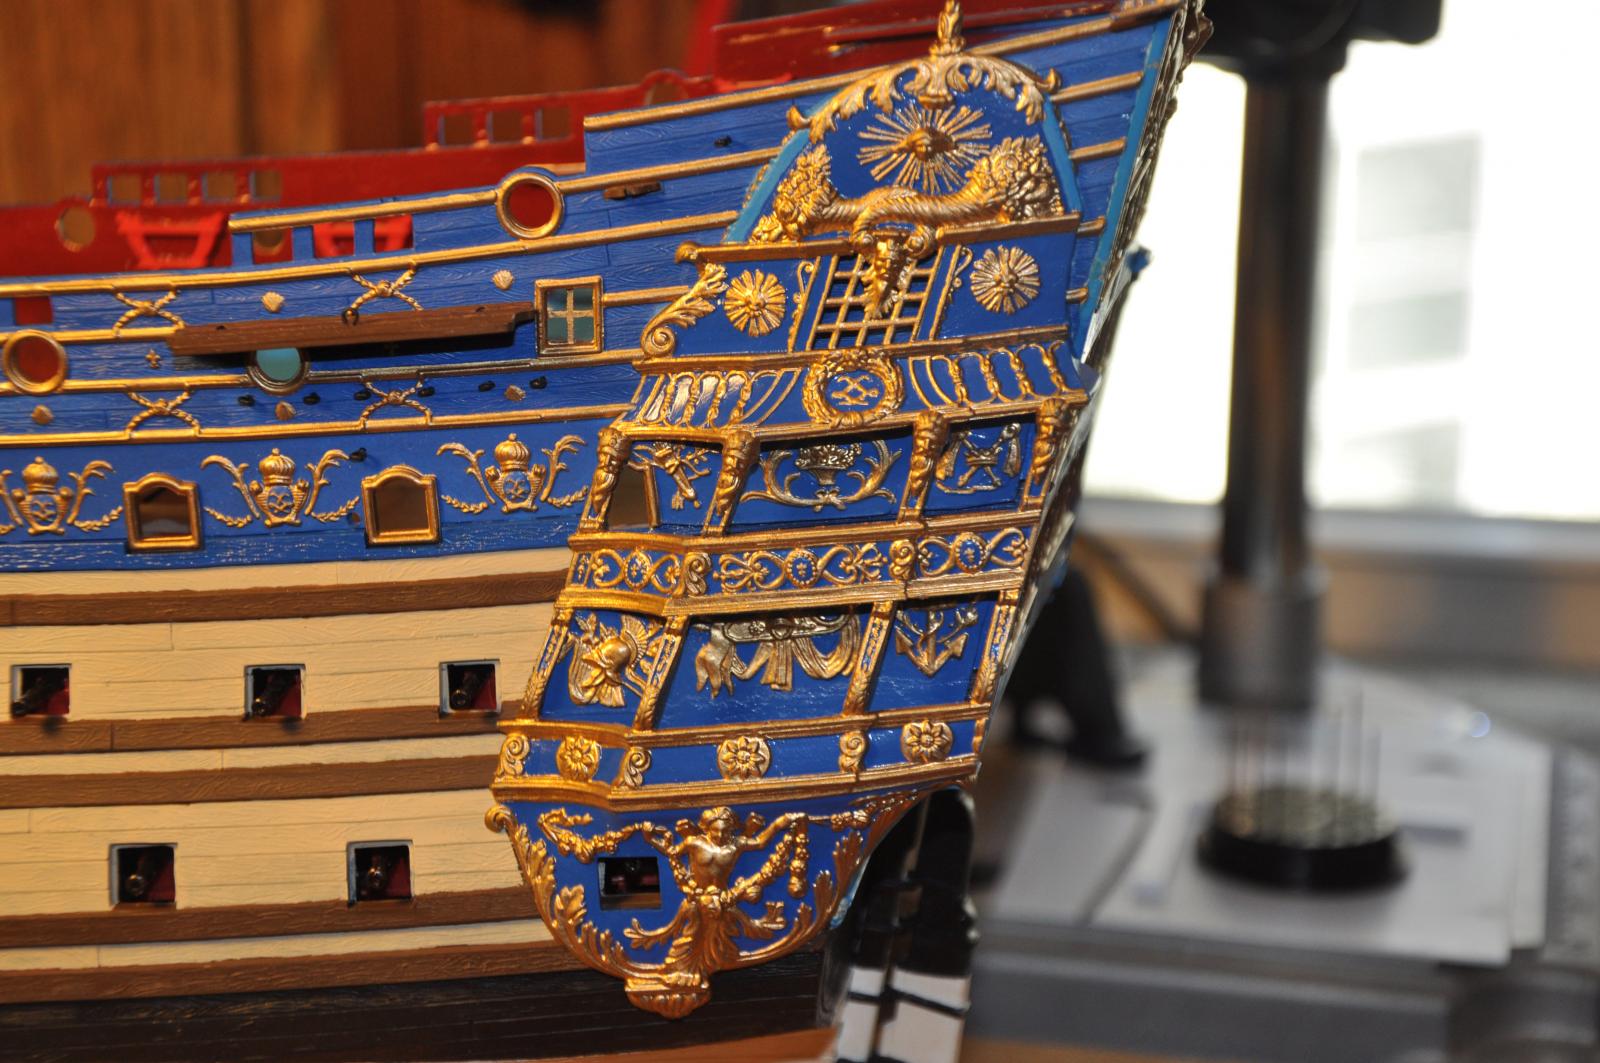
For my Soleil Royal I used good quality brushes. Generally liners and pointers in sizes of 5/0 and 10/0. I seemed to have the best results by painting the outside edges of the figures first and then filling in the rest. All of the paintwork was done under magnification. Only enough paint was loaded on the brush to allow for a couple of strokes. When using any metallic color paint you must stir the paint often as the pigments settle very fast and you will find the color getting very dull as you apply it to the surface if you do not stir frequently.

- Fright, CaptainSteve, riverboat and 4 others
-
 7
7
-
You can look up copies of the International Code of Signals (HO 102 or Pub. 102 as it is sometimes called) on the web. But that is just the international code. The Allied Signal Code is a classified document developed for use by the military. The ship could fly signals from either.
I could tell you some of the signals from the code.....but then I'd have to kill you.

-
I have been toying with the idea of building my model so that the entire rig is operable, i.e be able to set or furl sails, or brace yards as desired. Not sure that I can accomplish this or even if it is feasible, but I have always wanted to make the attempt.
We shall see.
-
And what is wrong with a plastic kit?
-
I posted these somewhere else, but I do not know where. I thought these would illustrate the construction of the bentnik shrouds pretty well.


-
I use blacken-it for steel and the recommended concentration is 1 part blacken-it to 9 parts water. I prepare the steel by immersion in muriatic acid diluted in water 1:10, then rinse in de-ionized water. I have had good results with it.
-
-
Tom, thanks. I have been using monofilament line for the same reason as Tony for seizing small lines. Separating the strands of the thread is a great idea. So obvious, yet I never thought in that direction.
Henry
-
-
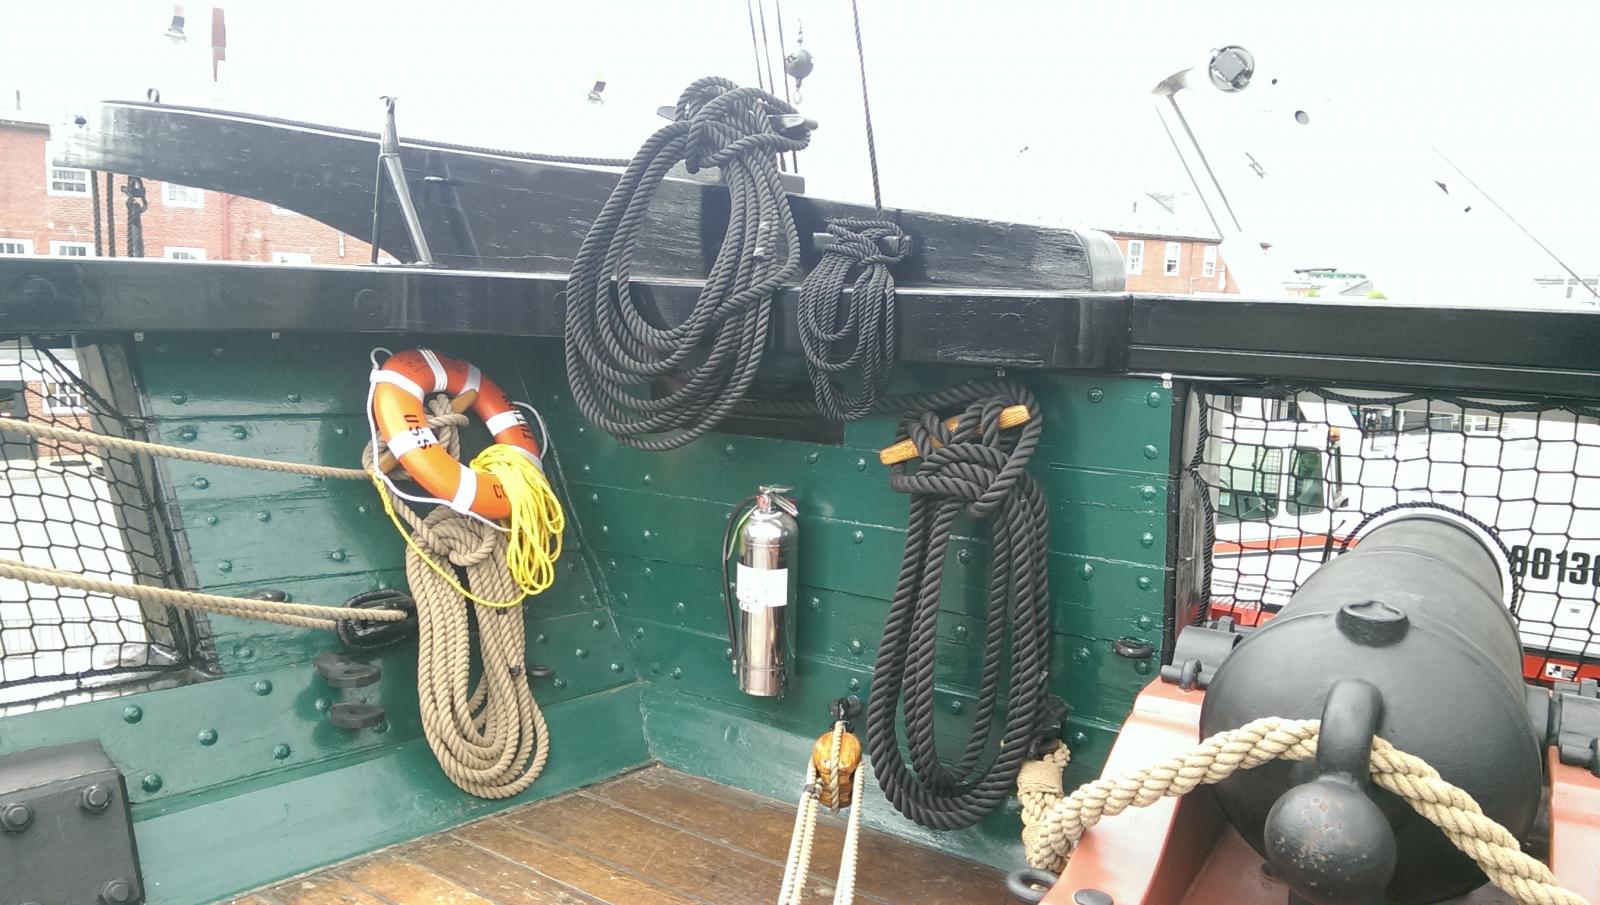
Here is what I found aboard the ship today.
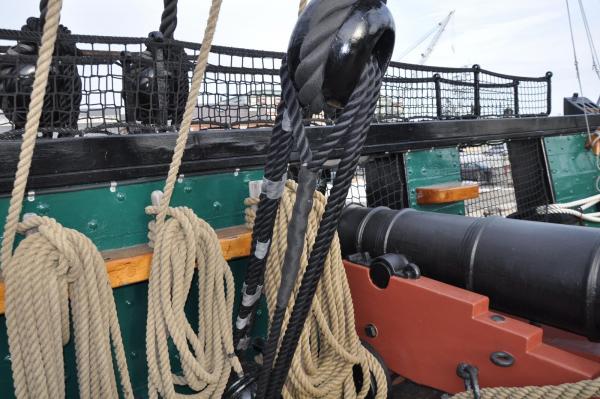
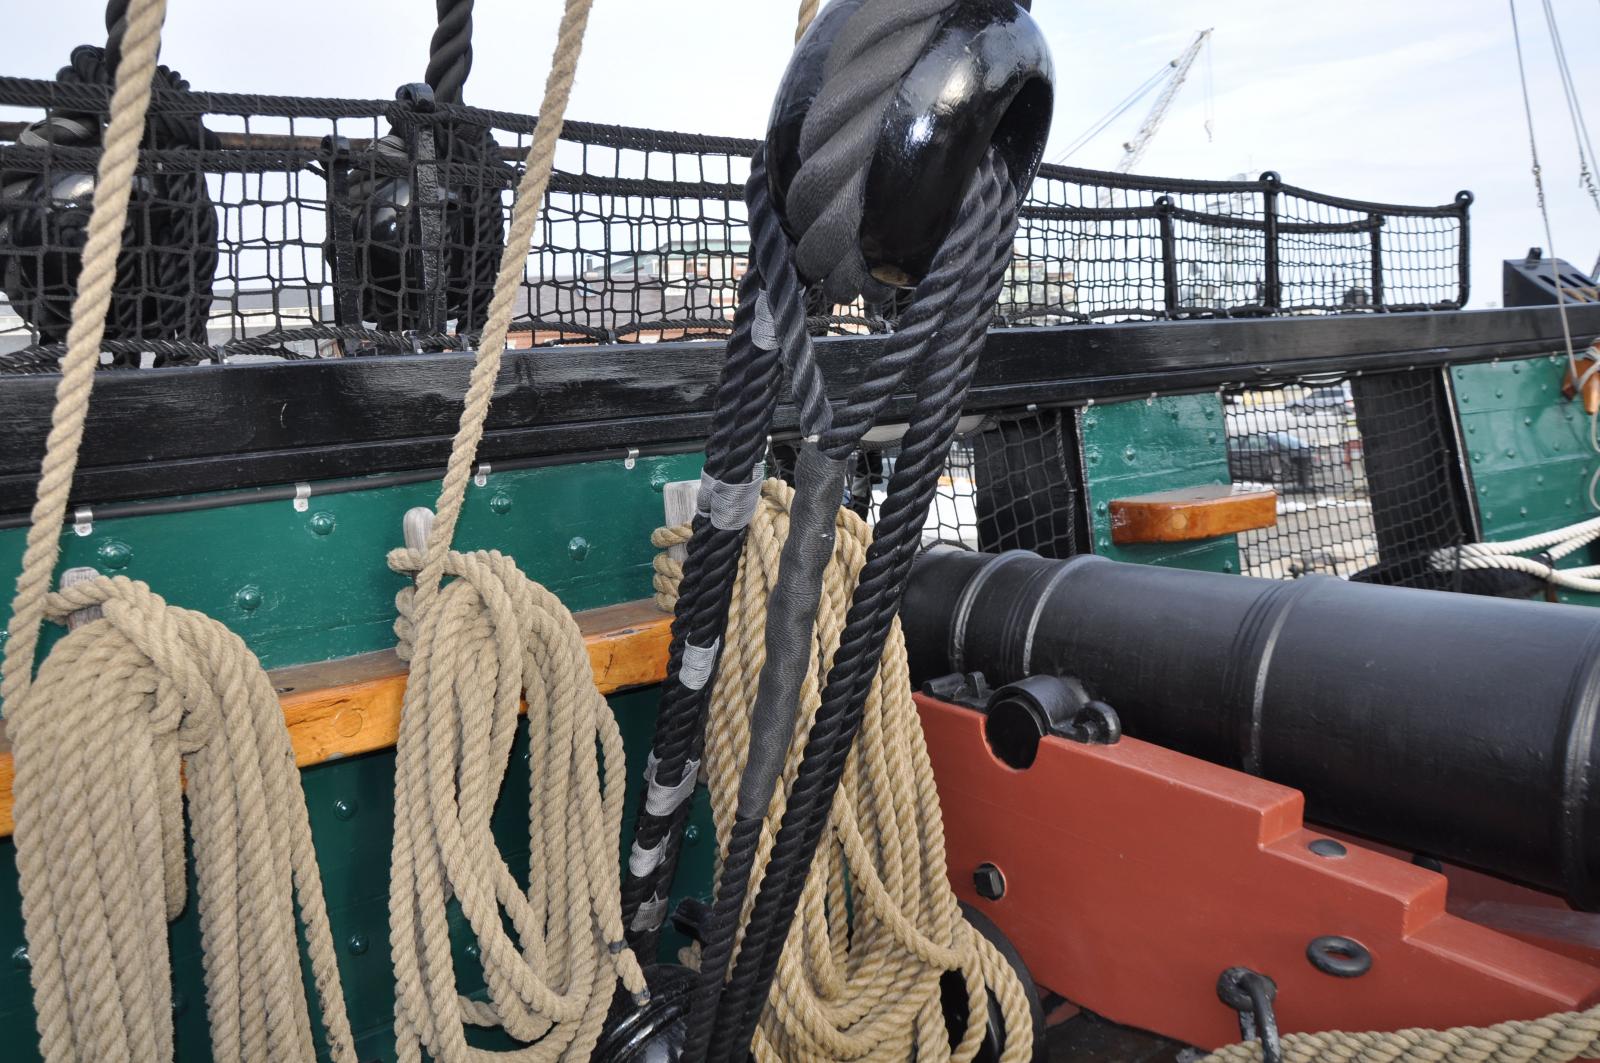
There are no lines that come inboard on the gun deck.
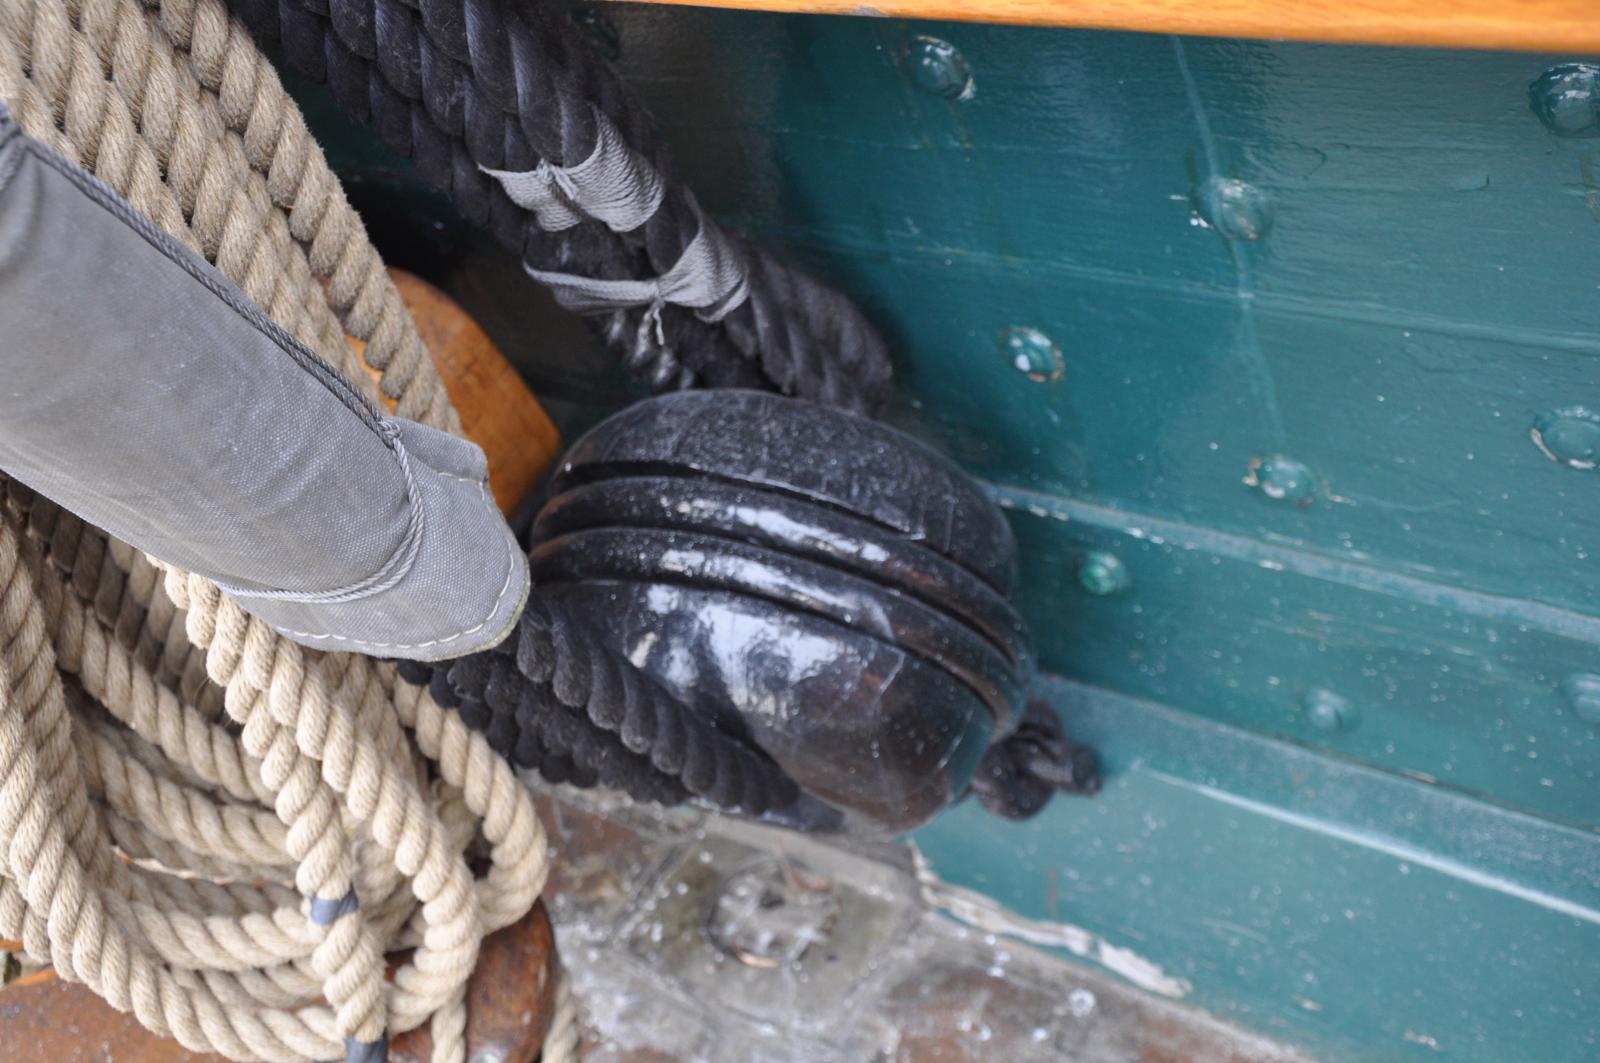
In the picture below you can see the sheave in the spar deck bulwark for the main sheet. It belays on the large horizontal cleat next to it.

The next picture is where the main brace comes in. Its sheave is right aft by the transom, close up under the cap rail. (Of course, the fire extinguisher and life preserver are not original equipment
)
When the bulwark in the waist was higher the fore sail sheet and main tack came in through sheaves there. Now that this section of bulwark has been removed I do not know where these lines come inboard. It depends on whether your version has the high bulwarks in the waist If the waist is open my guess would be to take the fore sheet aft to a sheave and cleat just aft of the break and the main tack inboard to a cleat just forward of the break. Again, I am not sure if the tack required a sheave. The fore tack did not seem to have one
- CaptainSteve, Fright and lambsbk
-
3


Help Rigging Flags
in Masting, rigging and sails
Posted · Edited by popeye2sea
As was mentioned above. The truck was fitted to the top of the mast with a mortise. Kind of like the way that the cap fits on top of the lower mast. The shape of the truck is an oval (or a rectangle with rounded ends) with the narrow sides fore and aft. The ends have a sheaves let into them to take the halyards. The truck could be topped with a round finial for decoration.
Pardon my crude pictures
Flag with eye and toggle
Flag halyard detail
Mast truck