HOLIDAY DONATION DRIVE - SUPPORT MSW - DO YOUR PART TO KEEP THIS GREAT FORUM GOING! (Only 24 donations so far out of 49,000 members - C'mon guys!)
×


steamschooner
-
Posts
369 -
Joined
-
Last visited
Content Type
Profiles
Forums
Gallery
Events
Everything posted by steamschooner
-
 Been there, done that on the stones. Your project looks mind boggling with all the removeable decks. Looking good Patrick
 -
I'll be watching this one too! I do not know where you find them Patrick.
-
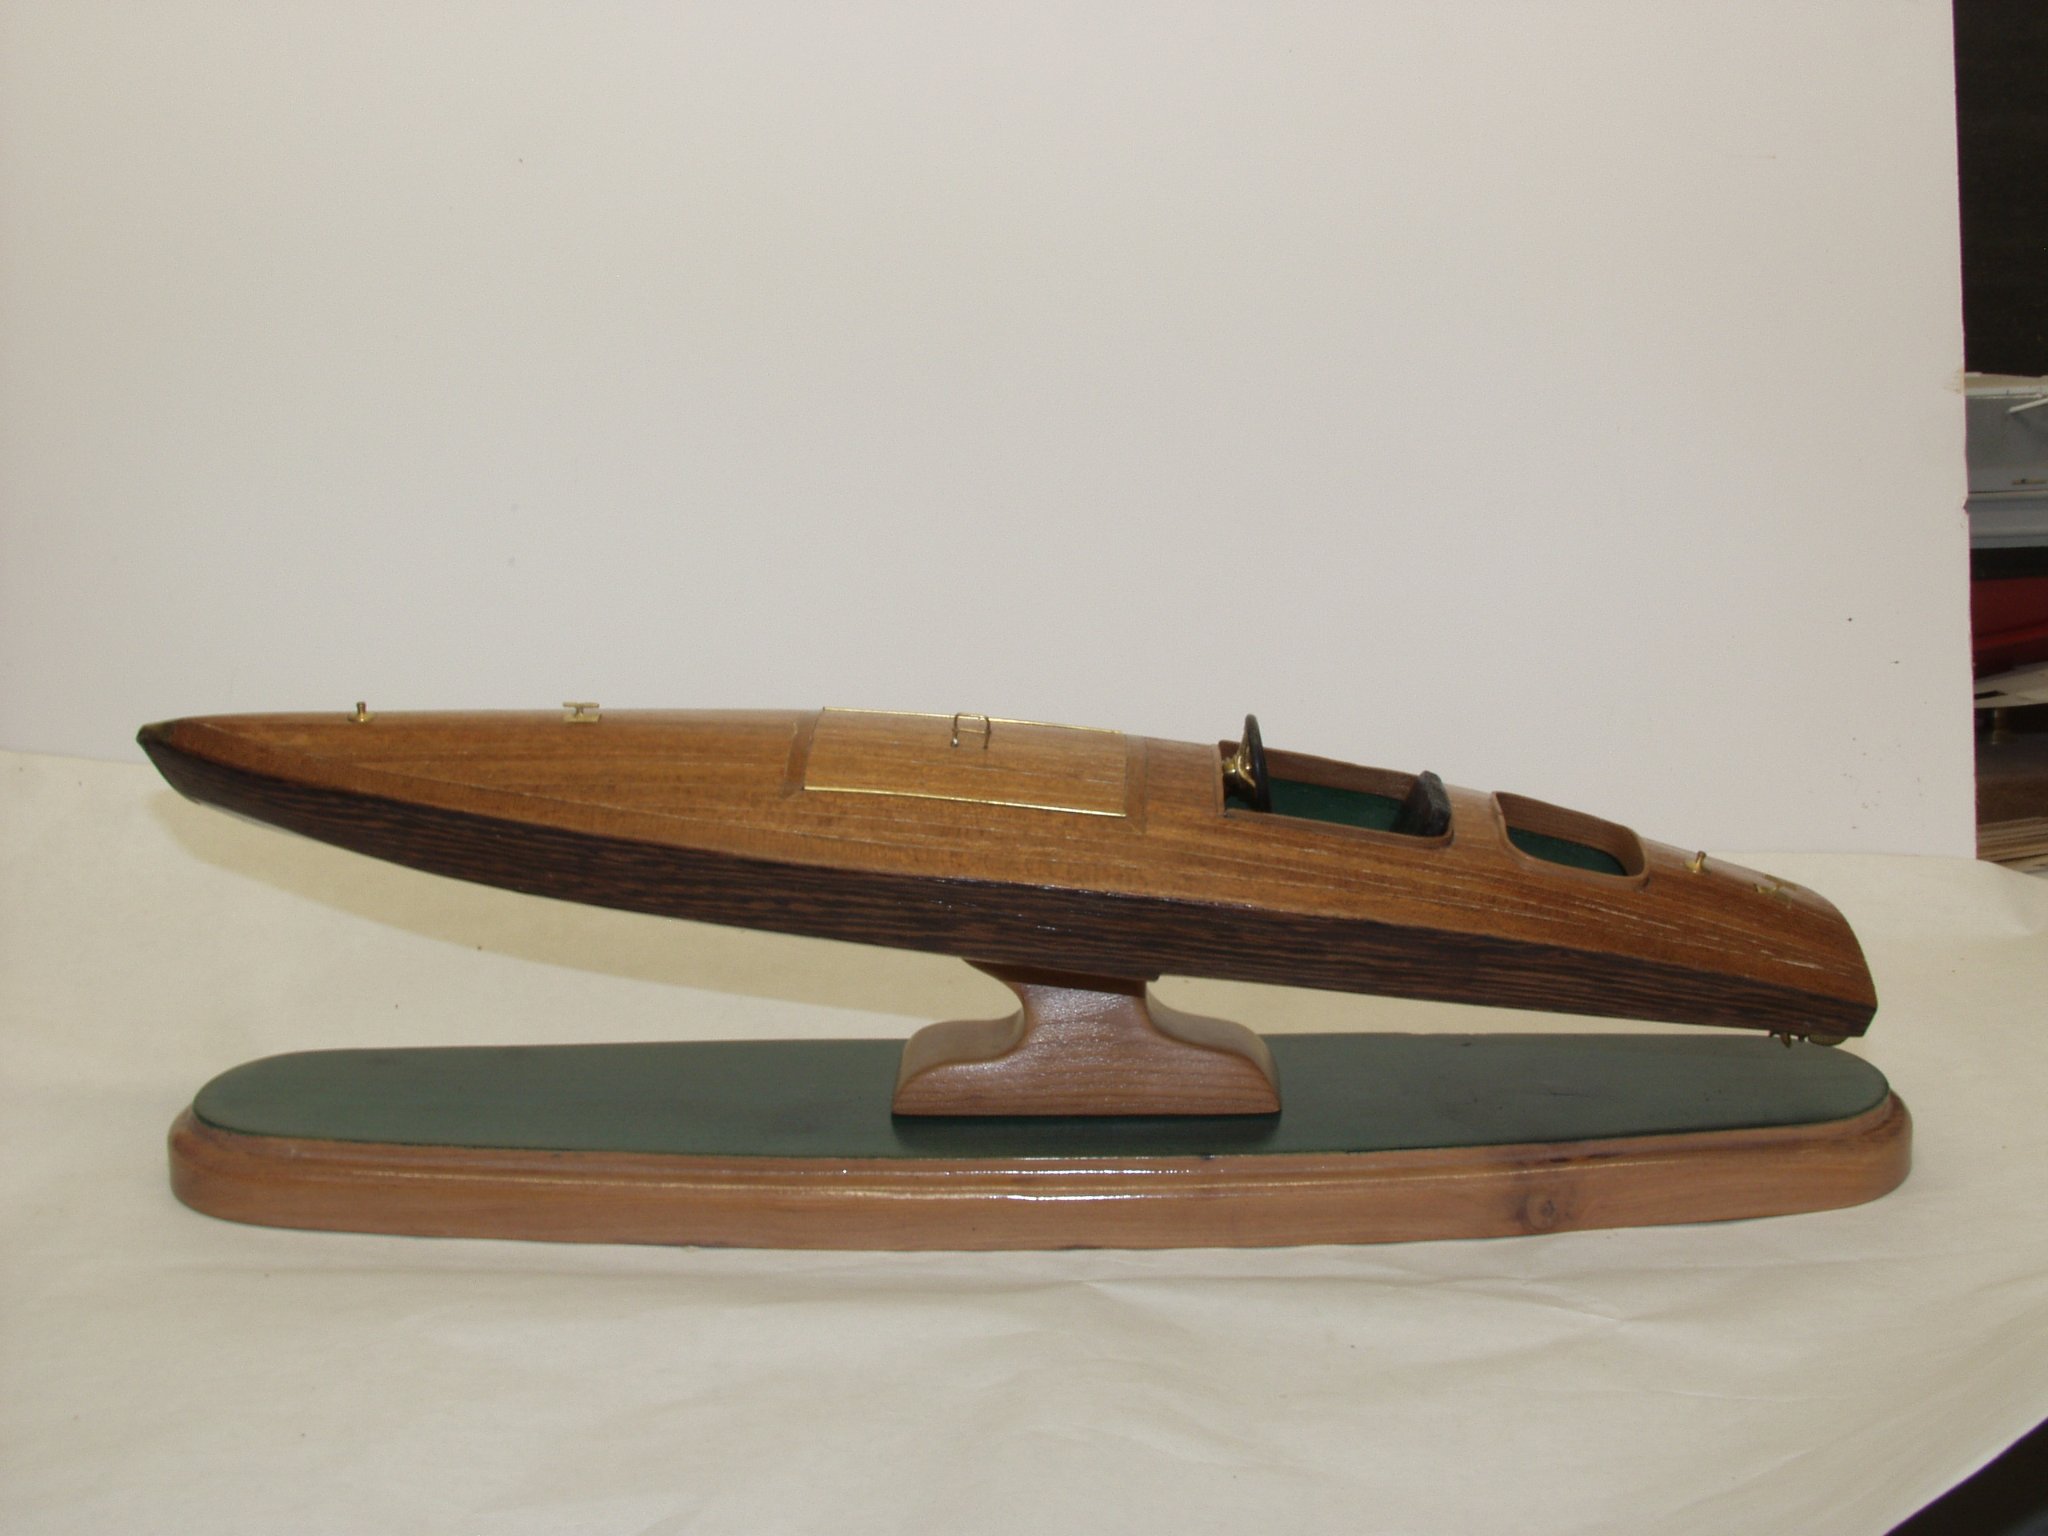
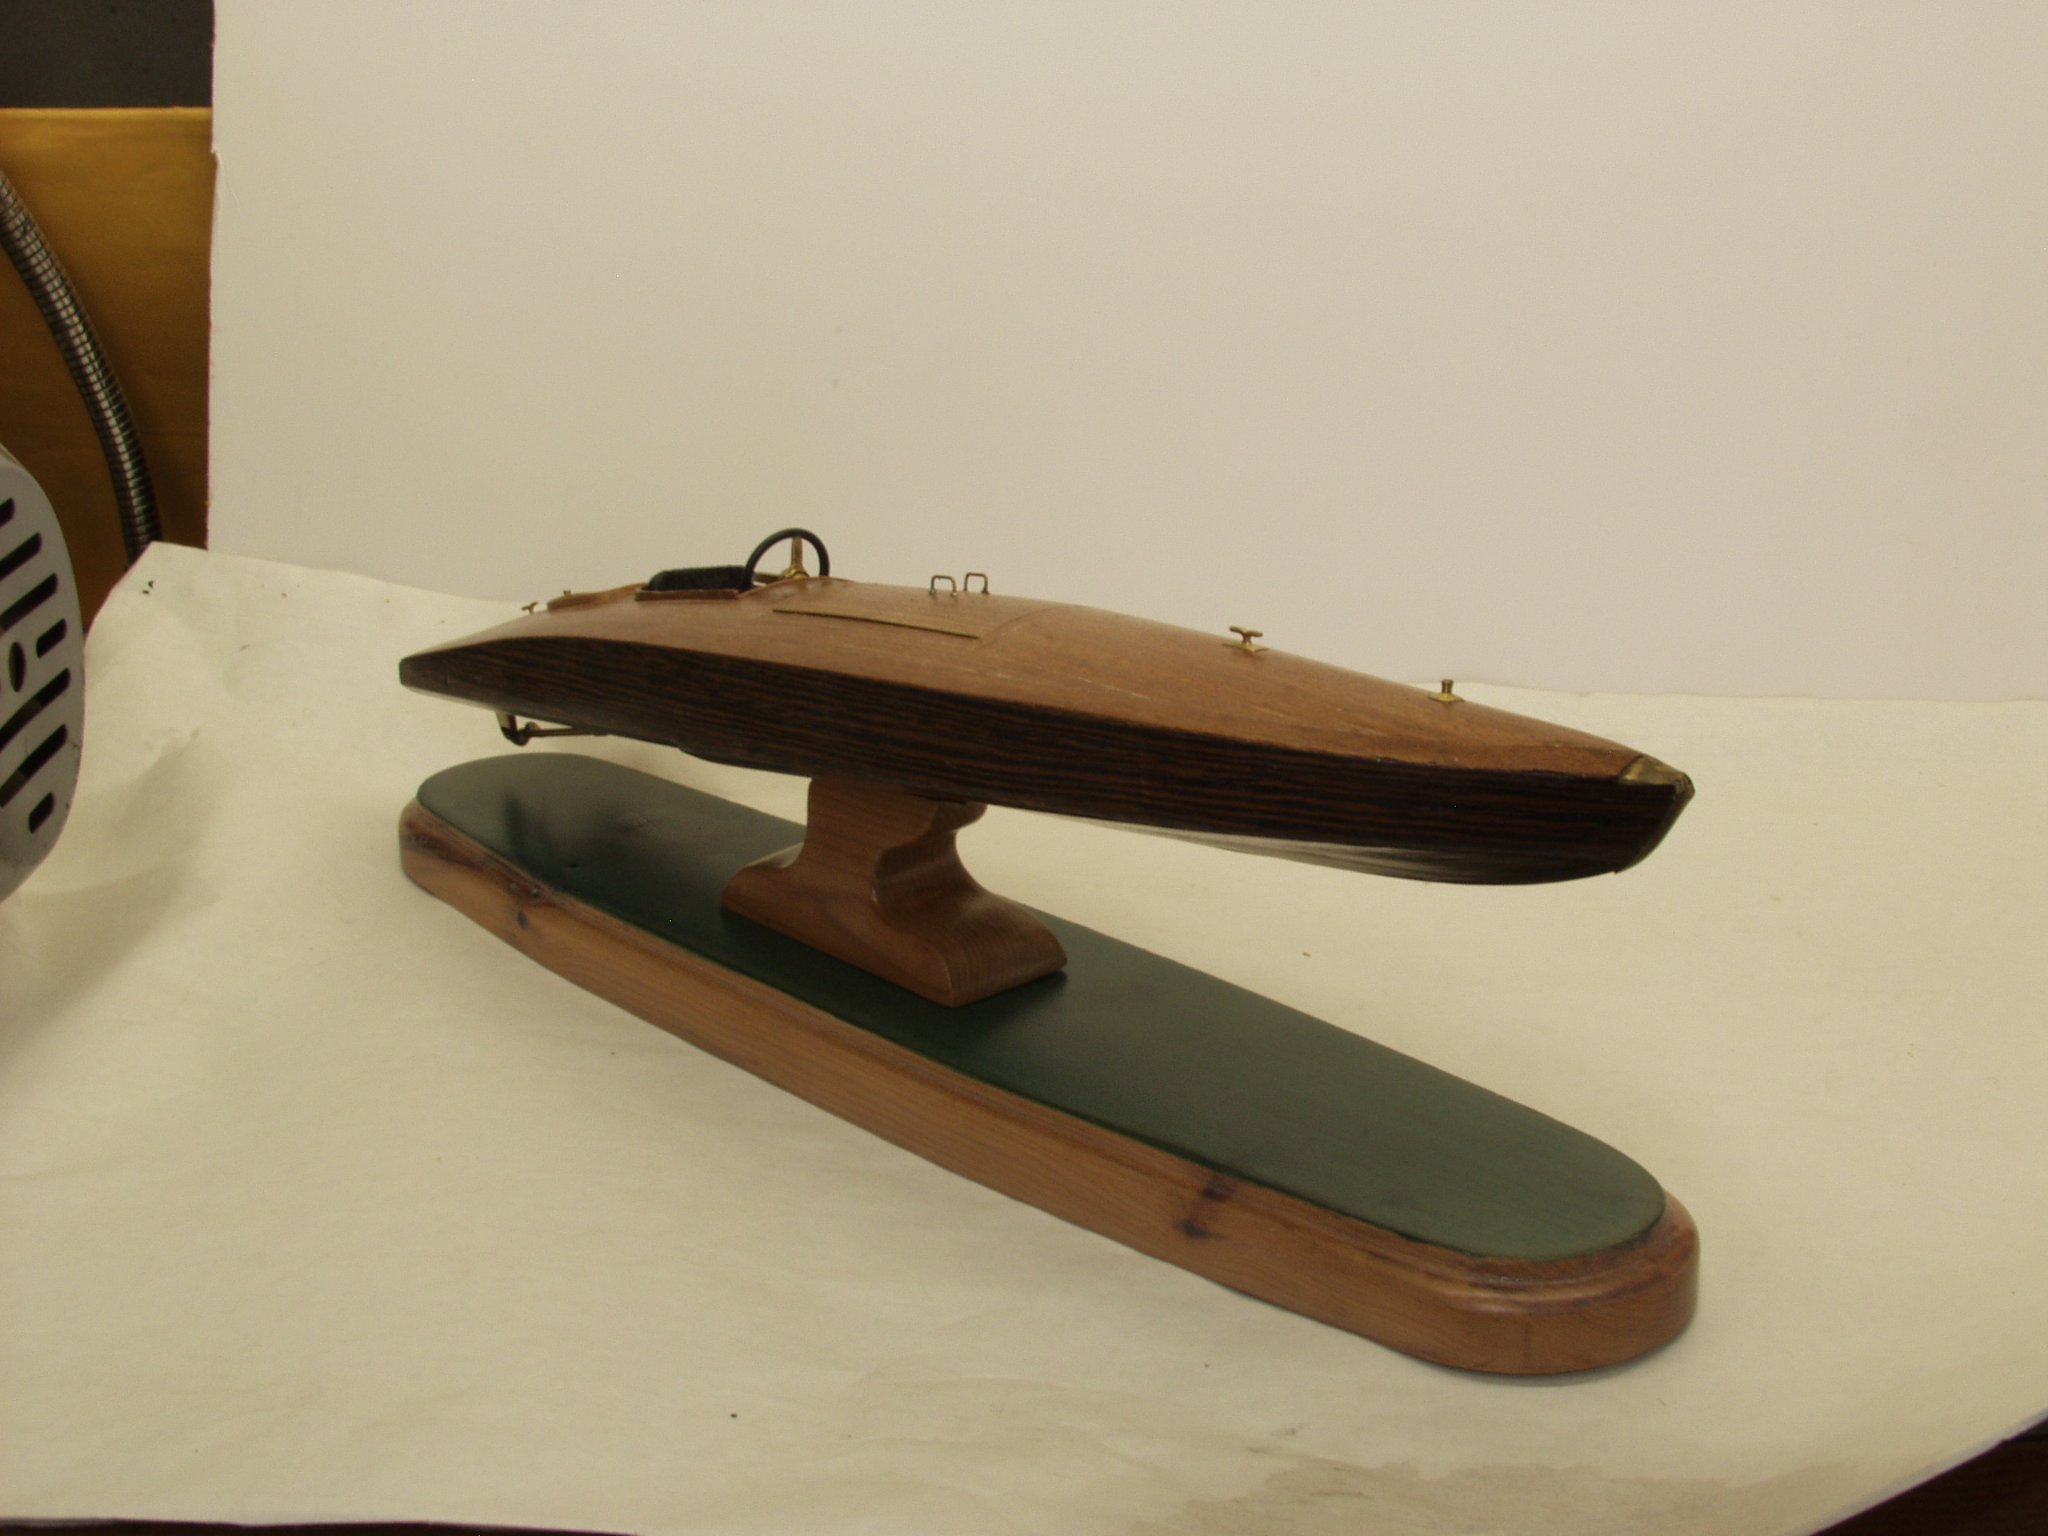
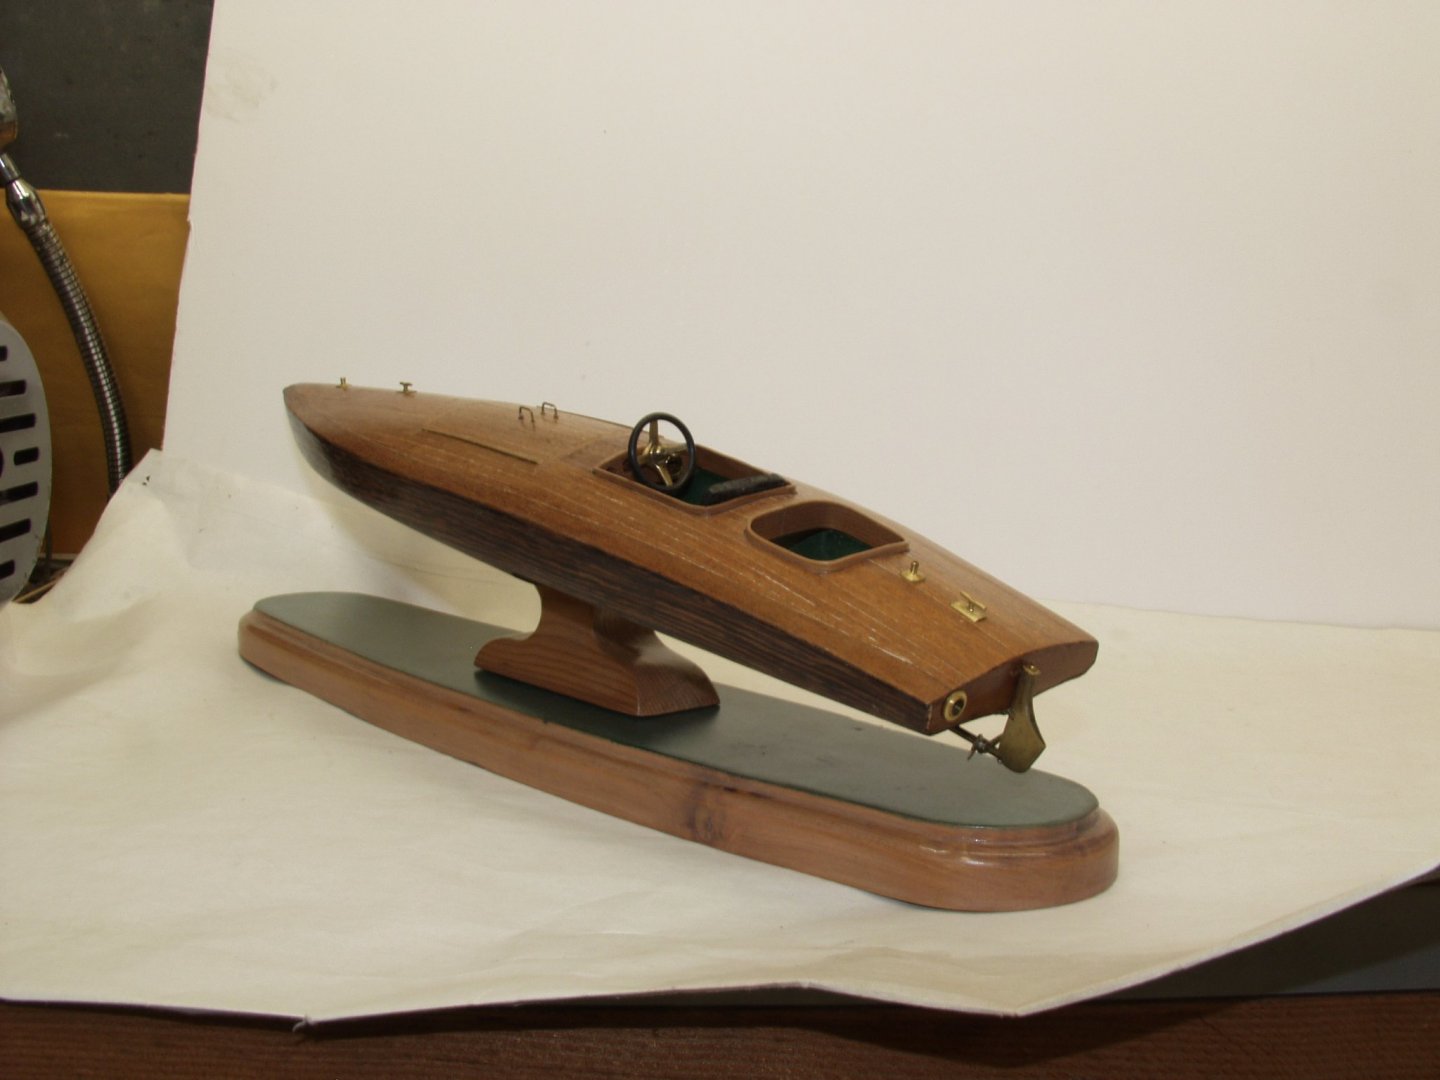
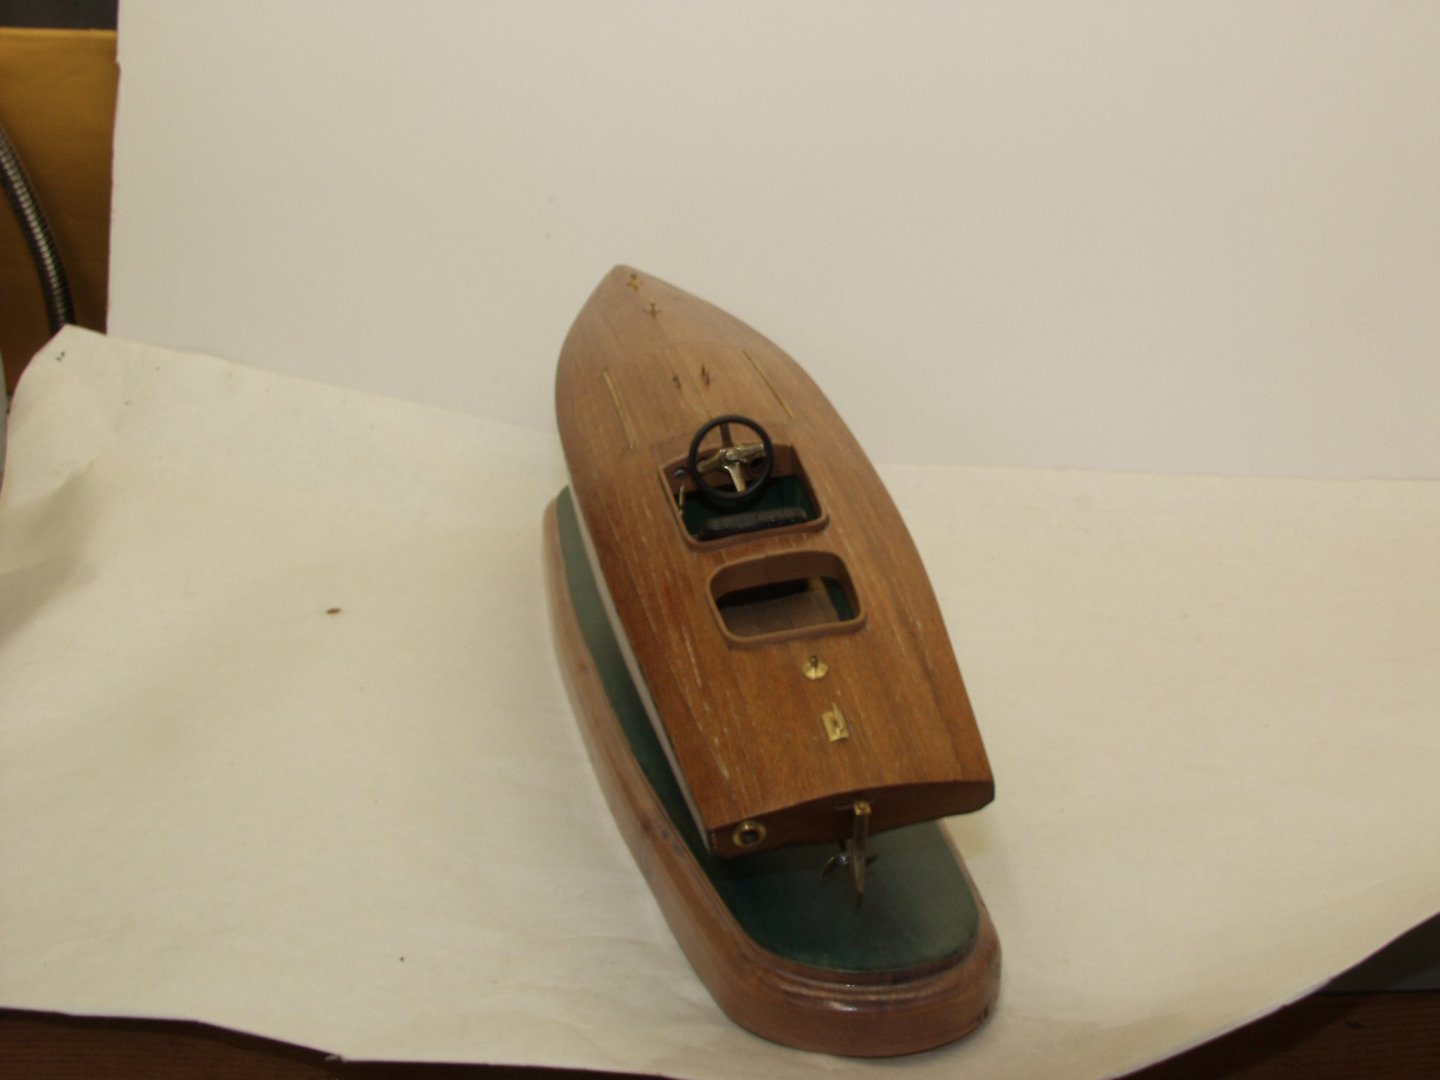
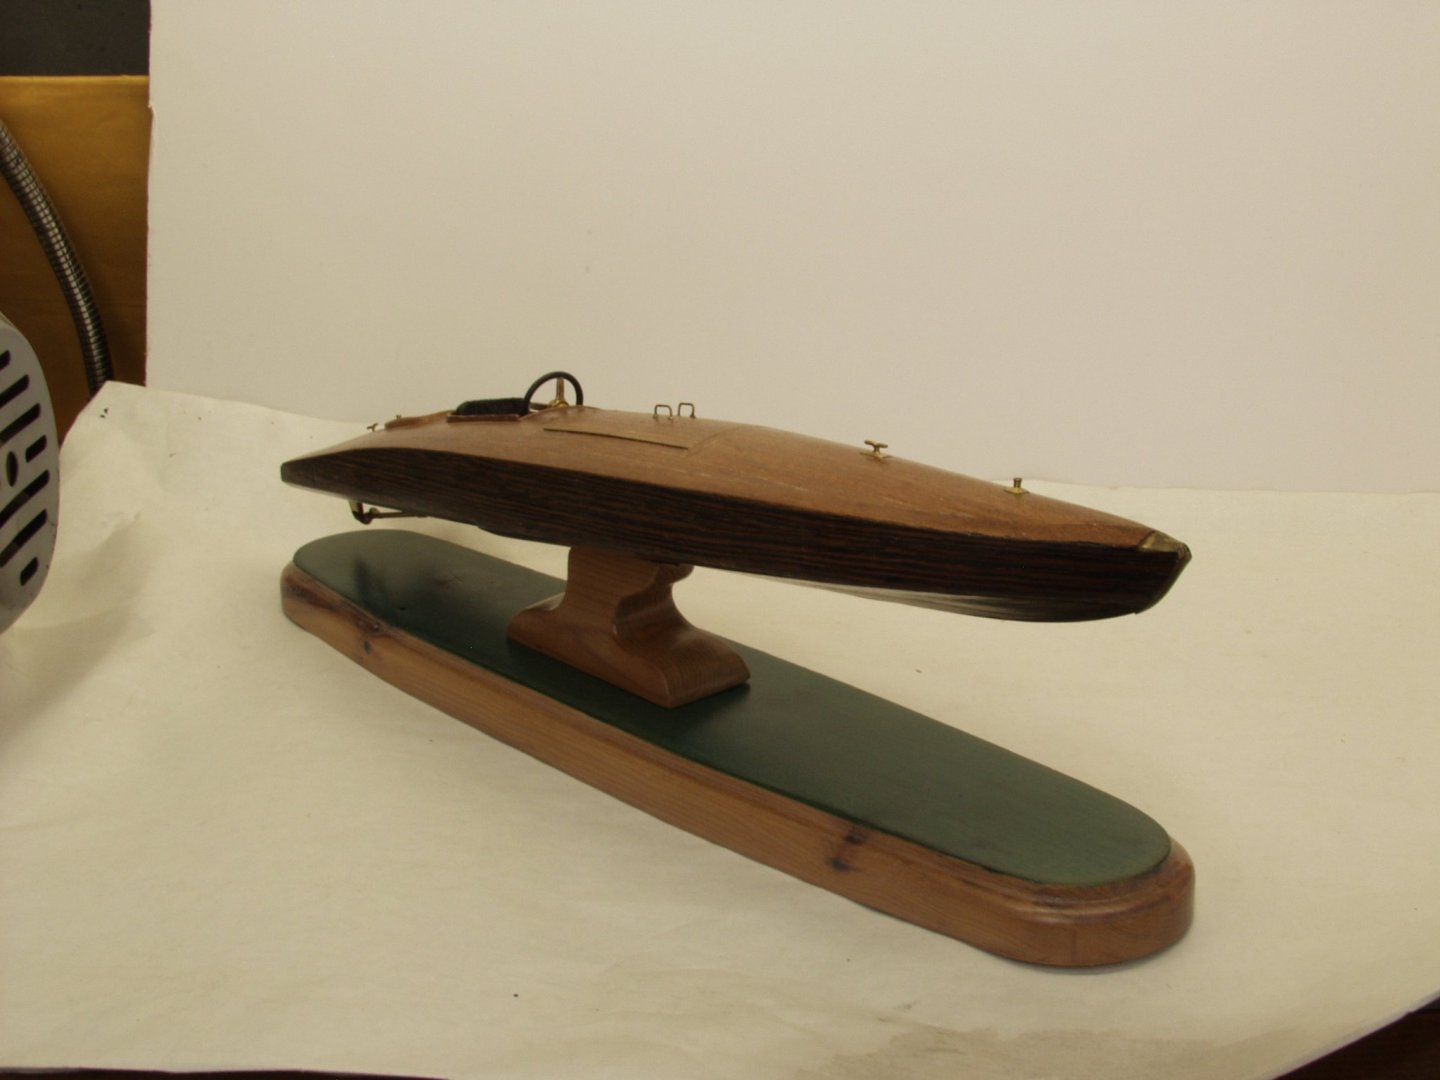
Bill. Wonderful looking Chris- Craft and hope it inspires me to finish my Hacker design Hydroplane. gotta love these old classic's
-
Well I got a few things done on my project. I know it's been awhile. Need to finish dashboard, a fuel port, a couple of penant poles and some decals.

-
Harvey, There were a few built up my way( Willapa Bay ) and in Grays harbor as well. Will follow your build as I have a interest in steam ships.
-
Nice looking small working craft. Weathering looks good but the white sail looks out of place(should it be weathered also?)
-
Dan, At the top of the home page there's a tool bar and under MORE there's a community map. It will show you members near you. I am 119 miles north of you in Lebam Wa.
-
Floyd, I count 9 planks counting the garboard the way you have it lined off. ?
-
http://www.hawk-graphics.com/pages/decals.html here is one place in Canada
-
I know I'm a little late with these but maybe they will help.

-
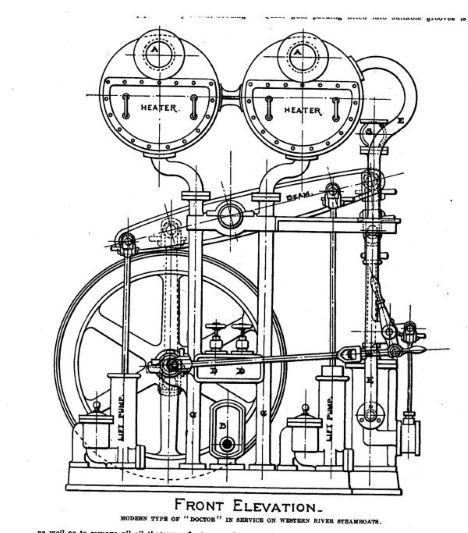
Terry, Have you tried looking on www.hathitrust.org/ {online books) search international marine engineering for the years you are interested in. I have a set that spans 1896-1906 and have seen many naphtha launches some with drawings.
-
Eric, I take it that the grasshopper poles are going to be rigged in the ready position? You have some line on the bow pole(term ?) that would make it difficult to stow them (grasshopper poles ) on that cross brace. You would have to poke the end of the grasshopper between the line and the bow pole. Just wondering, your model looks great. Steve
- 599 replies
-
- 3
-

-
- sidewheeler
- arabia
- (and 4 more)
-
Eric, In Kurt's post 247 shows the Ben Campbell with the grass hoppers in the stowed position. So not all boats left them hanging. I would also think that they would not be derigged when stowed having enough line on the falls to position horizontally as seen on the Ben Campbell. not that I know anything about riverboats Steve
- 599 replies
-
- 3
-
-
- sidewheeler
- arabia
- (and 4 more)
-
are you sure it's the USS Perry you are building and not the USS Putty?🤪 sorry couldn't help myself. Looks like a good job so far.
- 85 replies
-
- 2
-
-

-
- perry
- BlueJacket Shipcrafters
- (and 1 more)
-
Ron, What type of material is the mold made of? rtv, plaster,? Heating it should help and the talcum also. I find that the low temp alloy cools very quickly. you can "cook" the alloy if you try and use to much heat. If you look in scratch build logs pg 11 is my build log of the John Cudahy. On the 7th page of that log you will see my casting efforts for my anchors. post #182 I use Cerro cast a low temp alloy and vulcanizing rubber in a two piece mold. Again depending on the size of the part to be made will be a factor in weather you can just pour the metal in or not. Using high temp metal you still run into the problem of surface tension not allowing the metal to flow in to small areas. Steve
-
Depending on the size of the anchors the low temp alloy my not flow into the mold. You may have to use some centrifugal force to fill the mold. Has to do with surface tension of the material I believe. Steve
-
Another great little model, Javier interesting tiller arrangement.
-
Have you done a search on this site for the Flying Fish ? I did a quick search and there seems to be a few builders logs on this model. Steve
-
And another from the Great Pacific Northwest
steamschooner replied to Egilman's topic in New member Introductions
Welcome to MSW from another PNWer. Been through Graham many times -
Welcome aboard, could be a porcupine 🙂