
Paul0367
-
Posts
511 -
Joined
-
Last visited
Content Type
Profiles
Forums
Gallery
Events
Posts posted by Paul0367
-
-
My god I have not spoke to you for years, the planks sort of need tapering when they start to clash with each other, as the hull curves under they hit at different degrees of angle and it becomes obvious as you move down, what to remove and where.... its easier than it looks planking
-
Marc, thank you
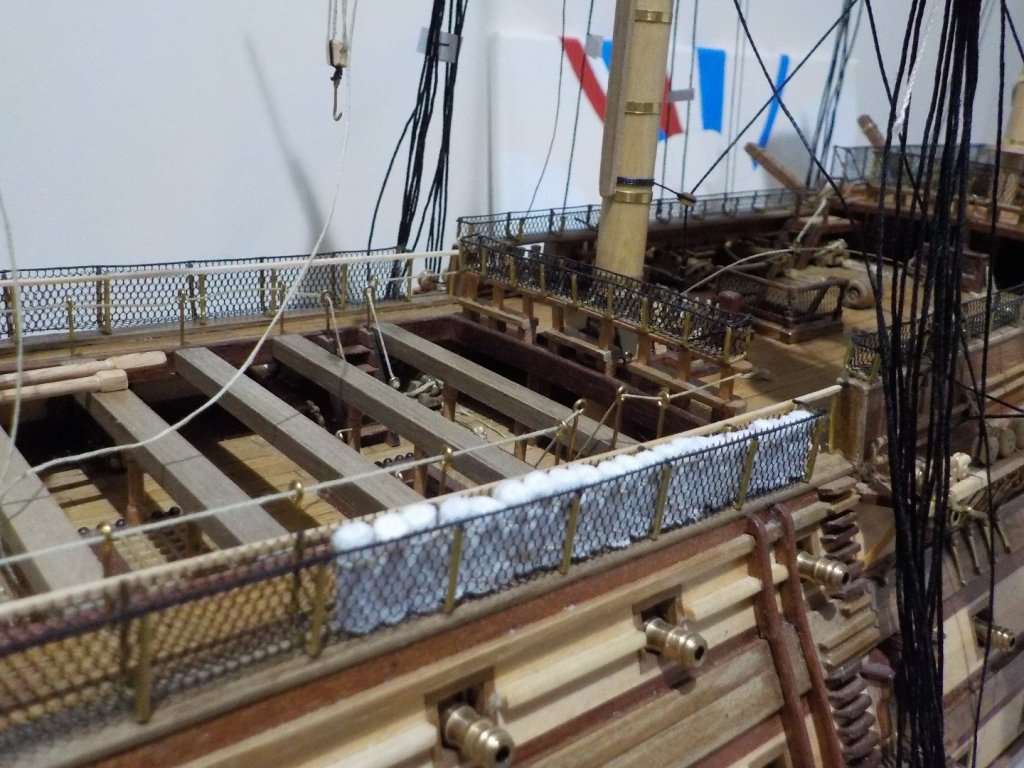
some of the netting rails are quite low on the poop deck, we’re they rolled to be shorter , otherwise they will pop above the netting?
-
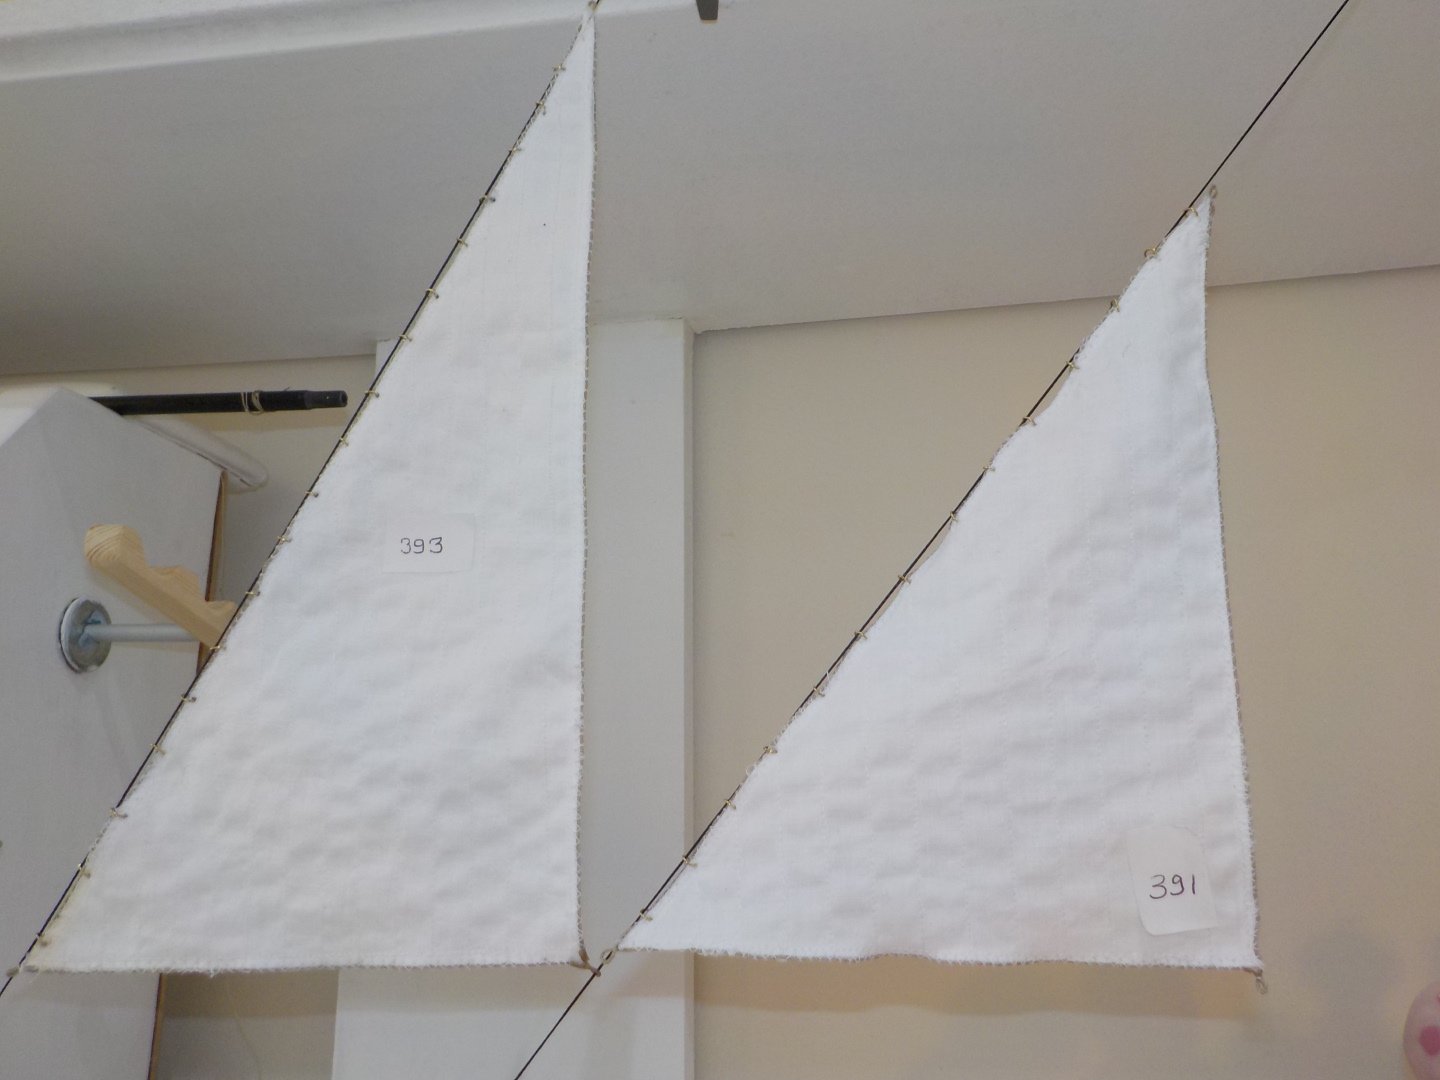
I am still pushing sails out of the sewing machine but also found, due to going down the sails route this indicates she is depicting a vessel at sea. That said I am adding bed rolls to the decks as they would have been. If any one has any pictures of where these rolls were placed or wether they lay them down the in the frames that were quite small in hight, pics would be great. These rolls will also be weathered
-
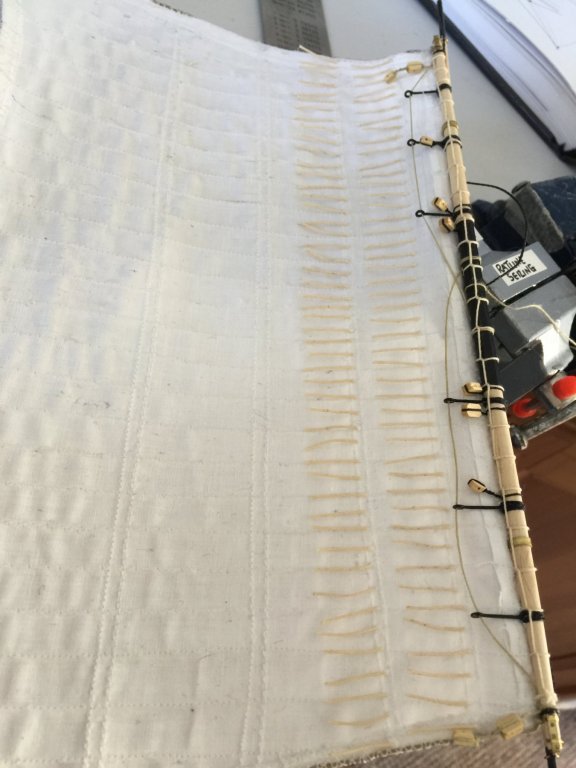
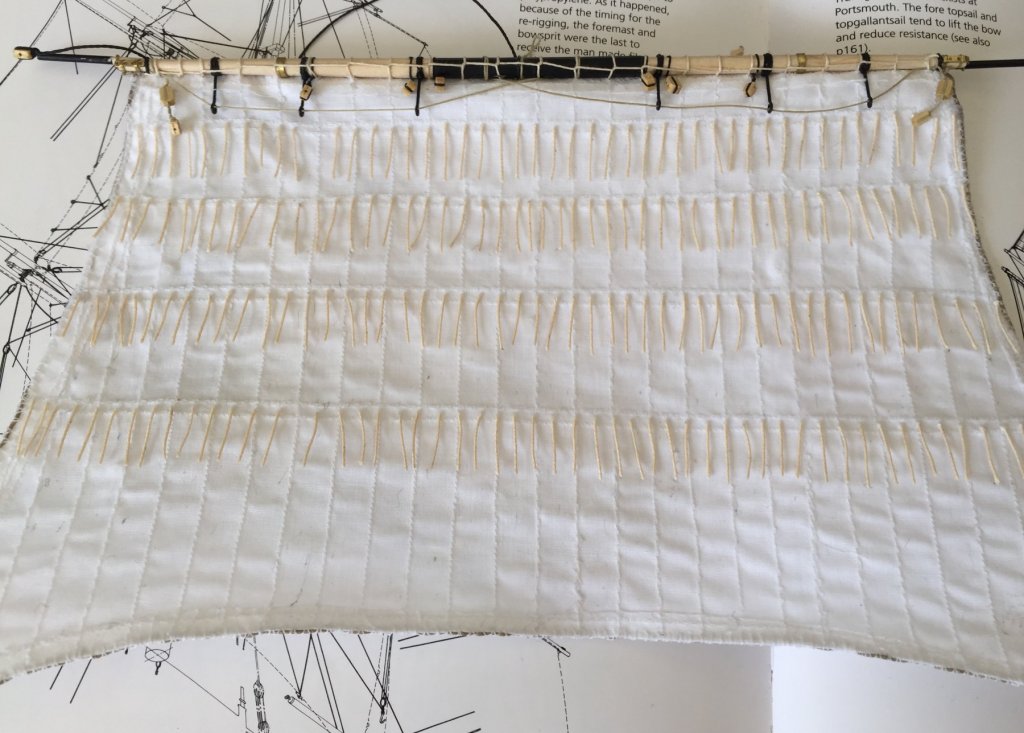
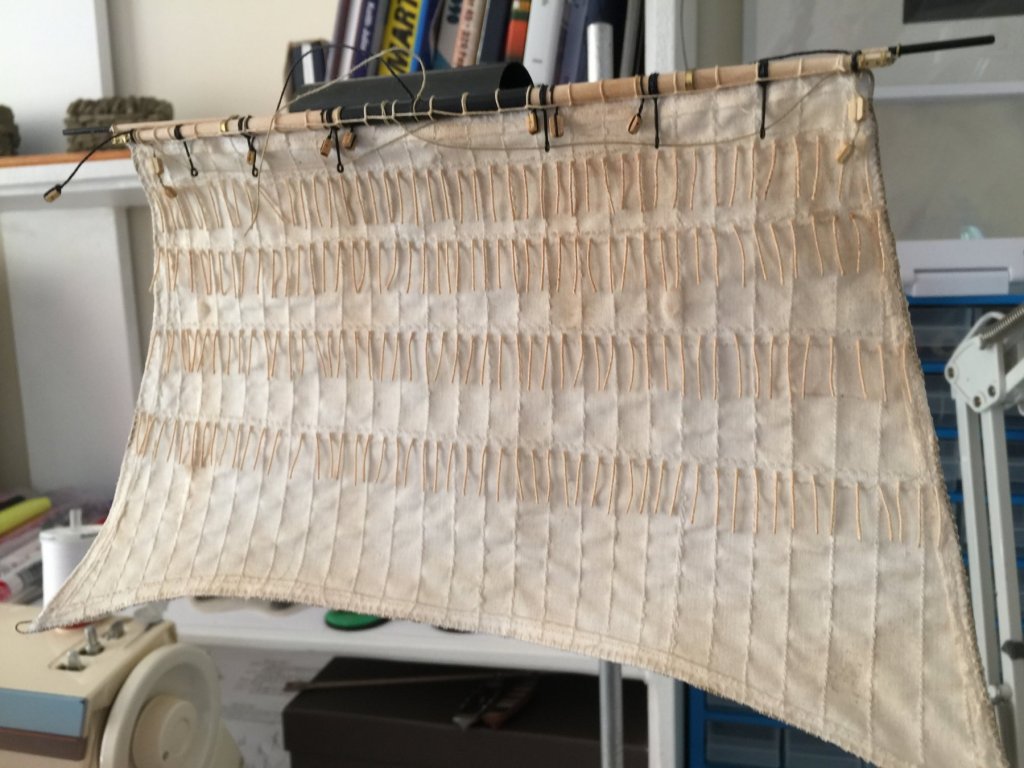
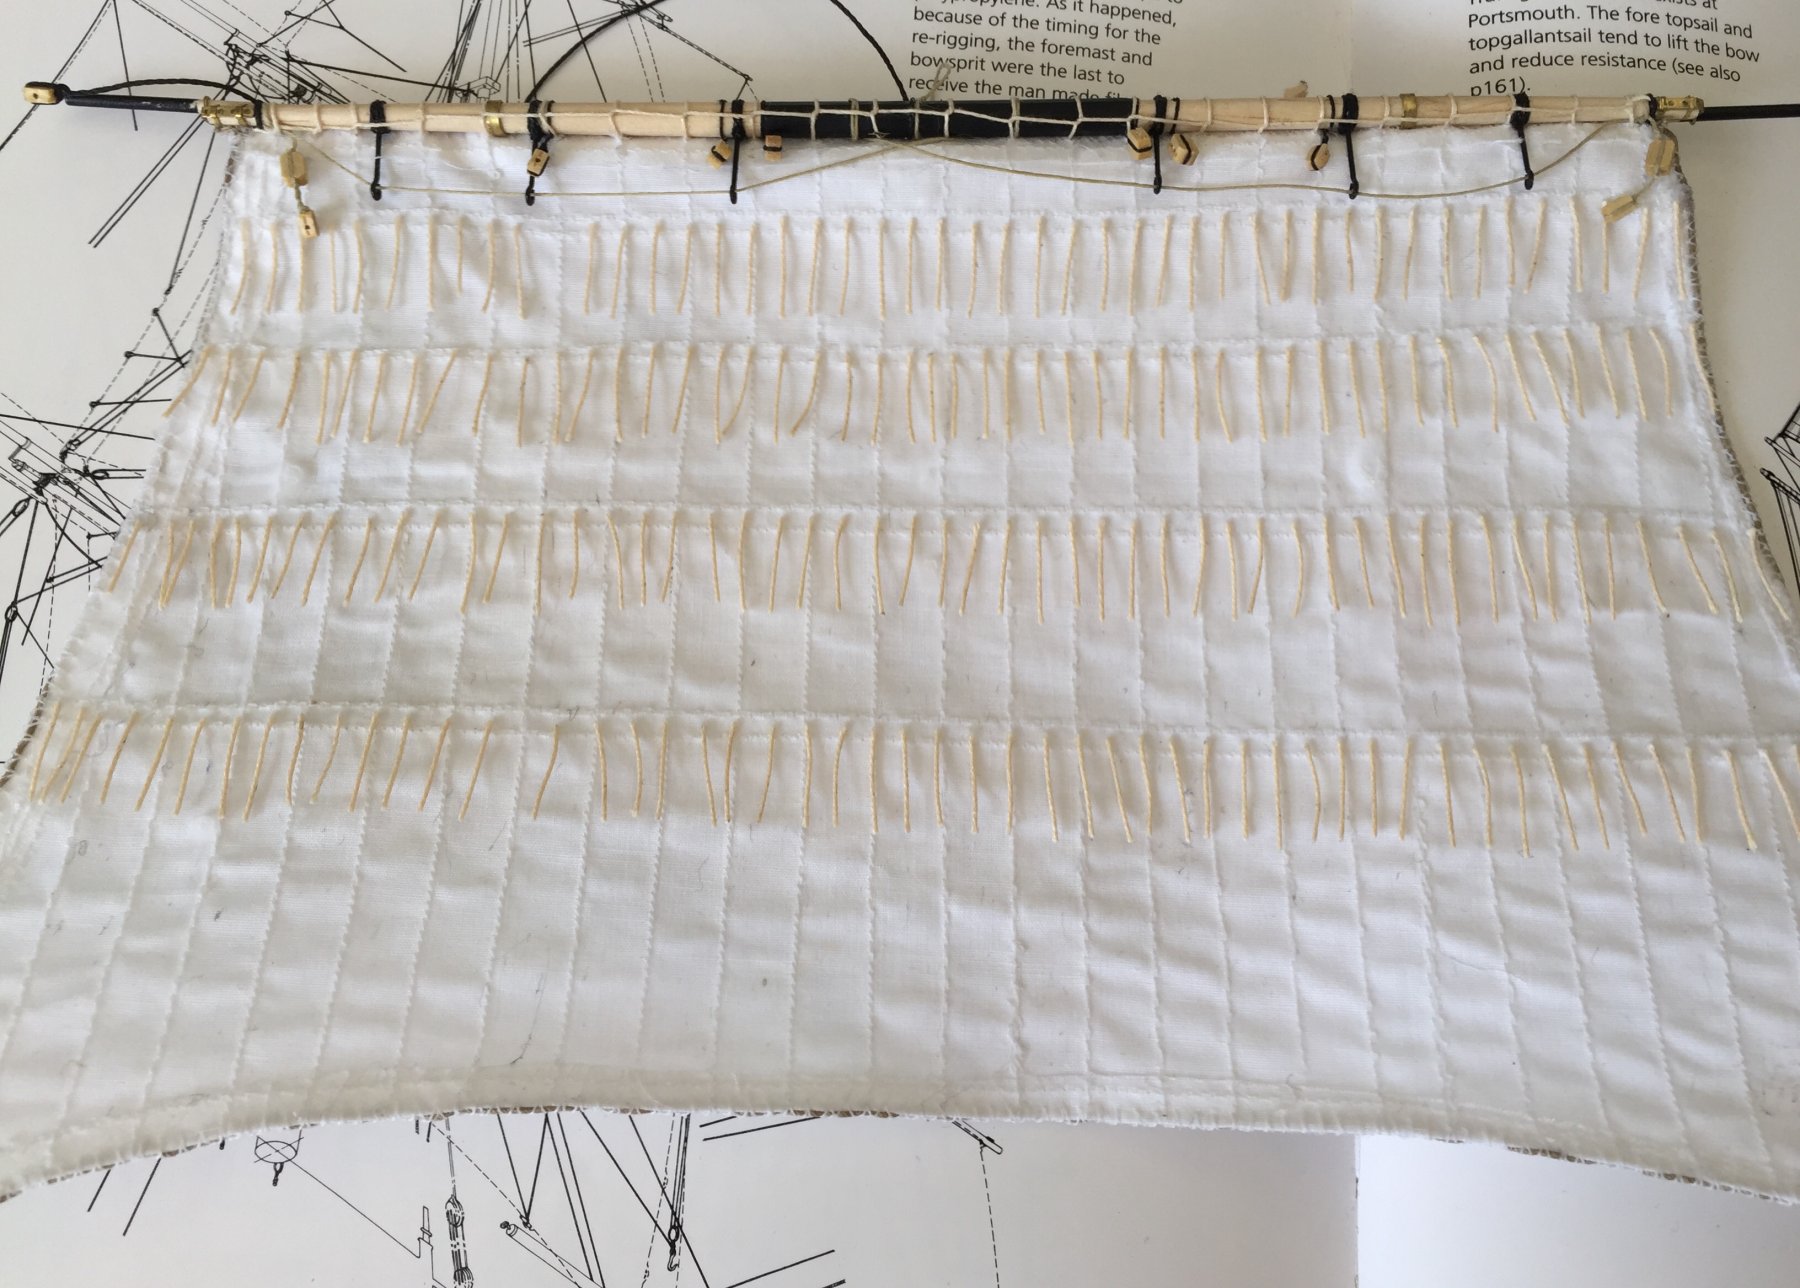
I have now completed the cutting and stitching of the sails, well What the kit says the Victory was wearing. This falls quite short of what was fully worn by the ship, and I am making the missing ones at the moment minus the out riggers used for sailing at full speed. If there supplying sails with the kit, why fall short, yeh sails hide the work but the extra ones would no more than supplied ones. This all said even the plans to make sails, fall short. People will say it’s the kits budget price but why not forget sails completely like most kits do rather than offer them and fall short.


-
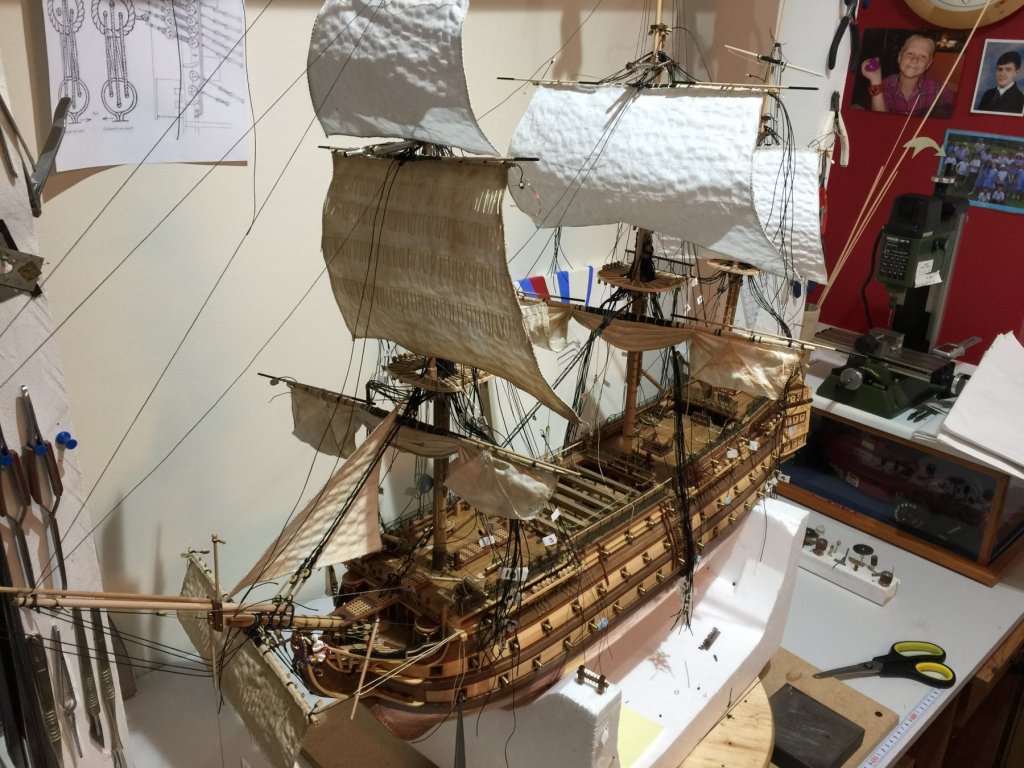
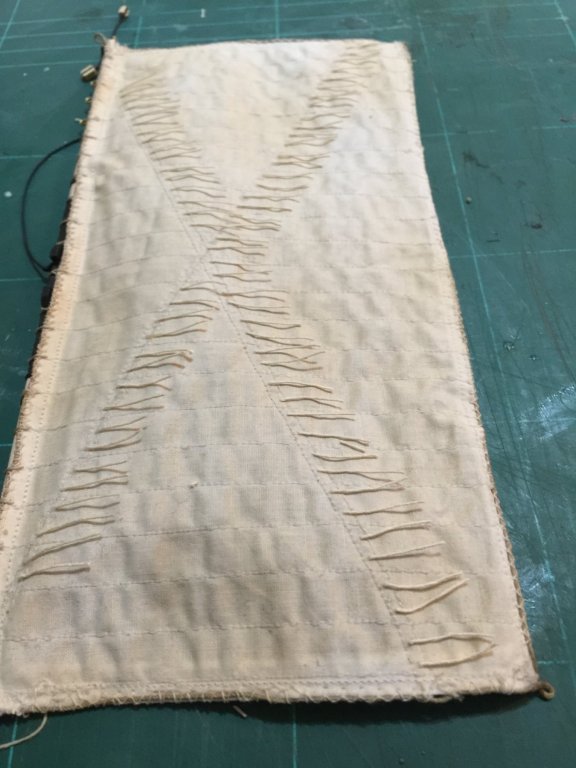
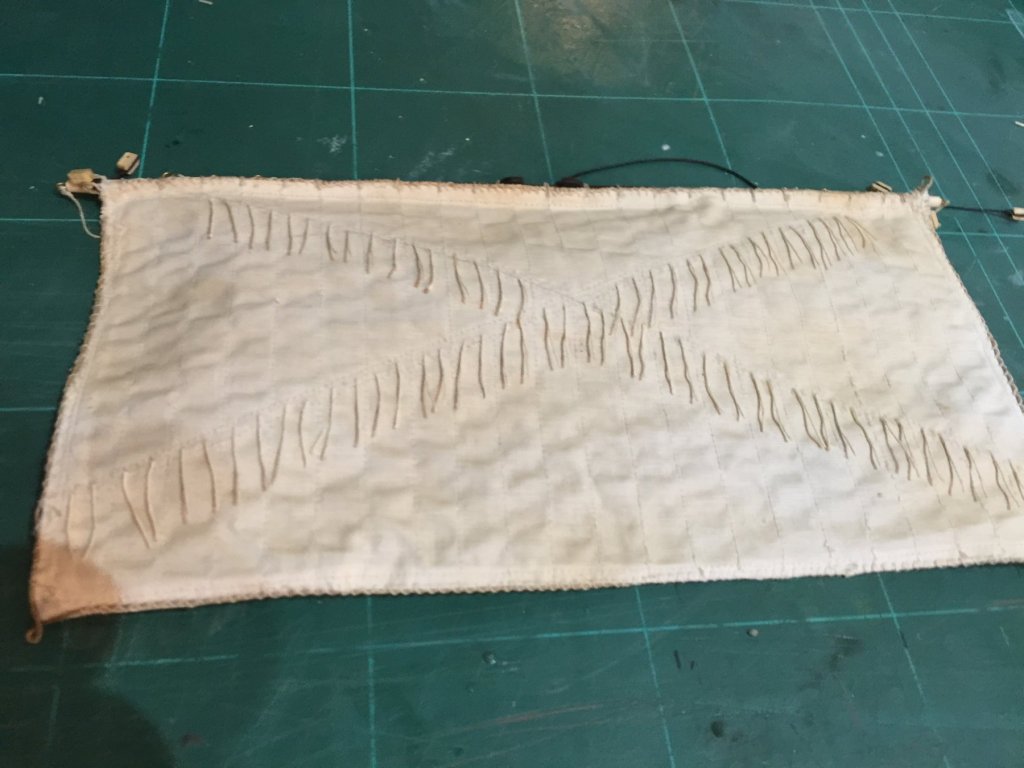
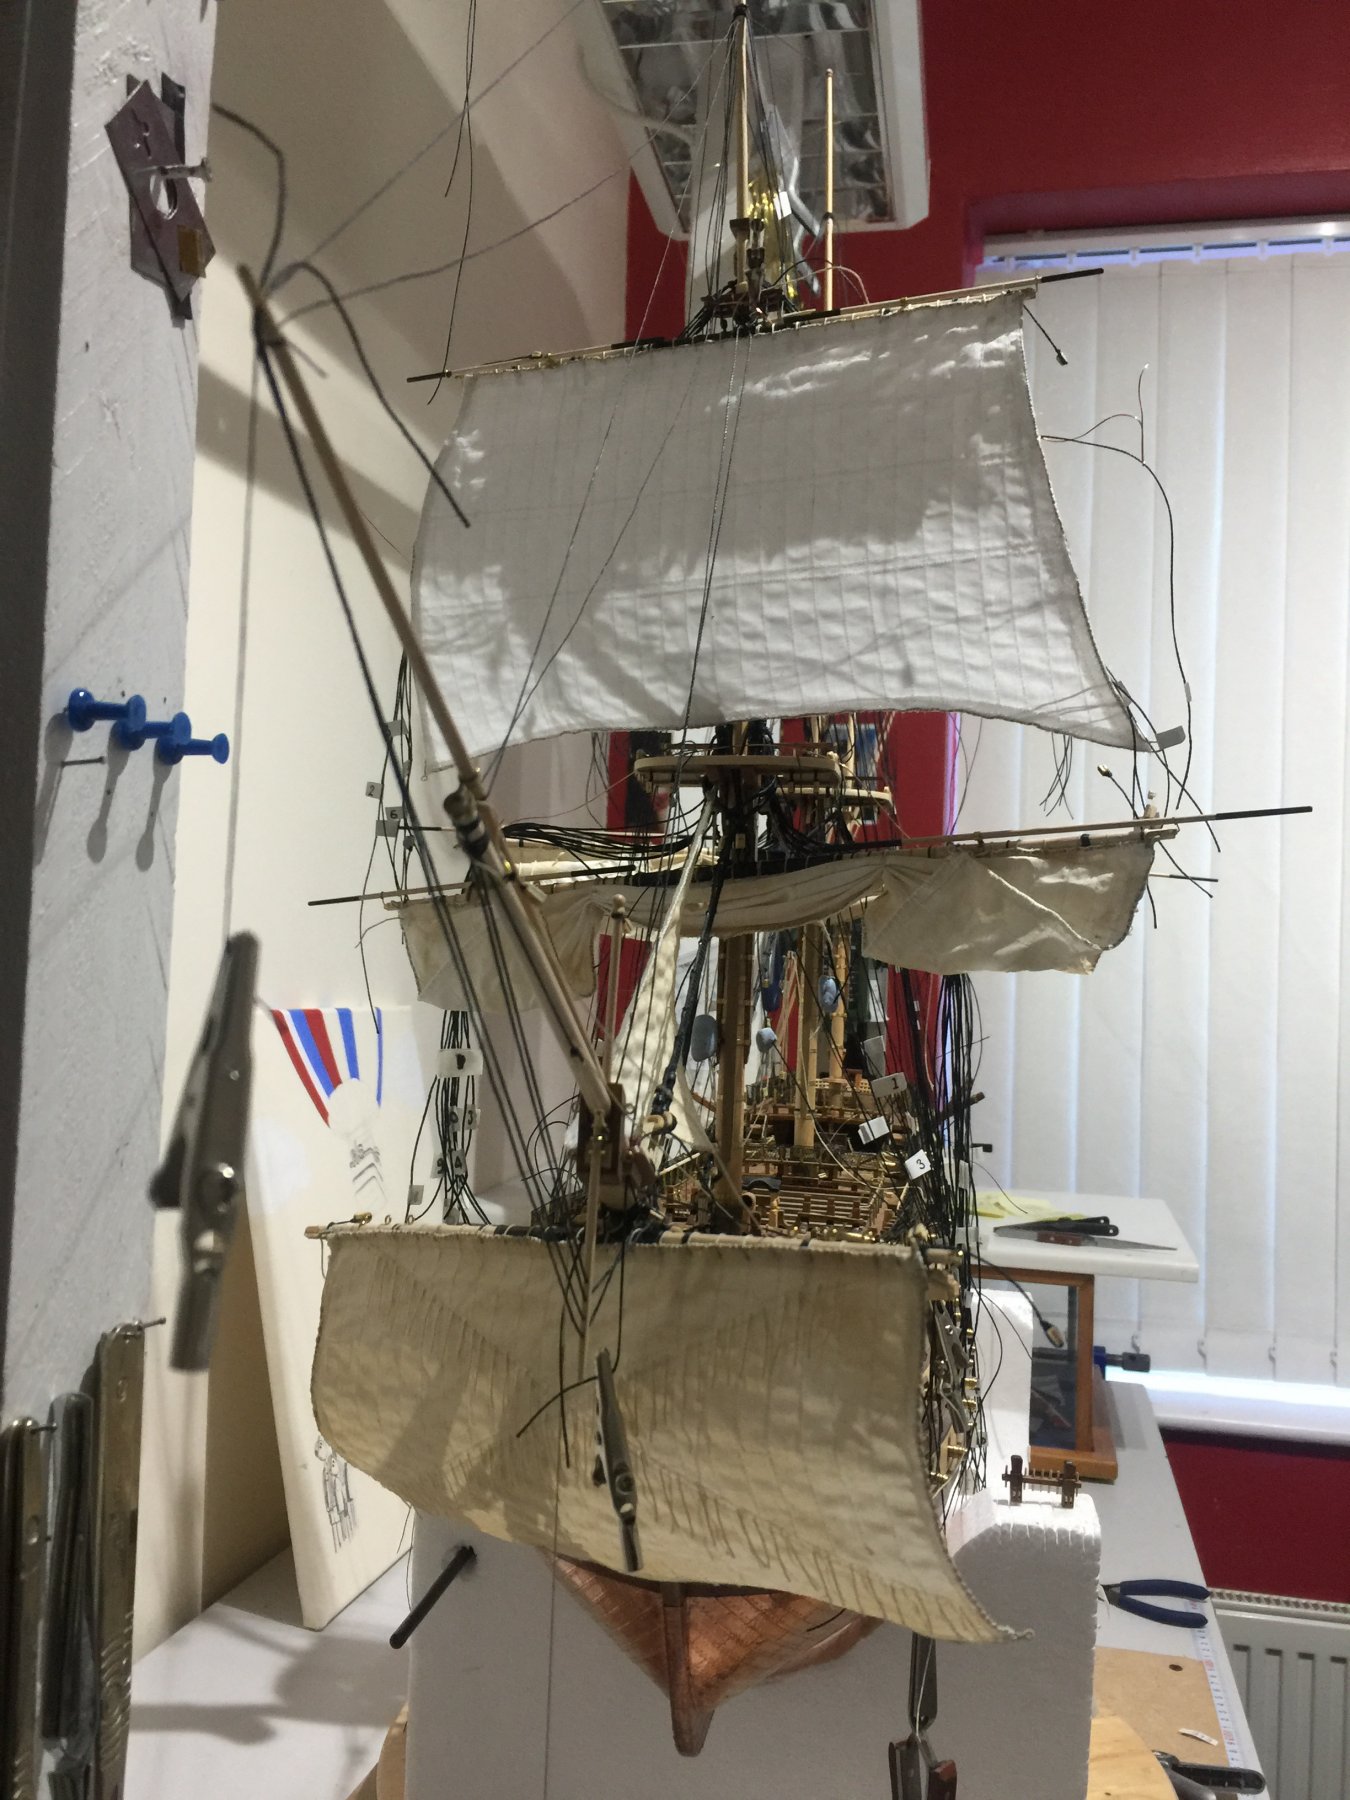
Put a few more sails in position, not fitted / coloured or tell tails installed but just put in position with clips to keep them organised. There loaded with dried PVA glue in the cloth, which I will airbrush with water for the final shape. Then I will add the staining, worn look.

-
Sails going at a snails pace, cut, stitched, fitted to the spars and test fitted before adding tell tails and staining to look used, worn and marked. Well thats what I’m trying to do but one will see if I made the right choice to bear sails.
-
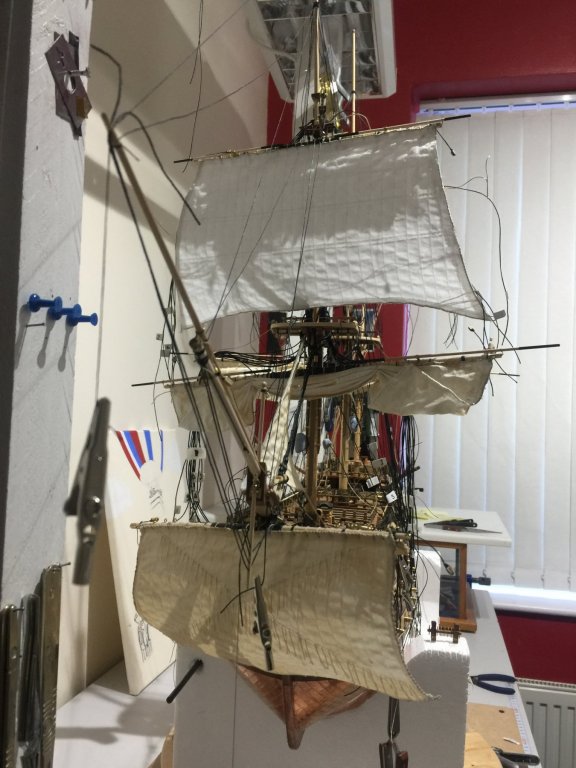
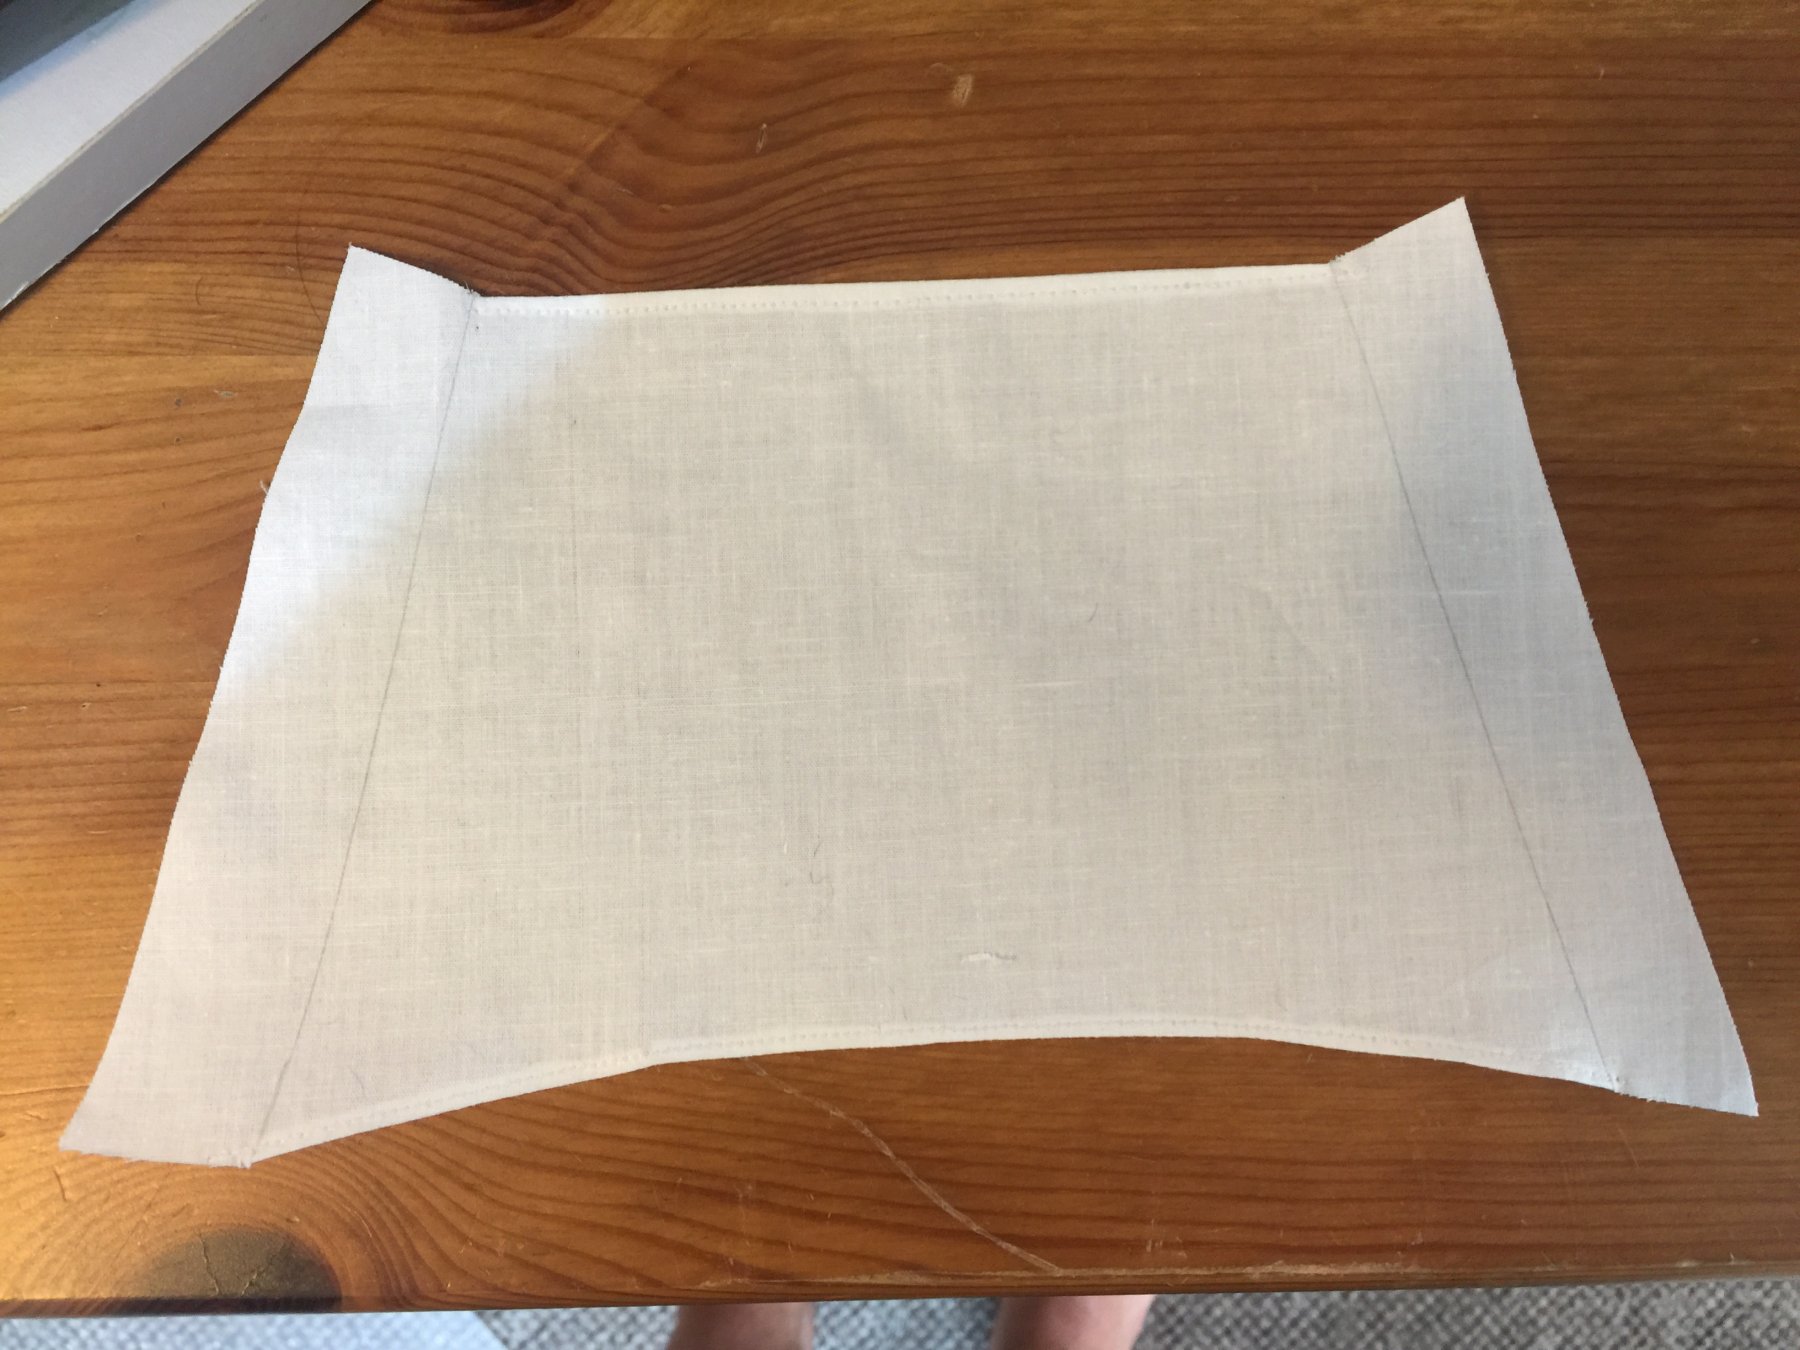
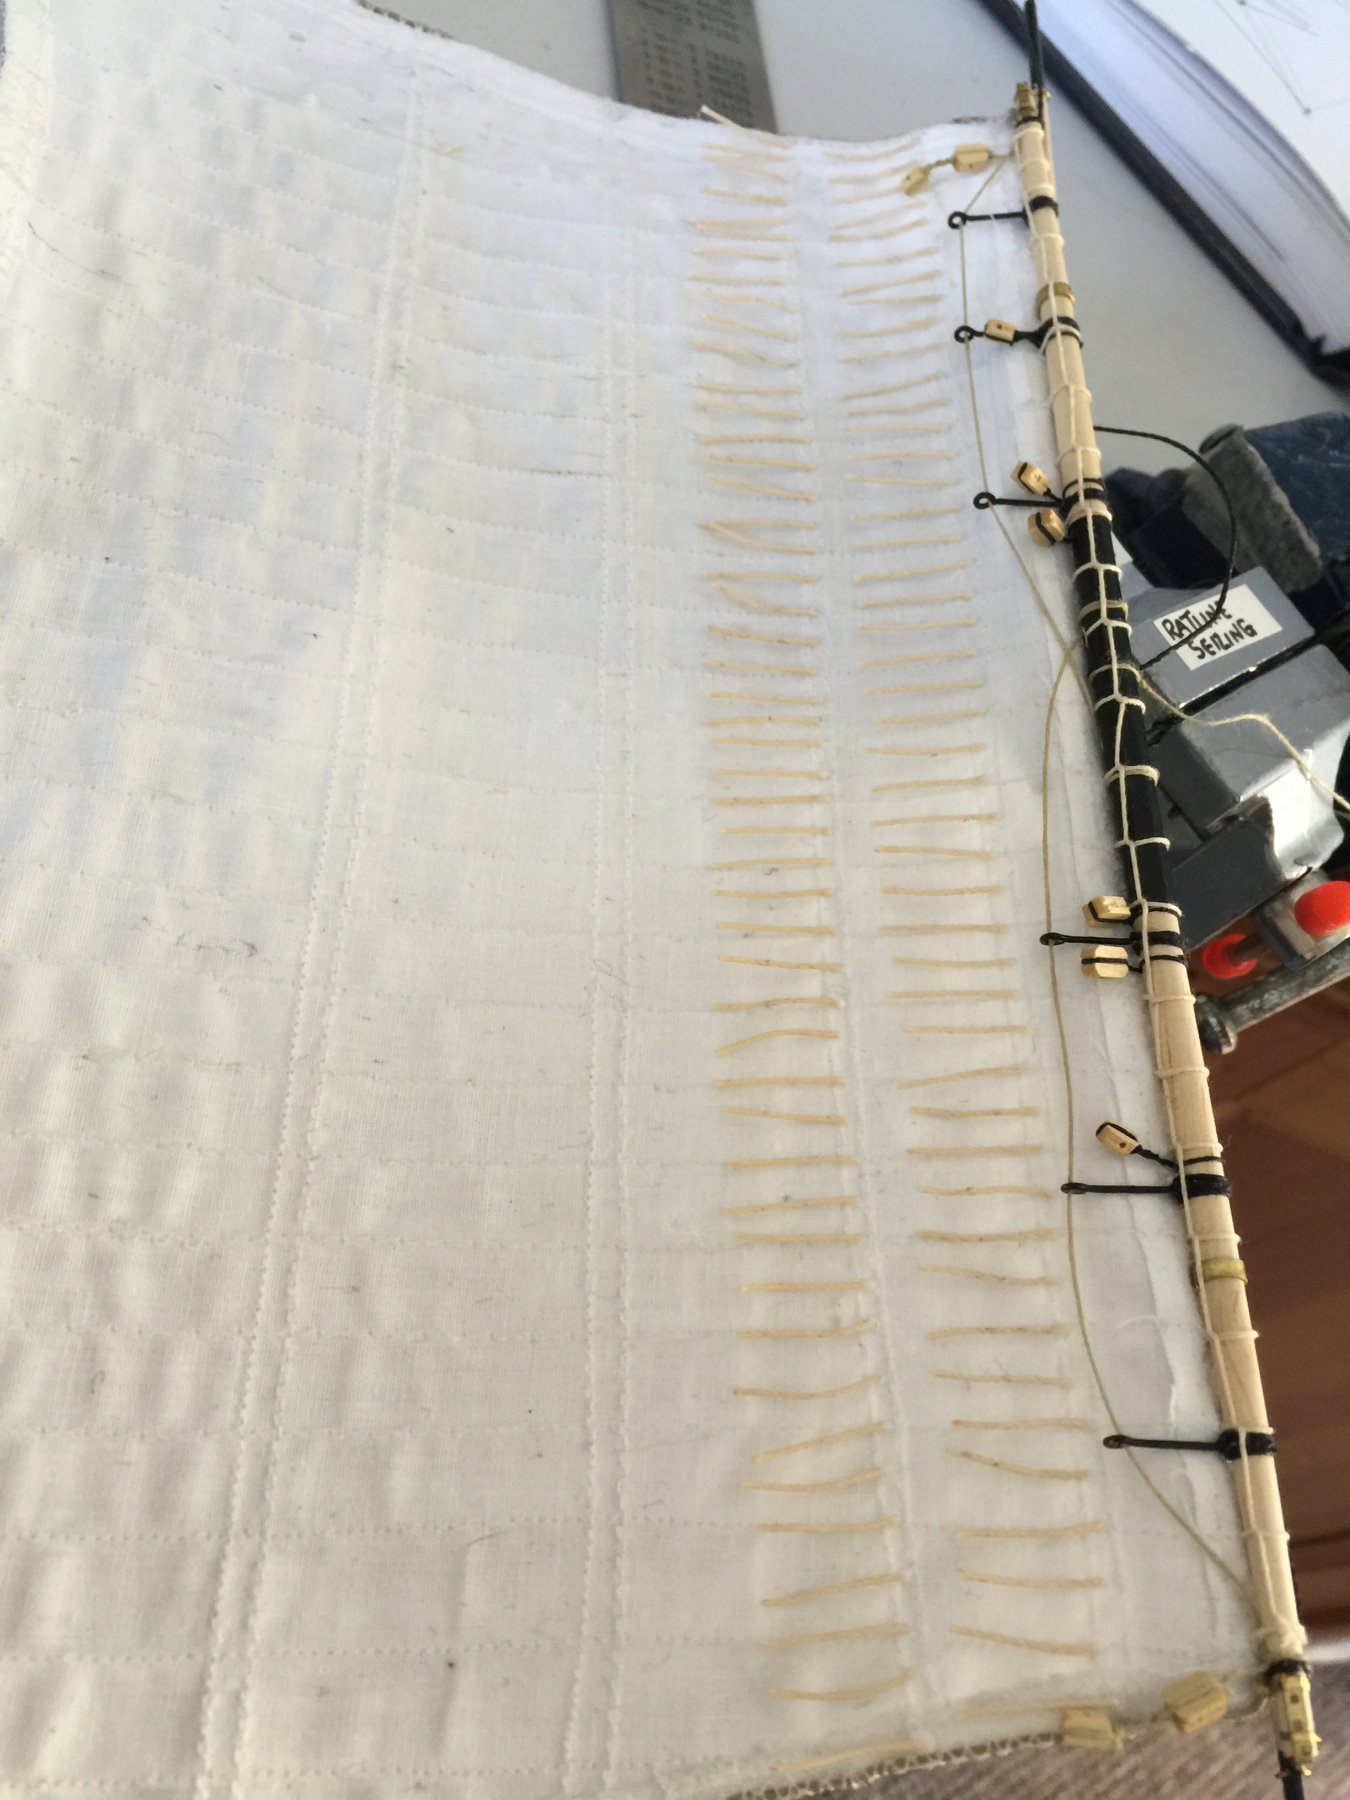
I am still on the sails saga and will be for quite some time, sewing, trimming, edging, fitting bolt ropes and basically learning the skills of a taylor, well trying that is. I have tried many methods of getting them to hold that wind swept look. I have opted to soak the sail in PVA water mix, at first I moulded the sail into a close to finished shape an let it dry and air brushed coffee on to make it aged. it was very effective but as I fitted it to the spar and added the tell tails it was almost flat again. Plan B is now to airbrush water on the sail in situ and heat with a heat gun and hopefully they will form naturally and hold position due to adhesive ingrained. At the moment the sail is just bent by Hand to get the look. Despite the ships made, many opt out of sails, mmm I wonder why ?

- shihawk, keelhauled, usedtosail and 1 other
-
 4
4
-
Oh mate thanks for the lovely comments during your build, I have not been posting much lately, I have to install the spars but to be honest the sails have had me stopped from doing this whilst testing fabrics as I am making my own. They need fitting to the spars prior to the spars being fitted. Due to deciding to ditch the kits sails this forced me to learn how to use a sewing machine. I felt whilst the canons are run out the sails, lower furled and uppers in full Wind was the way to go. This adds a lot of work to the kit but I hope to get a one off build and use the Victory as a learning curve for future ships
-
Andy, the lifeboats look spot on that you mentioned, cheers
-
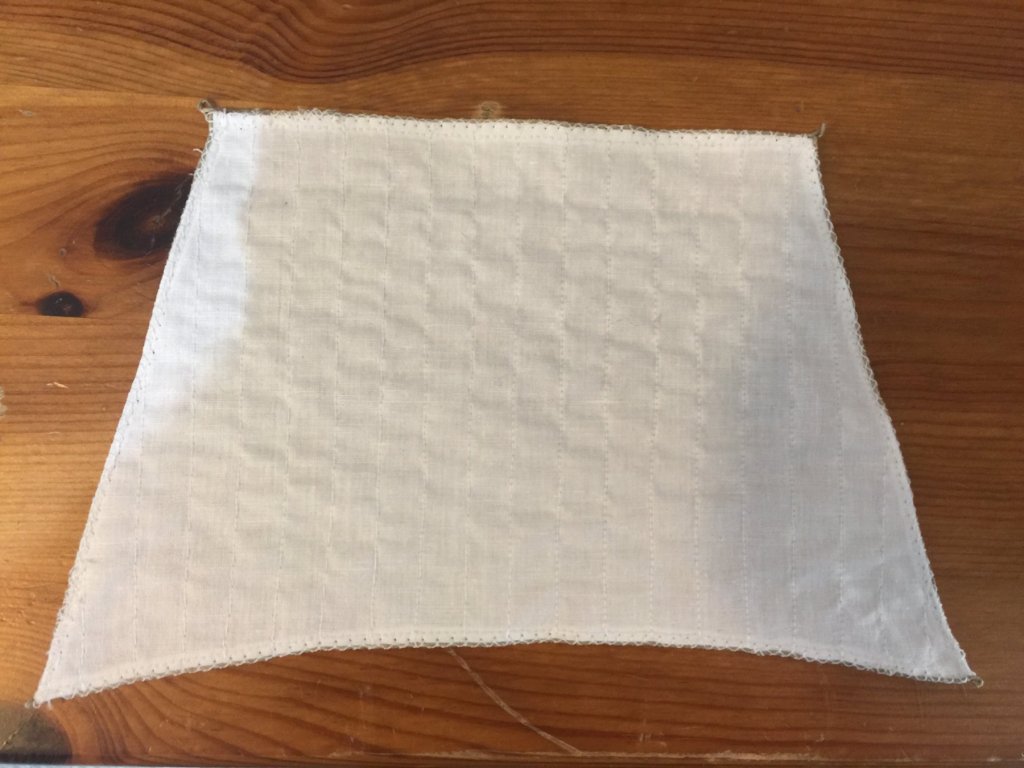
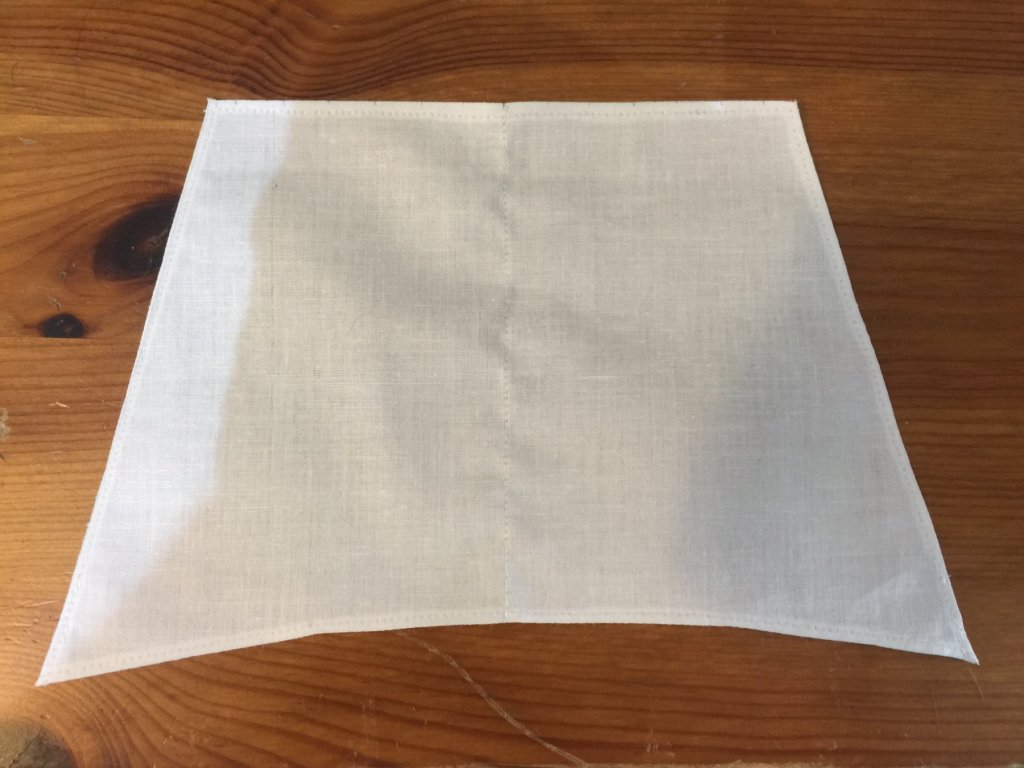
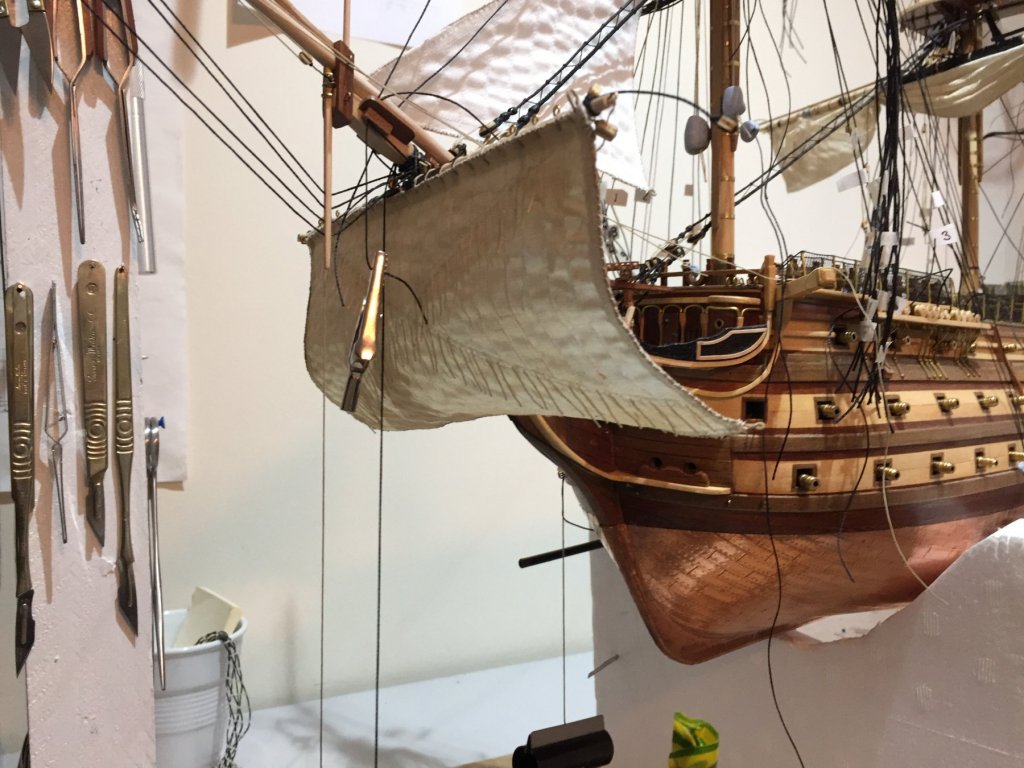
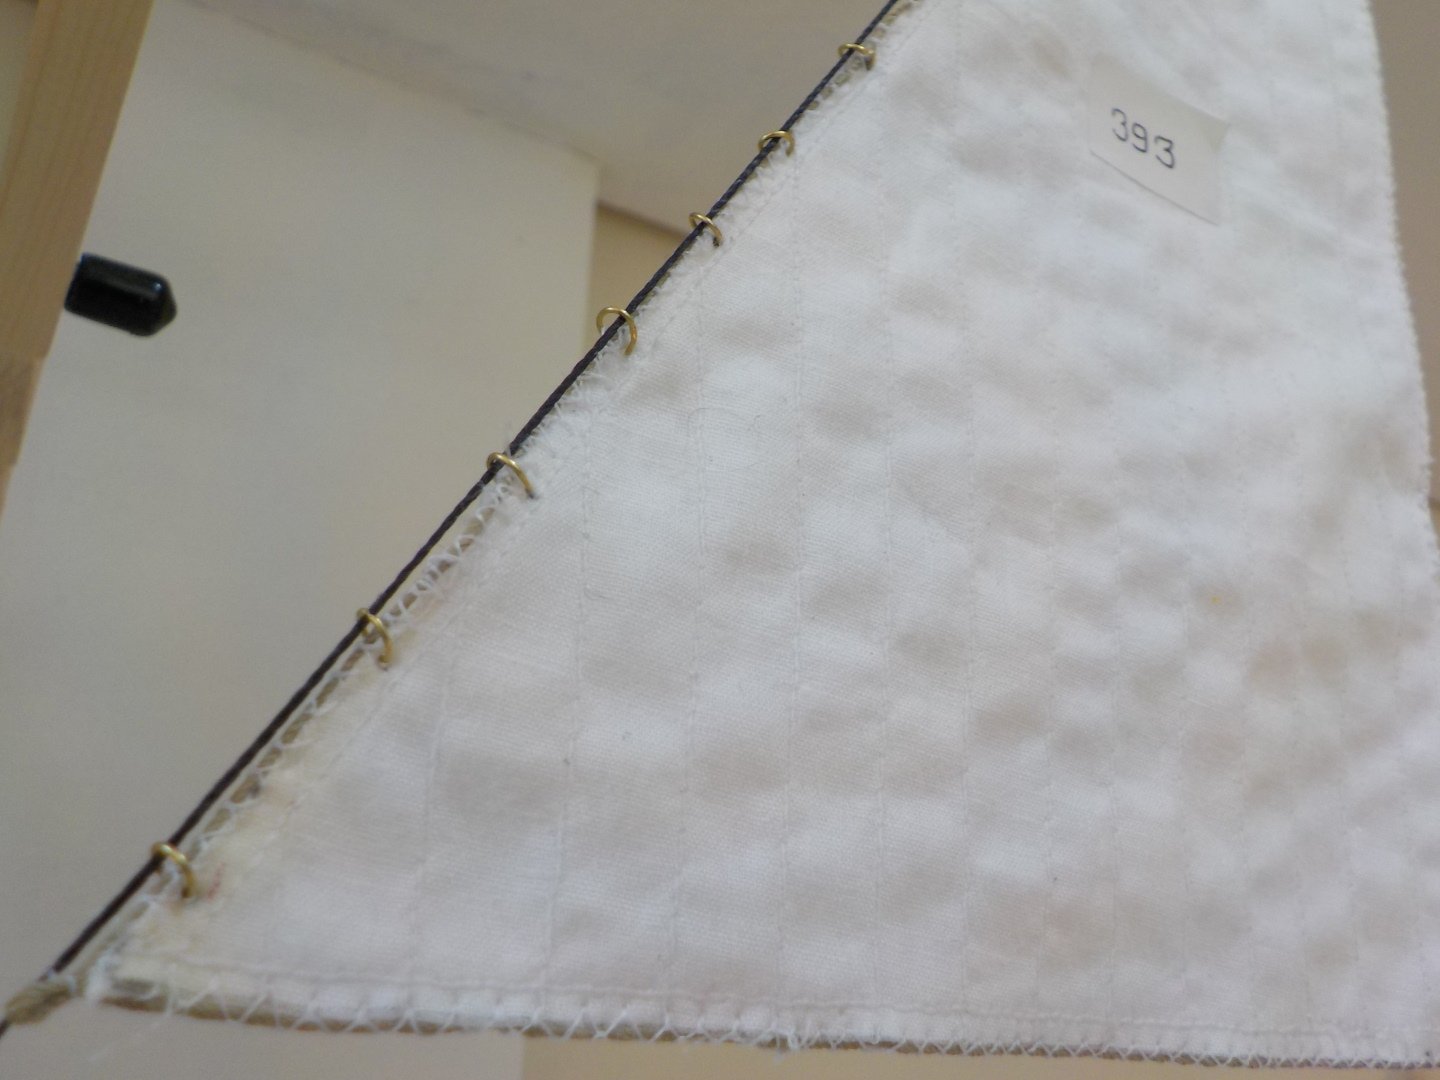
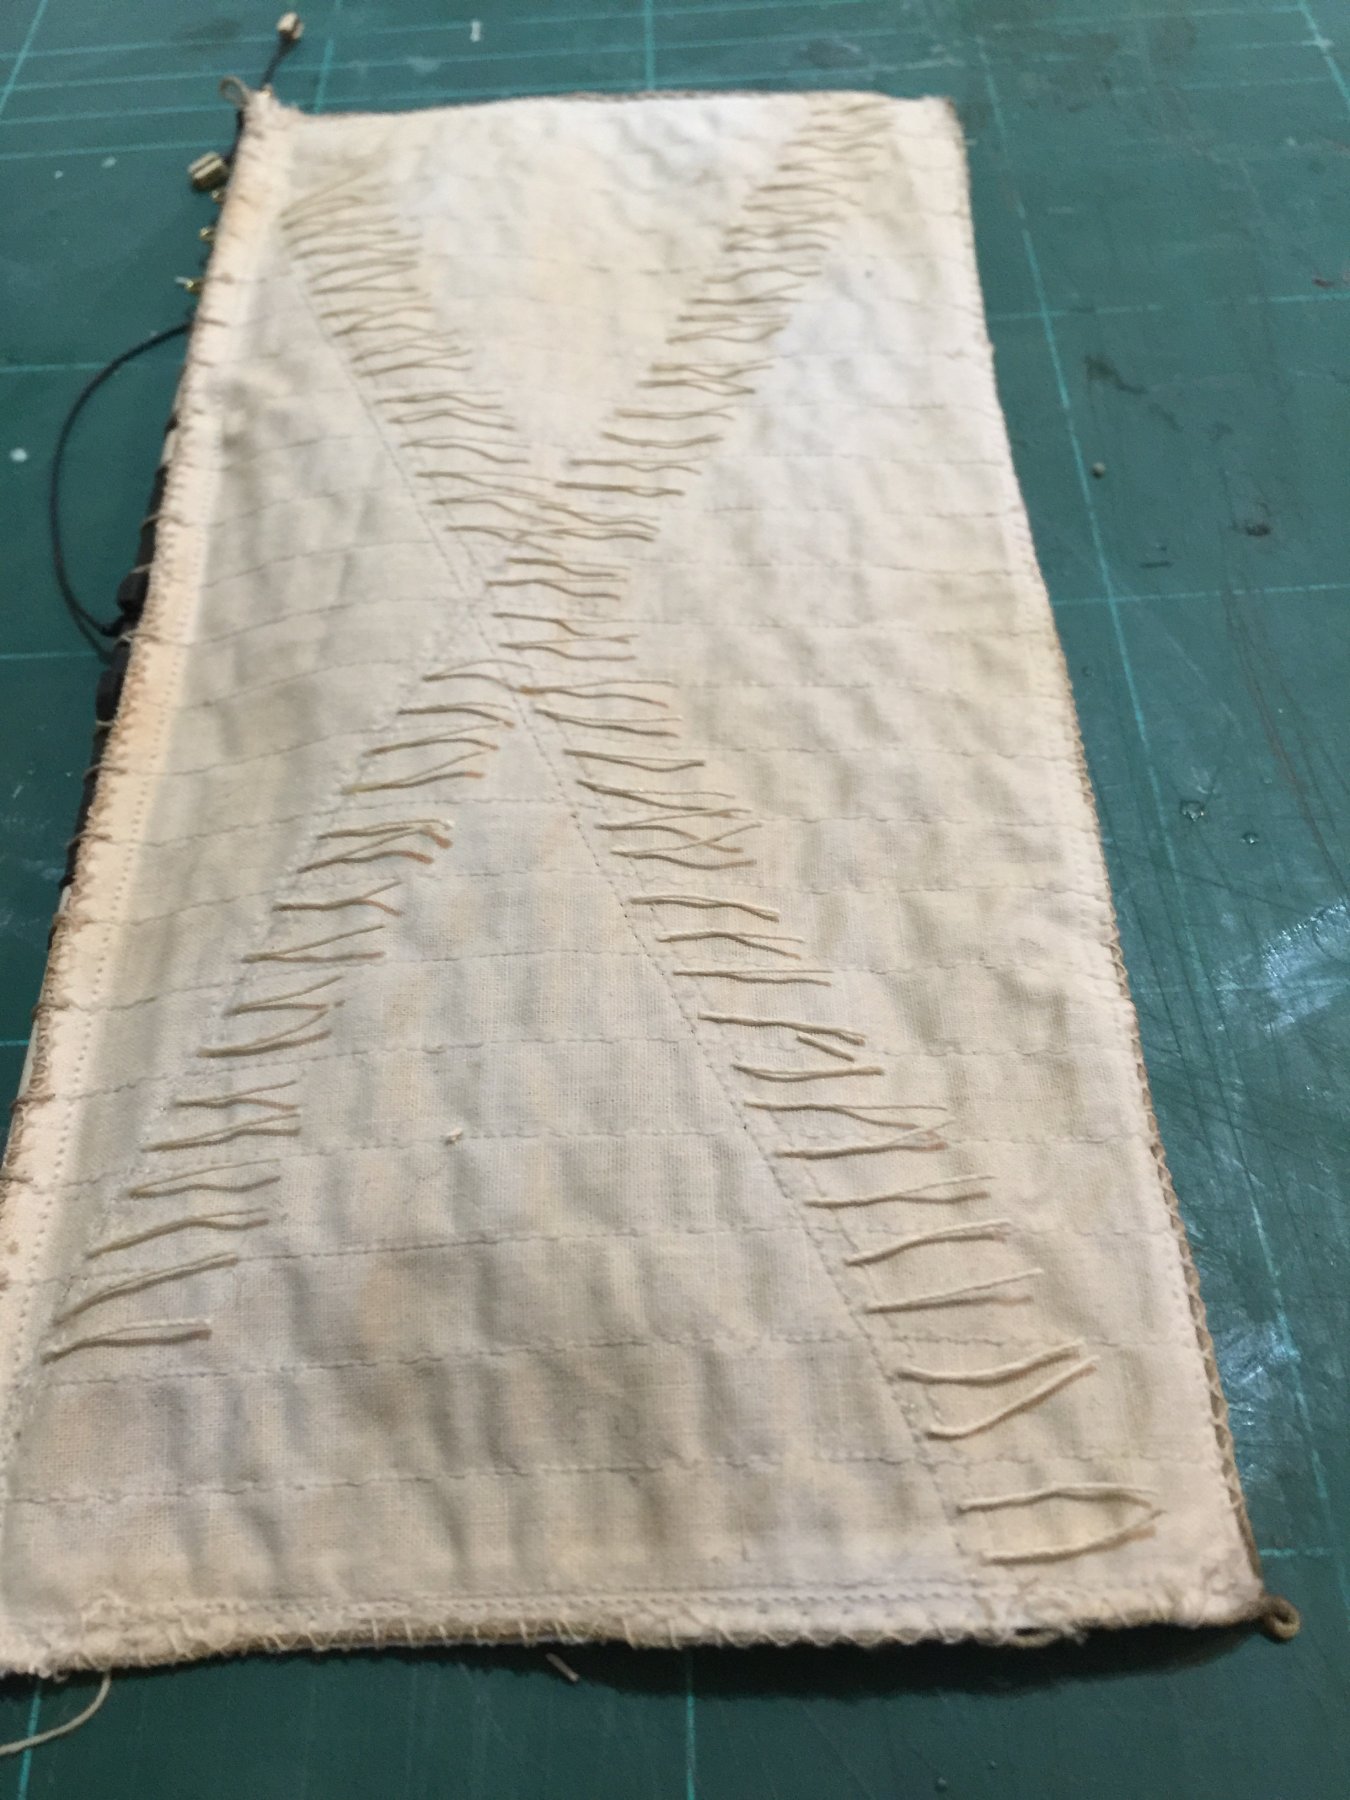
I,m still here and my ship has officially passed its fourth year build time, hey no rush as they say. I have come to a stand still for a while whilst I tackle the sails and I have come to the assumption that the kit ones are to be abandoned as there just two thick and hang all wrong, even furled they look clumsy. As my canons are run out I have to enter the world of furled sails, not sure if to furl them all, Easiest solution, or furl just the lower sails to that would be to avoid canon ball damage from battle. The sail in the picture is actually a test and is mounted on a spare rod and held in position for effect. I have not stitched it at the moment but that is another thing I have to learn, sewing machine although I do not have an over locking one. Its pure white Poplin I have used and literally just lightly sprayed it with coffee to give it the dirty worn appearance.
- shihawk, CaptainSteve, BLACK VIKING and 2 others
-
5
-
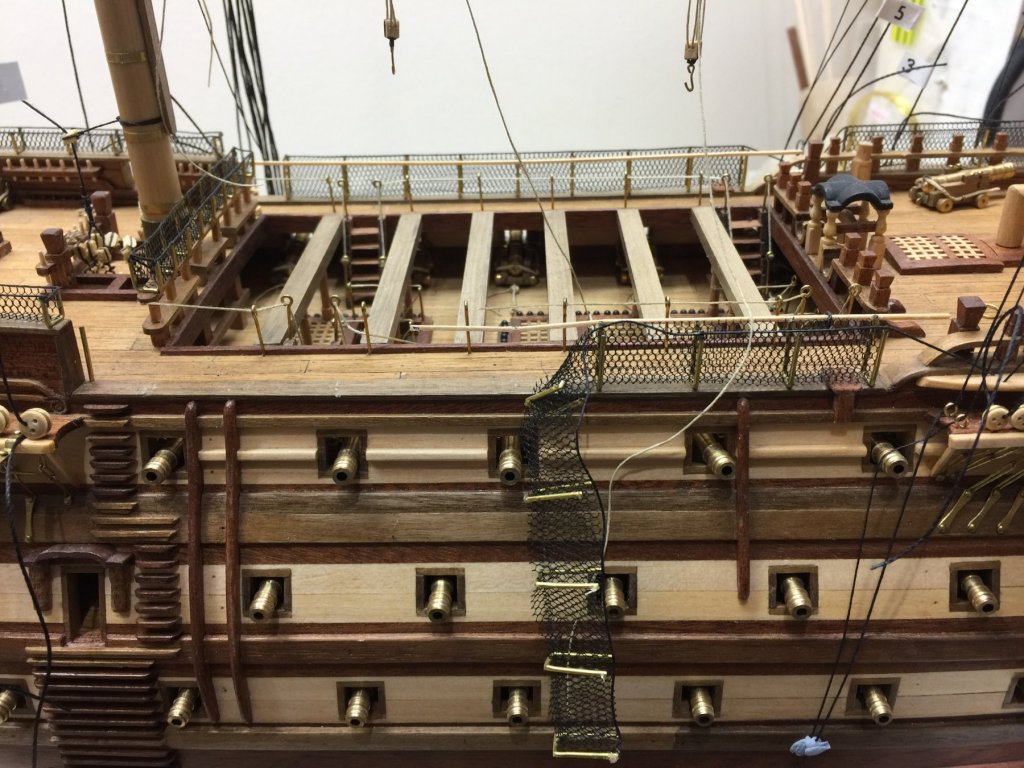
Not what to do especially with the tricky netting but somehow I feel I’m not alone doing this, dropping my snips above the deck, the ship looks battle worn. Well after an hour af extra work she is repaired and on I go with the rigging.
- zappto, John Allen, Zarkon and 3 others
-
6
-
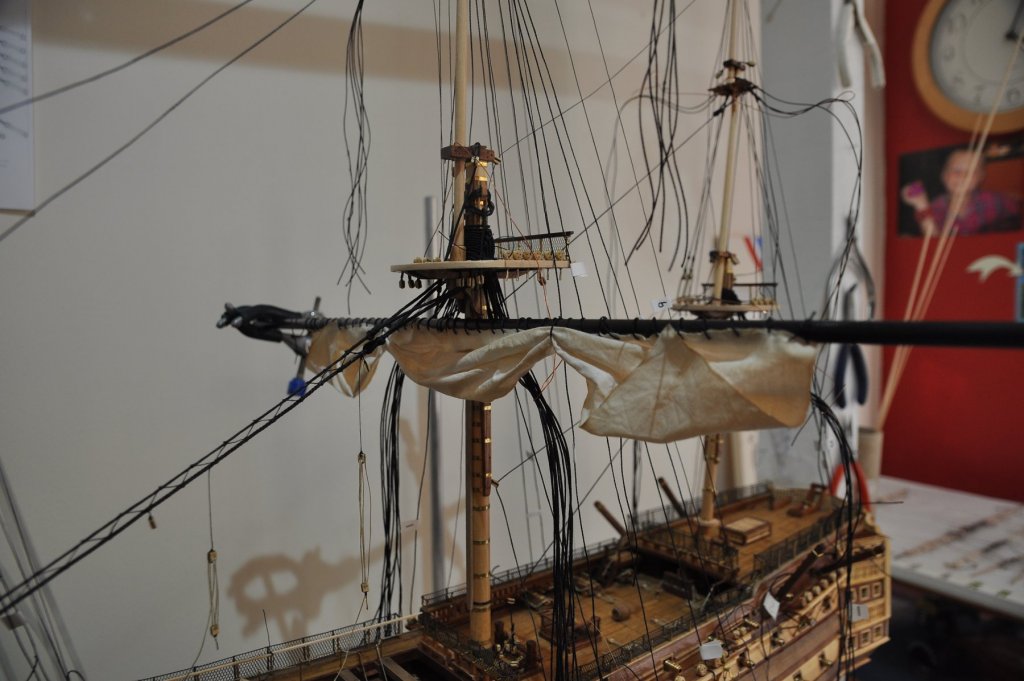
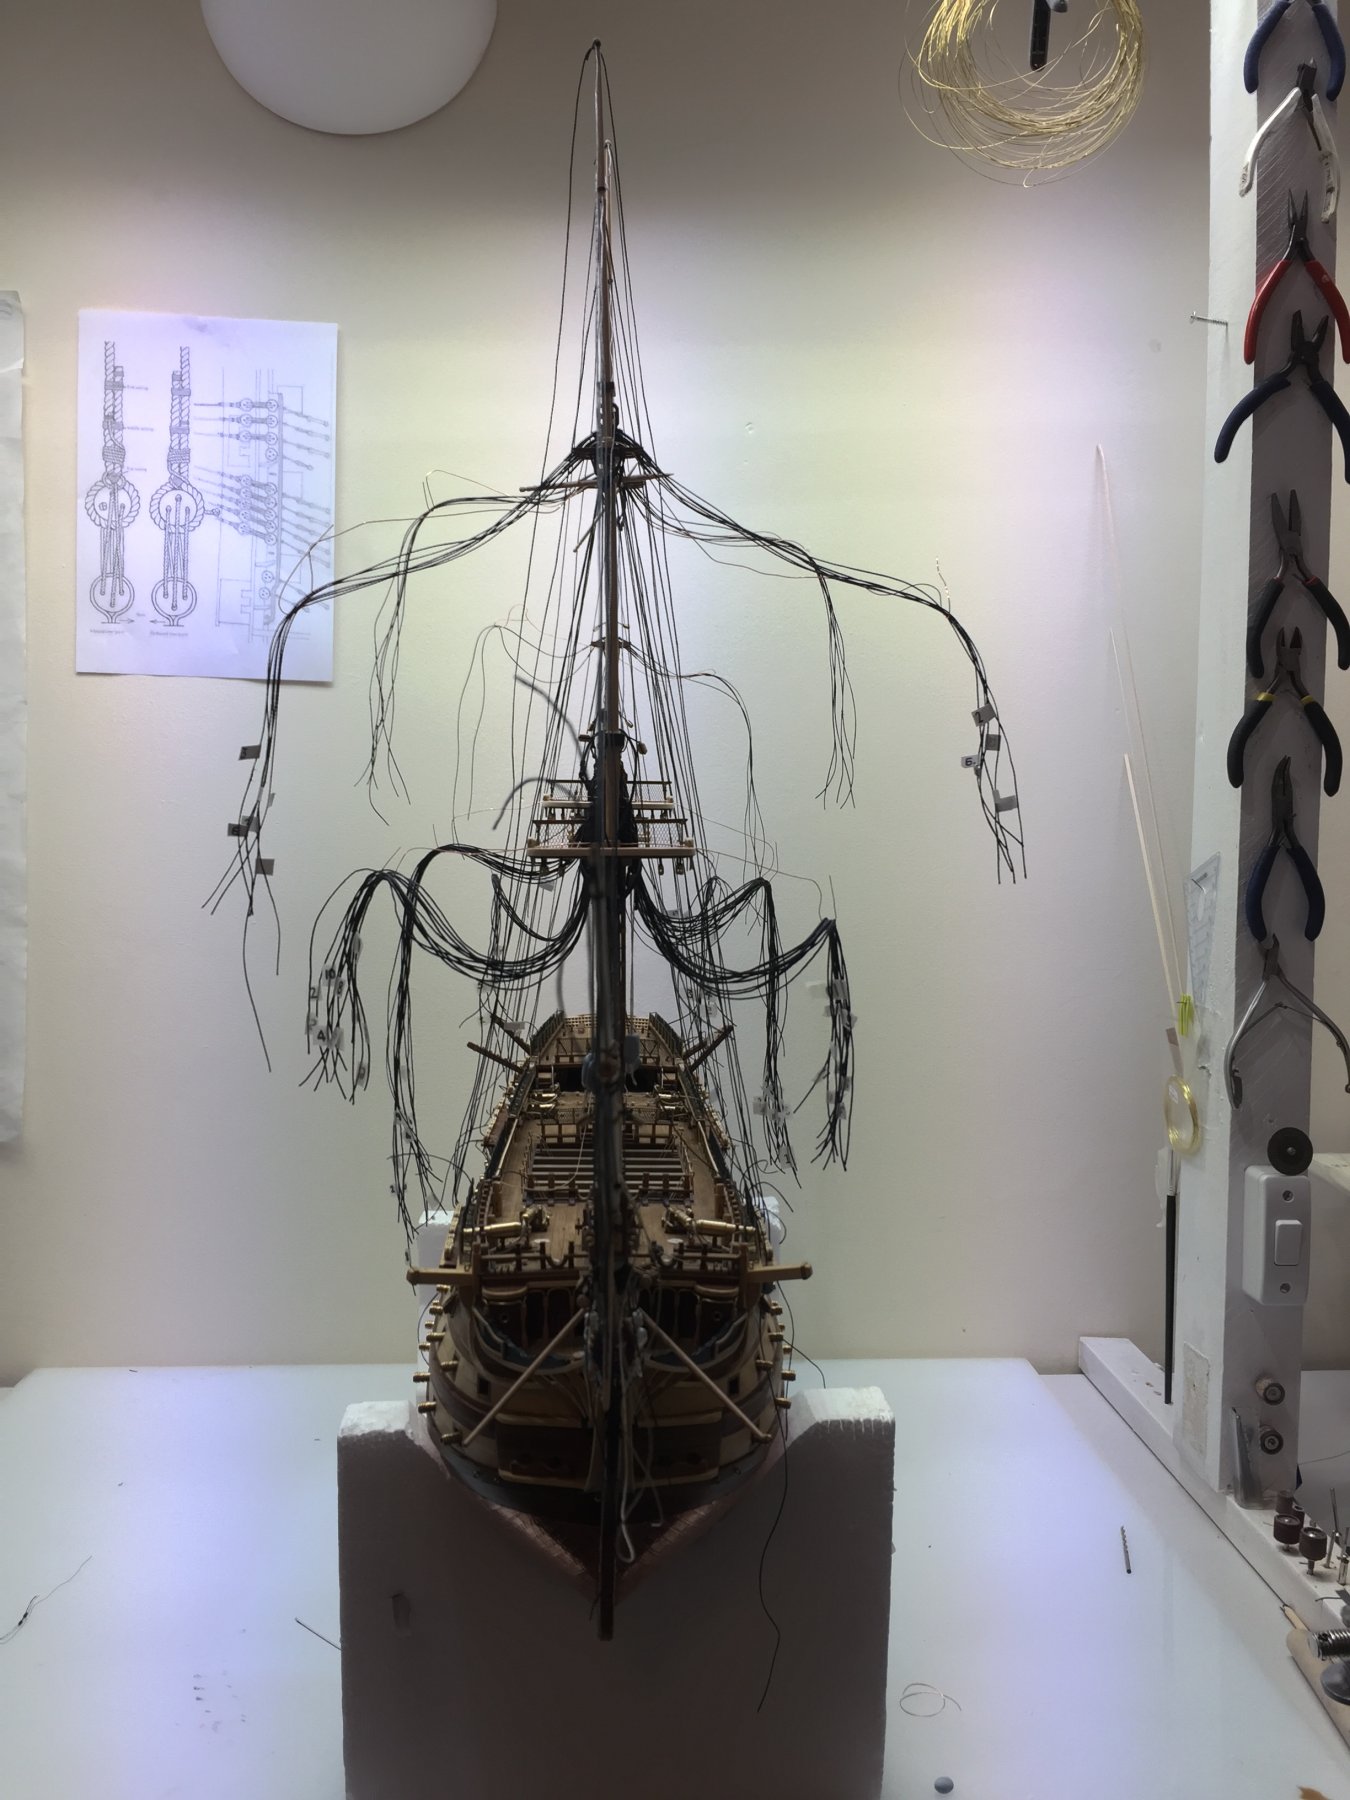
Aaaaah I know it’s difficult so see on the picture but I have only rigged the upper mast section and 3/4 the way up with the same line as the lower,,, ahhh and it’s way two thick, there are a few other lines that are being replaced with the correct size too. the only saving grace is there not notted or glued yet so it’s quite easy to sort. Steve I will be visiting the site you have pointed me too regards the sails, thanks.
- leginseel, CaptainSteve and Zarkon
-
3
-
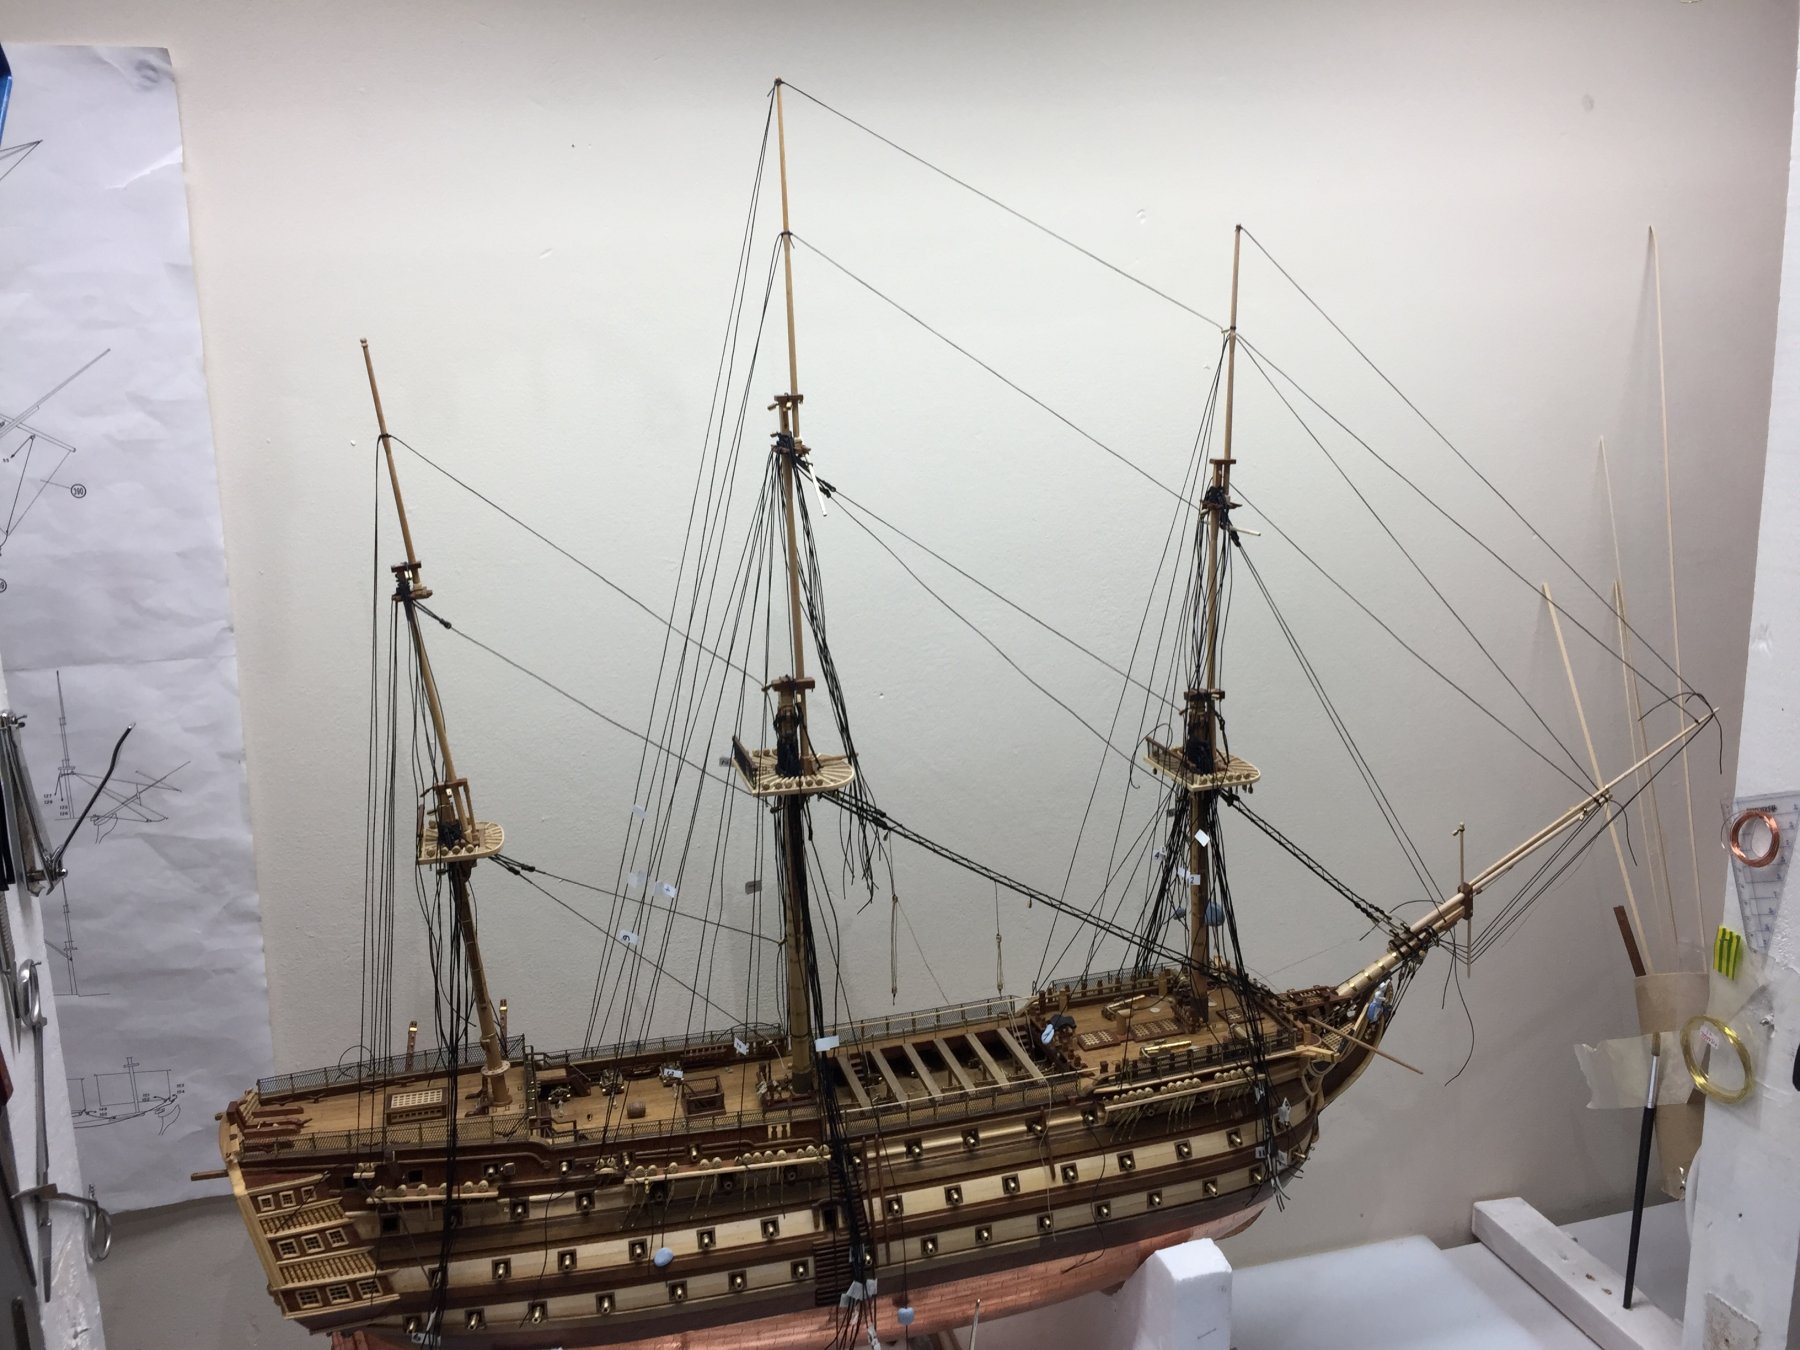
I am actually enjoying this rigging stuff now but realise the spars have to be installed before any of the rigging fitted can be fastened down and become live, as you know a lot of spar fastenings are tied off inbound and all the above will get in the way. I now have to consider the sails and learning to furl the lower ones.The ship is becoming a ship now as the rigging already positioned gives it so much character.
I have had to get the rat lines out of the way to see where I’m at and this was the only way I could think of getting rid of them l, for now


- John Allen, Zarkon, leginseel and 1 other
-
4
-
Nice comments, thank you, I have started making a few coils for the belay pins, I also do a few lines a night well until I have had enough, I couldn’t sit there bashing them out all night, I also find I have to be in the mood to do the ship and really I am one of the lucky ones as she lives in a room of her own and I can just come and go. That said If I have a long break it takes me ages to pick her up again, this log helps to look back on. I have prowled other builders sites and taken advise from there errors regards rigging and trying to avoid them. It’s certainly the hardest part especially, hard in respect of lots of research required, if your going for the real way things were done, problem is it’s very visible too
- leginseel and CaptainSteve
-
2
-
Not yet they have been left for another day, that said the boats would hide the canons and the detail below so artistic licence may be issued but I will see.
-
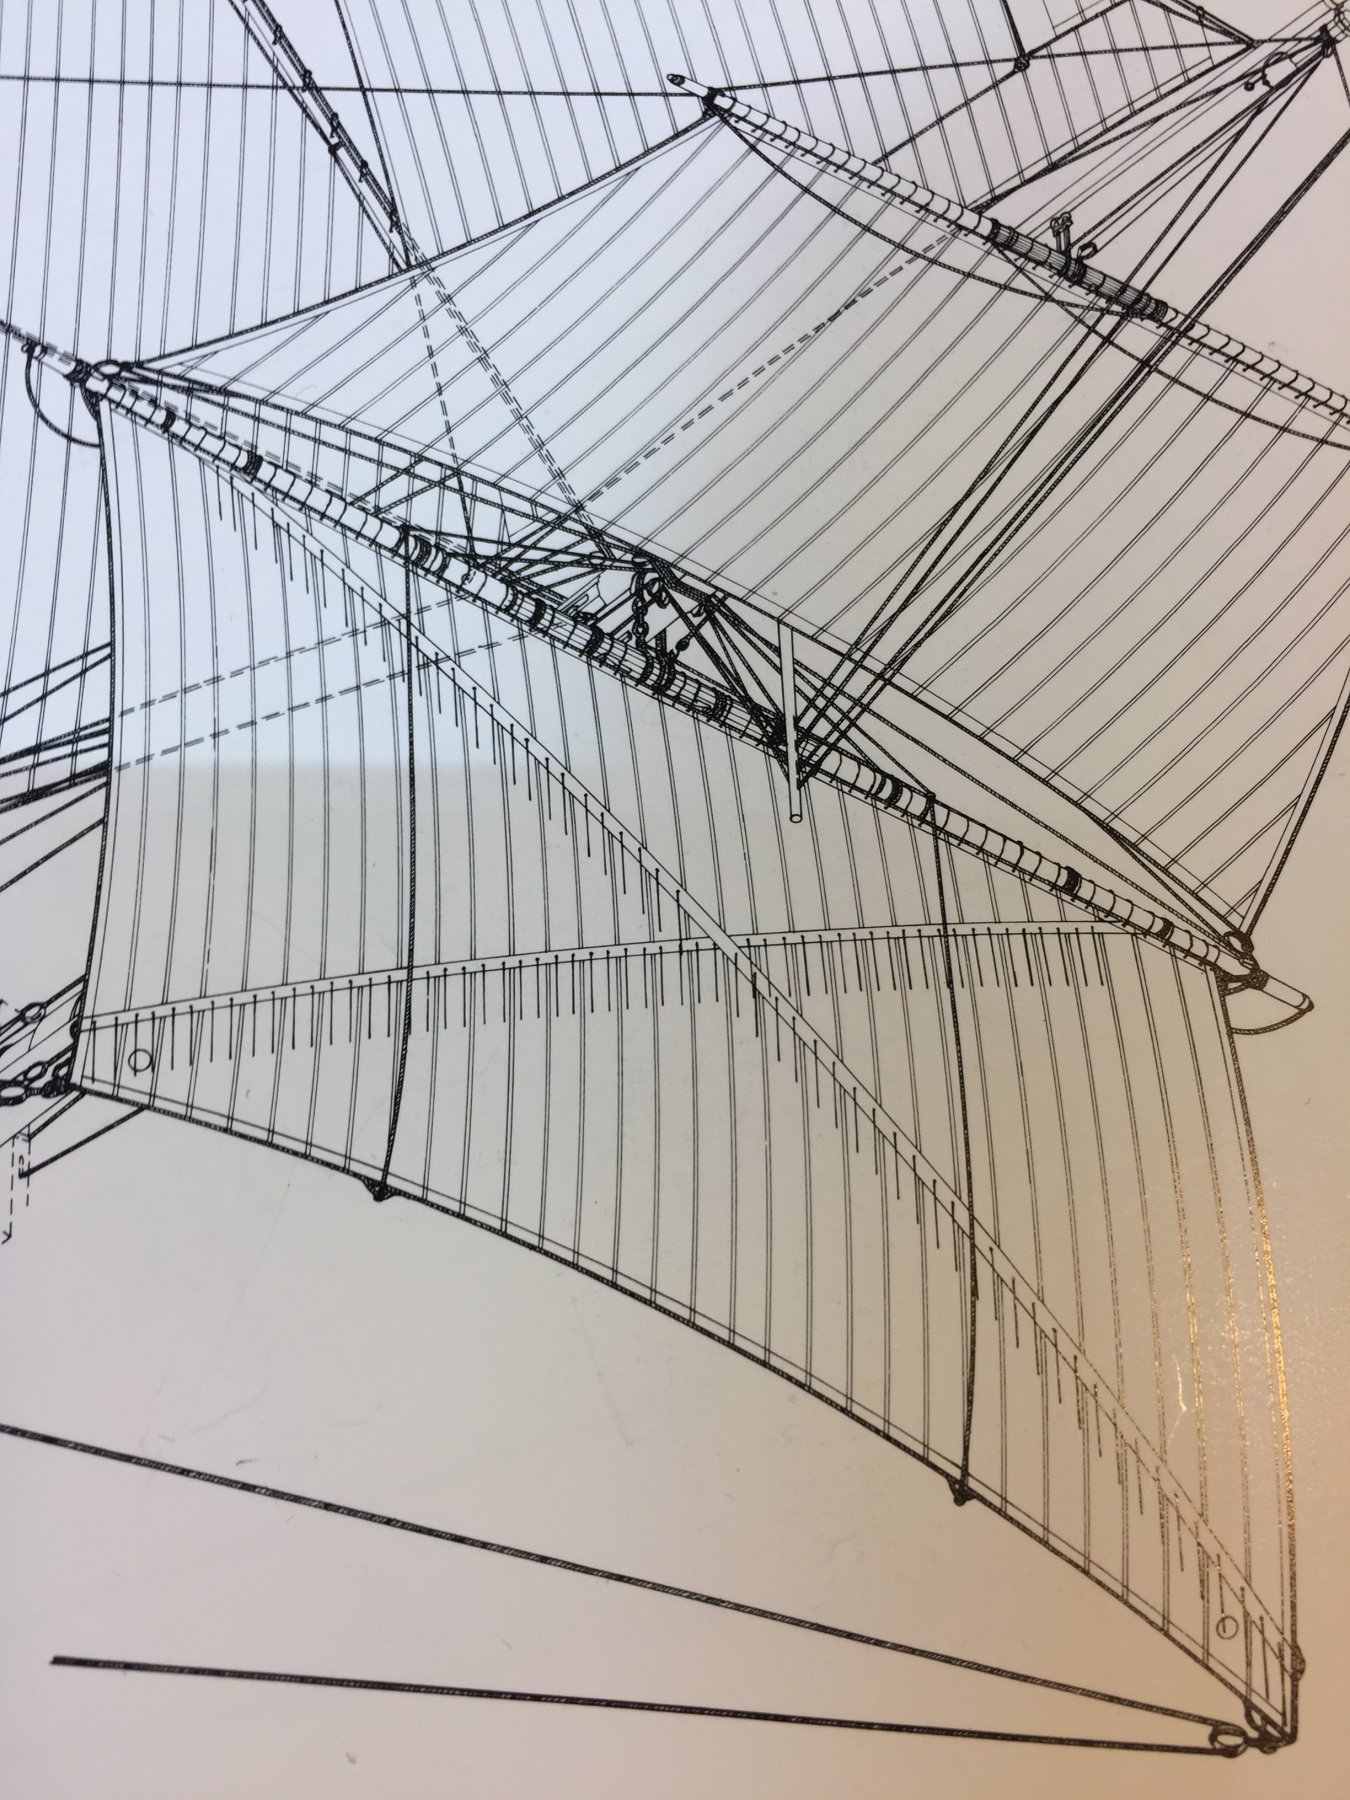
Enjoyable mmmm hardest.... getting good info on the rigging is difficult. Drawings etc, I need Caldercraft plans there so much better for rigging. Anyone out there who can copy me some would be a instant hero. Problem I have is a start building, then leave a while and have to re pick up where I left off and it takes ages to grasp the point I’m at. Rigging full time would have me go crazier than I already am.
-
Still here, slowly building through life’s commitments, rigging is taking quite some time studying what went where and what it does and how to rig avoiding the, I can not get to it now because I rigged that first scenario. The rigging fitted so far is just loose except main stays and when I’m happy the access is not comprised I will fix them. There is no rush and she will probably take me as long as the real ship to complete at this rate of knots. Hope your all ok out there.

- John Allen, leginseel, CaptainSteve and 3 others
-
6
-
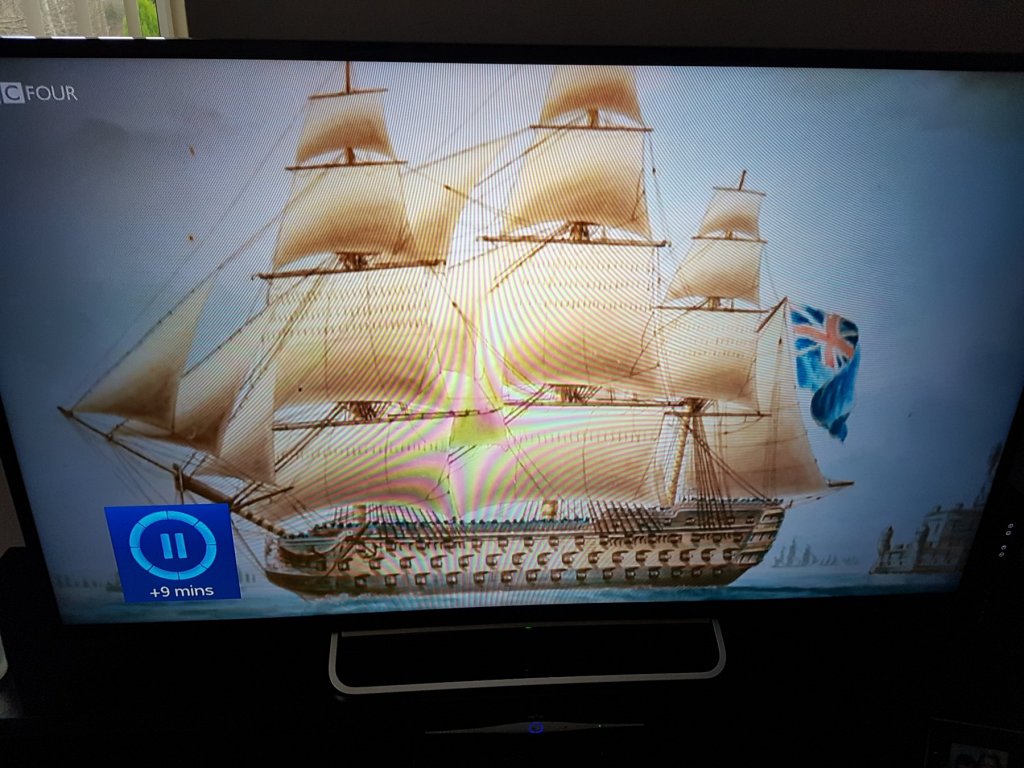
Help. I was lead to beleive that when the canons are run out for battle as the image shows the lower sails are furled to prevent canon balls shredding them. But the image contradicts this theory. Now was this an artist licence to paint the HMS Victory in this way, or are our beliefs questionable. I ask as I am creeping upto this stage. I considered leaving her bereft of sails but why would canons be run out when there are no sails on her.
This image was from a documentary : Shipwrecks Britains Sunken past
-
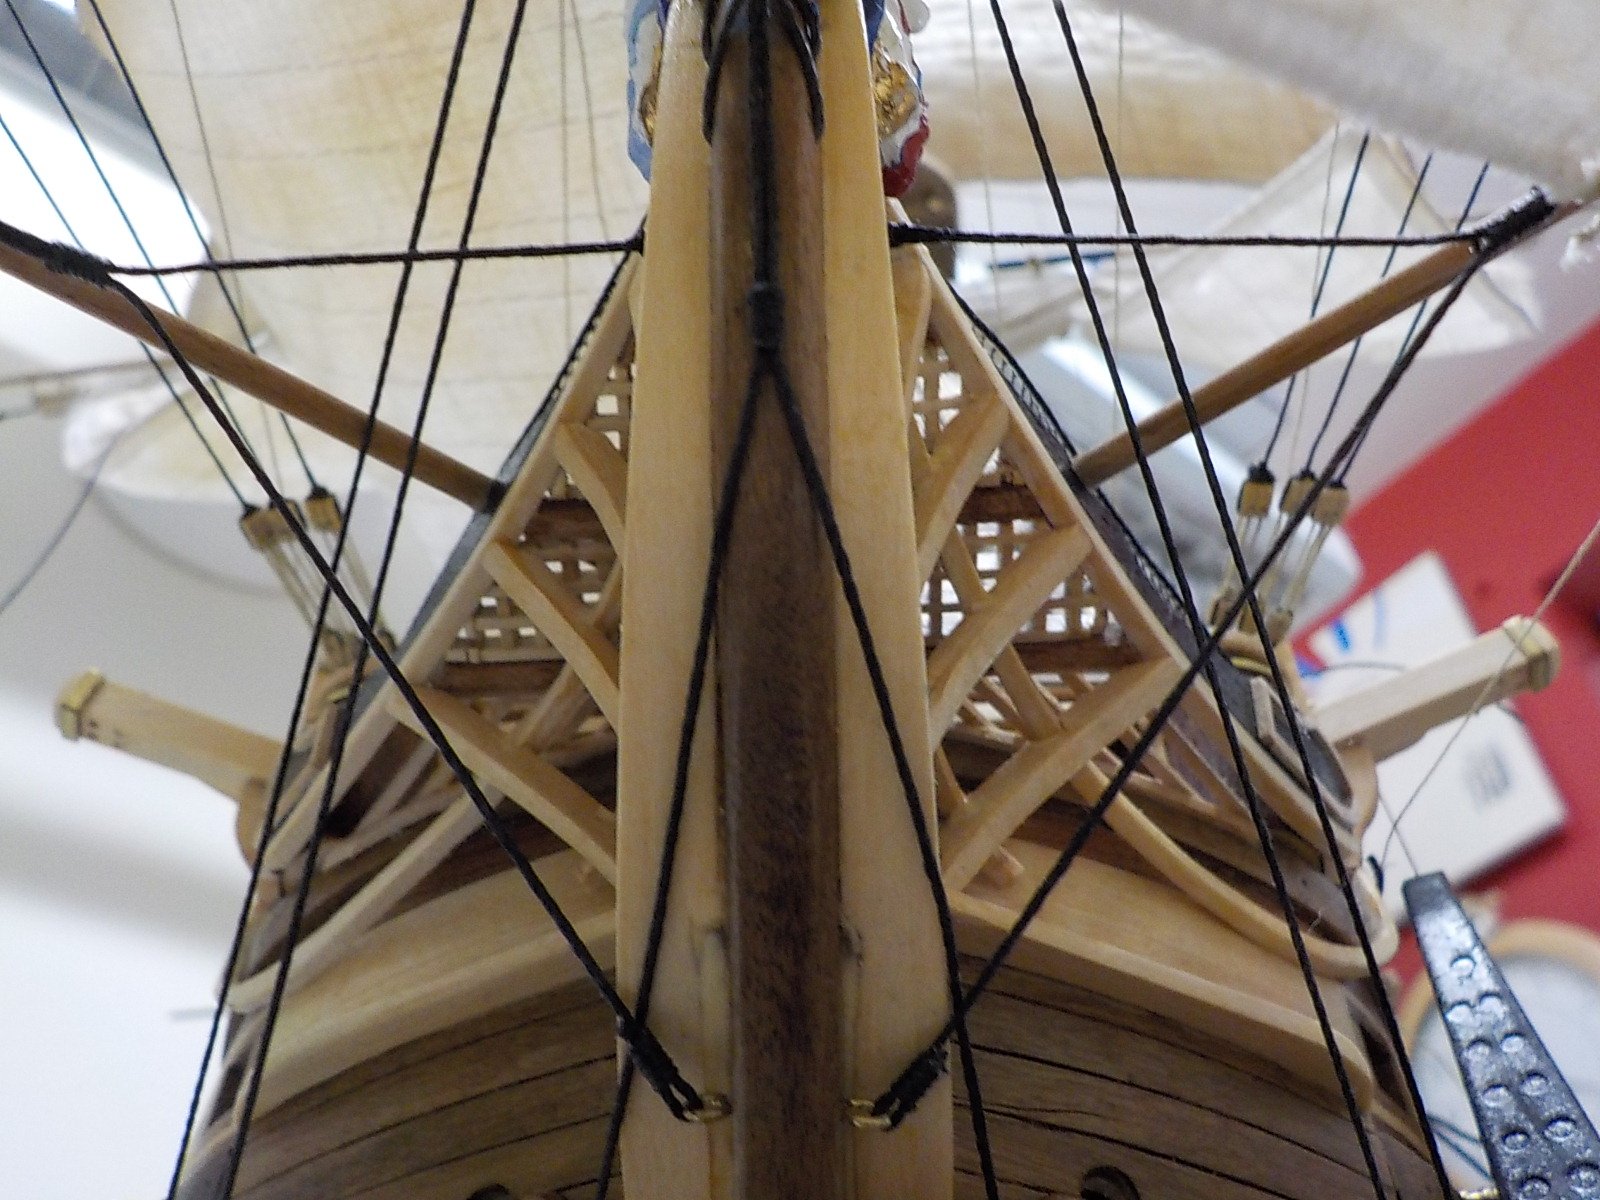
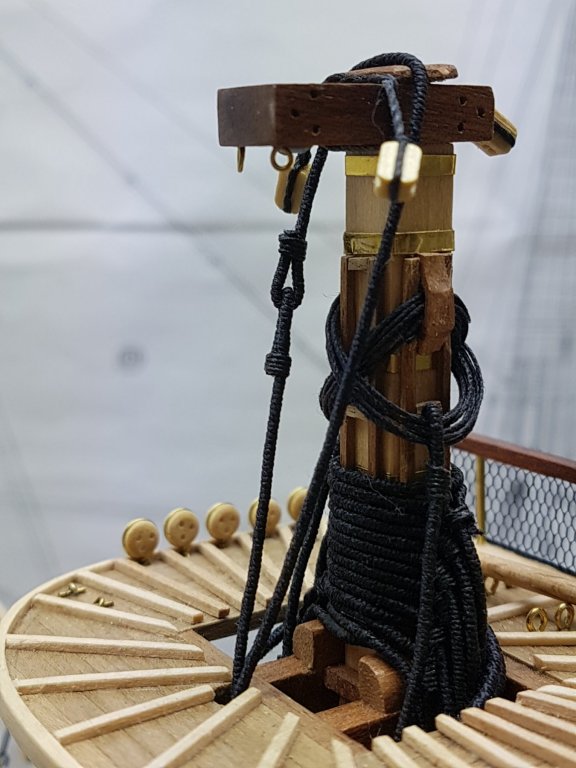
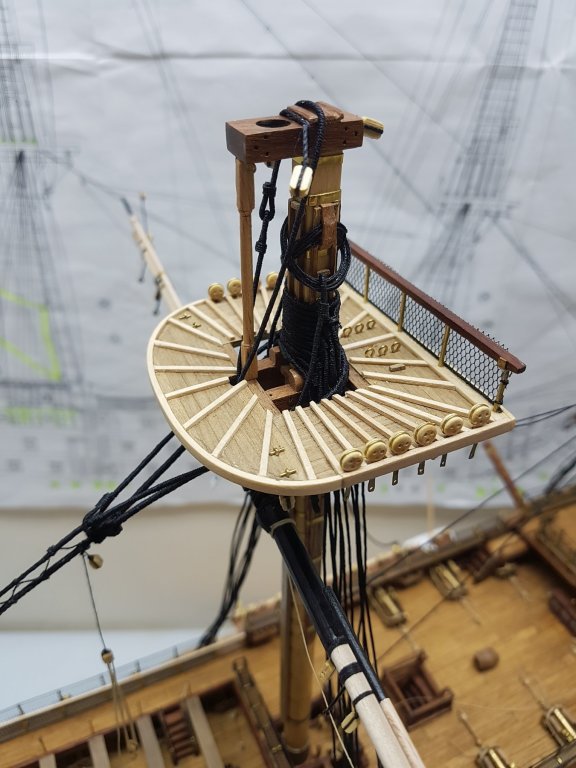
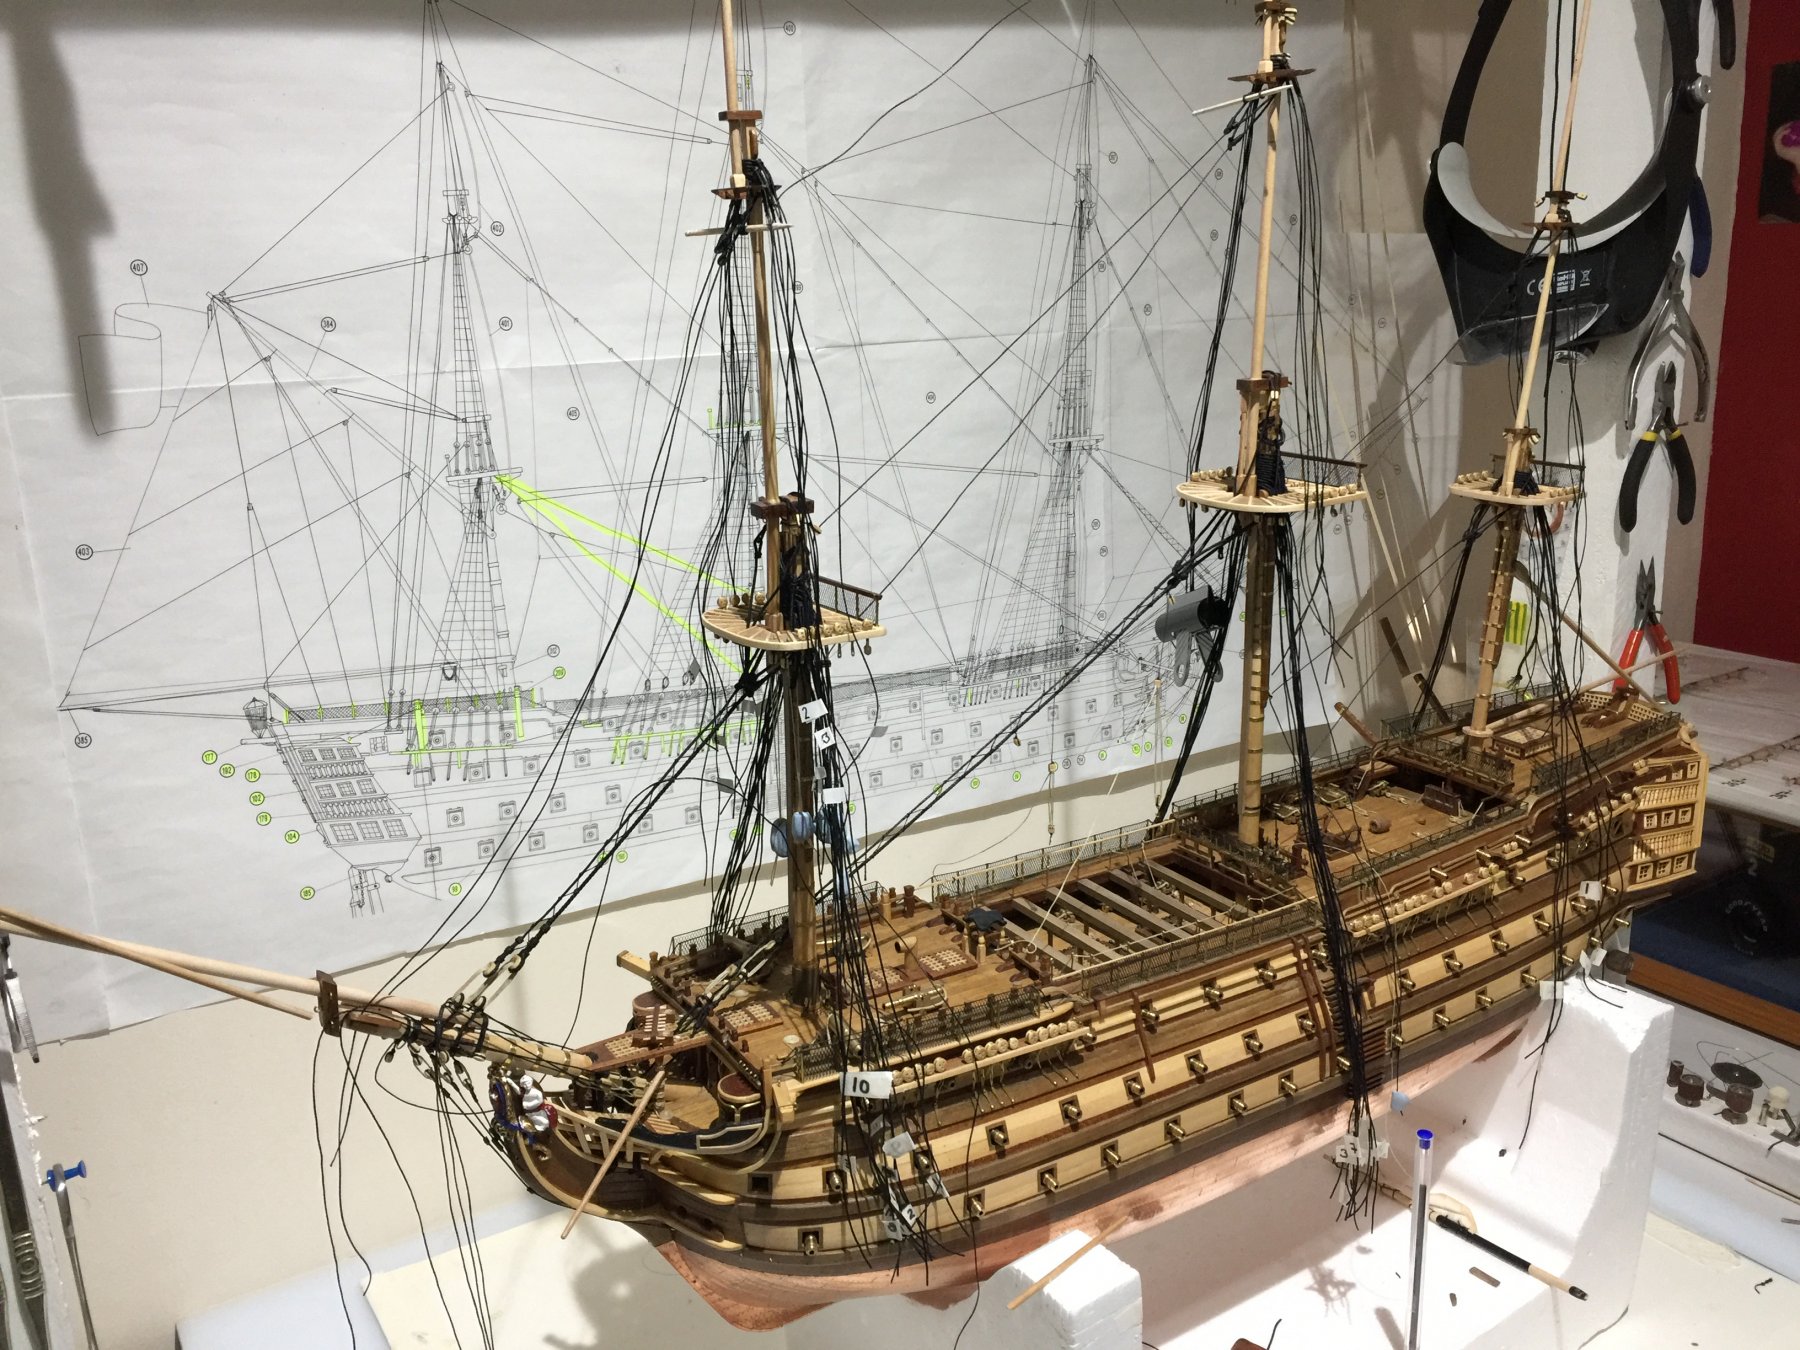
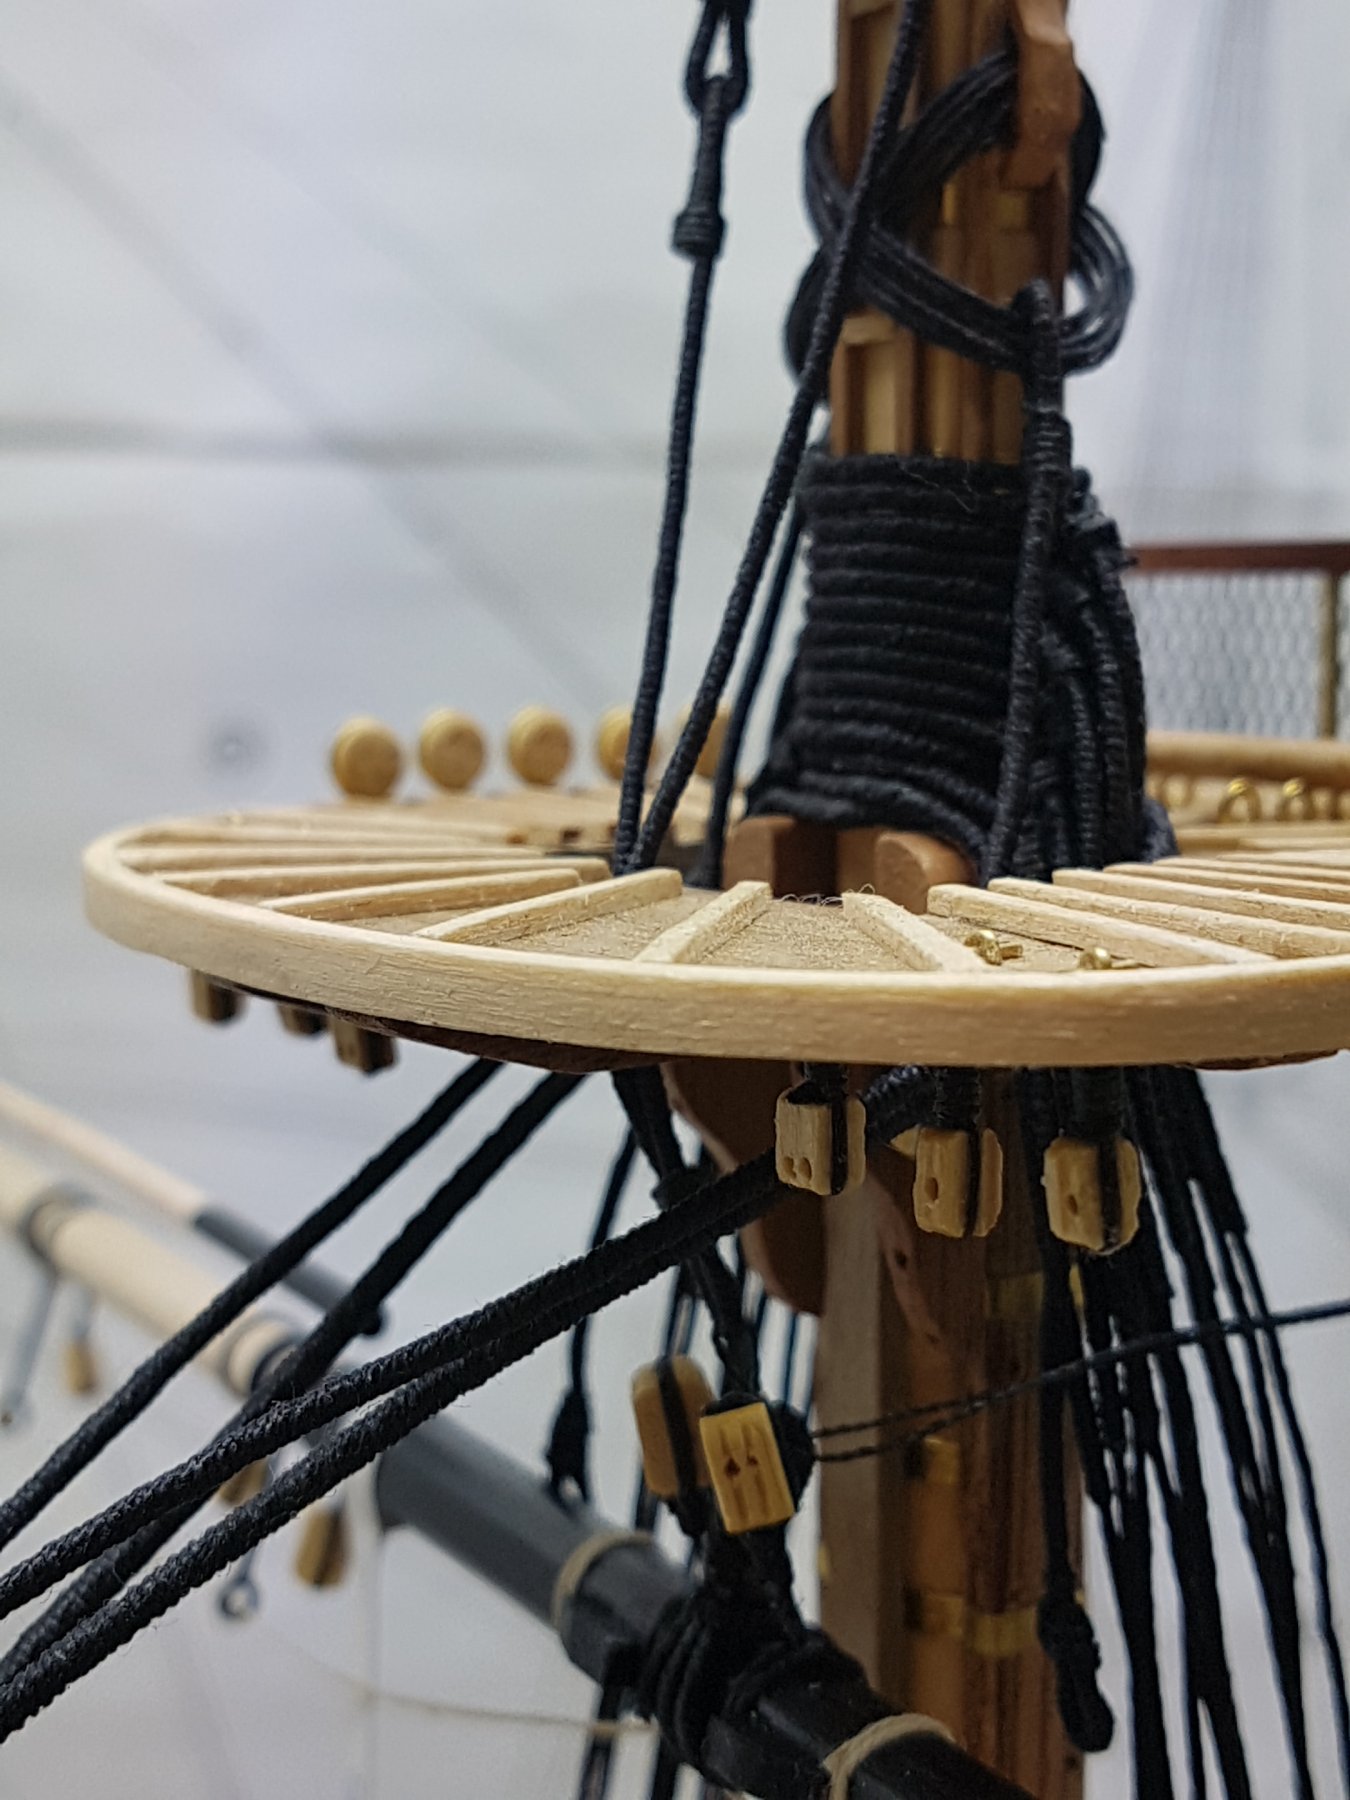
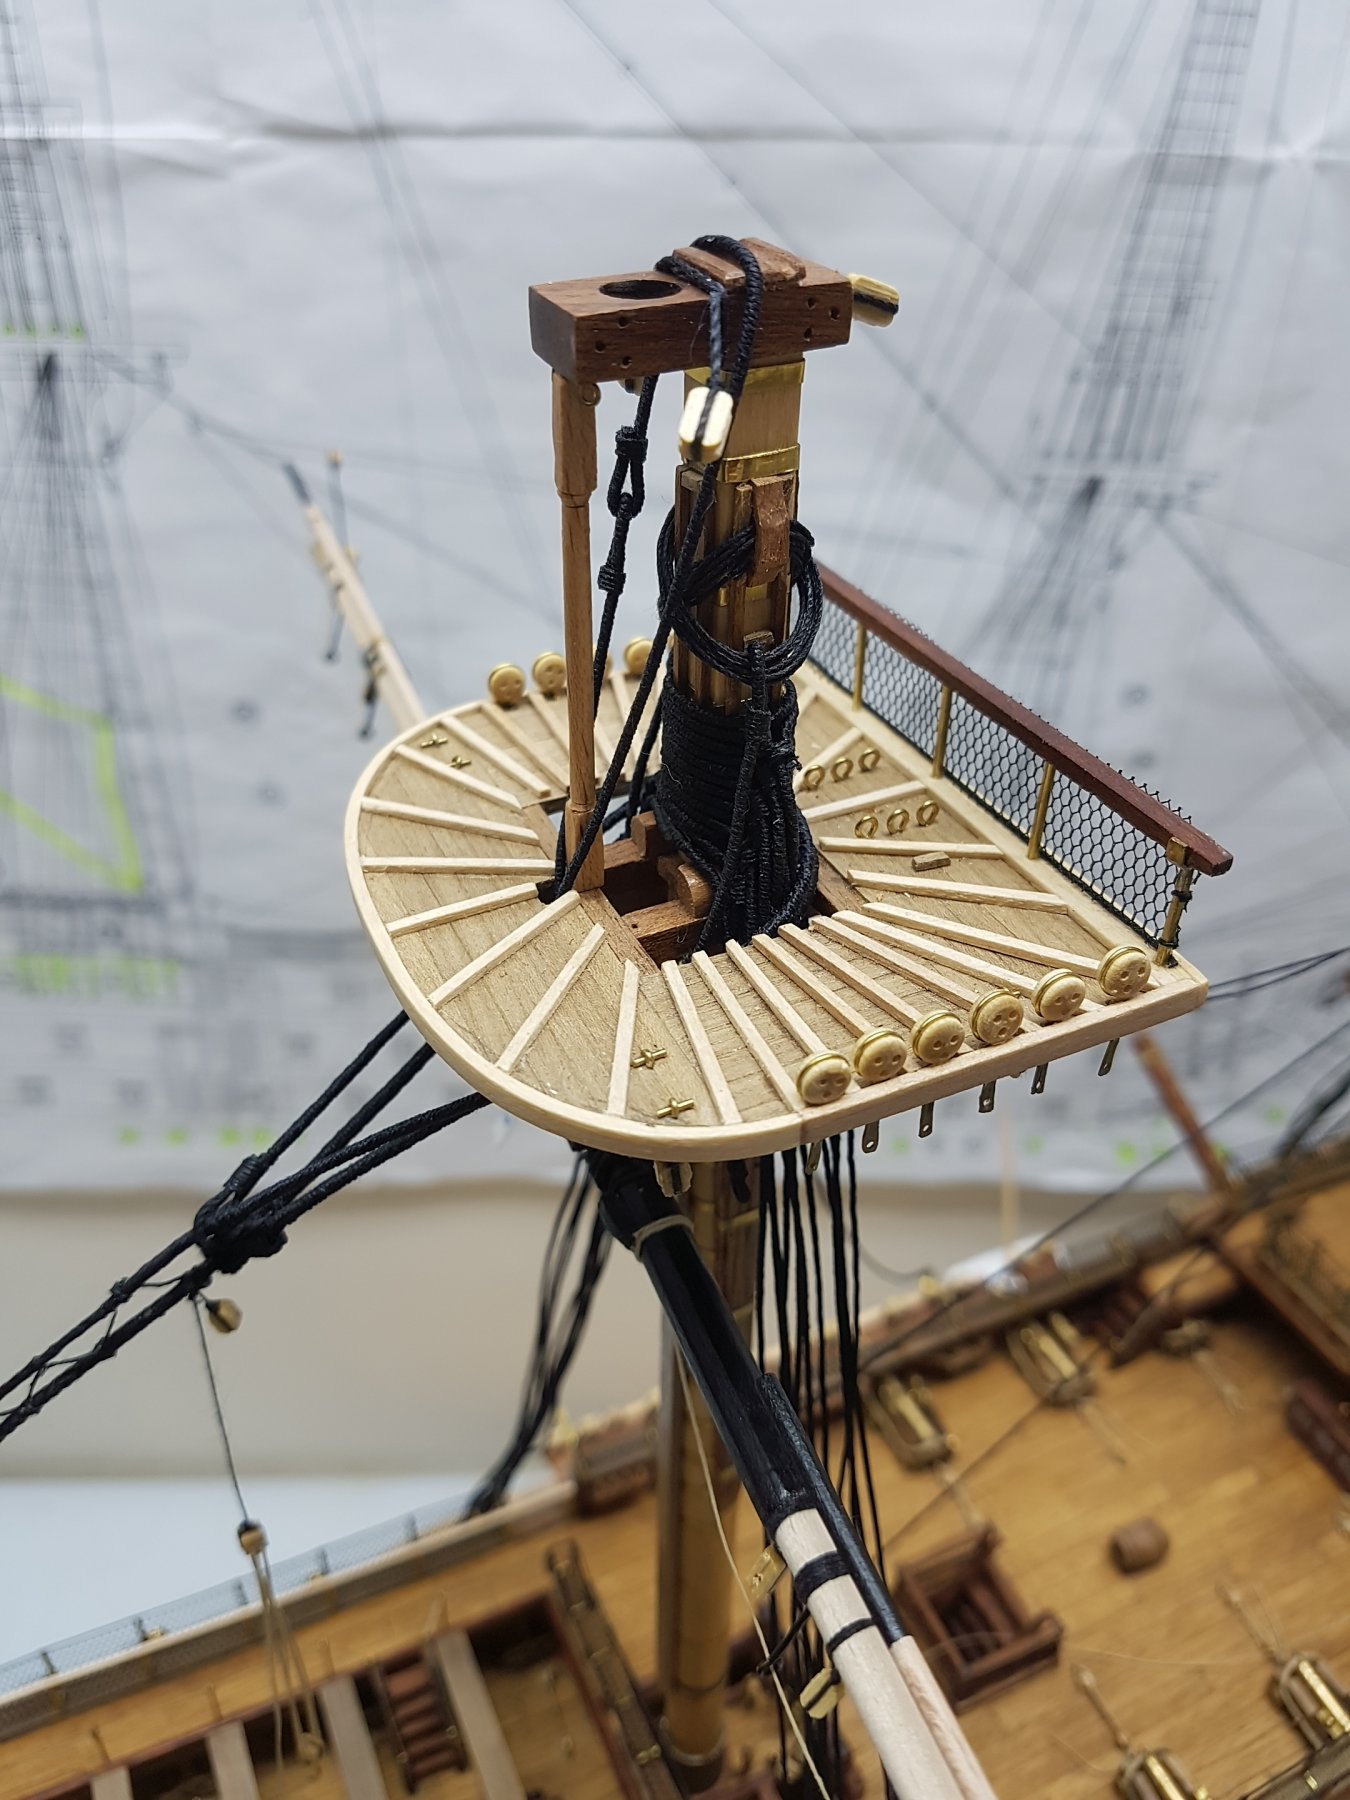
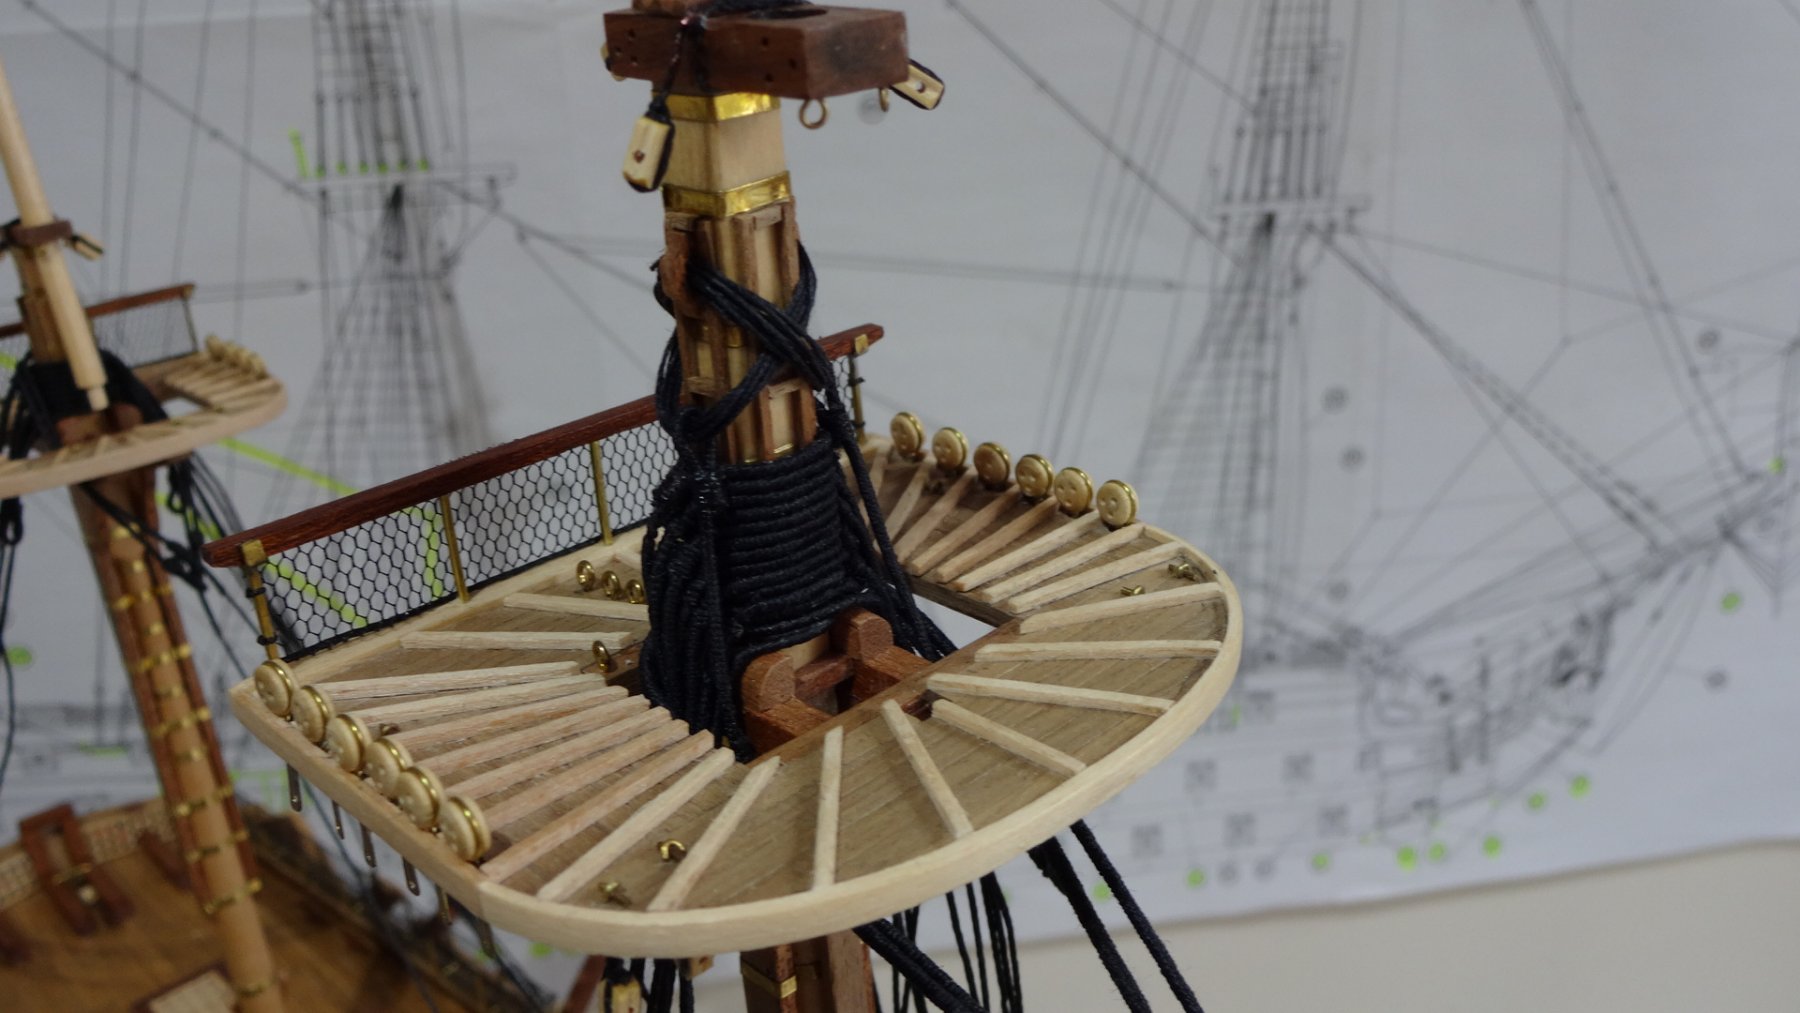
Winter arriving in the UK and building re-starts. I have started adding many additional details from the books that I have at my disposal before the ratlines are fitted and a lot of access is lost. Despite the kit being basic in its approach to many areas, there is a lot that can be added depending on where we as builders are prepaired to take it.Main Jeers and main slings added on the main mast.

- CaptainSteve, Charter33, leginseel and 3 others
-
6
-
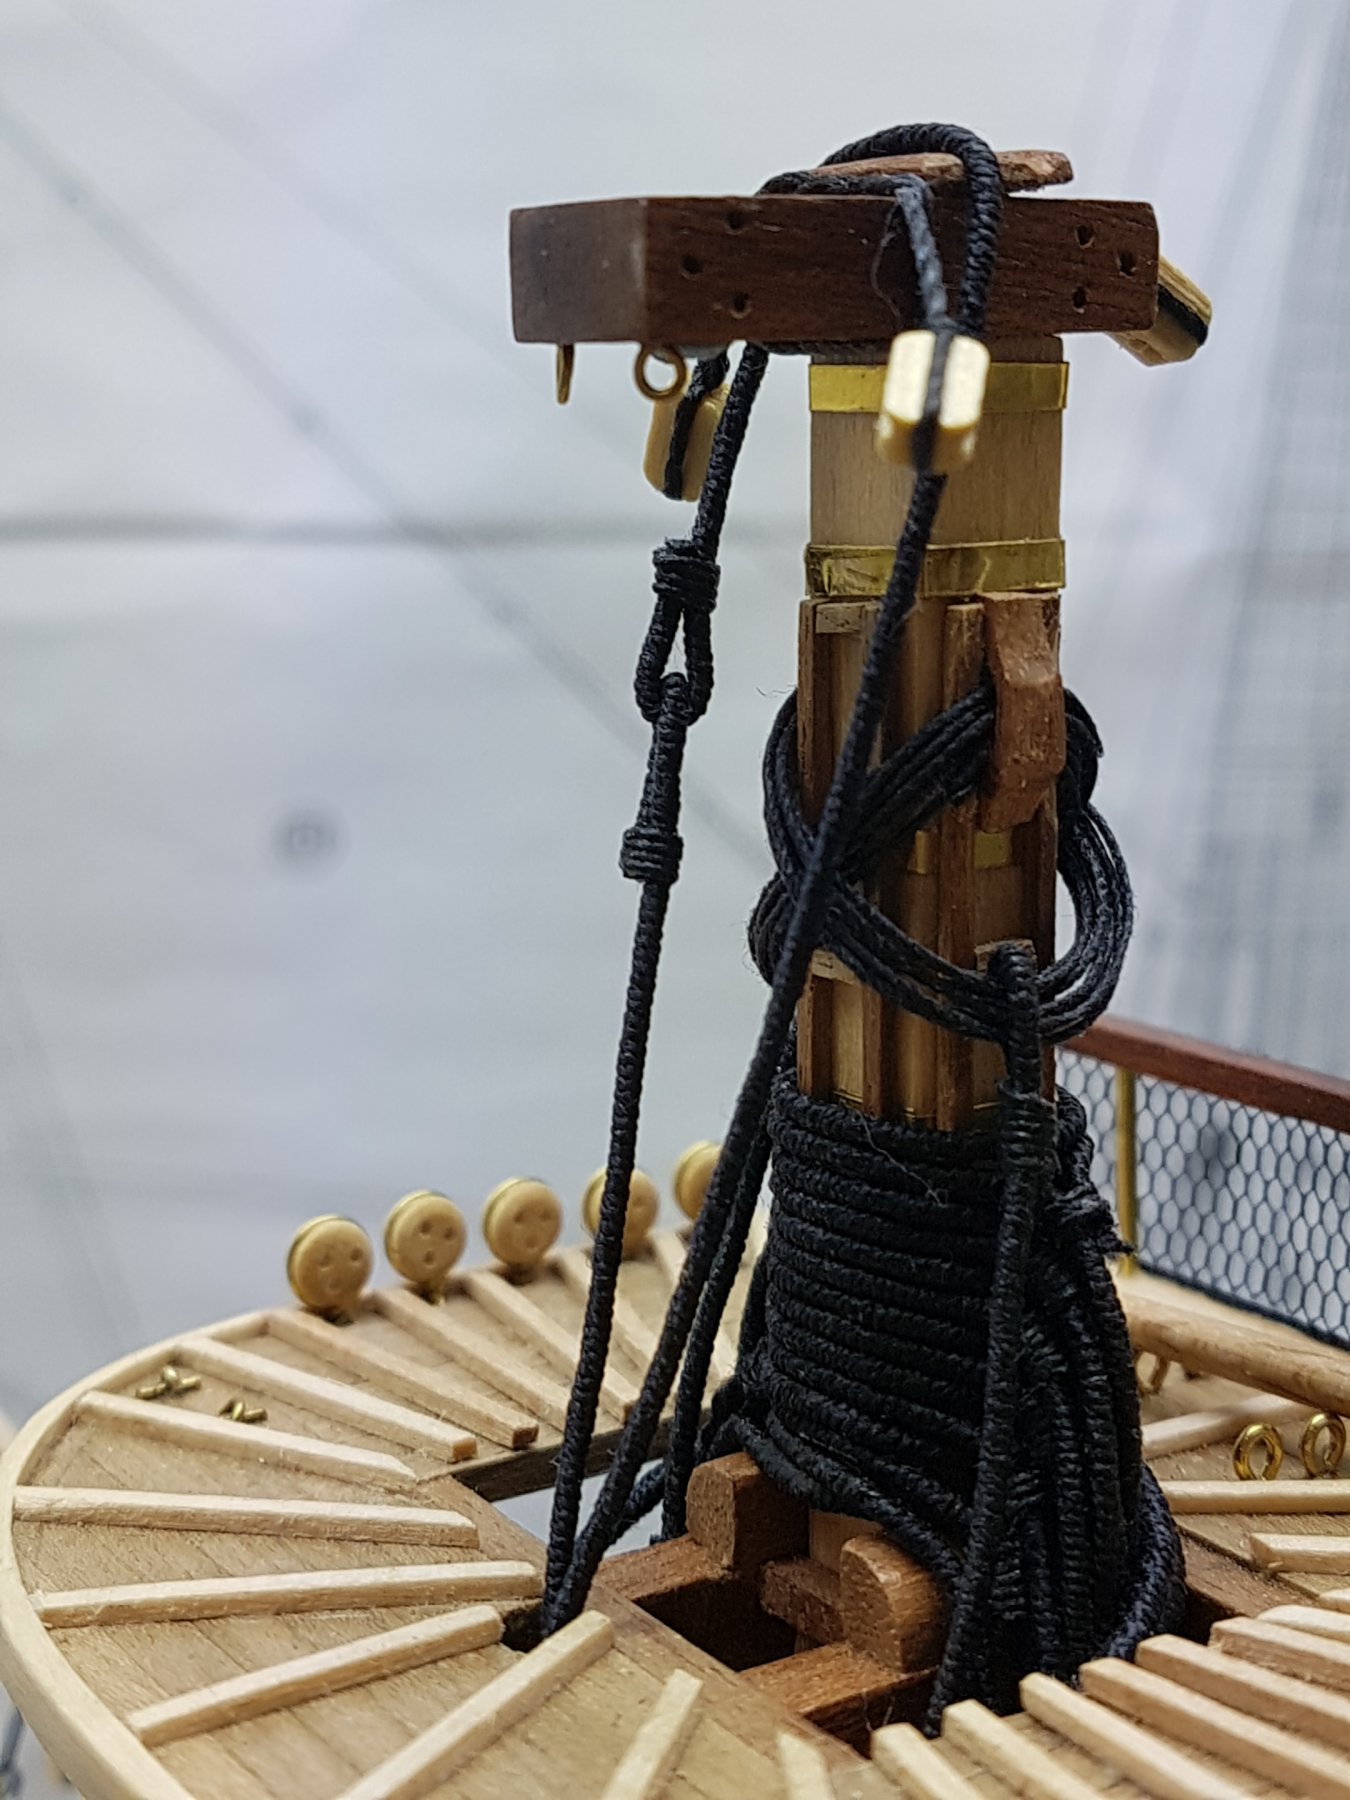
I'm still going, putting the many blocks and fittings on the mast, lower ratlines are ready but I will leave them as late as possible before fittings go on to keep access to the mast bases. lots of work but little to show and trying to rig her as she really was is very time consuming and tricky at this scale

- CaptainSteve and leginseel
-
2
-

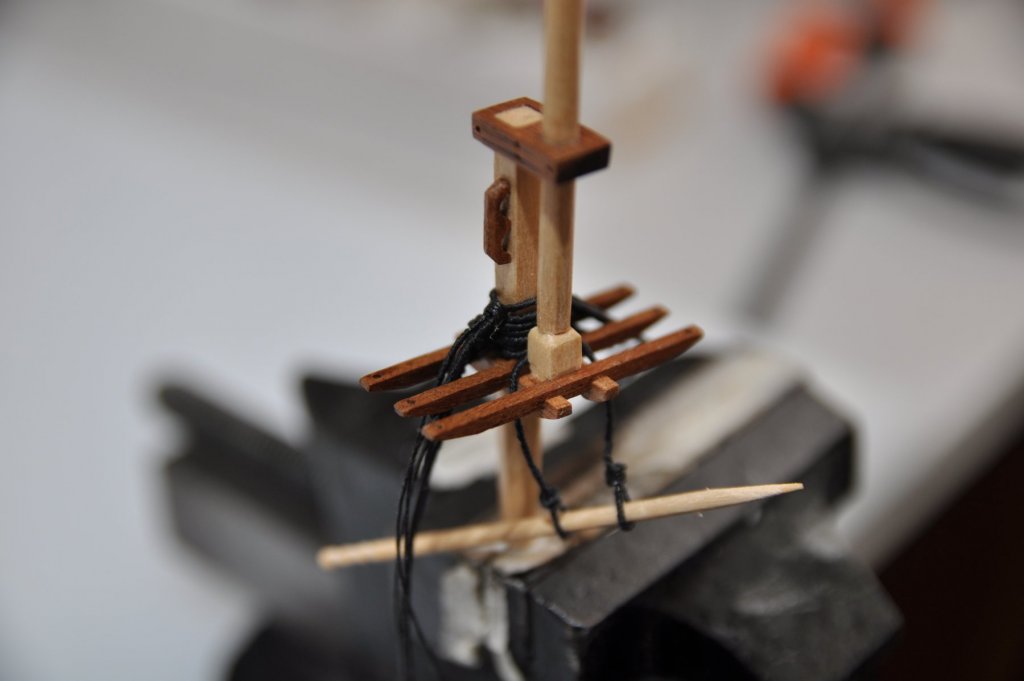
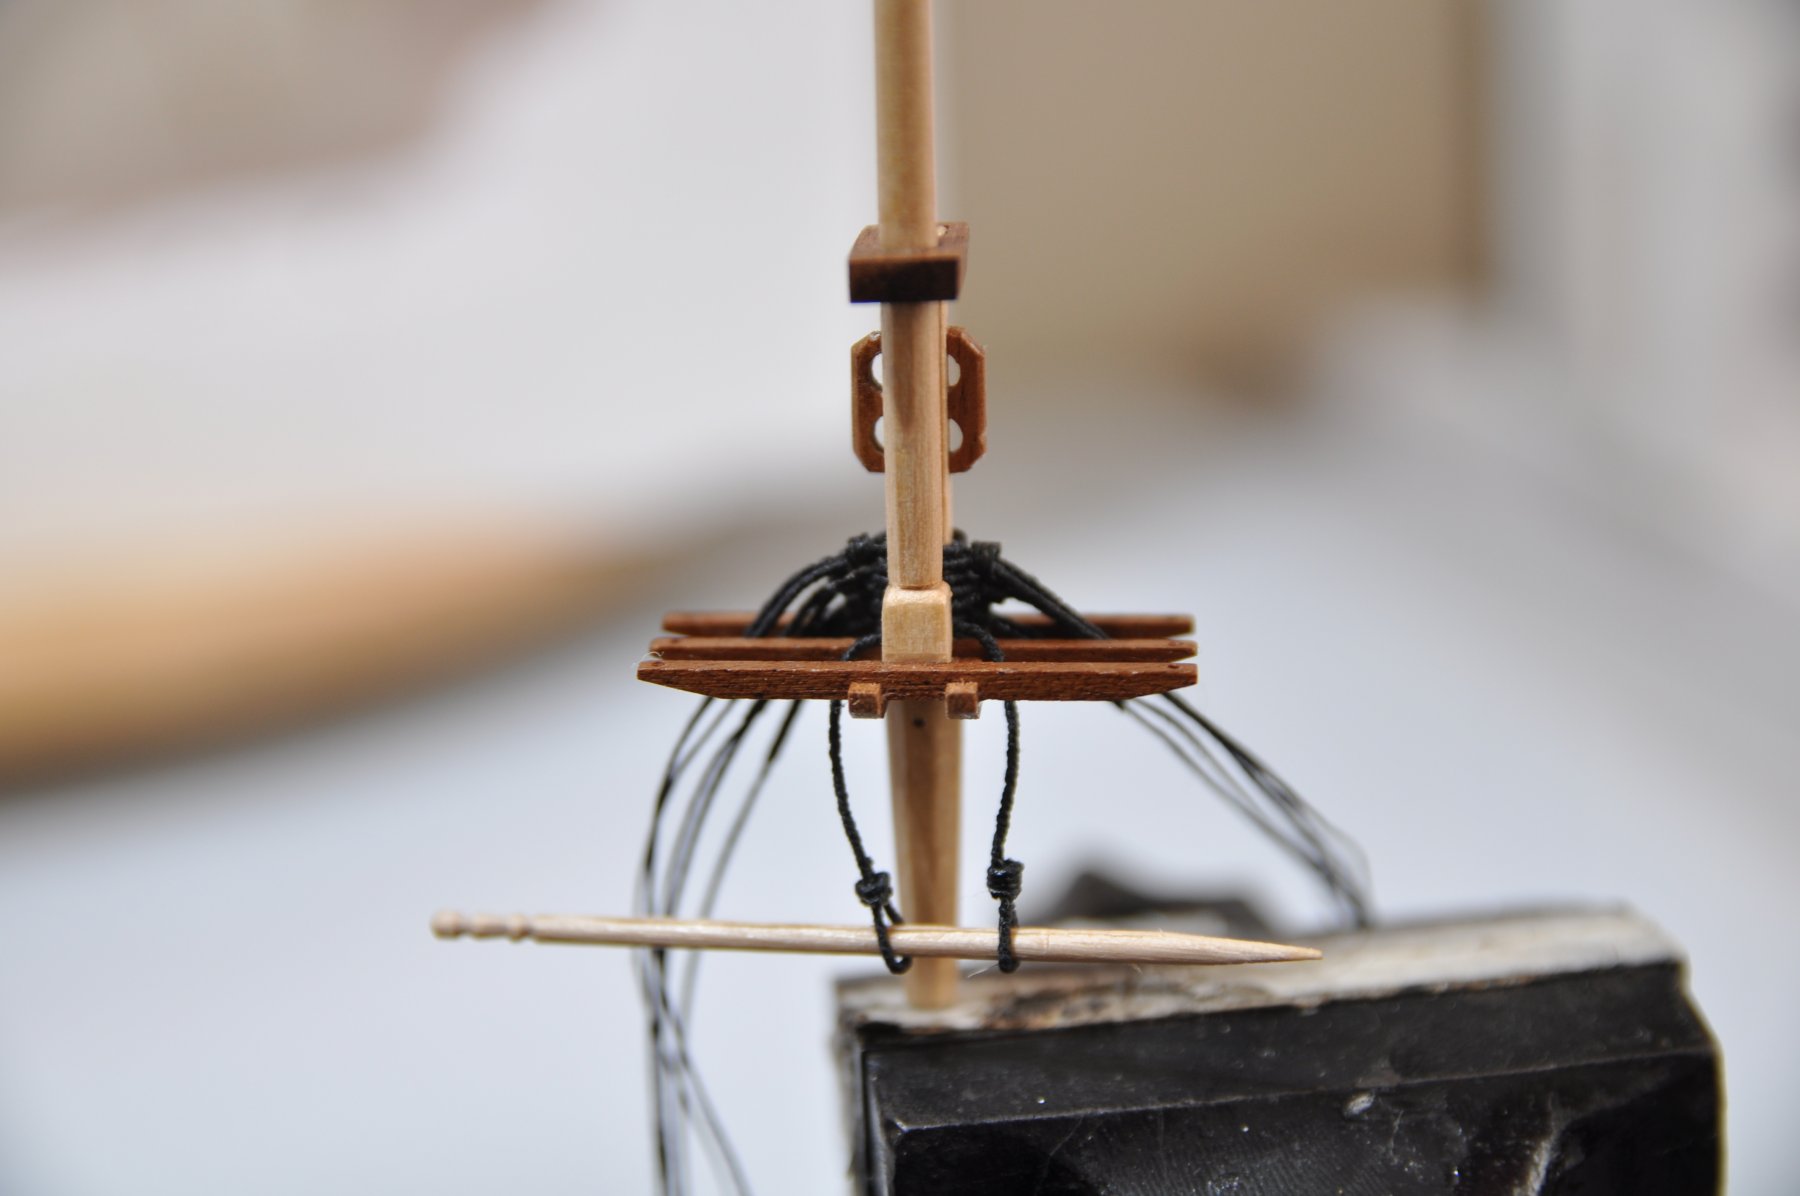
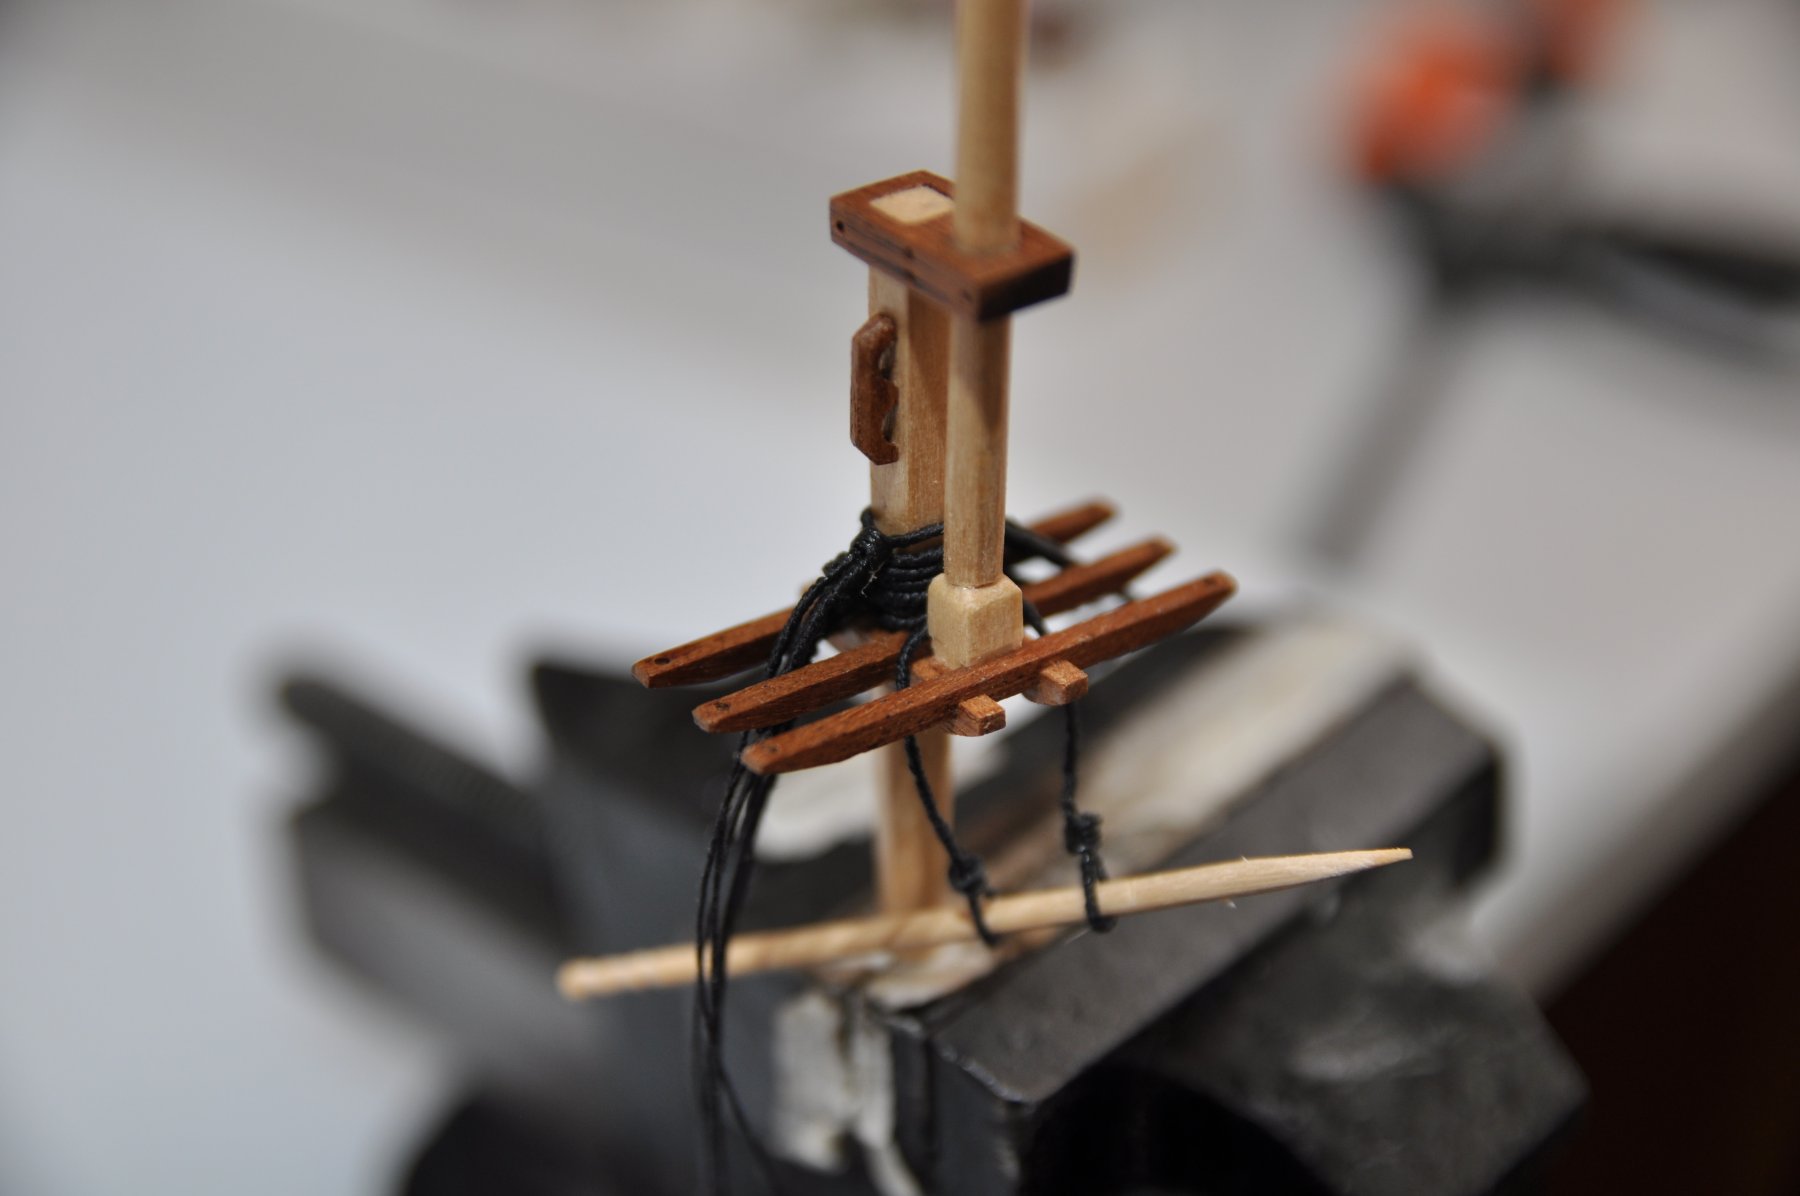
I have done just the main mast upper shrouds, reading other forums this was recommended to be carried out on the bench, this make life mush easier. I actually made them the same thickness as the main shrouds as the kit states but I felt them to be to thick and after further research found that the uppers are actually thinner ropes. Yep after all the work I had to strip them and start again.
- leginseel and CaptainSteve
-
2
-
On 7/9/2017 at 5:04 PM, Paul0367 said:
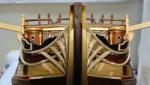
Still going slow but adding in extra detail of the tackle used to assist the boat removal, boats which the kit has decided were not important enough to fit.... Does any one know where I can get boats of the scale of 1.92 for this kit, Or am I to make my own
-
That makes good sense, I wasn't sure if I could build a ship so the Caldercraft one would have been a bit expensive to find the hobby wasn't for me. I never took in account the scale issues on a mass scale. bad enough making a few.
-
Sort of expected that but really it's quite a crucial part to decide not to supply with a model ship. ok I got two which swing from the davits. My guess is they assumed it only had the two because today they are not in situe on the vessel


HMS Victory by Paul0367 - Constructo - Scale 1:94 - First wooden ship build
in - Kit build logs for subjects built from 1751 - 1800
Posted · Edited by Paul0367
I have been tackling the rat lines on the upper mast as there are not really obstructive to my future progress, I have gone cream, I know they were tarred black back in the 18 century to prevent rotting but I prefer the look as she sits in dry dock today, I prefer the contrast of colour. There is also the option of painting the lines to give a tarred look but I will see how I feel later in the build. I am still here after my 4th year but I’m in no rush to see the end, that said sails have taken so long to learn to make and be happy with not to mention I have to research the installing / lines.