
Paul0367
-
Posts
504 -
Joined
-
Last visited
Content Type
Profiles
Forums
Gallery
Events
Posts posted by Paul0367
-
-
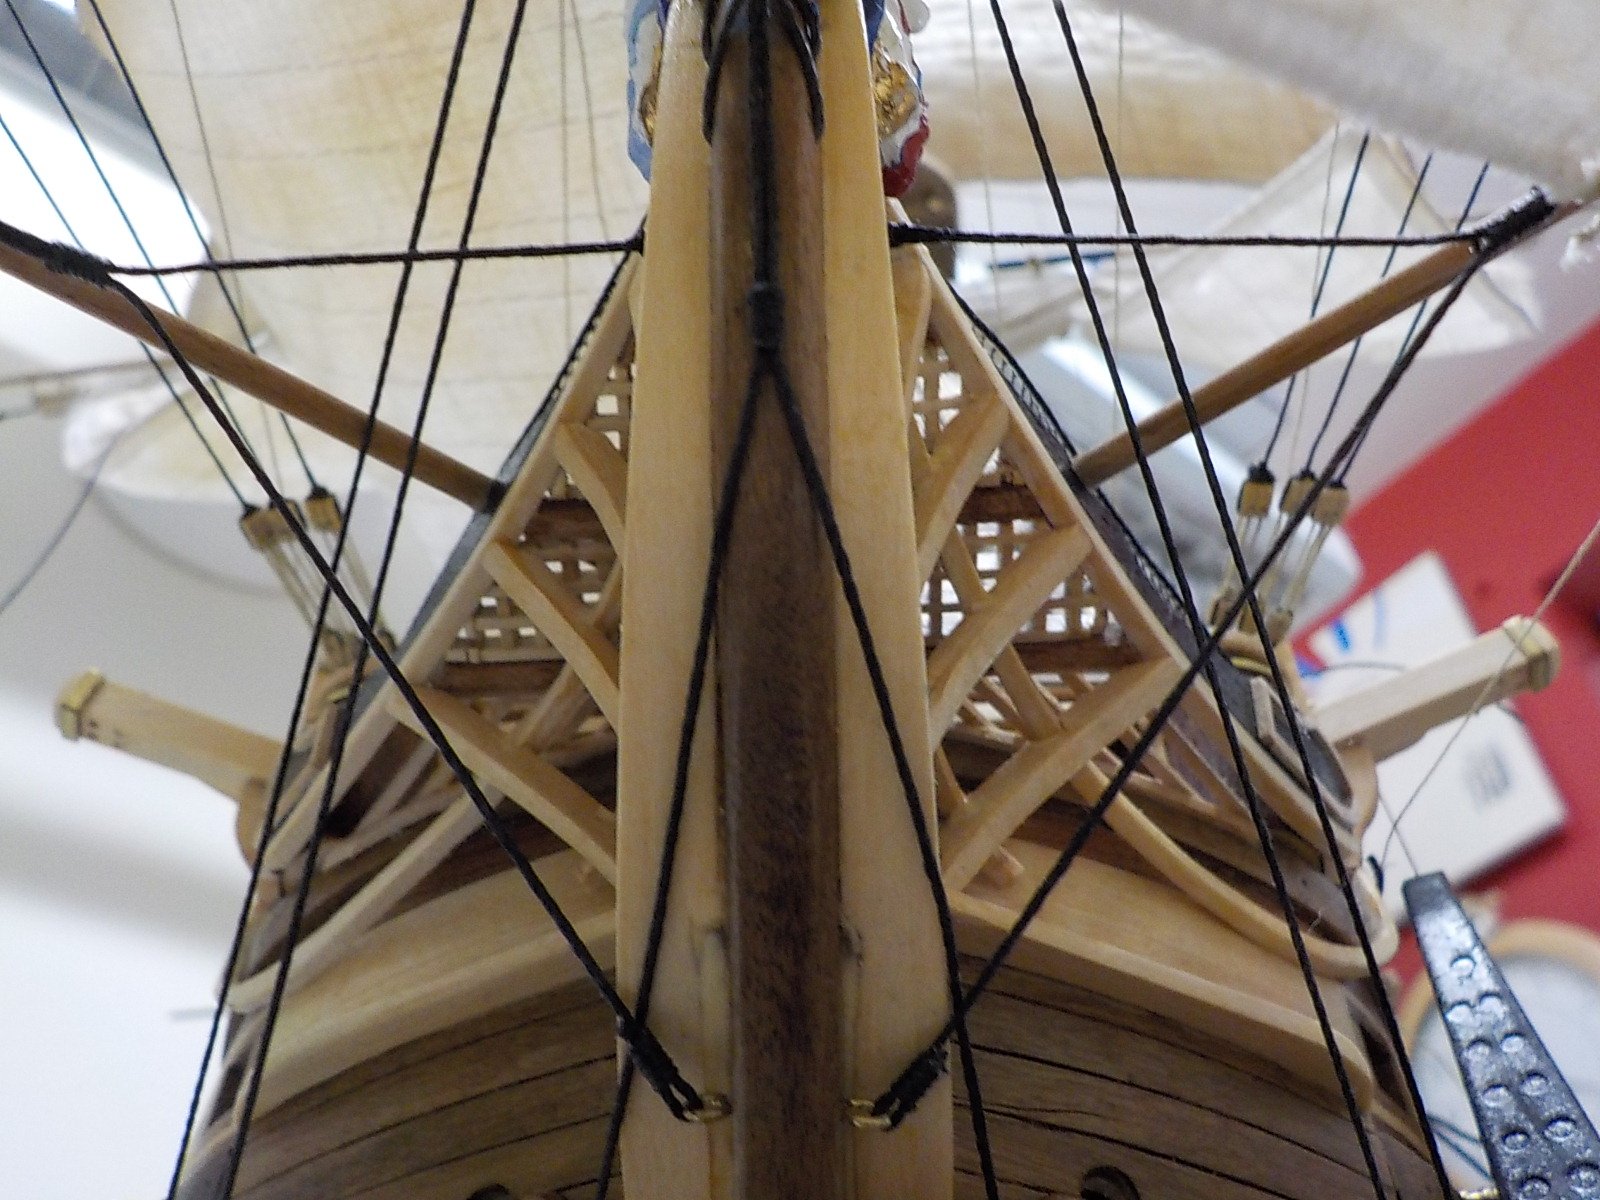
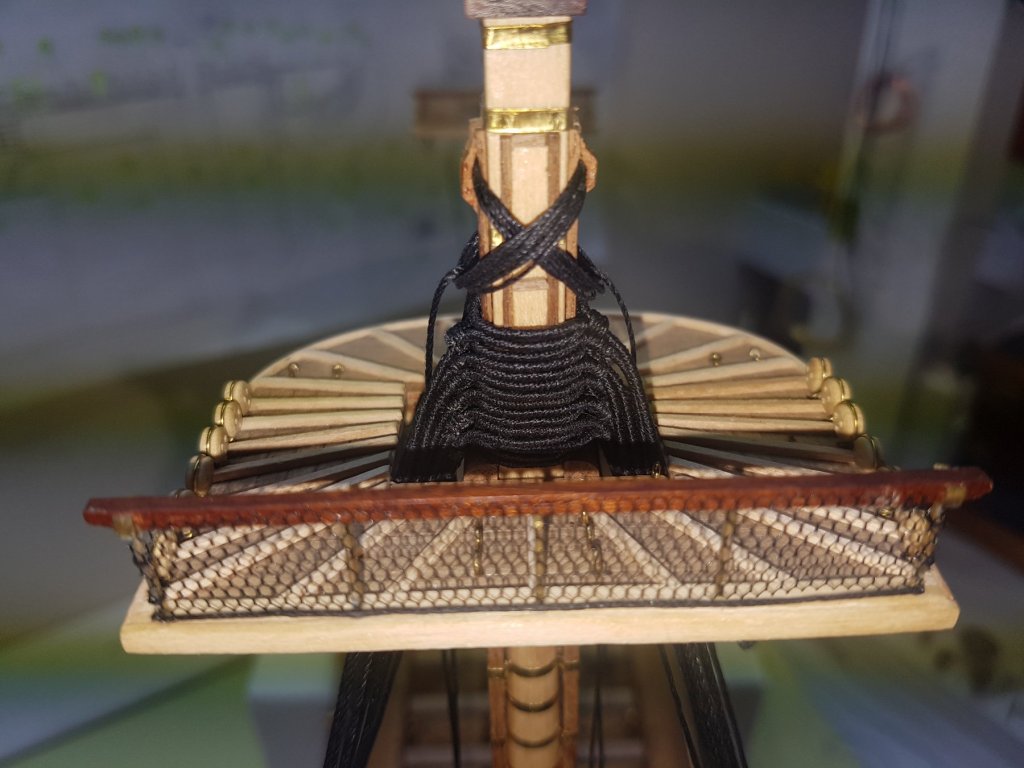
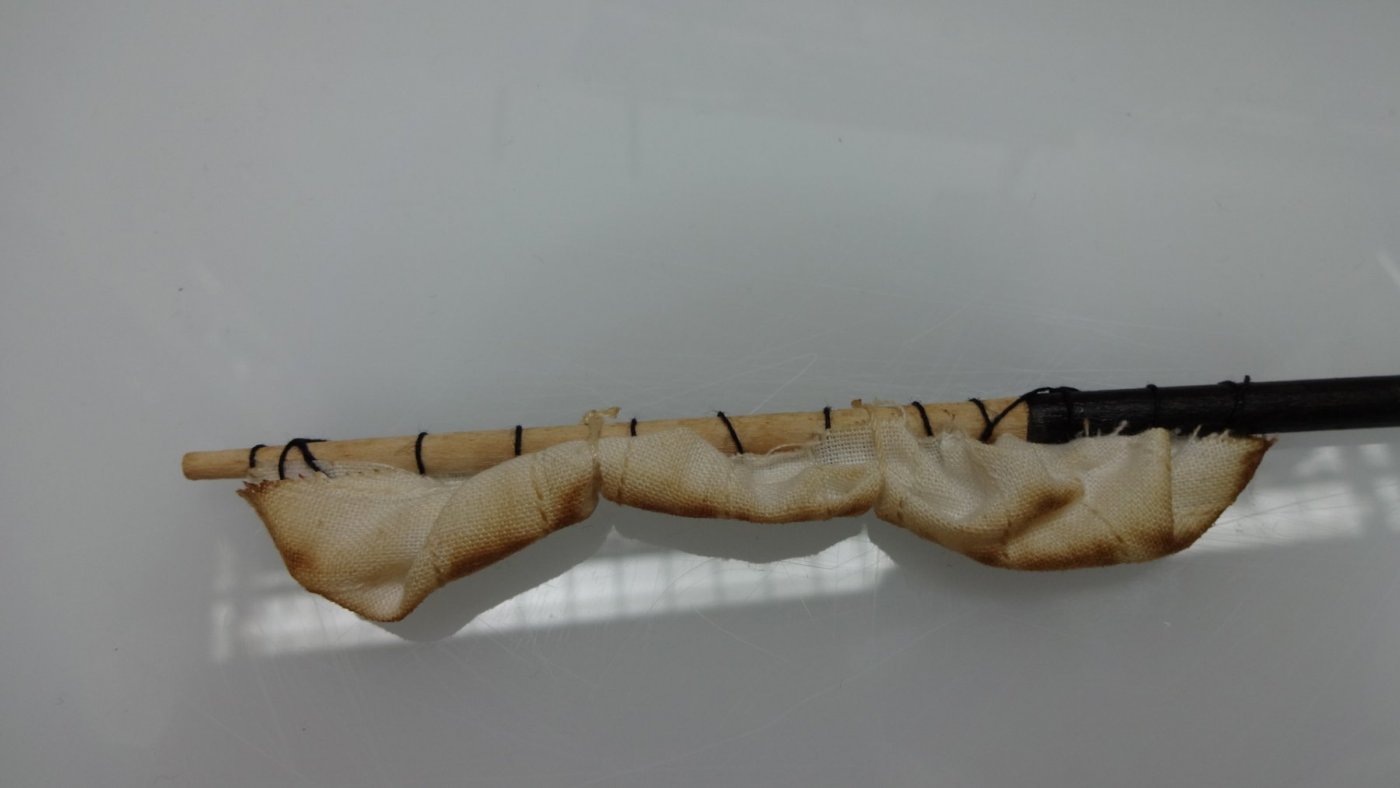
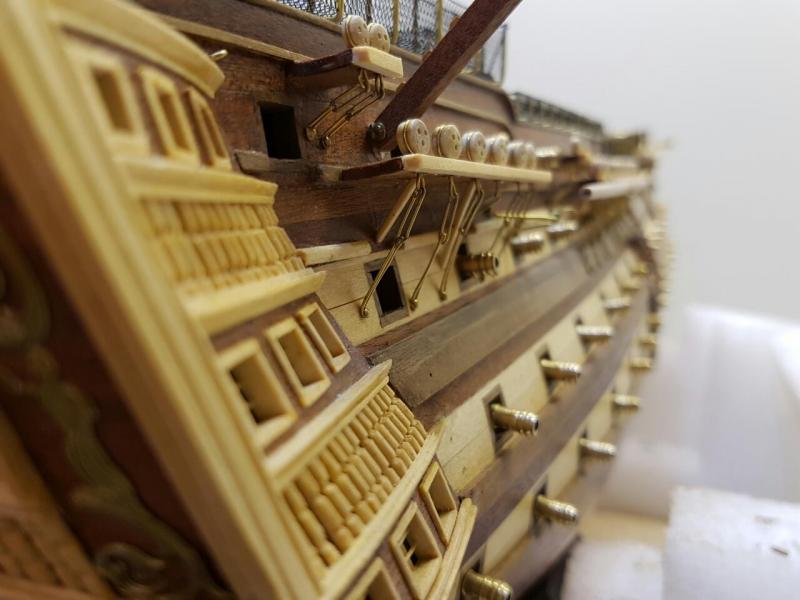
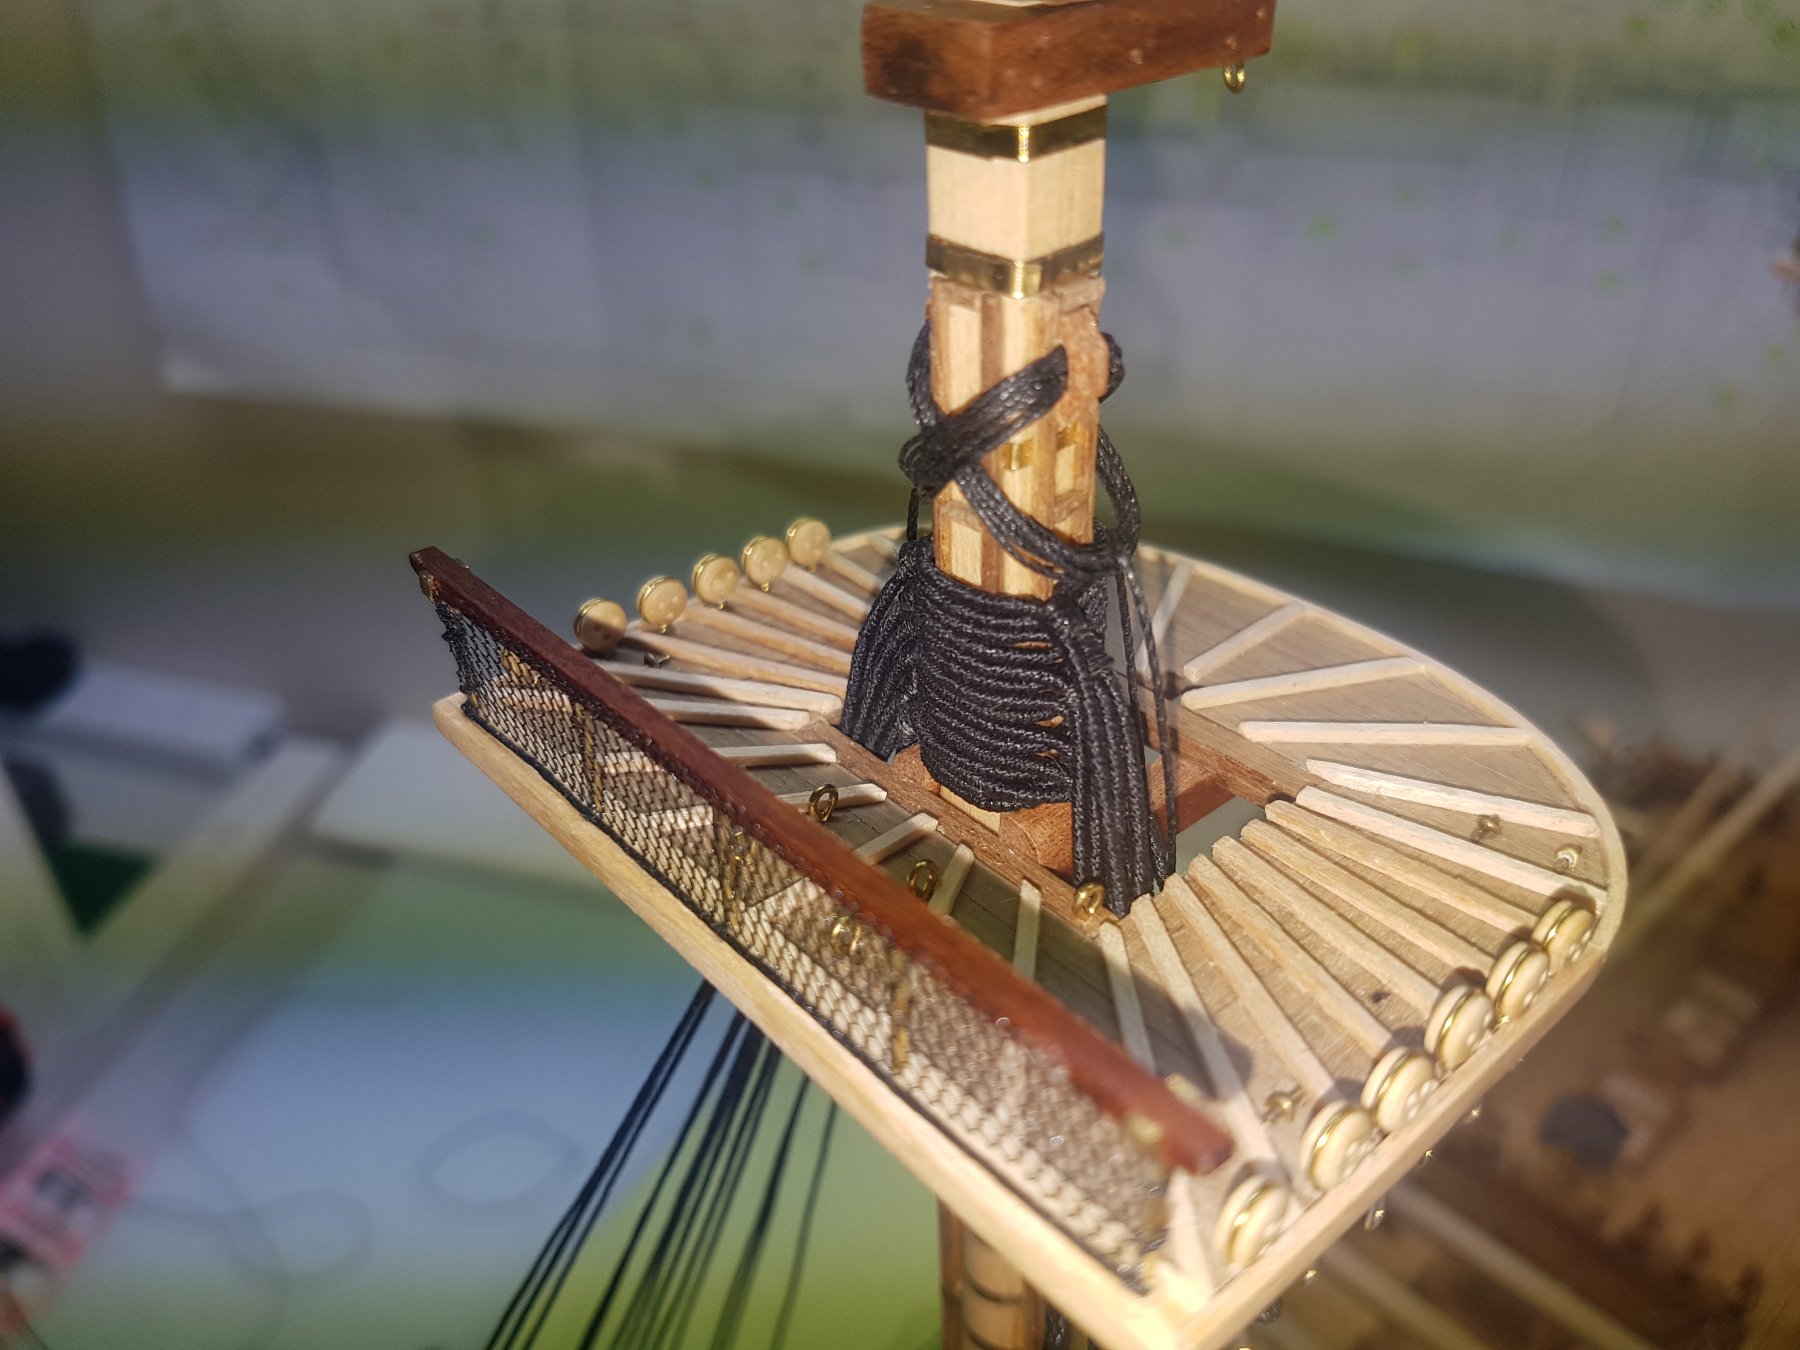
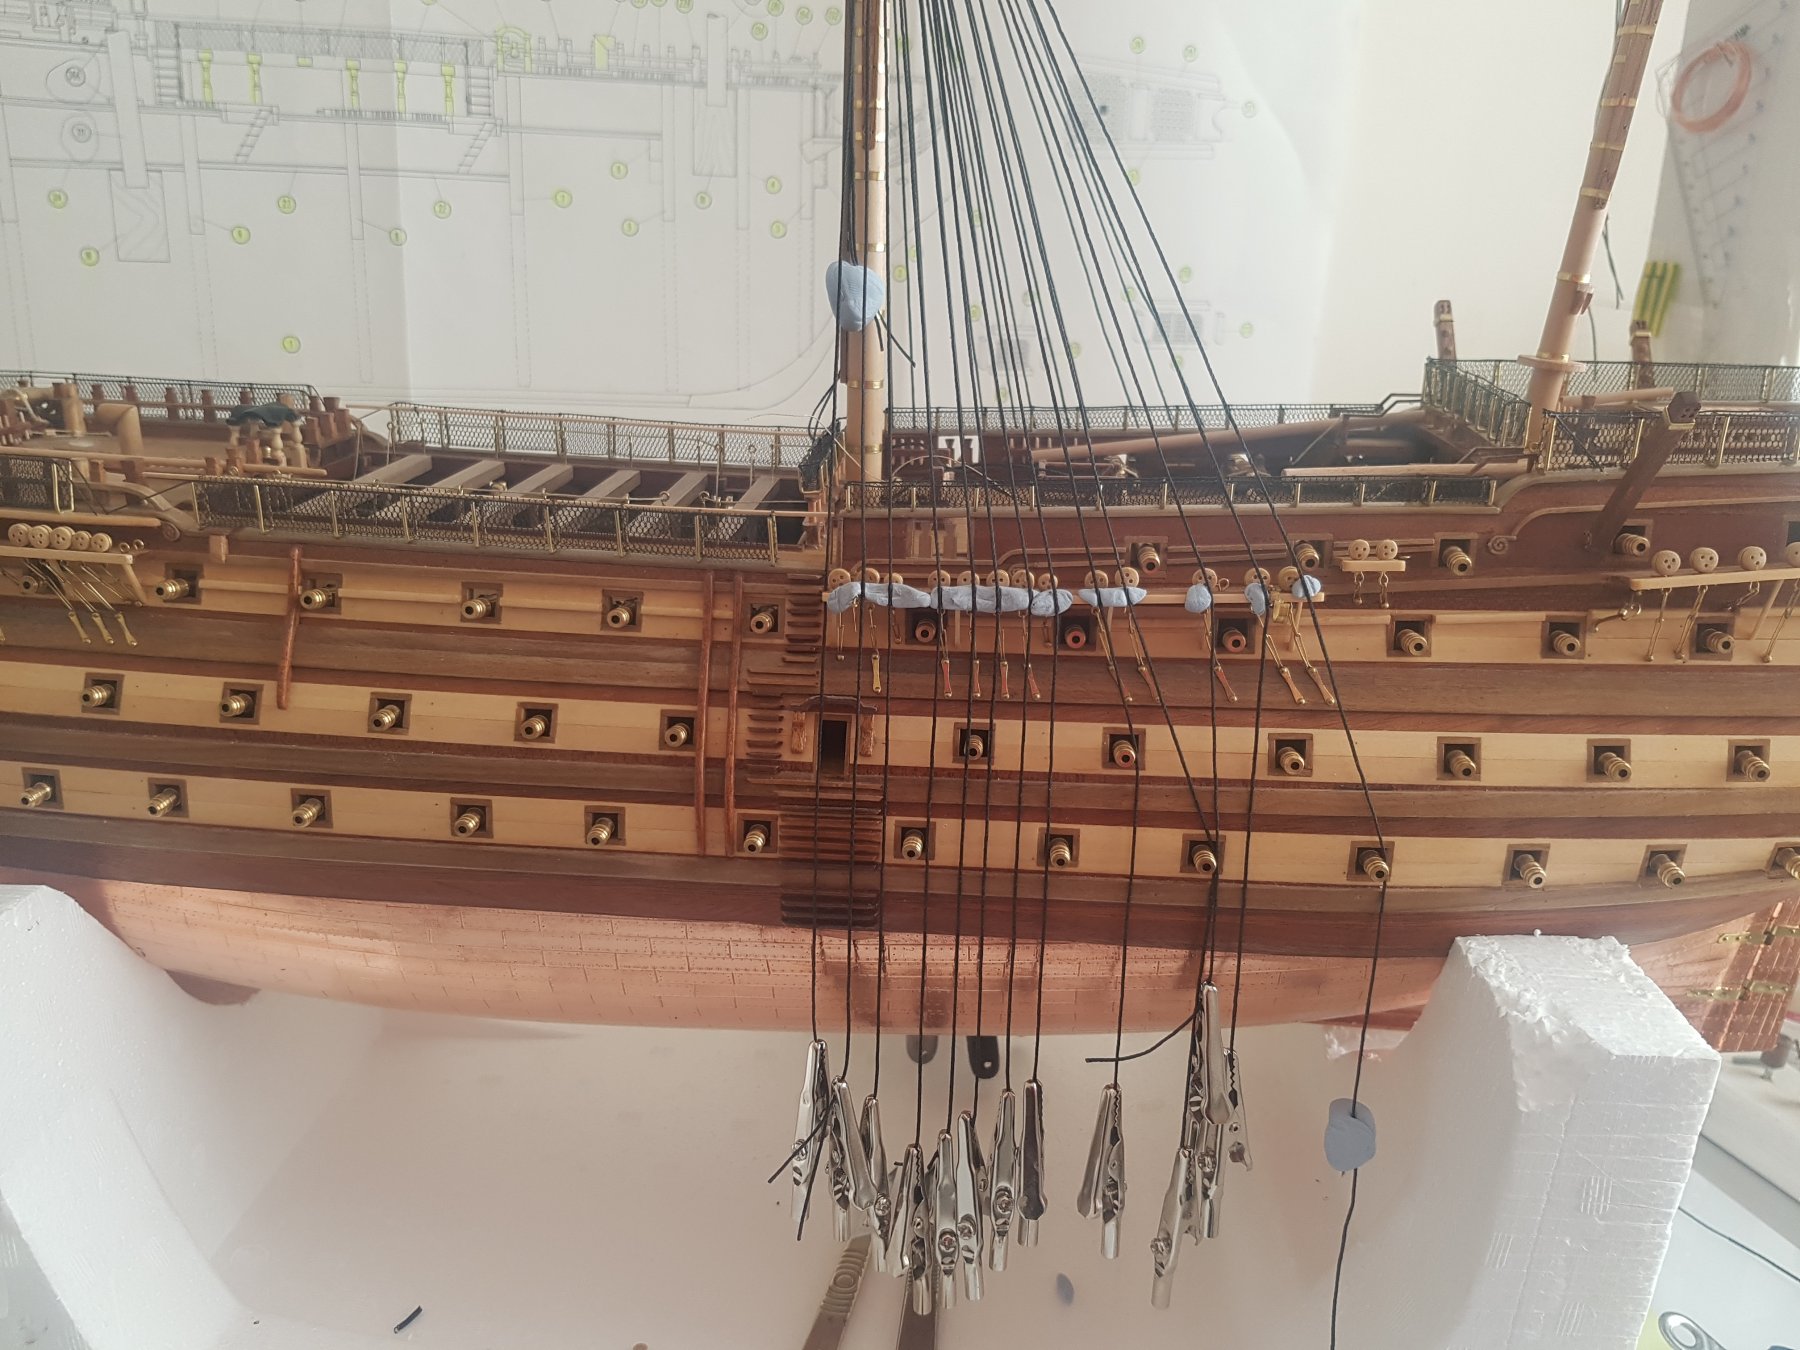
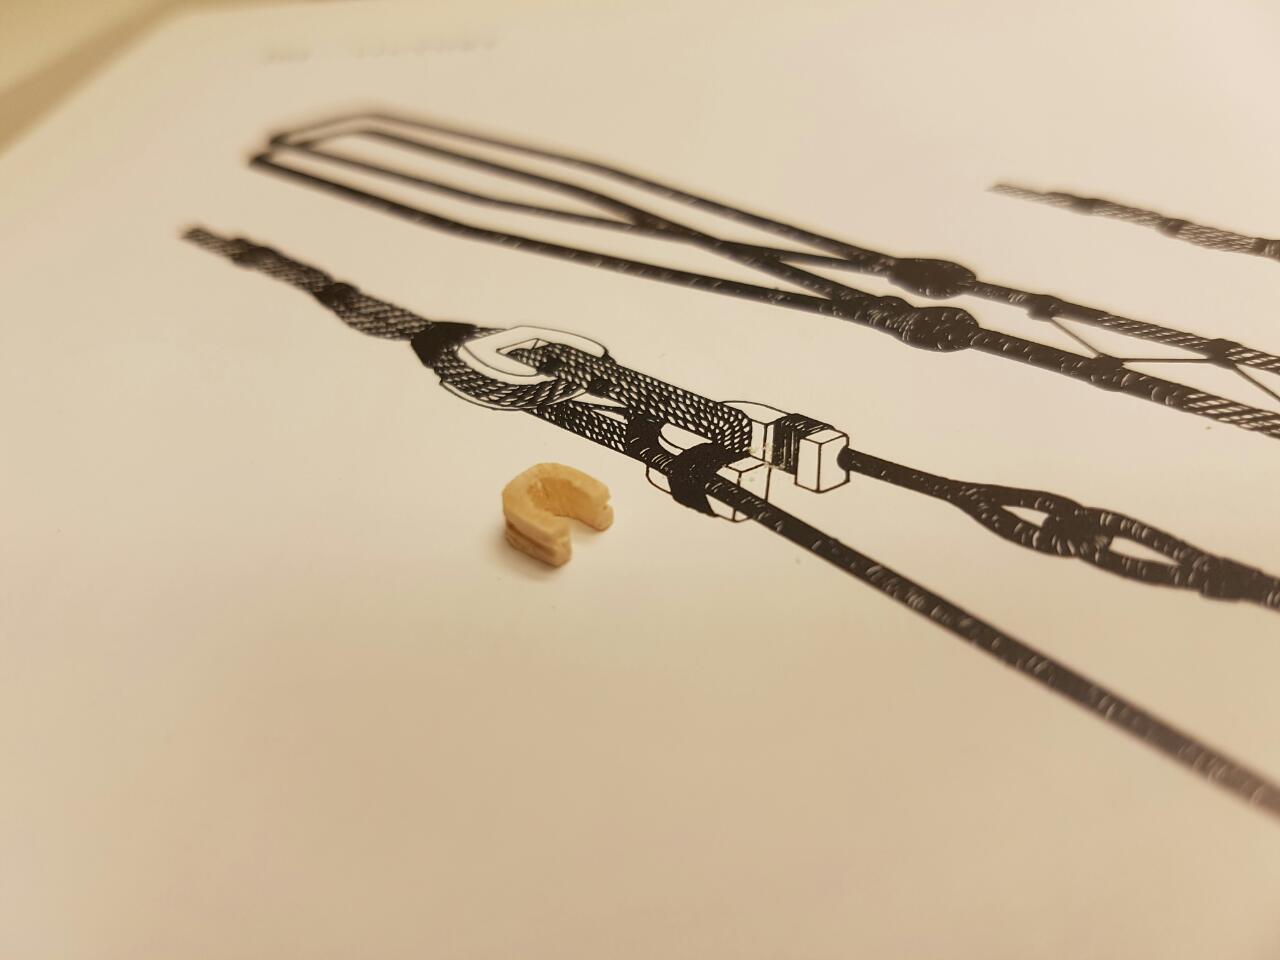
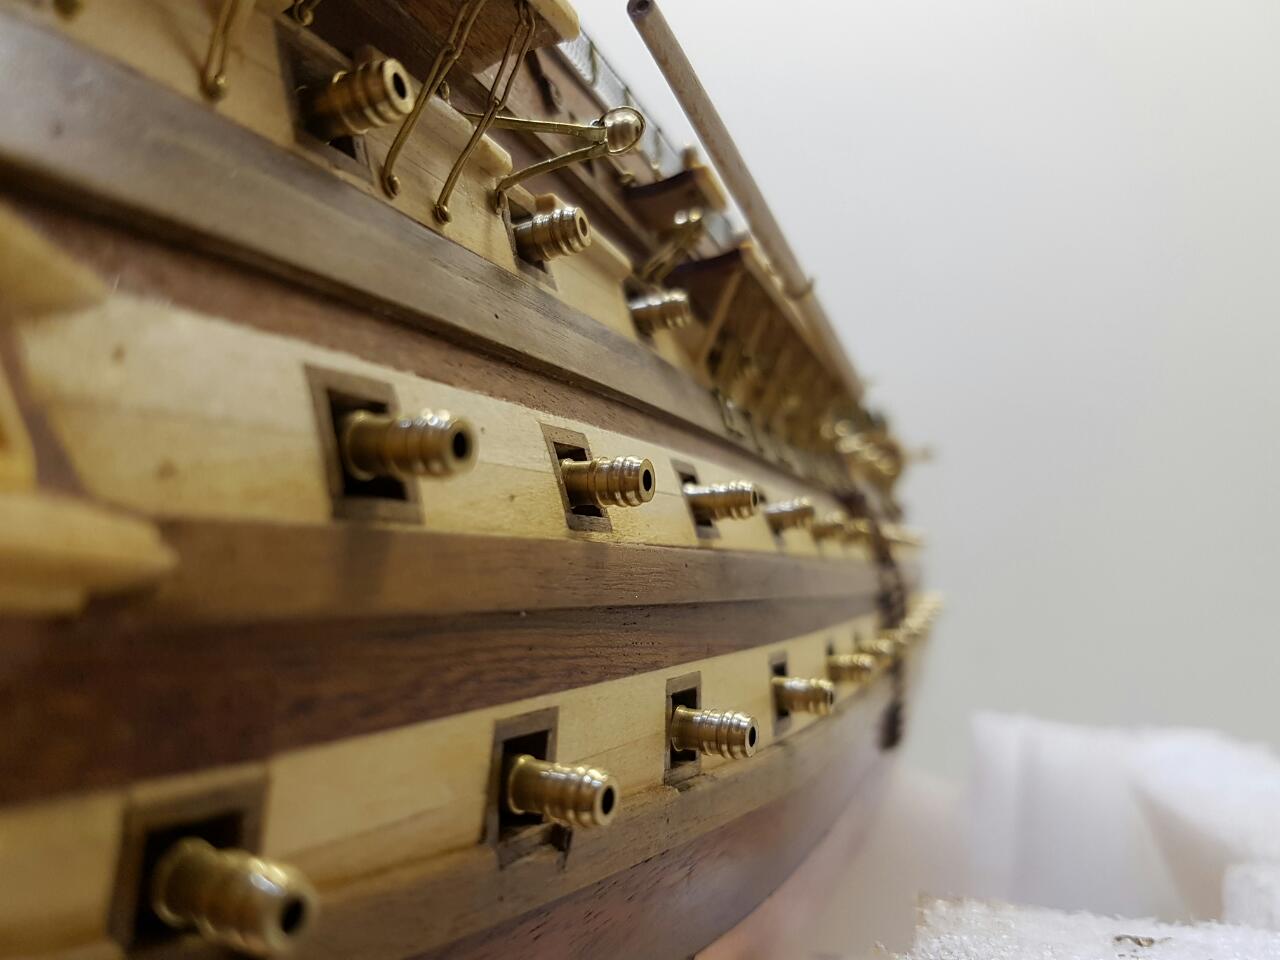
I have been trying to rig this ship, I say trying because it's quite a minefield when it's your first. I was getting ready to instal the standing rigging but this has to be done after the shrouds which has to be done after the running rigging parts to enable access to the belay pins. I have adopted Josh's method and fit the shrouds at the top but not onto the dead eyes. This enables me to fit the standing rigging over the shrouds and then move the shrouds to access the belay pins. I am trying to do her rigging as accurate as my scale allows, here is a few pictures of my seezed shrouds


- Philg88, CaptainSteve, leginseel and 2 others
-
 5
5
-
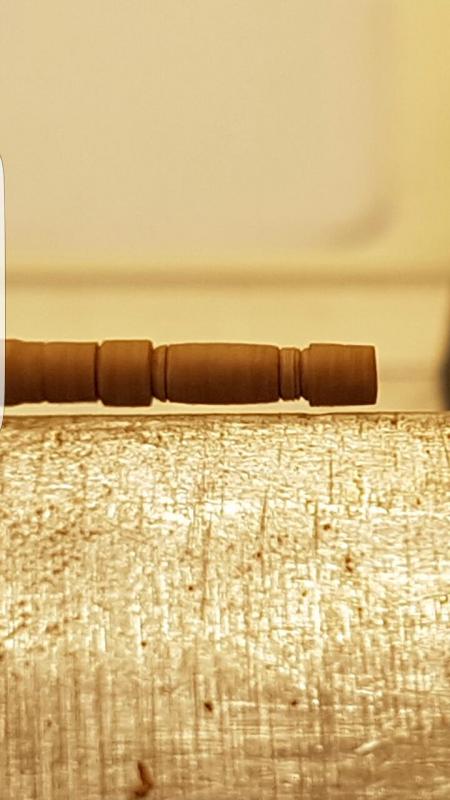
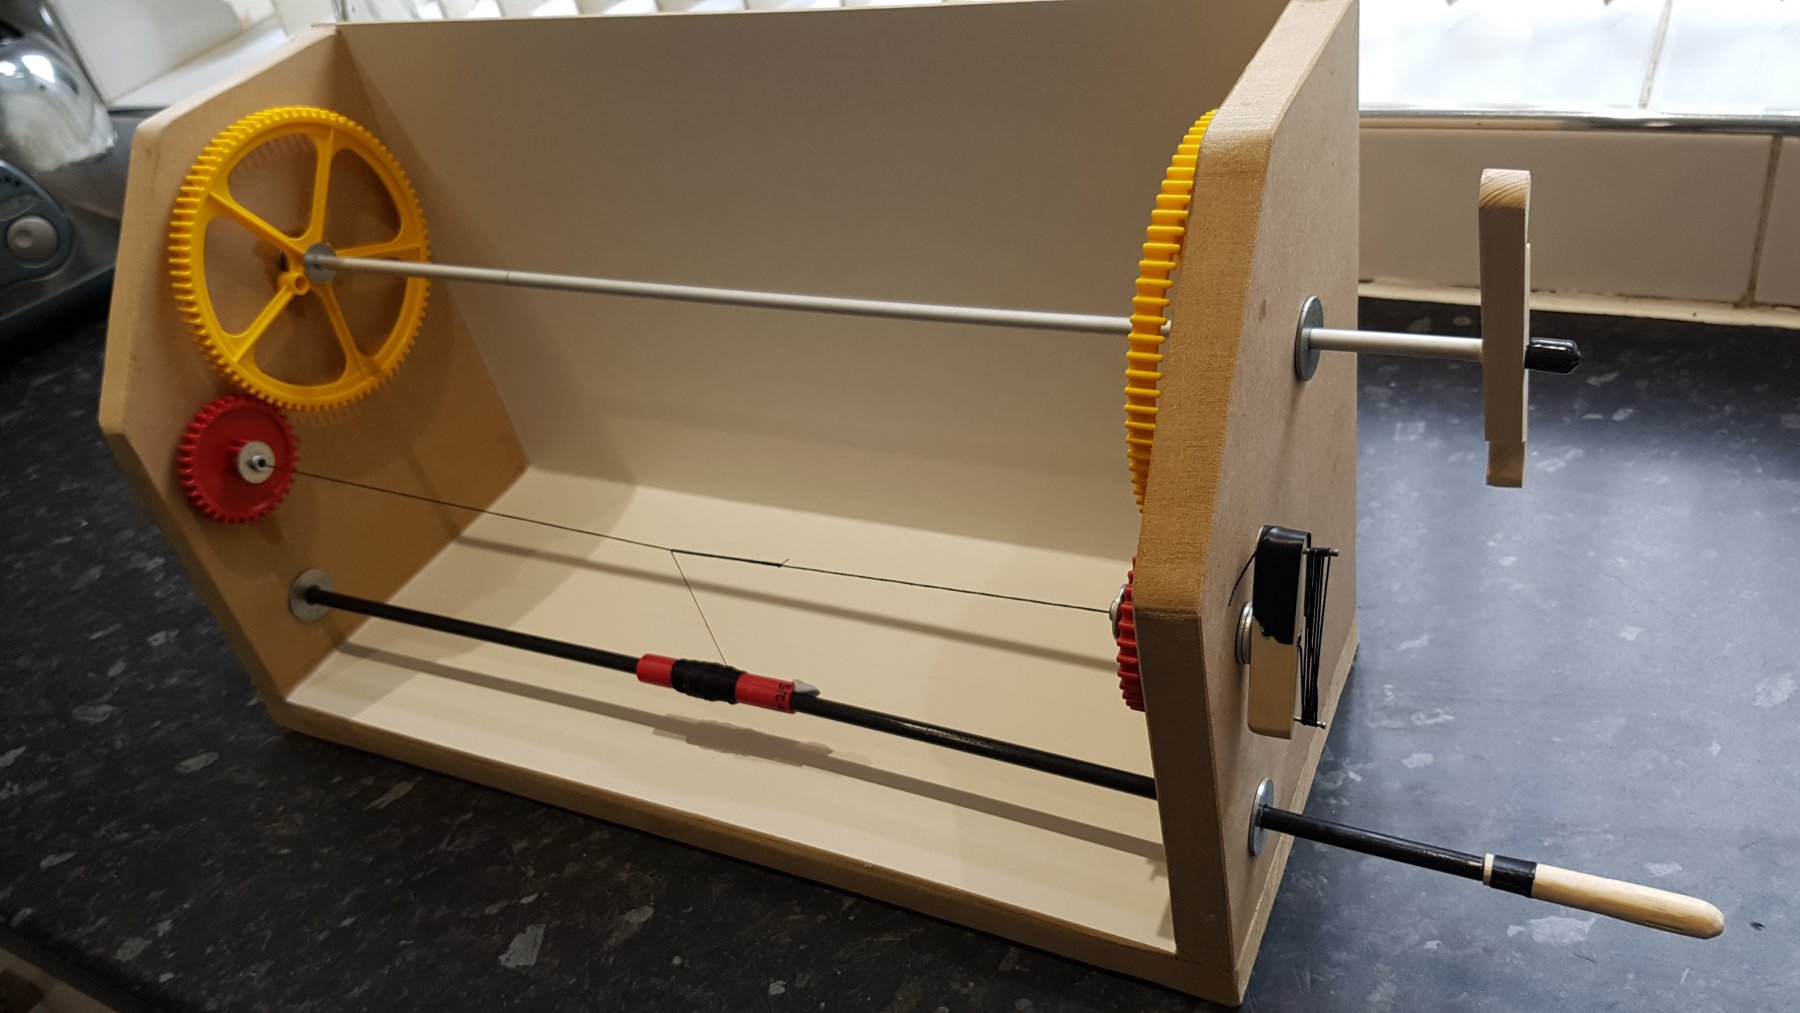
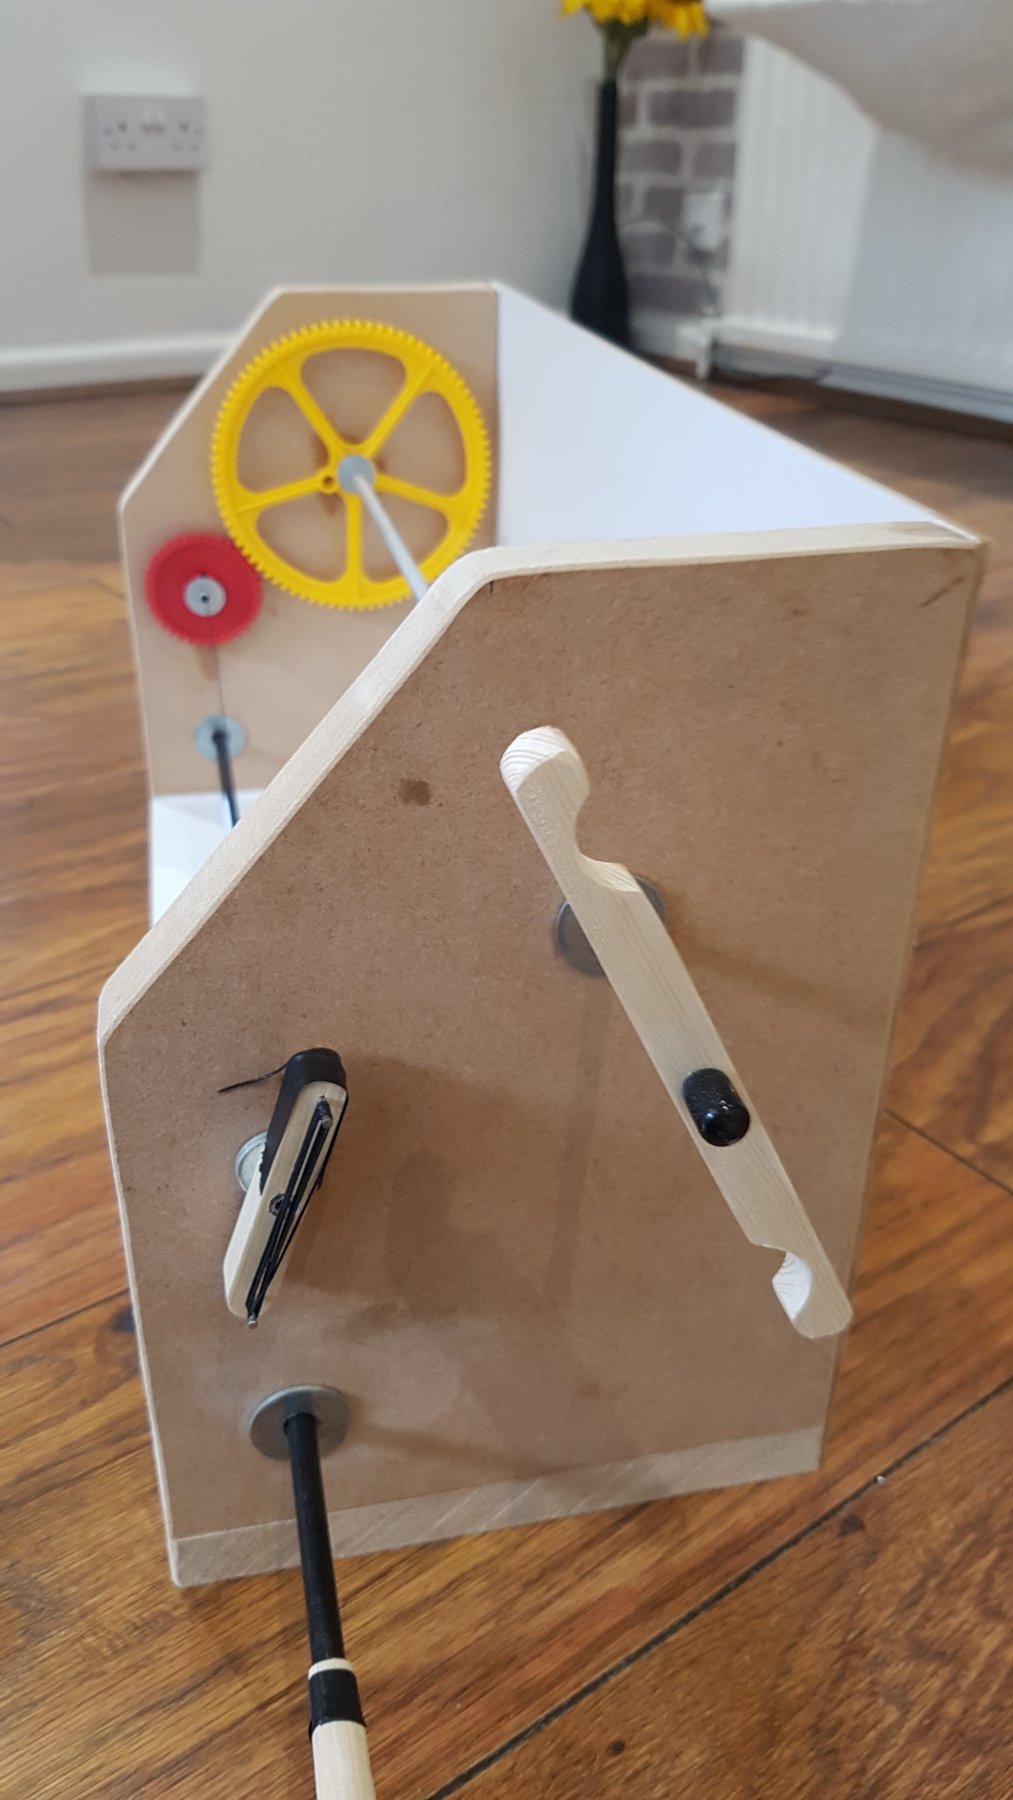
Well I am still here making slow progress on the rigging as I learn where and how to apply. I started seizing the shrouds but took hours to do just the one by hand. So I have just completed my DIY 2-1 ratio machine to help speed up the process, commercially available ones were rediculous in price for what it is and usually only 1-1 ratio. I am pleased as it worked very well. I don't need it motorised as its very fast and manageable as it is.


-
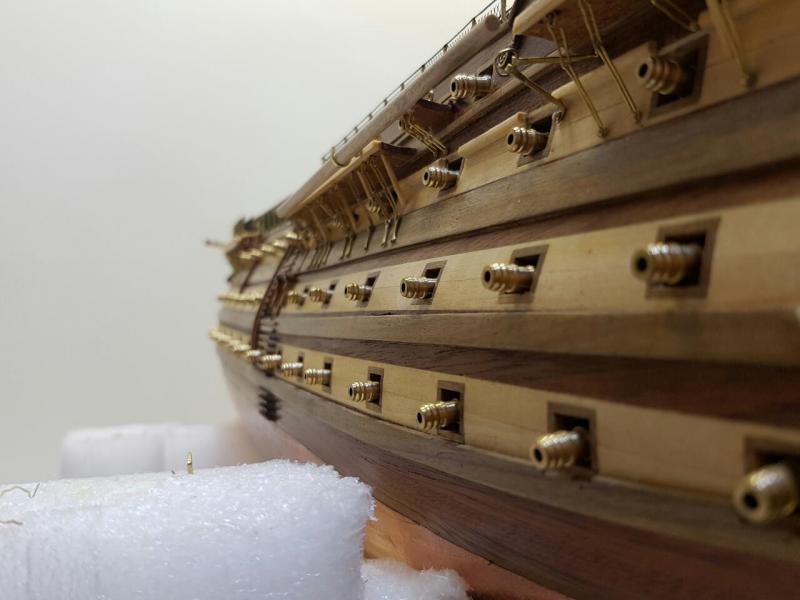
I thought I replied to the above question. I got copper reel from USA, just could not find any in the UK. I used a dress makers wheel for the detailing and cut to manageable strips. Caution pull off the backing slowly and at a very slight angle to prevent it rippling up. Oh it will get unsightly due to finger grease as you handle the model, mine was terrible until I used Silvo on her and its like new, now it's waiting to age gracefully with time.
-
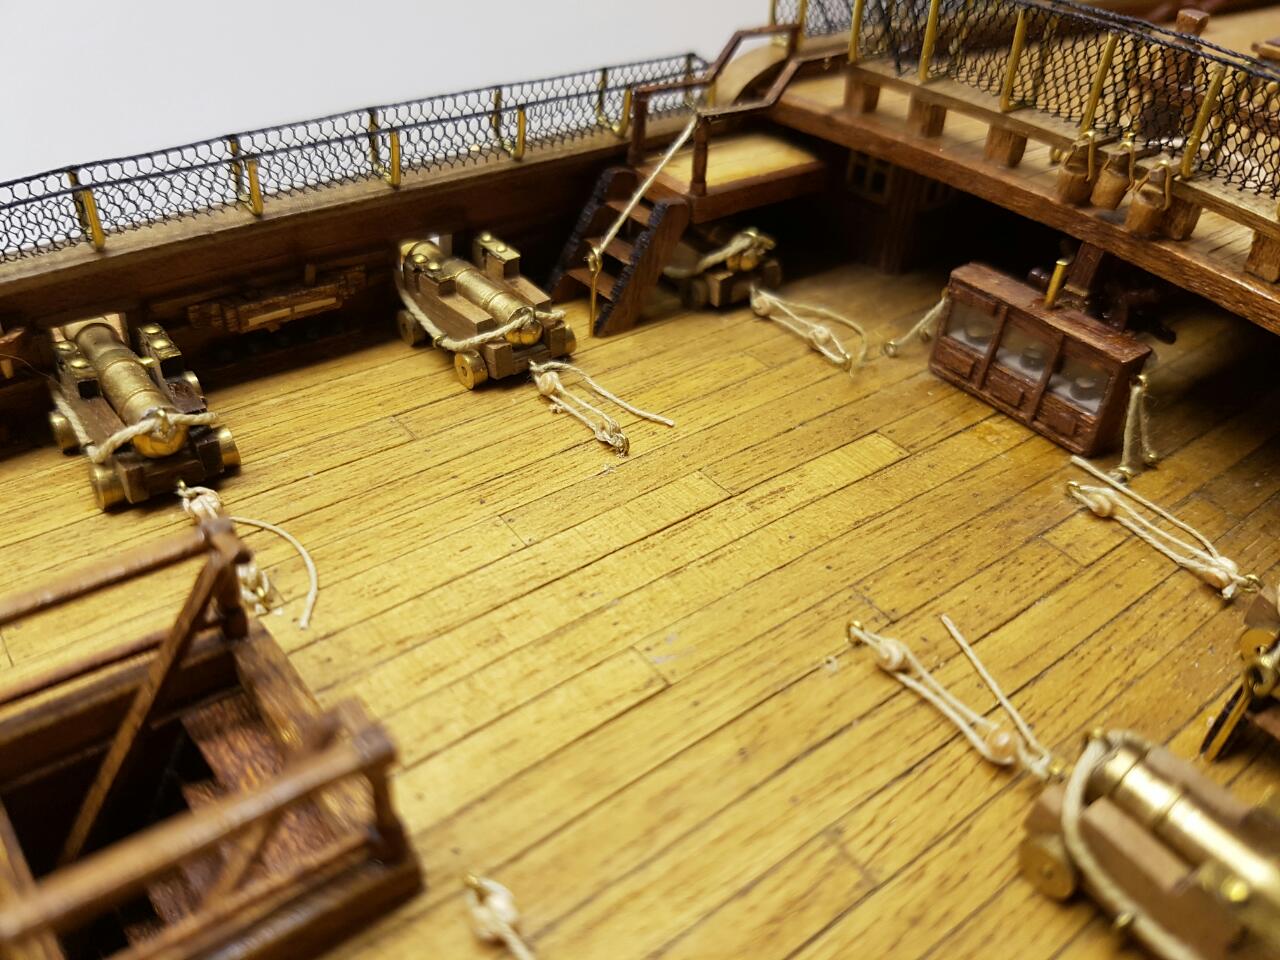
I have been adding the details that the kit has omitted, this required some homework as I needed to find out what purpose these were actually used and where there rigging actually ends up. Strange such key component were decided to be omitted from there build.


- AndyW, CaptainSteve, Mirabell61 and 1 other
-
4
-
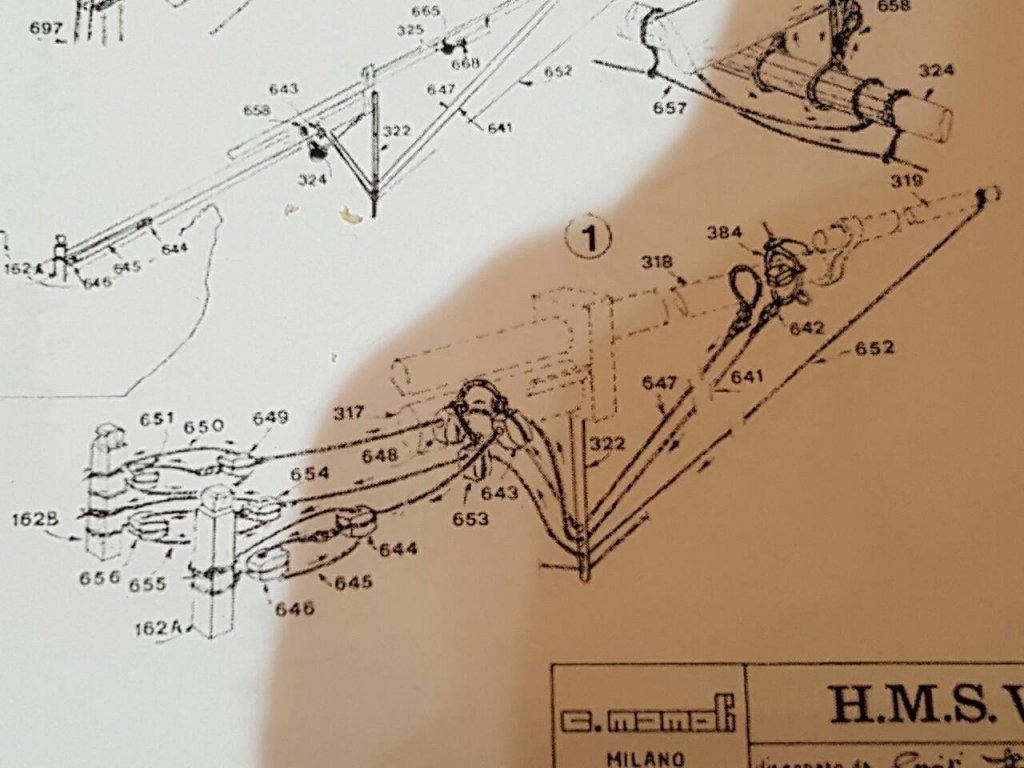
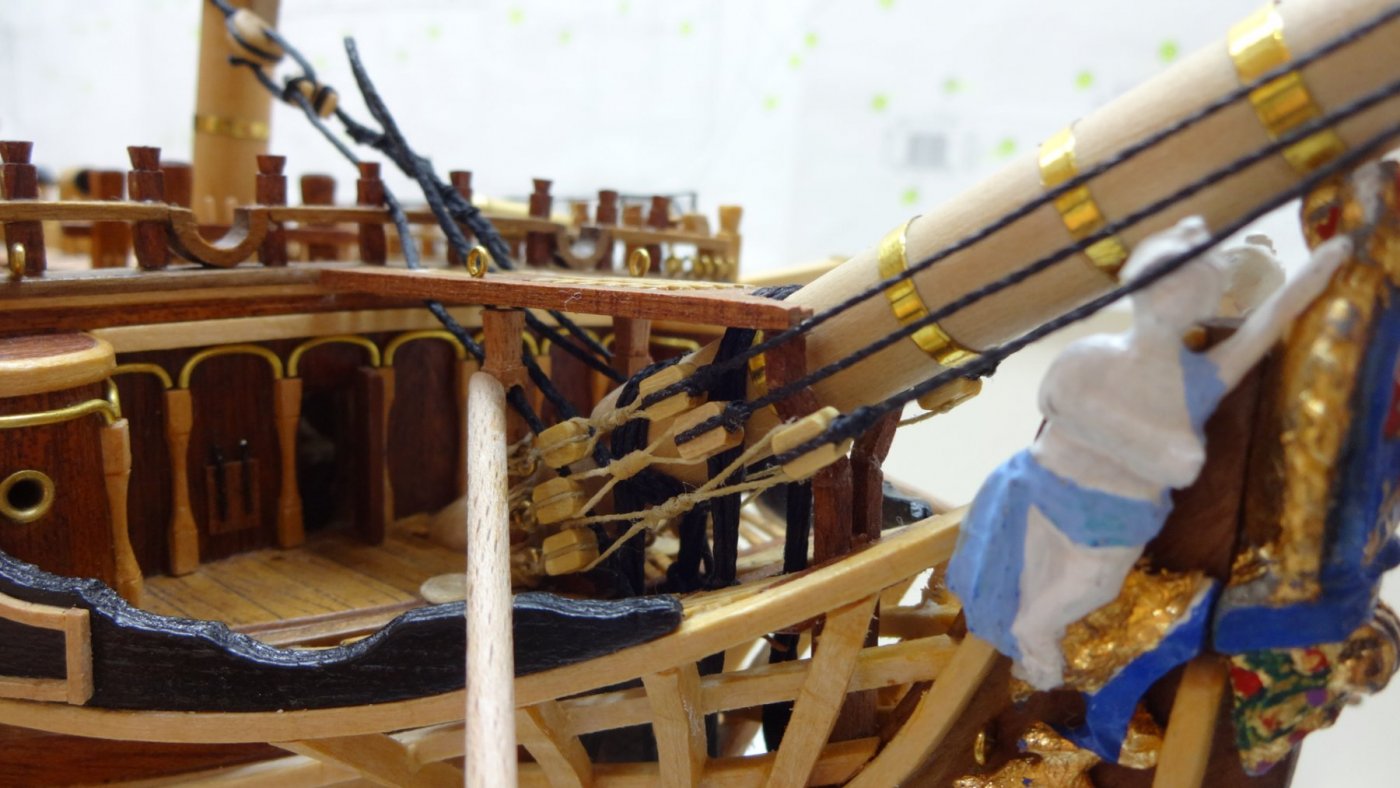
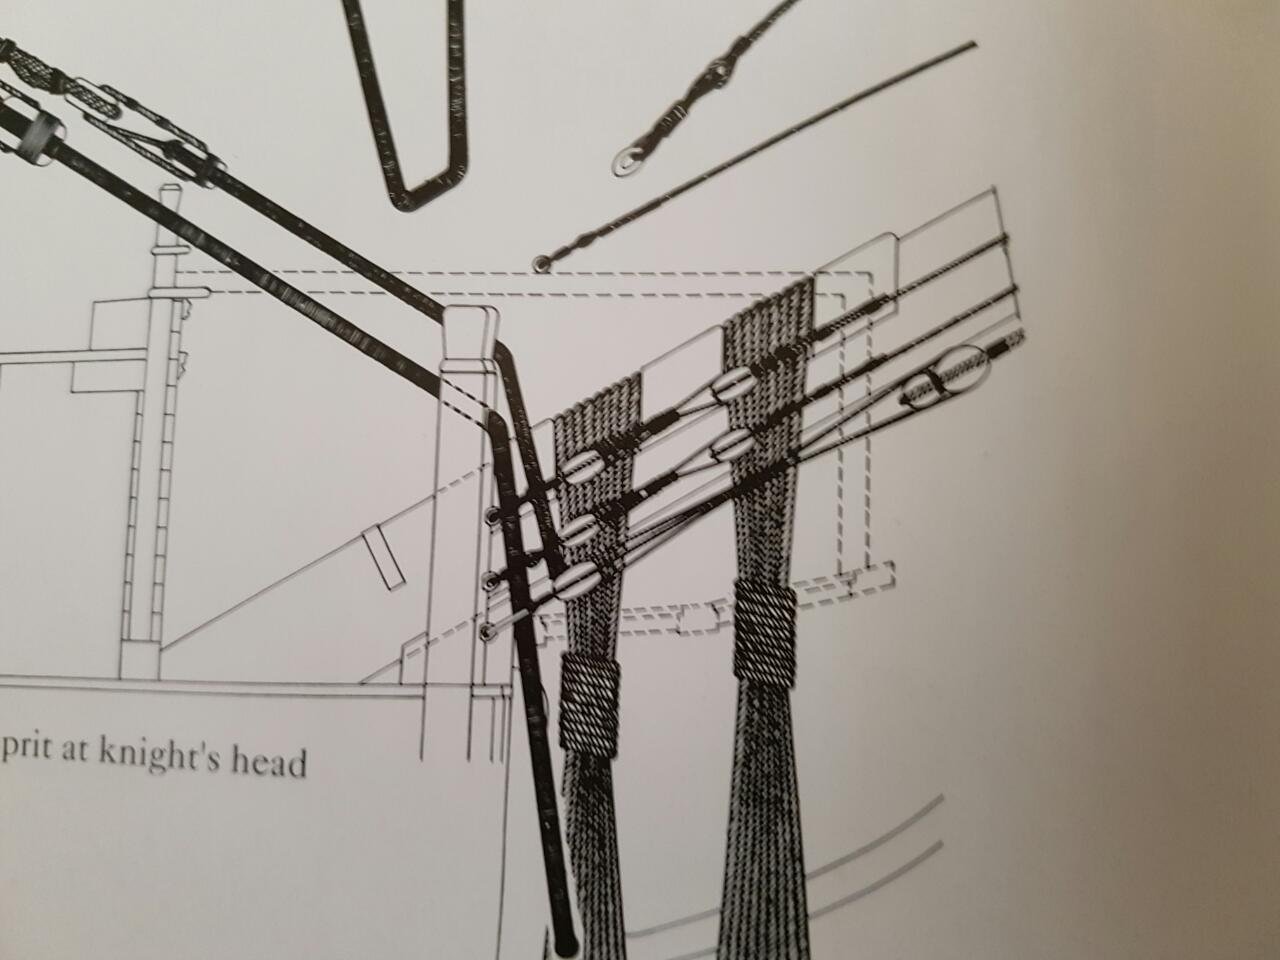
After I asked the question I found the answer, ironic, yes it really was. Well the rigging in question, is below, two lines yes as you said formast stays but the other four go through blocks and through the dolphin striker to there coresponding resting places. Our kit omits these blocks opting for a ring instead to I imagine keep it simple
Oh I am not sure about the new site format, old habits maybe.
-
I had a look, wow that going to take some beating to get sails looking even close to that. Thanks for the advice on sails guys.
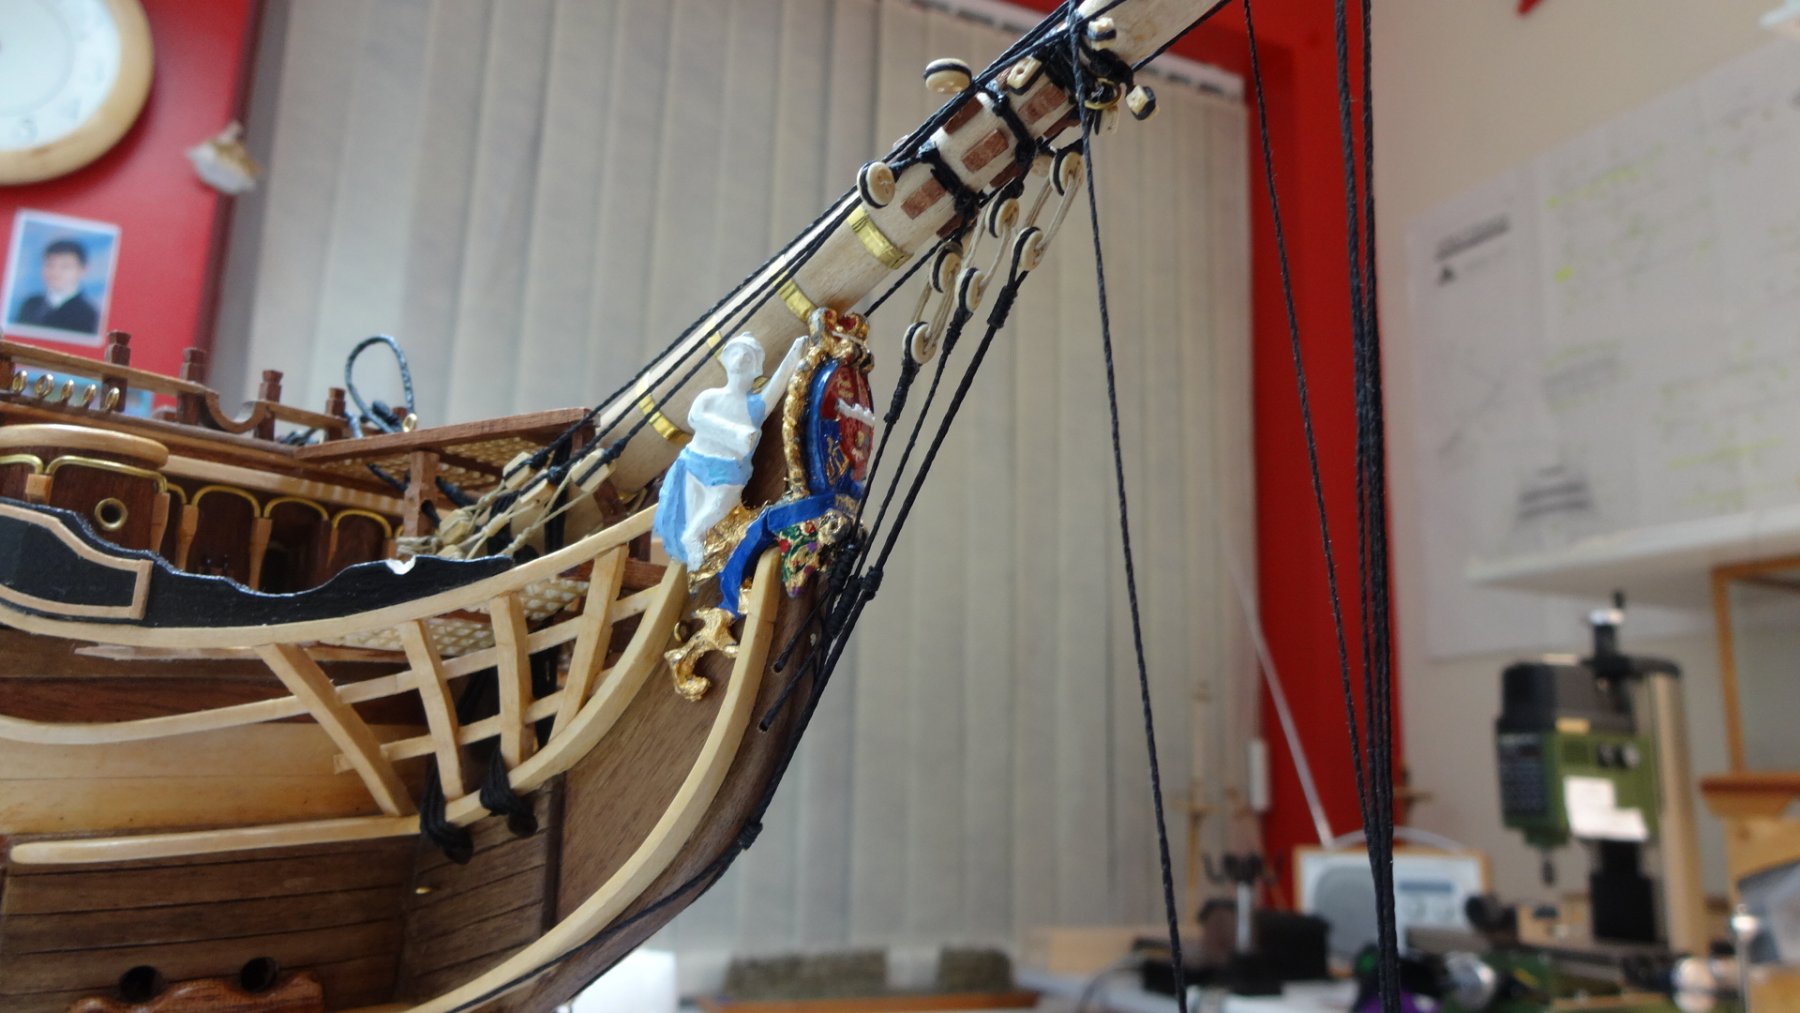
Help! , see pic, ok the lower fittings on the knighthead go to the near top section of the foremast but any idea where the other two go, the kit omits all three and I have looked everywhere but come up blank. 😠
-
Any info will help. problem we have is the era of the Vic the sails are gathered in a way there not as neat as modern techniques.
Also there aint many images of the vessel in battle mode, eg which to furl. Mine was only a rough try
-
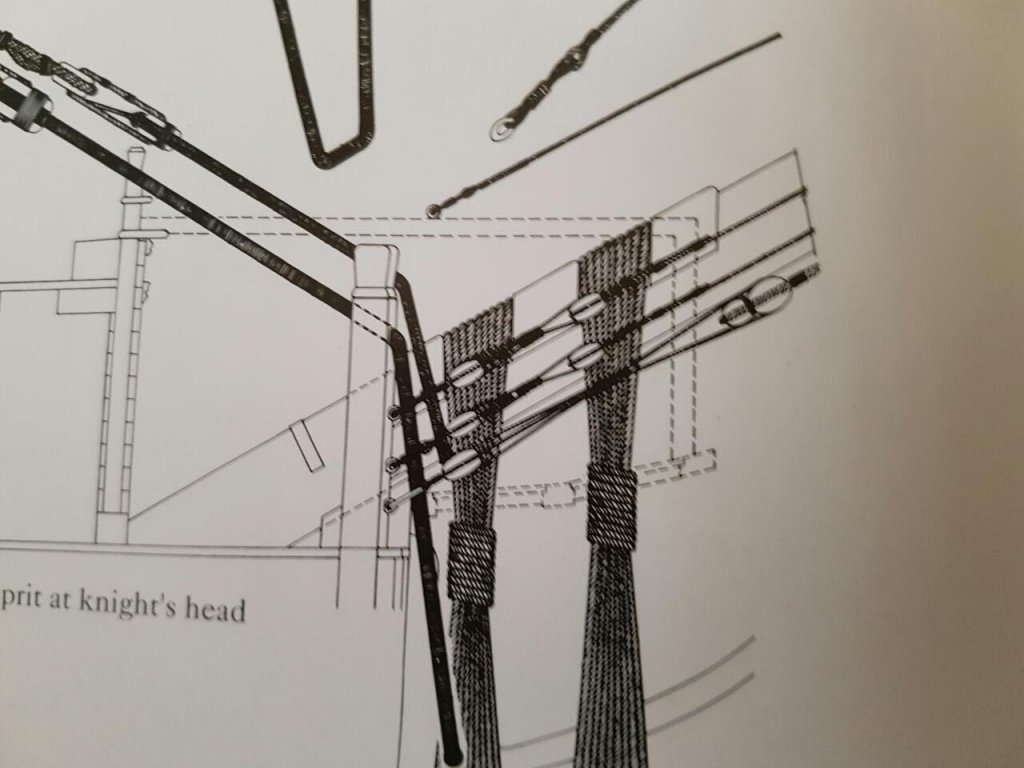
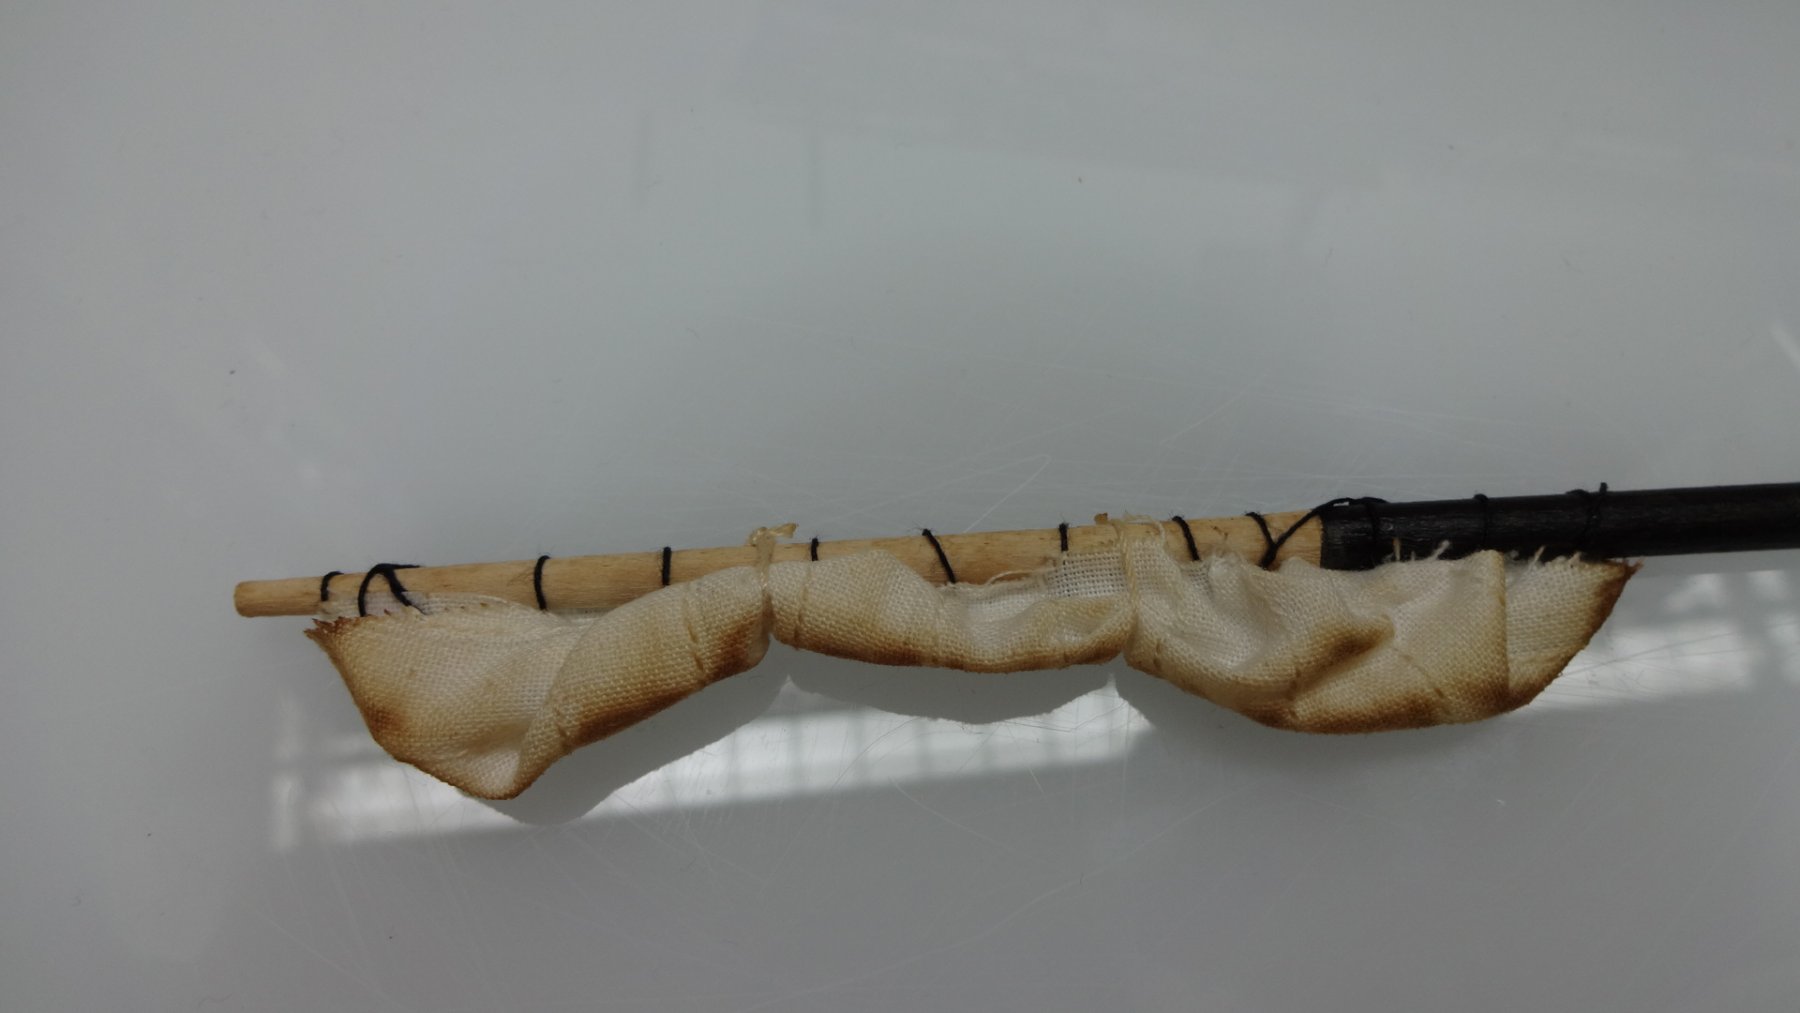
Been changing things again, the rope I used for the main stay fittings was to thin, so changed for one to which I found was then to thick so this is my third attempt, as you will be aware this takes a while to fit, I have also added some bow rigging on the knights heads but not clear where these run to yet. been toying with furled sails on an old spar and I mean toying, fitting to the spar was only rough to see if I could acheive the look. Well I'm still trying but as she has her canons run out the battle look is all I can use.

- CaptainSteve, piter56, Altduck and 1 other
-
4
-
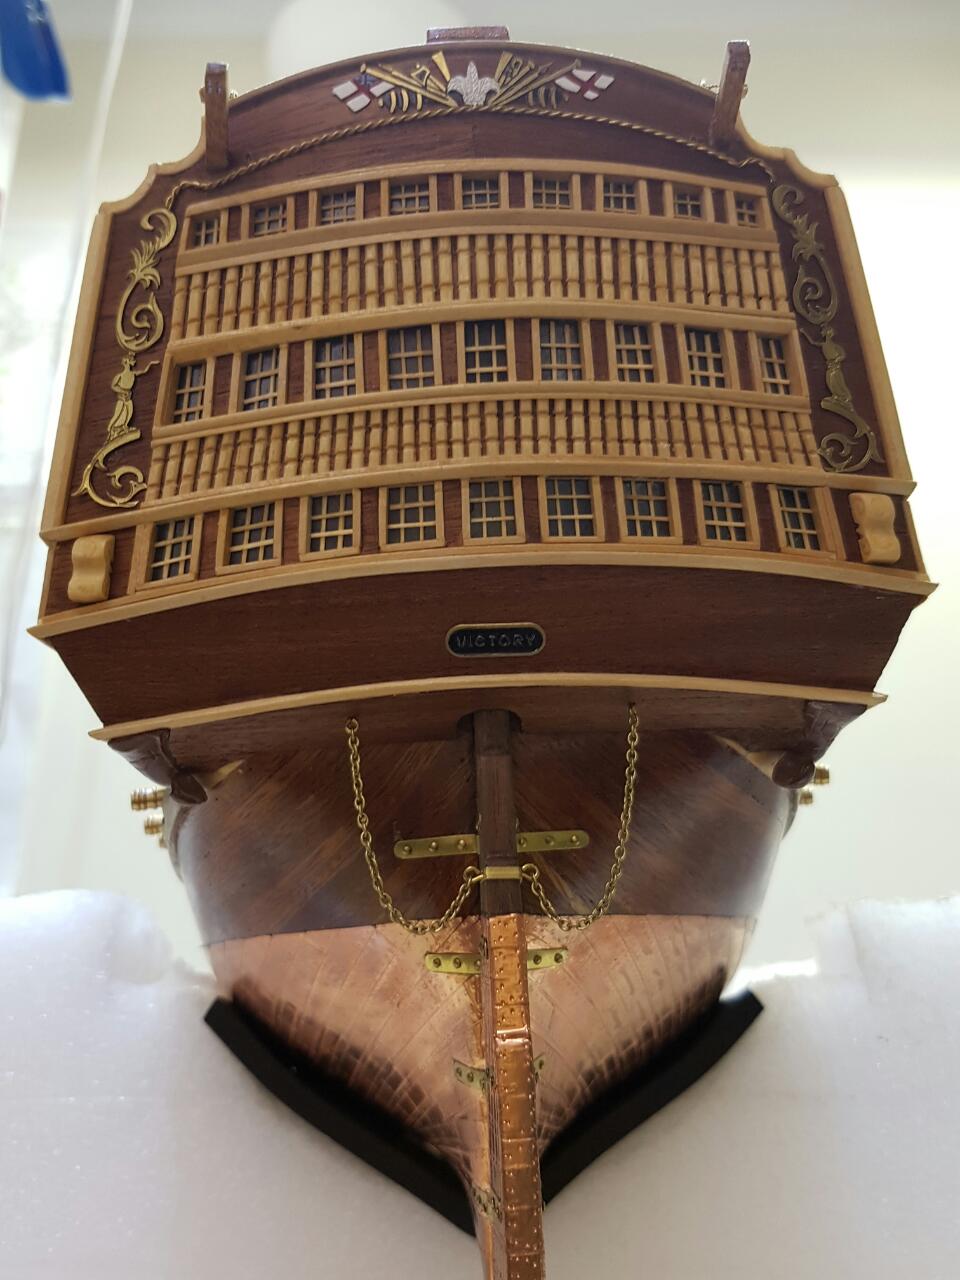
Ah! the tiny windows which I still have to finish on mine (I missed a few ) you need to use spare wood and trim off very fine strips, (dont forget plastic window), when you have them fine enough use wood adhesive that dries clear. Use a dab off a tooth pic, only a tiny amount as the wood is also tiny. Not CA, Wood glue allows you time to position and re position until your happy with the spacing, also CA attacks plastic you will use as glass behind. Fiddly, yes due to scale we are working with but I think it really makes the rear pop far beter than a pen line. My page 5 of my log shows window panes partially installed.
Its fiddly and quite frustrating at times but stick with it.... Im in India at the moment on Holiday / vacation so internet connection here can be, basically on or off. Sorry for late reply
Oh the backing of the windows is your choice, kit blue, Billing kit yellow or black.
Paul
- Altduck and CaptainSteve
-
2
-
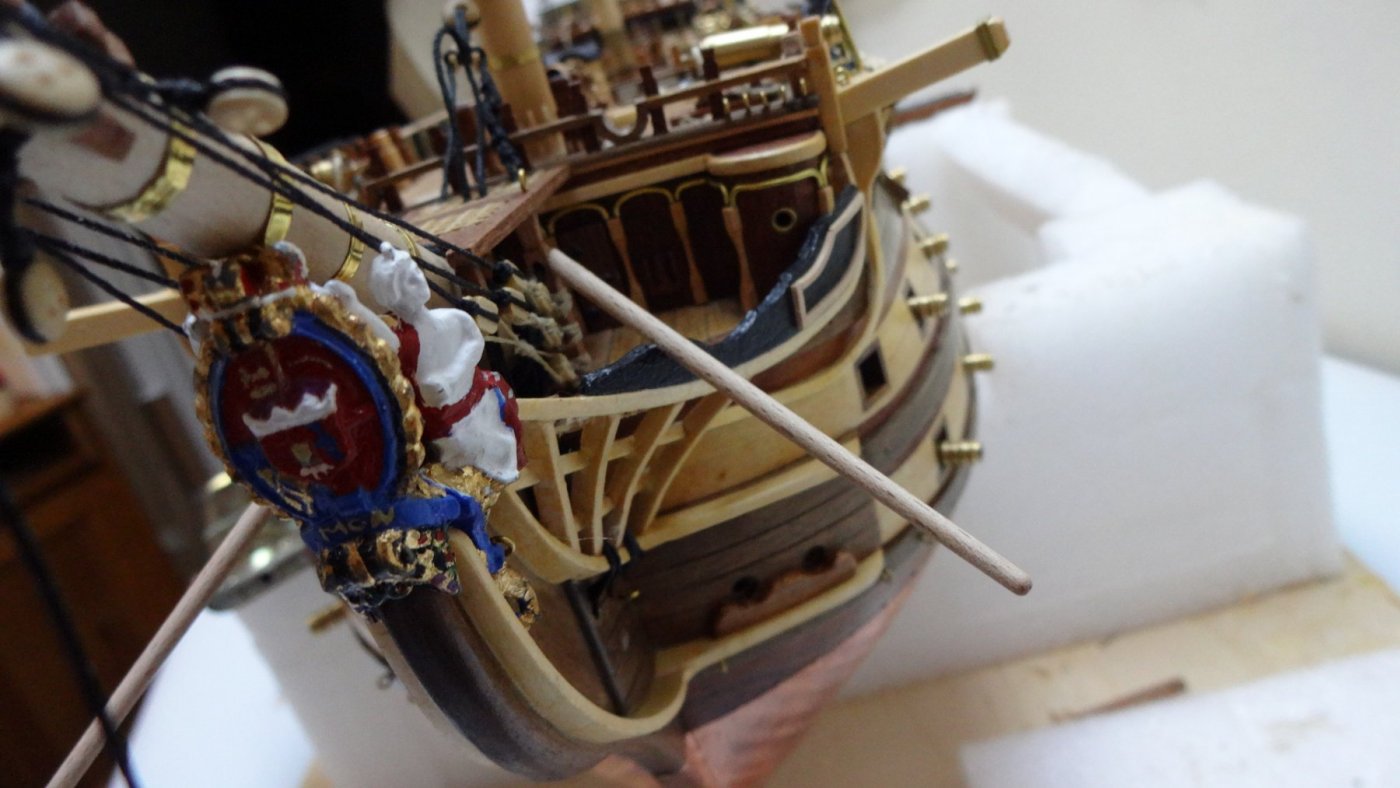
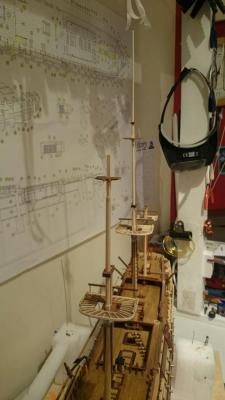
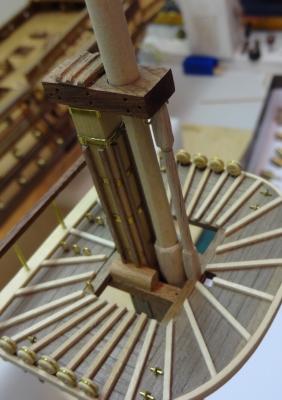
Welcome back Andy, you come back and I am going to be putting the ship on standby for Feb and some of March as I'm away...
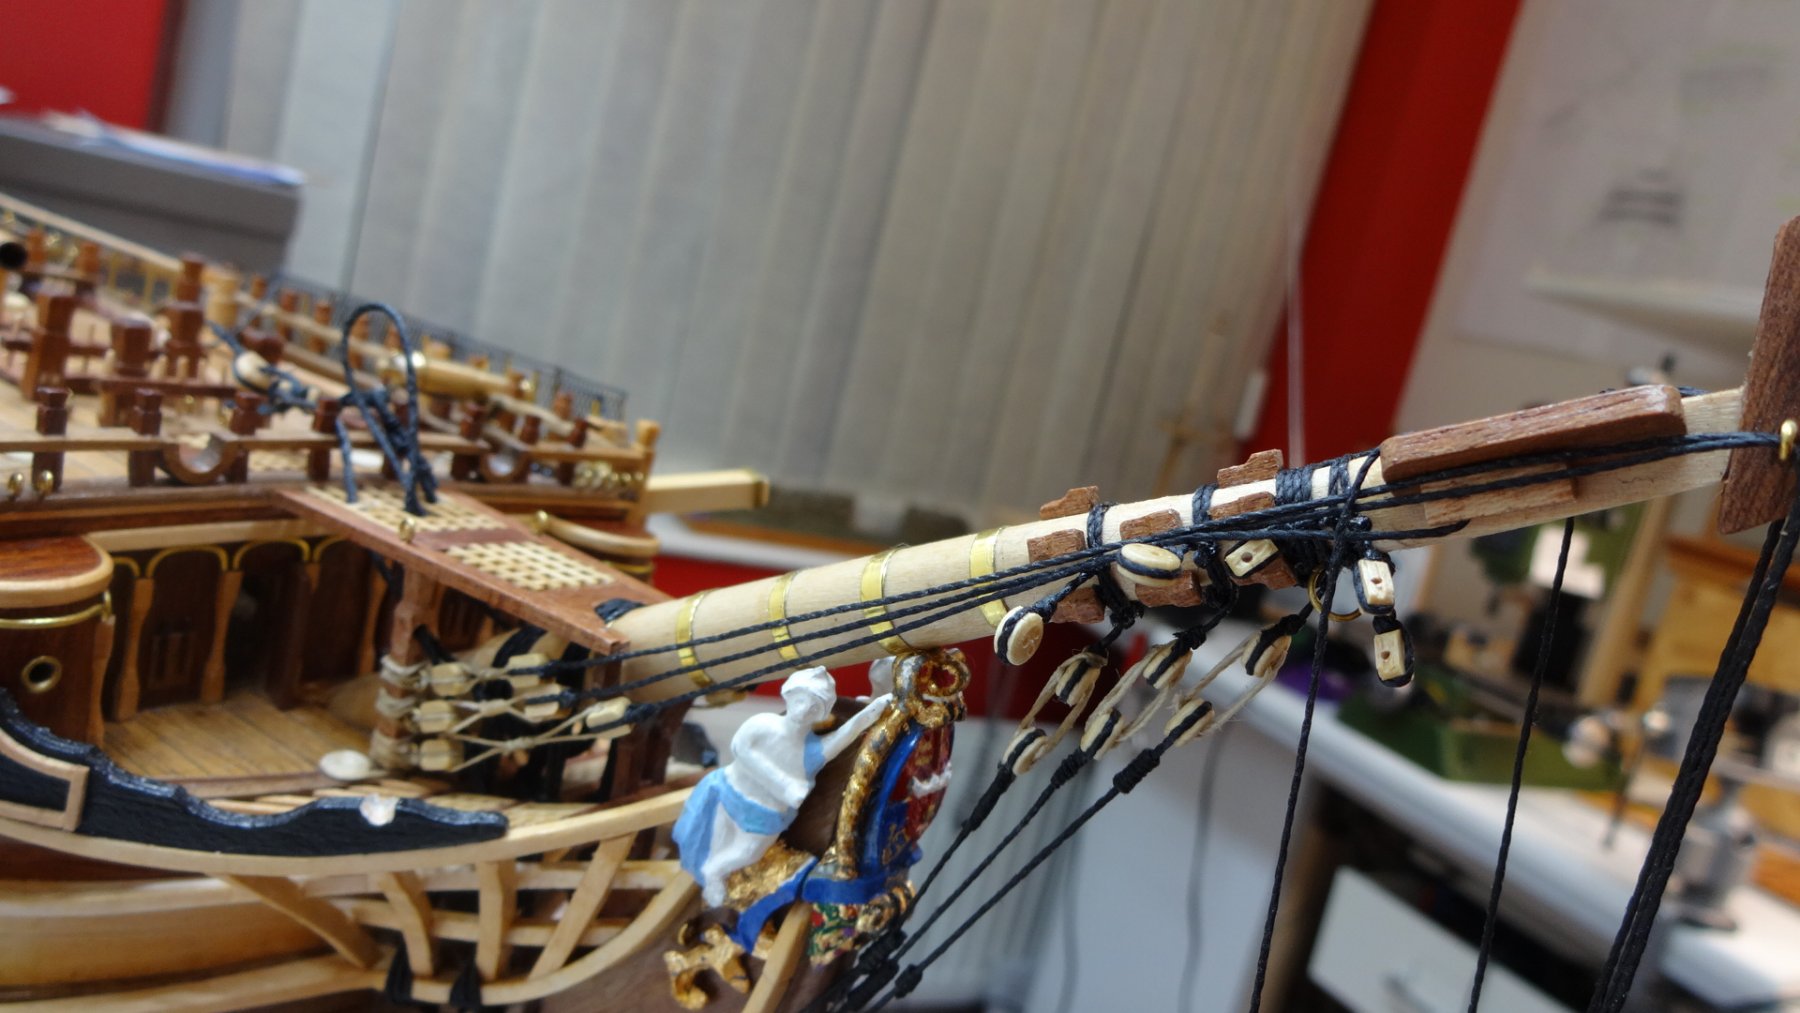
I am doing the bowsprit at the moment and have scrapped the Constructo method as its very inaccurate. Books and pictures are my plans. I am on for my 3rd dolphin striker already, two I snapped whilst negotiating past them but the pass failed and I clipped them, the third I finally changed to the correct position and thats to the left of the block not the middle as the kit has it placed. Also the rigging does not affix to a central ring as the kit states, they affix on both sides of the sprit. also the blocks are all different.... yep I am making a lot of work for myself but hey lets get her as accurate as possible. I also need to source rigging as the kits supplies green.
-
Thanks Captainsteve much appreciated.
Sirius, well this is going back a few years, the wood was supplied by Contructo in the kit and there wood I cannot fault, it beautiful. Mukaly wood was there deck choice, I cut the planks pencilled the edges for caulking effect and a very sharp pencil for the nails. I then stained them with Colron Danish oil, Georgian medium oak, this was applied with a cloth. I am very pleased how the decks have aged over the almost 3 years of build
- CaptainSteve, Sirius and Altduck
-
3
-
Mentor and inspiration, that's a scary thought as this is my first and excuse the pun were in the same boat, sorry that was bad, ha ha.
I am in the same predicament. whats to do first and I will publish my method in the end, I am surprised we need to ask this question on this site to be honest, either that or were missing the subject in the many out there. I looked into it and pinched the below from another modeller reading this though is scary what lies ahead. Im currently on standing rigging. I am away next month so all work stops in most of February
1.Standing rigging – stays , shrouds, backstays, bowsprit standing rigging. I start with this works from foremast down shrouds and proceed going up and next to stern.
With proper tension of shrouds, stays and backstays position of mast is adjusted.
This is very important to control position of masts using plumb-line.
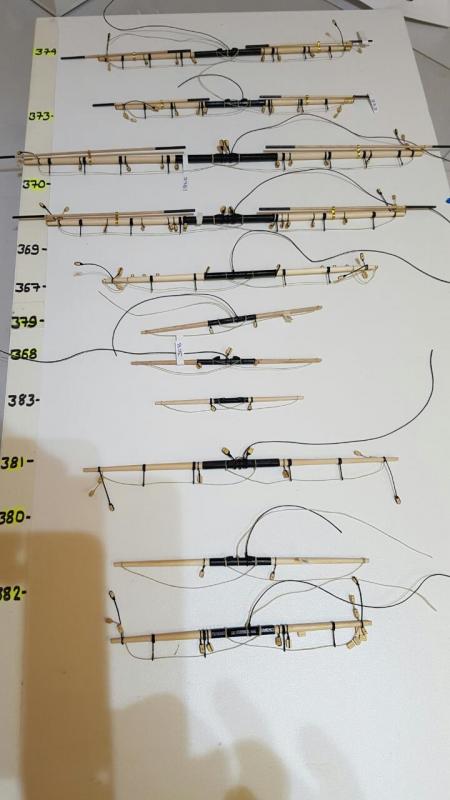
2.Yards furnishing. I install blocks and standing rigging on yards as also yard’s truss or parral. After fully furnishing of yards is time for attaching sails and running rigging: lifts, clew lines, leech and bunt lines, reef tackles
Next is time for attach sails to the yards.
3. Yards with sails are installed on masts and required running rigging is made - from topmast sails going down.
4. Remaining running rigging is installed: sheets and tacks, braces.
With proper tensions of sheets, tacks and braces the yards are shifted into
required position.
Tension of bowlines can help form bunt of sails.
Wow I've hit a milestone page 30 of my build
- CaptainSteve and Altduck
-
2
-
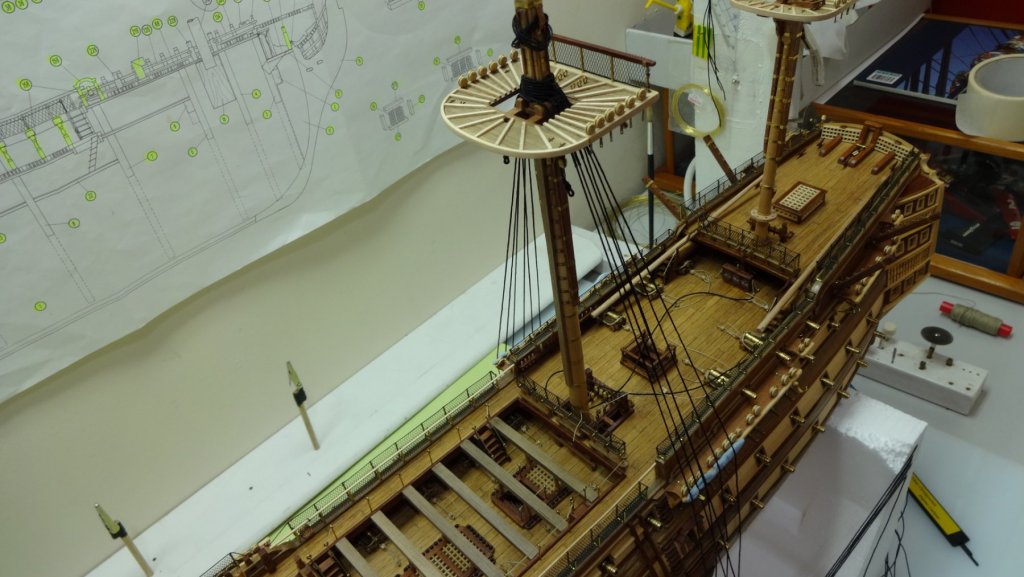
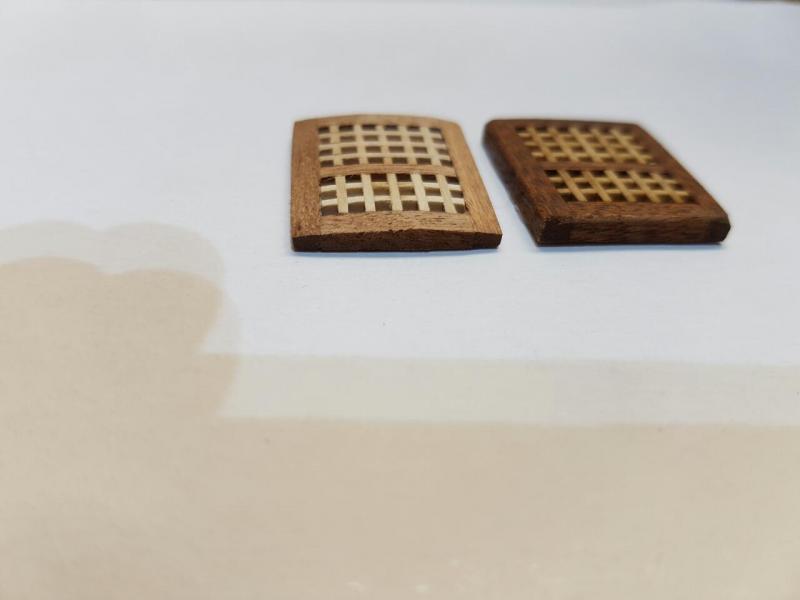
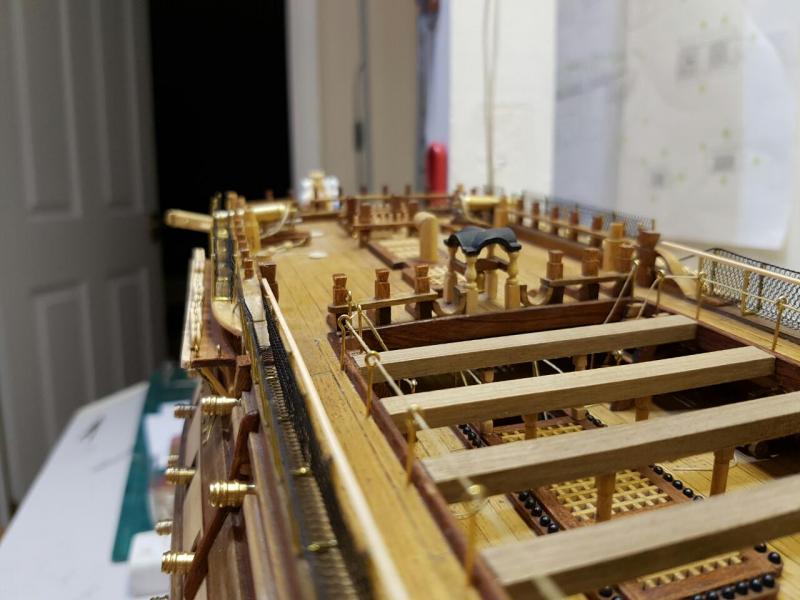
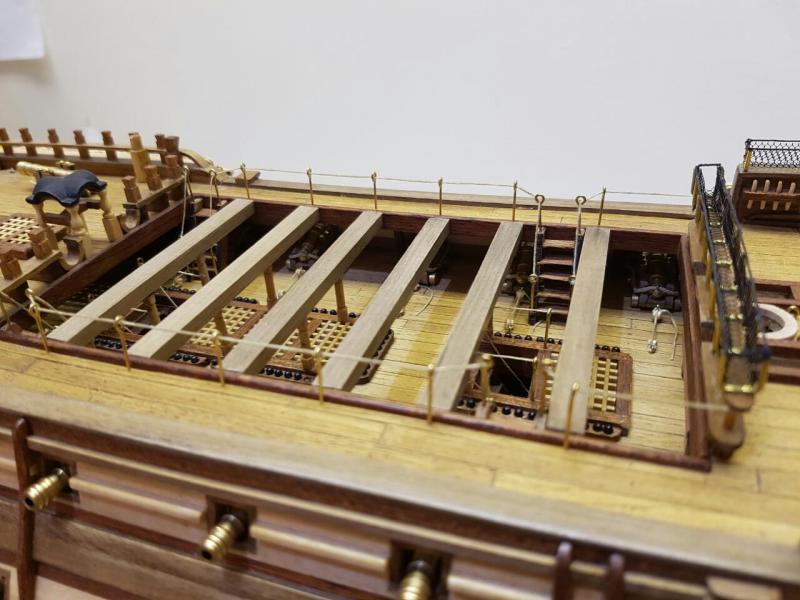
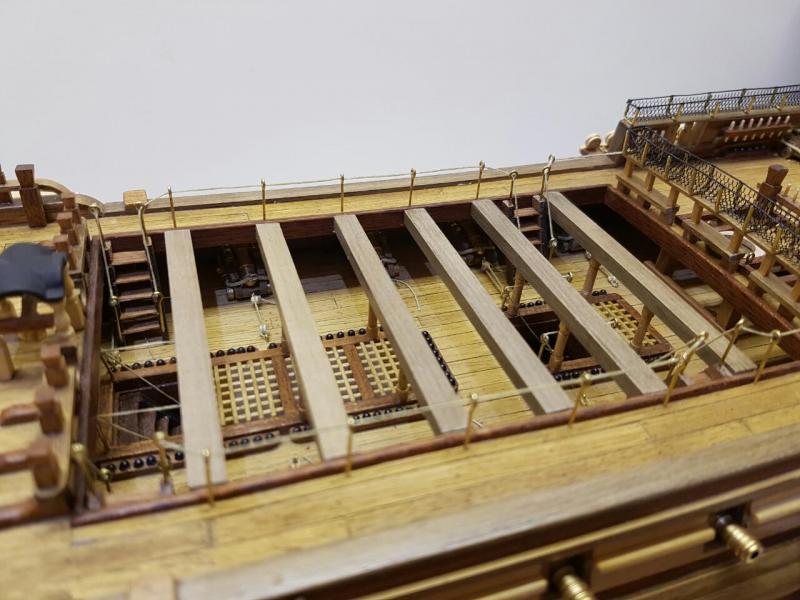
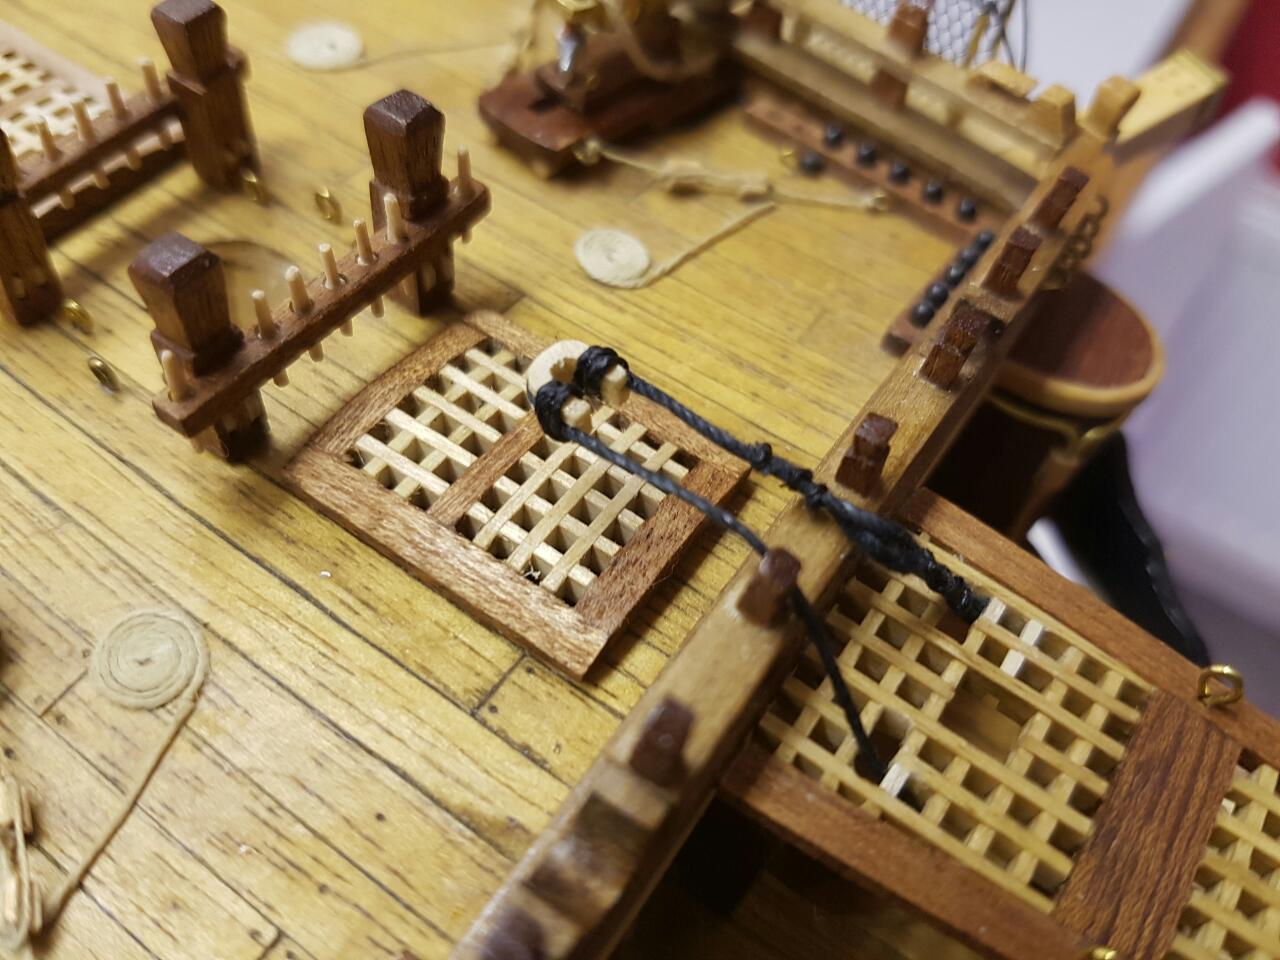
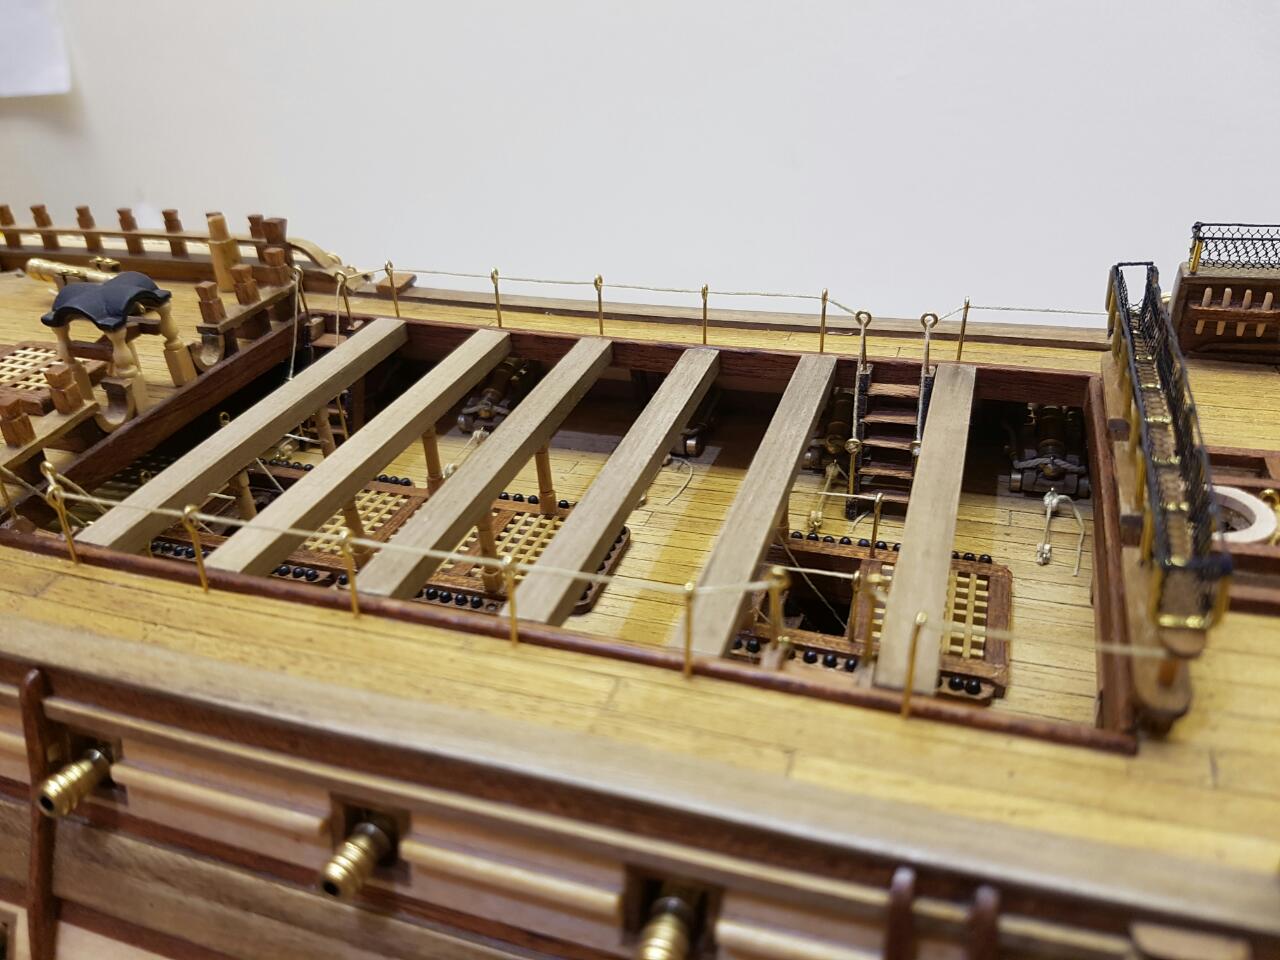
Thank you kmart and also thank you Submarineman, I have quite a lot on the Vic but I will try and print them. I have changed my grates from flat to curved. I have also started the rigging and I am trying to do them as the real ships done not constructo version. The mast stays are only test rigged to check all is well. I have since fitted the bowsprit and gammoning is being done.


- Altduck, Shipyard sid, CaptainSteve and 1 other
-
4
-
This model is the pinicle of model ship building, hats off to you, Its just absolutely beautiful. This skill level used is in a different league, and thats before I saw the carvings.... Jaw dropping stuff.
- mtaylor, WackoWolf and CaptainSteve
-
3
-
Submarinemen. Thankyou for the kind comments, Rich, Oh yes, mast and spars were already fabricated months ago despite going all out on detail I know will be hiden but only for those whom don't look, she will also carry full sails.
- HIPEXEC, AndyW, Captain Poison and 1 other
-
4
-
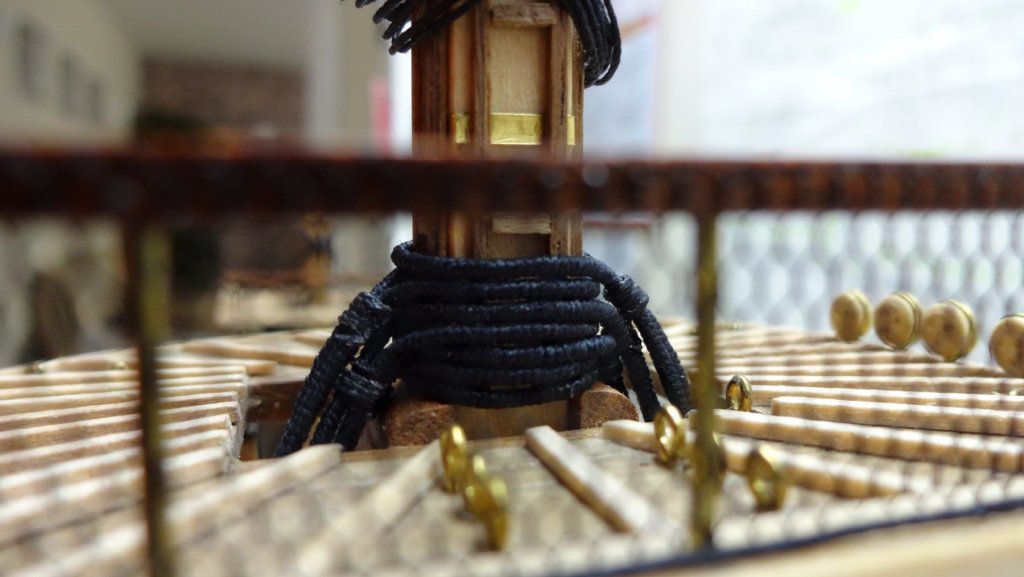
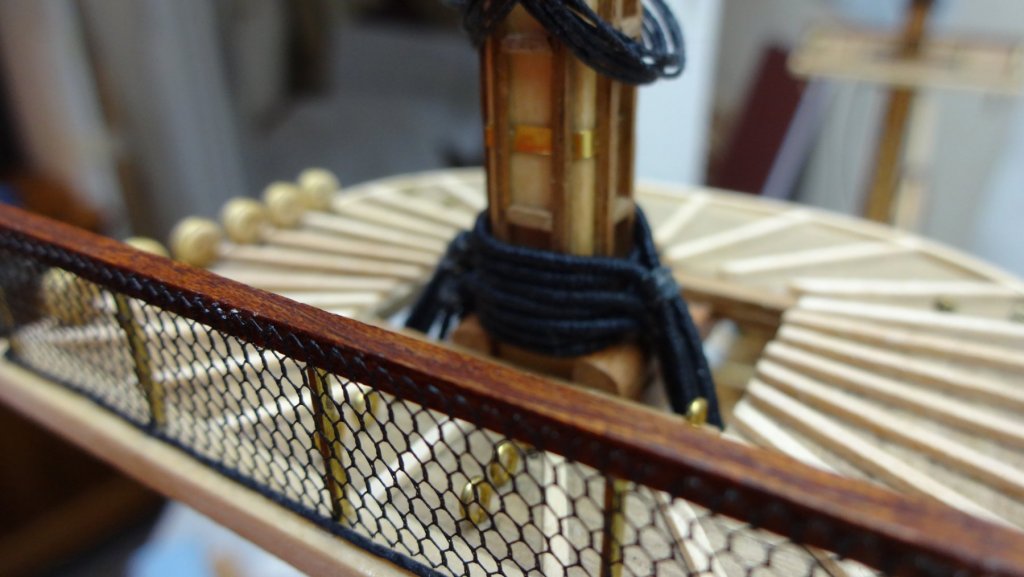
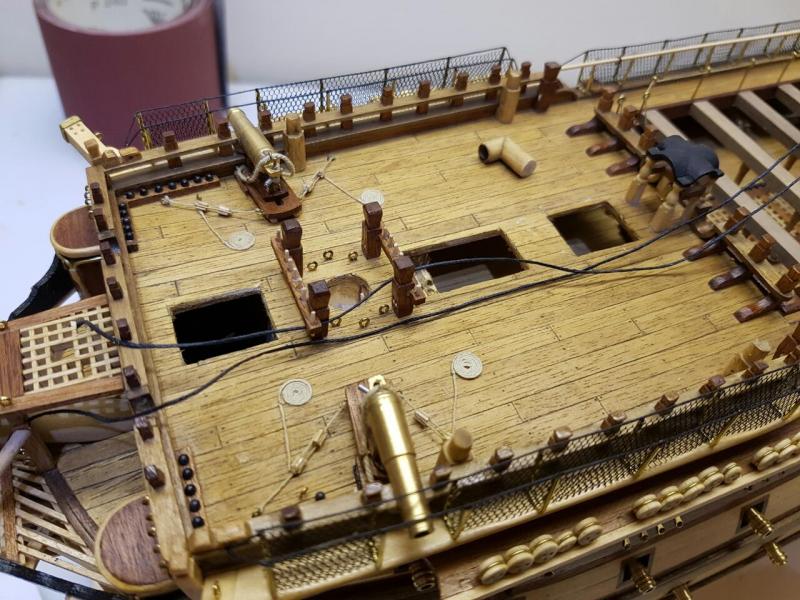
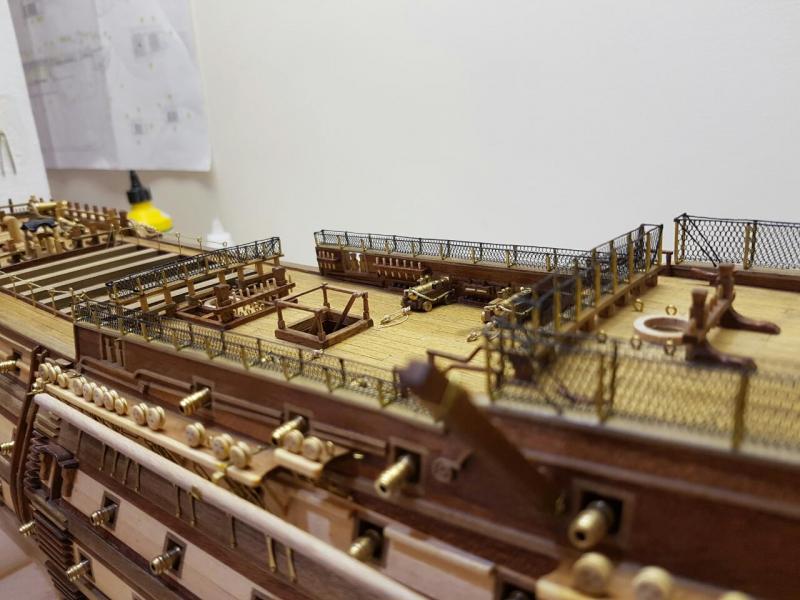
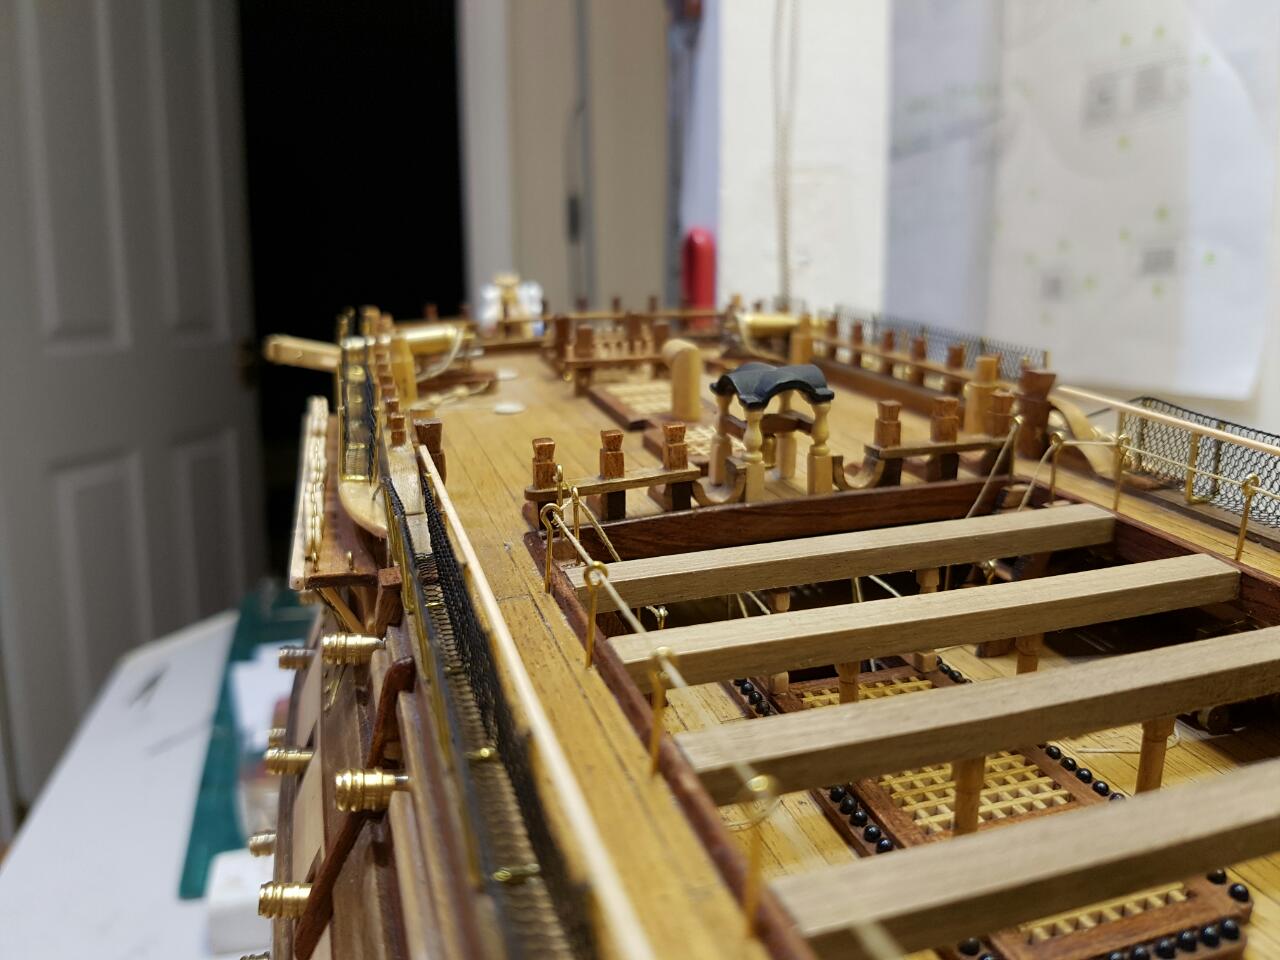
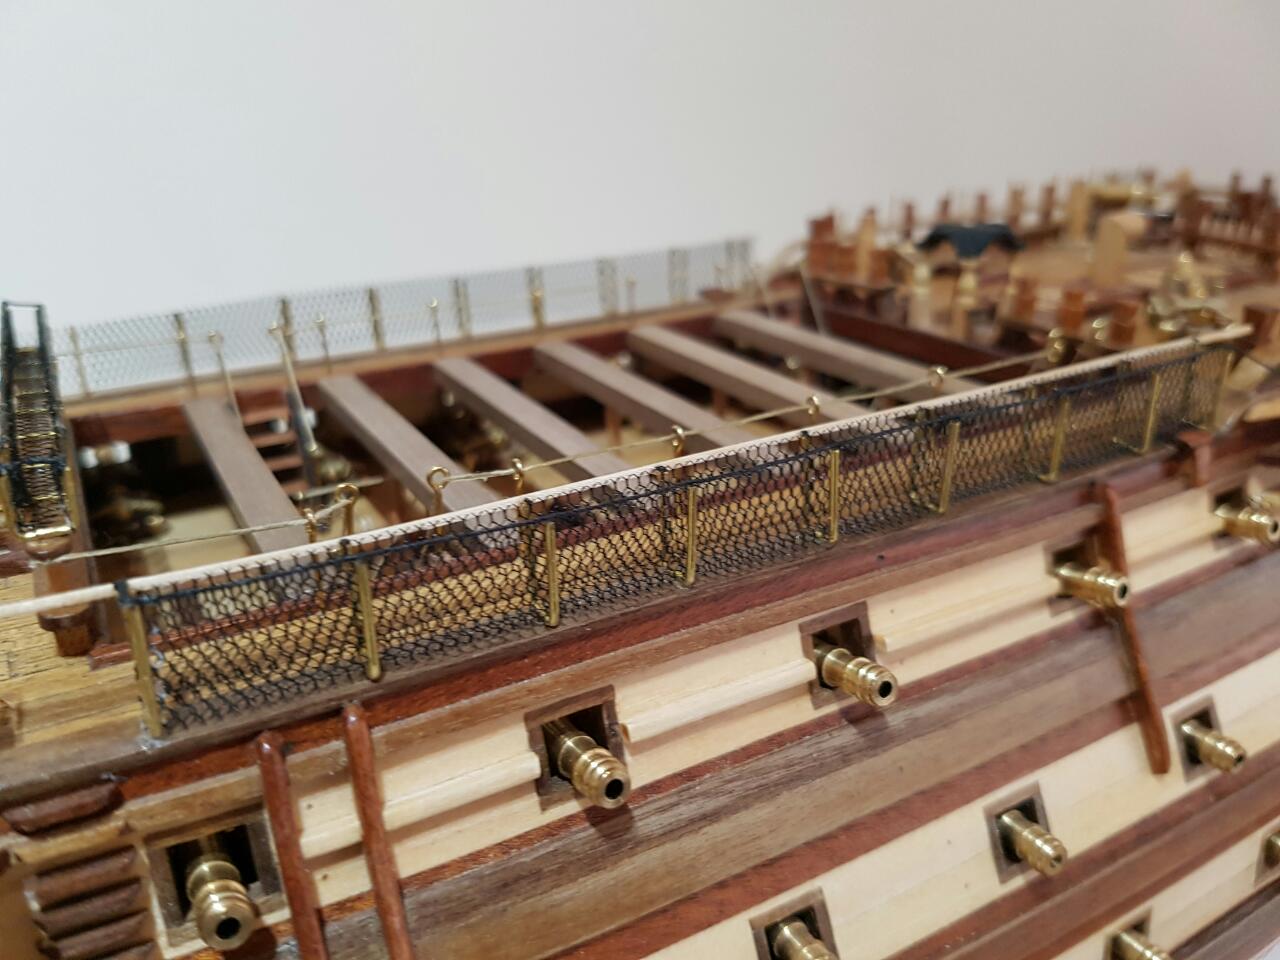
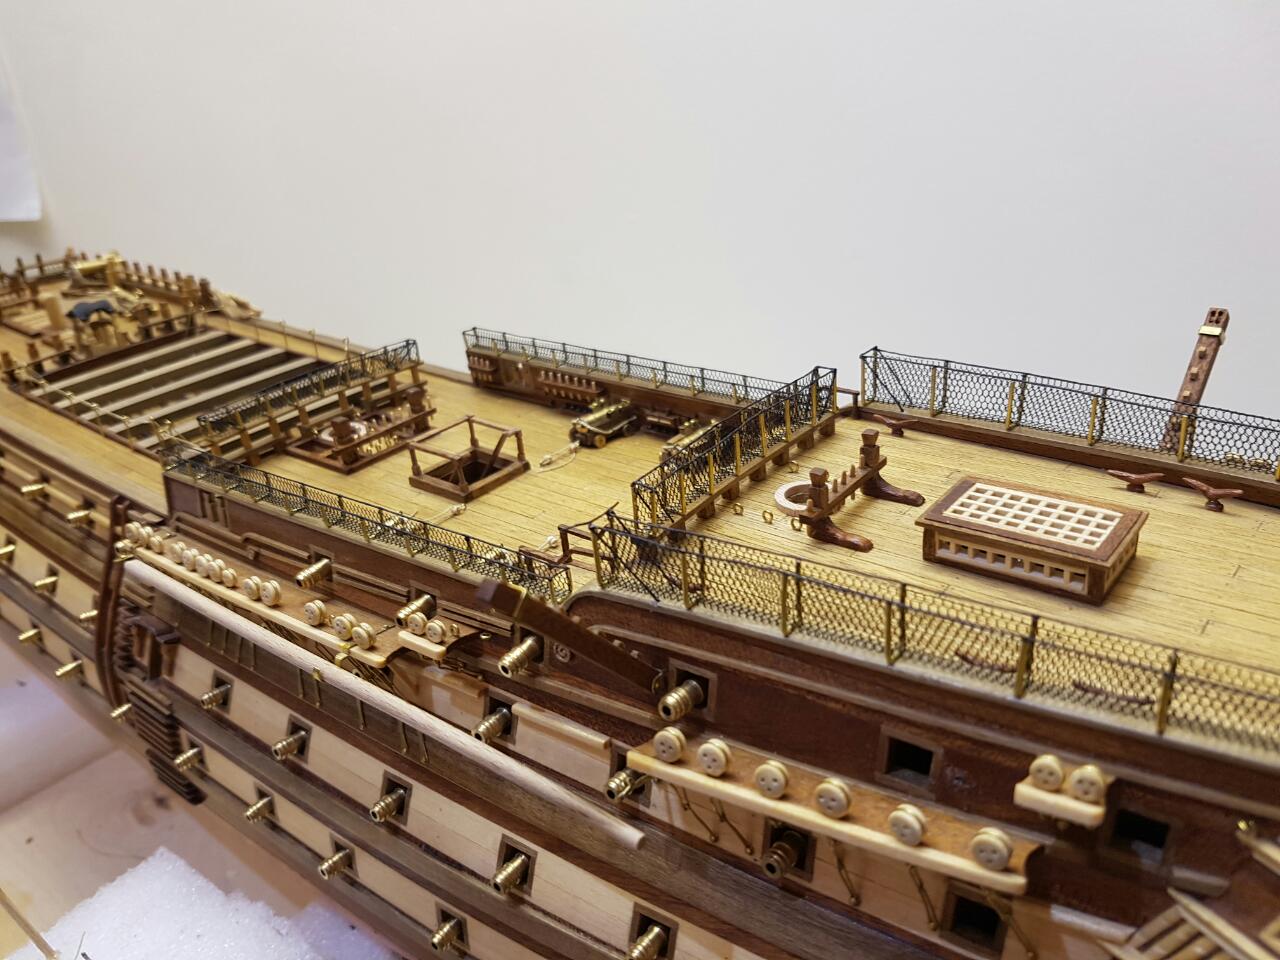
2017 update on where I'm at, should be my completion year. Oh noticed the handrail surround has an upper and lower rail, lower added. I know the real ship had a fawn coloured netting but on this occassion I was running with what I had been supplied by our guys at Constructo, black. Finding the correct colour let alone scale proved quite difficult.
I have been looking at my future no 2 ship build and so far it's the Swedish Vasa, for no reason other than its different.


-
Turning the newel post for the hand rails on the upper stairs that the kit omitted. Still fitting the netting on the rails too....


- AndyW, Captain Poison and CaptainSteve
-
3
-
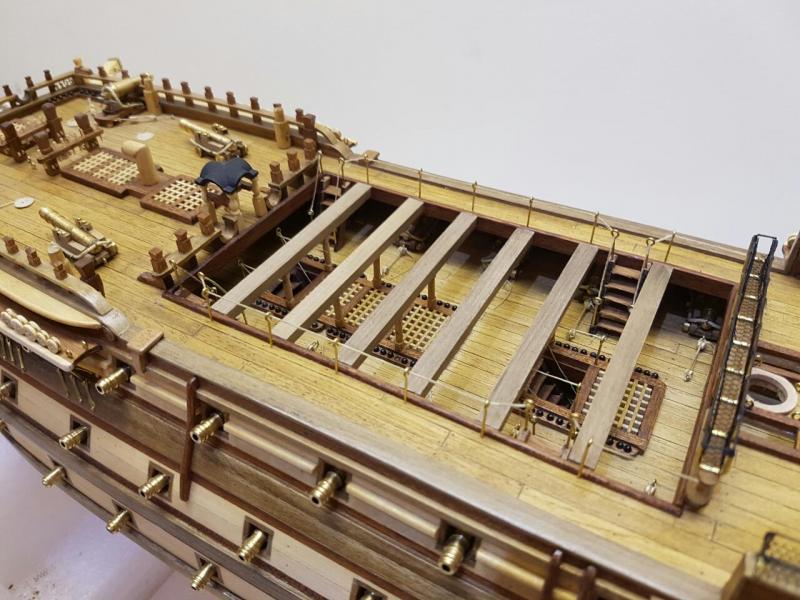
Thank you Rich... mmmm Pictures, maybe but knowledge, im just scratching along copying off an image in a book. I have noticed my compass cabinet is too far forward and have since repositioned it 5mm back. I hope your Christmas went well and Happy New Year.
-
Oh my the press go involved,,,,so they should really, not every day that someone hands over a model like that with all the hours put in to build her. Lovely gesture Mike
-
Wow looking really good... you are well ahead of me now, great to see another natural wood looking Victory...
-
Thankyou Steve
To all that venture on my build have a fantastic Christmas & New year
Take care
-
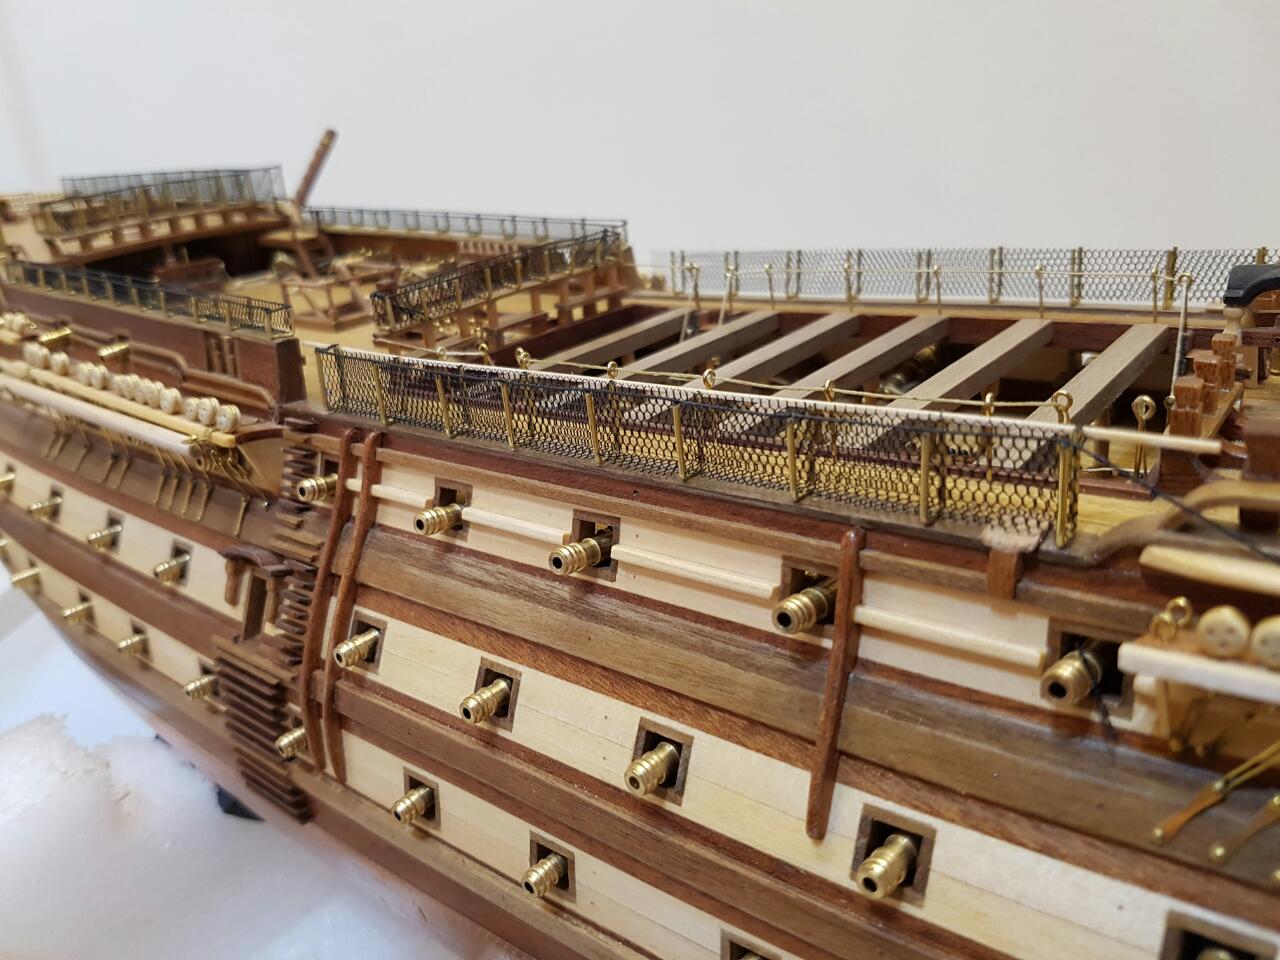
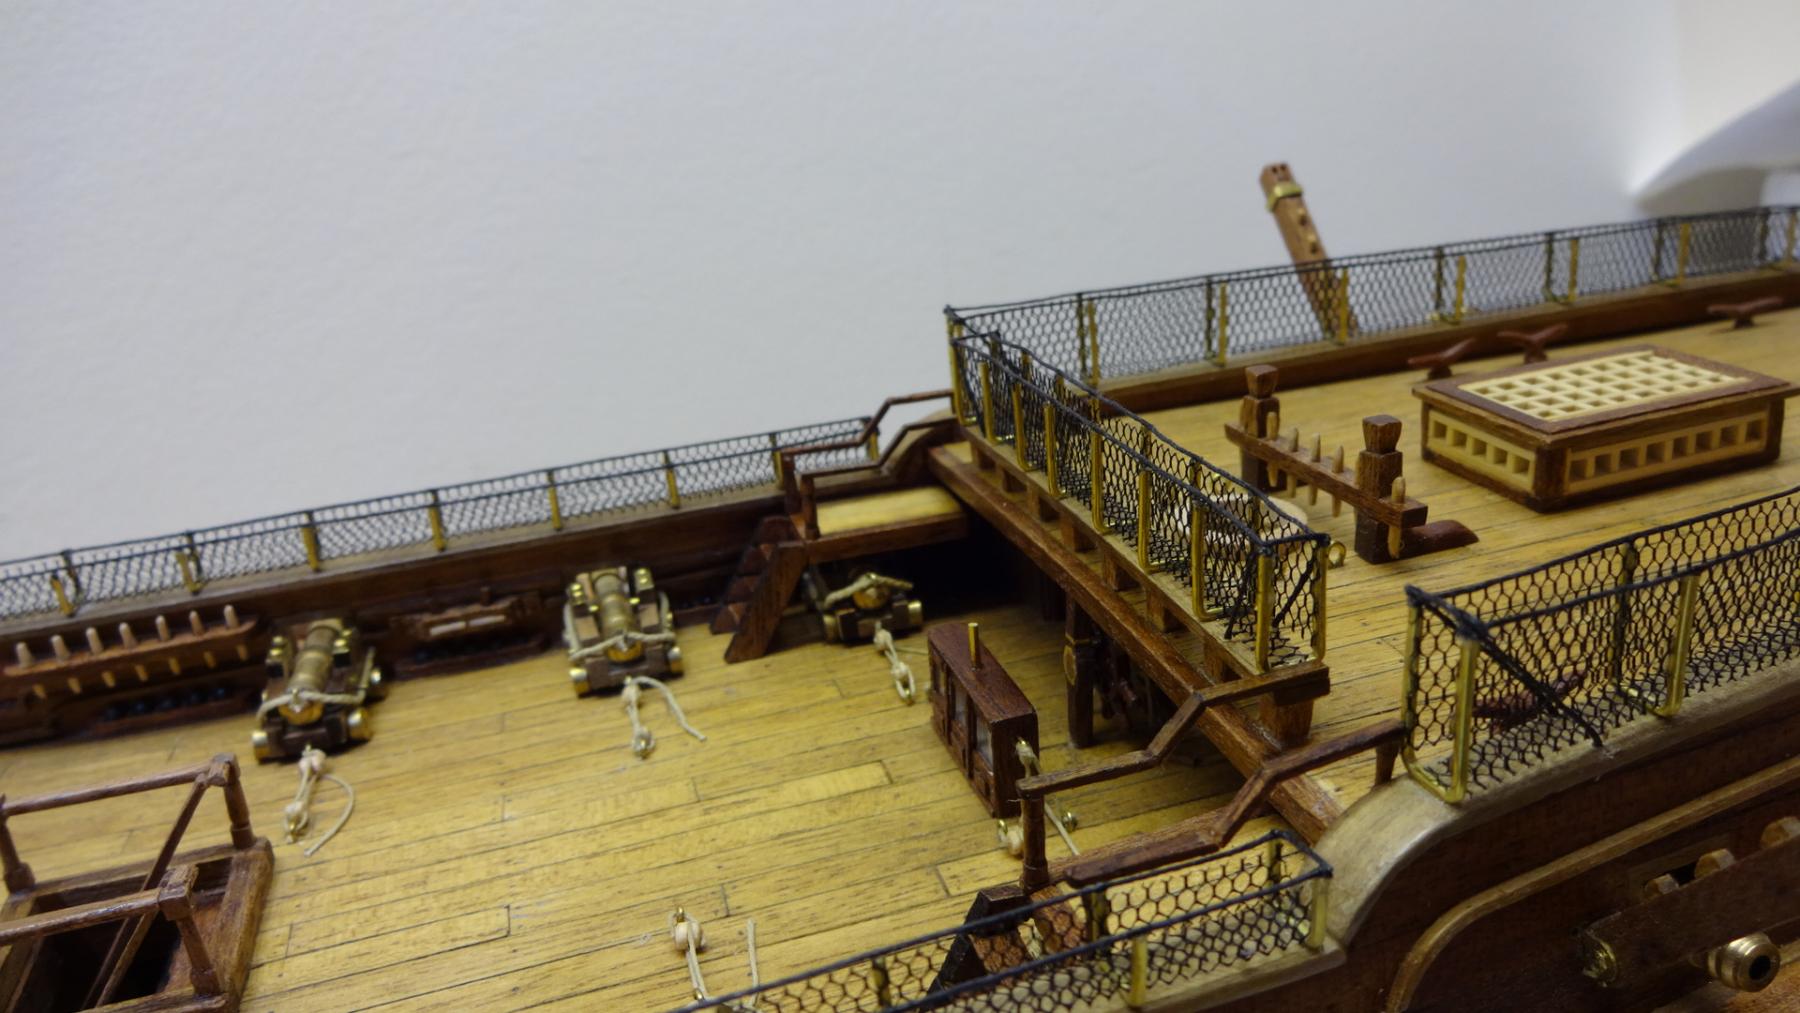
Last stairs fitted in the ammended position from kits plus rope rail, then is carry on with netting.

- CaptainSteve, Thennion, Seventynet and 2 others
-
5
-
Stairs, with additional handrails and newels upto the poop deck

- CaptainSteve, usedtosail, AndyW and 3 others
-
6
-
Yes, I make my own usually 4mm glass but this would be too heavy in 4mm so I am looking at 2mm for this one. Just not sure where it will reside in the end


HMS Victory by Paul0367 - Constructo - Scale 1:94 - First wooden ship build
in - Kit build logs for subjects built from 1751 - 1800
Posted
Cheers guys, the lower shrouds are to be installed as late as I can possibly leave them so I have access to those mast as much as possible. The only reason I fitted them was to enable me to fit the standing rigging over the tops of the shrouds and hide more work.