MEDDO
-
Posts
1,871 -
Joined
-
Last visited
Content Type
Profiles
Forums
Gallery
Events
Everything posted by MEDDO
-
 That's a picture of the Pride of Baltimore II. I have been gravitating toward the smaller ships recently. The Niagara as well as the Syren are on the "way future build" list. I really like the schooners as well as the single decked warships. I assume many of us have the same disease/problem.... As soon as I finish the Halifax then onto Pride of Baltimore II then I can fix/complete the Constitution then goto the Rattlesnake then the Fair American then the..........haha A lifetime of building ahead...
 -
Its been shelved for a couple years now but I also remember a bit of asymmetry with the bulkheads. The LSS practicum helps a lot with those types of things but it does deviate from the kit supplied instructions quite a bit.
-
There is probably one somewhere on a a shelf or in a closet someplace.
-
The Constitution is in my queue so i will be following along with ya here. I had started this using the LSS practicum but it met an unfortunate accident and I need to try to rehab the hull a bit before starting again. I think someone in the "yellow stripe" thread mentioned something about a pending renovation that might change the number of stern windows. I am interested in what will come.
-
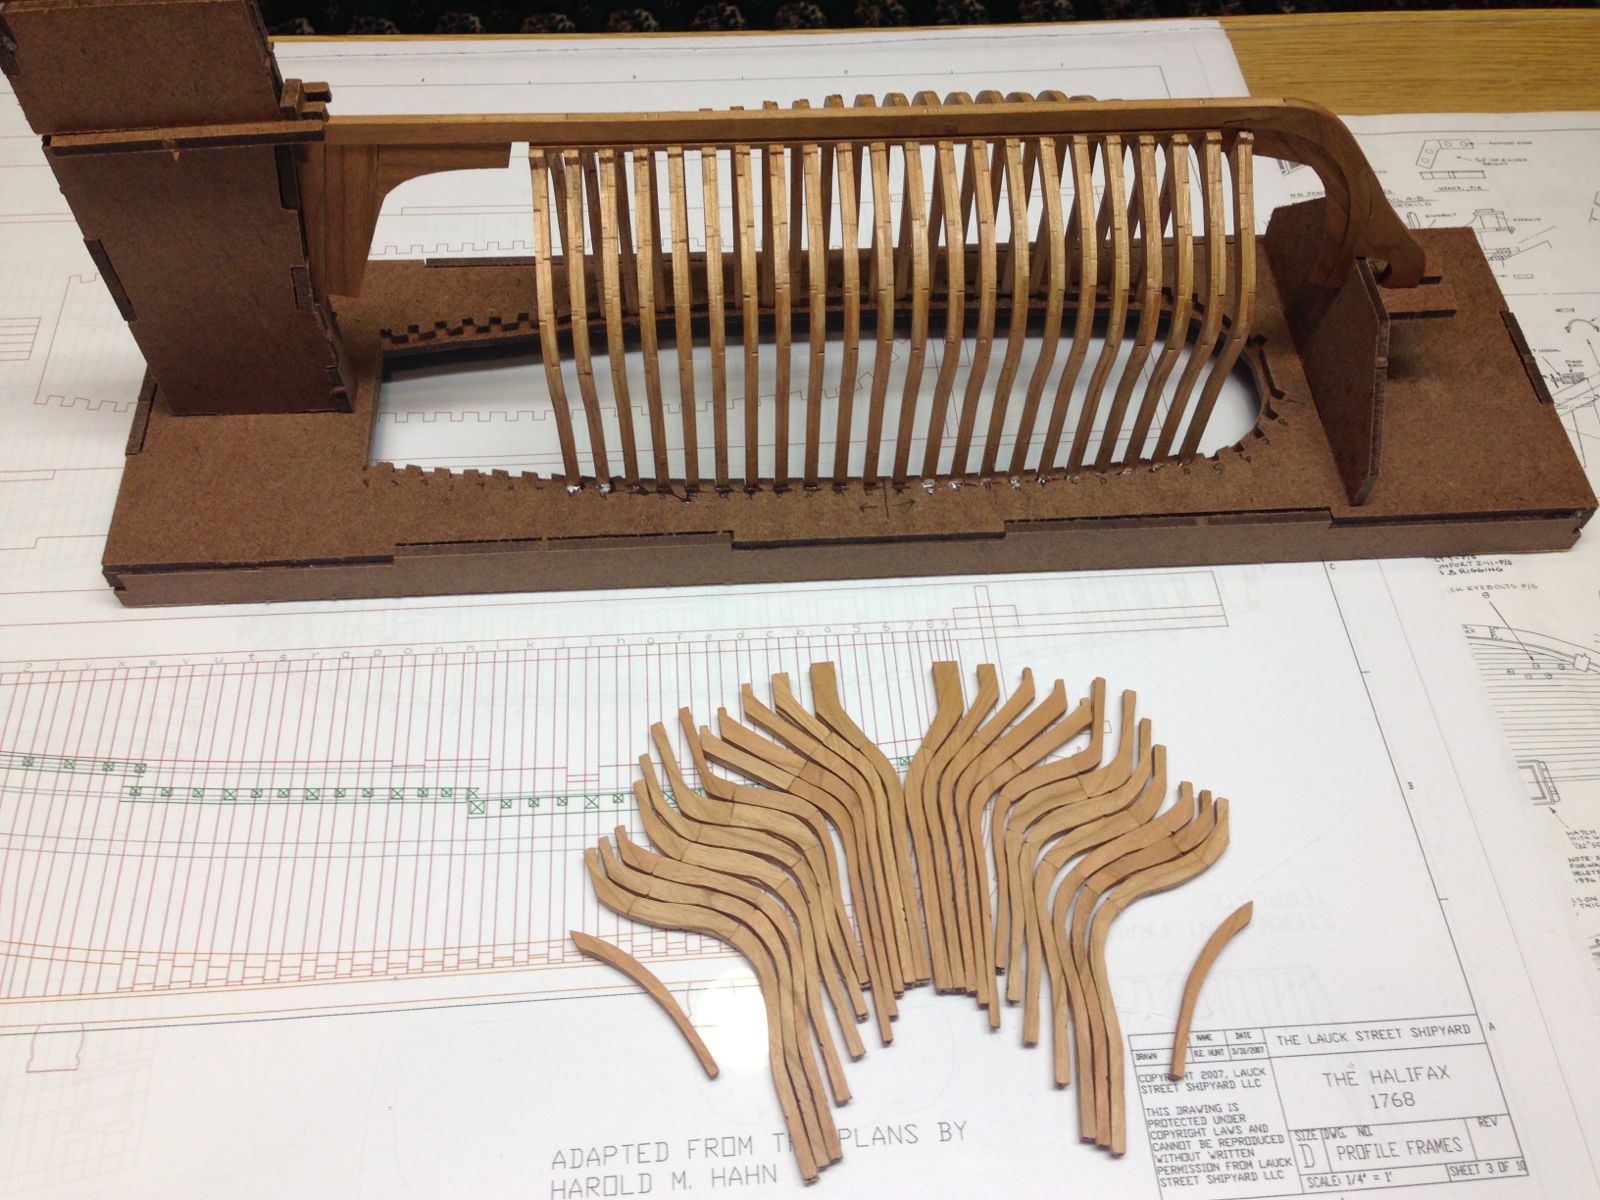
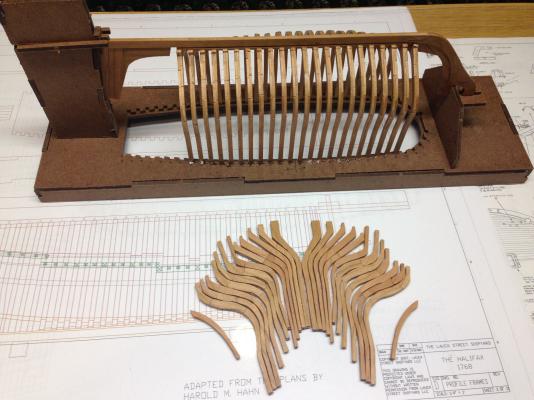
Yup all of these are going to be sanded down eventually. I think they are there to add "bulk" in the manufacturing/cutting process so there is less risk of accidentally breaking off a point or breaking a thinner piece. Its always easier to take a bit off than to put some back i guess.
-
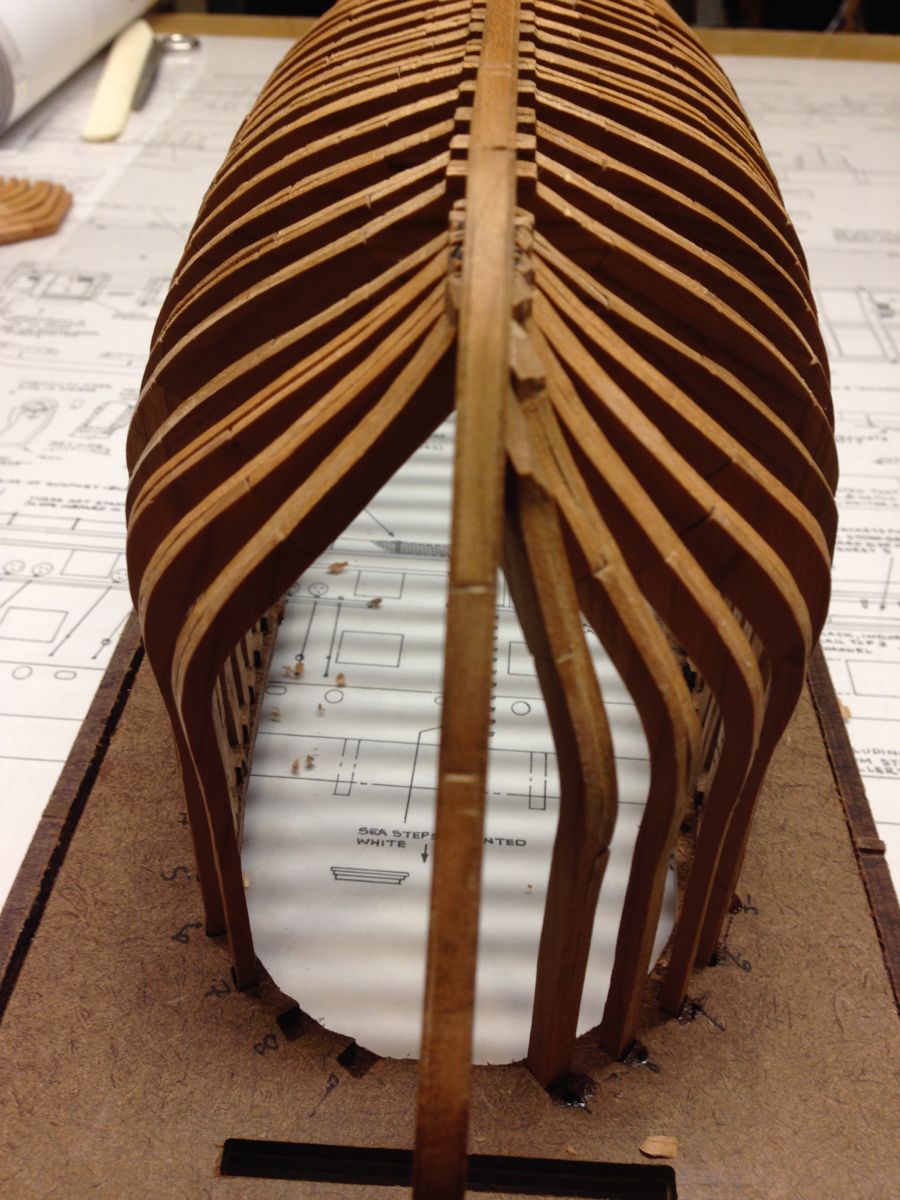
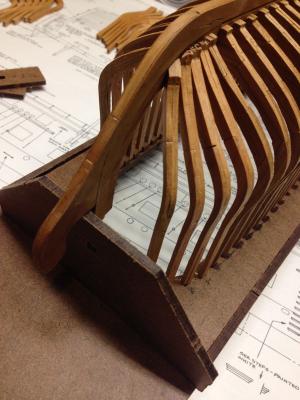
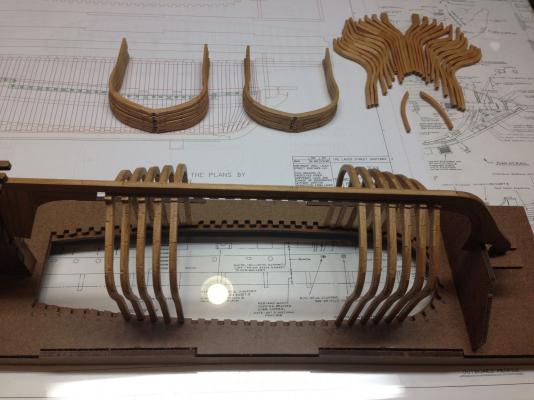
Starting the bow frames. I first roughed them in then dry fitted the lot before setting them in. There is still a bunch of sanding to do. I will let these dry before finishing that step.

-
I don't know about that specific brand of paint but I have buffed with 0000 steel wool to dull the finish a bit. Sometimes that works a bit.
-
Thanks everyone! This is such a learning experience. I am glad I found this site again. I think looking though so many logs here has helped me with my "right/not-right" eye.
-
I just received my copy of The Baltimore Clipper today from amazon. So far it looks very interesting. Will look up the Search for Speed when I get a chance.
-
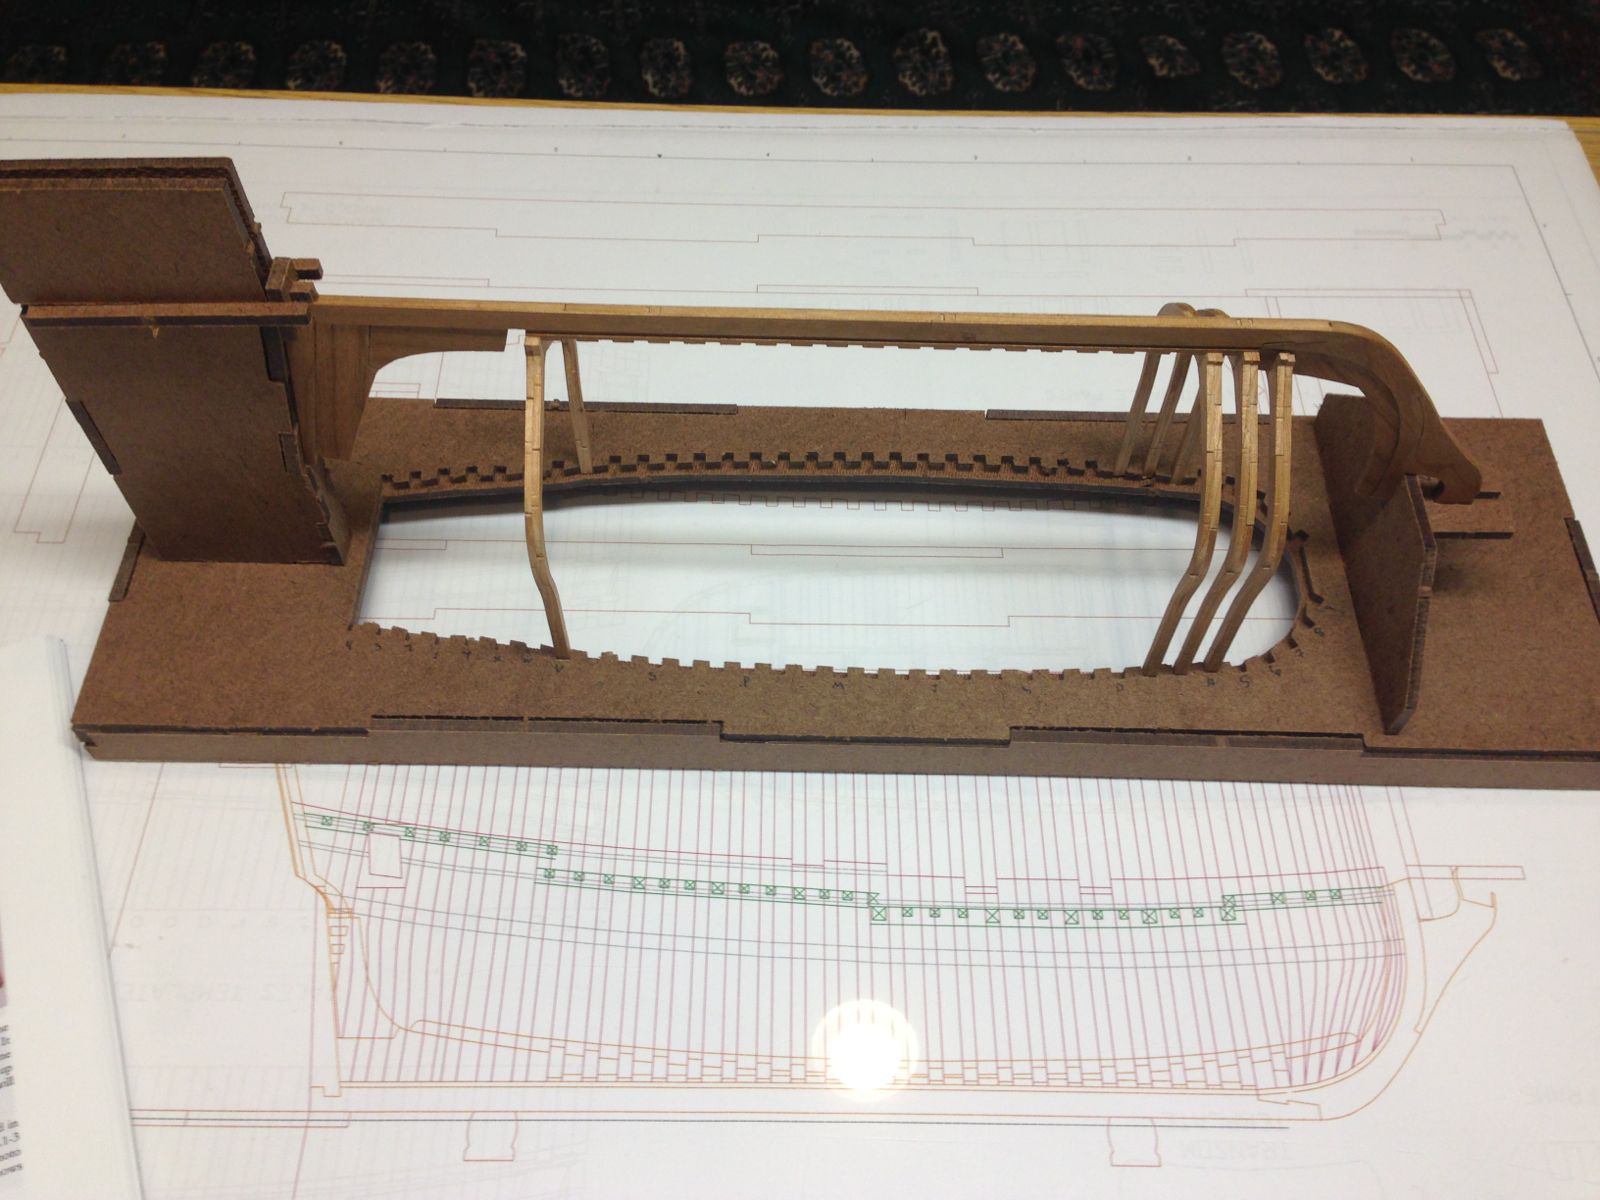
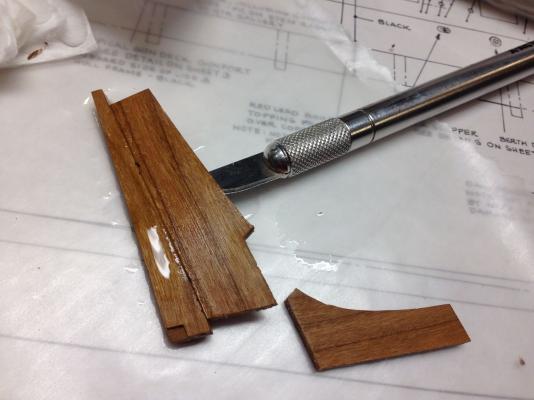
Ok, first major mistake! I was looking forward to placing the half frames on the stern area and I kept coming back to the area just posterior to the last full frame. Something didn't add up. After going back to the plans and going over some photos in the practicum I finally noticed what I had done. Apparently when build up the stern post I had switched the 'deadwood' (term used in the practicum) around. Having switched this "around" I had inadvertently left a gap between the deadwood and the rest of the keel. You can see this in my previous photos as well as here. So I used some 91% isopropyl alcohol to soak into the glue joints and was able to debond them. Unfortunately I did break a very small piece of the sternpost off. It was then a simple matter of letting them dry, sanding and fitting the pieces back together. Welp, you live and learn. I think it looks pretty good for a redo. It makes more sense as well.


-
Simulated caulking
MEDDO replied to Nirvana's topic in Painting, finishing and weathering products and techniques
For an unstinted deck I have used a pencil on the the edge and for a darker stained deck I used a black sharpie pen on the edge. Both came out pretty well. -
I always thought this would be kinda cool to do, but not sure if there is any place to sail near me.
-
Very nice build so far. Will be following along, interested to see the rigging go up.
-
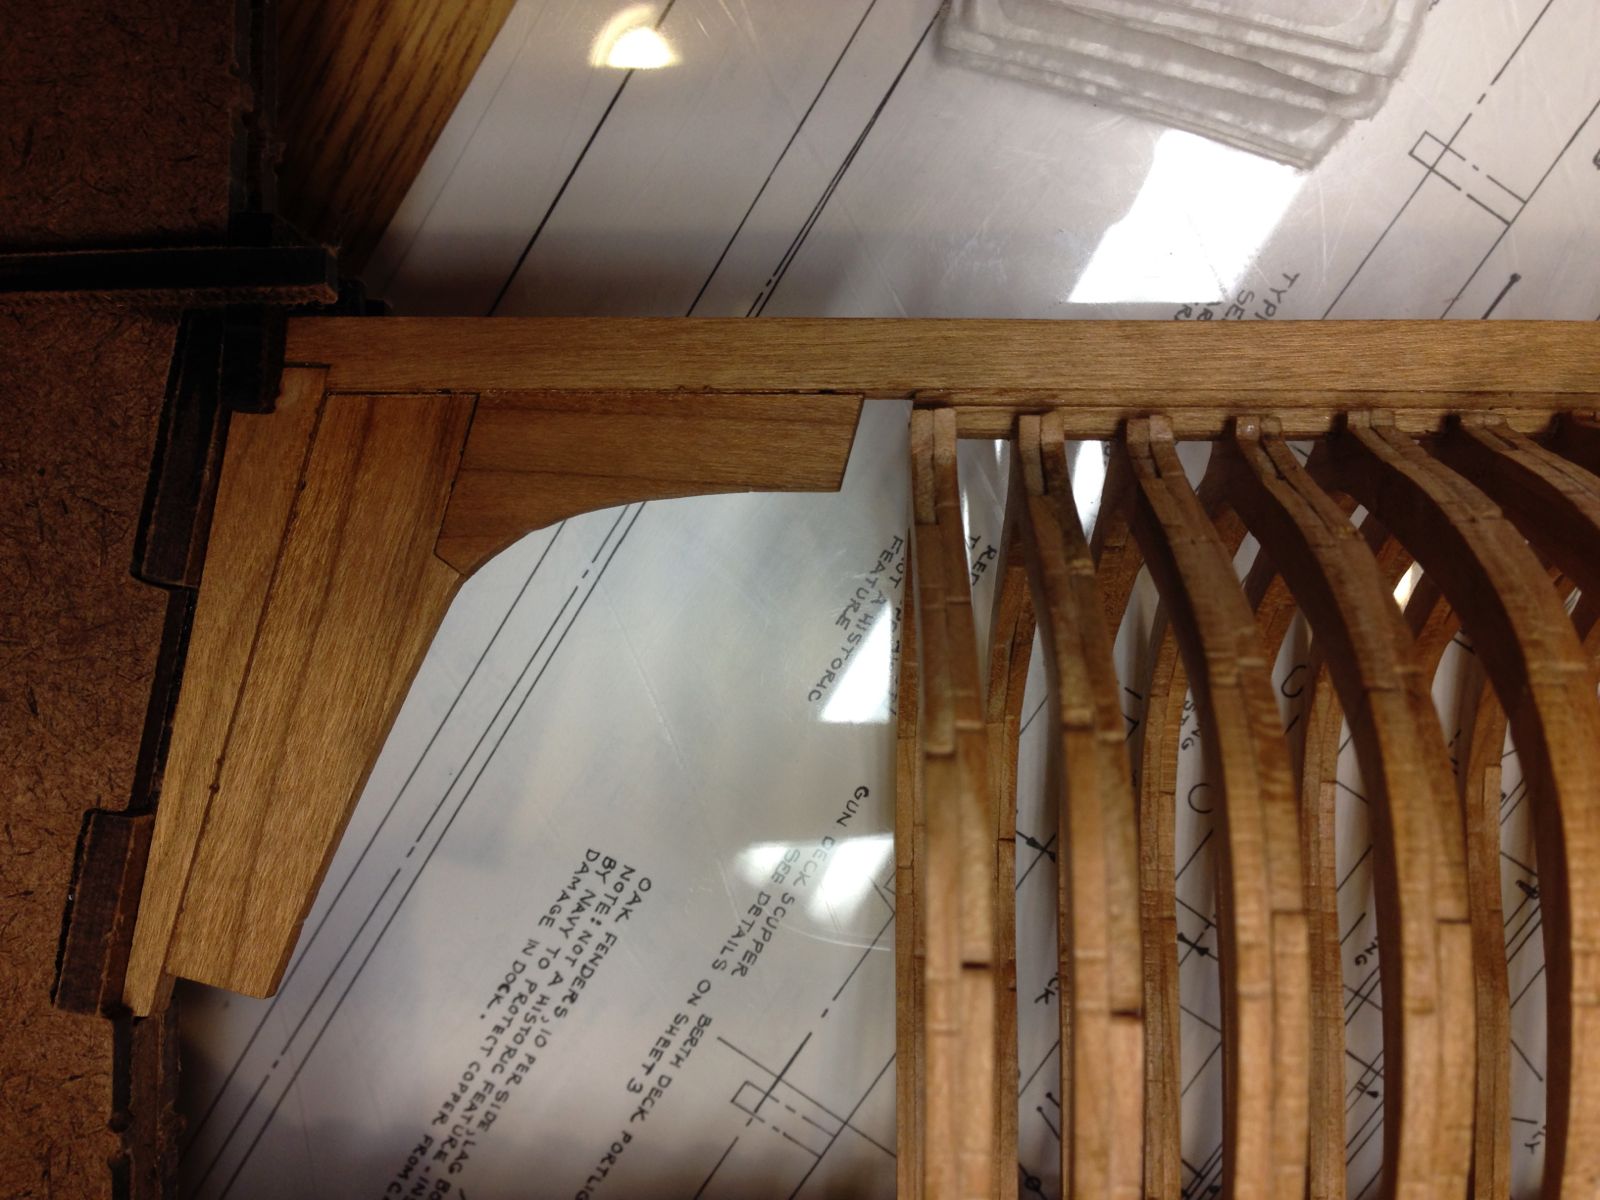
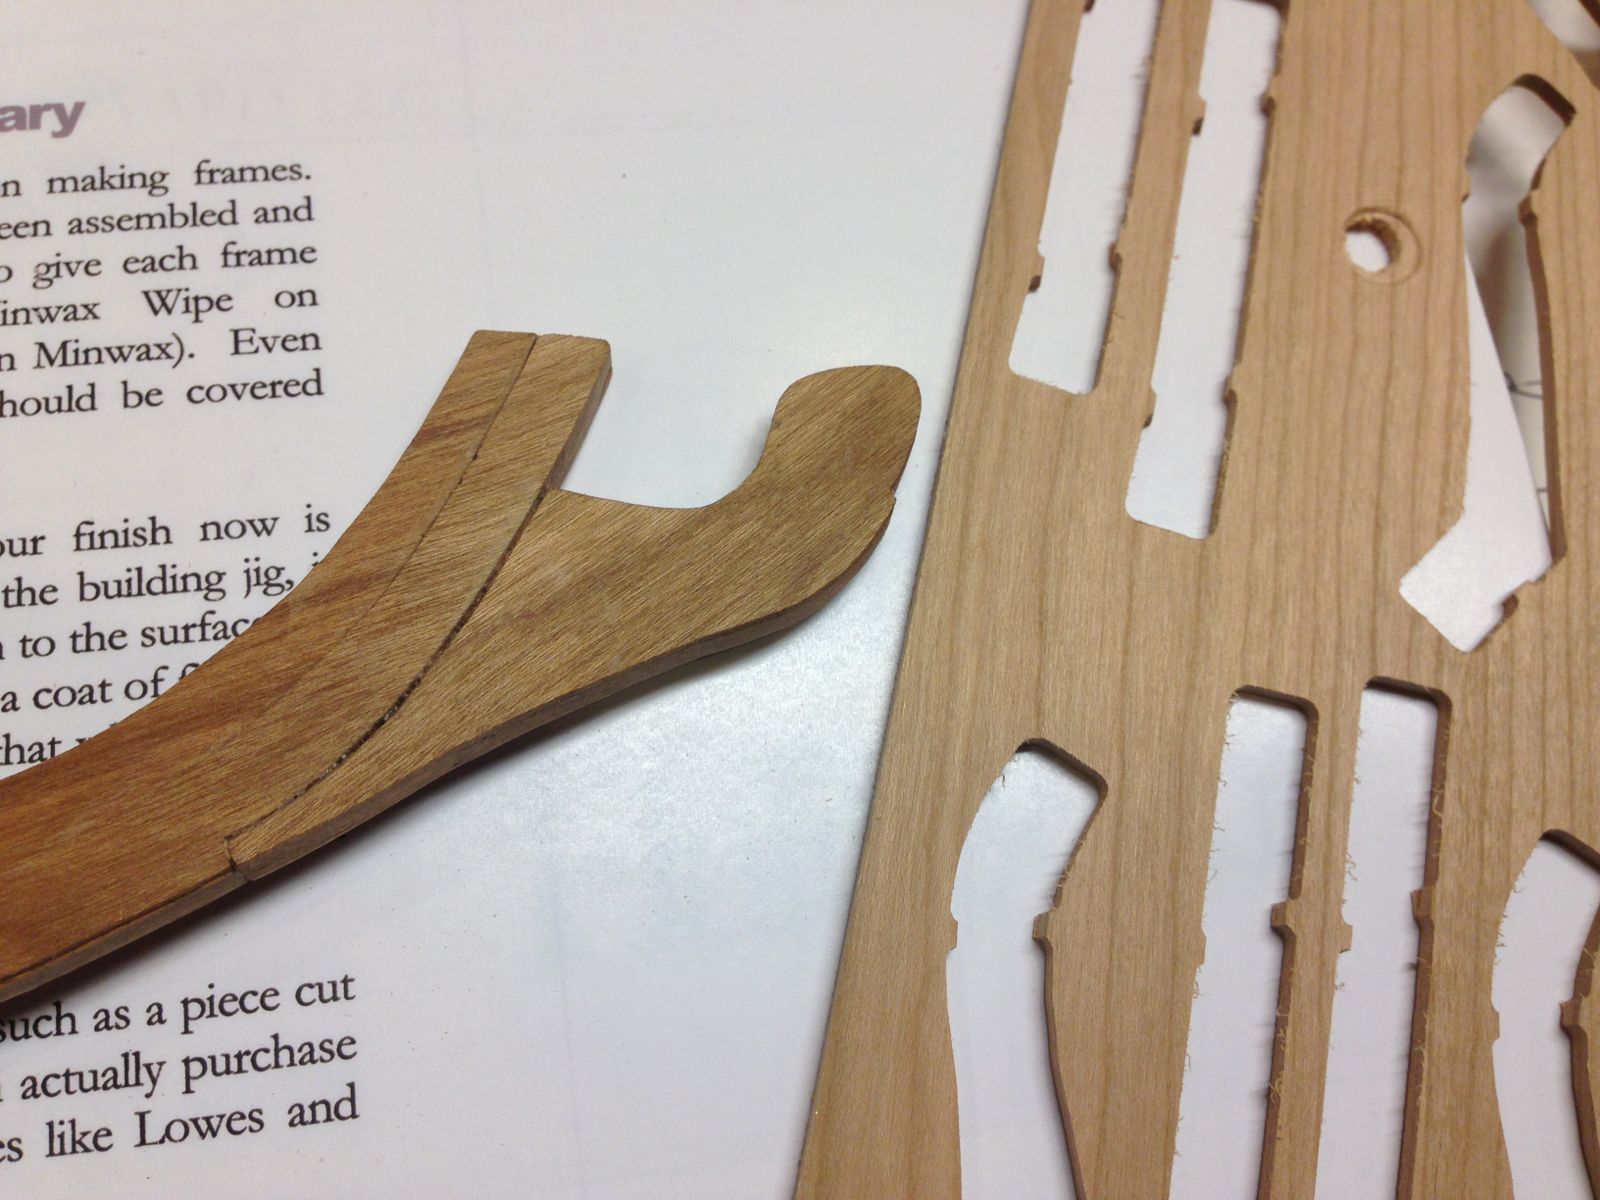
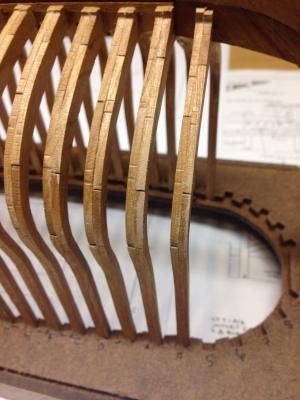
Actually the poly is more for the sides of the frames as once they are installed there is a really small area to work with (only 1/2 cm or so between the frames) if I was to do that later. Also now when I am sanding/fairing the inside and outside of the hull I can see exactly where I have sanded as the poly does sand off nicely. It can be reapplied after fairing and is no problem blending into areas which were previously poly'd. I did just a few passes with the sanding stick on the second frame here and i think you can see in the picture where the poly was sanded off versus the area where it was still present. Oh My! The close up pictures really shows up the gaps and scratches....
-
I also have the LSS kit bash Rattlesnake in my queue. I love seeing this. Keep up the great work.
-
Eventually going to proceed to scratch building. The plan is to do a few kits then maybe heavily bash a kit then move to a Lumberyard timbering set. Eventually moving to a scratch built section then a full scratch build...... (It will take a few years)
-
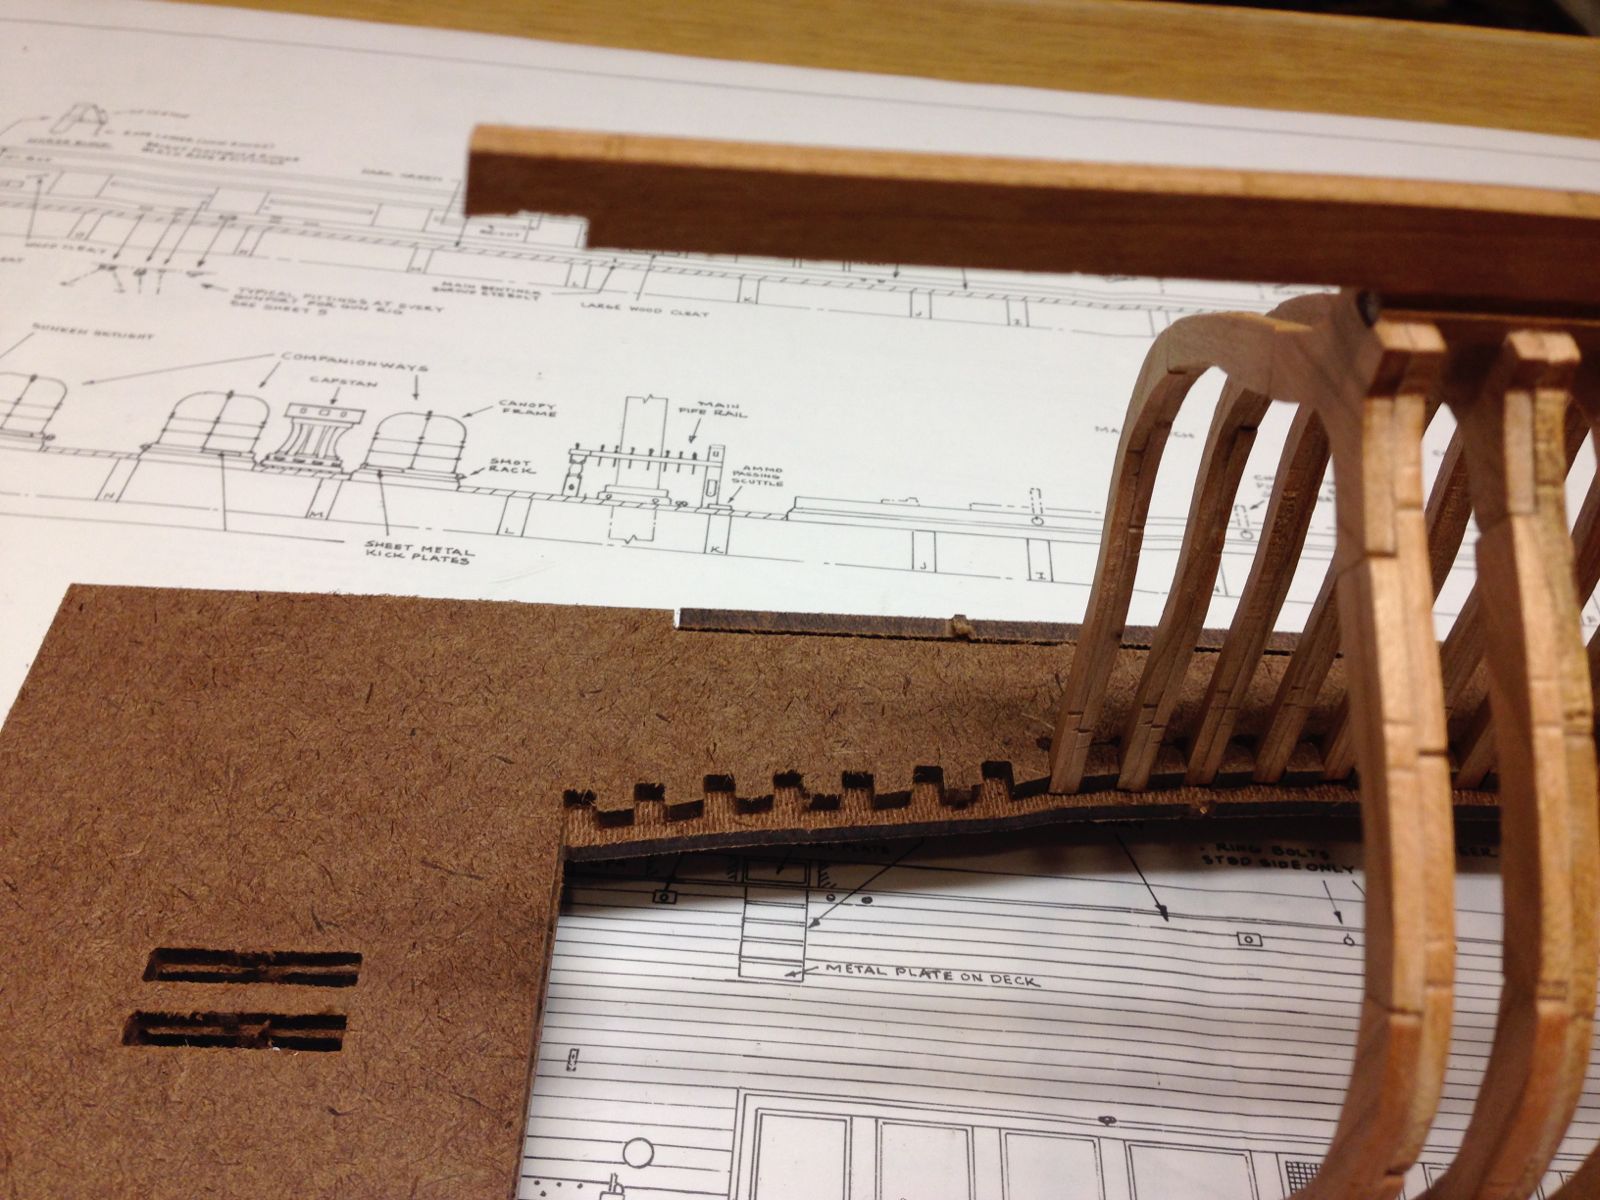
So taking a break for the rest of the night but I will be reading ahead to see about the cant frames.
-
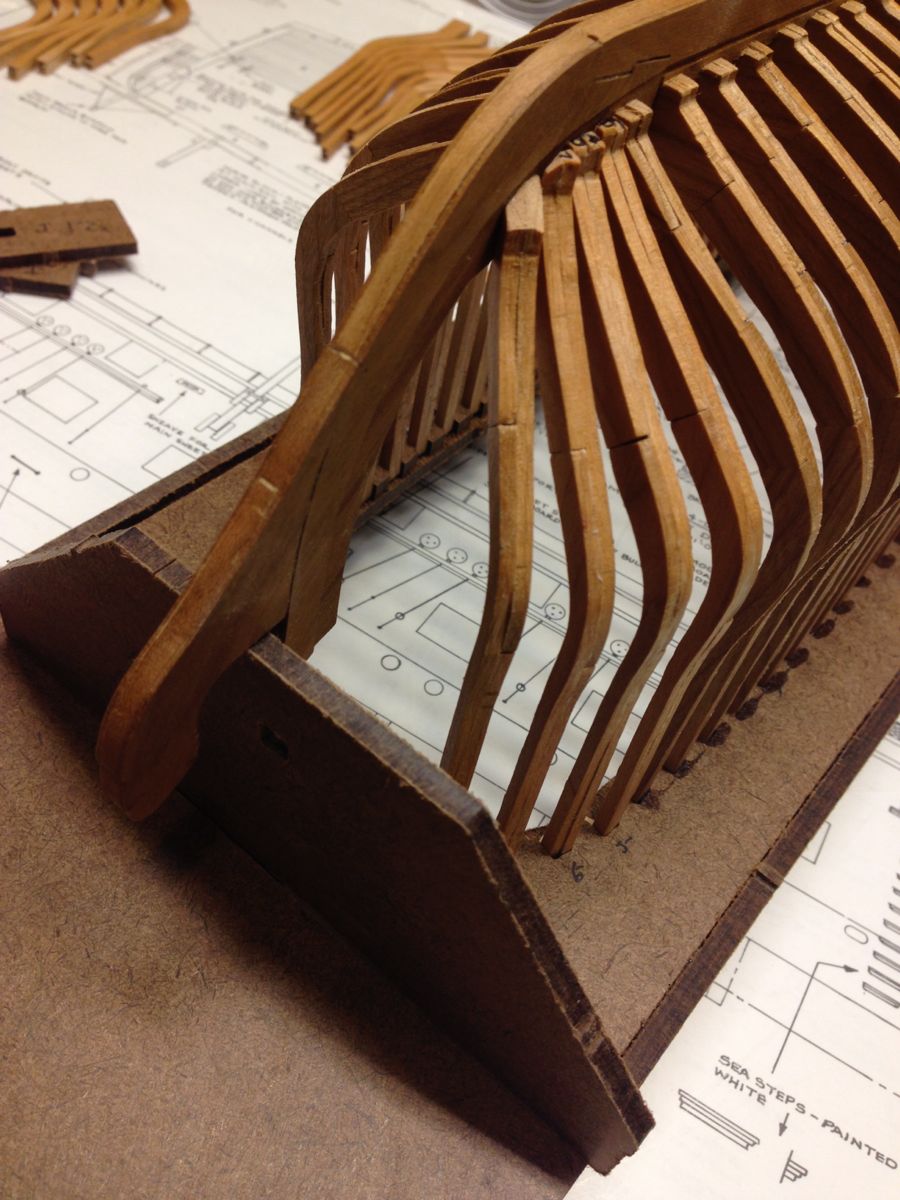
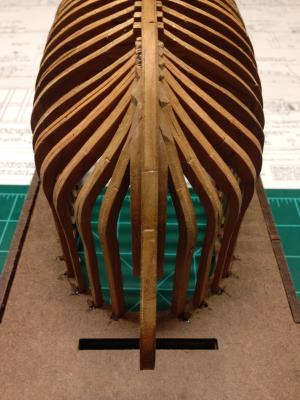
First couple of frames placed! Starting to look like a ship! I should be able to get the rest up tonight. Then start the work on the cant frames which are going to be a bit harder I think.

-
Luckily, I will be visiting Australia some time in the next few years. I have family living in Sydney so that will be a nice place to stay with nice built in tour-guides.
-
I know I should of bought all the other ones when I had the chance. Luckily I have a Fair American on the shelf waiting.
-
I know this is an old thread but I just started to do this for my books (with Brodart brand) and it is working out great. Thanks for the tips!
-
I am originally from Baltimore and always loved going to see this ship in the inner harbor. I will be following along with your build
- 116 replies
-
- 1
-

-
- constellation
- artesania latina
- (and 1 more)
-
I have always used old t-shirts for the wipe on poly. (I basically have a lifetime supply from my time in the military). They seem to work great and don't ever produce the "fuzz".
- 137 replies
-
- 1
-
-
- finished
- model shipways
- (and 1 more)