MEDDO
-
Posts
1,871 -
Joined
-
Last visited
Content Type
Profiles
Forums
Gallery
Events
Everything posted by MEDDO
-
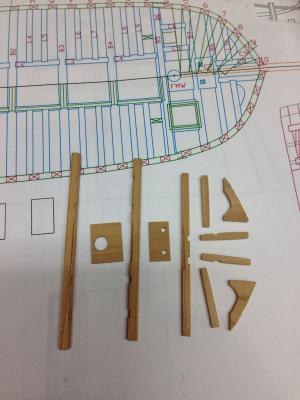
 So I took a pice off the end of the frame blank and then shaped it roughly. After filing cutouts into it it seems to fit reasonably well. I need to thin it out a bit as it seems too think compared to the other beams.
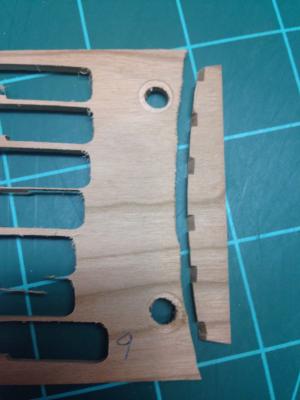

-
Thanks for stopping by Grant. I have the first 2 fixed up and now working on the number 3. Unfortunately 3 wasn't quite as easy as 1 and 2. Fix one And here is fix 2 with the supplied part for reference (I think the picture makes it seem shorter then it is)

-
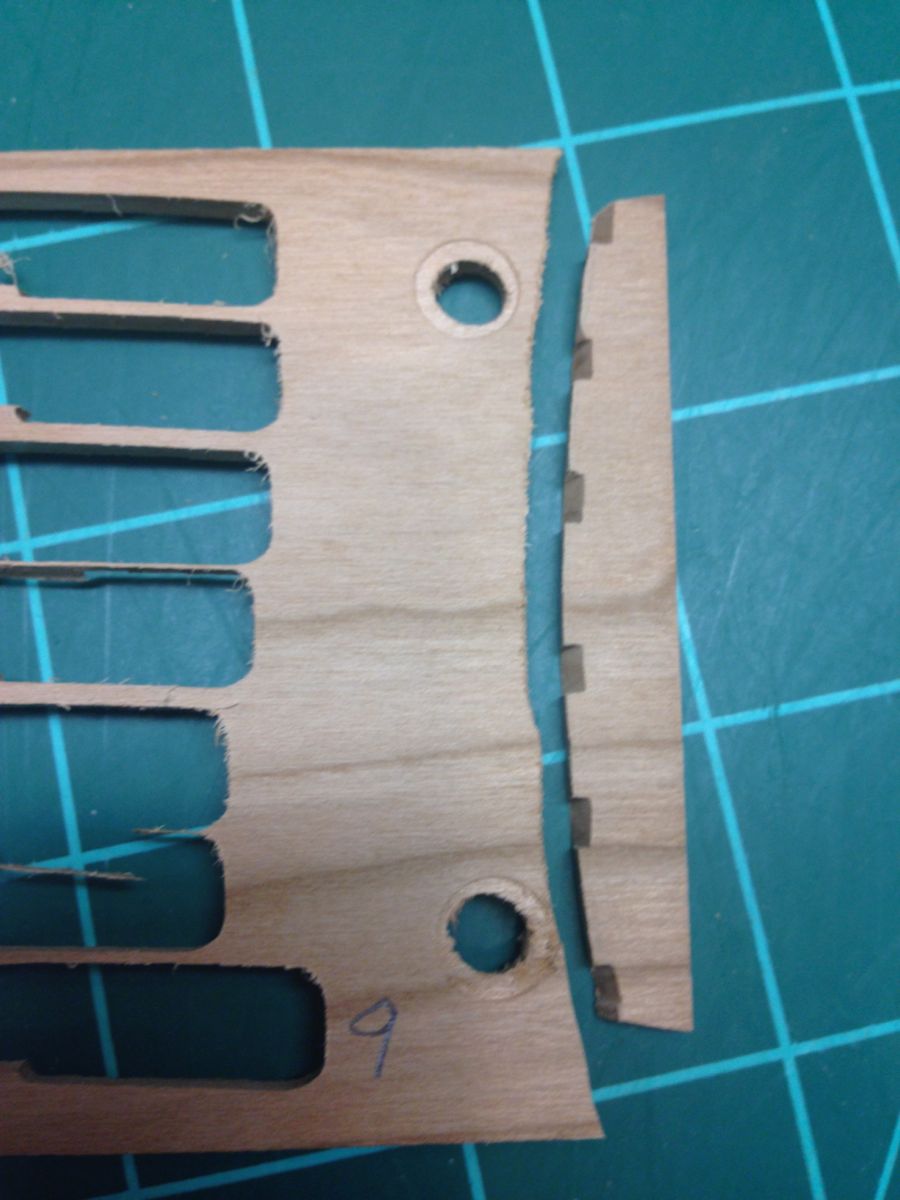
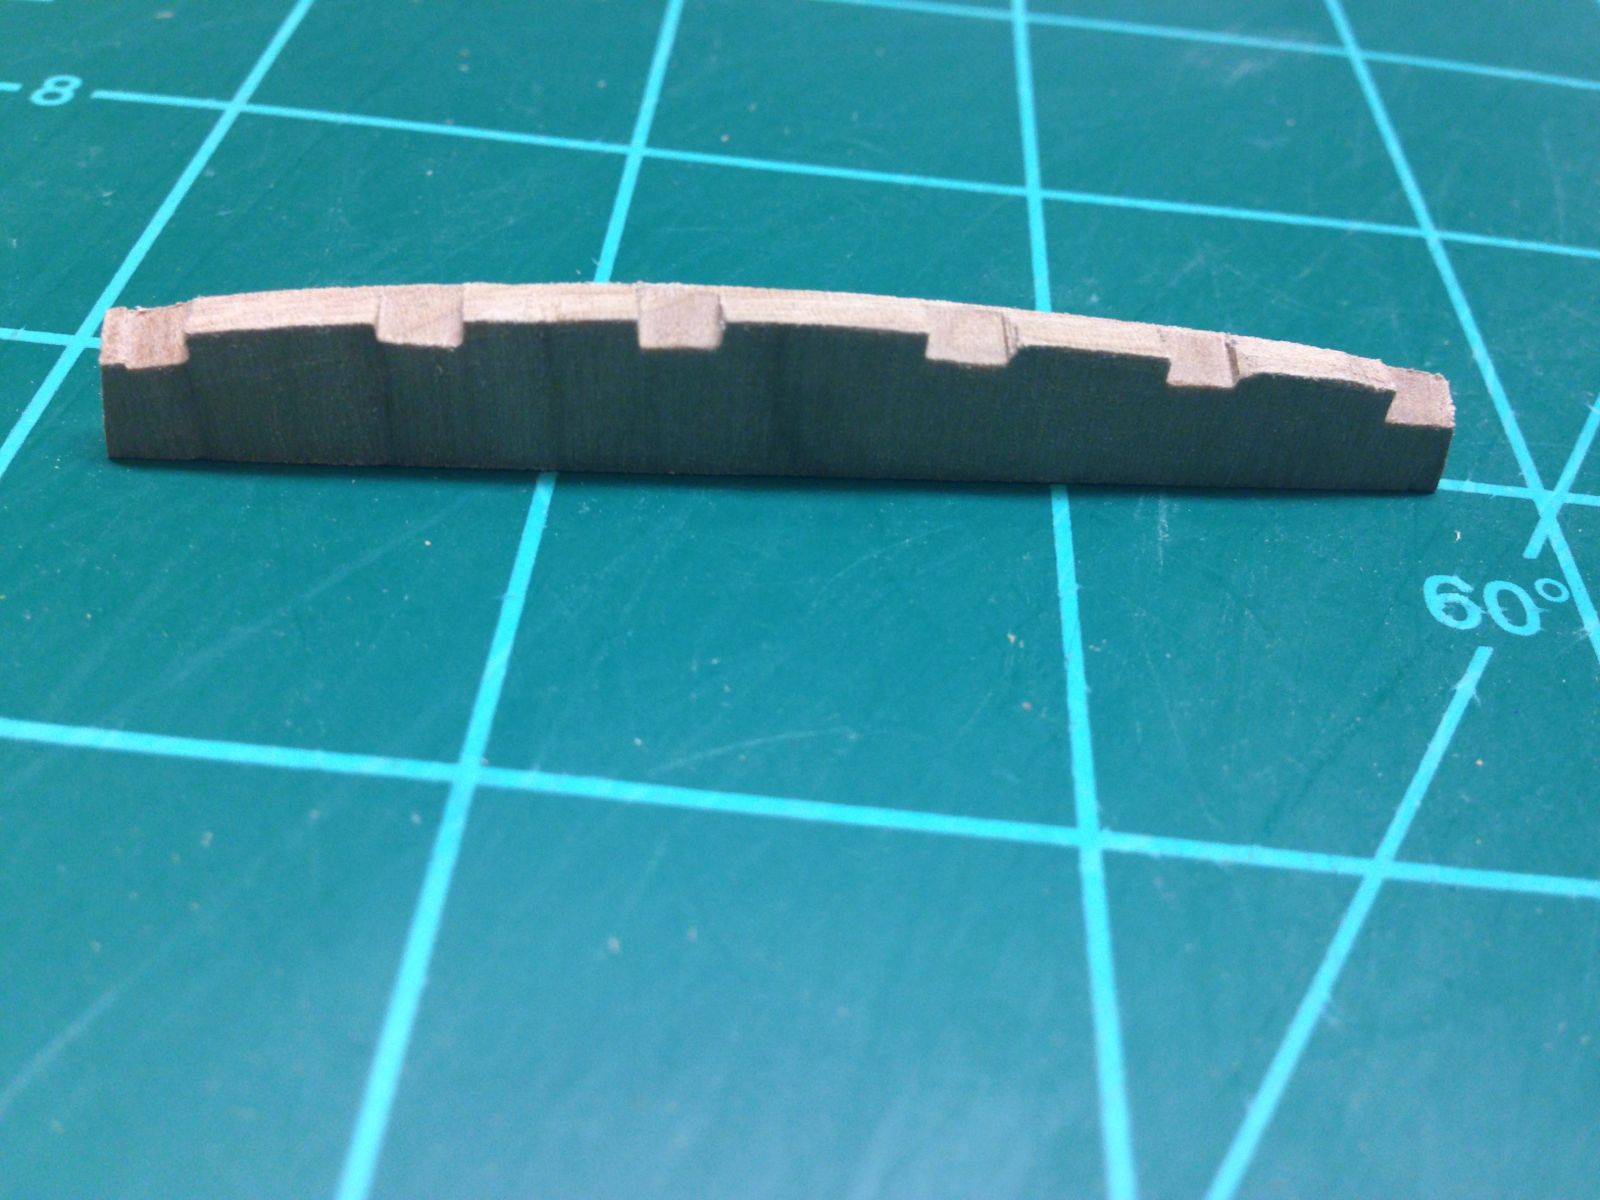
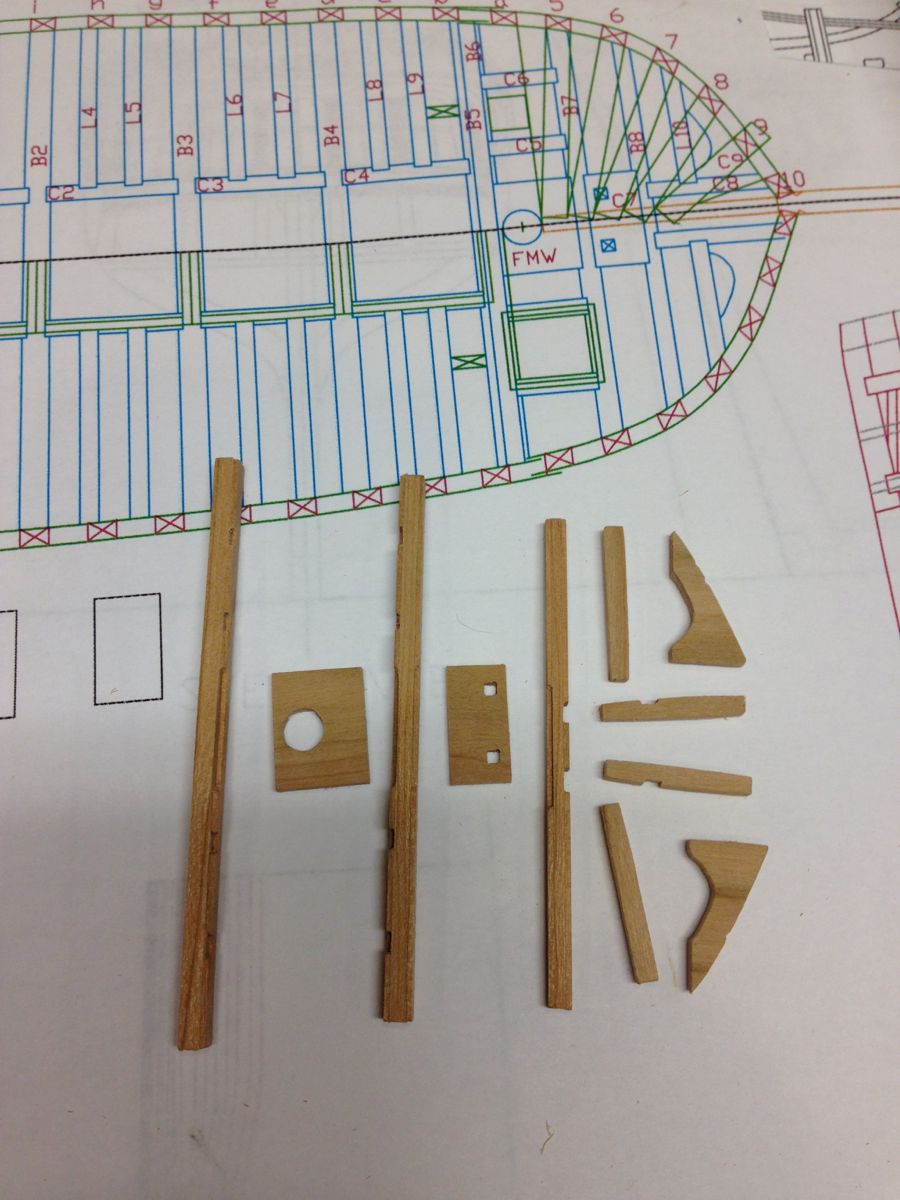
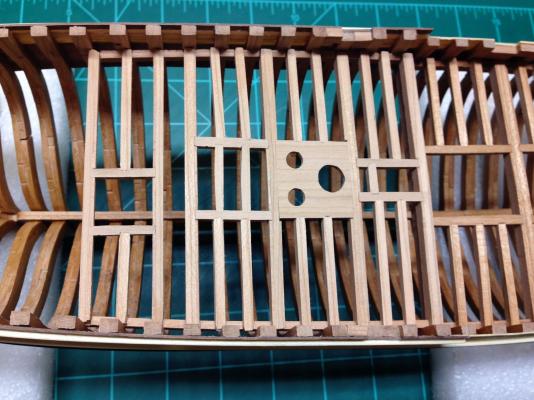
I have run into a few problems here. The poop deck was supposed to be the "easy" one. Only a few beams, no carlings or ledges or other openings.... Thats were the problems began. 1 The deck clamps that the beams sit on where too long for the space. Even if I "curved" them upwards to eventually join higher up the transom they still came out too long. Ok, fine. I cut them down after checking plans and rechecking, as well as looking through all the photos on the photo cd. O well, just sand to fit I guess. 2 The first couple beams went in fine with no problems but the last 3 turned out to be too small. After checking the plans and parts lists and pictures again I just don't know what happened. It seems the stern of the ship is too wide or these parts are too short. I even measured with the original building board and from the plans directly and the ship seems correct. The only thing I can think of is I somehow widened up the stern. Sloppy work I guess... So my first foray into scratch build had me cutting out 3 new deck beams. Oh no, can a scratch build of Bonhomme Richard be far behind???... Somehow I don't think so. 3 And finally the last frame which is supposed to be up against the stern. It is made from 2 pieces laminated together then sanded to a trapezoidal shape from the side view. The problem comes is my transom is slightly curved. This is a real weird thing. The plans have the transom both ways. On all the side views the transom looks completely flat. But the top views on the plans have the transom curved... My transom is curved but the one on the photo cd is flat, including the one showing this last beam in place. So its back to the scratch building board I guess... Seems the section I thought was going to be no sweat really isn't. Haha!
-
Wow, very impressive as always.
-
Thanks! It does look nice I think. Still trying to work out how to plank one side and leave other side open. Think it's going to be the port side I plank.
-
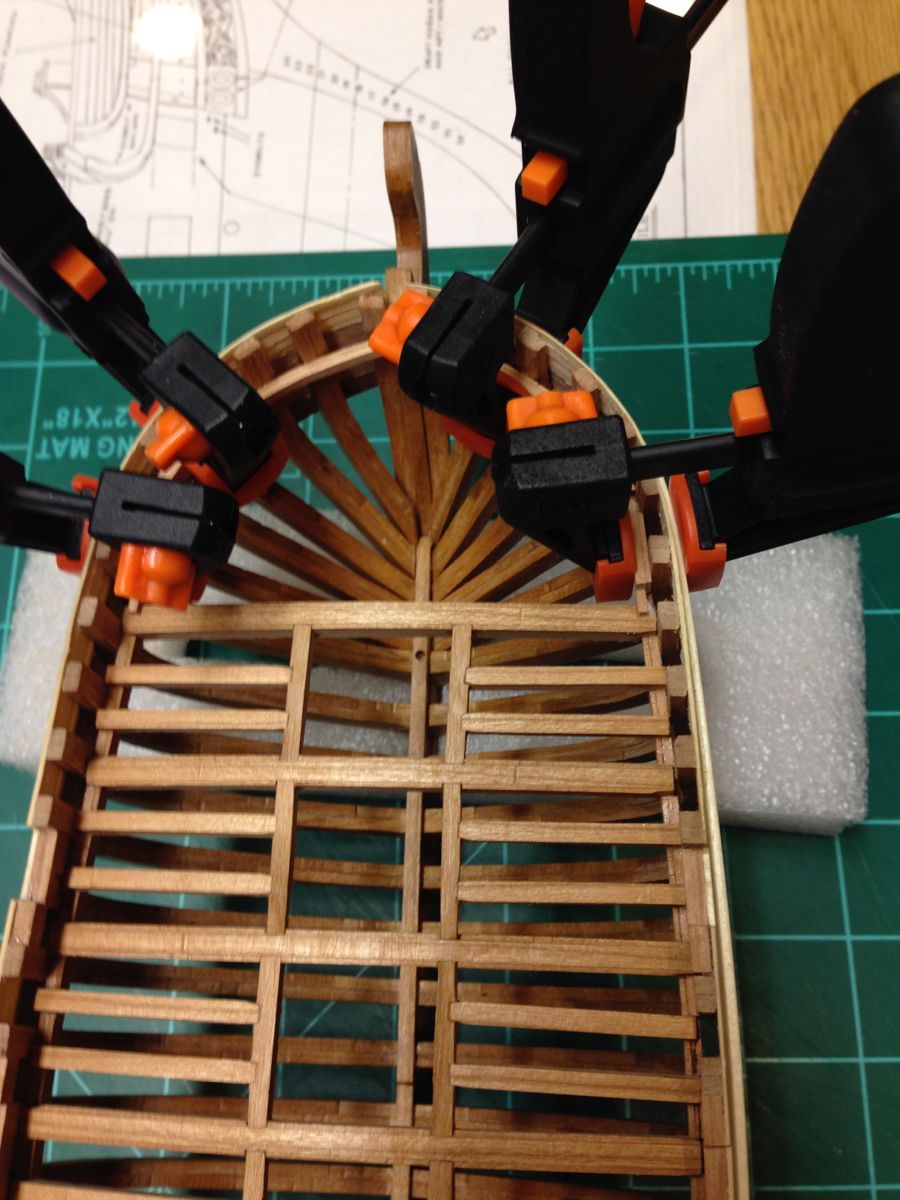
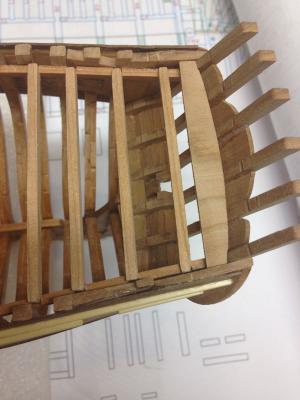
Ben, I did soak the pieces about 30 min before gently bending them and clamping them over the same plastic cups I used before for the planking. I let them dry about an hour and removed them. They did hold shape pretty well and with the lamination I was able to get them in there pretty well. I did use a small piece if curved wood between the clamp and the piece but I don't think you can se it in the pictures. A little fitting and the fore castle is complete. I am started to get excited for the next step.
-
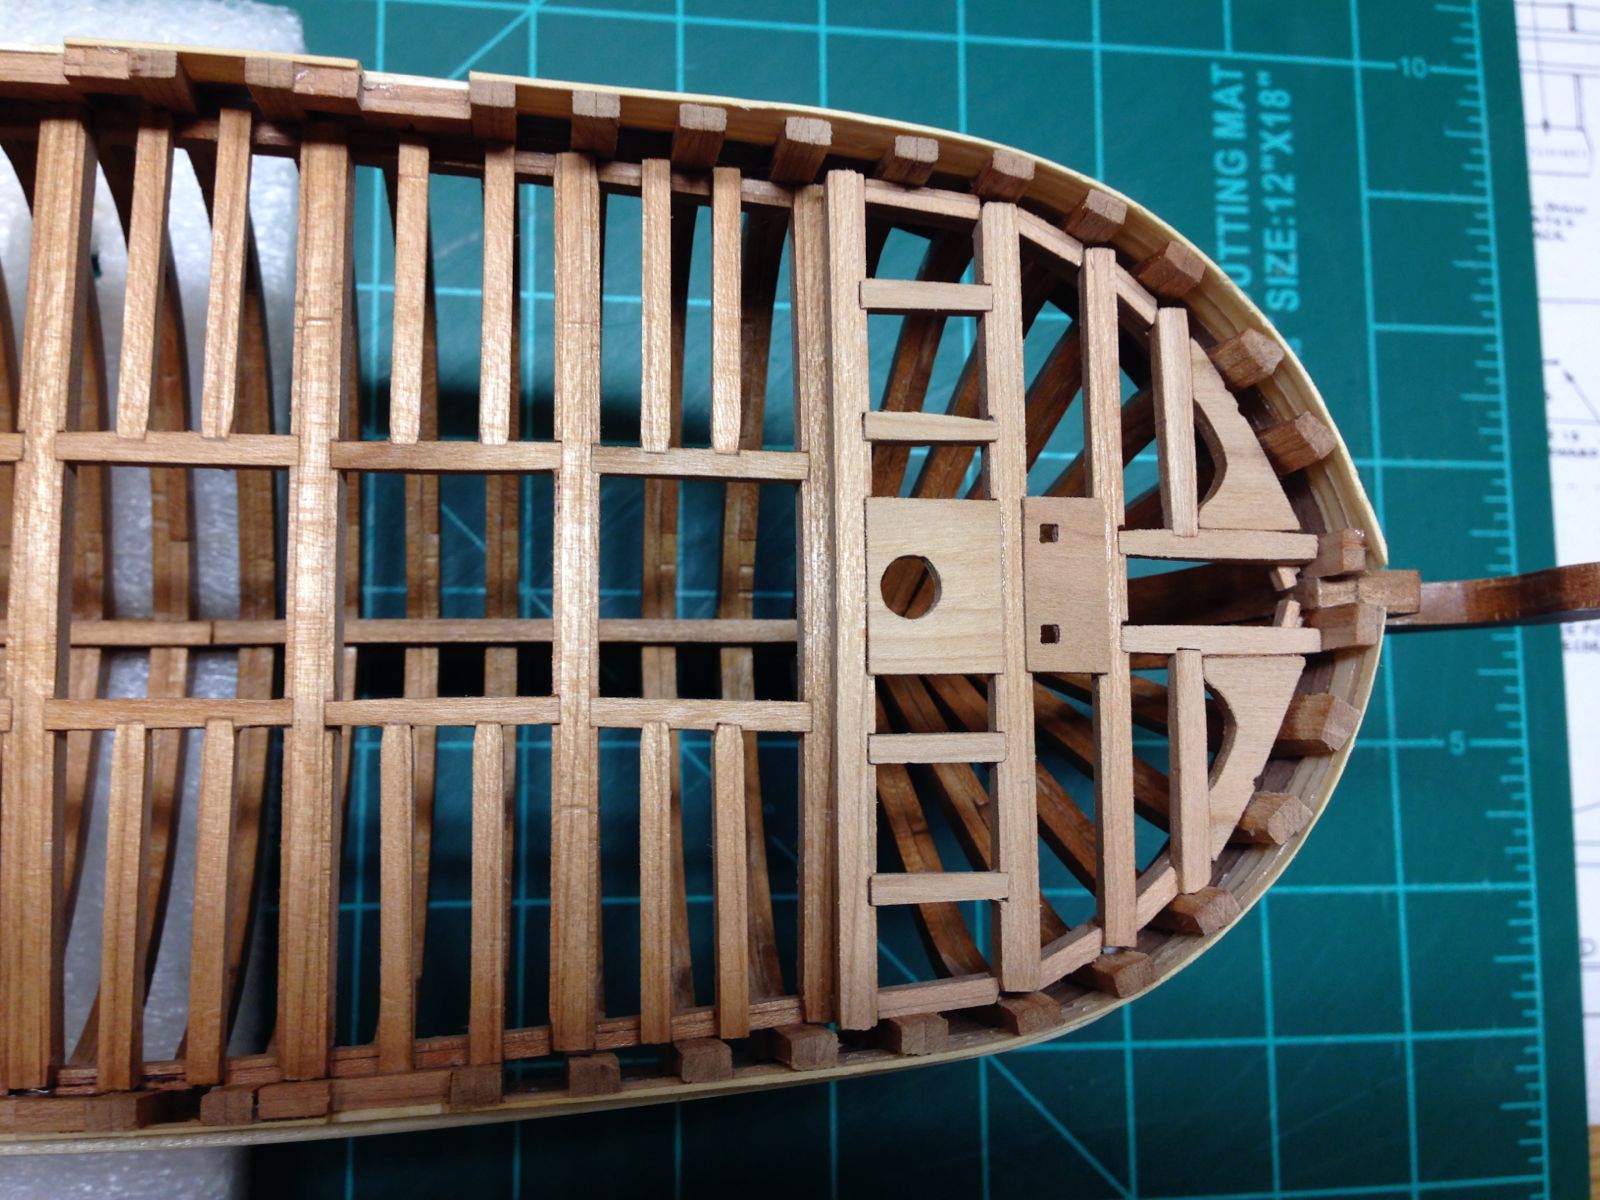
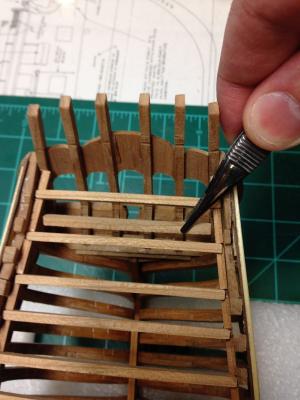
Last update for a few days as the nightshifts at work are coming. Still need to sand and even the forecastle out. The little notches and imperfections will be covered in future steps so I am not too worried about those. The poop deck is pretty simple just clamps and beams. So will work on that as time permits.

-
Thanks Pete. I removed the clamps this am and it seems they worked fairly well. Now going to get the framing done.
-
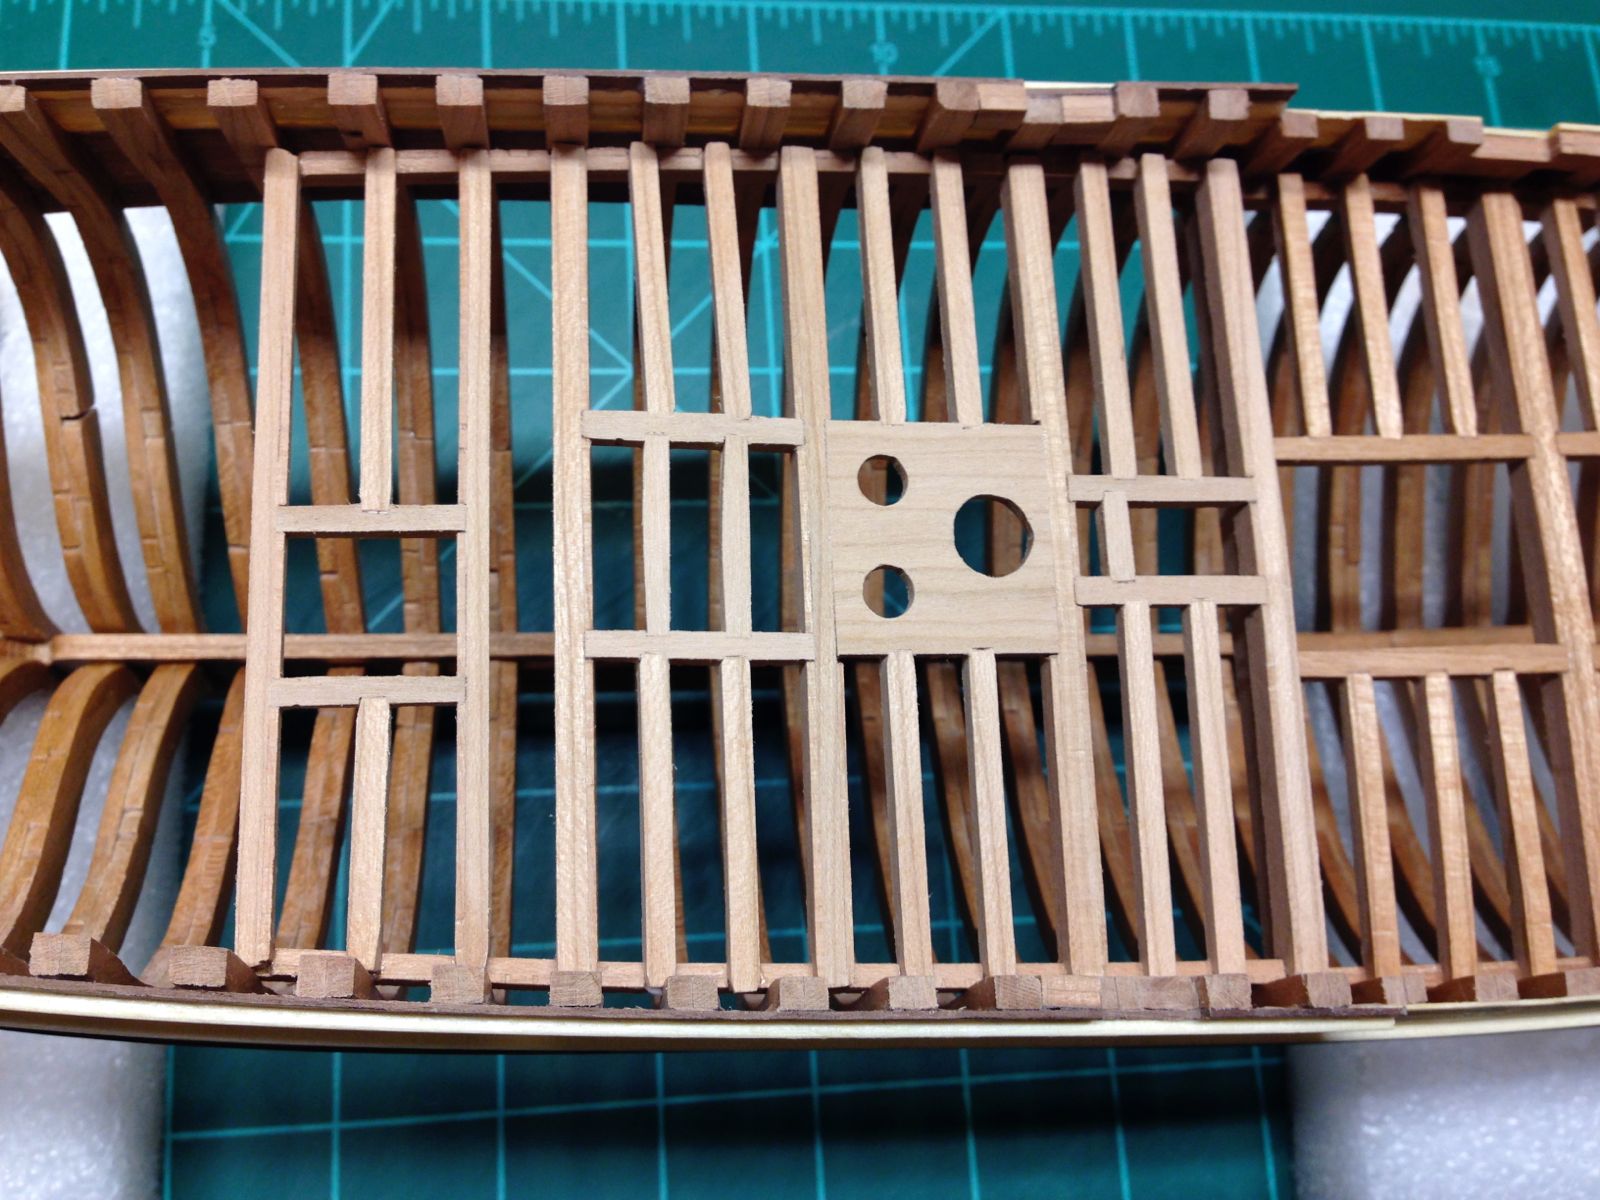
Wow, the forecastle deck clamps were a real pain to get in. Probably the hardest part of the build yet. They are bent inside the stem. At least they were laminated 2 pieces. I had a real time of it trying to get them symmetrical and bent properly prior to glue up. At least I had time while the pieces dried to prep most of the forecastle frames/carling/ledges.

-
Thanks Bob. Seeing what is possible with a kit bash from your Essex has me thinking a bit outside the box/instructions. Maybe it is beyond me, maybe not
-
Thanks Patrick. I think that would be the best option. I will have to think about it and decide what to do . I luckily have a bit more time before I get there. If I do half-plank then I will probably leave off the cannons on the unplanked side and fully rig the planked side cannons. (the plans/instructions leave these as unrigged). This also leaves me with 3 "spares" so when I inevitably botch it I can retry.
-
So I am barely to the end of my The Sailing Frigate by Robert Gardiner and I come home today and see on the counter this fine book. I have read the first few pages and it looks really nice. I also agree that it would be nice if the publisher would not span the gap with pictures/plans. Other than that it seems like a solid effort. Will check back when I have had more time perusing this.
-
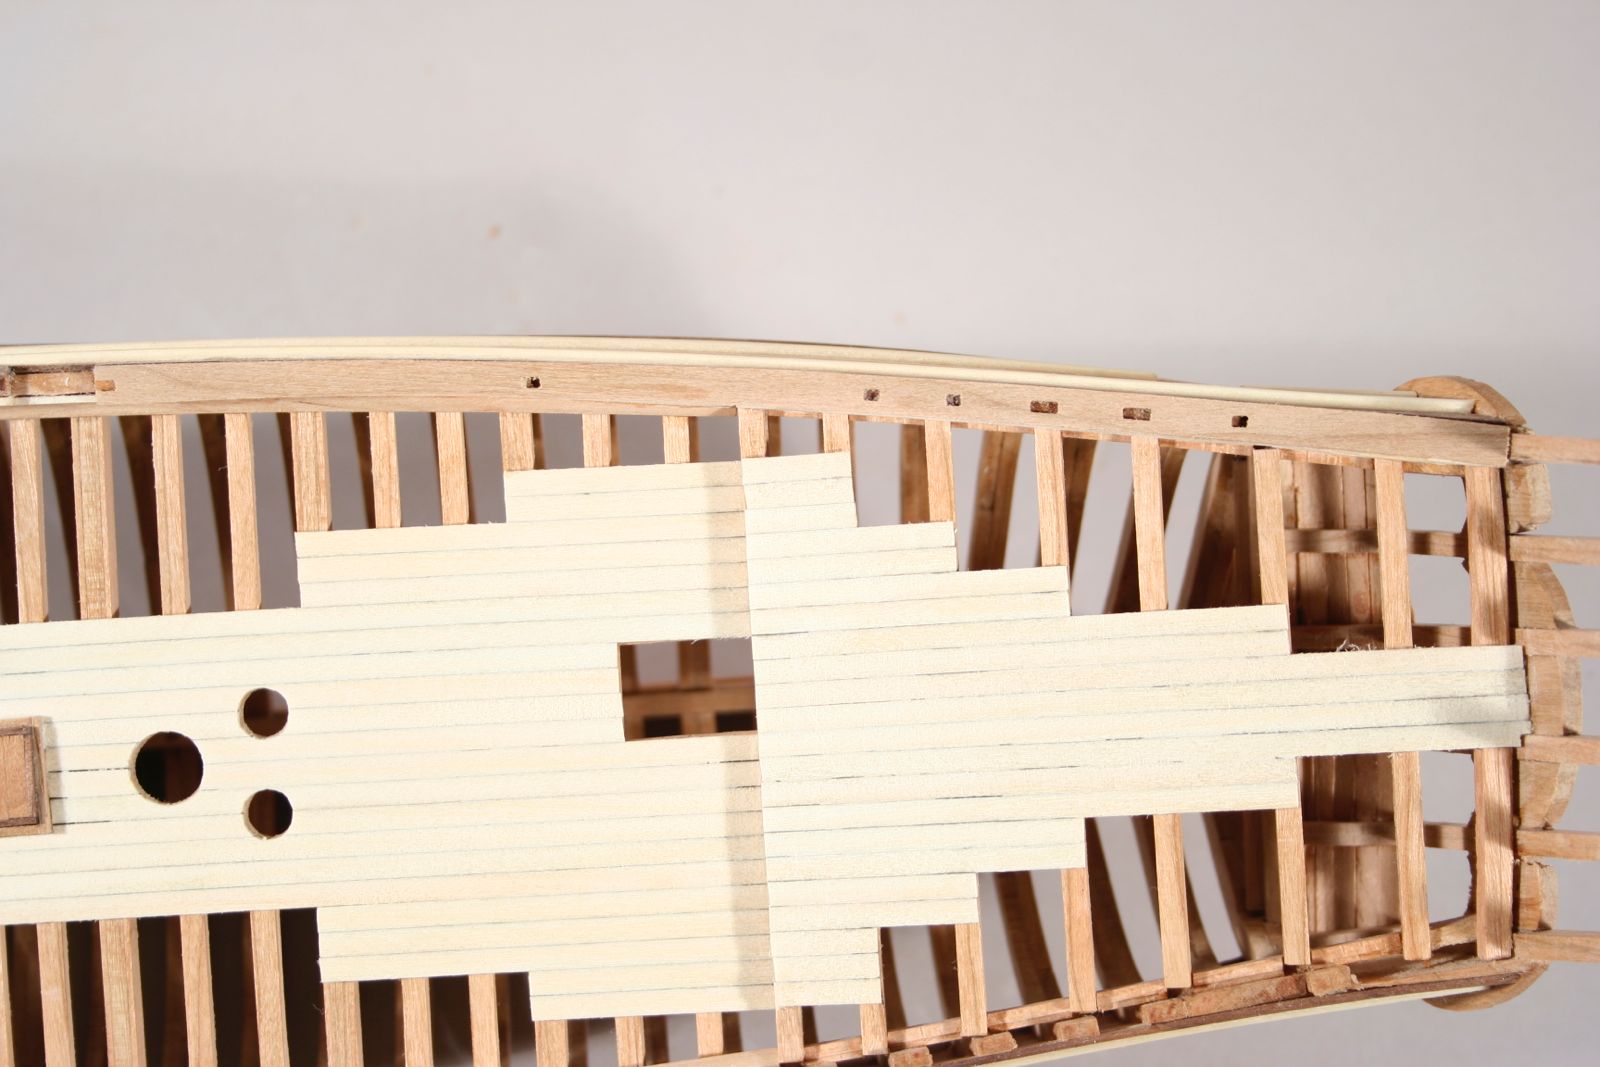
Finished dry fitting the quarterdeck. It is a shame that so much of this deck will eventually be planked over. There is some of the deck left unplanked but I may have to modify it when I get to that step. Ultimately it will look like this if I follow the instructions This picture is from the image files by Bob Hunt

-
Wow Pete, this is looking really great. I've enjoyed following along with all of these builds with you.
- 296 replies
-
- 1
-

-
- herreshoff
- buzzards bay
- (and 1 more)
-
Thanks Jason. This one is from the Lauck Street Shipyard which I do not think is associated with the Lumberyard. But it is no longer produced (see post #4 of this thread). The plans in this kit were adapted from the Hahn plans which I think the Lumberyards is also based on. I don't know if anyone around here has used the timbering set available from them. It seems that may be similar but I really don't know. Hey maybe some day I will build the Lumberyards version and give a head to head comparison... Who knows? Stranger things have happened.
-
Thanks Pete. Like all of us I am sure, I look at this and see where I made mistakes and could of done better. So far she's coming together well enough for my second full build. b.t.w. I really like your Herreshoff builds, the planking is ver impressive.
-
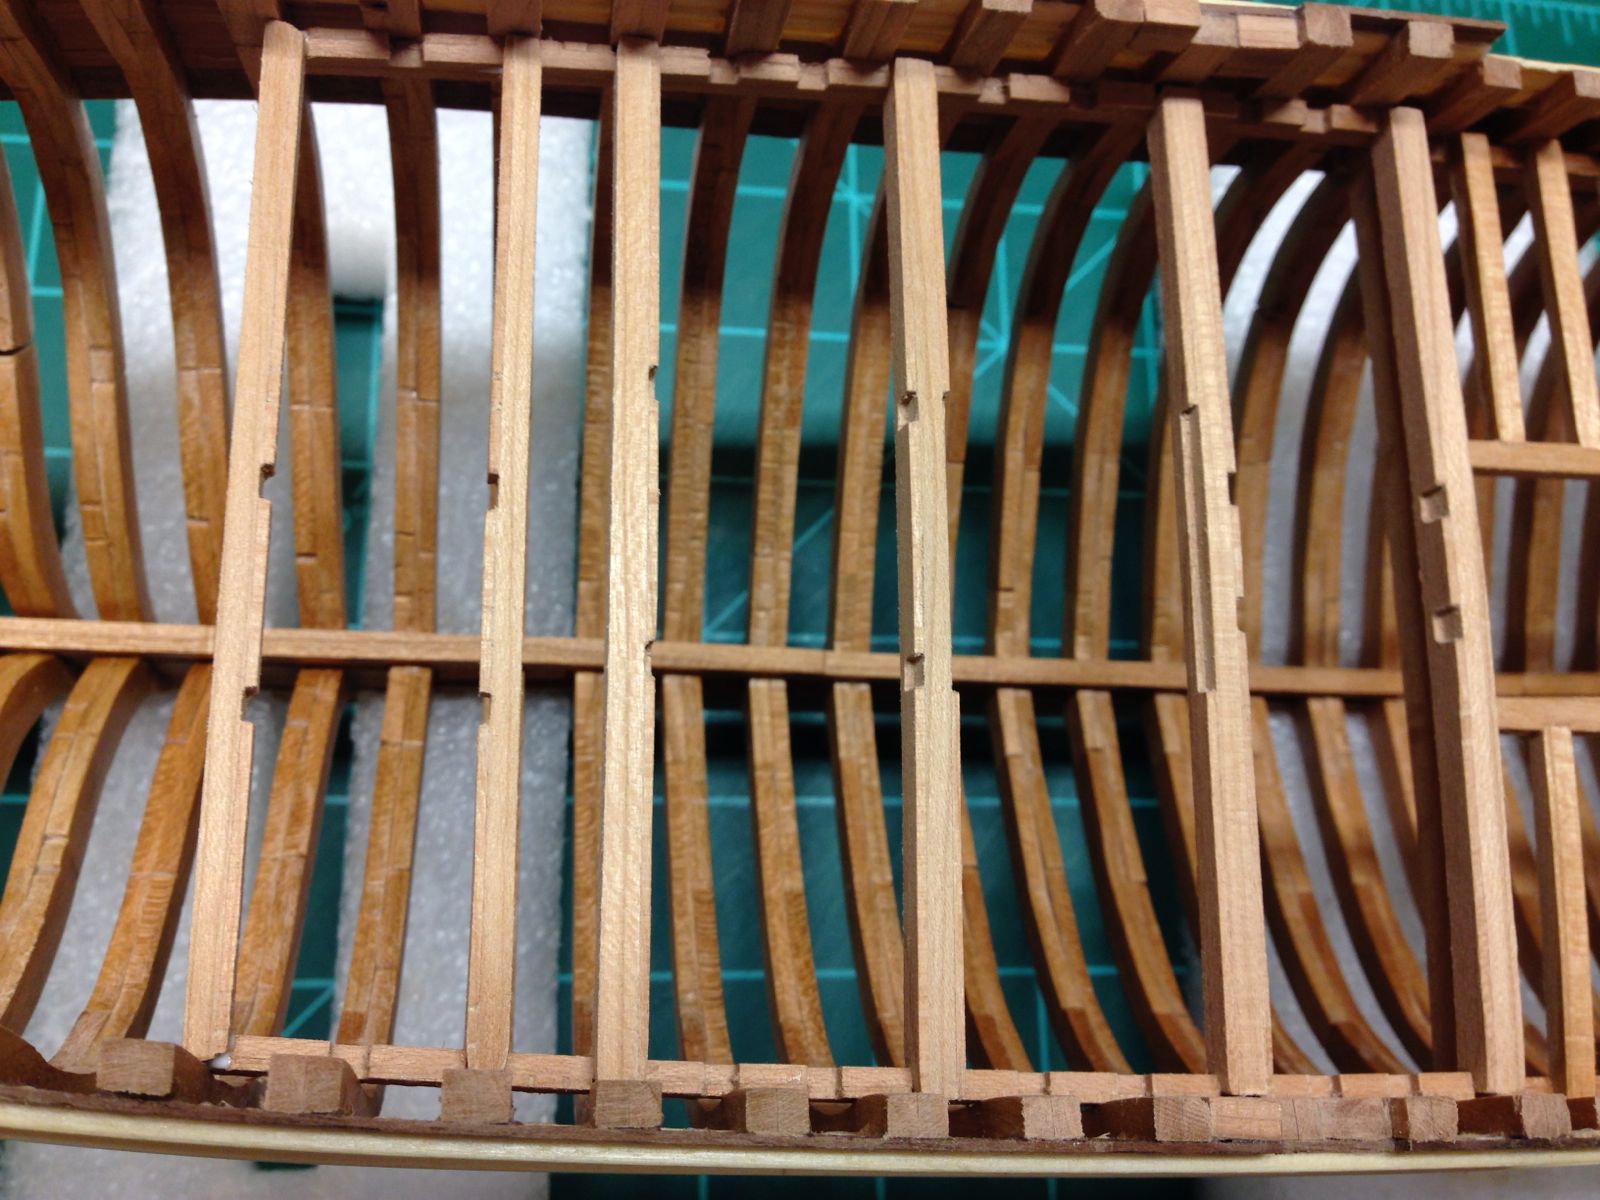
I have once again been getting killed at work so progress has slowed a bit but I have been able to get in the quarterdeck beams.

- 372 replies
-
- 12
-
-
Very interesting kit. Interested in see it come together.
-
Beautiful. I like the case as well.
-
Looking good there. I also feel a bit uneasy about supplied pieces not looking quit right. Unfortunately I am still such a beginner that I am going straight from the kit as it were. I eventually want to do this exact kit. I am interested in how you overcome this step.