
HOLIDAY DONATION DRIVE - SUPPORT MSW - DO YOUR PART TO KEEP THIS GREAT FORUM GOING! (Only 44 donations so far out of 49,000 members - C'mon guys!)
×


mtdoramike
-
Posts
2,094 -
Joined
-
Last visited
Content Type
Profiles
Forums
Gallery
Events
Everything posted by mtdoramike
-
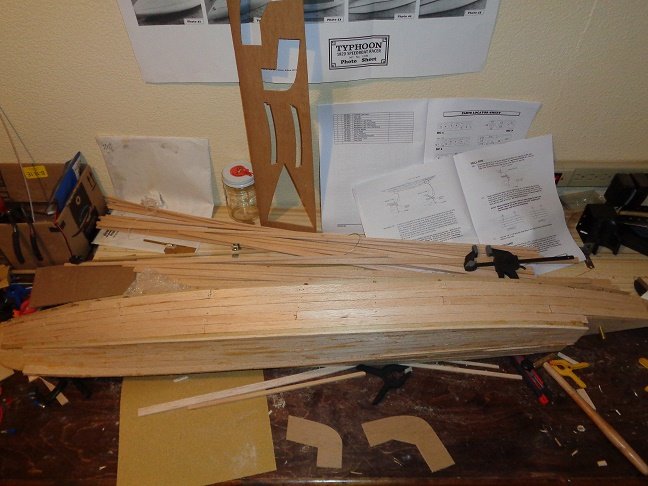
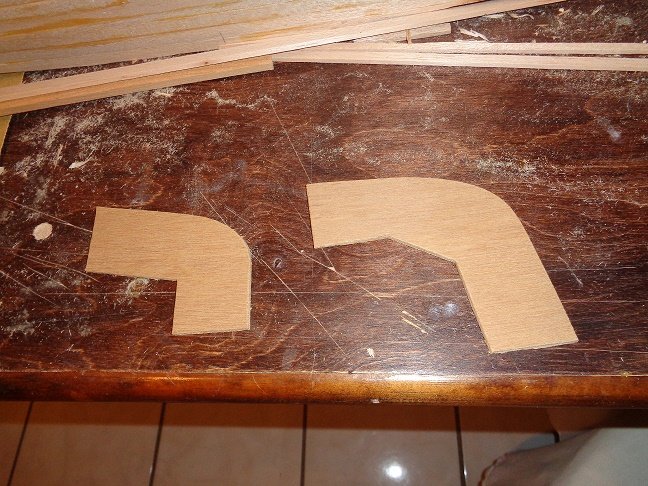
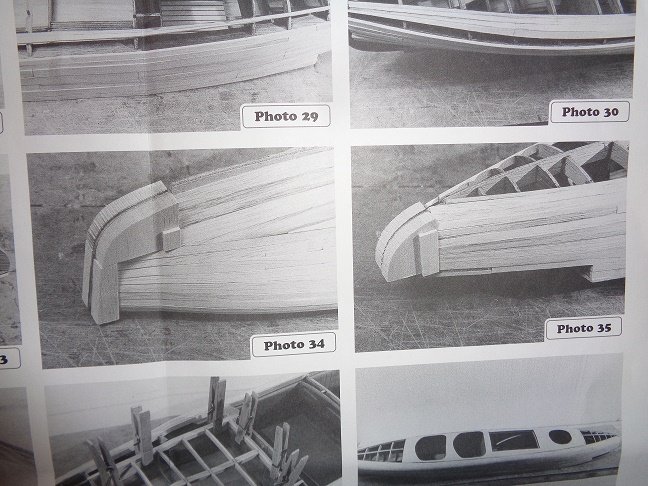
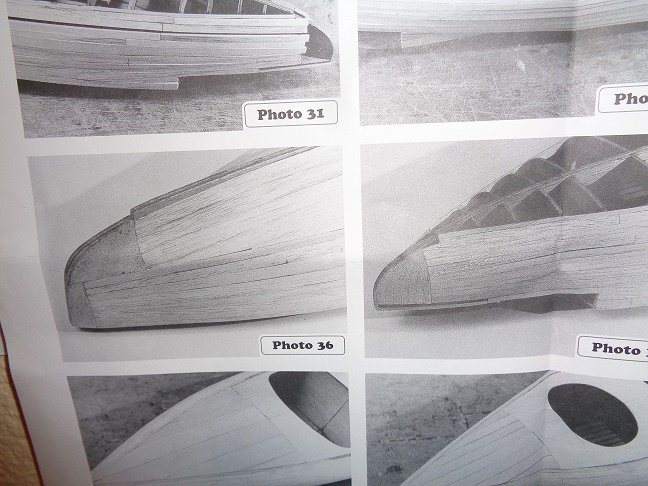
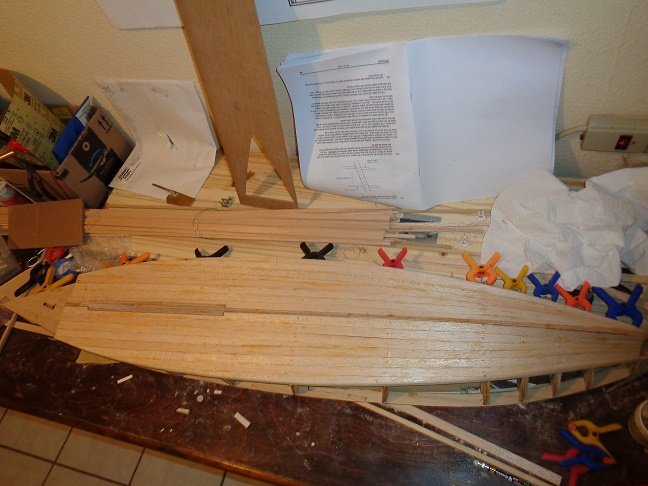
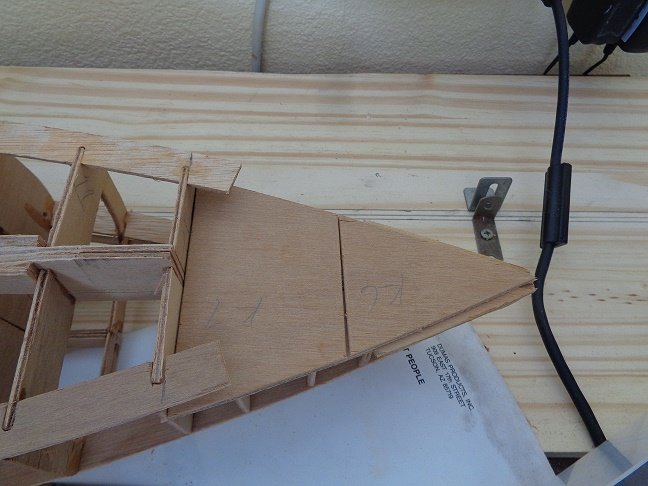
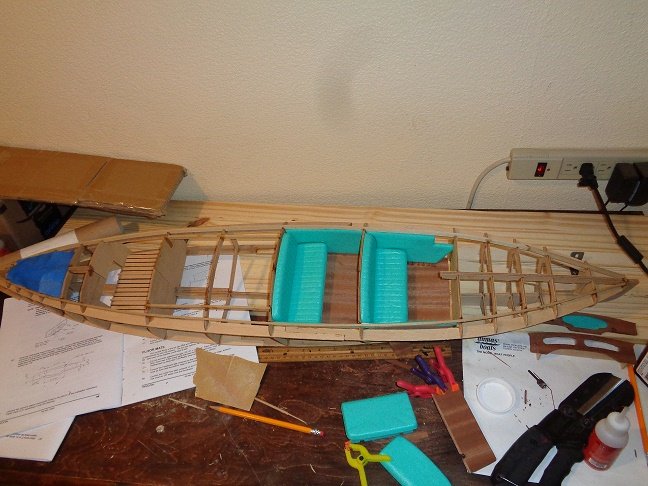
I have the first layer of planking done on the hull with just a bit of cleaning up to do on her. Dumas provides a couple of templates to use to cut the bow and stern blocks from some hard wood or at the very least hard balsa for the nose and rear of the boat. Once glue dries, you have to sand down the blocks to form the contour of the hull.


-
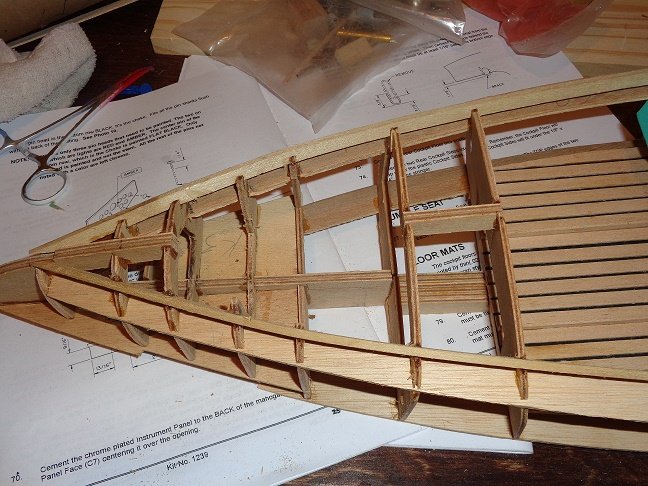
I started the first layer of planking with the balsa strips. I did what I usually do to most kits and that is to take scrap pieces of wood and beef up the frames, which are 1/8" plywood in order to make them 1/4" which gives me a wider surface to lay the planking as well as more of a gluing surface.

-
Thanks James.
-
I'm wanting to know what is the best glue for plastic model boats and ships especially those that are built for Radio Control/water use? Anyone have any ideas, I remember the old Testers and Tamiya model airplane glues that I assume were outlawed because of glue sniffers😜
-
Cornwall is top notch to do business with, great prices and relatively quick shipping considering it's outside of the US. Lou, you are top notch as well.
-
$533.00 usd ainht a bad price for that kit and at 50 inches, she'll be a biggun for sure.
-
Thanks for the heads up James, this is going to be an awesome kit, from the pics this is going to be one of the most detailed kits of the Biz around. Any idea what the asking price will be?
-
Thanks for the reply, it's a nice kit, but I'm not actually interested in the kit. I'm not really building tall ship models anymore. I mainly wanted to educate you a bit on your asking price, you are under cutting yourself badly by asking $50.00 for this kit. It's no longer being manufactured from what I can tell, so if you can find a Latina Charles W. Morgan Whaler (if the kit is untouched and all together) expect to spend between $250.00-$300.00. On the used market $150.00-$200.00. If I were still building tall ship models, I would have snatched this up at $50.00 + shipping. Good luck on your sale, mike
-
Is this kit still for sale?
-
Is this the Charles W. Morgan whaling ship, not familiar with the Charles C. Morgan?
-
Welcome to the forums, rigging is one of my favorite parts of the build because it makes a tall ship a tall ship and has such a dramatic effect once completed. There are numerous rigging books on the market, which will help you out.
-
Very good job on the Prince. I like the weathering and the paint job.
- 20 replies
-
- 3
-

-
- prince of wales
- tamiya
- (and 2 more)
-
hahahahahaha, everything. Don't you mean malarkey?
-
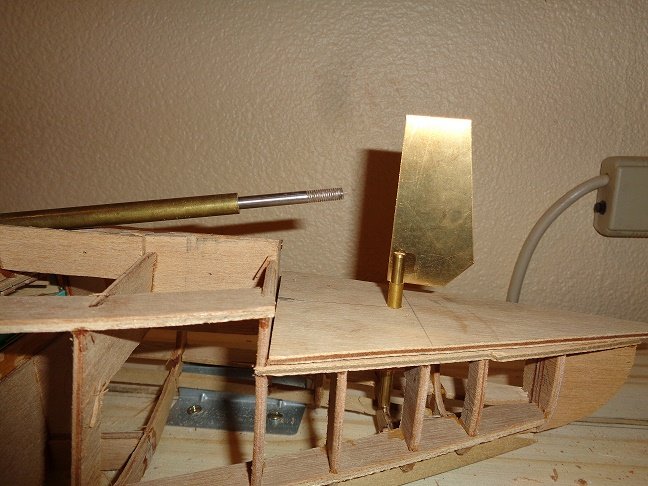
There should be enough room for the motor and the prop. I ordered a Graupner 600 motor for her. It looks like it is going pretty well right now, but one thing I have learned in my old age is, ( for every positive action, there is always a negative reaction and I'm sure there will be one here, but it hasn't shown itself yet.

-
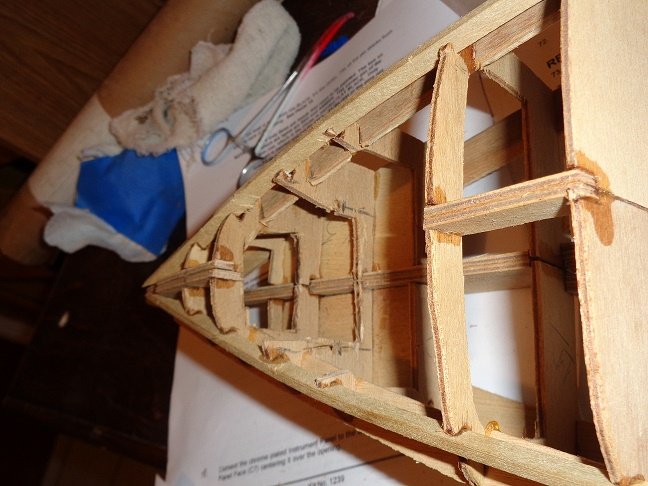
I'm replacing the two pieces (K7 & K6), which goes on the bottom of the stern and K6 is supposed to be removeable to allow access to the rudder arm, but since I'm making a new access panel on the top, this is no longer needed. So I'm replaces these two pieces with a solid piece of plywood. My main issue was to make sure I was going to have enough clearance between the prop and the rudder since I was moving the rudder forward about 1/2".


-
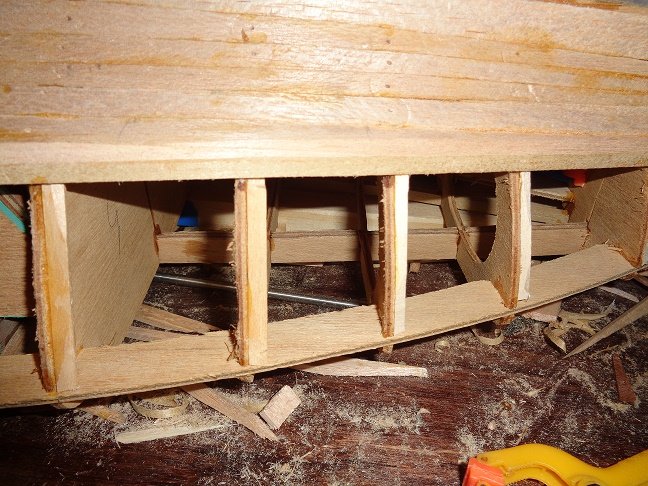
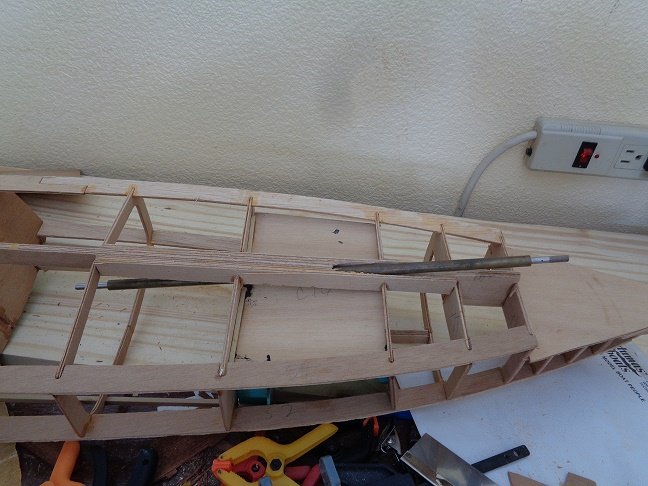
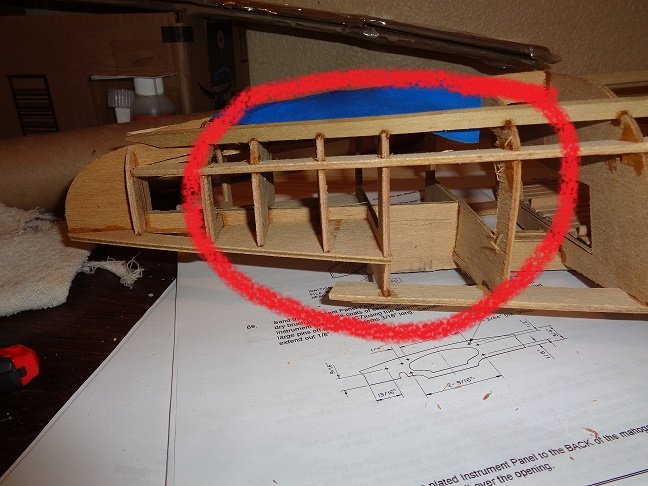
OK, I bit the bullet and started the modifications to the stern by removing two of the rear frames. The critical part of this is, how many bulk heads need to be removed because you have to be able to mount the rudder and still have room for the drive shaft and prop. Ideally, it would be nice to have at least a 1/2" between the rudder and the prop.
-
CD, It may have been this build thread from a Radio Control forum. The OP and builder Legendary Pat Trittle did a splendid job on one of the first production Typhoons. https://www.rcgroups.com/forums/showthread.php?291645-Dumas-Typhoon-Kit-Review. If you can't tell, Pat is kind of a hero of mine and I only wish I were as good a modeler as Pat Trittle, maybe one day.
-
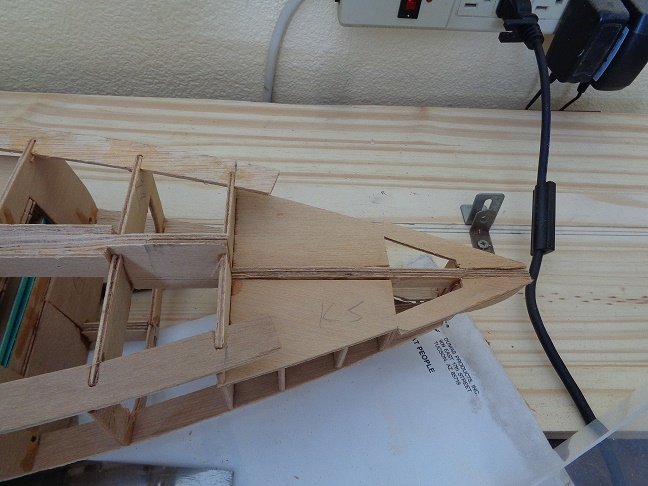
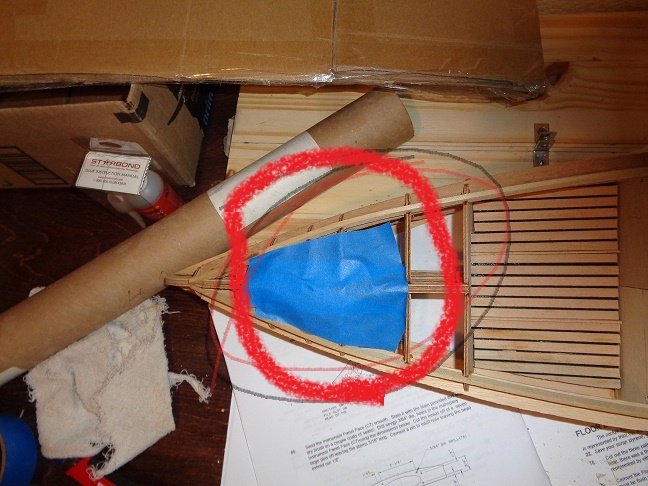
OK, after studying the issue of the rudder access door being under the stern section of the boat and attached with screws and with the possibility of water being able to get in through it, I have found a probable solution. If I remove three supports in the stern section behind the rear cockpit, I can mount the rudder servo and be able to access the rudder from the top and eliminate the access door from the bottom of the boat. The modification will be where the blue tape is located. I will have to make the access door for the top of the stern, but shouldn't be a big deal (famous last words) hahahahaha.
-
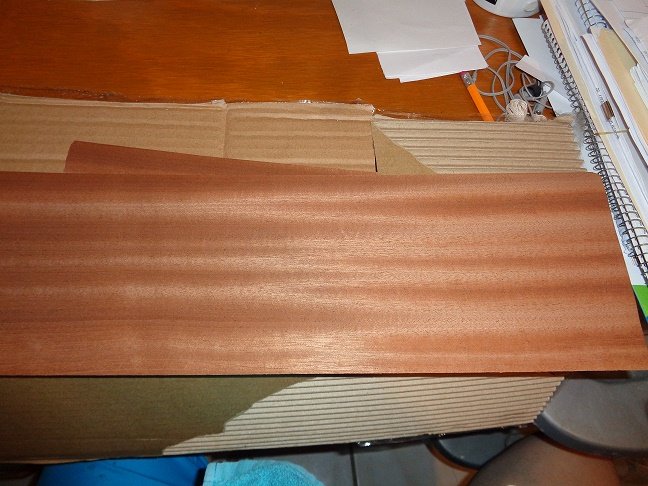
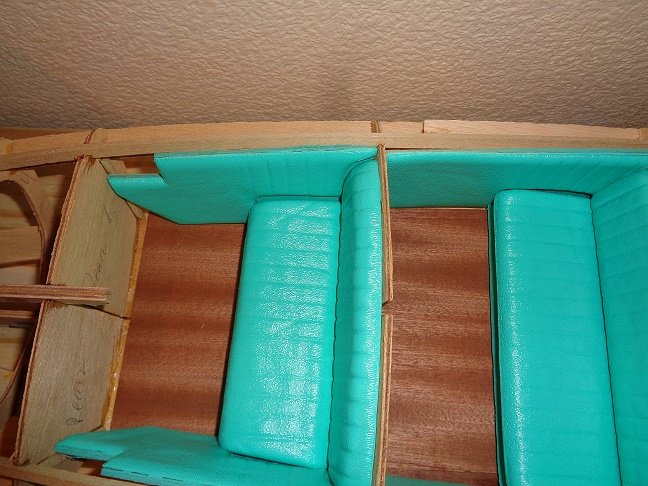
I ordered some mahogany veneer and finally got it in today. I'm going to use it to cover the front and middle cockpit floors. The instructions call for staining it, but I think it would look better with the mahogany veneer.
-
I agree with you to an extent, and yes, if you are going to spend years and thousands of hours building a model, most would like it to be as historically accurate as possible. Unfortunately I'm not one of them. I try to make as accurate a reproduction as I can with any model that I build, but I don't concern myself with historical accuracy nor due I proport any of the models that I have built and intent to build to be anything more than display pieces. Now, if there is a glaring inaccuracy such as a rounded stern versus a square stern then I either stir clear of that kit or I bash it to make it the way it should be. But I don't sweat the small stuff. I do however spend hours researching a particular model that I'm building or intend to build and try and represent that when finished. I have found that model folks especially buyers are less concerned about historically accuracy as they are about that Beautiful rigging and fist and finish of the model. Most realize that if you want a historically accurate model then you will have to pay a lot more for that model.
-
I wasn't referring to scratch building per-say, I was more referring to kit bashing, where you get the benefit of the majority of the kit being pre-made or manufactured and you just fix the things that you have found to be inaccurate as an example Roger's views on the Model shipways Civil War Steam Picket with the rounded stern, if it'd found to be historically inaccurate, then square it off by modifying the stern.
-
If you are a purist and strictly want an accurate representation of what ever you want to build then why not build it that way? You will not get a historically accurate model from a kit alone, unless you modify it and do tons of research to get that historical accuracy. Take for example: most kits use bulkheads rather than timber framing for the skeletal structure of the ship and use a lot less bulkheads than tibering. They do this to make the kit affordable, quicker and easier to build. Lets face it, it takes a lot of dedication to spend two years building a ship model and if you add in complete historical accuracy, look more at 5-10 years. But to answer your question, Model Shipways or Bluejacket would be my top two pics that I have built and come the closest to what your asking about. A kit of any kind is only a starting point, it is up to the builder to make it what it will be or what the builder wants it to be.
-
WOW Tim, she is beautiful and that shade of green below the boot topping at the water line really sets it off. I was on the fence about using the same shade of green that I used on the seats for the bottom of the Typhoon and maybe going with a different color altogether, but after seeing your Miss Severn, I'm going to use the same shade of green.