mtdoramike
-
Posts
2,094 -
Joined
-
Last visited
Content Type
Profiles
Forums
Gallery
Events
Everything posted by mtdoramike
-
Thanks Paul.
-
Beautiful work, but this seems to be a different HMS Supply than the Artesania Latina kit as far as shape goes me thinks? Mike
-
Absolutely beautiful work. I love the string caulking for the decking. Mike
-
I would love to see the finished product, especially the Bounty with the Mutiny poster in the back ground. That would be awesome.
- 230 replies
-
- 1
-

-
- victory
- artesania latina
- (and 1 more)
-
Thanks Boyd, I was actually quite surprised by the $6.99 price tag of the heavy brass engraved name plate. The last engraved name plate that I got locally about 7 years ago only had like two lines engraved and cost me double that price. I happened upon North Country Trophies on Ebay Mike
- 230 replies
-
- 1
-
-
- victory
- artesania latina
- (and 1 more)
-
Thanks George. Yes, that was the best price hands down that I found for a display case of this magnitude WITH wood base and frames rather than clear view or fish tank look. I don't think people really consider the "after the model situations like displaying such a beast". I knew going in that I wouldn't be keeping the Vic so I had no worries about where to display her. Now, I knew that I would have to get a display case for her and assumed the cost would be $500.00-$600.00 and boy was I wrong. You can make a display case this large for about $600.00 as long as you know that you will more than likely be left with either red oak or some other type of wood readily available at your local lumber yard or home improvement store. Mike
- 230 replies
-
- 1
-
-
- victory
- artesania latina
- (and 1 more)
-
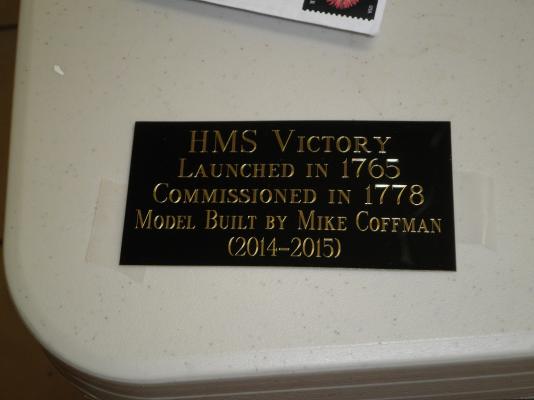
Well I have the display case on order from Abordage total on the 55 X 40 X 20 (inside measurements) with plexi and mahogany base and frame is like $870.00. I also ordered and received the special name plate from North Country Trophies in WI. total on this was $6.00 for the two inch X four inch brass engraved plate. I will also include a nice binder along with the model and display case, which will give a bio of the real Victory as well as a sequence of events while building the model as well as a list of people and companies that I have dealt with during the build of this model as honorable mention. The name plate is stunning. Mike
- 230 replies
-
- 4
-
-
- victory
- artesania latina
- (and 1 more)
-
Any progress? Mike
-
You do realize that a kit is just a kit is just a kit, meaning a kit to a moderate to skilled modeler is only the beginning steps. Once you have the kit and the basics, you can make it your own version of the ship by research, modifications and a little more money, time and a bit more work. If you have the ability, you can buy the Constructo kit and make it into the Amati version and probably will have a lot more fun building it. I really like Constructo kits for the plans, materials especially the wood as well as the price. Yes, some if not most are not totally 100% accurate, but that is something that you can change. Good luck with which ever you choose. Mike
-
I don't blame Micromark for selling items, just like I don't blame ebay for some if not a lot of junk they have listed. It's up to the consumer to do their research BEFORE buying. Typical someone else's fault mentality. I have bought from Micromark in the past and will buy from them in the future. PS: I just noticed Micromark has the Artesania Latina HMS Victory kit on sale for $499.00 where other places want over $600.00 for it. But I already have that kit, if I didn't I would be all over that like a tic on a hound dog. Mike
-
Here is a little update on the Victory ship model Library donation. I stopped by the Library the other day to meet with the head of the Library and to check and measure for placement of the ship model and case. I was asked to do a power point presentation with pictures of the progression of the model build as well as a short biography of the real HMS Victory ship to include as to why I chose the Victory as the subject for the build at the model unvailing. But like I told the Librarian, power pointing was well after my time, so she said they would take care of putting together most of the presentation. I'm also including not only the ship model, but I'm also donating the display case as well as a nice binder with the history of the Victory, history of the building of the model as well as anyone or company that I have dealt with during the build of the model will also get honorable mention as well, which will accompany the model. I hope to have plenty of pictures and possible a video of the unvailing to post on MSW. Mike
- 230 replies
-
- 2
-
-
- victory
- artesania latina
- (and 1 more)
-
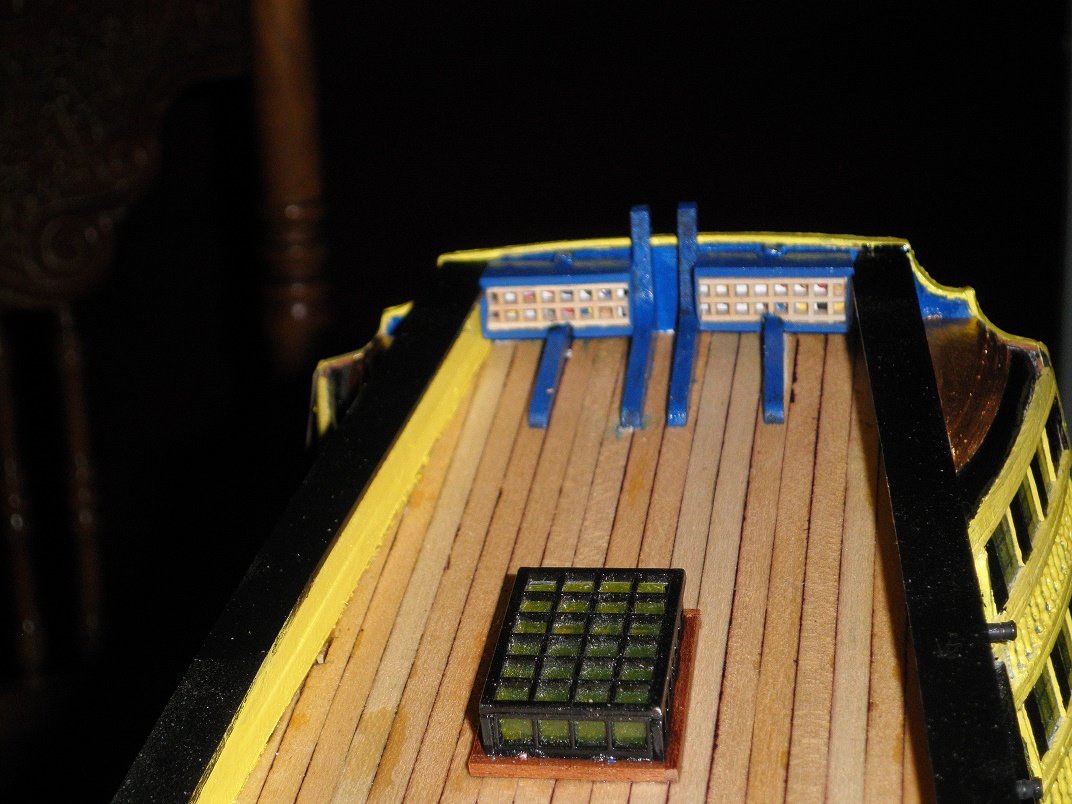
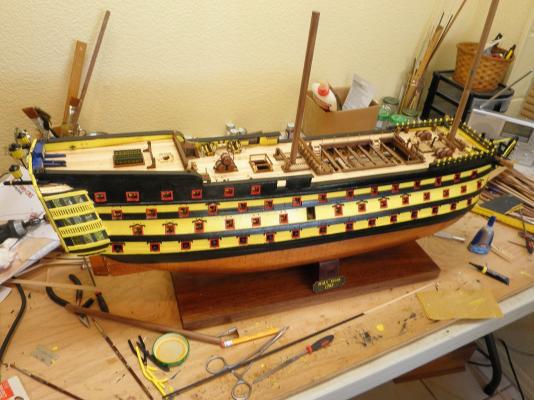
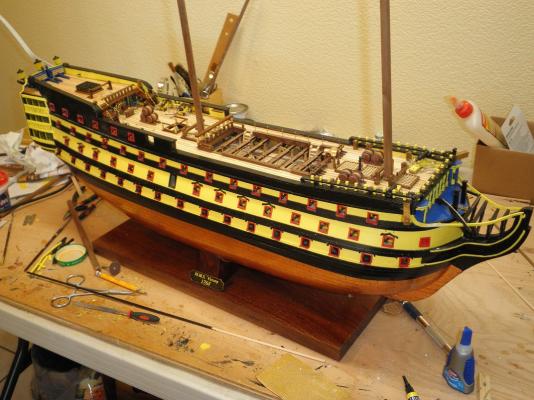
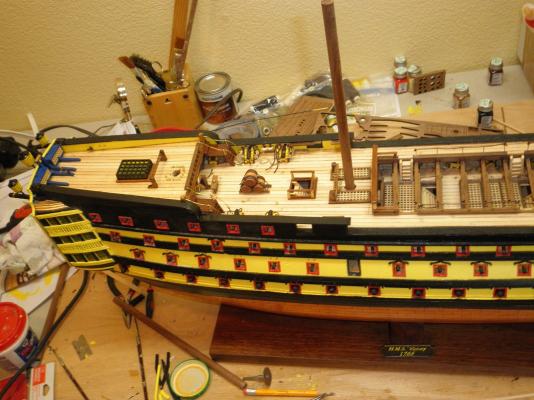
Thanks for the kind words guys. Here is a update of my progress. Mike


- 230 replies
-
- 2
-
-
- victory
- artesania latina
- (and 1 more)
-
Birchwood Casey is what I use as well and it works great.
-
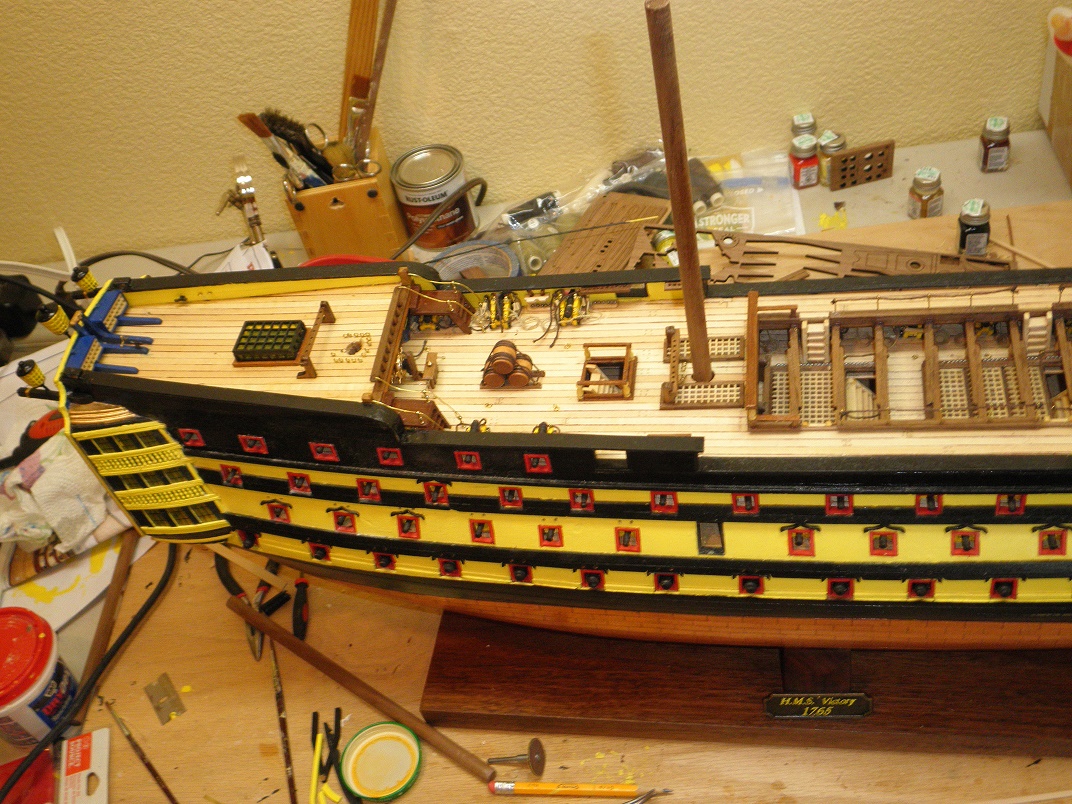
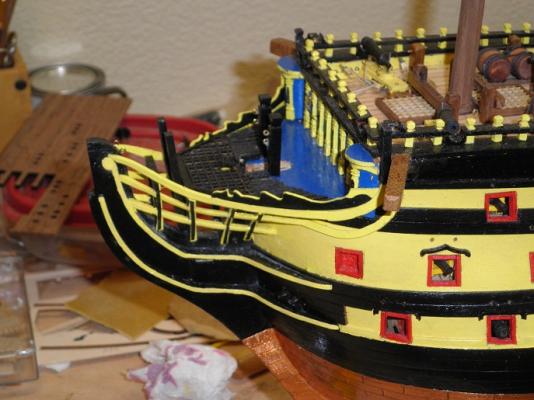
I've been a bit busy with the model for the past few days and here is my progress so far. I'm hoping to start the rigging within the next month or so and if that is the case, I better step on it because there is still a lot to do. Mike

- 230 replies
-
- 4
-
-
- victory
- artesania latina
- (and 1 more)
-
hahahahahaha, I did the same as you, but mine in no way came out as nice as your gun ports. Maybe your pencil was sharper than mine.
-
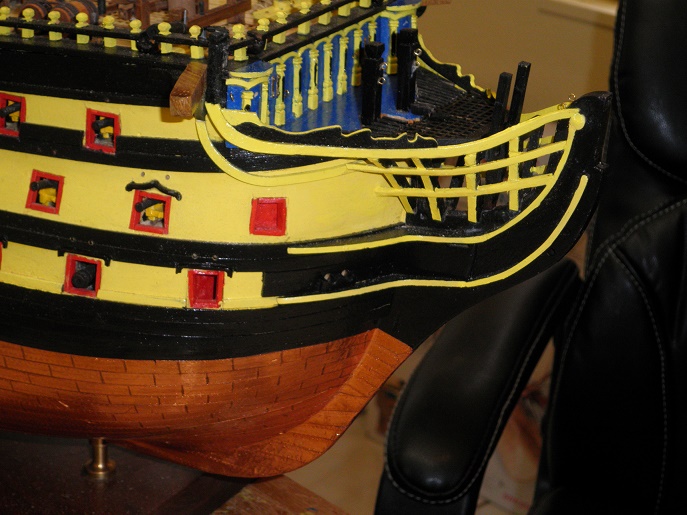
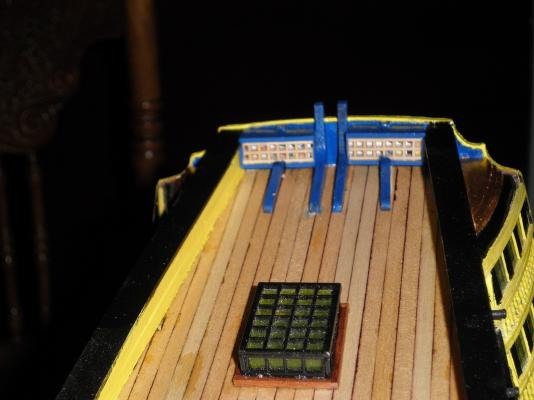
It's looking beautiful. Those gun ports look perfect. I wish I could cut gun ports that nicely. Mike
-
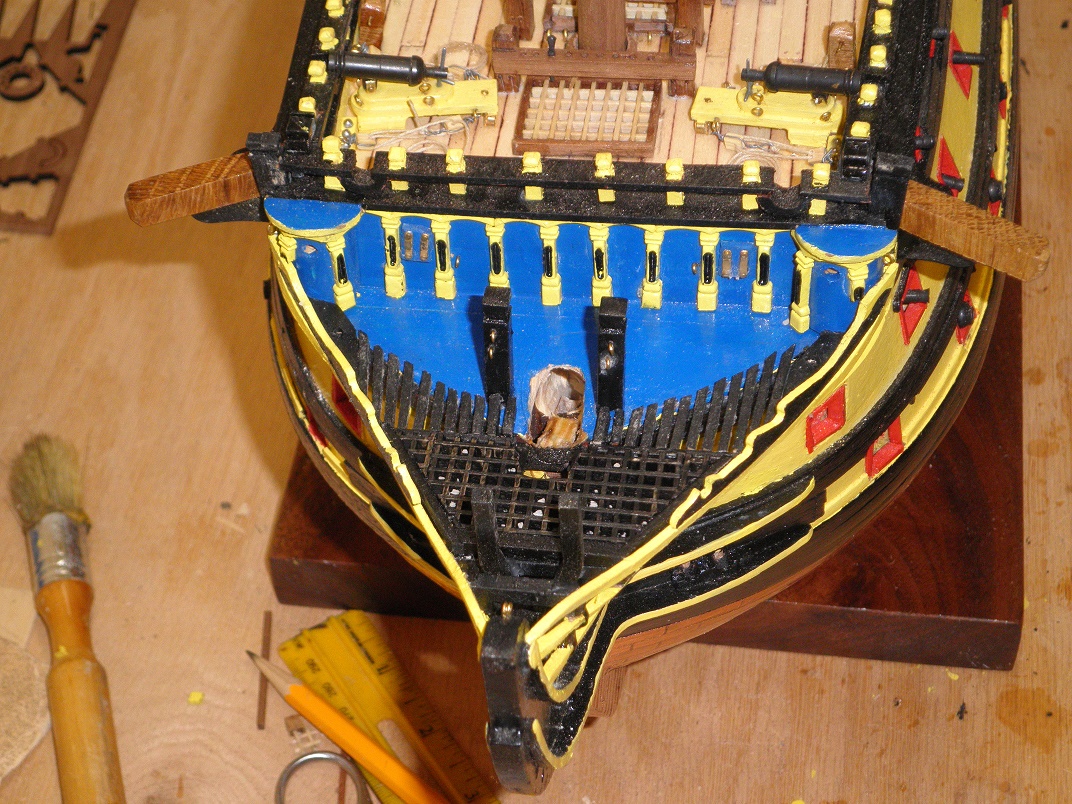
It's looking great so far. Now as far as the supports go, I would just add a little piece of wood to the bottom of each one or use wood filler or putty to fill the small gap until it touches the deck and then paint them. You could even make the pieces of wood a little wider to look like the base of columns to appear to give them more support. I'm not a perfectionist nor a purist. I'm more about function than form, so with that said, I suggest making the attempt at some sort of correction since the supports actually hold up the deck. I always look at painted models as being able to get away with a multitude of sin versus natural wood models, which shows EVERYTHING! Good luck. Mike
- 44 replies
-
- 2
-
-
- robert e lee
- constructo
- (and 1 more)
-
Meet Your NRG Directors and Officers
mtdoramike replied to tlevine's topic in NAUTICAL RESEARCH GUILD - News & Information
Thank you for the who's who, but that just took the mystery out of it for me. Mike -
I agree, Model Shipways or Blue Jacket for beginners for sure. You will also have the advantage of quick support from these companies versus other manufactures. My recent Artesania Latina kit was missing several parts, but was eventually replaced by Latina which took well over a month to finally receive. But I have bought other Latina kits in the past without any issues at all. Mike
-
hahahahahahaha, yeah, I would probably make a good crook since I usually sand my fingers down about once a week to get the glue off and usually takes off some of the finger prints as well Mike
-
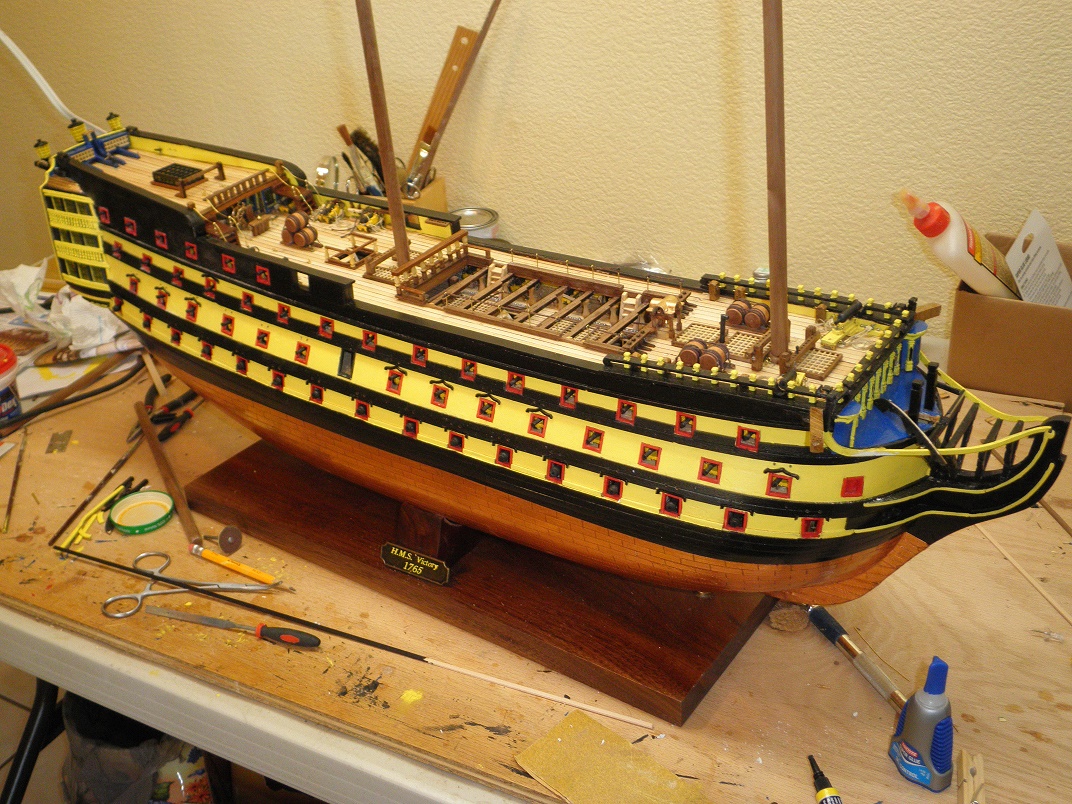
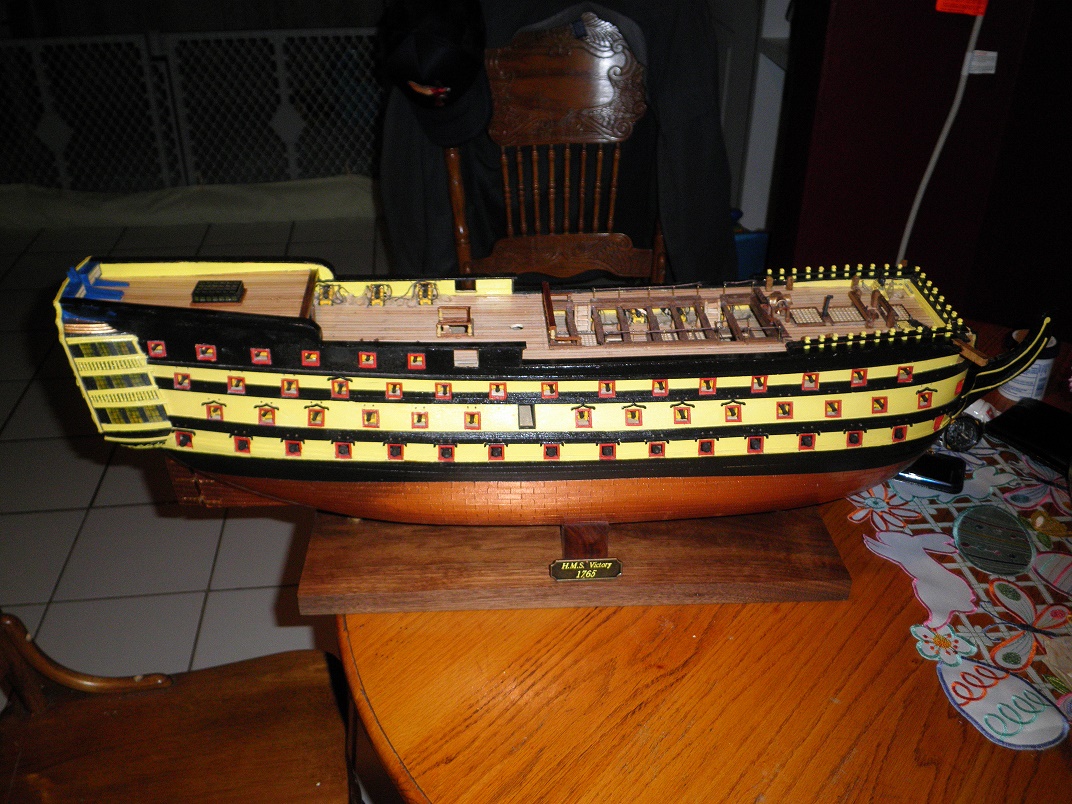
Here is a little update picture. I finally have her mounted to her display board and secured. I figured better to do it now before I get to much further along. Mike

- 230 replies
-
- 3
-
-
- victory
- artesania latina
- (and 1 more)