HOLIDAY DONATION DRIVE - SUPPORT MSW - DO YOUR PART TO KEEP THIS GREAT FORUM GOING! (Only 75 donations so far out of 49,000 members - C'mon guys!)
×


Justin P.
-
Posts
1,008 -
Joined
Content Type
Profiles
Forums
Gallery
Events
Everything posted by Justin P.
-
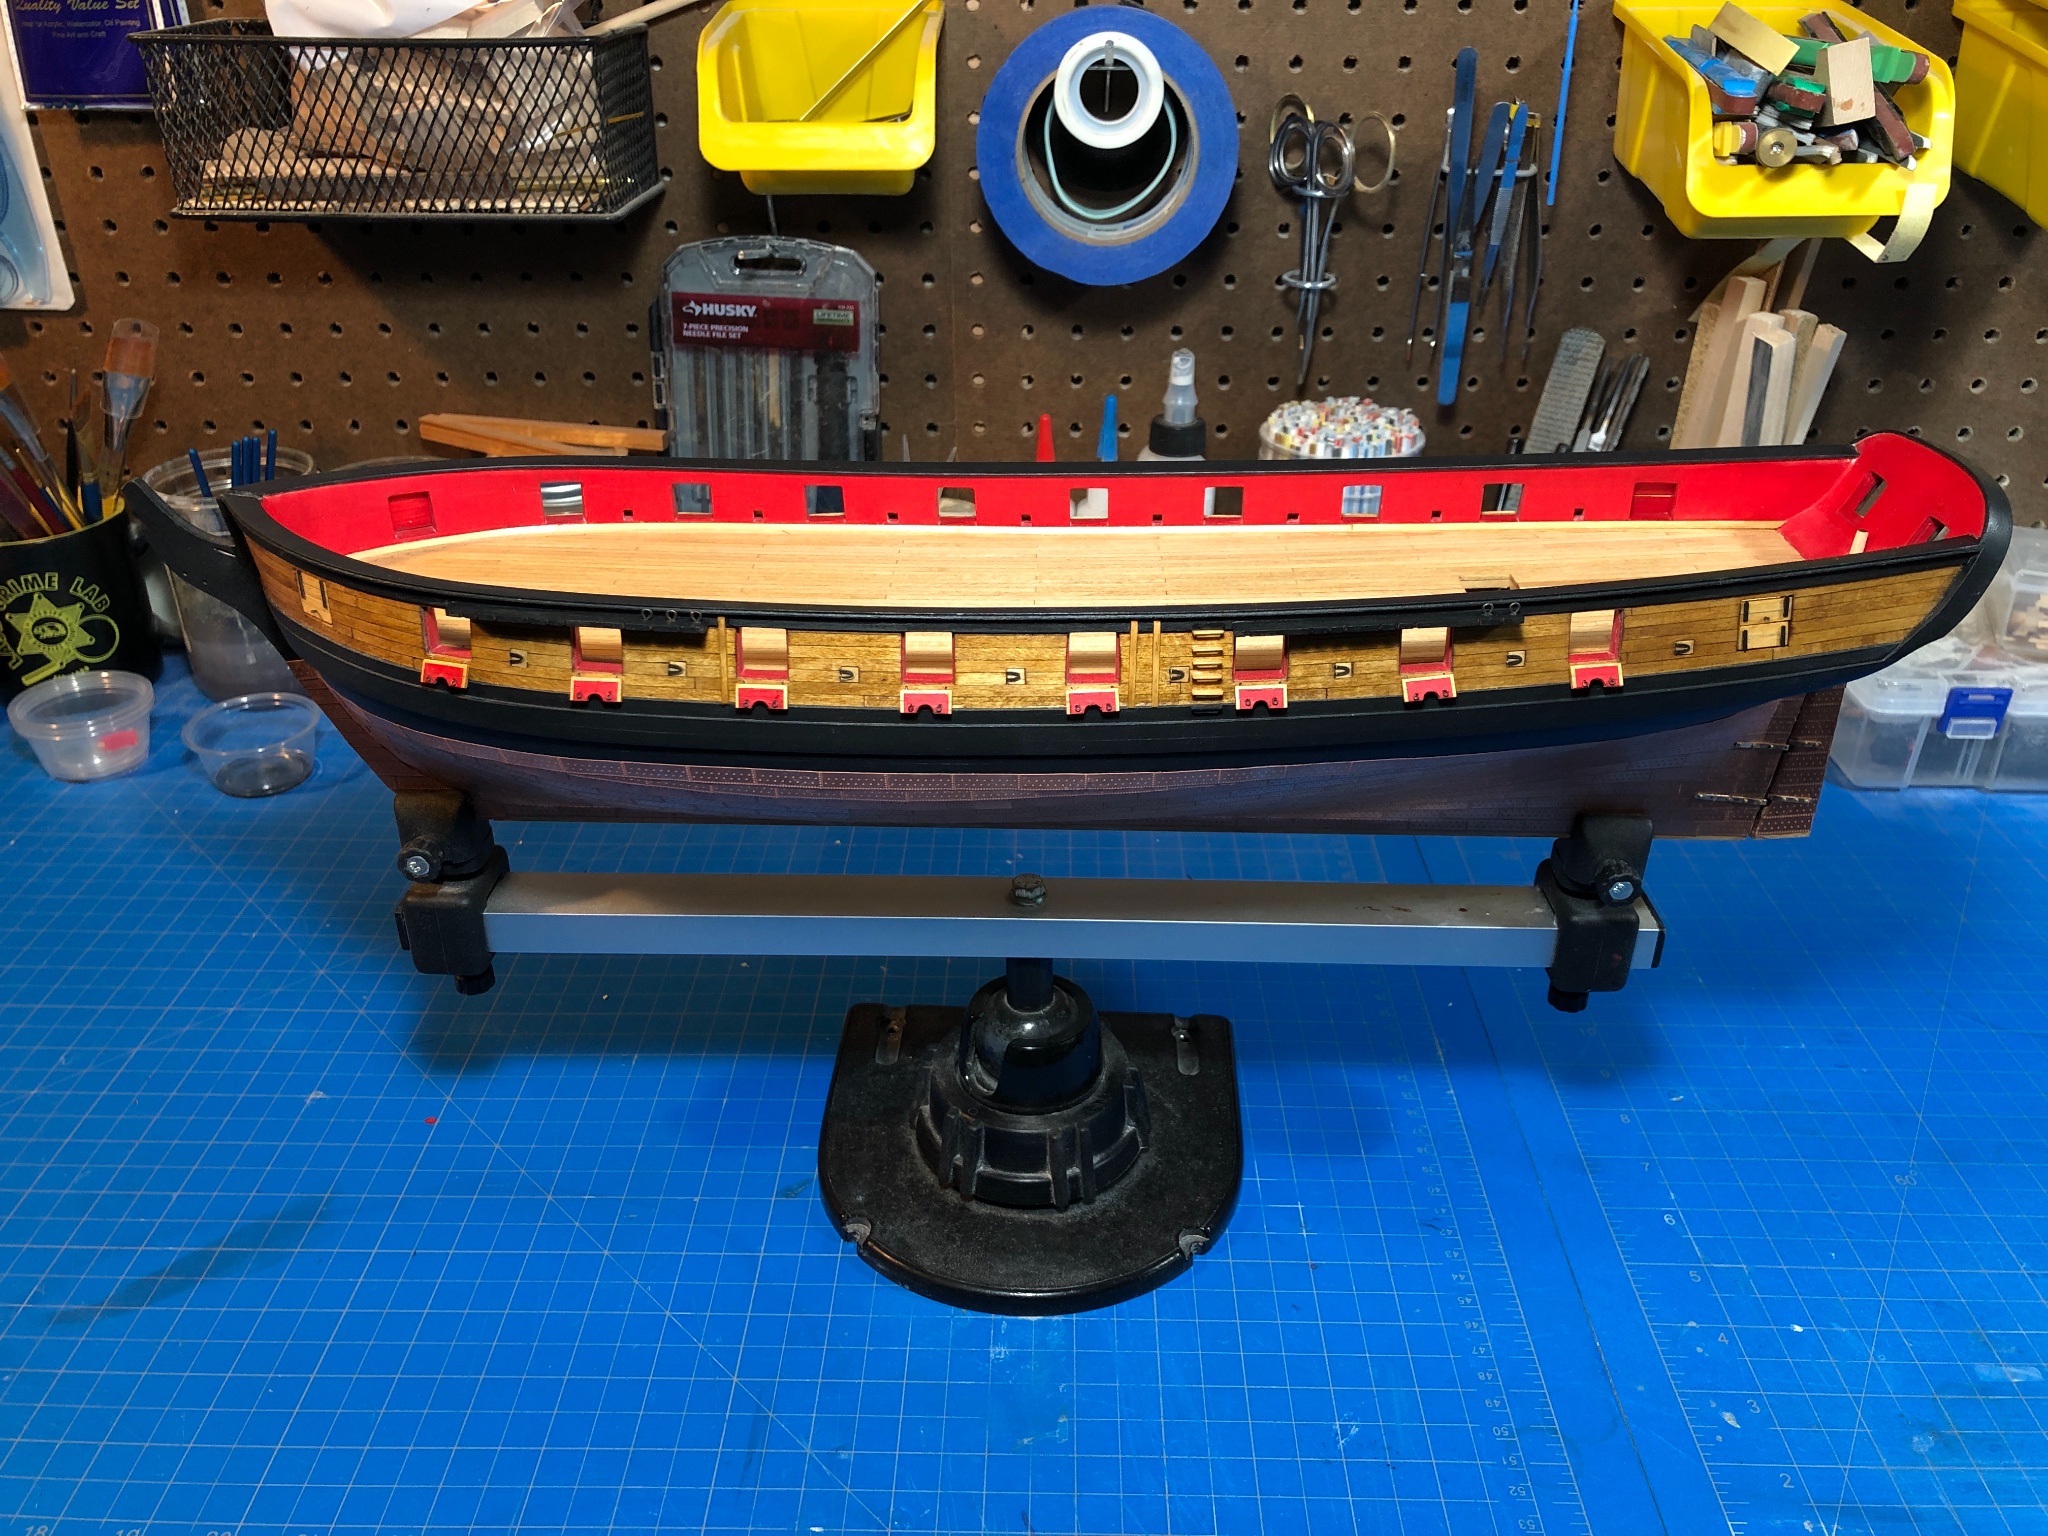
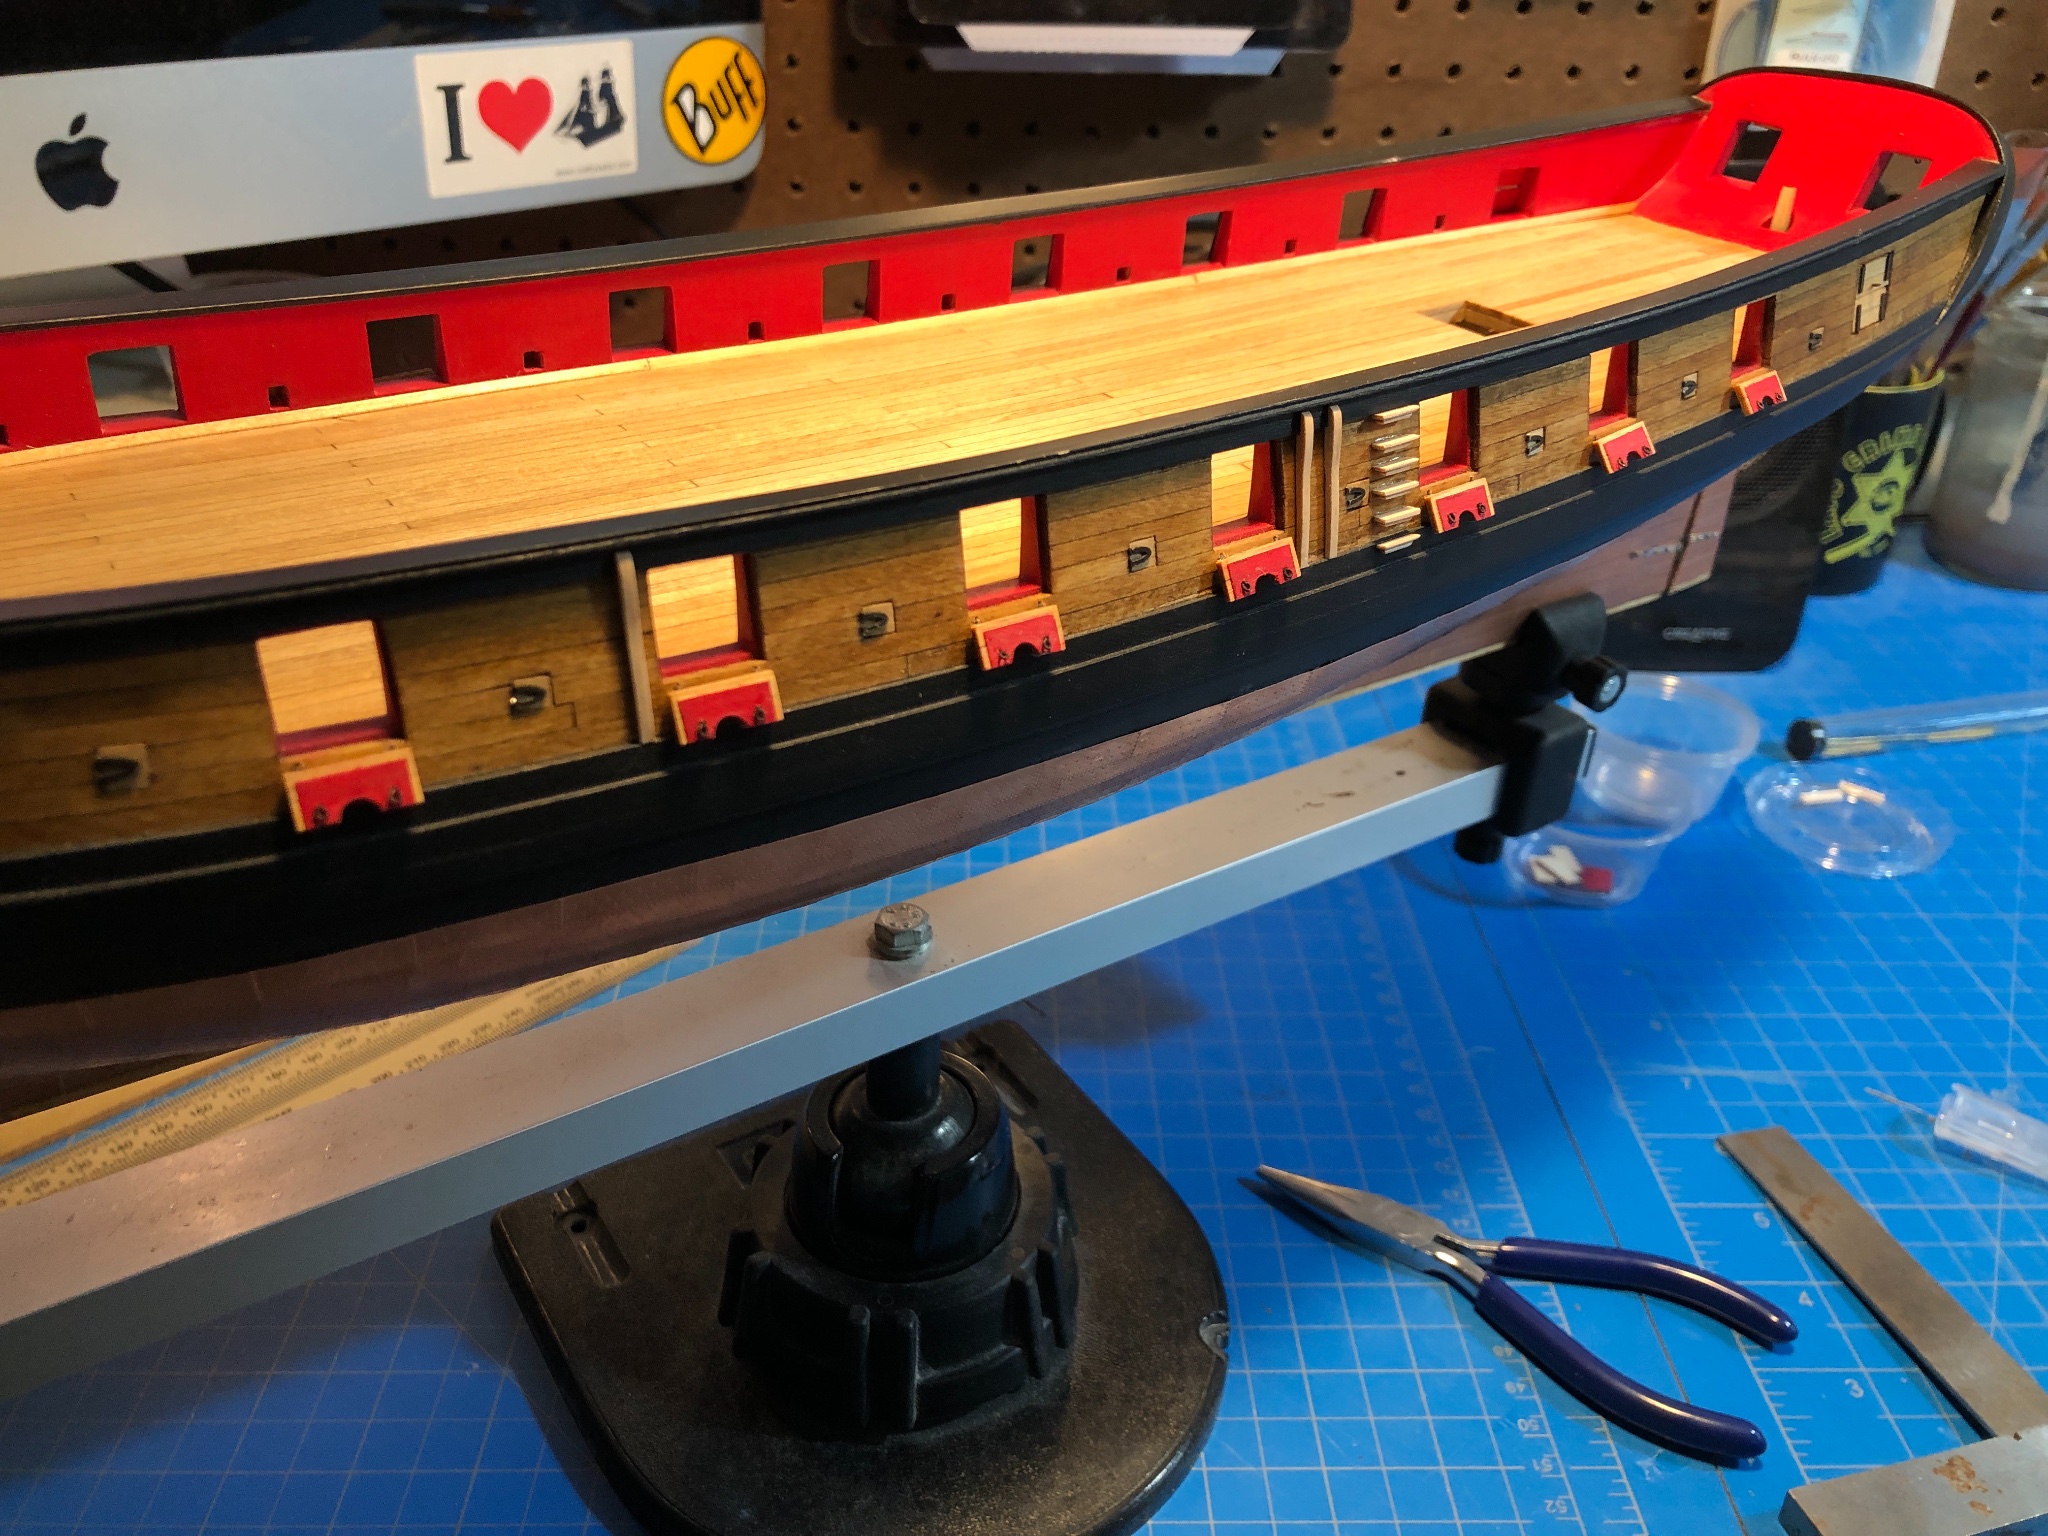
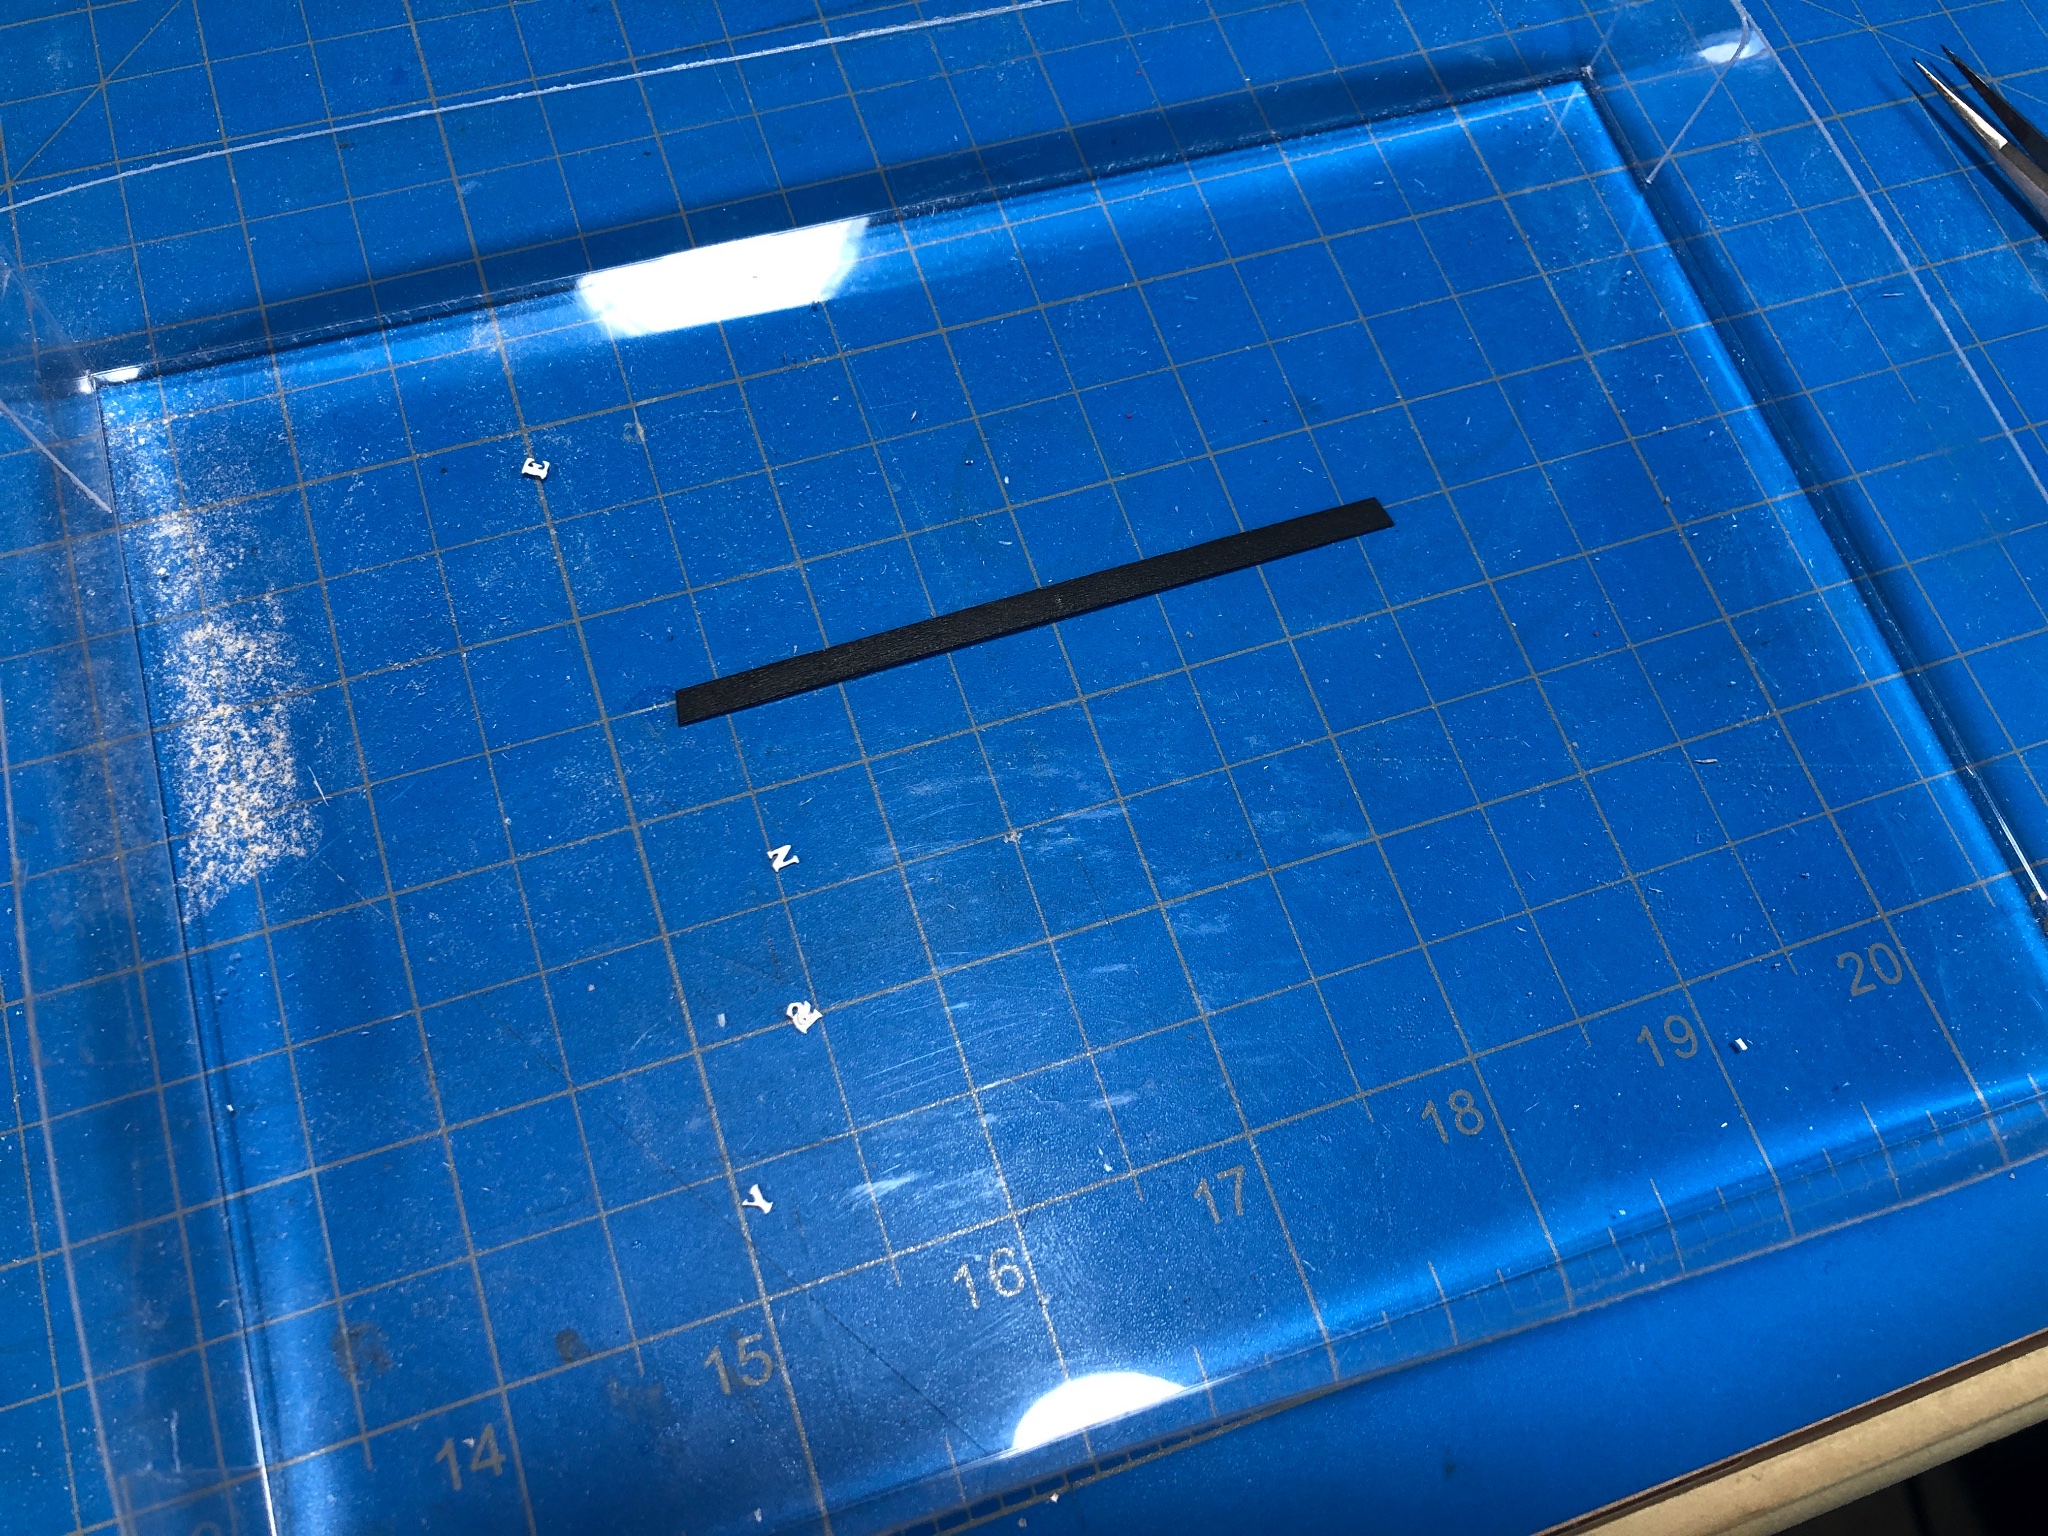
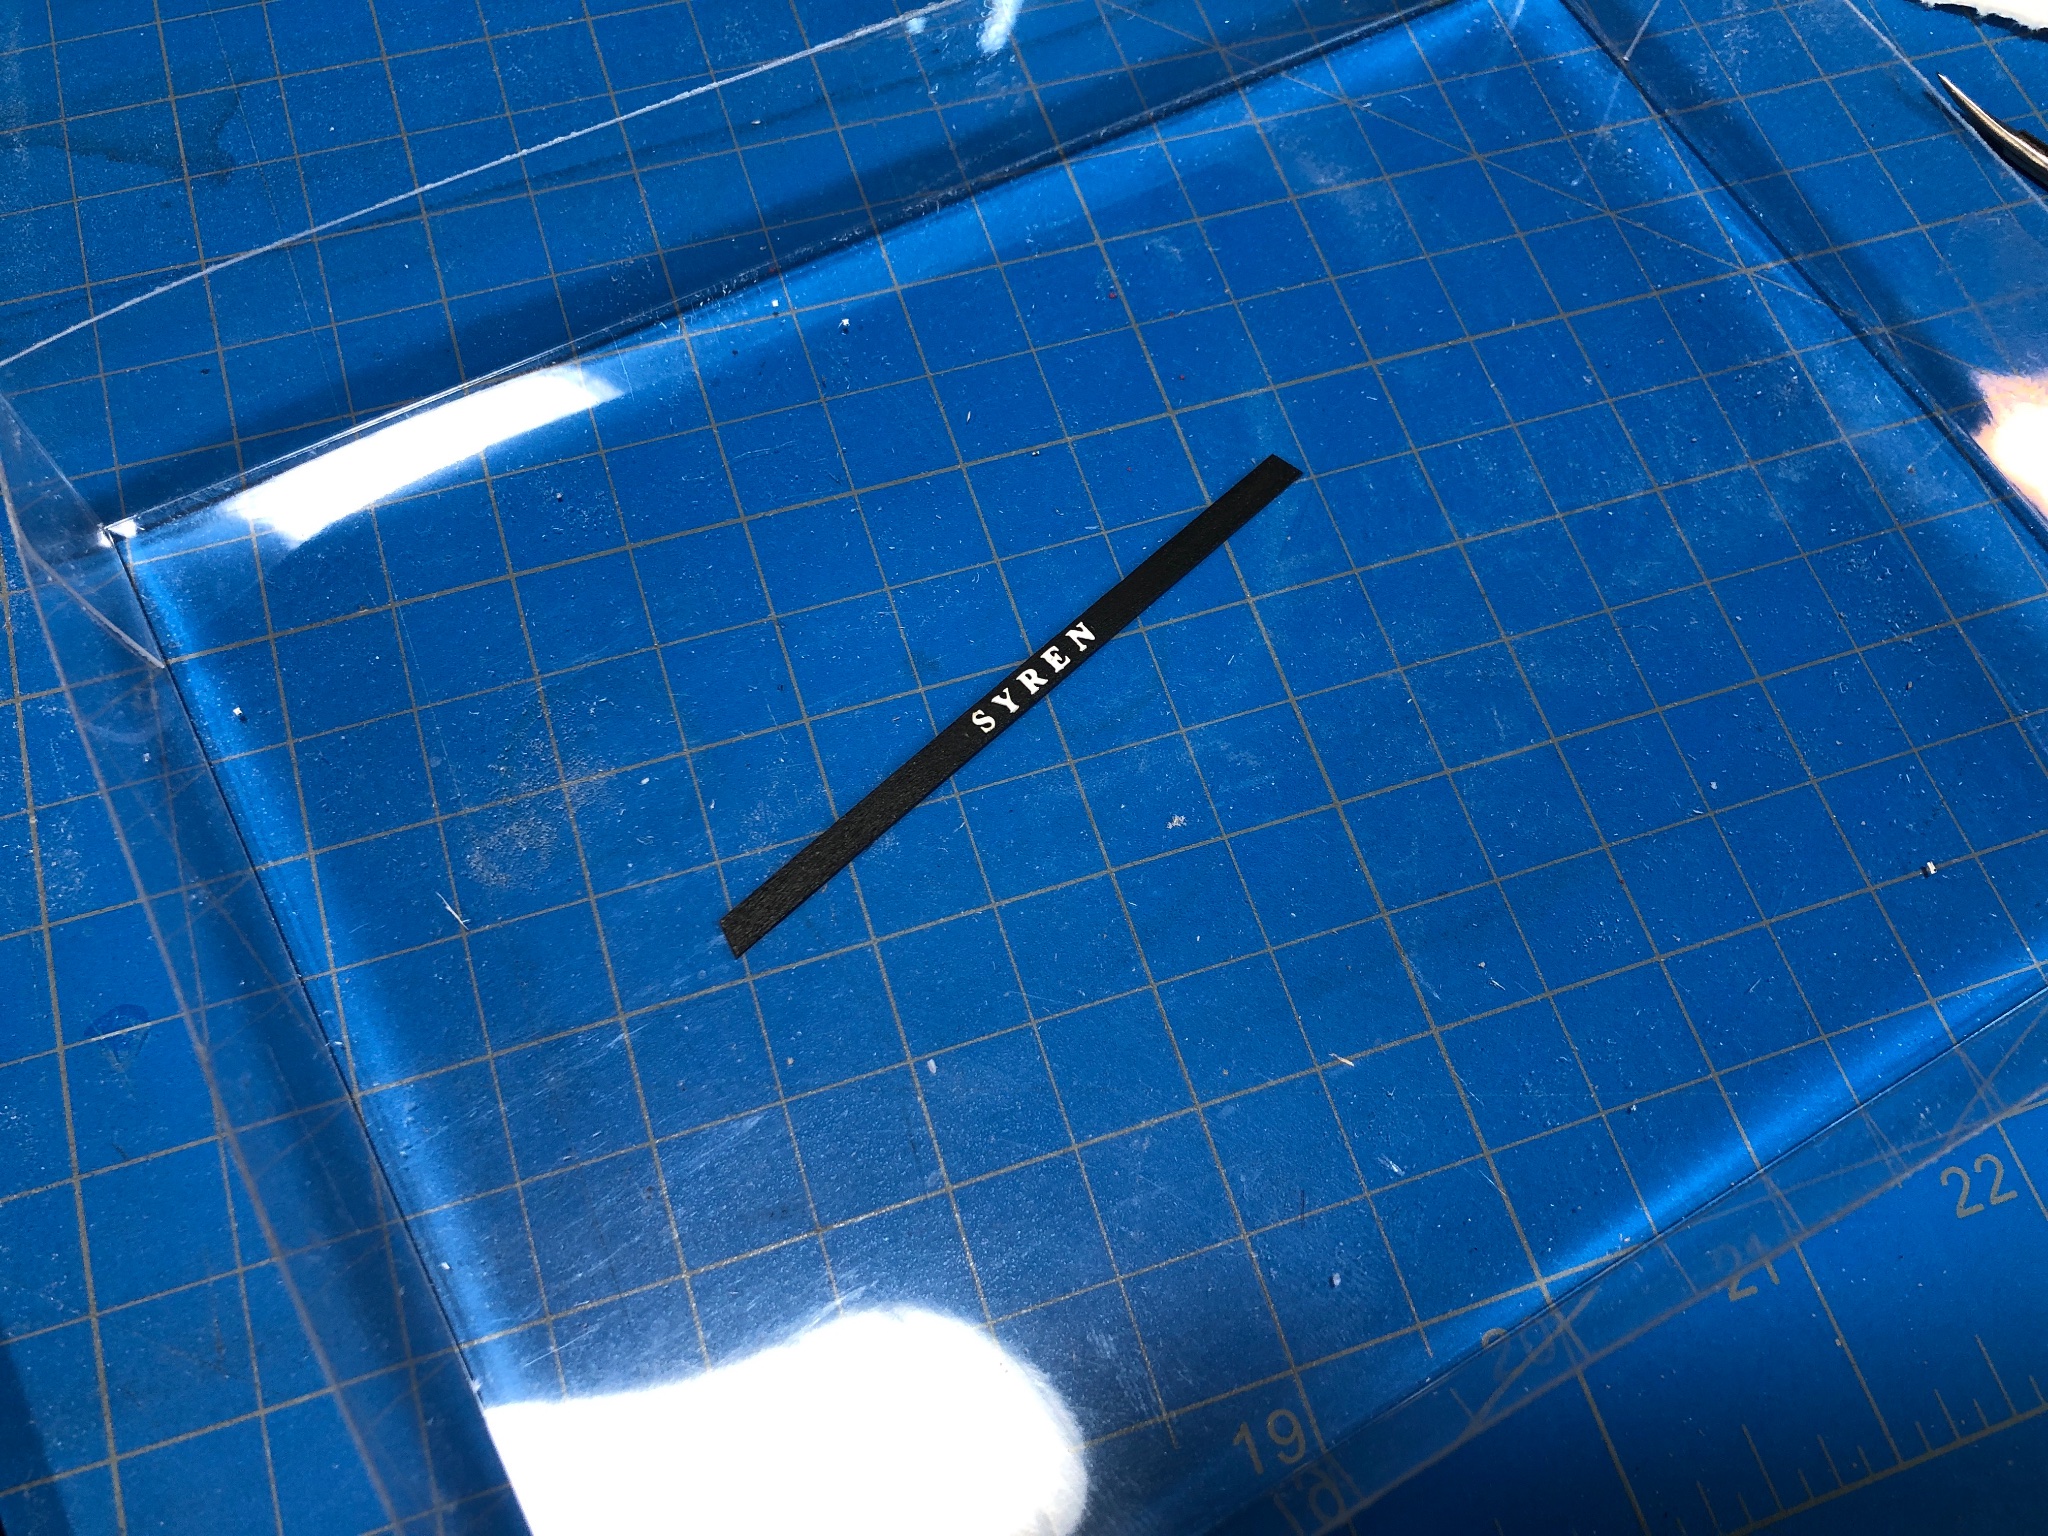
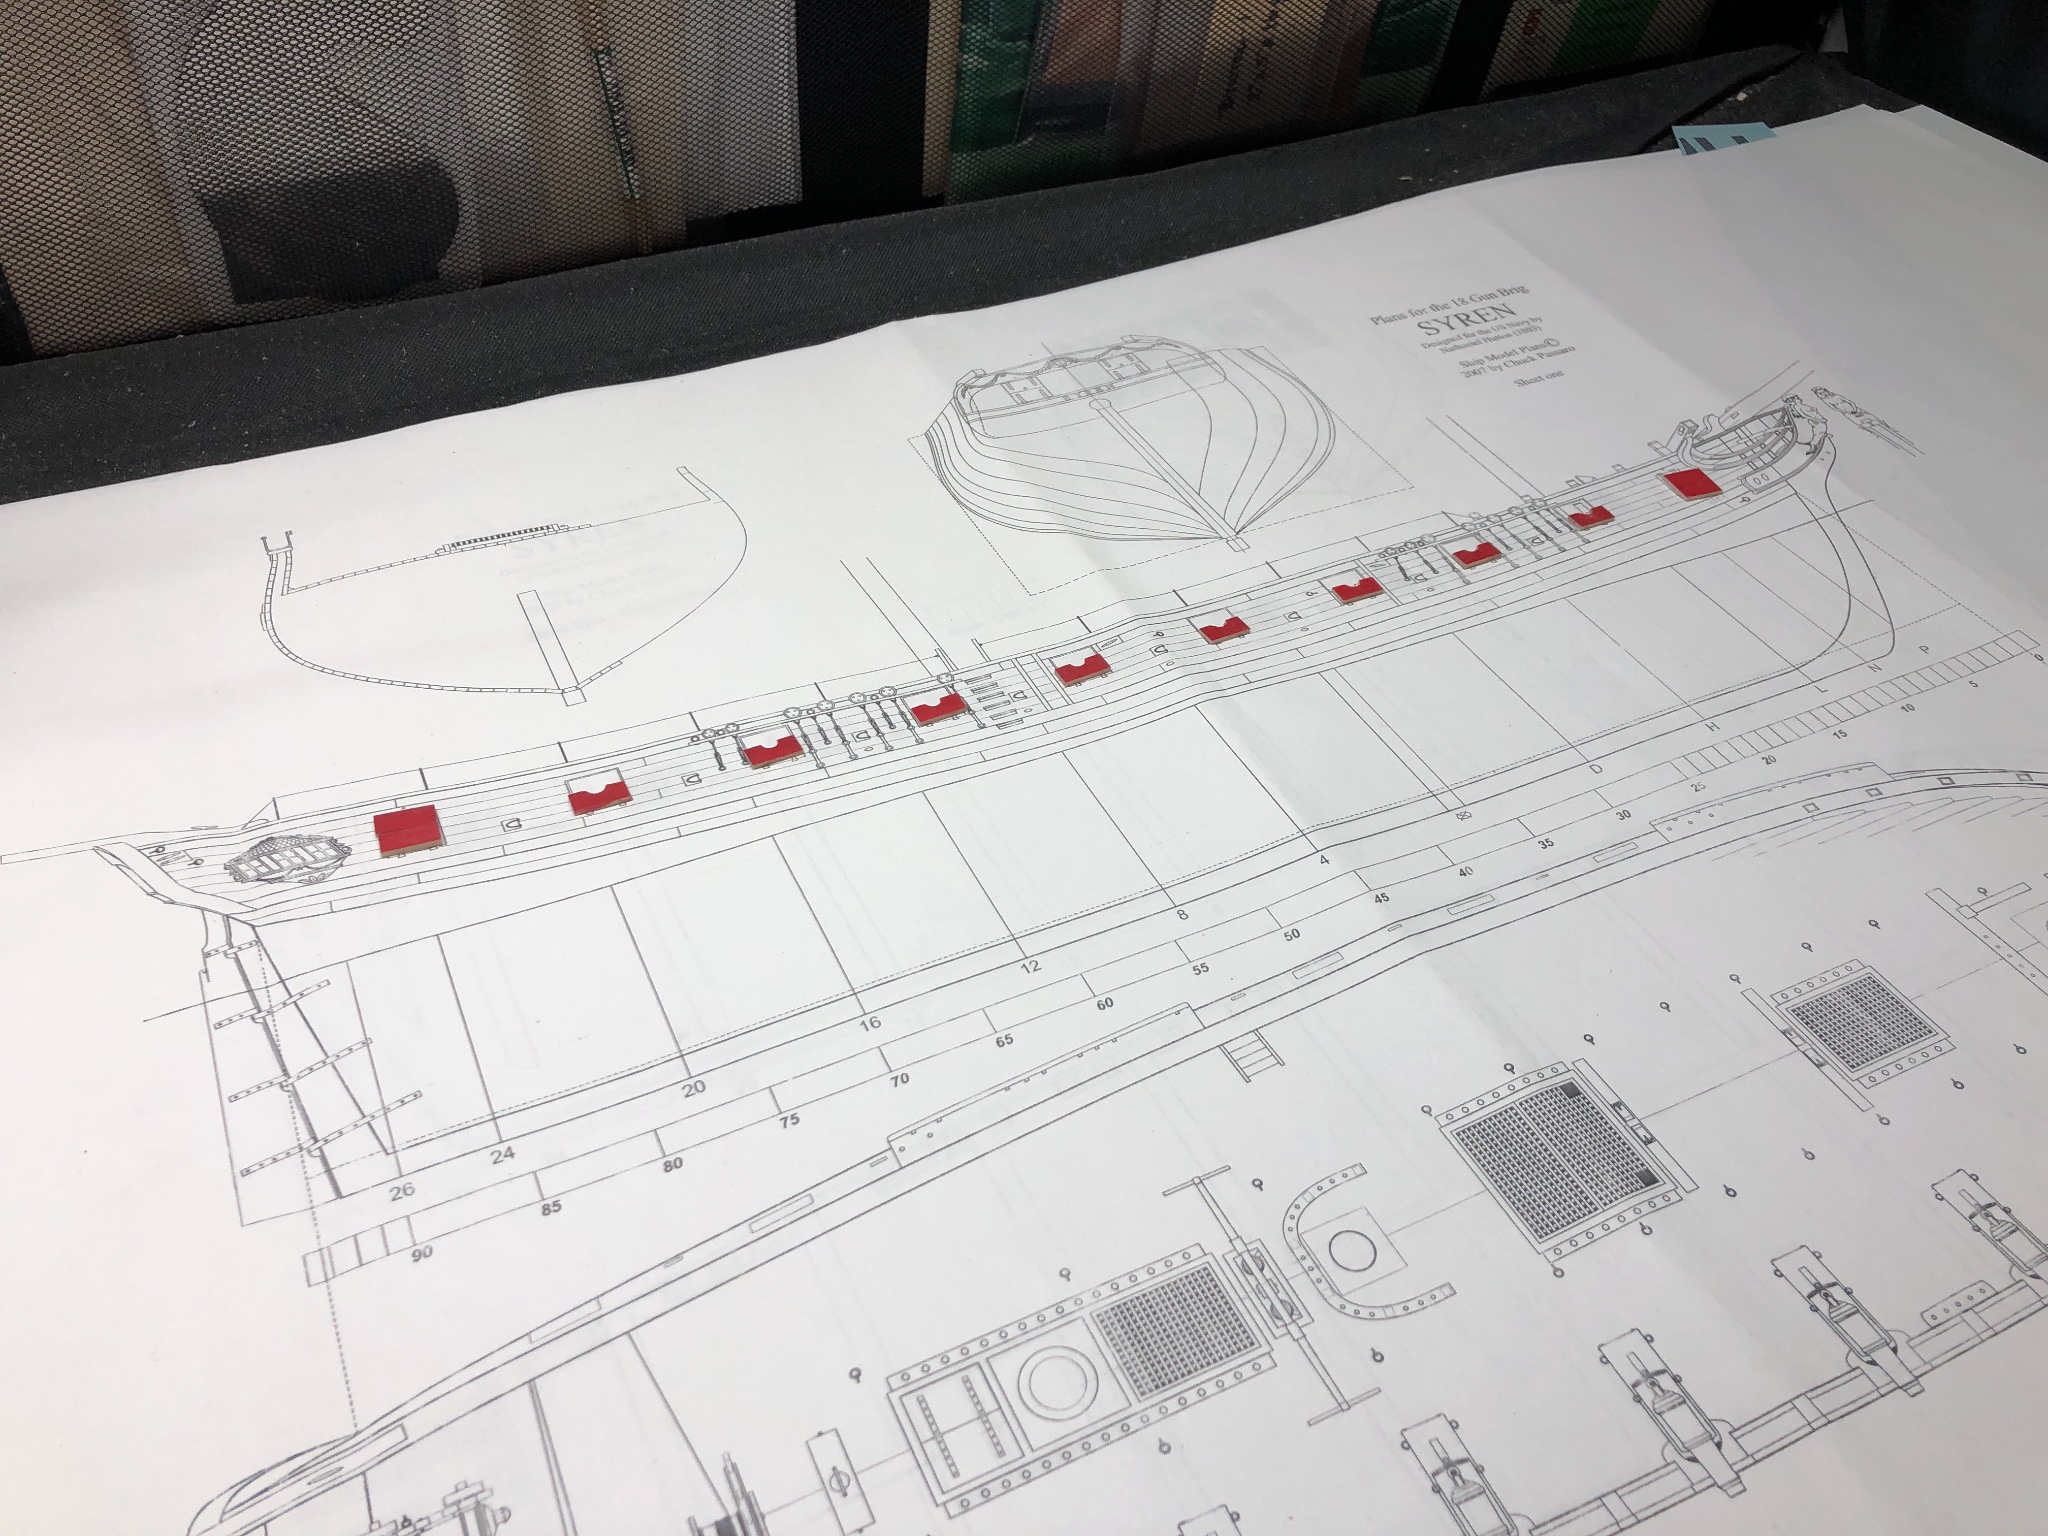
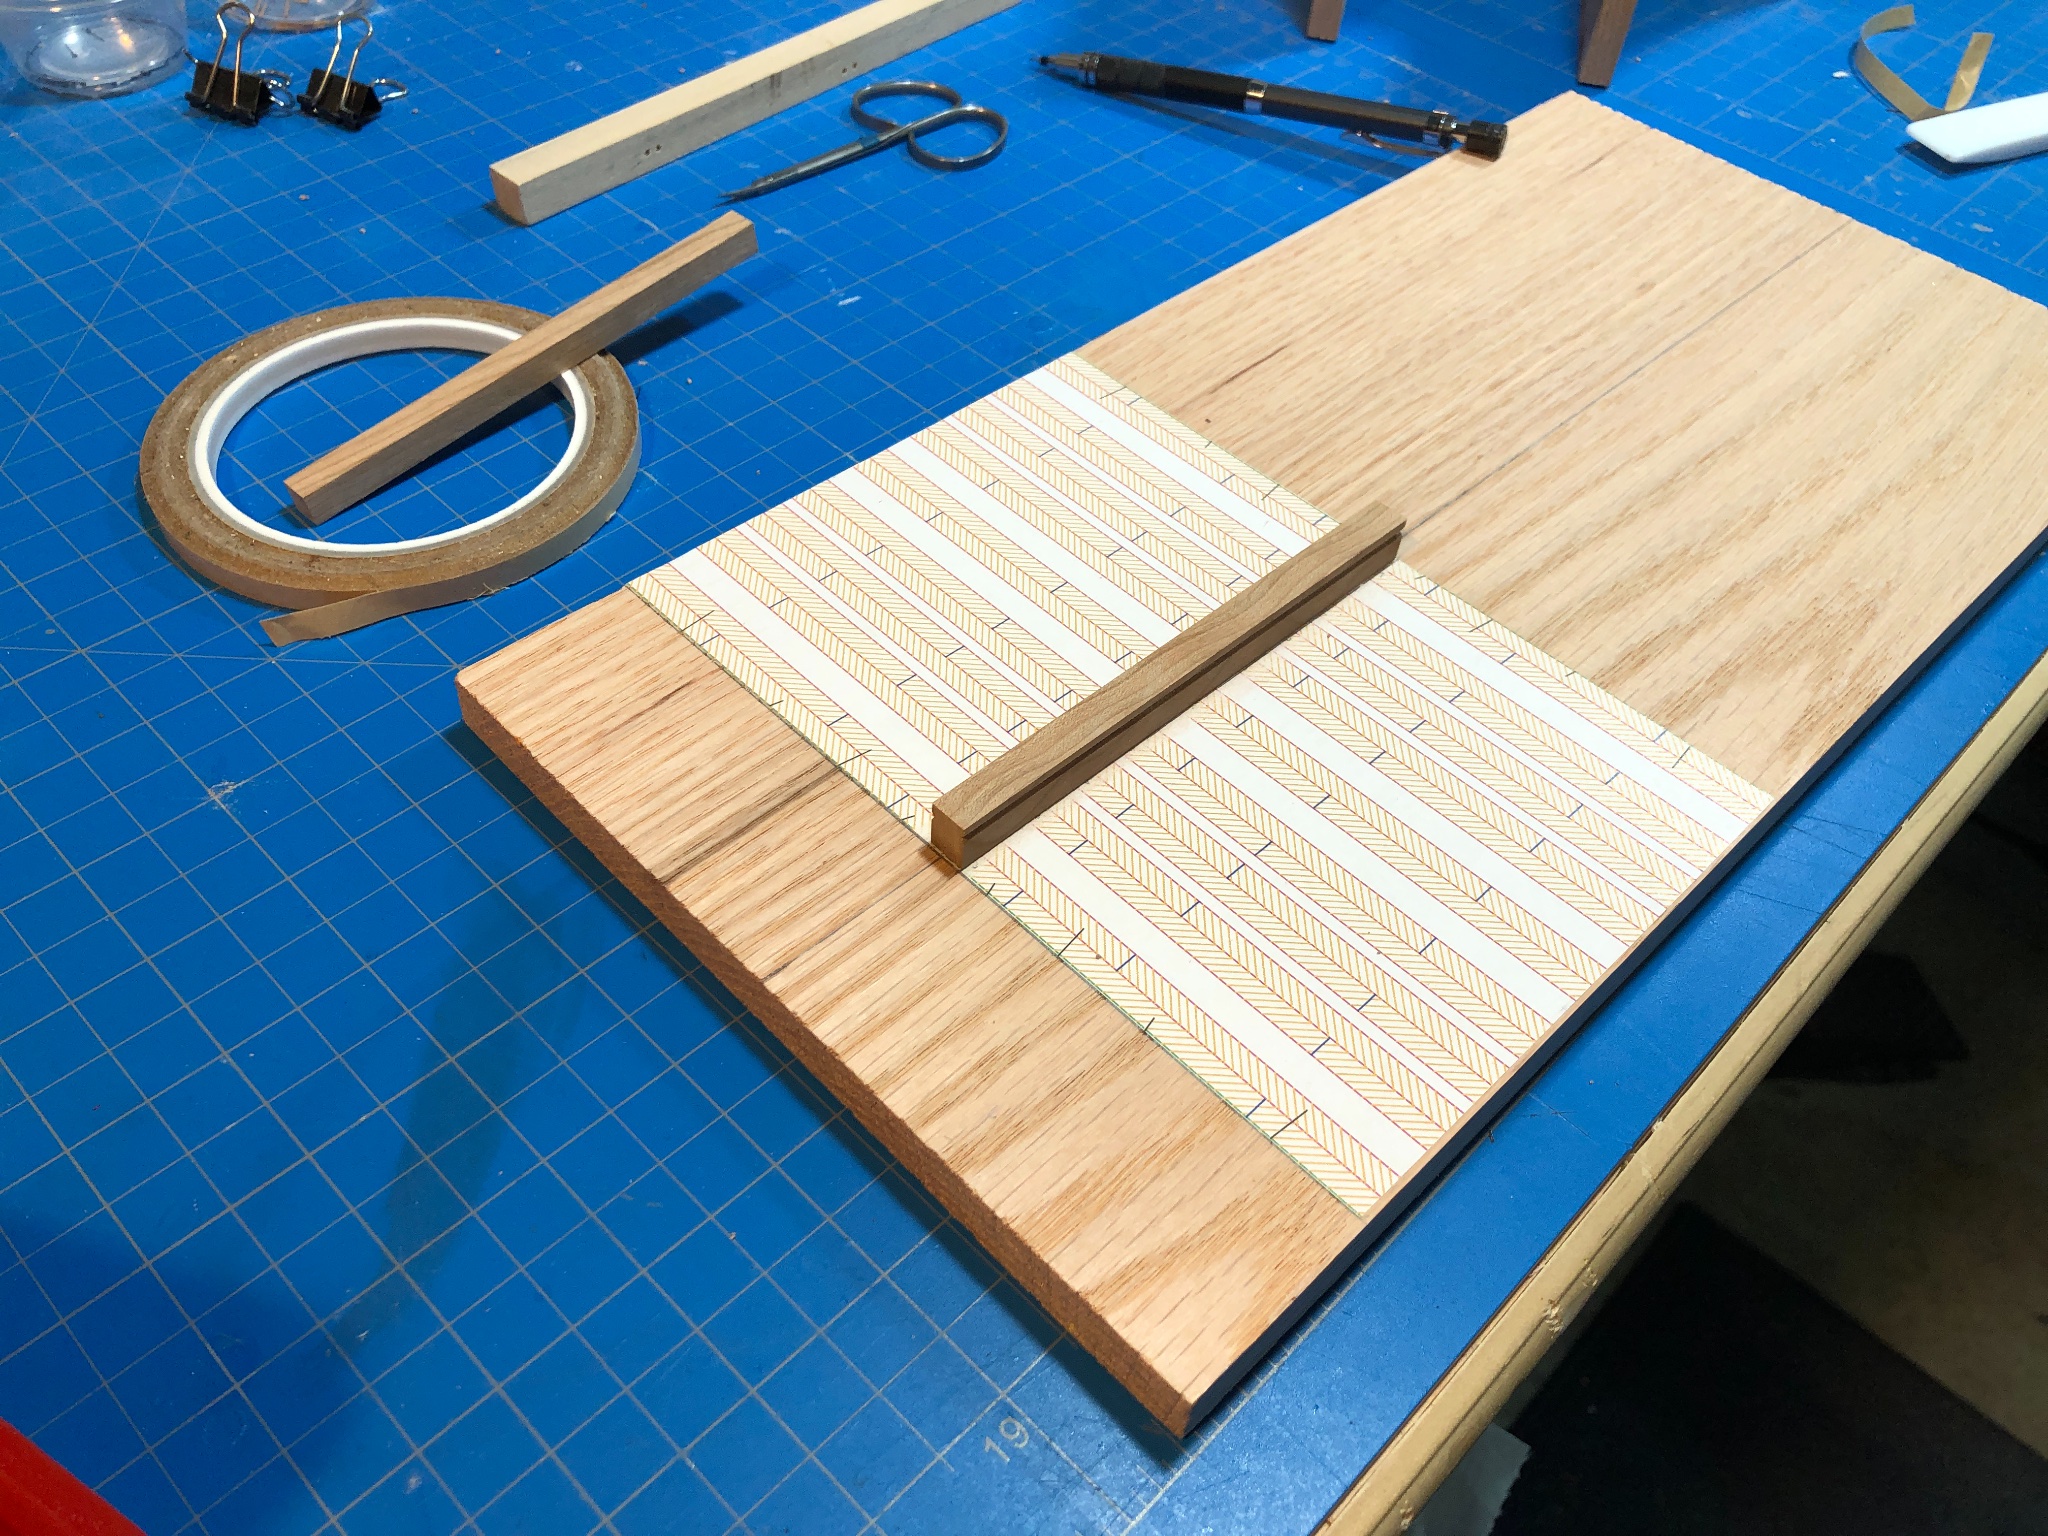
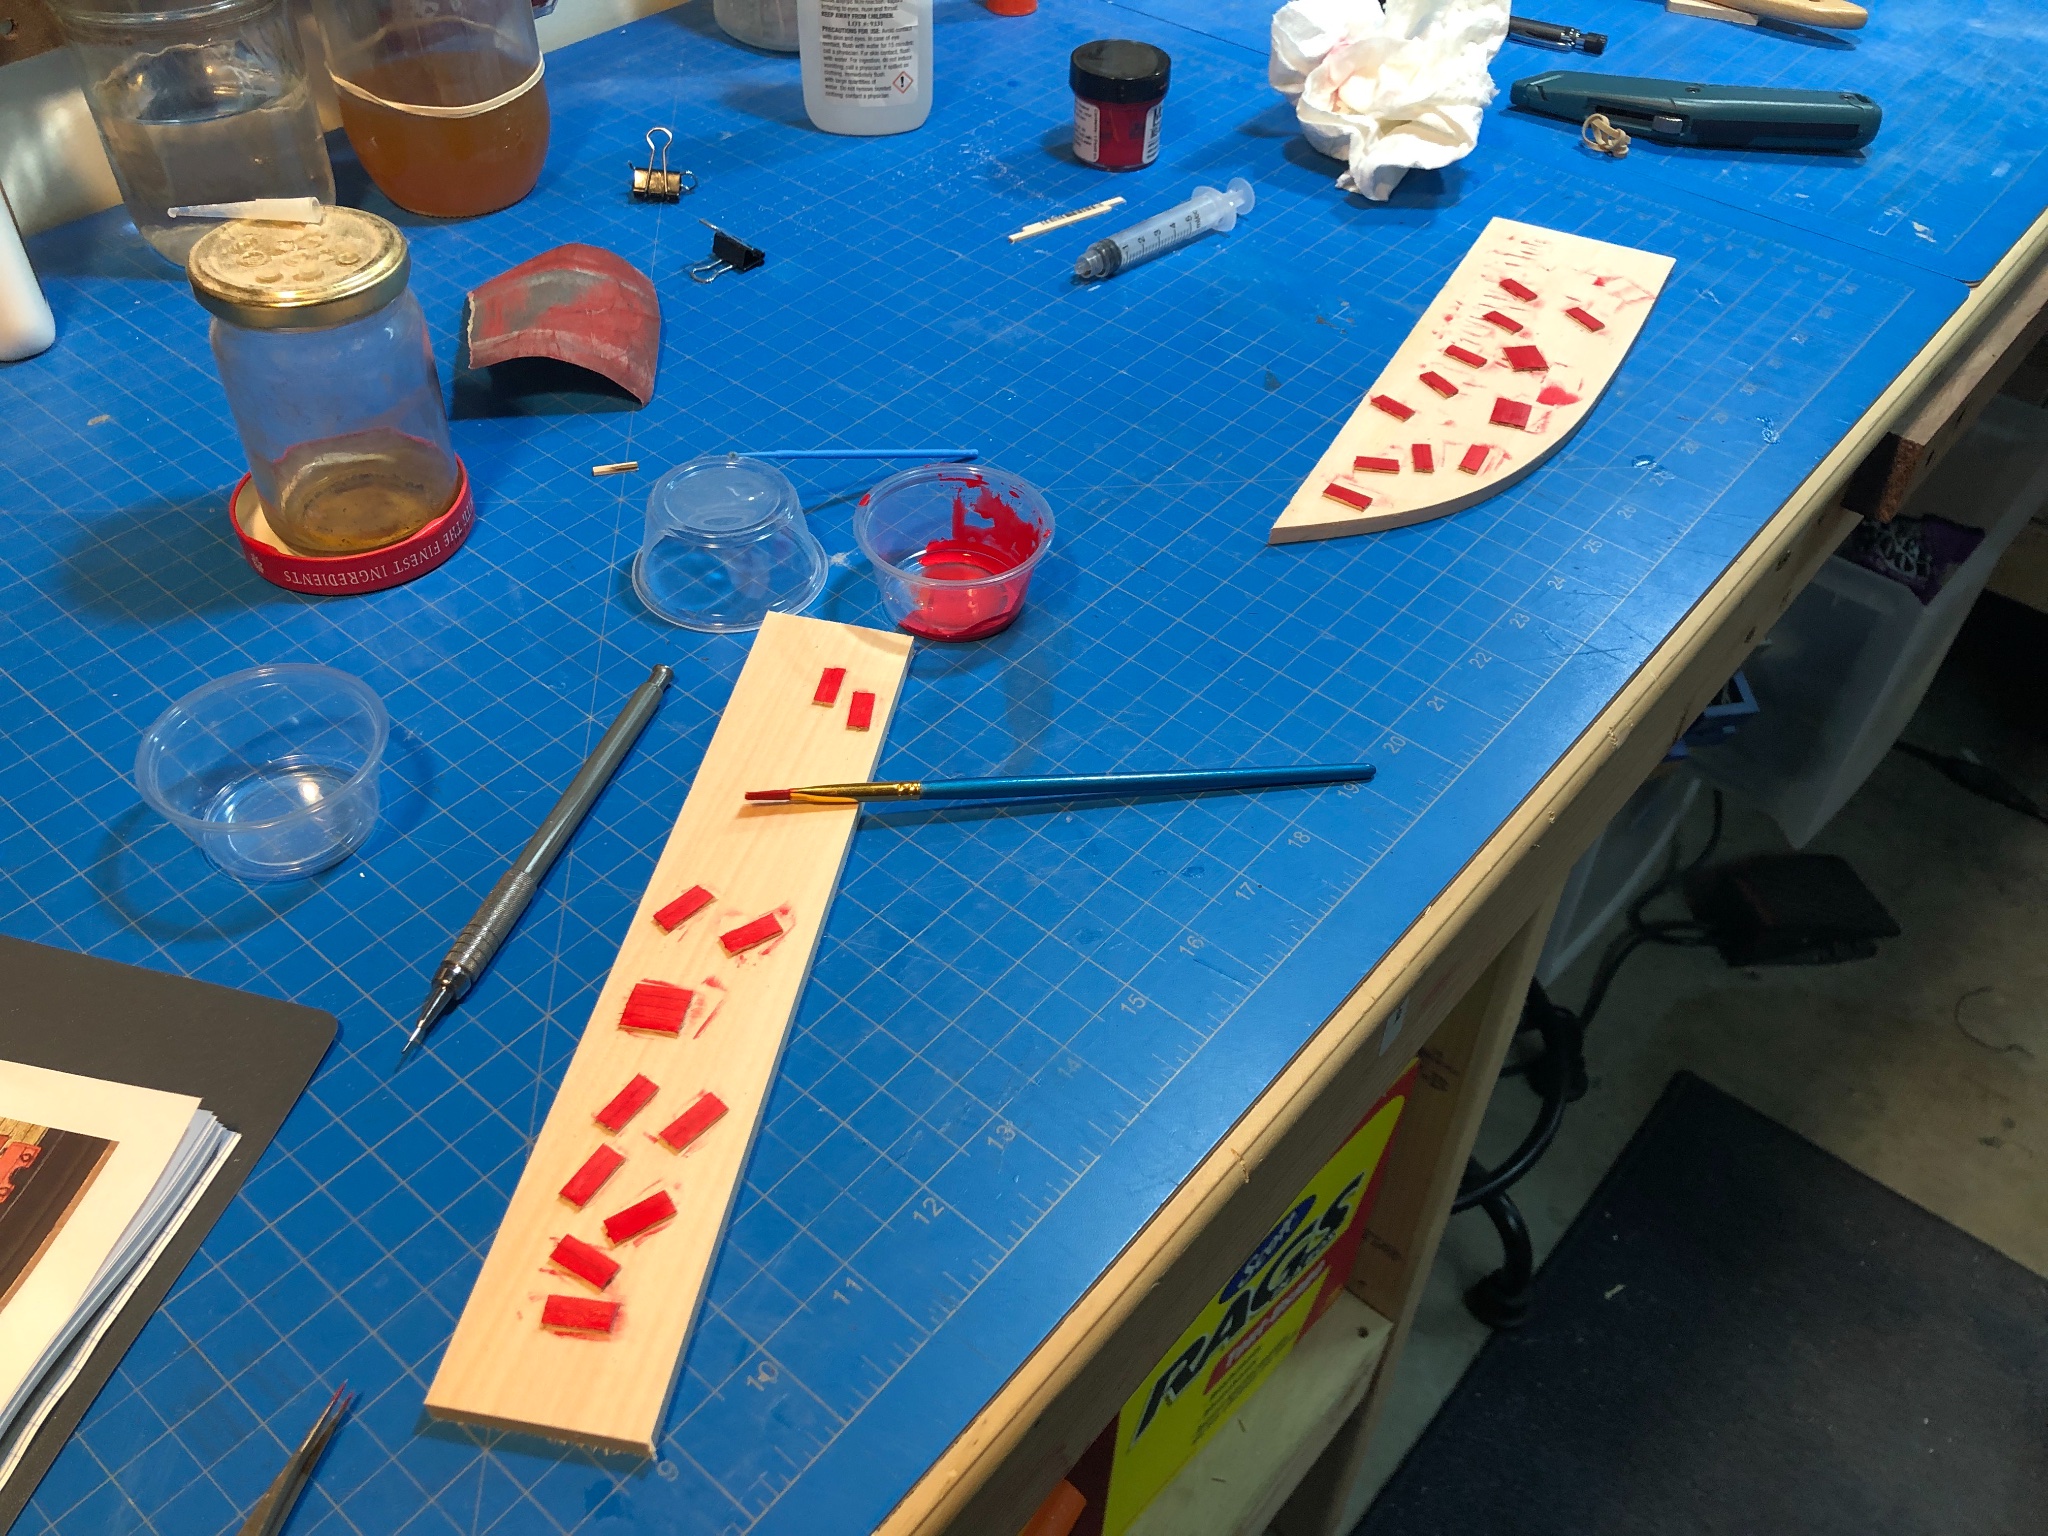
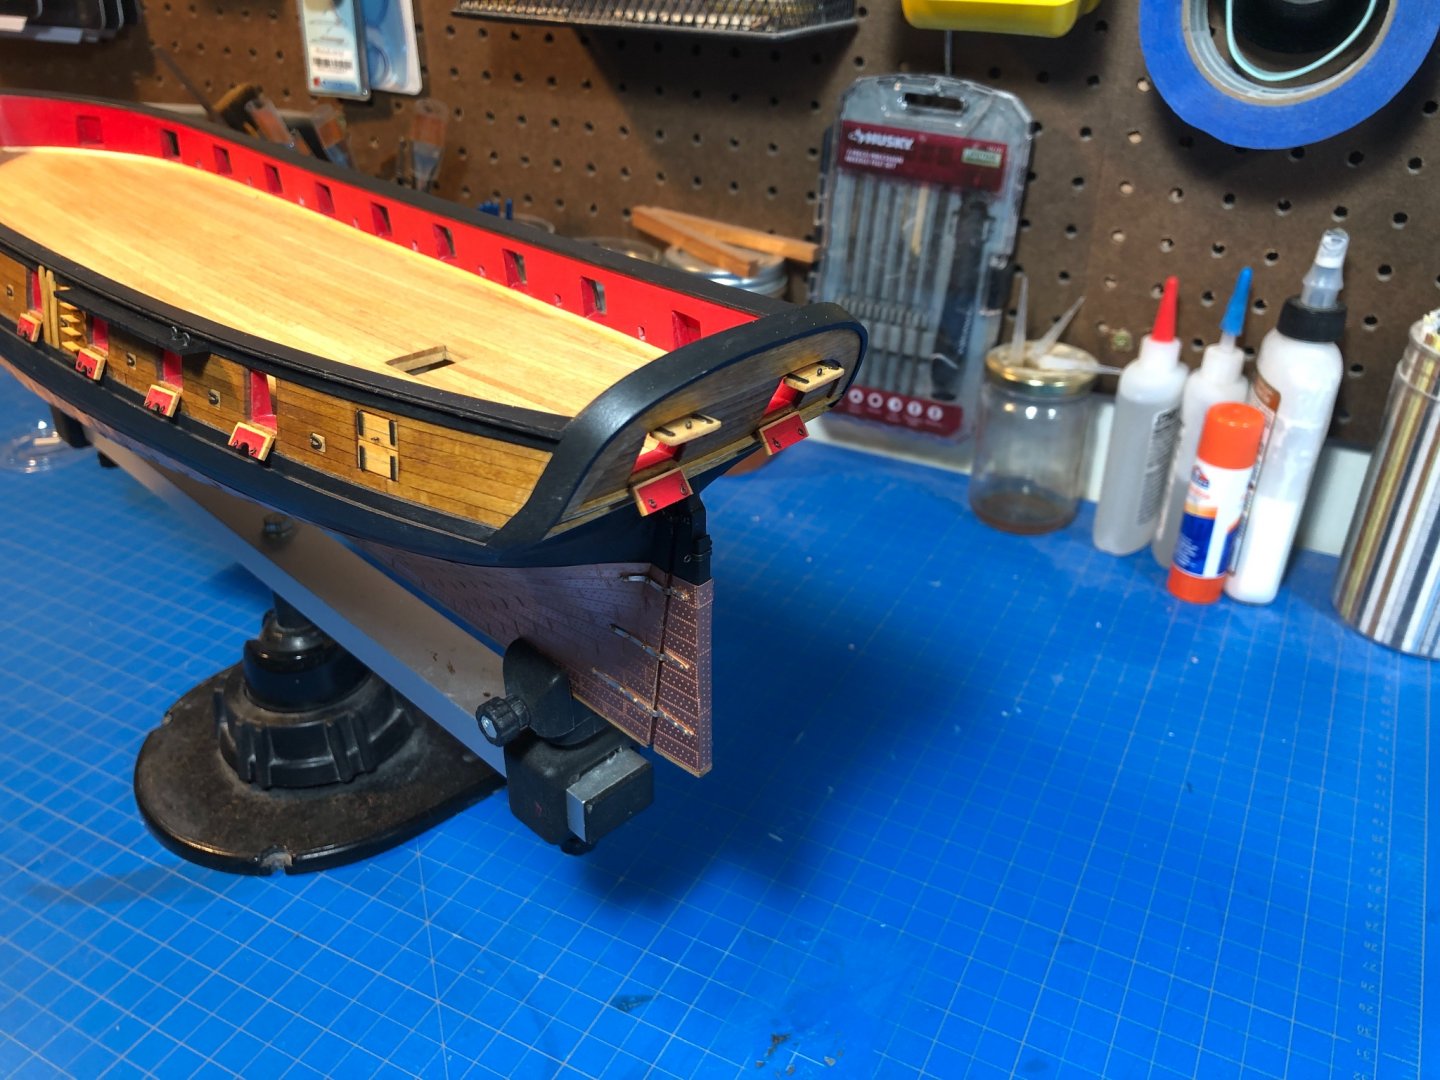
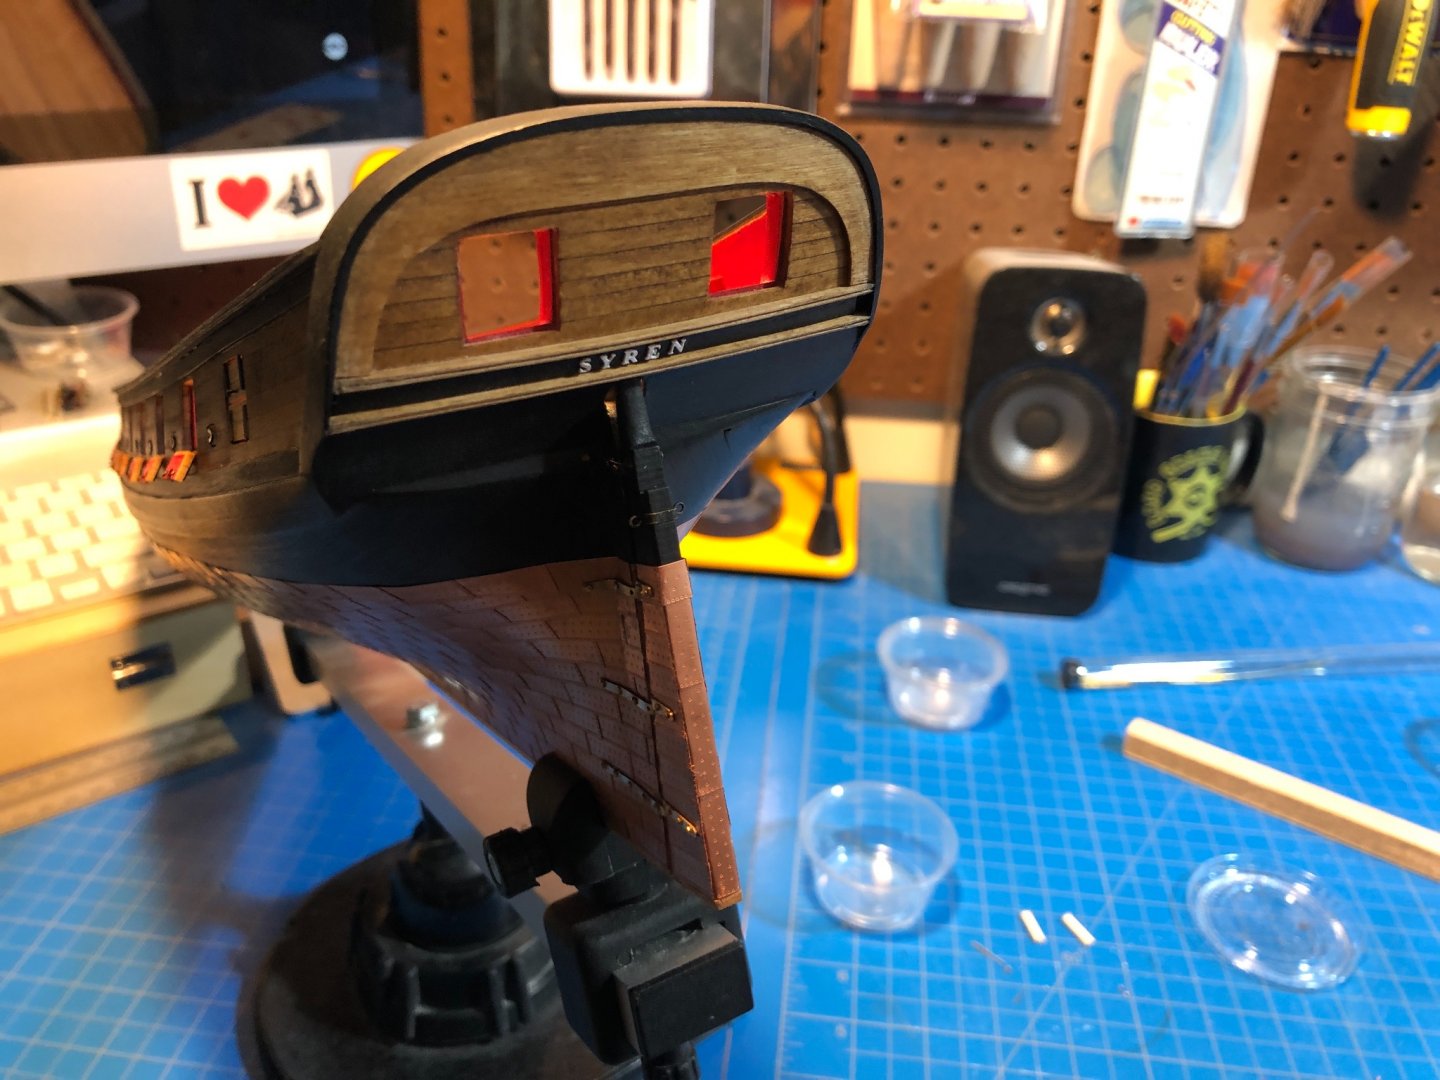
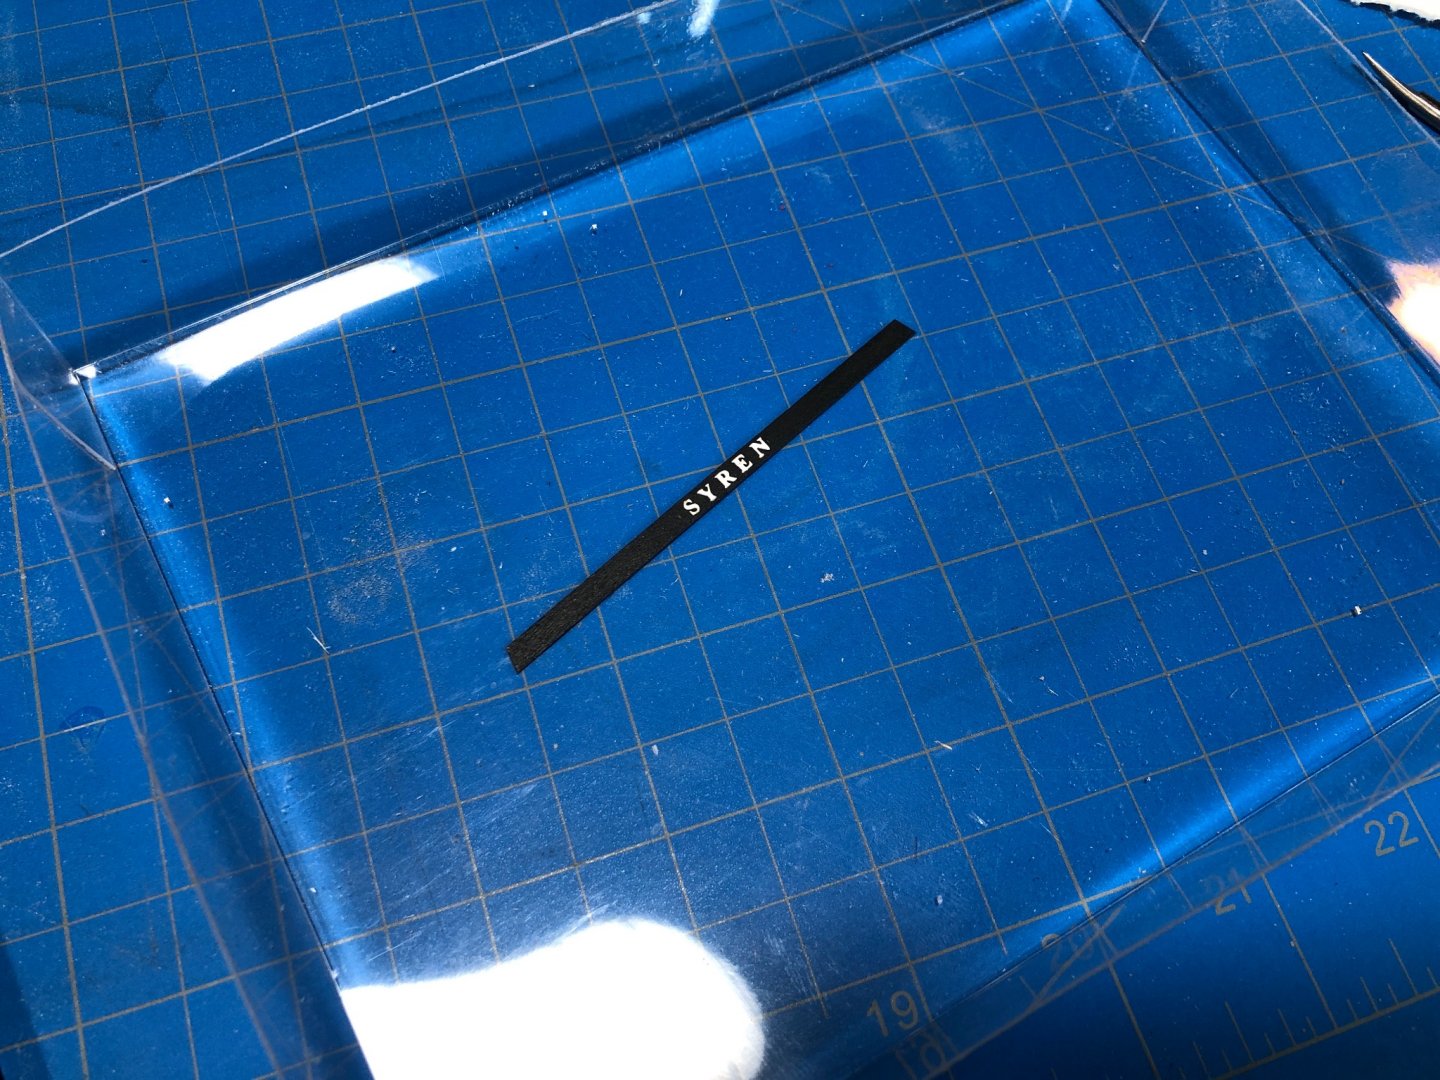
 Hull details cont... After finishing out the gunport lids on the port and starboard side I started in on the stern port lids, the ships name and other smaller details. The first thing was the lettering. I cant recall exactly who first described the method I used, but it always stuck with me as the most fool proof approach. I took a very thin piece of basswood and painted it hull black, after which I cut it to fit the appropriate area on the transom. Then after painting the lettering white and marking up the spacing best I could, mounted the letters to the plank. Then all that was needed was to insert the plank. After that I set about putting the stern port lids together and got them mounted. Im still happy with leaving the rabbet area unpainted on these lids. This was followed by the ladder, fenders and main and fore channels. Fairly straightforward work, but it took time and this weekend was competing with the obligatory spring yard work and clean-up so I only got the starboard side completed. Still have sheaves to do, quarter badges and stern decorative work. All of which Im dreading and procrastinating on big time... lots of planning for the badges and stern work but nothing yet to really write home about.
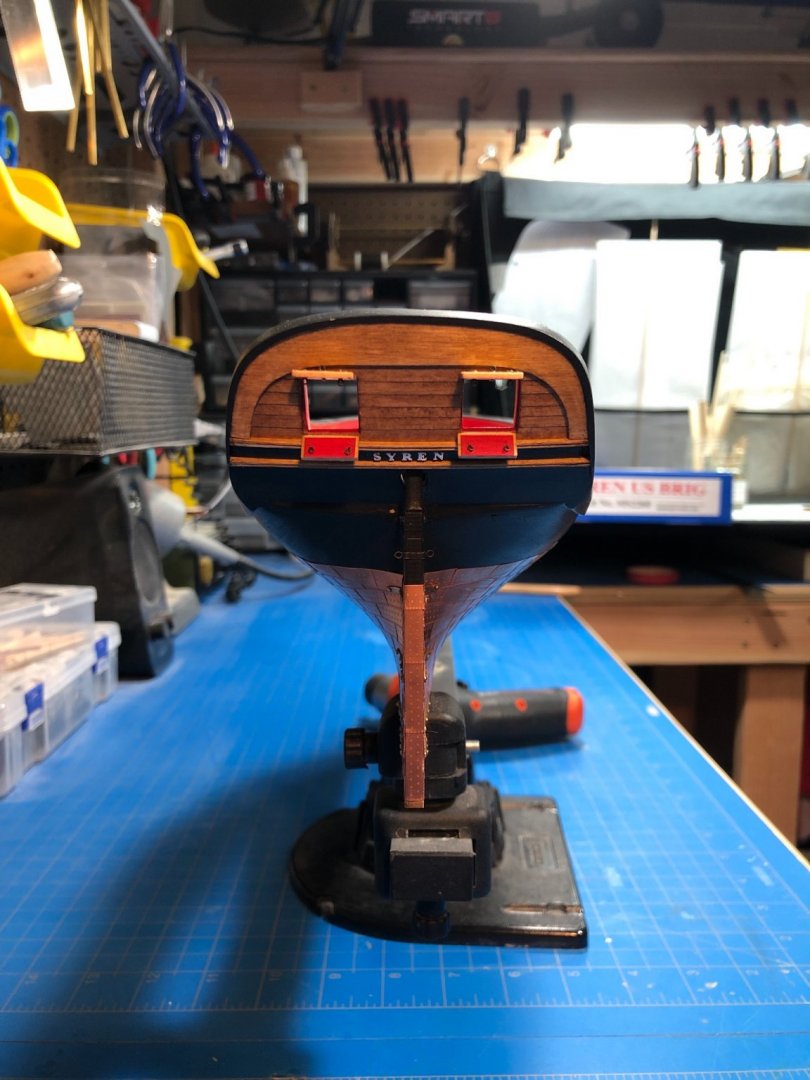


-
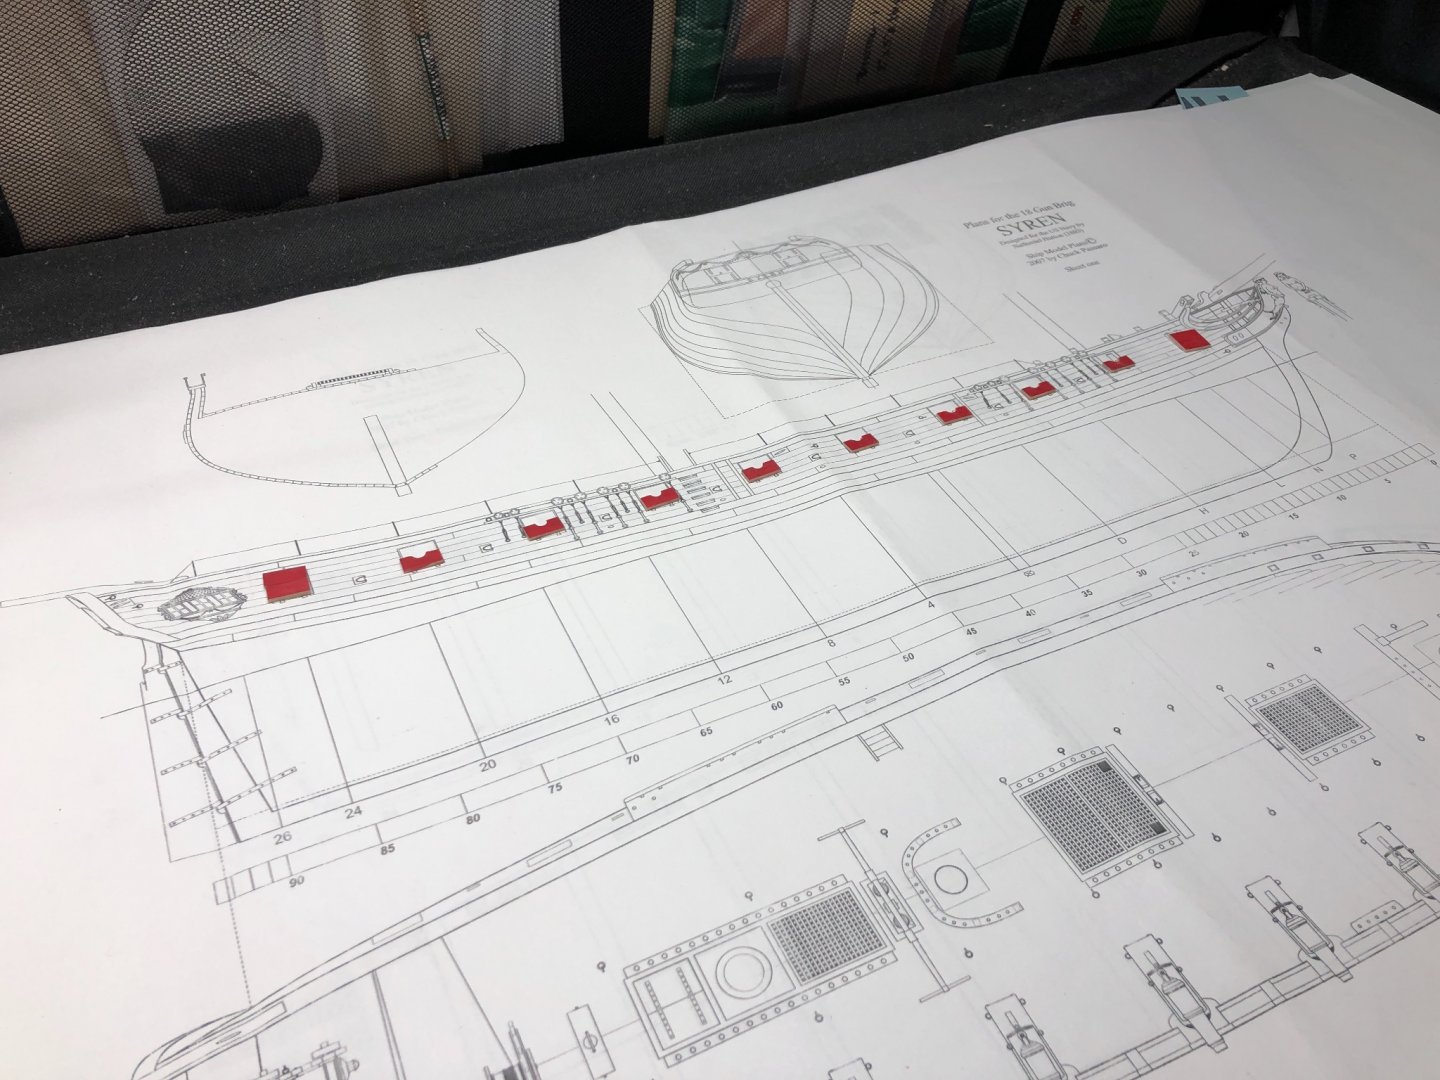
Maybe I am misunderstanding, but presuming you know the diameter of the rope used on the real vessel you could simply use a scale calculator like this one: here.
-
Looking wonderful! I bet those chain plate assemblies are bit of a pain!
- 950 replies
-
- 1
-

-
- syren
- model shipways
- (and 1 more)
-
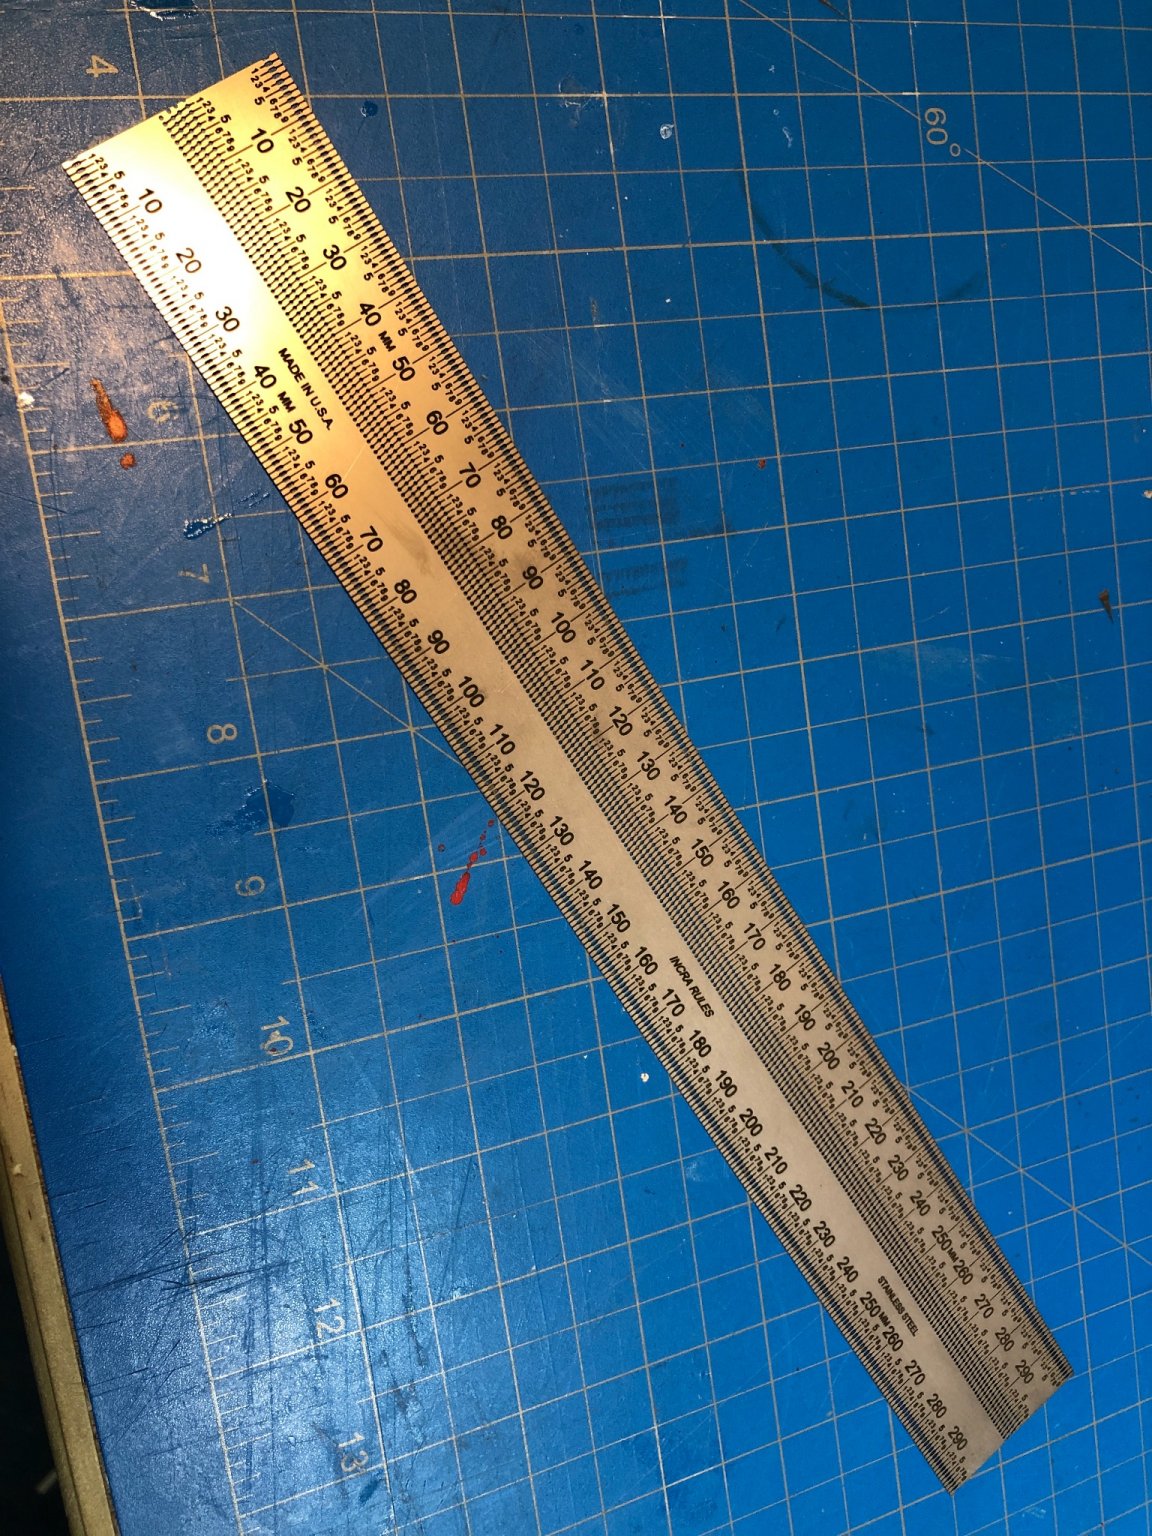
I actually picked my up on impulse at my local hardware store but looking at the Incra website, it looks like I have the 300mm metric model: here.
-
Apologies. For those in the US, perhaps one demerit would be the cost of shipping/availability in that market. I thought it might be appropriate to to suggest alternative options or similar products available in their own region. I don’t mind you want to remove my earlier post.
-
@BobG, Ive gotten a very similar tool from Micromark or maybe Model Expo, along with a cutting guide rail that works extremely well. These are great saws, I have no doubt the ones featured here are just as good. But if you are looking for something stateside you might one of these: https://www.micromark.com/Ultra-Fine-Saw-Blade-pack-of-5?gclid=Cj0KCQiApsiBBhCKARIsAN8o_4hyFJsrsKjKG9Q9xck8HO-7mAdTR8jmgSkTWpzvVOs8xPeo5ciWUaMaAiLZEALw_wcB
-
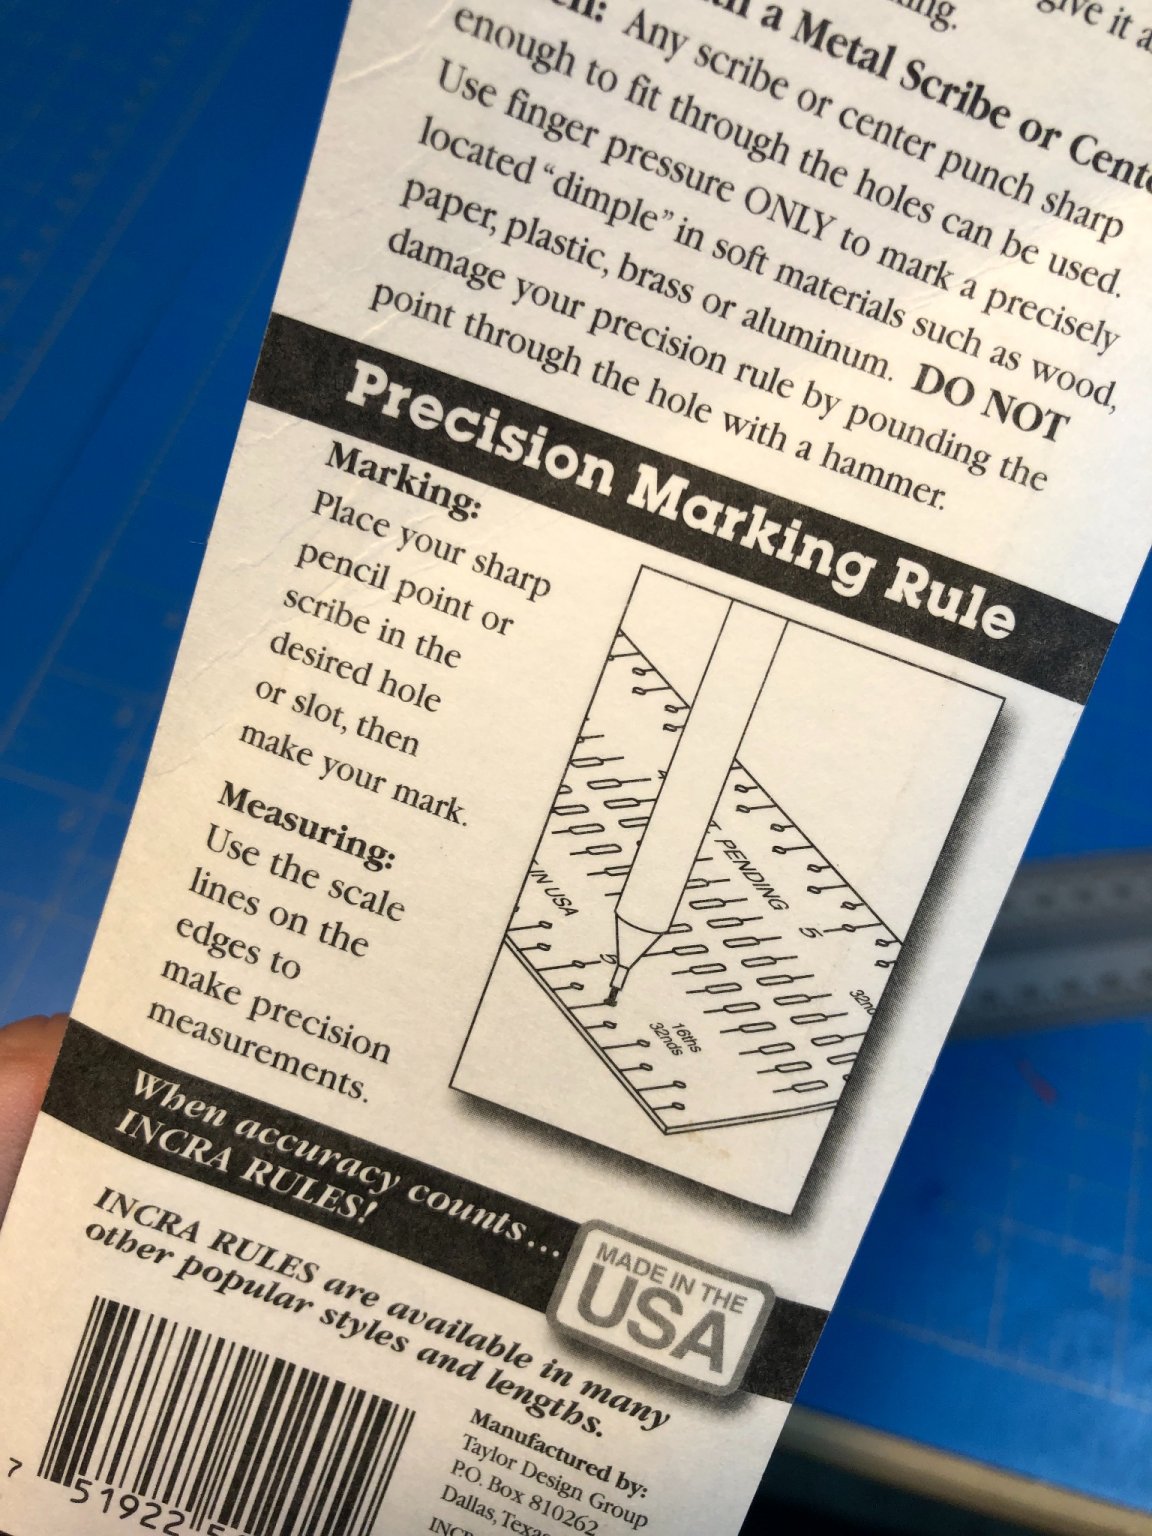
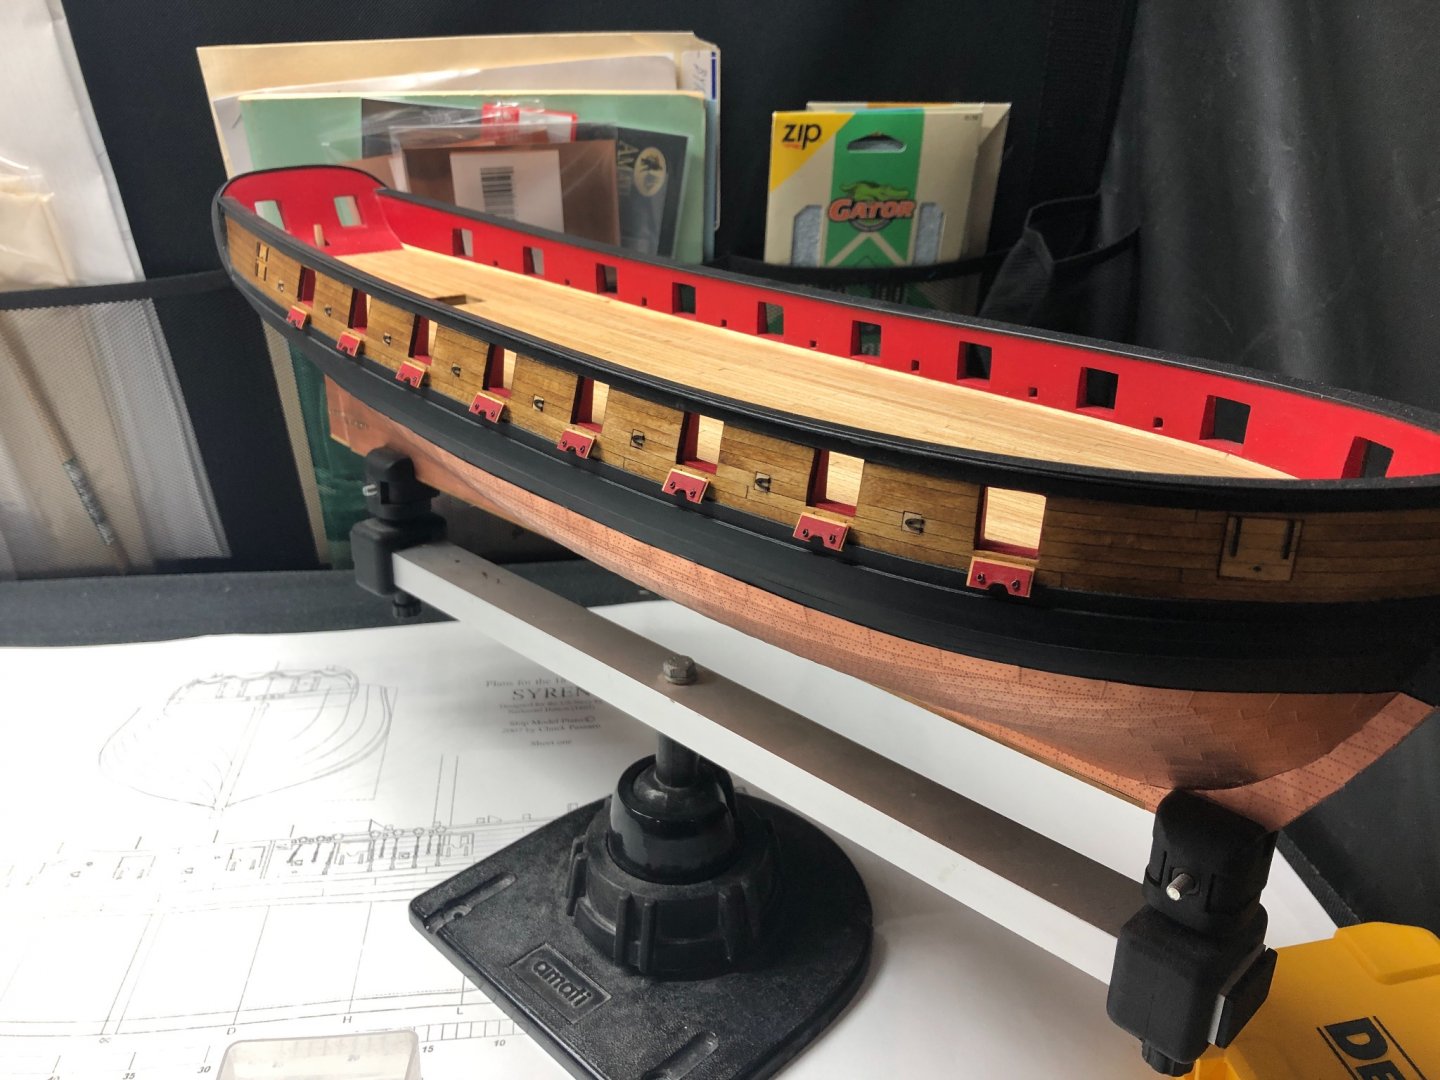
Gunport Lids continued... I enjoyed this bit of the build, and though Ive definitely had tighter fits in the past, Im ultimately happy with how these turned out (for now). If it turns out I cant stand the odd gap on the forward and aft ports I might redo them... I deviated a bit from the plan here only in that when I filed down the rabbet around the end edges I decided I did not like them completely painted so I left this and just stained them to match. Its a subtle difference from what is called for in the instructions but I liked the end result. Both starboard and port lids are complete now... on to those pesky sheaves. A note on rulers... For anyone who likes a good measuring tool, I just picked this up on impulse the other day and man do I like it! It has tiny little holes throughout and make transferring a measurement to wood extremely accurate. Using a .2 drafting pencil and this thing has change my life. Making a mark is so much more accurate and repeatable, something Ive struggled with.


-
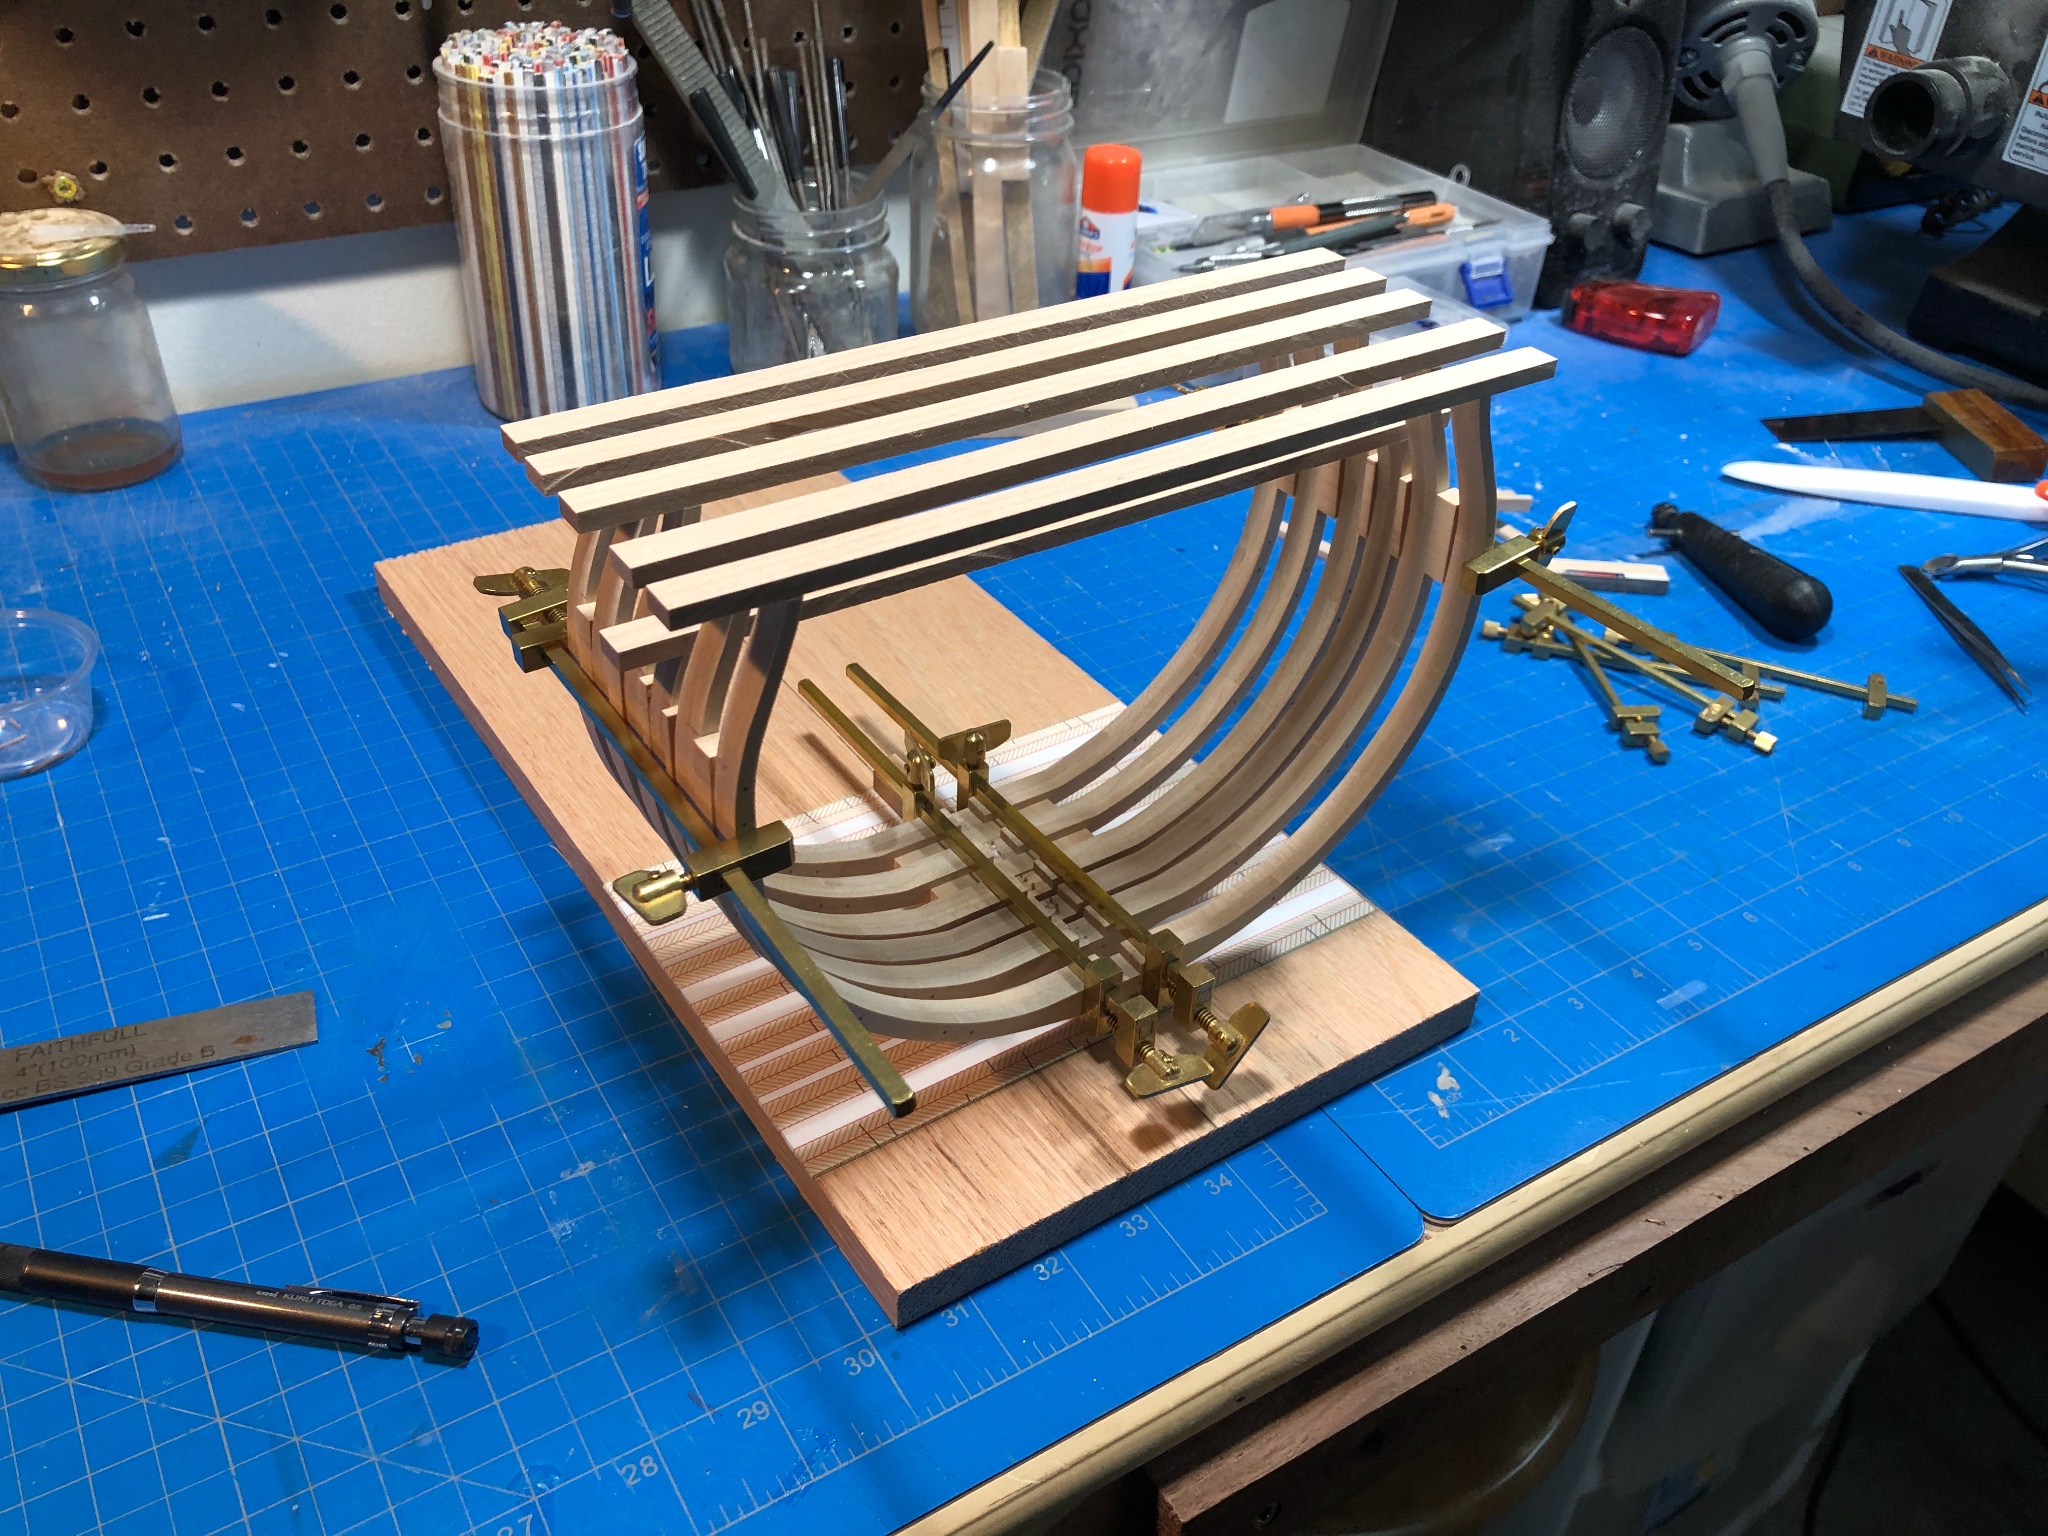
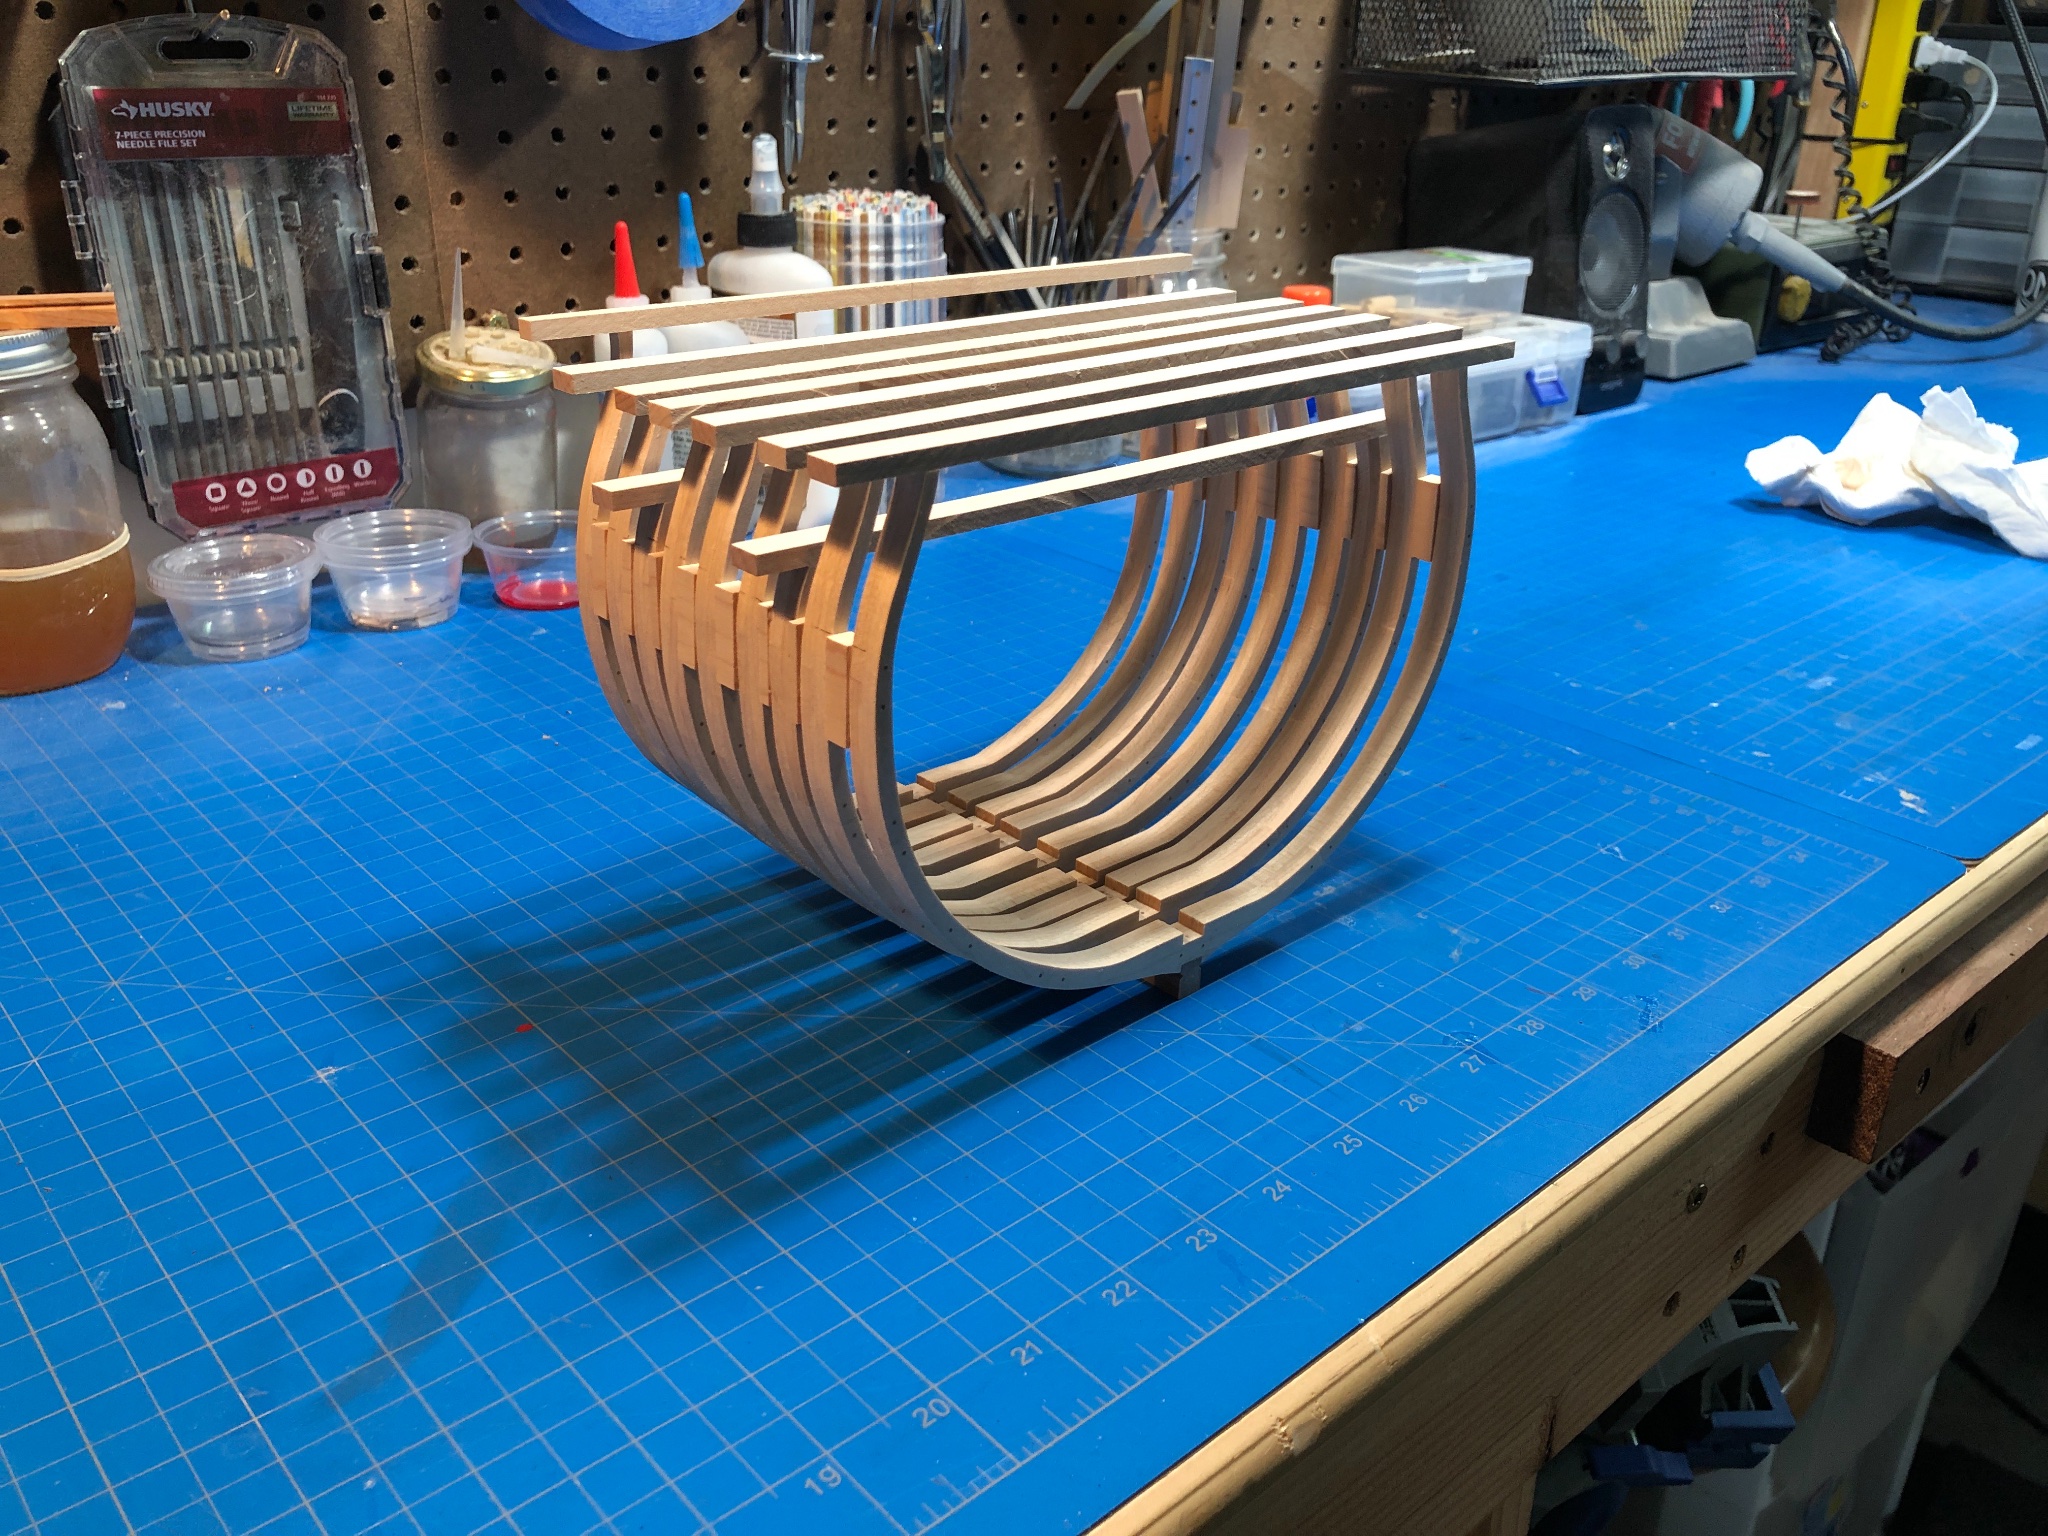
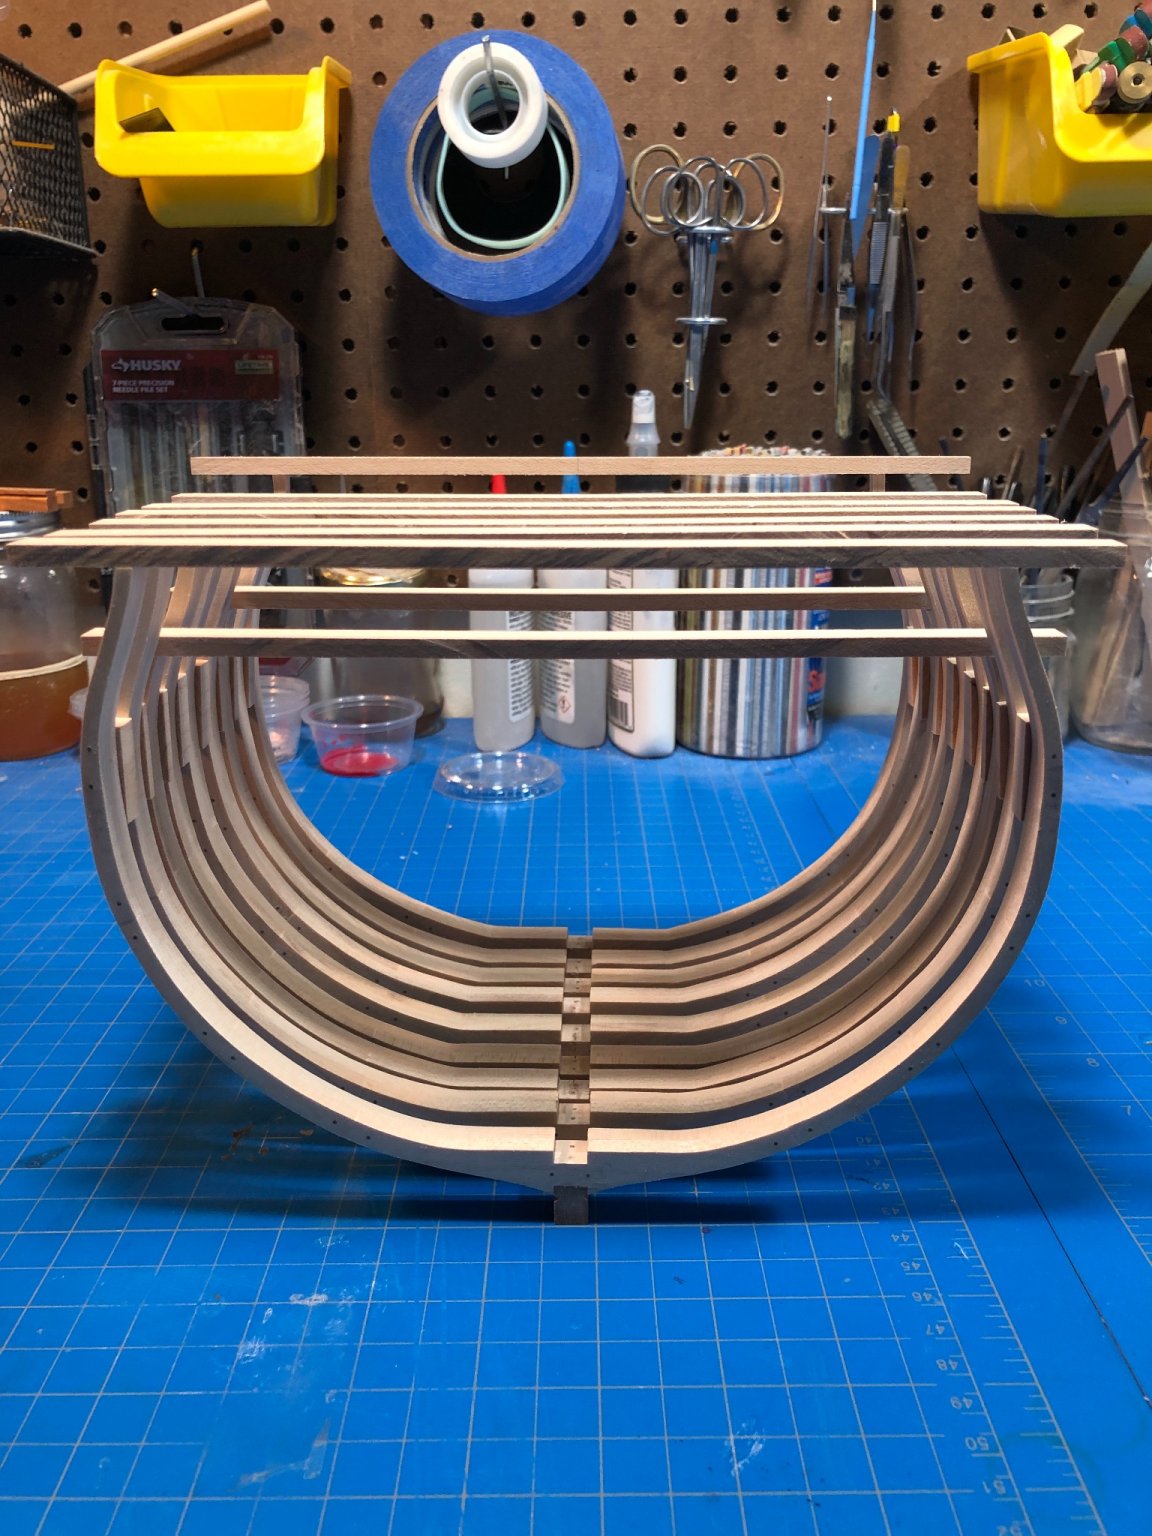
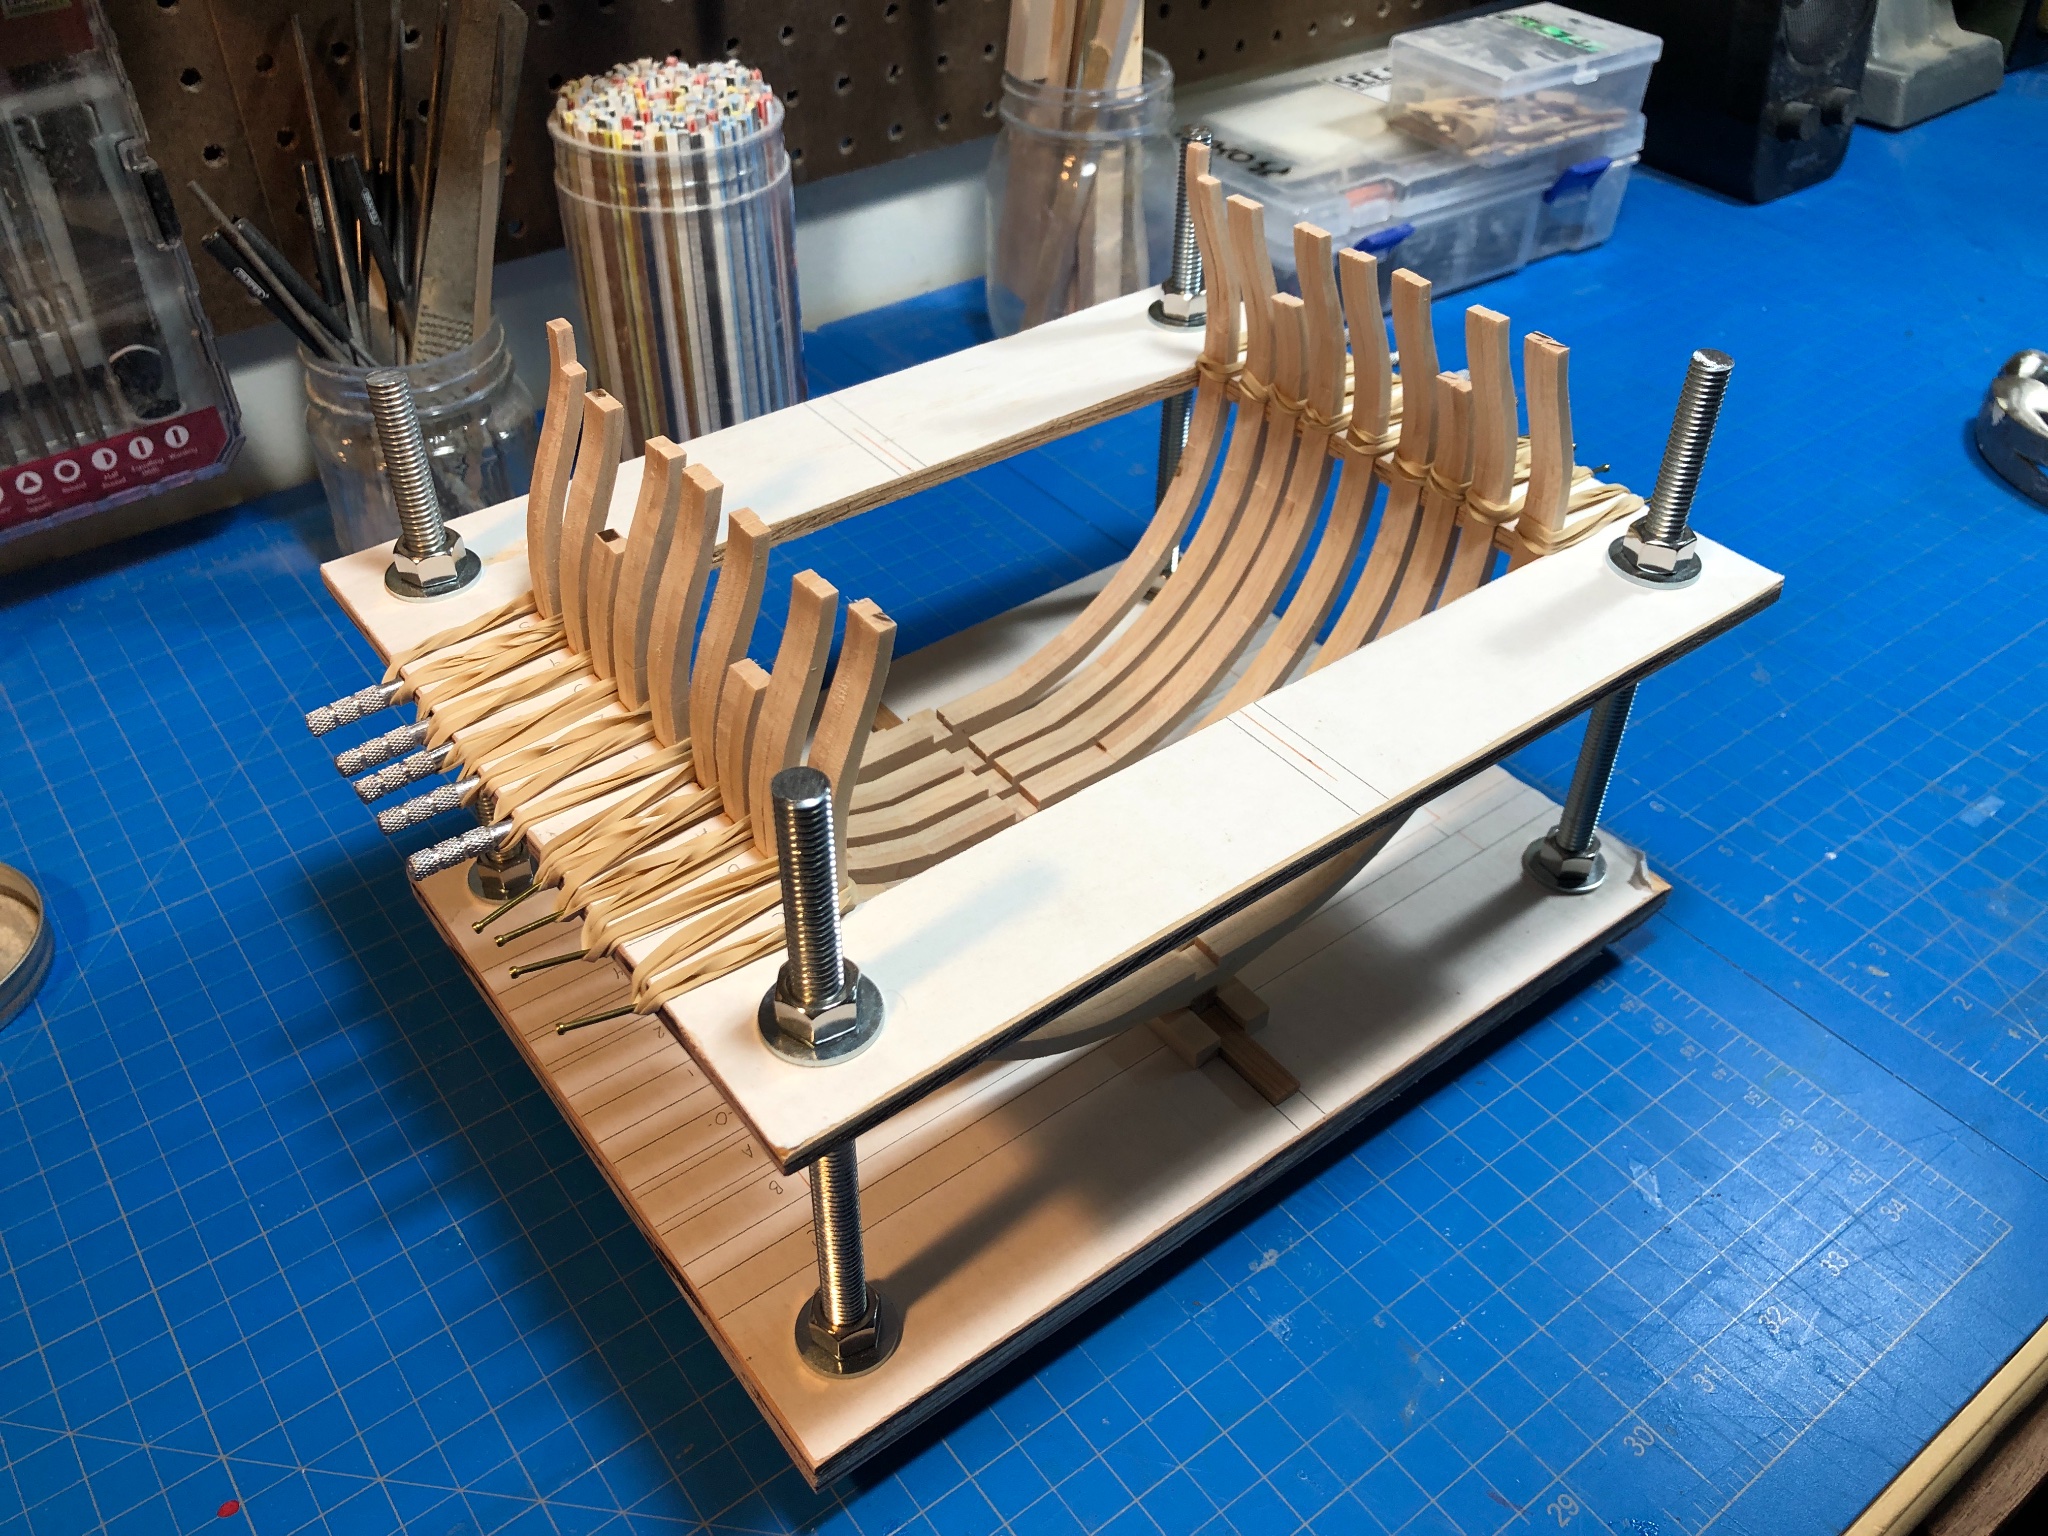
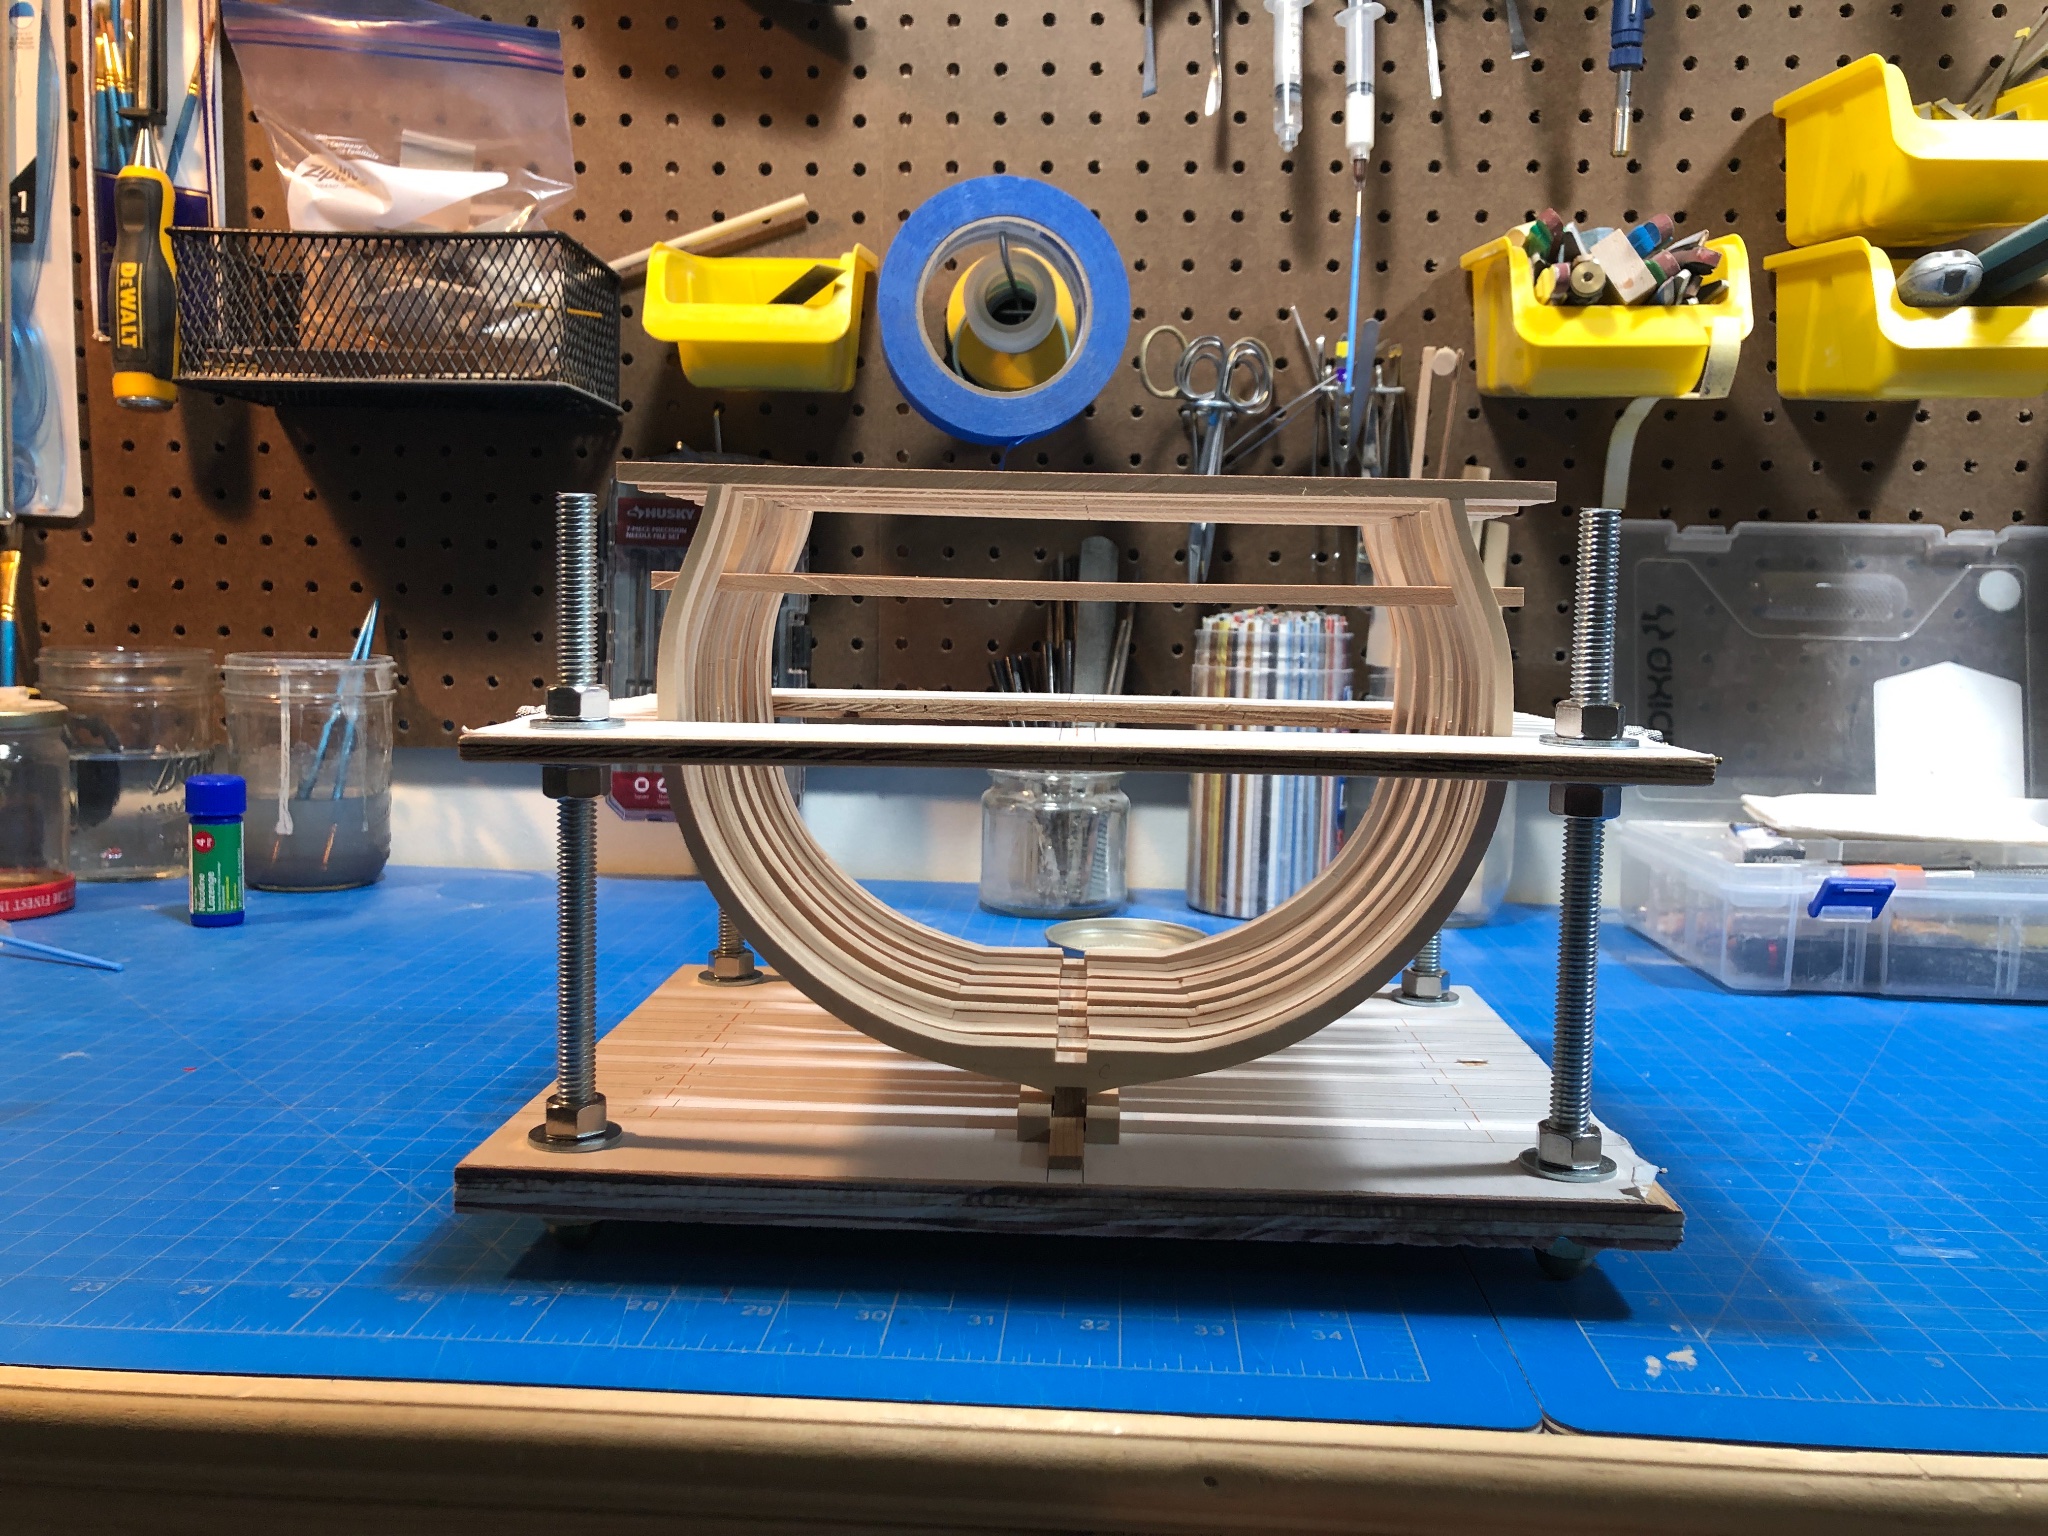
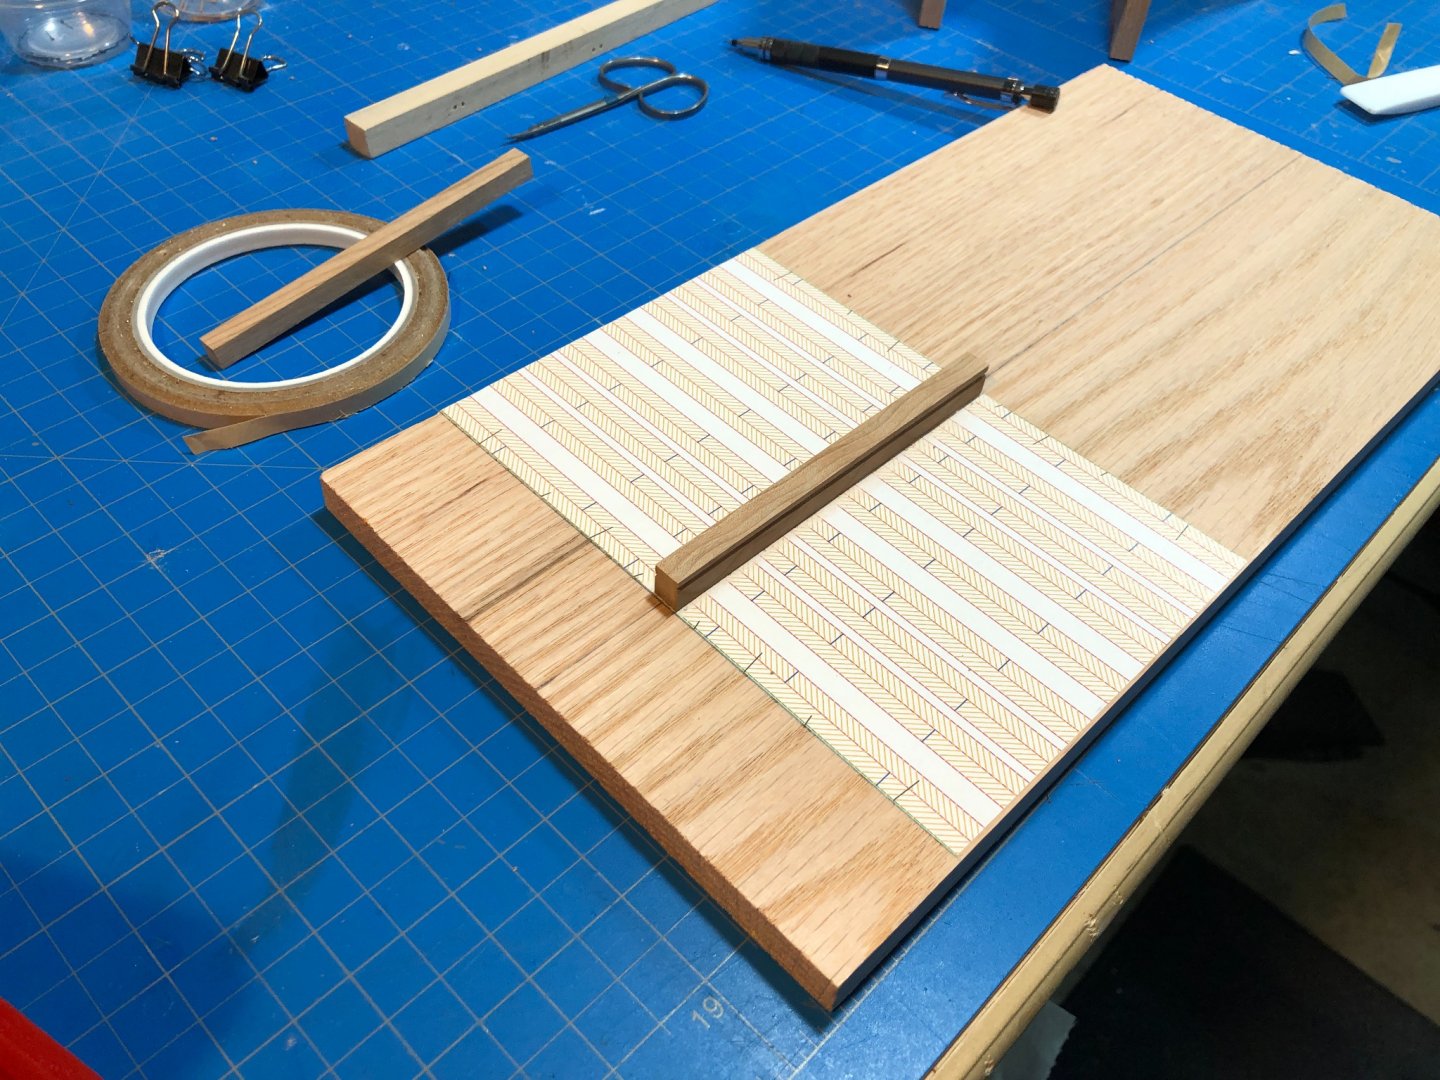
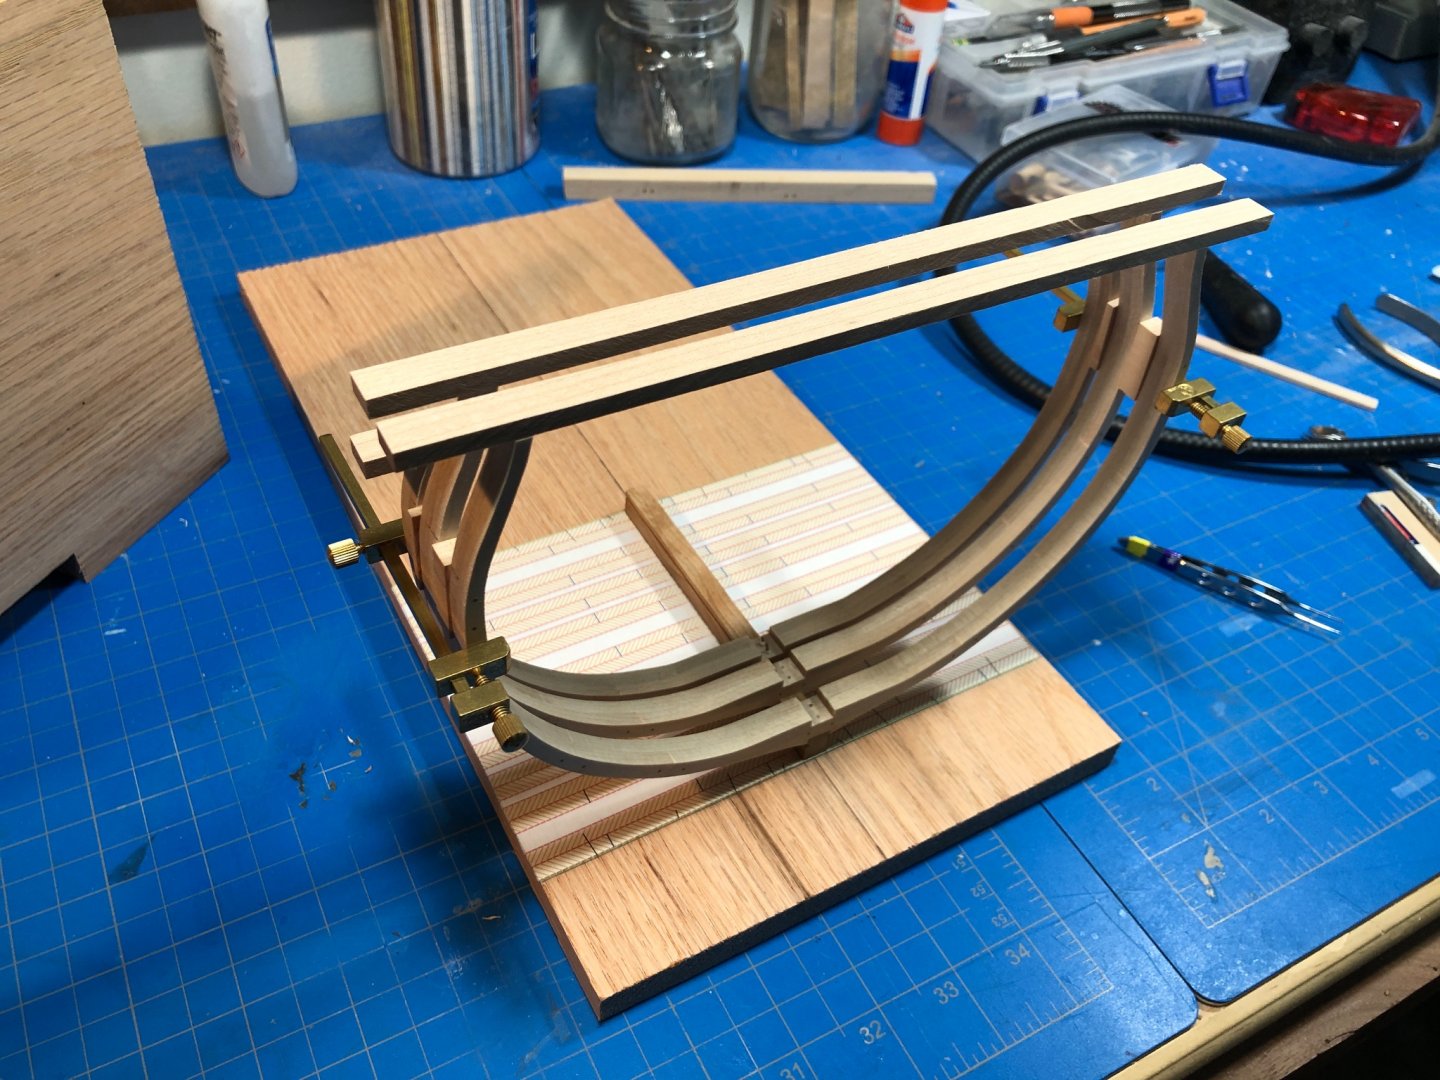
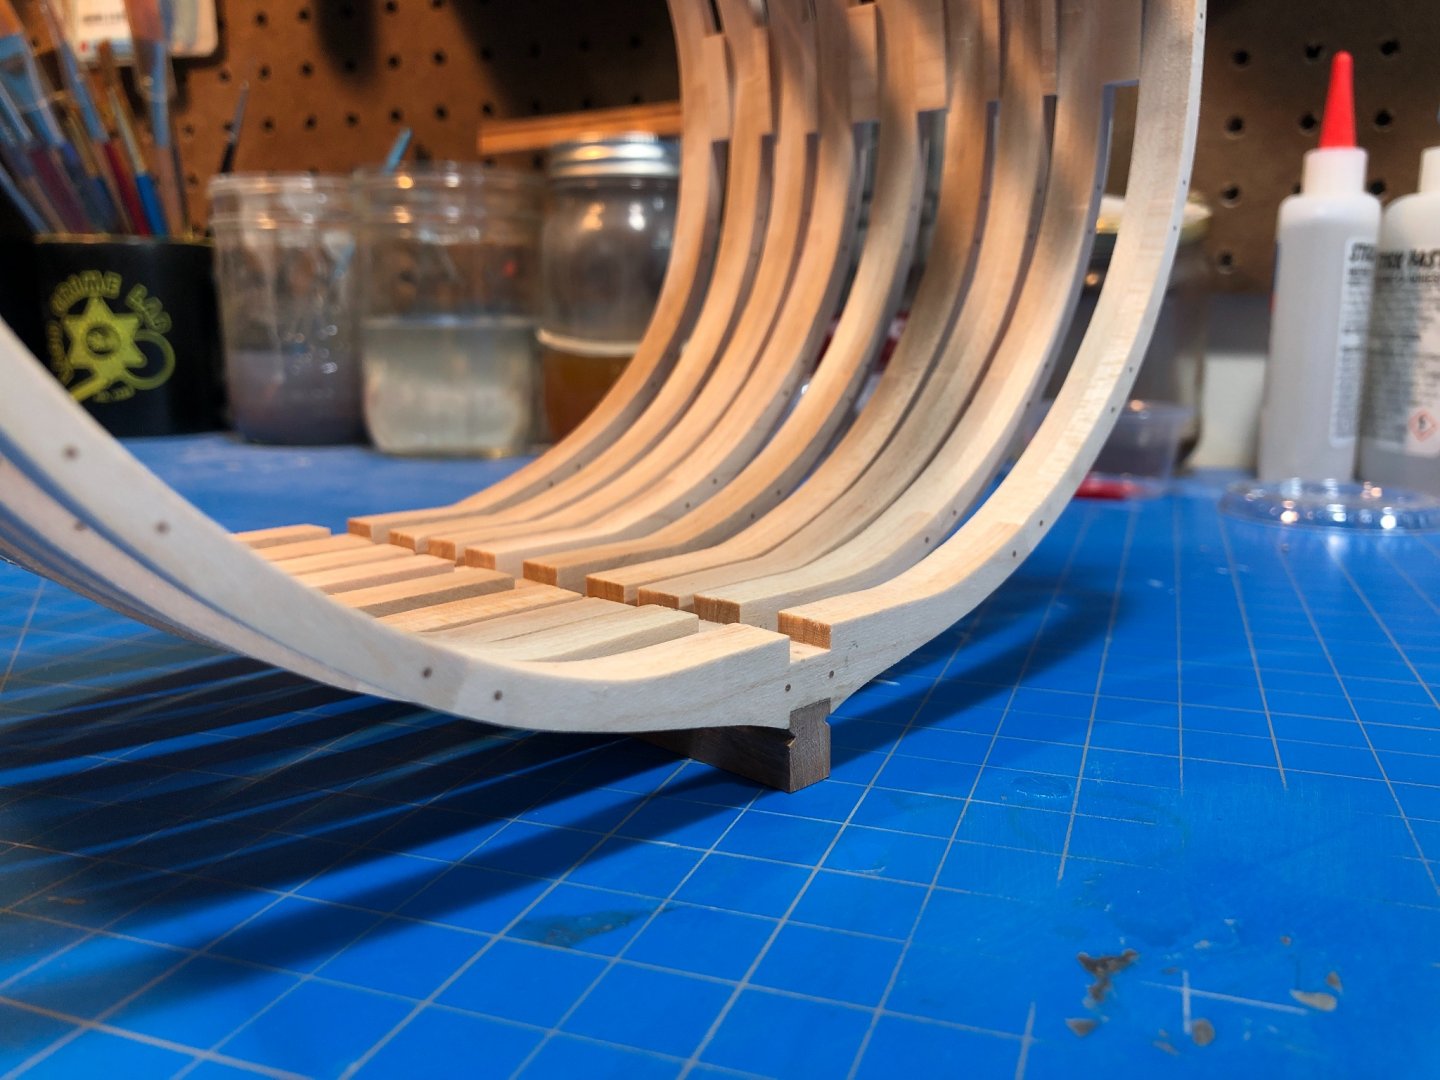
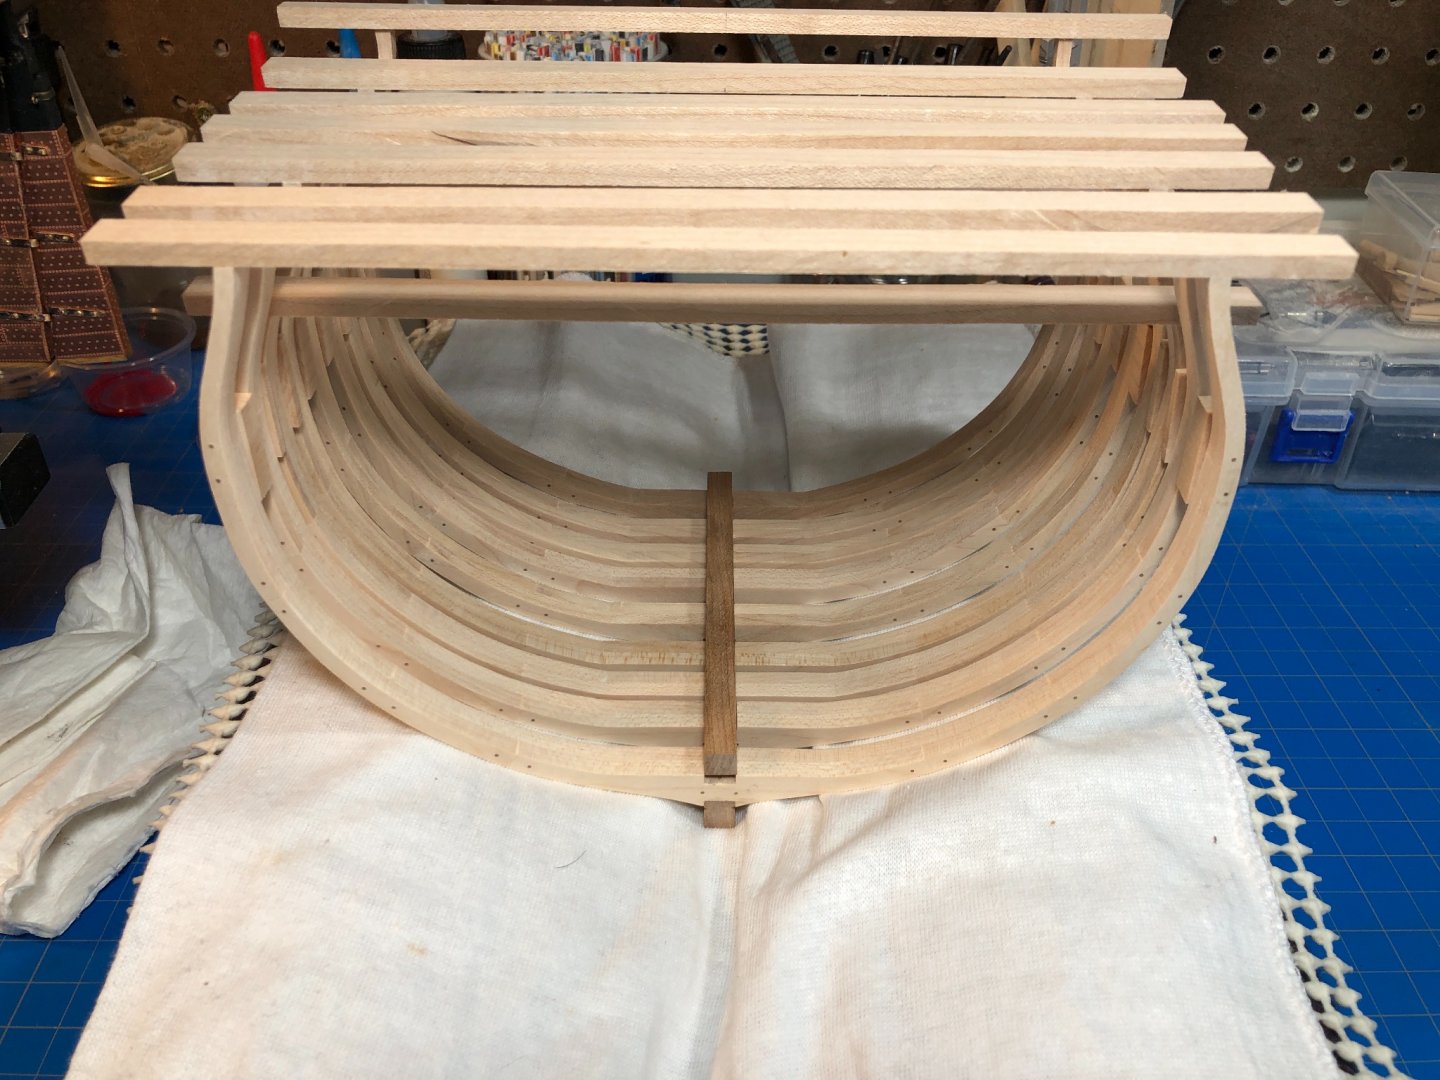
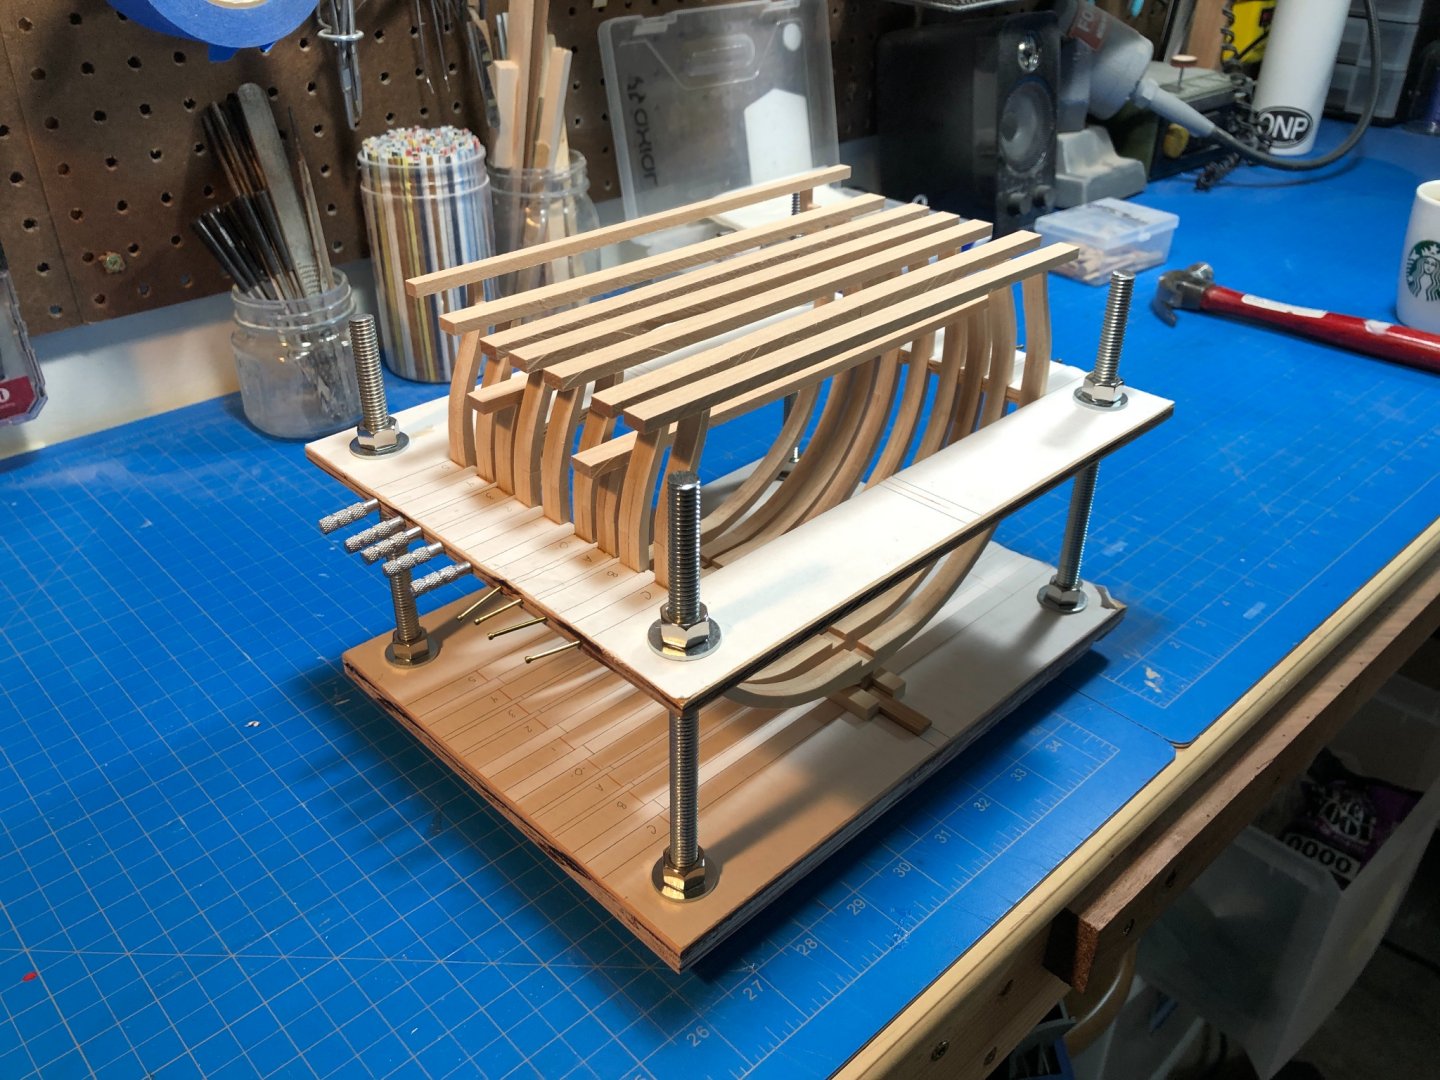
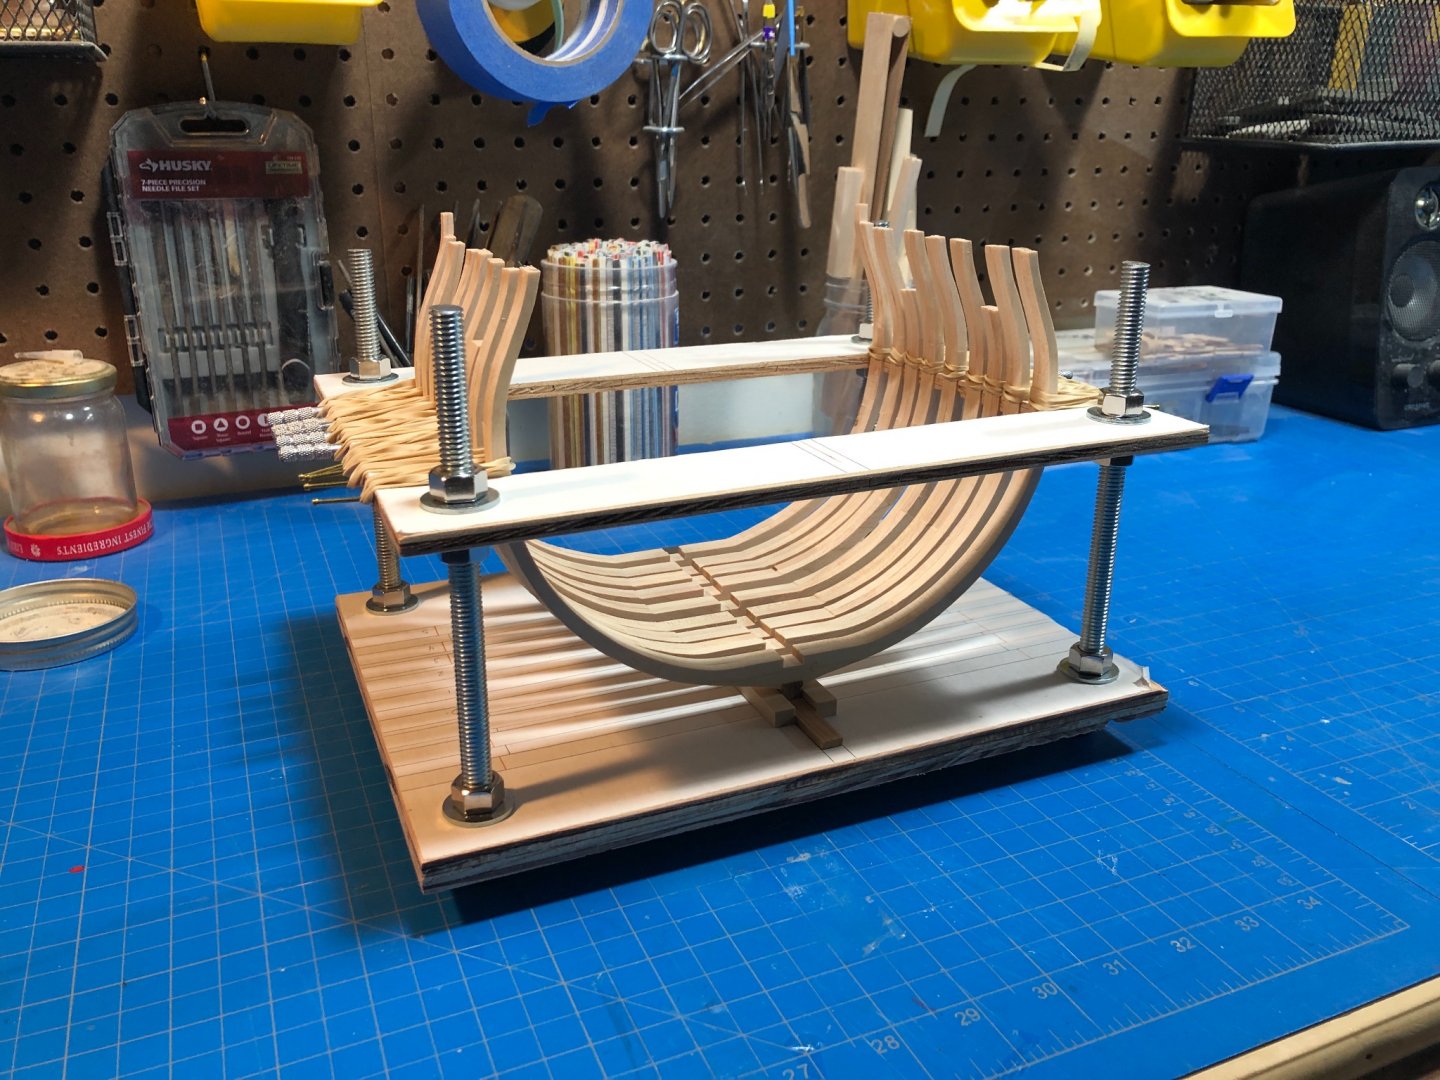
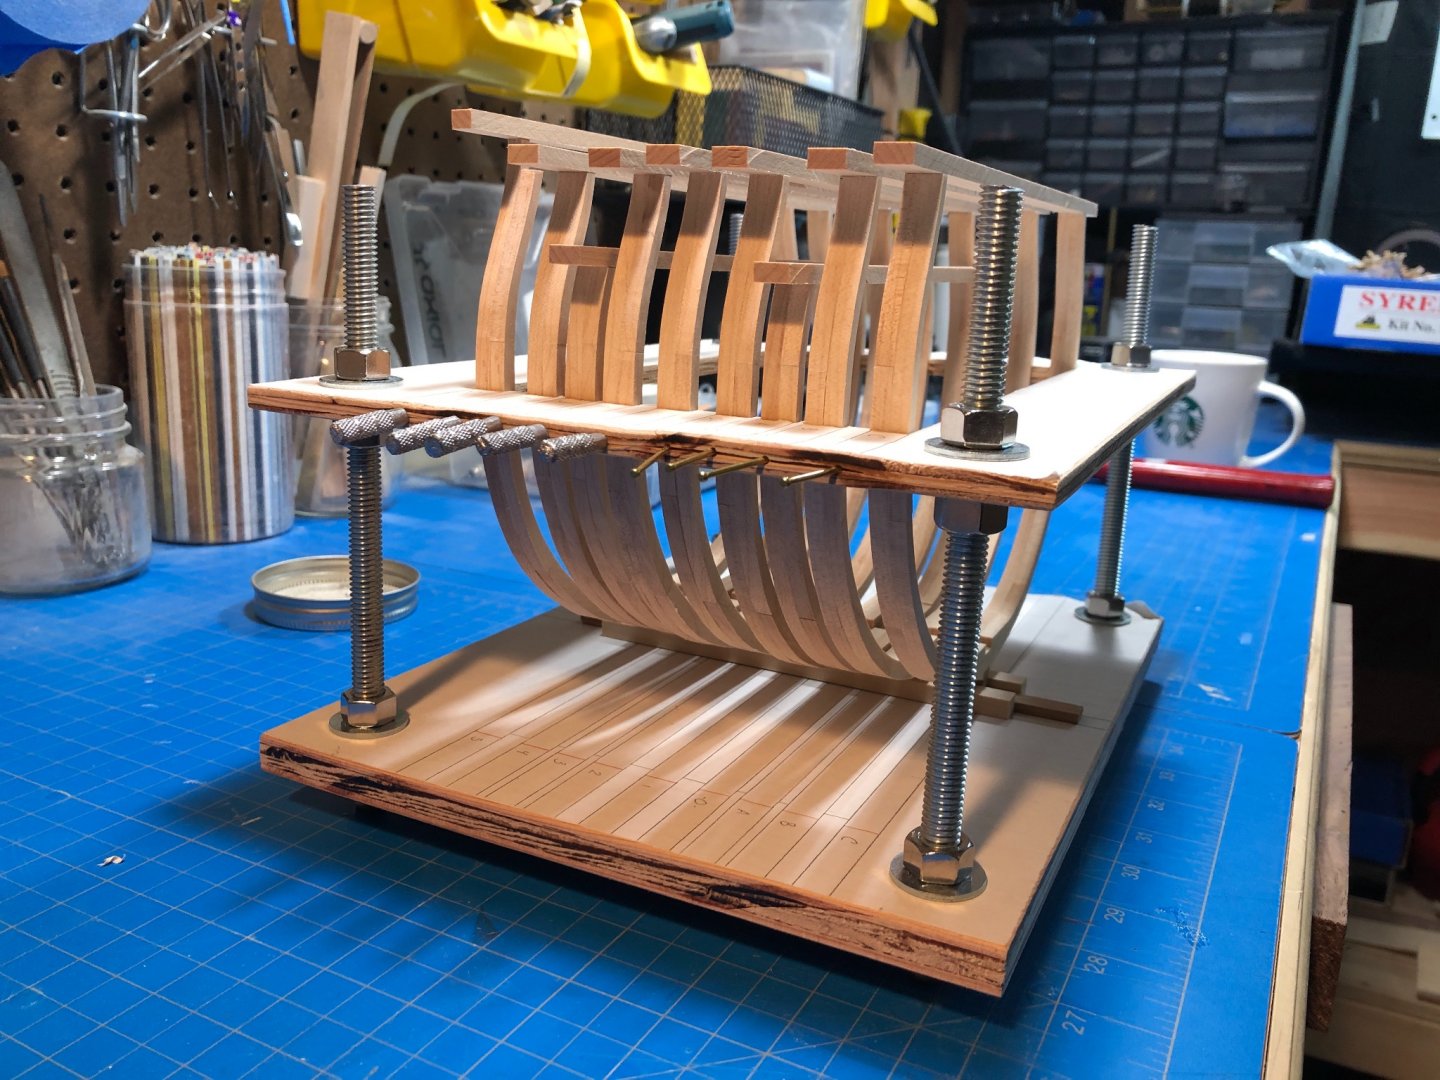
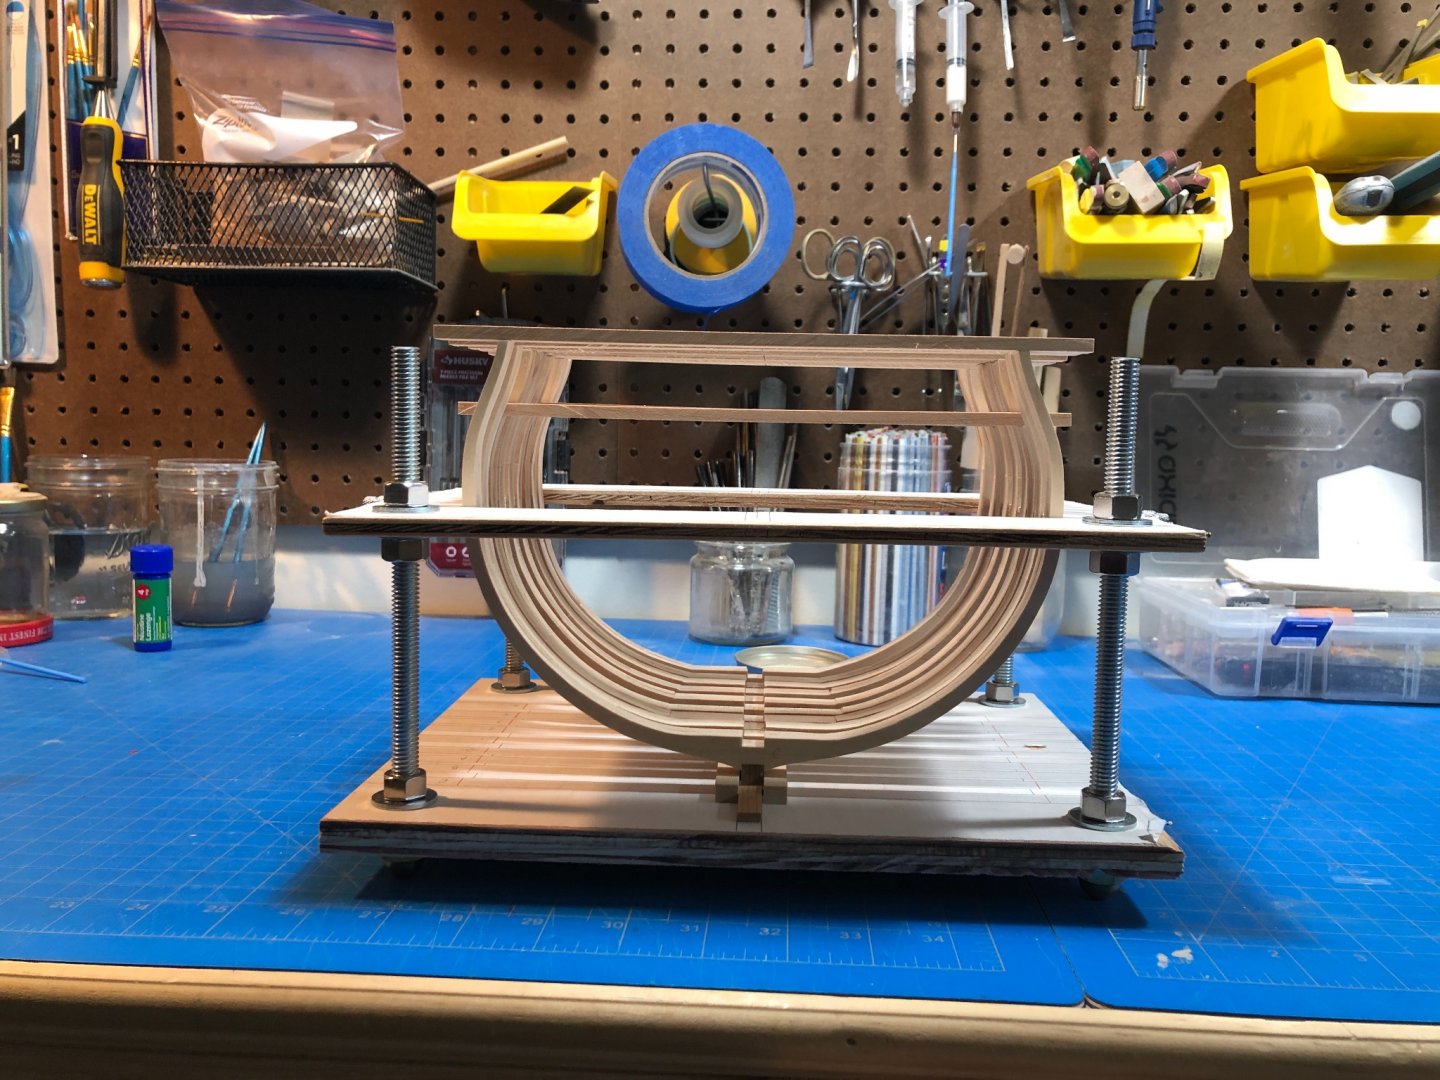
Framing Complete. Happy to come to the end of these building steps. Ive built all the frames, cleaned them up, and drilled and installed all the treenails. I was very please with how this turned out, as the Cherry provided a nice contrast to the maple and should balance out with the other Cherry components I plan to make. Today I started installing the frames onto the keel, cut out some spaces and enjoyed watching the hull come together. I used a jig for this process similar to those which others have used and is similar to what we all use to raise and square up bulkheads on kit builds. With each my process was to glue (PVA) the frame in place, using the jig to square up the center lines and frame. I then drilled down through the flour and treenailed the frame to the keel. I use this 3M double sided tape to hold the keel in place. It is incredibly strong, but comes off really cleanly if not left too long. Not seen in the above photo is my upright jig part. The whole thing is very rigid now, and surprisingly balanced and square. Im very pleased. Ive left the keelson area deliberately a bit rough so I can do the final fit with everything in place. Keelson here just set in place, I still need to finish filing that groove to get a nice fit.


-
I think they were worth it for me, I knew I wouldn't have fun making the things. In the end I think I would do a few things differently if I were to do those plates again, but otherwise IM happy with them.
-
All I'm saying is that while its fair to "cut them some slack" it is also fair to have basic expectations, and to be vocal if those expectations are not met. I personally had a good experience buying from them, and would do so again. That said, having read the entirety of posts on the subject, I don't think anyone who has a complaint is being unfair.
-
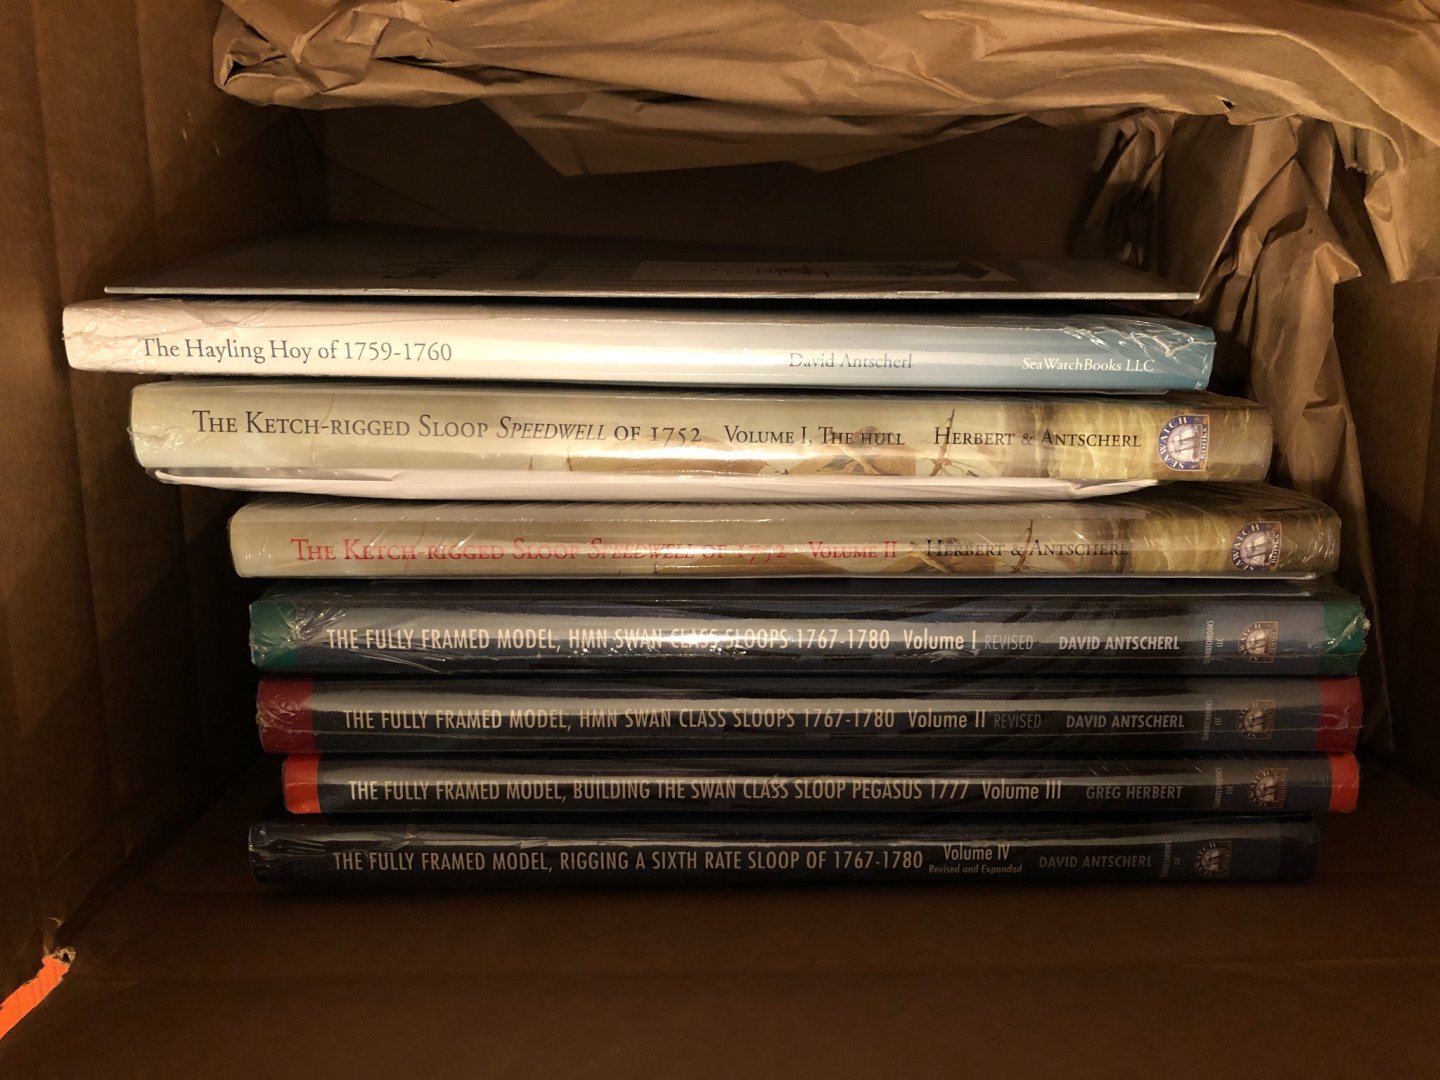
Agreed. Though I think it is important for people to keep posting their experiences here - especially for a small business. Though a bit odd, the transactions are more or less positive. I, for one, would never have ordered from Sea Watch if I hadn't been able to read the voluminous reports of folks eventually getting their books. Amazon they aint, sure - but trinkets these are not. My order was well over a $500 value that I more less had to go into on blind faith alone (no receipt, no email, no pay merchant info - nothing to account for a substantial drop in my bank account). I think it is totally fair that folks would expect some form of acknowledgement or tracking (it is the law afterall), and be either irritated or worried after a period of time has passed with nothing to go on. As well - this transaction issue and shipping delay has been around for well on three years. Some may find it difficult to accept this as a temporary hiccup. Having read this thread prior to my order, I was well prepared to wait two months - I was pleasantly surprised when my box turned up yesterday - after only 8 days. I think it is important for other potential buyers to see it working out, and in some cases quite quickly. These titles are clearly worth the wait and the money.
-
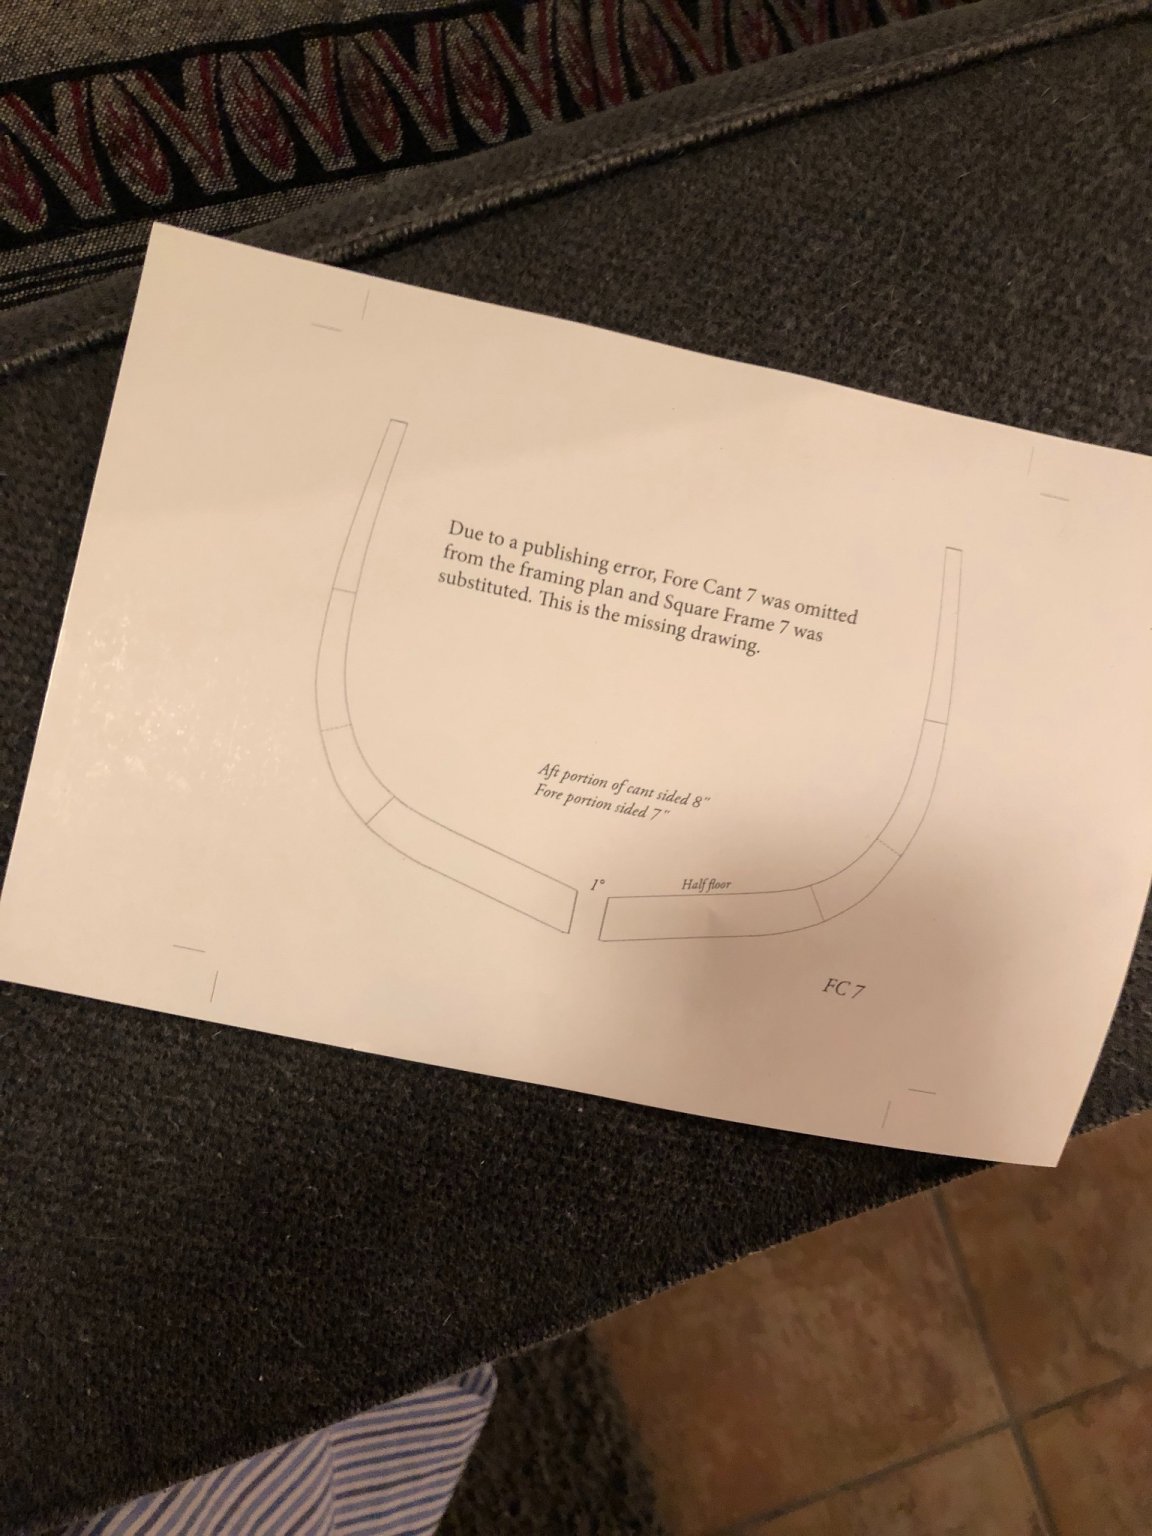
Order Feb 11, received Feb 19. Like everyone else, no email confirmation or acknowledgement of any kind (very uncommon). Though I’m happy with my order. Edit: Just a note here that I discovered a random sheet inserted loosely in the box that I almost tossed with the box packaging. I still don’t know which title this is supposed to come with but very odd that it’s just thrown in the box. I could have very easily thrown it away. Keep an eye out for it if you are ordering Speedwell or the Hayling Hoy titles.

-
Looks great, are you using two layers or did you file down the edges? You got a very clean line.
-
@BobG I was thinking about my earlier response to your question and think I should have pointed out that for my Syren build I’ve used almost no power tools at all, but have easily “constructed” a great deal more. Probably to do with kit v. scratch, but I also wonder about scale. Parts are so much smaller on the Syren that even if I was scratch building it, I wonder if I wouldn’t mostly be cutting and sawing by hand regardless. Anyway, just a thought...
-
Thanks Bob! I rreally don't have that much space to be honest. I fit everything into a custom built cubicle-type spot in the garage: see here. It does take a lot of organizing and cleaning, and resetting the space to keep from burying myself in bits and scrap and tools as Im working. But I do ok. Its very similar to my setup at work so I am familiar with working in this type of arrangement. I keep all the power tools stored on one side and arrange them or store them below as I need them. For instance, I got all the timber ready for frames using the table saw and thickness sander and then stored both of them. Then brought out the band saw and other tools for building the frames. It looks like I have space, but there is a lot of time spent resetting. I actually like this time because it helps me think through what Im going to try and do, kind of like a warm up - ha. As for power tools... hard question. I can only speak for myself here, but the absolute most important tool for me in the space is an old computer so I can easily refer back to MSW when I get stuck. Second to that is good lighting and a small shop vac with good reach. After that, the Byrnes Saw is probably my most important tool, and then the disc/belt sander and maybe a good rotary tool (I prefer Foredom over Dremel but have both). Then I would just acquire what you need when you need it. For this build Ive managed to use everything you mention so far: table saw, band saw, Byrnes Thickness sander, drill press, and micro mill. I have a Delta midi lathe but rarely use it for modeling. All that being said, there are folks who have achieved everything with none of these tools. I use what I have because I have it, so why not! It's probably not all needed by any means. There are pro's and cons to each. If you have specific questions about any one tool, Id be happy to give you my run-down. Ive collected things as I started, only having an ancient Jarmac saw that I was sure was possessed.
-
I can hardly take credit for the design, or even the construction. I followed in the footsteps of many other Triton builders in the Group Projects section, whose work informs pretty much all of my own.
-
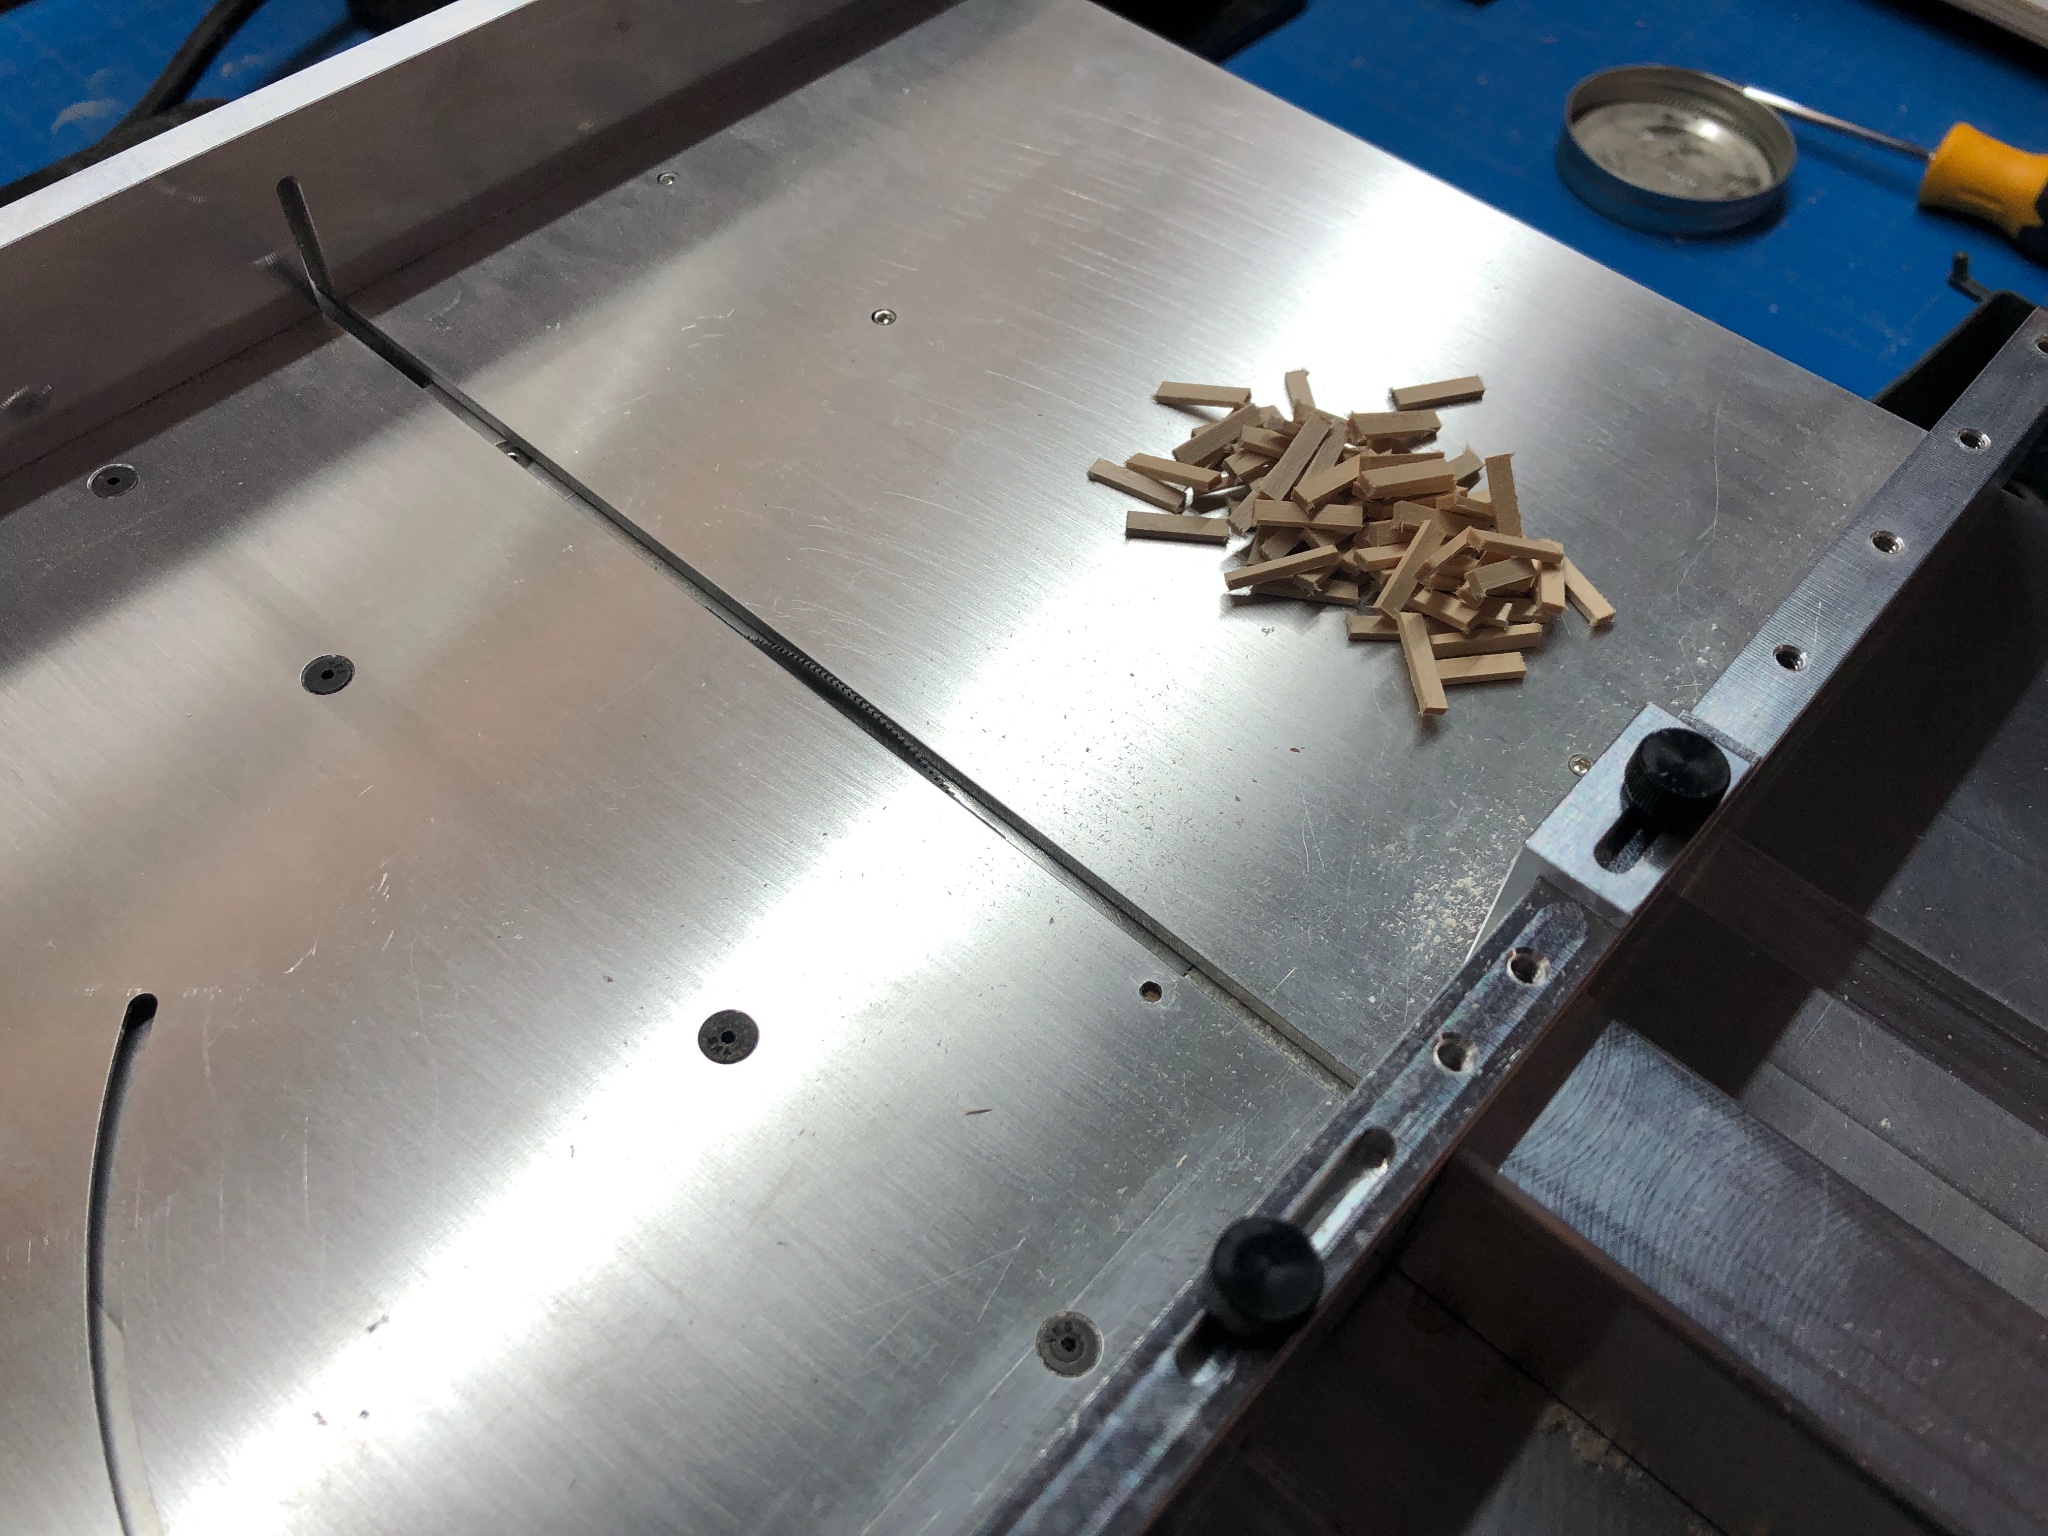
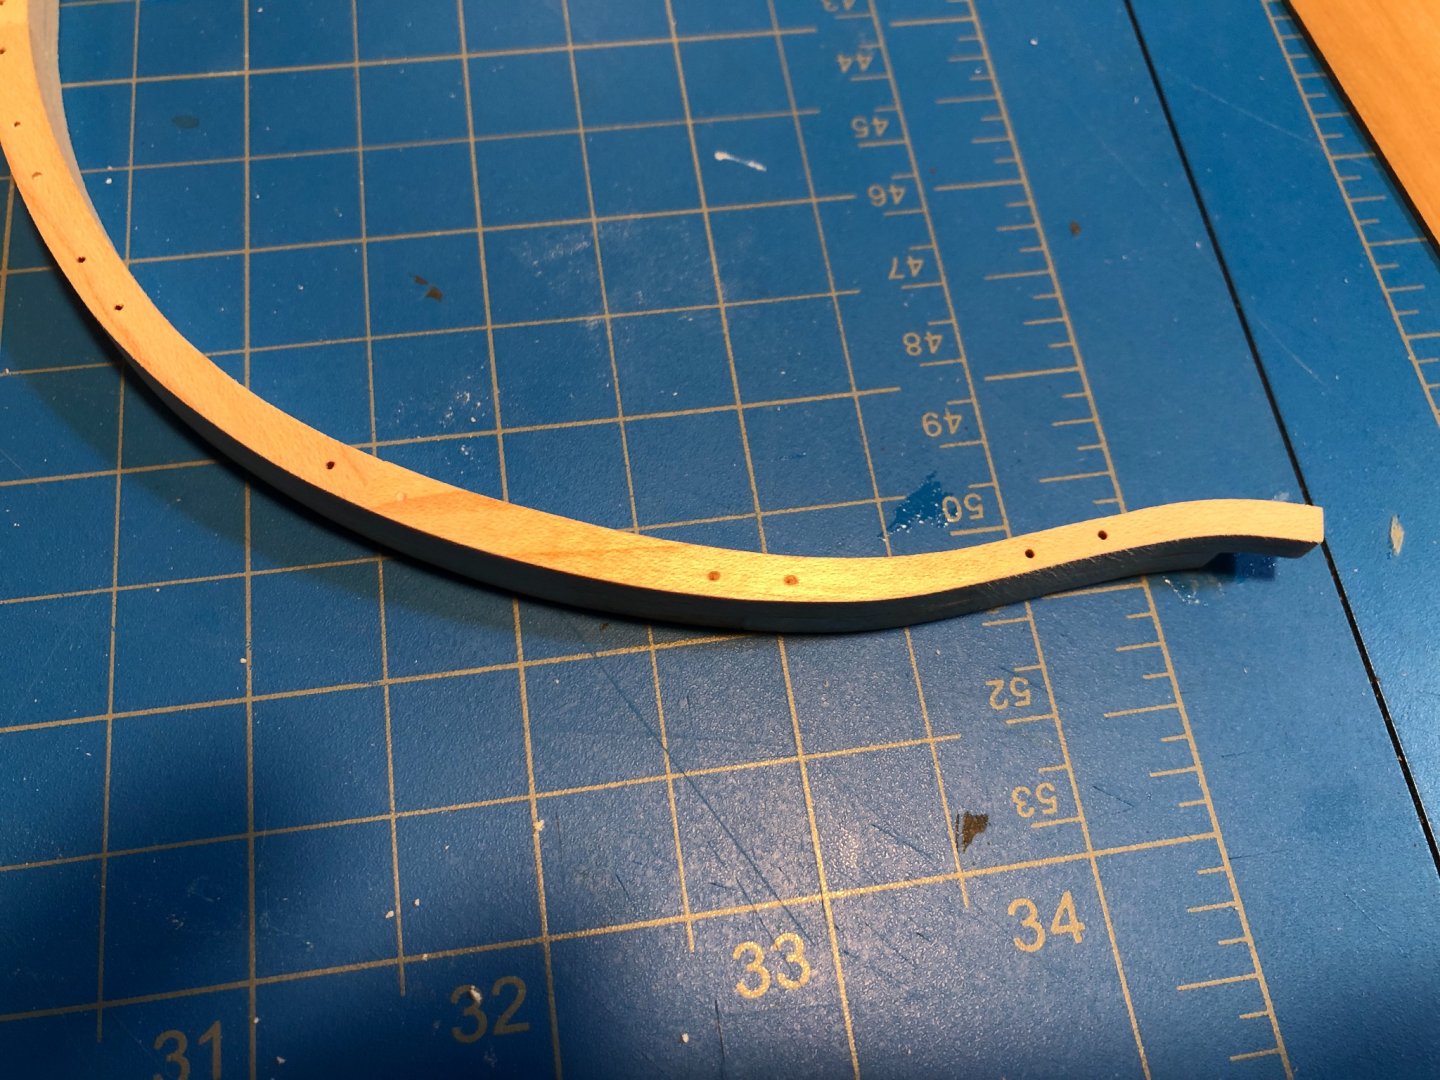
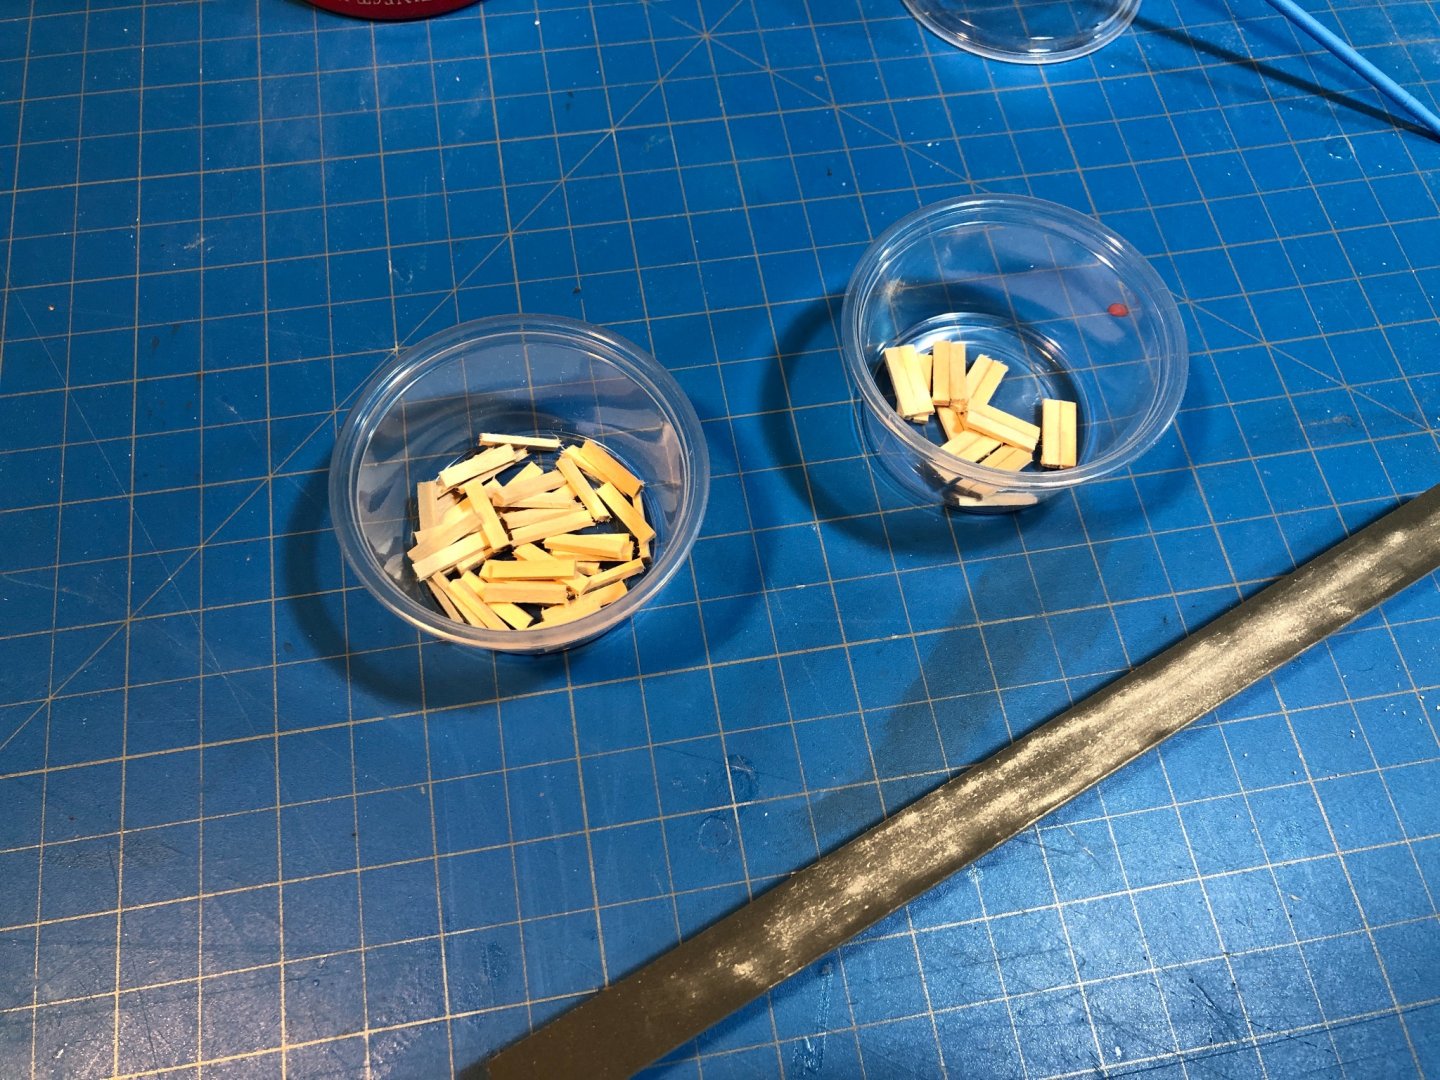
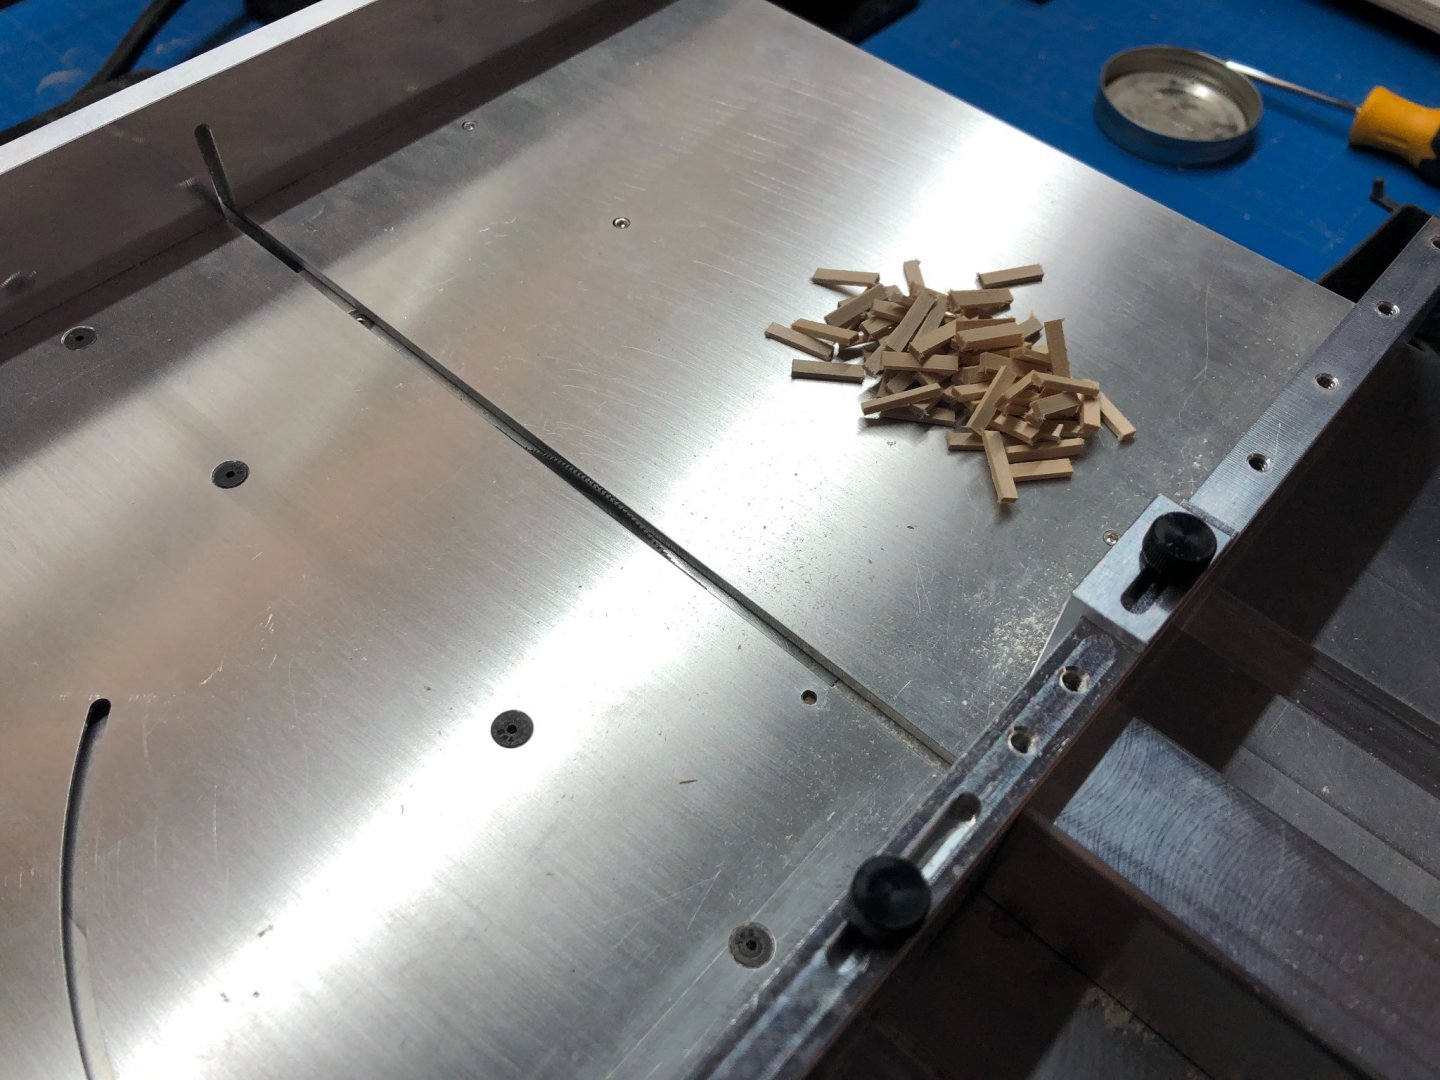
Shouldn't take too long. The draw plate came in very quickly... so Im just making treenails (Cherry) and testing the process on my dummy frame.

-
Small update: Plugging away now at Ch. 9, "Hull Details" which I think will take a bit of time. Im very wary of drilling into my hull to add the stern sheaves and still am at a loss over how to work out the carvings, side badges and so forth. So it goes... Today I started with something easy and got the port lid assembly line going...

-
All frames completed, with only one redo. So far pretty pleased. I added the cross-members and marked out the center line of each and built a frame mounting jig which Ill feature later. Ive done a rough sanding and have begun marking out treenail locations and starting drilling them out. Im waiting for a draw plate from Model Machines, so until that arrives I think Ive gone as far as Im able at the moment.

-
That cleaned up really nicely. Is the tape along the cap rail just for protection? I also find the tone and contrast of your deck, waterways and margin plank really pleasing.
-
Fun for any Northwest Passage enthusiasts... Discovery Visualization - https://youtu.be/auFpowDCLB8
-
Nice job! I love knowing that so much can go into a decision over what will ultimately be a trifling detail to the casual observer! Interesting website reference as well... reminds of those subscription services where they will send you historic letters from dead VIP's.
- 950 replies
-
- 1
-
-
- syren
- model shipways
- (and 1 more)
-
Nice recovery. Looks really great, and fun to see that rope run through. Its really coming alive.
-
Agreed, thanks for sharing. This is also another future step that's been occupying my thoughts. And its true, they do just magically appear! I was thinking so far to do the same, start small and work up... Are you planning to line them?