HOLIDAY DONATION DRIVE - SUPPORT MSW - DO YOUR PART TO KEEP THIS GREAT FORUM GOING!
×


Justin P.
-
Posts
1,008 -
Joined
Content Type
Profiles
Forums
Gallery
Events
Everything posted by Justin P.
-
In most cases yes. But Titebond sells a type that looks almost exactly like the stuff in that video that is ready to use with no heat. Also, there is nothing to say the person in the video didn't have that jar on a warmer.... Its just a guess, but it looks like hide glue, or maybe "Old Brown Glue," another variant of similar make. '
-

Paint or blackening
Justin P. replied to Bill Hill's topic in Painting, finishing and weathering products and techniques
I don't know about "best" method, but I much prefer blackened brass to painted. Blackening takes some practice and messing around with preparing/finishing to get a good result but is easier than painting I think. -
Just looks like a thick hide glue variant to me. Nothing special, and if made for purpose may explain why its in a nondescript bottle.
-
Agreed. Wonderful detail.
-
I don’t know how I missed all this progress! It looks fantastic, you're moving into my favorite part of a build, I love seeing it come together with masts, spars and rigging. Great photography too! Really elevates the build log and illustrates the work when the lighting and background is simple and well done. I really must do something about that myself!
- 950 replies
-
- 1
-

-
- syren
- model shipways
- (and 1 more)
-
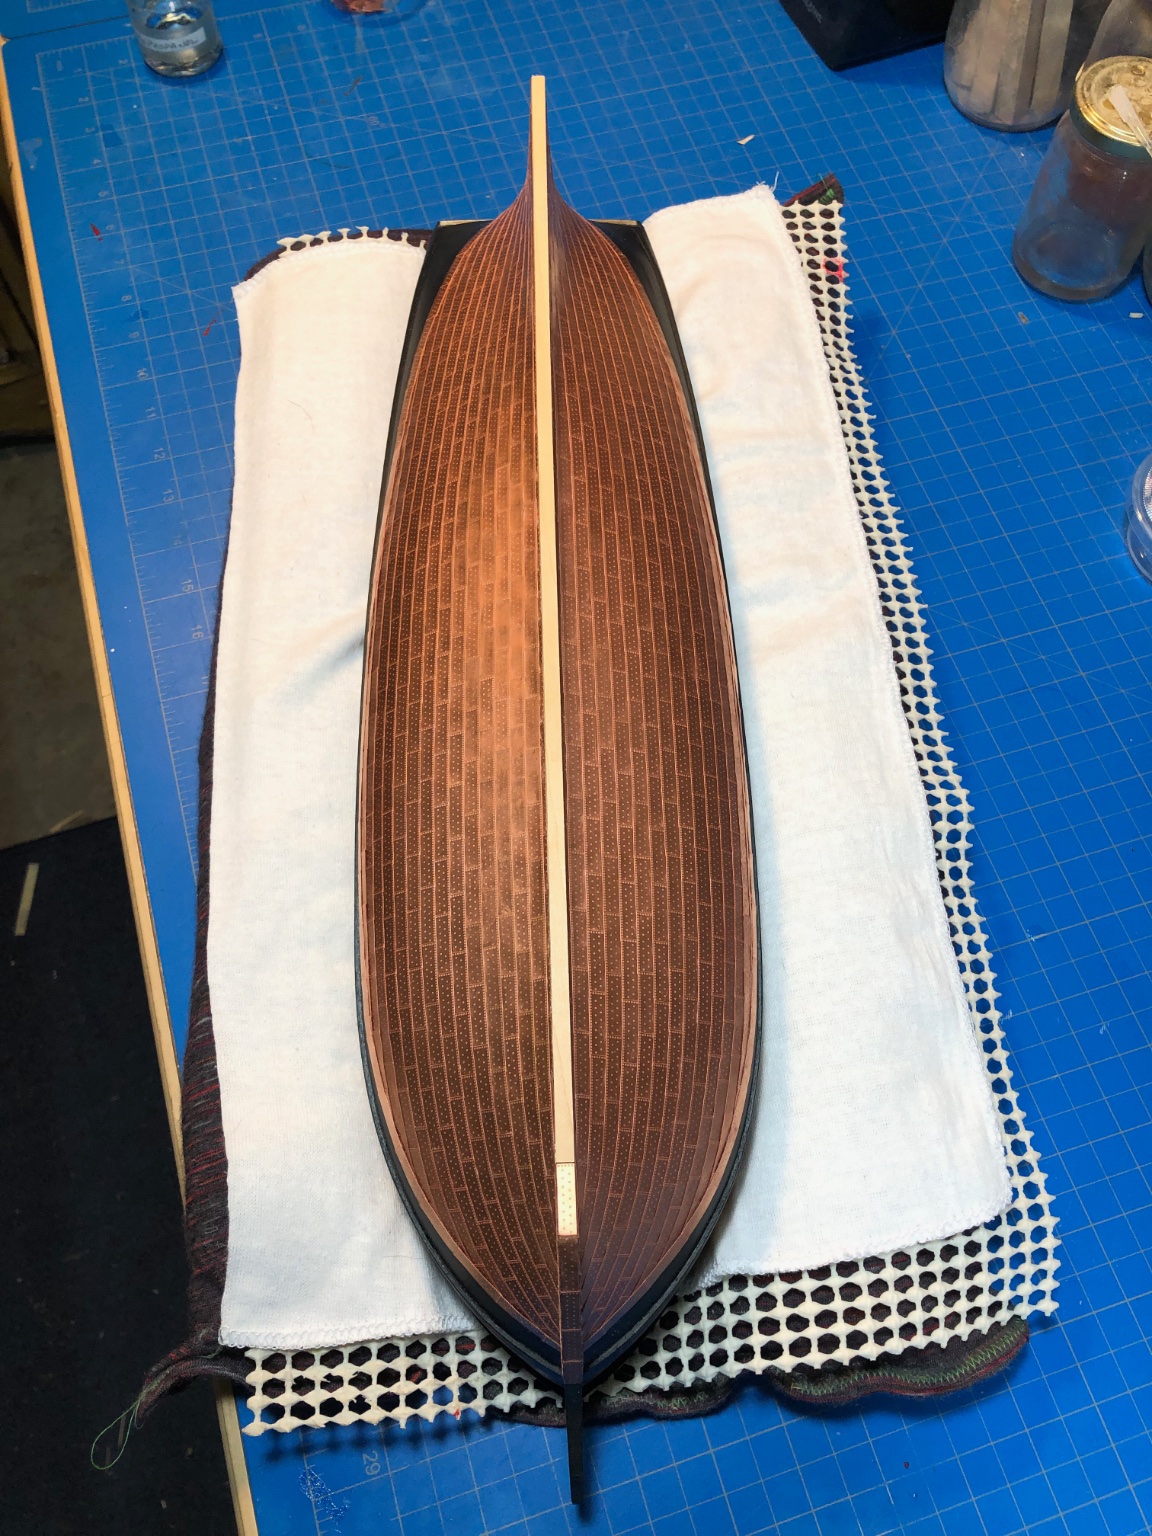
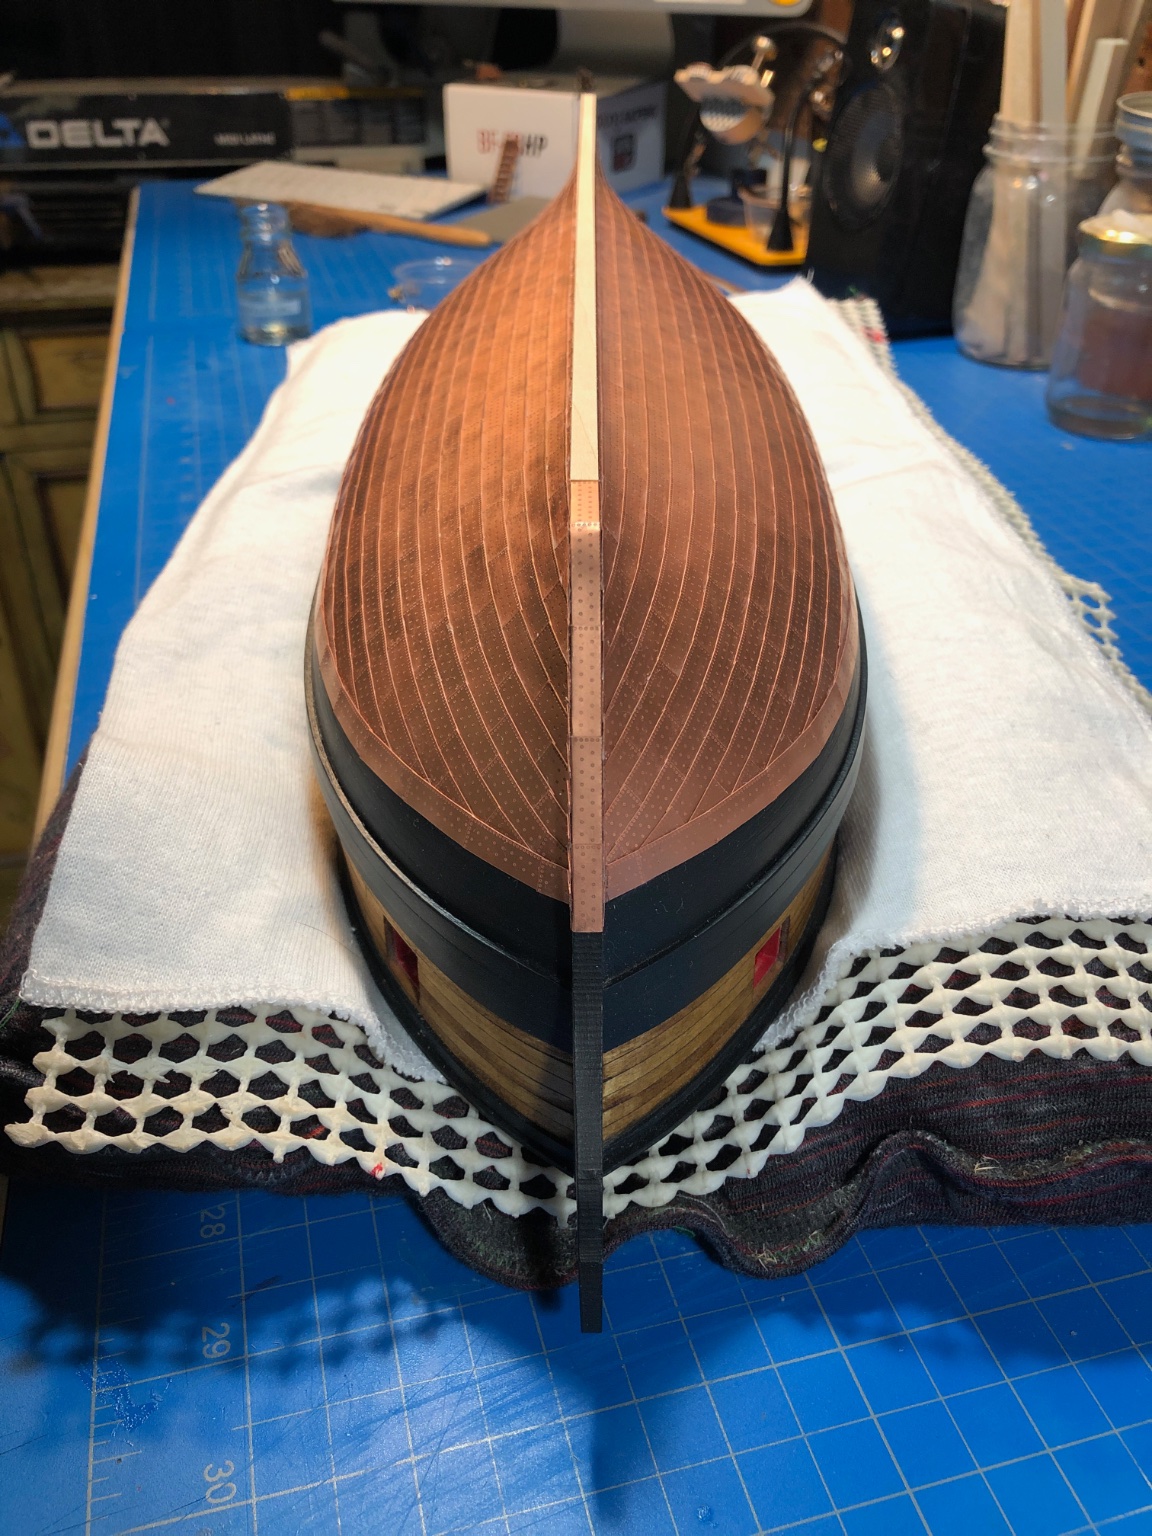
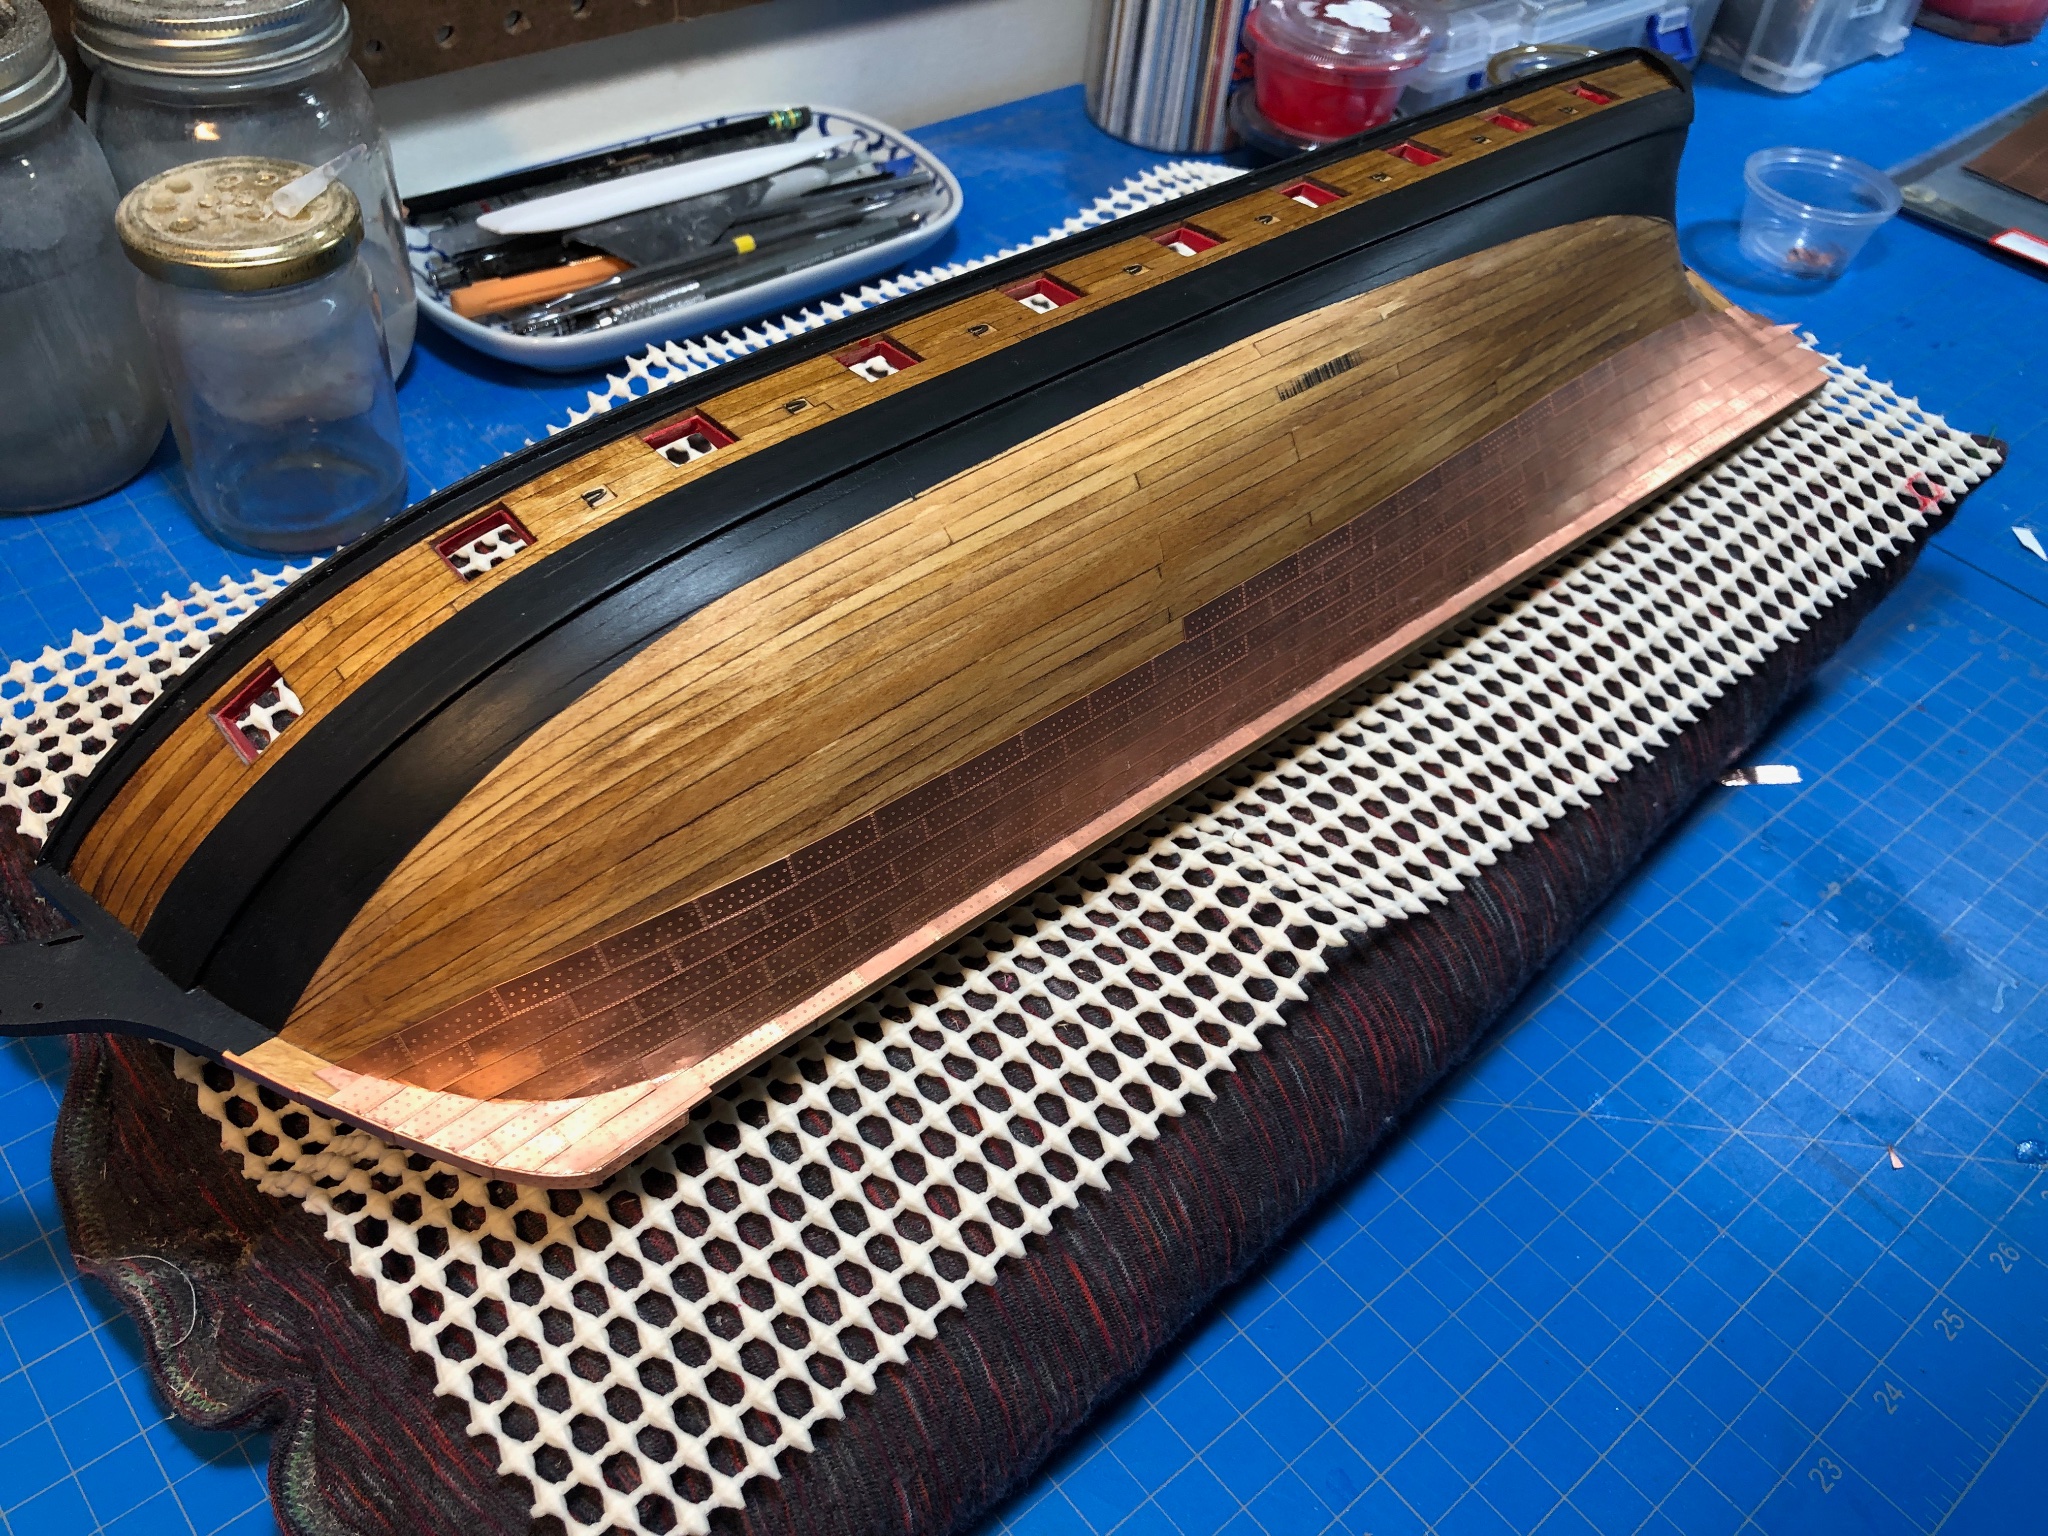
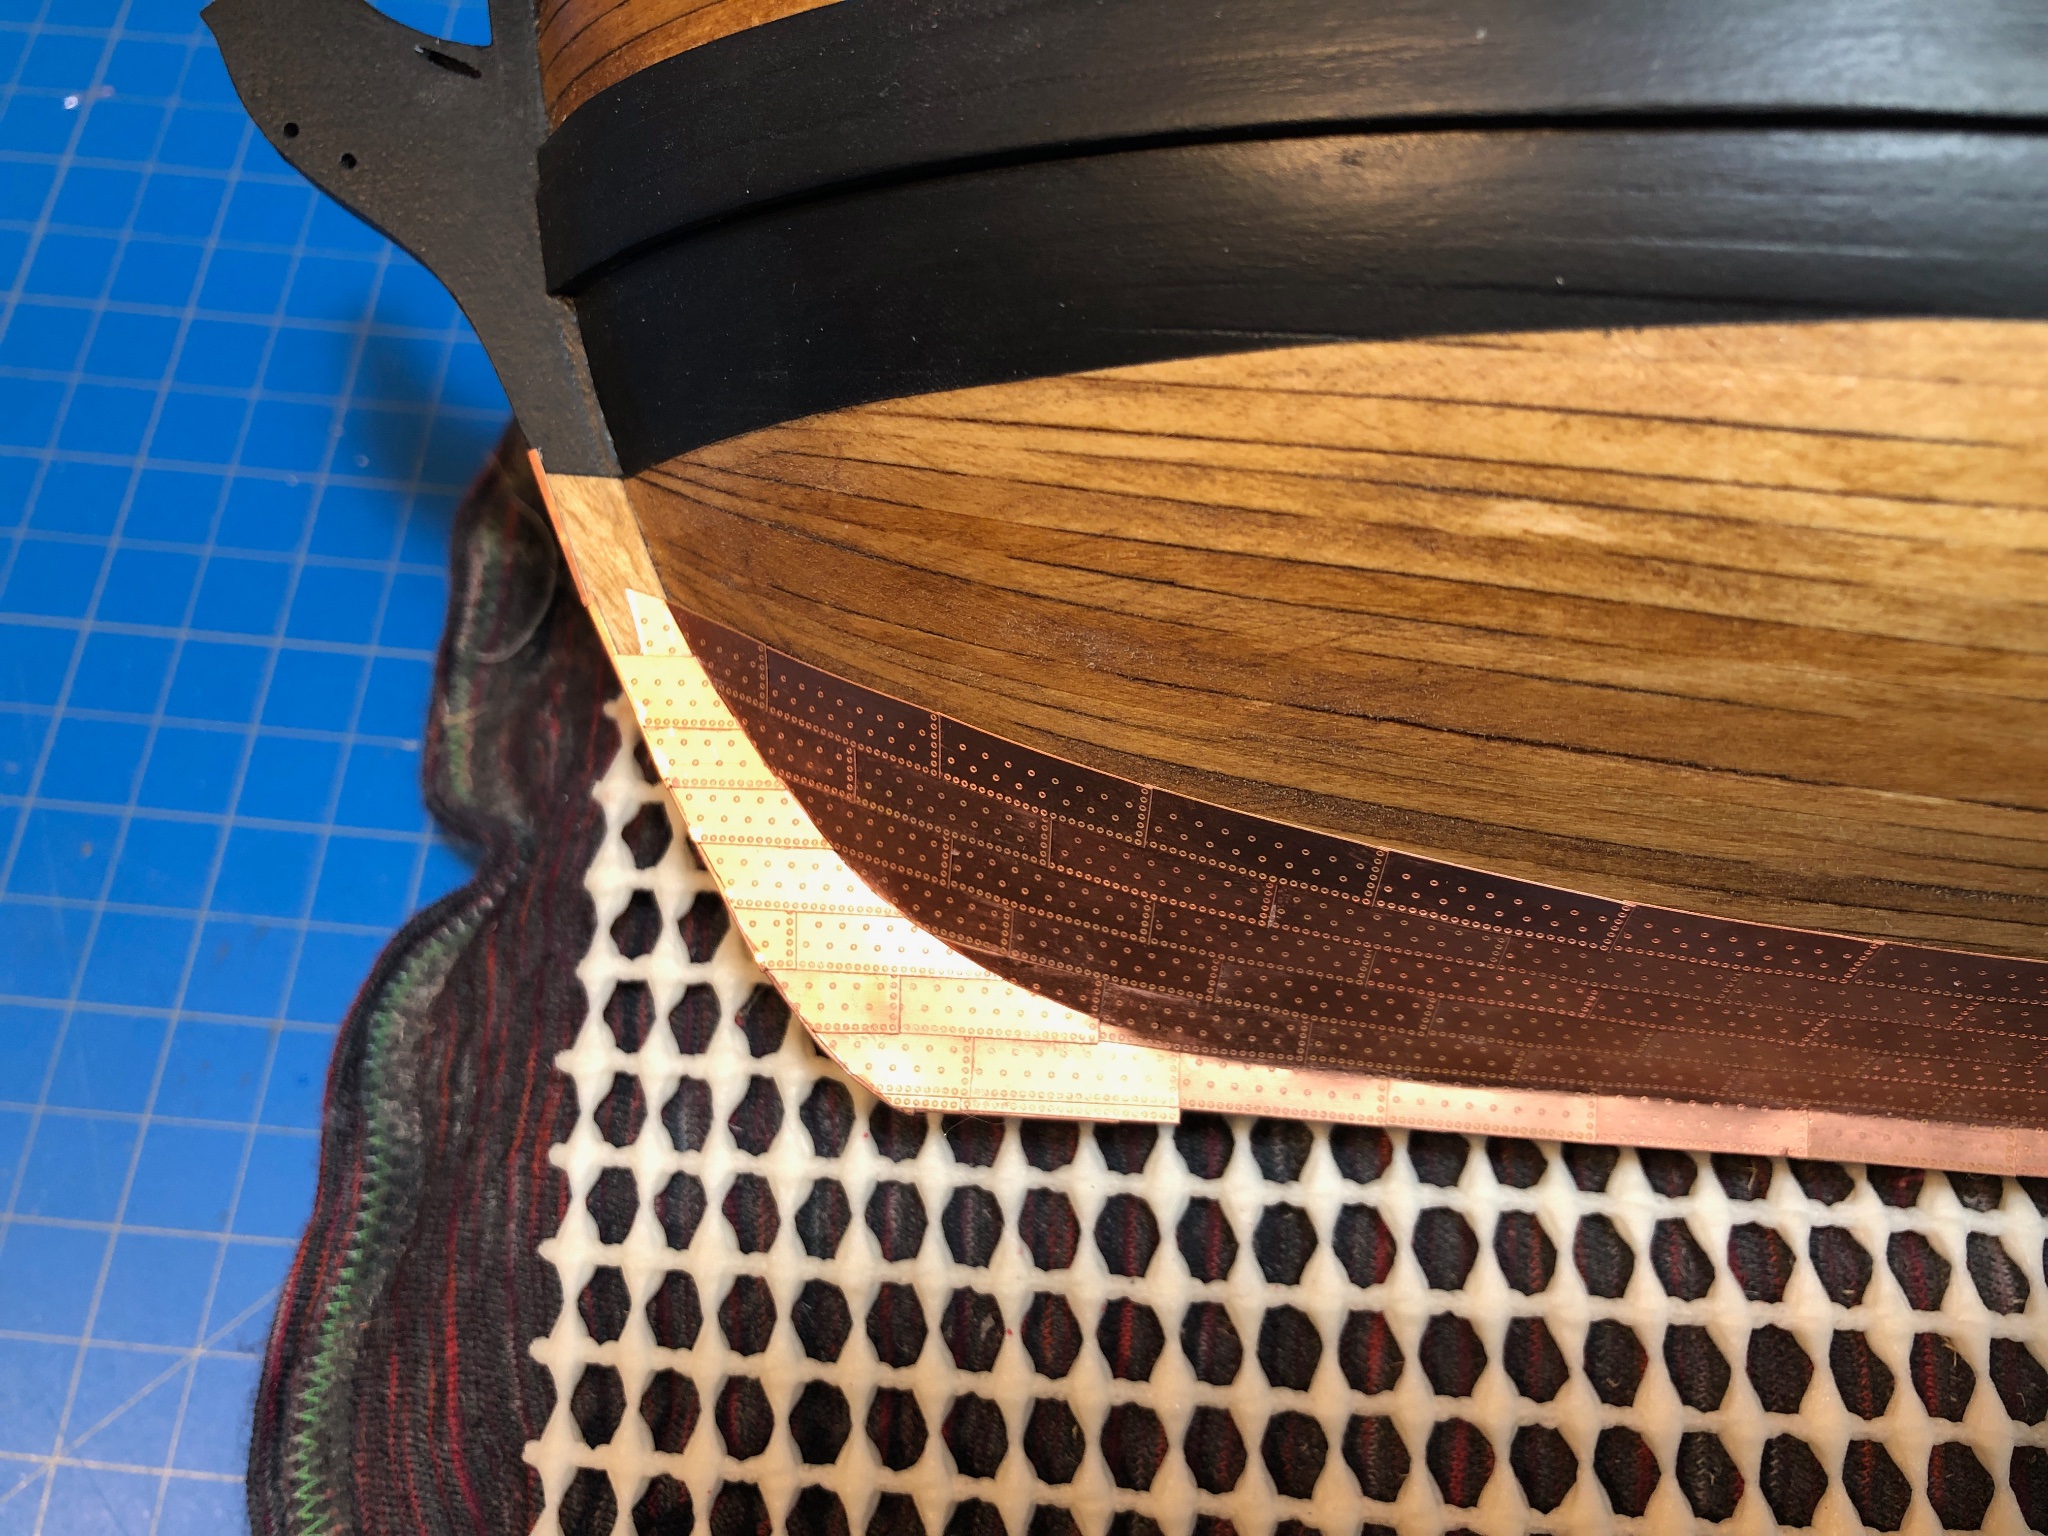
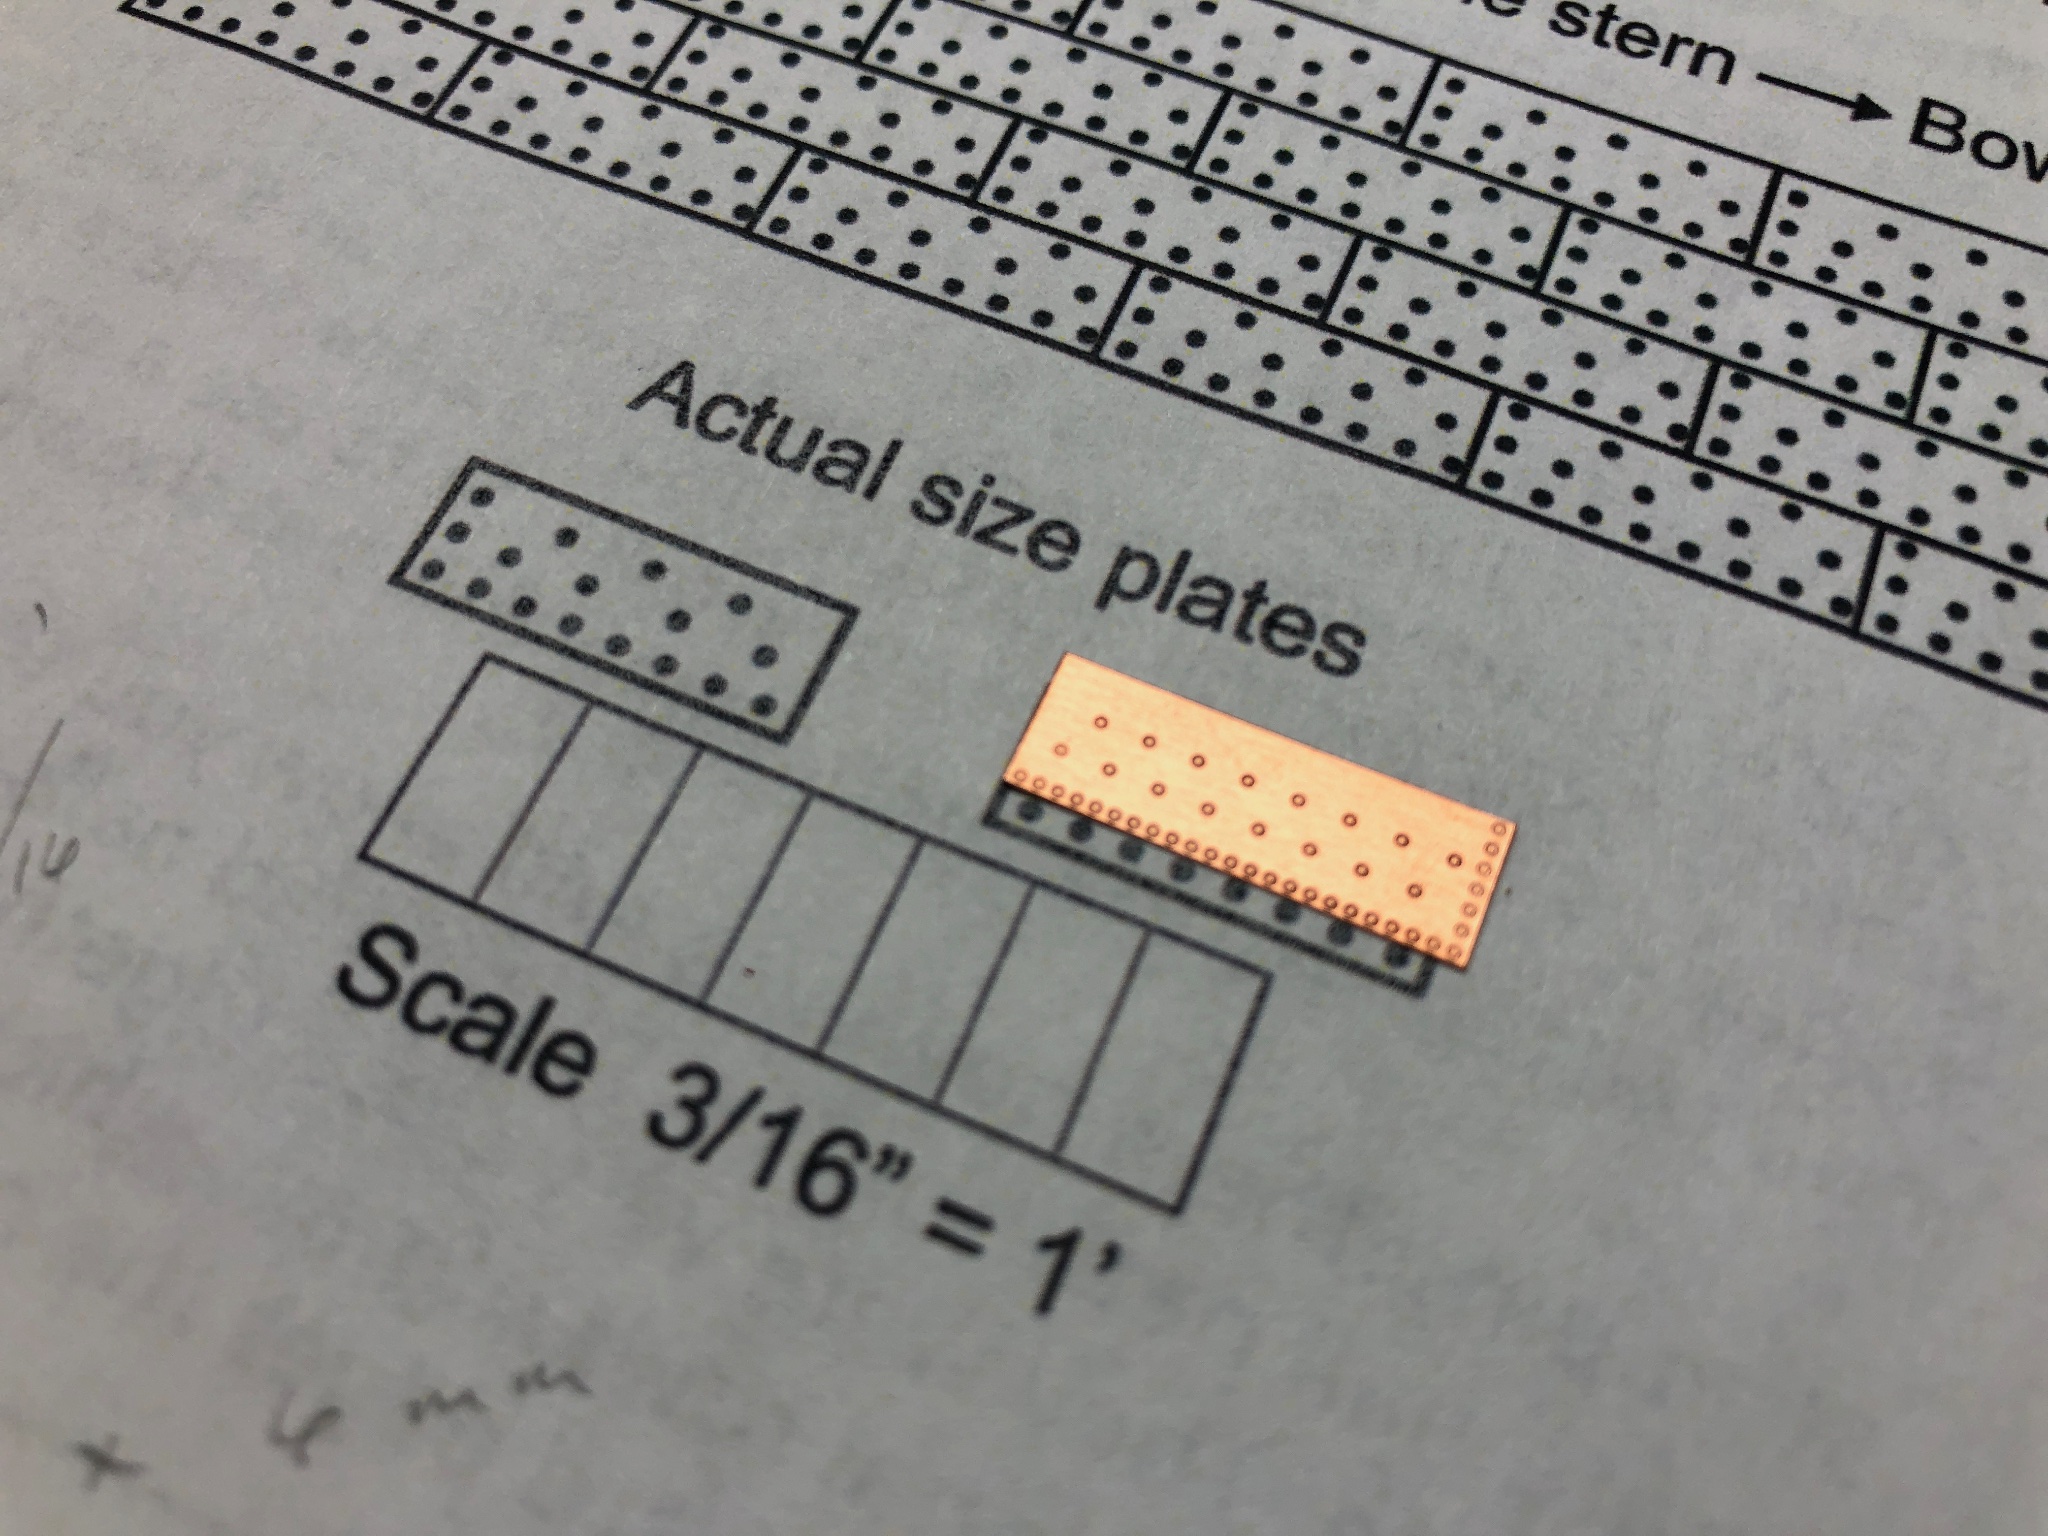
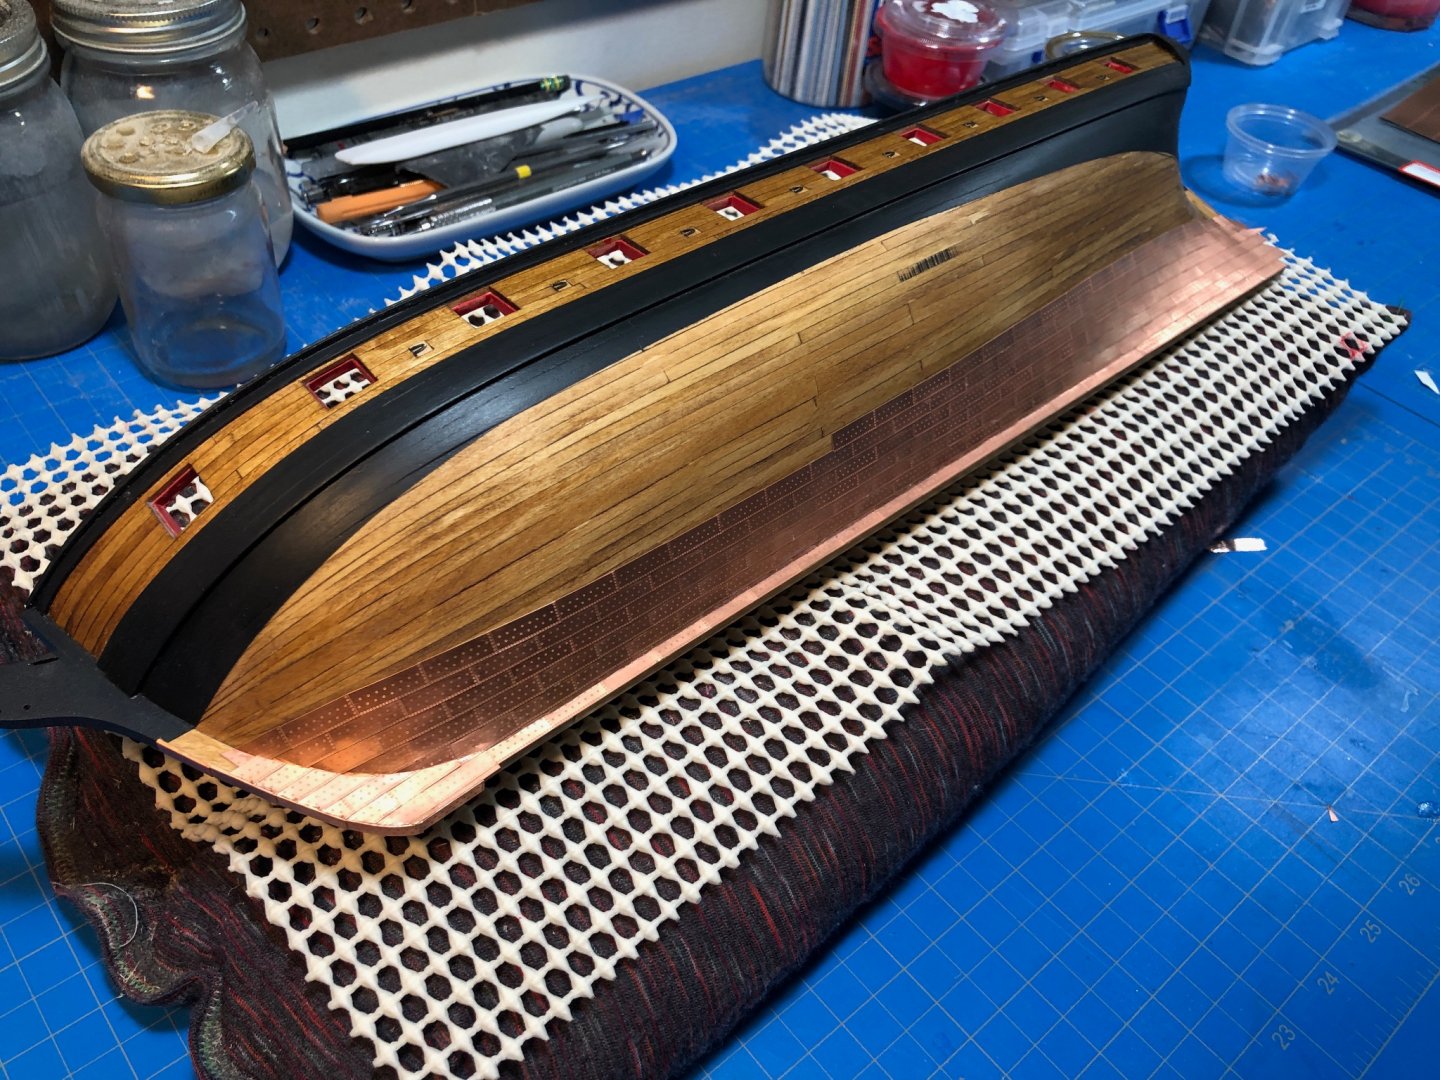
George - Thanks. I think much depends on the curves of your hull. For SYREN, I haven't needed any stealers or to cut any of the plates to triangles. The overlapping of the plates allows one to make gradual adjustments so that they sweep up towards the bow naturally. At the stern, the curvature of the hull is relatively straight and thus the plates simply run aft without much deviation. If you decide to butt plates edge to edge, which I believe would be an inaccurate representation (I am no expert), then you would need to be more calculated with your pattern and would require the use of stealers to make the curves (much like with planking). Axo, I think you just have to compare what your kit is calling for against what Amati has available. You could even cut them down a bit if needed. I think they offer 1:72, and 1:64 scale plate options. I went with these because they were the only ones with scale nailing patterns and the same pattern stipulated by the plans.
-
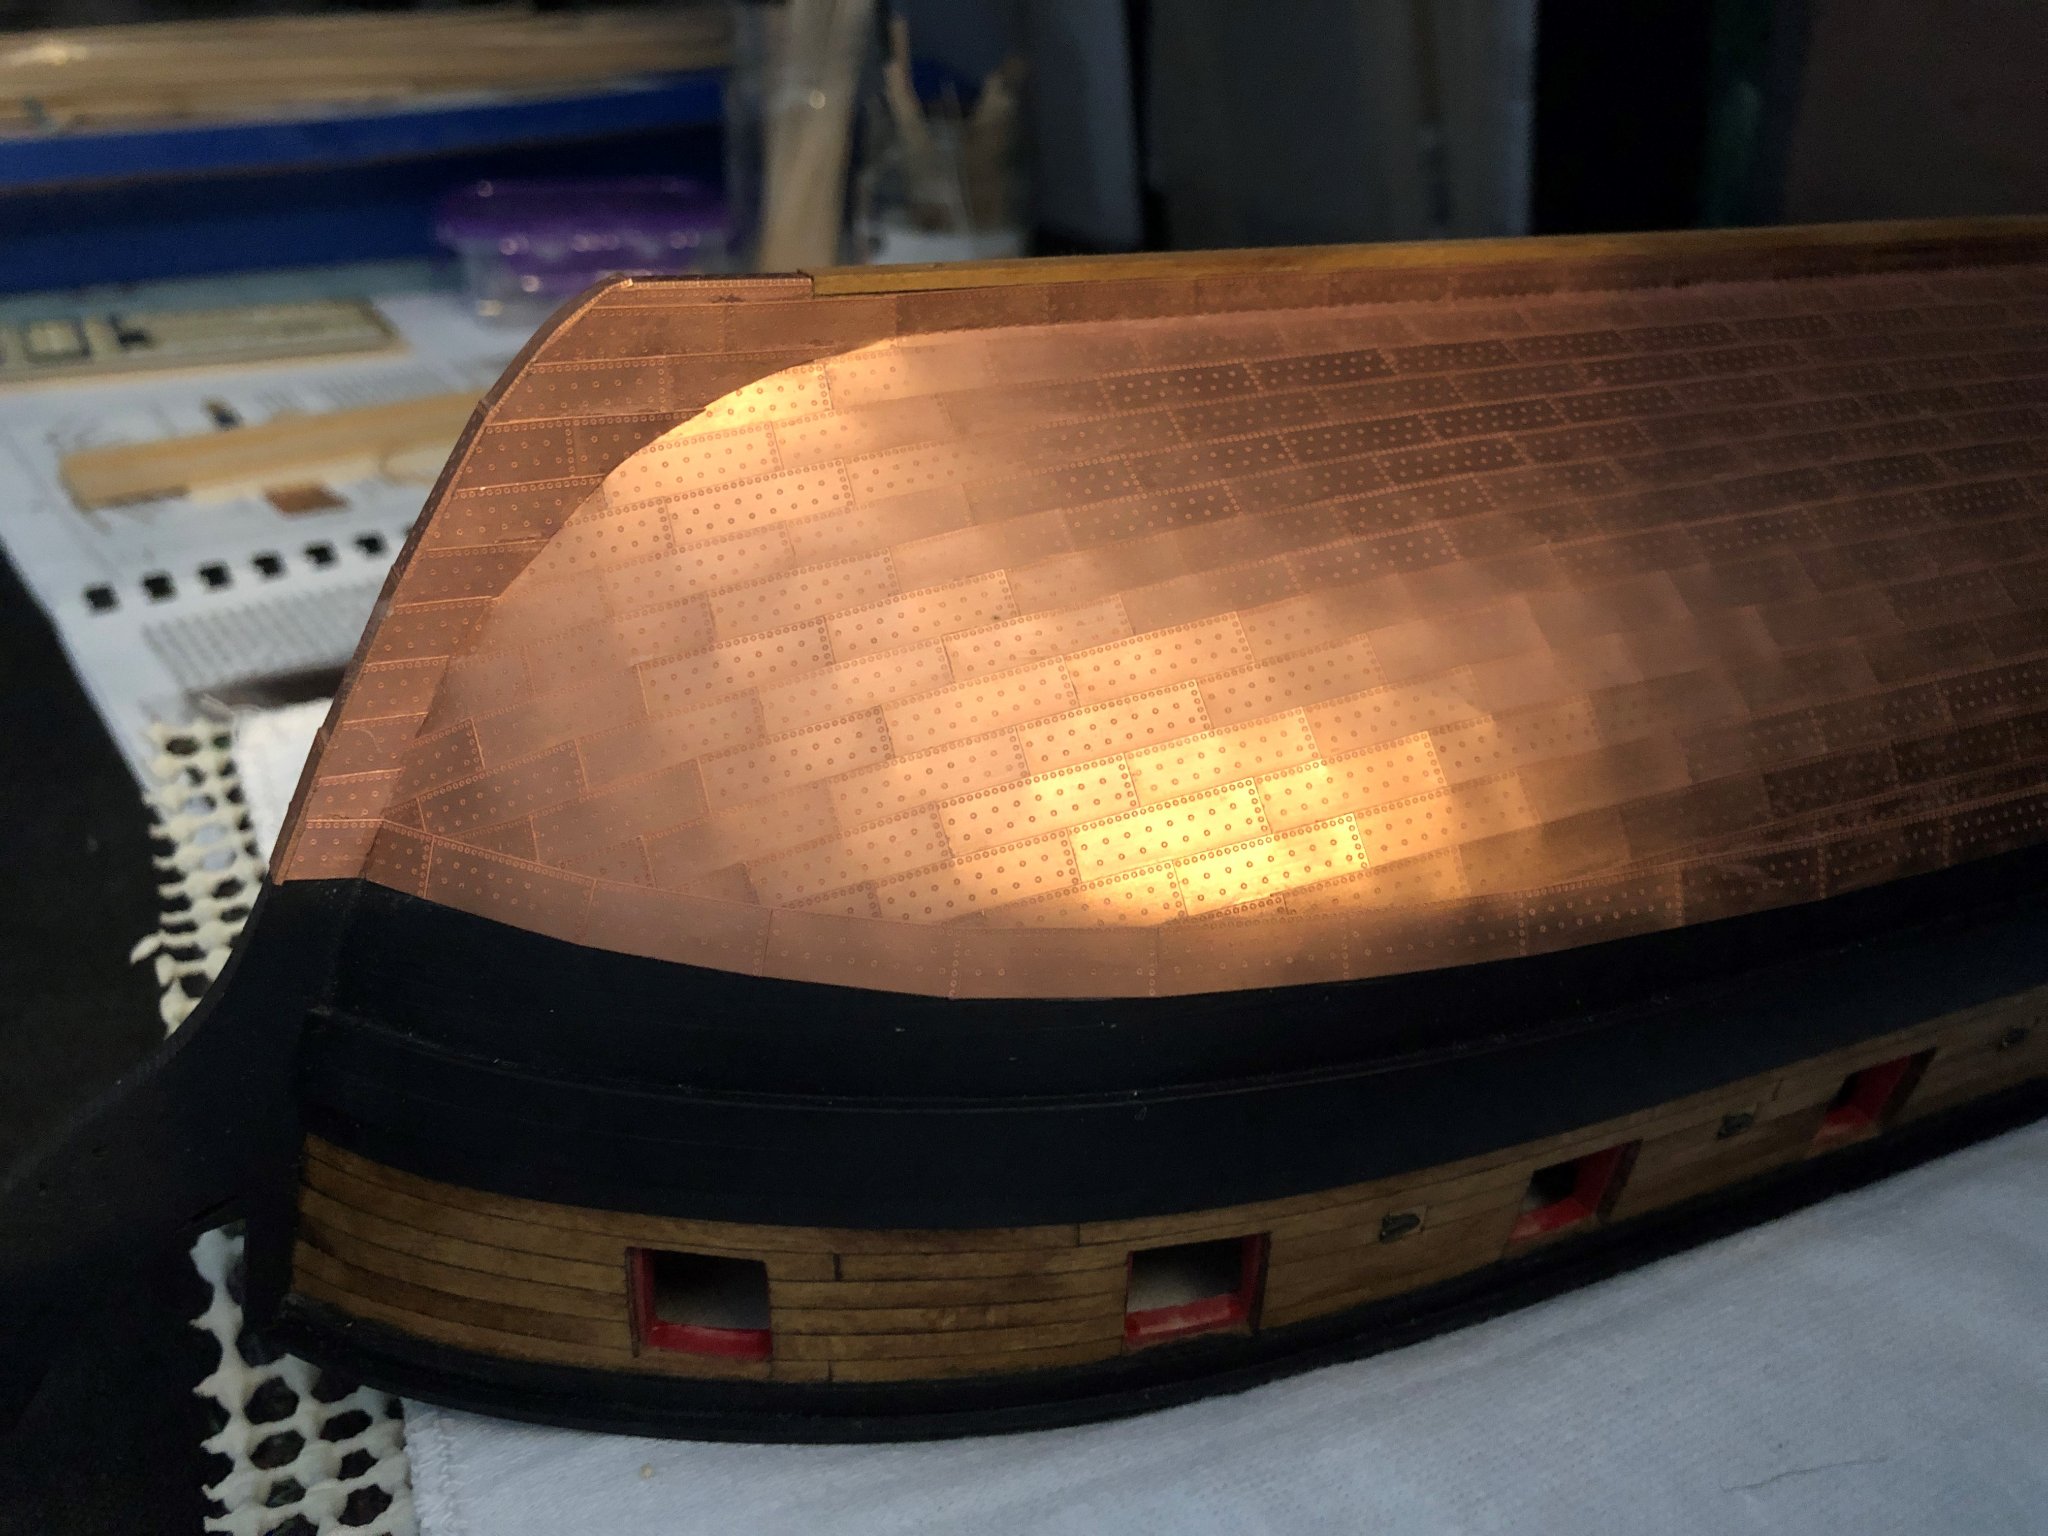
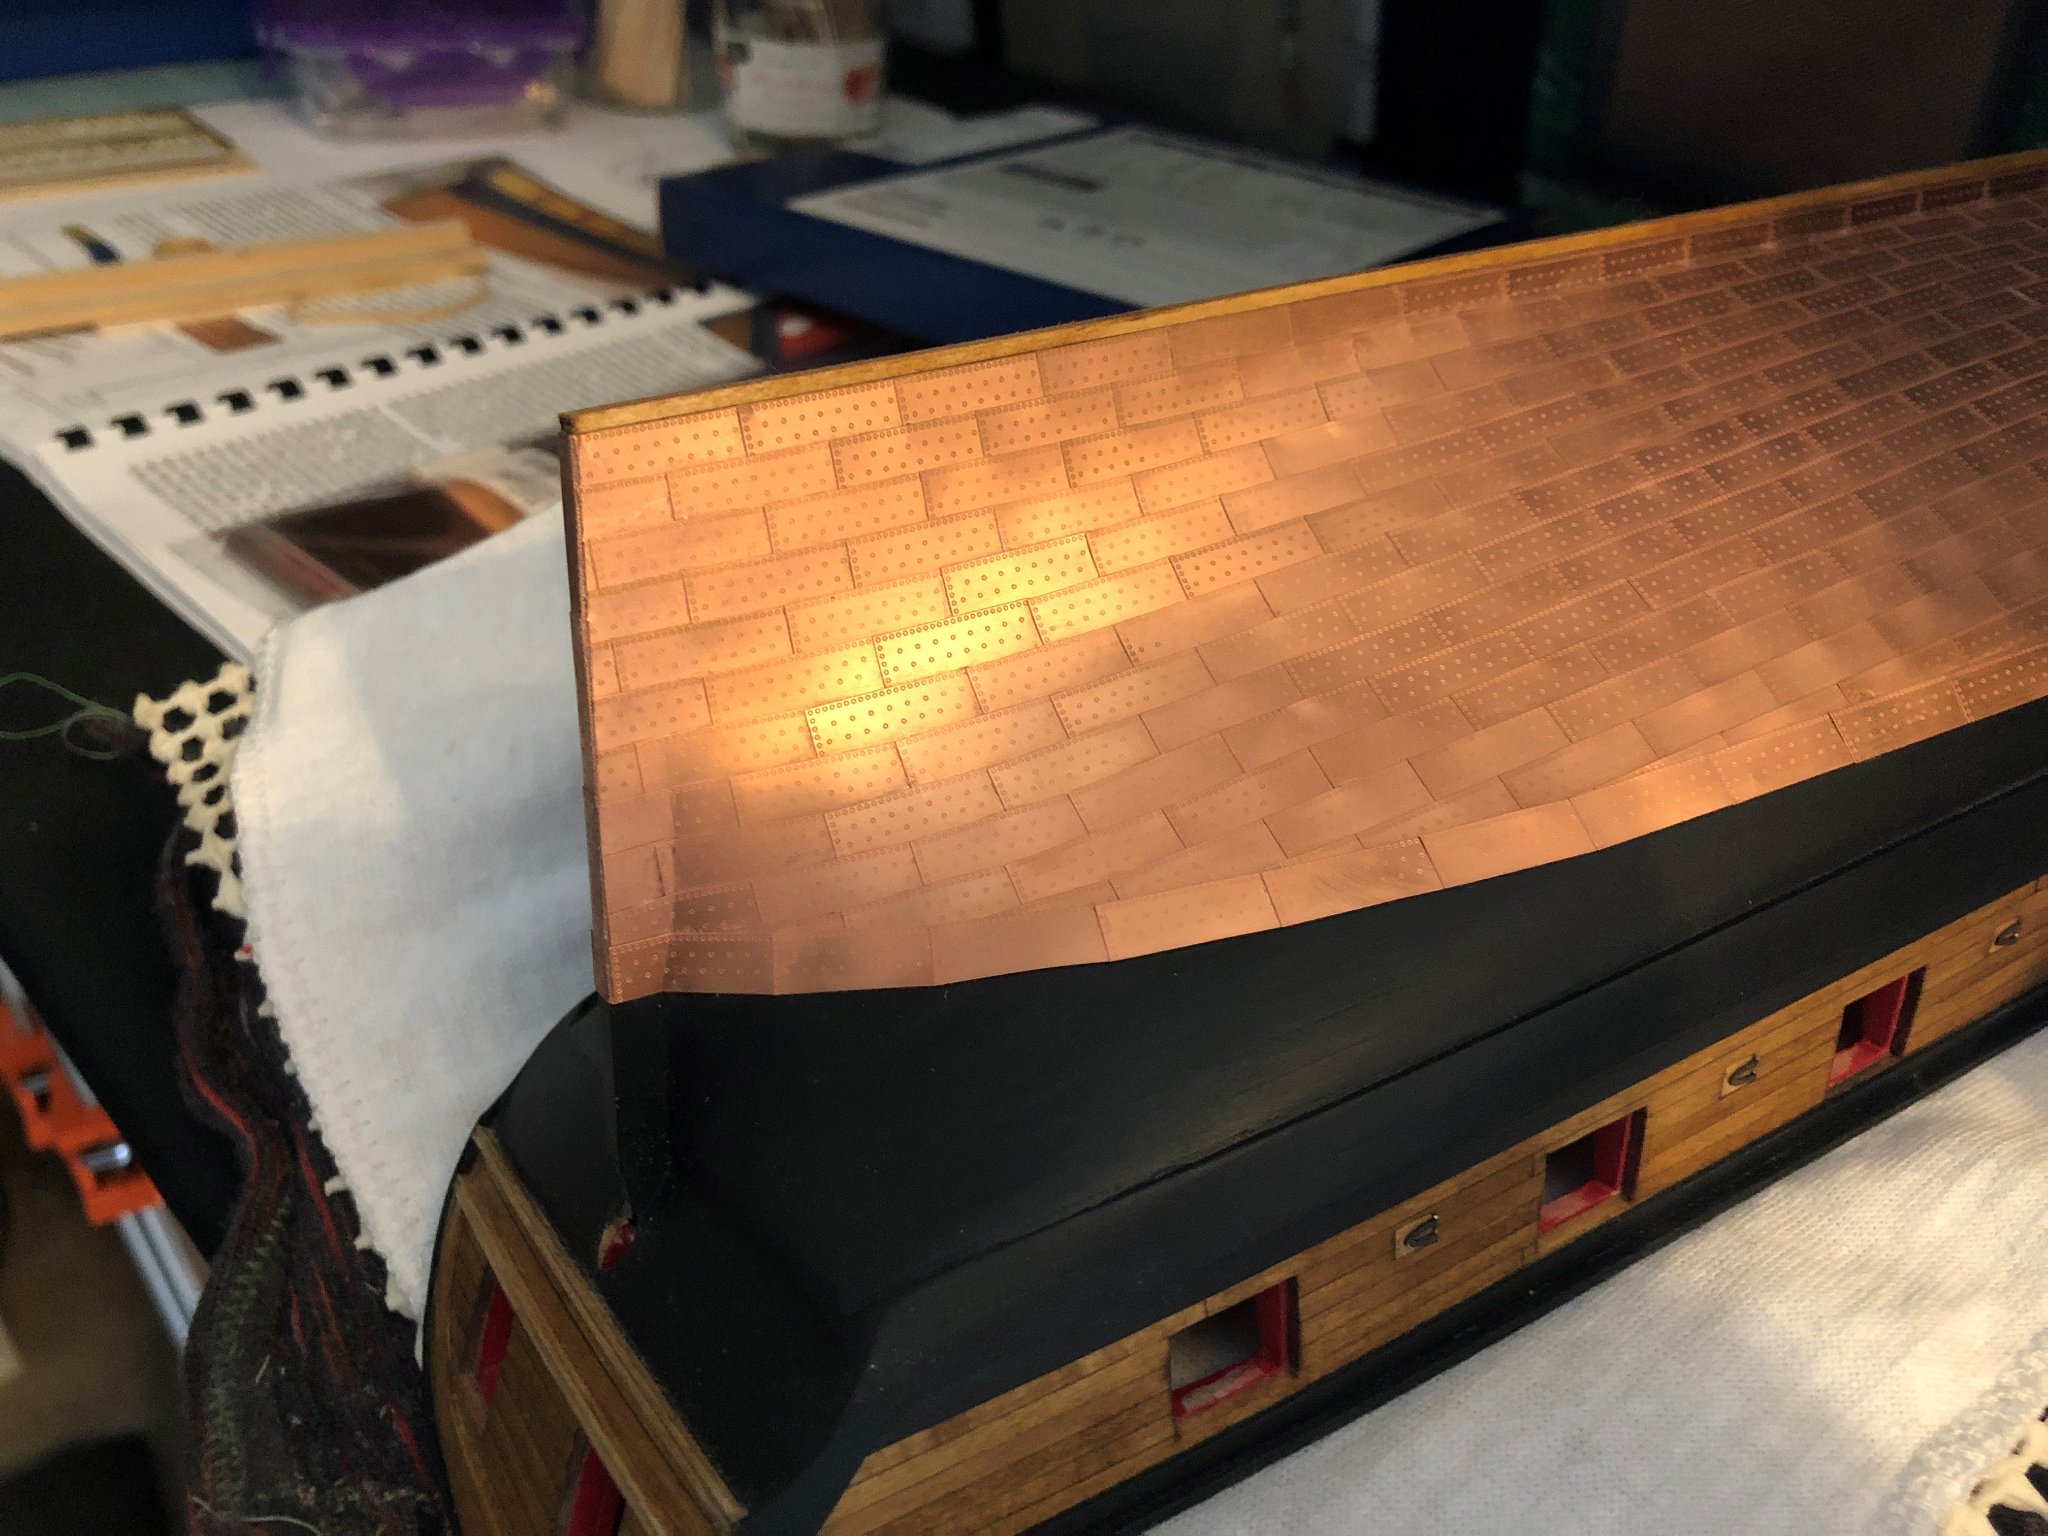
Coppering is 98% done. I still have the rudder to deal with and another few wipe-downs with ethanol but Im happy with it. I learned a lot in the process, and will definitely tackle it differently next time. Not pictured is the finishes and stained false keel and drilled post holes for mounting.


-
Out of curiosity are you thinking of "Black Cherry" as something different than the standard Cherry that is commonly sold? I see these terms used interchangeably and I'm always curious what folks are thinking when they choose one descriptor over another... My understanding is that Black Cherry and Cherry are the same thing.
-
Yes... when I said "side business" this is more or less what I meant, too. The Byrnes is well worth it, by far the best tool I own.
-
I've been exploring this as a side-business for some time. Especially given how frustrating it can be to track down any exotic materials at all (in the US) without having to have a full mill at home. The existing model ship supplier I know of has mixed reviews and I think we all lament the loss of Hobby Mill and then Crown Timberyard. I've been slowly acquiring the necessary equipment (bandsaw, jointer, etc.) and have come to a few rather unfortunate conclusions. Namely, to make it work even as a small side thing you need something that the other suppliers cant provide, namely exotic hardwoods (which will never be a money maker) and be reasonably reliable about it (also extremely hard if you ever want to do your own modeling). As @Chuck mentions there are other suppliers who can get sheets of cherry, walnut and maple to you almost the next day AND at rates supported by larger mill operations. A Its a shame, but I have resigned myself to the fact that sourcing wood other than the big three will now always be as slow and meticulous a process as the rest of the build...
-
One way or another we all get there in the end! Nice job.
- 436 replies
-
- 1
-
-
- Syren
- Model Shipways
- (and 1 more)
-
I agree with others that it looks great as is. In terms of accurate representation, I would say a perfectly hung boat would be less accurate. And I can’t tell that you’ve glued the rope in any particular way. I only question whether oars would have been stowed in the boat long term, or just when about to be launched...
- 950 replies
-
- 1
-
-
- syren
- model shipways
- (and 1 more)
-
I don't really have any expertise to offer, but will say that I think you've done a nice job. I have no idea how I'm going to approach this particular step myself so if I get even close to something as nice as this Ill be happy! The important thing is that you like them. Are they permanently mounted? Perhaps only fix them temporarily and give yourself time to look at them for awhile before making a commitment? I do notice you haven't got your lettering on... I was thinking about this and how Id better get it on before it becomes harder to do with more of the deck components added... can I ask if there is a reason you are waiting? Something I should consider?
-
Me too. I went slow and burned through a few really sharp scalpels. Of course you are using boxwood so your experience will likely be different then mine (basswood), but what I found worked was to make the basic shape in the dummy plank and then trace it on the margin plank. Then I carefully cut out the shape in the margin just under the tracing mark so the actually cut shape was smaller than the tracing. I then shaped the actual plank to fit and had pretty good success (it was my first time doing this). By cutting smaller I could sort of force the plank into position and would get a nice tight fit. Good Luck!
-
If it helps, I was successful soaking in recently boiled water for 10 minutes or so, and then bent over the form using a small clothes iron as I bent. Did mine in one piece and all in one go, no breaks. Clamped down and left to dry for several days.
-
Ha! Thanks for the kind words Bob, at this point I just hope she comes out able to be shown at all!
-
Thanks fellas. I wish I could take credit for them, ha! I agree they look pretty good and am happy I made the investment. Aligned? Im not sure what you mean - Im aligning them using the overlapping method described in the instructions and mostly by eye. Following the pattern suggested in the diagrams provided. I'll likely need to make some accommodation for the curvature of the hull, but Im not there yet. Medium CA applied with a micro applicator. Holds very well.
-
Maybe it won't be so dramatic when you've got more of it complete? What will you use for the waterways? That would be an opportunity for a third color - worth considering.
-
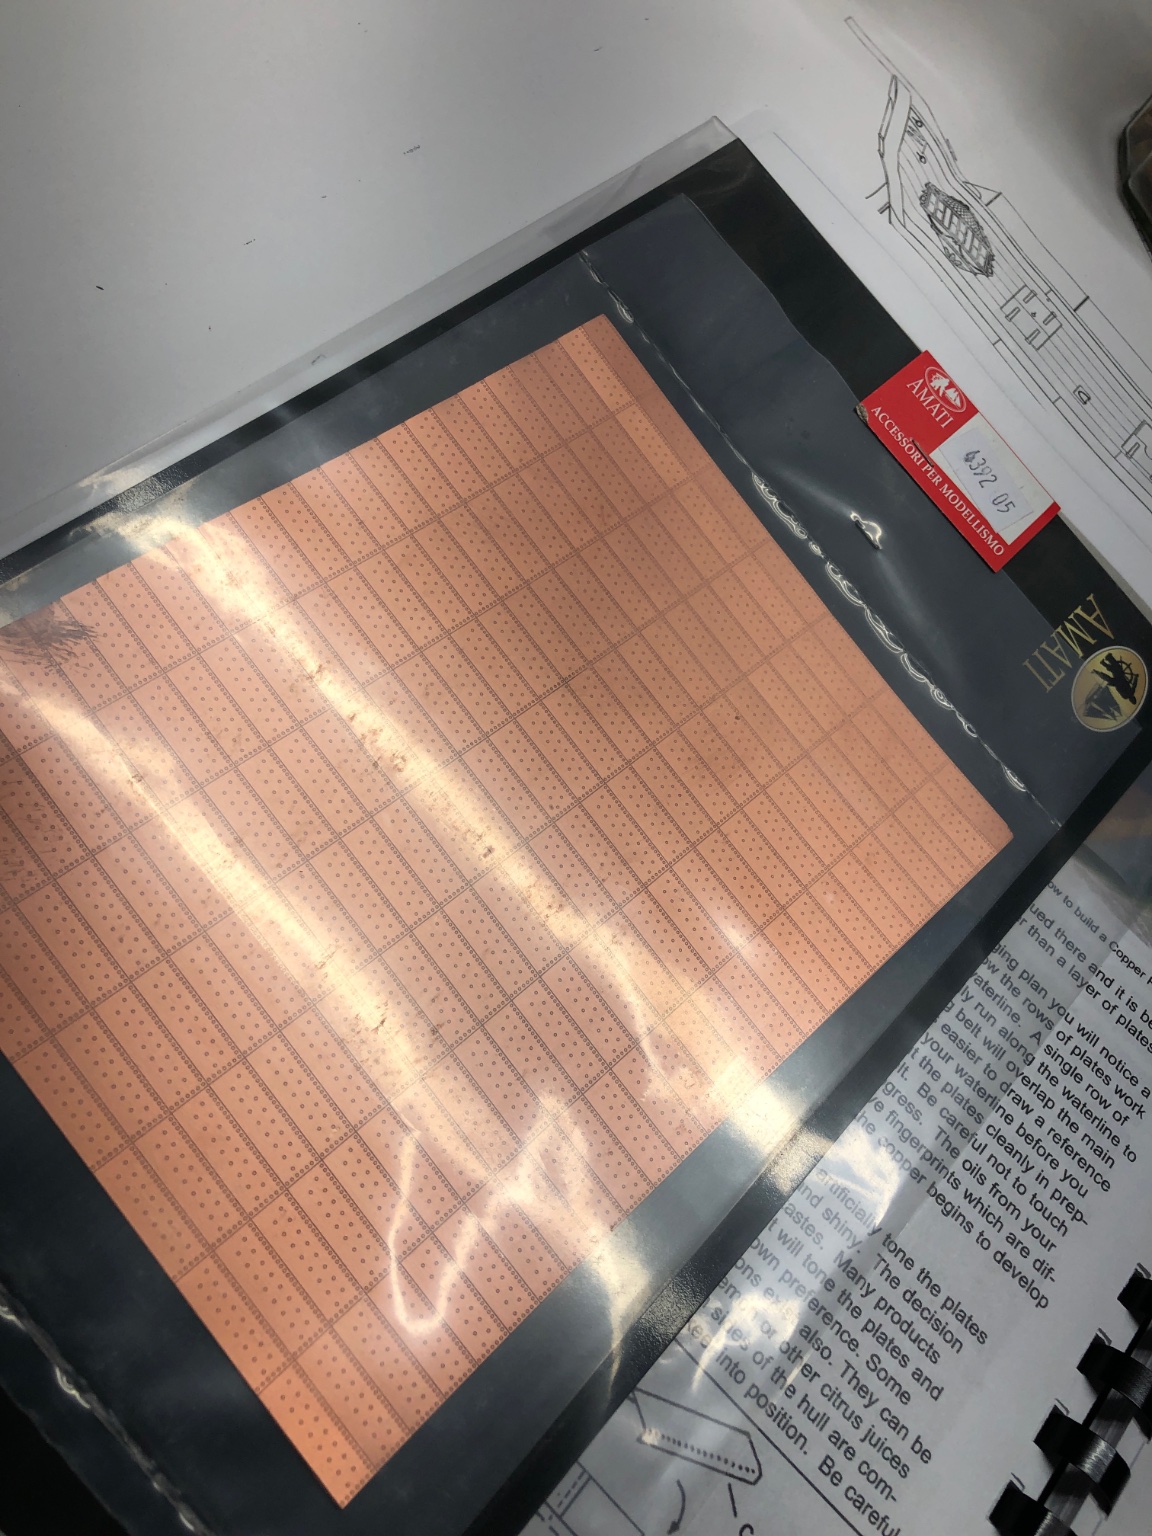
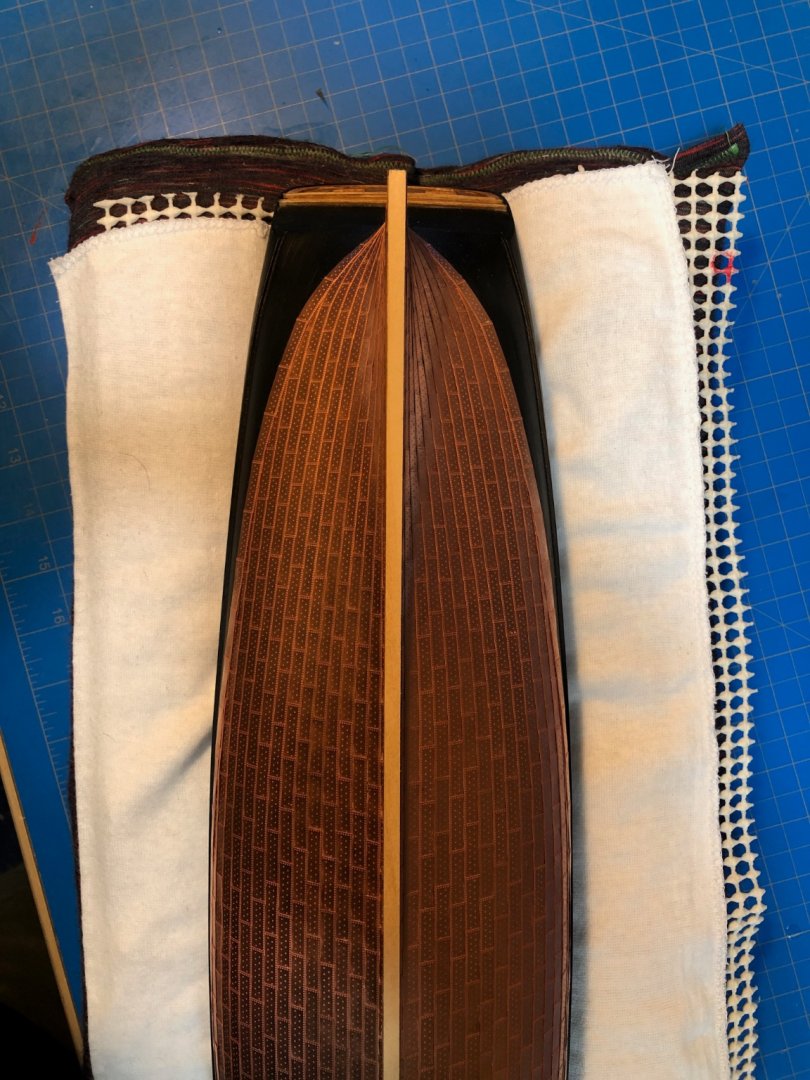
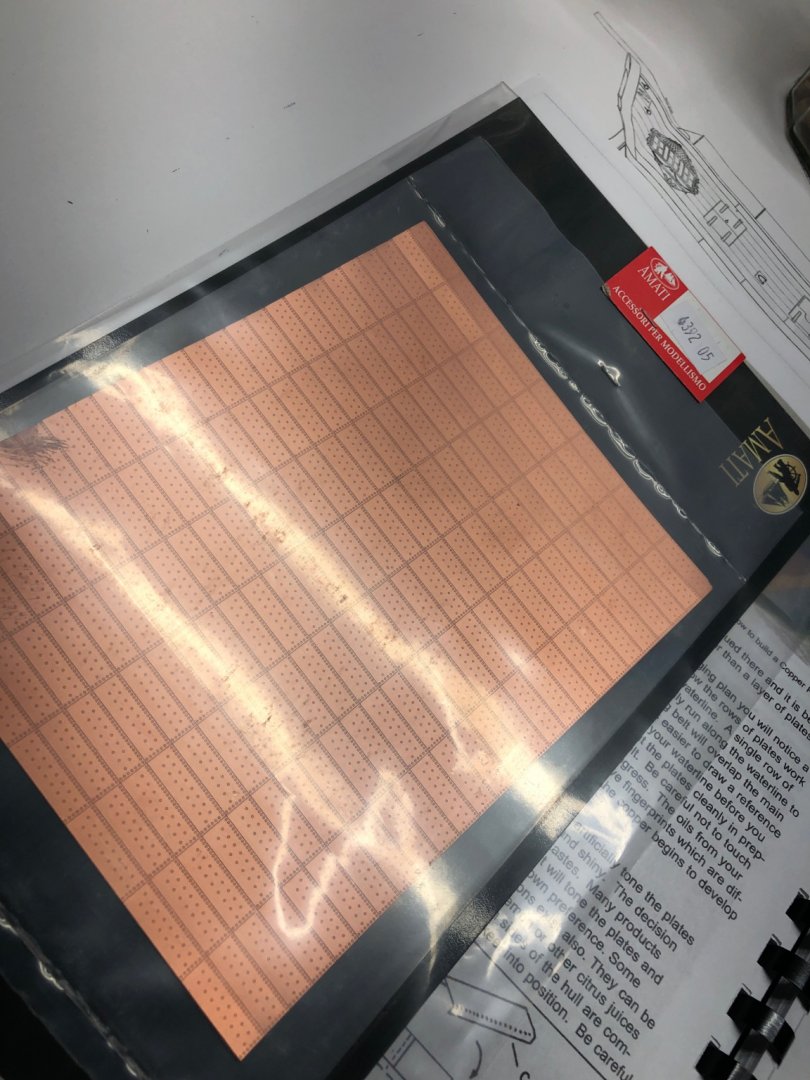
Ive abandoned by quarter badge project for the time being as Im able to return to the next steps per kit instructions. I really was not happy with the color, look or process of creating copper plates per the supplied materials and so opted to outsource. I went with Amati 1:64 scale copper plates which have the same nailing pattern and come pre-made, they also have a matte finish which appeals to me more than the bright polish of the kit provided option. I picked up two packages from Age of Sail, which come with a sheet of plates for port and starboard each. They do not have the self-stick backing, but are nice quality and I don't mind individually adhering them despite the time it takes. They are only slightly different dimensions overall. Normally I would prefer to find a DIY solution, but I think there will always be a few components I don't mind shelling out for: blocks/ropes/cannon among them. Ive spend a solid 8 hours working on the coppering and have gotten about 1/3-1/2 way on the port side only. Its slow going, but nice to see it come together. Im happy with the choice.


-
Looks like a good start! Cant wait to see the final result!
- 950 replies
-
- 1
-
-
- syren
- model shipways
- (and 1 more)
-
Hear! Hear!
-
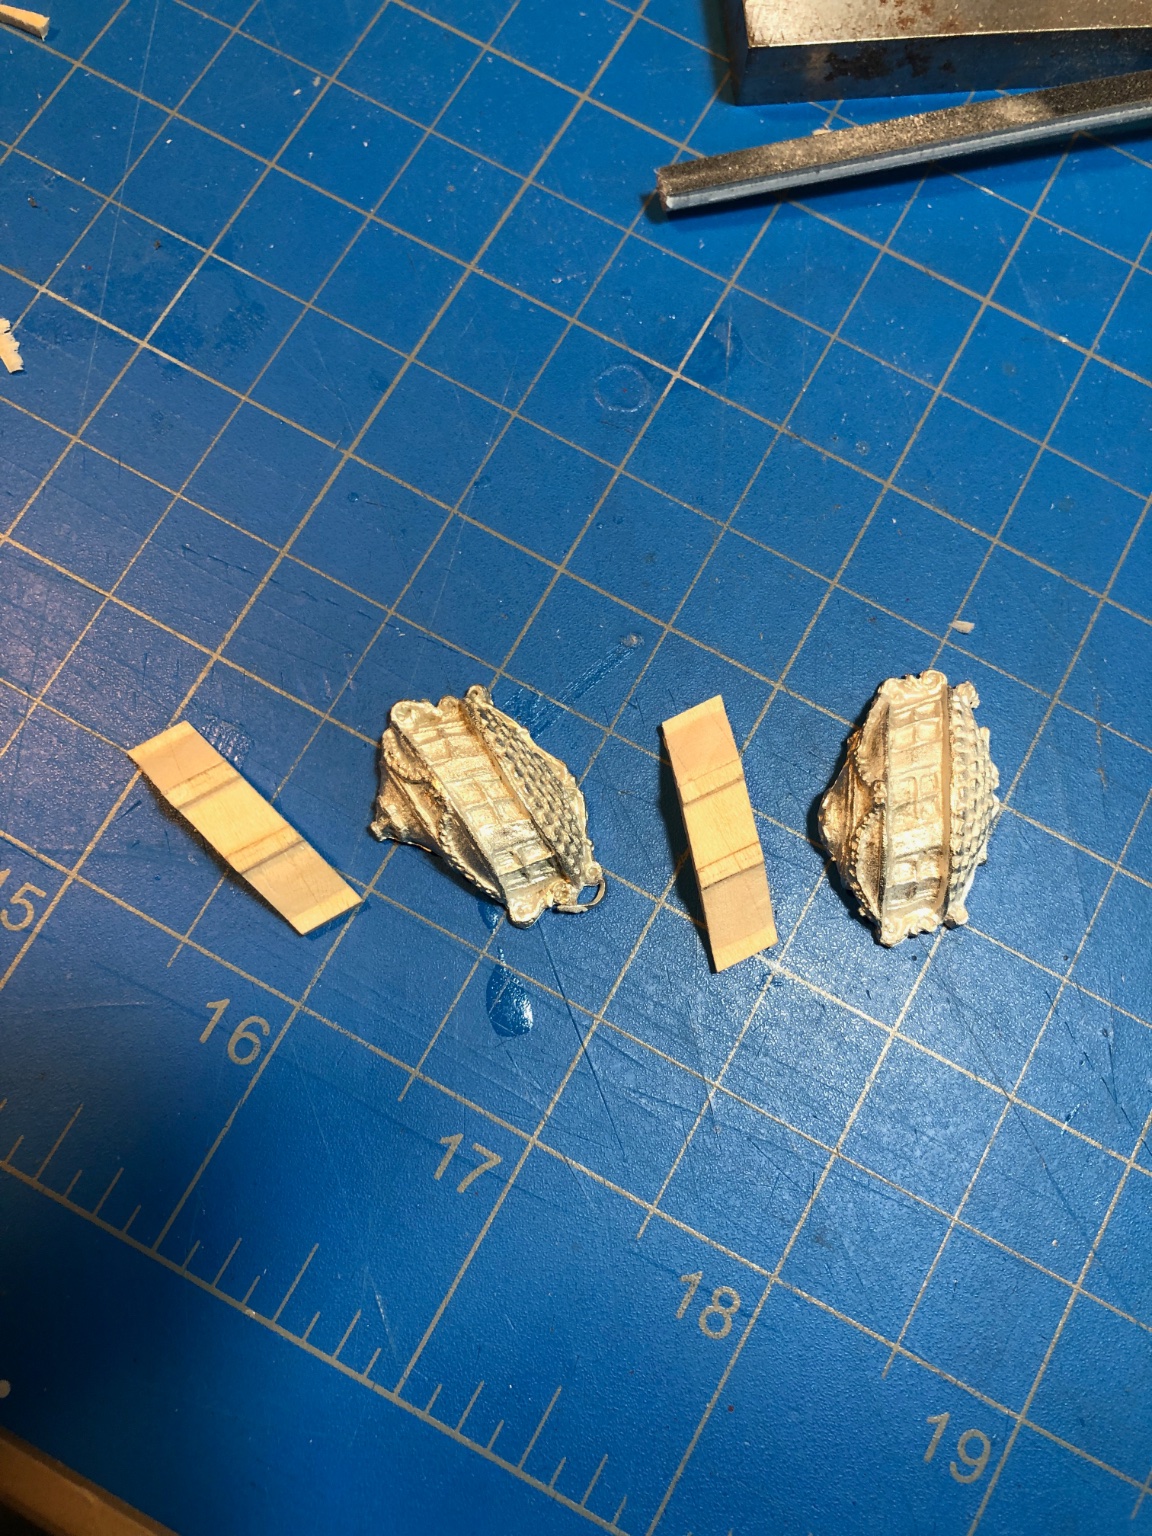
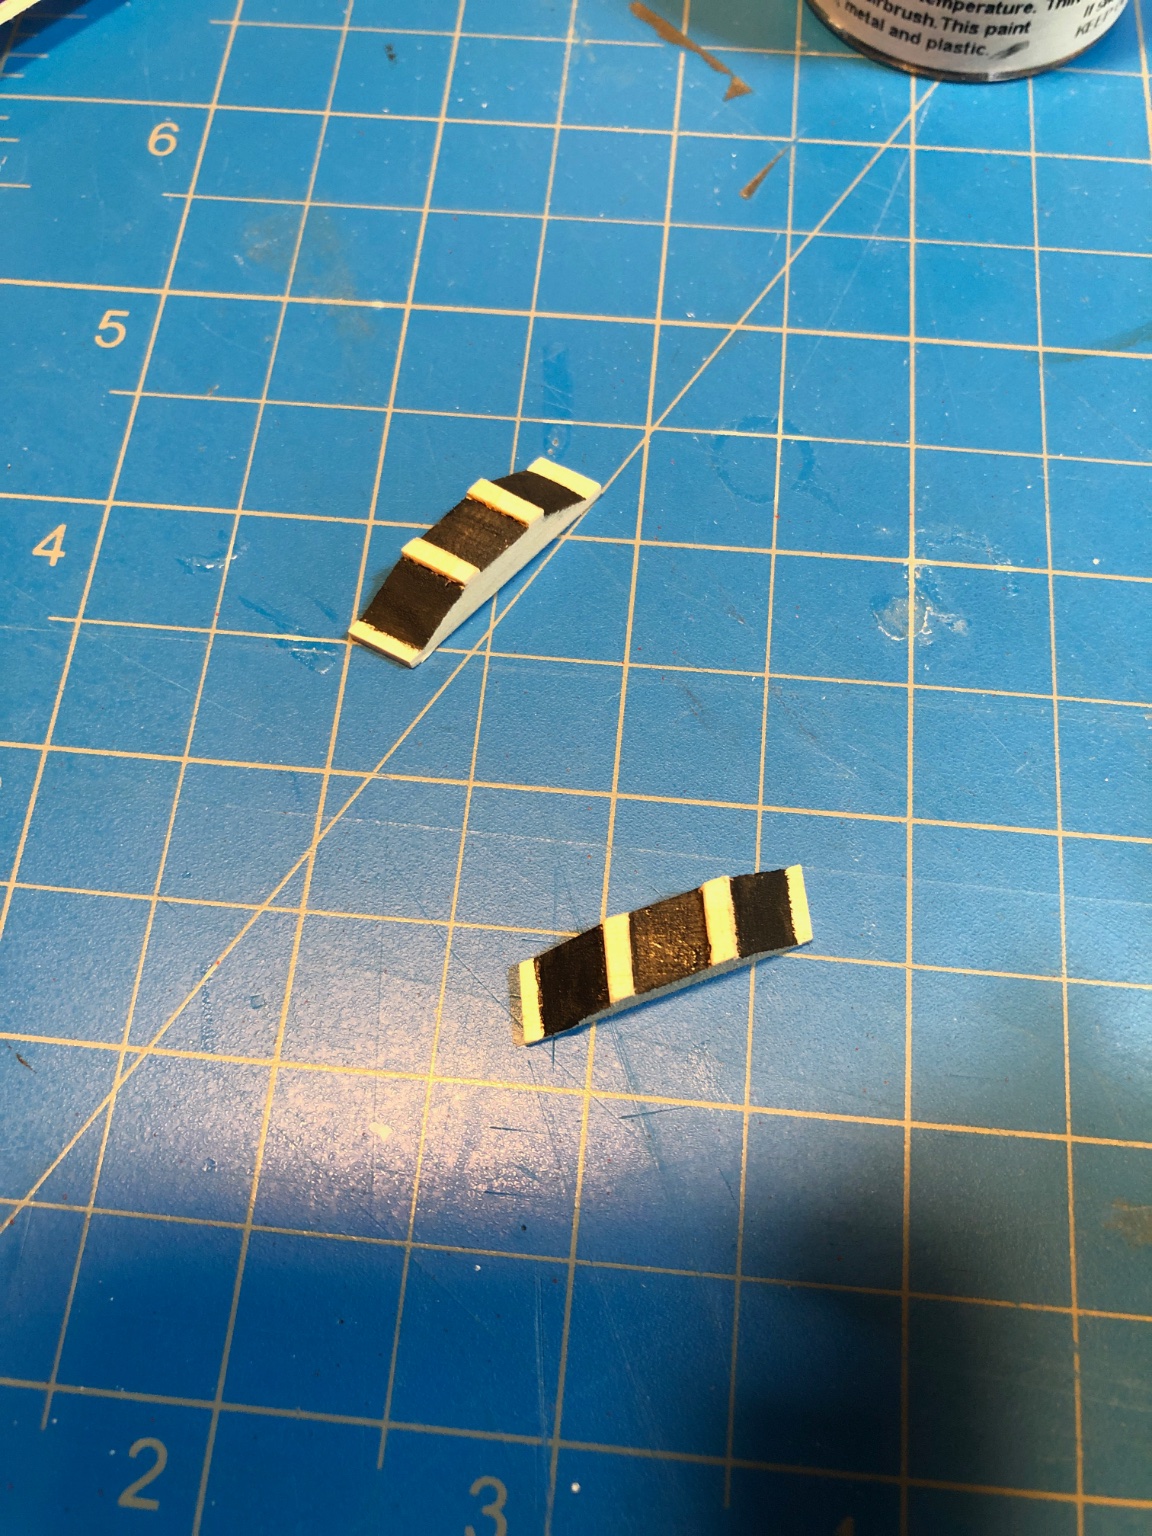
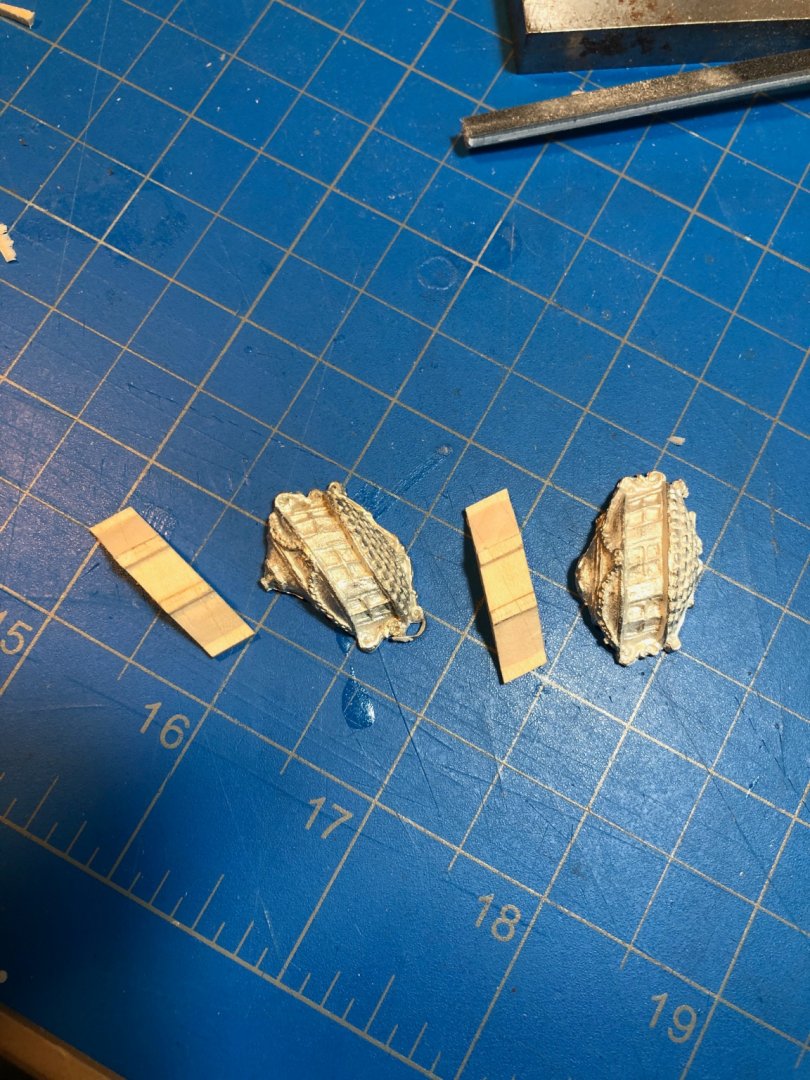
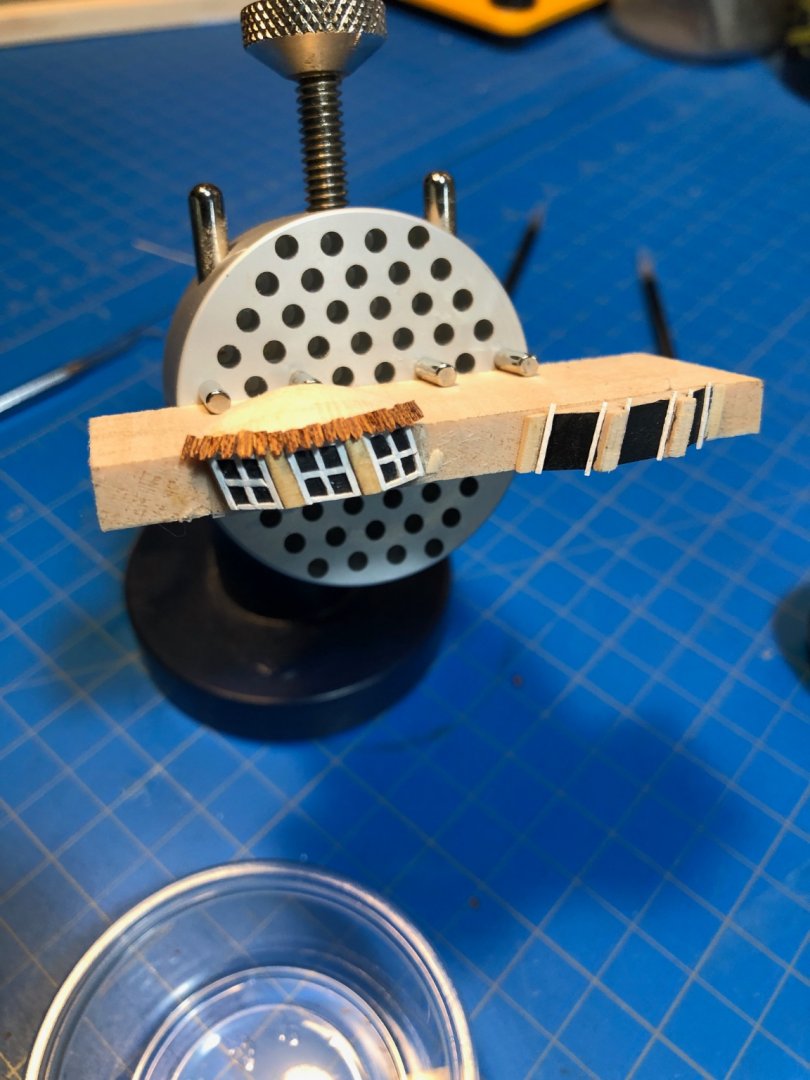
Badges Part II: Still plucking away, not sure exactly how these will turn out. It feels mostly like an experiment at this point. I don't love the results, but I don't hate them either...


-
Im very interested in how you guys are rescaling to build the scratch version. Im not suprised by the difficulty either, its seems the smaller the boat the harder it is! I remember thinking that when I tried the MS Longboat some time ago (a project I never completed). Looking forward to seeing your scratchbuild efforts on this piece of the project. Good Luck!
- 950 replies
-
- 2
-
-
- syren
- model shipways
- (and 1 more)