HOLIDAY DONATION DRIVE - SUPPORT MSW - DO YOUR PART TO KEEP THIS GREAT FORUM GOING! (Only 27 donations so far out of 49,000 members - C'mon guys!)
×


Justin P.
-
Posts
1,008 -
Joined
Content Type
Profiles
Forums
Gallery
Events
Everything posted by Justin P.
-
 I too, am thinking this is how I might approach it. Ive just had success fine tuning the odd fitment of previous builds by over building the cap rail and installing it, and then sanding back to an even consistency of reveal and shape. Im trying to wrap my head around that now with so much work having gone into the finish of the interior and exterior bulkheads that Im afraid of having to do ANY sanding in the vicinity of that paint job! Now having just seen your scuppers I'm starting to worry about having drilling once again on top of it all - ugh!
 -
Thanks Thomas... though I have to admit, I cant no longer look to your build log for inspiration without spending the rest of the evening wondering why I am even trying! Your work is splendid. I appreciate the time you took to respond to my query ahead of my painting step.
-
If only I knew the first thing about developing a ship model plan... I have some ideas -> USS Vincennes (1826), HMS Discovery (1789), HMS Chatham (1788). I wouldn't even know where to start!
-
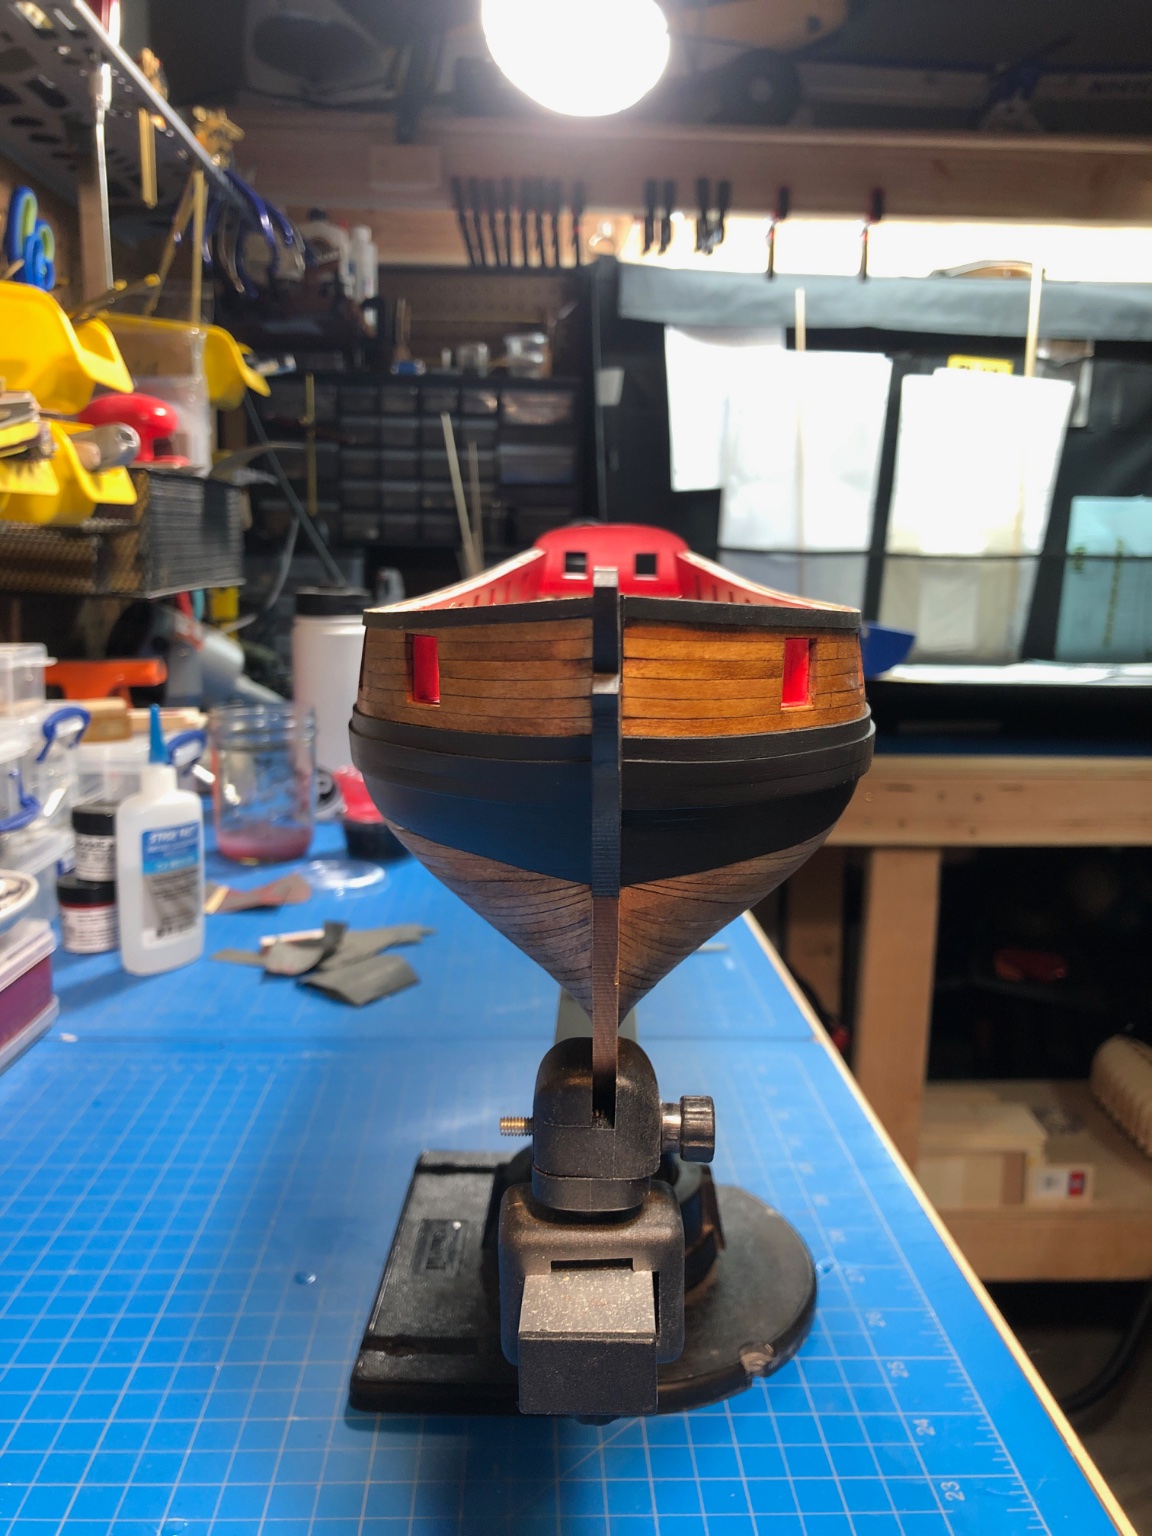
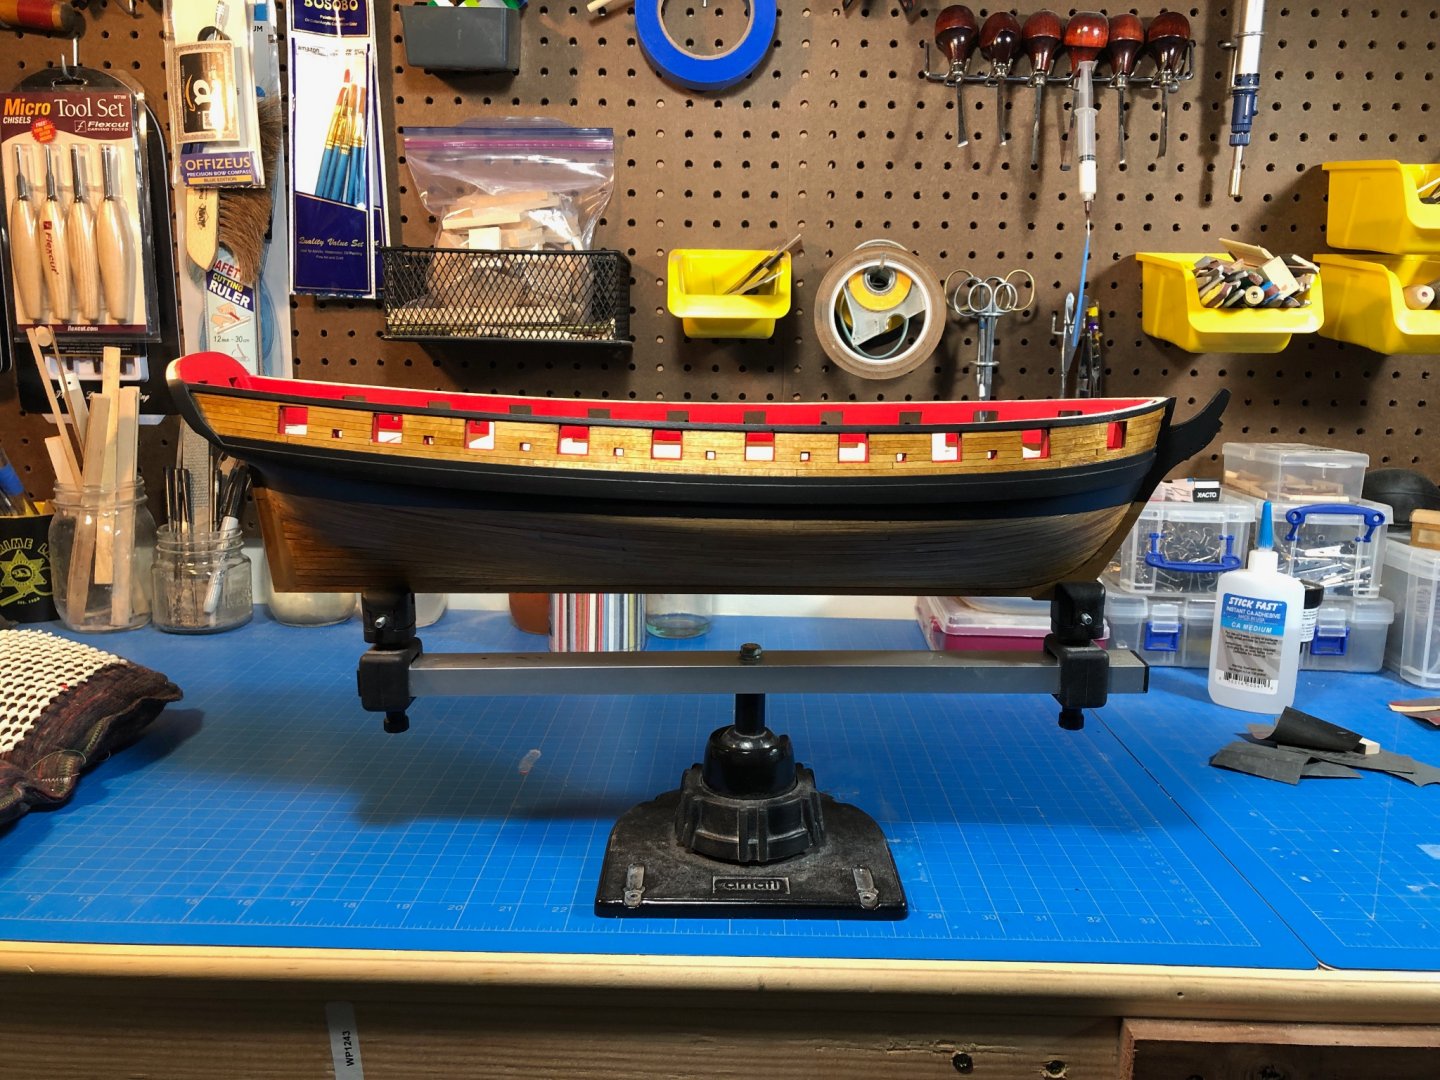
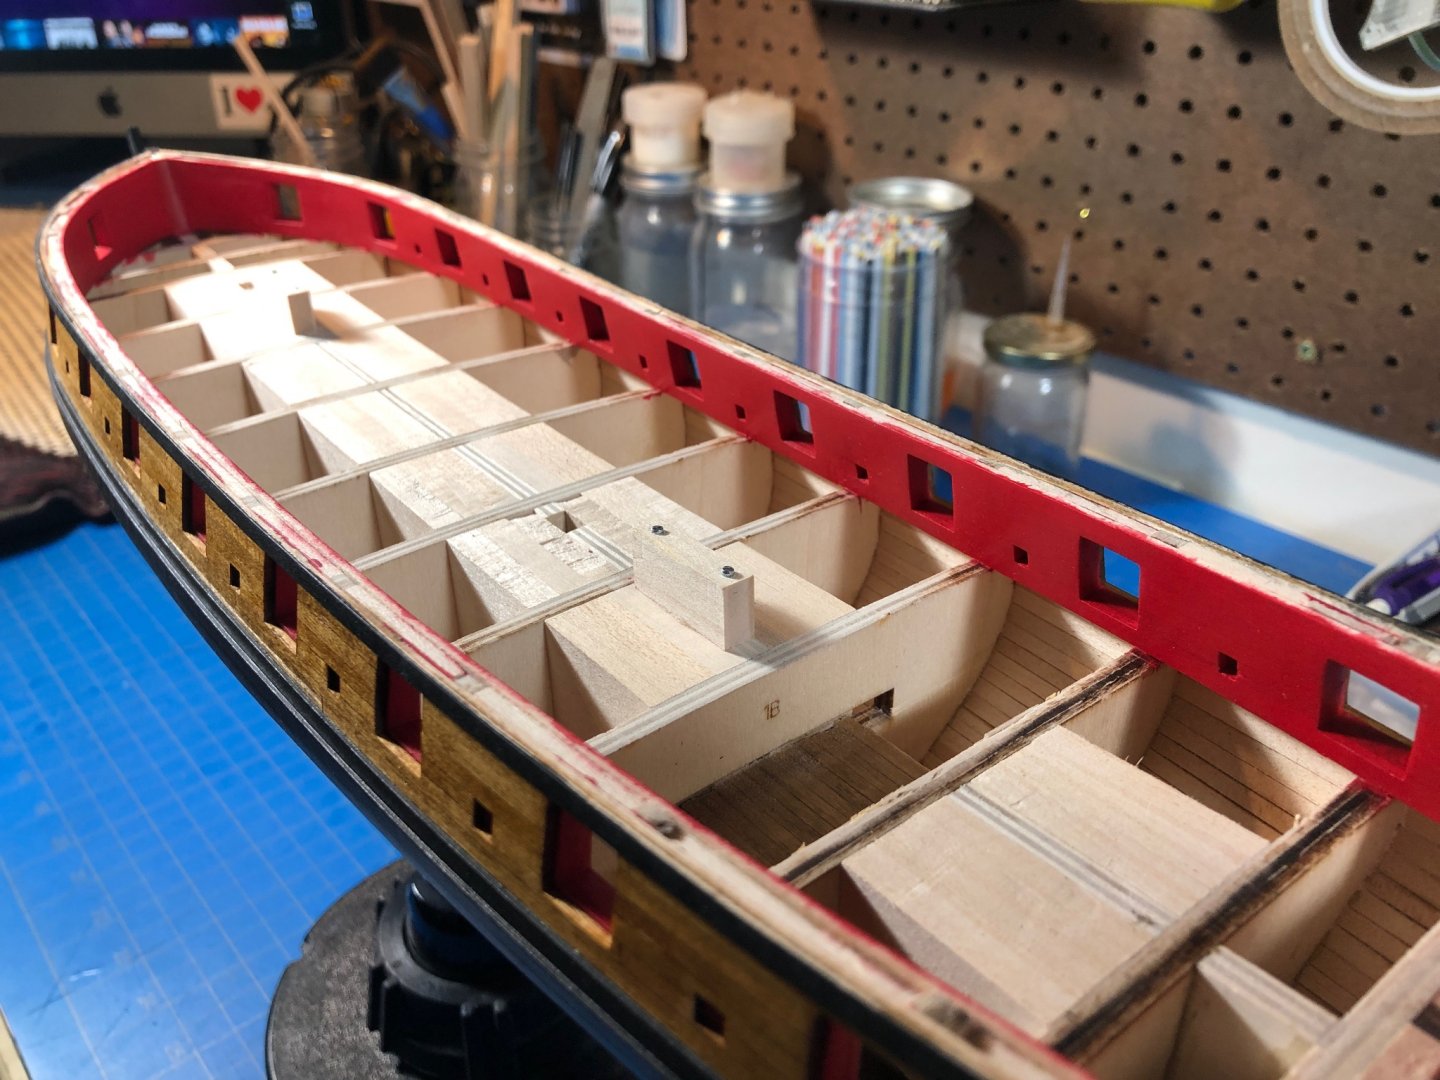
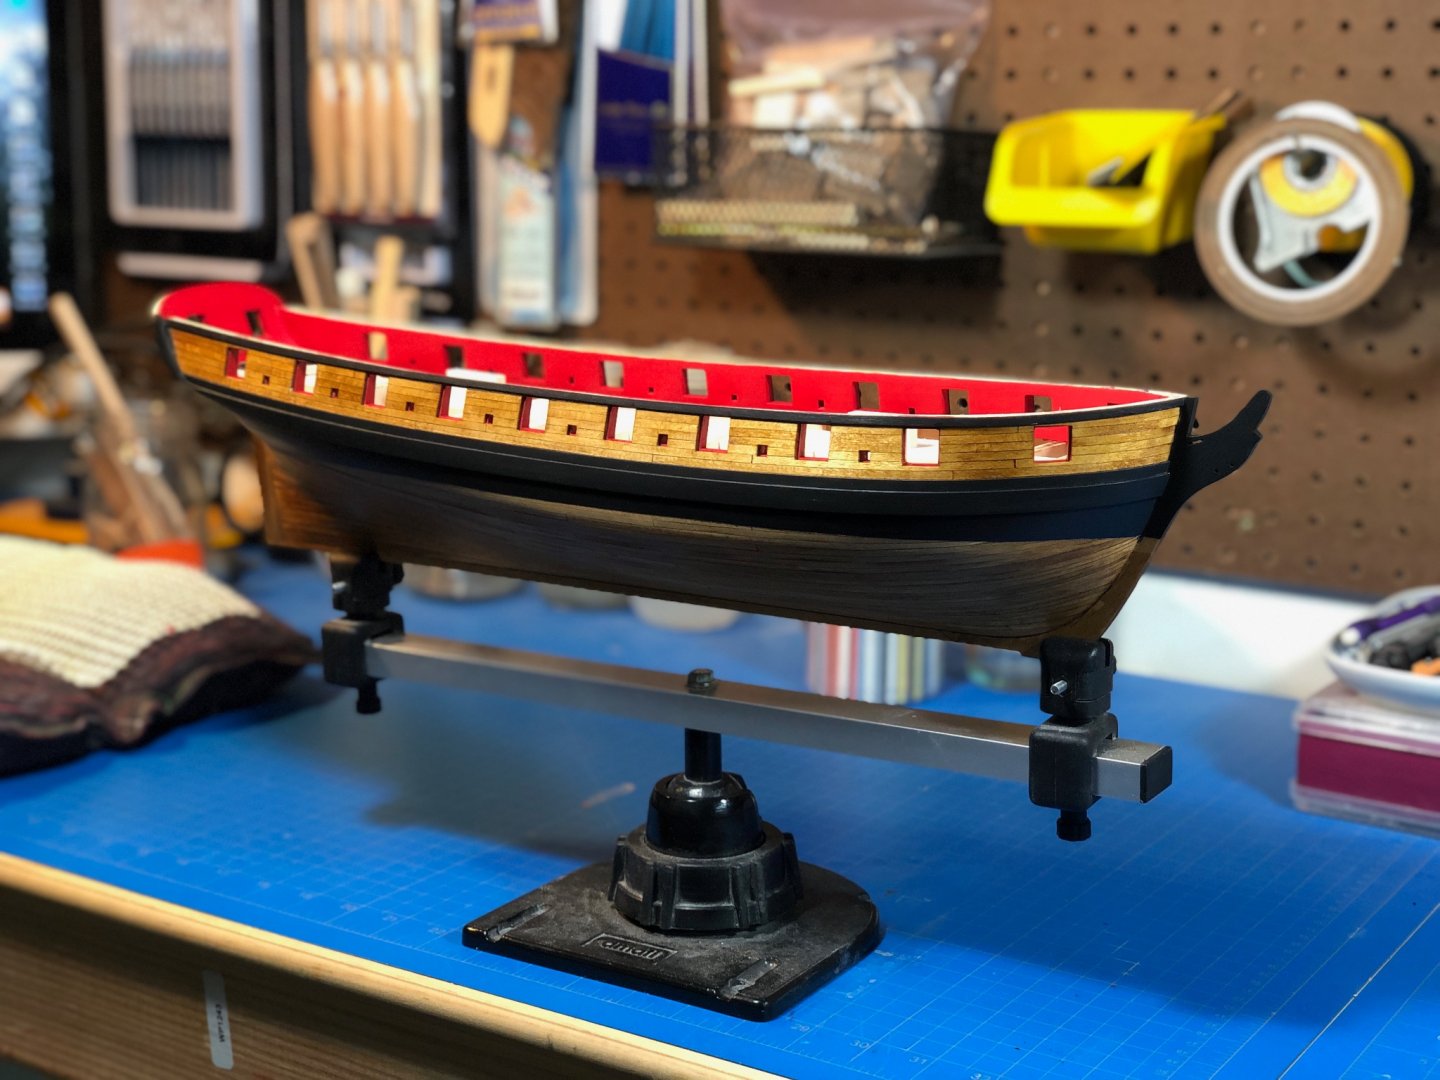
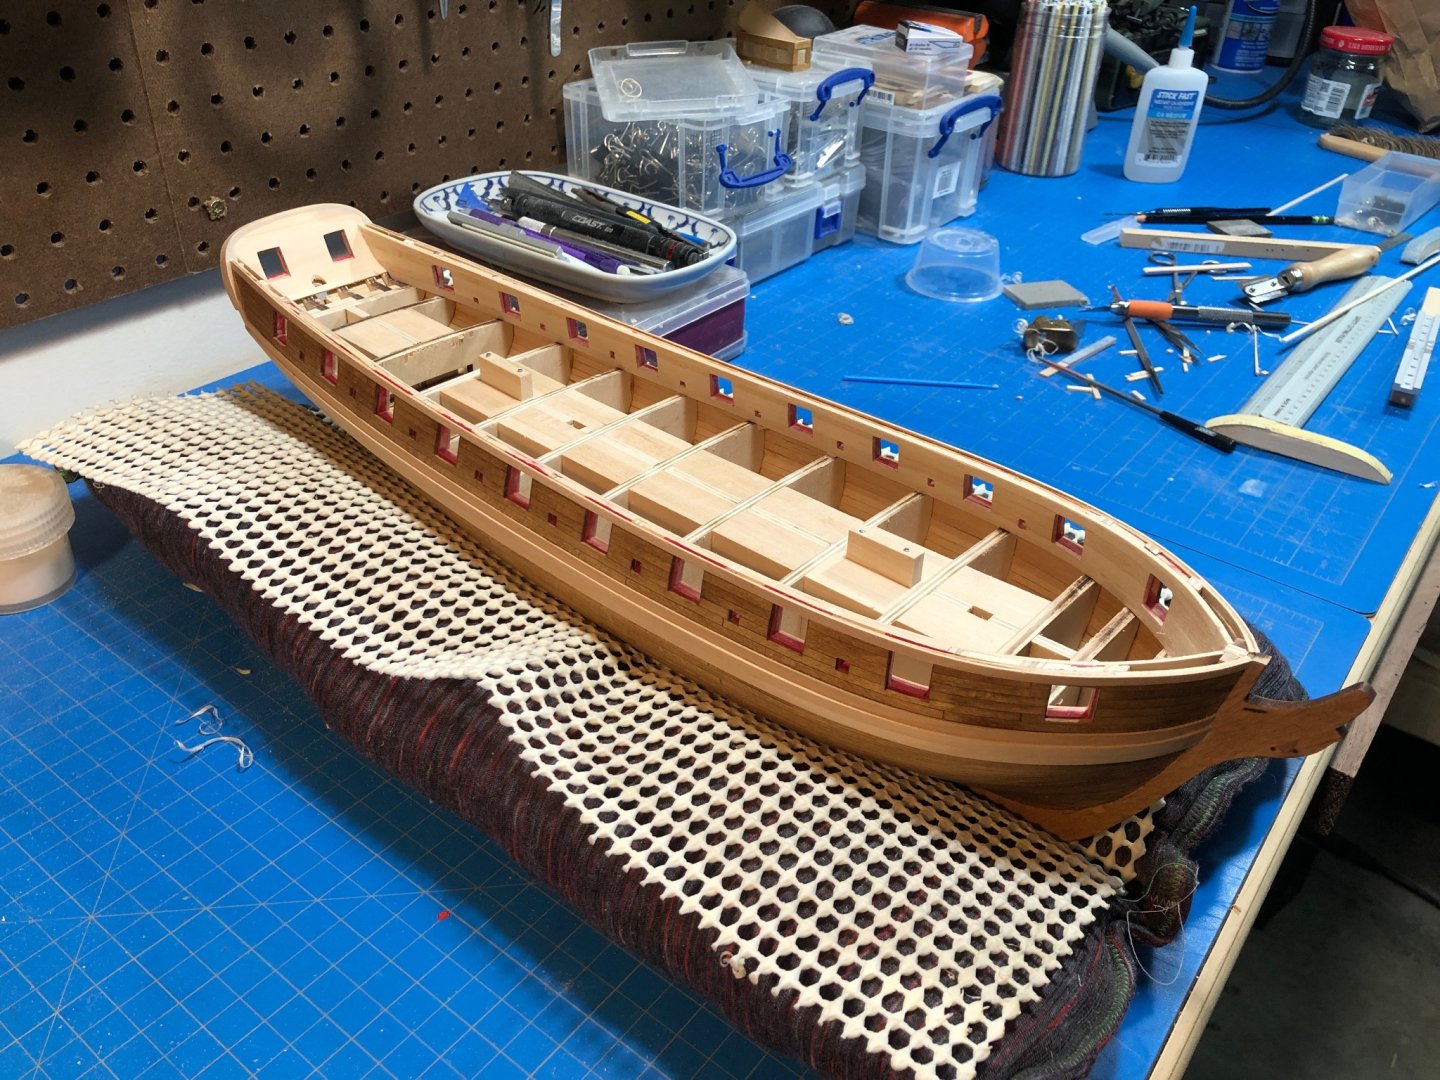
PAINT. Nope, not my favorite task at all. I started with the interior bulkheads using Model Shipways "Red Trim." Its quite red, but I think after one gets over the shock of the color it actually grows on you a bit. I also think the effect will die down after other details are integrated. I think it took about 5 coats, following advice from @Gahm and others. I have till now used the the diluted layering technique but hadn't not lightly sanding between coats which I must say did make a difference in the final result. I also did a very fine sanding with a 3000 grit to soften the little gloss I had. I then masked and had a go with Model Shipways "Spar Black" for the exterior. I think if I had to do it again I probably would have gone ahead and got the cap rails fully completed prior to this stage, but it is what it is. I definitely did not quite think out ahead enough steps here, so will caution anyone reading this and contemplating their own build - success seems to be about being 10 steps ahead of yourself! Ill just have to be extra careful now when the time comes. I still have some cleaning up to do and need to complete the transom cap but ran out of weekend. There are a few tiny things that still need to wrapped up in the transom just as soon as I come up with a solution. In the absence of Thanksgiving (thanks COVID), this year we are repainting the kitchen and den so I might not get much time in the shop over the next week. As whenever "we" are doing a house project, its general ME doing much of the work, ha. Over the last 5 years the kids have absolutely thrashed a few drywall corners so Im started in on replacing the metal corner bead and replastering first thing in the morning, then trim and so on... ho hum. I hope you all have a good holiday no matter how you are spending it!


-
Sorry to hear the news Bob, I hope things turn around for you. As another guitarist, I completely understand the cycle... Ive put mine down only to discover it numerous times.
-
When I do treenails, IF I do treenails its almost always with a pinvise... slower but more accurate I find. Those power tools always backfire on me in one way or another, but good luck! Very curious about your core job there... what are the bits you are using, did I miss that in your log somewhere?
- 436 replies
-
- 1
-

-
- Syren
- Model Shipways
- (and 1 more)
-
I agree the jig is a great idea... gonna steal that one too! Yes I think we are more or less around about the same stage. I started painting my interior bulkheads this week and have been taking it very slow. Im glad tp be setting aside the heavy sanding papers for a bit thats for sure! Im looking forward to what you do with your decking, I havent given that as much thought as you and the others have and up until this point was planning to go ahead with the basswood, now youve got me thinking...
-
Thanks Glenn, Ill have to look into these and give them a try. To be honest, painting is not my favorite thing to do to a wood model... I think I may choose my next project based almost entirely on the how much paint is involved!
-
This is a great idea. Hopefully you won't mind if I follow suit.
-
I wish I had more to say then just gorgeous, but it is looking really gorgeous.
- 950 replies
-
- 1
-
-
- syren
- model shipways
- (and 1 more)
-
Very cool to see another one of these here! This is a great little kit and produces a wonderful little model. The materials are pretty good too.
-
Making quick progress. Think long and hard about those treenails... in my opinion they are a delicate detail that can make or break a finish - and ones patience!
- 436 replies
-
- 2
-
-
- Syren
- Model Shipways
- (and 1 more)
-
Interesting stuff, Ive never seen that product before. What is the setting time?
- 950 replies
-
- 1
-
-
- syren
- model shipways
- (and 1 more)
-
Not that you asked, but if I had to do it again, I would have dropped my garboard back about a 1/4" - 3/8" from where the instructions stipulate, which is somewhere around bulkhead N I believe.
- 436 replies
-
- 1
-
-
- Syren
- Model Shipways
- (and 1 more)
-
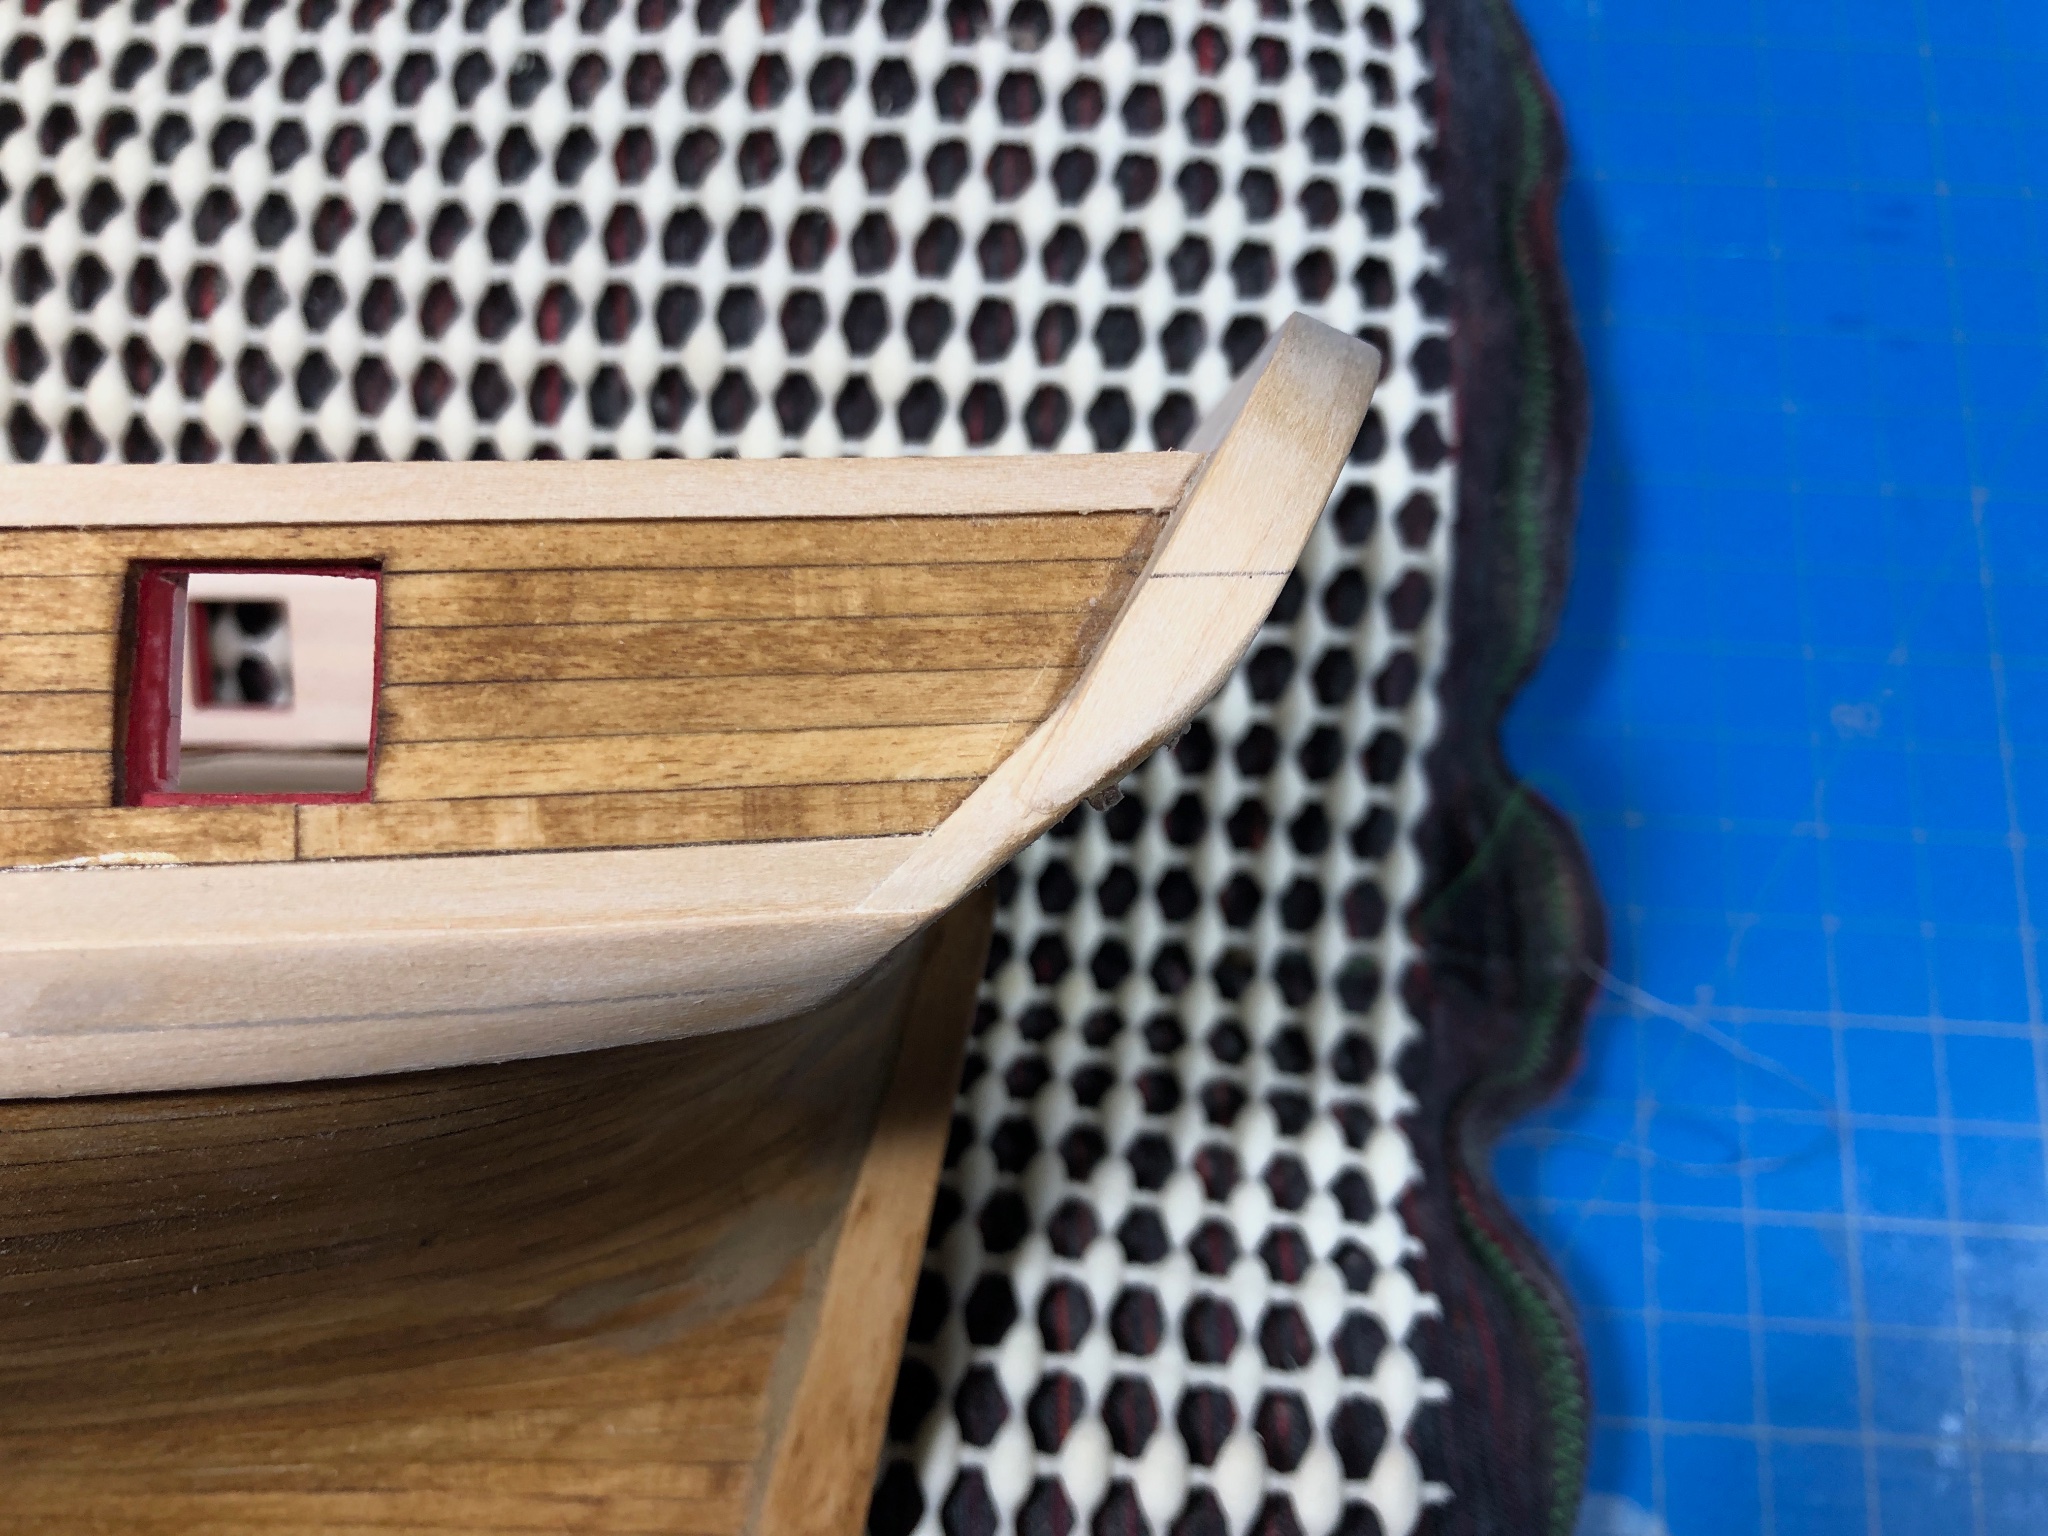
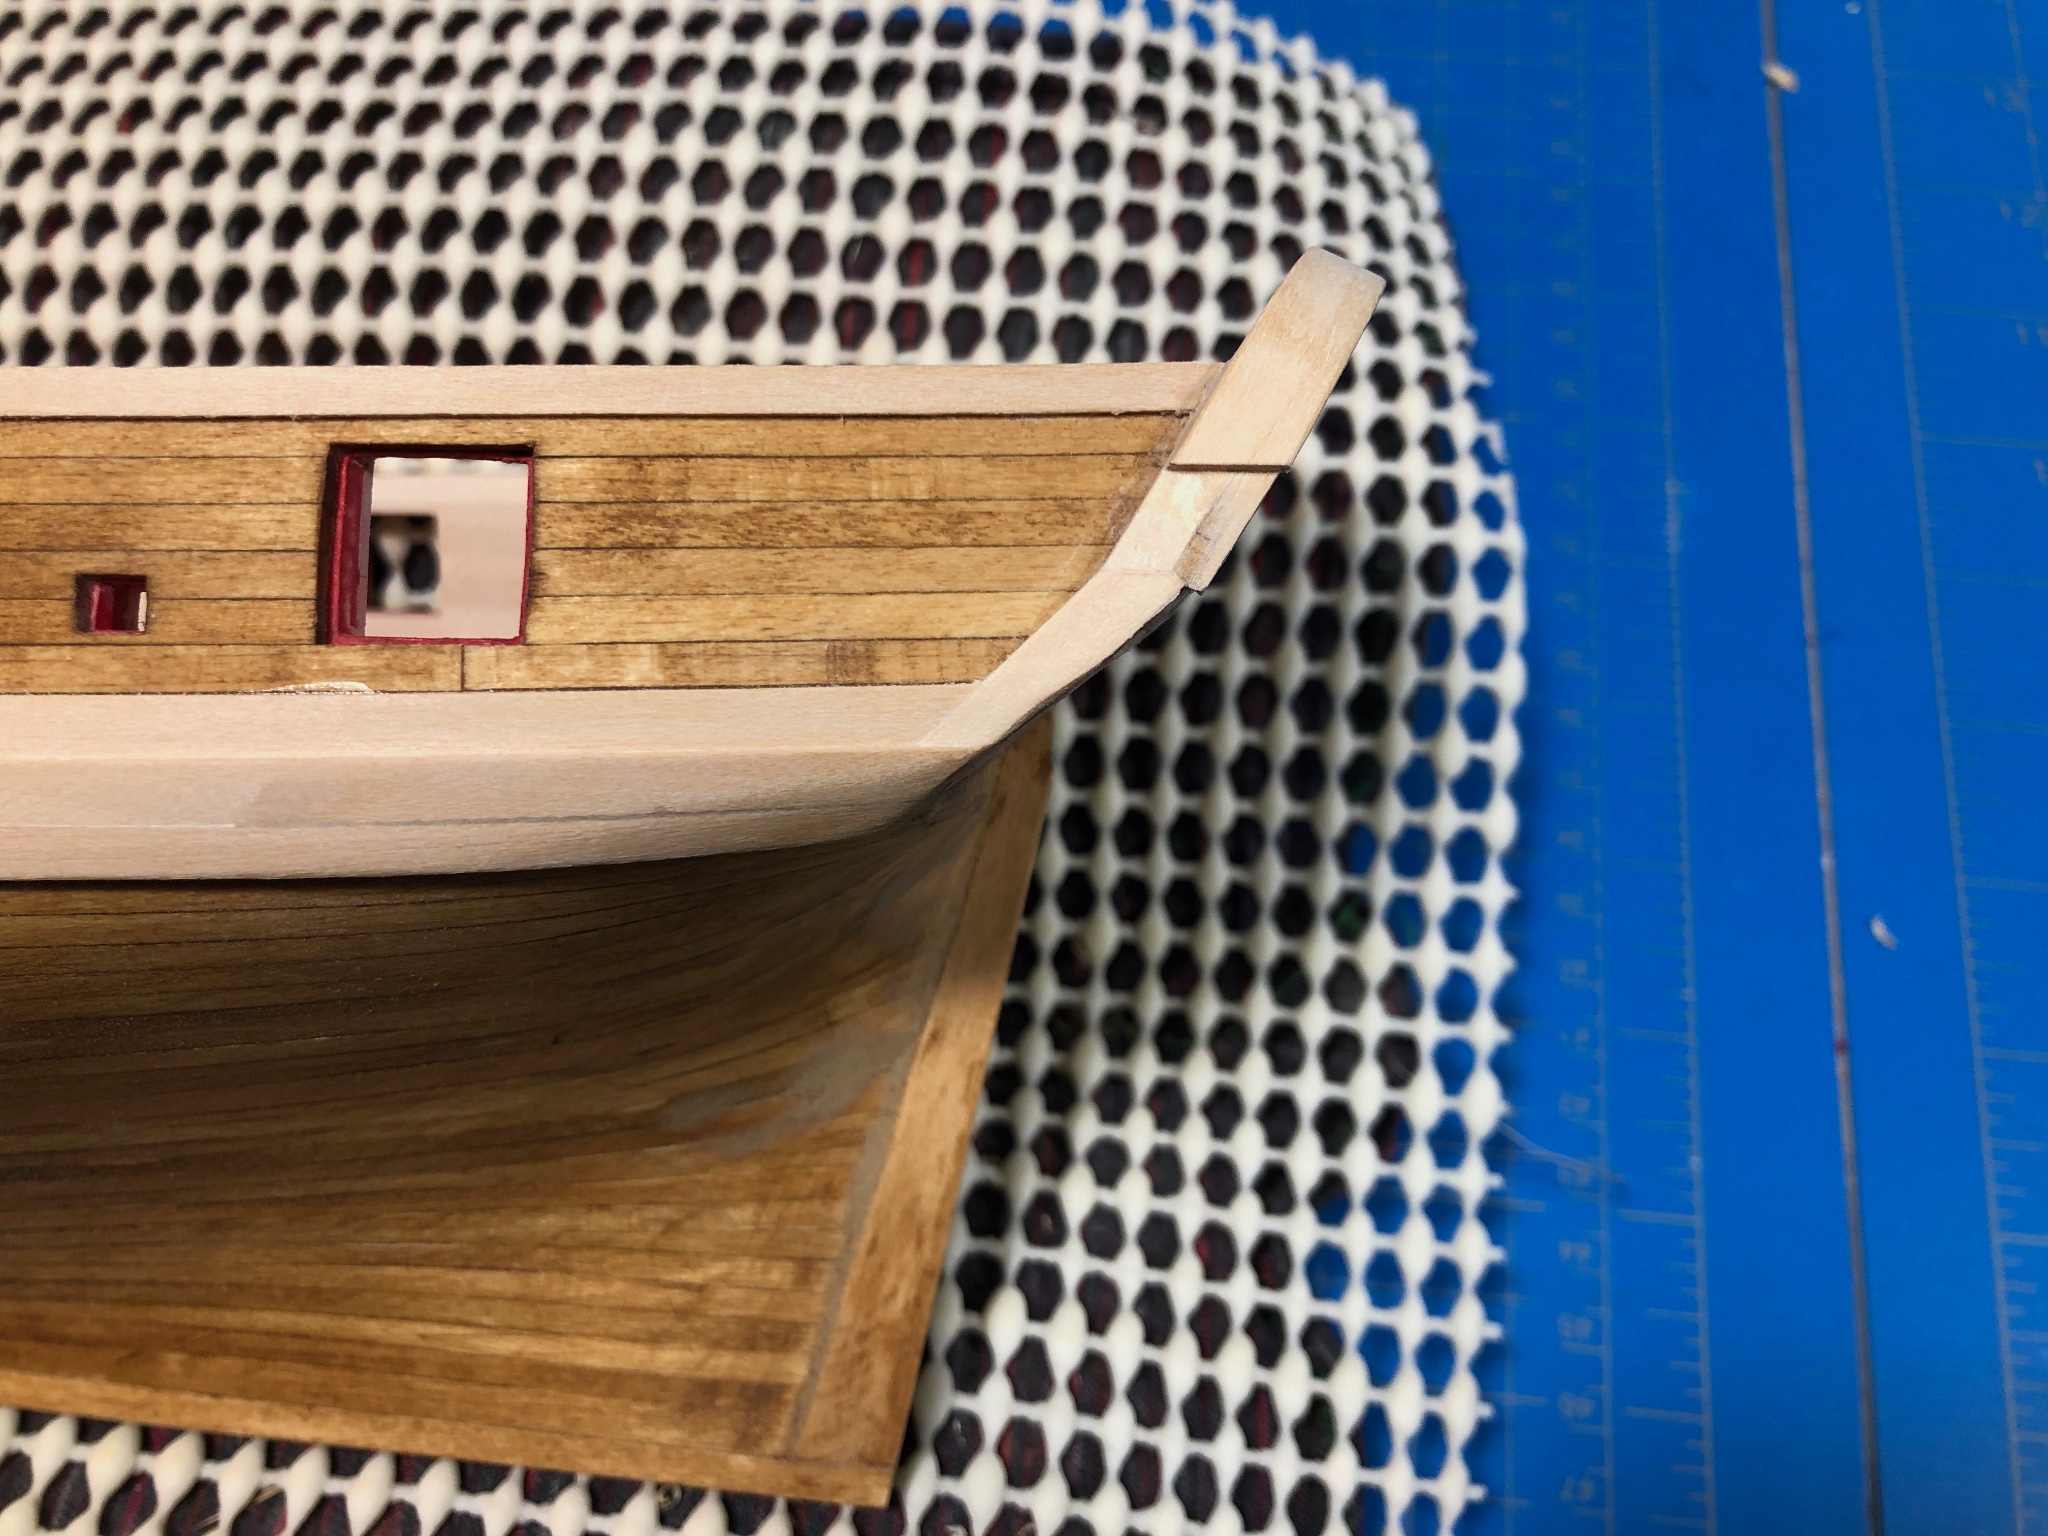
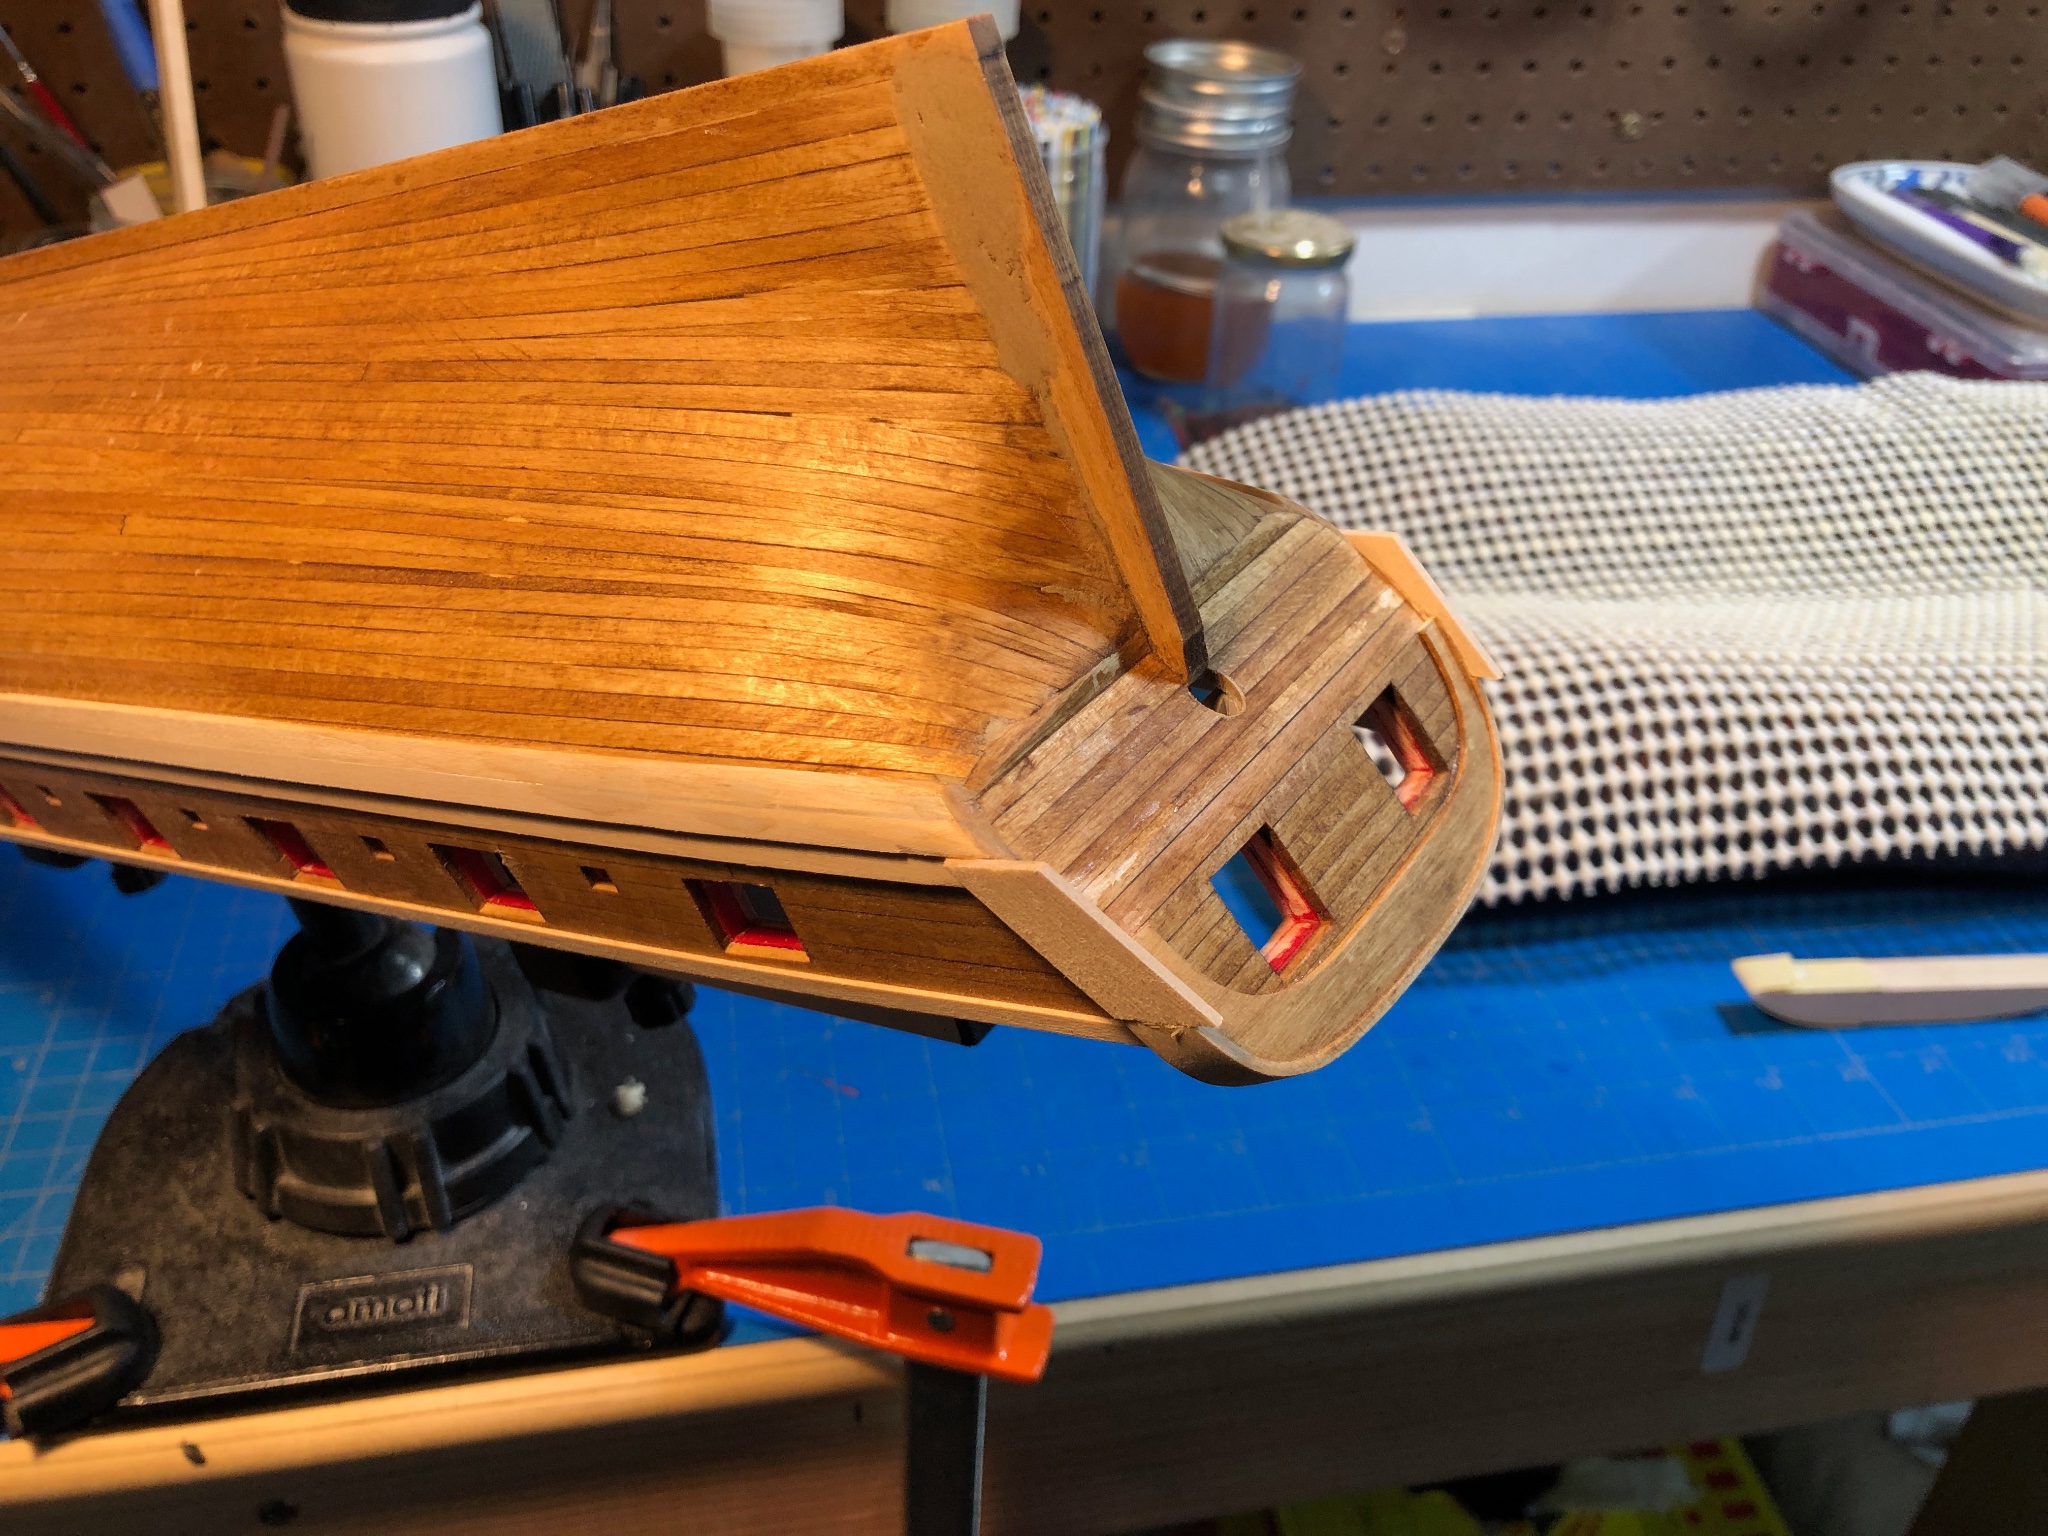
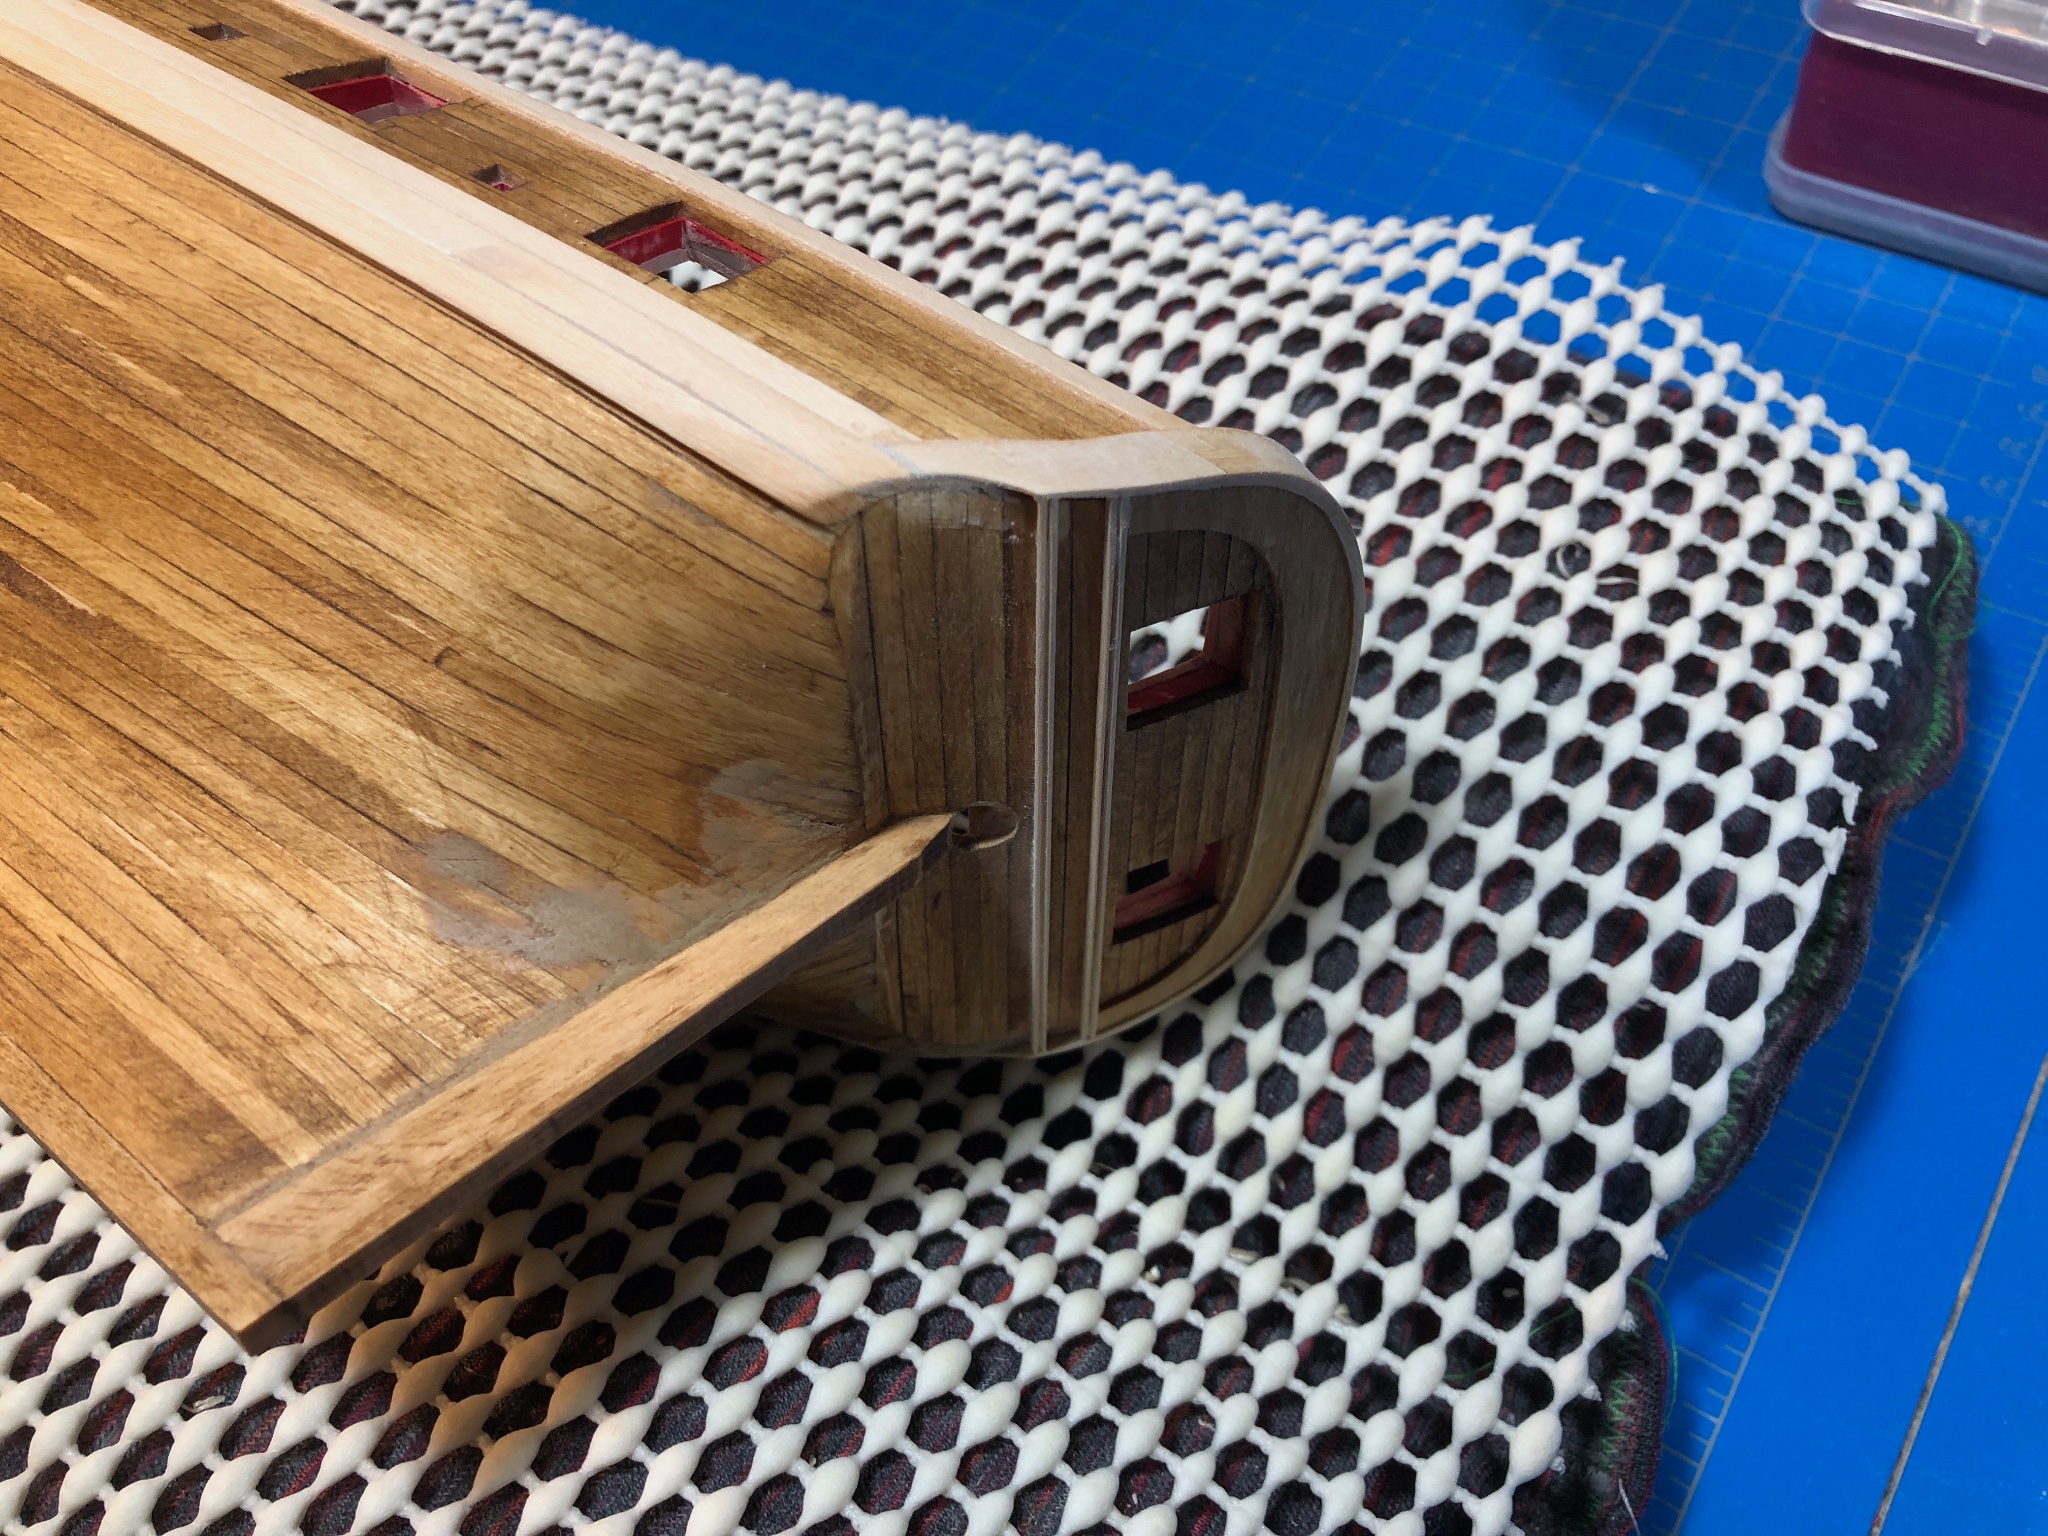
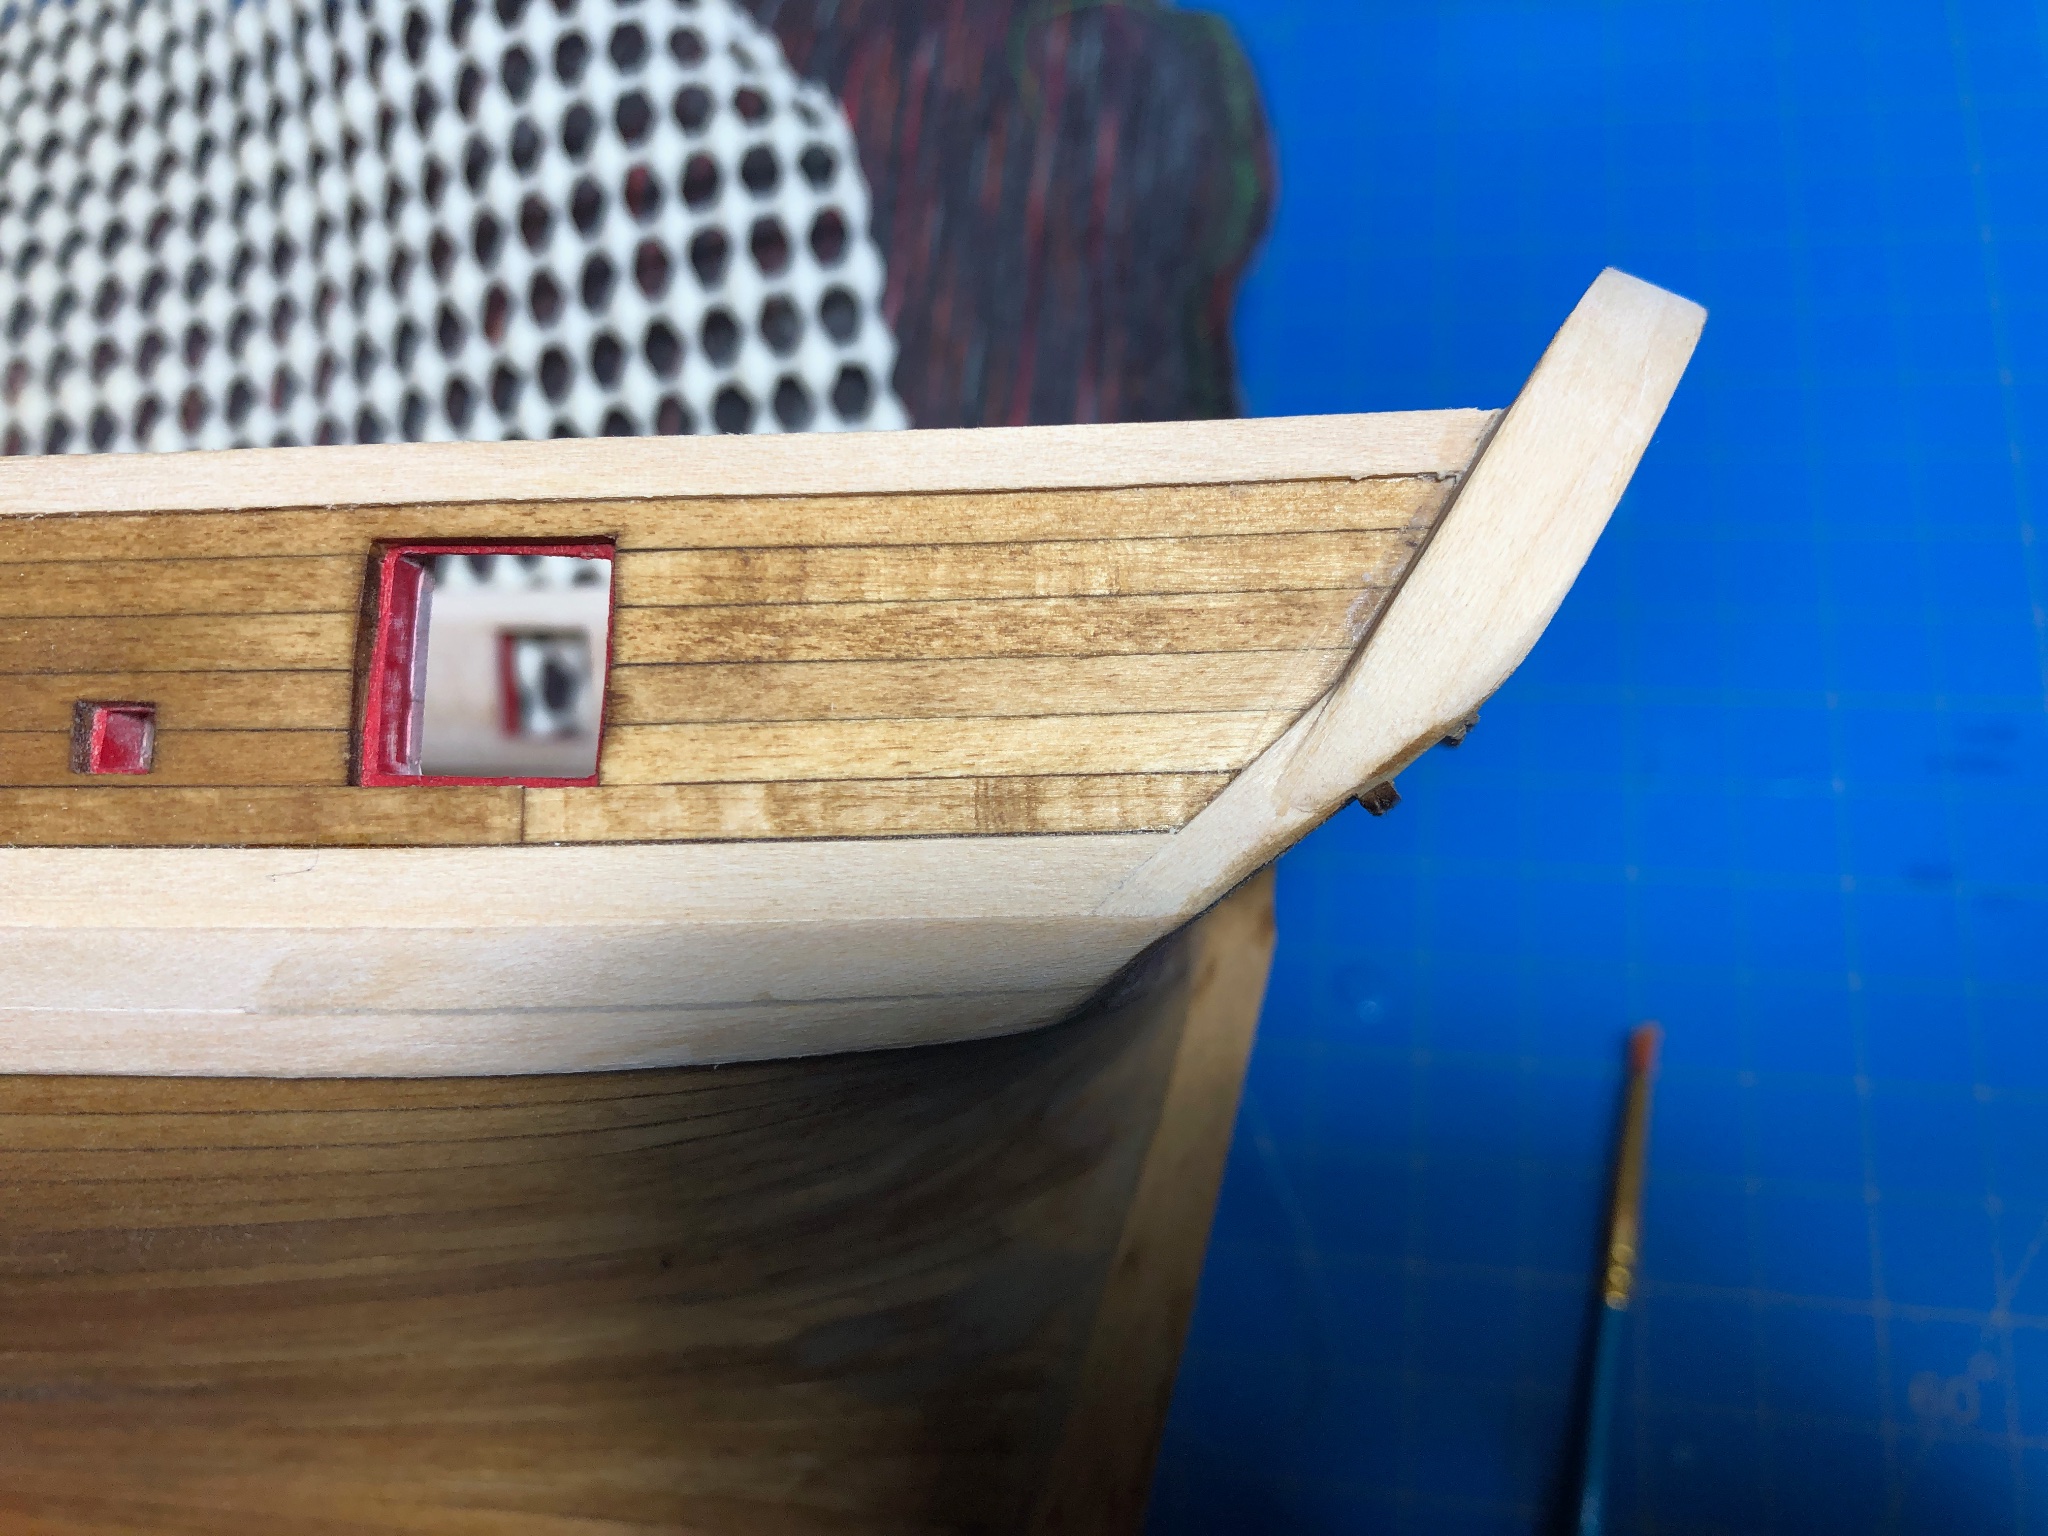
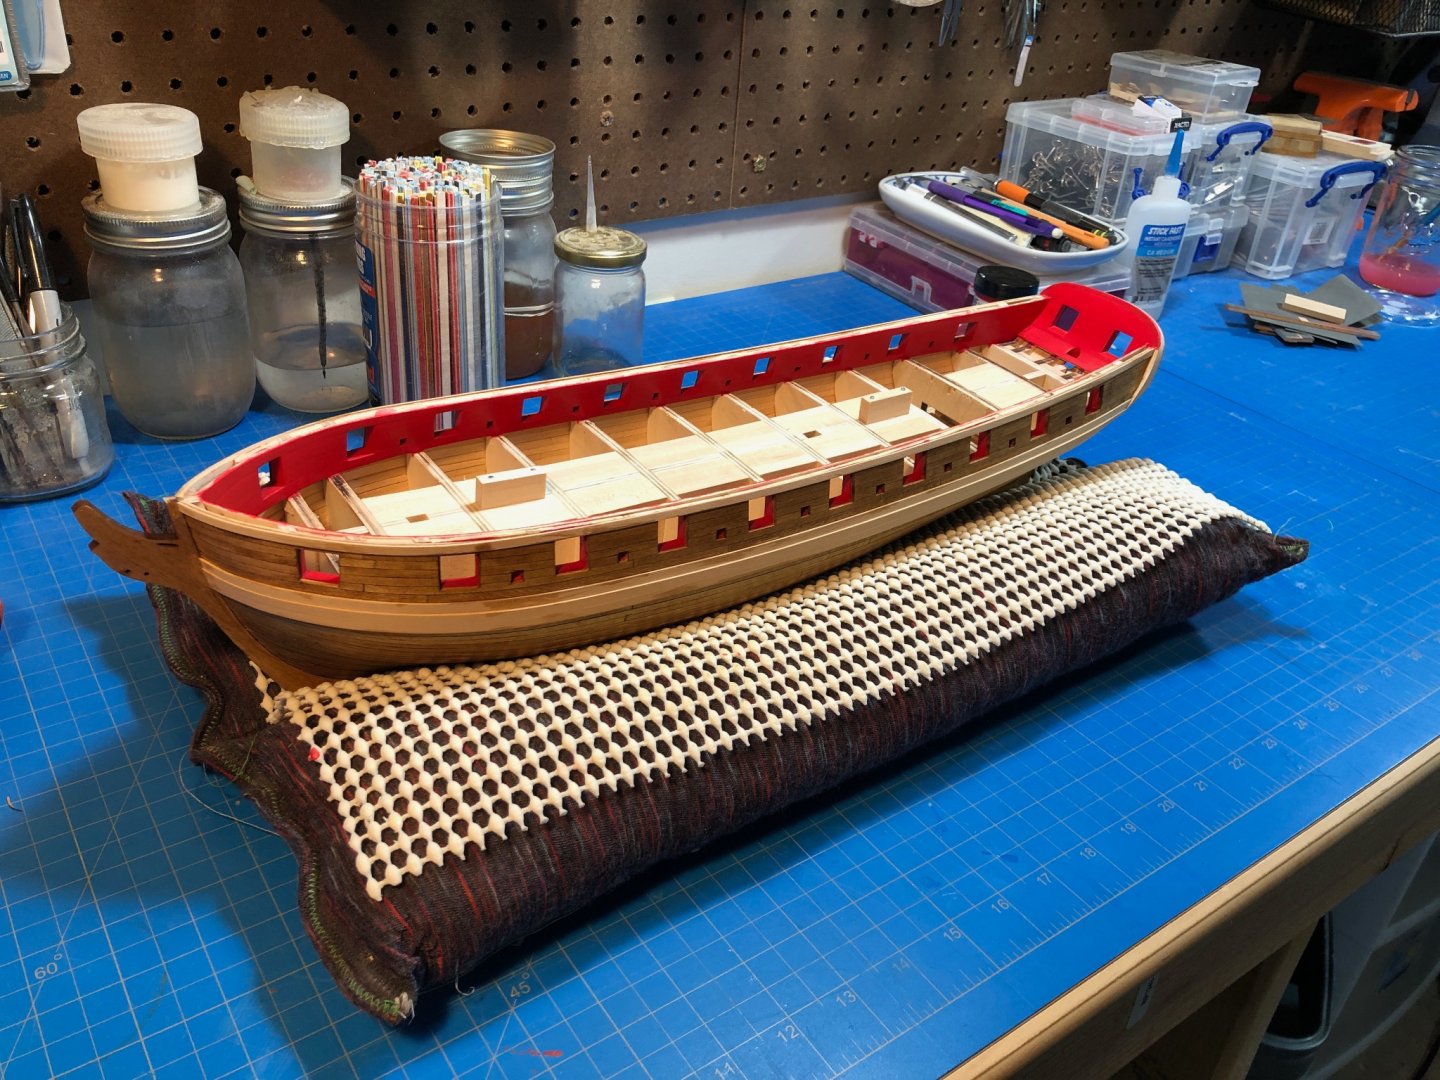
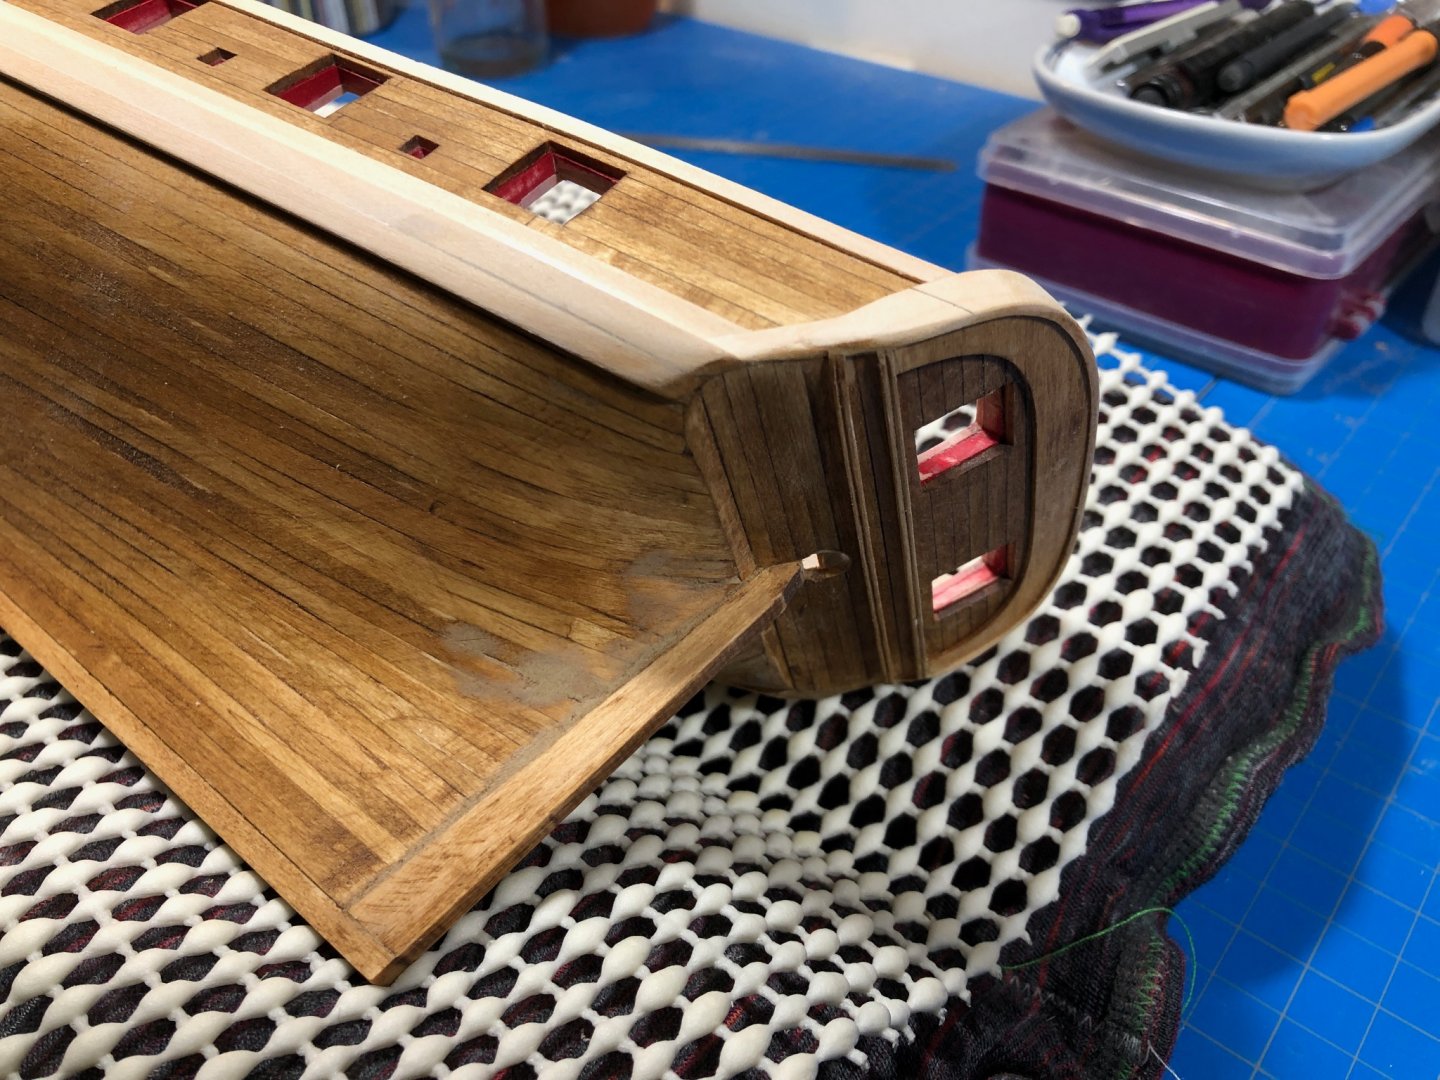
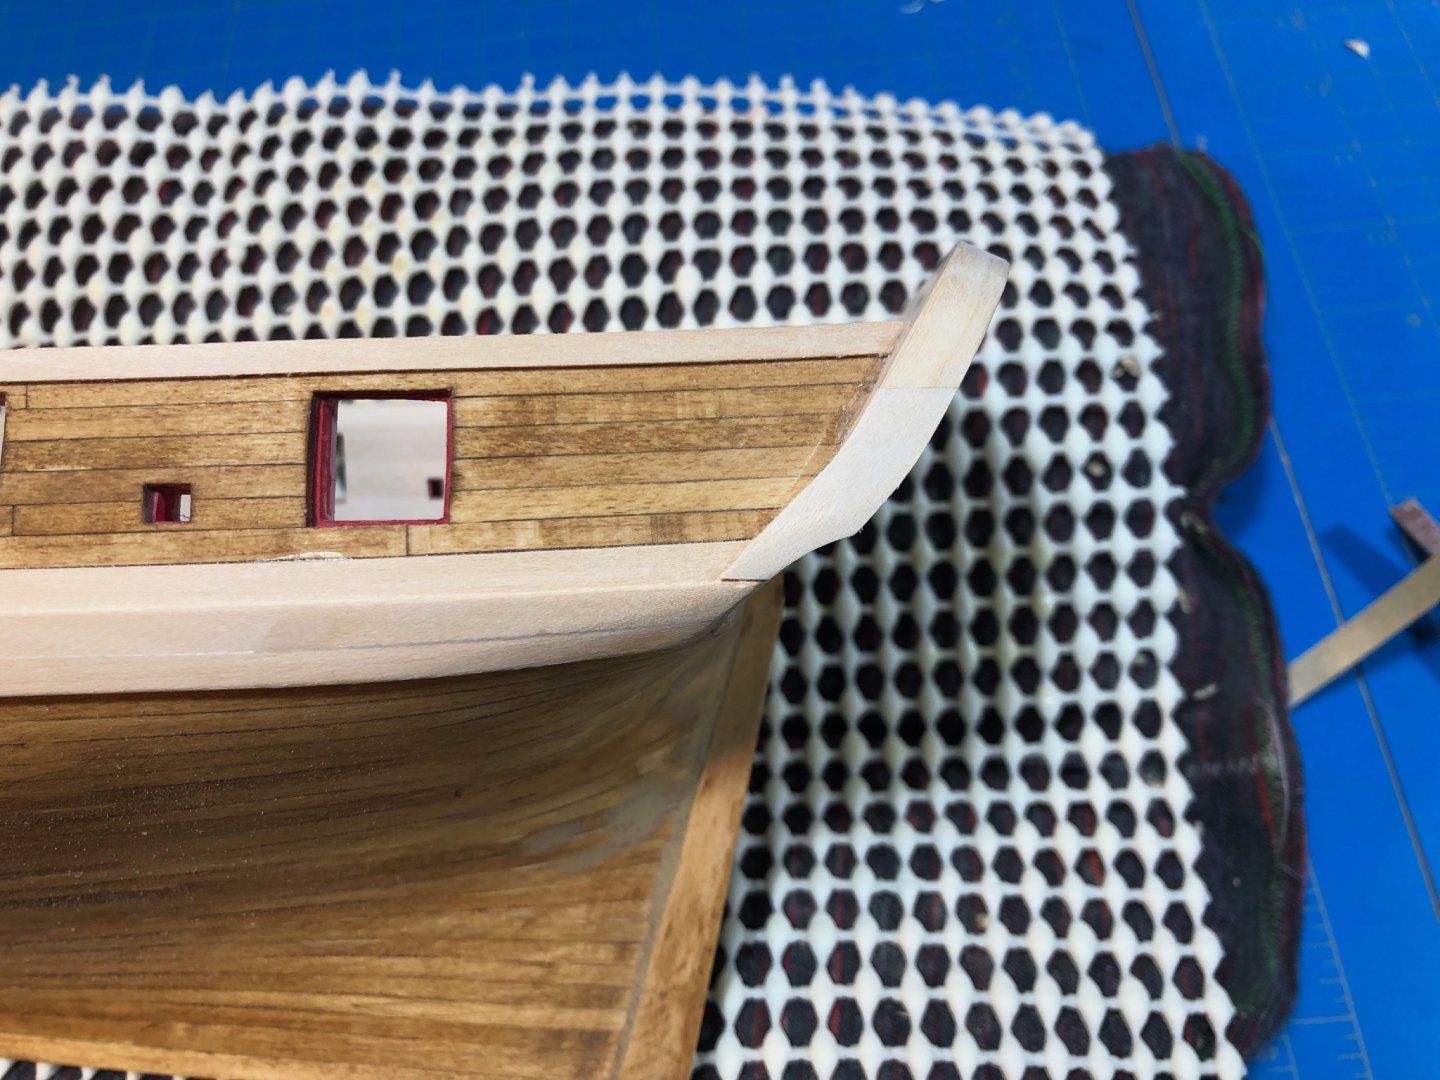
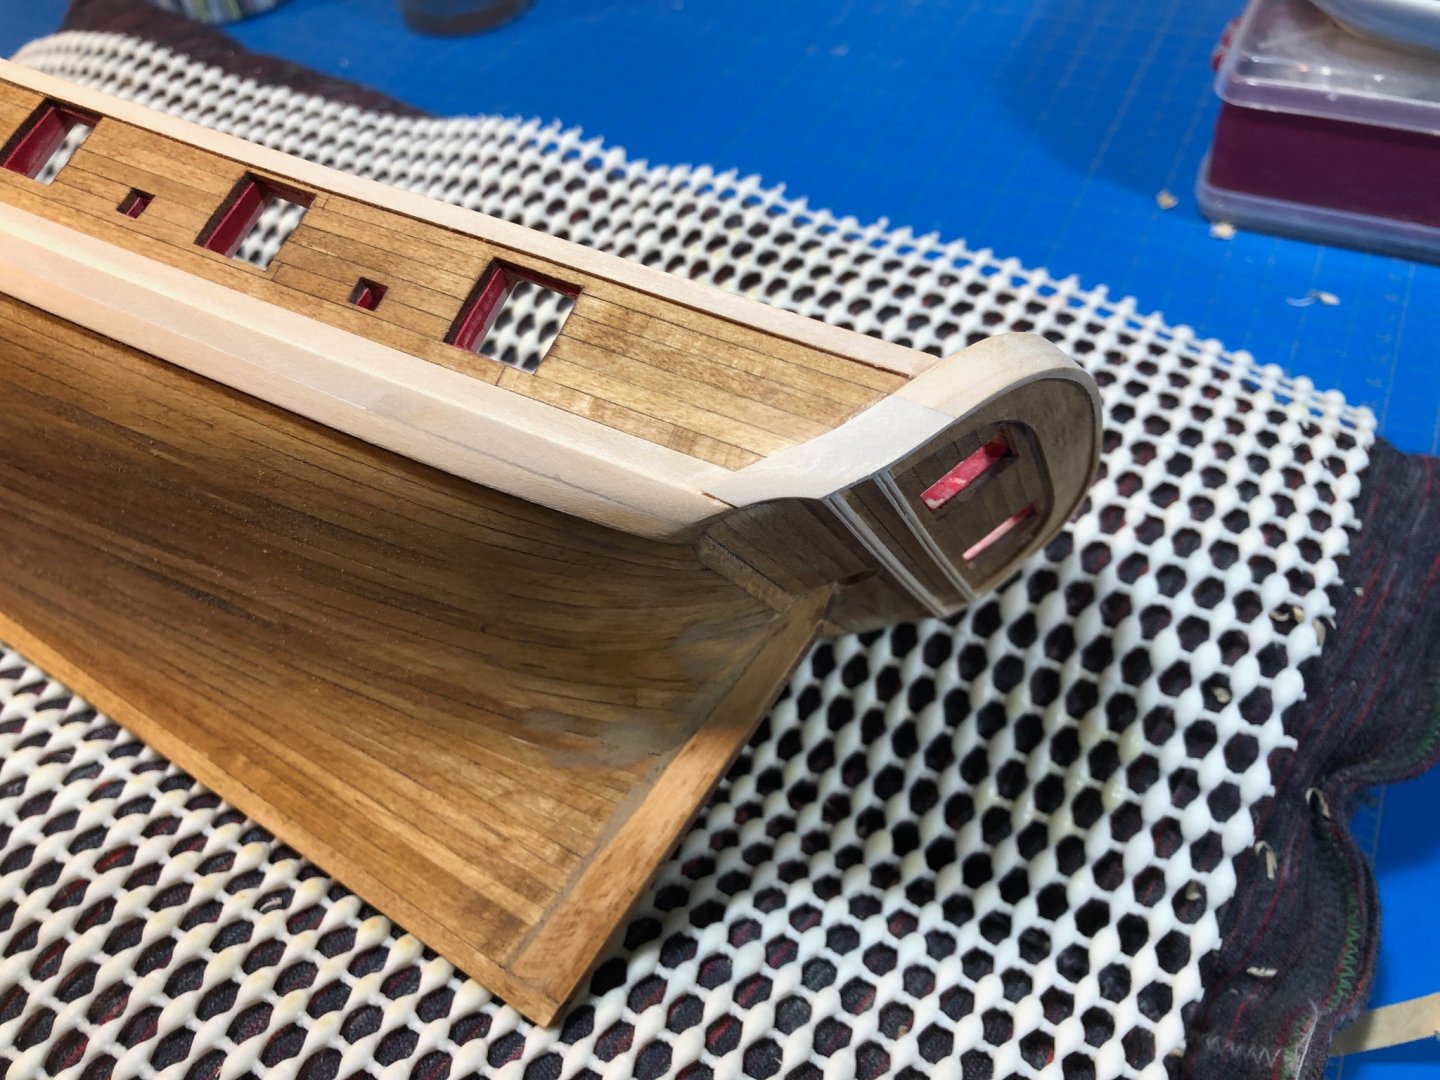
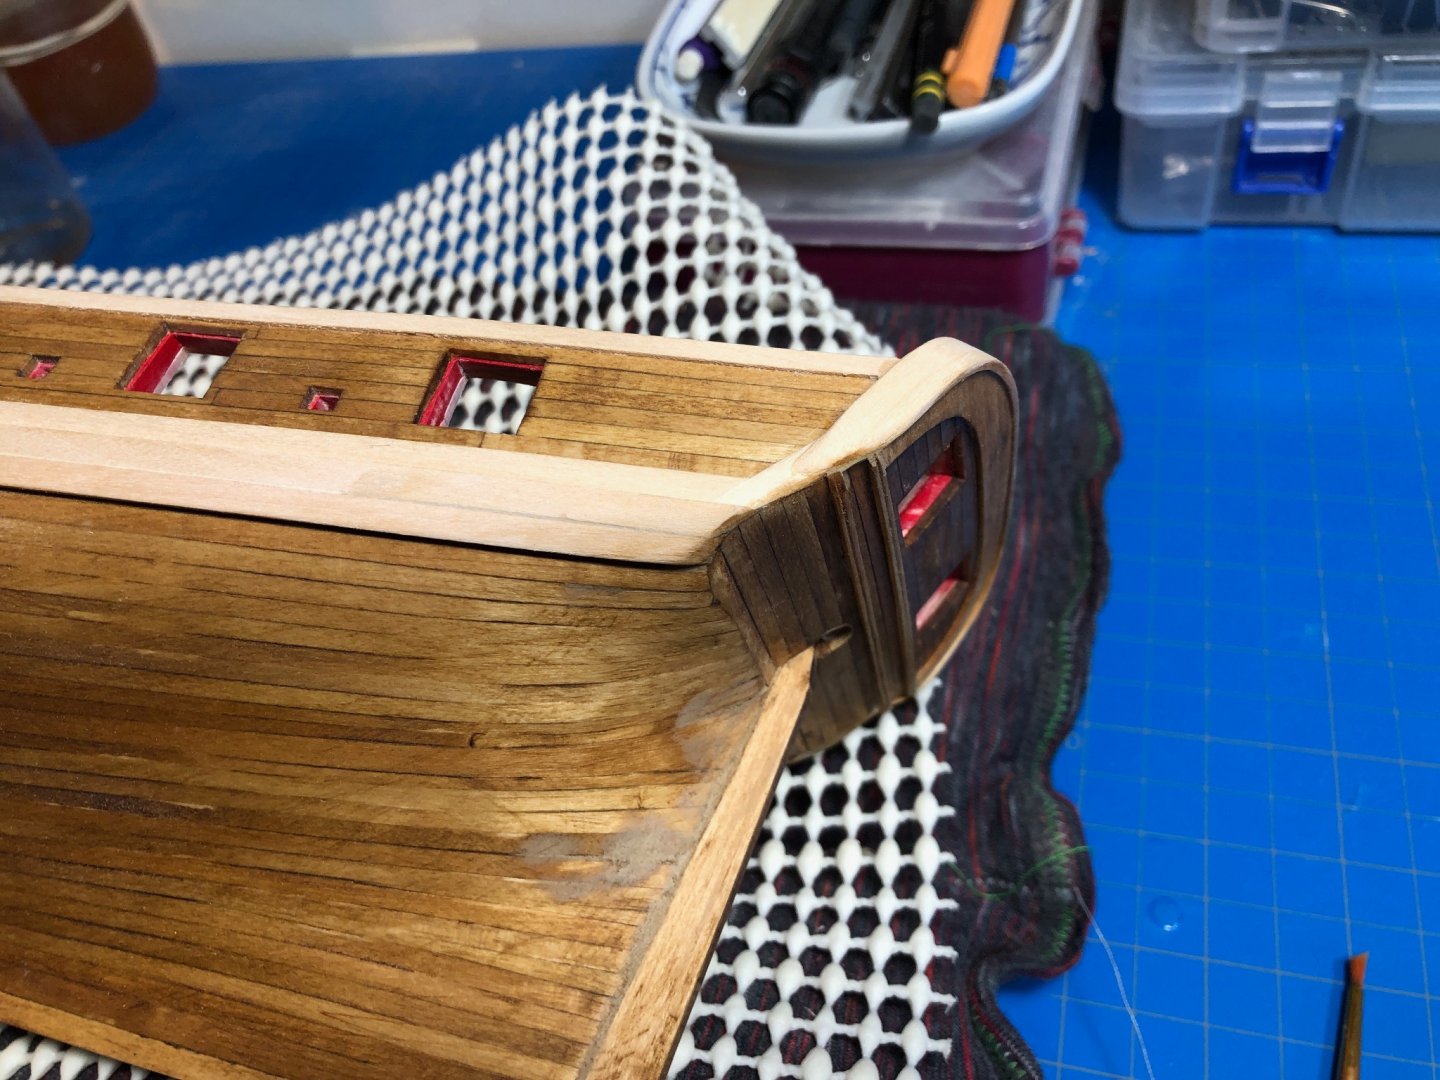
Surgery complete... Im much happier with the result now. I carefully cut and chiseled out the port and starboard portions of the transom cap and fashion pieces. Then replaced it with an overly large chunk of similar material and then shaped it back to where should be. The following photos should show this sequence left to right: Before (Above) During (Above) After, with filler added. In the end it turned out nicely, and Im sorry I didn't get a better photo to compare to the first iteration. Its a subtle change, but Im much more pleased than I was before. I also tried a new technique for carving the molding which turned out a much better result so Im glad for that as well. Other steps include a light sanding of all the areas Ive applied sanding sealer, and then applied a final coat. The surface of the wood is much more cohesive, and that really soft spongy look of the basswood is gone. I think this may become part of my regular process. Very pleased with it.


-
Have you got a favorite brand of paint? Im mostly using Model Expo, which I think is an off-brand version of Tamiya but could be wrong.
-
Patrick, Thanks... The more happy I am with a result the more inclined I am to try and make it better... perfect is the enemy of good, right? That transition between the rail, and the molding and the Wales is just bothering me... Im also now hoping I don't ruin it with paint! Doing a lot of background on paint and will likely mock up again before that stage. Im loving this build, and am especially thankful there are a few of us working through it at the same time.
-
Wow! Thats so cool. Great job. The finish and detail is very good. How do you find doing this fiddly work? Any tips that have been working for you? Ive done some, but am a little anxious about it.
- 950 replies
-
- 1
-
-
- syren
- model shipways
- (and 1 more)
-
That's beautiful. The photography is great too! I love the details and seeing it all come together.
- 950 replies
-
- 1
-
-
- syren
- model shipways
- (and 1 more)
-
Id love to follow along, Ive got this one on the shelf waiting!
-
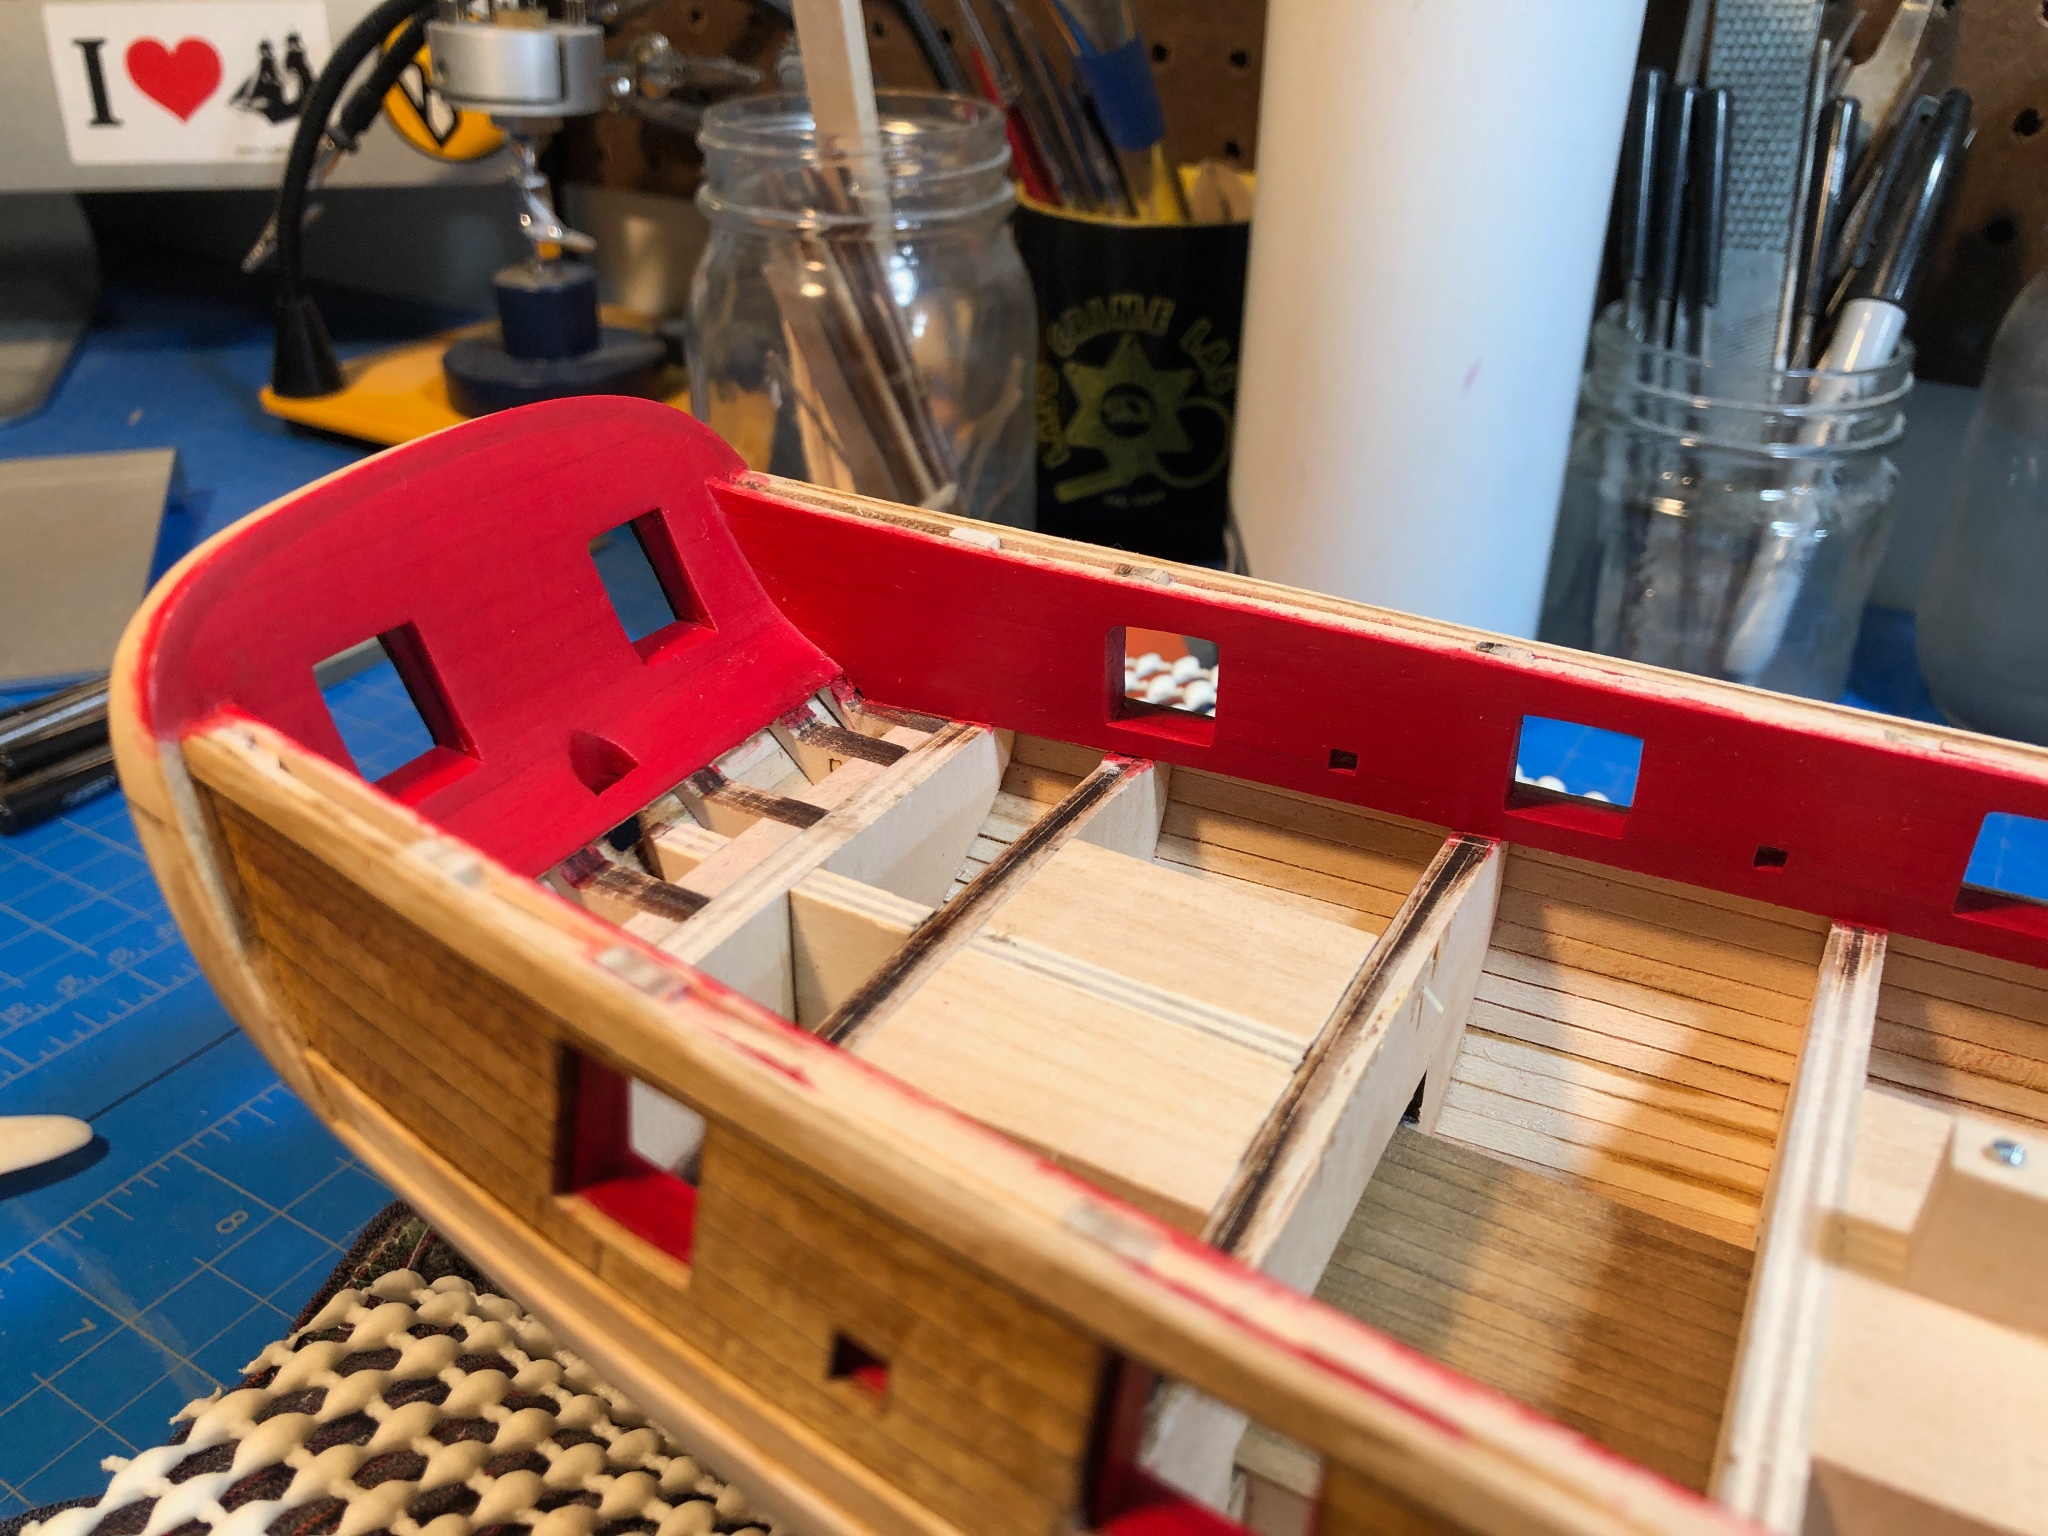
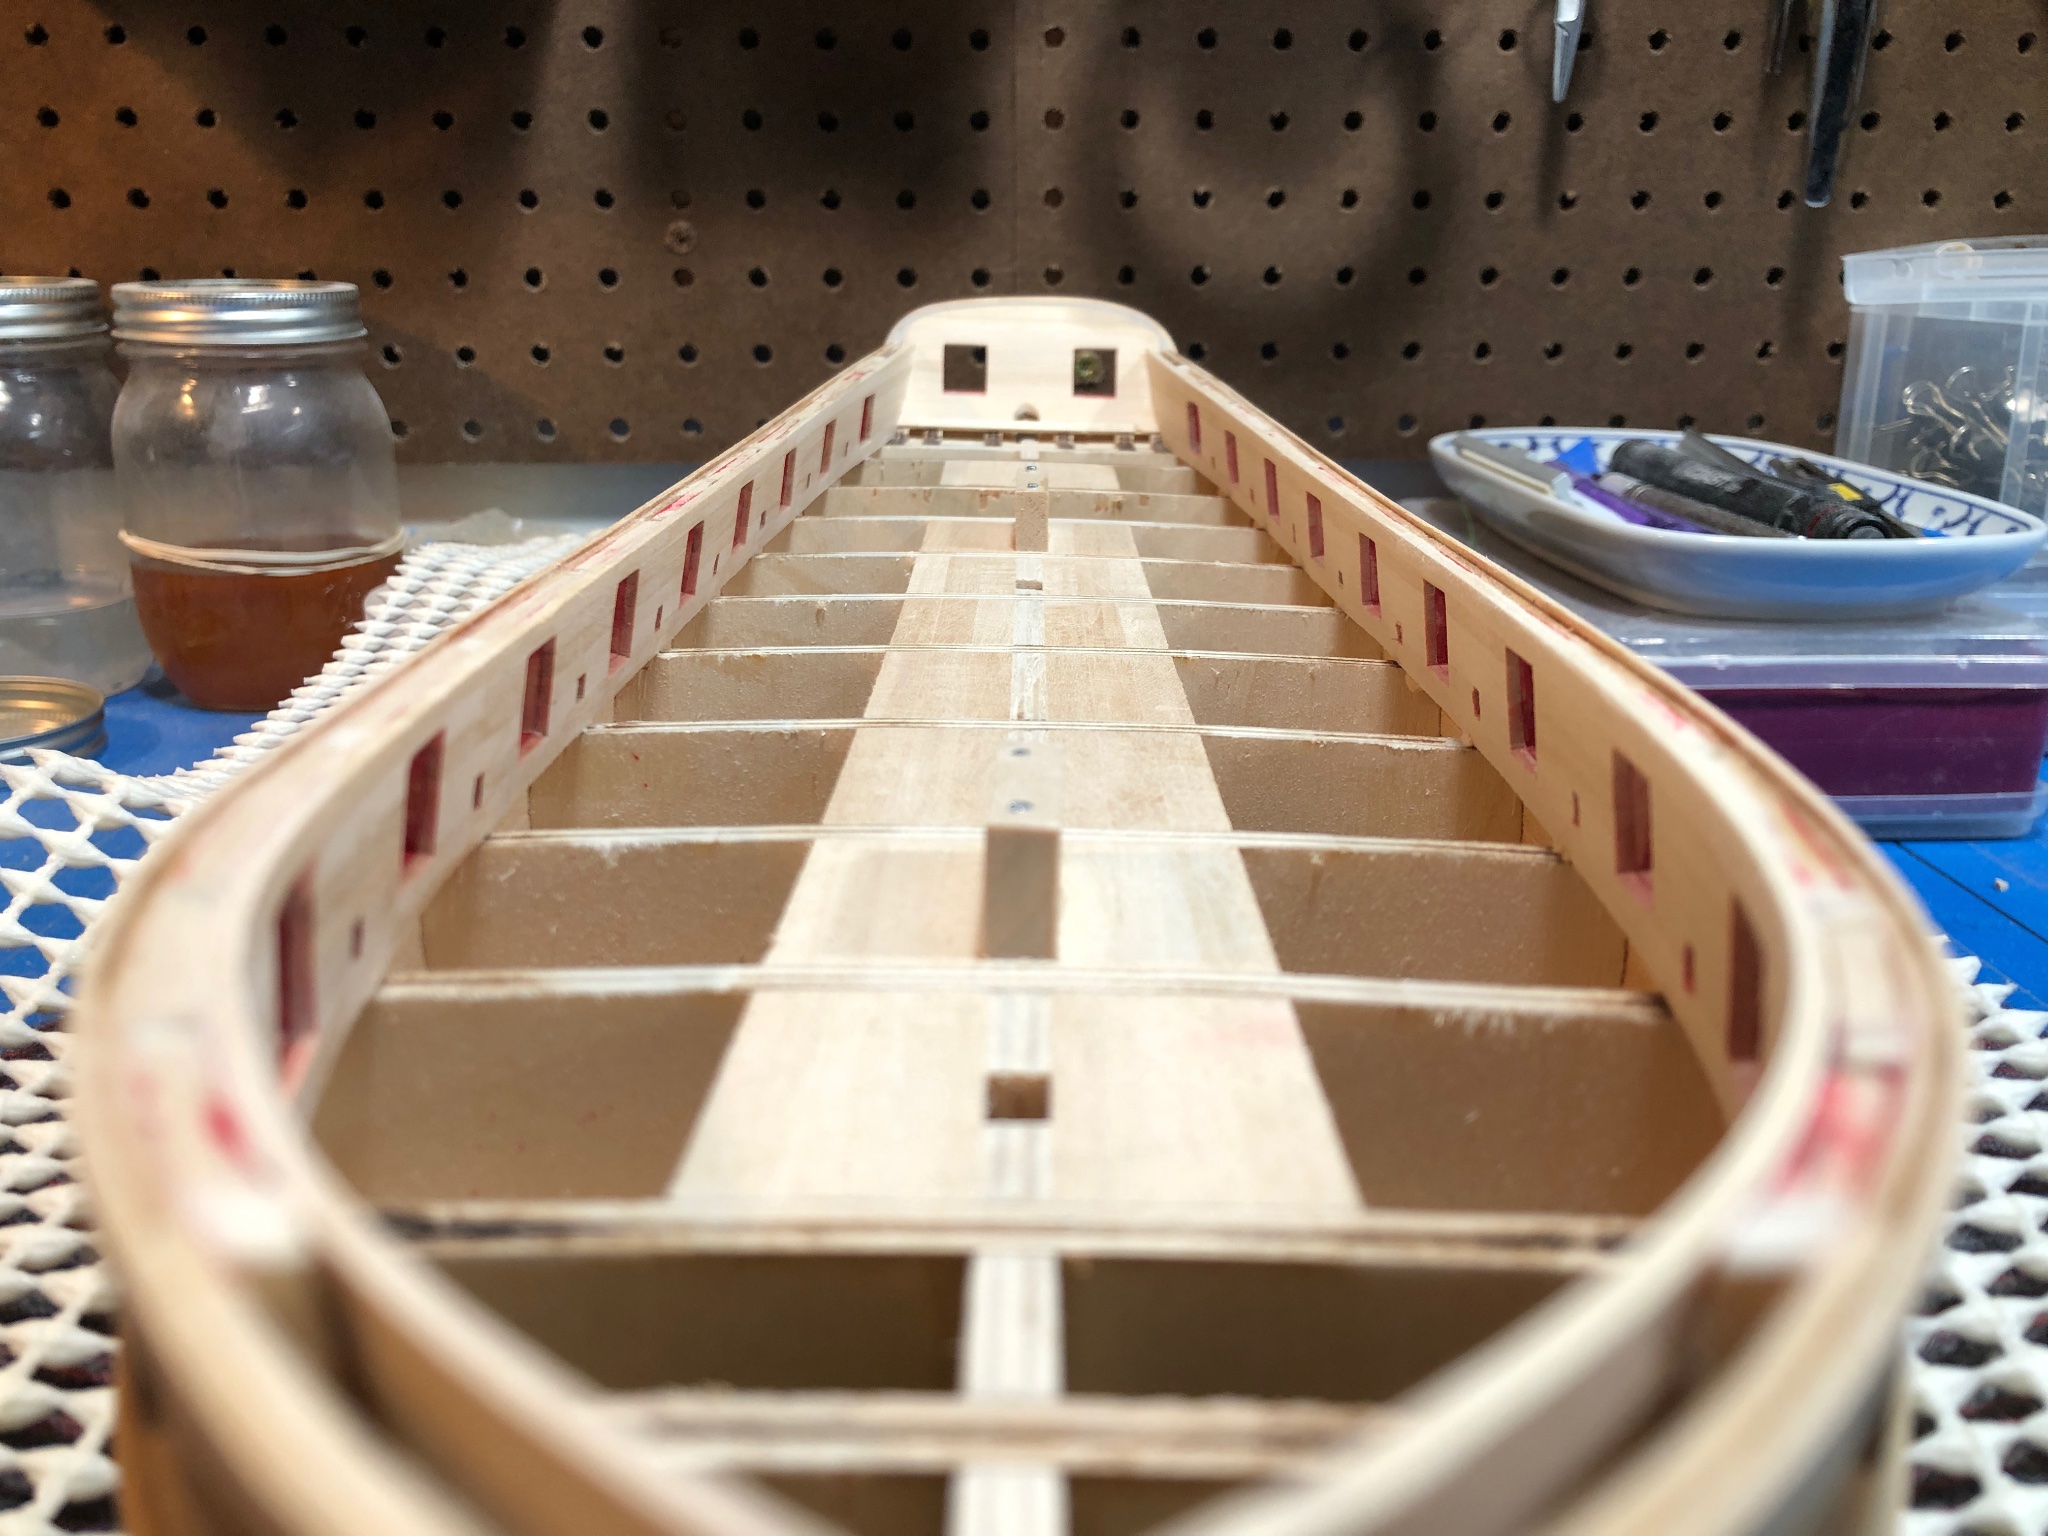
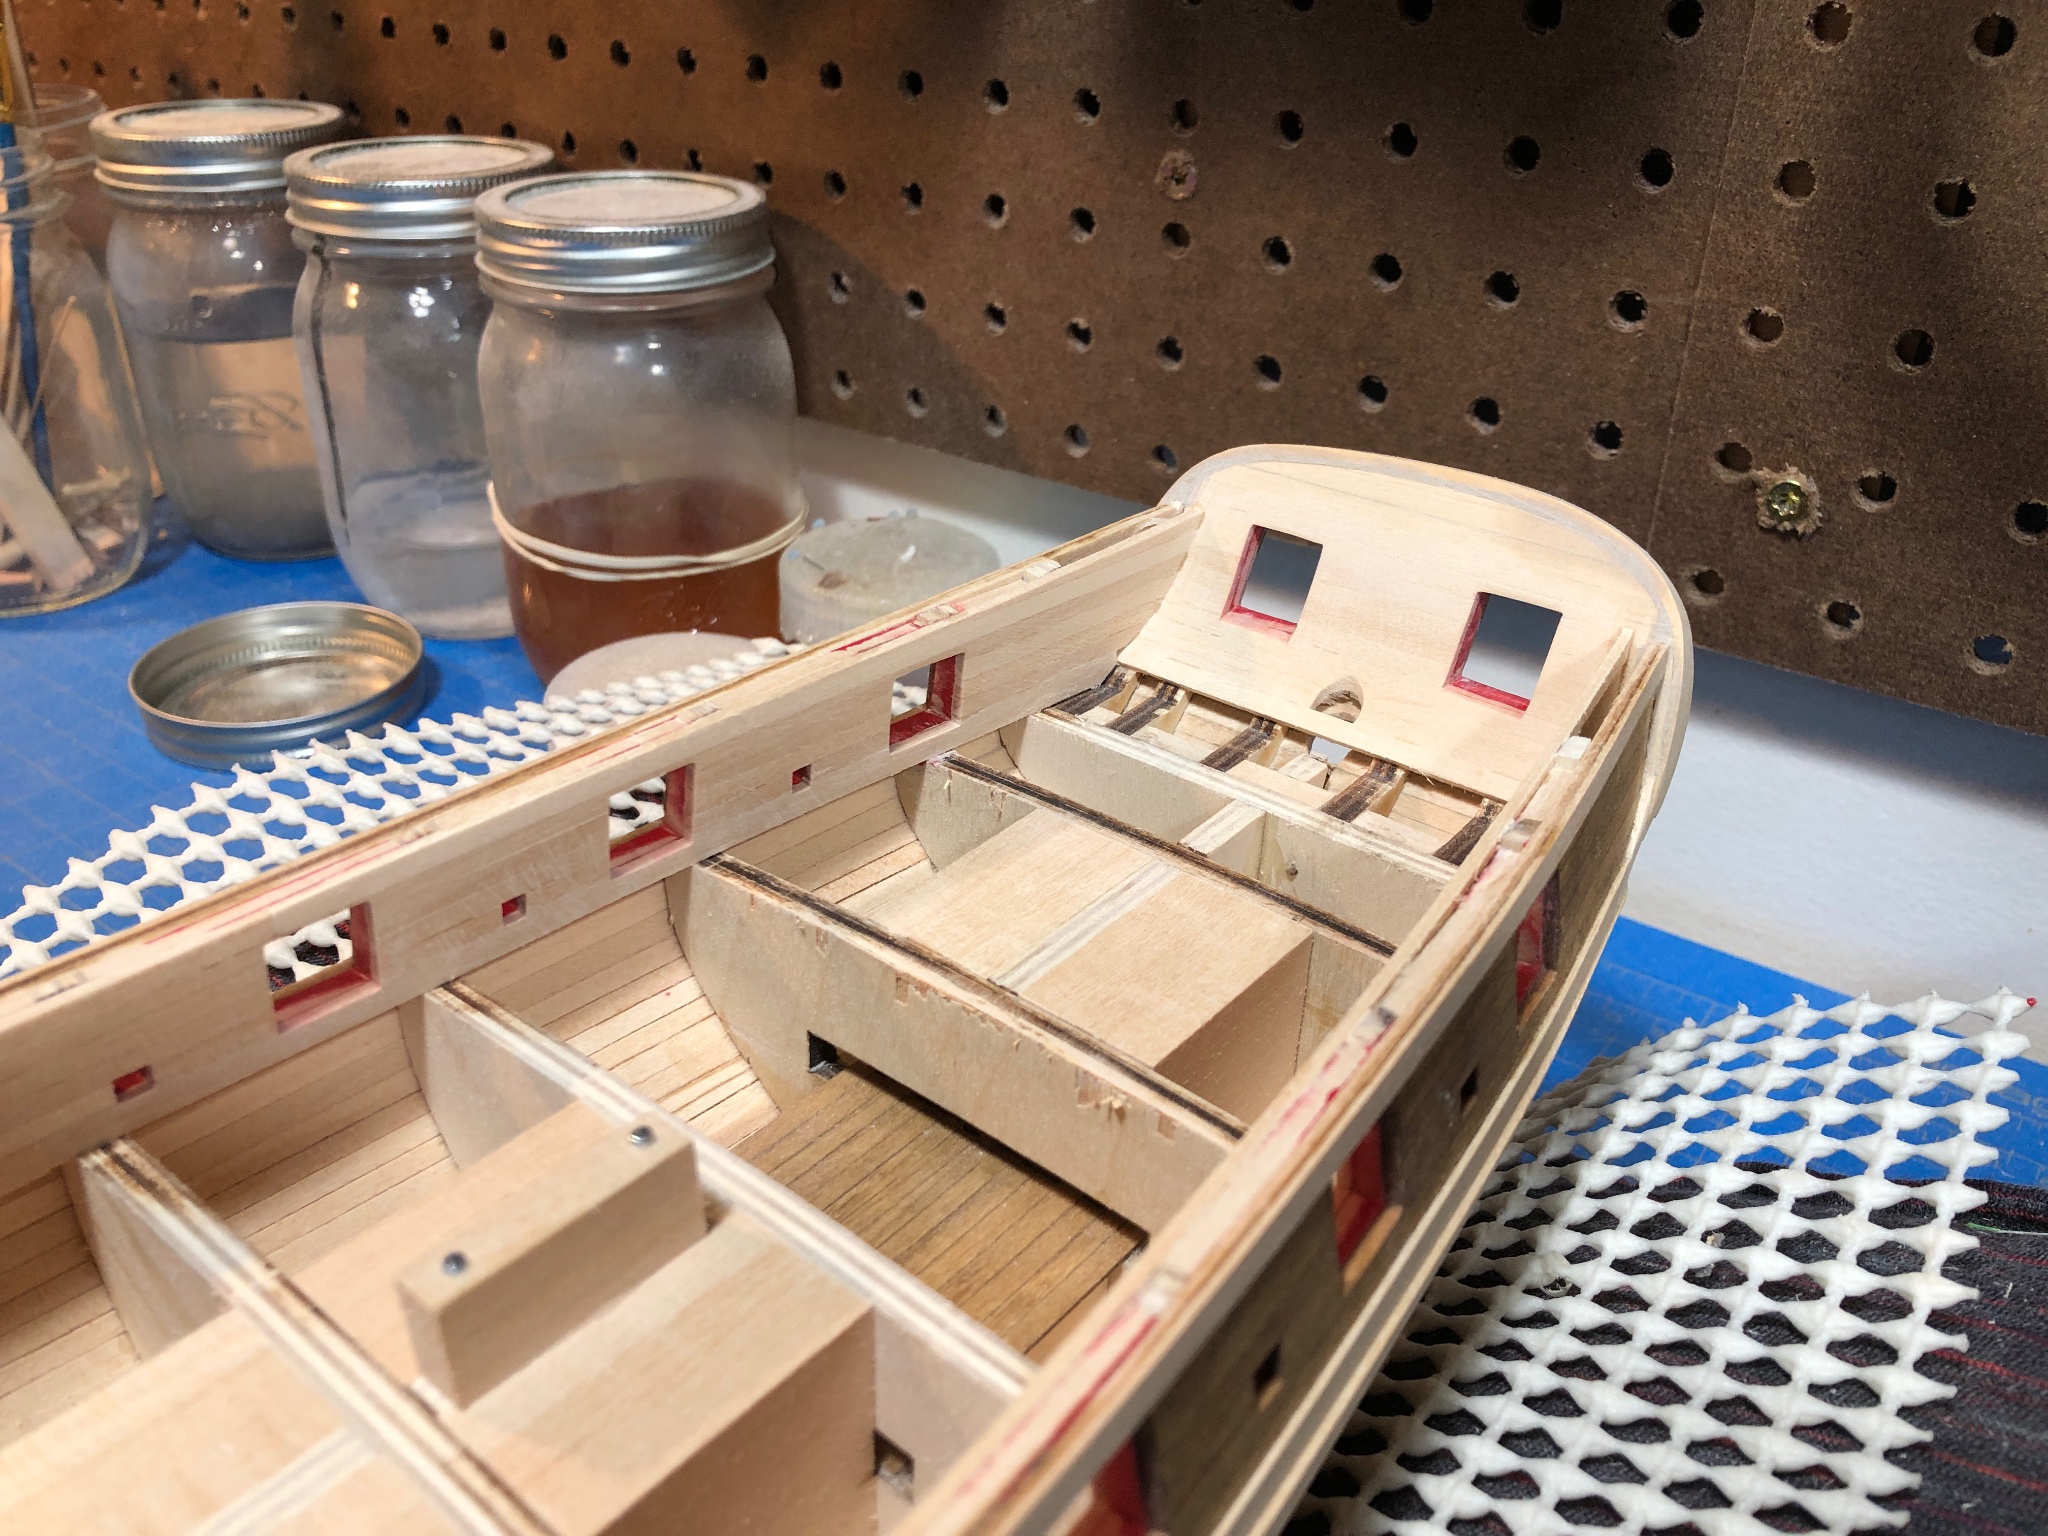
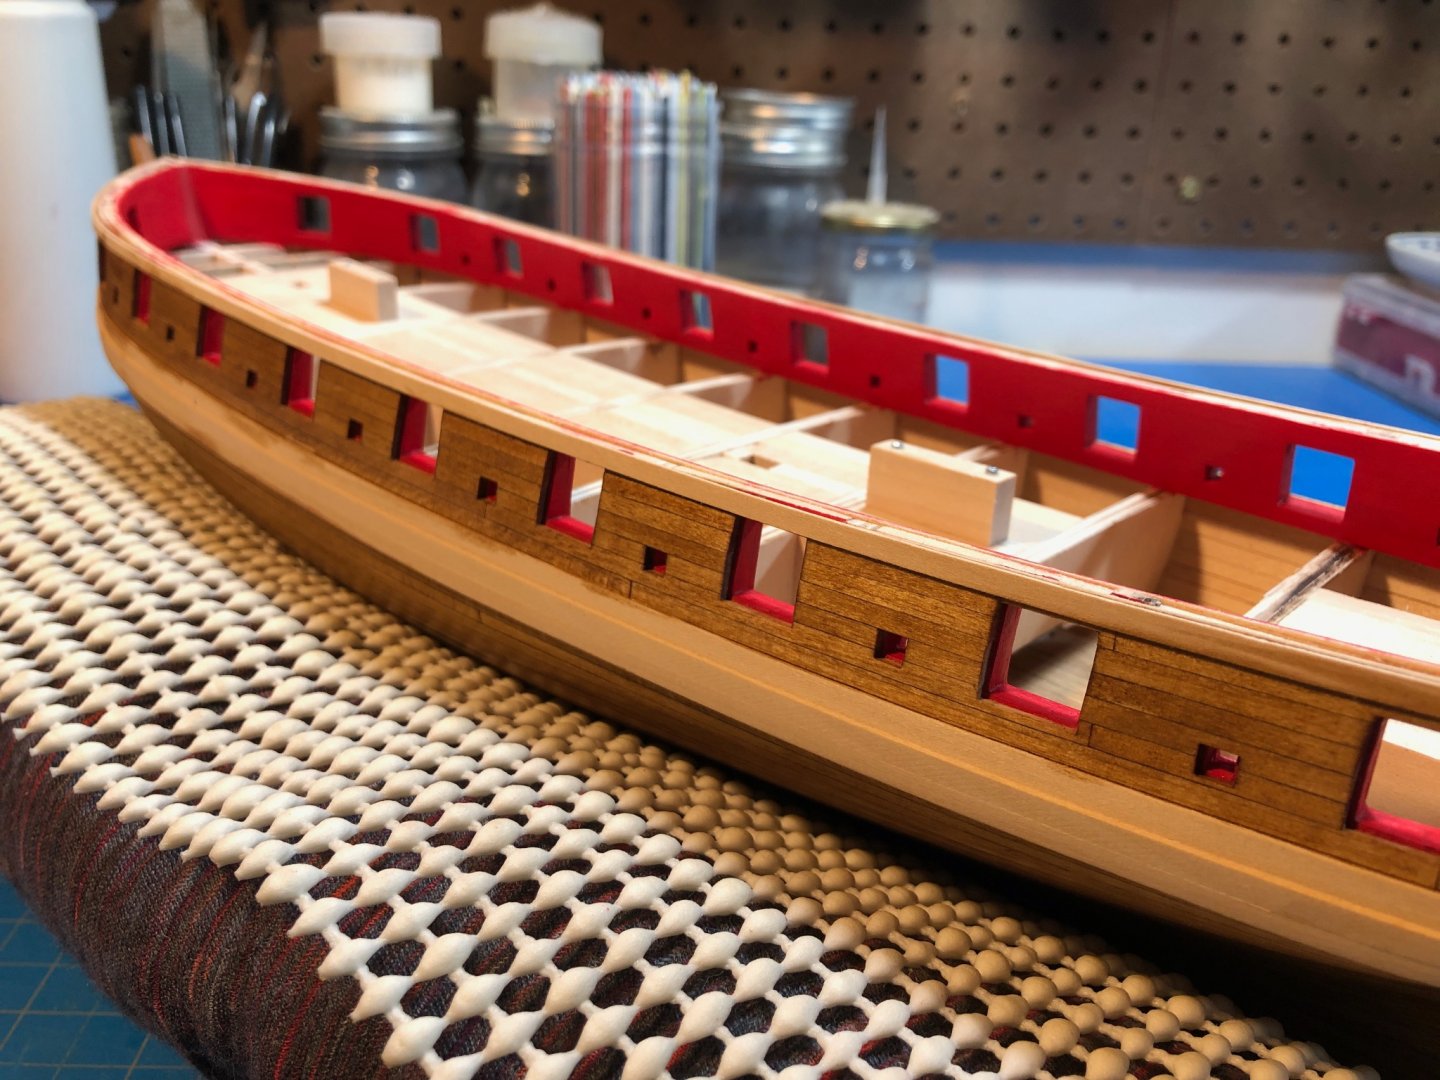
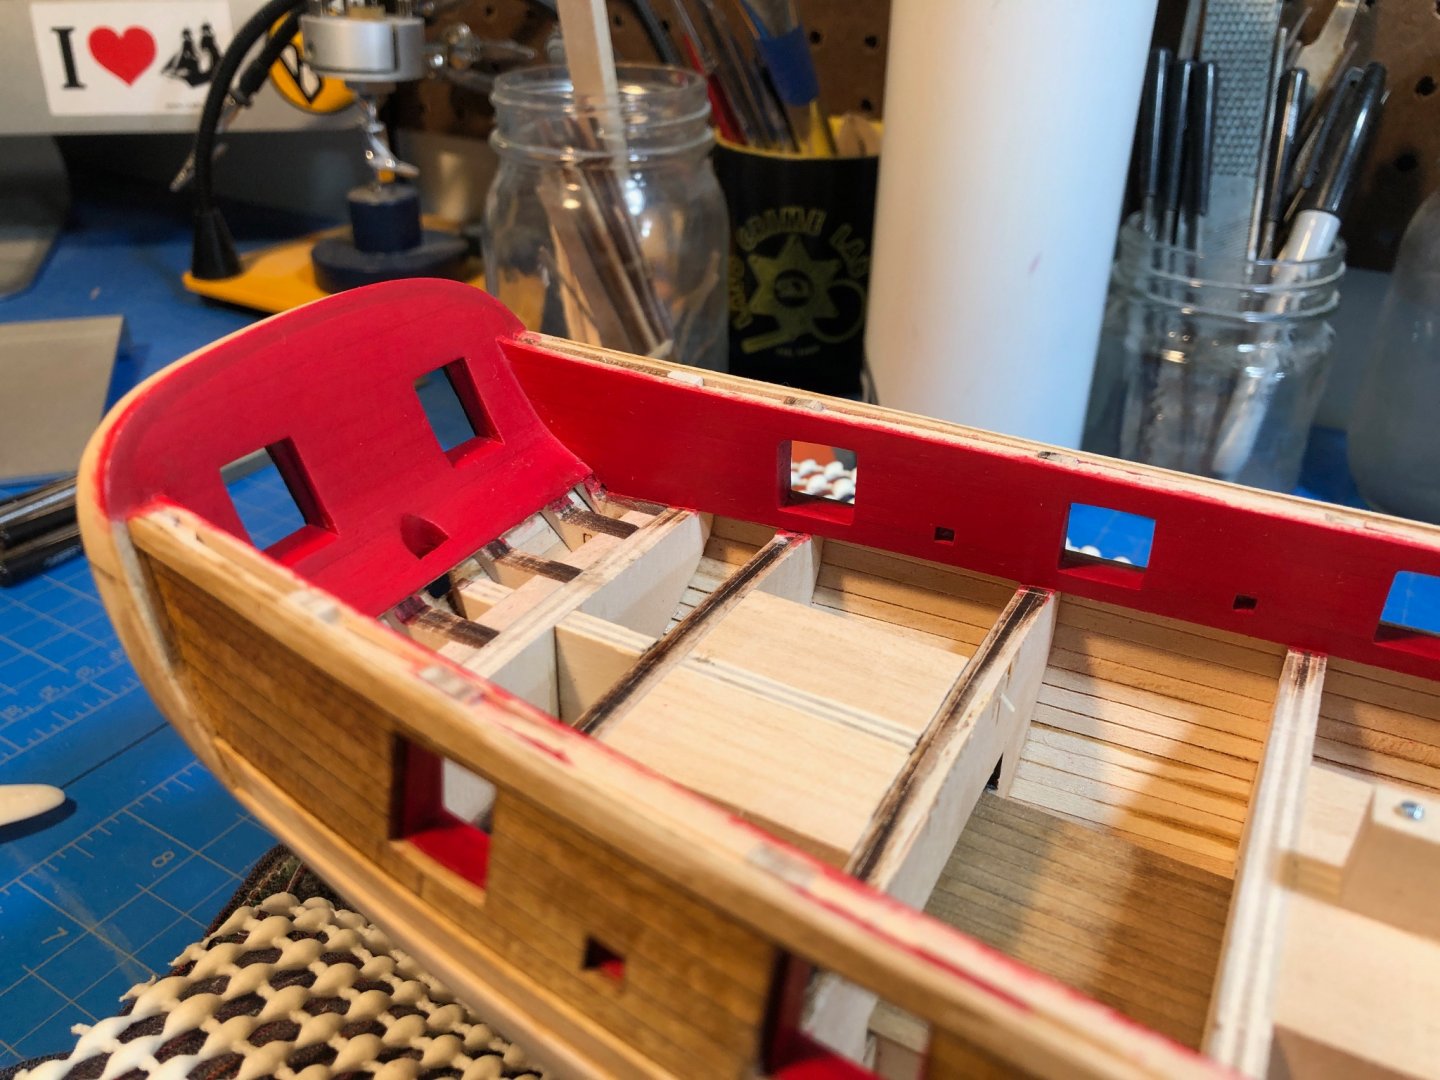
And the end to my 7-month COVID sabbatical has come to an end. Real work is piling up and my time a the bench dwindling back to my pre-COVID days. Ho hum... Im still making progress though and am glad to be seeing the end of the external stages of the hull construction and the beginning of the deck and other bits. In the last week or so I managed to get the interior planked save the deck. Im experimenting with some sanding sealer right now to try and keep the fuzzy's down on the basswood before painting. I sanded everything down to a nice smooth finish and have applied the first coat of sealer, watched the grain raise, and theoretically as I sand it one more time it should be stable for painting and no longer raise up. Ive also been filing and finish sanding the interior of the gunports as well to get them really clean and integrated nicely with the interior planking. Then lots of minor clean-up before I move on to the actual painting and deck. Of course, just as I was closing up shop for a few days I also had a crisis of detail. I think most of this time Ive been settling with the result of the transom and I think Im finally resigning myself to the fact that Ill never really be happy with it. The main issue is how the fashion pieces are aligning/meeting with the molding strips that will eventually frame out the ships name. Its not fitting together well part because I wasnt entirely sure what I was doing, but also because much of it was guess work. Im a very visual worker, and images and plans don't help much to figure how this "should look." The one thing Im certain of is that it shouldn't look like how it currently does... so in the next few days of commuting/reorienting to my lab Ill be crunching over the coming surgery Ill need to perform to get this straightened out.


-
I think the best way to cut and measure each plank and build out the openings as you go. I’ve cut out openings on hulls after planking and it’s not fun or precise. I’ll never do it that way again.
-
Wow. This project is the one by which all others should be judged. Simply amazing.
-
My brain just exploded. That's ingenious. You should be able to get really clean results with this! You'll probably need more than one.
- 436 replies
-
- 1
-
-
- Syren
- Model Shipways
- (and 1 more)