HOLIDAY DONATION DRIVE - SUPPORT MSW - DO YOUR PART TO KEEP THIS GREAT FORUM GOING! (Only 51 donations so far out of 49,000 members - C'mon guys!)
×


alangr4
-
Posts
172 -
Joined
-
Last visited
Content Type
Profiles
Forums
Gallery
Events
Everything posted by alangr4
-
 The keel and false keel came out of the clamps this morning and has held up well. A bit of sanding still to occur to clean it up. Just completed cutting out and trimming the masks for the rising wood and will take a run at cutting and shaping tomorrow. In two minds whether to use the Byrne's saw and chisel for this or do it manually the ol' fashioned way. Seen a mix of approaches used in other logs. Jeff at Hobbymill has kindly provided plenty of spare timber for this part of the build. I suspect I will need every millimetre. Cheers Alan
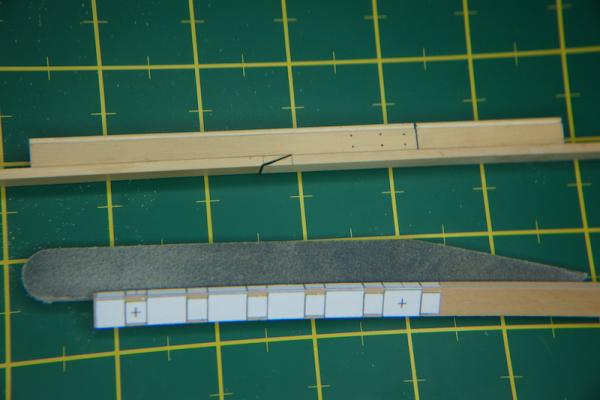
-
Looking great Ben. You have a steady hand cutting the gunport. Are you treenailing as you go along or are they pins holding the frames to the keel? Alan
-
Thanks Grant. It is good to be back. Got carried away tonight and decided to do the glue up. I think it has turned out okay but the acid test will be when the clamps are removed tomorrow. Cheers Alan

-
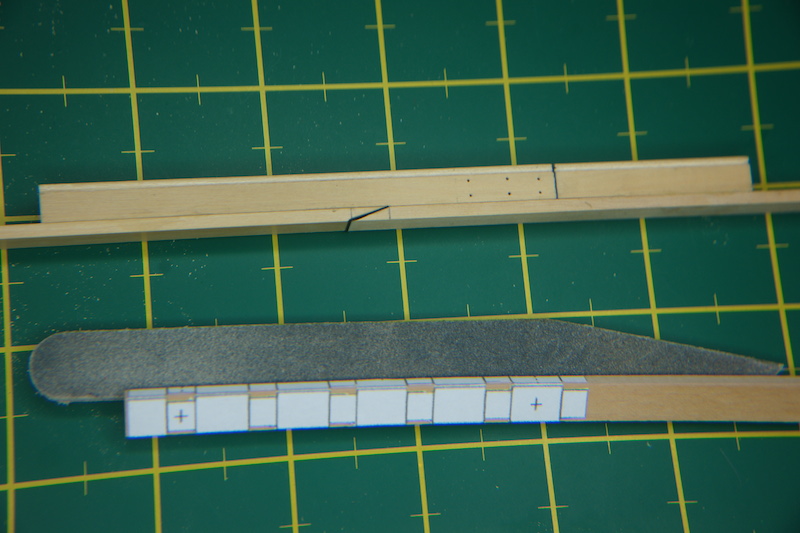
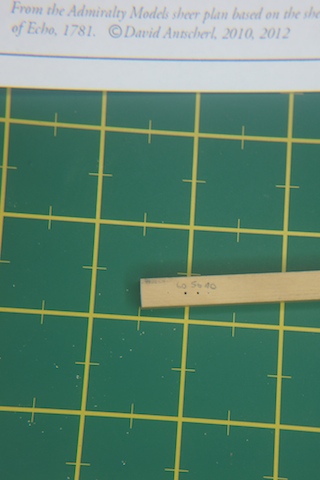
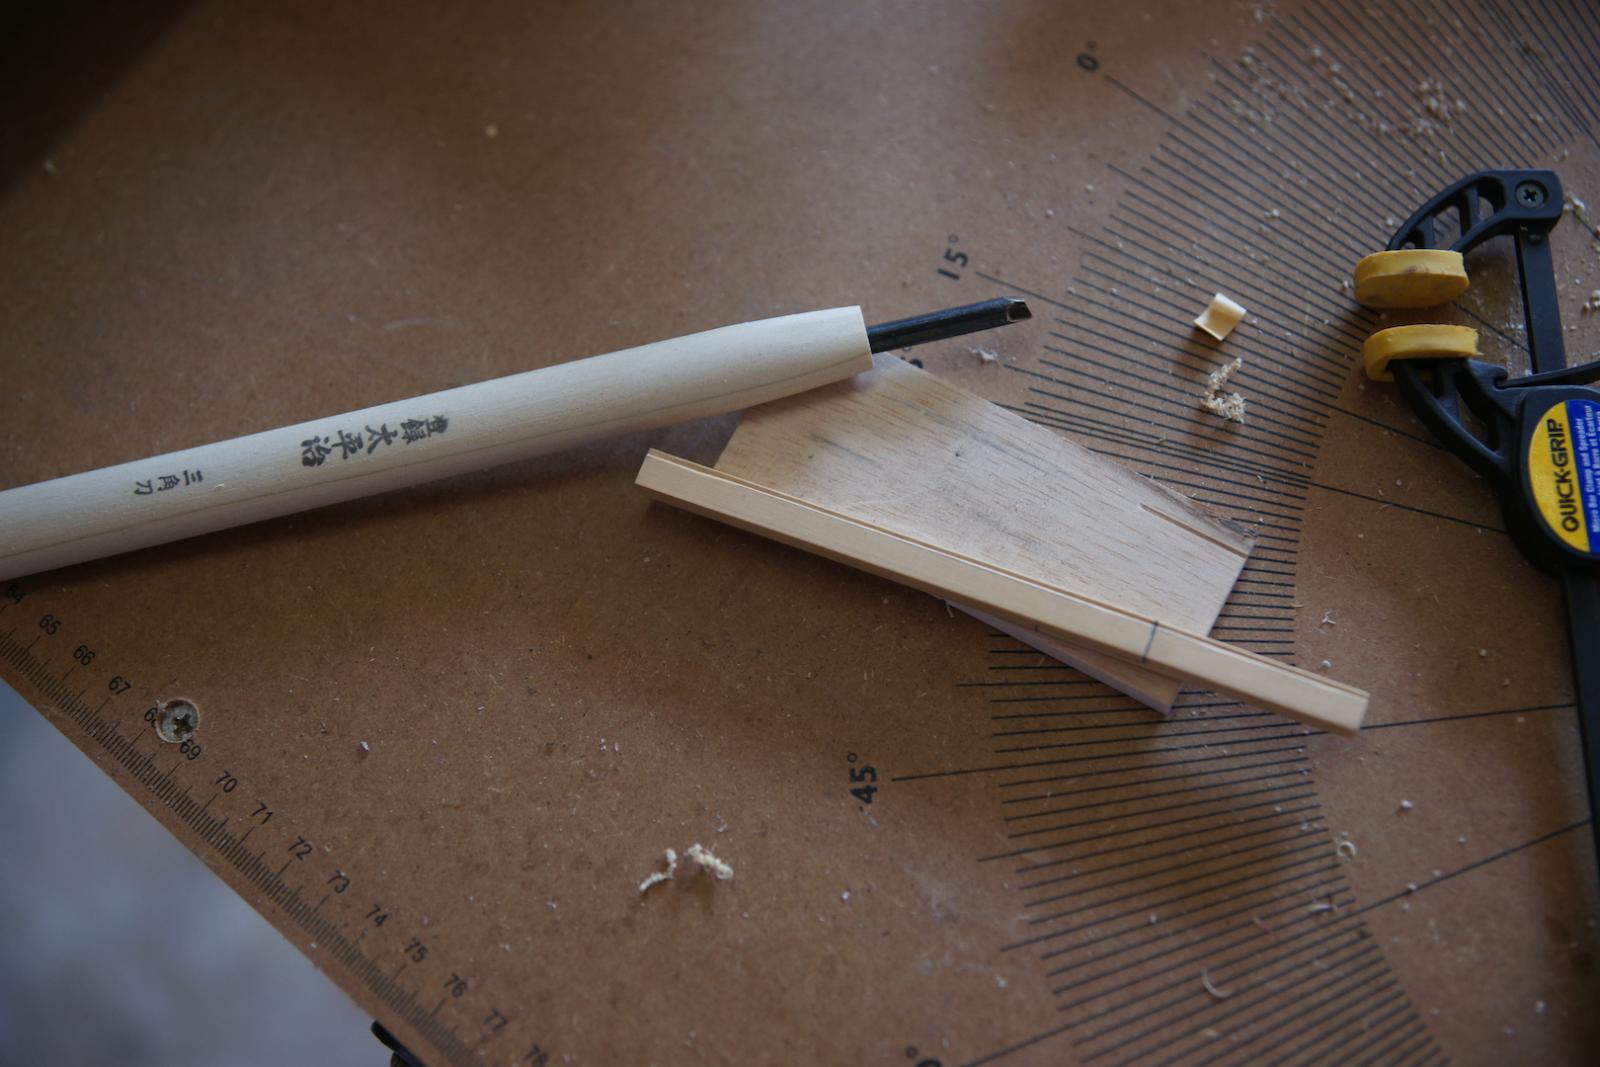
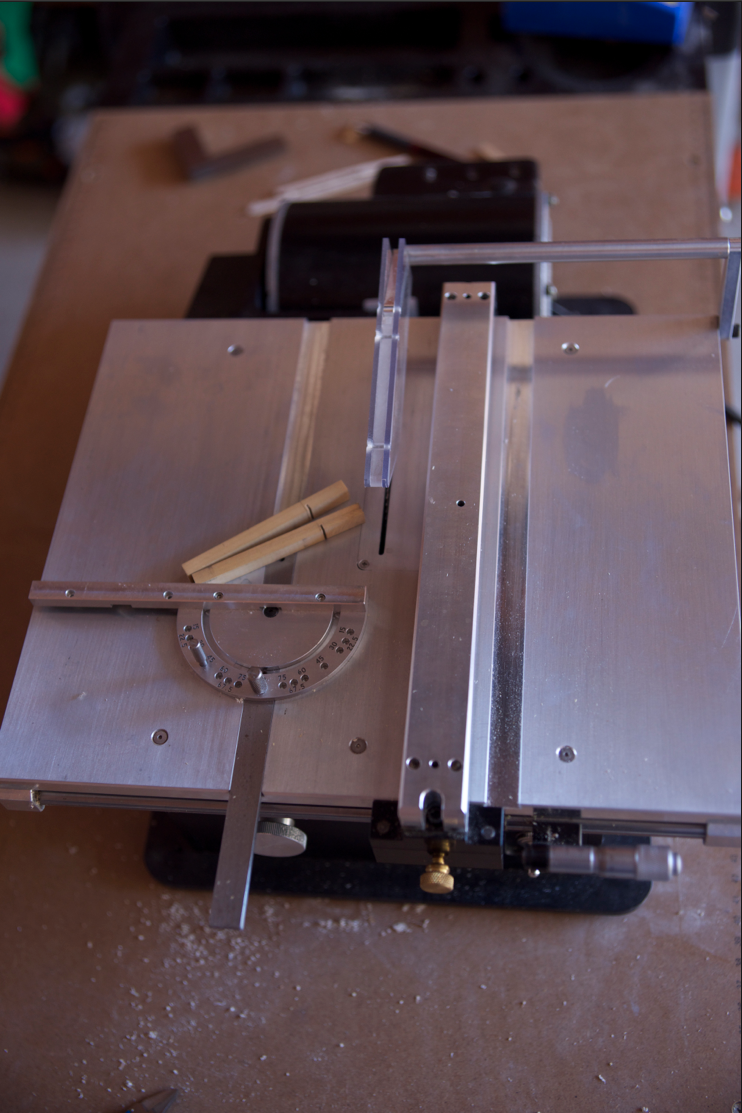
Sorry for the lengthy break in transmission and importantly progress. The workshop is back open after a fashion. The bolt holes in the keel have been drilled with a hand vise using a .5m drill bit after a bit of experimentation with other sizes Thought about using the mill, but on this occasion felt I had more control using a hand vise. The false keel has also been shaped and caulked and will be attached to the keel tomorrow. One question: In volume 1 of David Antscherl's HMN Swan Class Sloops, David notes that the false keel was fixed by short copper alloy and by copper staples. Very much like a modern day staple .... driven flush into the sides of the keel and false keel. The staples had a flat cross section 1/1/2" wide and 8" long. Among builders of the cross section who have gone before me, has anybody taken a crack at this? I can't say that I have seen an example of this in models that I have come across. Anyhow tomorrow keel and false keel join up and on to the construction of the rising wood. cheers Alan
-
Wonderful work Remco. Very ingenious your new taper jig. I too raid the Admiral's stores. Careful though, if caught one has to scrub the floors and for a hair dryer it is usually a keel hauling, in my instance,! Will you be planking both sides? Alan
-
ancre La Salamandre by tadheus - 1:24
alangr4 replied to tadheus's topic in - Build logs for subjects built 1751 - 1800
Stunning build Tadheus. Thanks for providing the link to your project and the accompanying videos. A couple of questions if I may: What is the timber you are using. Looks like a maple or pine of some sort? The cannons are beautifully turned - well done. The feed heads and decorations on the cannon show a fine hand at work. Are you able to run us through the procedure you used to achieve this? Will you be masting and rigging? Will make it a pretty big vessel when finished. Great job. Alan -
Great to see another Canberran as a forum member Moo. There seems to be quite a contingent. Terrific progress on your cutter. Well done. You may be interested in viewing the Sirius (I think by the same manufacturer). It is located in the foyer of the Sirius Building at Woden. As you say this forum is a fantastic resource if you have a question. Good luck with your build. Alan
-
Grant Just came across your log. A fantastic journey to follow and congratulations on your rendition of Victory. A magnificent achievement. Well done. Your model is a sure fire winner at this year's ACT Model Shipwrights Exhibition. Your investments in new machinery for the workshop suggests that something big is brewing for your next project - beyond the cutters. Your mention of Romero a clue? Alan
-
Ben Just found your latest project. You are certainly off to a fine start and will watch your progress from a far with great interest. Alan
-
Ed as with Niaid, I learn something new every time you post. The meticulous research you undertake and the precision of your execution is simply amazing. Like others who follow your posts I do hope you decide to publish. Alan
- 3,618 replies
-
- 1
-

-
- young america
- clipper
- (and 1 more)
-
Echo by Maury S - FINISHED - Cross-Section
alangr4 replied to Maury S's topic in - Build logs for subjects built 1751 - 1800
Precision working Maury. Looking great. Alan -
Michael You can buy it on-line through Pen and Sword. Alan
-
Echo by Maury S - FINISHED - Cross-Section
alangr4 replied to Maury S's topic in - Build logs for subjects built 1751 - 1800
Thanks Maury. The steer on the use of the monofilament line is appreciated. Alan -
I received my copy a few days ago. I agree with Bob it is quite informative and I am looking forward to seeing Vol 2 in particular. The author is keeping his options open as to whether Vol 2 and Vol 3 will eventuate. It complements quite nicely David Antscherl's seminal work on the Swan class by providing a useful historical narrative on the development of the sloop class in the British and French Navies. Alan
-
Echo by Maury S - FINISHED - Cross-Section
alangr4 replied to Maury S's topic in - Build logs for subjects built 1751 - 1800
This is fine and delicate work Maury, well done. How deep did you go with the "iron bolts"? The knees in your bottom pic look like they were constructed of several pieces - were they? Alan -
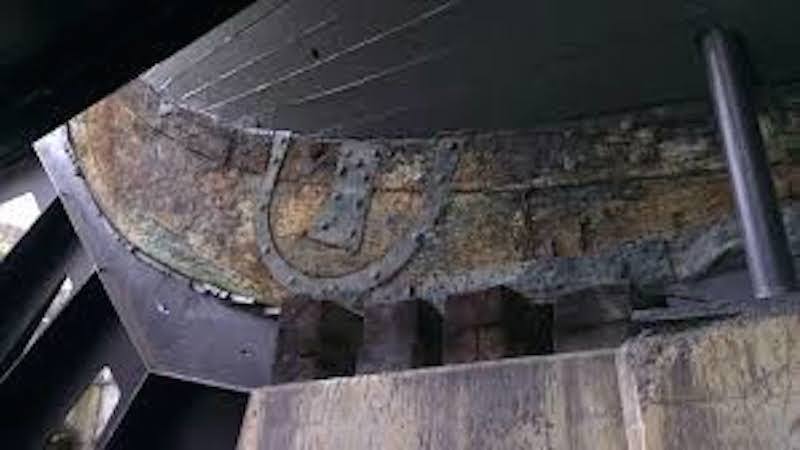
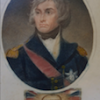
Thanks Tom for your kind thoughts. Your post is quite timely as I have just returned to Canberra from an extended period of shore leave in Melbourne. It was a much longer period than expected but I was pleased to get back into the workshop today and start reflecting on Ben and Tim's suggestions on the bolts for the keel. Ben's suggestion of 0.5mm brass rivets is quite elegant but I have found some brass rod (0.45mm) which suitably blackened to simulate caulking should suffice for this exercise. As I get back into the swing of things I'll post a couple of pics on the result. Found this pic of a refurbishment of HMS Victory which gives a little insight into keel fasteners. In this instance the structural plate at the stem of Victory. This pic seems to bear up Ben's thinking on the use of rivets. cheers Alan

-
Ben The keel has all the makings of a great build. Will watch your progress with interest. Well done Alan
-
Looks like a great project Rusty and a terrific start. Will watch with interest how your build progresses and the lessons to be learned. Juggling four projects in the workshop must provide an additional challenge/interest? Alan
-
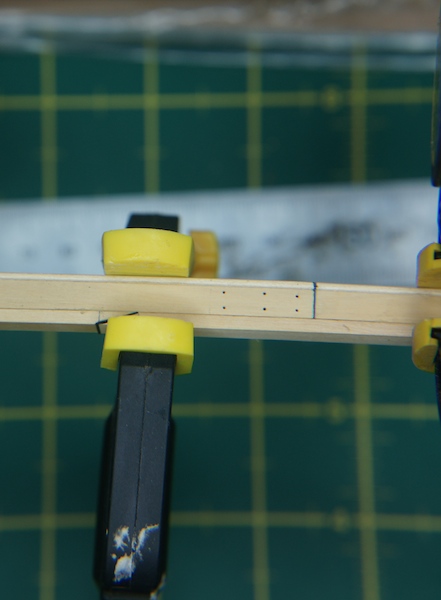
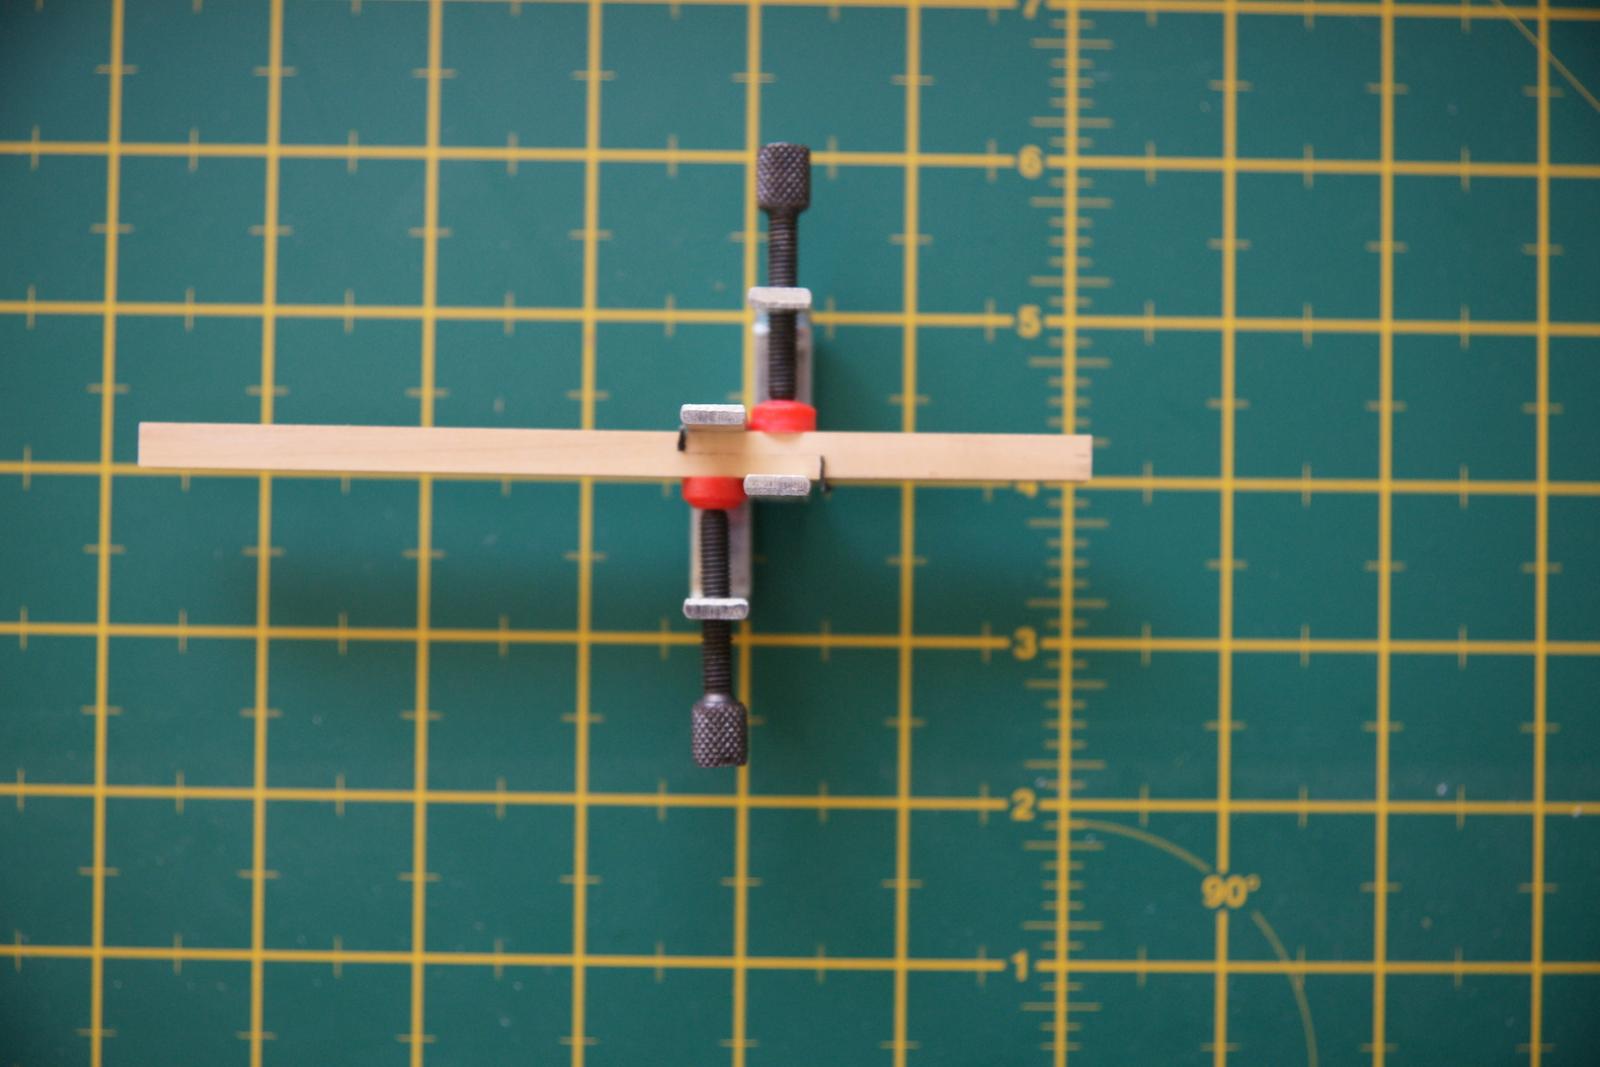
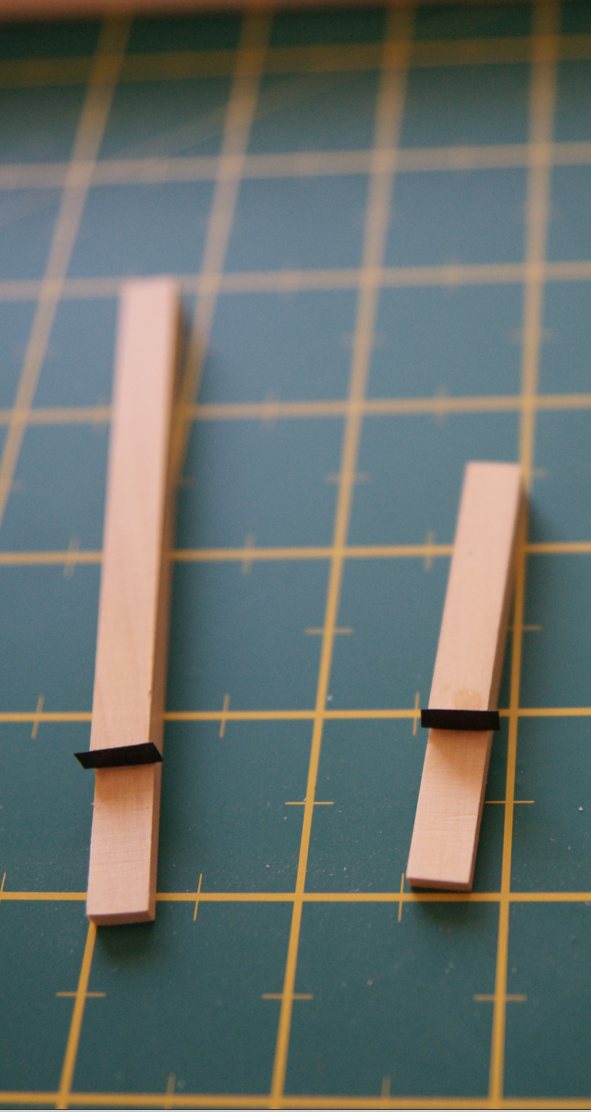
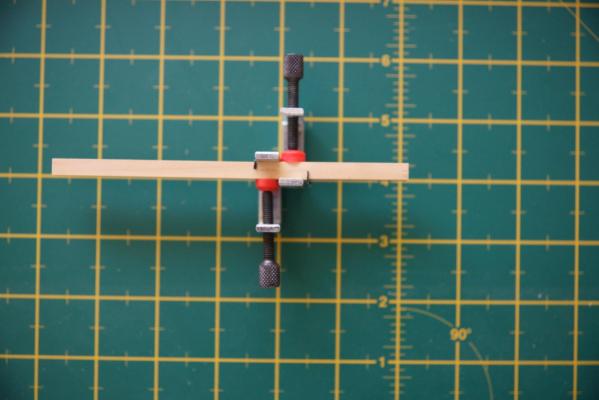
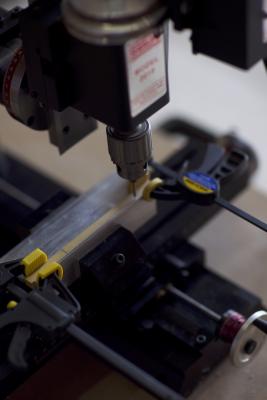
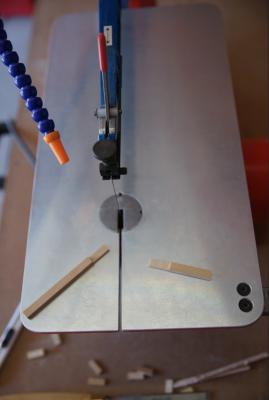
Thank you Ben, Christian, Mark, Maury, Jim L, Tim C, Wacko Wolf and Ryland Craze for your kind messages of support. They are very much appreciated. Jim: I'm not sure you are going to learn much from my thread other than what not to do but I have certainly appreciated your build as well as Ben and Maury's. I have learnt a lot from you all. I particularly liked your use of an architects ruler to show your measurements. Unfortunately Australia went metric some time ago (although in my life time) and I had to hunt for quite a while to find an appropriate imperial measure architect's ruler. Set out below is my latest update on the build and a couple of pics. One question which may be answered somewhere else on the site is what is the recommended lens for taking pics of the builds? The pics that Greg took as part of the instructions are terrific and help enormously Anyhow for the moment. The keel has been glued up and rested for a couple of days to ensure it was fully bonded. This morning after a few practice runs the rabbet was cut in. I cleaned up the rabbet manually with a v gouge. The most significant lesson for me from this part of the build was making sure the Sherline was absolutely squarely aligned for cutting the rabbet. Fortunately the practice runs highlighted the potential this had for ruining one's day. Next stage is installing the bolts. My wife threw out the other day some bamboo skewers that would have been ideal for making the bolts - so on to plan B. I'll let you know what plan B is once I have figured it out. Until the next update, thank you again for your kind messages and I hope this is of interest. Regards Alan

-
Many thanks Tim. August will indeed be a special time for you and your family. Regards Alan
-
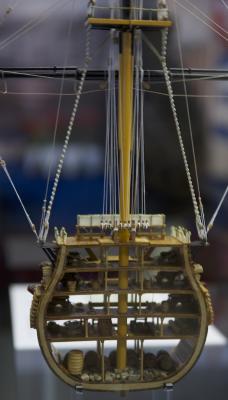
Thanks Druxey for your kind thoughts. The model will indeed be a nice memory of little Eli. Very much looking forward to the guidance and experience that you and Greg and the other participants in the Echo Cross Section community bring to this build. I've learnt a lot from following the various threads. The MSW community might be interested in the attached pic of a cross section we came across last year at the Transport Museum in Lucerne. It is part of Phillippe Keller's collection. Keller was an avid collector and owned some stunning pieces. Thanks Jay also for your kind words. One does put a lot of one's life into these builds. Currently doing a few dry runs on constructing the rabbet. Regards Alan
-
Many thanks Greg for the tip on the dangers of fairing early. Your pic of what the finished job will look like is a nice incentive. Alan
-
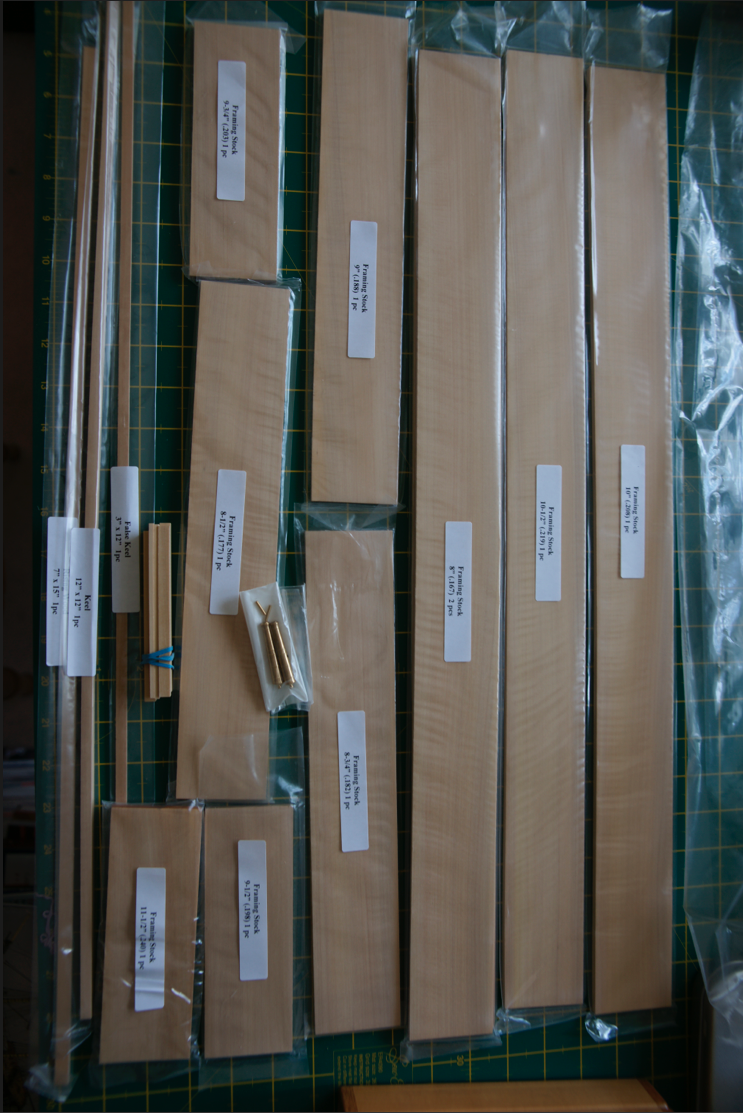
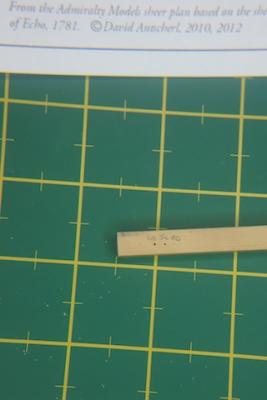
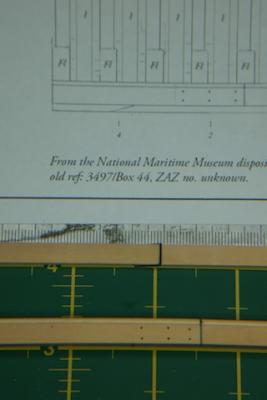
This build was supposed to happen with my grand-son on my knee but alas it is not to be. Eight weeks early, he was with us for just a moment. So this is for him. For those in Australia who are looking for a good wood supplier you need go no further than Hobby Mill in the US. The quality of the wood is fantastic and as you can see from the pic it arrives well sign posted and packaged. A testament to Jeff and Greg. Importantly the wood sailed through Australian quarantine requirements. Never an easy exercise! The build started somewhat inauspiciously with yours truly having a couple of attempts at the keel before getting it right. Fortunately Jeff and Greg foresaw the problems that one from down under might have and included plenty of spare timber for just such an eventuality. I must say though, I was cutting it a bit fine! Not sure I could have squeezed another keel attempt from the remaining stock! Lesson 1: If one gets updates and revised PDFs it is worth opening them up and reading them closely. For those who are interested, the keel is 14 inches x 12 inches. The pics below show the initial work performed. Next stage the making and fixing of the keel bolts and cutting the rabbet. Alan G


-
Абсолютно приголомшливий роботи Алекс Молодці! Alan (Translation: Absolutely stunning work Alex. Well done!)