


Kevin Kenny
-
Posts
1,308 -
Joined
-
Last visited
Content Type
Profiles
Forums
Gallery
Events
Posts posted by Kevin Kenny
-
-
-
-
-
-
-
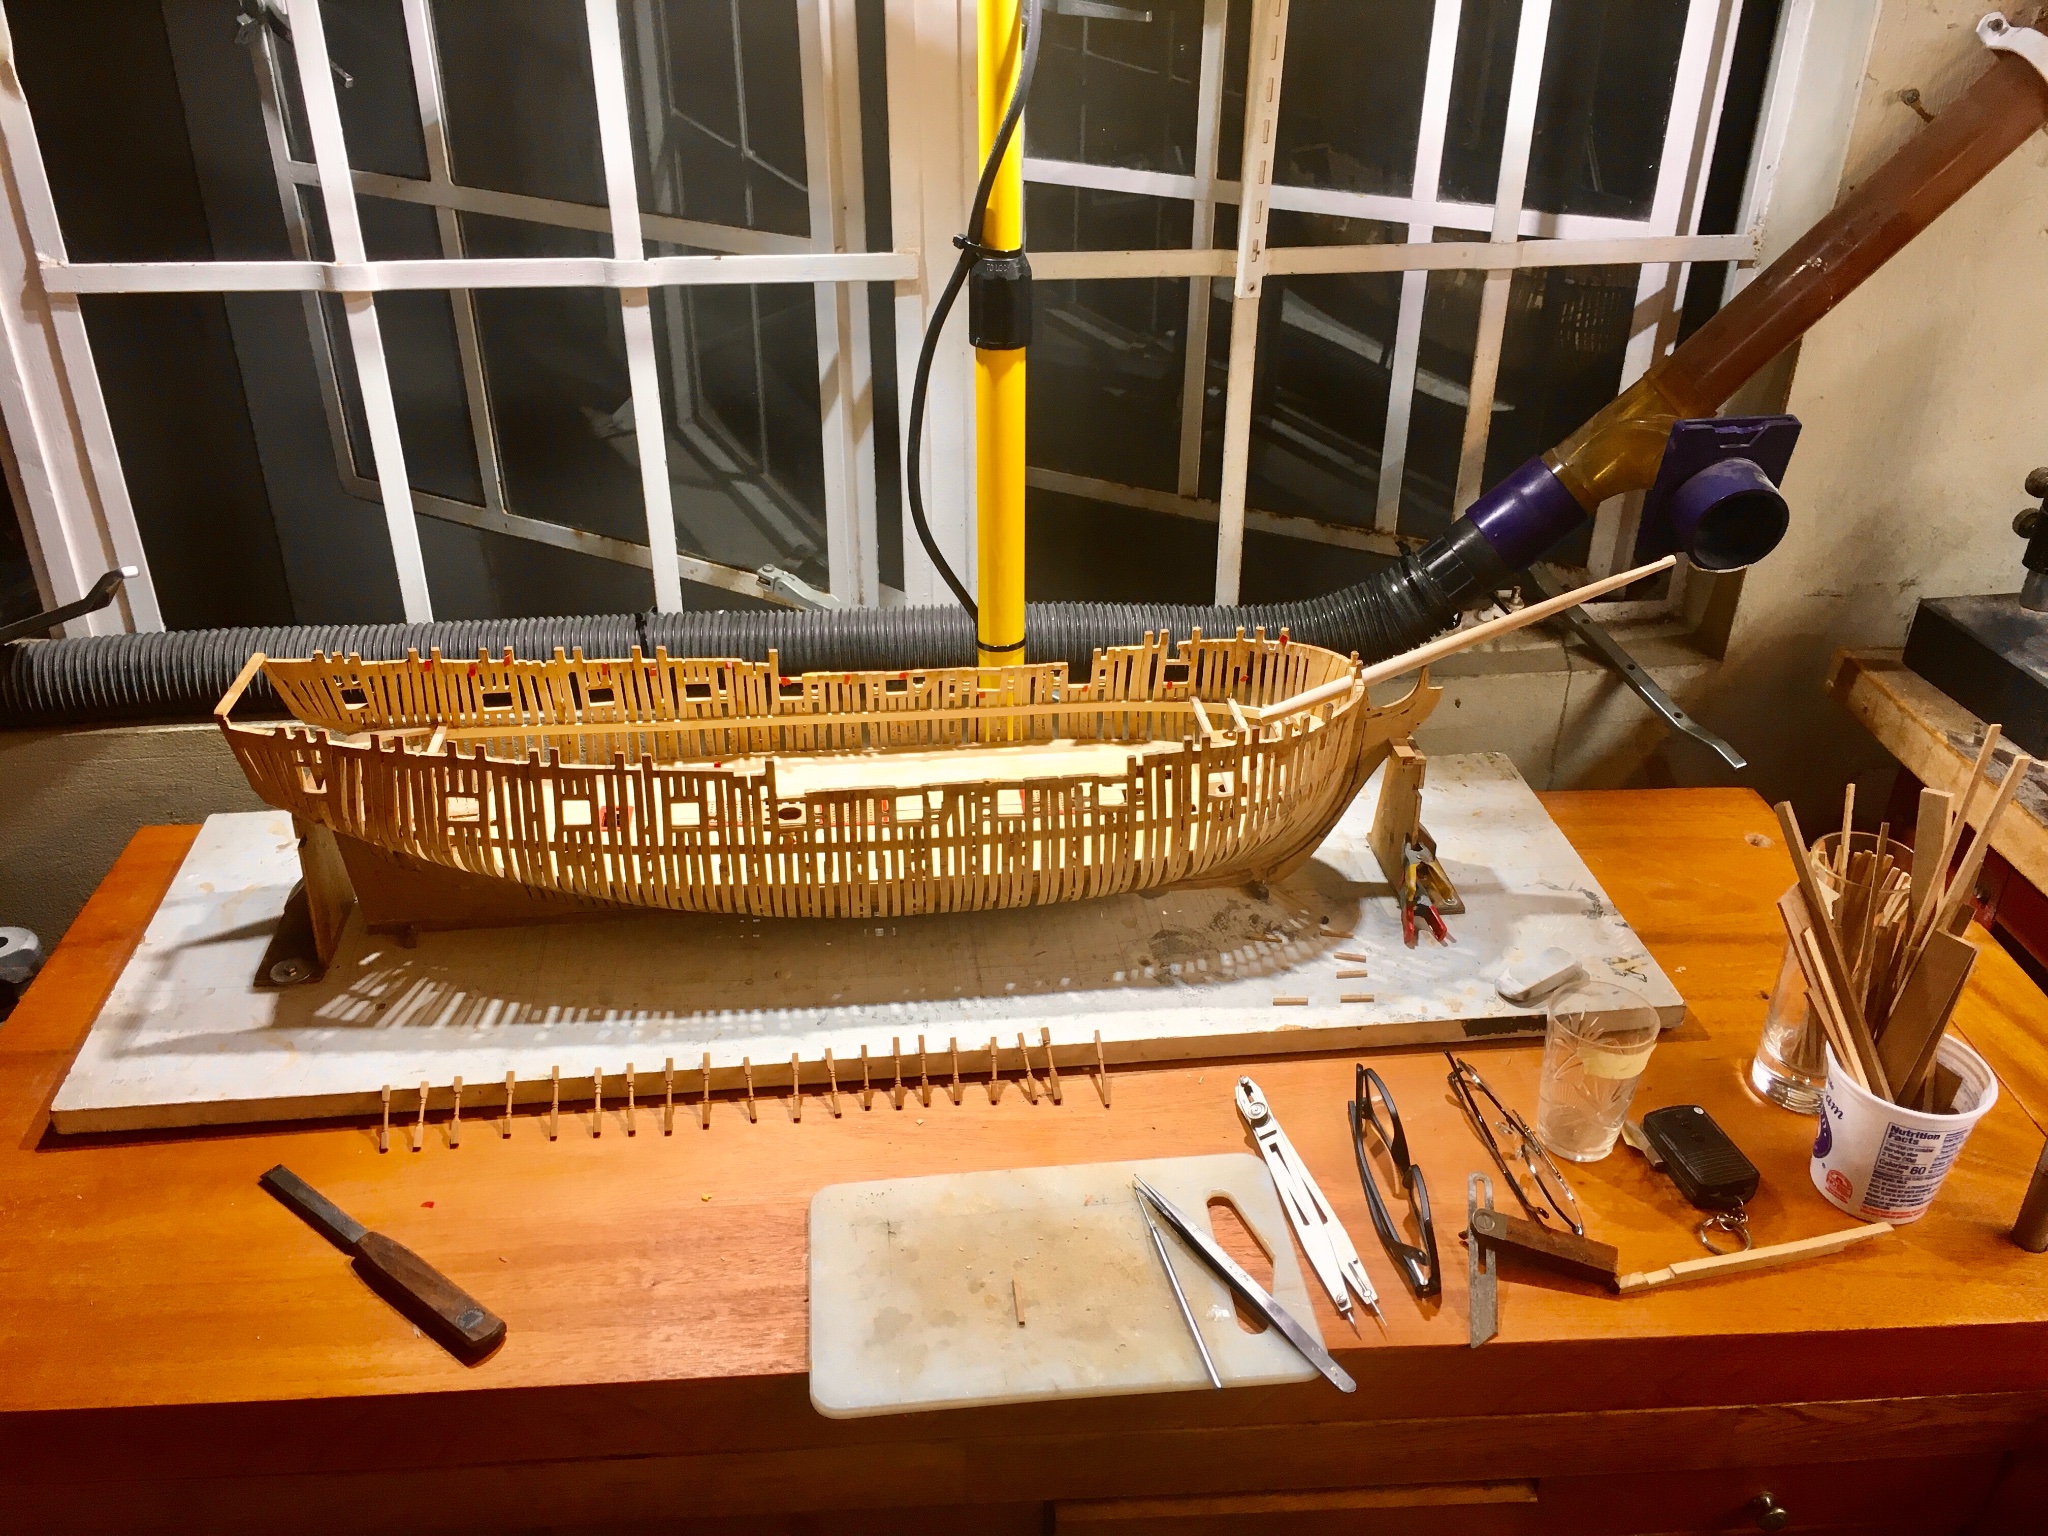
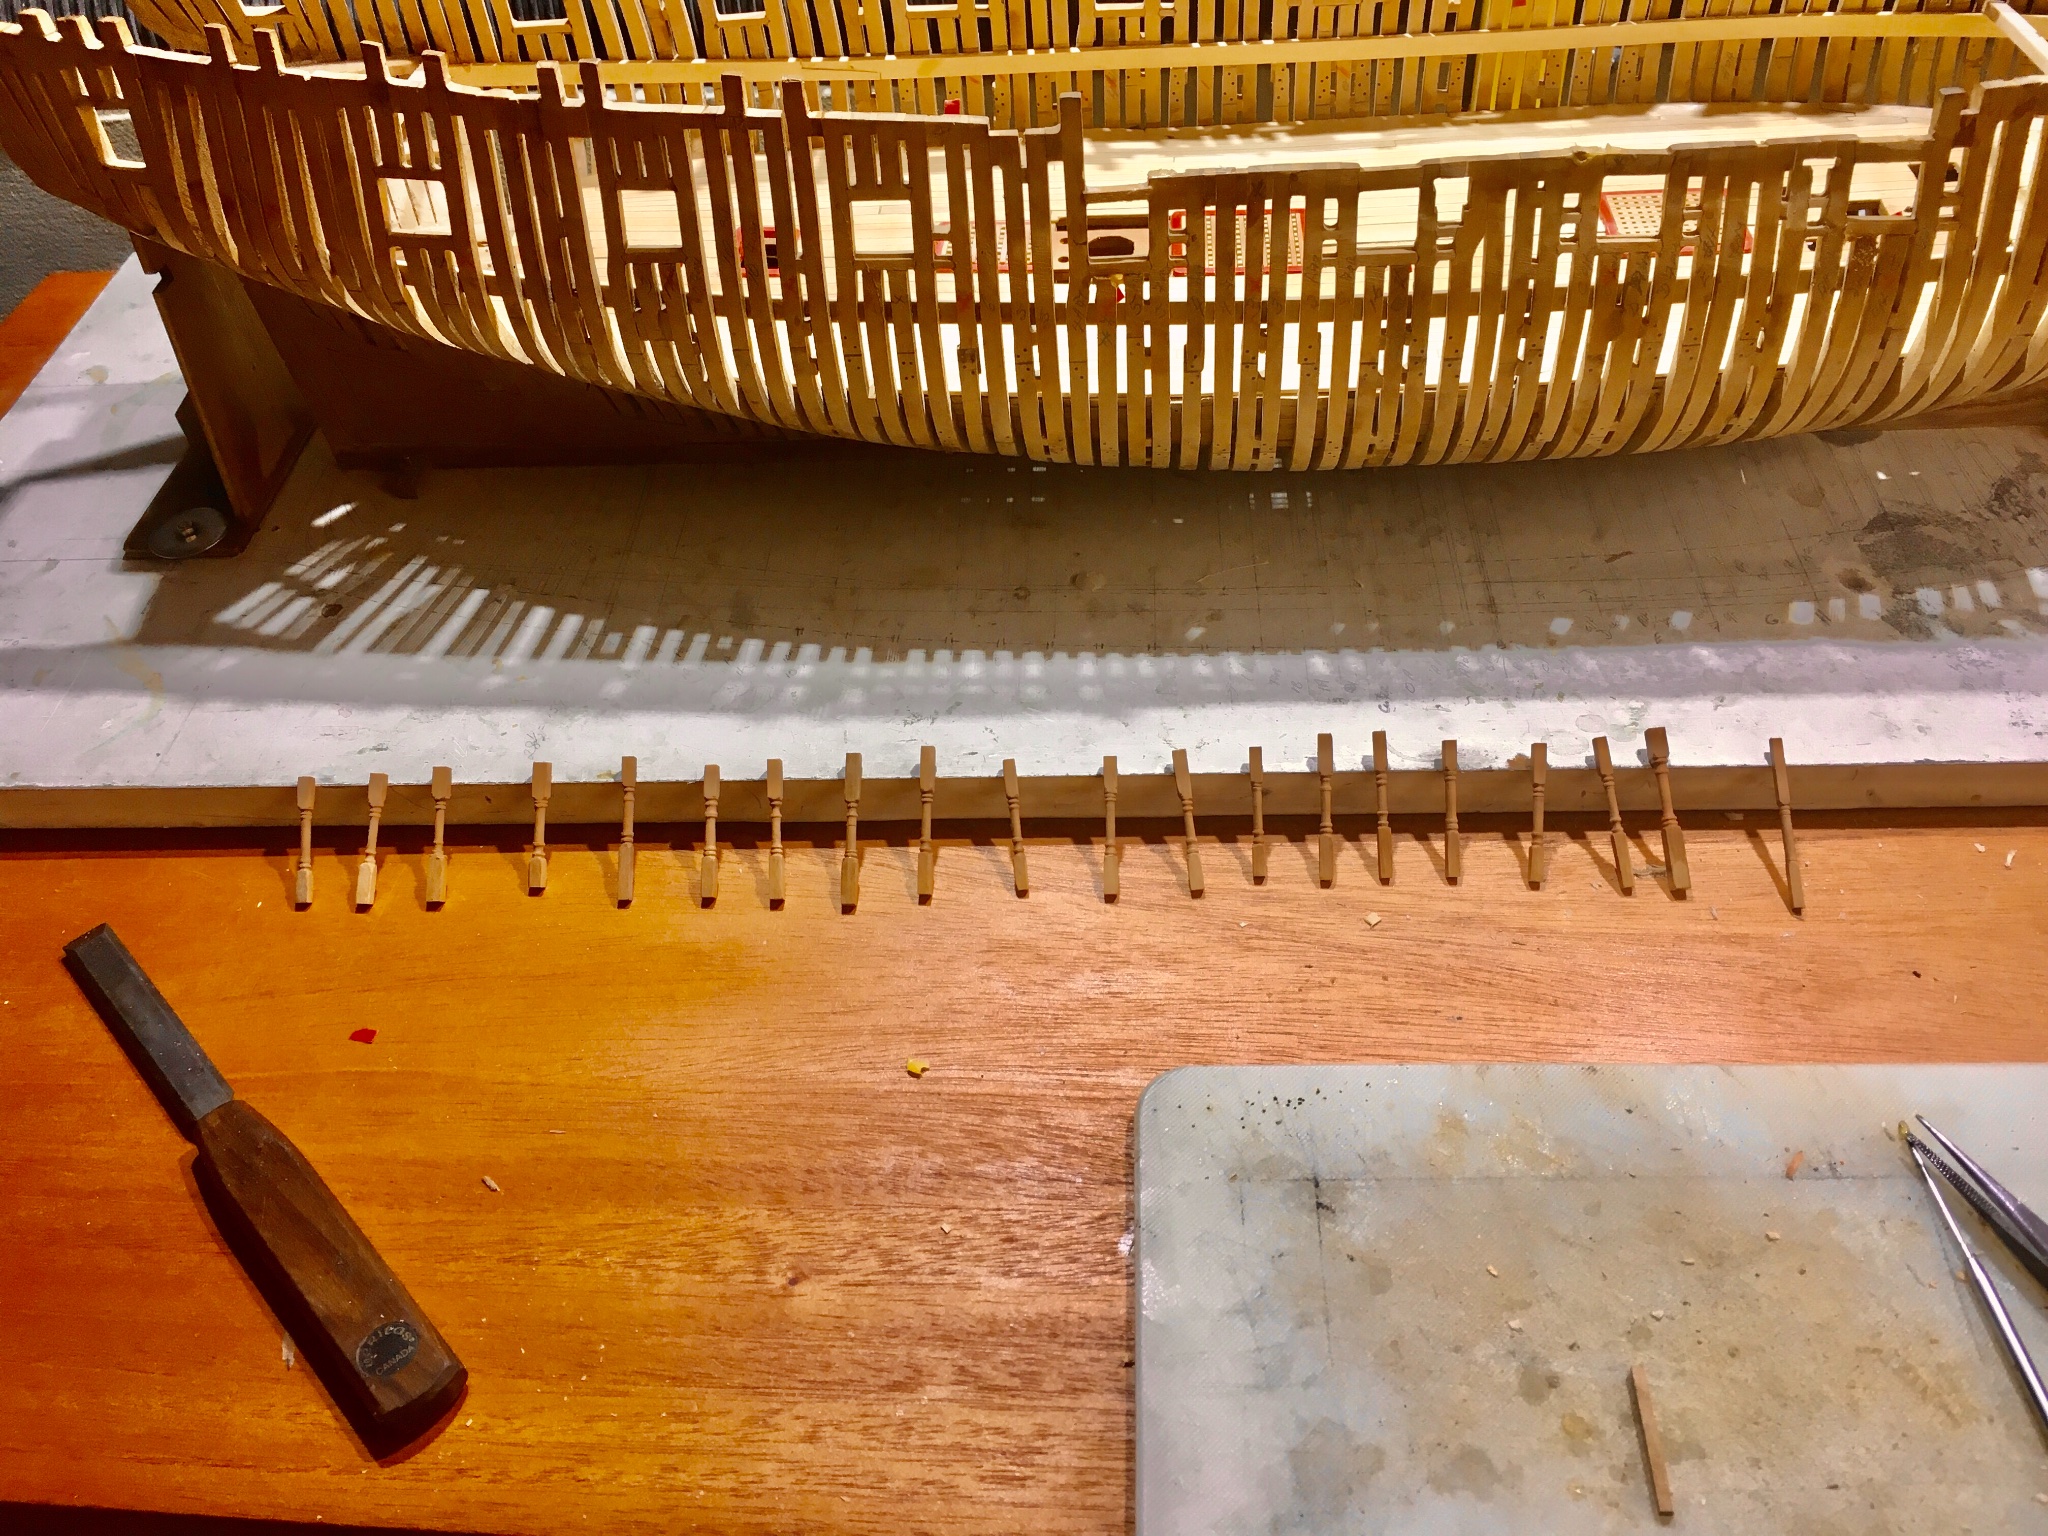
On another note i spent and hour or two reviewing the 3D files. I cant tell you how much i get from looking at these pictures. Looked at the bow deck hook and Eiking and made up a temporary mahogany piece. I struggled with the one on the lower deck. This was a breeze this time. Still made some mistakes but the approach was so much easier to understand with the 3D
-
Hi Greg
i use the Preac sander to sand the concave section. It does an excellent job once the convex curve is correct and has no bumps. I still take the big bumps on the concave side off with sandpaper and then pass in through the sander. It takes a little while to get the technique, but once you feed it correctly it works geat.
The end of the wing transom knee was where the problem was. The upper edge was fine. Still cant believe i did not notice the rocking. Wow. Age is a bitch. -
-
Haha, life in the Tropics. Finally got some nice LEDs and a stand mounted at the back. Three more coats of rub on poly and back to work.


-
-
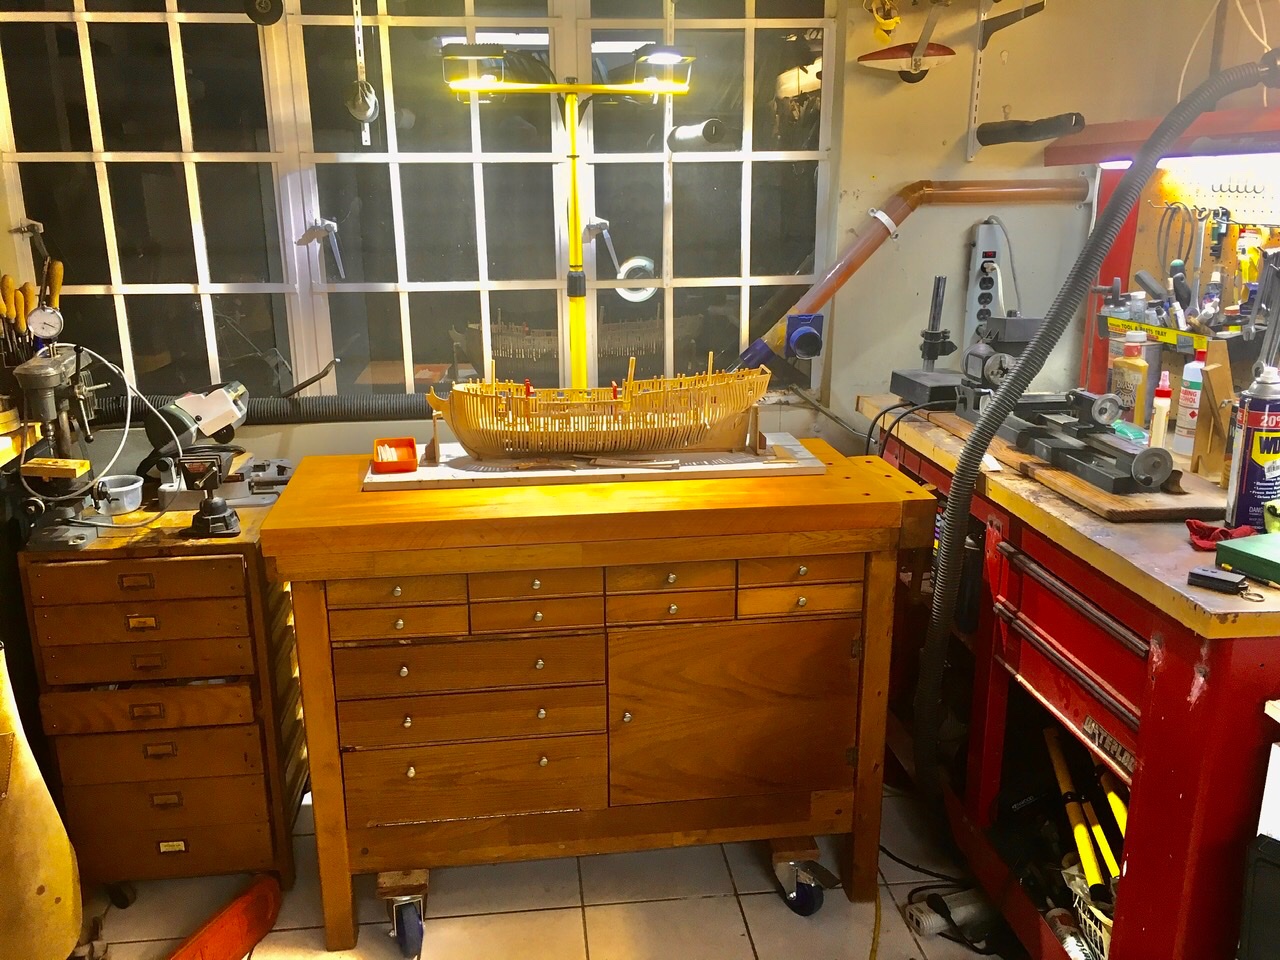
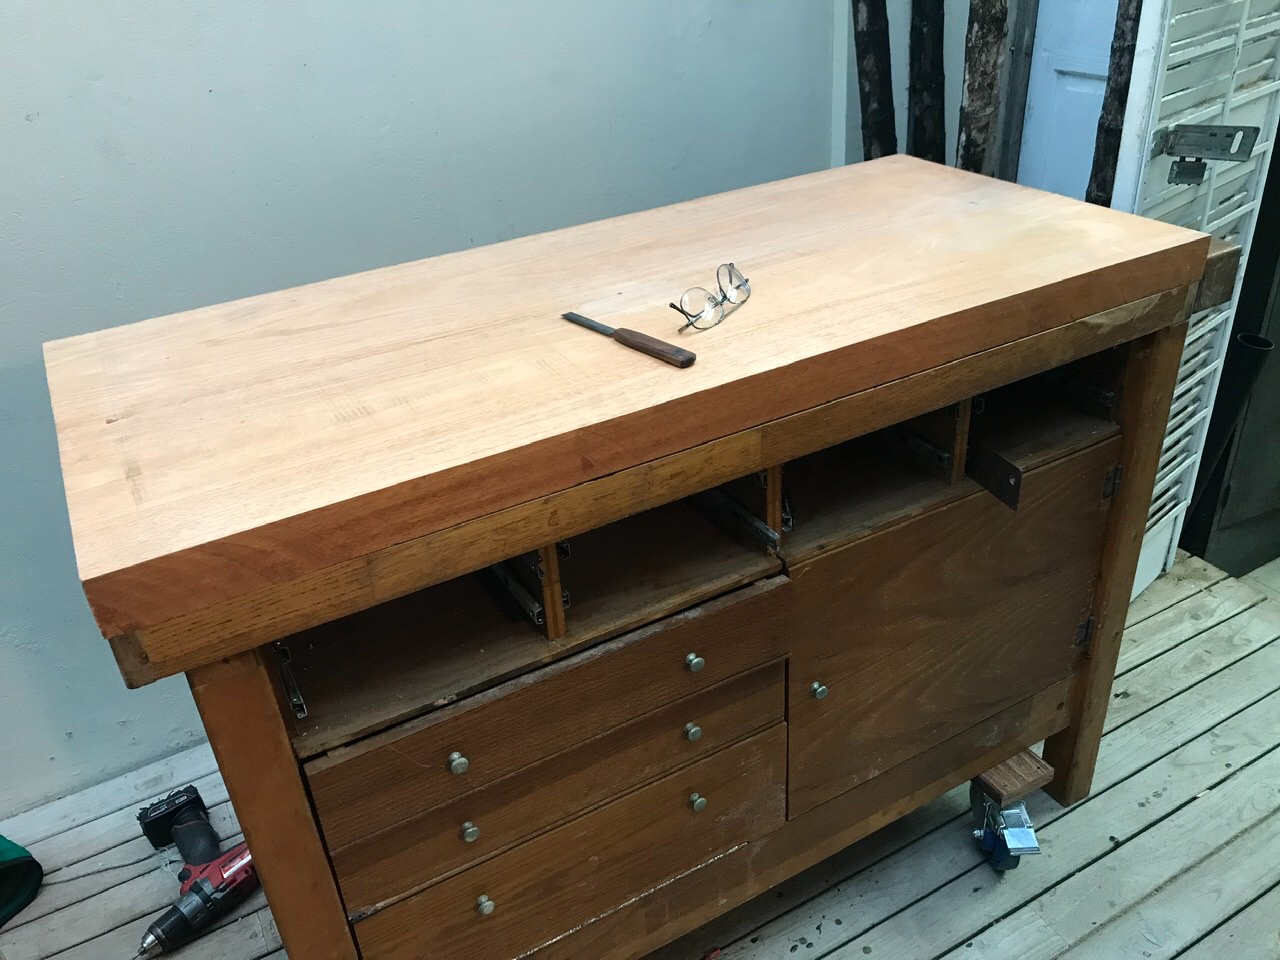
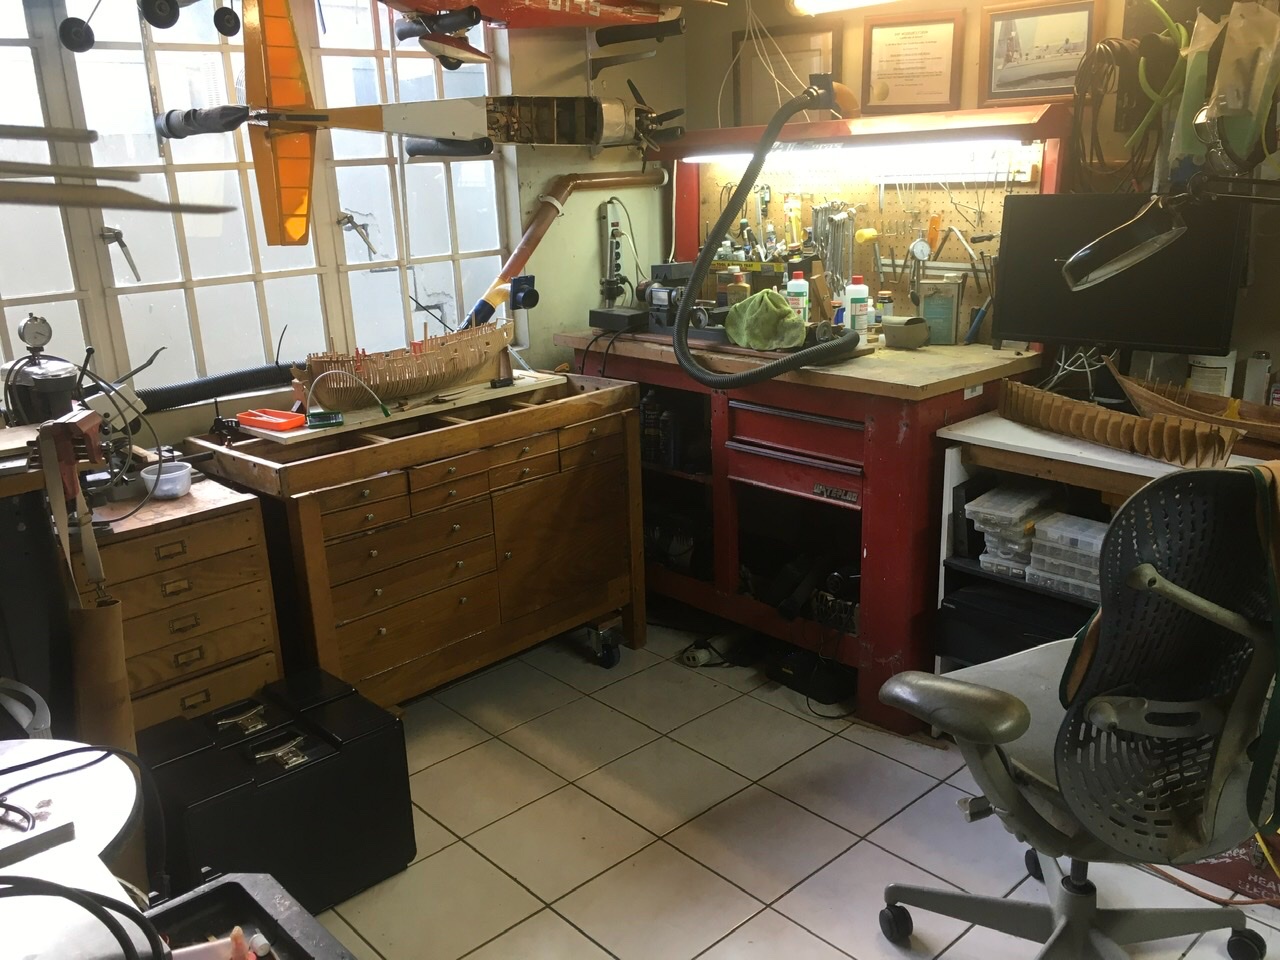
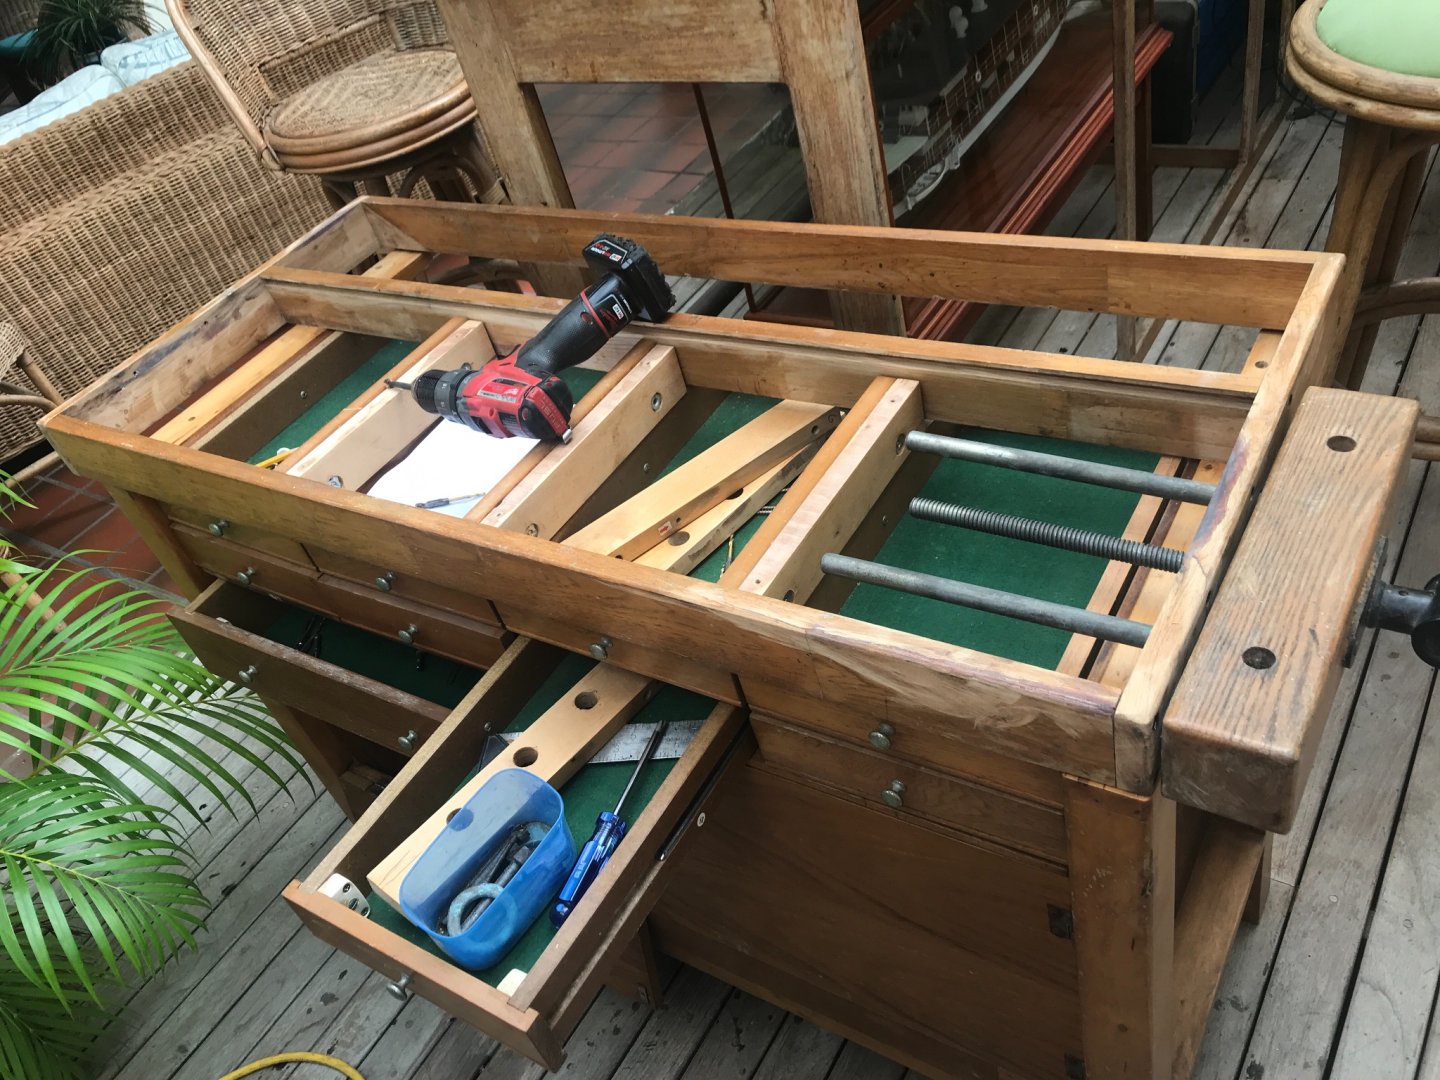
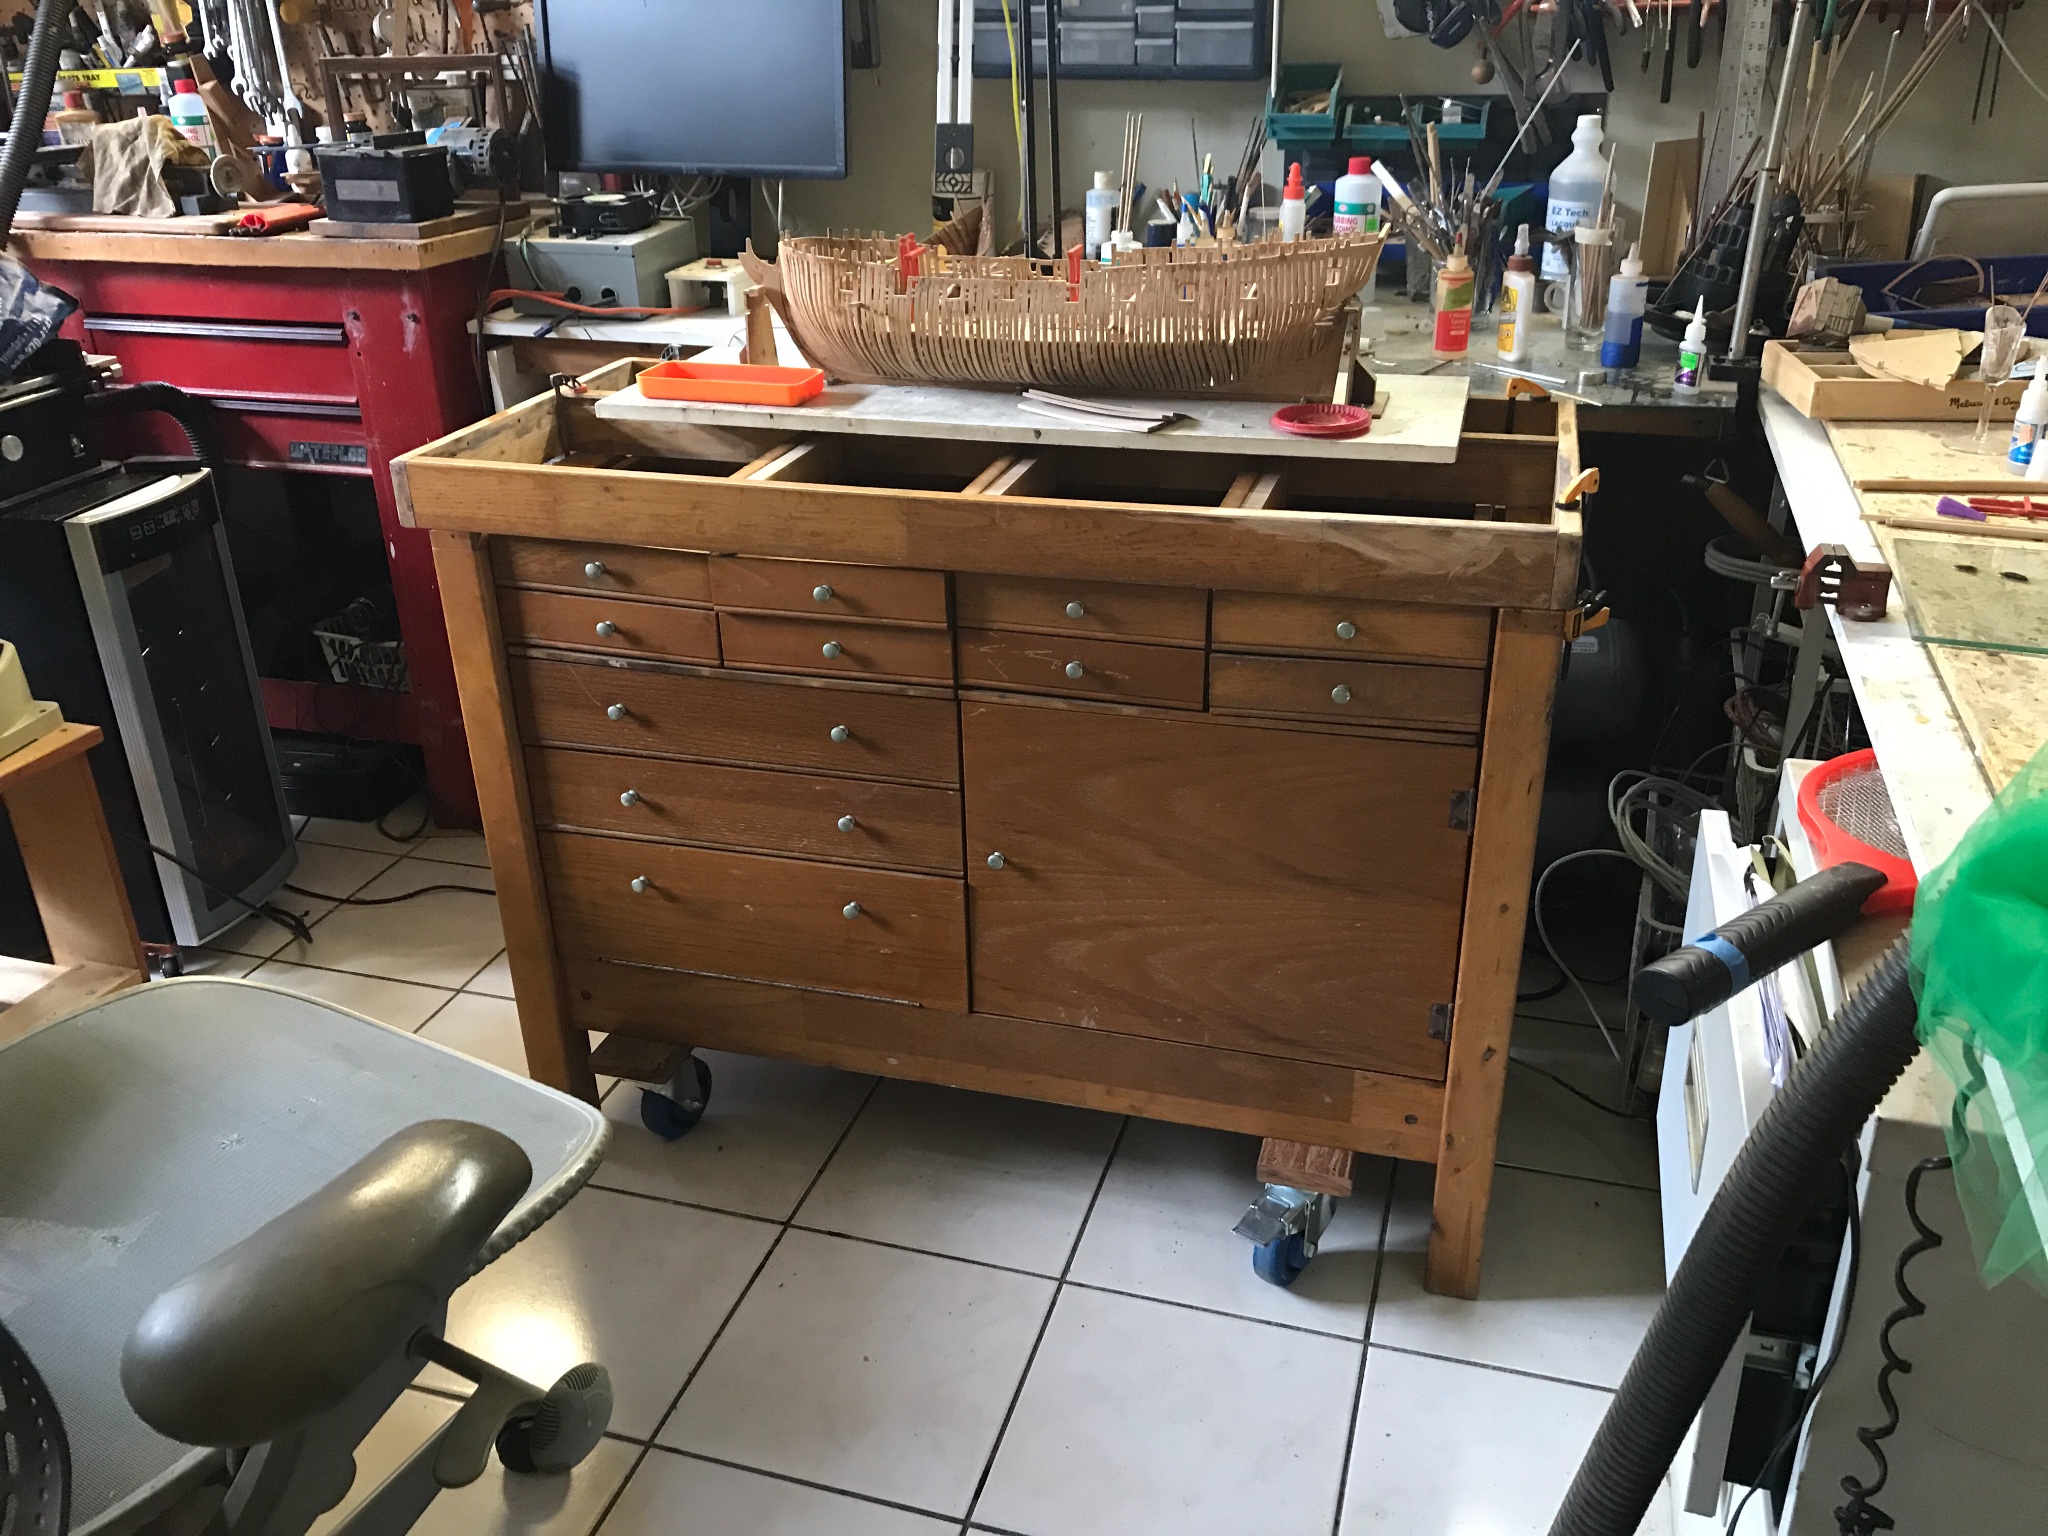
It’s been a long day. Got the two inch Mahogany work bench top installed. Lots still to do.

-
-
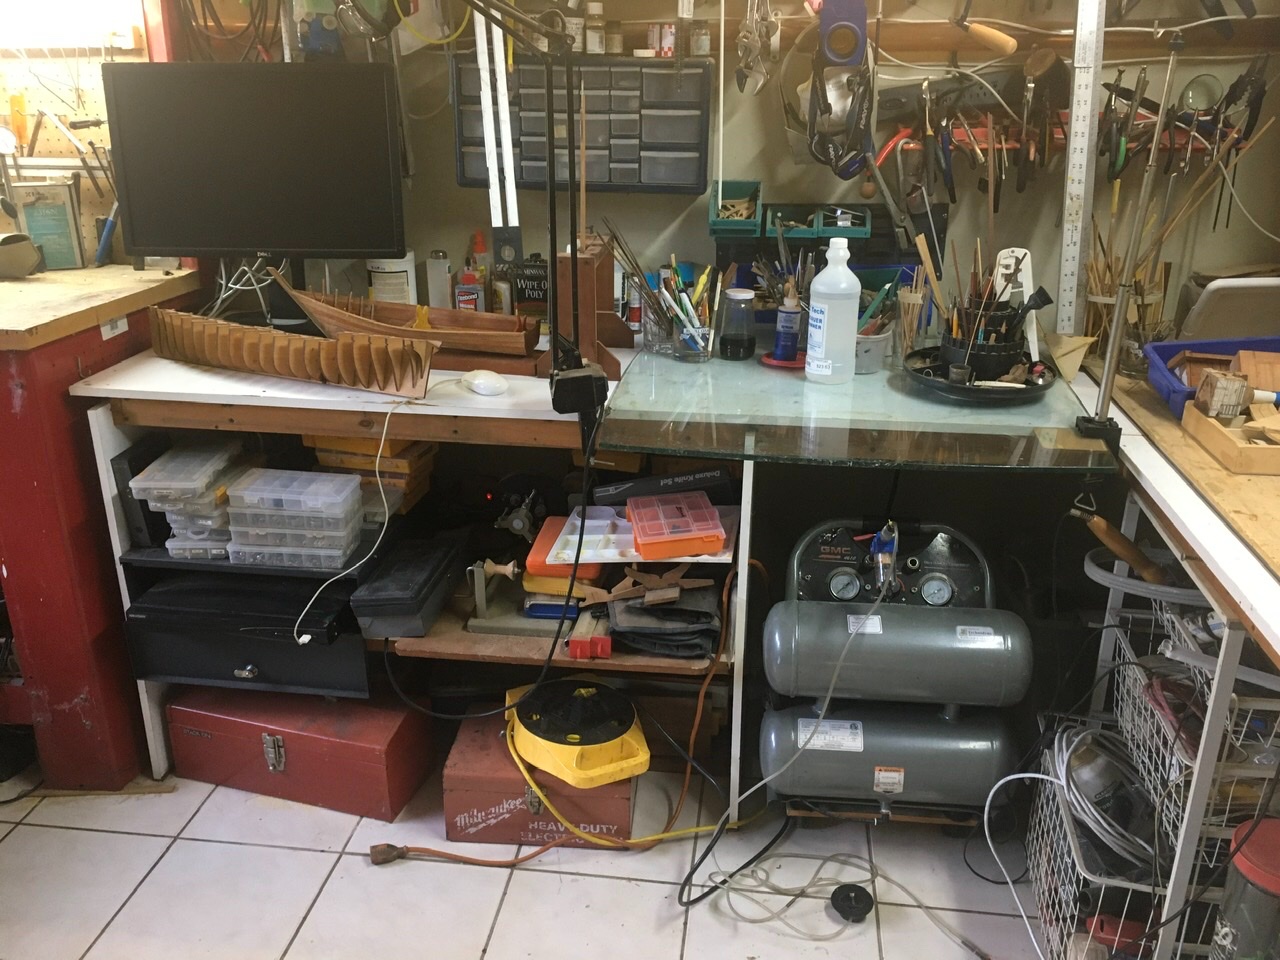
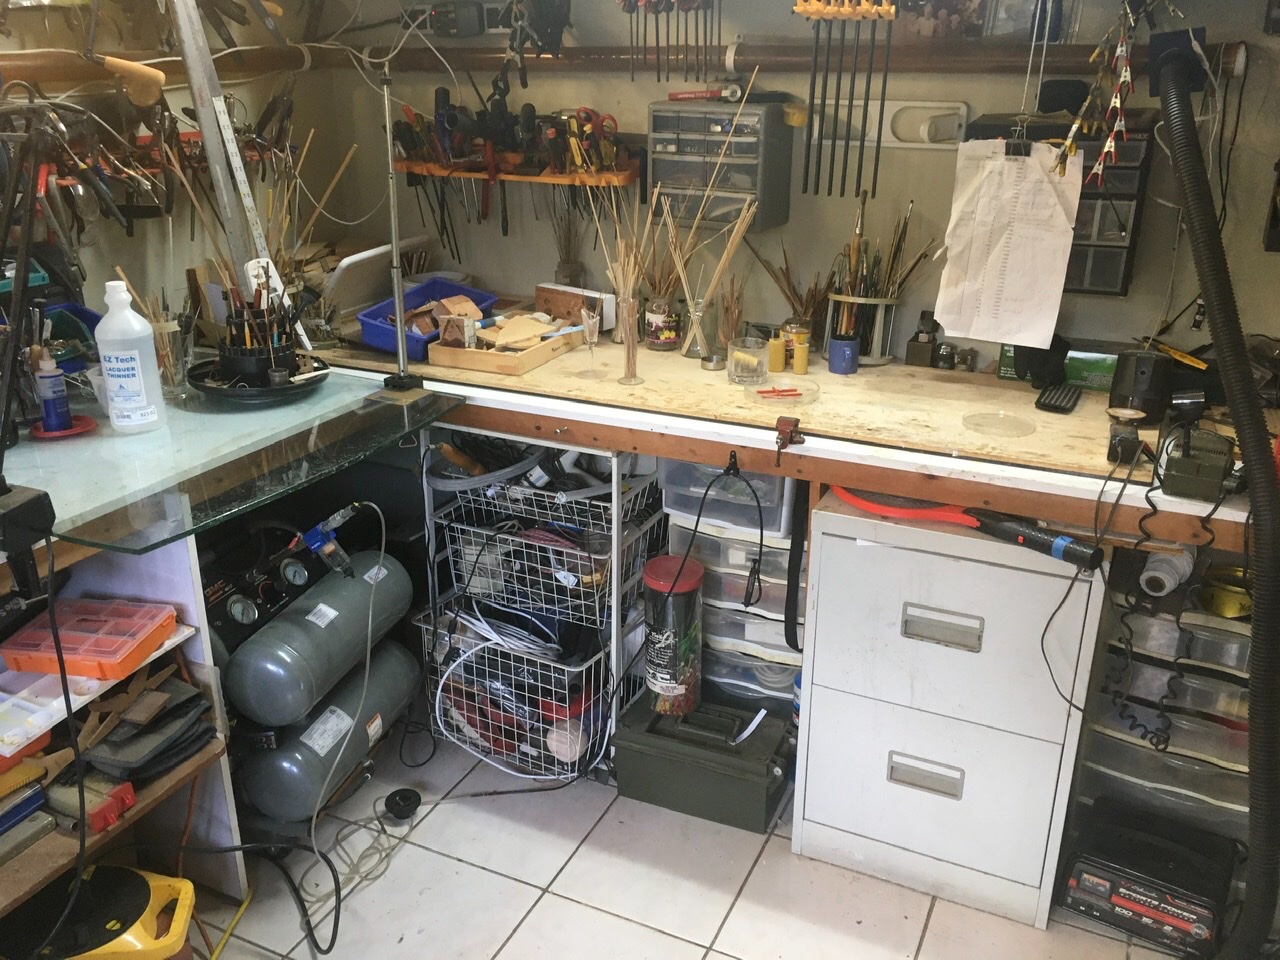
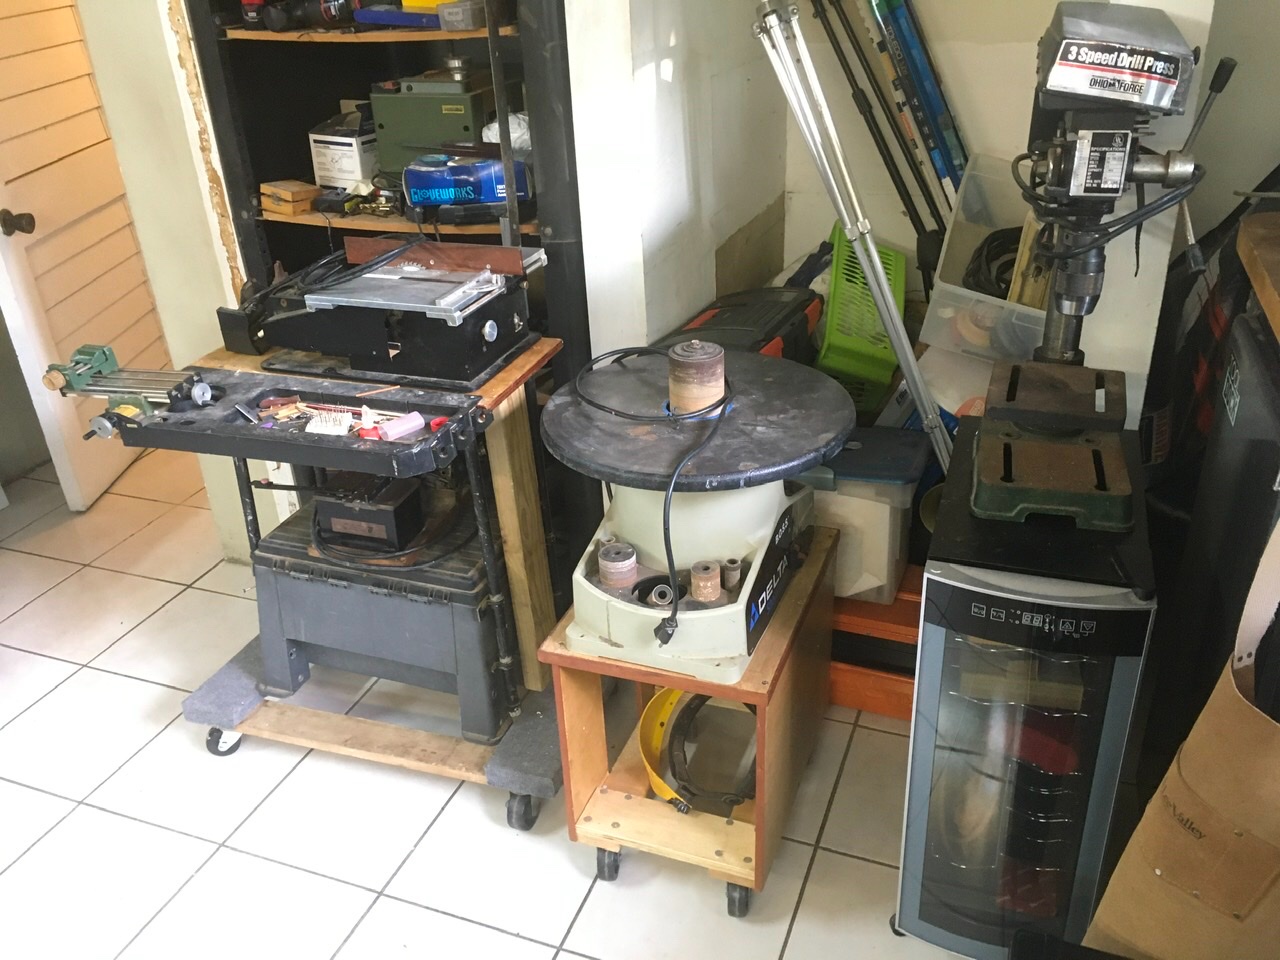
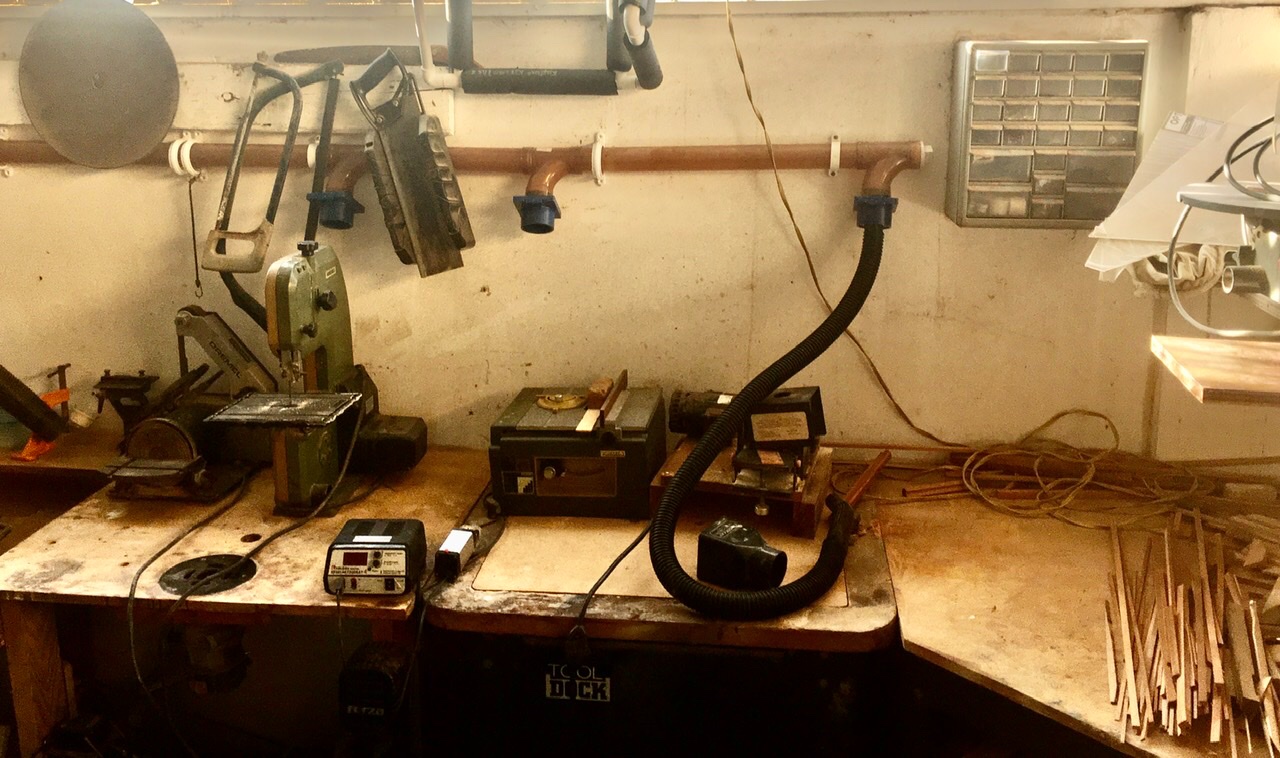
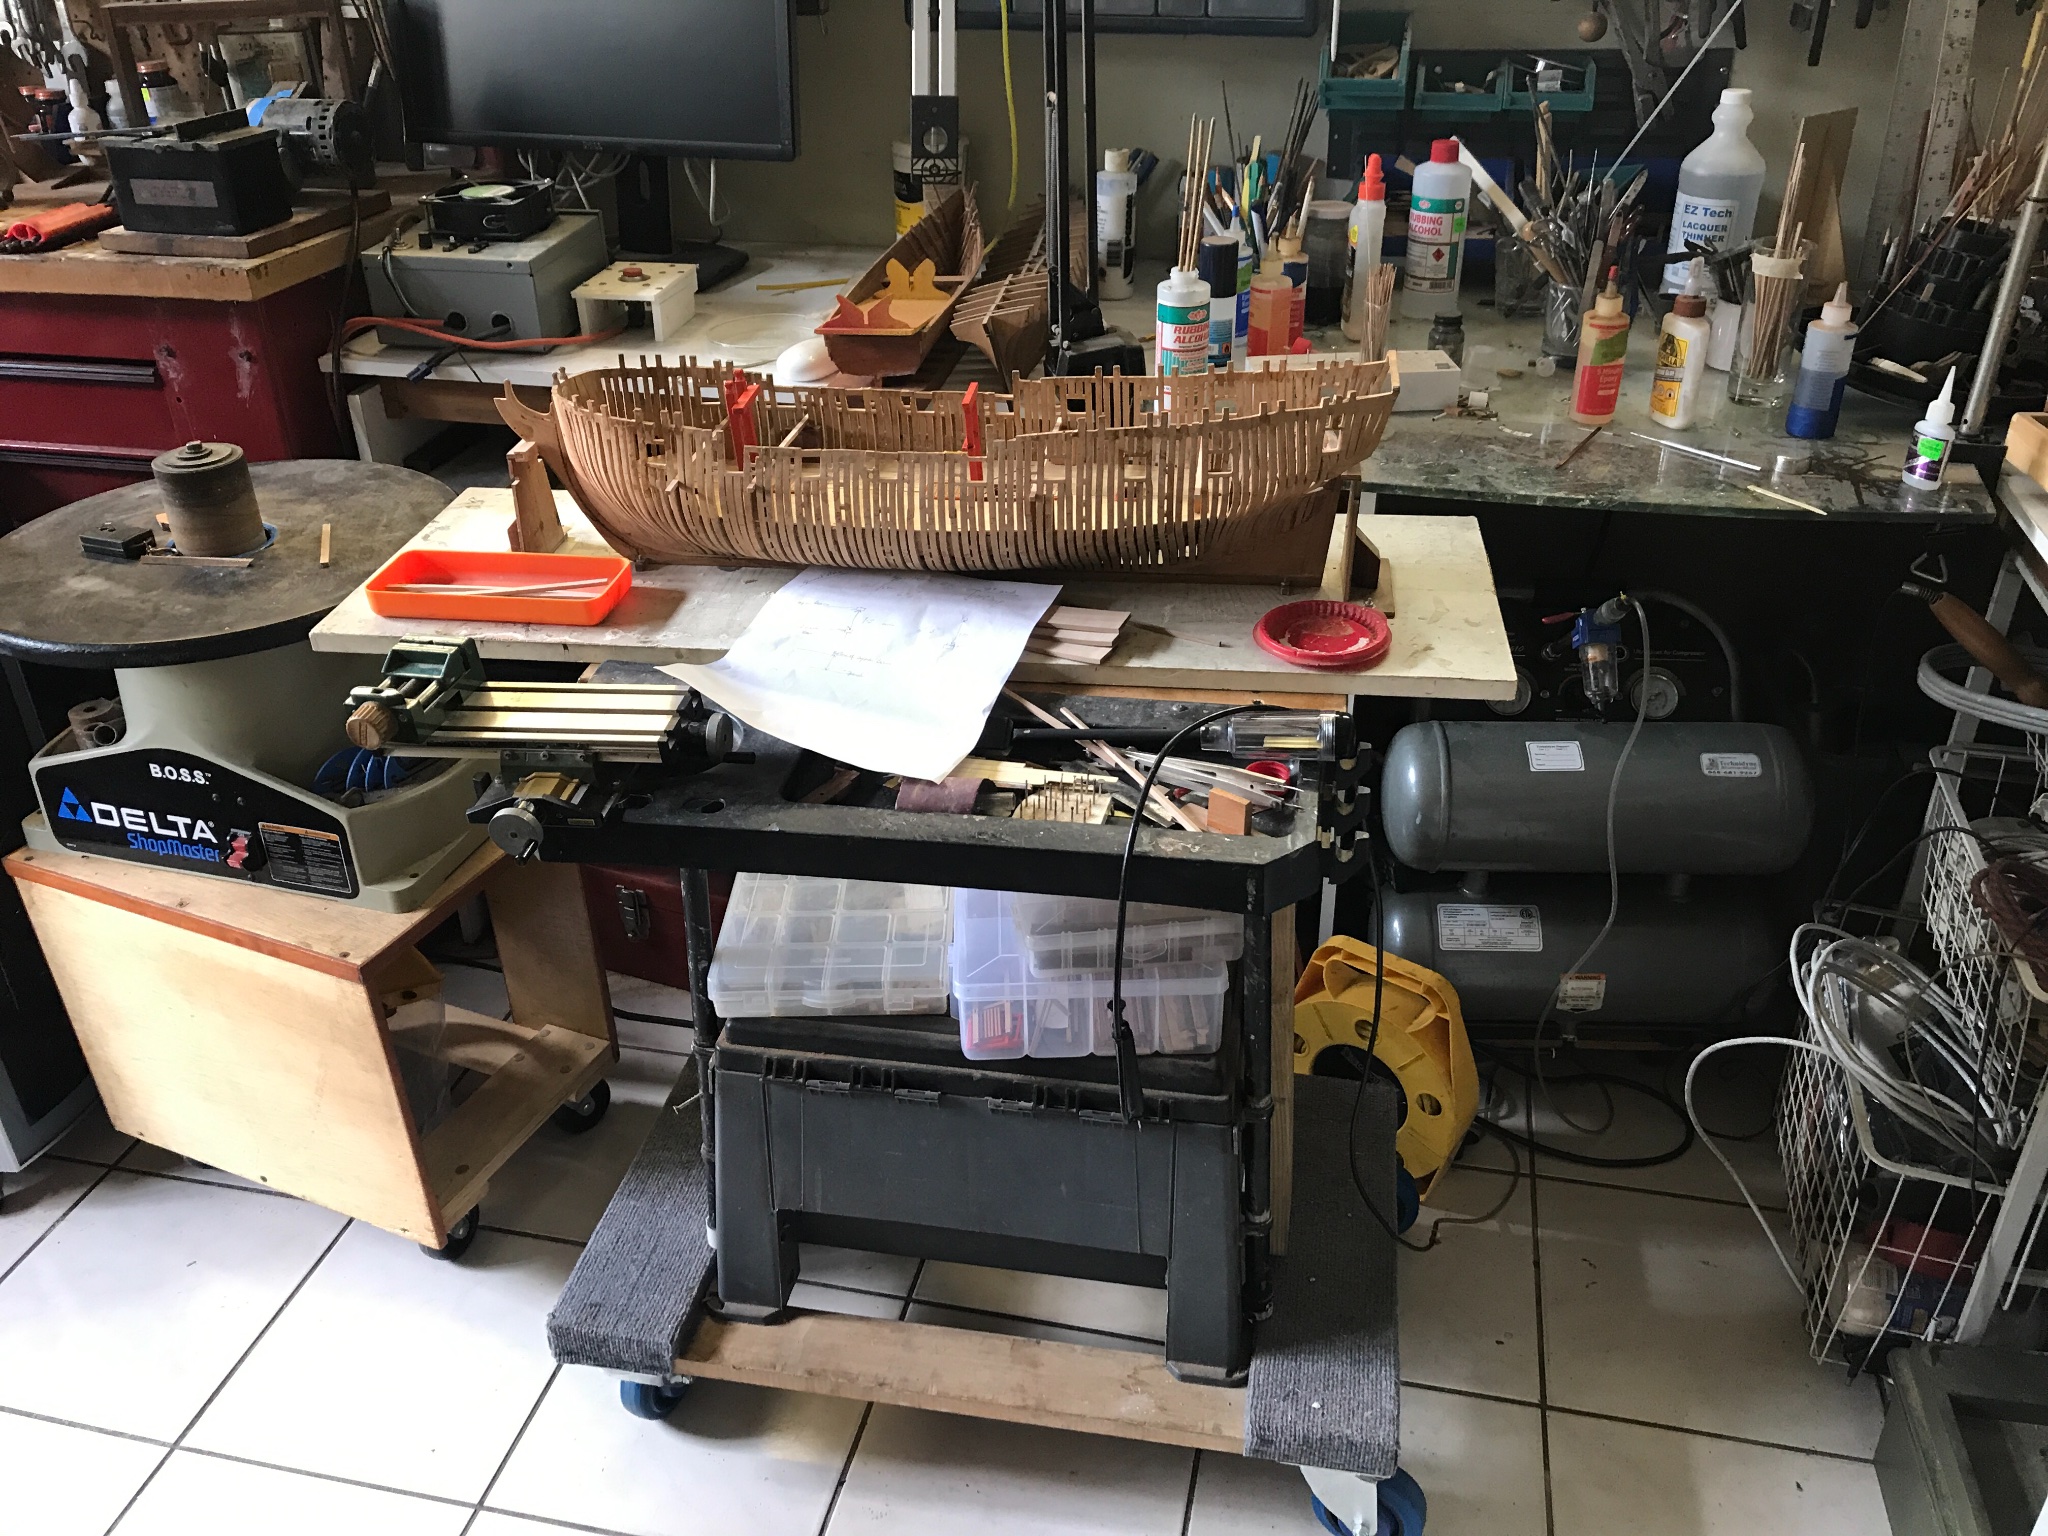
While i am waiting on the wood for the top of the work table, i have rearranged my two workshops, installed a vacuum system in the outside shop, threw out lots of stuff that i have not used in ages, rearranged the inside shop, moved the vacuum into a cupboard so its not so loud, moved the Byrnes and Preac to the old work bench, mounted the drill press on the old wine chiller. Wow, i now have space. Even Susan my wife seems happier.

-
-
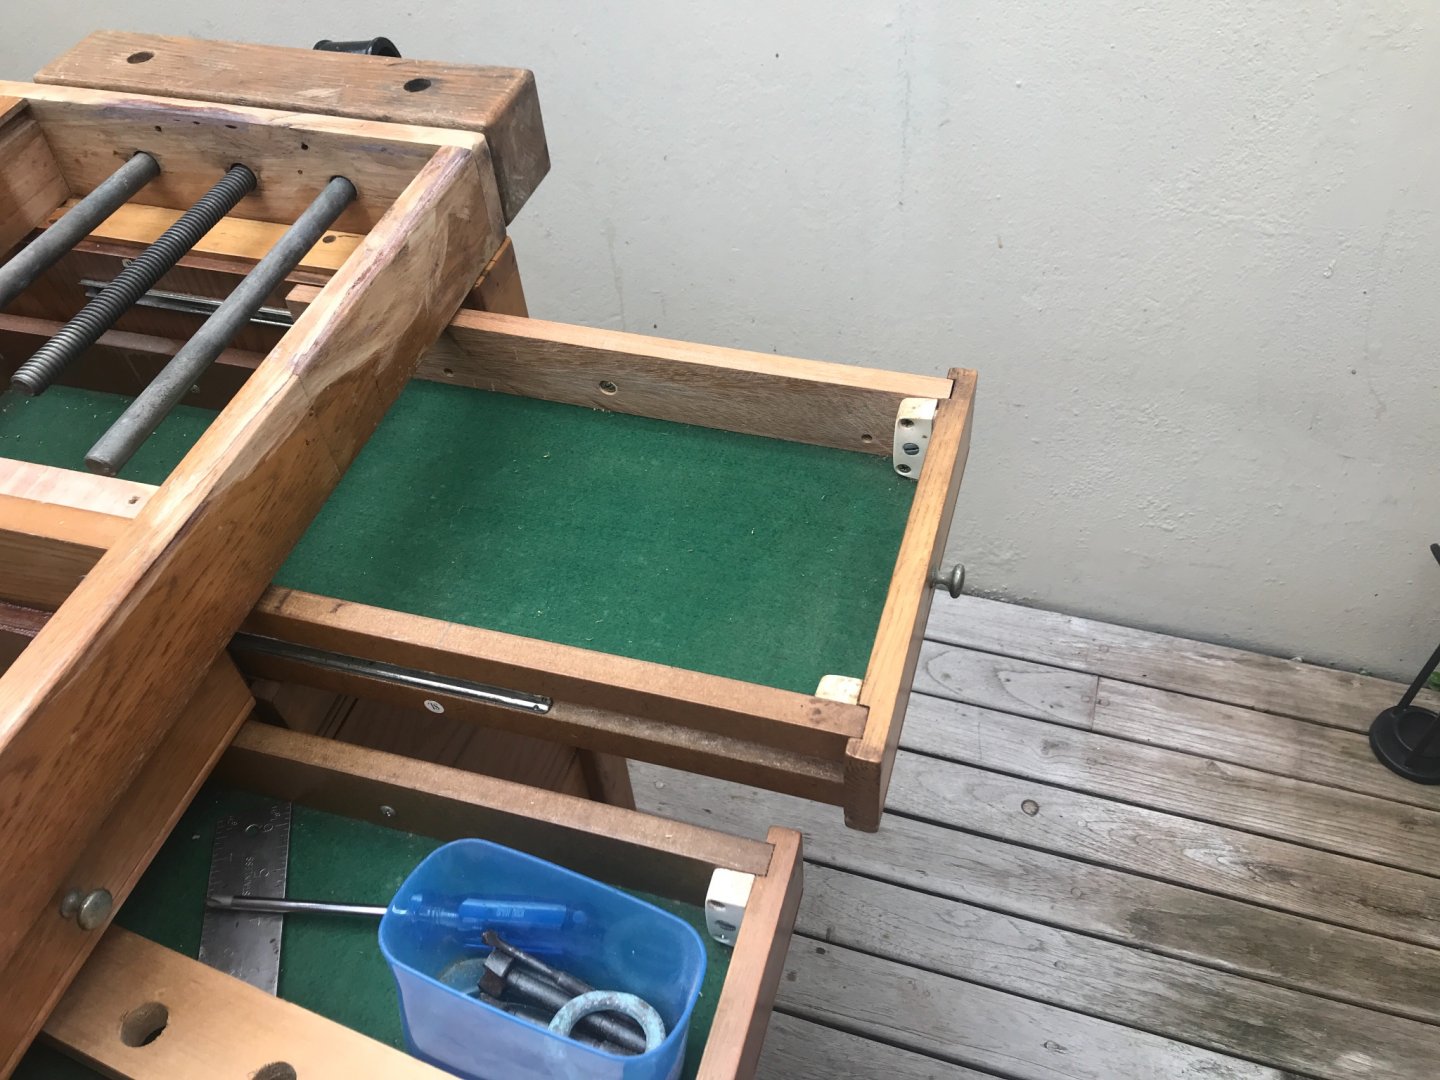
It would be a shame to put this nice vice on my old work bench so I decided to build a new work bench, a job I put off for many years. Went to my friend and best joiner ever Richard Hadeed to discus the project and he gave me this old workbench that needed a lot of repairs but was exactly what I was considering building. I have repaired all the draws and am now waiting on a slab of 2” Mahogany for the top. It will be 44” by 20”.
-
Santa was very generous this year. Lee Valley best of the best.
unfortunate they will be sent to New York to be picked up some time next year.
hope you were all as fortunate as i was.
best to you snd your family.kevin


- Jorge Diaz O, KentM, billocrates and 6 others
-
 9
9
-
-
24 minutes ago, hdrinker said:
Kevin, I very much enjoyed your videos. Beautifully done. Your skill level is understated. I am just finished the hull framing of Pegasus. My attention to detail has been inferior by far to yours. The two most significant problems I encountered were #1: maintaining a smooth top timber line, particularly with the aft cant frames and #2: alignment of the ports consistent with the sheer. I cut the port notches as I went and the end result was poor. I decided to redo all the ports. I think I would prefer next time to cut them after the framing was complete by drawing the correct locations relative to the sheer beforehand. The top timber line correction was completed by adding and subtracting material. While the end result is satisfactory from a construction standpoint, I would not want to leave it unplanked in the end.
Your work makes me consider starting again from scratch. My first two POF models were undertaken as much for the end result as for the process itself. This one was purely for the process. Well done!Henry Drinker
Henry
This build is in it self a teaching opportunity. My view of errors is that at this stage most of the mistakes will in fact be covered by later parts of the build, so unless it was a fatal error i would simply move on. I continue to make errors. If there is a lesson learnt it is that the flow of the work is almost more important than the actual measurements. I too made errors with the port notches and felt as disappointed with my errors, but once i realized that i planned to plank both sides, no one will know about the error except myself. So plung on, correct if you want or have to correct as you go. In fact that why i am building many of the internal pieces that no one will ever see. This is 101 ship building.
what i have also found very use full is to follow some of the restorations that are found on YouTube. Tally Ho restoration by Sampson Boat co. With Leo Goolden is one of the best.- KentM, druxey, billocrates and 2 others
-
5
-
-
-
-
Greg
Two points.
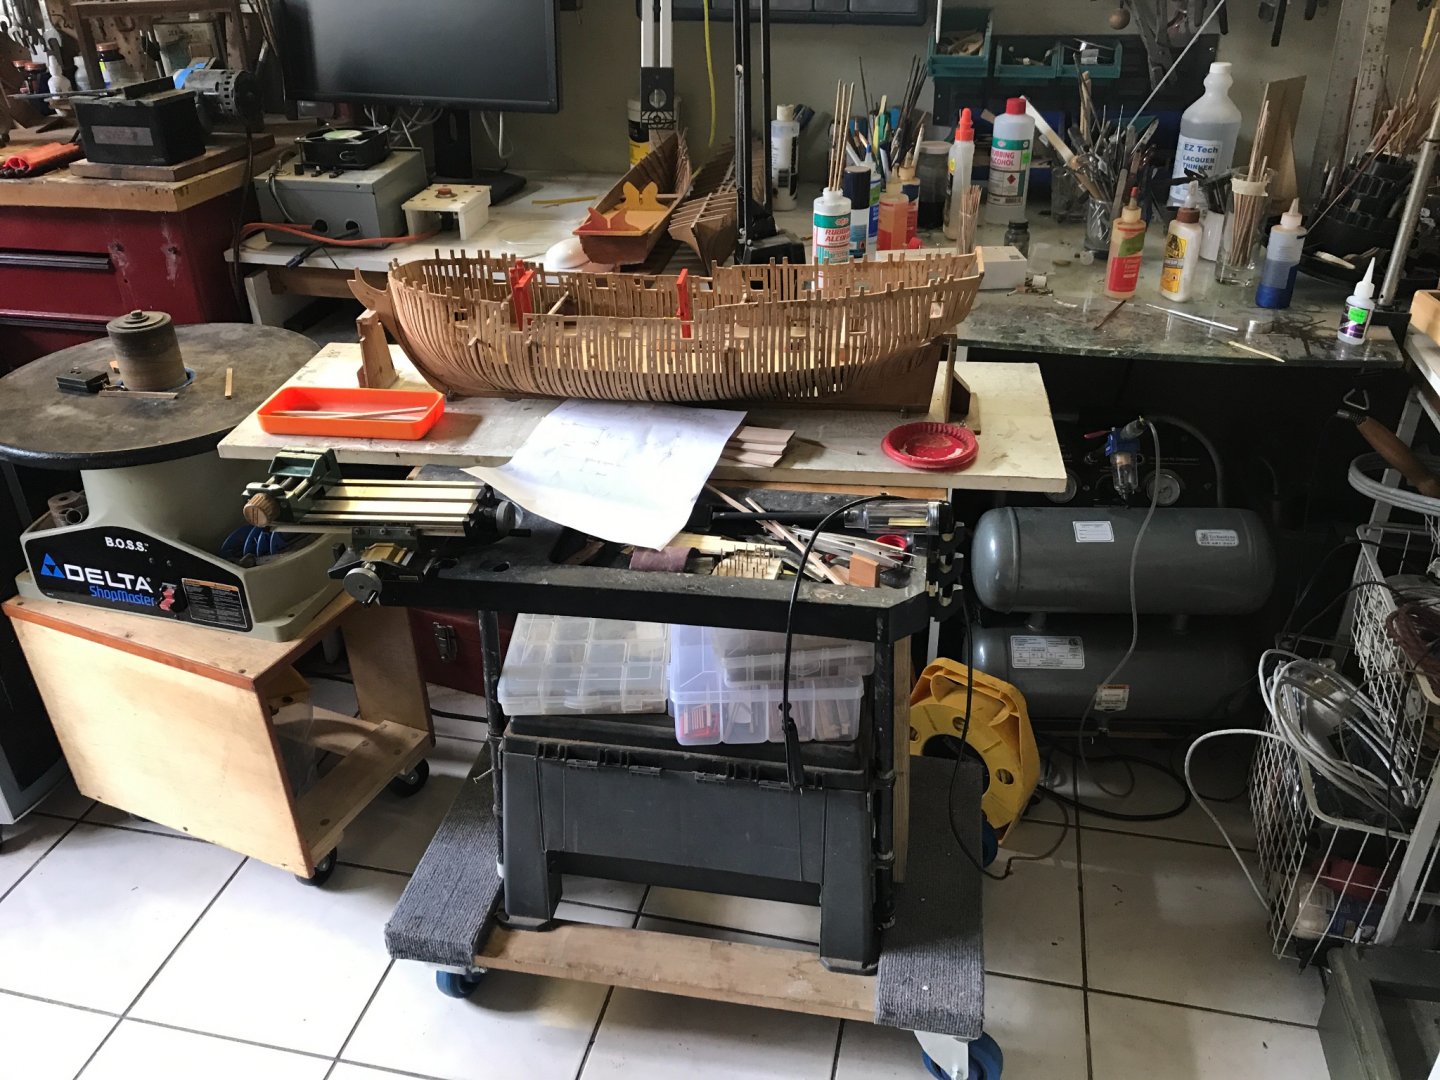
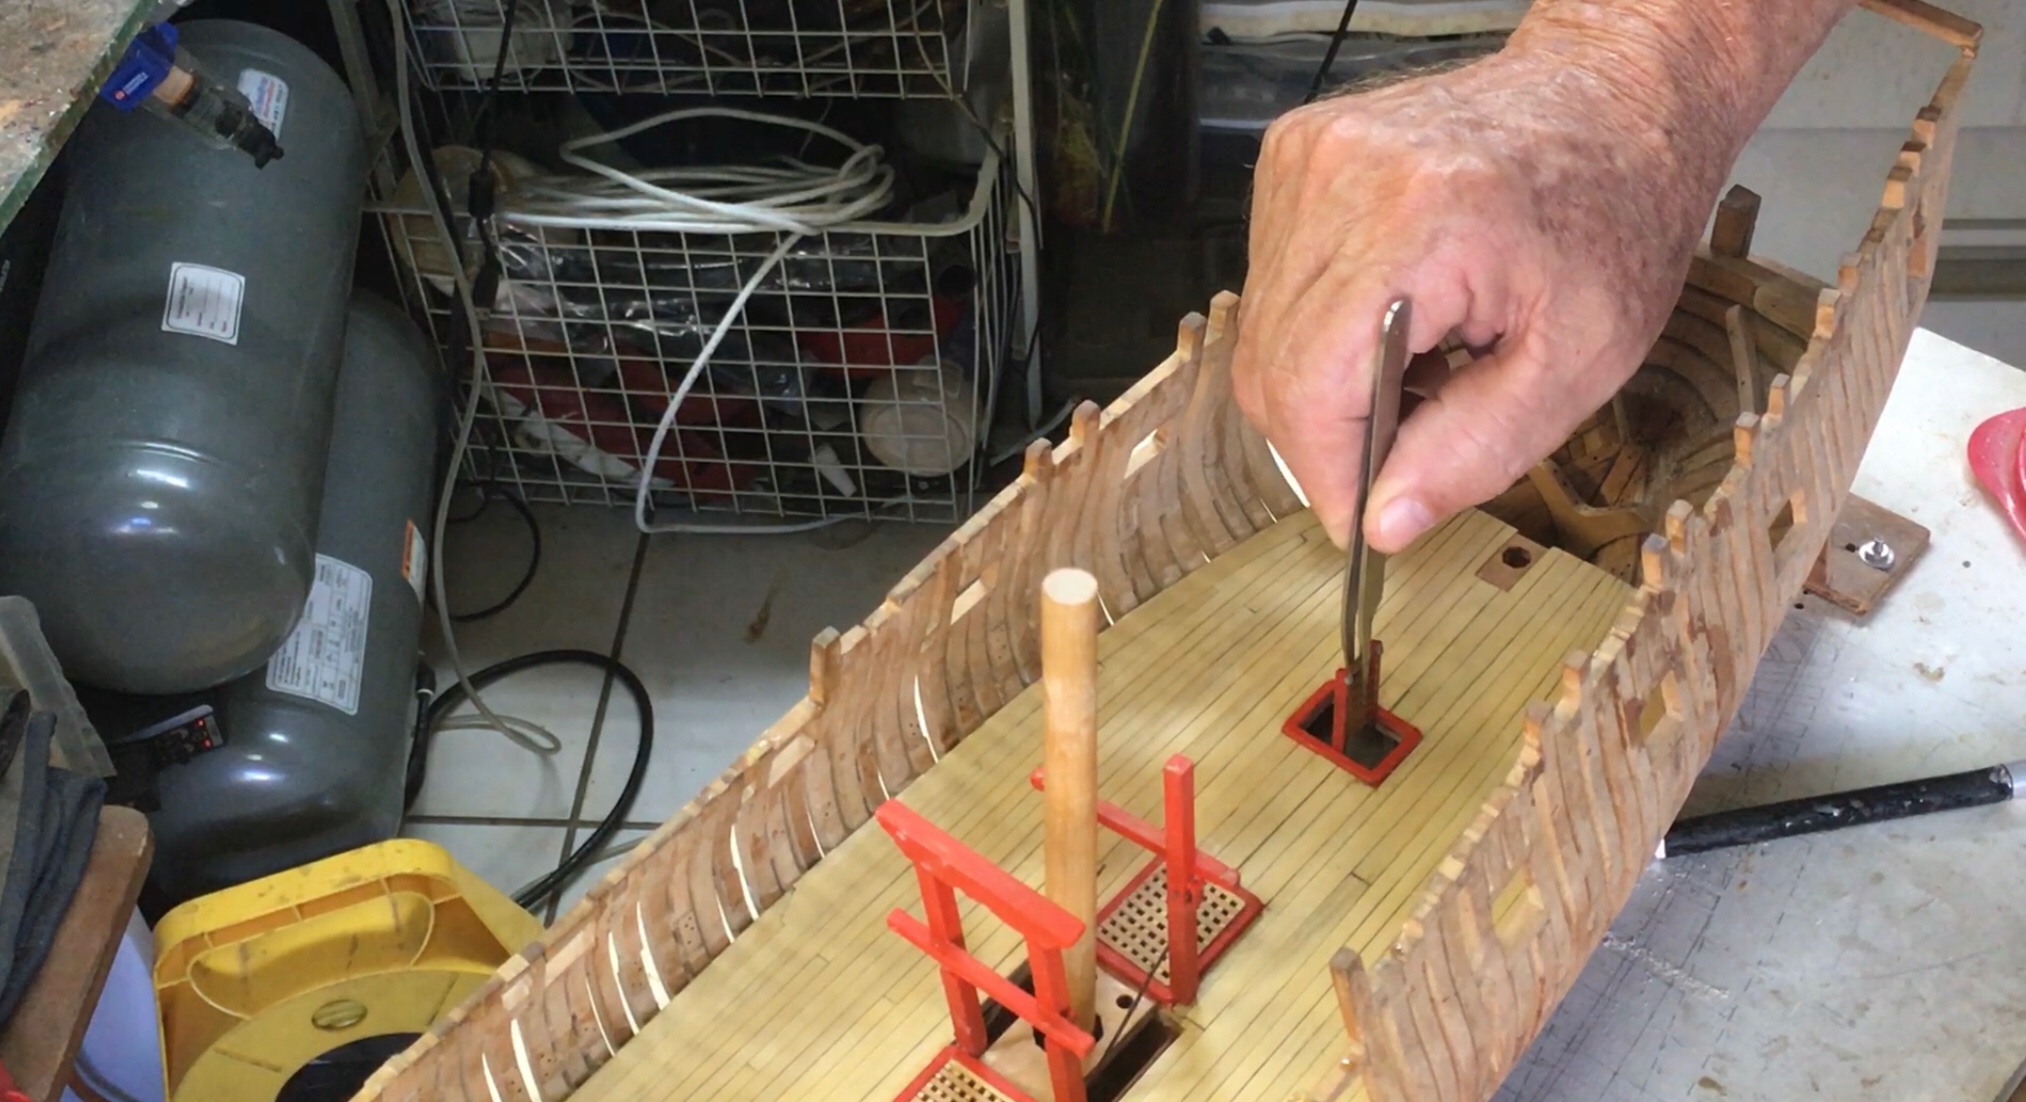
1.should the deck planking be slightly thicker to cater for finial sanding. My planks never seem to have perfect thickness even though i put them through the Preac sander.
2. What clamps do you use to get nice tight joins between the floor planks. Using the blow drier worked well to get the shape locked in but they still needed some pressure. The best clamp that worked was the large tweezers.
-
-


HMS Thorn by Kevin Kenny - 1:48 scale - Swan-class - David Antscherl practium
in - Build logs for subjects built 1751 - 1800
Posted
Michael the bench is working out great. Greg the Preac motor died a few years ago and i went to an electronic junk shop and got a replacement motor. I had planned to purchase the upgrade motor if that did not work. But it did. Its such a great saw for doing fine work and i have all the accessories from Charley. I actually have three saws all set up to do different things. The Proxxon is used to cut bulk wood stock with a carbide tipped blade, the Jim Byrnes also has the same blade but is so much more accurate so i use it to dimension lumber and cut the finial size of the various parts and the Preac is used for very fine work usually with very thin blades. I also use it as a dado.