chborgm
-
Posts
232 -
Joined
-
Last visited
Content Type
Profiles
Forums
Gallery
Events
Posts posted by chborgm
-
-
-
You have a great eye. This is what happens to a first time "scratch builder" who deviates from the plan. I built the big double doors and side windows in the front of the cabin and then went to put the stacks through and found that they would only be a foot away from the cabin structure. So I figured that since I wasn't going to light the boiler up I could move the stack where I I had clearance.
However I didn't make the mistake I made on my "Mississippi Riverboat" which you picked up The rear stairs have the same pitch.
In all seriousness Thanks for the comment that is what makes this fun.
-
-
Cathead and Bob
Thanks for the response, and the effort you put in to get the info. As a result I am going to leave them off my "Monroe". I put them on my previous two builds and they kind of detract from the whole boat. Your eye first goes to the red or green light rather then viewing the whole item.
- pontiachedmark, mtaylor, Canute and 1 other
-
 4
4
-
-
-
Thnaks Bob Up close it has it's faults.
Blighty
I picked the Monroe plans because It looked like a typical riverboat . I have changed a fair amount of it. I enlarged the engine room to include what i think would be a kitchen, I converted it to wood because I like the piles of logs, and moved some things around to cover my mistakes. The one thing I learned in this first scratch build is once you start to improvise you creaet a lot of downstream problems that the kit builders solved. It adds to the enjoyment though, and it uses up a lot of the inventory of wood I had accumulated over the years.
I built the Chaperon and that started by love for steam power, and also I am getting to old to tie a lot of lines
-
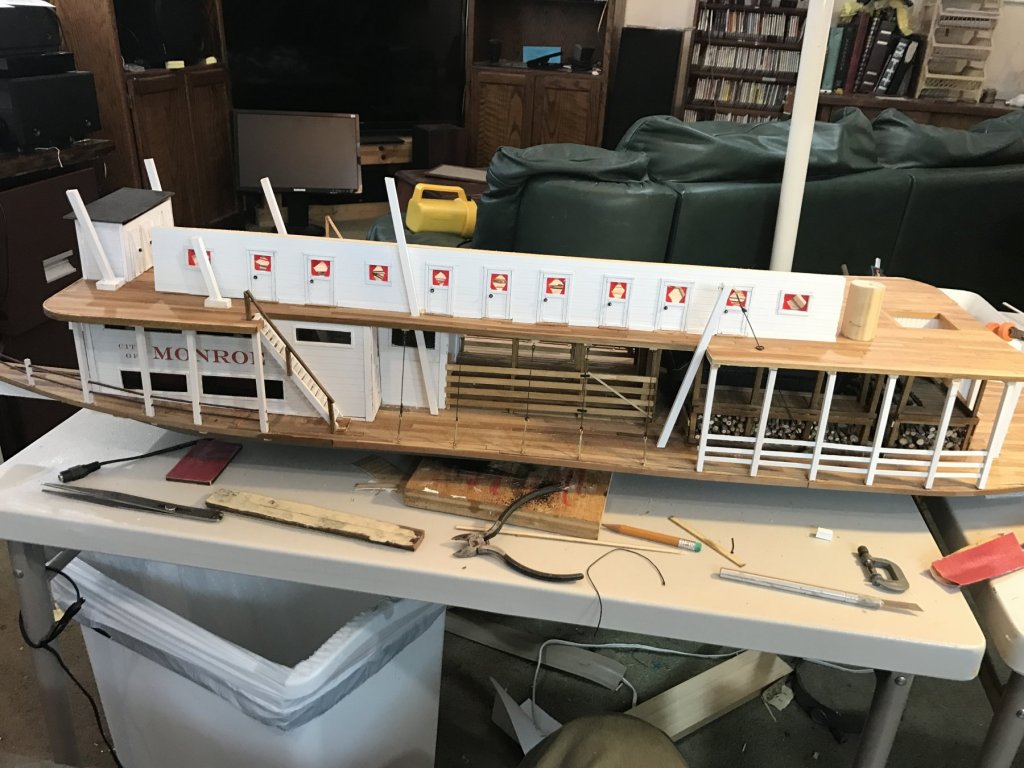
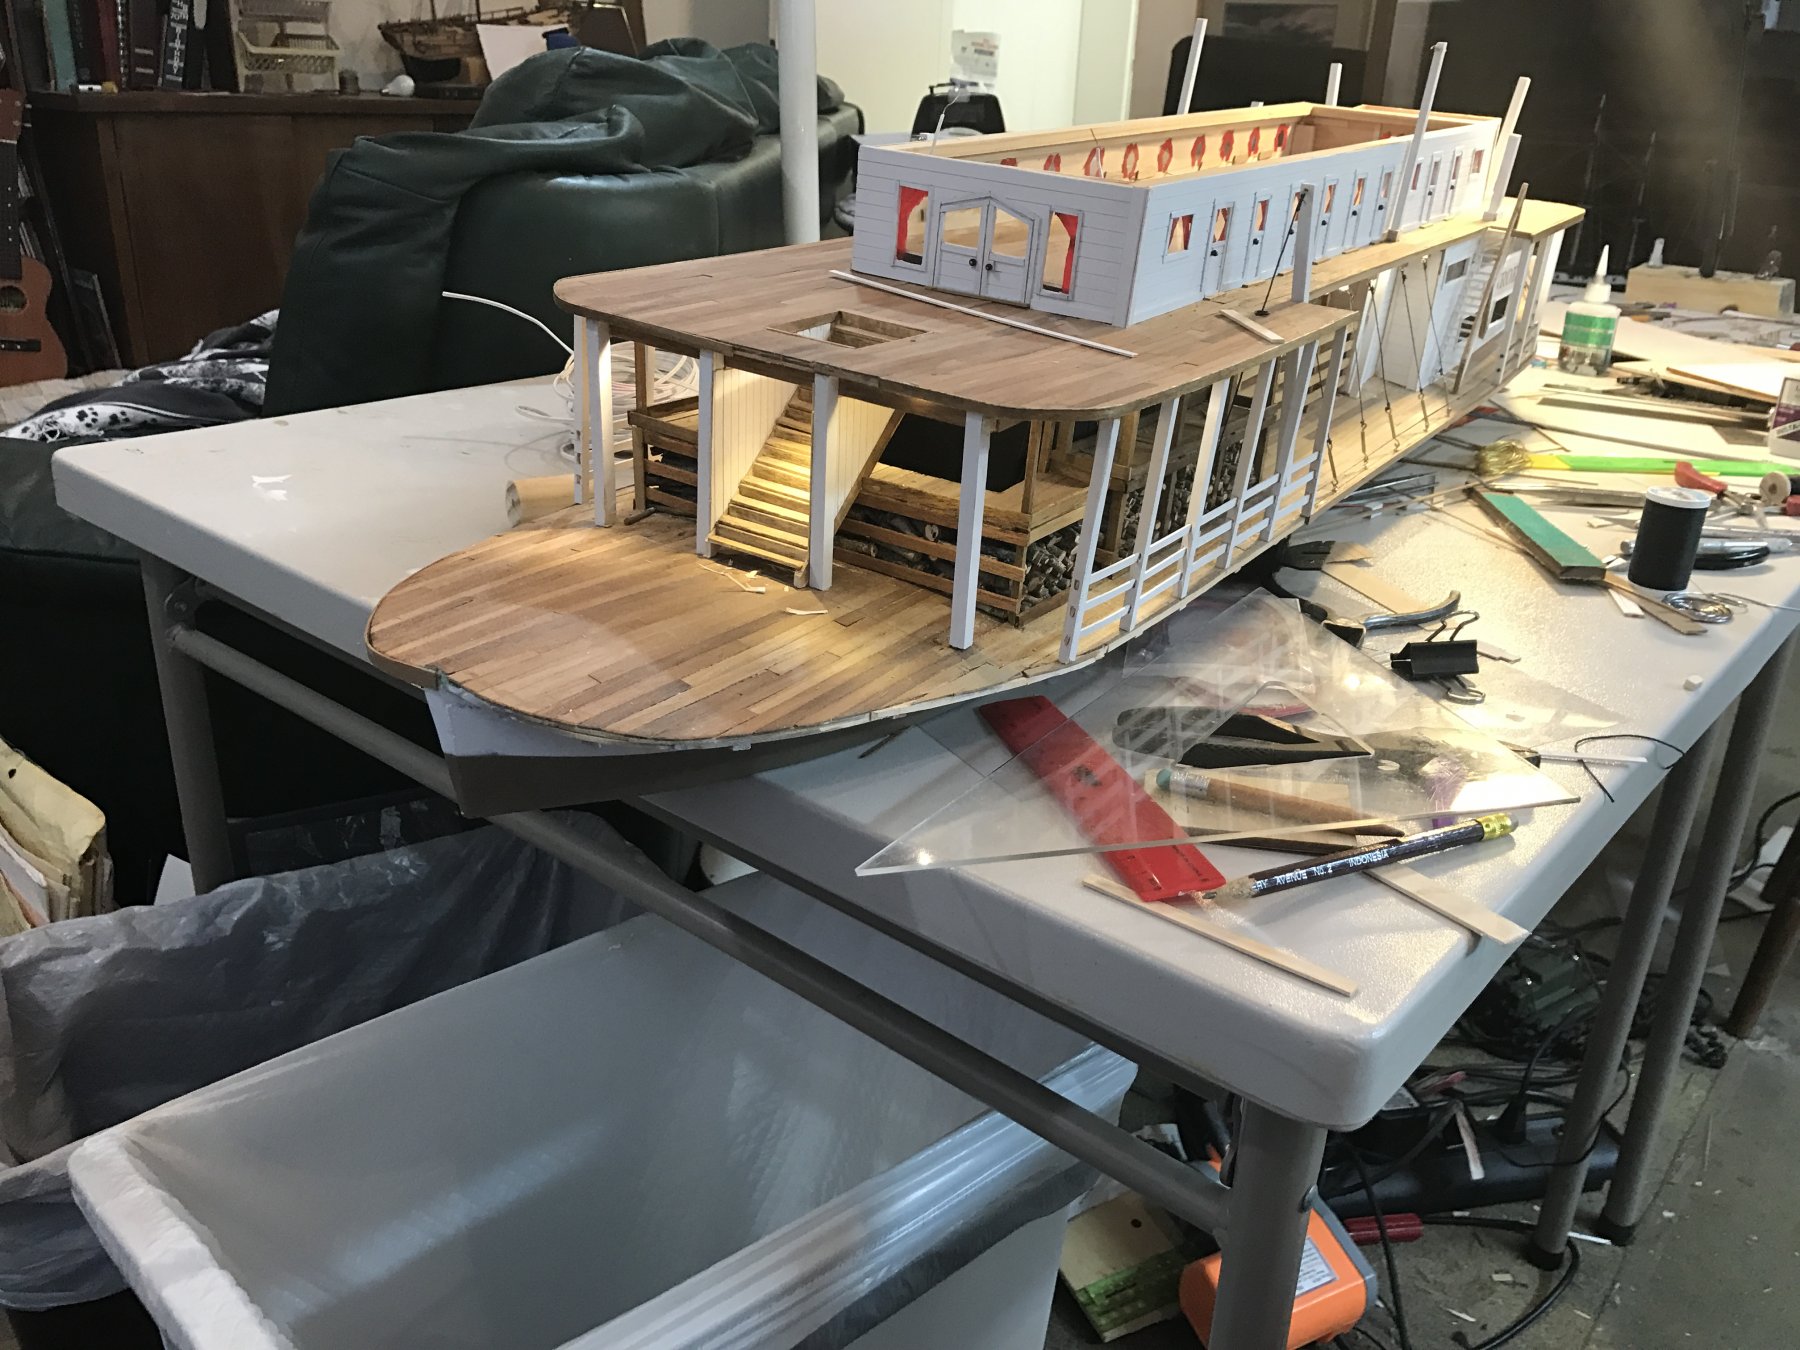
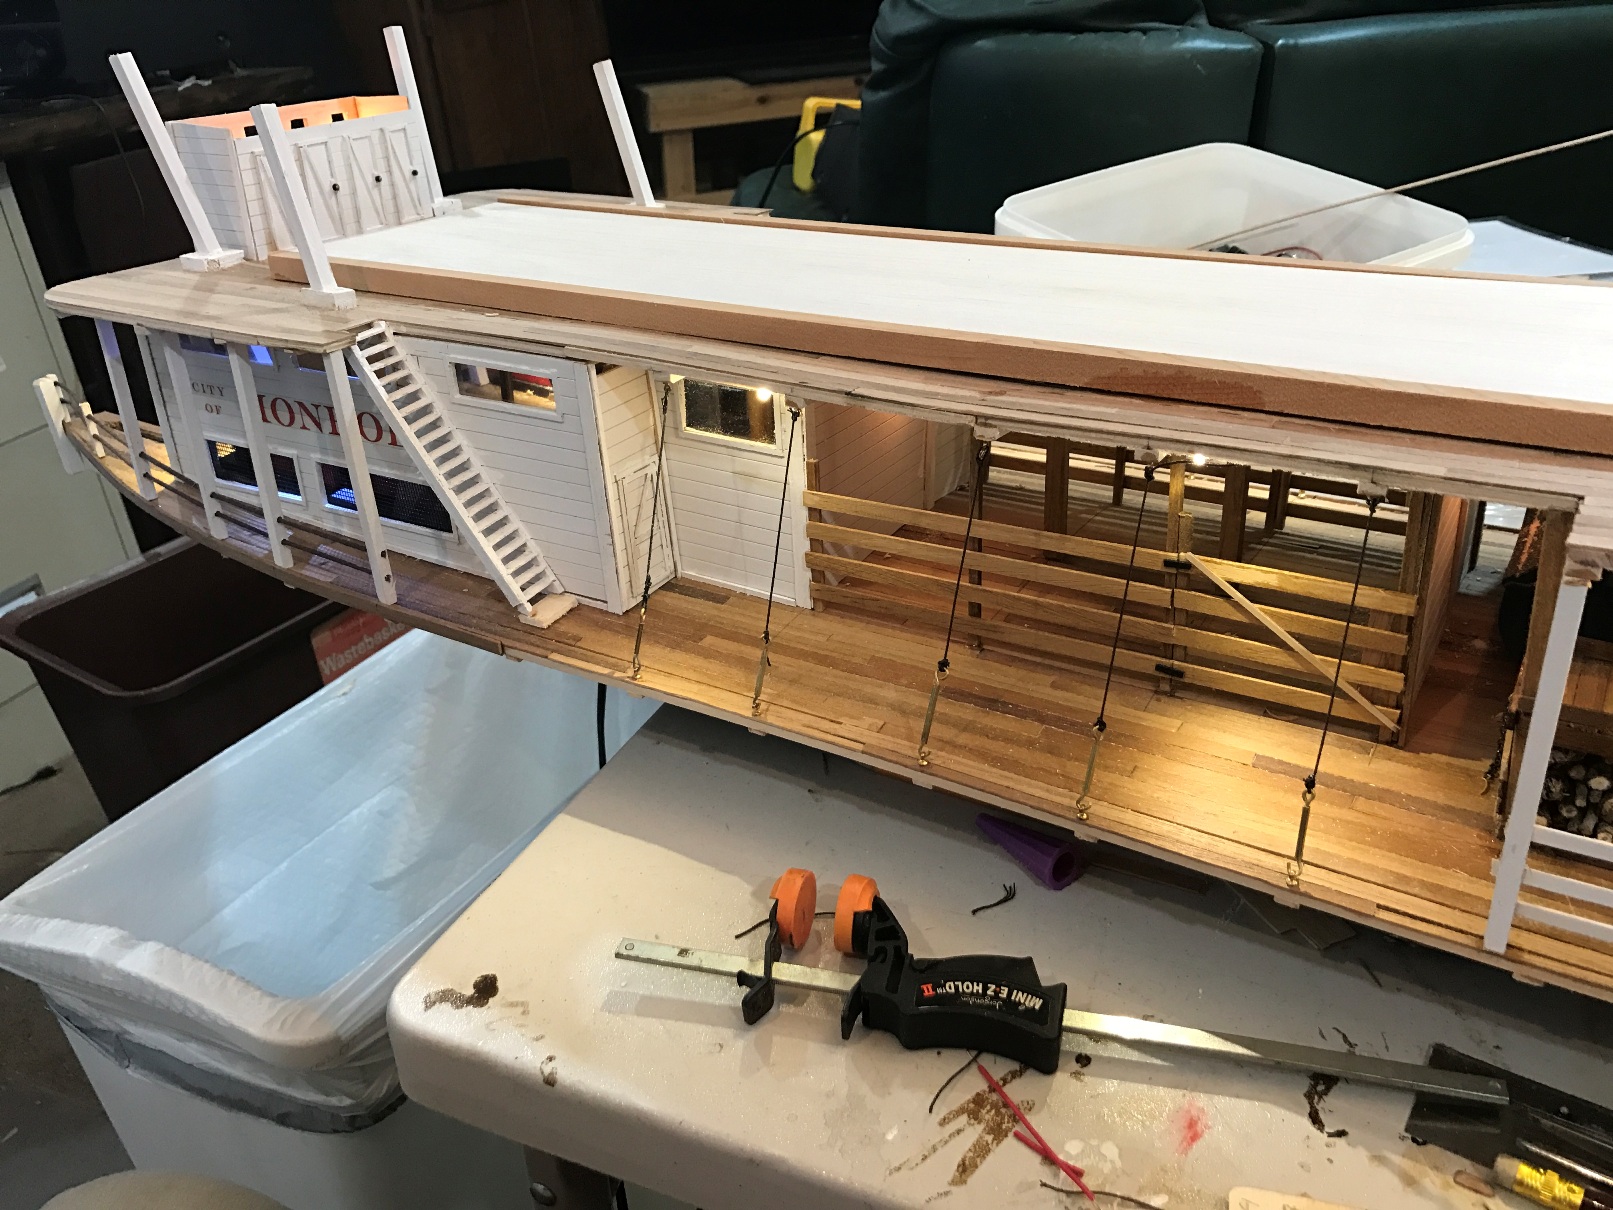
Got a start on the boiler deck. As you can see I decided to have the curtains on the doors and widows red. I considered blue,purple and pearl. but decided to stick with the red I had used previously.
I now have to finish with the walls and then have figure how much lightinh will be required.
-
-
I small story about the wood pile. Somehow when I collected the little twigs that I cut up there were some black ants I didn't see. So every day one or two ants show up. Since they didn't have a ticket I killed them. I think I have them all by now.
I agree that 1/4" is the best way to go, but it sure take a lot of wood.
Clarence
-
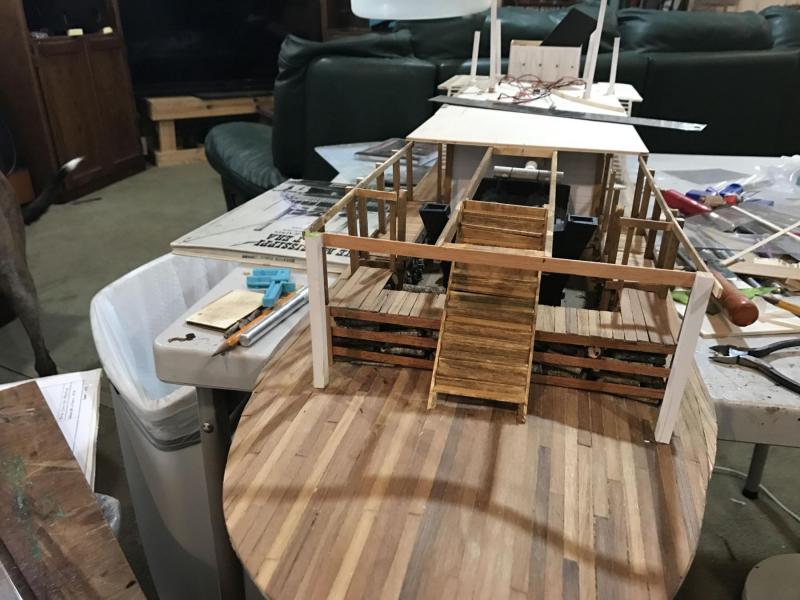
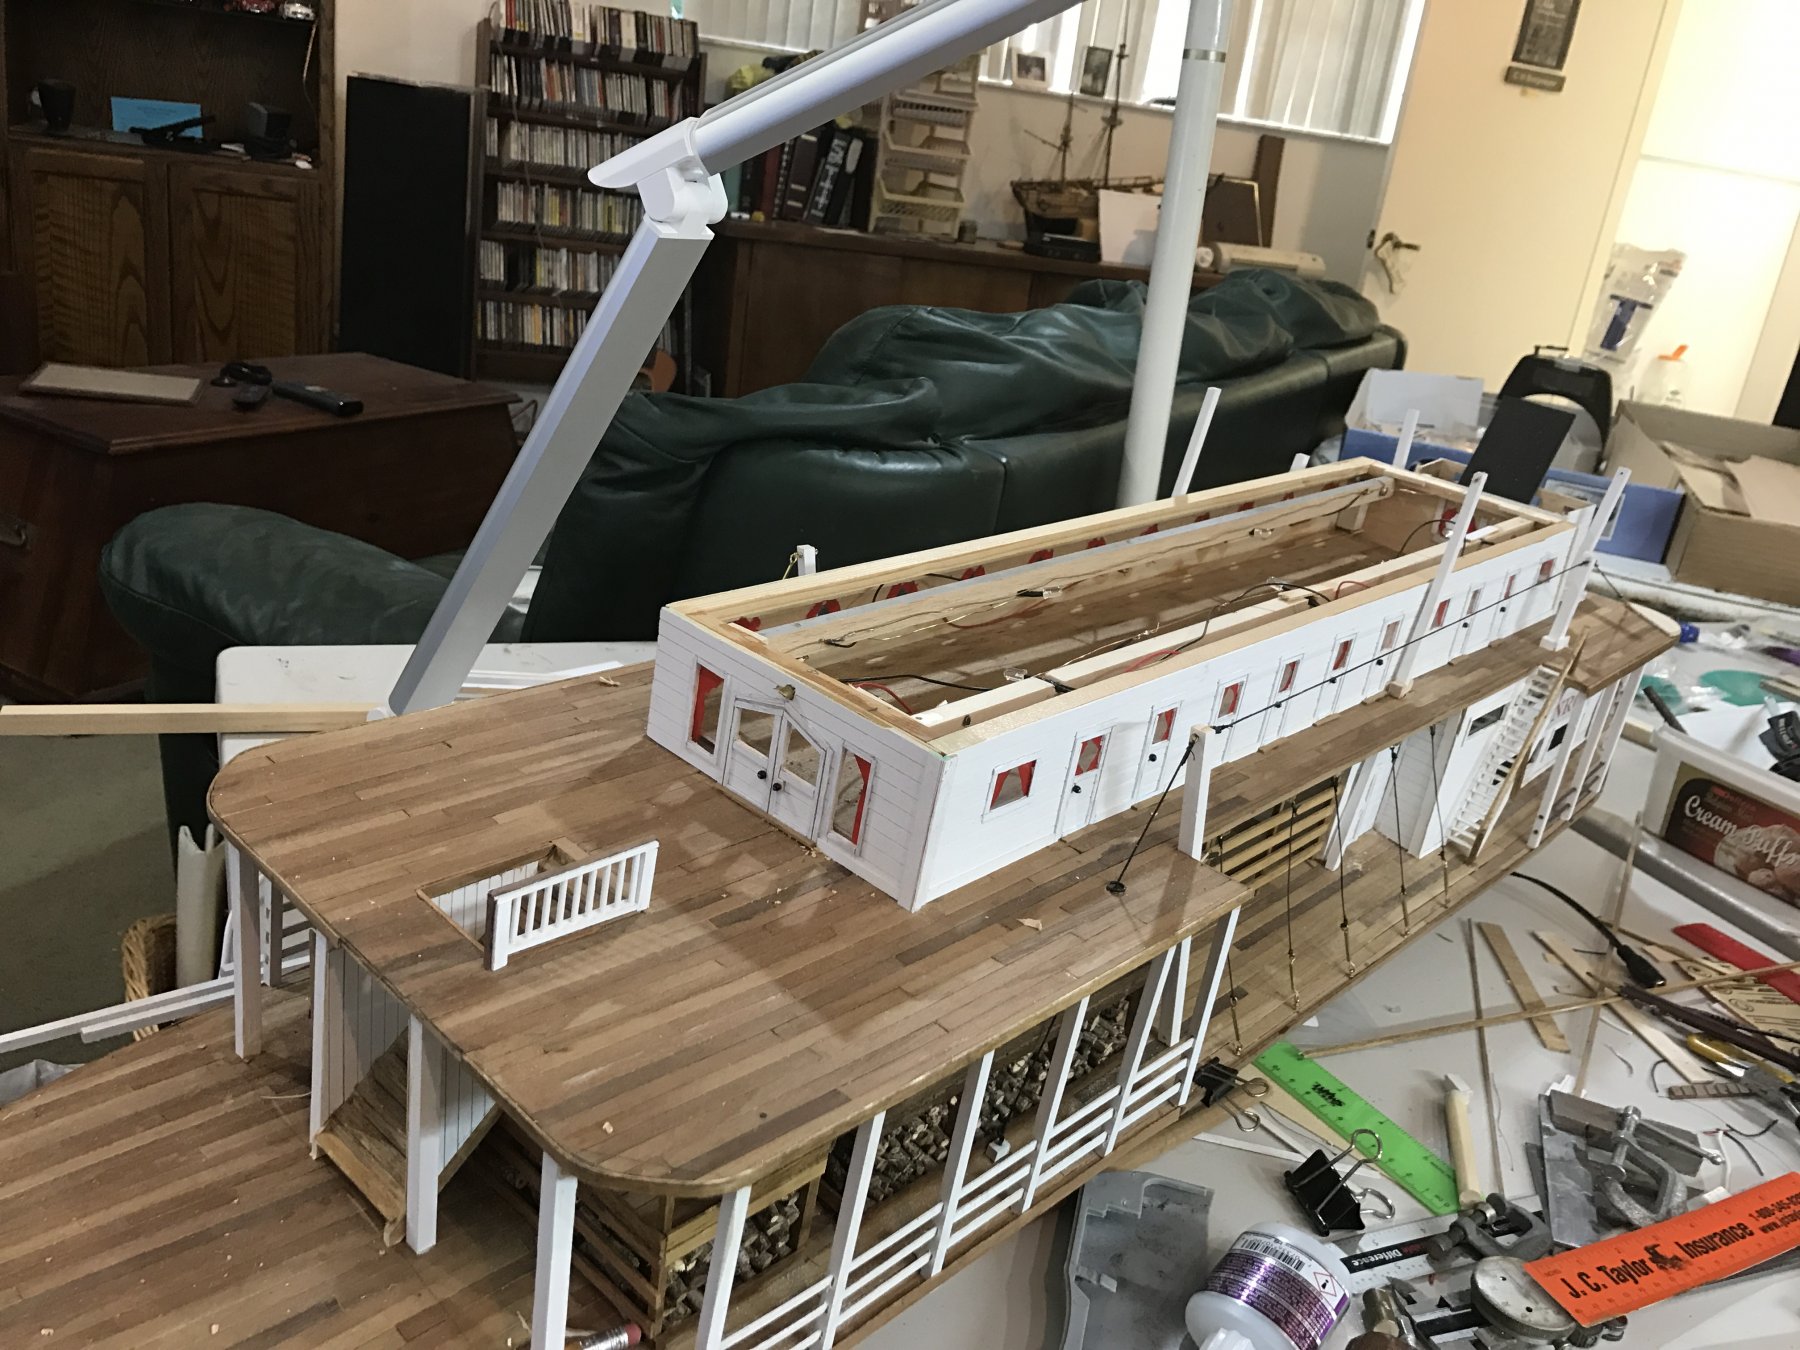
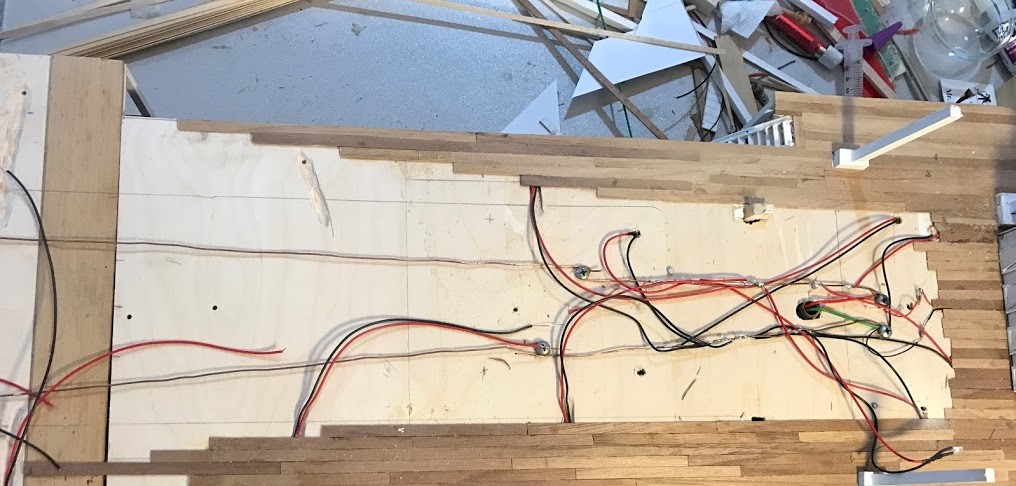
I have continued to make slow progress. I can't believe how big this is. I should have kept to the 1/8" scale instead of the 1/4". I am glad I had a lot of lumber left from previous work. Anyway here are a couple pics.
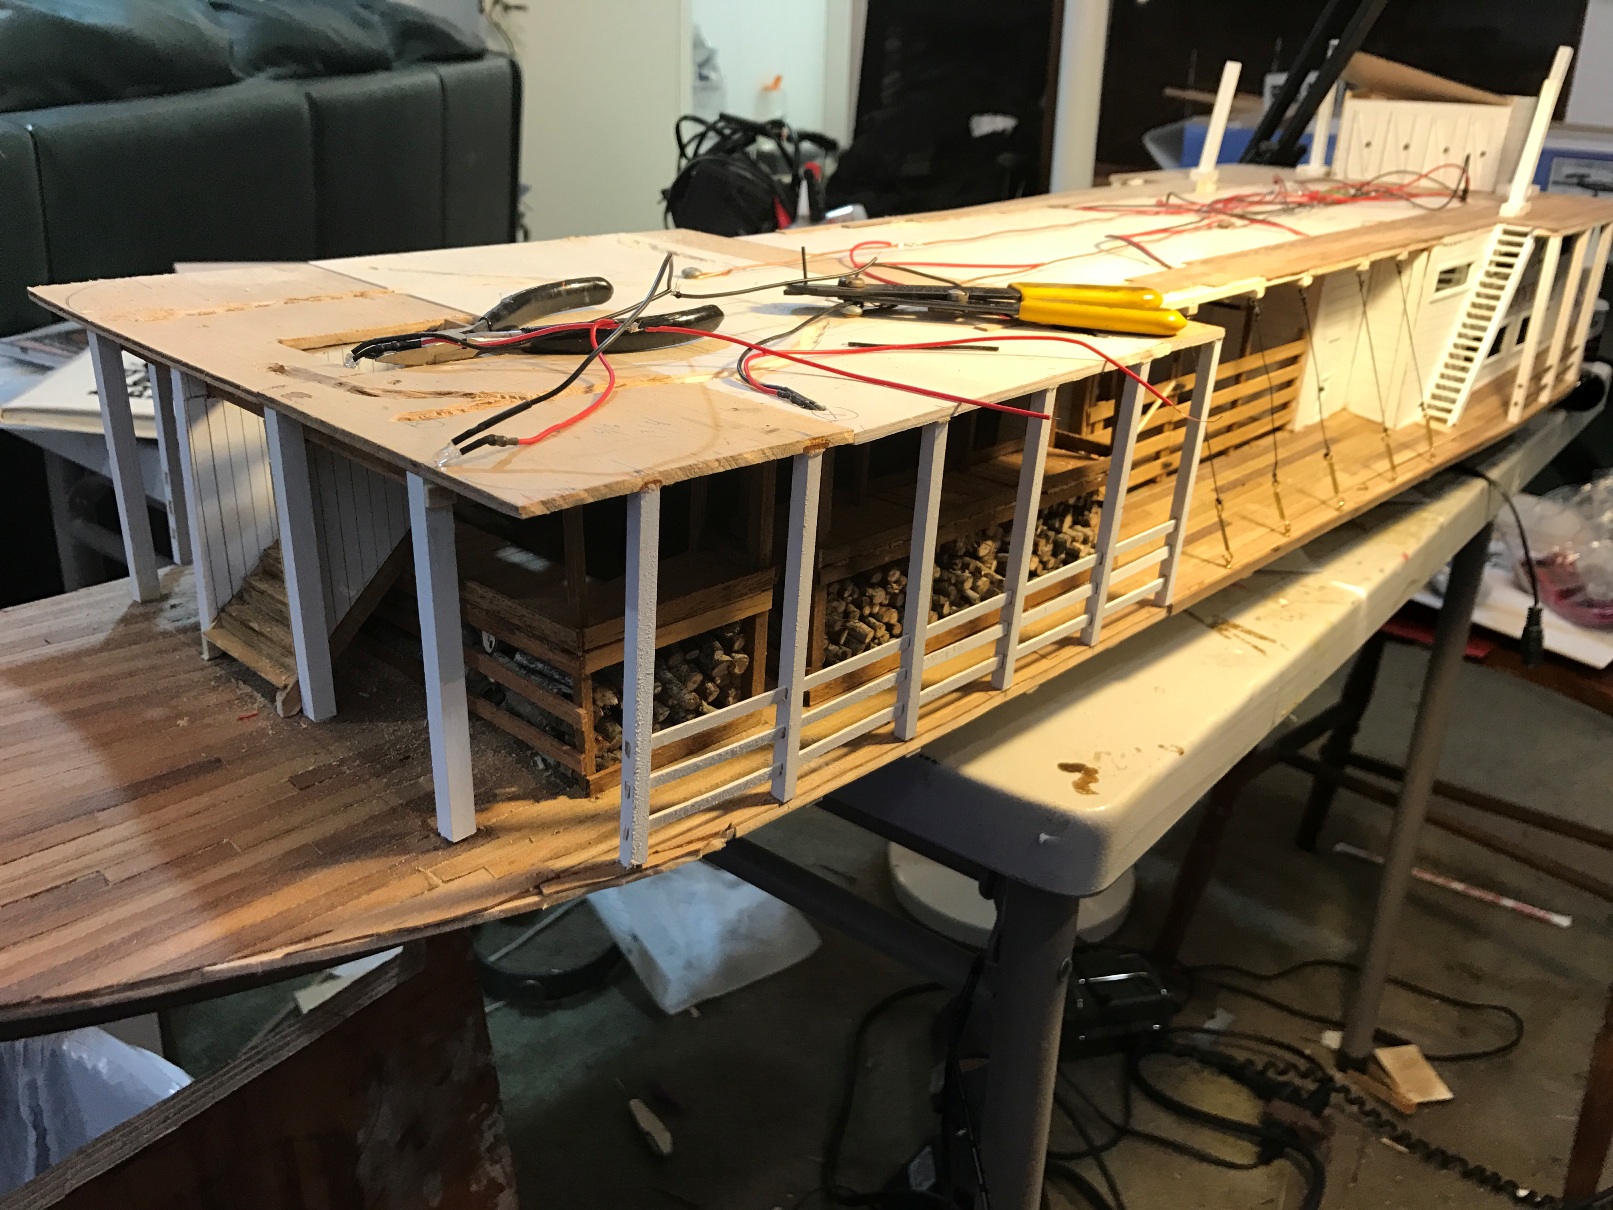
The first shows the boiler deck planking complete and the false deck for the cabin area with the lights on.The second shows the rough wiring


- Blighty, mtaylor, John Allen and 6 others
-
9
-
-
To get an idea of brightness check my last post
Those are 3mm 12v leds
Kens suggestion of the led strips is a good idea.
-
-
-
-
I have put lights into my last three models, and it really makes a difference, but I think you have to plan from the very beginning. If you are going to use battery you probably still to it, but if you are going to use house power then you have to get a line out the bottom of the hull or some place not to noticeable. The two site below are my two build logs.
I used 3mm and 5mm 12v leds Very cheap if ordereed on ebay from china . Anything I can do to help let me know.
http://modelshipworld.com/index.php/topic/12537-mississippi-riverboat-by-chborgm-mantua-scale-150/http://modelshipworld.com/index.php/topic/12537-mississippi-riverboat-by-chborgm-mantua-scale-150/
http://modelshipworld.com/index.php/topic/10758-portland-by-chborgm-bluejacket/
Clarence
-
-
In all the pictures I have seen, and I may have missed one, but I have never seen an anchor on deck. I would have expected one on the stern to hold the boat from swinging when headed into the bank. I was going to put one on my current Monroe build but don't know what kind would have been used.
Clarence
-
-
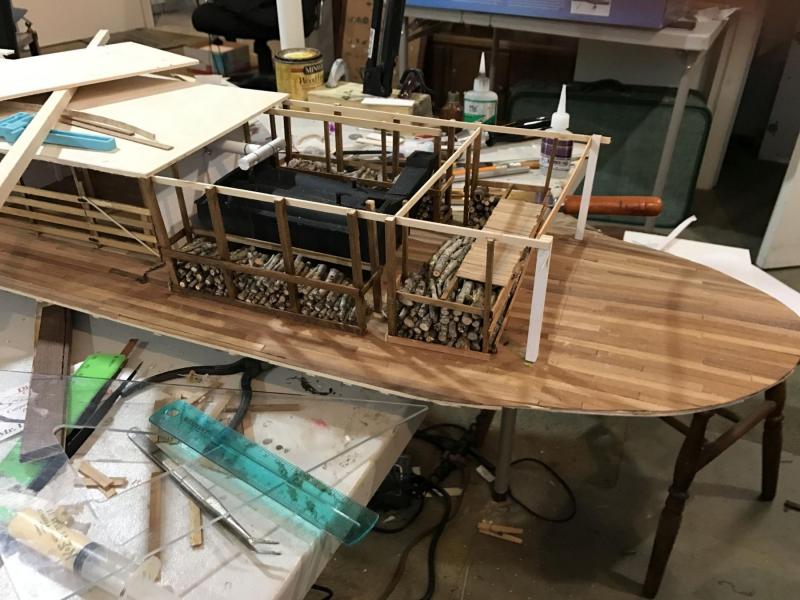
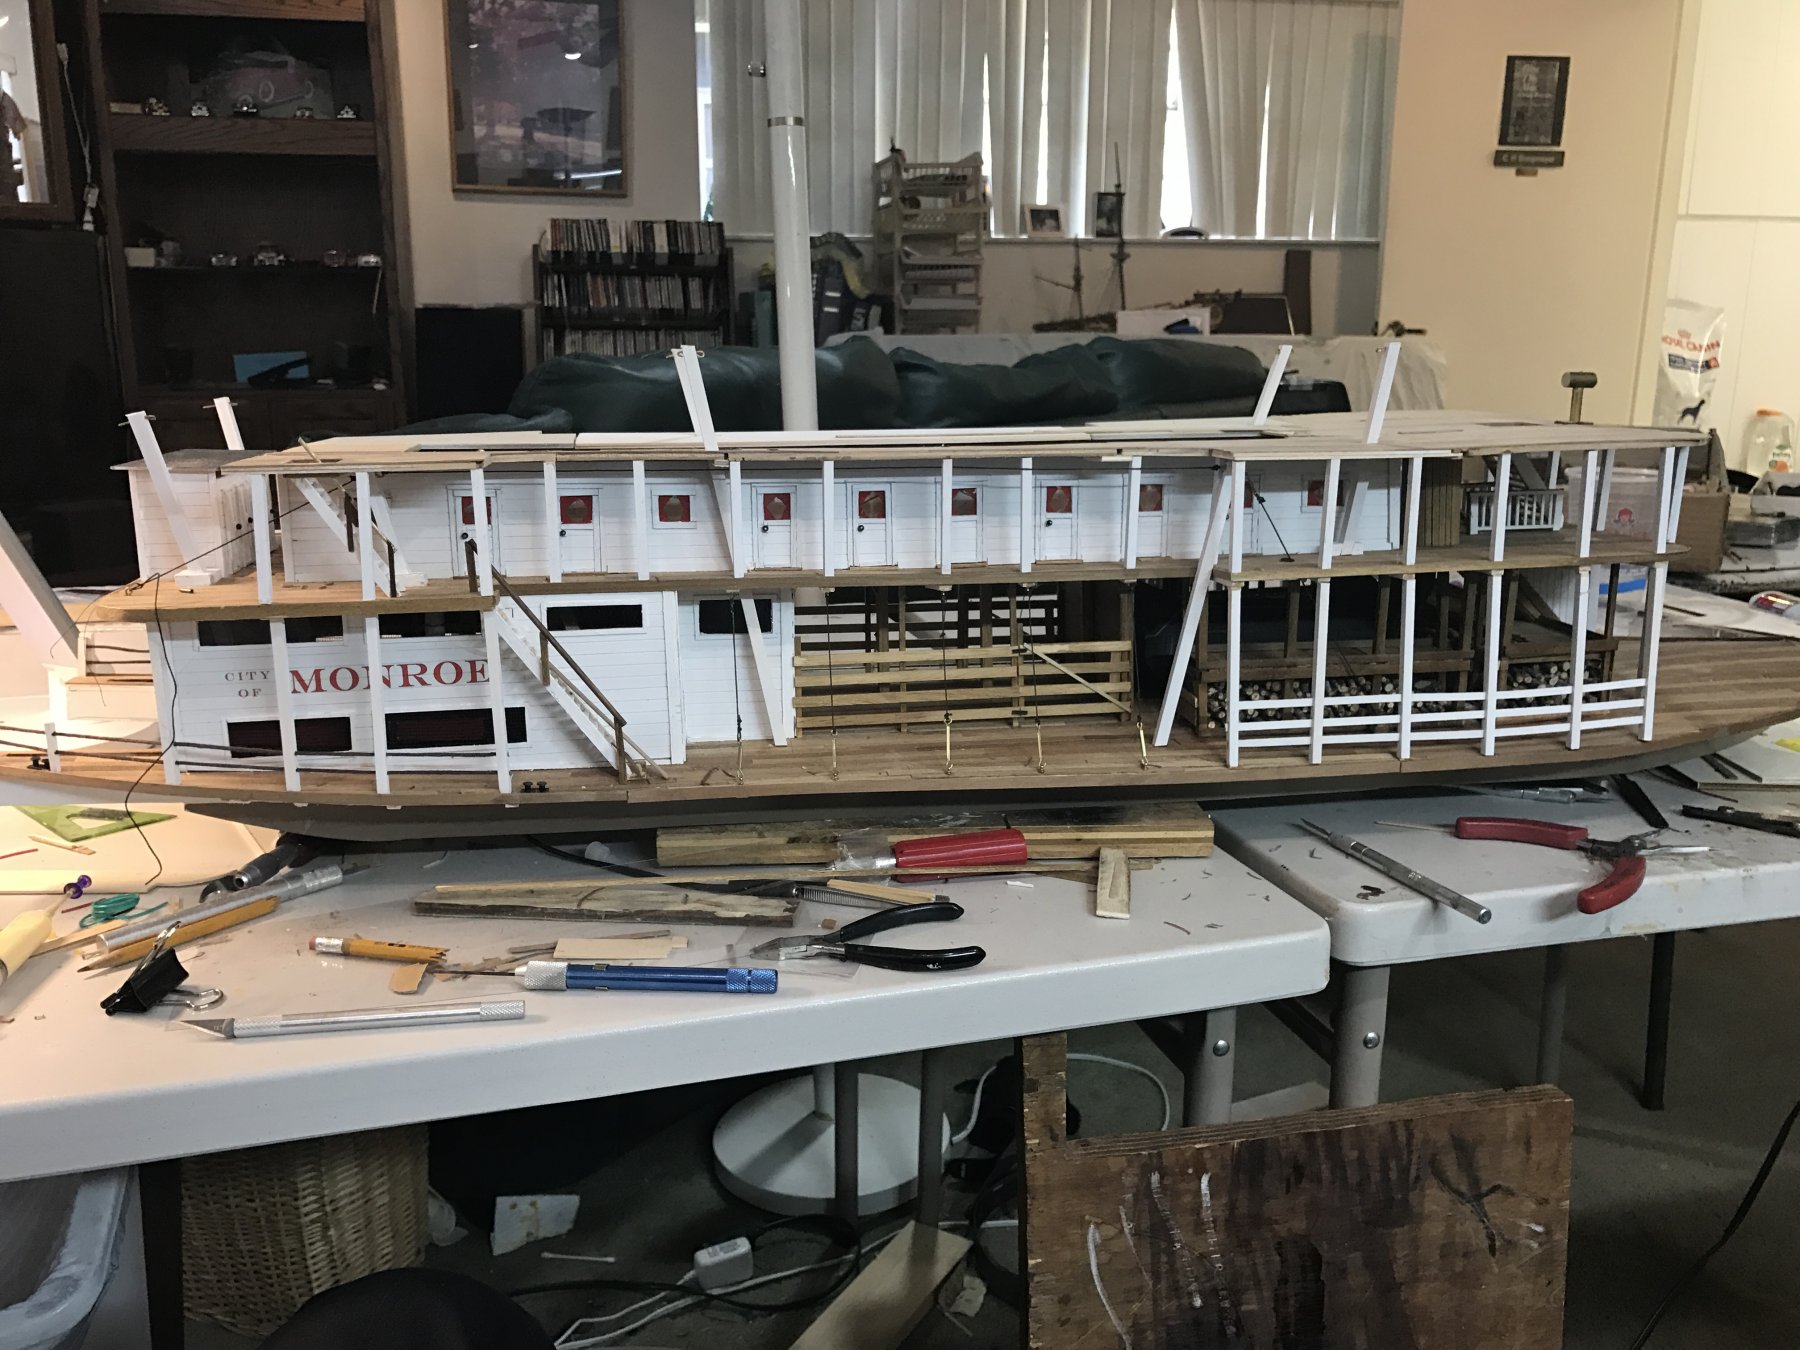
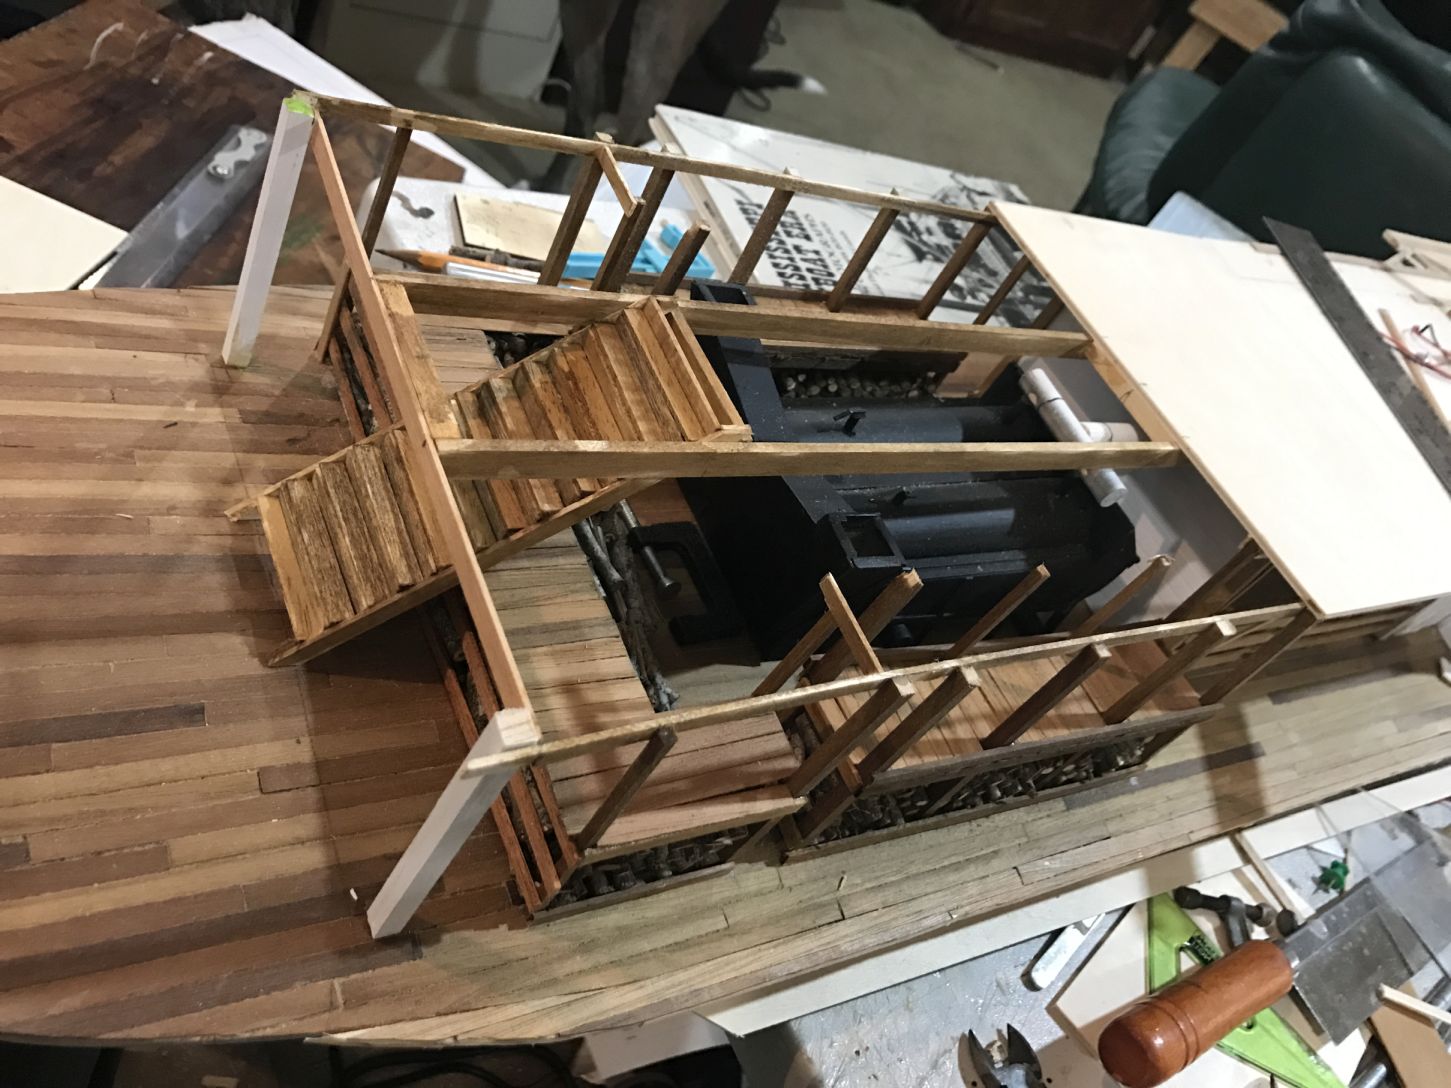
I made a little progress I am trying to make it look used, and show a little wear. This lets me cover up a lot of my errors. I am going to finish the boiler deck base and then do the wiring to the lights on the main desk. Also you can see I decided to make it a wood burner.

-
-
-


City of Monroe by chborgm – FINISHED - Scale ¼” to foot - Western River Steamboat
in - Build logs for subjects built 1851 - 1900
Posted
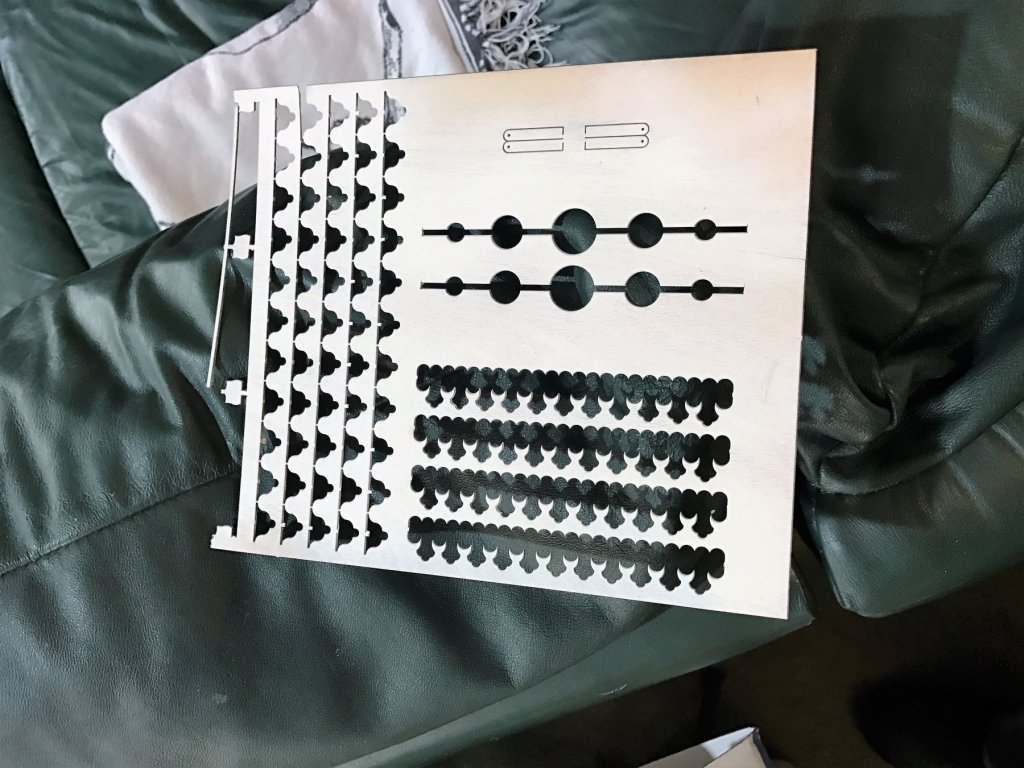
Made a little more progress. I found out one of the nicest things of supplied from a kit is all the parts that your require fifty of the same thing, the kit just turns on the laser cutter, and there you have them. In this case I am referring to the railings on the boiler deck. Making the first one was fun, but it became boring after ten or fifteen.Made a little more progress. I found out one of the nicest things of supplied from a kit is all the parts that your require fifty of the same thing, the kit just turns on the laser cutter, and there you have them. In this case I am referring to the railings on the boiler deck. Making the first was fun but then it became a chore.
Another item that can help is that if you saved the scrap from previous kits laser cuts you can use these on a scratch build. In this case for the filigree at the top of the posts between decks I used what was left from the railing cut out from the “Mississippi Riverboat “ Kit.
Hope the pictures below explain this better.