


GuntherMT
-
Posts
2,213 -
Joined
-
Last visited
Content Type
Profiles
Forums
Gallery
Events
Posts posted by GuntherMT
-
-
-
Actually Grimber, it makes me want to get busy and get to the point where I can use them. I'm looking forward to working with some of these planks for the decking. Still a ways off though.
-
-
-
-
Frank,
I thought about your ink system, as the results were fantastic, but I don't have the ink and rather than waiting I just decided to try the sharpie and see how it came out. Worst case I would have wasted the plank, and I tried it on small test piece first, and thought it worked well. I did use boxwood, not basswood for the wale strip - it does allow the ink to soak in a bit, but probably not nearly as much as basswood would.
Rich - enjoy your vacation! You might want to edit your email out of the post so it's not out in the public like this.
-
Re Titebond, I got it from Carbatec wood working shop just up the road from me, it cost about $26nz for 473 ml .
Go on line to www.carbatec.co.nz
Hope this helps you.
Denis.
Ouch. It might actually be cheaper to buy a few bottles here in the states and ship it to you guys. Home Depot has the same size bottle of Original Titebond for $3.97, which is about $5.05nz.
Or, after looking at shipping, maybe not.
Shipping of up to 20 pounds to Auckland via US Postal Service flat rate box is $85 (108nz) so it wouldn't be worth it unless you wanted more than 5 of them I guess, and who knows what customs would do with a box full of glue bottles.
Still, wow, is everything really expensive like that in NZ, or just certain types of things that have to come from overseas?
-
Then again I didn't realise that the treenails were supposed to be quite unobtrusive until I looked up 'treenails' in the planking forum (which I should have done in the first place) so I'll go with the straight pine which is just noticeable. It seems a pity to go to the effort of drilling all those wretched holes for them not be noticed at all.
Someone posted some photo's somewhere in these logs last week of a picture of treenails on the deck of a real ship that currently exists, and those treenails are quite apparent, they don't blend in at all well, so I think there is quite some variation on how visible they might be, and that means you can make a reasonable argument that your visible treenails are also authentic if you choose to make them more obvious.
-
So putting off the scupper issue at least until tomorrow, today I filled and sanded. And sanded, and filled. And sanded.
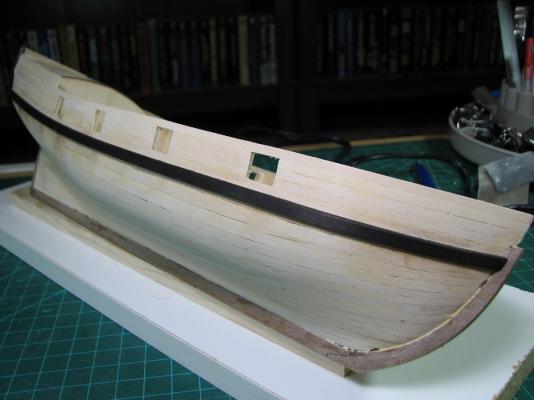
I am reasonably happy with the finish of the first layer, no big dips or swells, and only a few places where the filler is left to fill minor low spots. So I went to place the first wale.
The kit provides some walnut strips for the wale, but the walnut provided in this size (1/16 x 3/16) is the most terrible wood. All the other walnut in the kit is fine, but the 6 pieces of 1/16 x 3/16 is a completely different color (very light) from the other walnut, and it's terribly brittle and splinters badly. I soaked a piece, and even with lots of water and heat, the edges would splinter terribly, and even after sanding it, I couldn't get the edges to clean up at all.
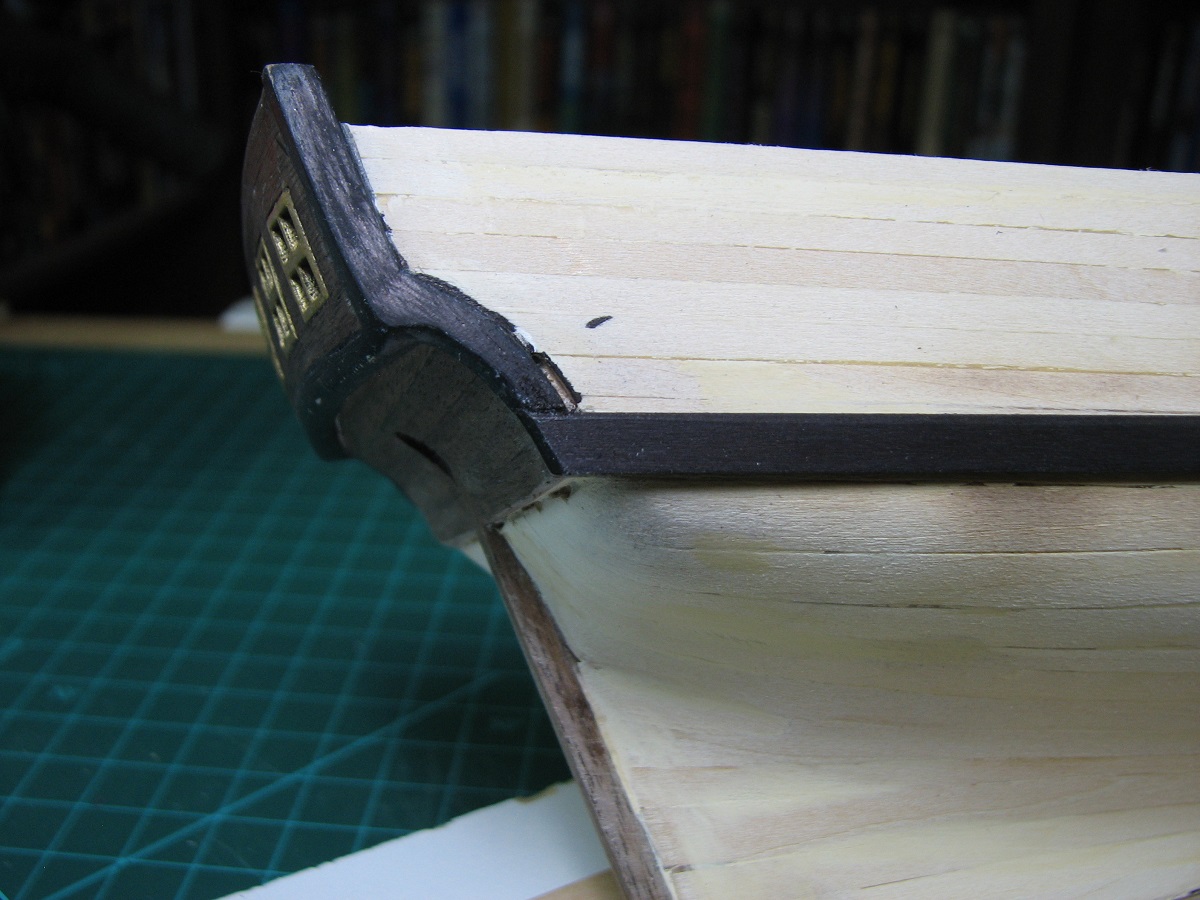
So, I dipped into the Reno wood, and since the color of the wale doesn't matter (since it's going to be black), I found some really nice 1/16 x 3/16 boxwood strips, and cut one of them to size. The boxwood is actually harder to do the actual bend as it's a harder wood, but using water and heat, it does it just fine, but most importantly, it does it without any splintering at all, and maintains a beautiful surface. So I sanded the piece of boxwood and shaped it. I then decided to try yet another experiment that I saw somewhere on the forums in the last couple of months, and made it black before placing it, by the simple expedient of using a black sharpie permanent marker. It looks as good as the painted fashion pieces, was silly fast, and the black ink actually penetrates the wood. After I get the black strake on later, I'll seal it with some clear matte acrylic.
So not much progress for pictures, as other than filling and sanding, all I did today was place the wale on the starboard side.


- NMBROOK, Ol' Pine Tar, hexnut and 6 others
-
 9
9
-
Thanks for the feedback on the scuppers everyone. I'll think on it some more, and decide what I'm going to do with them when I get there I guess.
Rich - your mailbox here is full, I can't send you a PM, so I'll just post this here!
I forgot to mention at the meeting today, but there is a model show at Falcon Field in Chandler, in the Confederate Air Force hanger/museum next Saturday, November 1st. I plan to attend. The show runs from 10a-4p, and you have to pay the normal $12 admission fee for the CAF museum. Entries are open (I think they cost a few bucks per entry) so if you wanted to enter a model you could, although all the categories are for plastic, so you'd probably have to enter in the 'all others' category. I've considered entering the Carmen just for fun, although I know it would have no chance to win anything.
If you are interested let me know and I'll see if I can find the link to the website, which is eluding me right at the moment.Shoot me a PM with your email address as well and I'll send it to you that way if you'd like.
-
Hi Russ,
There are no pictures, as I haven't actually done anything yet. I'm reading ahead trying to formulate a plan for the next few steps, and it just seemed odd that the scuppers are above deck level both in the plans, and the instructions. The scuppers are also pictured at the top of the waterway on the practicum for the AVS on The Model Boatyard site. As I said, it's probably not a big deal to make it this way, and I probably will (as cutting into the waterways would be a royal pain to do at this point), but I was curious if this is a technical error in this kit and the plans or if I was missing something about how the scuppers were supposed to work.
-
Thanks John & Len.
So I have a question about the scuppers. Maybe it's just a design issue in the kit that everyone just builds with, but it seems to me that in order for the scuppers to do what they are designed to do, they would need to be at the deck level, not on top of the waterway which extends above the deck.
What am I missing here? I'm fine with building it the way the practicum and the plans show, by cutting them in the spirketing plank, as if I cut them in the waterway they would cut into the wales, but it just strikes me that this design would allow quite a lot of standing water on the deck (the depth between the scuppers and the top of the deck) that would be unable to drain out through the scuppers until the ship was heeled over.
The distance between the top of the deck, and the top of the waterway (and hence, the bottom of the scuppers) is 1/16", which in 1:48 scale means that the deck should be able to hold 3" of standing water under the scuppers. This seems.. wrong.Any thoughts on this?
-
Thanks Steve, Lawrence, and Greg.
Your Hannah is also a fantastic build, sure would like to see her finished some day, ENJOY.Regards Lawrence
I don't really consider the Hannah to be 'my' build, as I've done nothing but pick it up and drive it home! No idea what will happen with it, but if I choose not to complete it, I'll try to find it a home with someone who will.
Today and yesterday I did not touch the AVS at all due to taking care of other things. I do have a bit of update though, as I came home today to find I had an email from Jeff - my Holly and Boxwood planking has been milled and was shipped today.


Sometime early to mid next week it should arrive, so my build will not have any sort of delay waiting on deck planking. Jeff shipped quite a bit earlier than I expected.
-
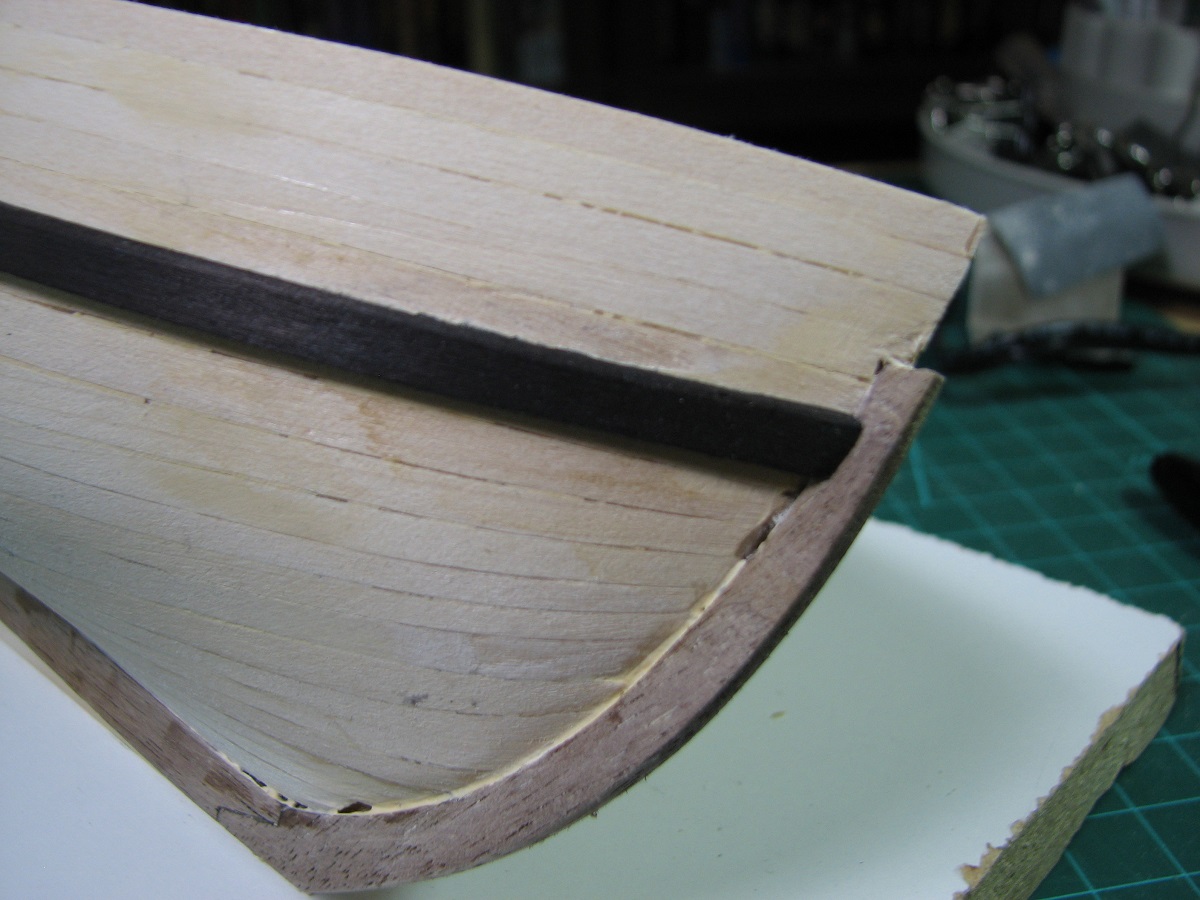
Great looking start. The removal of the bend in the false keel was very nicely done.
-
I really like your technique on the rabbet. I just might have to steal... errr.. use that on my next build!
Did you just cut it off and sand after each side was done?
-
That's an interesting idea. I think it might be very viable to make a long thin wedge and work it in parallel to the grain like you suggest.
-
-
-
Looking good Brett. Are you planning on fully rigging the guns or just going with the breeching line?
Also I've seen a few people who have built this suggest leaving the bowsprit until after the mast is mostly rigged because of how outsized the bowsprit is, that way it won't be a pain to spin the ship around and risk breaking it off or damaging it or the rigging.
I'm not nearly to that point yet, so not sure if I'll do that or not yet.
-
What manufacturer? Some of them may have the plans available to download - Here is a link to the plans for the Model Shipways Bluenose kit. http://www.modelexpo-online.com/images/docs/MS2130/MS2130-Bluenose_Canadian_Fishing_Schooner-Instructions.pdf
-
I did the same as Bill - create a 'needle' out of the end of the rope with CA and cutting an angle.
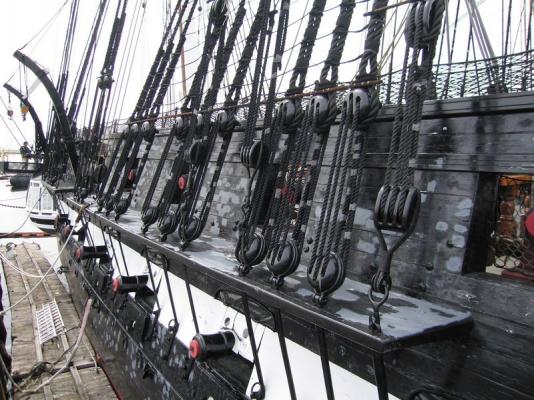
I also downsized the rigging line on the deadeyes, as the line there should be quite a bit smaller than the shroud lines. For many of the blocks on the Carmen, even though I used a slightly smaller line than included in the kit, I still used a micro-drill and pin-vise and drilled all of the holes in the blocks larger to take the line as it simply wouldn't fit without this.
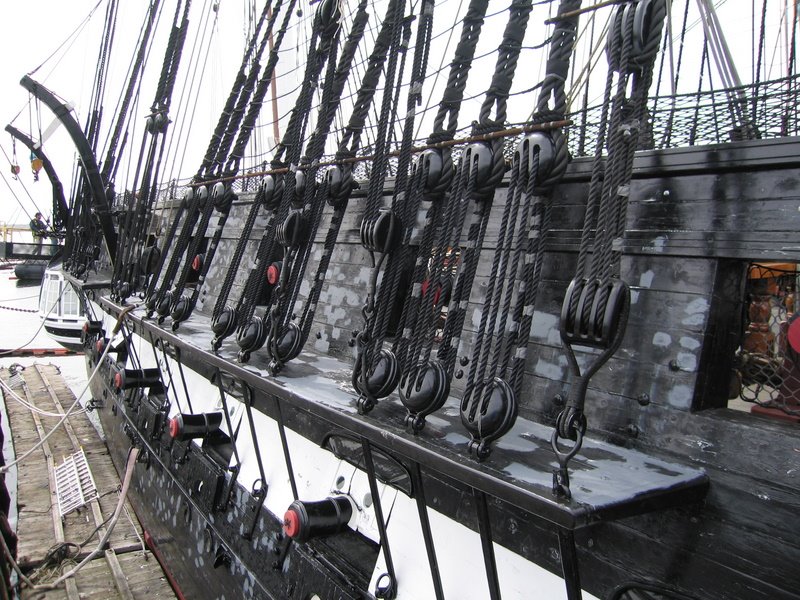
You may want to consider whether you should be using smaller rope for the deadeyes based on looking at photo's of the real ship as a reference, or just go with what looks right to you. Here is a shot from Google image search of the real ship -
-
Looks great. Allot of attention to detail in it. question the sail rings on the masts. are they the typical brass ones in AL kits then painted or did you craft them?
The AVS kit includes cast white metal rings, or at least that is what is supplied in mine.
-
Looking good Dave, nice to see an update here on another AVS.
-
They look great Dale.


Armed Virginia Sloop by GuntherMT - FINISHED - Model Shipways - scale 1:48
in - Kit build logs for subjects built from 1751 - 1800
Posted
Alistair - the strips are very nice, yes indeed.
Lawrence - the boxwood pictured just above is from Jeff at Hobbymill. The boxwood that I used for the wales is from all the wood I picked up from the gentleman in Reno (a couple pages ago in my log) and I believe it was all sourced originally from The Lumberyard ( http://www.dlumberyard.com/).
The Lumberyard wood is not quite as finely finished as the Hobbymill wood, but is a much nicer finish and more consistent than the kit strips.
Neither the boxwood or holly from Hobbymill is exactly cheap, but it's not horribly expensive given the amounts needed for a kit like the AVS, when I am only using it for finish planking of the deck and misc. items like the wales or deck furniture. I wouldn't use it for the first planking of a double planked hull when the kit basswood is more than decent for that.