DONATION DRIVE - SUPPORT MSW - DO YOUR PART TO KEEP THIS GREAT FORUM GOING!
×


Ronald-V
-
Posts
1,903 -
Joined
-
Last visited
Content Type
Profiles
Forums
Gallery
Events
Everything posted by Ronald-V
-

Hello from the Finger Lakes Region of NY state!
Ronald-V replied to Rinekar's topic in New member Introductions
-
A different Mini Sander for very fine detail
Ronald-V replied to Johnny Mike's topic in Modeling tools and Workshop Equipment
I have the one that Proxxon sells... but to be honest I almost never use it...it gathers a lot of dust, but not by using it 😛. But it's handy to have 🙂 -
Welcome! And lovely little first model you have build! Well done
-
Thank you Glenn!
-
You're a cool father-in-law! How cool that you're going to make that for her. Good luck building this ship...again
-
Thank you Frecap! Yes, I also had my reservations about gluing PVA to a painted surface. Perhaps it's also because of this specific glue that it grips well. I do try to avoid gluing to a painted part, but in some cases, it would save a lot of prep work if it were possible.
-
Thanks Nearshore! 🙏 Thank you Kurt!👏
-
Welcome Mondo!
-
Thank you so much Roel! Thank you for your kind words Russ! You will learn so much from your first build, that will be a great springboard to new skills Thank you so much Hamilton! 🙏 I must really give Chuck Passaro credits for his planking video's...that made good planking a lot more accessible....at least for me Otherwise I think I would still be in the dark about how and what. Thank you! Luckily these days I can also be happy with something less perfect sometimes Thanks Jason! 👏 And thanks everyone else for the likes! Really appreciate it!
-
That looks great indeed! But you better translate the text from your native language to English with Google Translate, then we can also read what it says
-
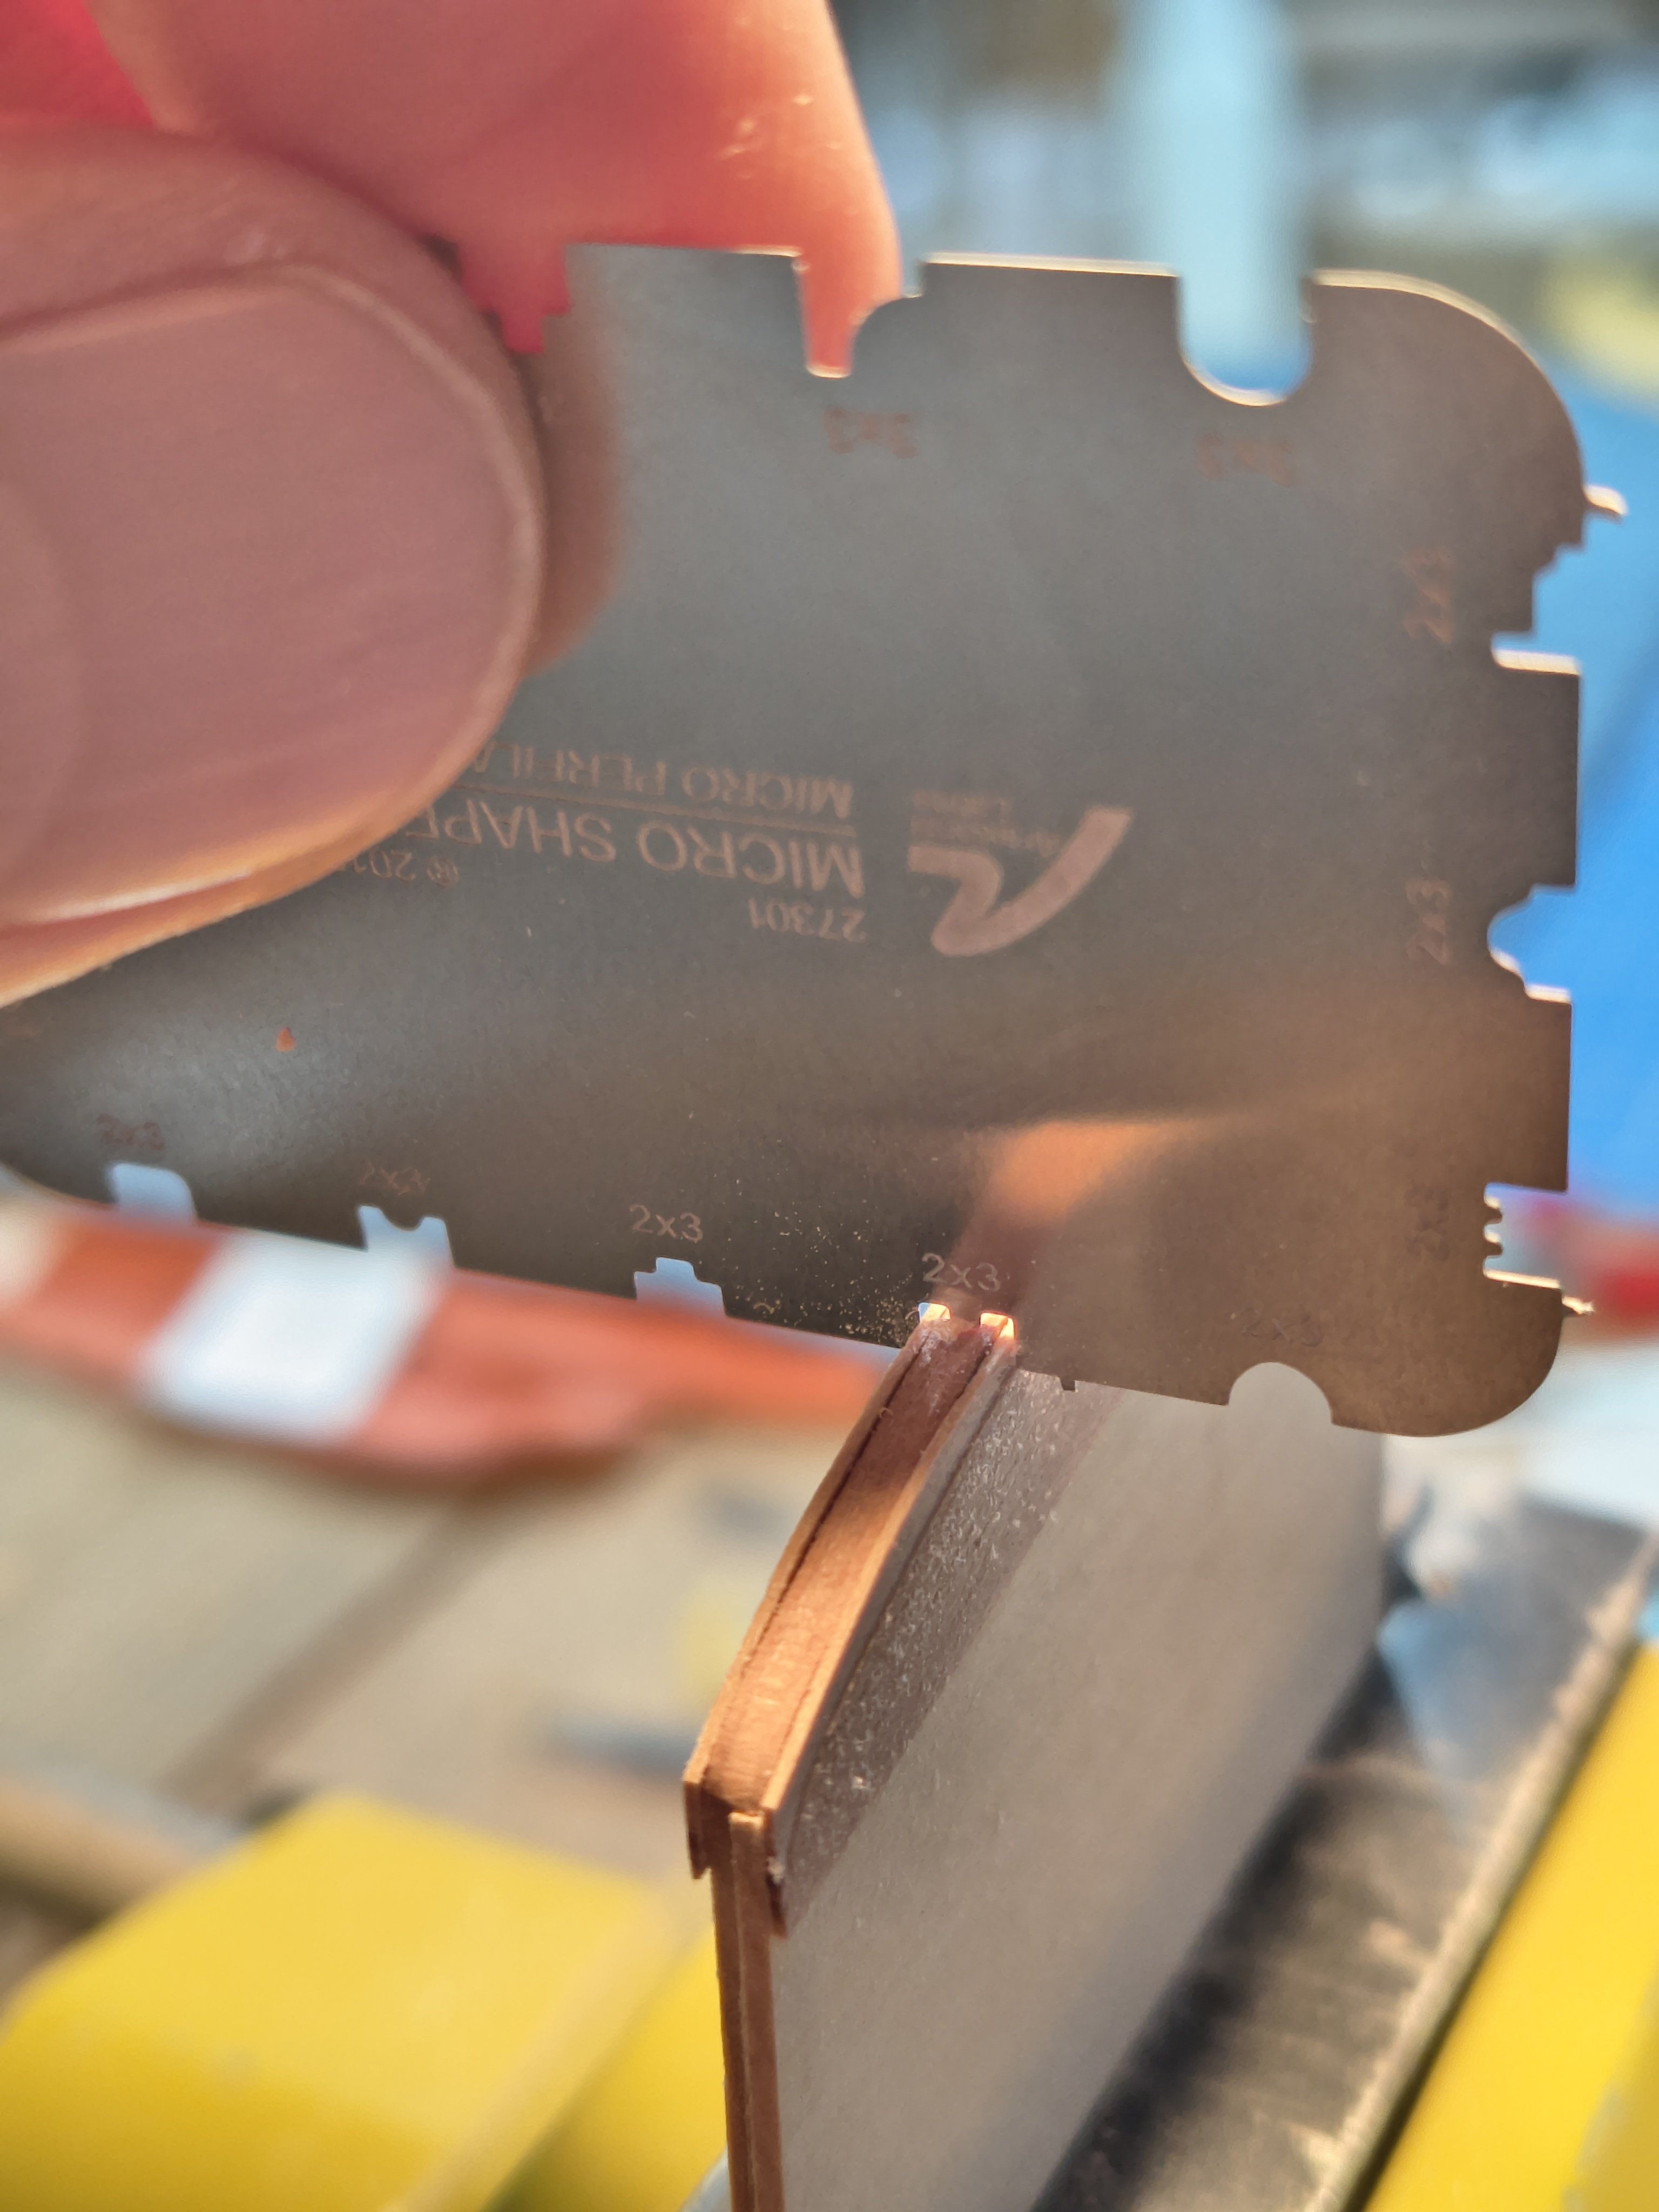
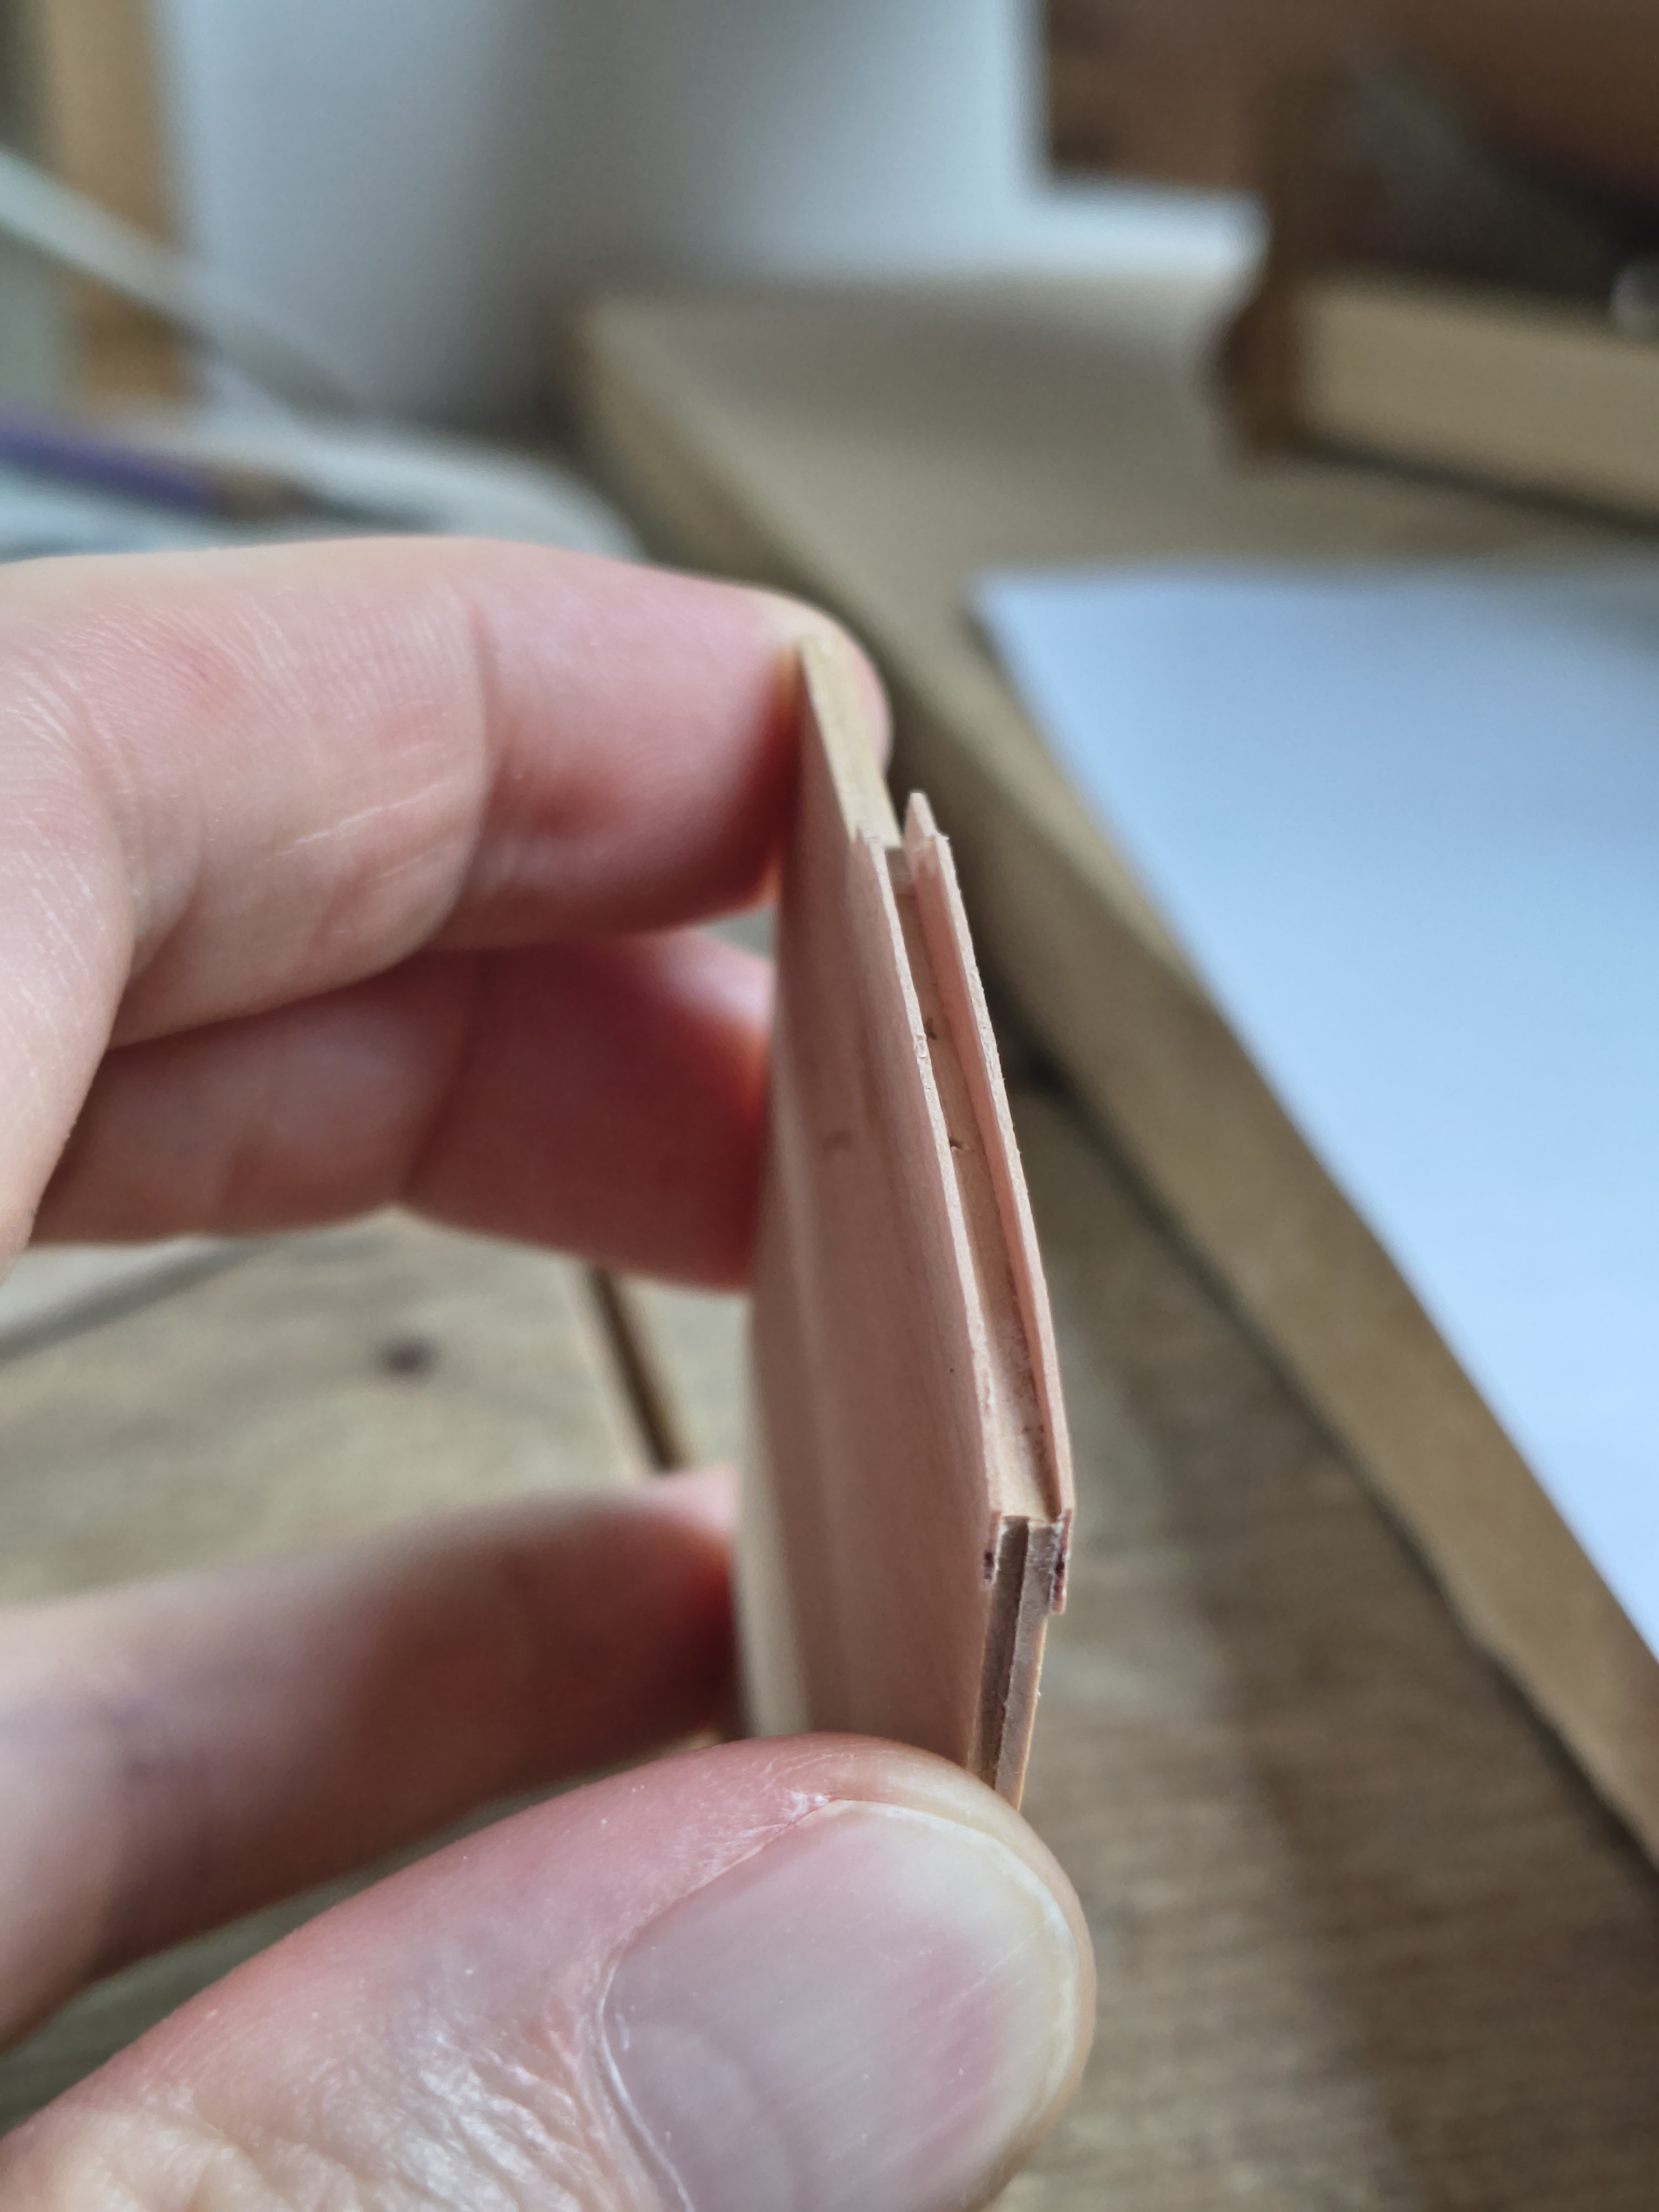
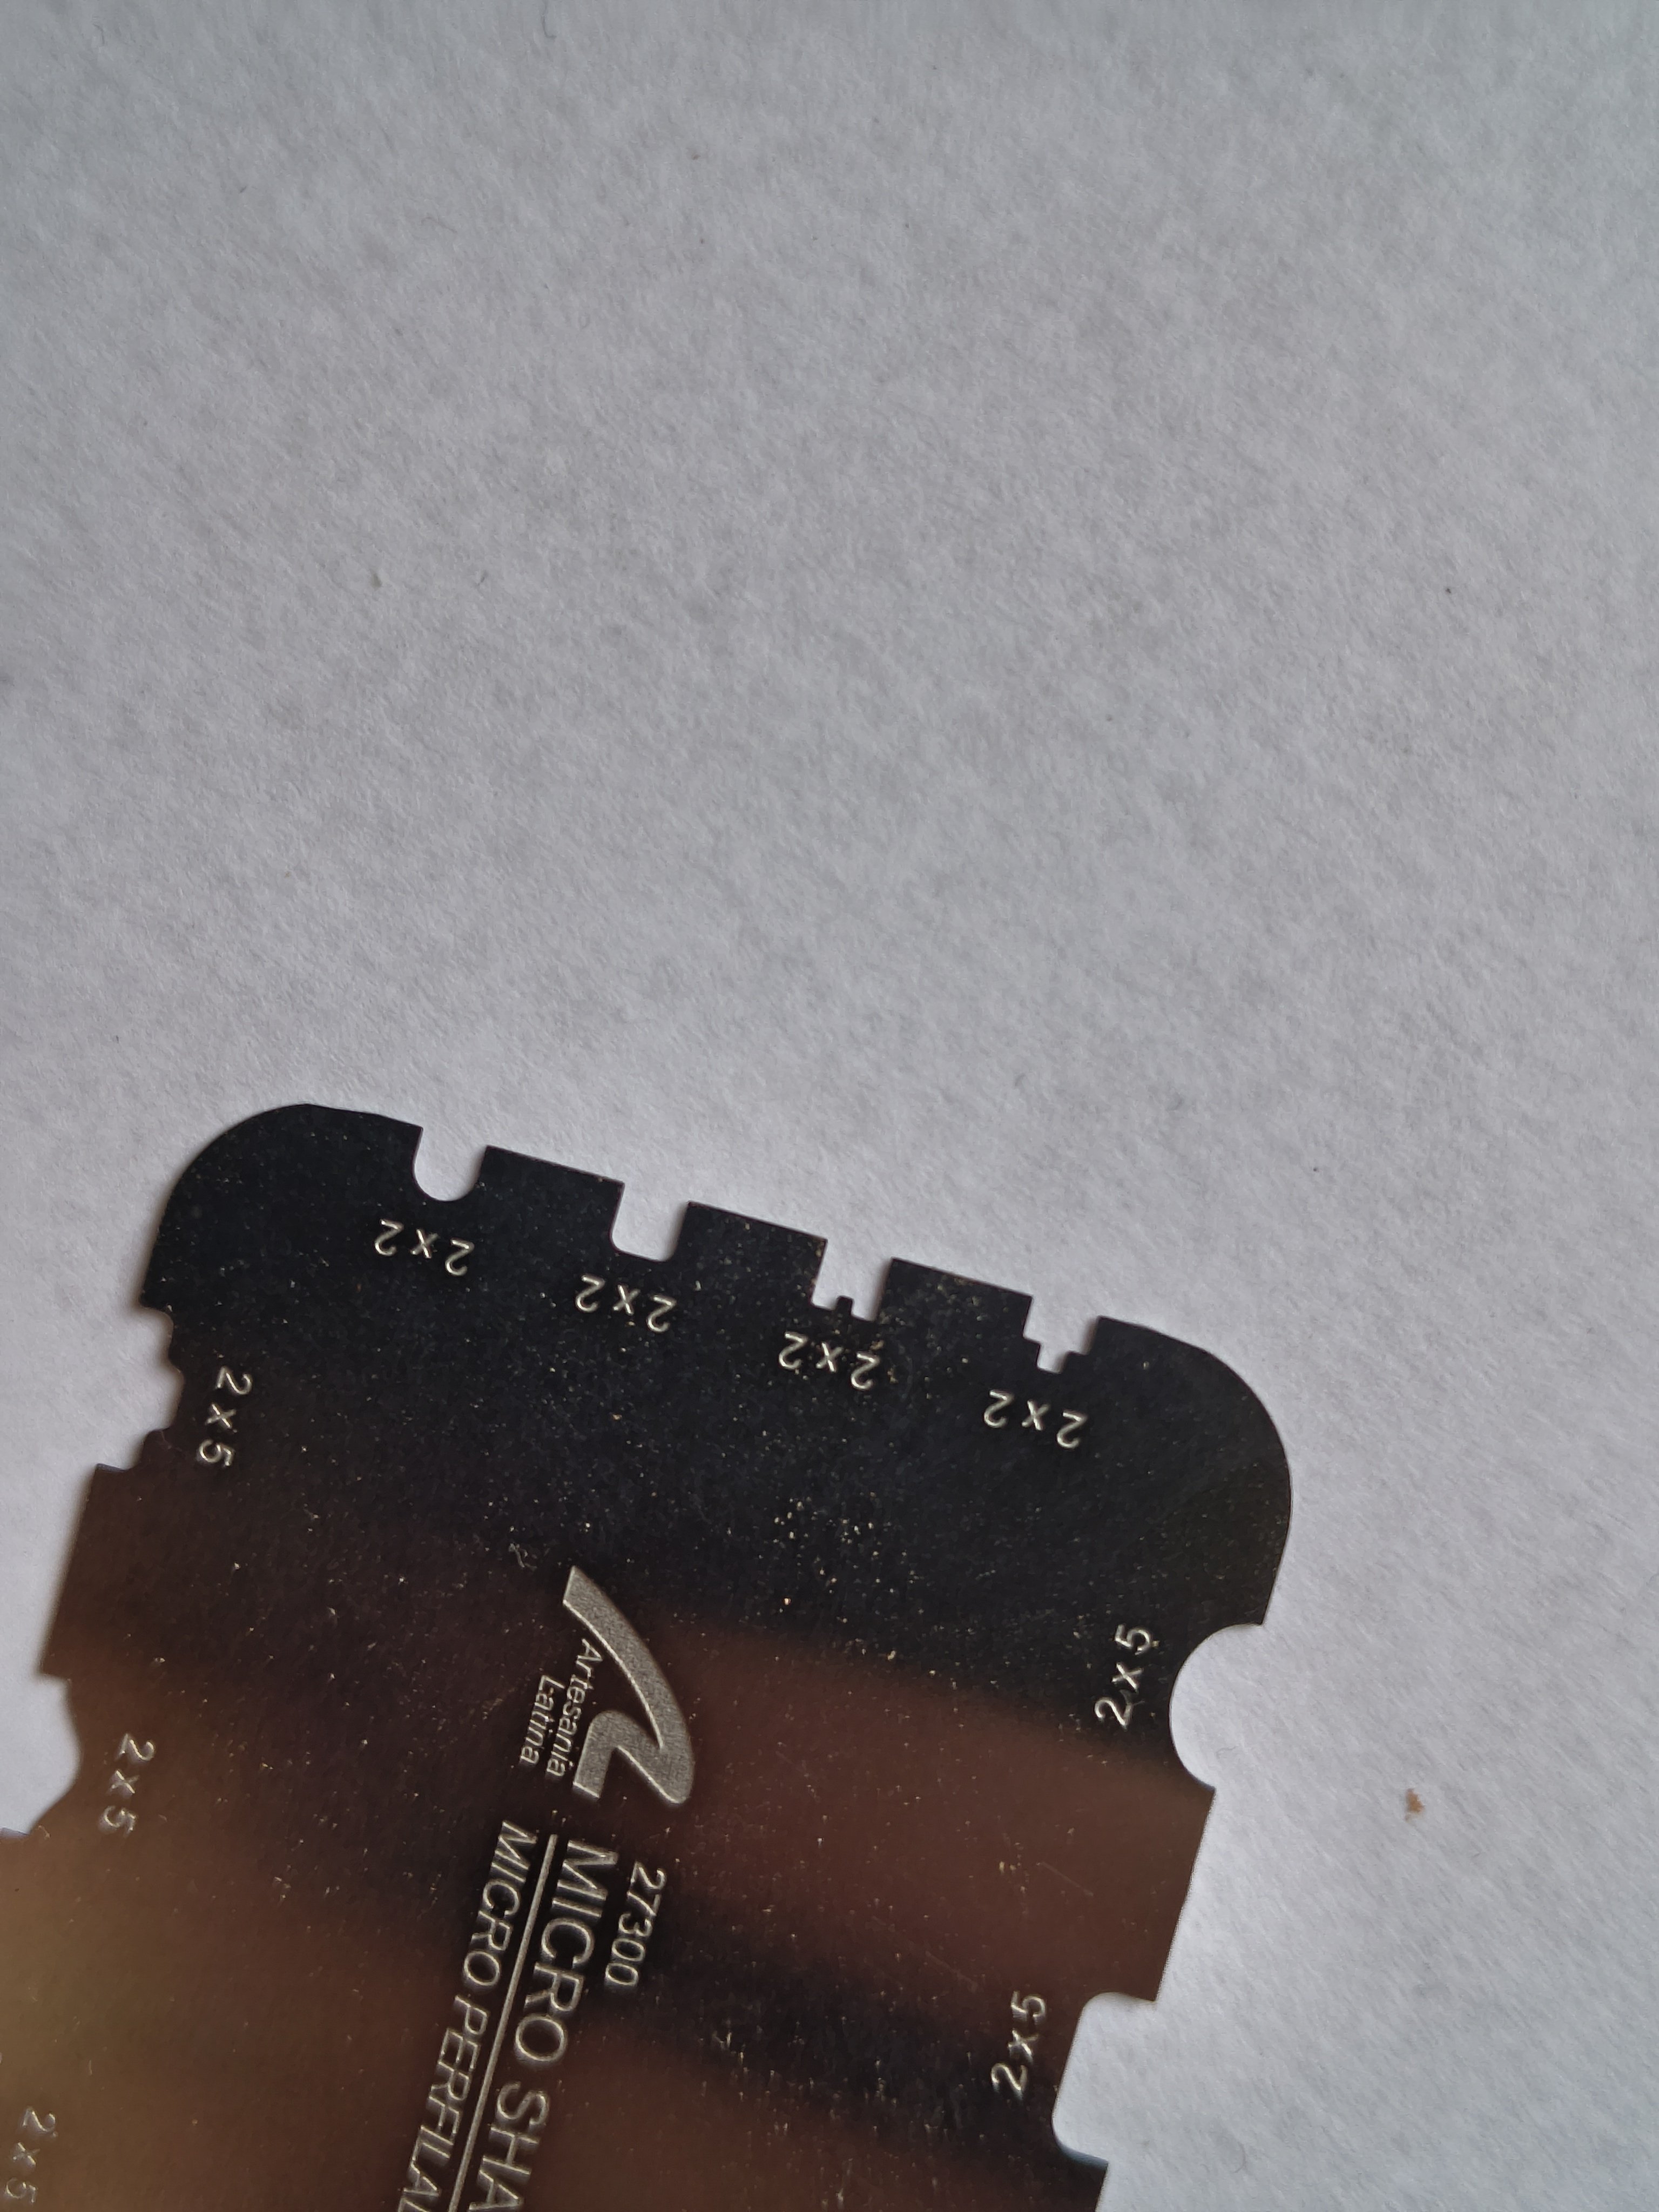
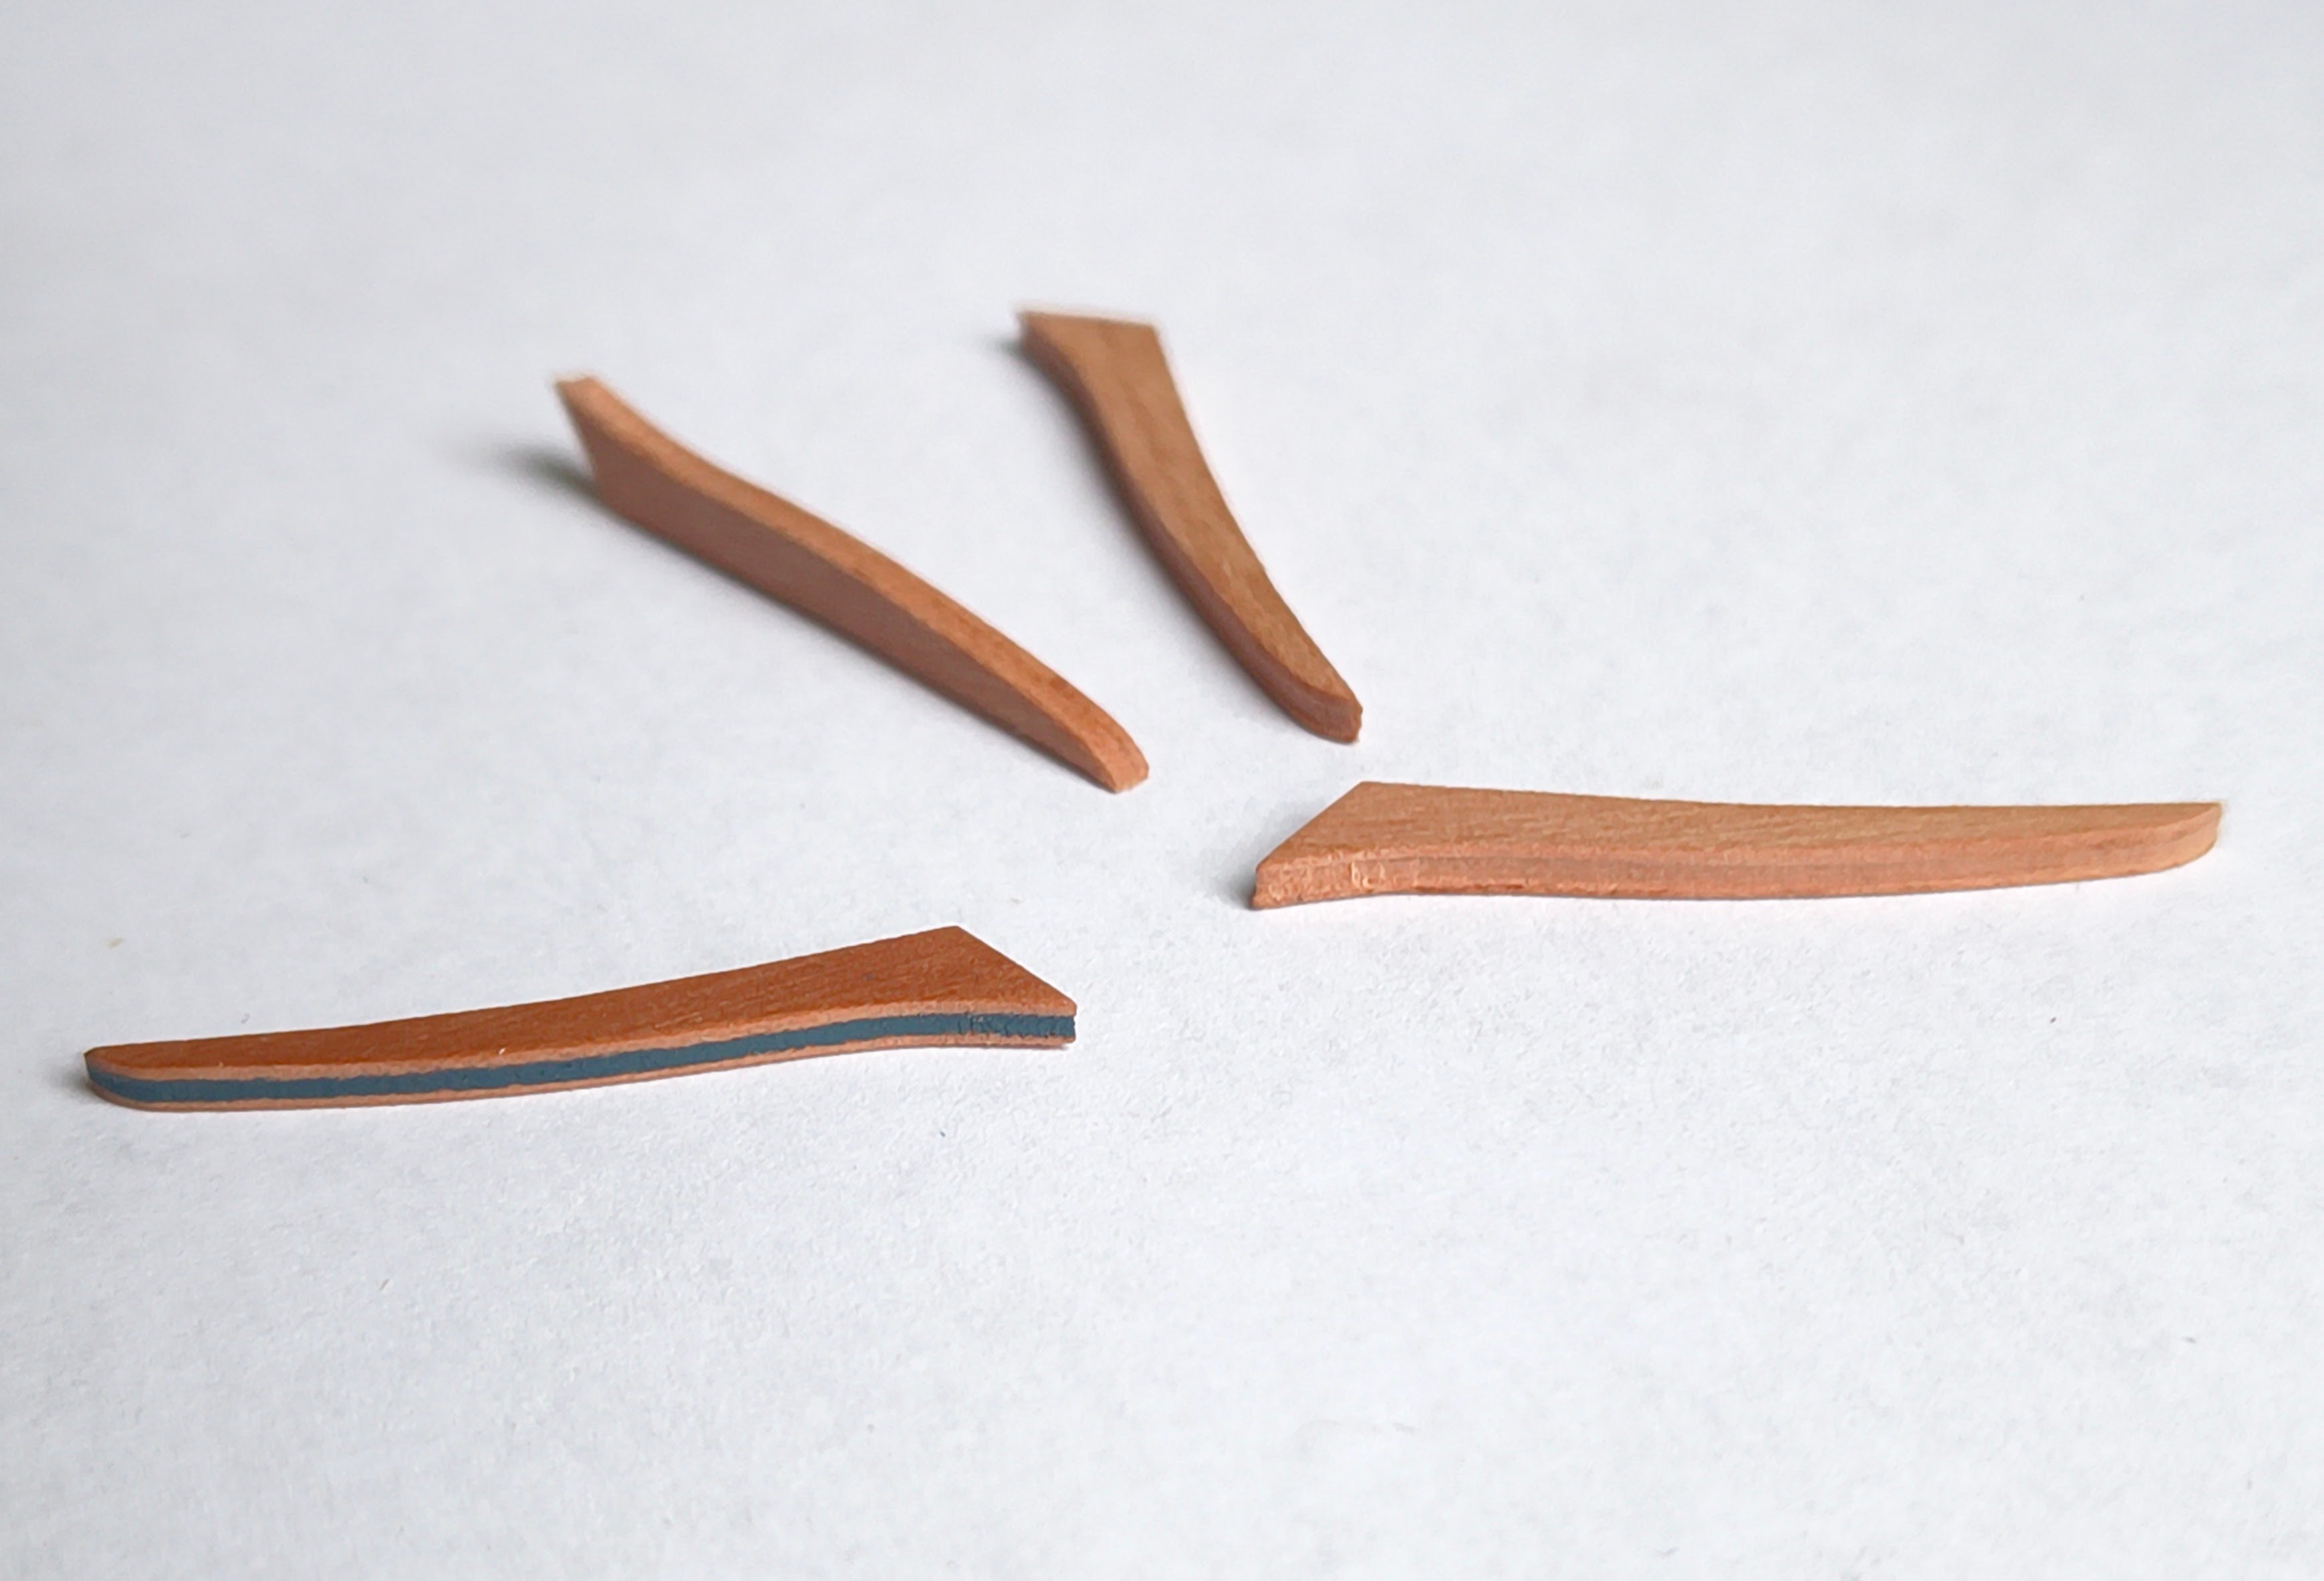
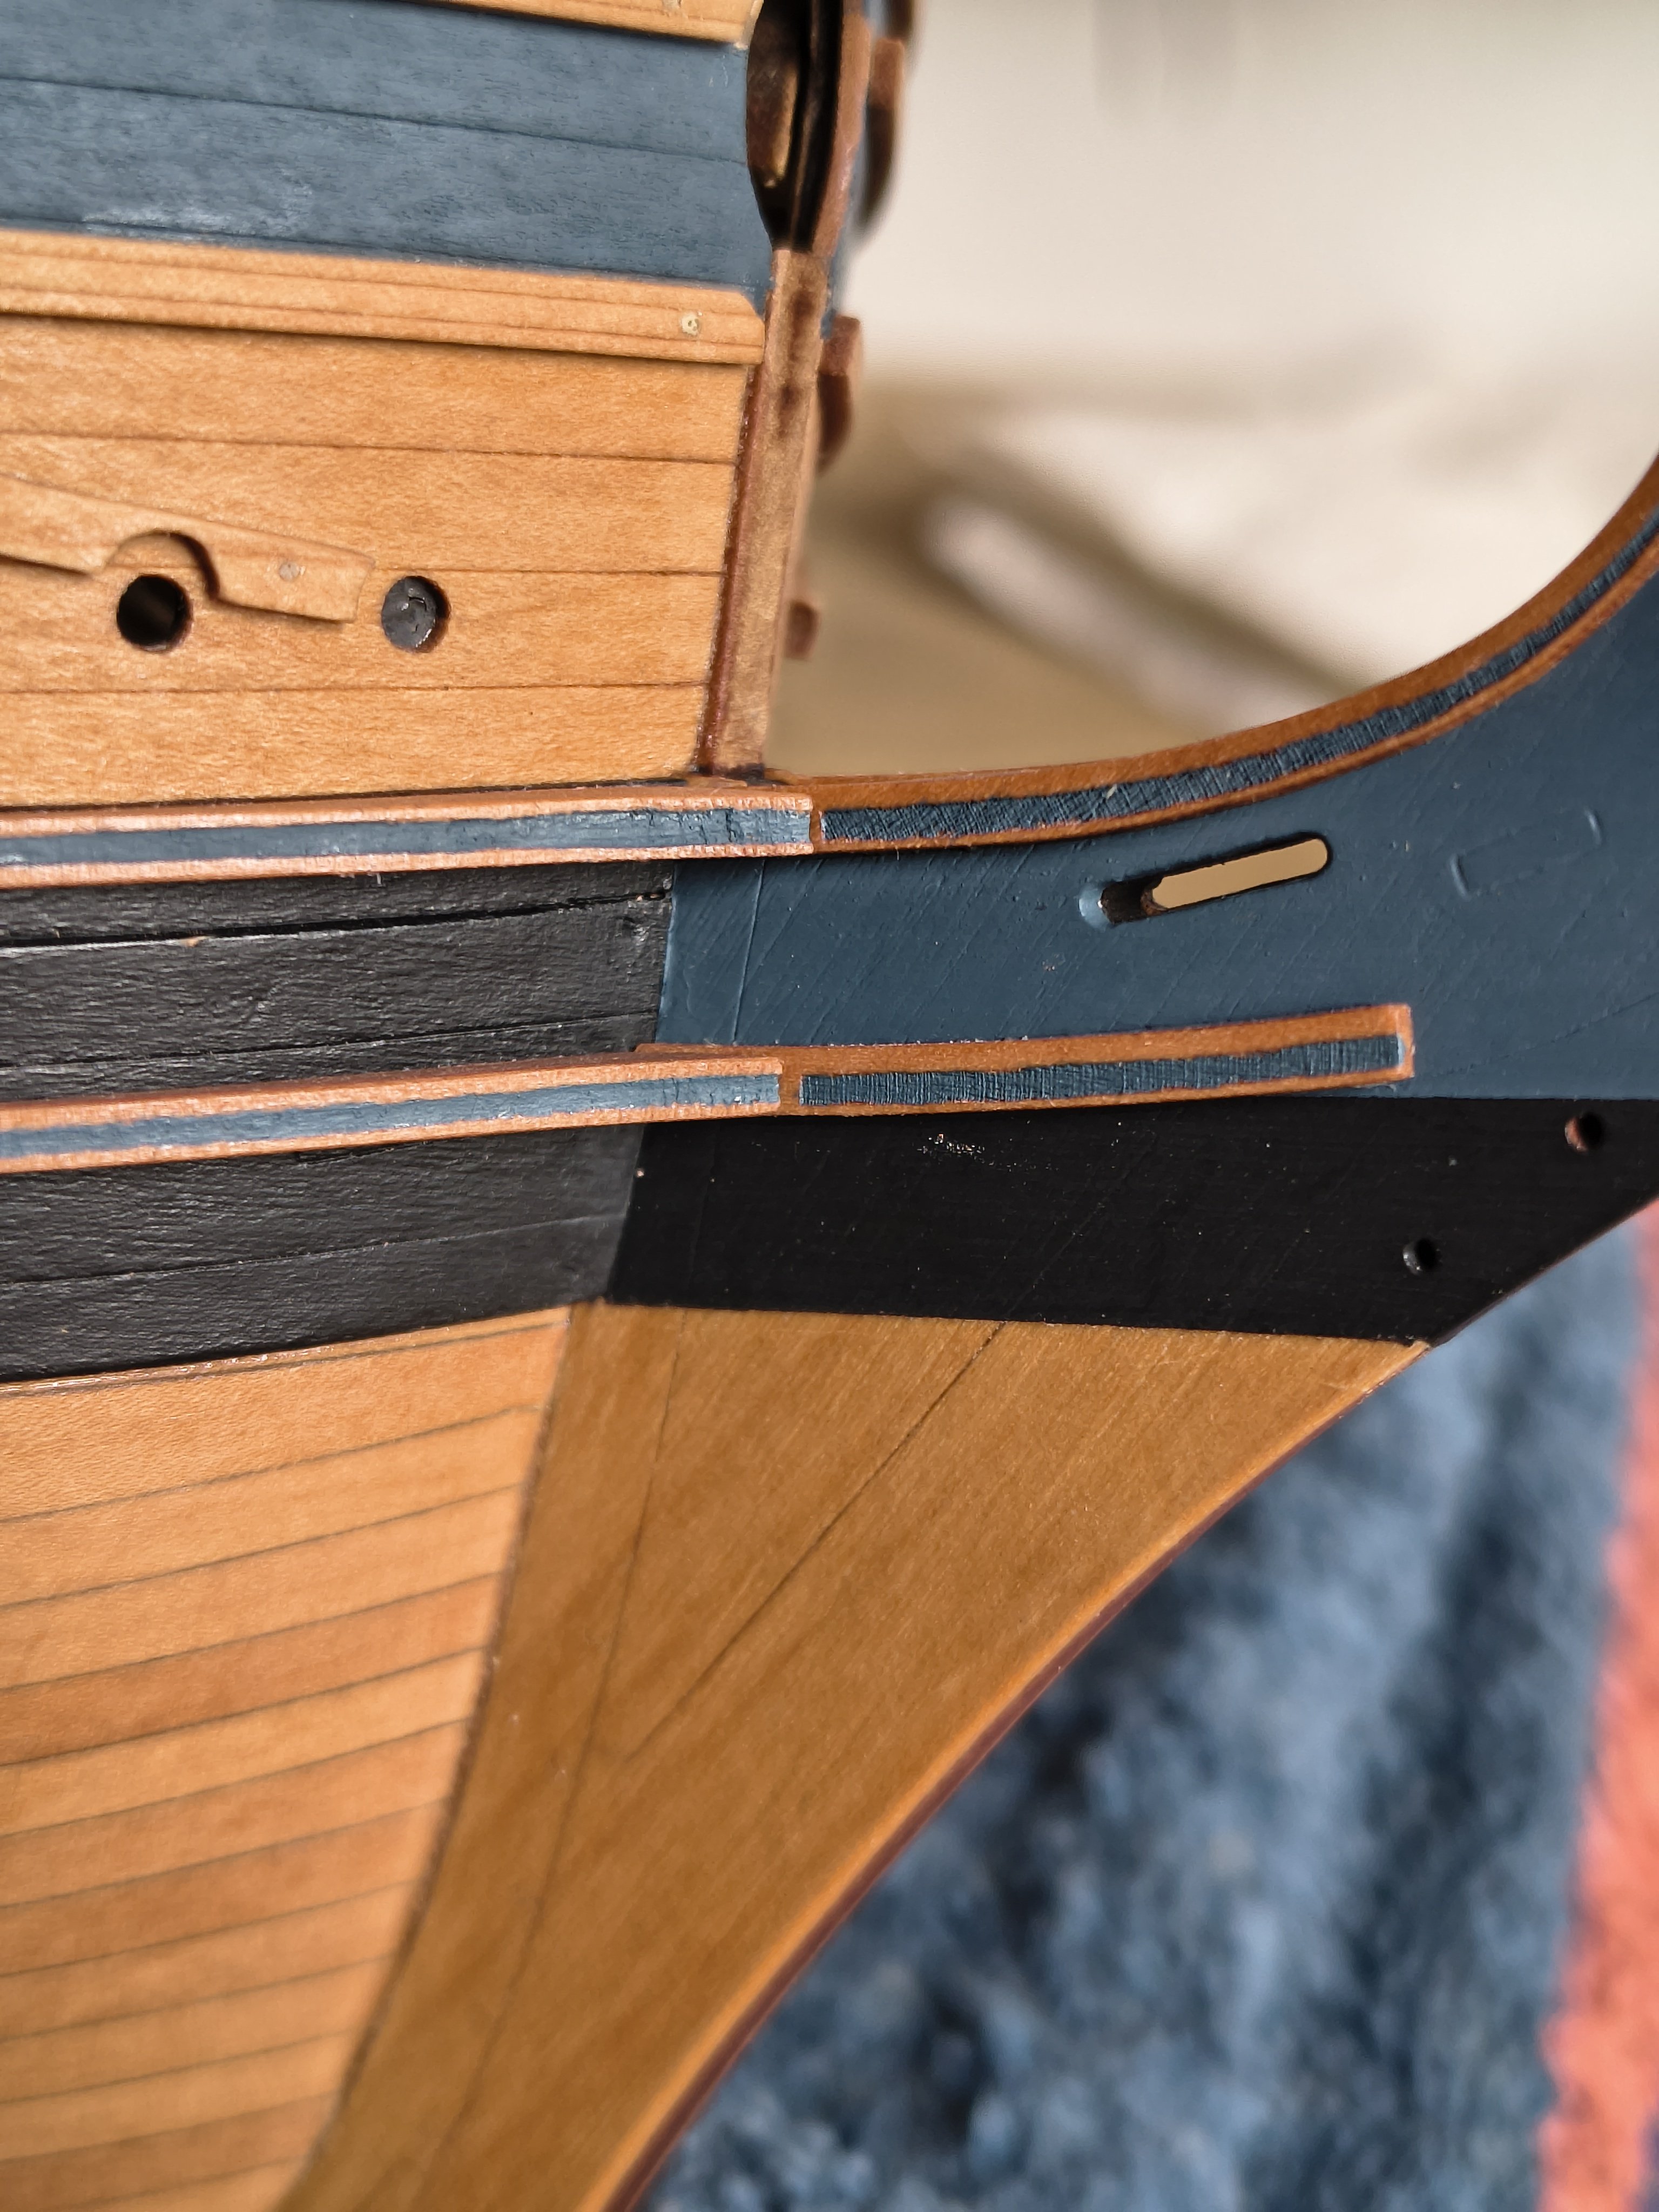
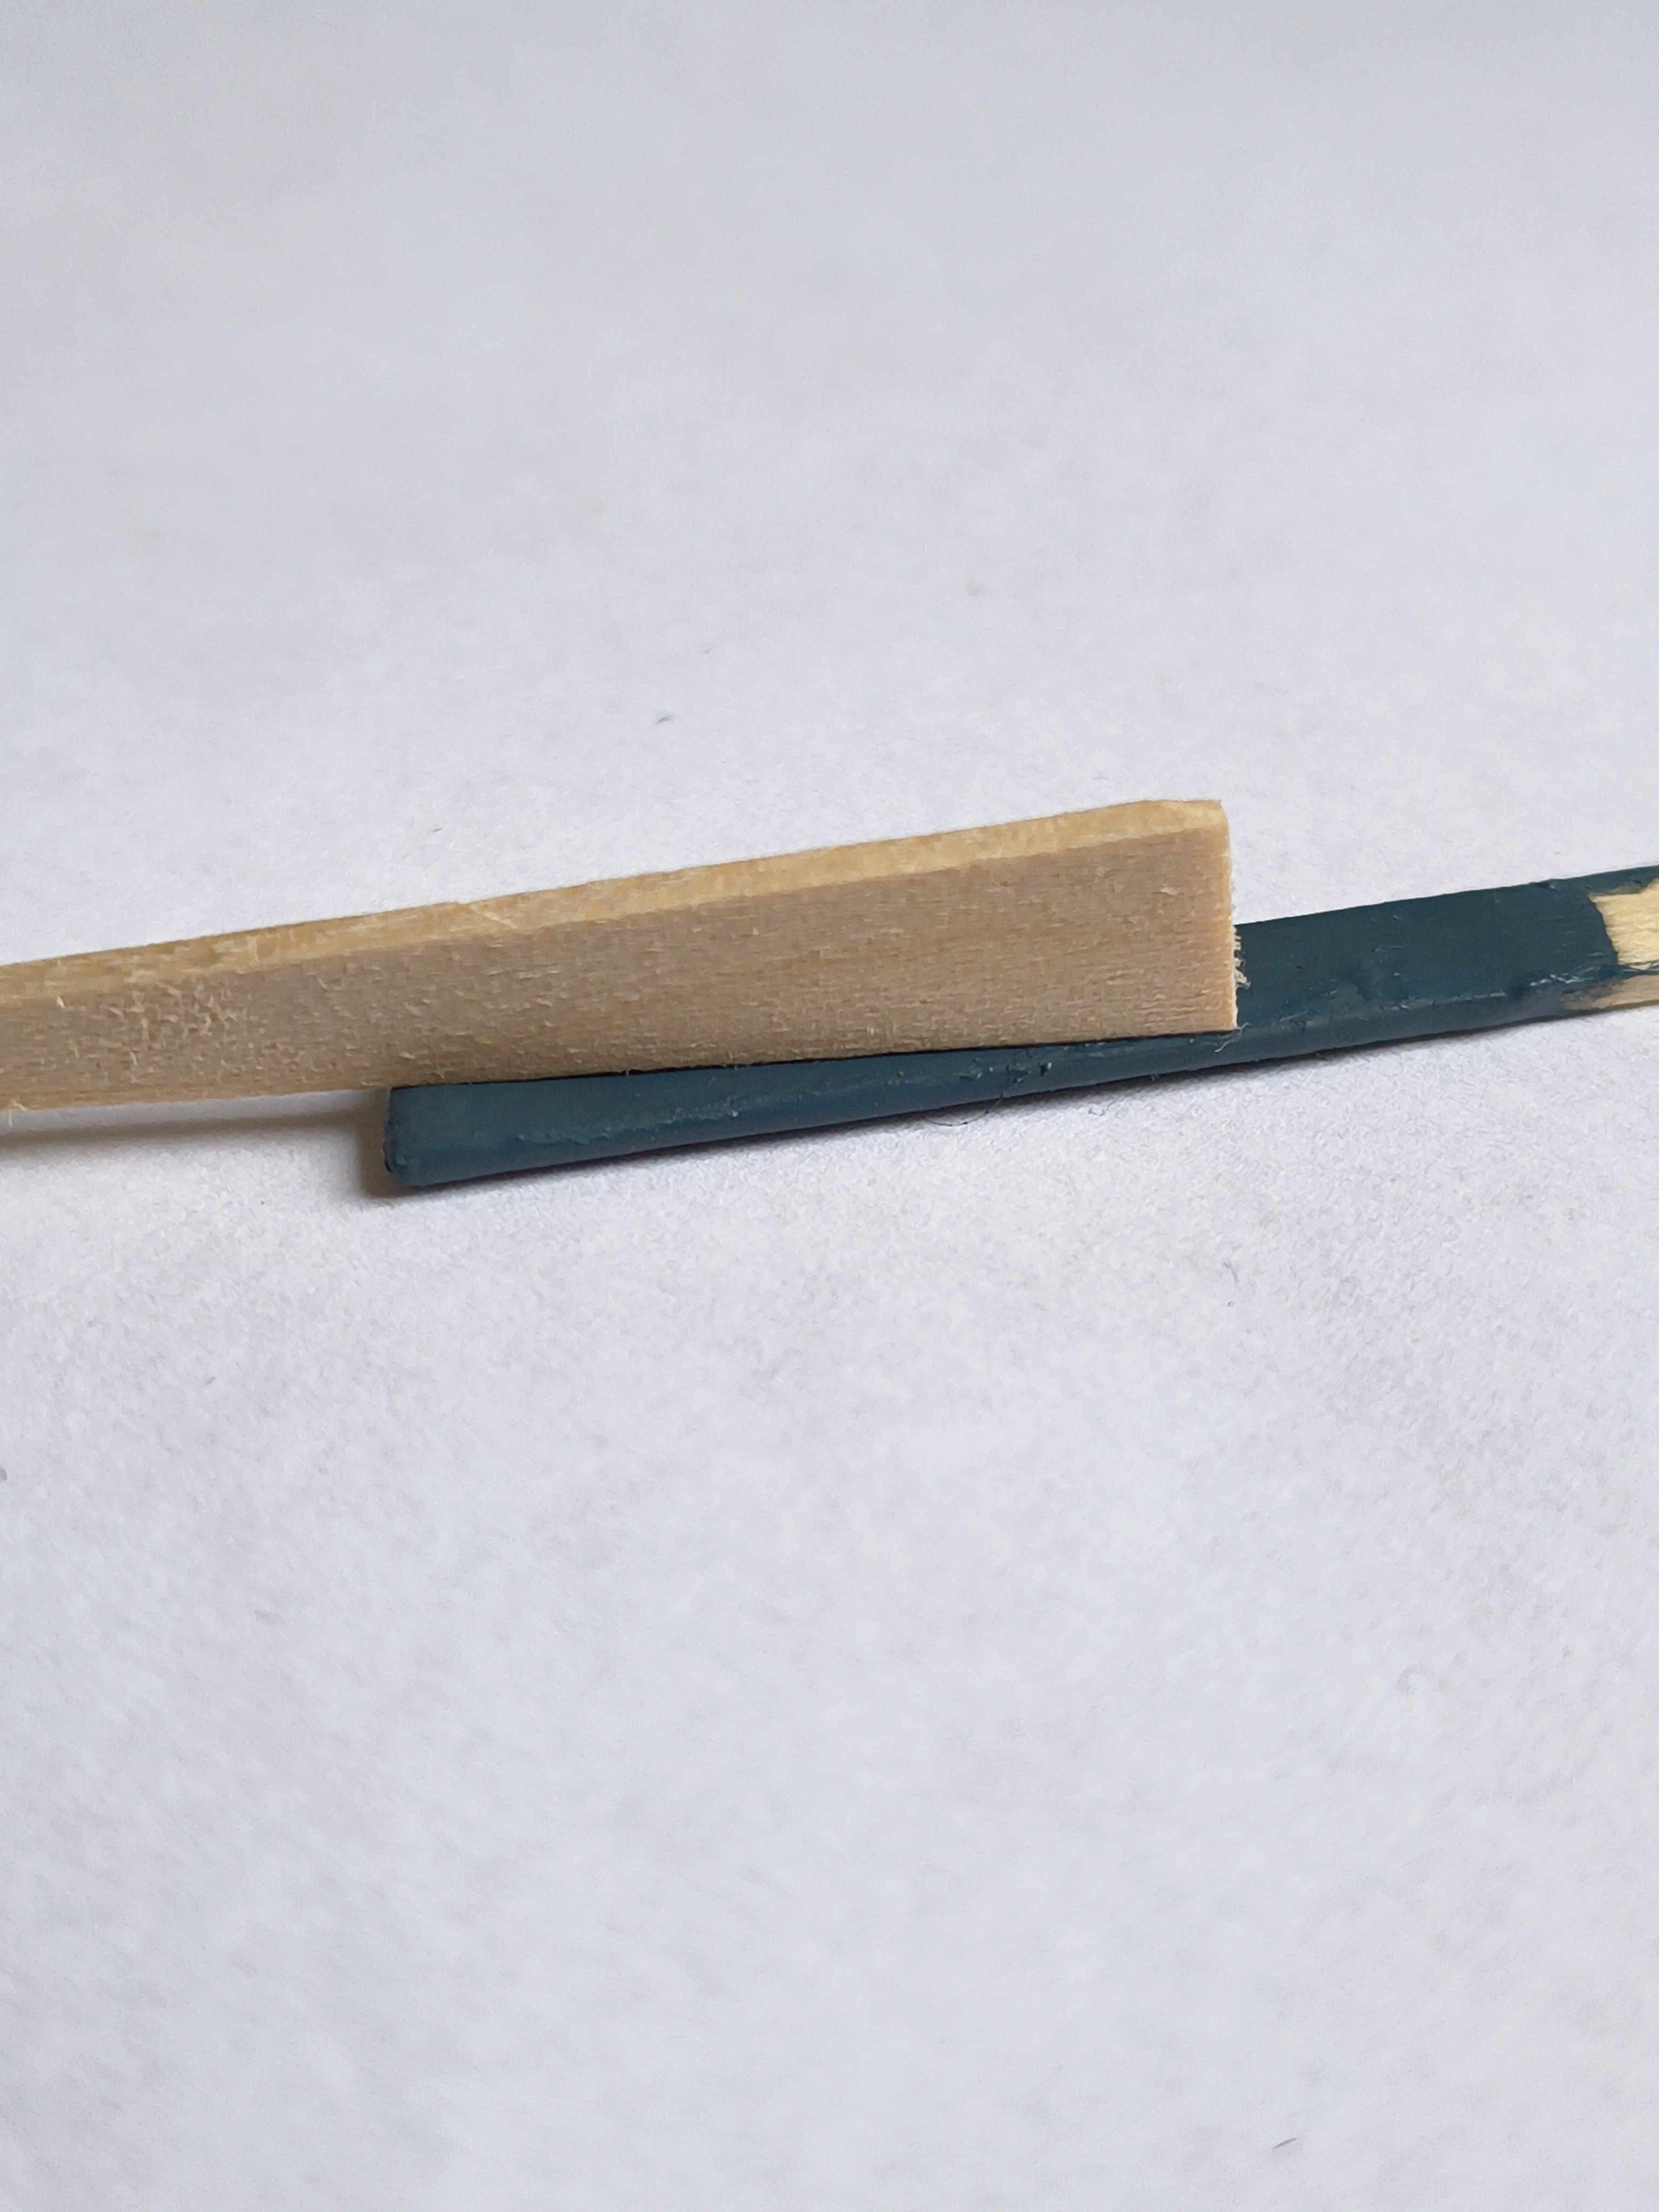
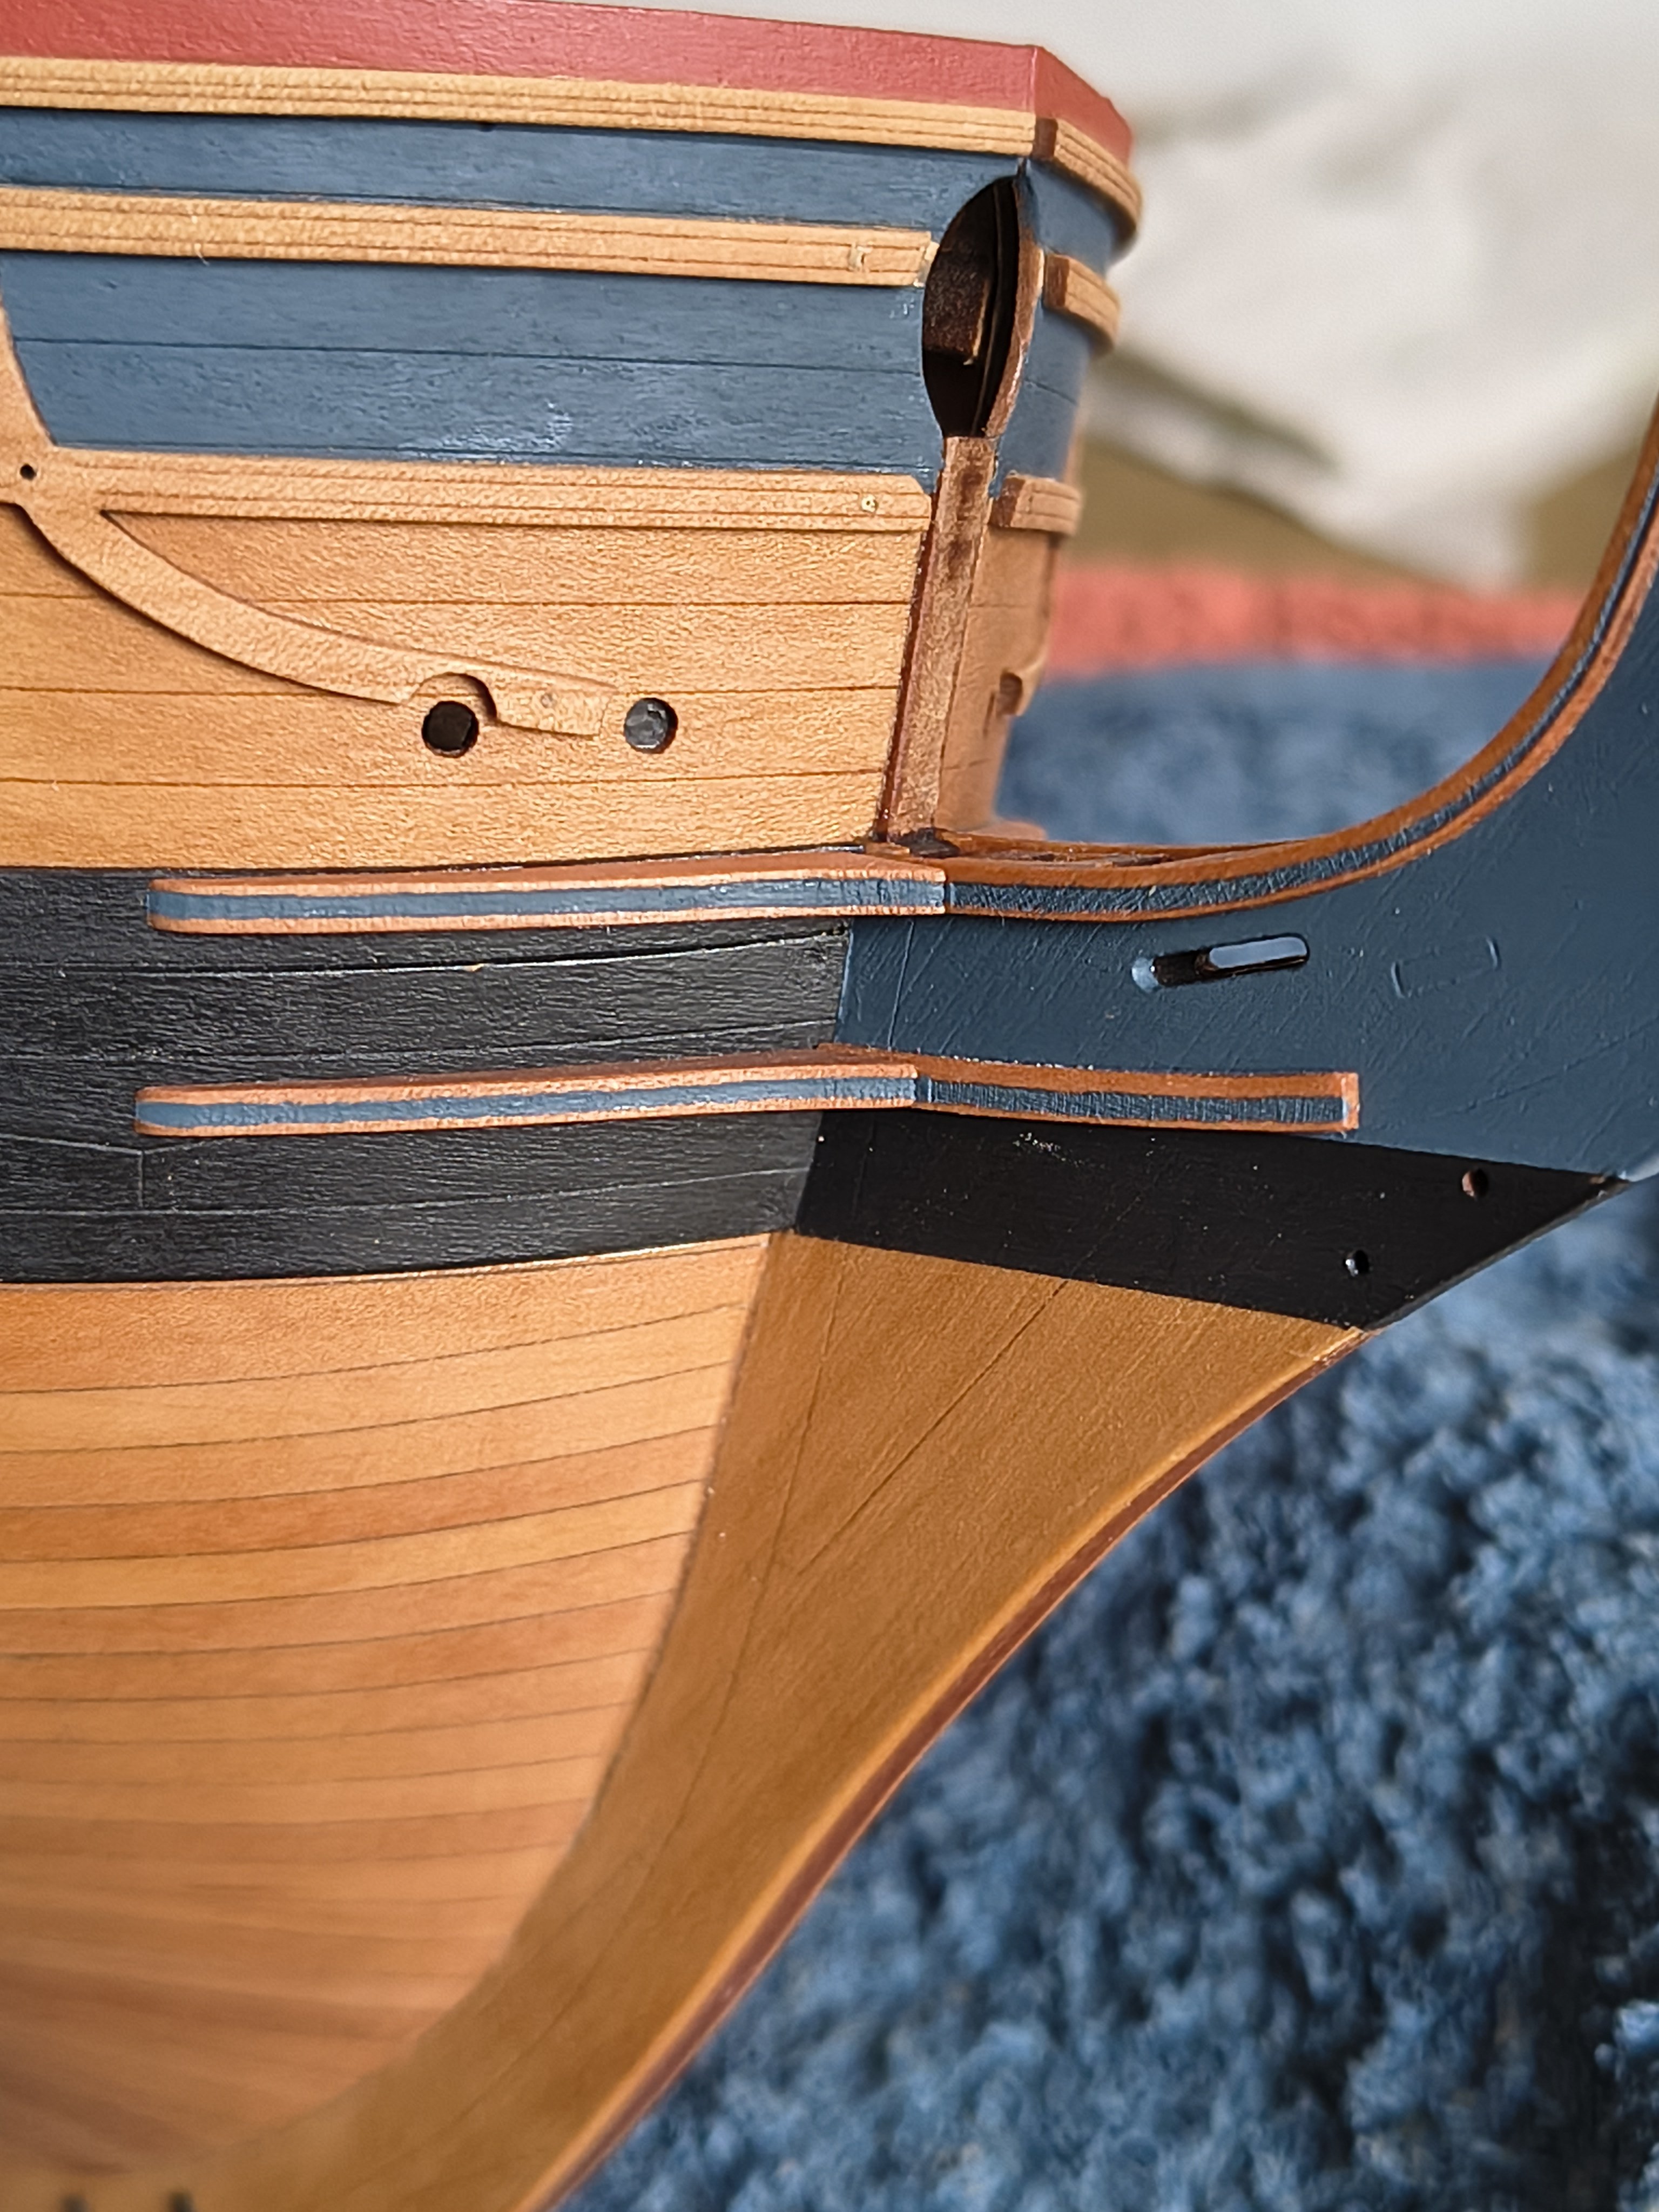
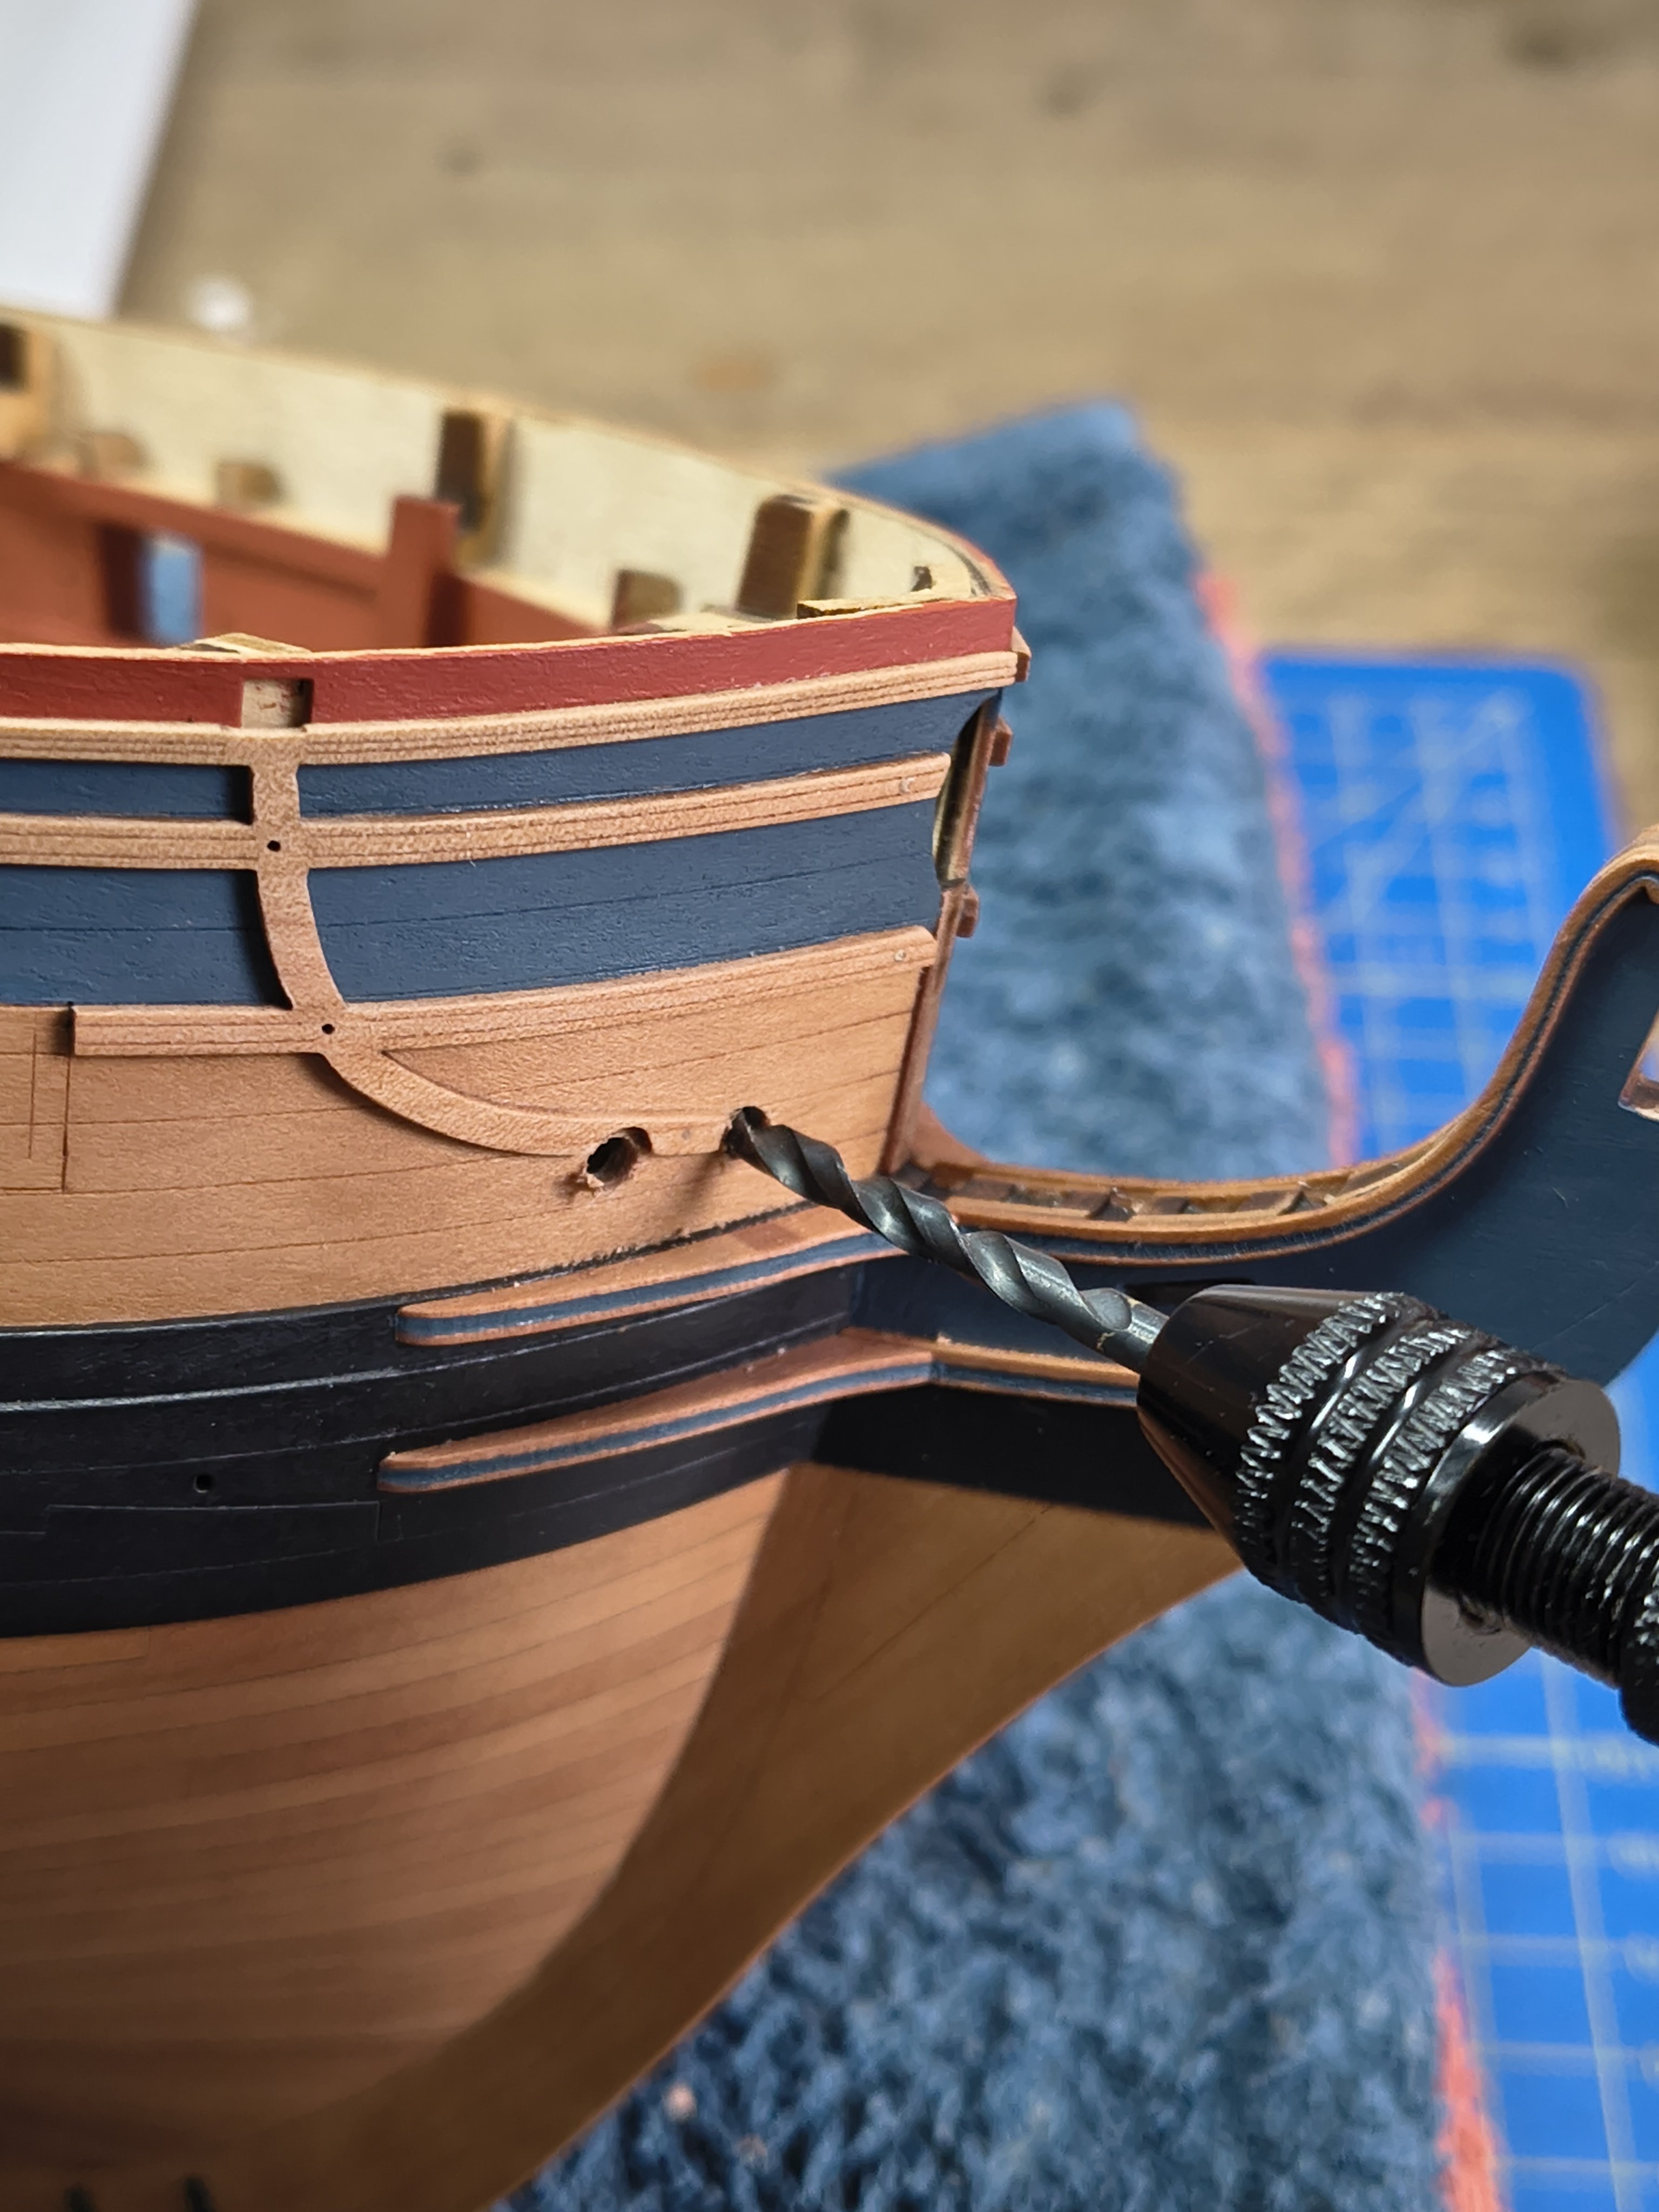
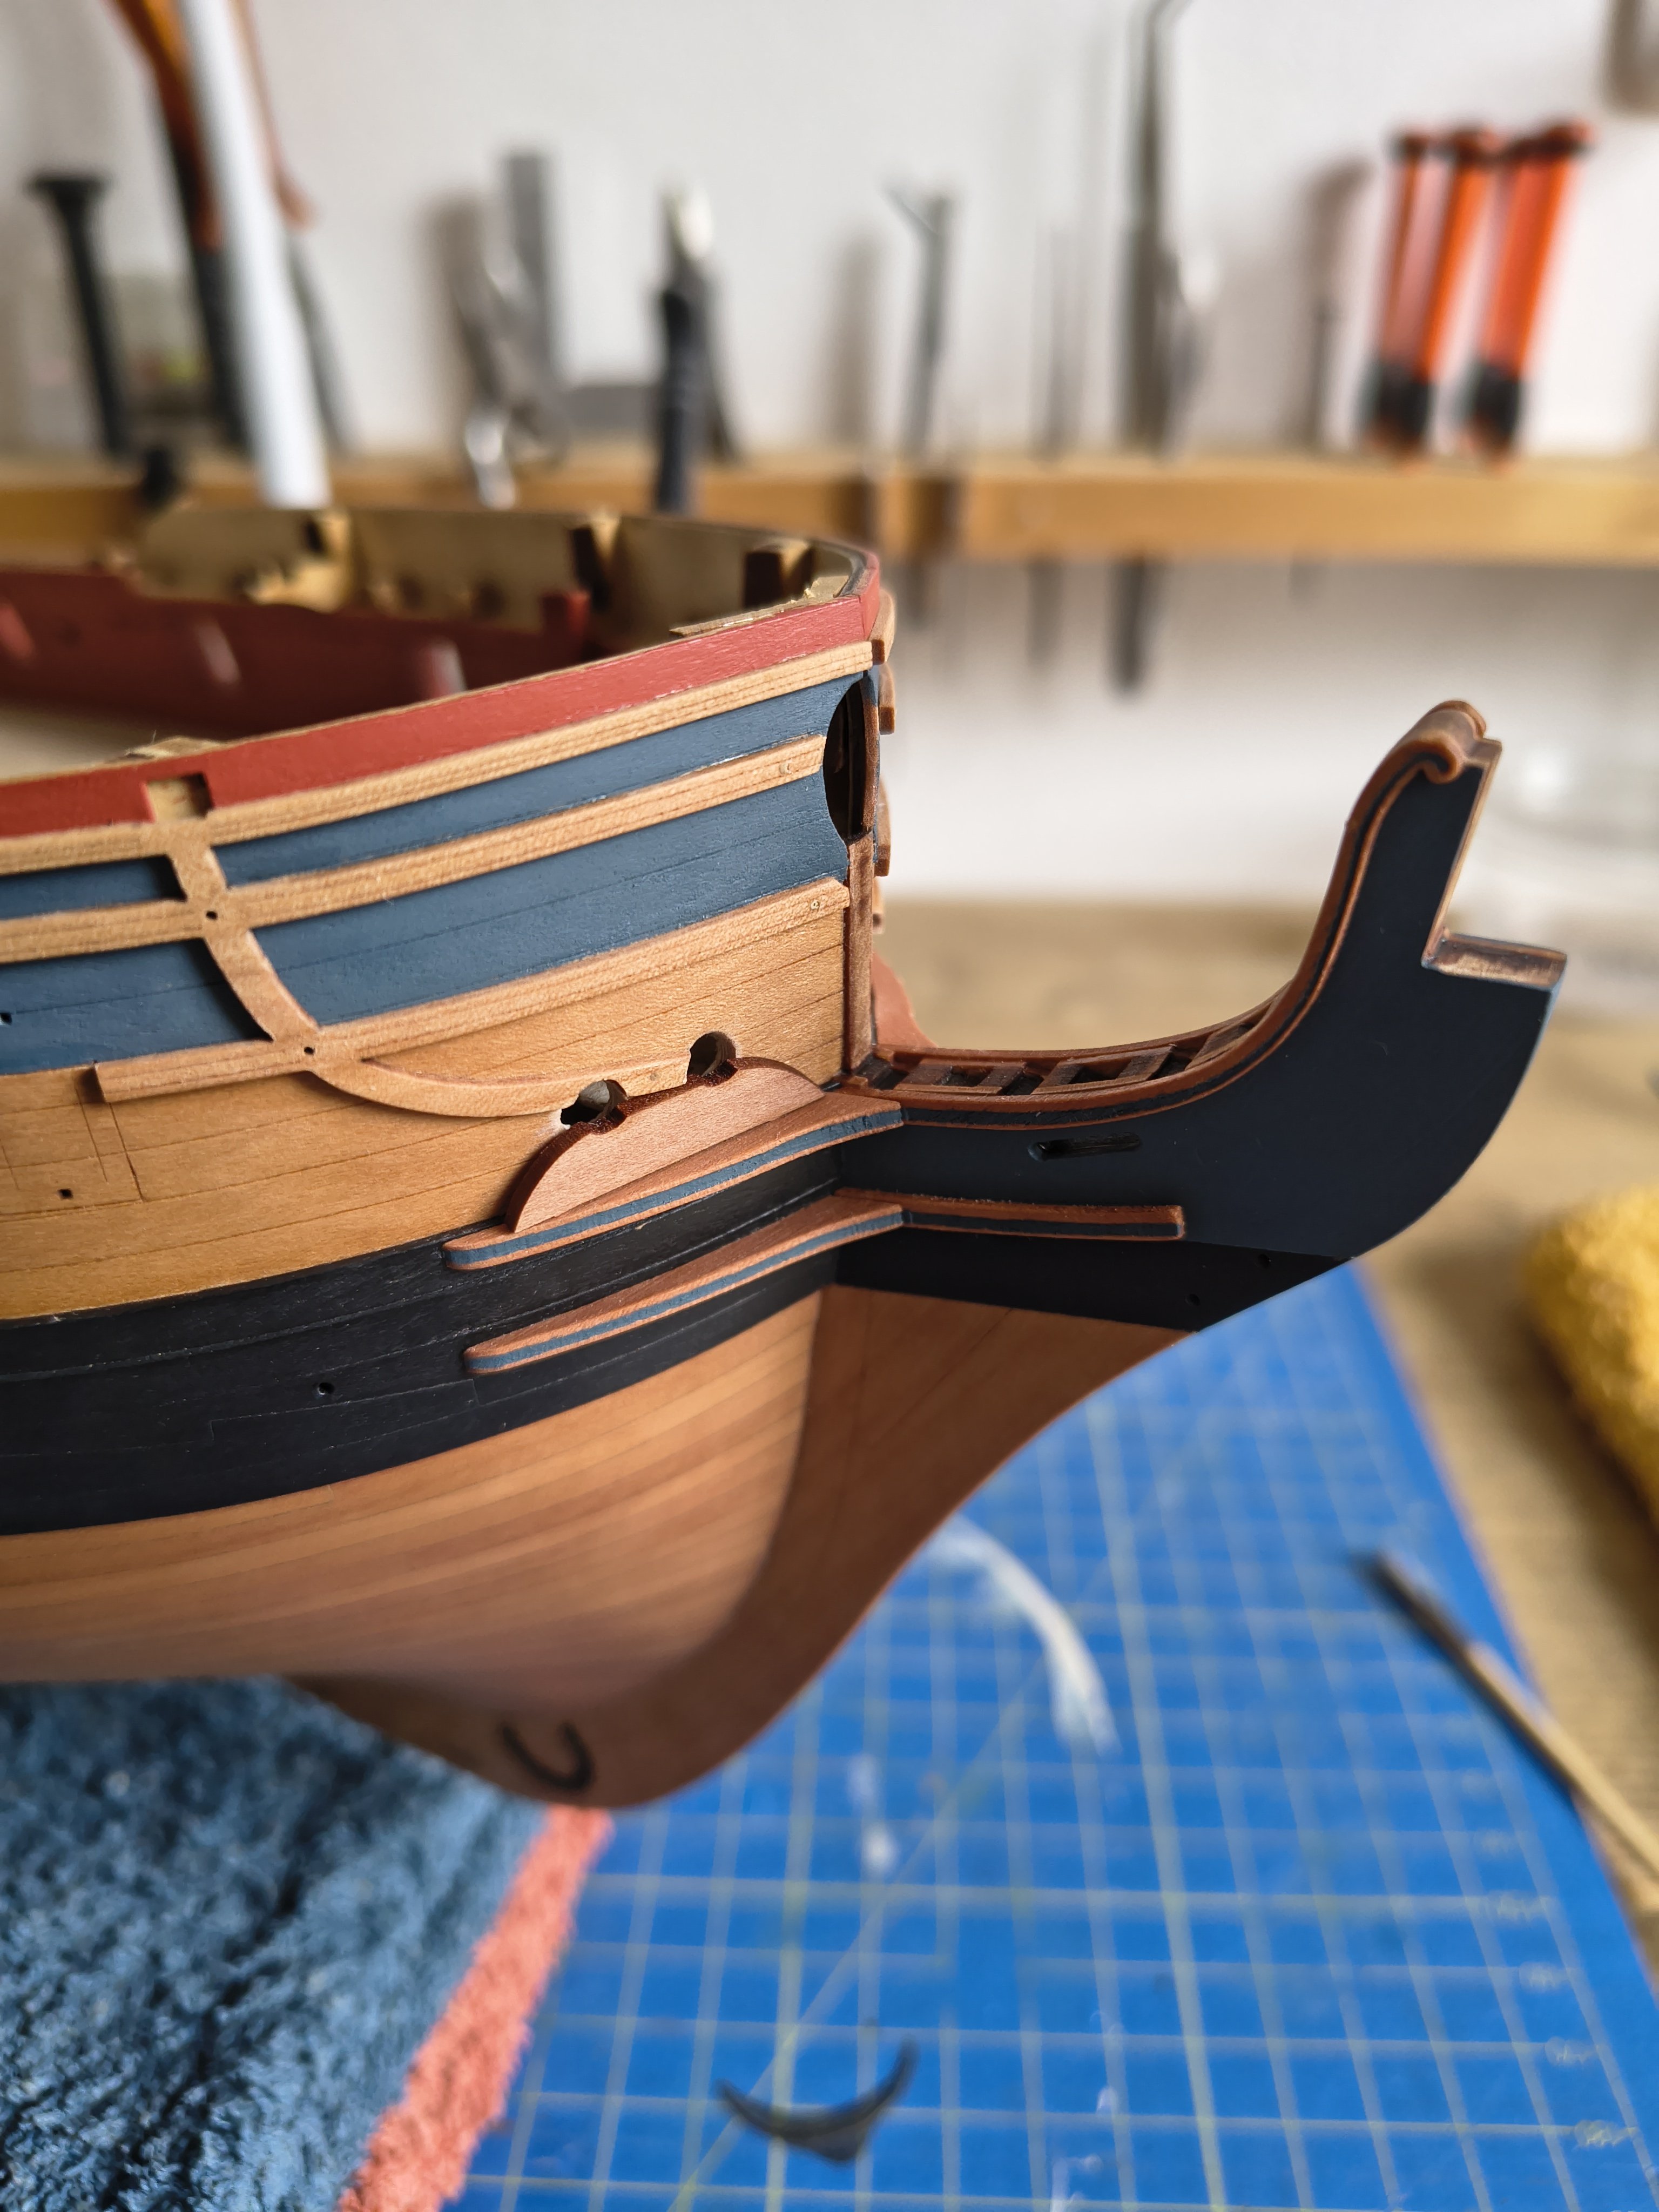
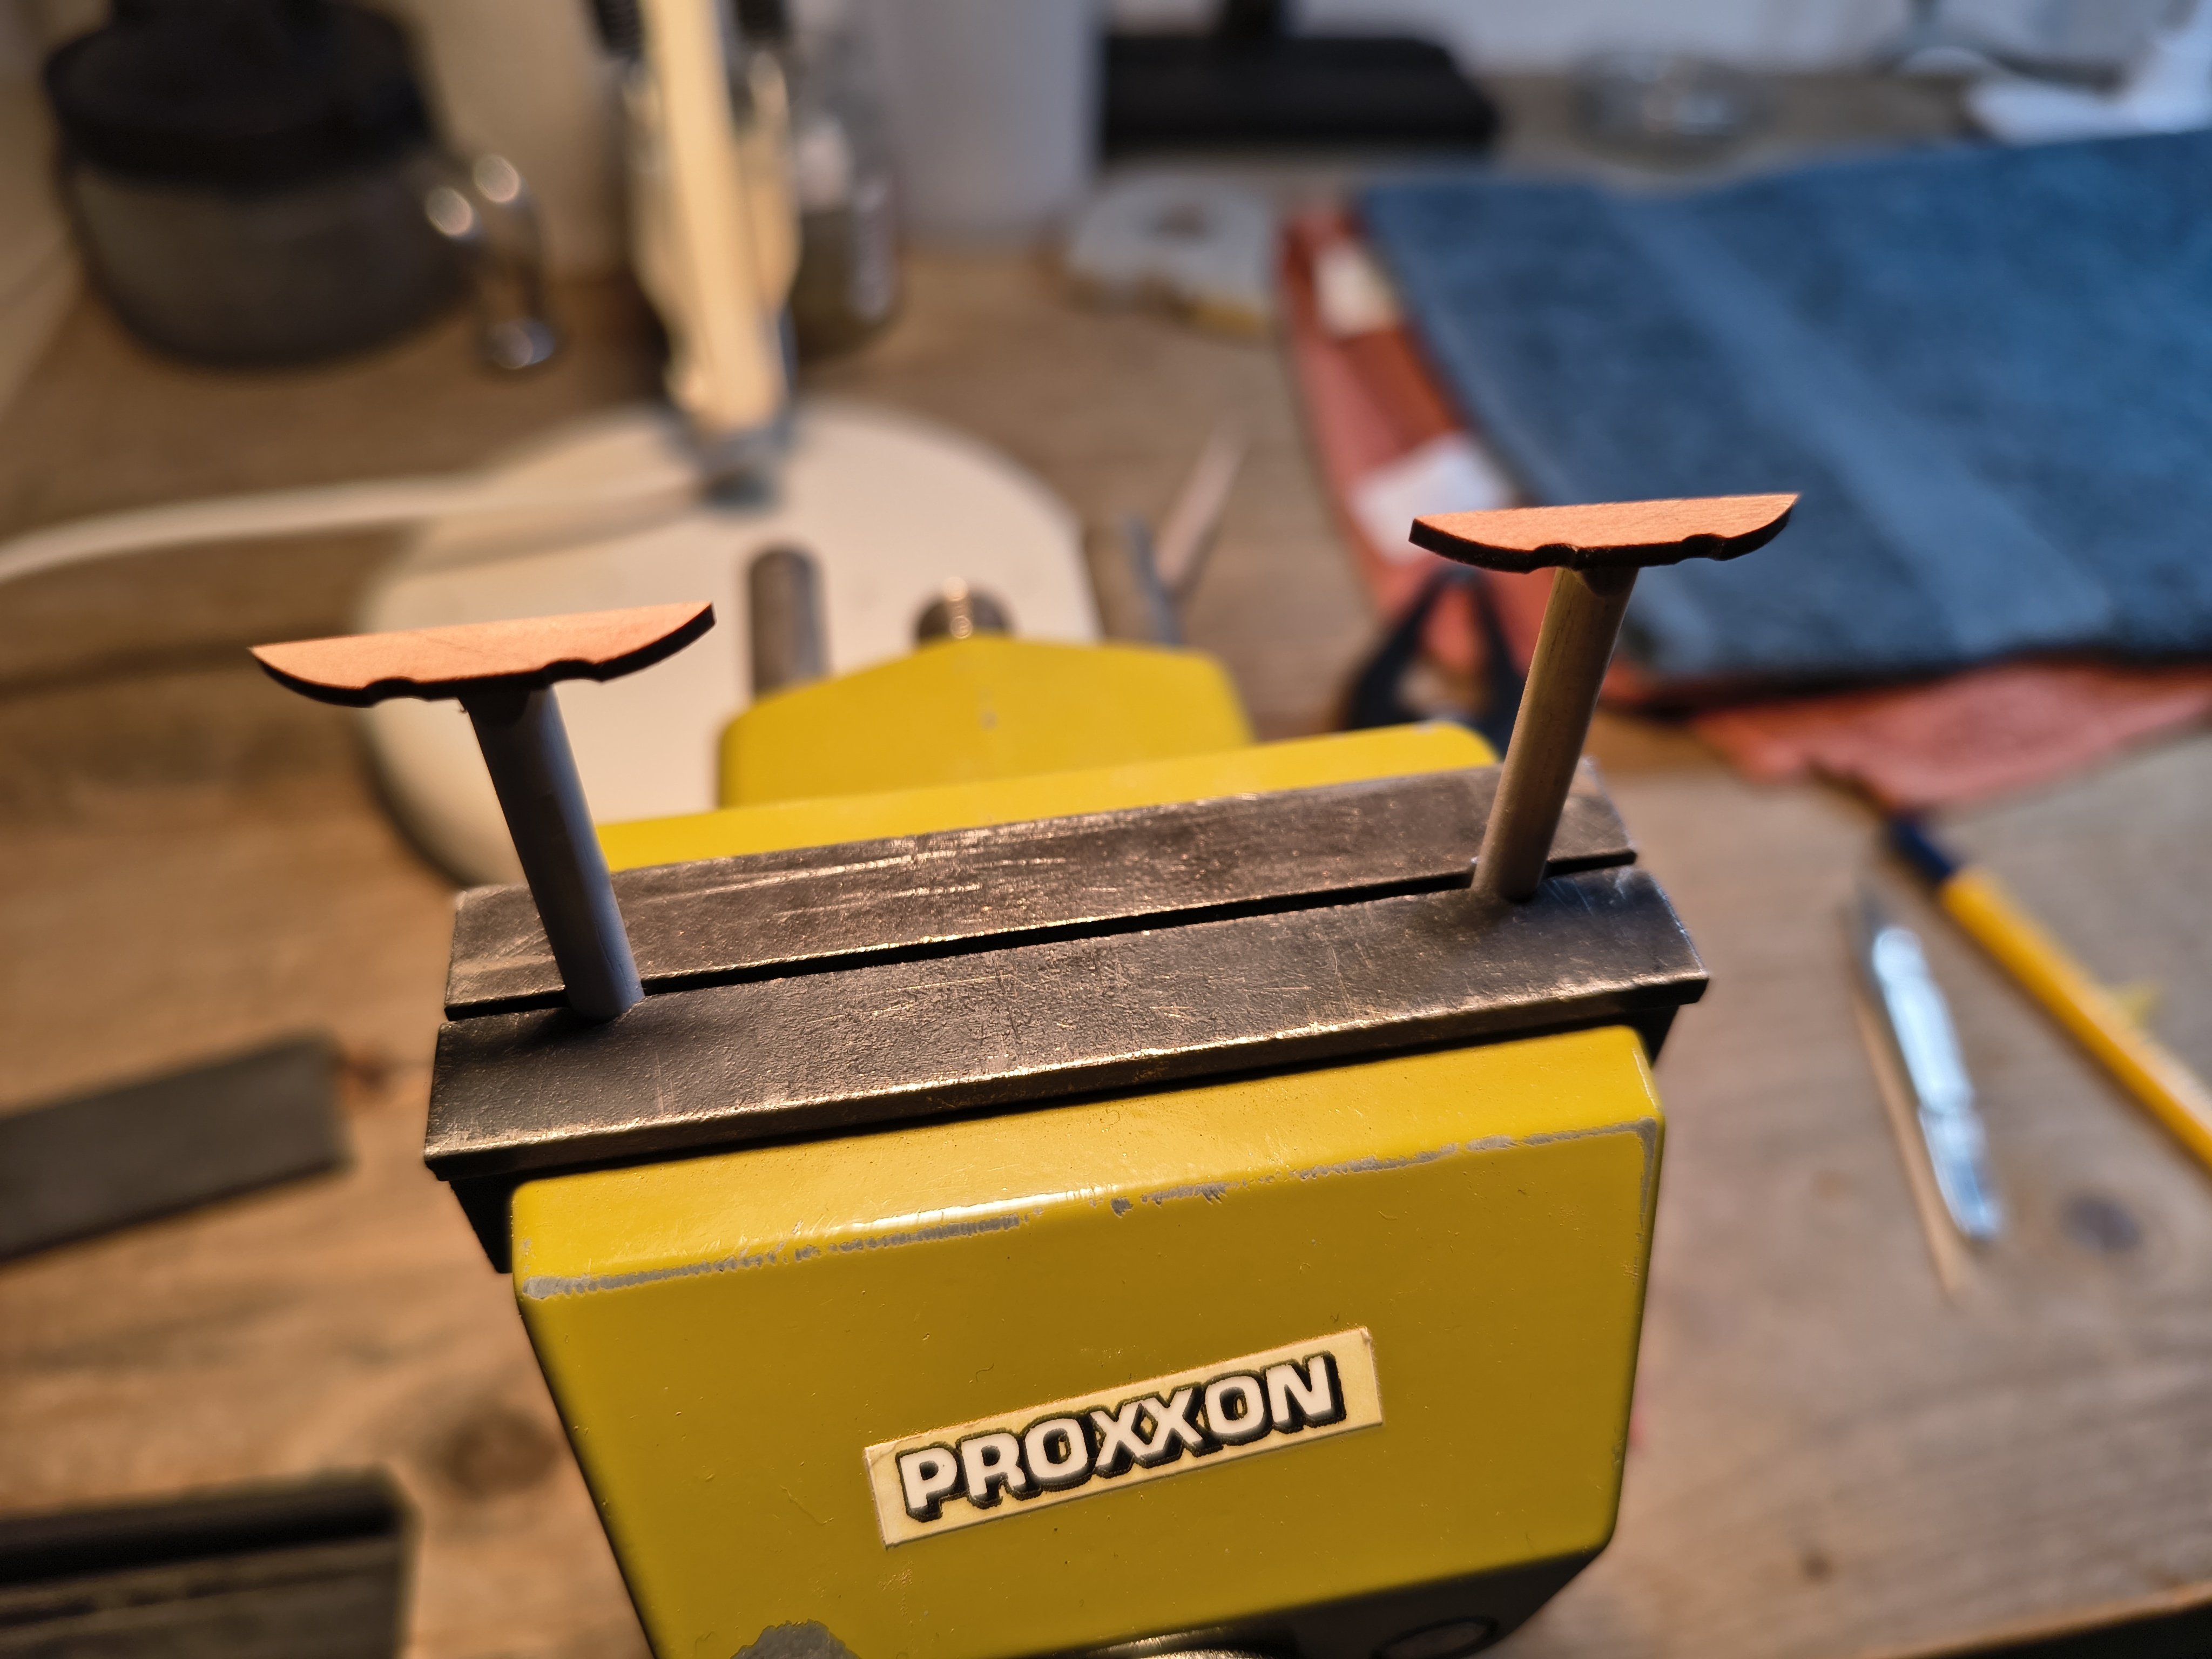
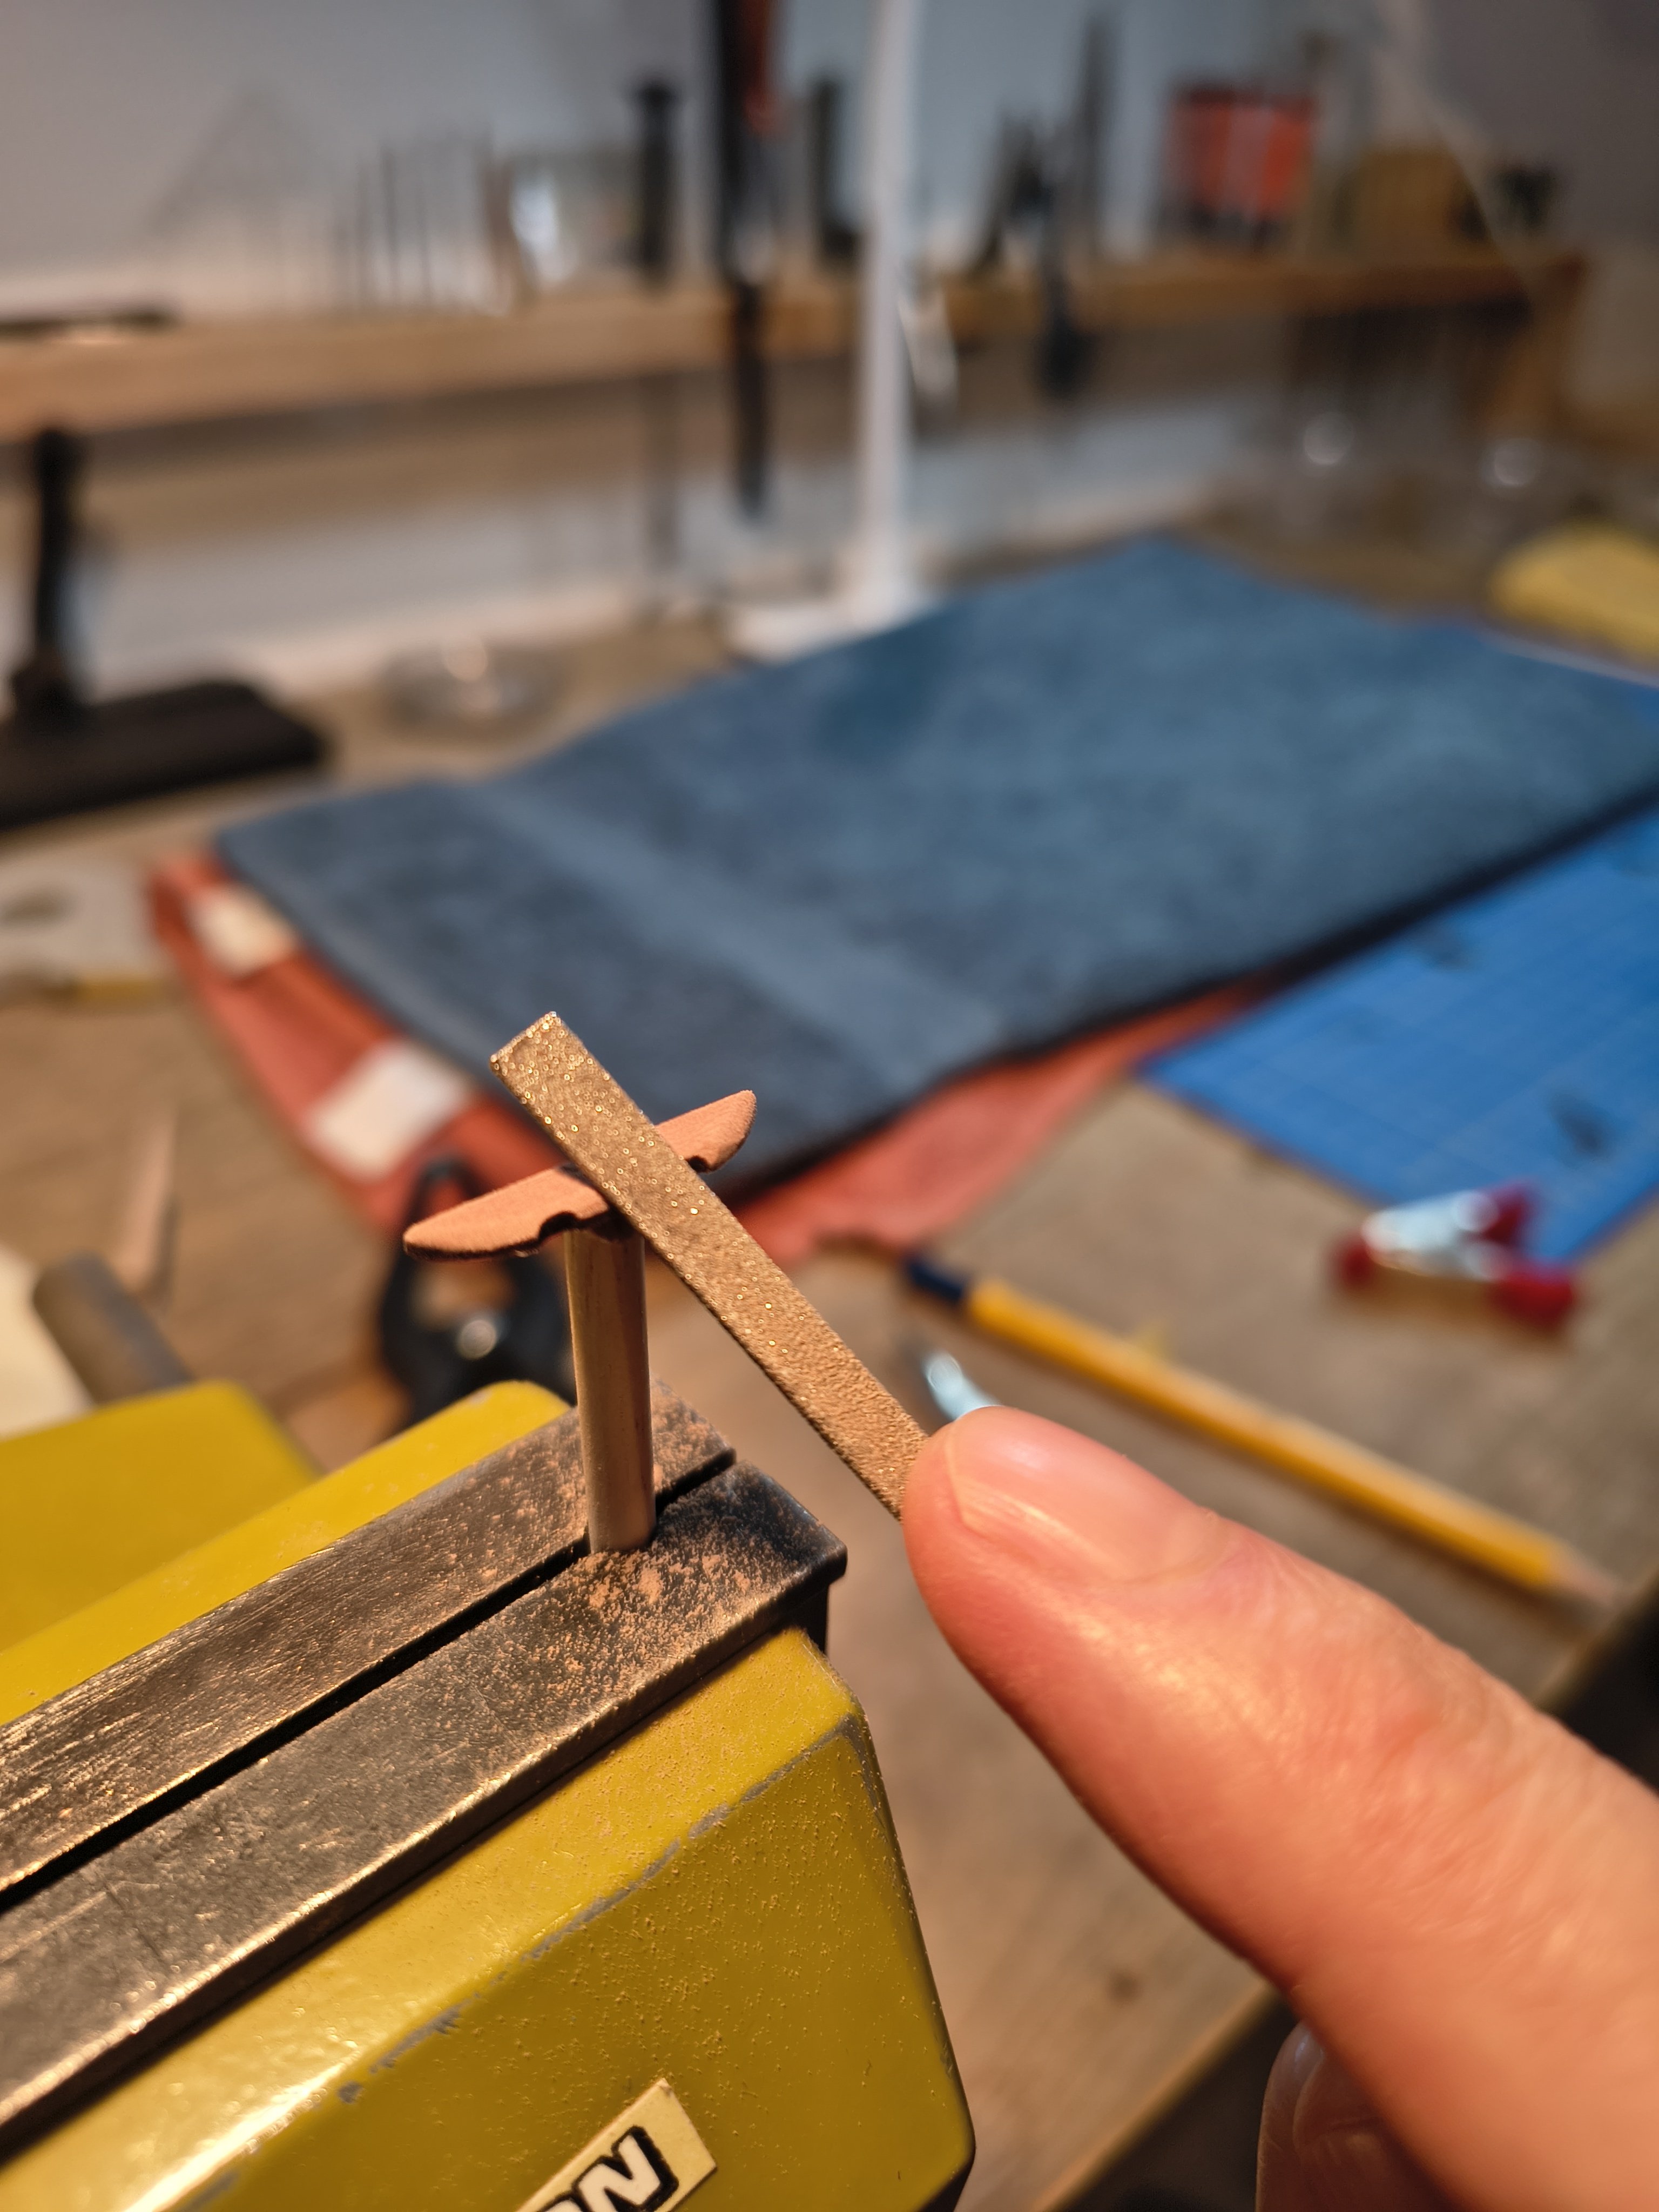
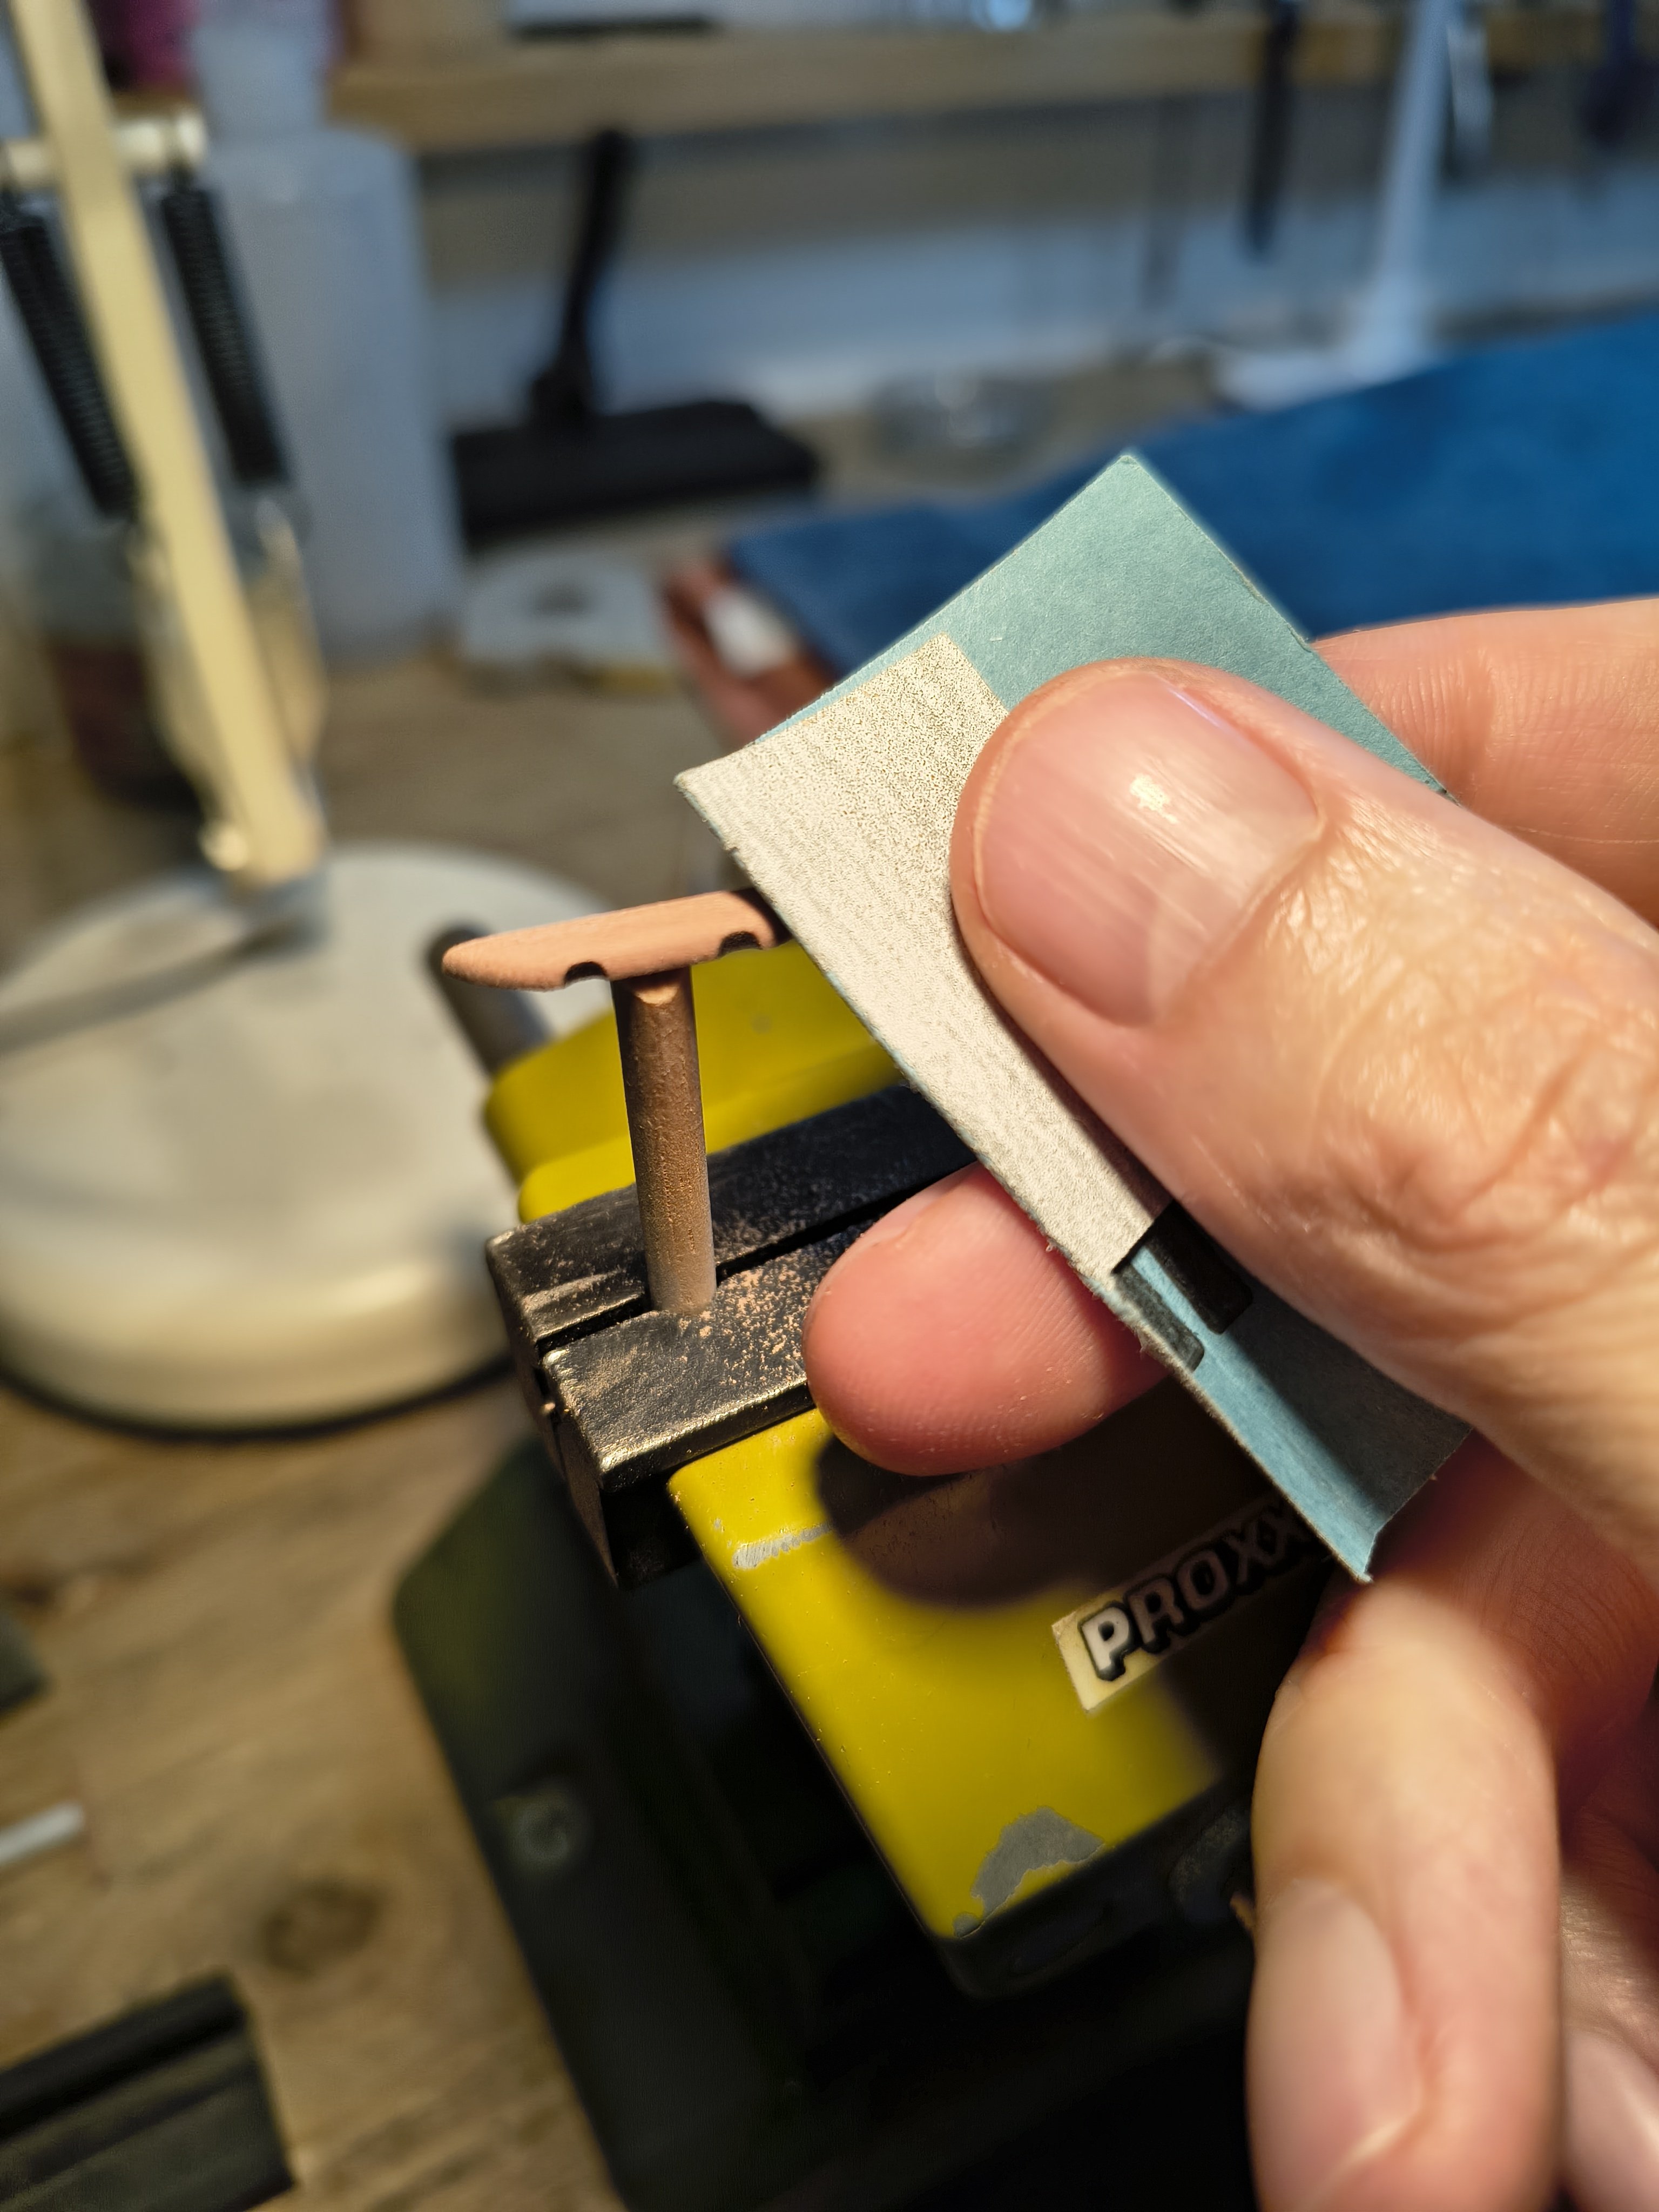
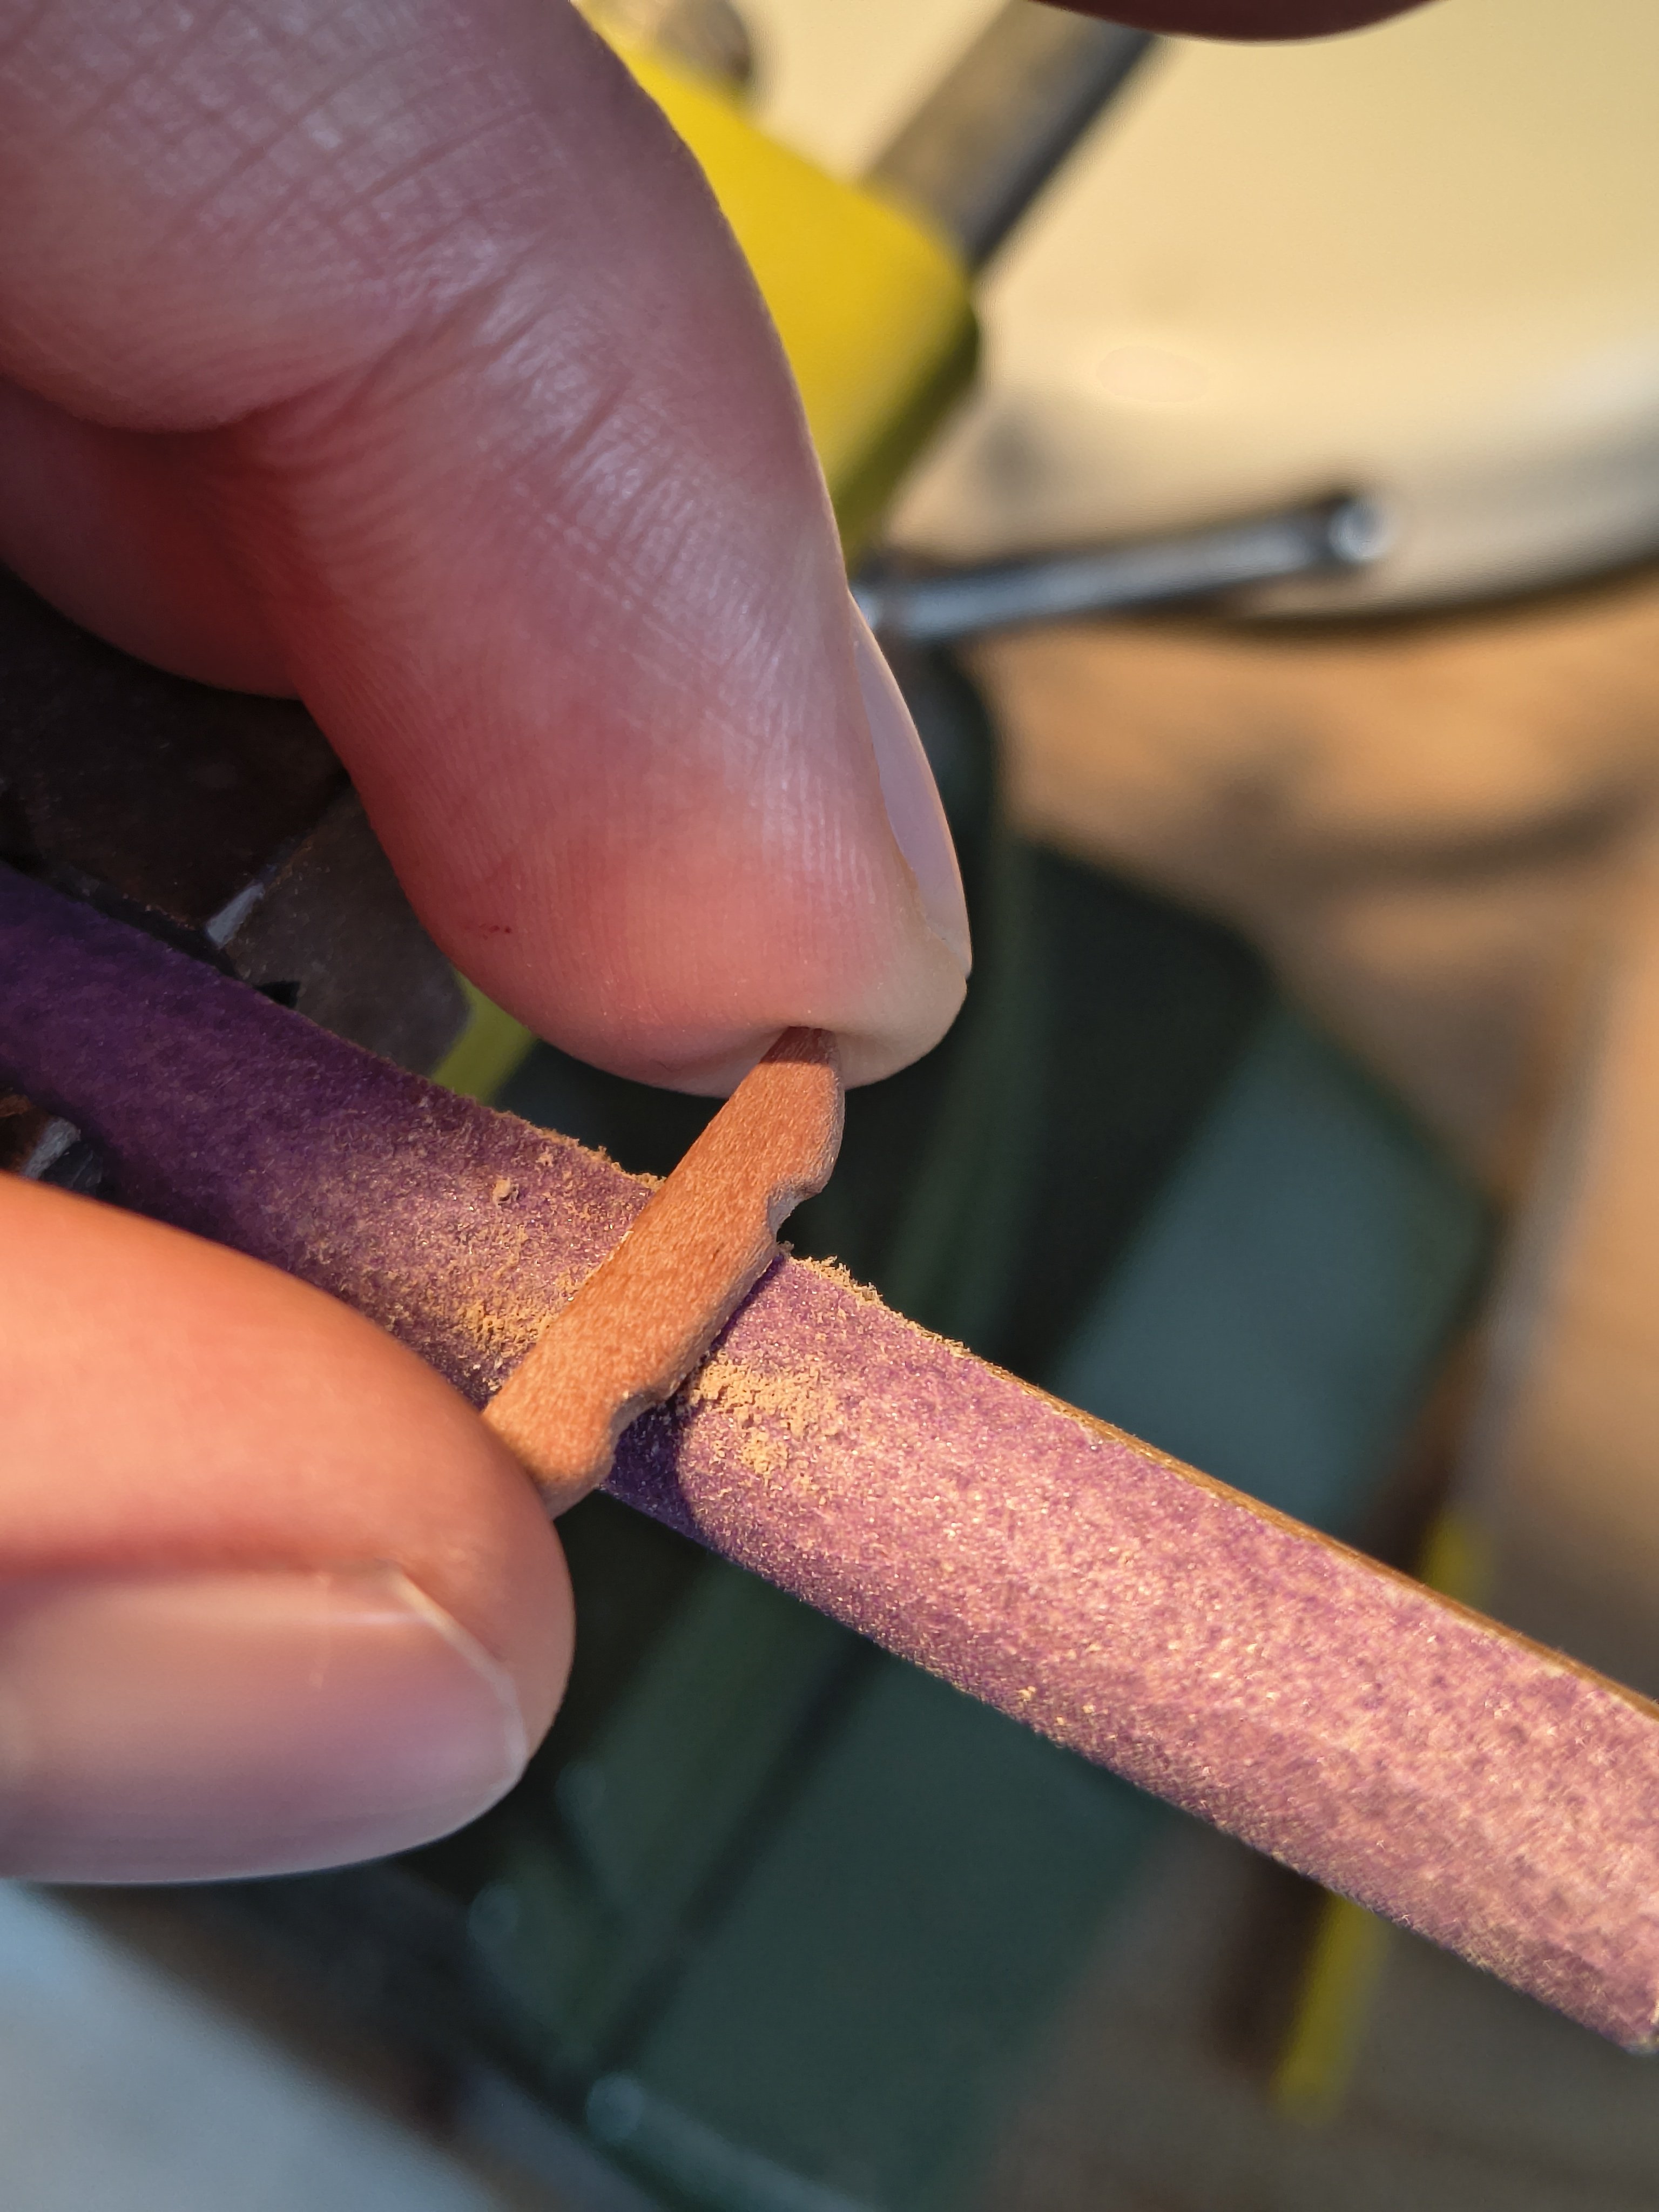
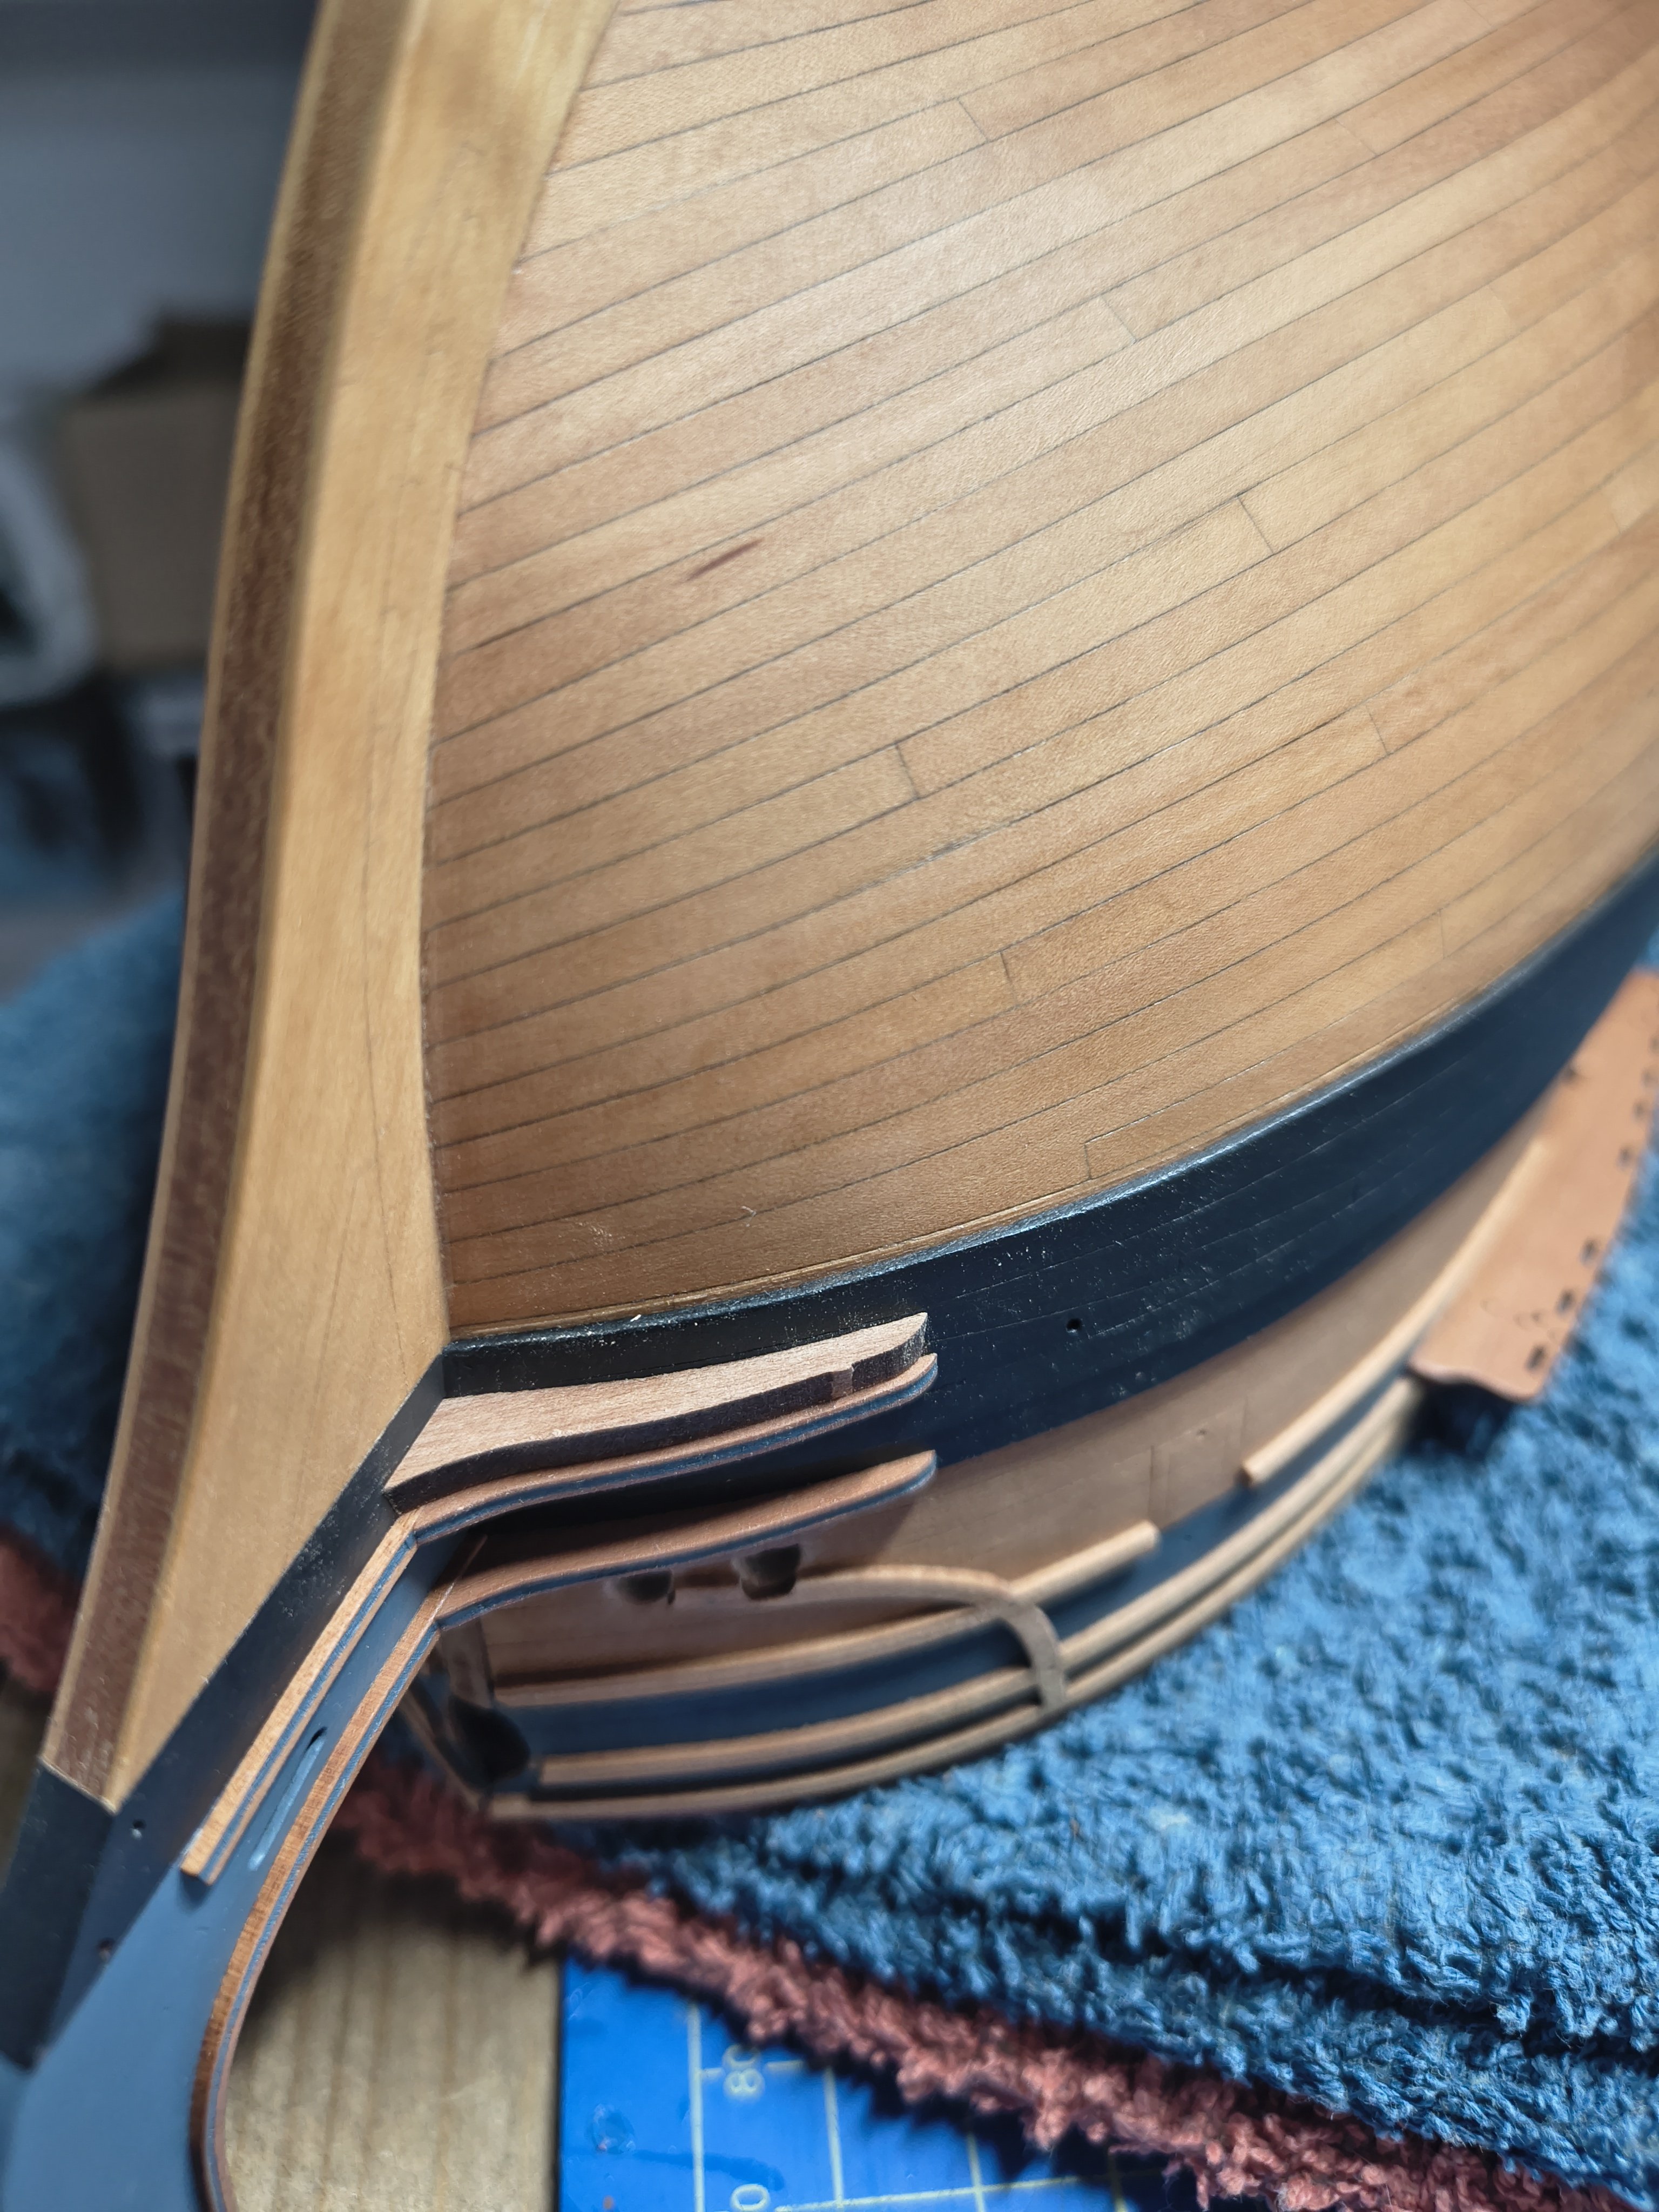
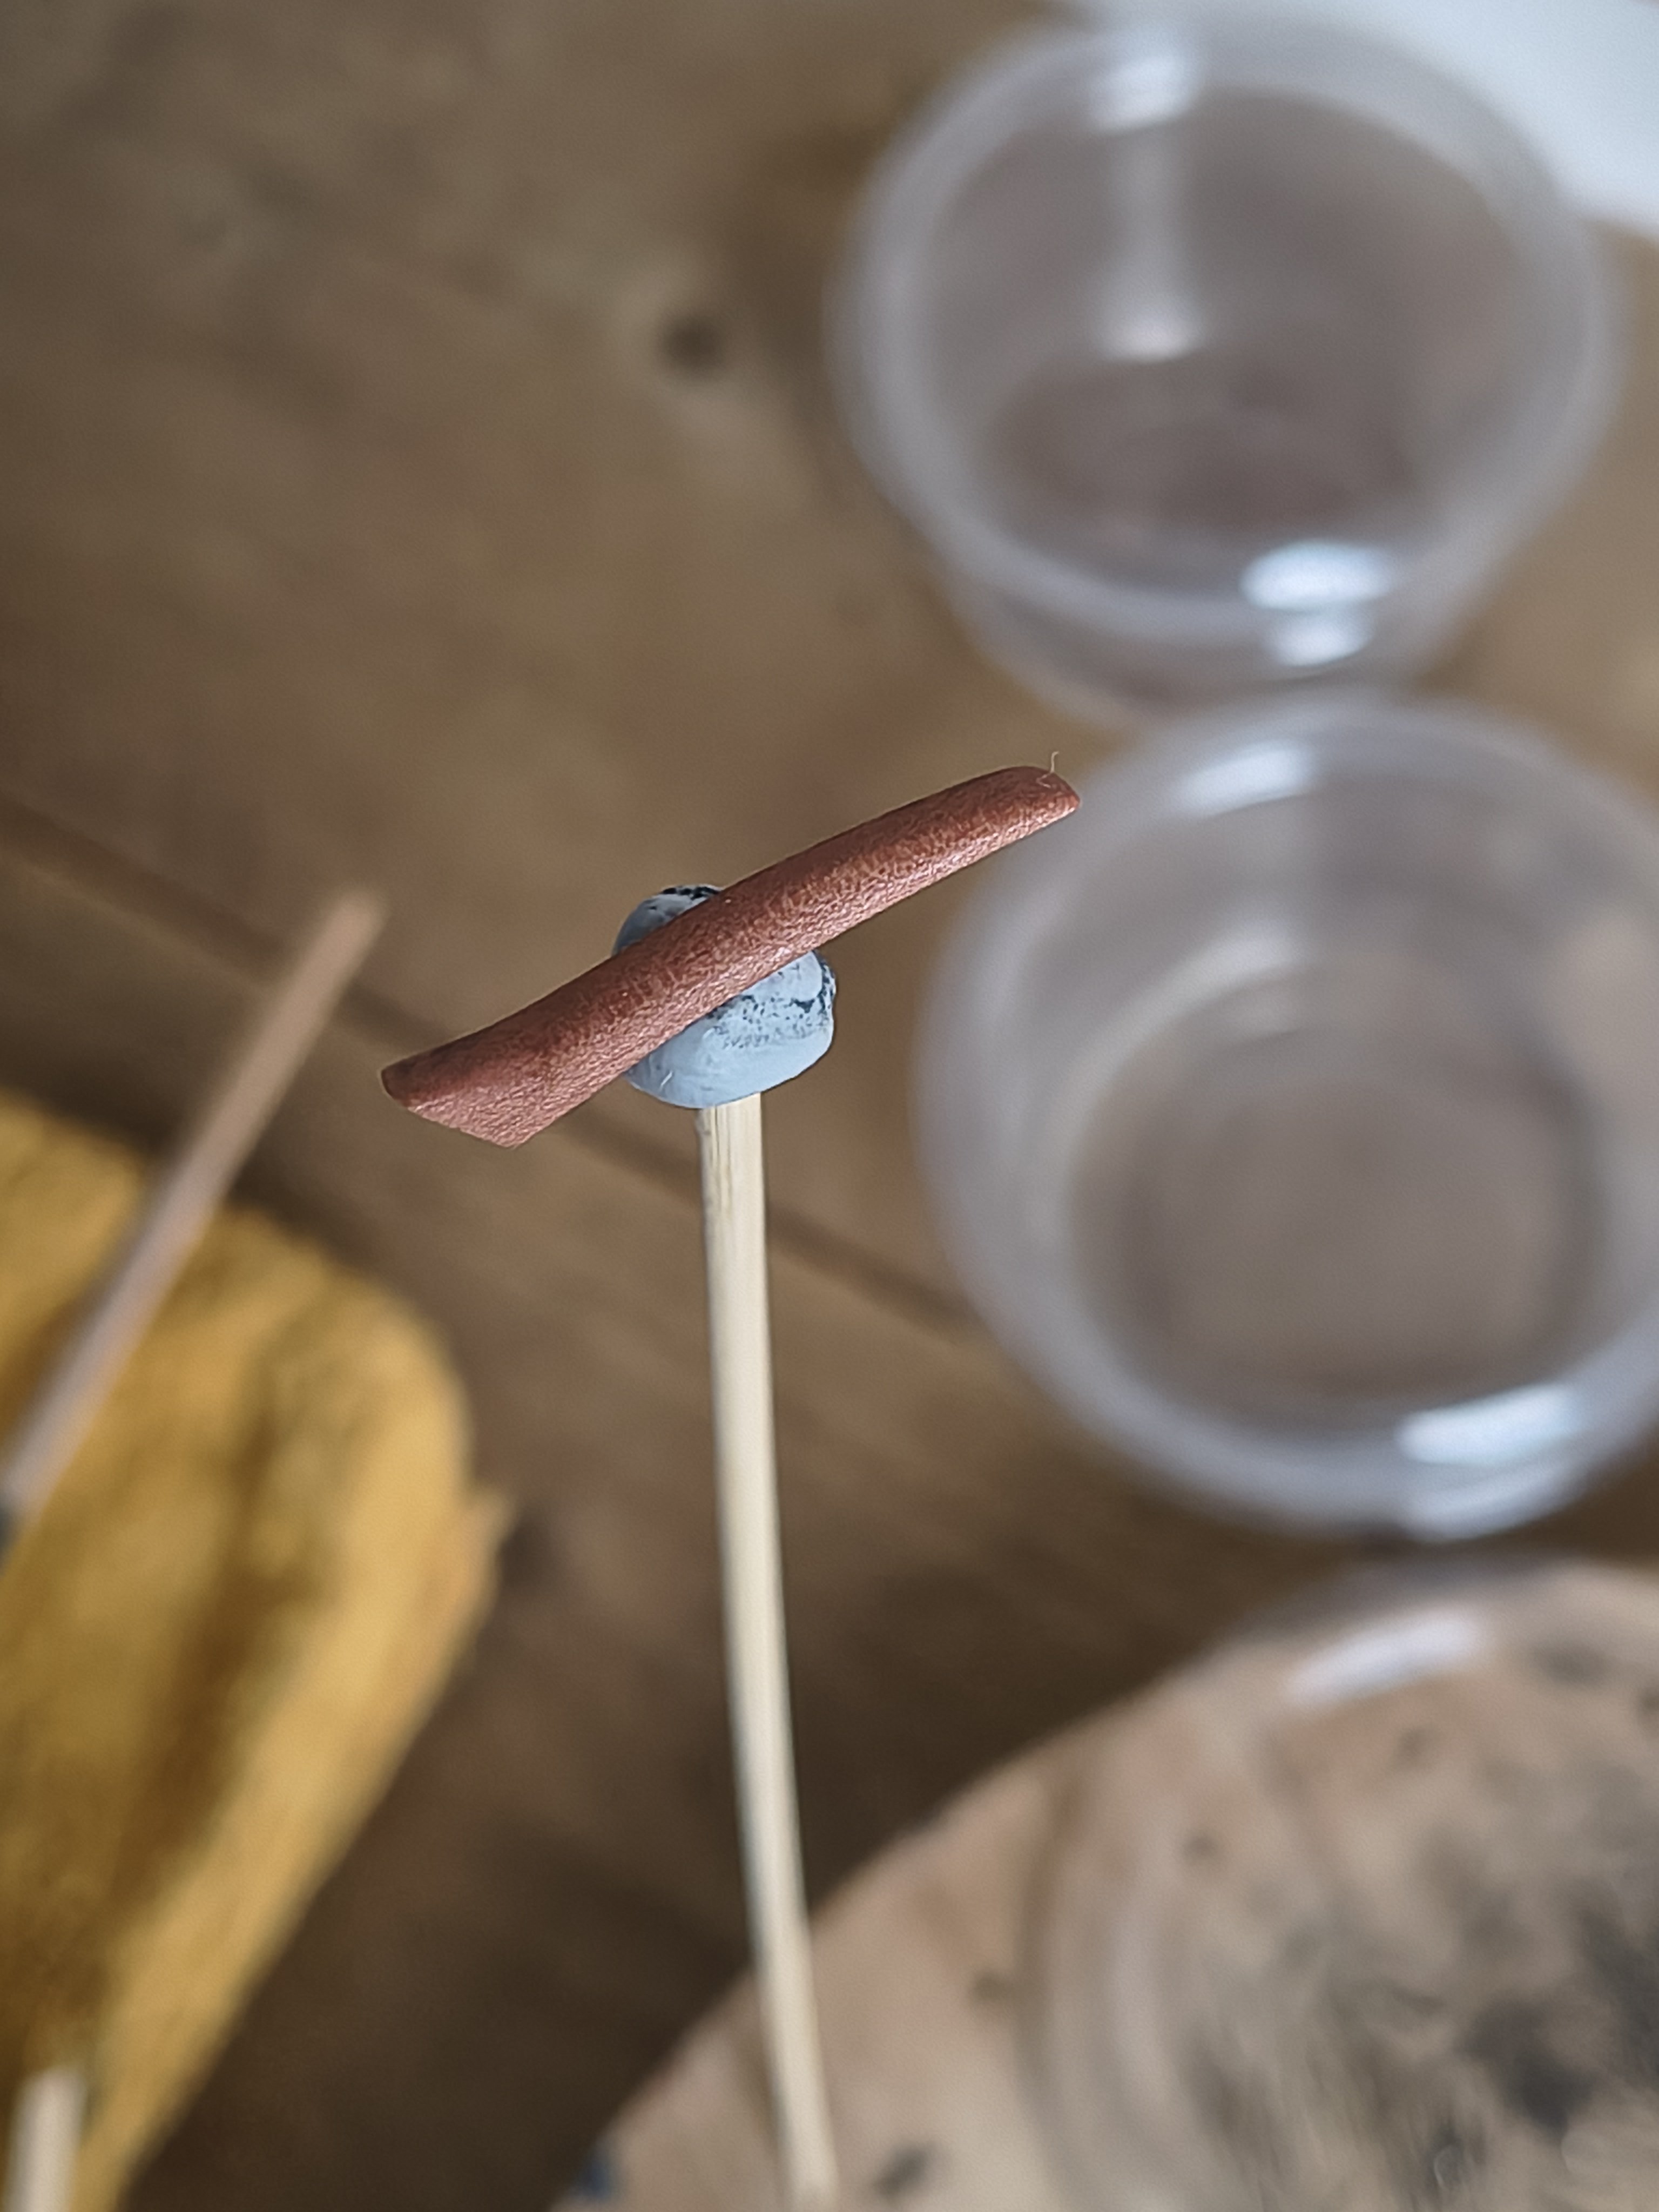
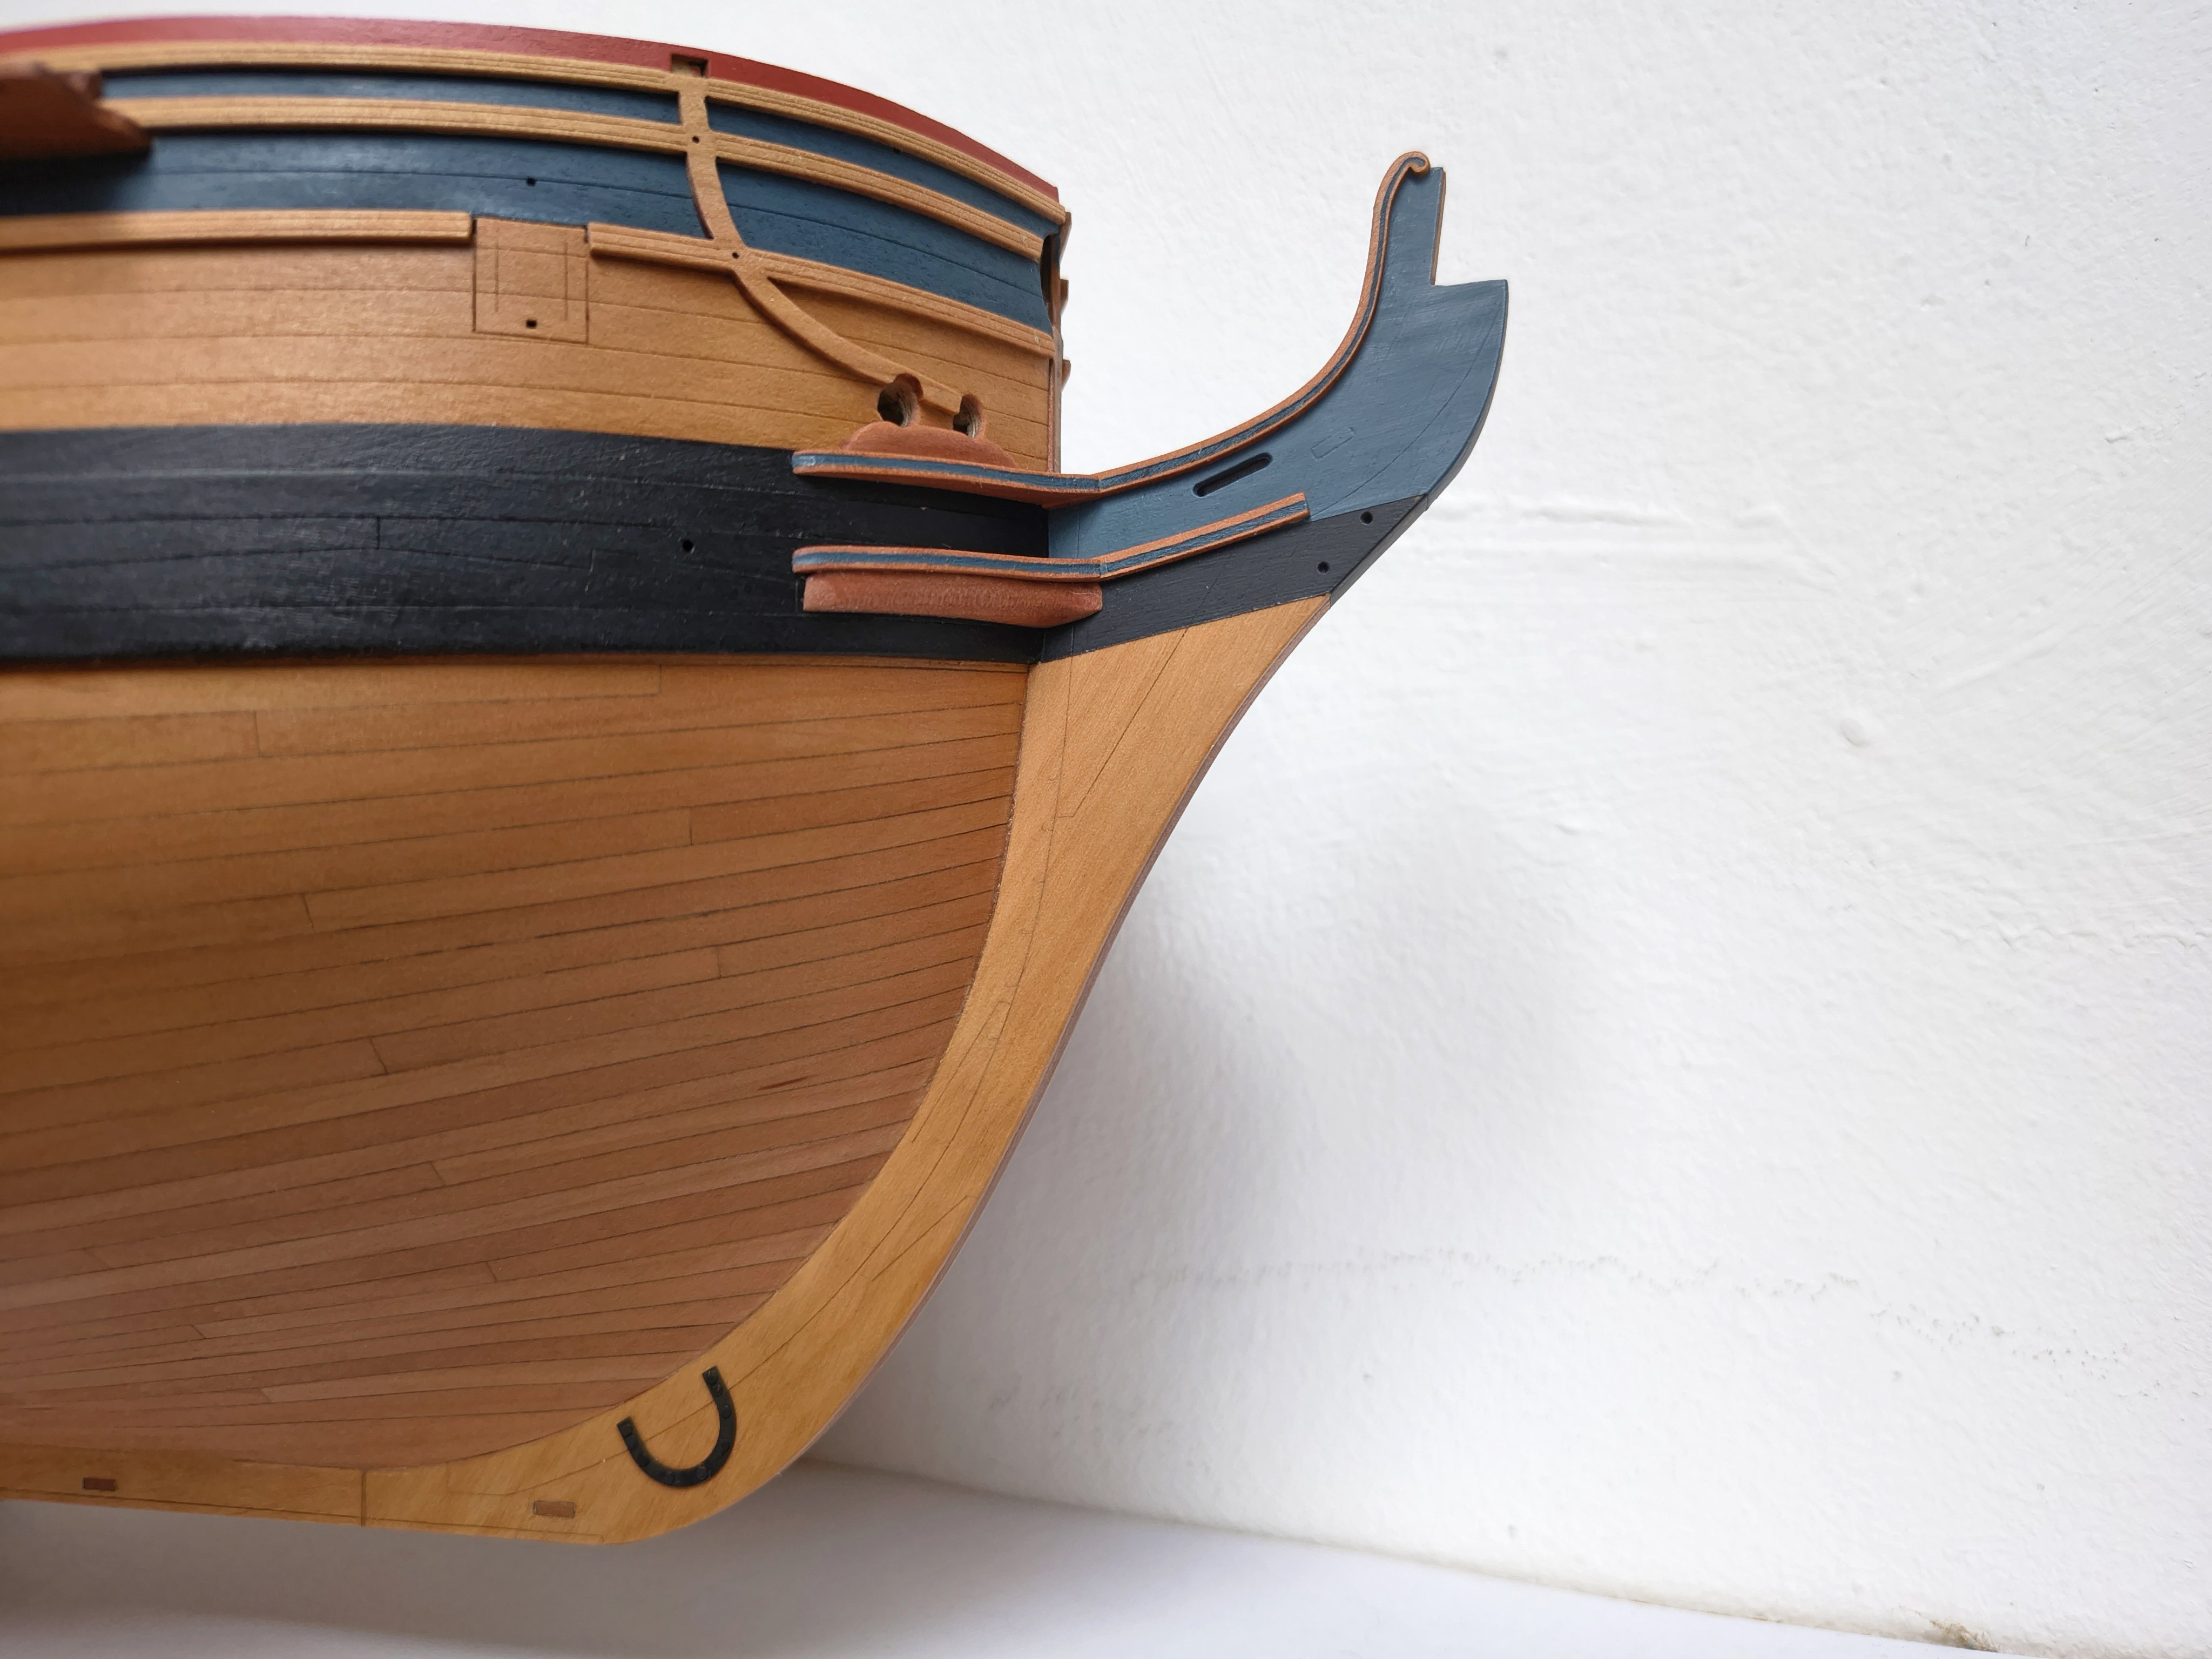
Update: I've been quite ill for the past two weeks, flu, fever, etc., but I'm feeling a bit better now. I haven't had much motivation to work on the Sphinx, but I've already done some small things. So, just a quick update. I actually wanted to update when the whole bow thing was finished, but that's taking too long. So I just do small pieces and update them. First, let's move on to the "bow cheeks." After I had cleared them of char, I wanted to paint a nice blue stripe on them, like those seen in other build logs from members like Blue Ensign and Brunnels. Just painting a straight line wasn't going to work for me; I can't paint that neatly, so I wanted to create a groove in them, just like the laser-etched "bow hair brackets." This would ensure a reasonably clean line. Now, I do have some nice "scribe plates" from Artesania Latina. I'm not sure if that's the correct name, but I had to make some adjustments. The cheeks are made of 2mm thick material, and when I look at the pattern for the 2mm thick scribing plate, I found the groove in the center looked too narrow (compared to the line in the hair brackets). But the 3mm pattern one seemed to have the perfect width. But that one is obviously too wide. So I made a very basic jig to put the cheeks in (this one only lasted 2 tries and then I had to replace the wood because I didn't have any good quality wood available) But otherwise, it worked fine, and I was happy with the final result. The grooves weren't as clean as the laser-etched ones from the kit, of course, but they were much better than I could paint. I approached the painting the same way as the bow hair brackets, which I showed in the previous update. Before gluing the cheeks, I first glued a test piece of wood to a thick piece of painted wood. This was to test whether I could glue PVA to painted wood without sanding the paint away for adhesion. I was very satisfied with the adhesive strength, so I glued the cheeks without sanding. After they were glued, the blue line didn't quite match up with the "bow hair brackets" so they still had to be connected I still had to drill the "hawse holes" from 2mm to 4mm. I did this by first drilling 2.5mm, then 3mm, then 3.5mm, etc. Next up were the "hawse bolsters." The order of work was... first, adjust the height to the hawse holes, then glue them to two pieces of scrap wood for a better grip, then file the rough shape with a file, and finally, smooth it out with sandpaper. Finally, sand in the curve at the rear to make it flat against the hull. The photos below show this order. The last thing I worked on were the two wash cants. I saw in some build logs that other forum members had omitted them. Perhaps for aesthetic reasons? I thought it would be a shame not to use them, so I started working on them. Initially, I thought they had to be black so they wouldn't distract too much from the lines of the bow cheeks. But once I had sanded them into shape, I was quite impressed with their beautiful rounded shape and thought it would be a shame to hide them in black. So I decided to leave them natural, and I think they really add something to the bow. Their rounded shape and color make them work well with the hawse bolsters. First, I filed/sanded the correct curves in them to make them sit flat against the wales Then I sanded in the nice round shape and finished it with 2 layers of WOP (also covered the hawse bolsters and holes at the same time) I removed the hair This is what everything looks like now: The next and final step is the "lower bow rails" that will go between the hawse holes and the gammoning knee...that seems like a really fiddly job and I'll have to see how I can manage that...to get it looking a bit nice.


-
Hi and welcome to MSW! Did you try this method shown in the video below? Maybe veneer is a bit more difficult to bend laterally then something a bit thicker, but it's definitely worth trying. Also the other video's in this Youtube account are worth watching.
-
That looks nice and smooth!
-
Really beautiful display and model! Love the cherry wood color Well done sir!
- 38 replies
-
- 2
-

-

-
- 18th Century Longboat
- Model Shipways
- (and 1 more)
-
HMS Victory by ECK - OcCre - 1/87
Ronald-V replied to ECK's topic in - Kit build logs for subjects built from 1751 - 1800
You don't want to rig 100 guns? 🤣 -
Be aware that with almost all kits, you'll need to sand the false deck to the same size as the bulkheads. The false deck is almost always left slightly larger so you can give it the correct curve later. You can check if a bulkhead is too small by placing a strip of wood across several bulkheads simultaneously. Does the strip fit snugly against each bulkhead with a good curve? Or is there a gap between them that needs to be filled (Corel is known for this, since the bulkheads aren't laser-cut). Barkeater offers a good way to fill that gap.
-
Welcome to this forum! And have fun with your first build 🙂
- 19 replies
-
- 1
-
-
- Viking
- Artesania Latina
- (and 1 more)
-
That's a nice finish of your hull!
-
Yes that looks really good! I'm so impressed people make these scrapers themselves, really nice
-
I keep repeating...very beautiful work!
- 38 replies
-
- 1
-
-
- 18th Century Longboat
- Model Shipways
- (and 1 more)
-
HMS Victory by ECK - OcCre - 1/87
Ronald-V replied to ECK's topic in - Kit build logs for subjects built from 1751 - 1800
Those look indeed pretty hard to make! But you managed it well -
I wish you a good recovery, if necessary
-
Good save 👍
-
That's a milestone reached! Well done!