
HOLIDAY DONATION DRIVE - SUPPORT MSW - DO YOUR PART TO KEEP THIS GREAT FORUM GOING! (Only 24 donations so far out of 49,000 members - C'mon guys!)
×


Rick01
-
Posts
652 -
Joined
-
Last visited
Content Type
Profiles
Forums
Gallery
Events
Everything posted by Rick01
-
Funny but I was just about to sit down and make a comment about the "flying" sails having remembered a short discussion I had on this site very early in my build. When you look at the watercolours where she's under sail you can see that the gaff topsail is flying - that is unattached to the mast other than by a hoist (think that's the correct term) and in sketch 6 similarly the upper square sail. This really makes the job easier (unless you are going to mount sails) as both yards would only be hoist when actually using those sails (anyway that's my understanding as the word flying indicates that the yard is unattached to the mast). Basically it probably needs a little extra research on how these were hoist and where a couple of extra blocks would be attached to the mast head to handle them. Any other people following this build have any ideas? Rick
-
Hell of a load of work to study there. 5 and 6 seem to show the flying gaff plus an upper square sail pretty clearly - it's surprising she didn't topple over with all that canvas spread. I'm looking forward to your finished item, even though it means I may have to re-model mine. Most of what you've found just didn't seem to be around when I was doing my research! Rick
- 241 replies
-
- 1
-

-
- mermaid
- modellers shipyard
- (and 1 more)
-
I ended up using a small drop of superglue on the brass then coating the whole thing with a good dose of a clear water base satin varnish. I seems to help secure the straps (just don't put any pressure on them afterwards 😉 ). As to Dockyard supervisors how did you manage to go so long without another boss? I also lost mine April last year but could only go six months before another applied for the job. Rick
- 714 replies
-
- 2
-
-
- lady nelson
- victory models
- (and 1 more)
-
I used a wash of PVA glue on the cable eventually to get it looking reasonably authentic. It's quite frustrating otherwise. Rick
- 714 replies
-
- 2
-
-
- lady nelson
- victory models
- (and 1 more)
-
Also brand of good work clothes!! Let them work out our vernacular Cabbie - we never get concessions over their misuse of the language. 😉 Rick
- 241 replies
-
- 2
-
-
- mermaid
- modellers shipyard
- (and 1 more)
-
Or do as I did - ditch the ply keel (along with most of the rest of the ply) make a solid false keel, cut the rabbets and install at first planking. This was only my second build but I didn't find making solid timber parts that hard even though my woodworking lessons were pre "Cuba Crisis" . Over in Aus. between local natives and Javanese pirates our survey vessels did suffer the occasional bit of "battle damage", Rick
- 241 replies
-
- 1
-
-
- mermaid
- modellers shipyard
- (and 1 more)
-
I'd suggest that for your first you look at something like the Endeavour's Long Boat. It'll give you a basic lesson in planking, rigging, mast tapering and a chance at mucking up without costing you a fortune. There are a number of builds here including mine below my signature. Get that under your belt then go for a cutter before attempting a multi-mast build would be my recommendation. Rick
-
If you haven't already take a look at the cutters on this page https://modelshipworld.com/gallery/category/4-gallery-of-contemporary-models-from-museums-and-private-collections/?sortby=album_last_img_date&albumPage=2 The gun ports are all over the place. I'd dummy mount a cannon to ensure you've the clearance to mount one without fouling the port lid at full elevation. I'm pretty sure I had to fiddle with mine just because of this. Rick
-
Given that effectively they're acting as spacers only I wouldn't have thought the position overly important structurally ( I may be wrong as I'm not a shipwright however!) Given that they are required to support a fairly heavy ship's boat that could well be half full of water I'd say that common sense says not demountable or at least not very easily done. As for the wales - the upper wale would seem to protect the gun port(s) with the lower providing an overall protection. Only my thoughts but I tend to look at things and where no simple answer is apparent then I try applying a sort of "it makes sense" attitude. Rick
-
I'm having a quiet giggle at this - we always hope others will learn from our mistakes but not always 😉. I was spitting chips fitting those thwarts!! Rick
- 5 replies
-
- 1
-
-
- longboat
- artesania latina
- (and 1 more)
-
That's pretty much how my davits sit. The angle in them should end up such that they are parallel aft of the transom. I did away with the kit ones and crafted my own as I really hated the use of ply everywhere. One comment on the last pic at Careening bay. Is it an original King sketch or do I read the left hand note on it as saying "From a sketch by King" ? If the latter I'd not rely on it as much as an original King sketch. Rick
-
Of course you will, it's just a matter of hanging in and practicing. You will also learn quickly how to strip errors down and rebuild or otherwise disguise mistakes!! Rick
-
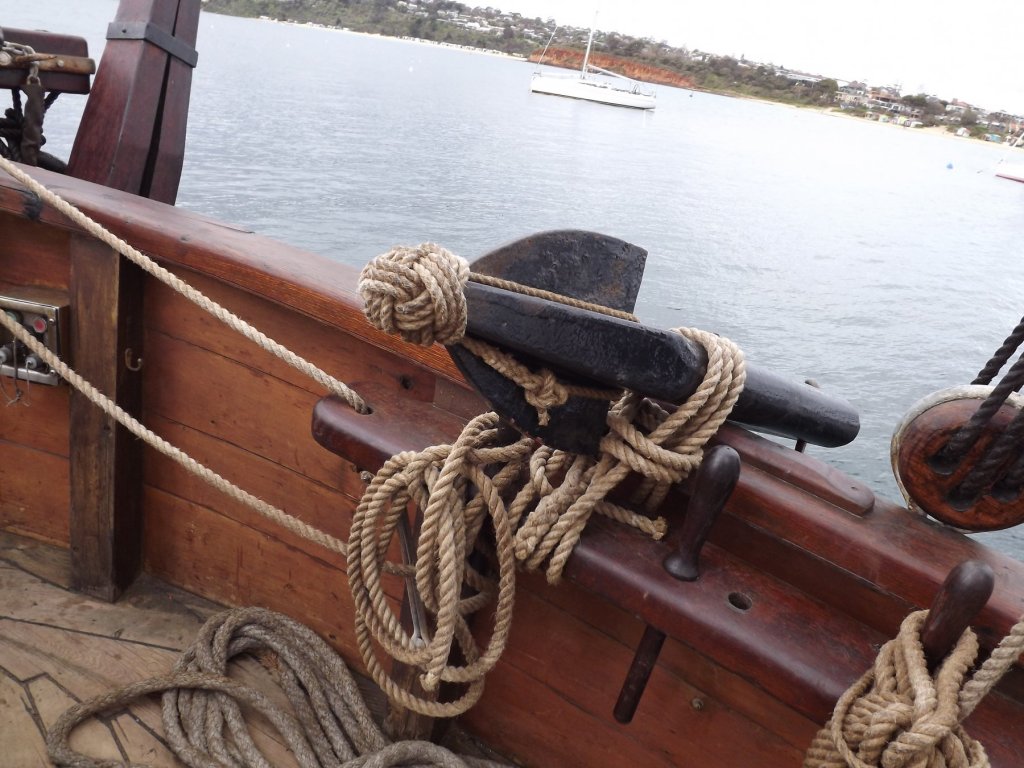
"Monkey fist" I believe. It's only there because Aussie O H & S guys don't want some member of the public impaling themselves on it. 😉 Rick
- 714 replies
-
- 3
-
-
- lady nelson
- victory models
- (and 1 more)
-
Round the fluke does work but I can't help as far a finishing ropes at a timberhead. Rick
- 714 replies
-
- 4
-
-
- lady nelson
- victory models
- (and 1 more)
-
Looks very neat and tidy. Rick
-
Check out the Excel spread sheet here http://modelshipworldforum.com/ship-model-rigging-and-sails.php It should provide you with all you need (I hope). Rick
-
Looking great - you've gone way past anything I can help with anymore. At this point I'm now just watching and admiring all the little details as they develop. Rick
- 714 replies
-
- 2
-
-
- lady nelson
- victory models
- (and 1 more)
-
I remember having the same problem. I eventually worked my way through all the supplied wood checking for the least splintery stuff then checking each piece before trimming it just to see which way it lay best on the ship. Probably discarded almost 25%. The discards could at least be used in short lengths. Rick
-
Smart move - I see you learnt from the problem the rest of us had. 😉 Rick
-
Hi guys, I also noticed on page 12 "Iron Chain Cable of 70 fms" this answers something I'd never quite been sure of - cable or chain for the anchor. King's plan and one of his water colours shows what could either be a heavy cable or chain for the anchor, this tells me it would be an anchor chain. Rick
- 241 replies
-
- 2
-
-
- mermaid
- modellers shipyard
- (and 1 more)
-
Thanks Cabbie. Rick
-
One of the colour sketches he made clearly shows a gun barrel poking out of the aft gun port - just can't recall which sketch it was. 😕 edit:- https://silentworldfoundation.org.au/wp-content/uploads/2017/07/Signals-86_pp14-20-30-31-Mermaid-2.pdf found it ! Rick
-
General opinion is that "yes" that is a stove, probably brought up from below decks not as a permanent fixture, situated there it would really interfere with the sails. First illustration of a good Aussie barbeque! As for the transom shape I've gone with the slim-line version. I believe that someone has misread the print you've quoted. If you look closely it is more likely that what appears to be transom is in fact the bows of a launch hanging from the davits at the stern. That wider transom doesn't appear on any other cutters I've seen from that period. Rick
-
Going to be fun working on that bit of the gun tackle! I tried, failed and decided it was better to leave off than stuff up! As for the double block on the cathead I can't see that it would be taken down when not in use. Much easier to bring it up tight to the top and stow the rope having tied it off on a cleat or handy belaying pin. When in doubt I go for the "common sense" guess on the basis that 99.999% of those seeing it won't know if it is wrong. 😉 Rick
- 714 replies
-
- 1
-
-
- lady nelson
- victory models
- (and 1 more)
-
Don't know if this helps but there is a mention of smaller ship anchors here.
- 714 replies
-
- 2
-
-
- lady nelson
- victory models
- (and 1 more)
