
HOLIDAY DONATION DRIVE - SUPPORT MSW - DO YOUR PART TO KEEP THIS GREAT FORUM GOING! (Only 44 donations so far out of 49,000 members - C'mon guys!)
×


BobG
-
Posts
3,109 -
Joined
-
Last visited
Content Type
Profiles
Forums
Gallery
Events
Everything posted by BobG
-
Thanks, Grant, I'm an Apple devotee and I'm on a Mac also so I give your solution a go. I started to print the individual photos of the contents of each bag but it was going to be a long process and it was going to use a ton of ink. I'm like you though, I prefer to work from printed materials. I can't even get myself to read on a Kindle like so many do. I prefer holding an actual book to read. I like to think that I'm pretty progressive but I'm still old school on some things...
-
Fantastic post on planking, Glenn! I think it's so good that the moderators should pin it along with the other instructions they have on planking. You are 100% correct about this step. I think I'm doing better with sanding the hull so that the planks run fair but I'm still am not sure when I should sand a bit more or when I have sanded too much. Have you found a method that gives you consistently good results fairing the hull? Gorgeous boat, by-the-way...
- 778 replies
-
- 4
-

-
- cheerful
- Syren Ship Model Company
- (and 1 more)
-
That's a beautiful model, Rick, and thanks for the tip about heating up the tires! Would you happen to have a photo of the wheel jig you made for painting the wheels that you could post? A picture is worth a thousand words for me. Thanks!
-
Grant has 3 more Pochers. I can't wait to watch him build them! However, if I keep following him make these beautiful models, I could go broke!
- 224 replies
-
- 11
-
-
The Model Motorcars upgrades are extremely expensive for sure but some of them are very tempting since they can add additional details to the kit. For example, I think those knock-off hubs and steering wheels among other items are very cool...$$$...
- 224 replies
-
- 10
-
-
Do you have this same Pocher model, Yves? I'd love to see more build logs of the Pocher kits.
-
I plan to do just that, Grant. It's fun to identify all the different parts...kind of feels like I'm starting to build a real car! Are you able to scroll through the photos on the DVD? When I open a folder on the DVD, I get lots individual photos that I have to click on to open separately. Have you found a way to be able to scroll from one photo to the next without opening each one individually?
-
Fantastic job on the wheels, Grant! You're moving right along with this build. I've read that they can be a nightmare to assemble, so much so, that Model Motorcars has developed complete replacements for them that are supposed to be much easier to assemble. They are very expensive though. The steering wheel is beautiful. What kind of wood is that? The model that I purchased on eBay arrived today and I was surprised at how big box and everything is. I'm not sure when I'll get started on but I'm excited from just looking at it! Your build log is the best Pocher build log I've seen. This will be the definitive build log for anyone building this model and I'll be using it as a guide along with Paul Koo's CD.
-
Gosh Harry, I hope I don't break your record! 😏 Thanks for checking in my friend.
-
The reef points, or tell tails as I've always called them on this side of the pond, look great and are a nice addition to the sails.
- 195 replies
-
- 1
-
-
- lady eleanor
- vanguard models
- (and 1 more)
-
I just received the sails for the Vanguard Zulu fishing vessel, Lady Isabella, and they're excellent. The material is very realistic and the sewing is nicely done. I sure wish I had sails of this quality for my current build of the Pen Duick.
- 195 replies
-
- 2
-
-
- lady eleanor
- vanguard models
- (and 1 more)
-
Thanks very much for your reply. I had never heard of doing this. You certainly get very nice results though!
-
I just read through your build log of this very interesting model. Great problem solving! I will be following your progress.
- 158 replies
-
- 1
-
-
- byblos ship
- Egyptian
- (and 1 more)
-
Chris, would you happen to have any photos that would show how pearwood and boxwood compare in color once they have a clear finish on them? They both seem like beautiful woods to work with but I would like to see what the difference is in color between the two so I could get an idea about how the regular model would look compared to the Model Shipwright model. Thanks.
-
Beautiful model. Congratulations! I watched your video on your blog about how you choose dyes and finish your models. At one point you say that you apply dyes over a coat of cyanoacrylate glue. I have never heard of doing this before. It seems like the cyanoacrylate would prevent the dye from being able to penetrate to the wood and color it. Are you actually able to dye the cyanoacrylate coat?
-
What are the main differences between pearwood and boxwood? Is one more desirable to work with than the other in ship modeling and, if so, why? Thanks.
-
What does exactly "Limited Edition" mean on the Master Shipwright version? Will you only produce a limited number of these kits and, once they are sold, no more will be available in the future?
-
Sounds like business is good!!
-
Thanks, VTHokiEE. I'll get it done one way or the other!
-
I think it's was due to a combination of things but mostly simply my airbrushing inexperience. I had the horns on the fan spray nozzle in the wrong orientation for wide, vertical spray pattern so I was laying down too much varnish as I made horizontal passes. I tried to keep it wet thinking that it would self-level better and that probably contributed to a too heavy coat. I'm think I had the air pressure too high also. There are a lot of factors that go into getting good results with airbrushes and I'm still in the learning stages. Honestly, I'm not too bummed about it. I feel like I'm learning and, after all, it's just paint. If I mess up I can sand it and redo it. It was a toss up for me as to whether I should or shouldn't try to fix it since it looked pretty good. I decided to try and fix it and it didn't work. I feel like it's all just part of the learning process.
-
I've been going in reverse the last few days. My attempts to remove the slight orange peel effect I got when I sprayed the varnish clear coat did not work. In fact, each time I got close to success, another little flaw would show up like the paint starting to lift on an edge. It got to the point that I just decided to sand off the varnish and the paint and start over. I could have left "good enough" alone but it bothered me. I feel like I can do it better so I'm back to square one on painting the hull. Here is a photo of the hull after I sanded off the paint and sprayed it again with Vallejo Gray Primer and sanded it with 600:
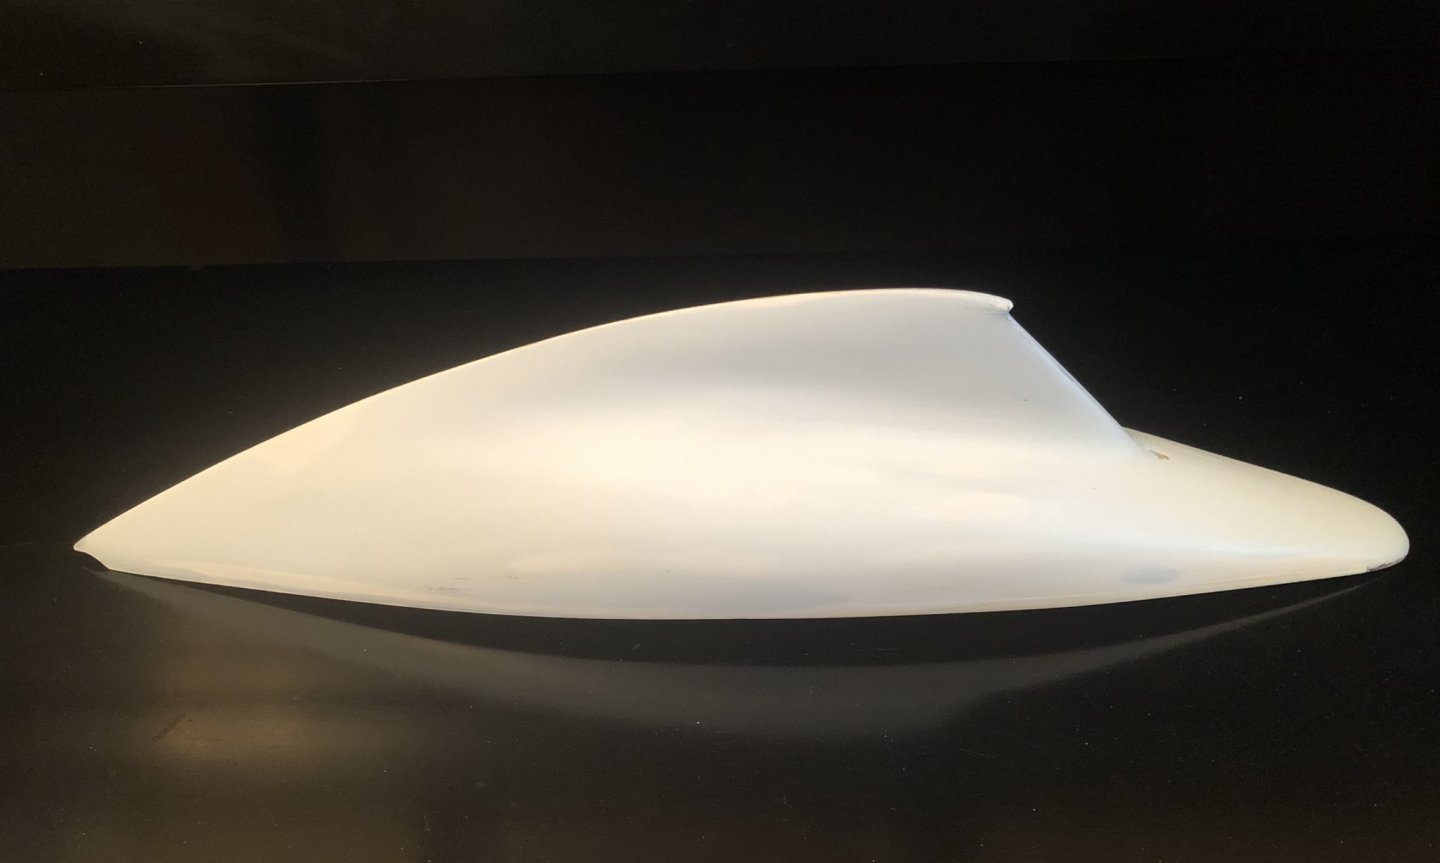
-
The bow plate looks great. I've had mixed results using Jax Pewter Black on brass. What blackening agent did you use?
-
I'm not familiar with waxing. Why and how do you do that?
-
Yeah, I think I should have left well enough alone. Oh well, I'm getting a lot of practice with my airbrush!
-
Thanks, Mike. It's live and learn for me! 😳
