DONATION DRIVE - SUPPORT MSW - DO YOUR PART TO KEEP THIS GREAT FORUM GOING!
×


BobG
-
Posts
3,109 -
Joined
-
Last visited
Content Type
Profiles
Forums
Gallery
Events
Everything posted by BobG
-
There isn't enough time for me to tell you about some things I've done and, when I noticed it, I scratched my head and said, "How the hell did I do that!"
- 221 replies
-
- 3
-

-
- queen anne barge
- Syren Ship Model Company
- (and 1 more)
-
Wonderful model of a historic fishing vessel! I love the crew members. Where were you able to get them in the correct scale?
- 195 replies
-
- 1
-
-
- lady eleanor
- vanguard models
- (and 1 more)
-
Byrne's saw accessories question..
BobG replied to CPDDET's topic in Modeling tools and Workshop Equipment
Thanks, No Idea. I have no knowledge about using a table saw. I just liked seeing it in action. This hope to buy this saw fairly soon but I'll need to study up on safe usage. -
Byrne's saw accessories question..
BobG replied to CPDDET's topic in Modeling tools and Workshop Equipment
Great video of the Byrnes table saw, Olha. Thanks! -
Hello Harry, I took some time to carefully study what little there is in the instructions and the plans for the rigging. It's so confusing! Anyway, I have a question about how you worked with the flat brass strips which are used to make the brass bands and other that go around the masts in various places. Did you use CA to glue the joints together on the brass pieces or did you solder the joints? Thanks.
-
Wonderful details. You've set the standard for this model. I'm afraid my will pale by comparison when I get around to building it!
- 195 replies
-
- 3
-
-
- lady eleanor
- vanguard models
- (and 1 more)
-
I decided that the Flirt will be the first warship I will build. I was torn between the pear and the boxwood models since I think they are both beautiful woods. I finally decided to get the boxwood version because I've heard modelers sing praises about boxwood and lament the fact that it's hard to find anymore. So the Master Shipwright version has been ordered!
-
I just read through your build log and all I can say is just WOW! Magnificent!!
- 725 replies
-
- 1
-
-
- vanguard models
- speedy
- (and 1 more)
-
Sopwith Camel by rayschilke - Model Airways - 1/16 - WOOD
BobG replied to rayschilke's topic in Non-ship/categorised builds
I just took a seat for this build. Great astrophotography too! -
Beautiful! This is one of the best whaleboat models I've ever seen. I might have to put one of these boat on my tick list now.
-
Your planking is excellent. I'm just like you though. We're our own worst critics!
- 778 replies
-
- 2
-
-
- cheerful
- Syren Ship Model Company
- (and 1 more)
-
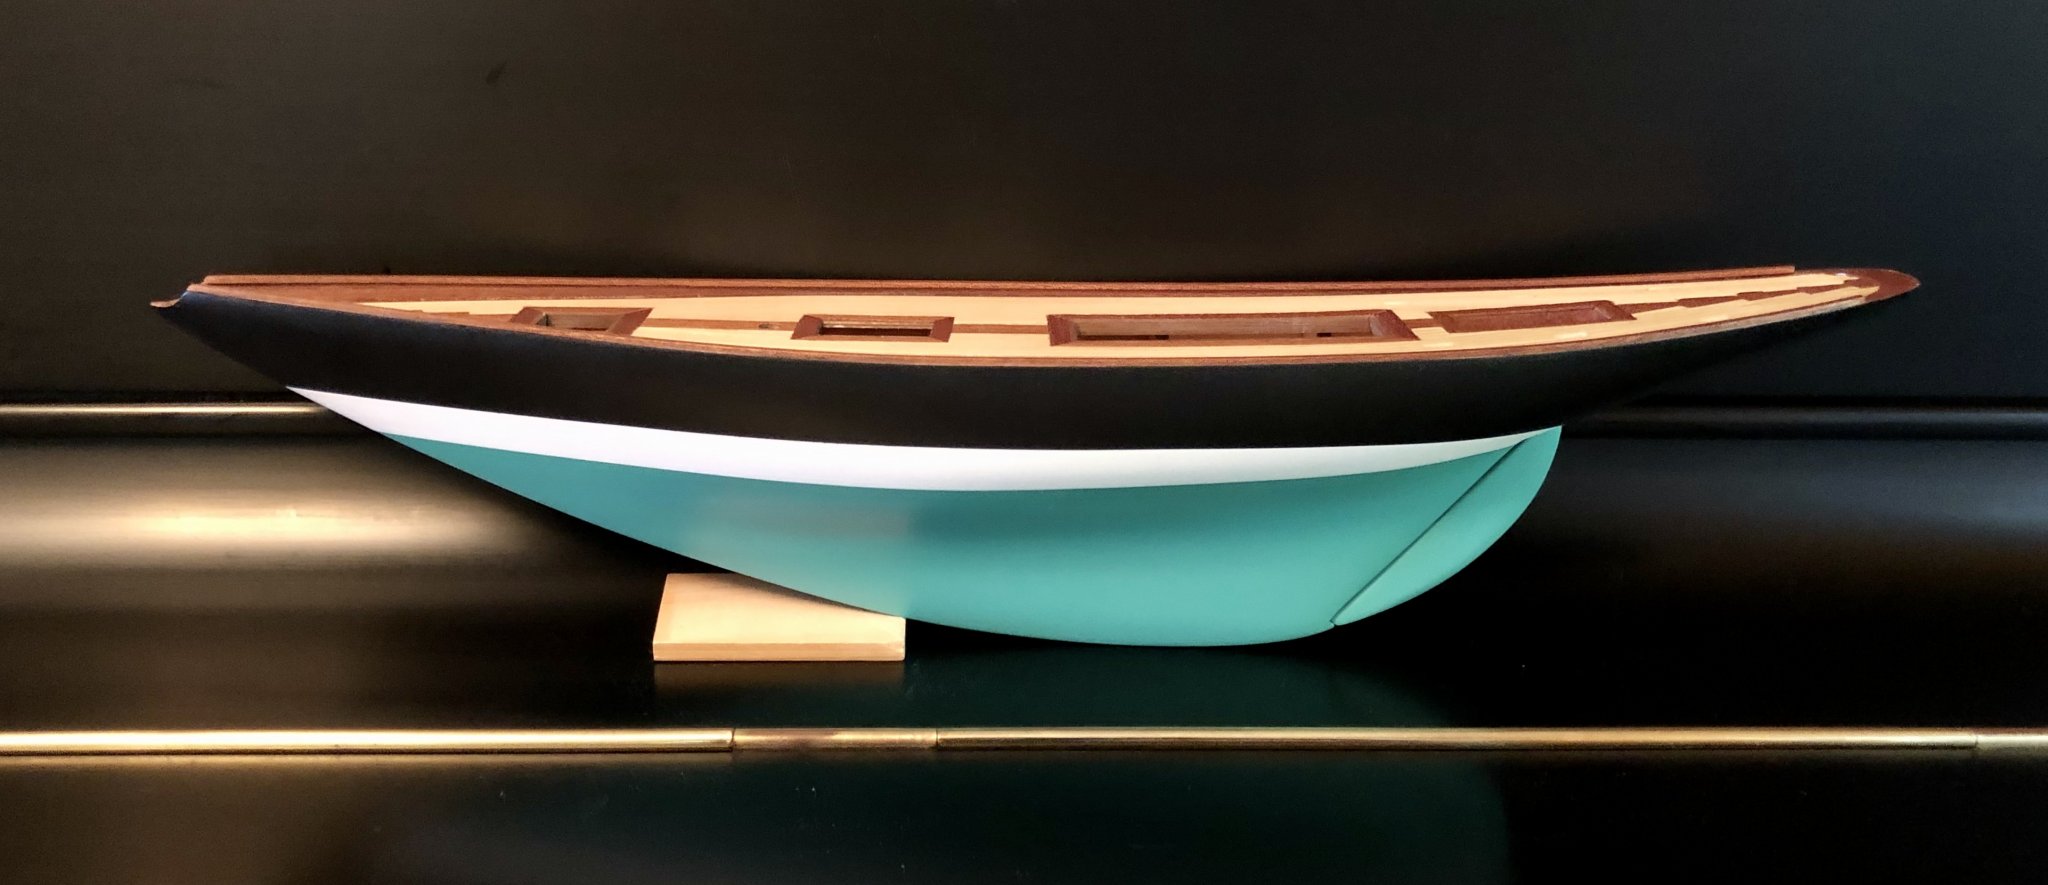
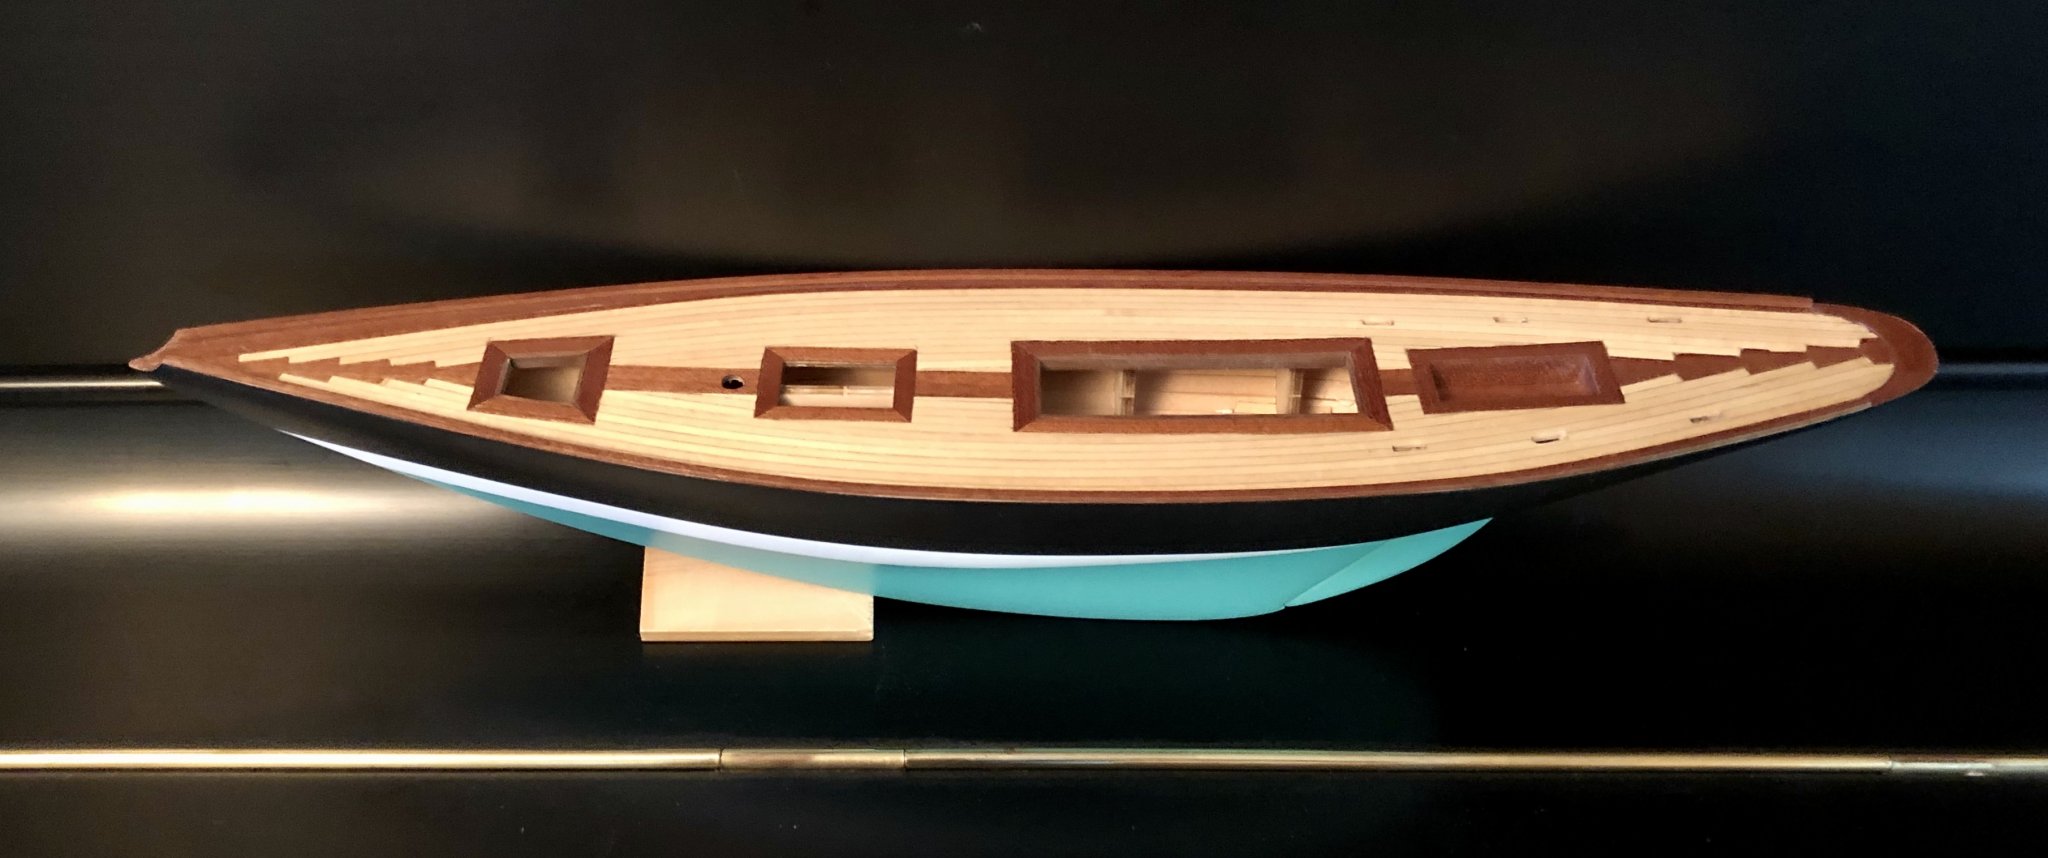
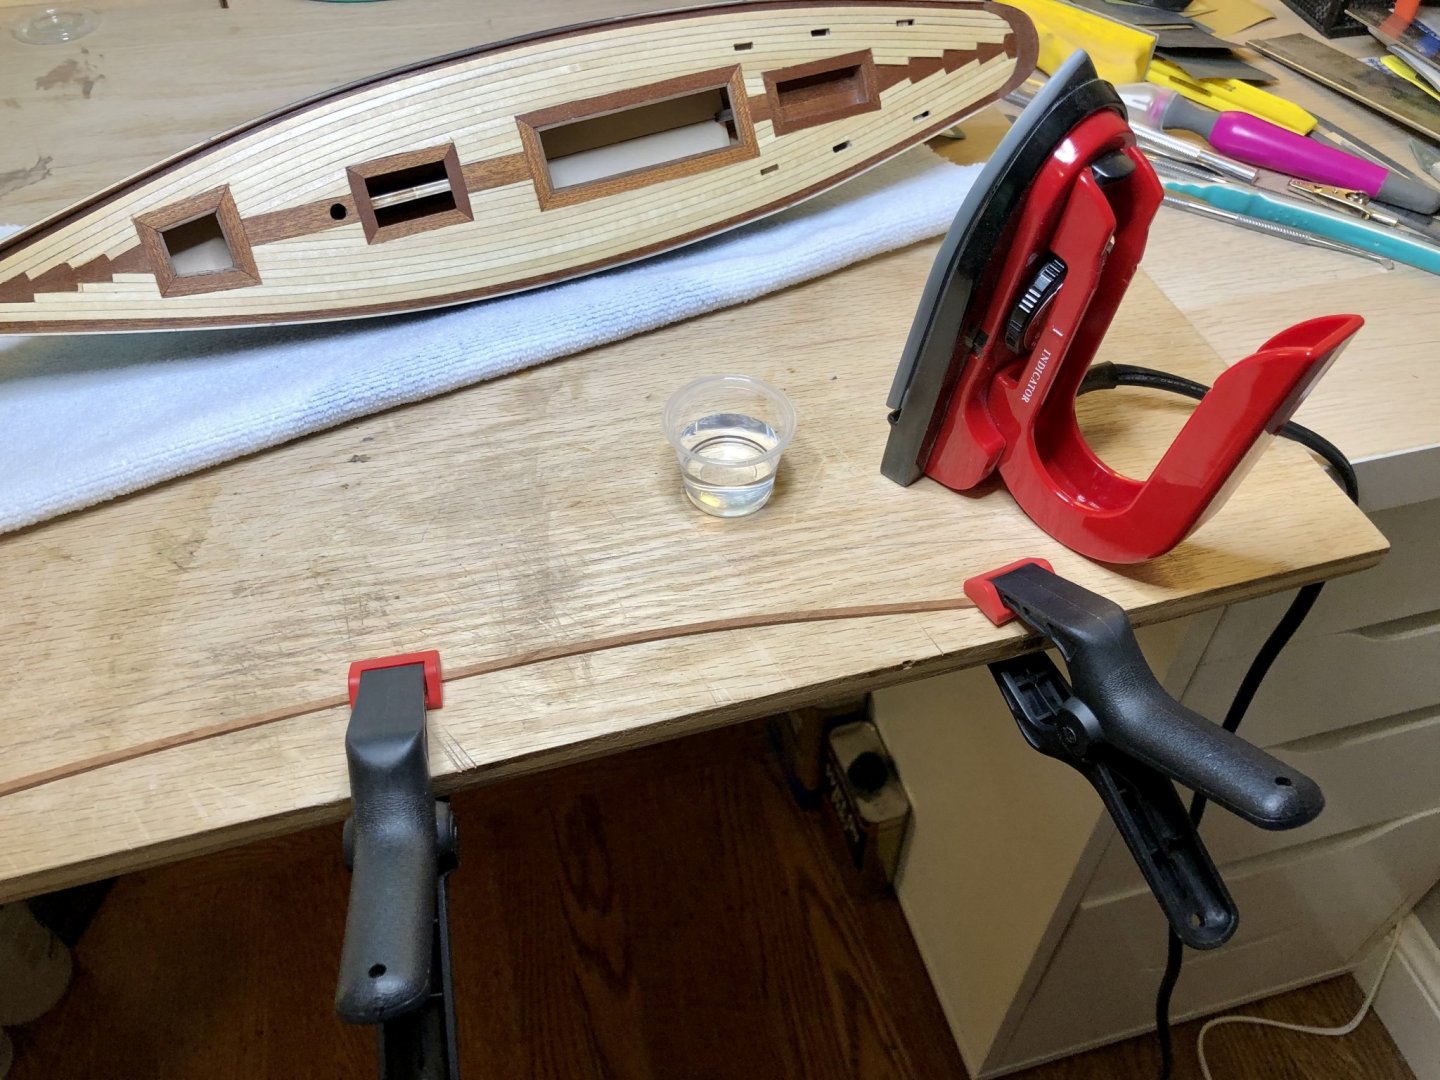
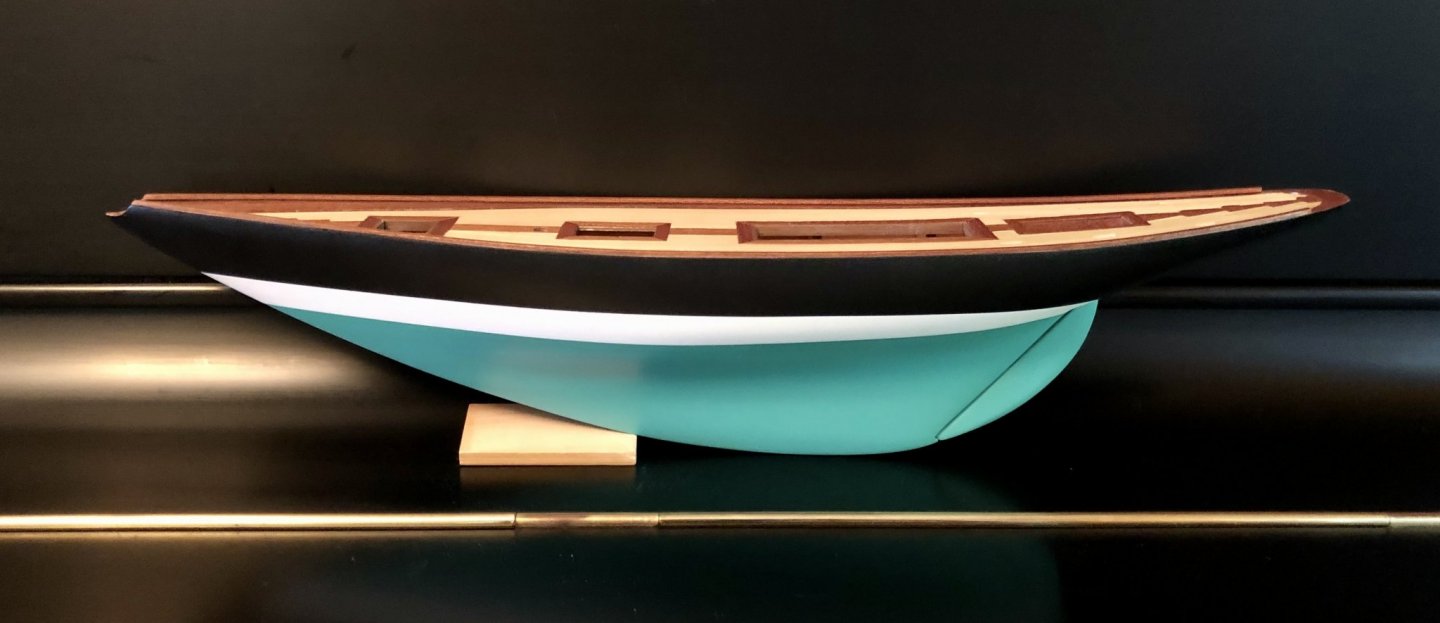
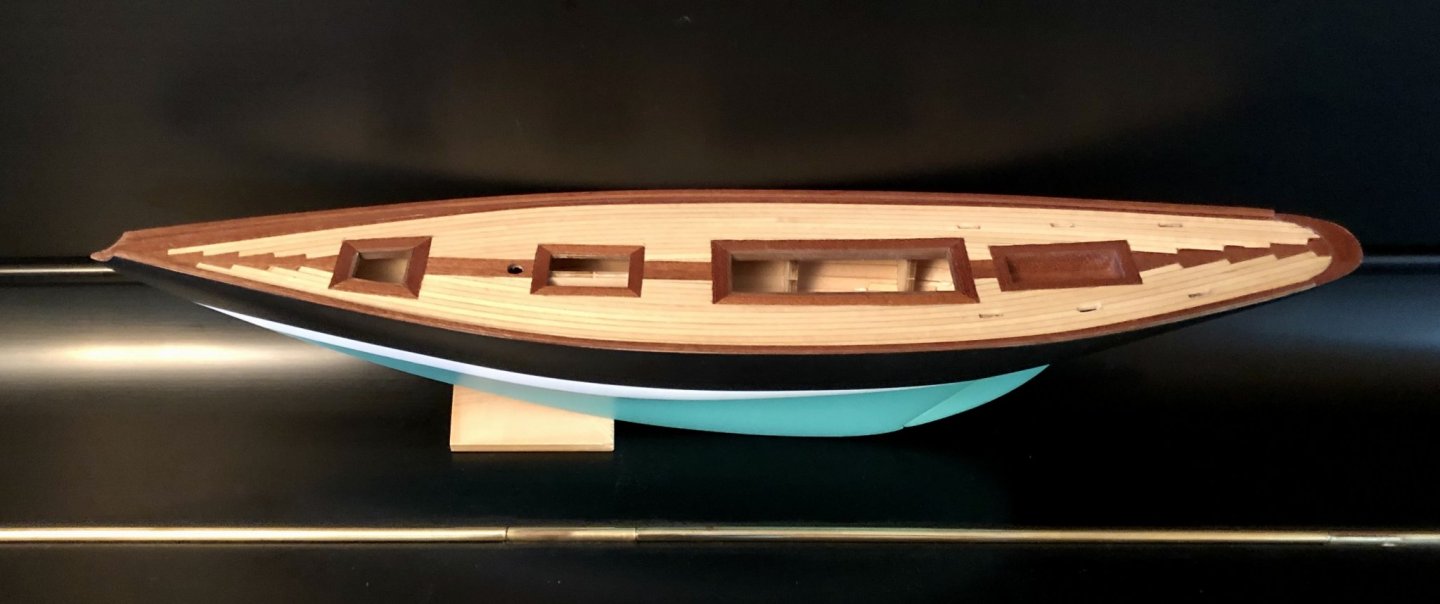
Now that I'm satisfied with the painted hull and the clear coat I can move ahead with the build. I added the mahogany caprails today and gave them a coat of Satin Wipe-on-Poly, and, as with just about everything in ship modeling, it took me longer than I expected to finish them. The caprails are 1.5 x 3 mm mahogany strips and they needed to be edge bent to the shape of the gunwales before gluing them on. This is an older kit and all the mahogany is pretty dry and brittle. I traced the outline of the hull on the plywood sheet I do my building on and then edge bent them using a dab of water and an old, non-steam travel iron. It was slow going but, once I got them fairly close to shape of the gunwales, I went ahead and started gluing them on. I had previously substituted 1 x 5 mm limewood for the gunwales instead of the kit supplied 2 x 5 mm ramin. So there was only a 1 mm edge on the top of the gunwales to glue the caprails onto. I debated whether to use PVA or CA and decided to go with CA and work carefully in small sections as I went along the gunwales gluing on the caprails . Knowing that that I could easily make a mess of things with any smears of CA on the outer sides of the black painted gunwales, I worked in 1 -2 inch sections using a dental pick to just add tiny amounts of CA onto the top edge of the gunwales. Then I carefully fit the caprails so that its outer edge was flush with the outside edge of the gunwales and held them with light finger pressure for a few seconds. It turned out quite nice and I managed to avoid gluing my fingers to the boat in the process! Here's a photo of me edge bending one of the mahogany caprails followed by two photos of how the deck and the hull look now. The rudder is just dry fitted in place for the photos.
-
You are a braver soul than me, PJG. Kudos for getting a scary task done well!
-
Thanks. That's a dramatic difference in color.
-
I know this all too well! Seriously though, those canons and their carriages look excellent!
- 436 replies
-
- 3
-
-
- vanguard models
- alert
- (and 1 more)
-
Glenn, if you have any pieces of pear from another kit that you can show side by side in a photo to show the difference in color between the pear and the boxwood for comparison that would be great too. Thanks.
-
I love the little details that you are adding to your model. Those details are what make a good model a great model when they are done well. Nice work!
- 140 replies
-
- 2
-
-
- benjamin w latham
- model shipways
- (and 1 more)
-
She's looking great! Excellent work.
-
Thanks, vaddoc! I've been watching some youtube videos recently about airbrushing clear coats. Many plastic modelers polish their clear coats to a mirror finish by wet sanding with very fine grit sanding pads or cloths (6000-12,000) followed by a mild, automotive polish that is made to remove very fine swirls and, finally, waxing with an a liquid Carnuba wax. I'm not looking for a mirror finish but have seen plastic modelers also polishing their clear coat with Fine Tamiya Paste followed by the Finish Tamiya Paste. That's where I got the idea that the Tamiya Pastes might be a gentle way to finish off the clear coat. The sheen on my hull looks good to me right now and maybe a little wax, as you suggested, would add a little more shine to it. It isn't quite as smooth to the touch as I would like it to be. It is flat and doesn't have any orange peel but it isn't quite as slick to the touch as I'd like it to be. There is just a slight friction feel when I draw my fingers across it. Maybe some wax would make it feels more silky...?? So I might try a little wax on small area at the very bottom of the keel as a test and see how it looks and feels. As always, thanks for your informative comments and your interest in my model. Cheers,
-
Hey Harry, I haven't decided about the mounting yet. I not too keen on the plain stand that comes with the kit. I've been thinking about pedestals but I've never done those before. It's certainly going to be "onward and upward" now. I'll be doing the masts and rigging after I get more of the deck furniture and fittings installed. I'm worried about the rigging since the instructions are essentially useless for the rigging and I haven't been able to make sense of the rigging drawings yet. I think I'll be flying by the seat of my pants for a while! Cheers,
-
Don't worry about "sidetracking" my build log. I enjoy the conversations and those folks who aren't interested in the chit-chat can easily skip ahead. I remember the Estes "helicopter" rocket. It was very cool. I built a bunch of rockets while I was studying for some state boards written and oral exams after my internship. That was a stressful time in my life and building the rockets was a great respite for me. I'd take my son and his friends to a large schoolyard and we'd fire them off. I love it when they exit the launching pad with that big WHOOSH! rocketing into the sky. The kids would yell with excitement and run after them as they parachuted back to Earth. One of my favorites was a 2 stage rocket with two big C engines in it. It went nearly out of sight and then slowed a bit before the second stage lit and then BOOM! it went out of sight. Unfortunately, we never saw it again. Those are fond memories for me. You might want to build a few for your kids when they are old enough to enjoy seeing them fly. Cheers,
-
Those rockets were exciting and fun except when they climbed out of sight never to be seen again!
-
I am pleased, Justin, it's been a bit of an ordeal. I just had a lot to learn. I agree, the satin is incredible! I can't believe how good it looks if that's the sheen you are shooting for. I've heard of plastic modelers spraying a gloss base and then going over it with matte. So maybe the old gloss blue on the rocket has something to do with how good the satin looks. The other thing about satin finishes is that they don't magnify tiny imperfections in the paint like the glossier finishes tend to do. You can see that in the photo of the glossier sections of the rocket versus the satin section. I wanted a near semi-gloss finish since I'm trying to simulate the resin hull that Eric Taberly made when he rebuilt the Pen Duick in 1958. I got close to that with the 50/50 mixture of gloss and satin but I think I it could have just a bit more gloss. However, I'm done and not touching it at this point! The only thing I might do is polish it a little with some Tamiya Finish Paste on a Tamiya Polishing Cloth.