HOLIDAY DONATION DRIVE - SUPPORT MSW - DO YOUR PART TO KEEP THIS GREAT FORUM GOING! (Only 75 donations so far out of 49,000 members - C'mon guys!)
×


KeithAug
-
Posts
3,973 -
Joined
-
Last visited
Content Type
Profiles
Forums
Gallery
Events
Everything posted by KeithAug
-
 Keith - yes - too fast. I blame her parents. And of course she must be obeyed. Good points. Thanks to all of you for the comments. Ok Keith, but I only have just over a month so it won't be up to the usual standard.
 -
Harbor Freight 16" variable speed scroll saw
KeithAug replied to Dr PR's topic in Modeling tools and Workshop Equipment
My guess is you need a different blade. If the sheet is thin (1/32" - 1/16") then its thickness is less that the pitch of the cutting teeth of the blade you are using. The material you are cutting also has an impact on blade choice. This gives a pretty good guide on choosing the right blade for the thickness and material you are cutting. -
Zero Clearance for Table Saws
KeithAug replied to DelF's topic in Modeling tools and Workshop Equipment
Derek - Doesn't it interfere with the sliding fence? How did you get around this problem?- 12 replies
-
- 2
-

-
- Zero clearance
- table saw
- (and 1 more)
-
Wonderful Keith but a pity you put it in a box. It would make a wonderful talking point perched on the end of the home bar next to the cocktail sticks - to be used by Ole Bob for knocking them into the cherries. Great job young man but what about the tug?
-
Eberhard thank you. Veszett - thank you. The big question is whether paint will improve the look - Both SHE's.
-
Excellent considering you were restricted to making them by hand. I need to make something similar and I suspect I will find it difficult enough to make them with the benefit of machines.
-
Thank you Paul, and no I don't want to prolong the distraction.
-
Lovely project Steve and great work on the cranse. She has hell of a keel so I assume she carried a lot of sail. Given the apparent height of the mast I agree she was probably sloop rigged. I wonder whether she was converted at some time earlier in her career. Presumably we will never know - perhaps carbon dating would help🙂.
-
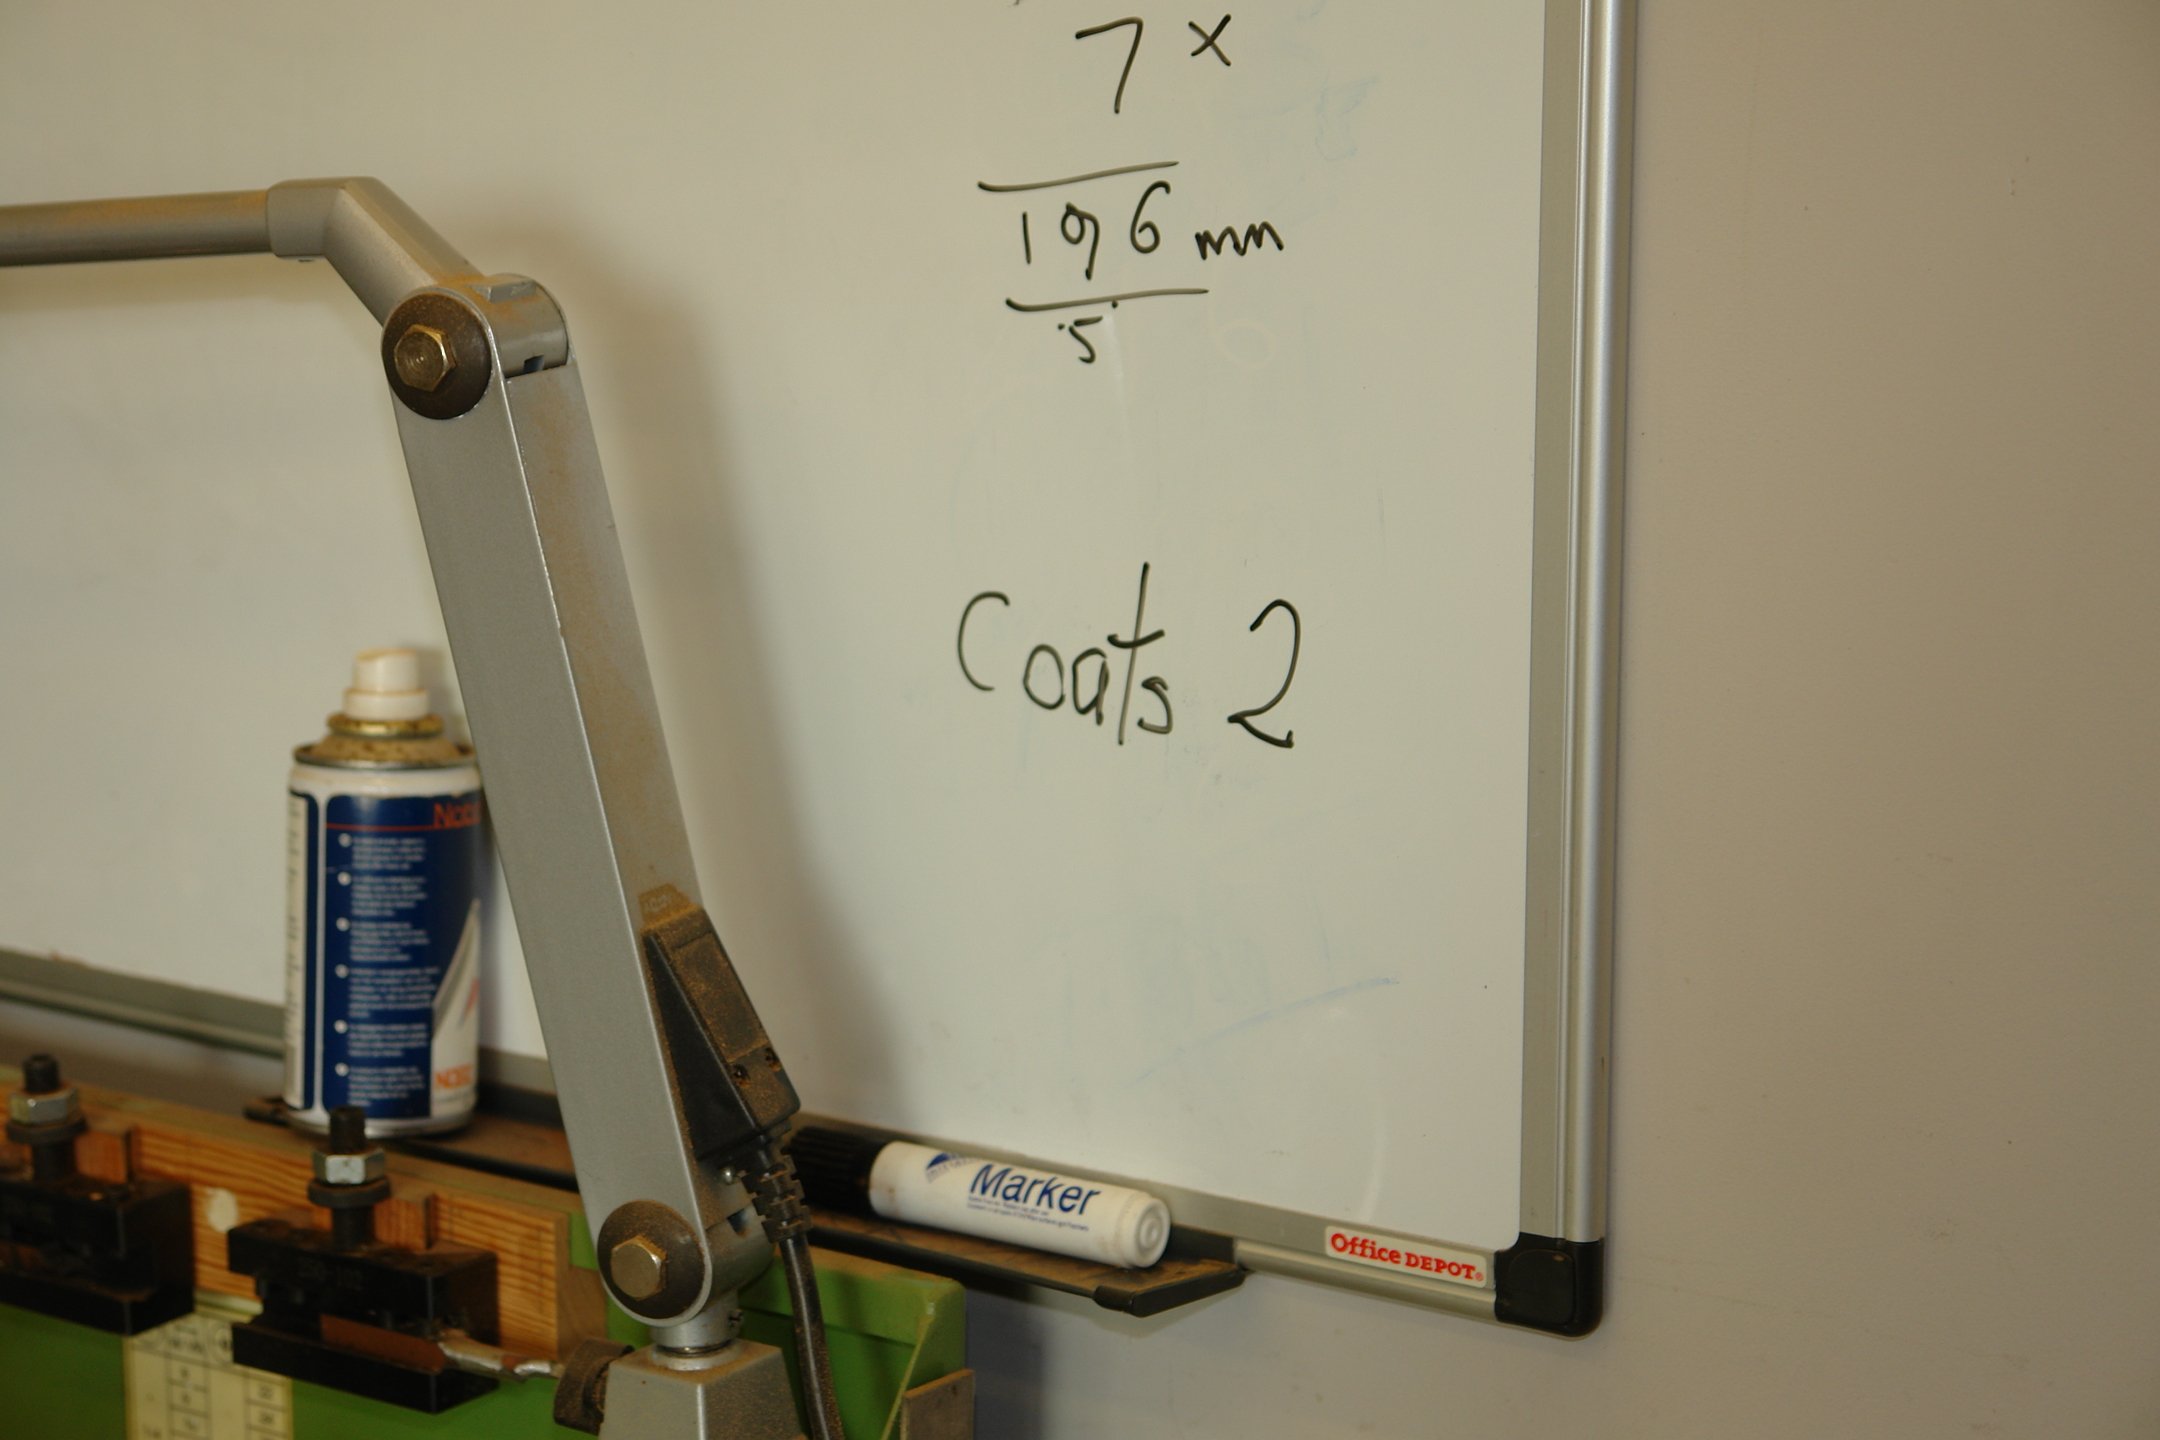
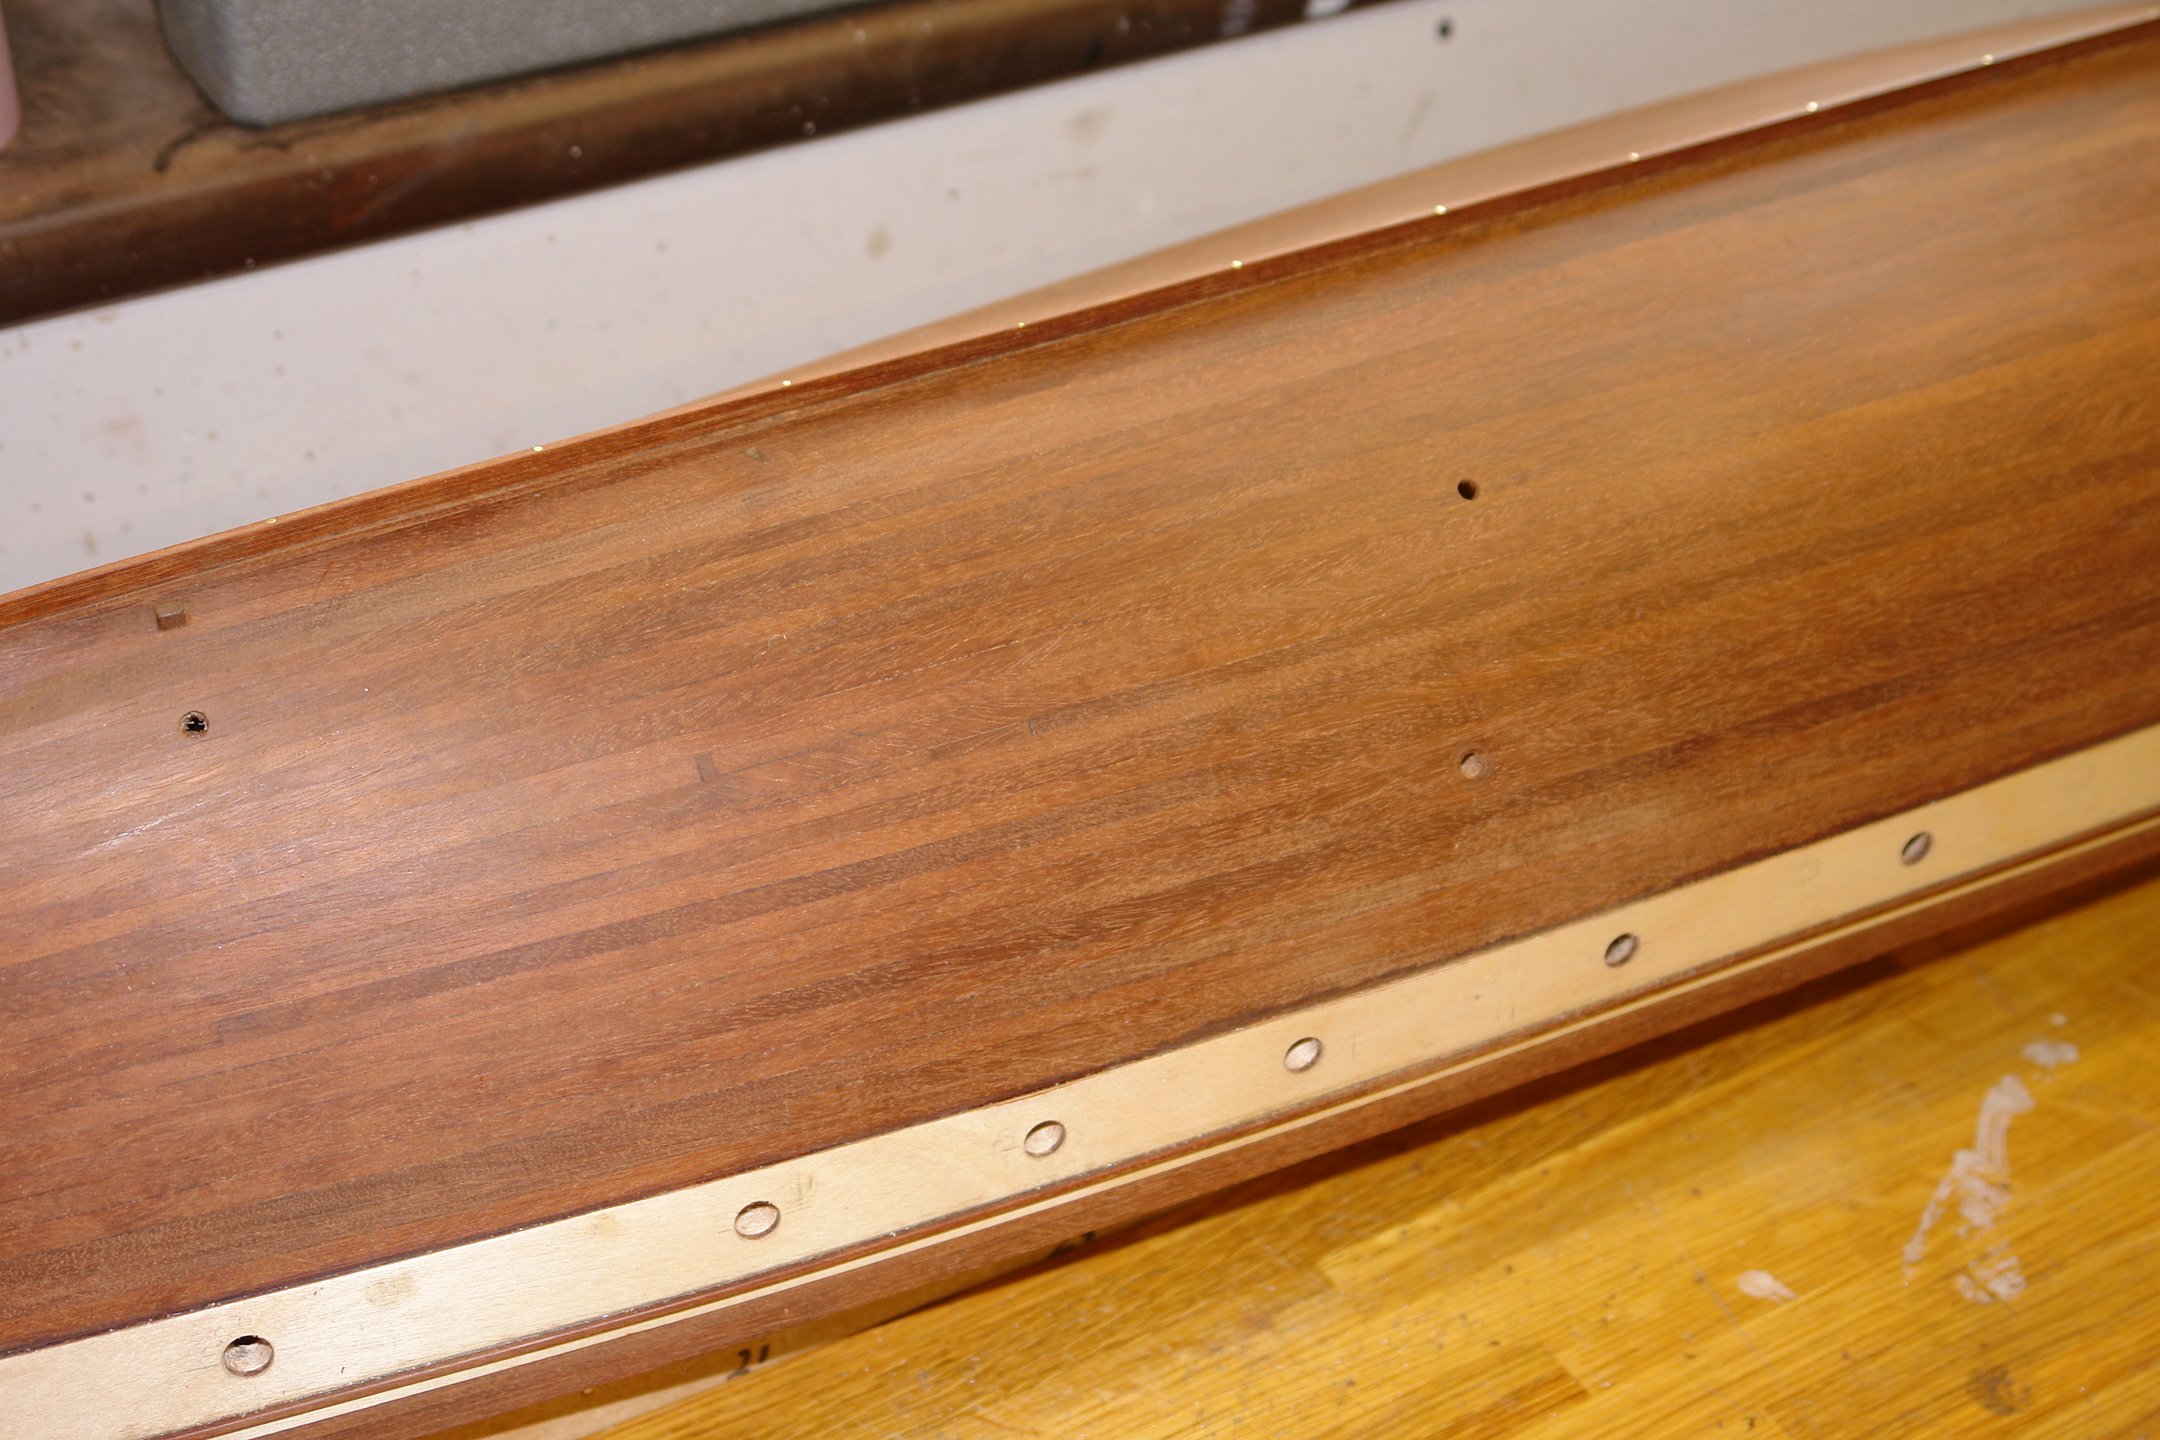
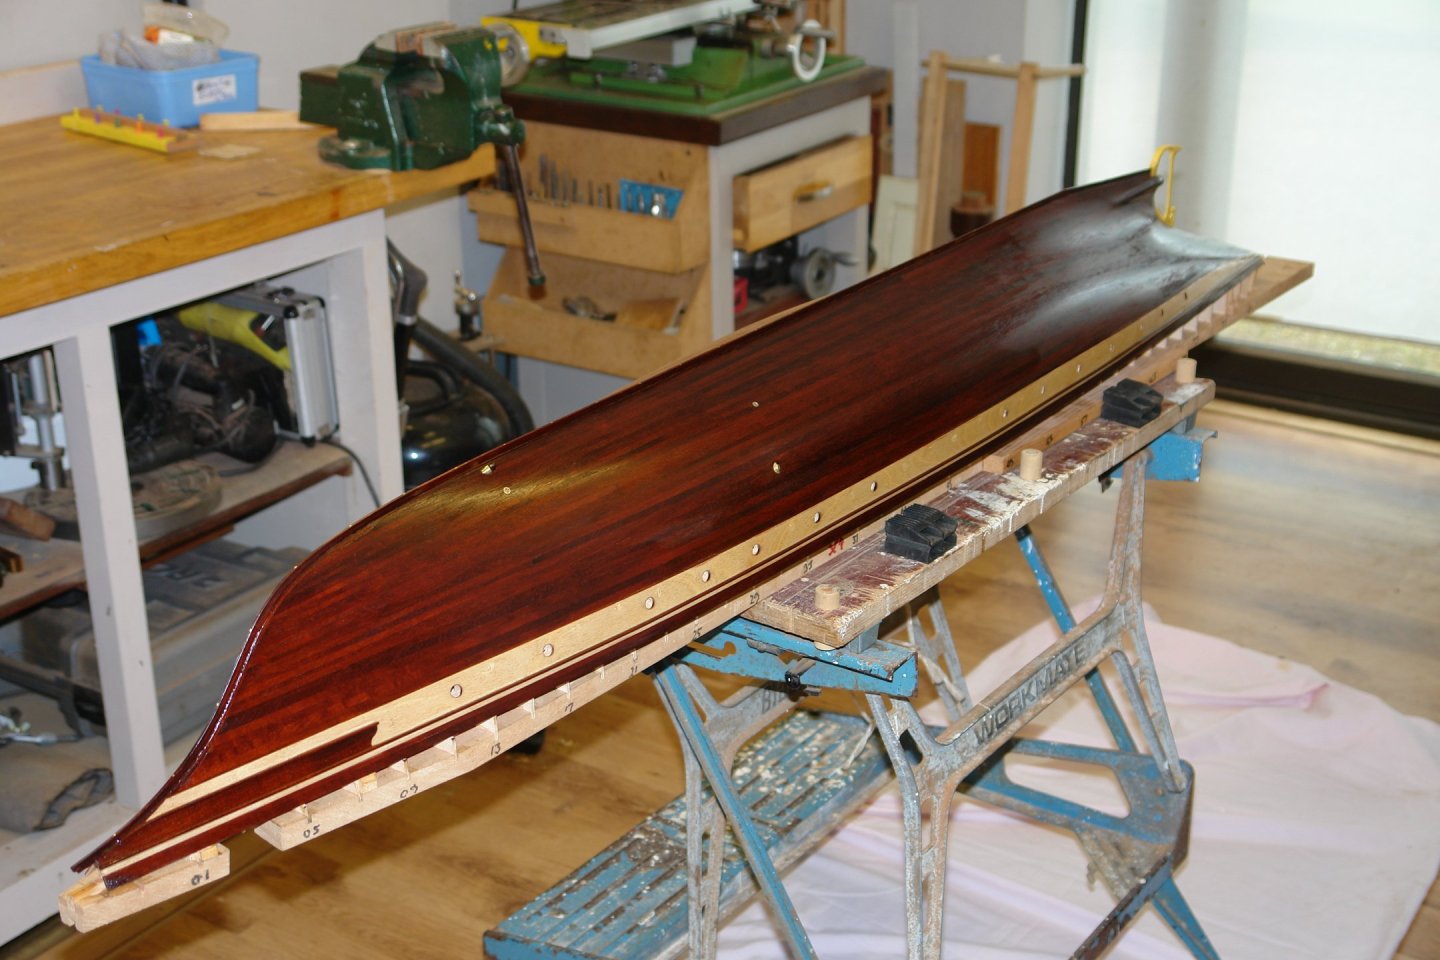
Andy, Rick, Phil. Thank you all for continuing to follow my lamentable progress. I haven't had time to post much or to look at how everyone is getting on with their builds. I must try harder to catch up. The culprit (photo below) breezed into the workshop about a month ago and drew the dolls house she wanted for Christmas. So the boat was parked and the house build took over. I am putting varnish on the hull between long periods of house construction. Wire wool toned down the sheen after the first coat. I still have a few blemishes to fix. On to the second coat. I am keeping a log of the number of coats. I am aiming for one a day.


-
Thank you for the reminder. My family and I spent 10 years up to 2002 doing all the USA national parks with the exception of Big Bend, Shenandoah and Great Smokey Mountains. Devil's Tower was a must see for Trecky fans. Fortunately we caught Wind Cave open. Quite refreshing on a hot day. Nice metalwork detail on the hull.
-
Yes I agree. The unpainted hull is looking beautiful. Pity to paint it really.
-
Perhaps she is mirroring the original - at least she isn't in two halves yet.
-
Ian - 1977! - I think I can remember that far back. Interestingly I bought a set of plans for Hood in 1970 and they survived many house moves. About 2 years ago I went looking for them and they were gone. I blame my wife! I love the archaeology.
-
Good looking frames Rob. It is aways a welcome sight to see the hulls form, even when it is a skeleton.
-
Phil - Yes I had picked up that technique from another build. I think my set up time for photo etch might be almost as long as sawing it out. I think I will try building up the thickness with thick oil based paint rather than solder.
-
Ian, Druxey, Eberhard - All much better ideas than cutting out with a jewellers saw. I sometimes like doing things the hard way! Photo etch is my option 2. I don't have access to a 3d printer or a laser cutter. Perhaps Santa will oblige.
-
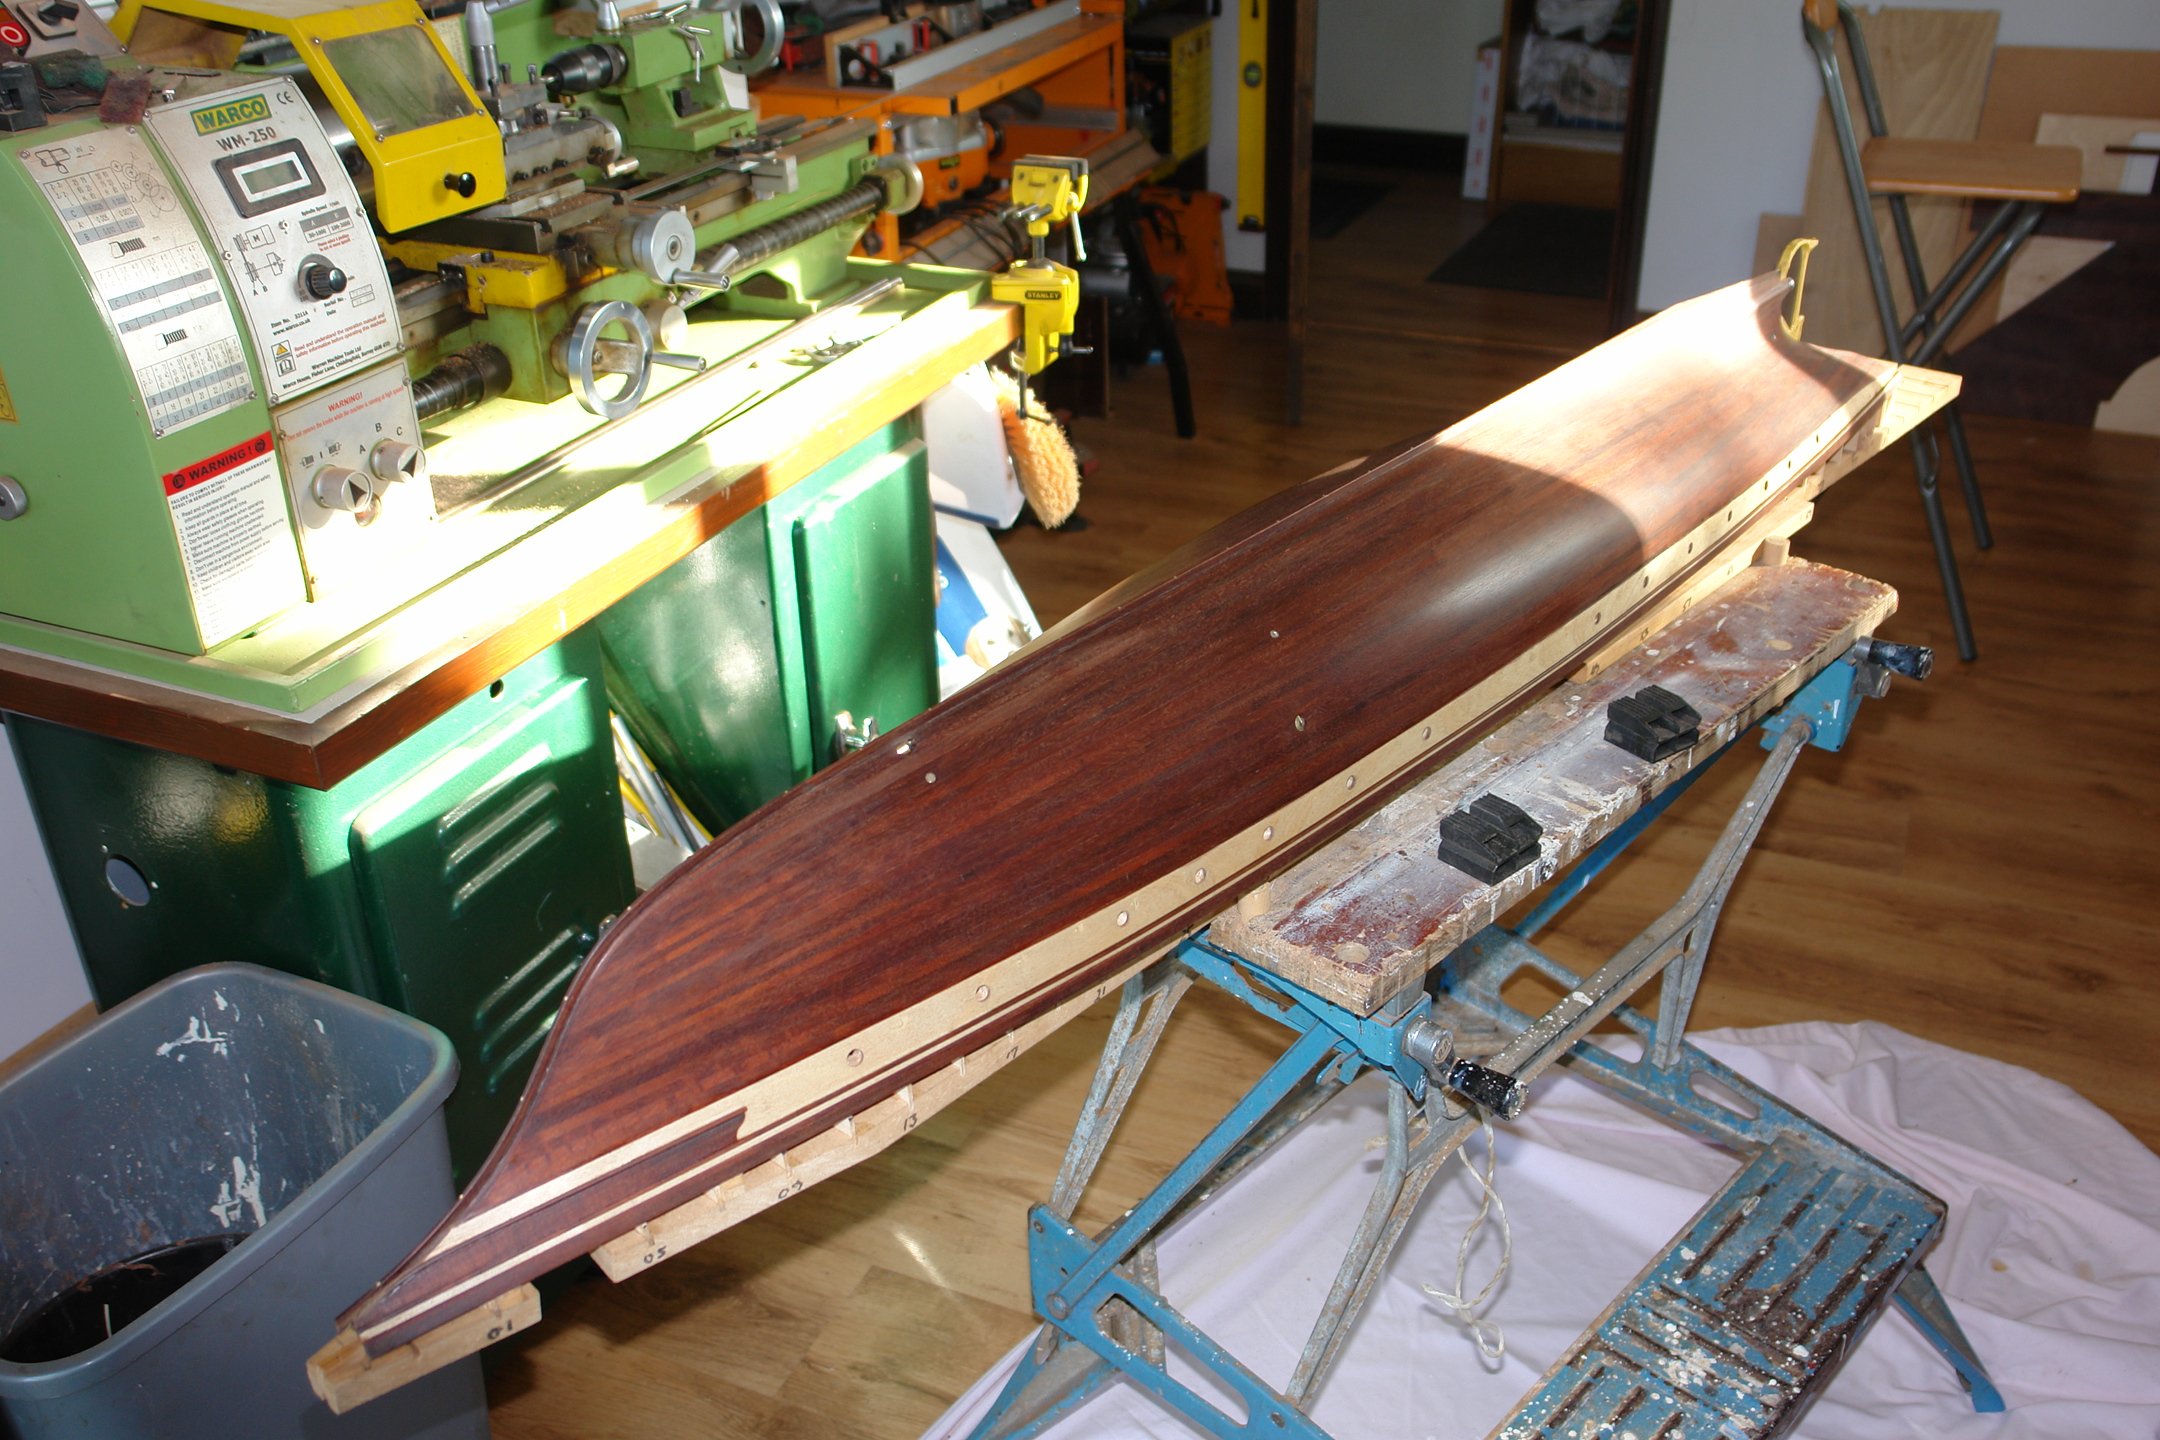
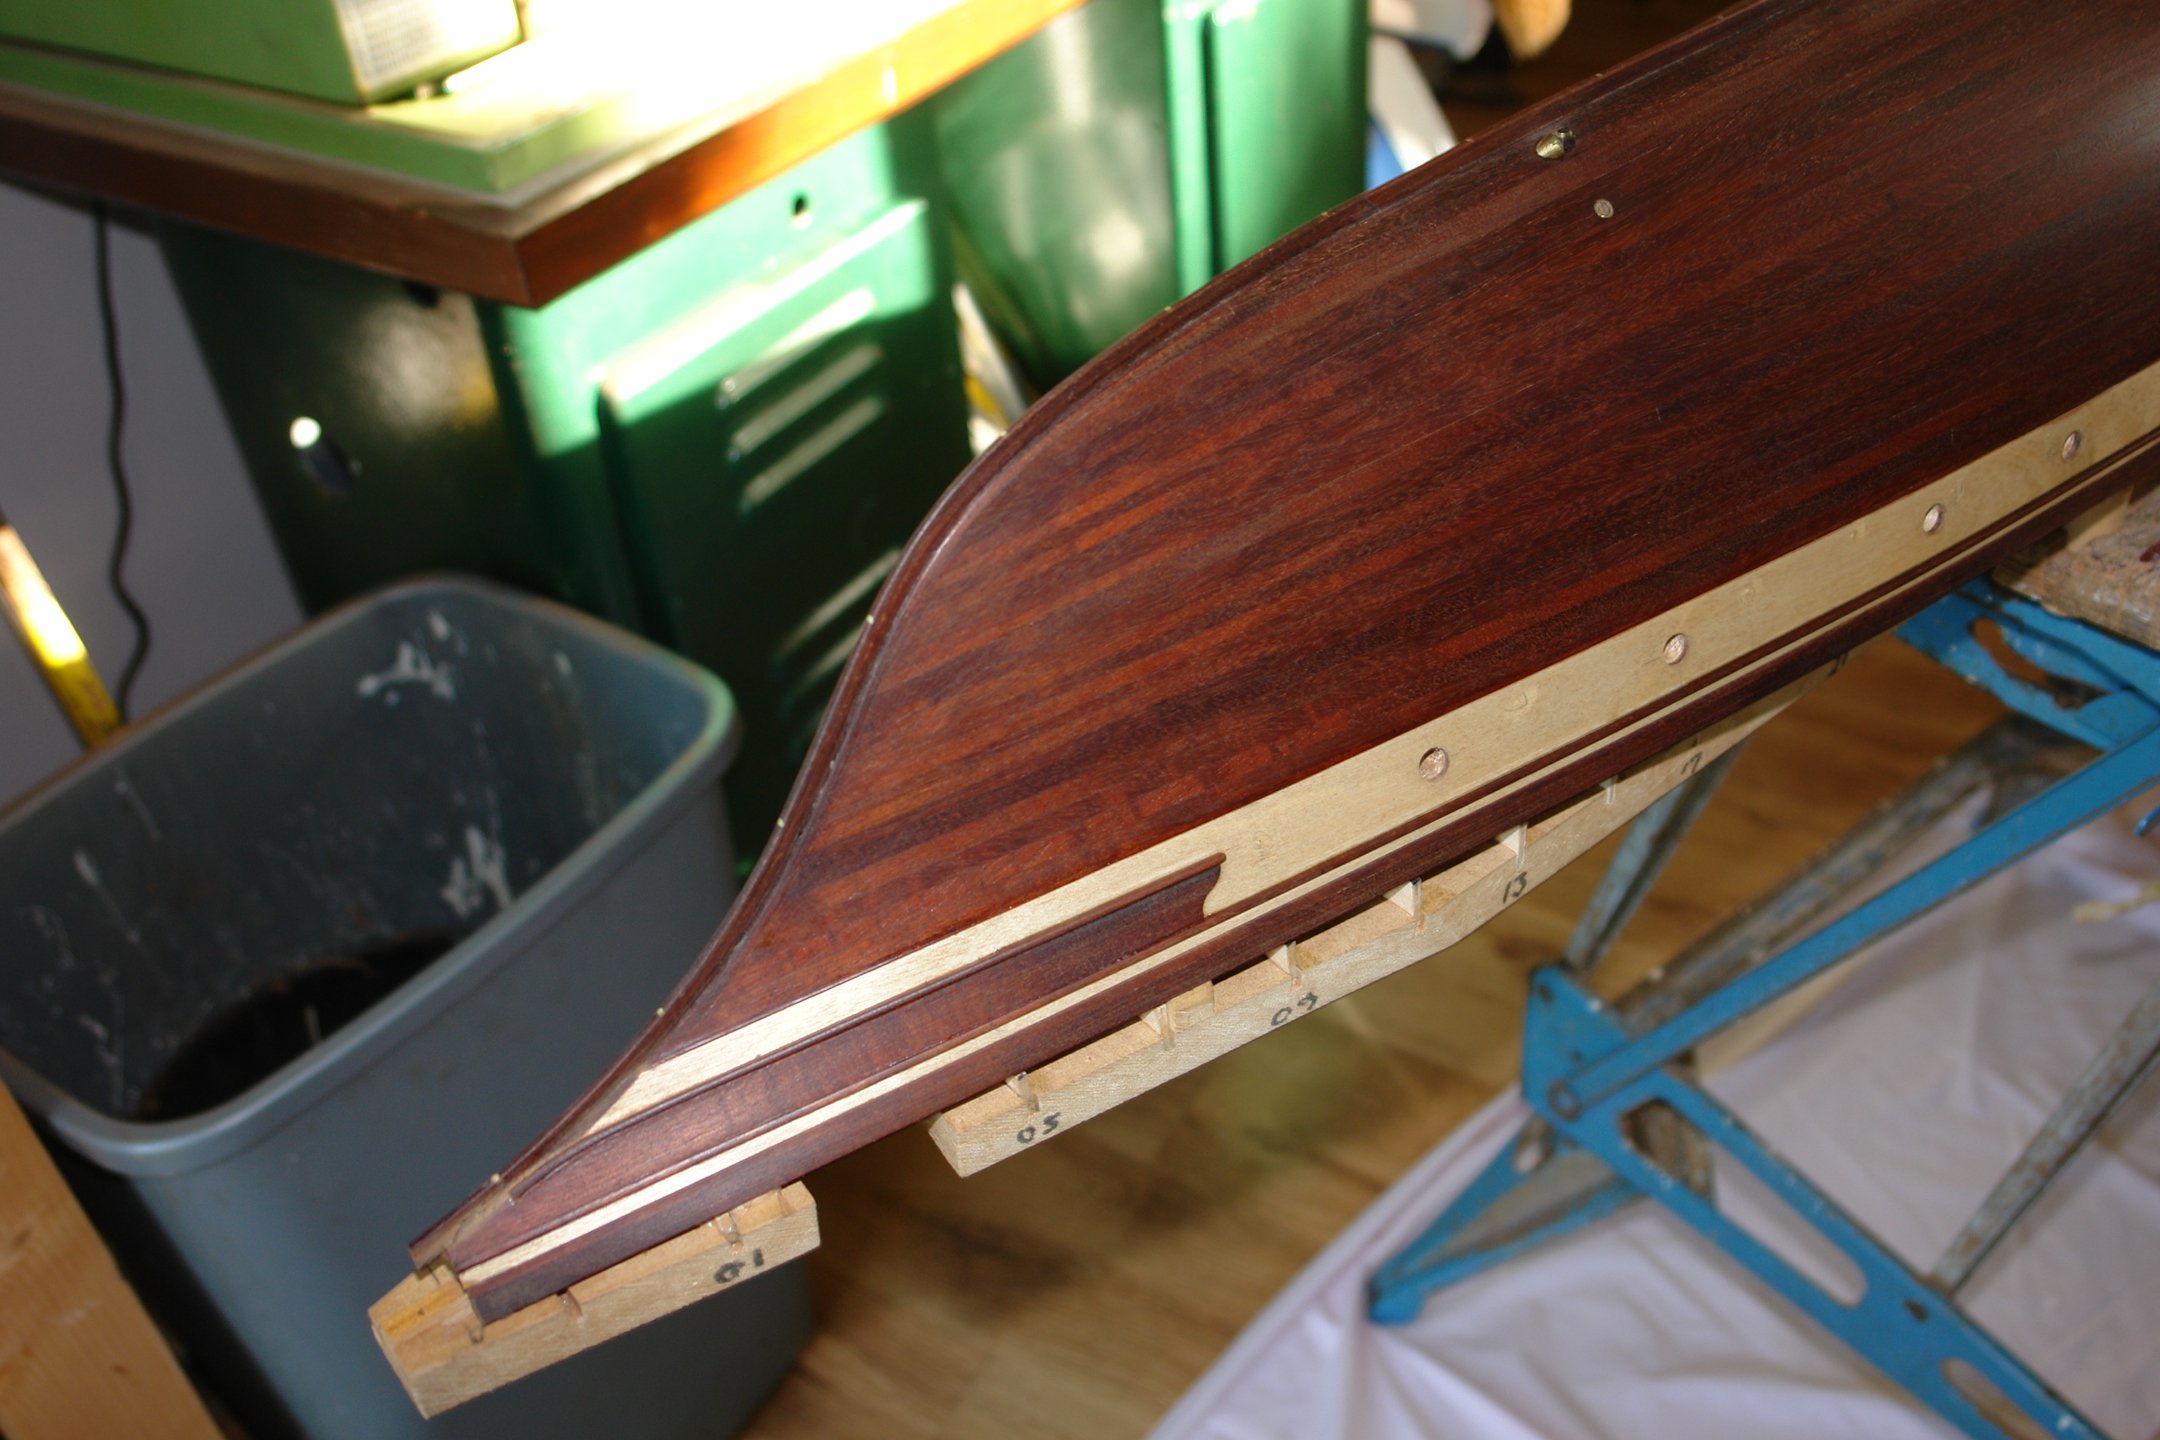
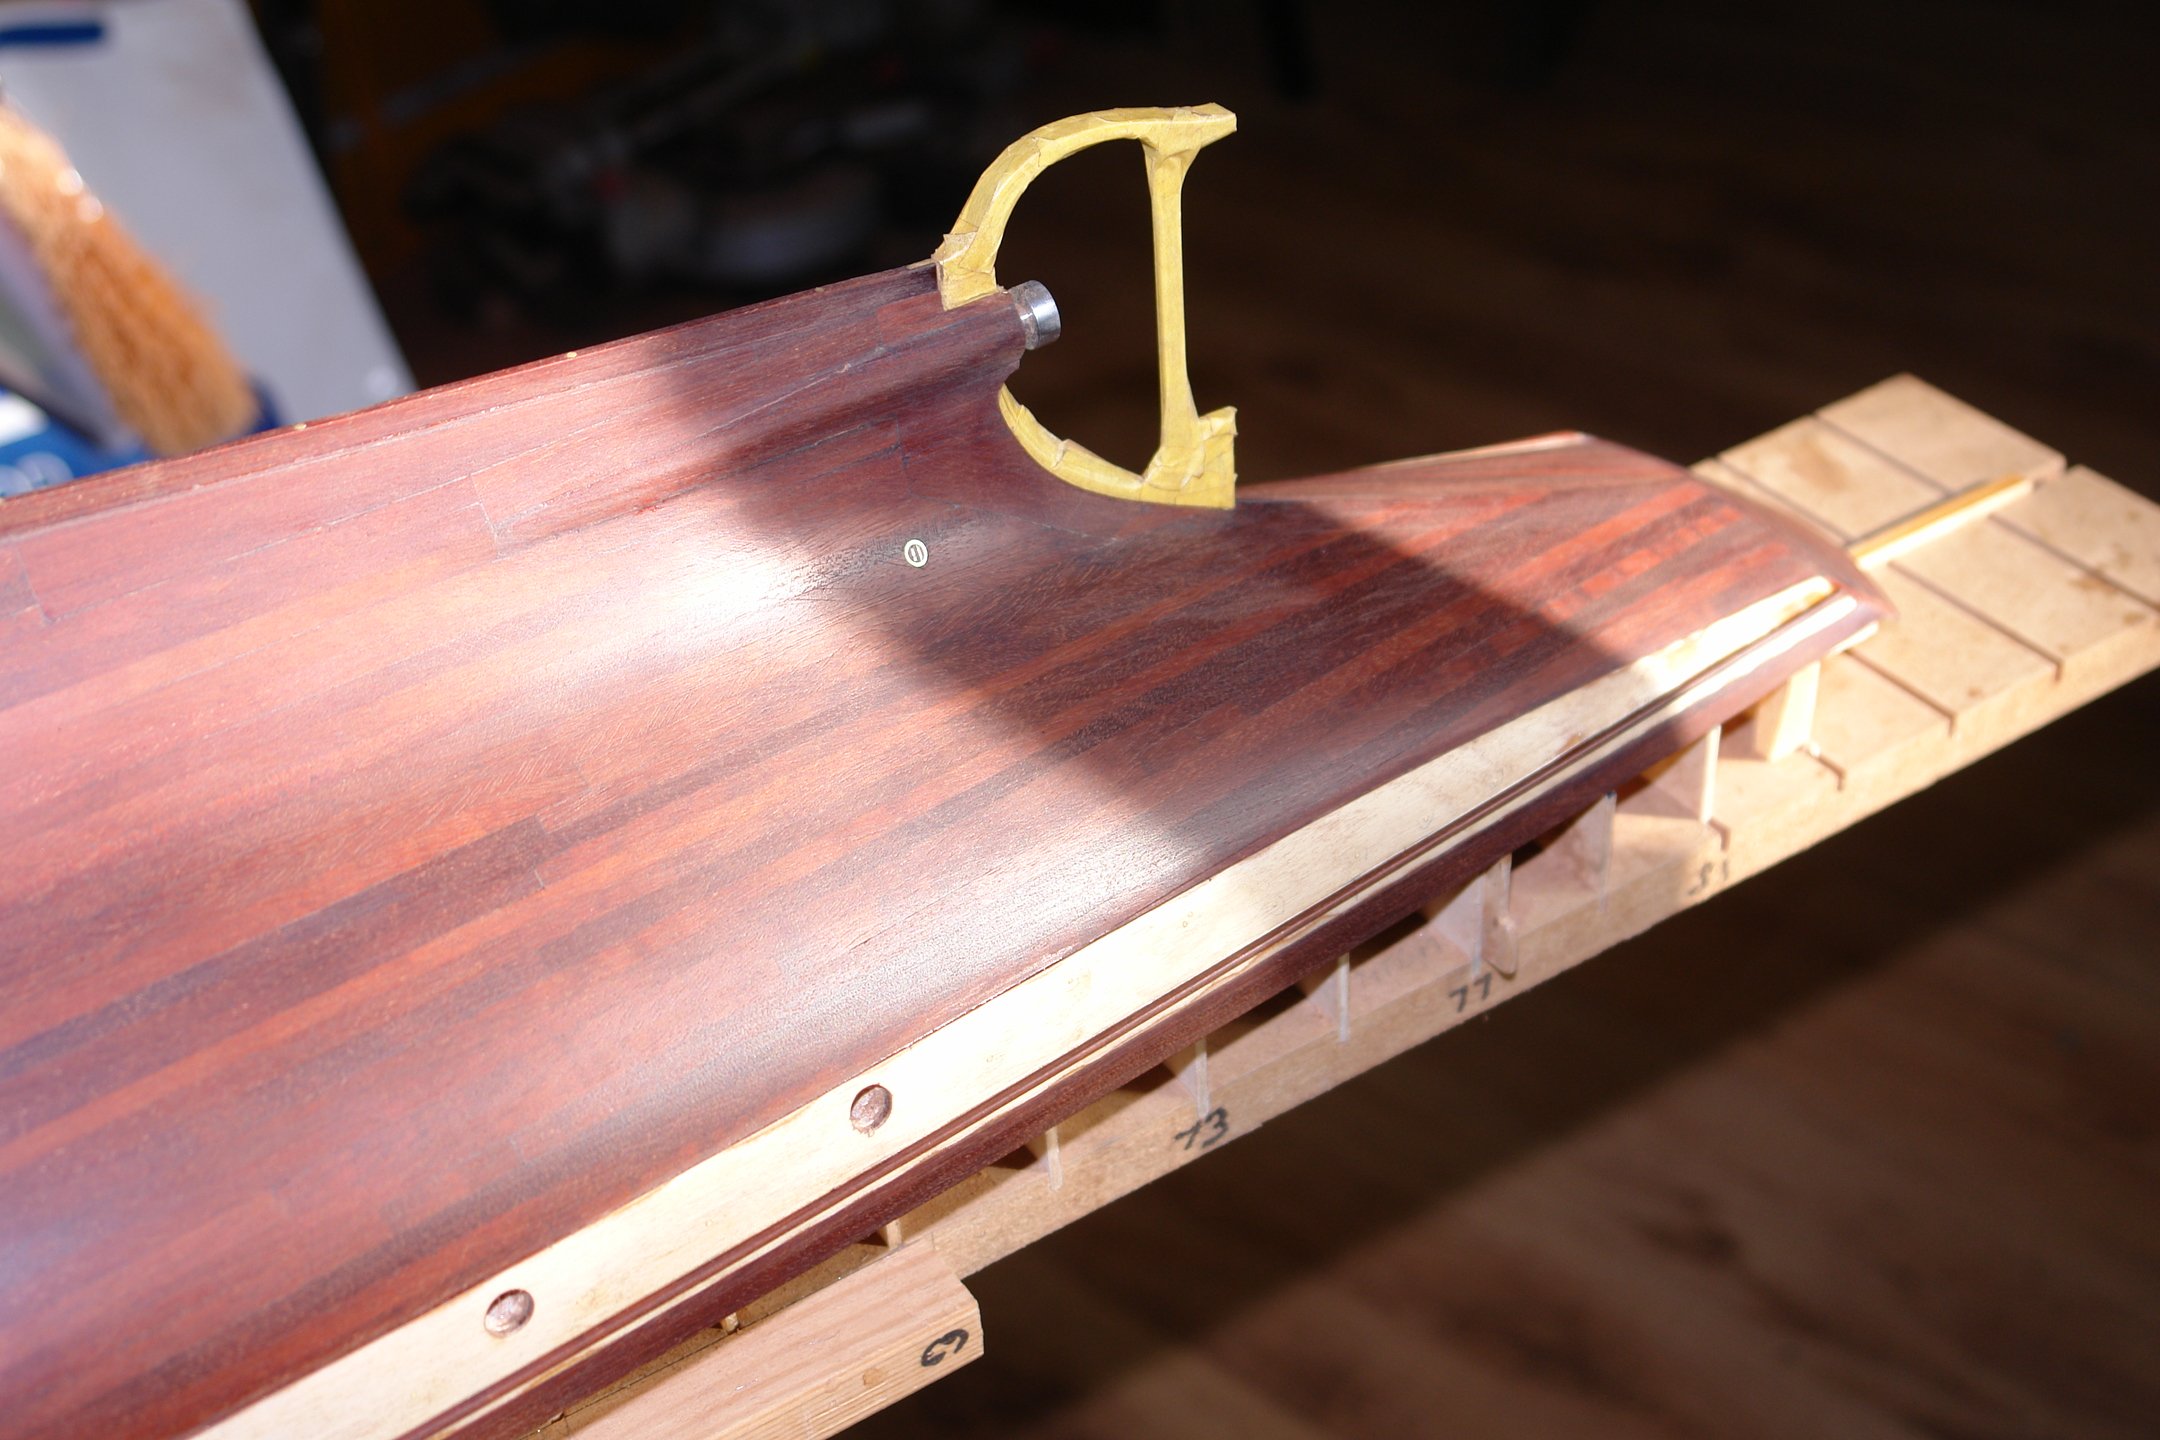
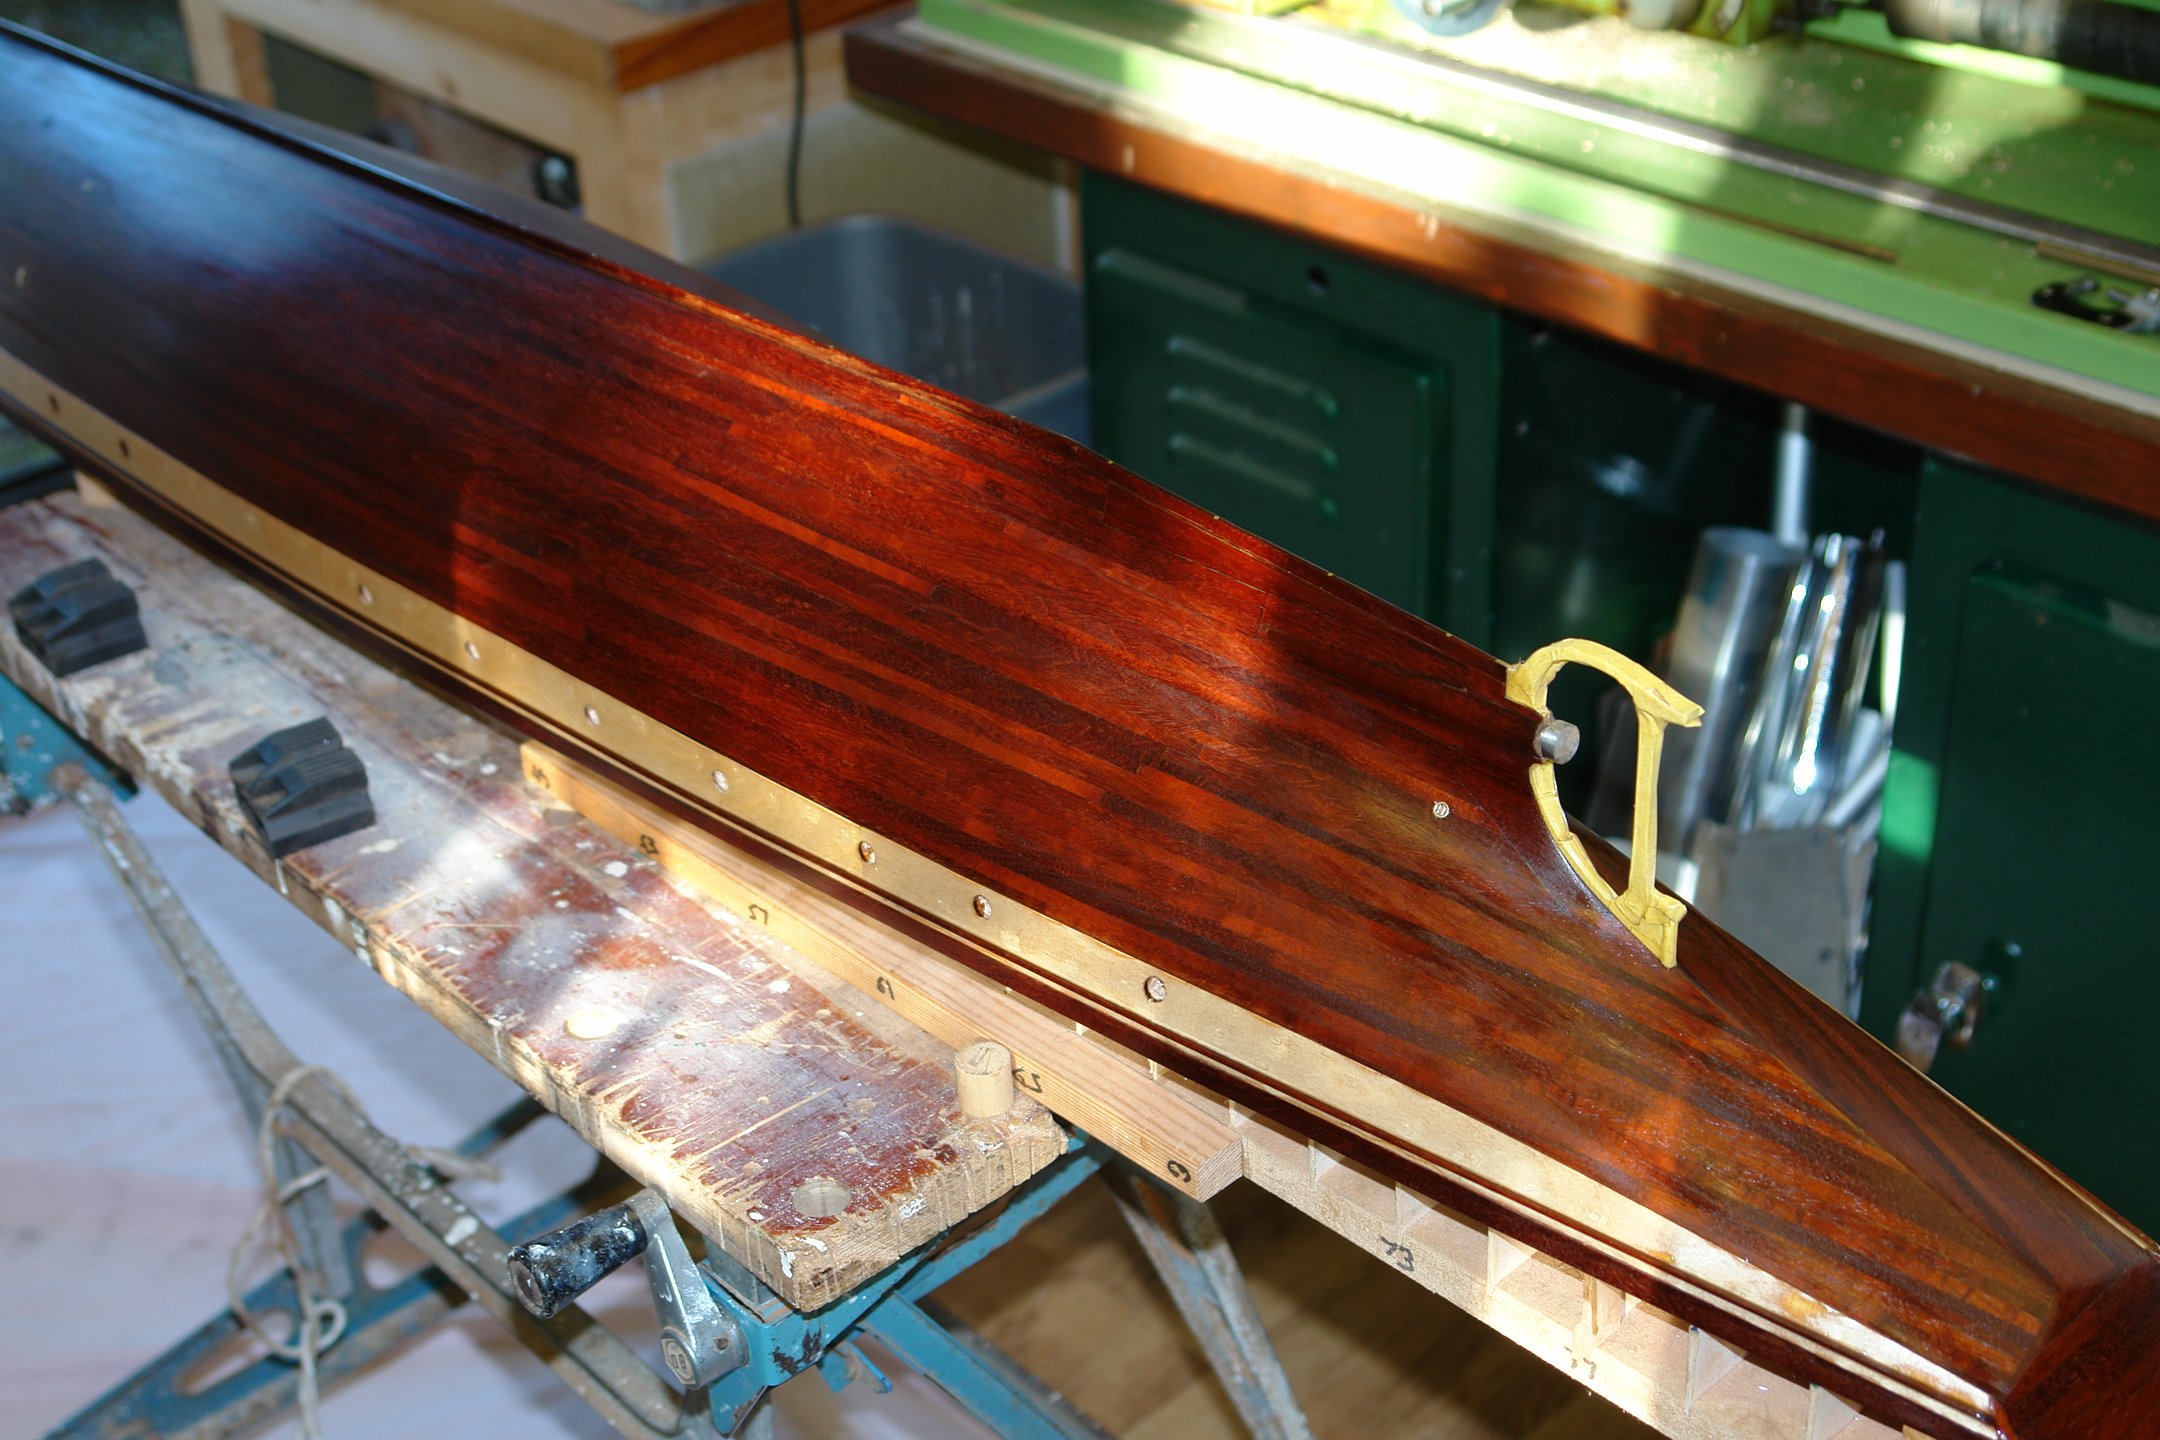
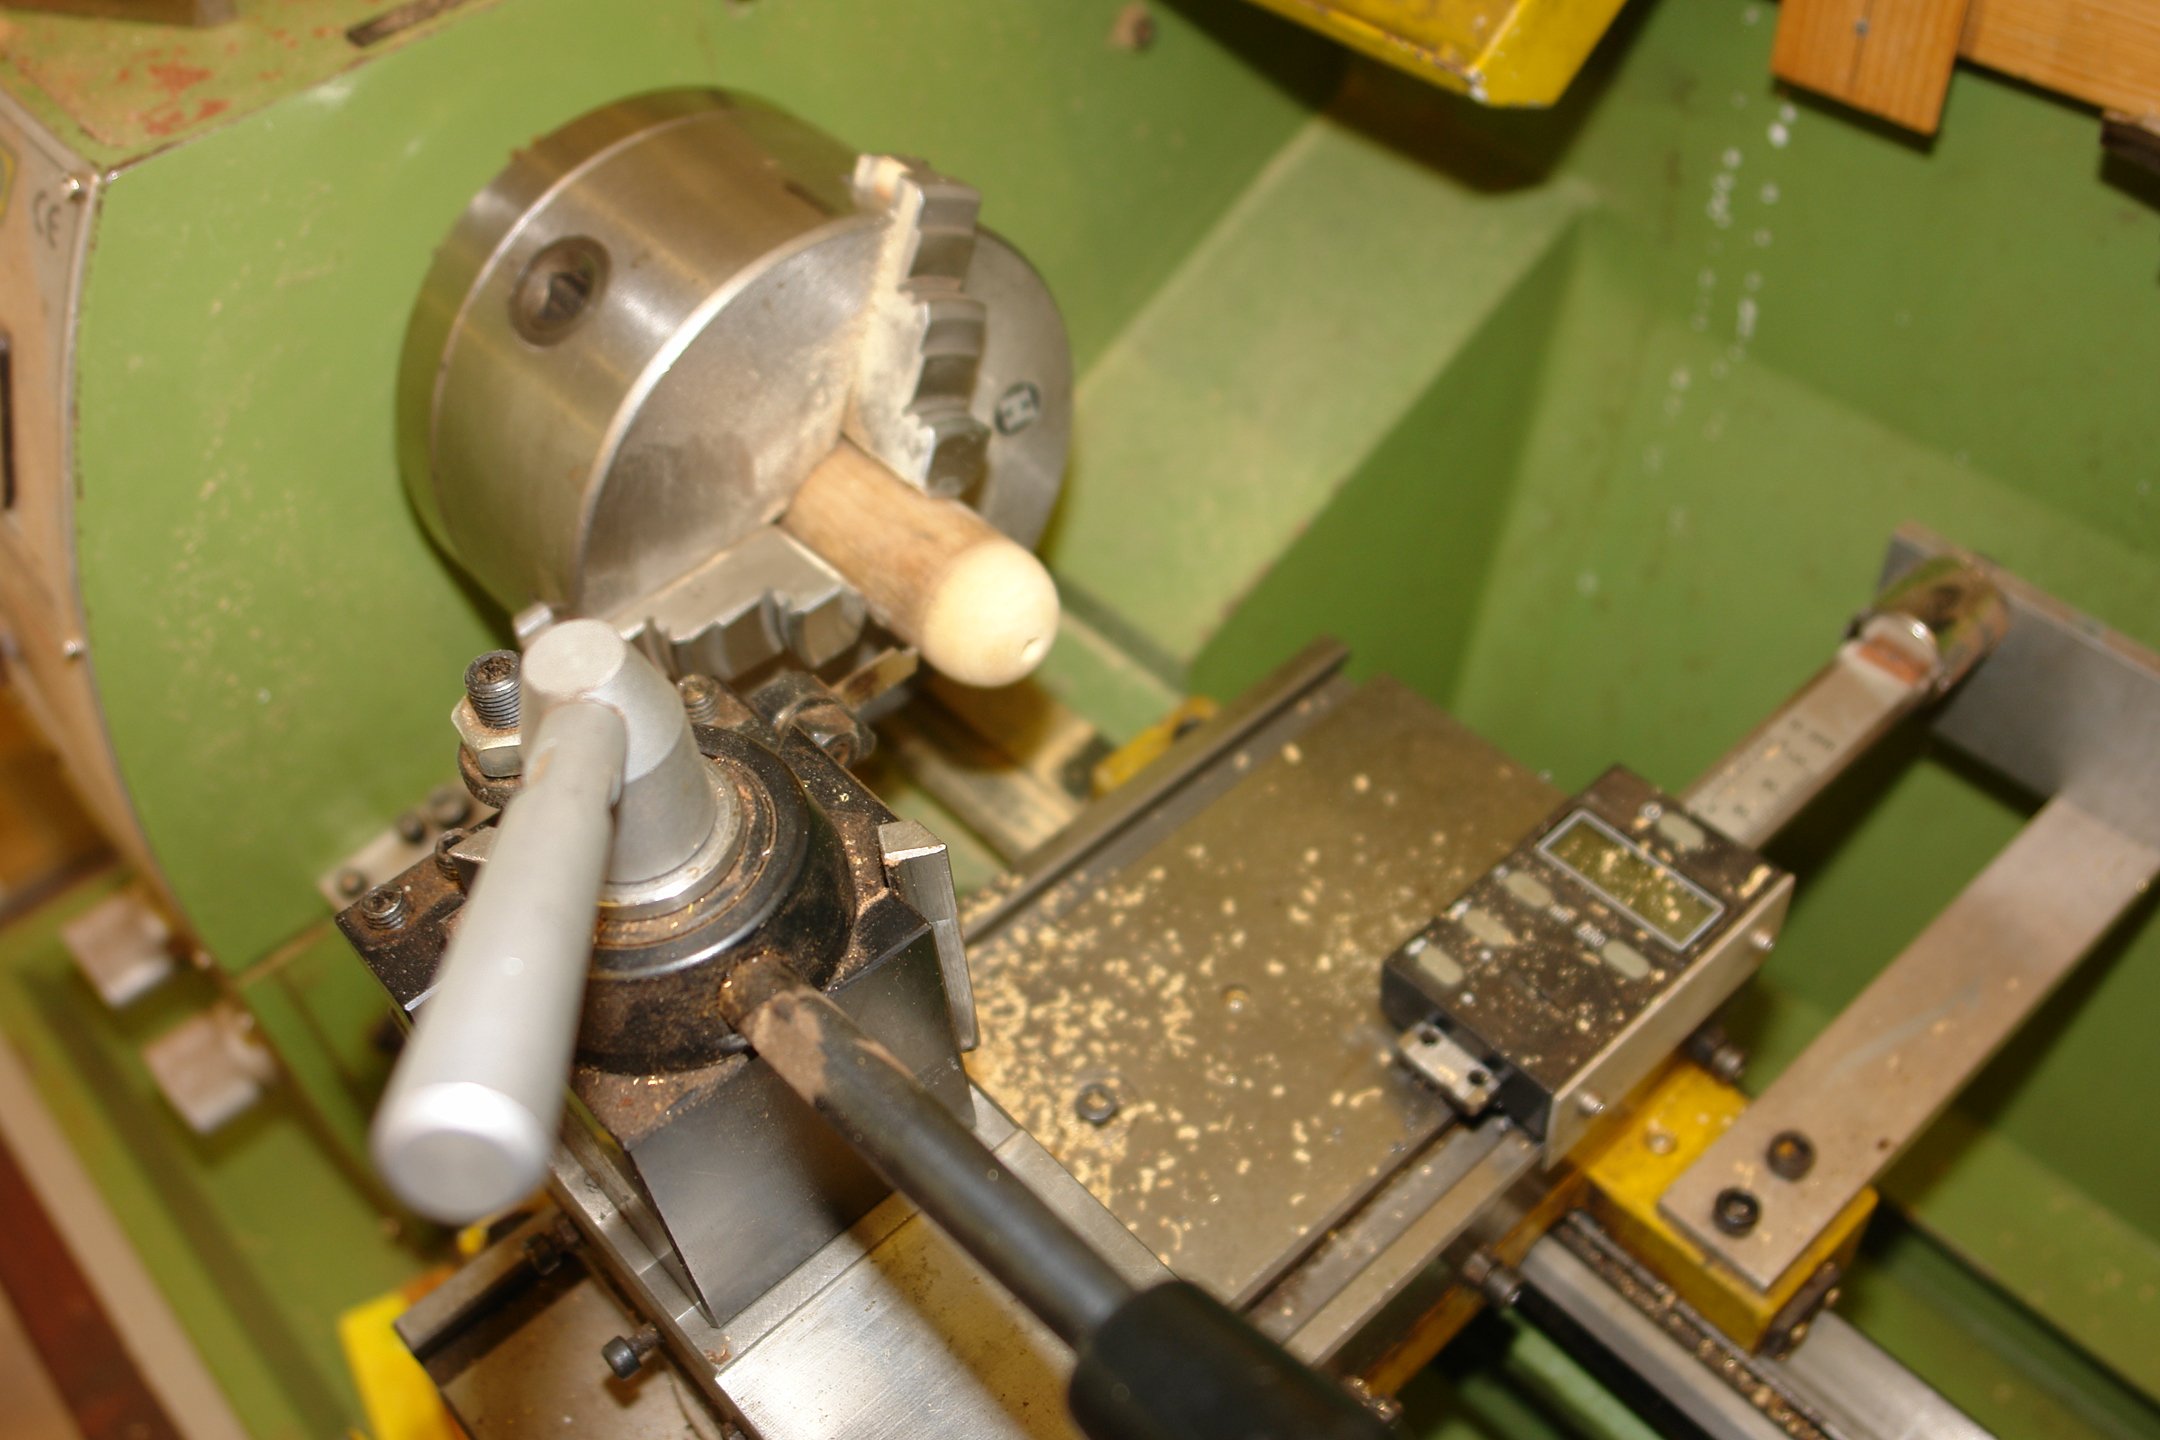
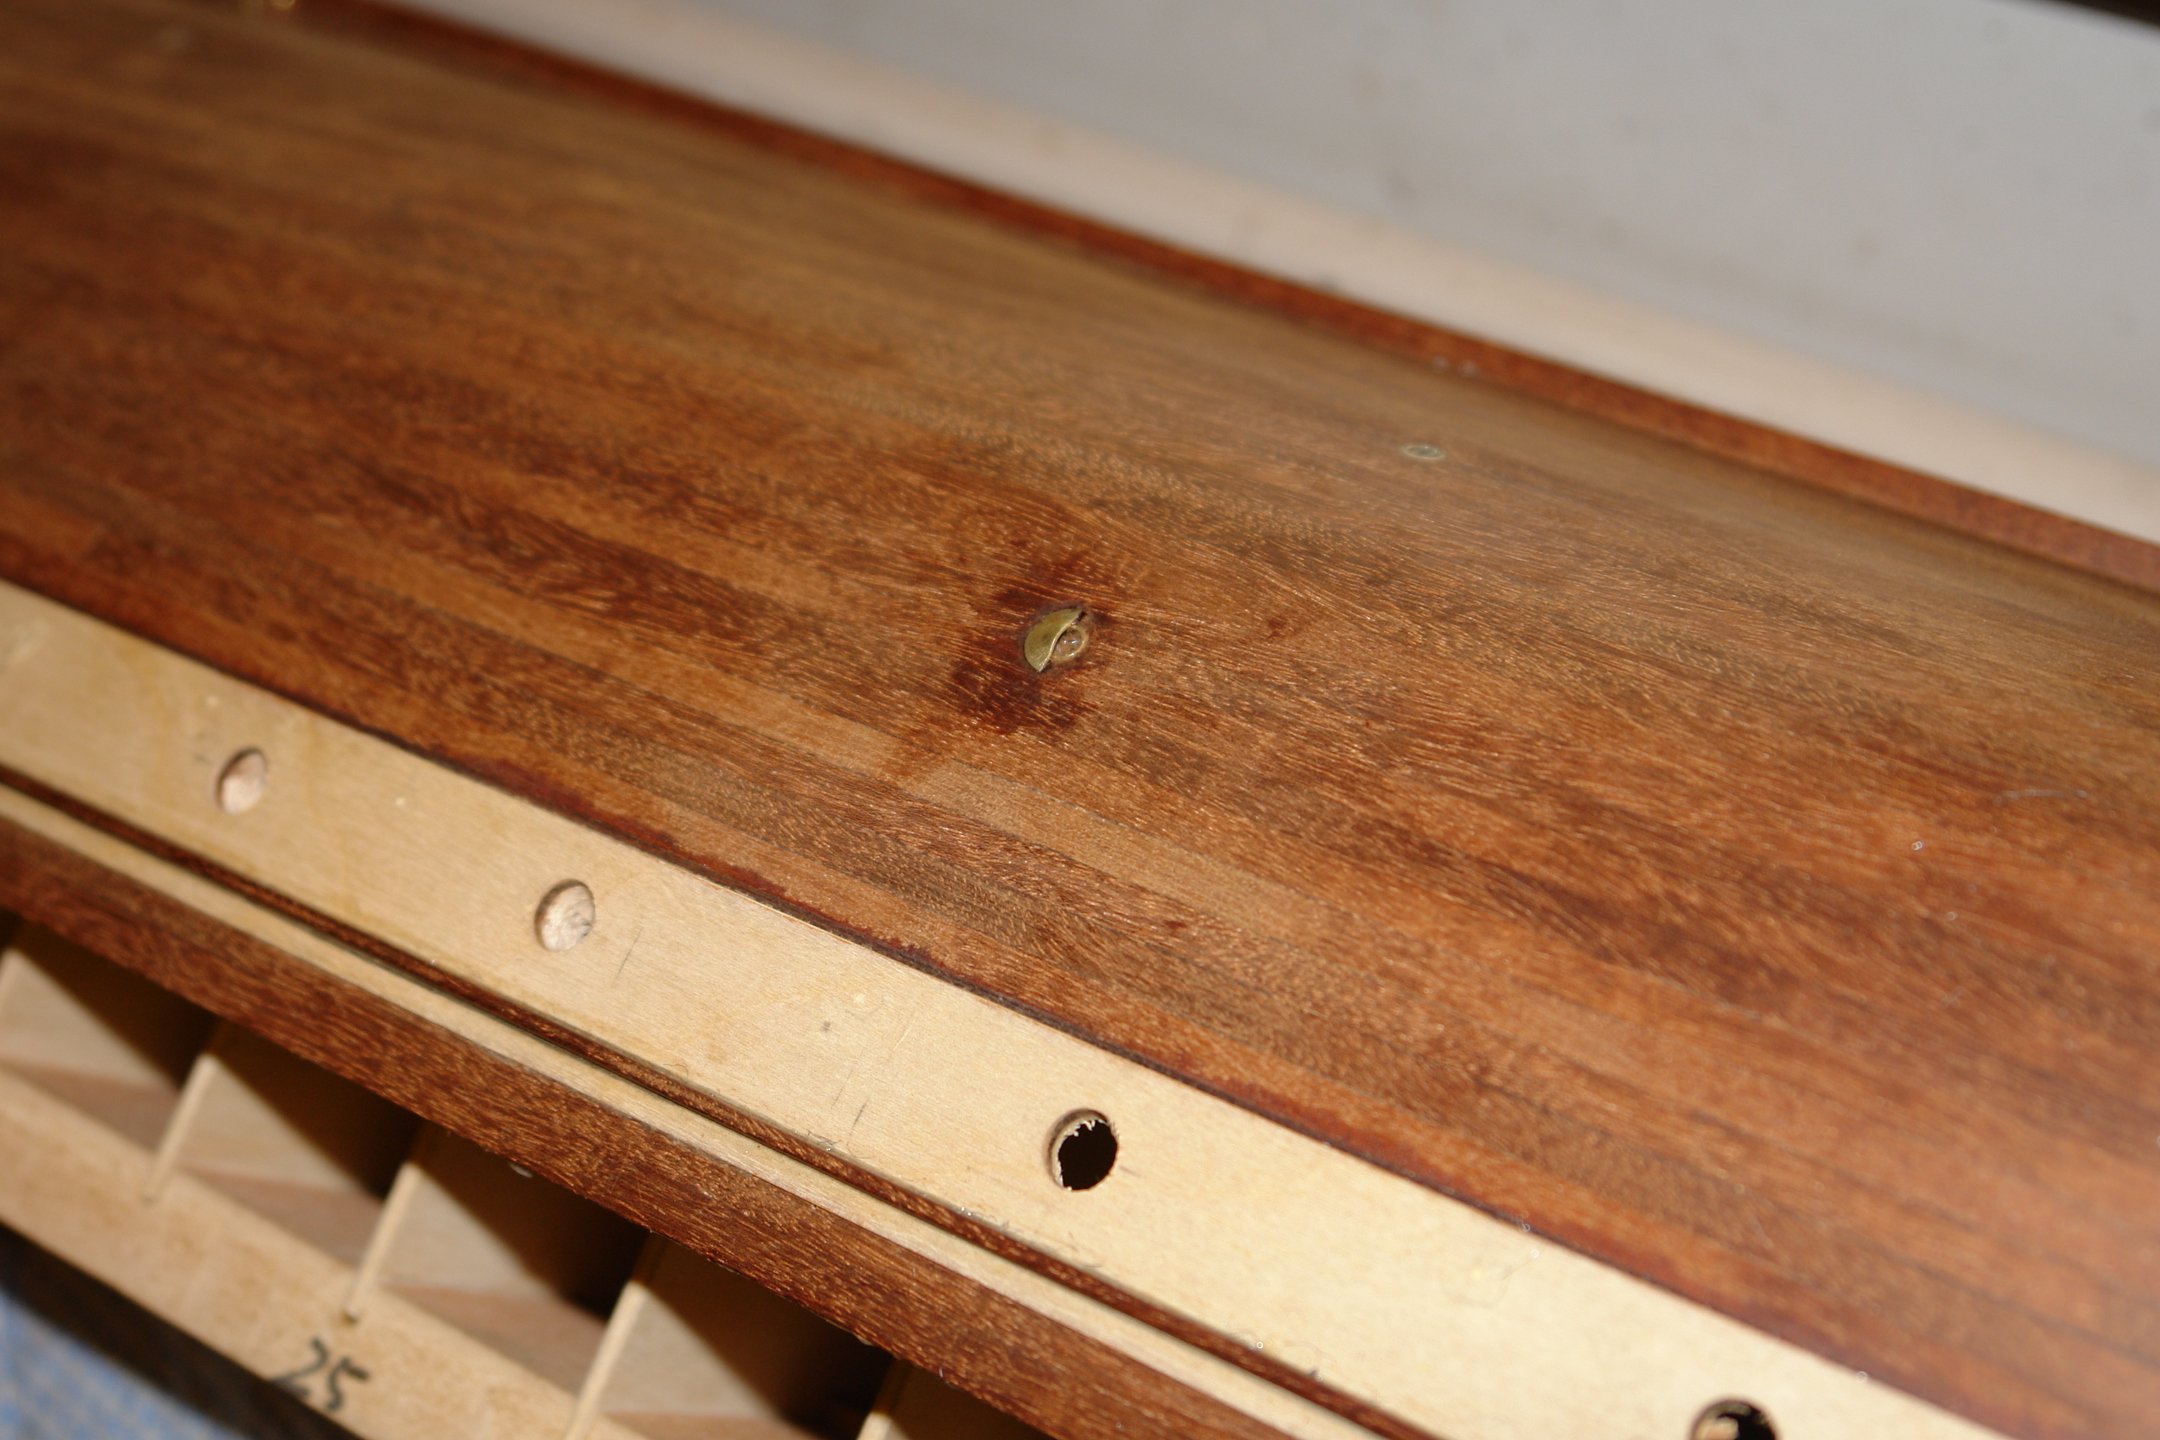
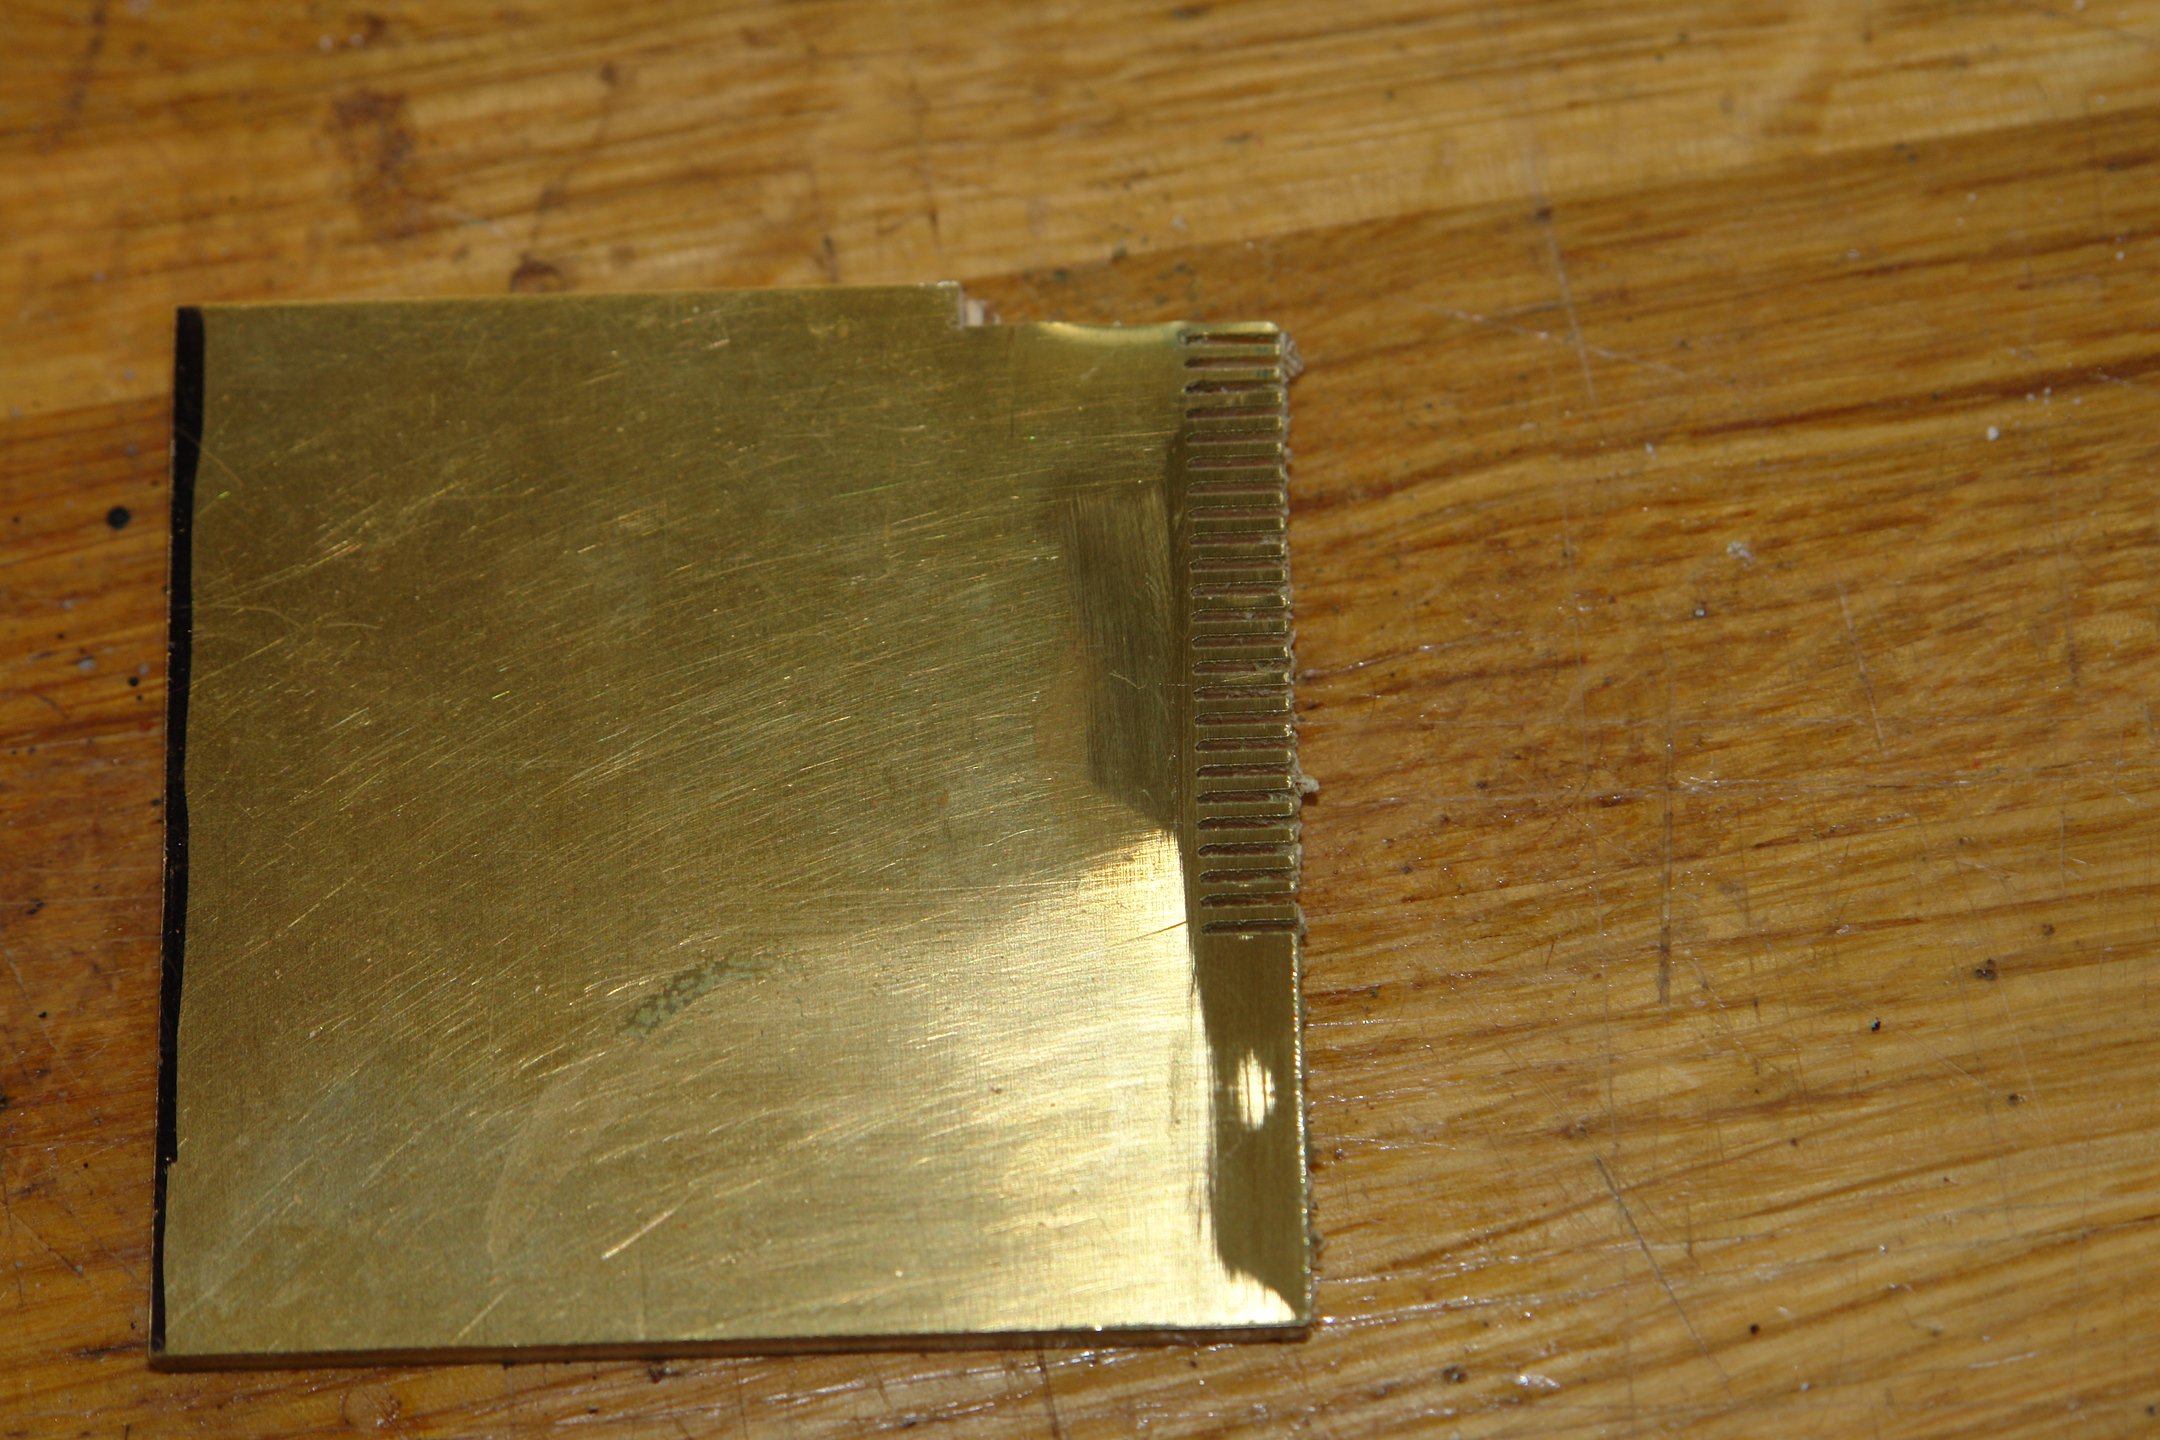
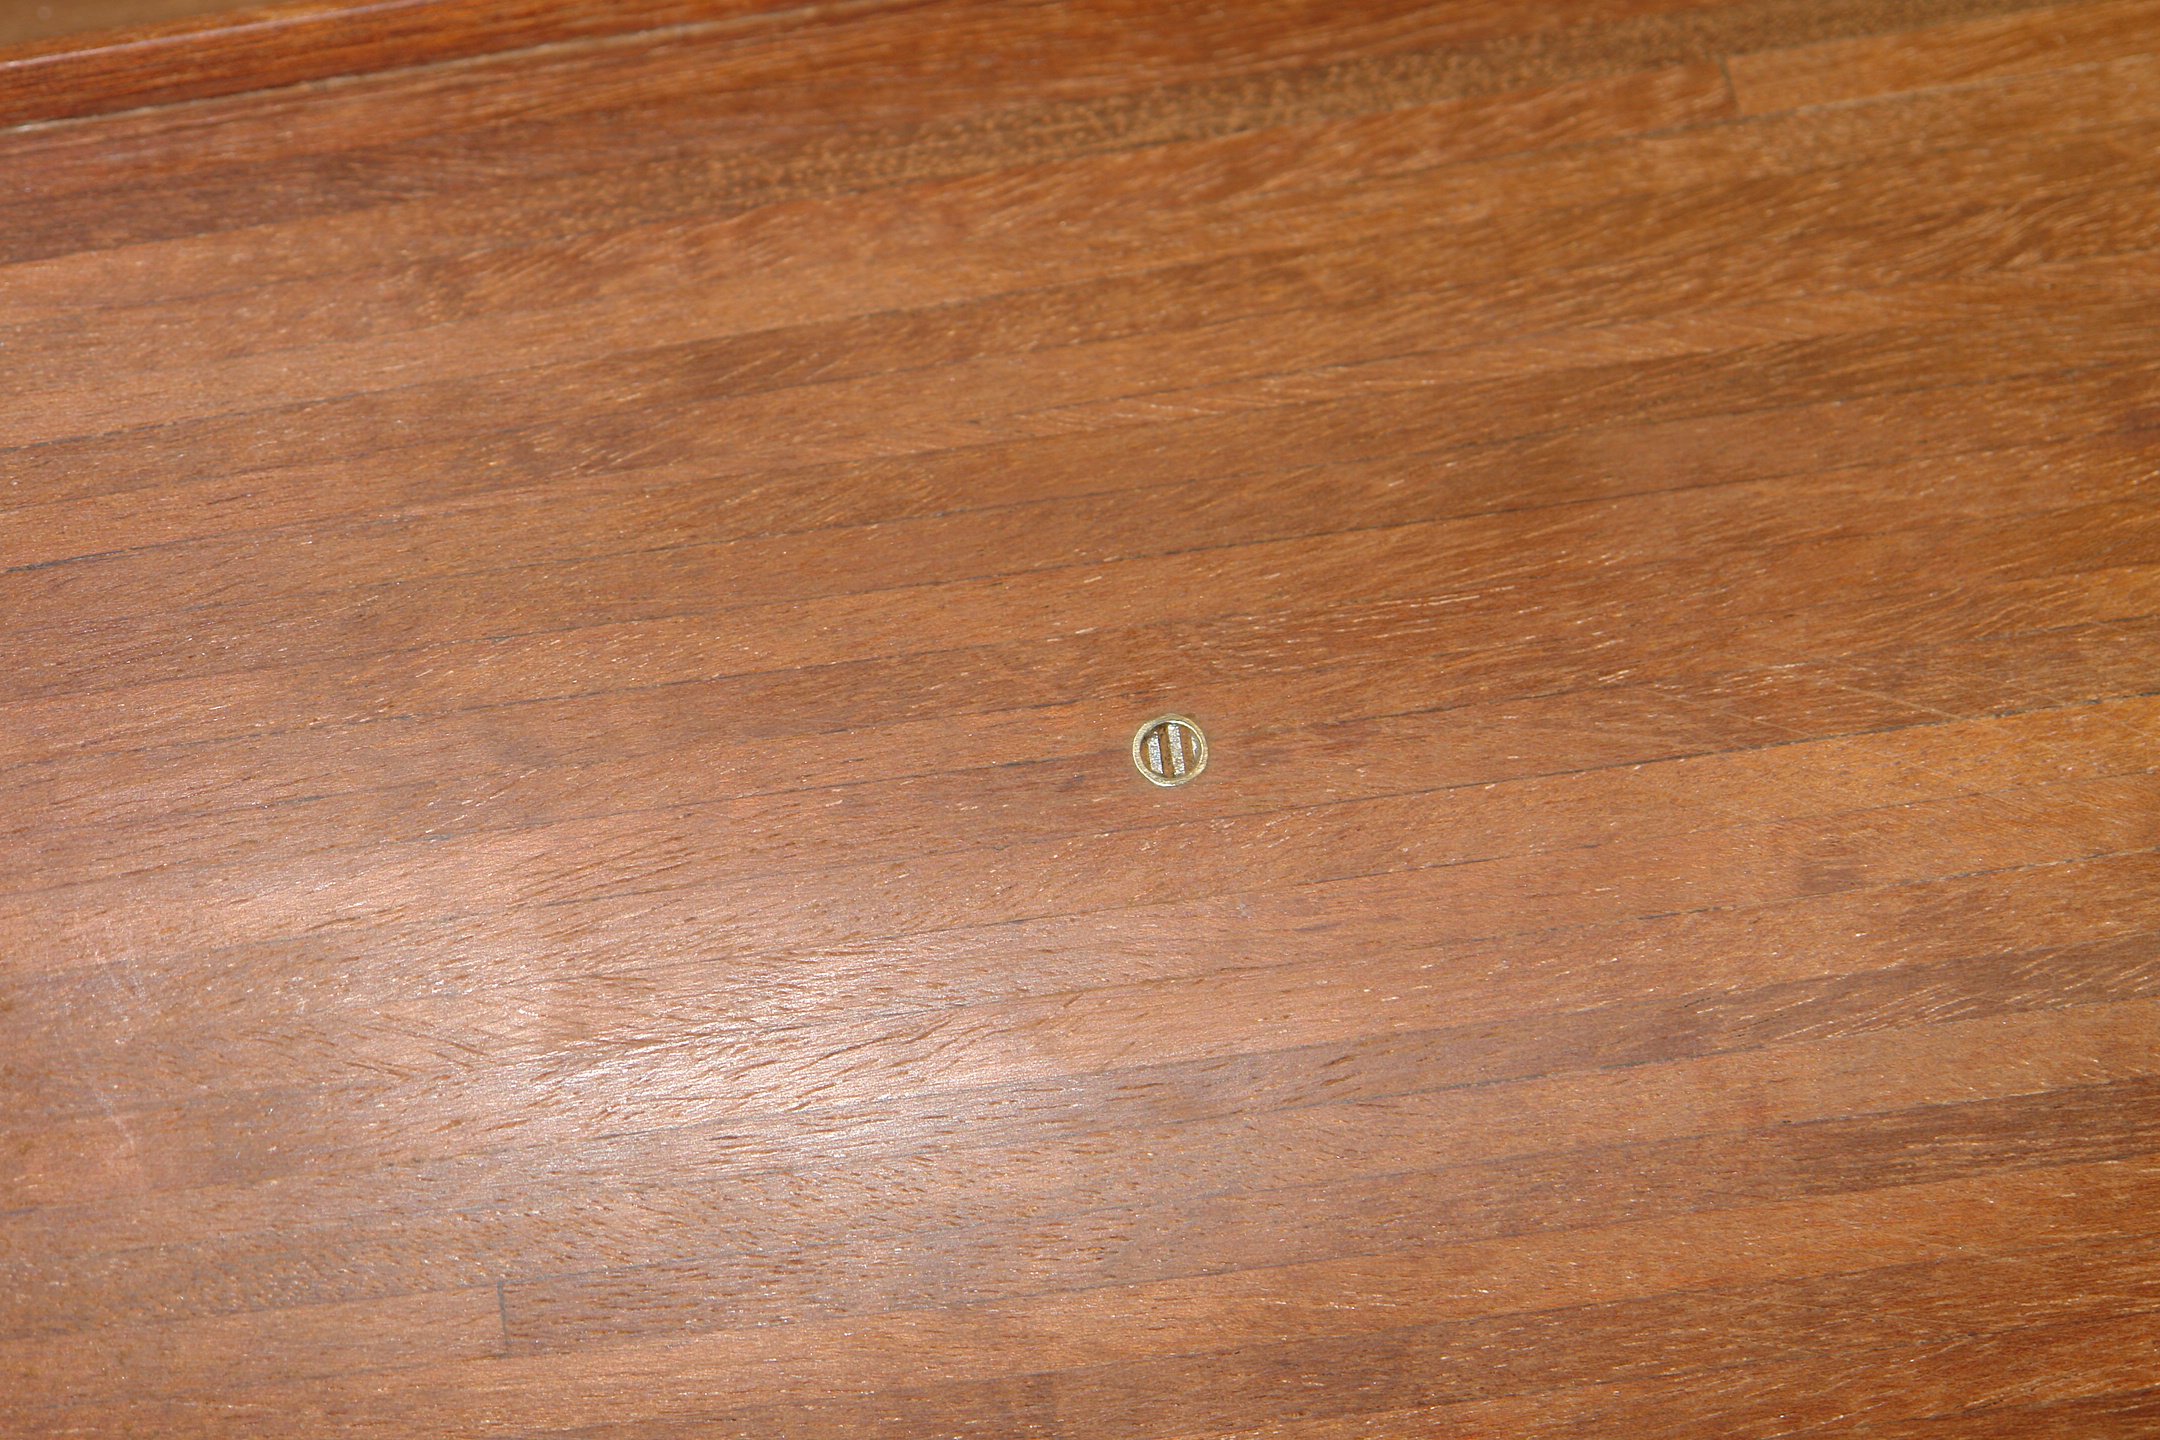
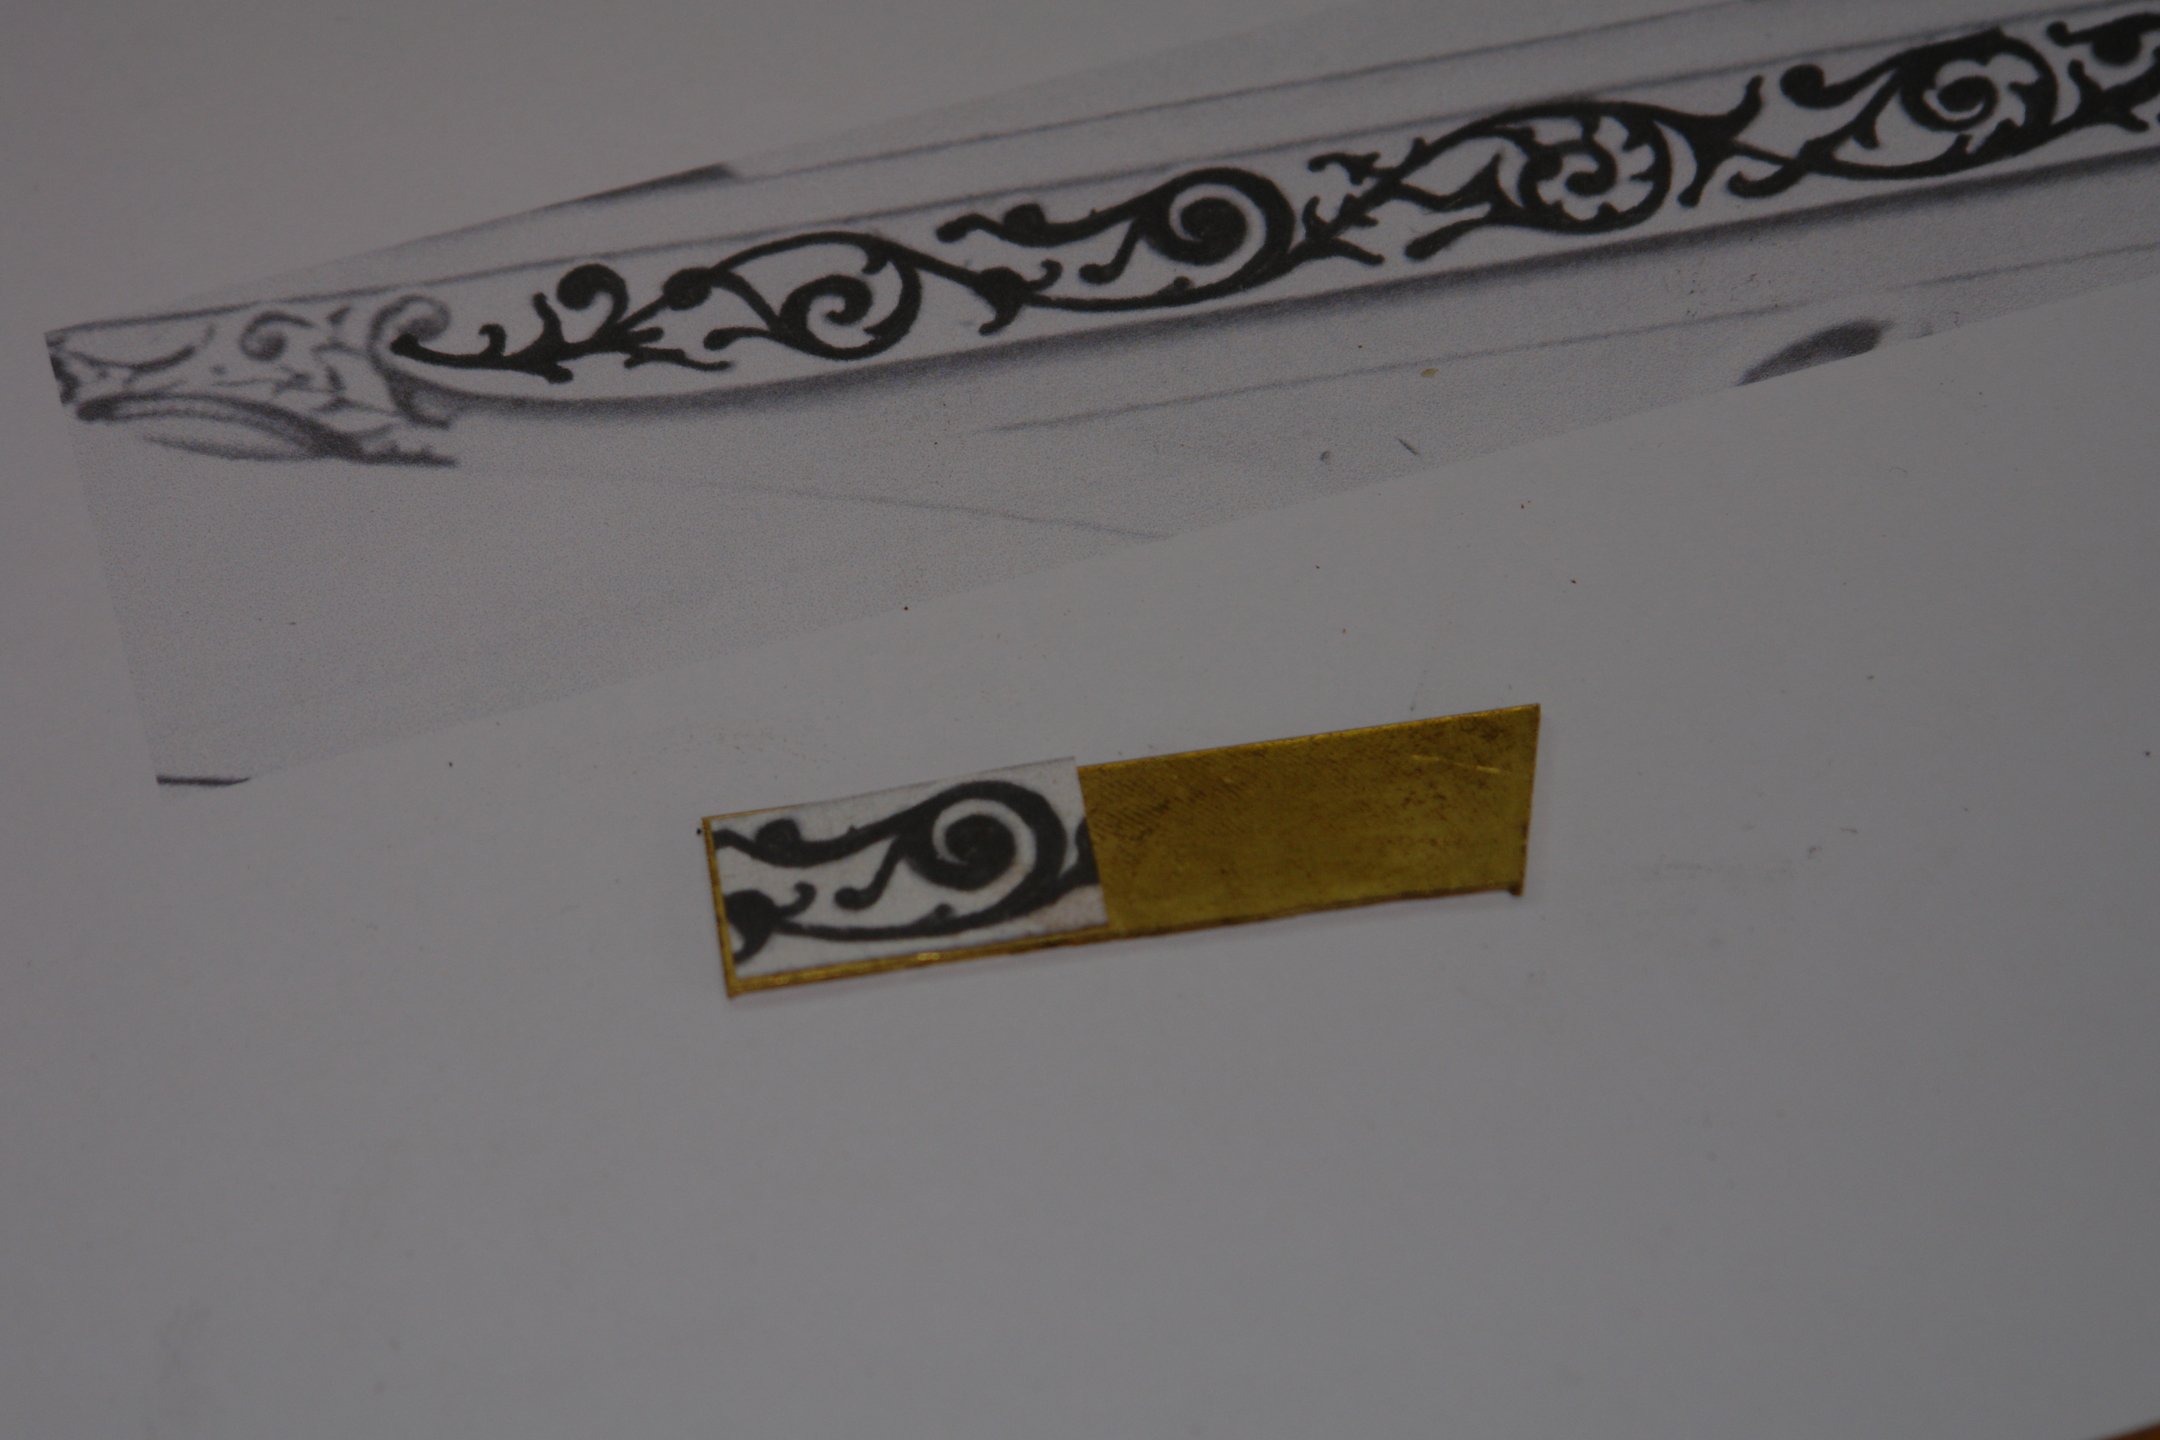
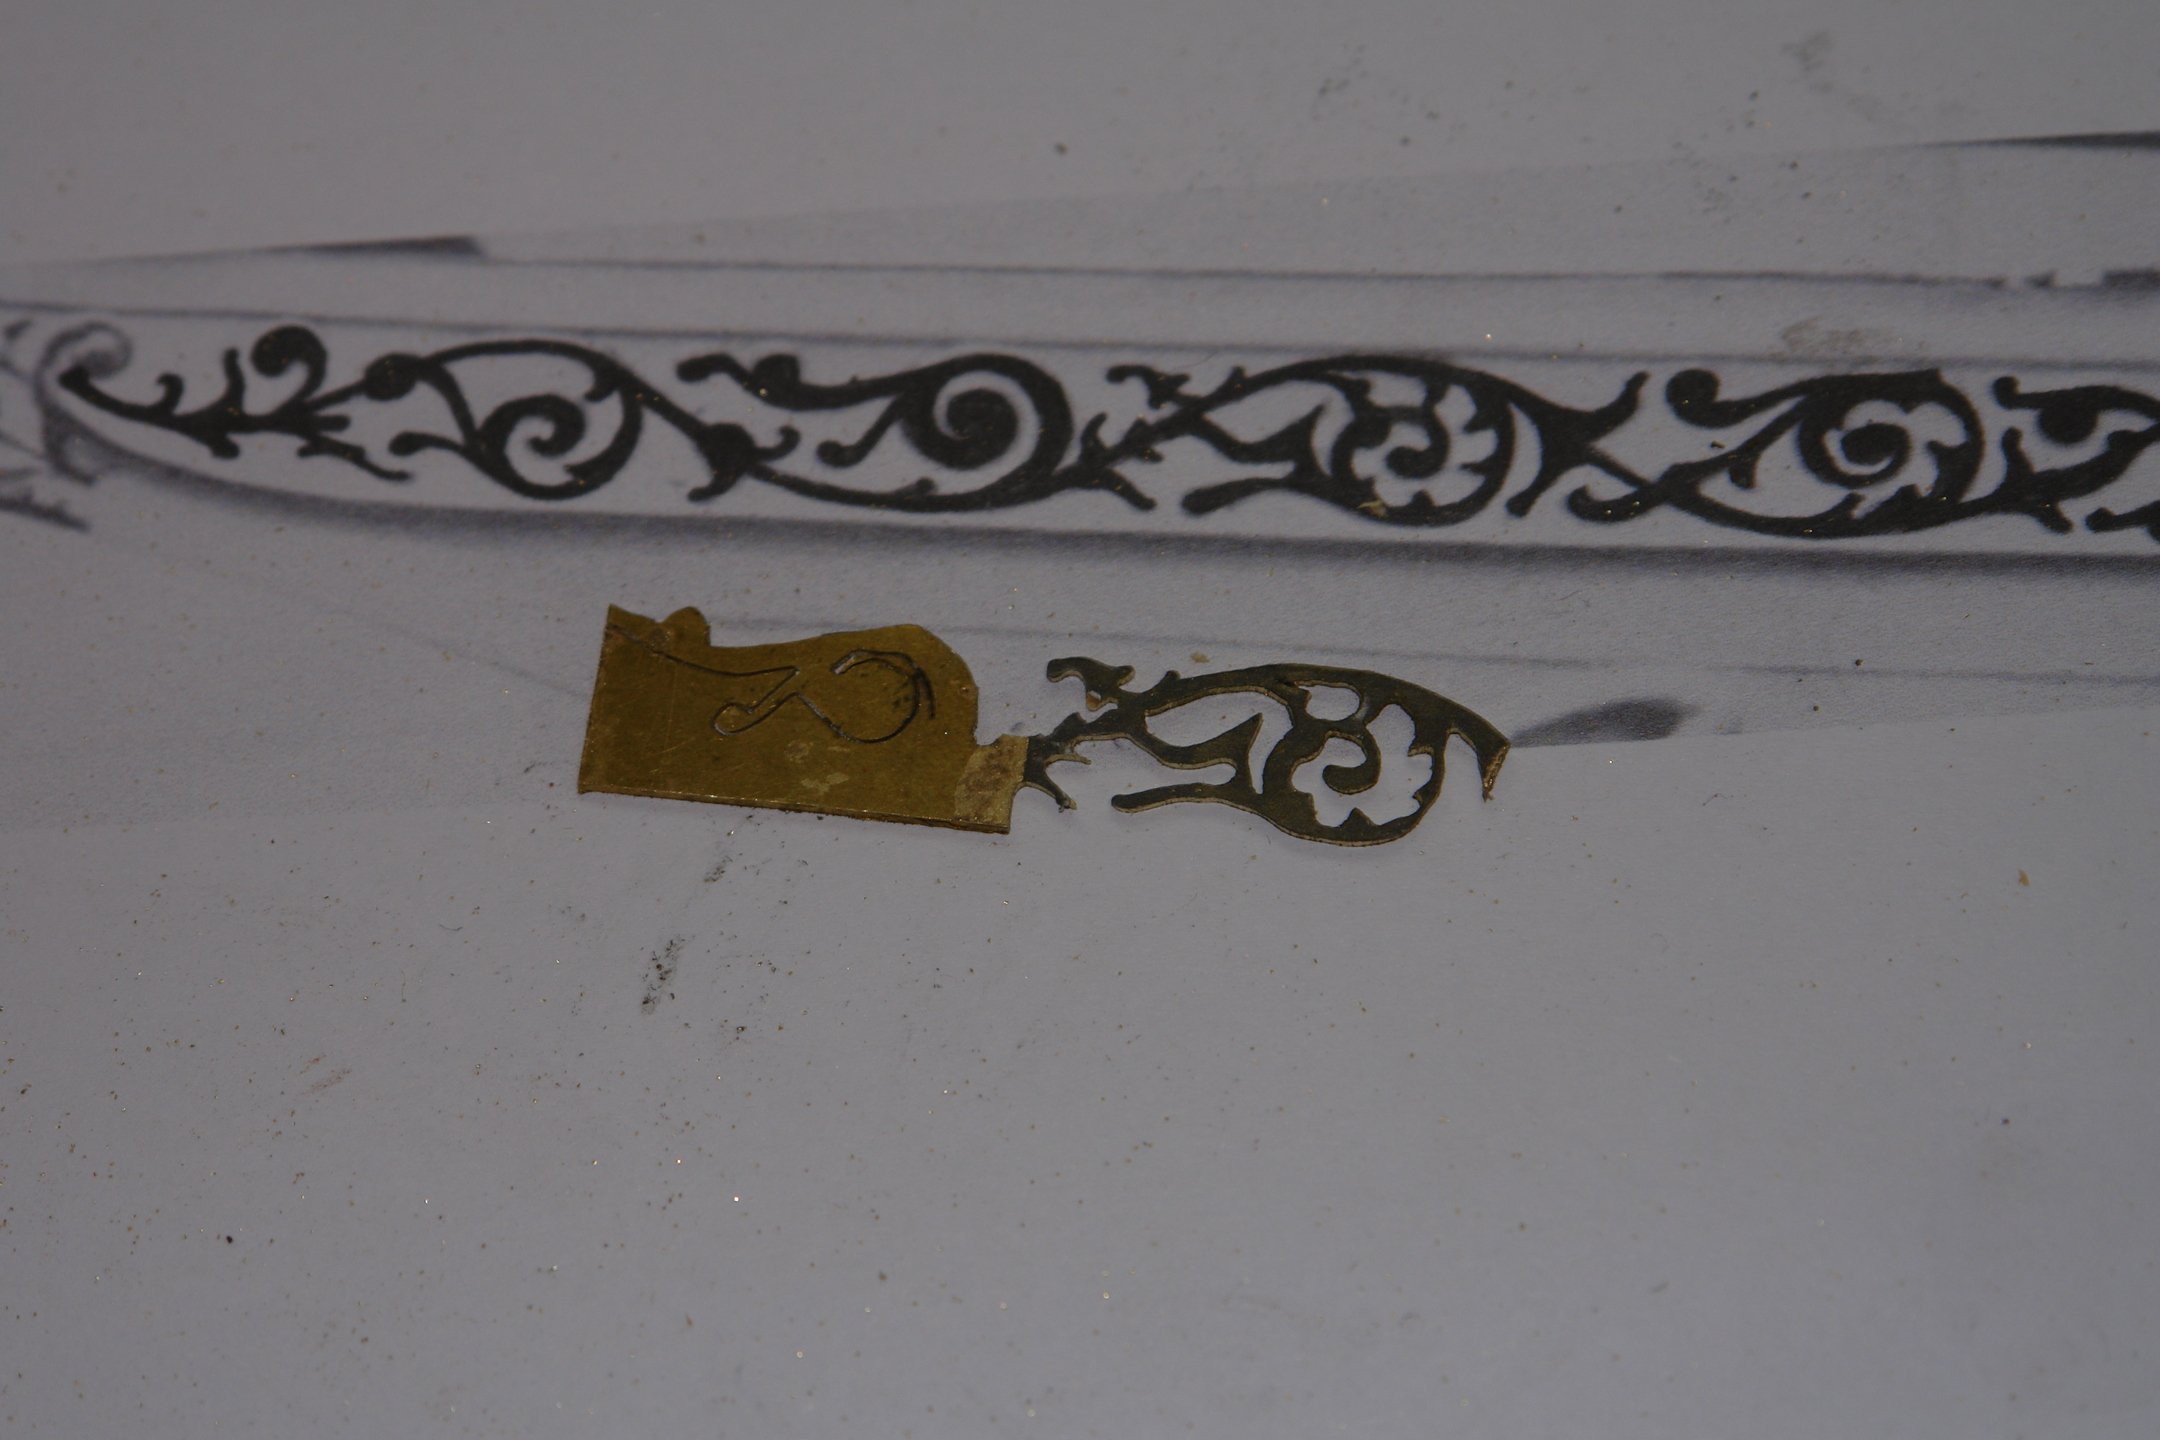
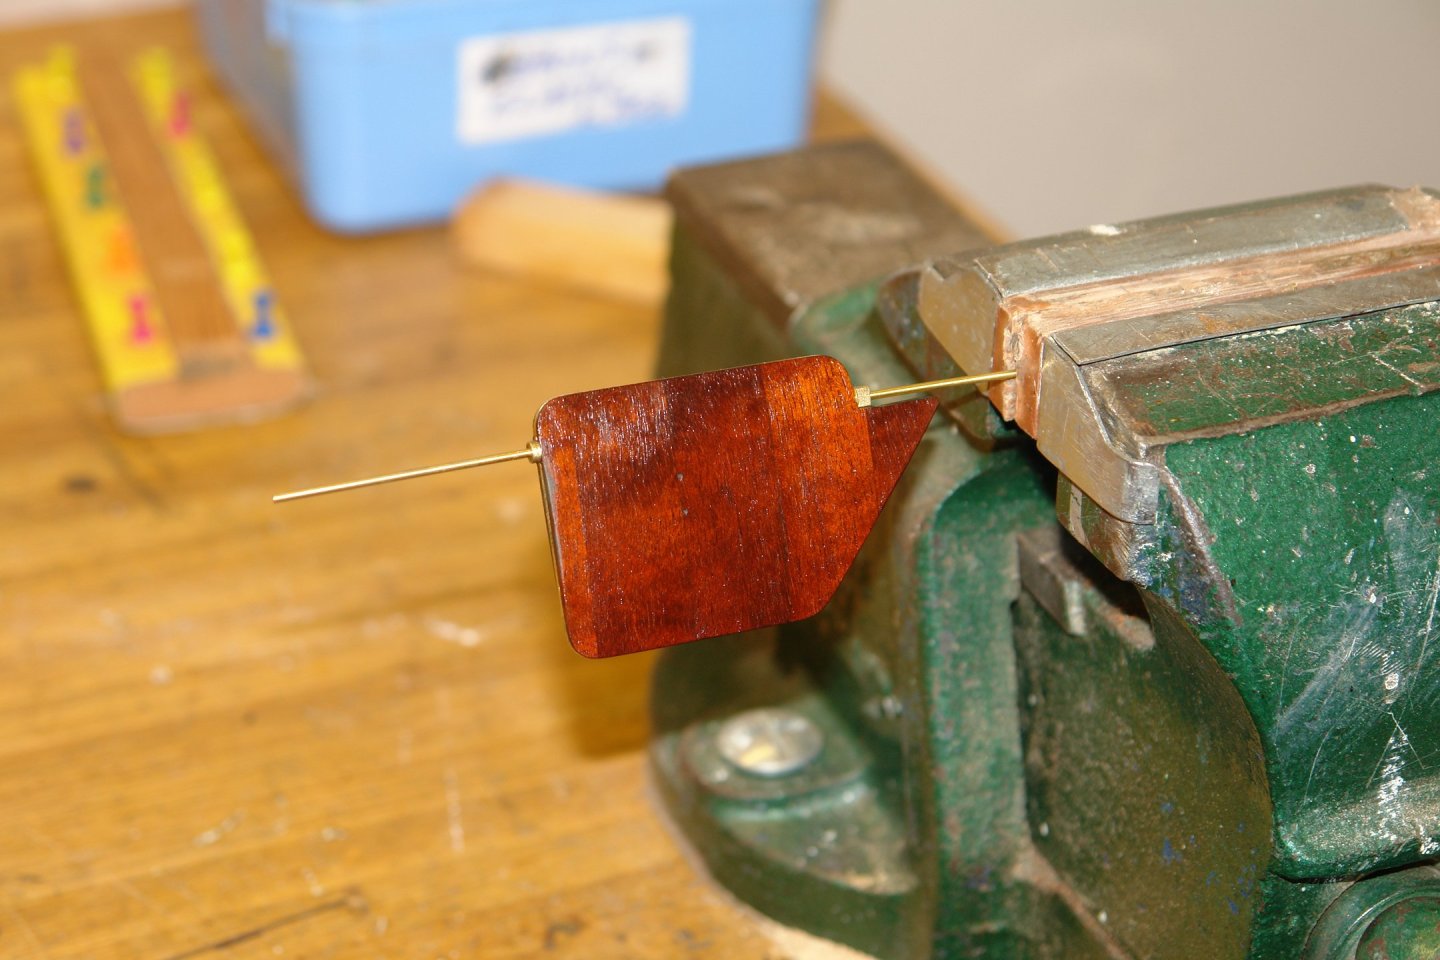
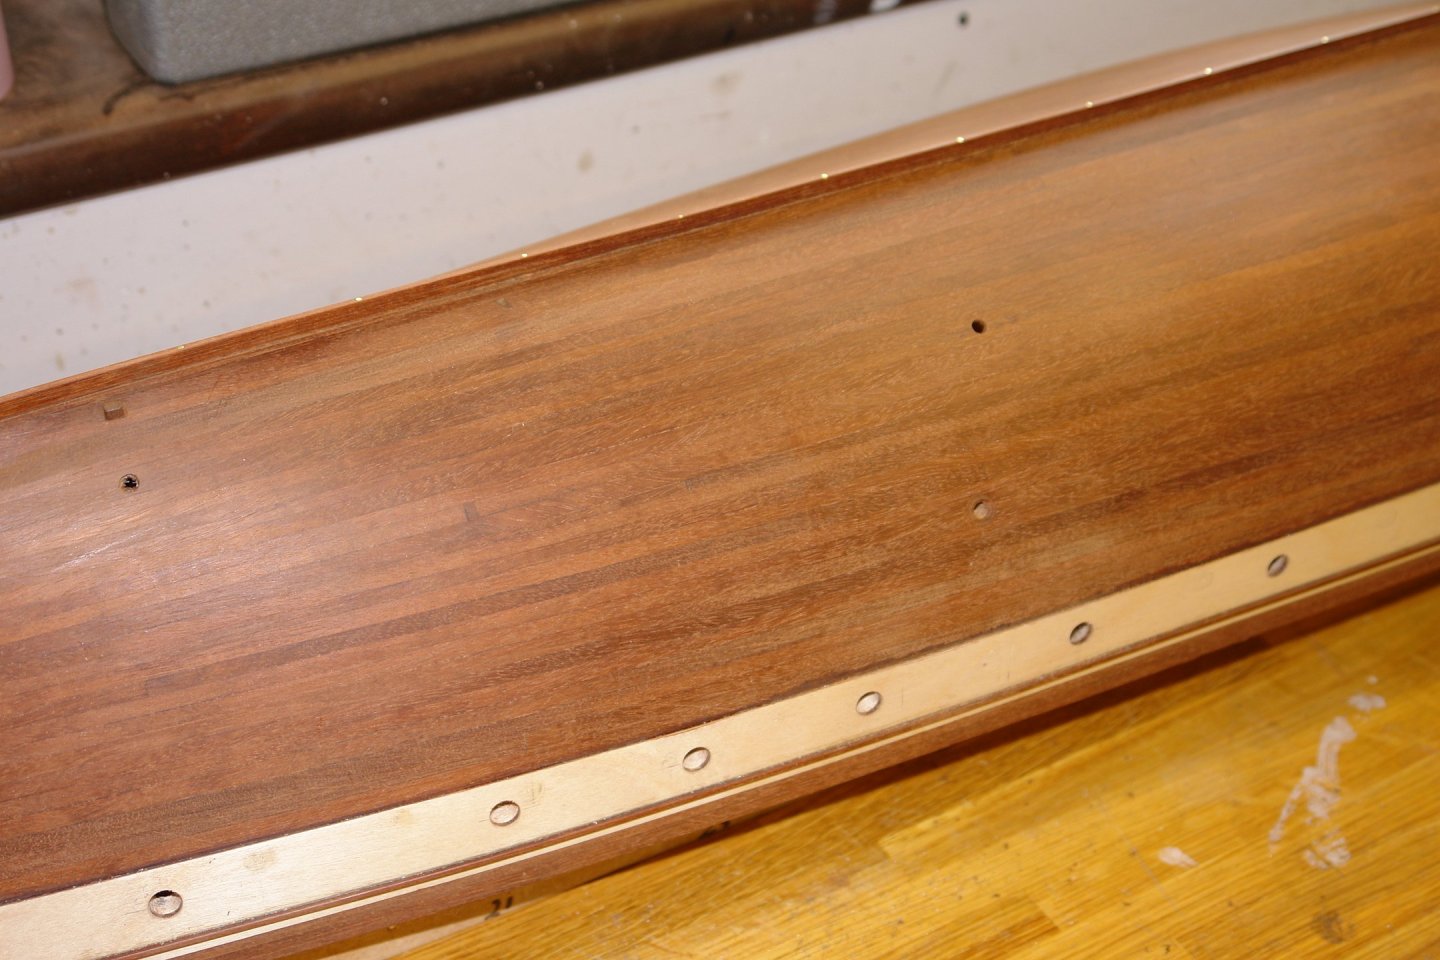
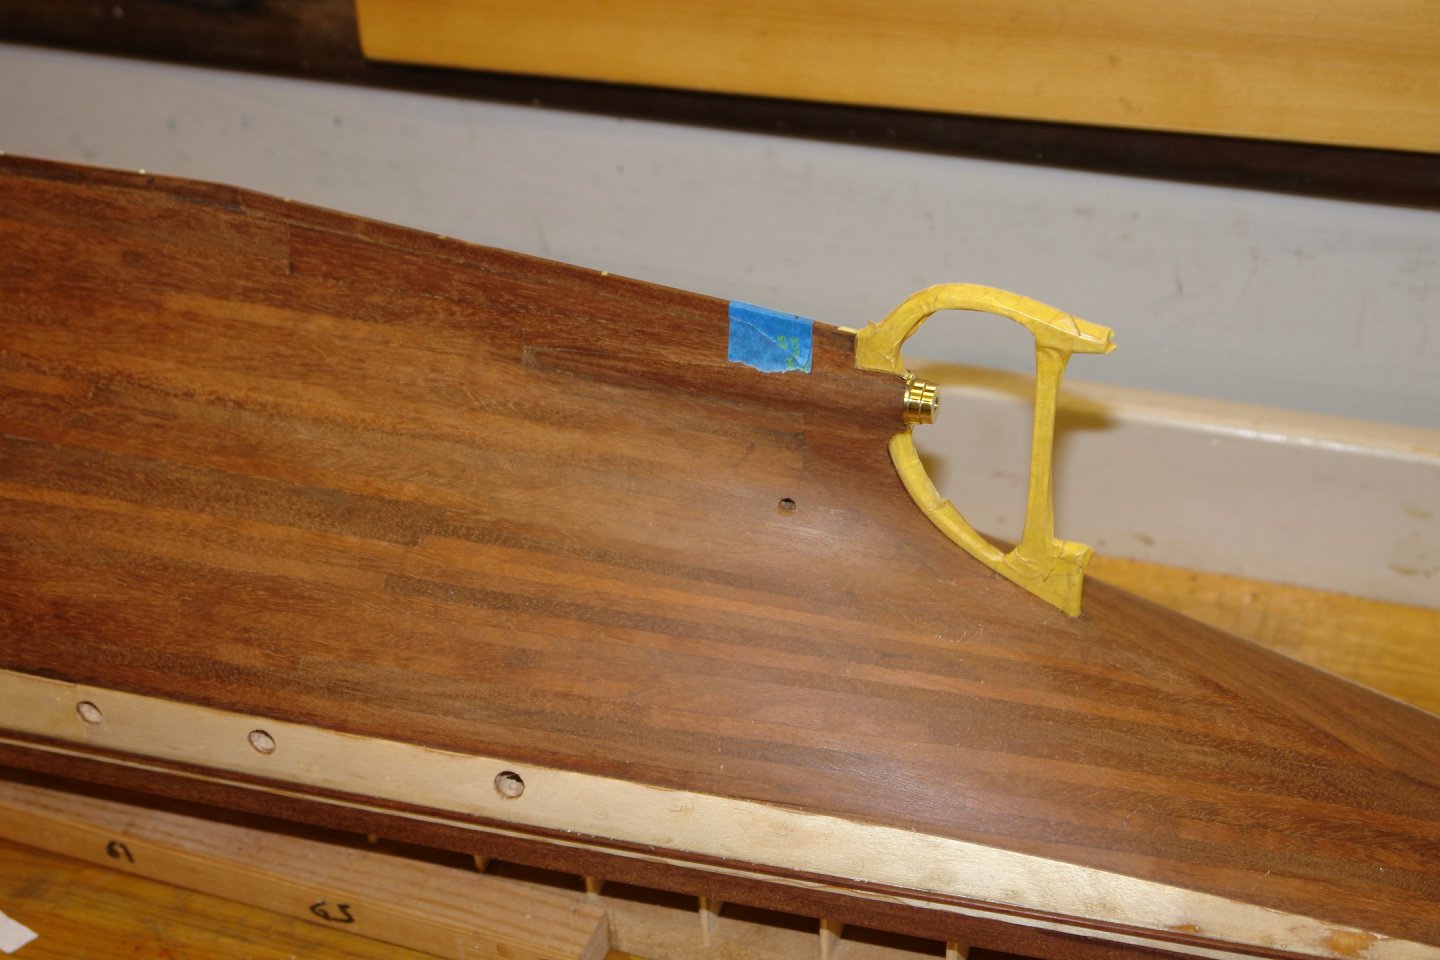
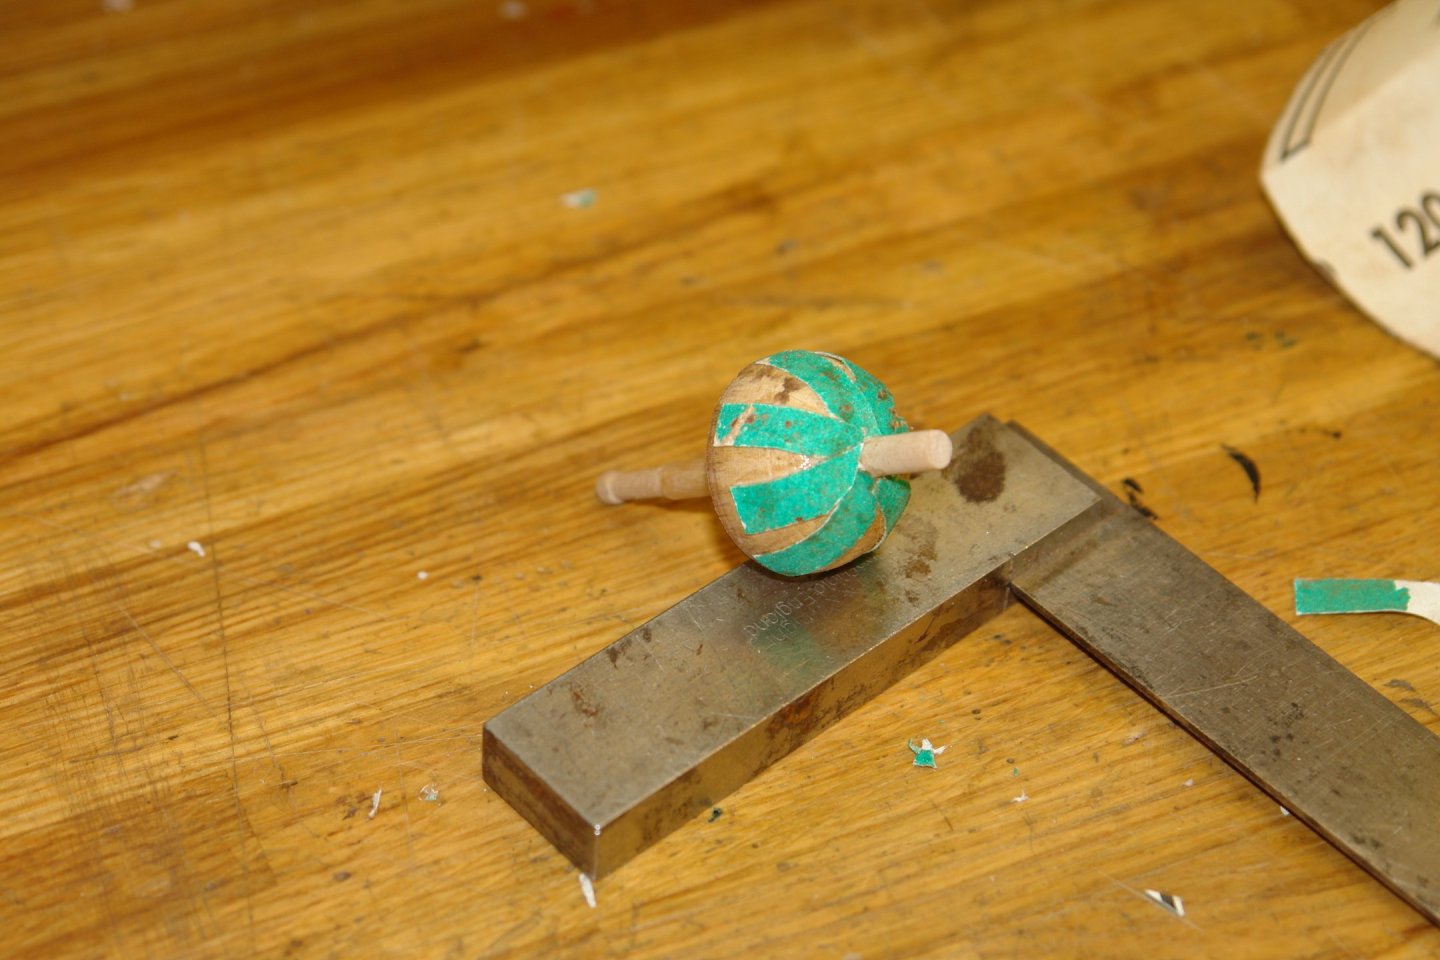
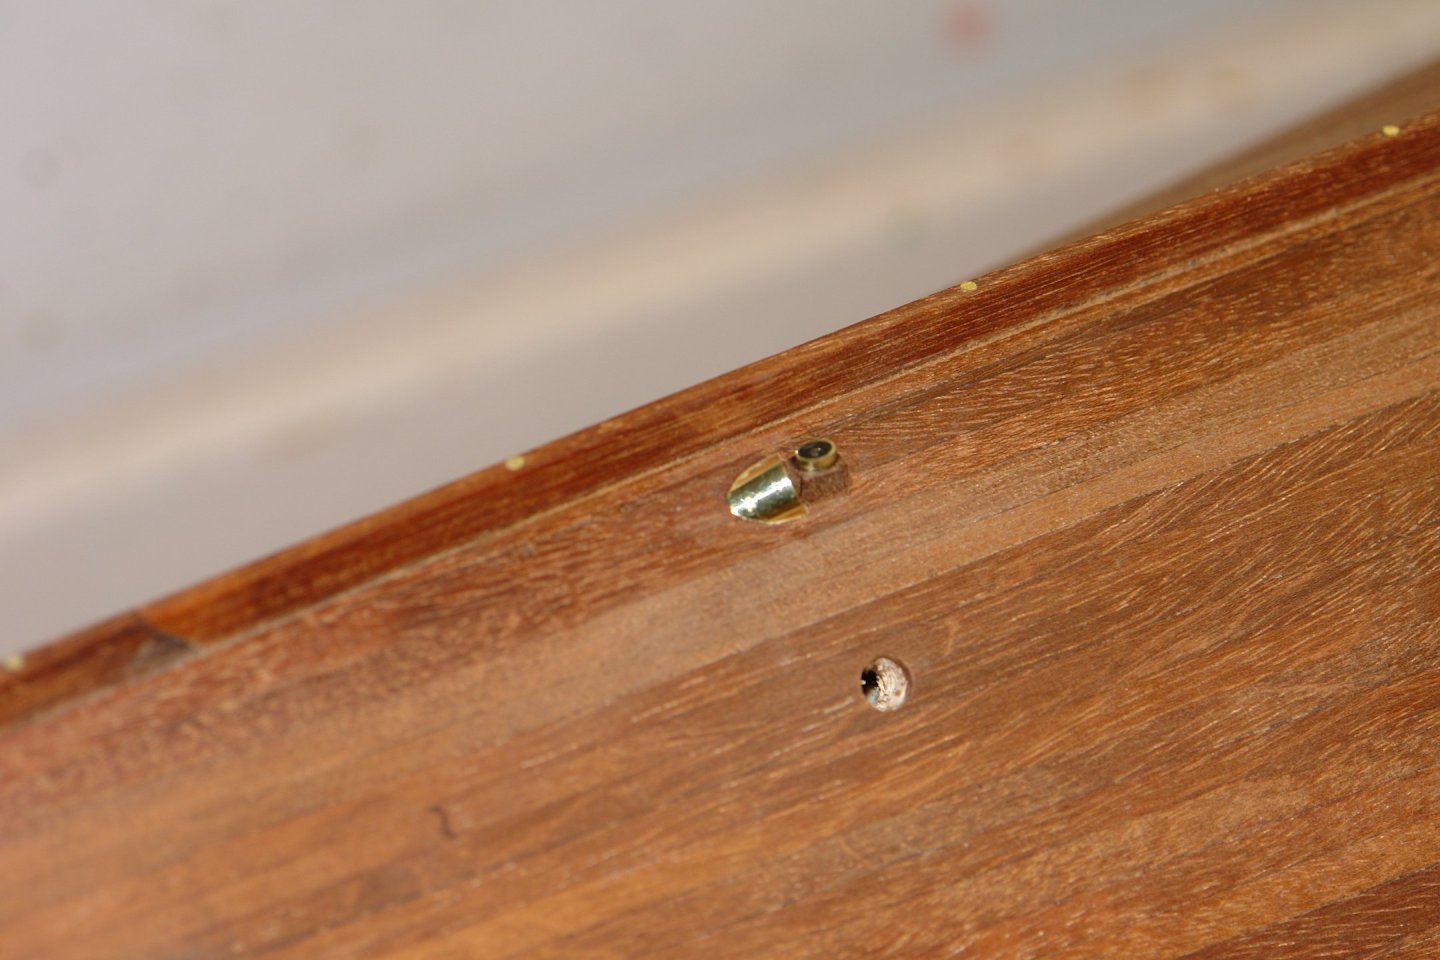
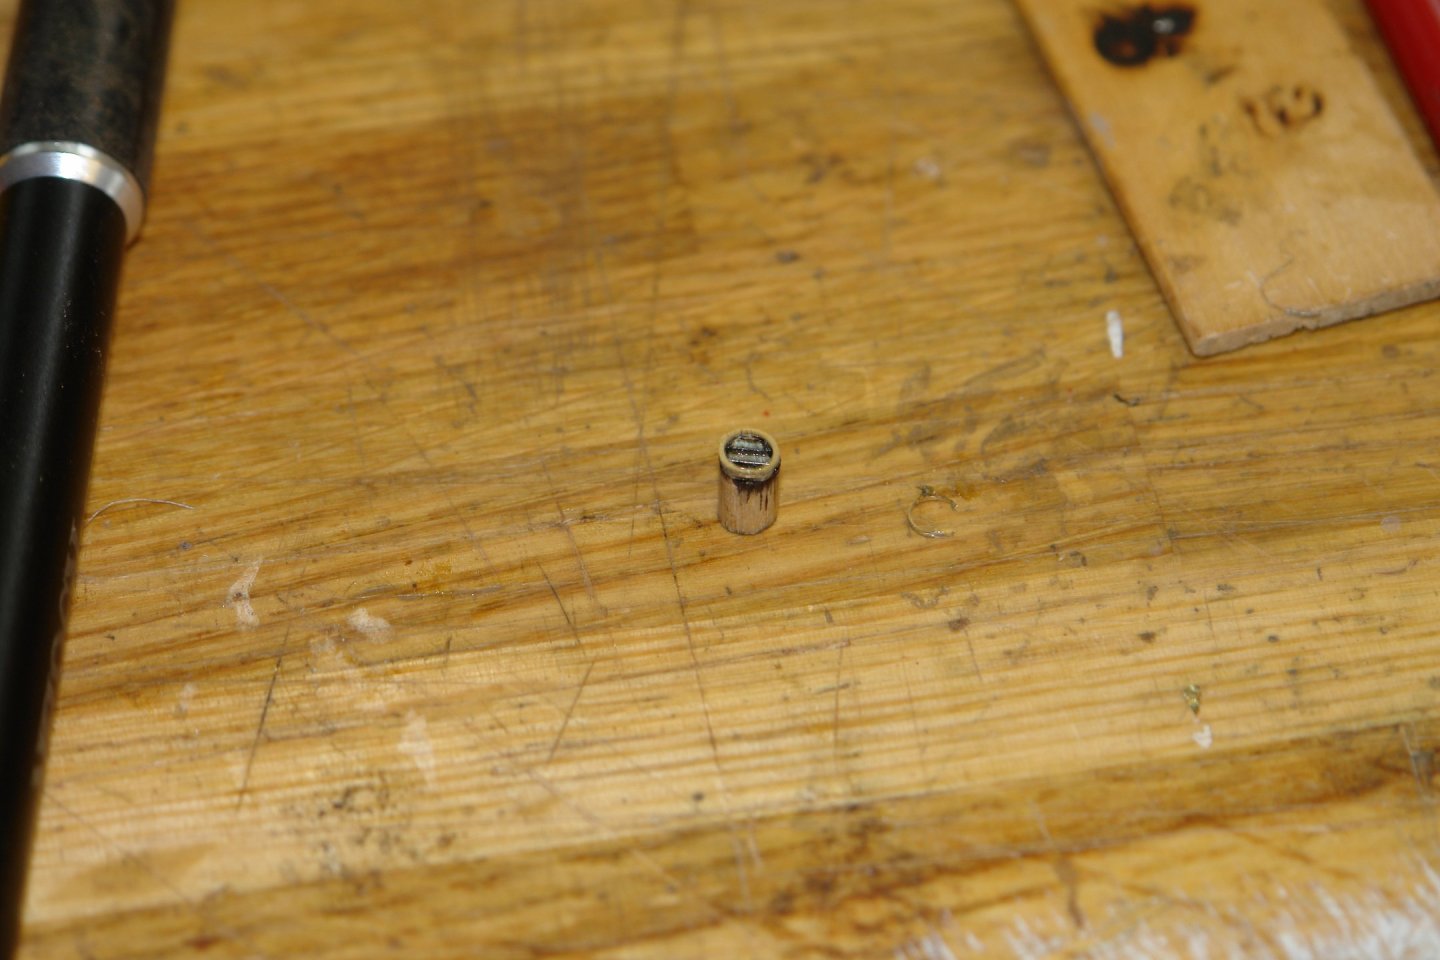
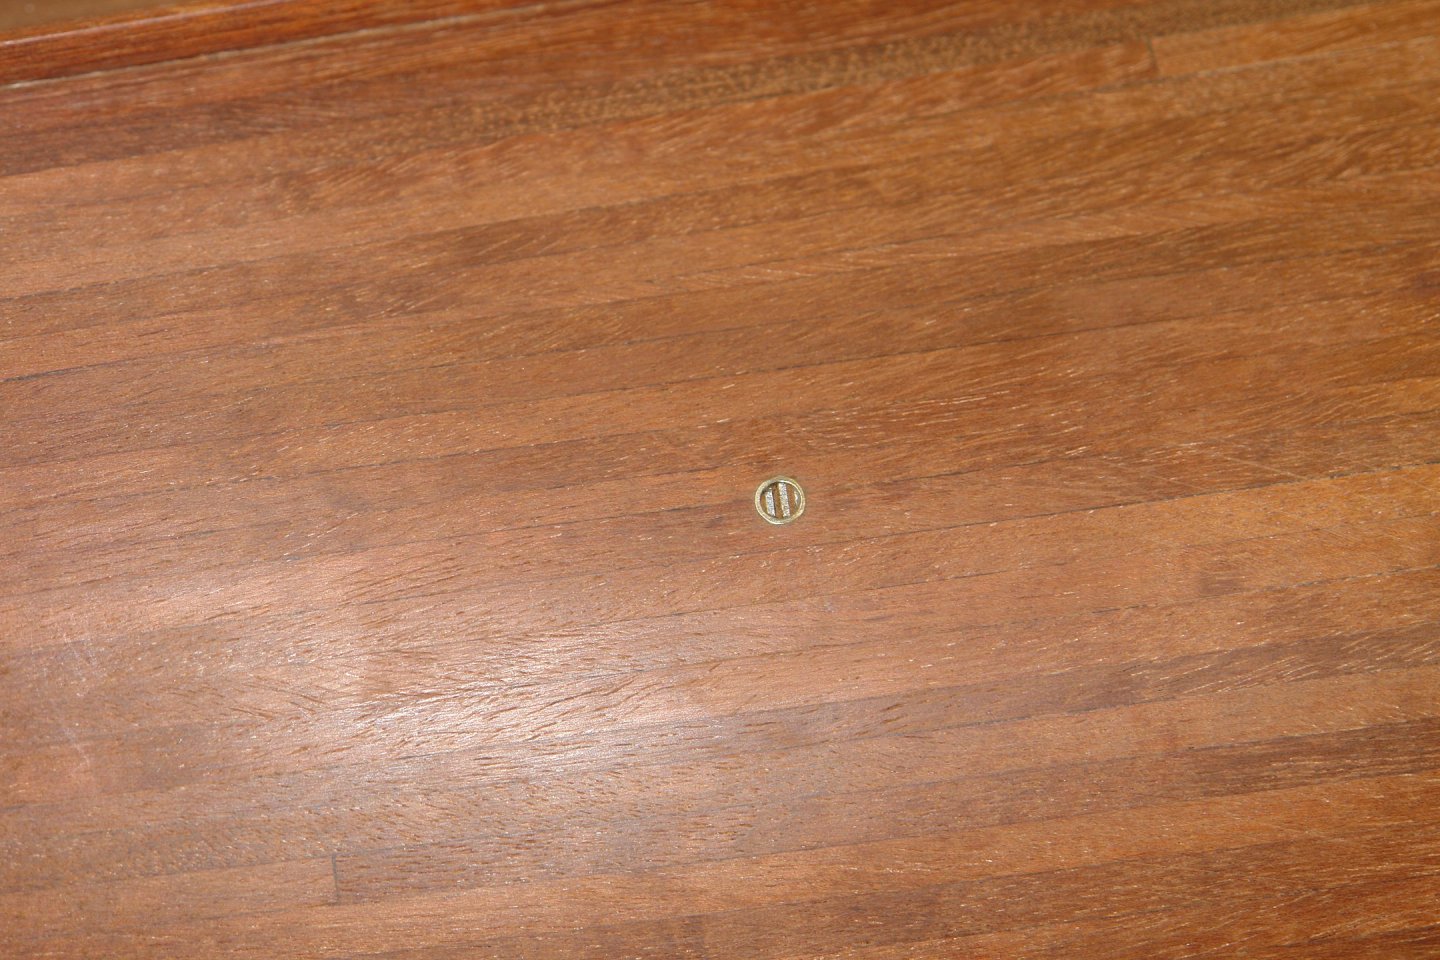
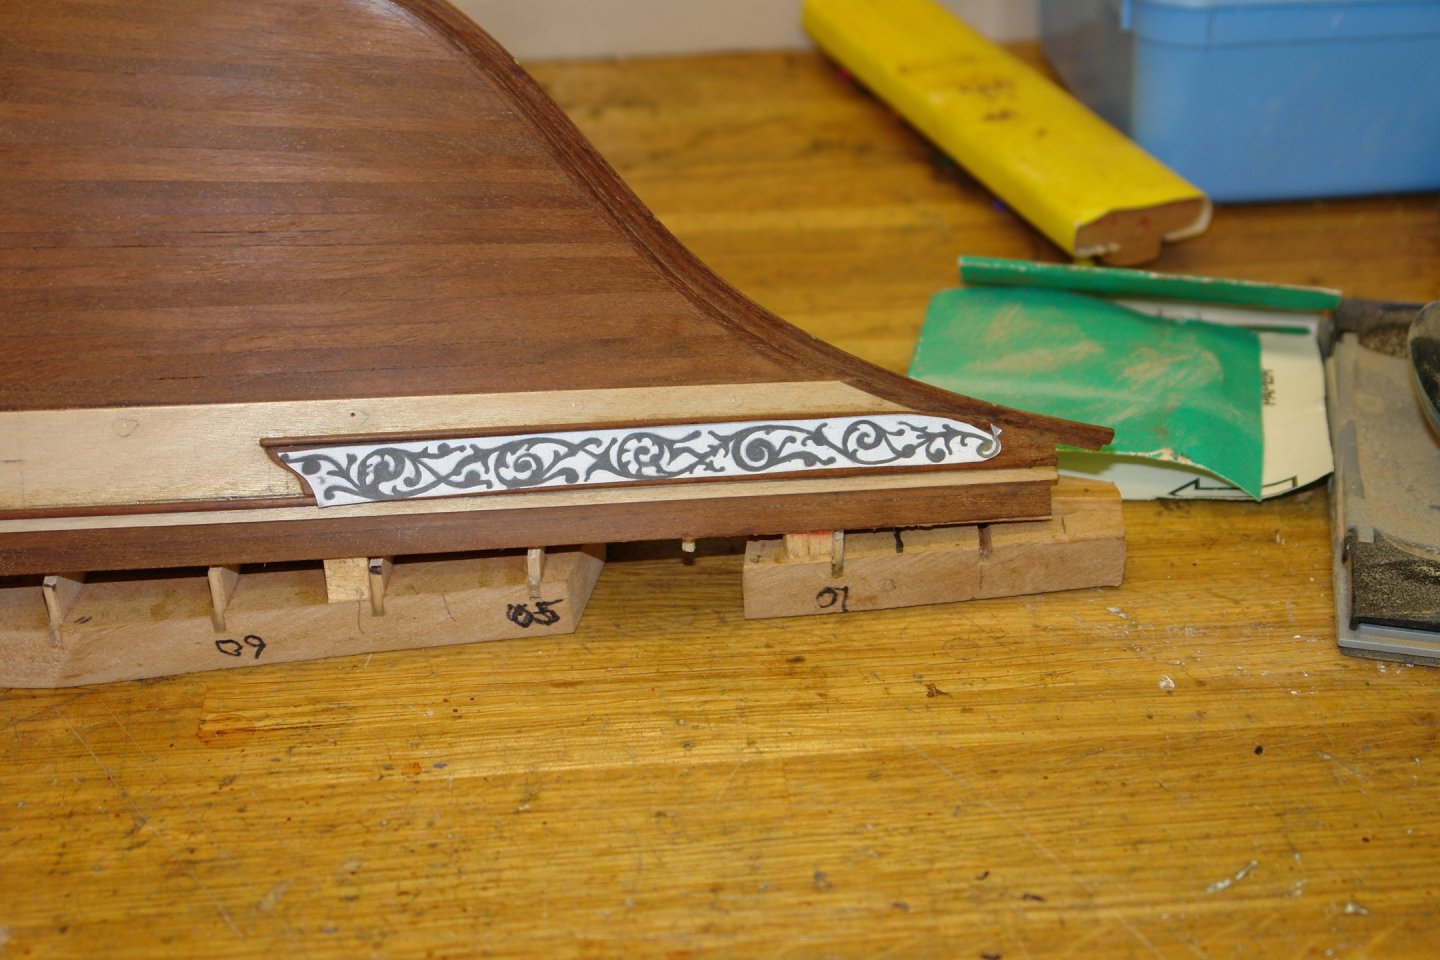
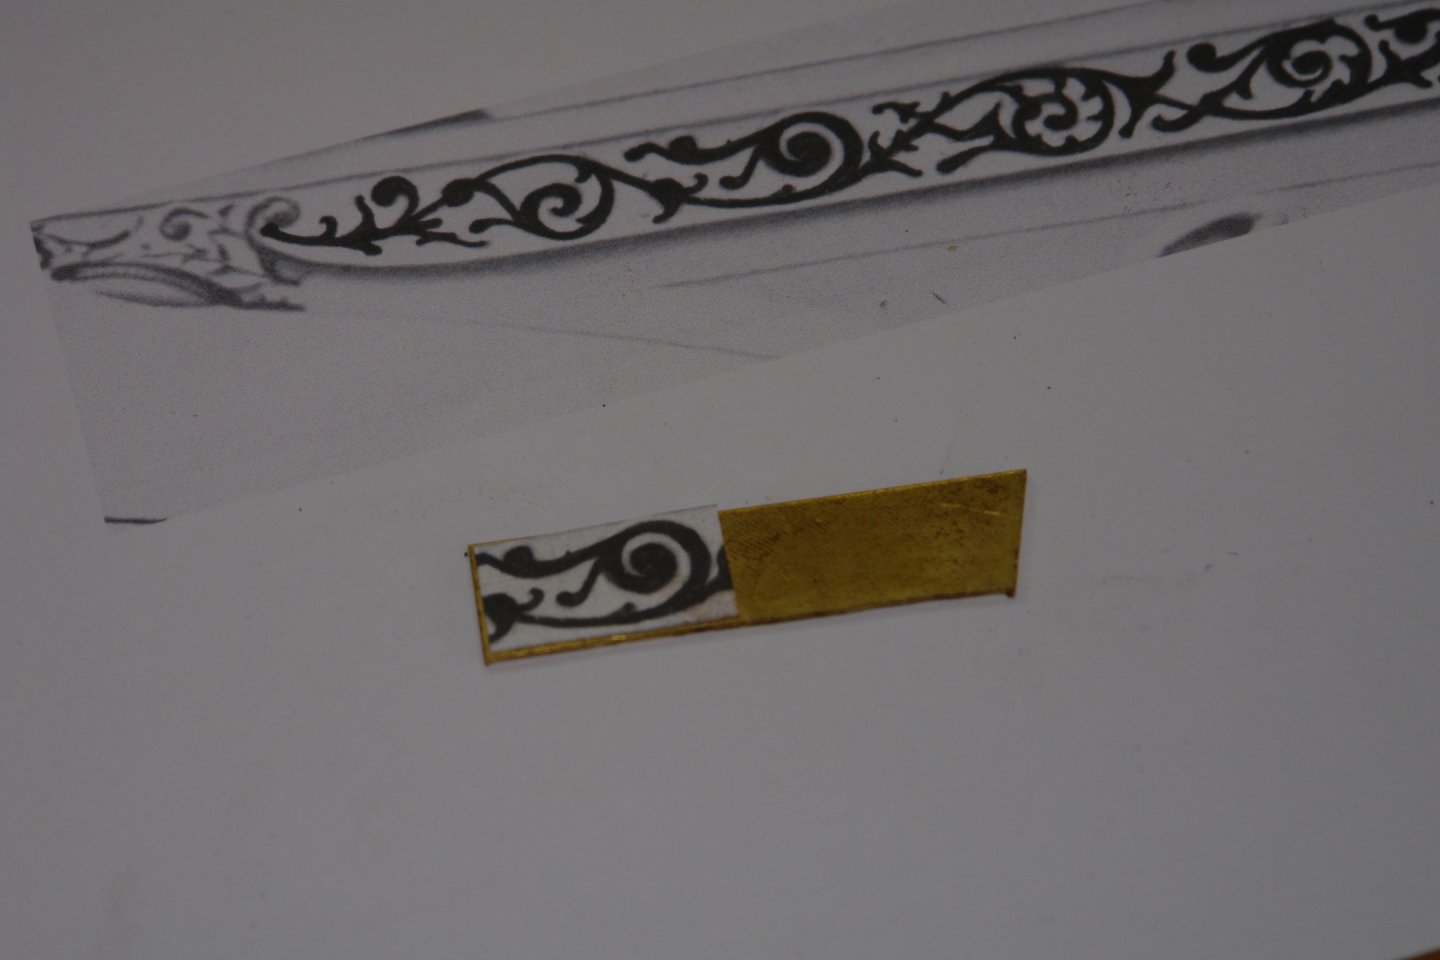
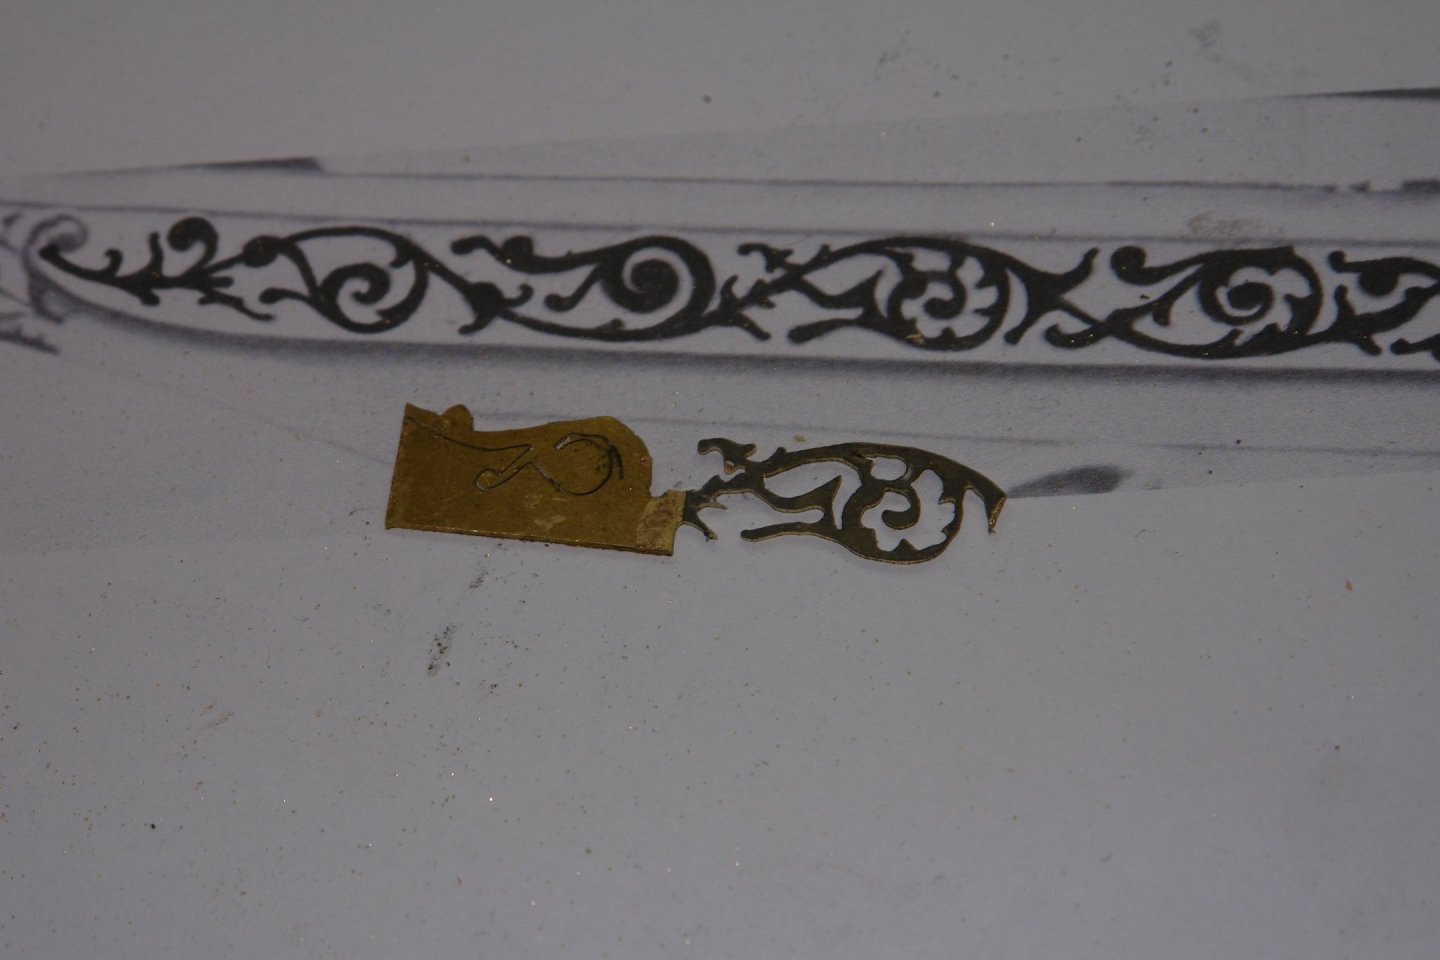
Time in the workshop continues to be hard come by. However I have made a little progress. I increased my stress levels by boring various holes in the hull. One of the holes has a concave dished shape around it so I made a dome shaped sander. I shouldn't have bothered as the dish was almost imperceptible at model scale. I also made the half cover from brass. I turned a very thin brass washer with sharp edges and then used a ball bearing to press the dish. I also made the "depth sounder" feature and the fairing which protects it. I made the grilles for the various hull penetrations from sheet brass - cut on the mill with a slitting saw. The fingers were soldered to rings cut from brass tube. The edges were then filed flush. I then started pondering the gingerbread again. I sized template on the printer and laid it in place. My pondering led to plan 1 - i.e. cutting the gingerbread from brass sheet and then building up the thickness with something to give it bulk / texture. Plans 2, 3 or 4 may still be necessary. I started with a little jewellery saw practice. The first efforts weren't really up to scratch. It may take some time but with a little more care I think I can make a reasonable job of cutting the brass sheet. I think its going to take quite a few hours of sawing.


-
Eberhard - Yes we have all probably had that pleasure. I always marvelled at how many poorly designed WC systems were installed on otherwise well designed boats e.g. :- The toilet pump changeover switch was always positioned where misdirected urine was bound to land. The pump was invariably plastic and held on by 4 small screws on a fairly narrow mounting base. It flexed alarmingly and felt like it was going to come off in your hand. The pump seal always leaked and invariably squirted brown water over the handle. The seat was invariably loose and the fastenings were invariable corroded and inaccessible.
-
Yes Roel - that's why I would have the strainer inboard oh the seacock. I have pulled many a log from below the waterline to clear the impeller of weed. They all come with a bung tied to the housing so it is handy to plug the flow.
-
I found a bit of corrugated pipe off an old vacuum cleaner that was the right external diameter to go inside the port and had an internal diameter that matched my shed vacuum cleaner. I find it works reasonably well at extracting the dust. I should add the "spring ' handles that clamp the disc sander table broke soon after purchase. I replaced them with a couple of Allen bolts which I find are actually easier to use. I find 5" discs are hard to get so I buy 6" which being more common are usually cheaper.
- 8 replies
-
- 2
-
-
- belt sander
- disc sander
- (and 1 more)
-
I also have one but I'm not quite as happy as you are Phil. The guard around the disc mounts on the pressed metal base and the work table mounts off the guard. As a consequence I find the table flexes quite easily. My belt sander made hell of a racket out of the box because the drive and idler wheels were eccentric. I had to take them out and re-machine them. I also found it beneficial to machine out the slot on the disc sander work table to accept the mitre gauge off the Byrnes table saw, the supplied gauge was pretty poor. I find the stick on sand paper discs are awful to get unglued. I usually revert to removing the disc and soaking it in a bowl of white spirit for 20 minutes. This however involves a fairly time consuming strip down. I think it is ok for infrequent use but I would like to find something better.
- 8 replies
-
- 4
-
-
- belt sander
- disc sander
- (and 1 more)
-
Excellent work and heartwarming to hear that some of the crew are still around.
- 88 replies
-
- 2
-
-
- Australia II
- Finished
- (and 2 more)