HOLIDAY DONATION DRIVE - SUPPORT MSW - DO YOUR PART TO KEEP THIS GREAT FORUM GOING! (Only 75 donations so far out of 49,000 members - C'mon guys!)
×


KeithAug
-
Posts
3,973 -
Joined
-
Last visited
Content Type
Profiles
Forums
Gallery
Events
Everything posted by KeithAug
-
 Impressive use of raw materials Phil. Nice accurate scrolling.
- 459 replies
-
- 2
-

-
- minesweeper
- Cape
- (and 1 more)
-
Roel - How much does she weigh fully rigged? I have seen a number of launching frames constructed from plumbing materials, old bicycles, baby carriages etc etc.
-
Are you going to let us in to the magic paint secret Steven? Good to see more progress.
- 110 replies
-
- 2
-
-
- Paddlewheeler
- Ballarat
- (and 3 more)
-
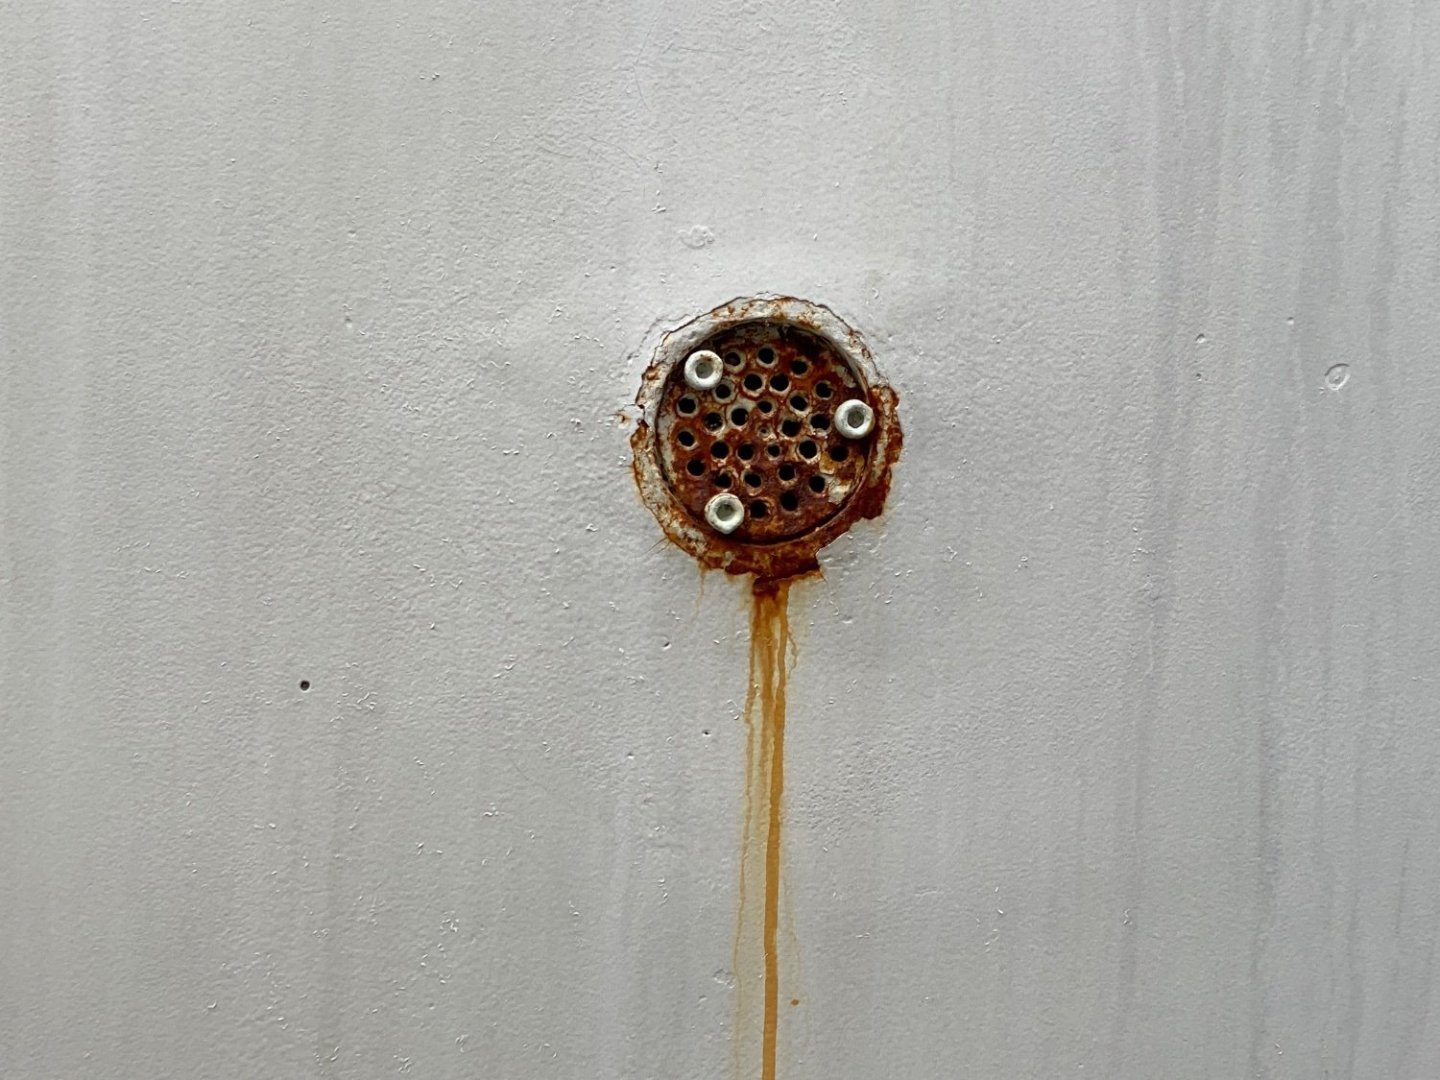
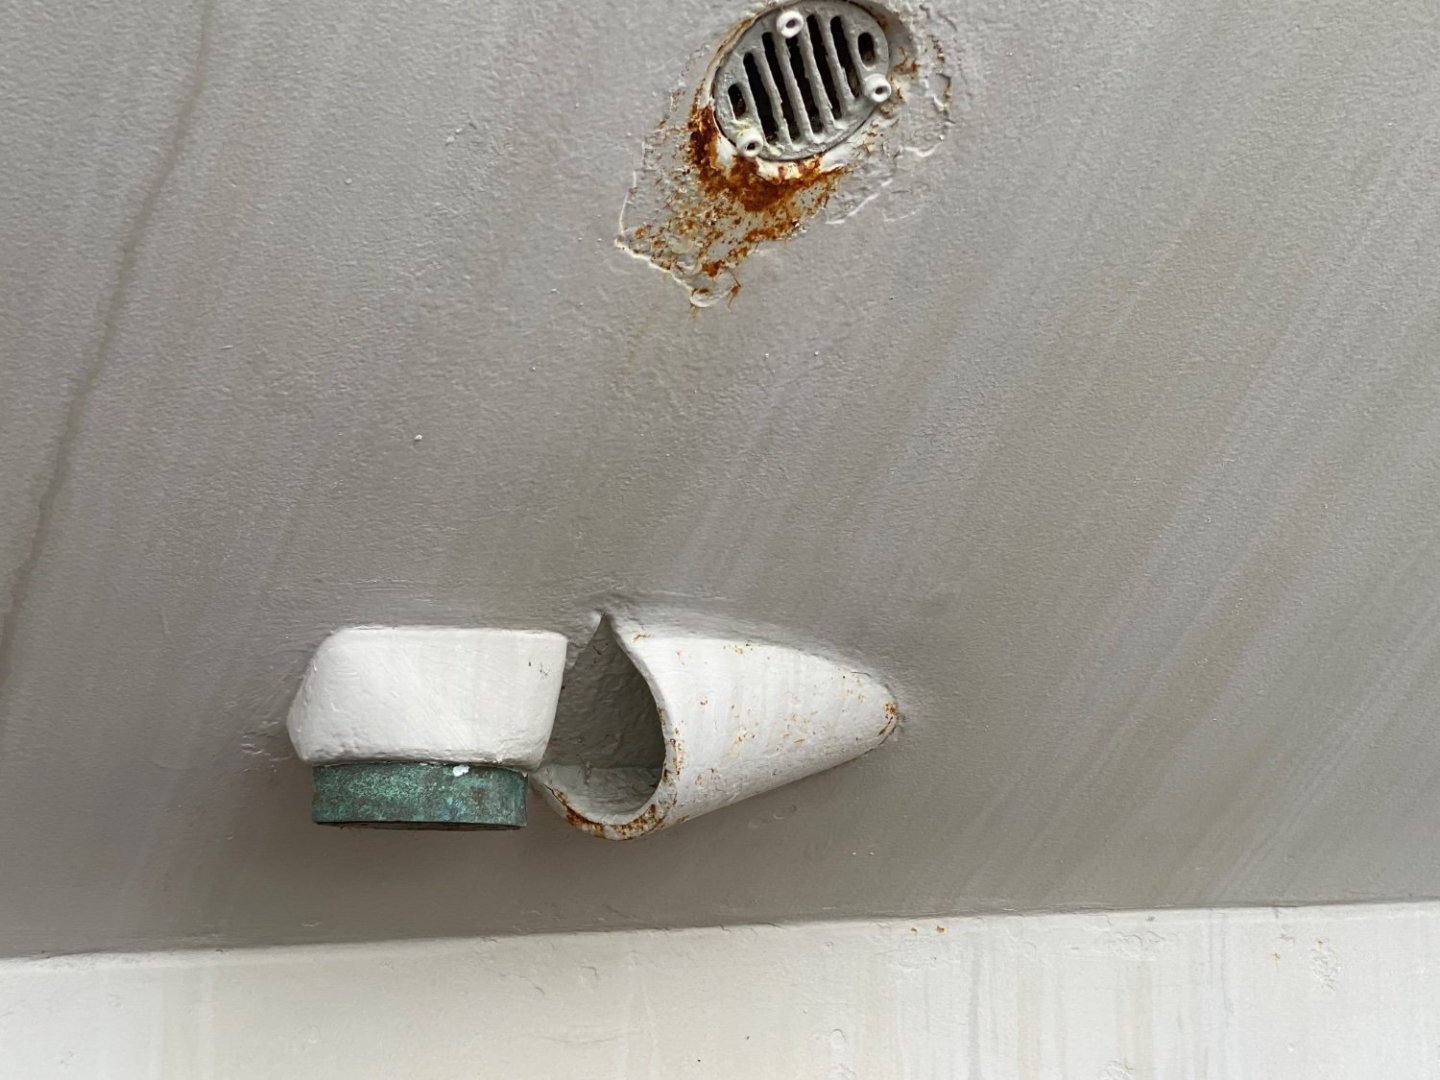
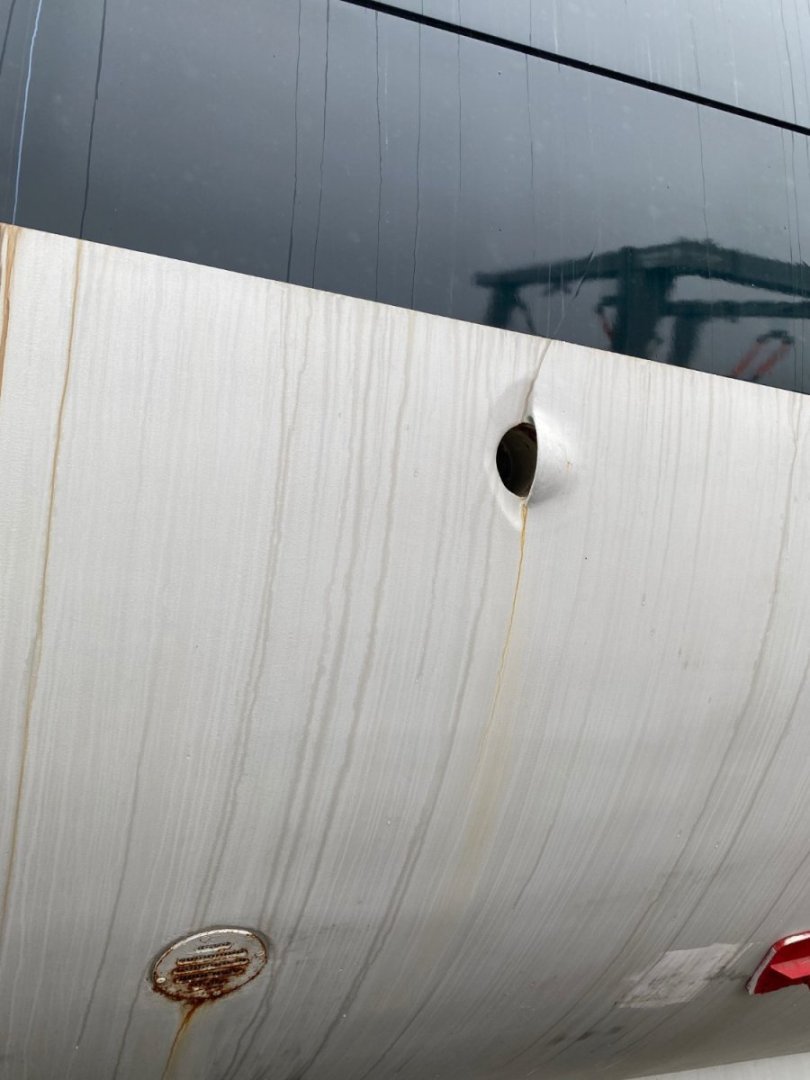
Eberhard / Phil - thank you. I figured they were inlets but nevertheless I thought they might be prone to blocking with debris such as plastic bags. If it were me I think I would do without the grille and compensate by including a strainer inboard of the sea cock. Much easier to clear blockages when dry and warm. Thank you Gary.
-
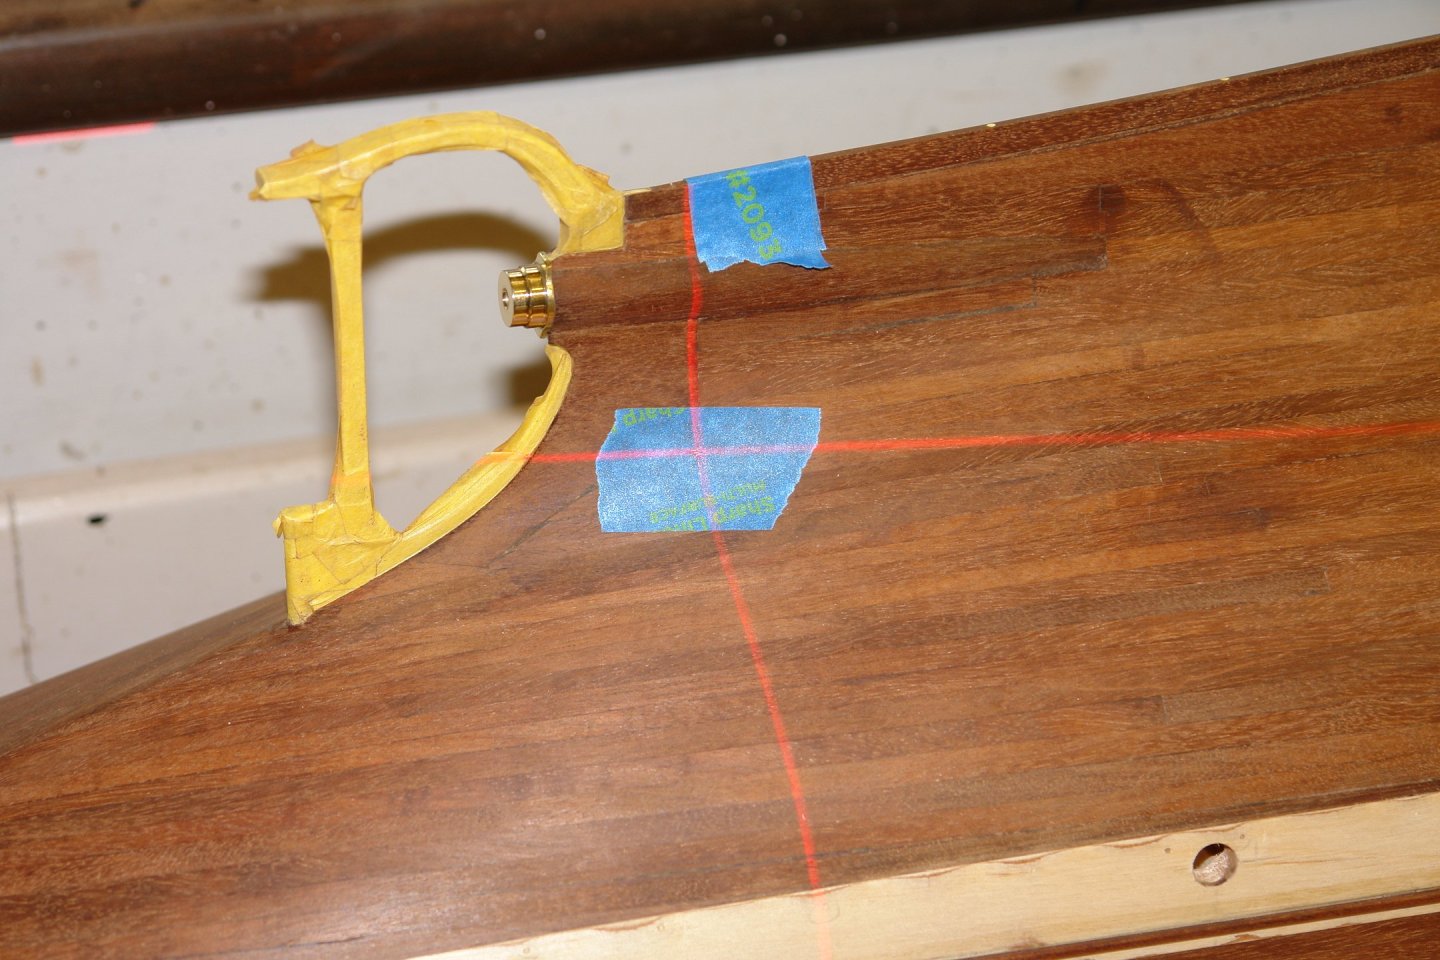
Before the painting marathon there are a few hull penetrations to take care of. Various drains have various grilles and that odd feature next to the keel also needs to be created. Some of the grilles have clearly been made by the local blacksmith - notice the randomness in the sizes and pattern of the holes. I am really not sure why the grilles are required at all (I guess someone will know). Here is yet another odd below the water line feature. Getting the correct positions for these holes was quite an effort, sorting through lots of photos and trying to judge the actual position by following the water streaking down the hull relative to the portholes. "Highly scientific". Anyway after a couple of days checking and cross checking I was sort of satisfied with positioning and transferred the positions to the hull using my trusty laser level. The first attachment was the up-stand for that odd feature (depth sounder?) near the keel. Not much to show for a couple of days of dithering over many photos.

-
The hull is looking very sharp, good job craig
-
She is one of those ships where the longer you look the more detail you see. Excellent restoration work John.
-
Always a good policy. But the most dangerous thing to do is consult her and then ignore the advice. You could always get her to remake the sails.
-
I like the deck planking colour. I am jealous of your timber stock.
-
The winch came out very well. I am surprised how rough some of the Bluejacket castings were.
-
Happy to see her back in development. I look forward to the next post.
-
Mark - yes that is what I mean but old hacksaw blades are just as good. I use old blades and make sure that I have ruined the edge by rubbing on a stone. I then grind the shape into the edge opposite the blade.
-
i continue to be enthralled Roel. Love the decoration on your workshop wall.
-
Not such a wonky donkey after all. Excellent work Keith.
-
Mark. I might have tried creating a shaper by grinding the required shape into an old craft blade, however your method works rather well.
-
Lovely little dory Richard.
-
Rick. I have used CA plus sanding dust in the past. I don't use white glue if the hull is going to be varnished because it leaves a blemish. White glue plus sanding dust is fine if the hull is being painted. Having tried it, I prefer dust plus varnish to dust plus CA. Druxey, Tom, Rick, Richard, John - thank you all for your feedback.
-
Sort of OK Tom. We will see as more coats go on.
-
Yes, they are now history. 🙂
-
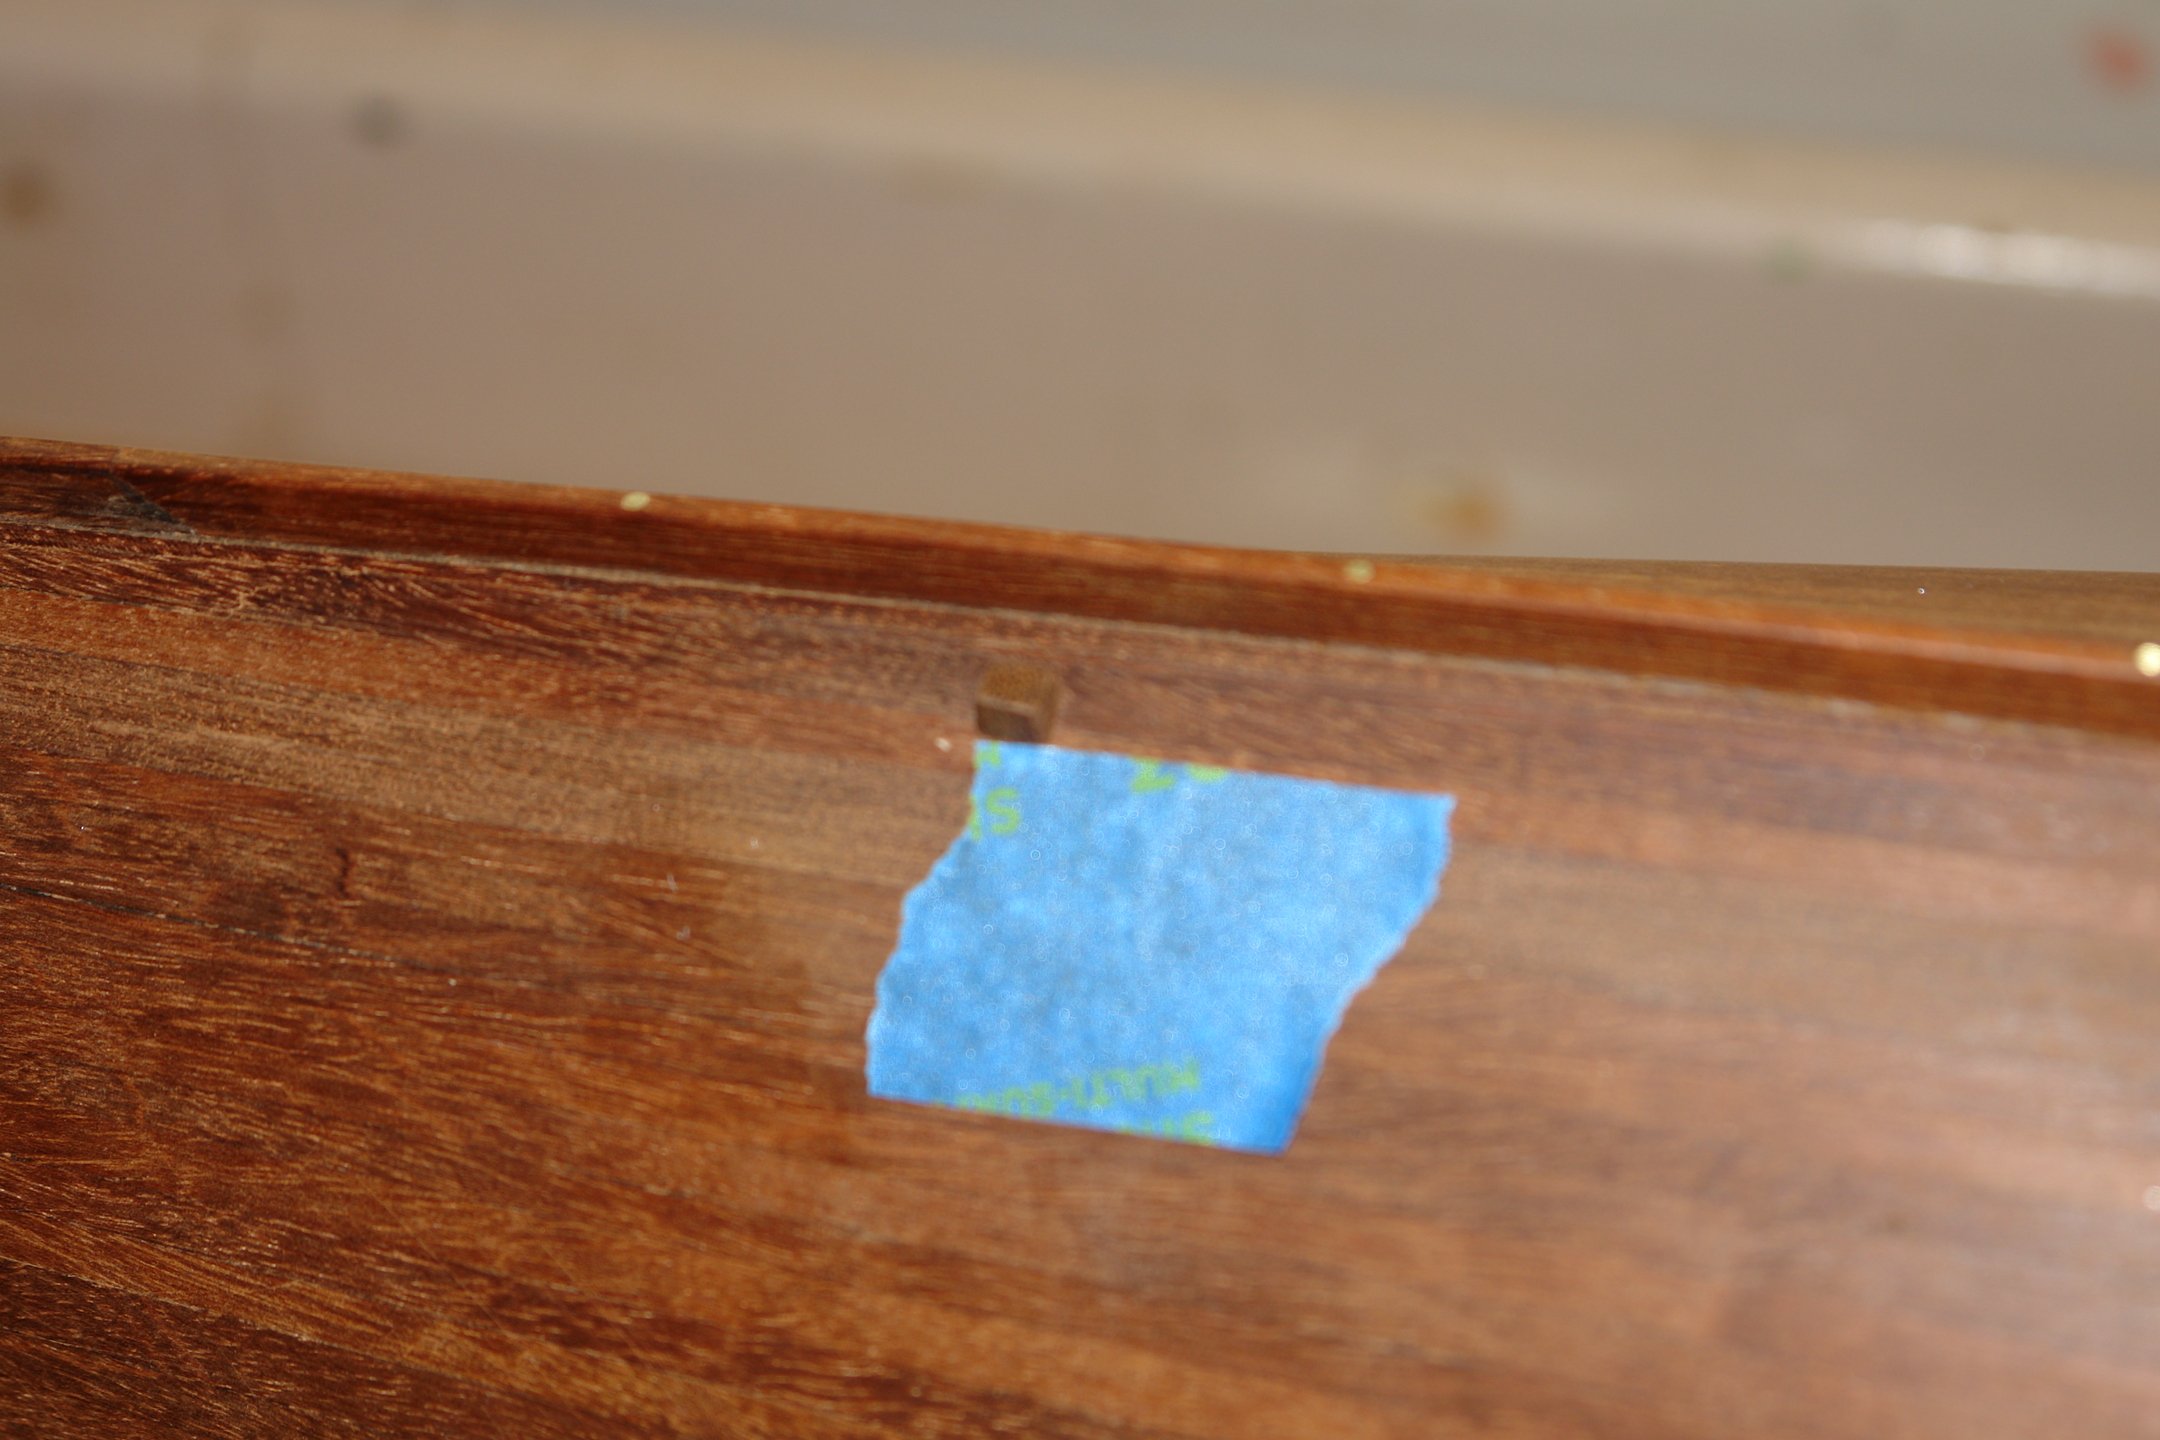
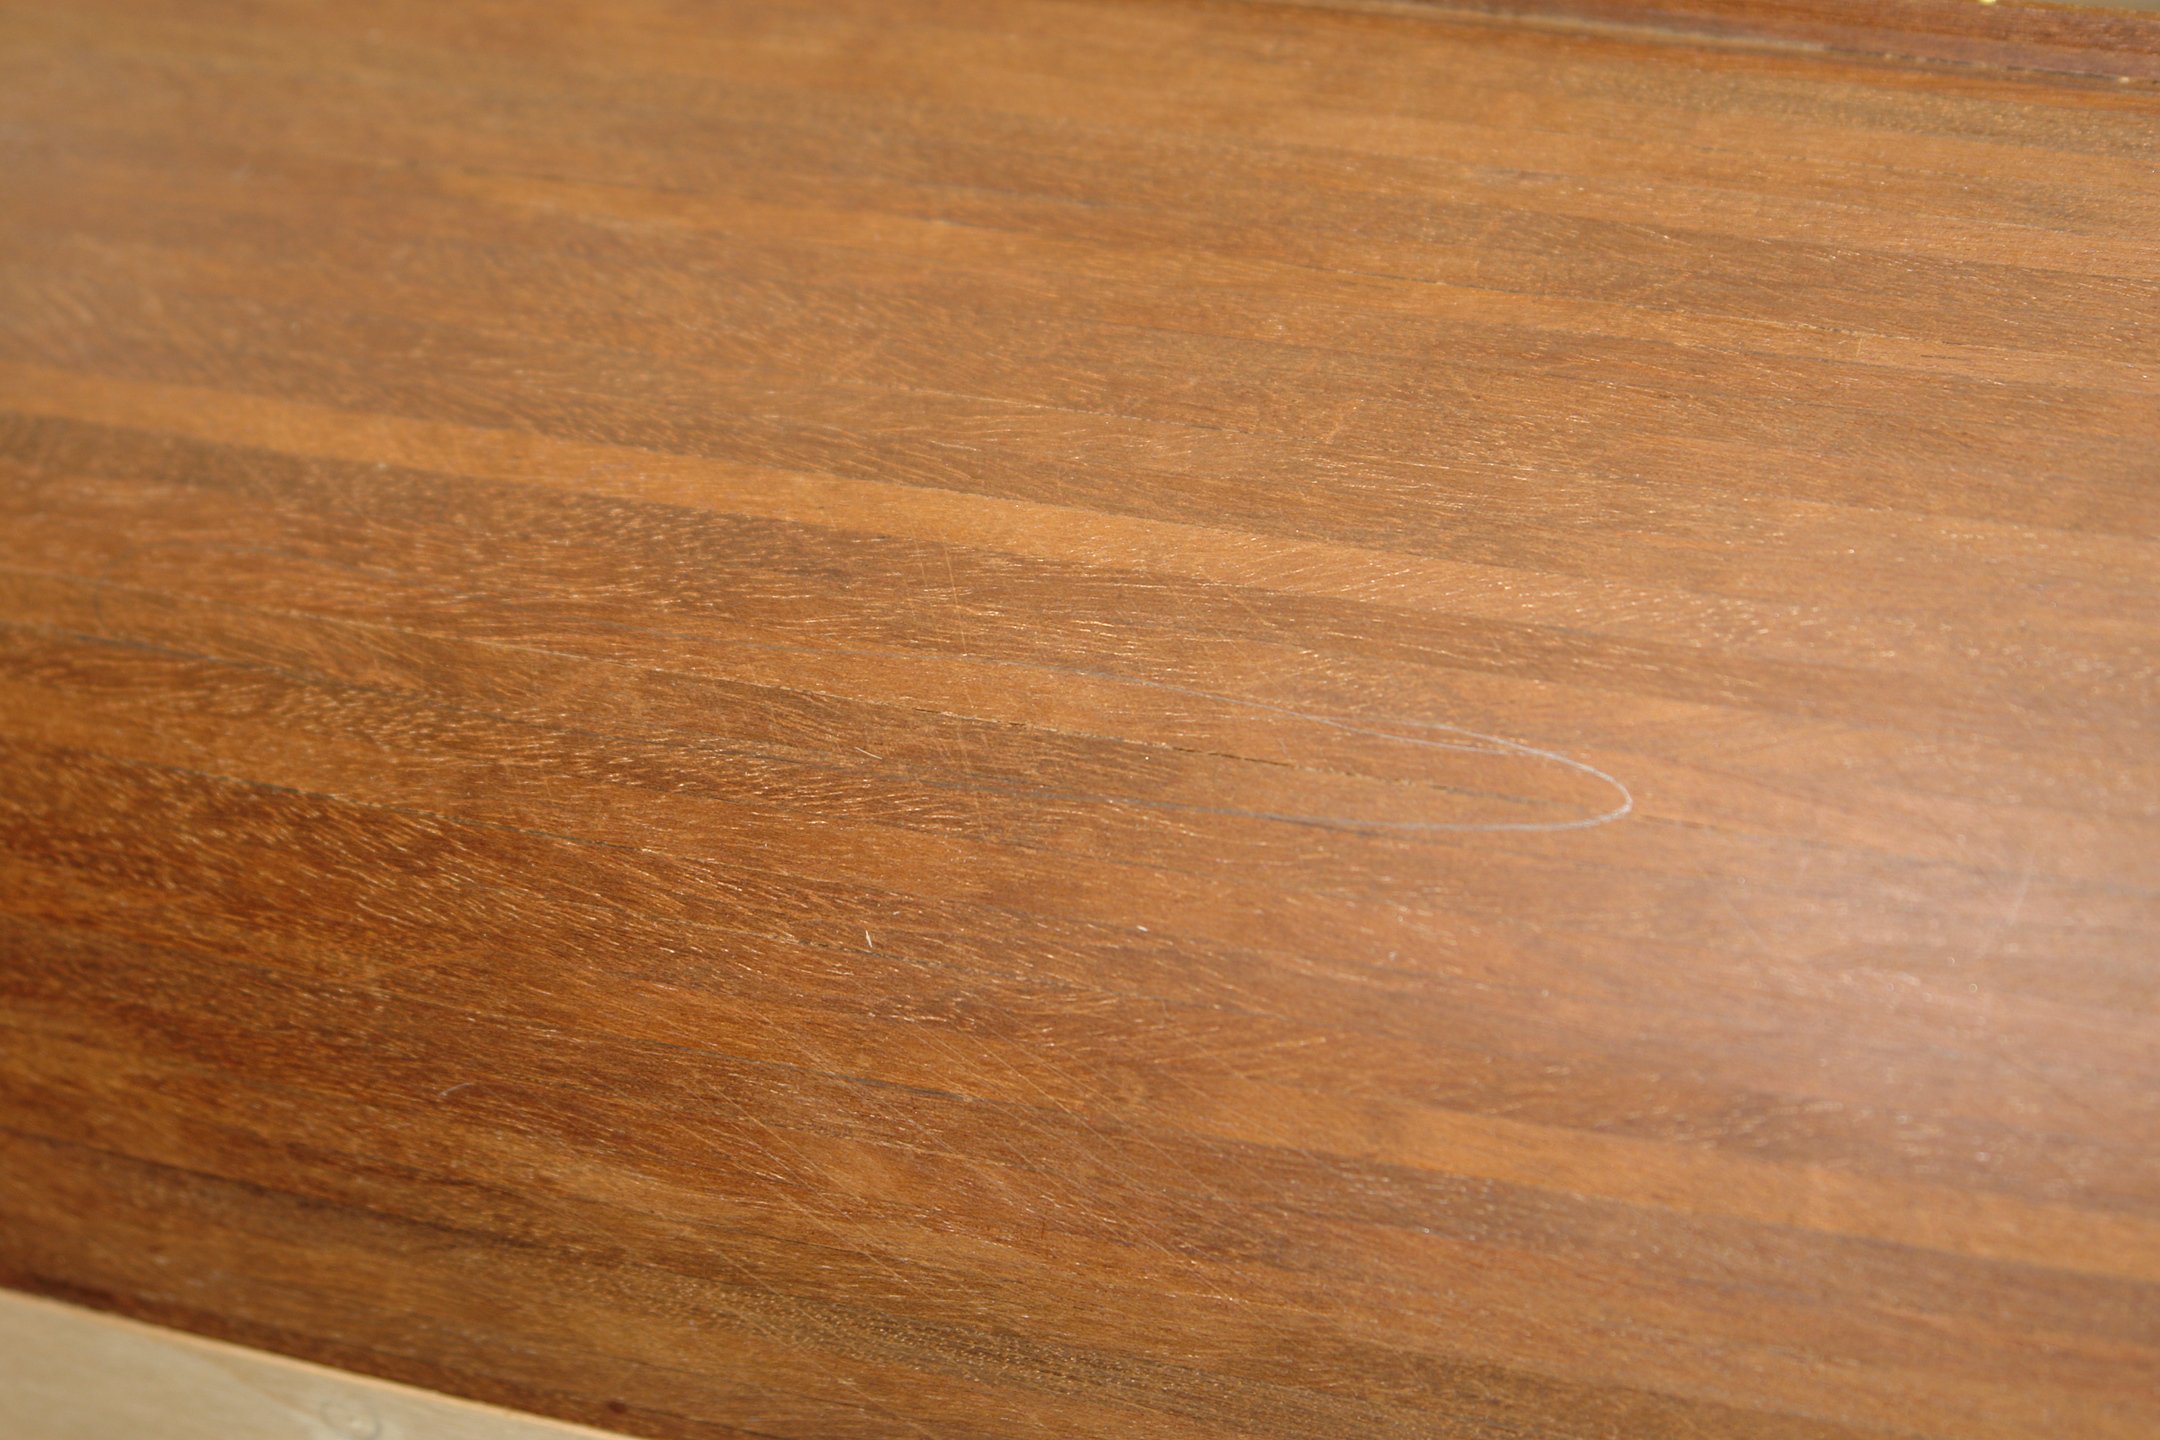
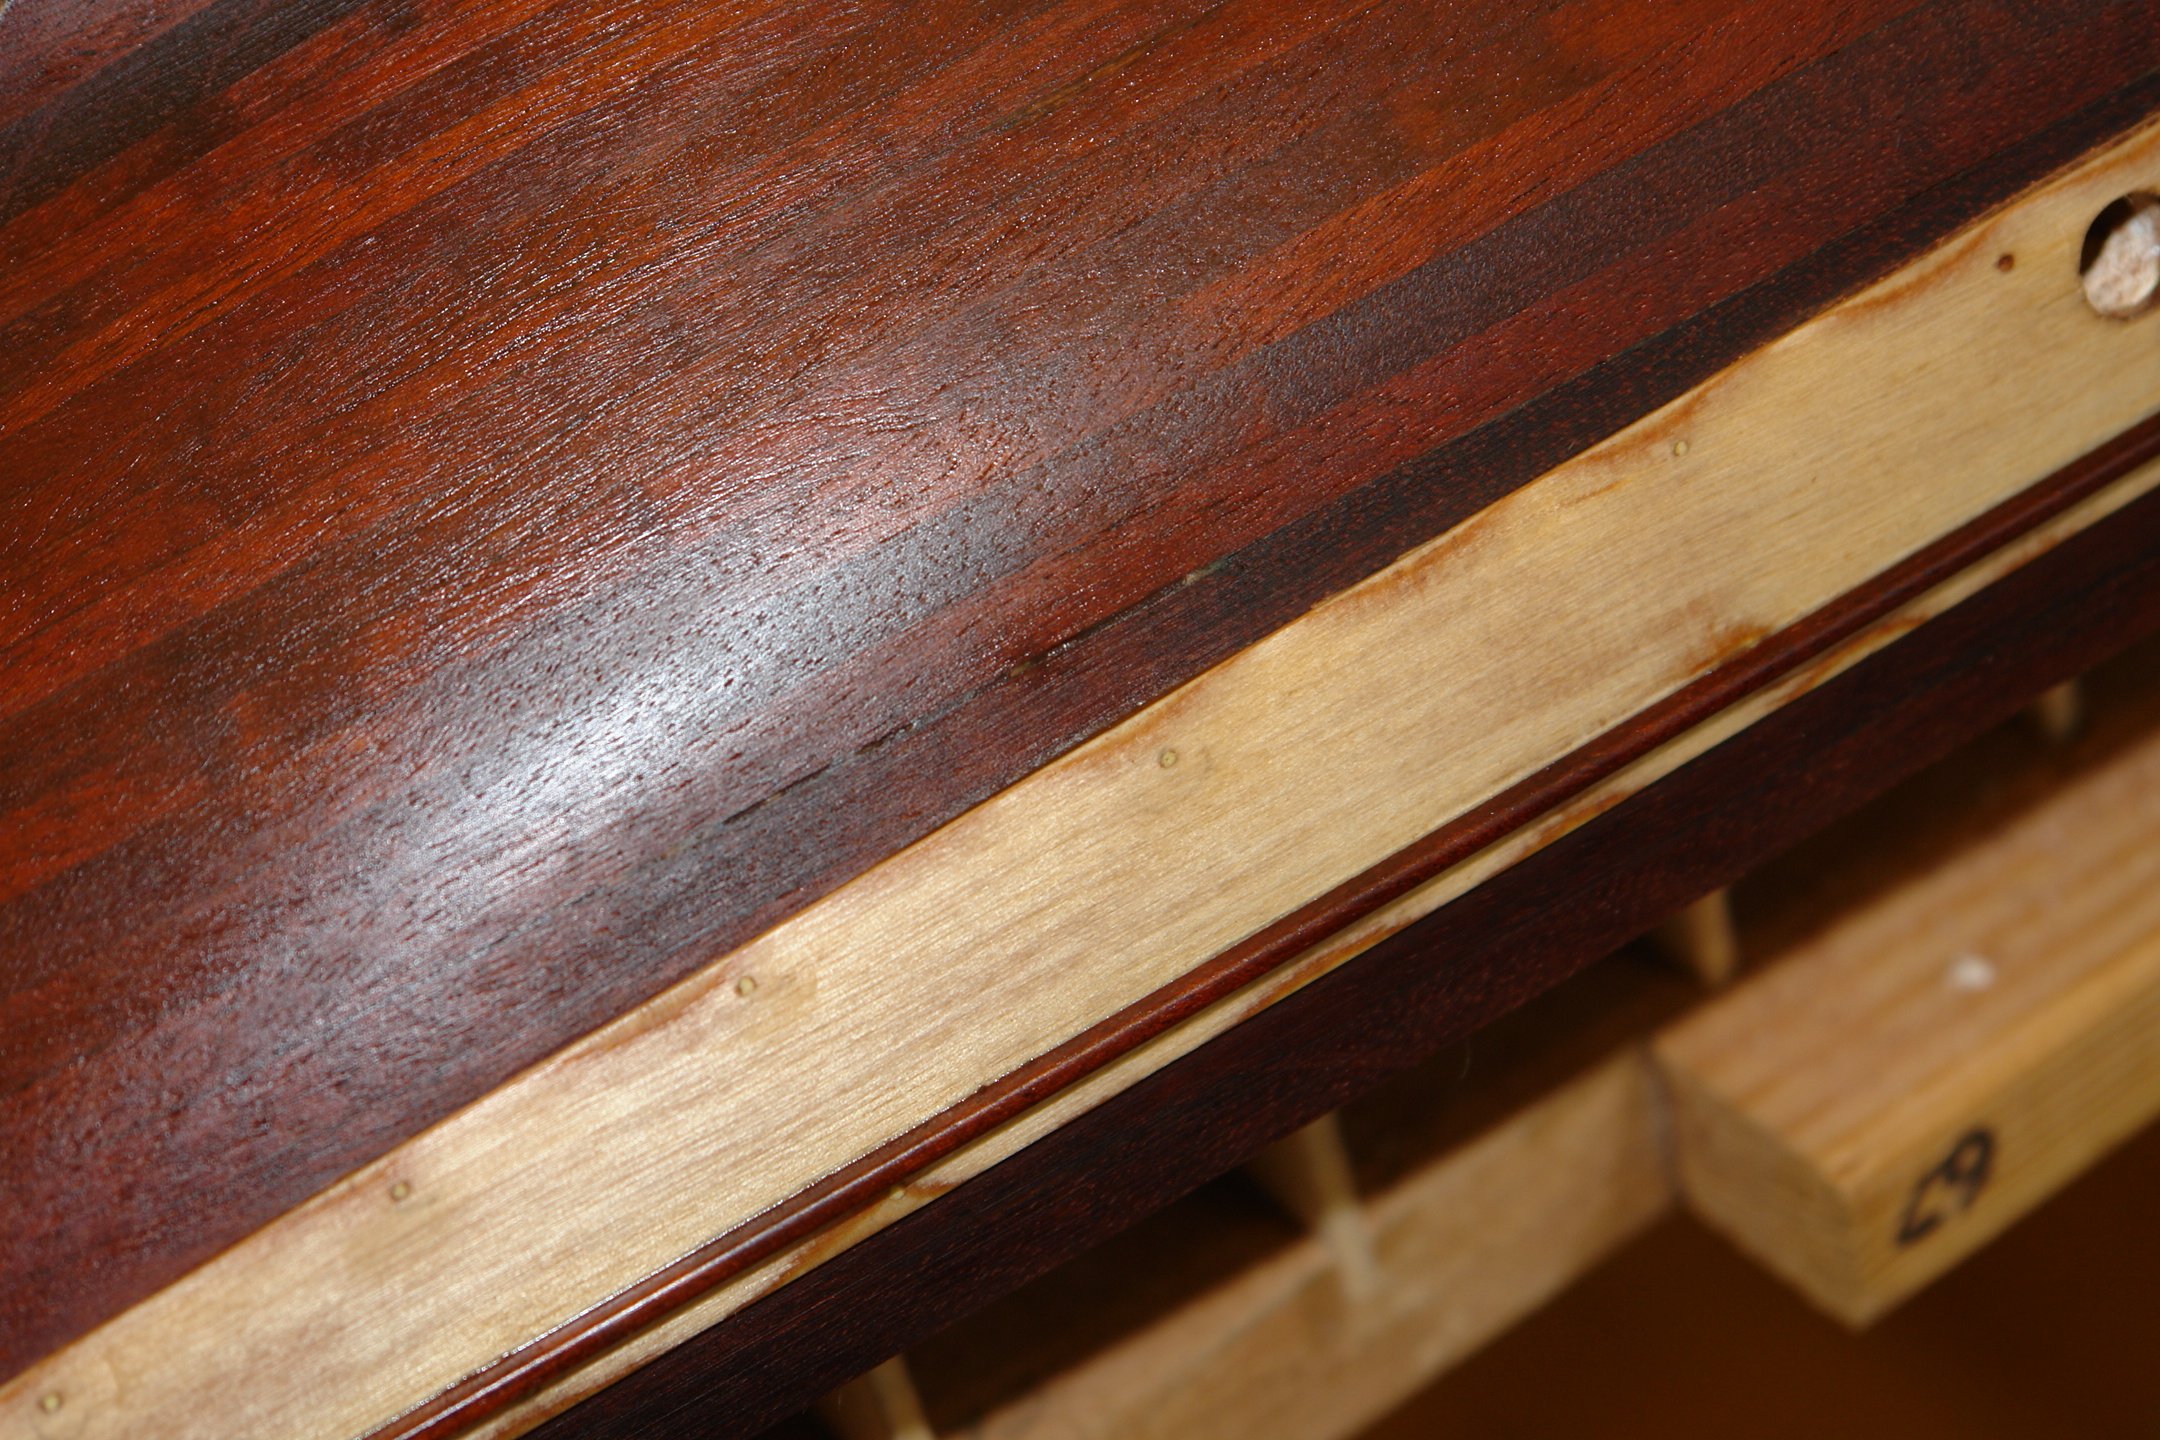
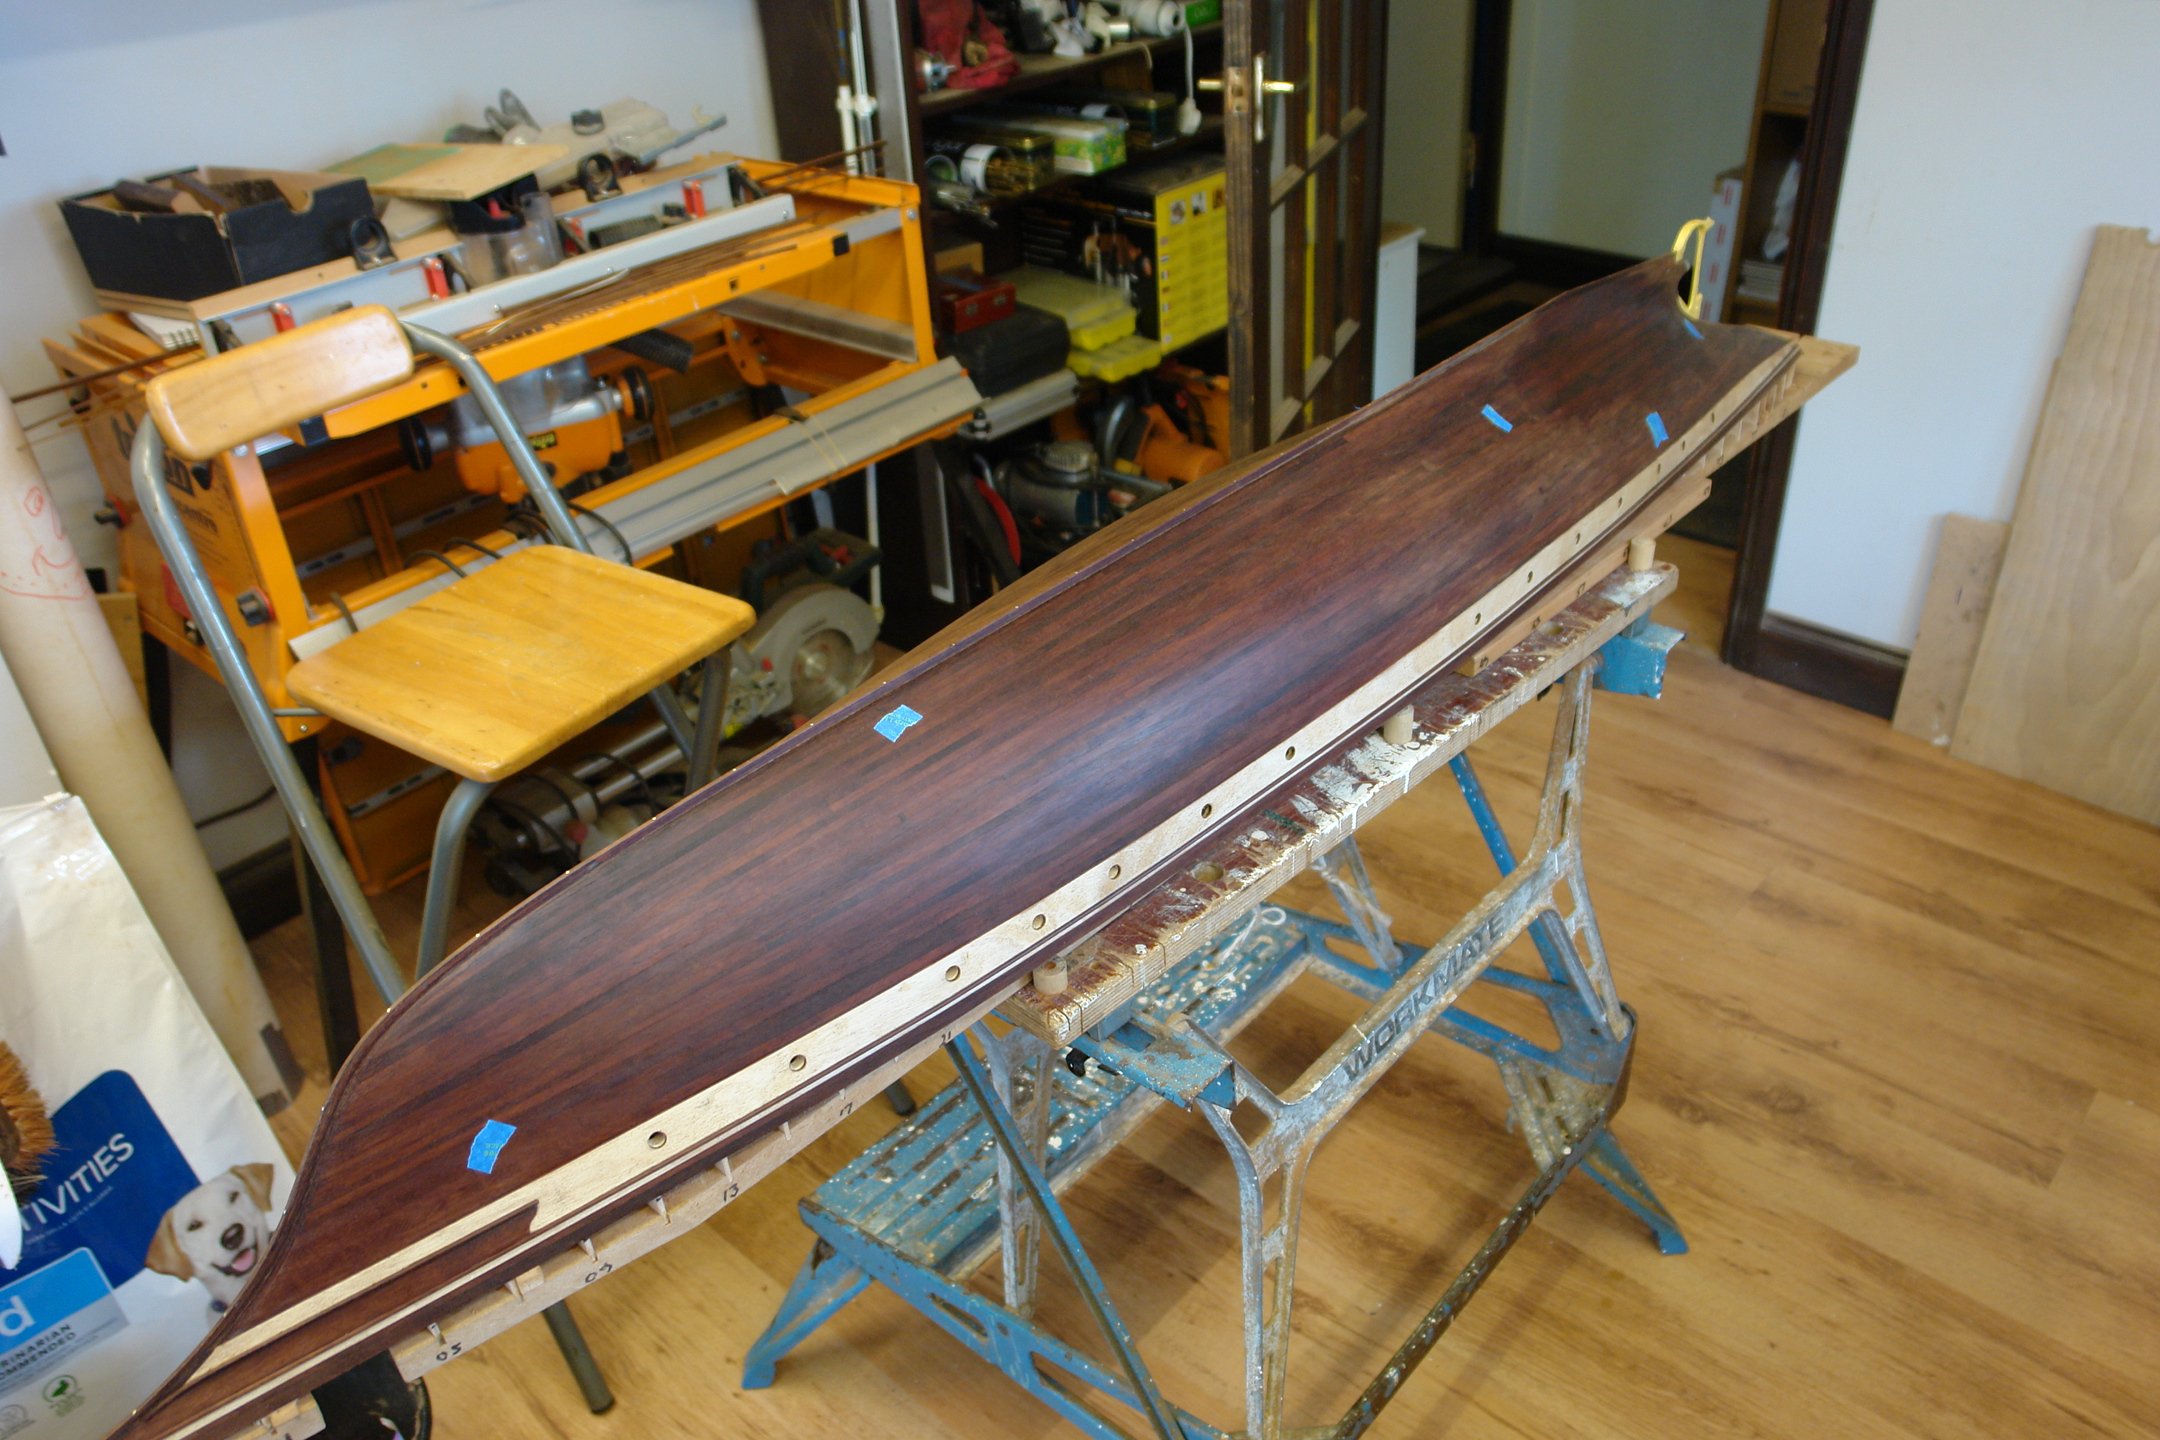
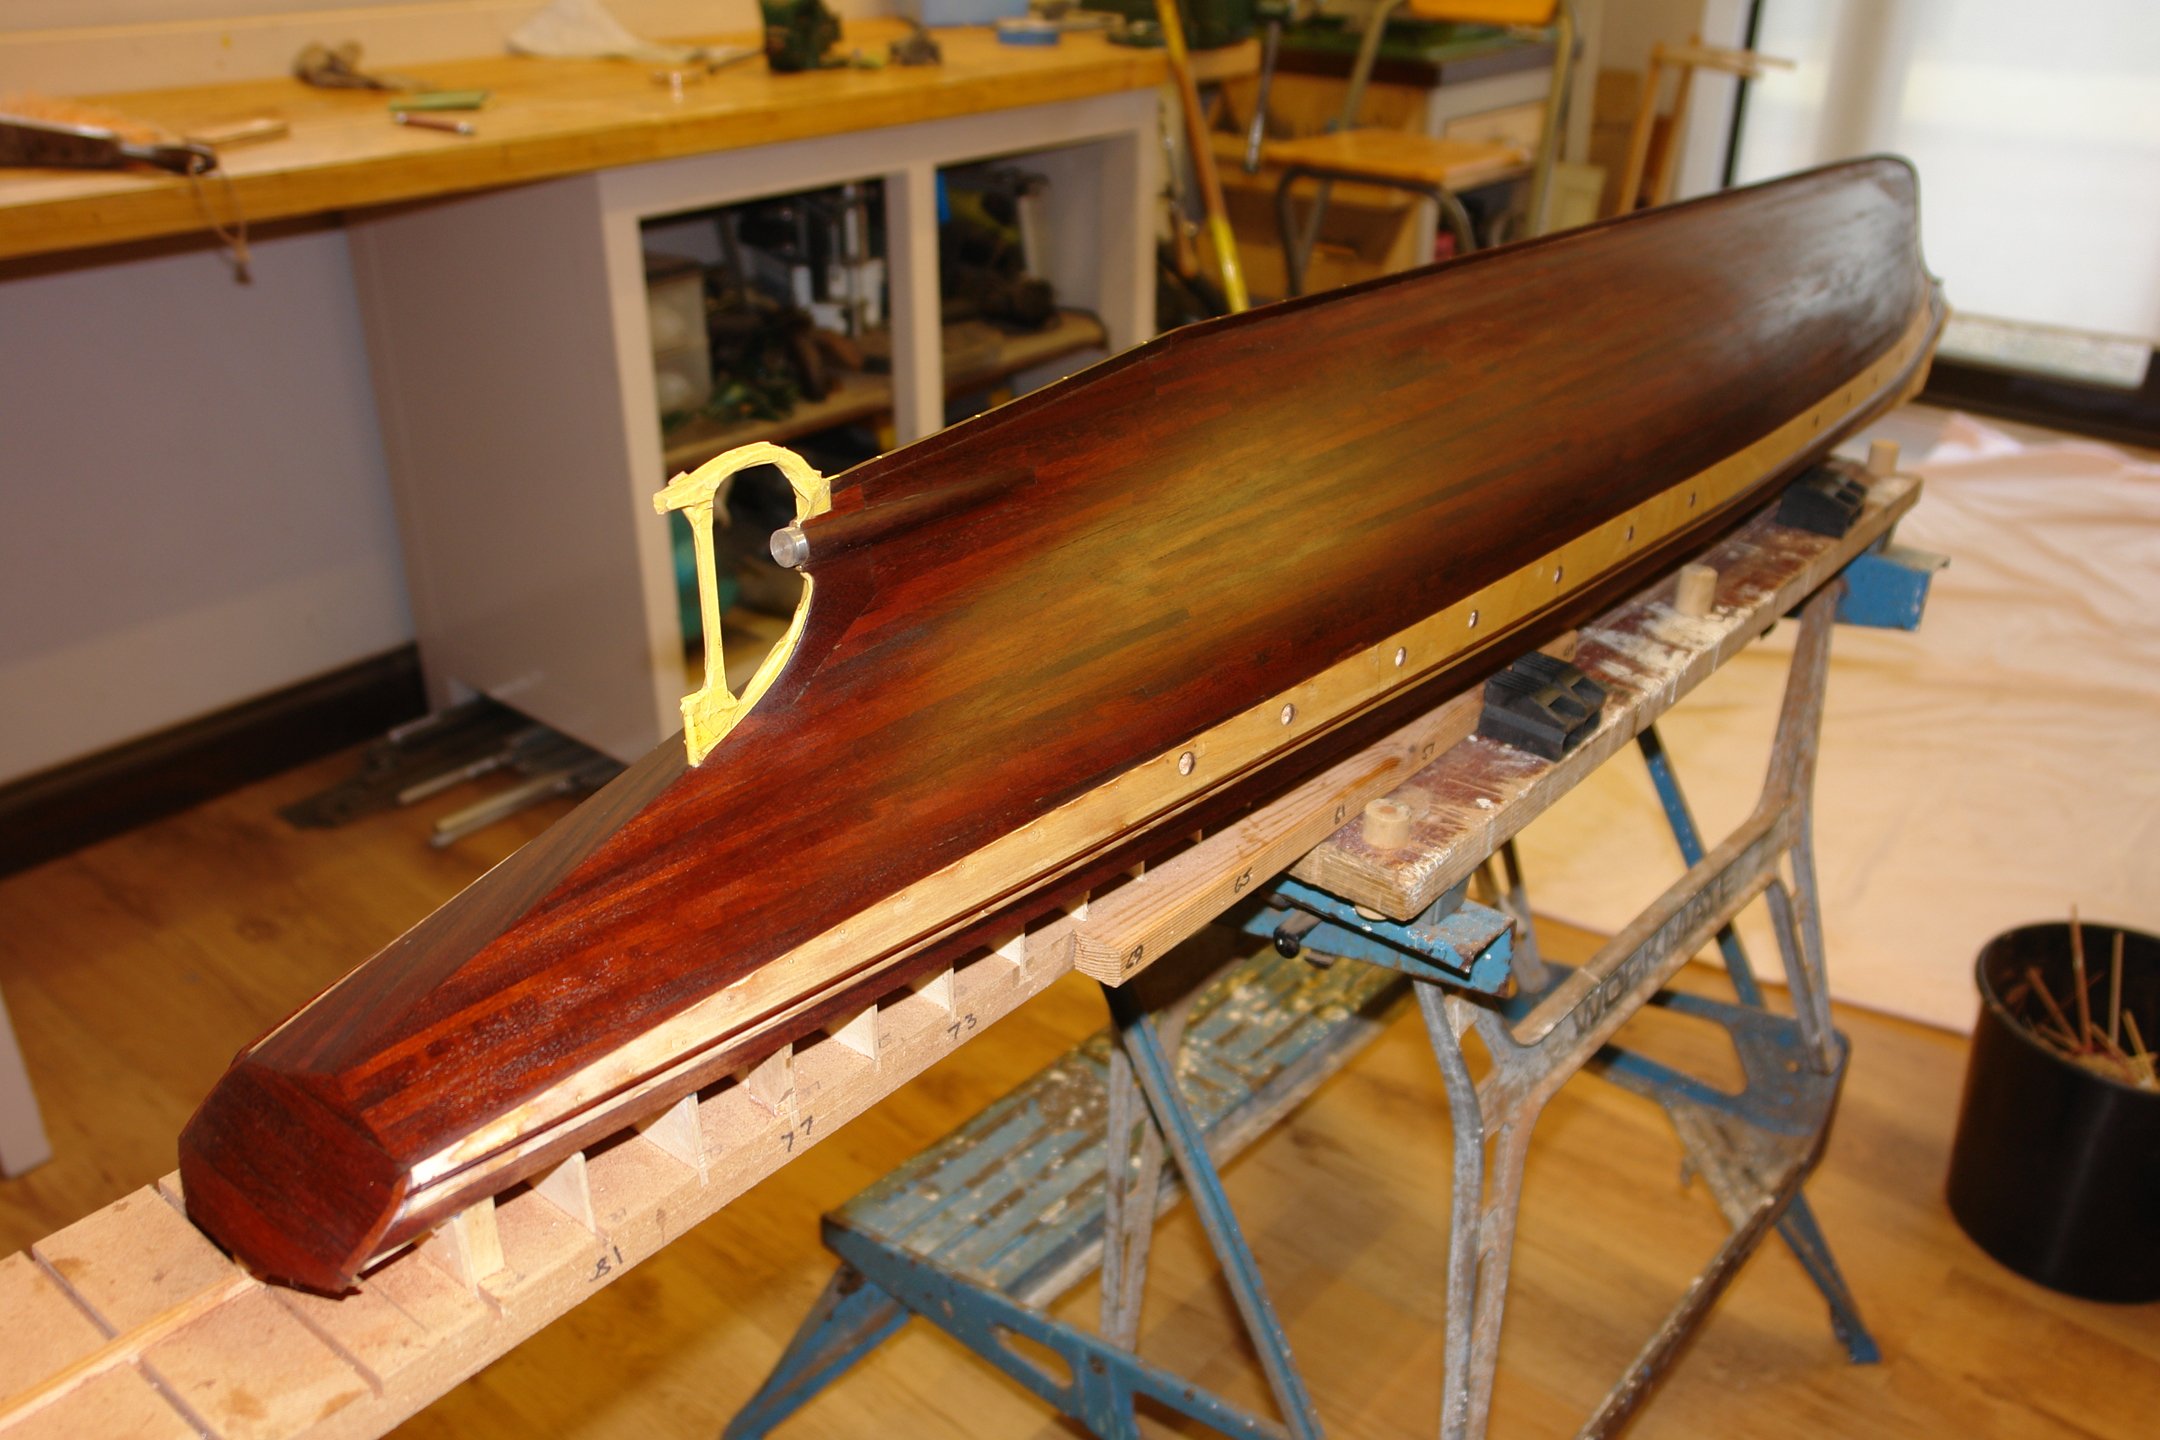
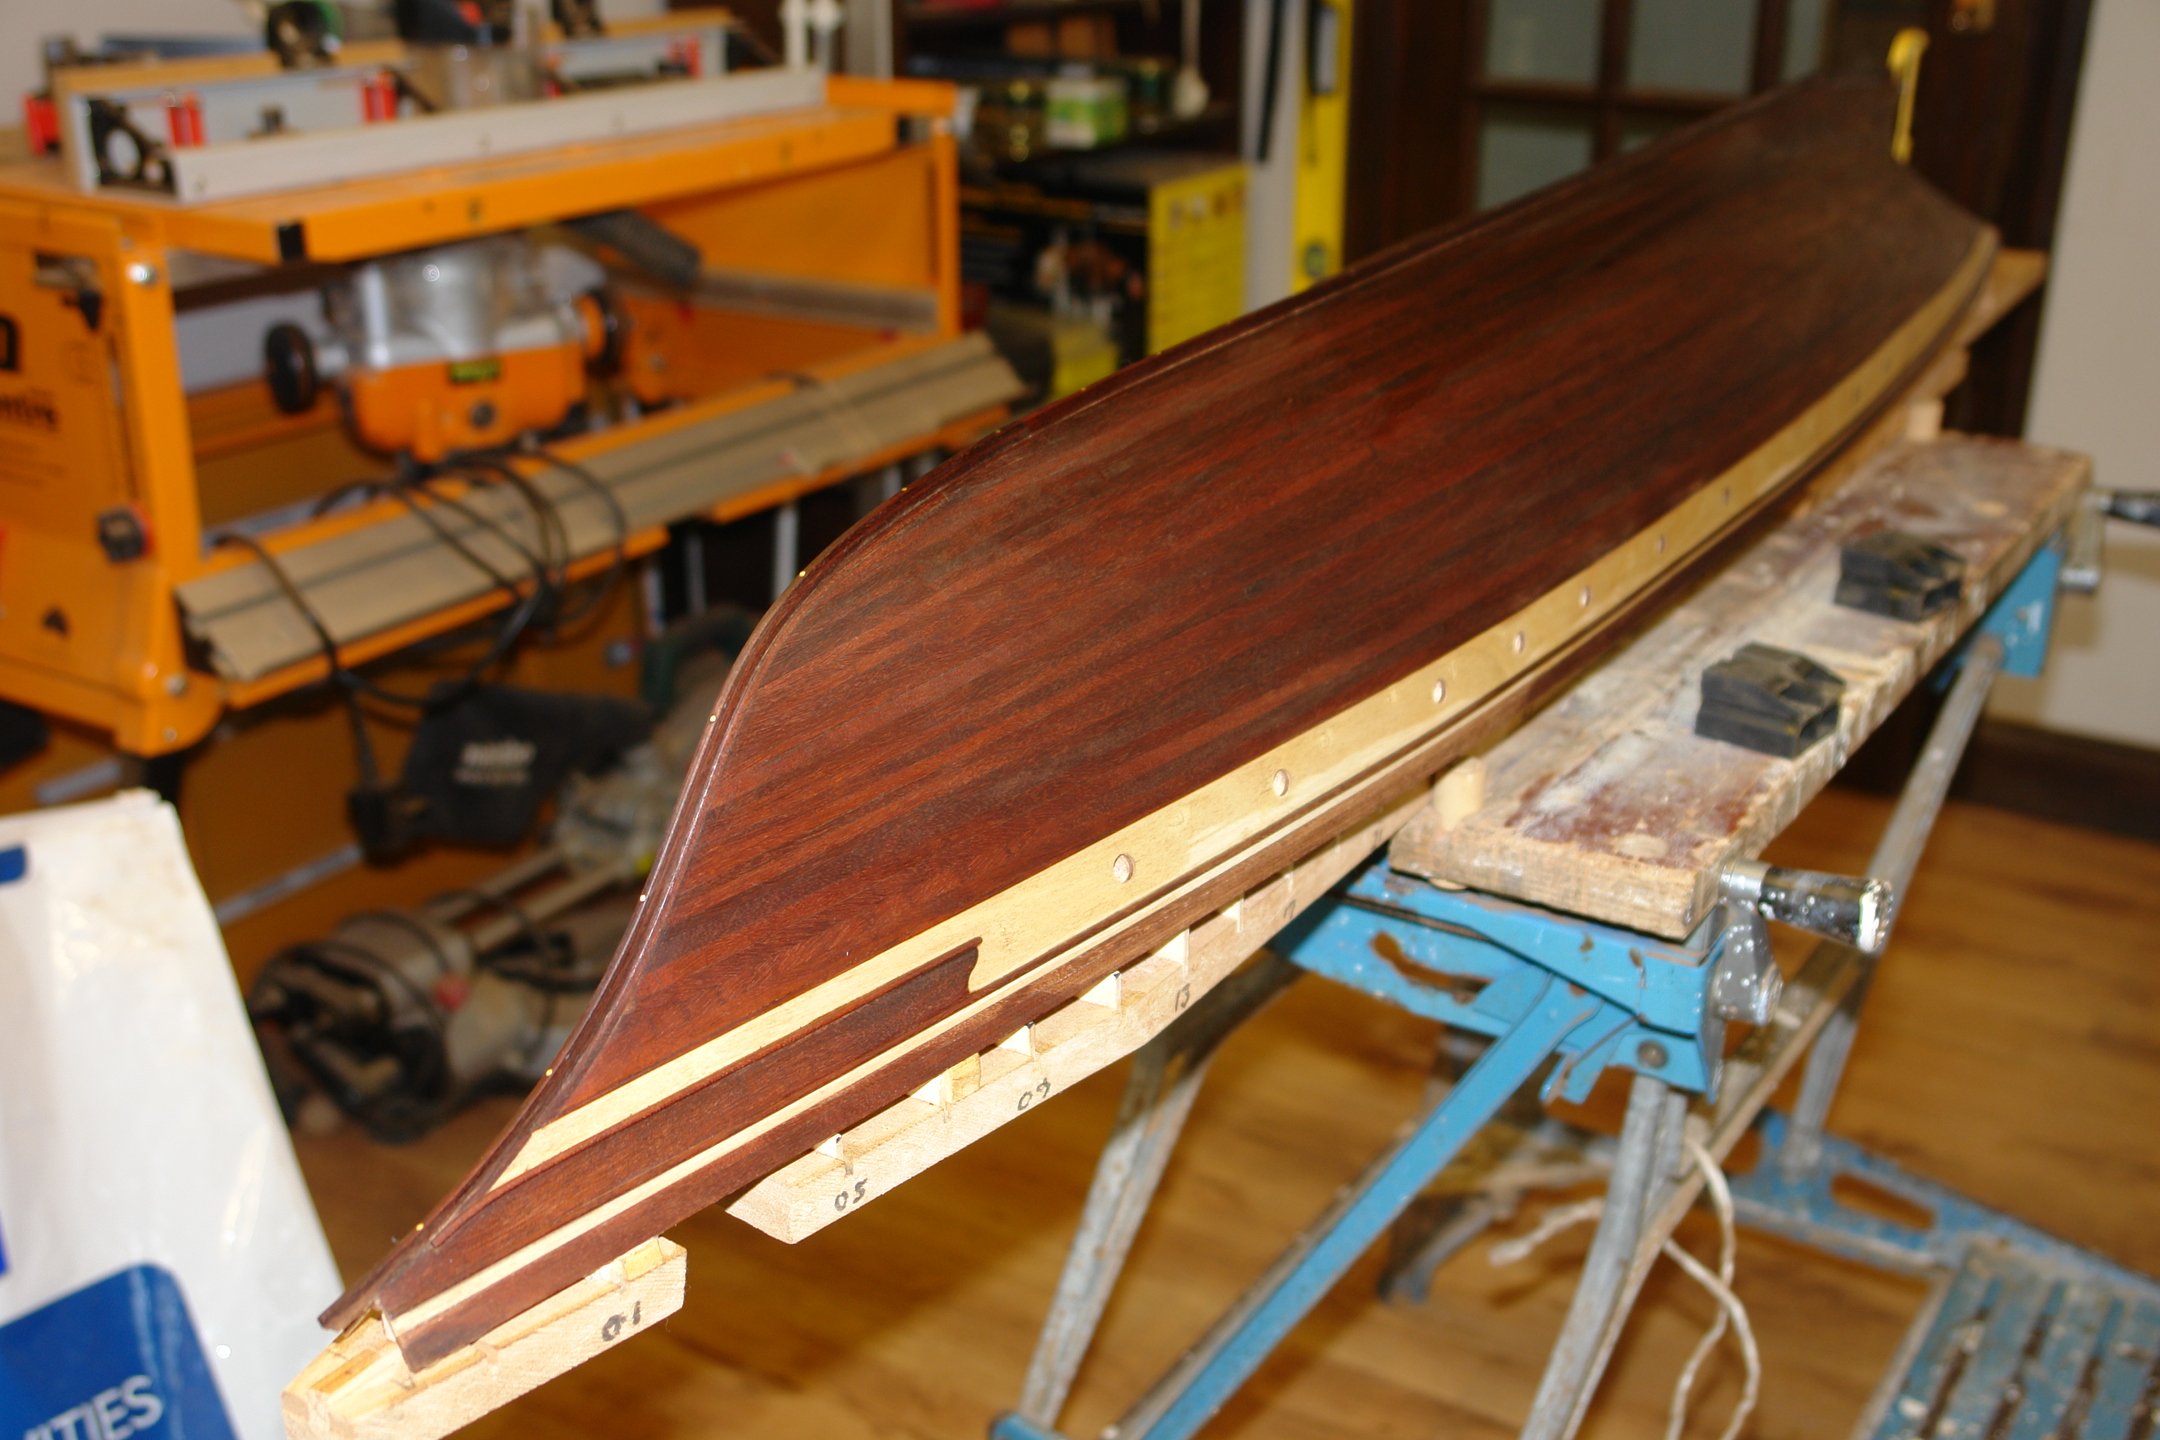
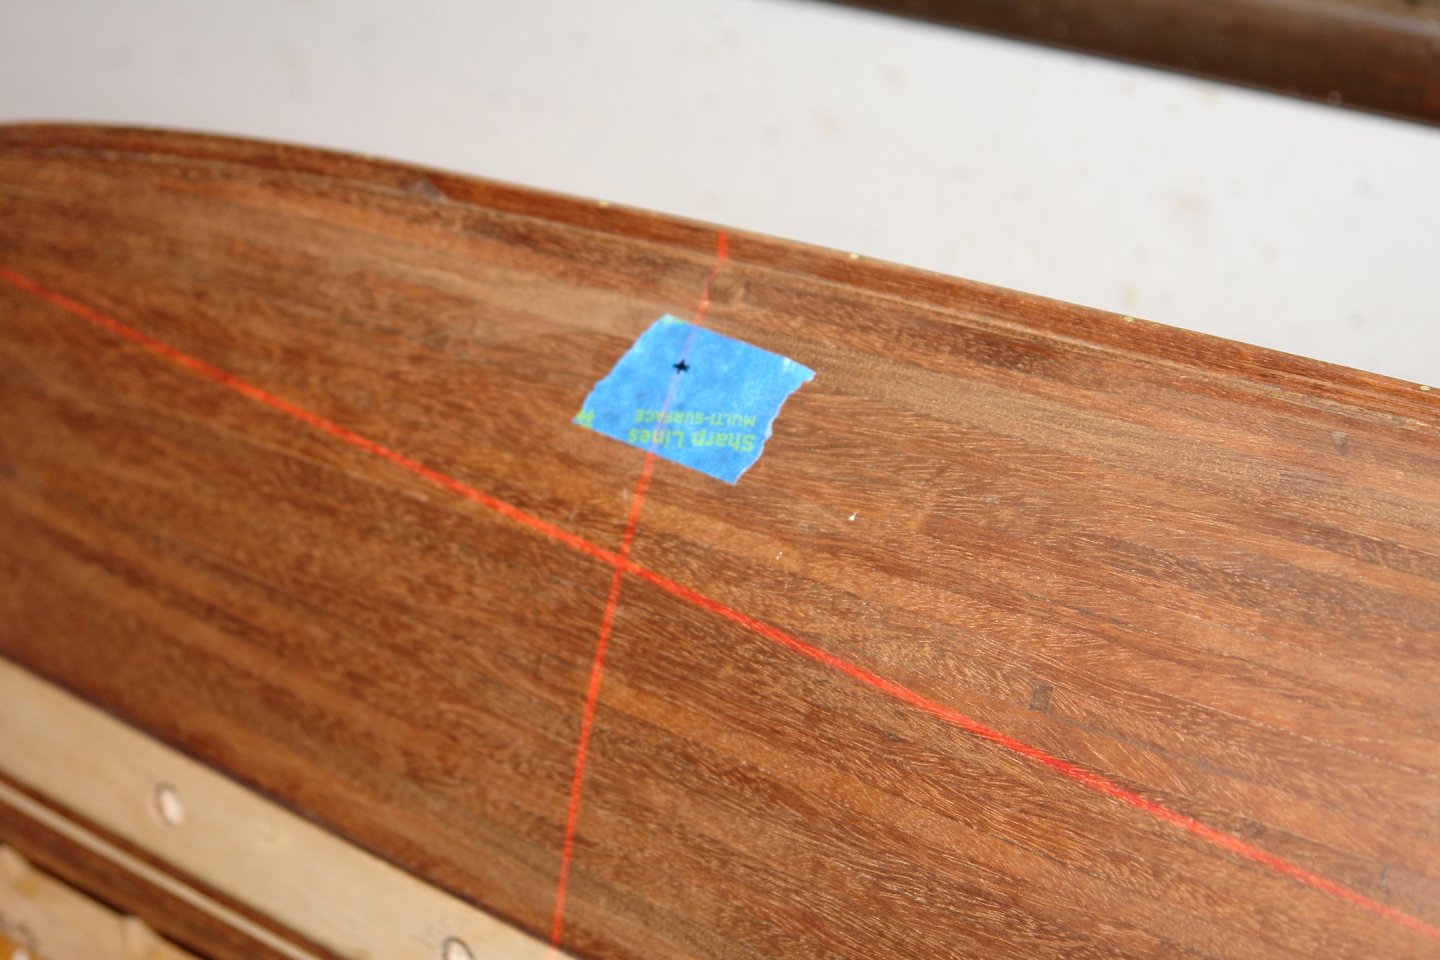
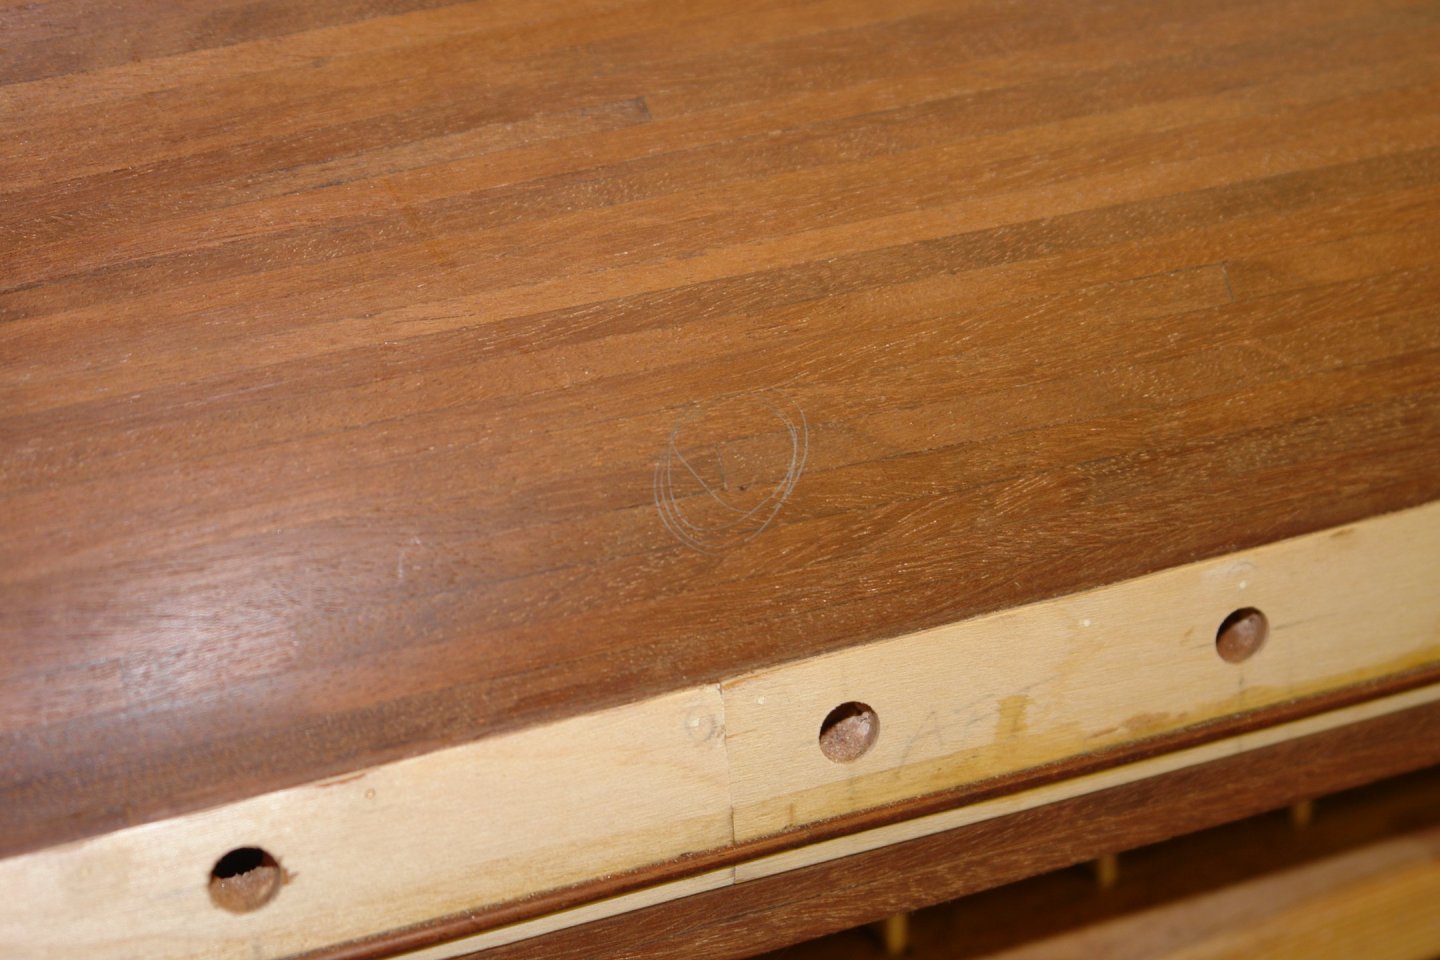
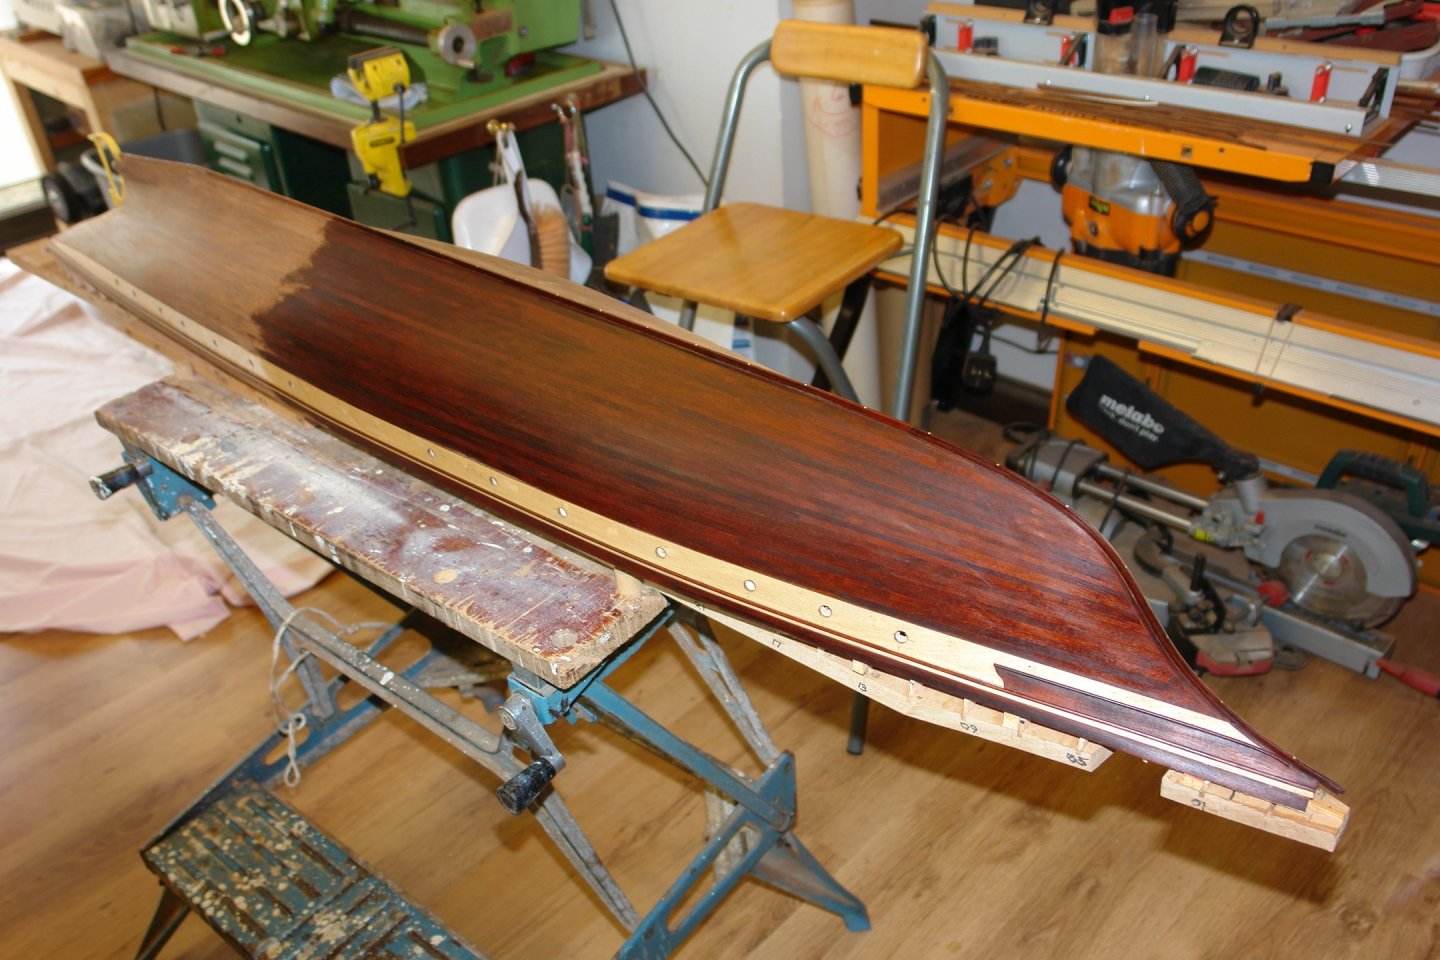
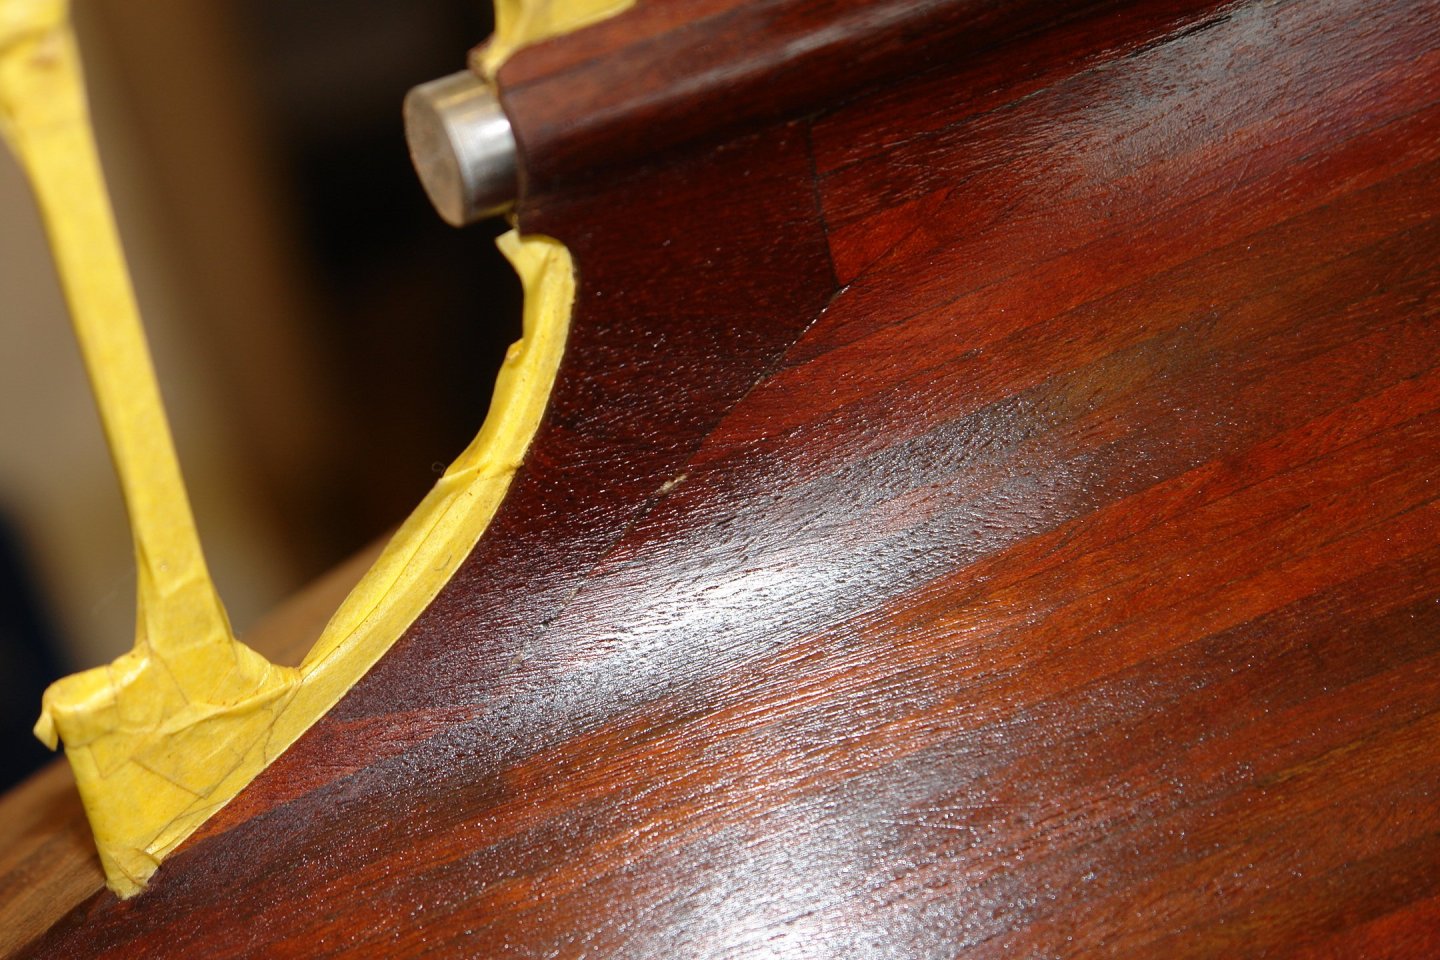
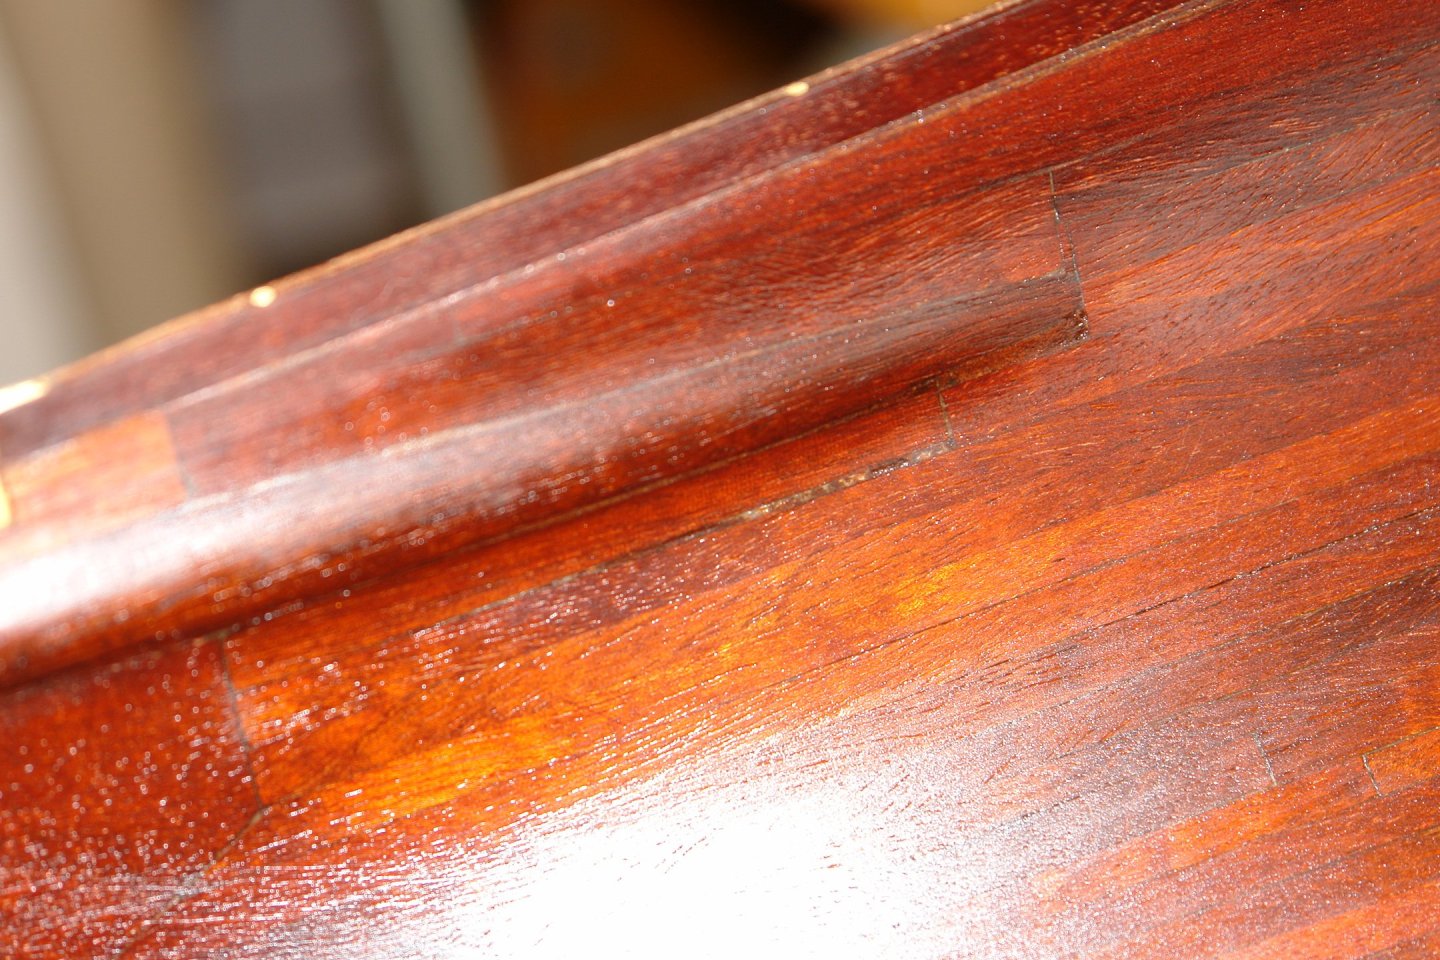
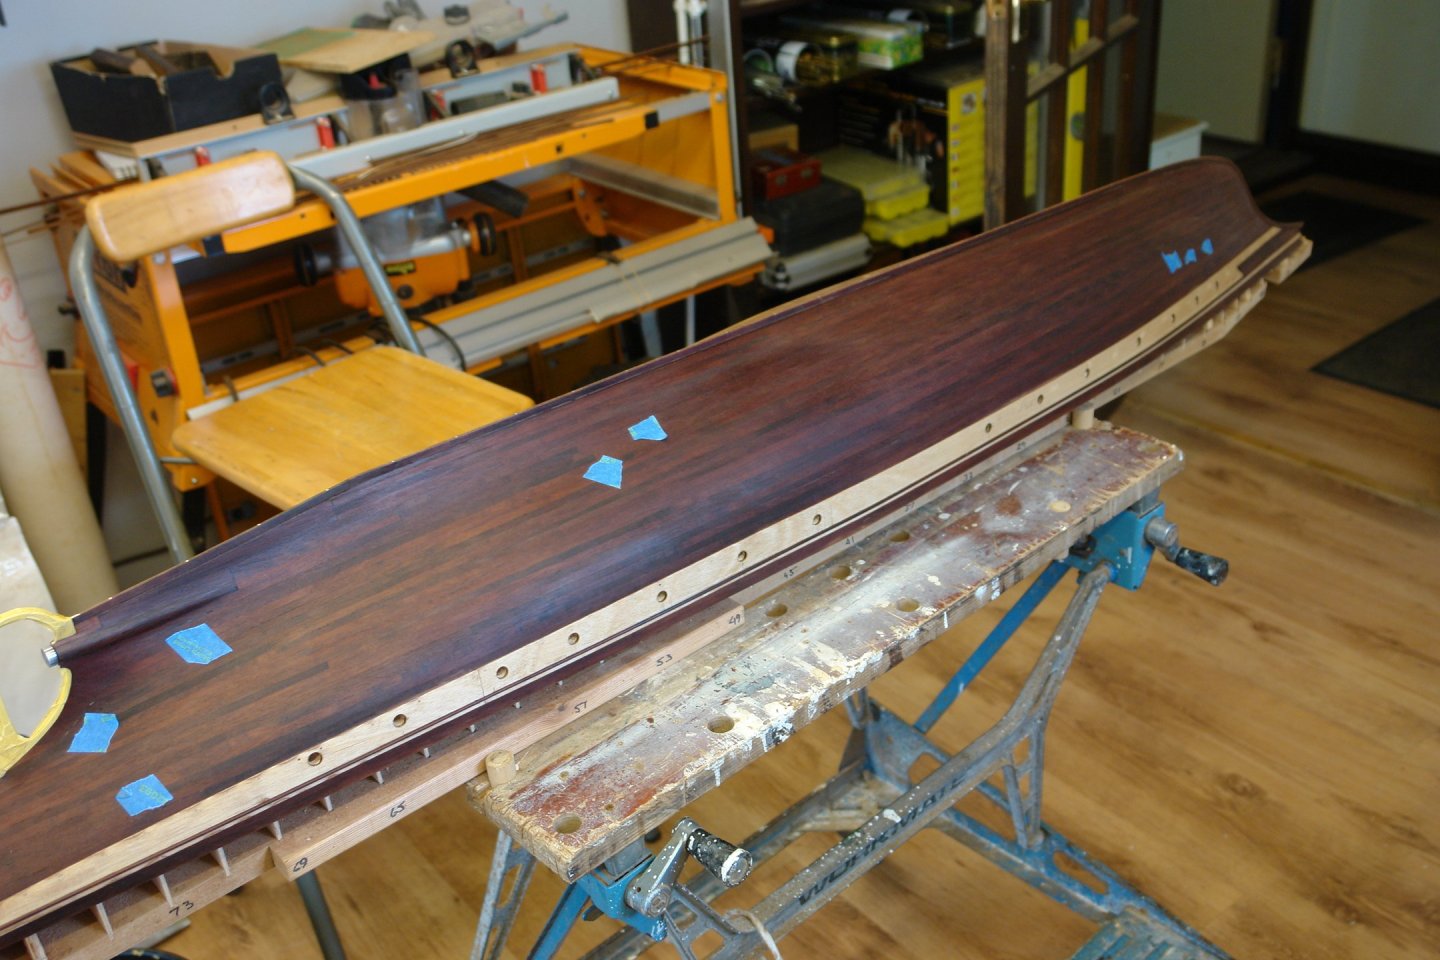
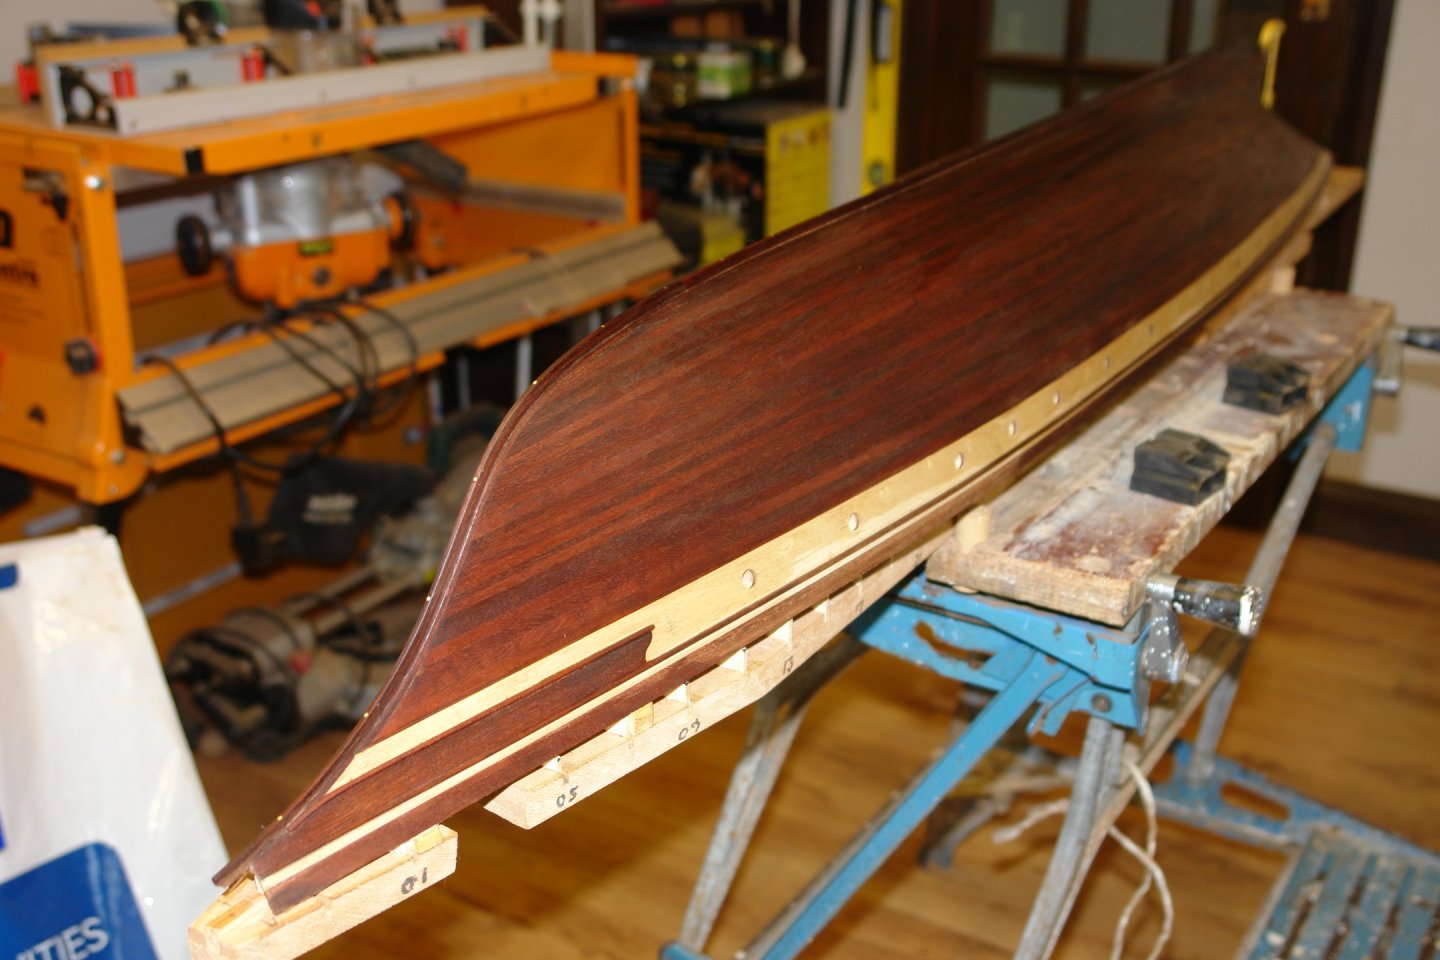
Pat, Glen, Keith, Tom, Druxey, Rick - thank you all. Tom - I will demonstrate. I did a fairly close inspection of the hull and identified a few minor imperfections. You may need to blow up the images to see them. What I tend to find is that the fine sand dust beds down in the gaps between planks, making identification of defects quite difficult. To reveal the imperfections I wipe the surface of the hull with white spirit. This lifts out the dust and reveals any problem areas. Defects like these then appear. Having identified the defects I marked the positions with masking tape. With all the defects identified I filled them with a mixture of sanding dust and varnish (as suggested in an earlier contribution to the build - thank you). The repaired defect were then sanded back with 240 grit wet and dry paper and the whole hull was given a buff over with wire wool. Then the hull was given its first coat of soft sheen wipe on polyurethane. I can only do one coat a day and I guess I am going to need a lot of coats. The next few posts will be as interesting as watching paint dry!


-
I agree Valeriy. Stick to what you know and like.
-
Brian, certainly a valid method, but how easy is it to create the programmes you need for the parts you are printing.