-
Posts
3,031 -
Joined
-
Last visited
Content Type
Profiles
Forums
Gallery
Events
Everything posted by kurtvd19
-

Old NRG Article on Deck Plank Spacing
kurtvd19 replied to mikiek's topic in NAUTICAL RESEARCH GUILD - News & Information
I am checking on this now. I have no idea why it was deleted unless the copy provided by markjay is what had been posted. Maybe a matter of having a clean copy. Anyway I am checking. -
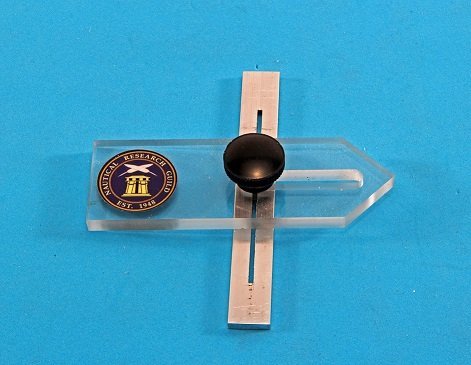
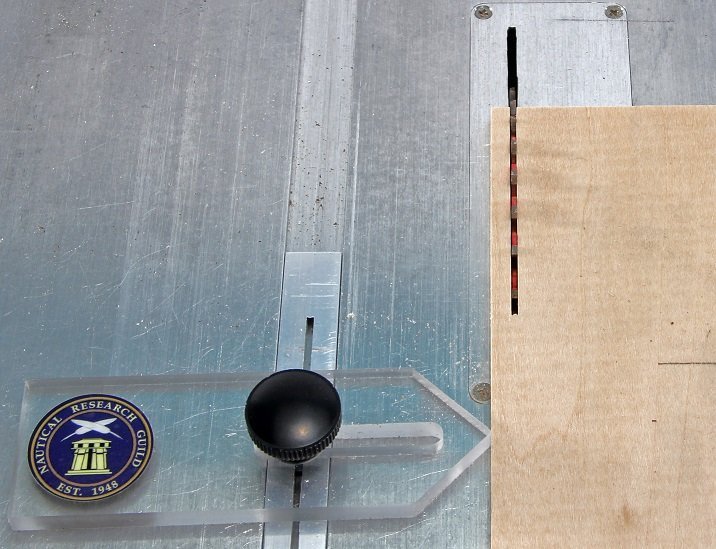
THE NRG THIN STRIP SAW JIG The Thin Strip Saw Jig shown in our December 2021 Virtual Workshop on Table Saw Use & Safety by Kurt Van Dahm is now available for purchase. This jig is usable on the Byrnes and Preac saws as well as any small table saw with a 1/2-inch-wide miter slot that is at least 1/8-inch-deep. EASY TO USE WHILE INCREASING SAFETY AND SAVING TIME The jig is designed to make cutting identical strips from a sheet of wood. Measure once and cut as many as needed without resetting the jig. Cutting the strips to the outside of the blade eliminates the risk of the strip being trapped between the blade and the fence and shot back at the saw operator. The jig saves time when making repeated cuts such as for deck planking and cutting your own strip wood from sheets. Once set the accuracy of the Thin Strip Jig cannot be equaled. JIG IN USE LEFTIES - PLEASE READ THIS If you are left-handed, please contact the NRG Office before you order your Thin Strip Saw Jig and let us know you are left-handed, we will install the logo on your jig, so it is right side up when in use. LIST PRICE IS ONLY $15.00 (US) DON'T FORGET NRG MEMBERS GET 20% OFF ON THIS AND MOST ITEMS SOLD IN OUR IN-LINE STORE – BUT YOU MUST USE THE DISCOUNT CODE. We are unable to refund the difference between the list price and the Member's price. ORDER HERE Type this in if link does not work https://thenrgstore.org/collections/guild-products/products/thin-strip-saw-jig
-
I was going to recommend Badger's Anti-Fouling Red Oxide (#16-401) in the Marine series or #16-14 in their Rail Road Colors - exact same paint. It comes from the same 5 gallon pail - they put one or the other label on it after bottling. I usually apply it over a black undercoat - STYNYLREZ works great for the this. You can use the black Stynylrez for the entire hull like I do since it's release. I like the black under the oxide red as it makes the red a bit more subdued.
-

Next NRG Conference
kurtvd19 replied to YankeeClipper's topic in NAUTICAL RESEARCH GUILD - News & Information
The new Director of the Channel Islands Museum has said the museum is too small for us to have our conference there so there will not be a conference there. The date/location of the next conference is unknown at this time. -

Replacement motor for Preac saw
kurtvd19 replied to Kevin Kenny's topic in Modeling tools and Workshop Equipment
The belt on my kit was great - smooth and flexible. Love the saw now - had it since 1994 and I feel it finally works as it should. -

Preac thickness sander
kurtvd19 replied to bushman32's topic in Modeling tools and Workshop Equipment
Having replaced several of these bearings over the years (had 6 sanders operating 5 days a week in a model shop in Manila) I can assure all that they are standard bearing sets available at McMaster-Carr and other places. Take the bad one out, measure it and match it up to a catalog listing - and by two the other one will go soon unless you caught the bad on soon after going bad. Kurt -
Also the parts need to be clean. No rust, scale, dirt, oil, etc.
-

Old NRG Article on Deck Plank Spacing
kurtvd19 replied to mikiek's topic in NAUTICAL RESEARCH GUILD - News & Information
No it was actually deleted from the MSW forum's how to articles quite some time ago. The same information is available elsewhere and this will not be re-posted. -

Old NRG Article on Deck Plank Spacing
kurtvd19 replied to mikiek's topic in NAUTICAL RESEARCH GUILD - News & Information
We are checking with the author to see if he will OK the posting as his copyright is still valid. -

NRG VIRTUAL WORKSHOP
kurtvd19 replied to kurtvd19's topic in NAUTICAL RESEARCH GUILD - News & Information
I am in charge of this program for the NRG and I had to call Toni to see if we had done one after you asked your question. So consider yourself less gone than I am! -

NRG VIRTUAL WORKSHOP
kurtvd19 replied to kurtvd19's topic in NAUTICAL RESEARCH GUILD - News & Information
We have not done a Workshop on the Half Hull. We are discussing possibly doing one or doing up a frequently asked questions about the kit and posting the FAQs in our resources section - with updates when somebody asks a new question. All the Workshops we have done are available on the website. You must sign in to access them. Kurt -

NRG VIRTUAL WORKSHOP
kurtvd19 replied to kurtvd19's topic in NAUTICAL RESEARCH GUILD - News & Information
Bob: The videos are up on the website to view at your convenience. Kurt -
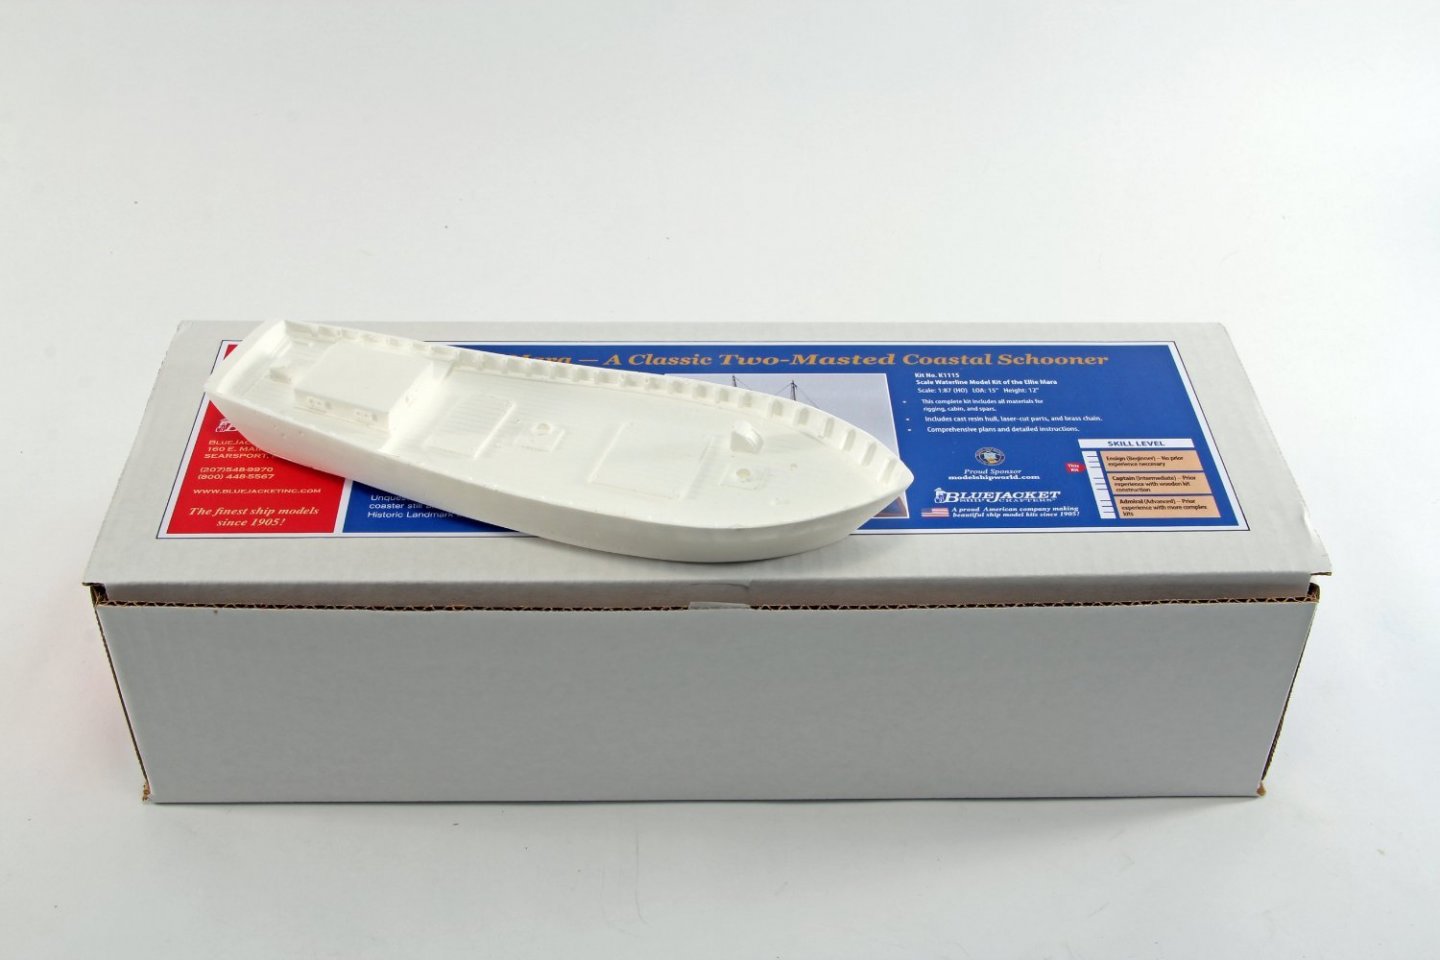
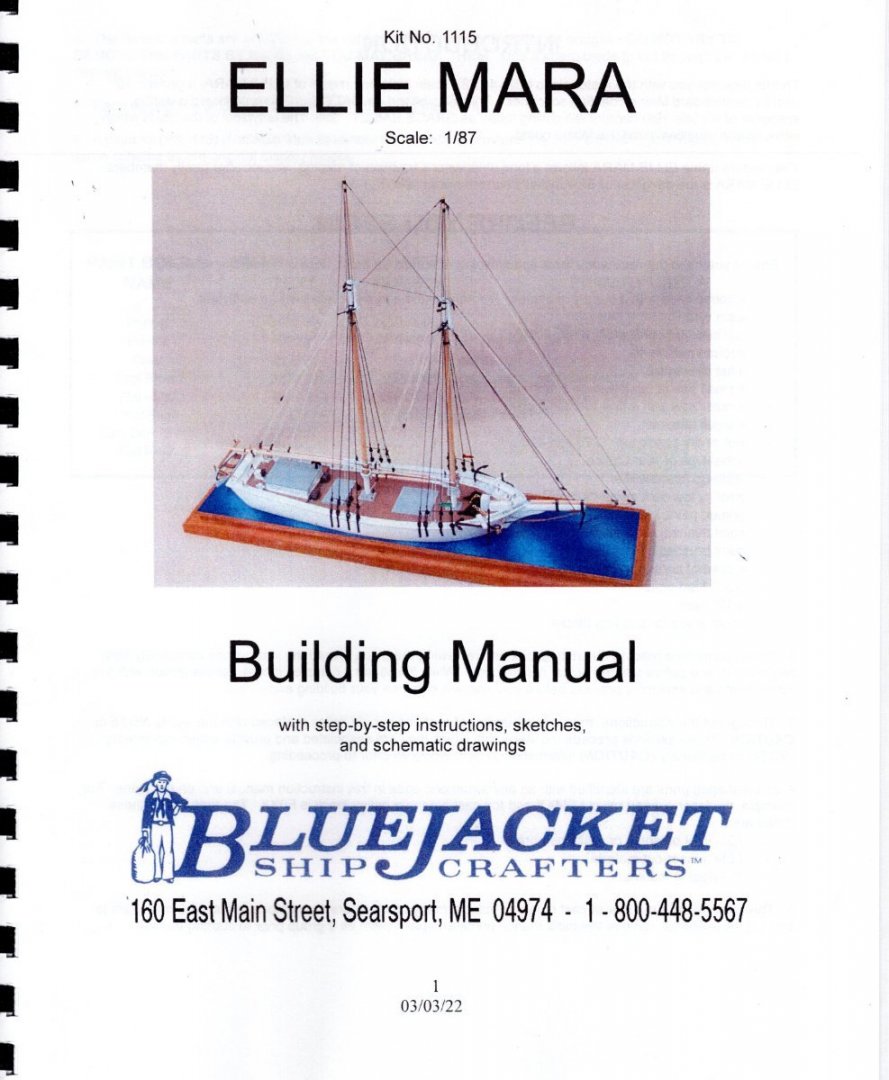
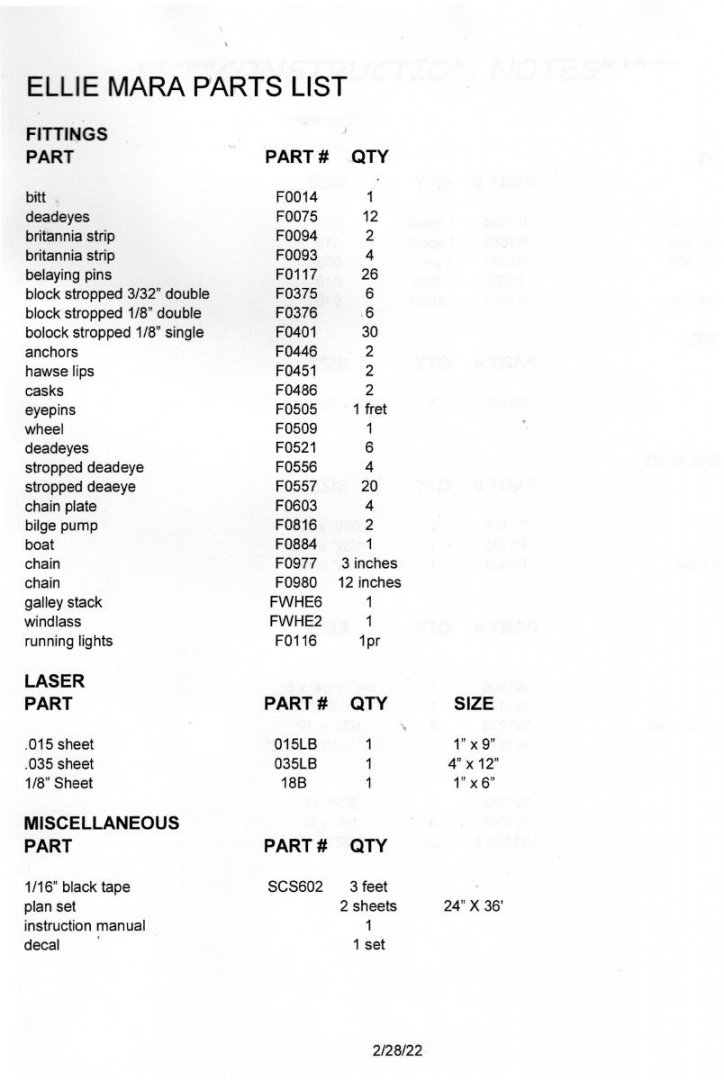
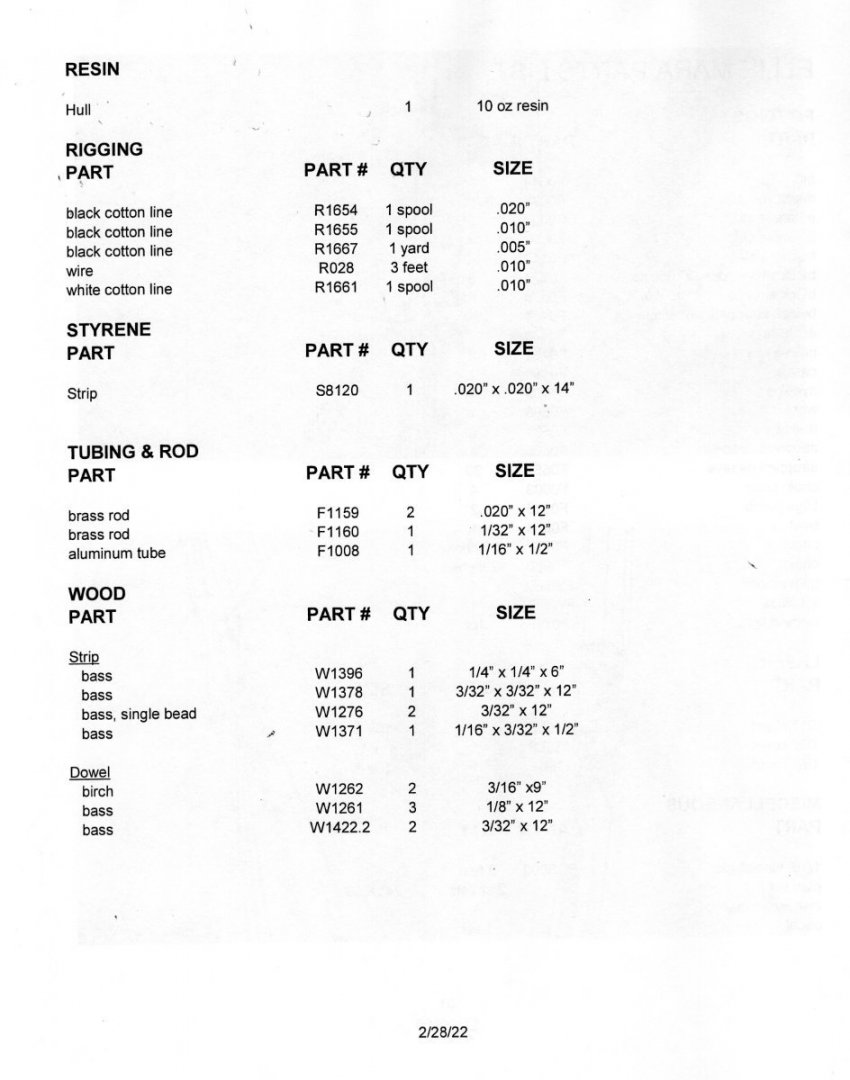
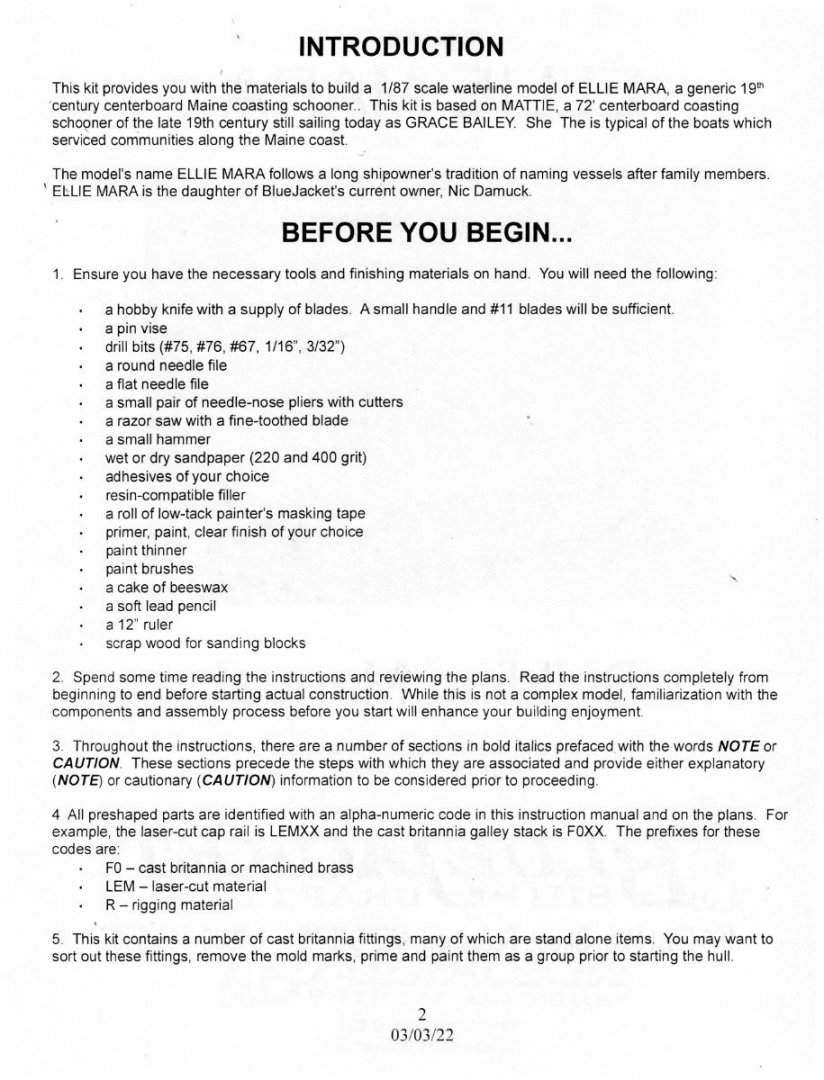
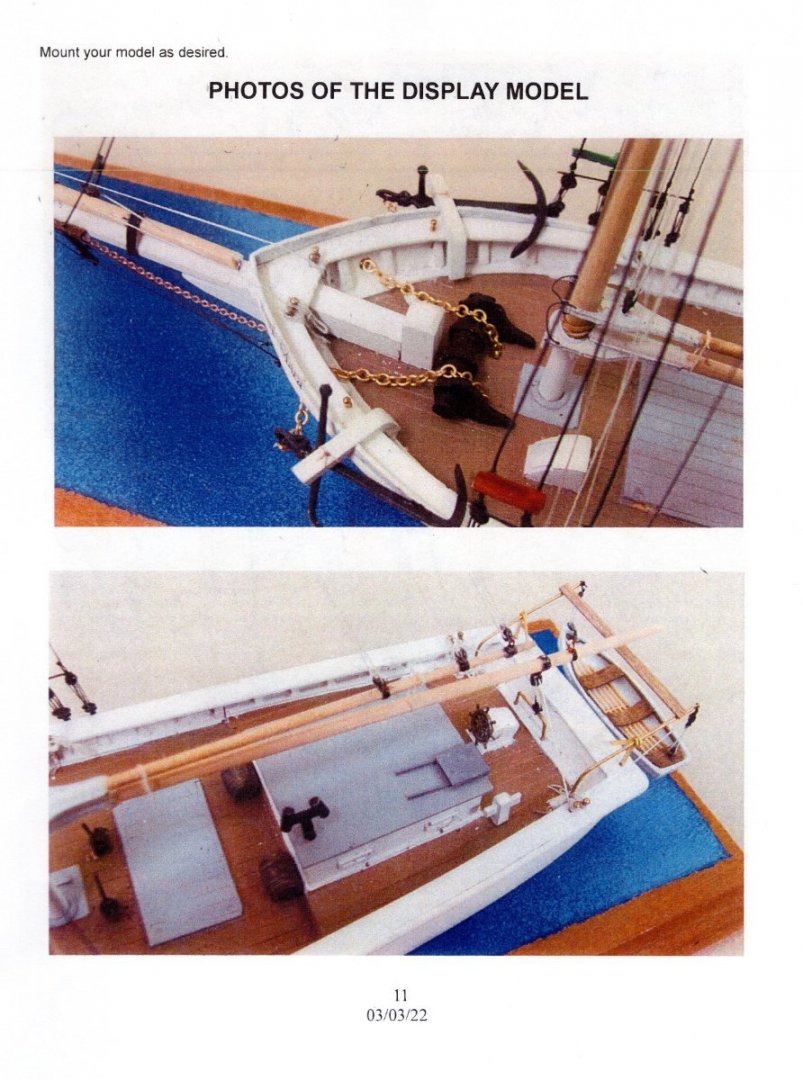
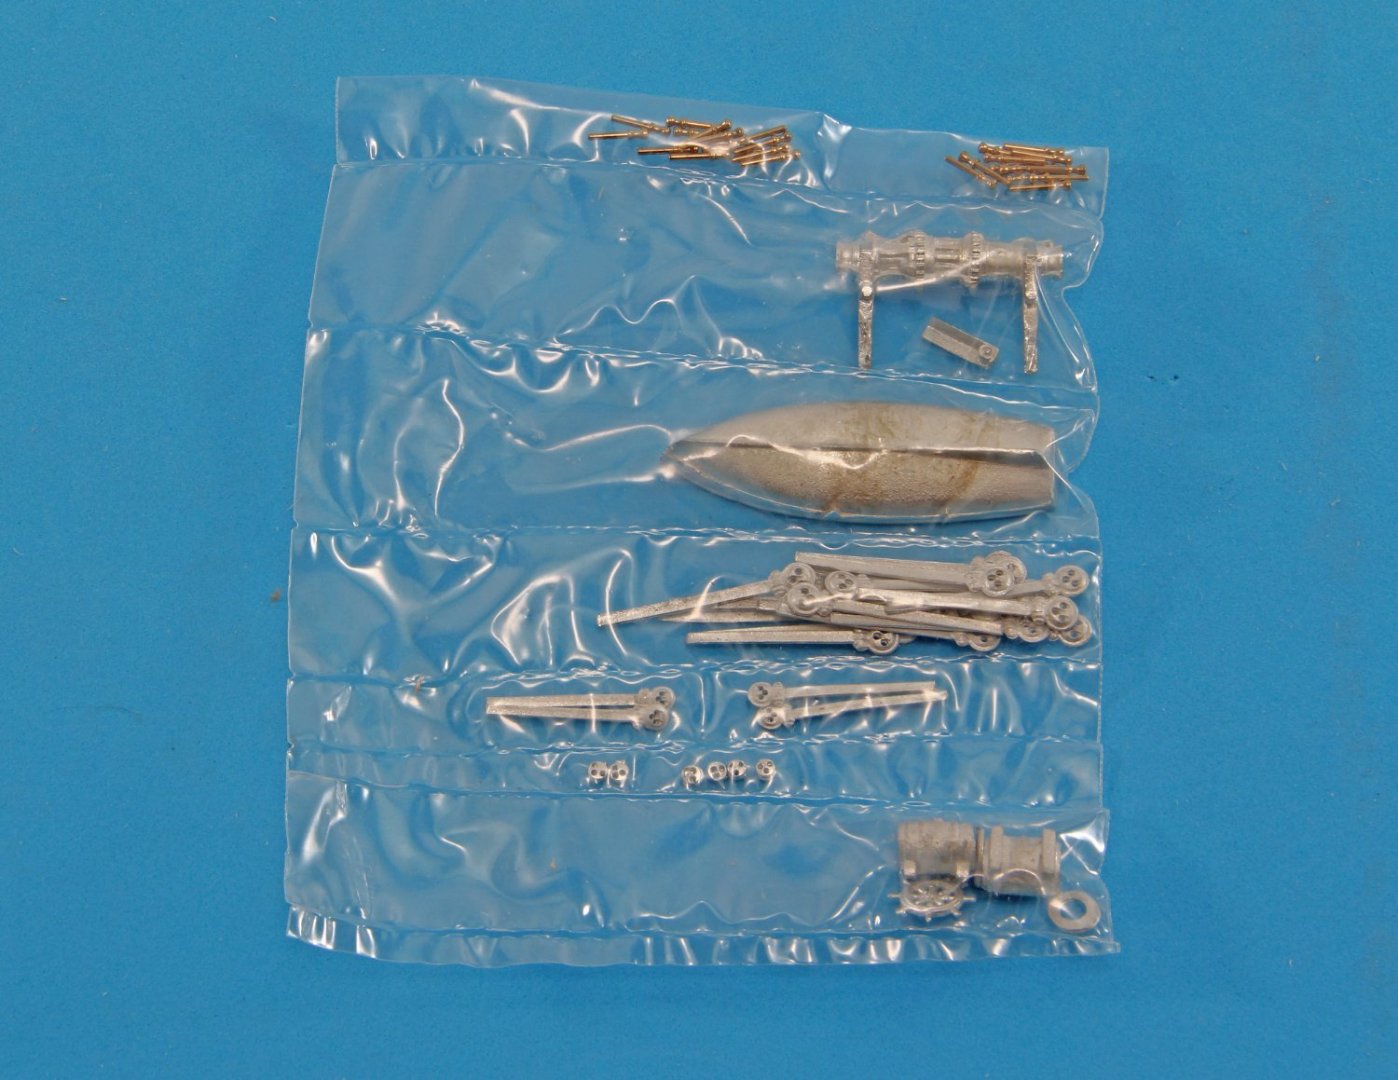
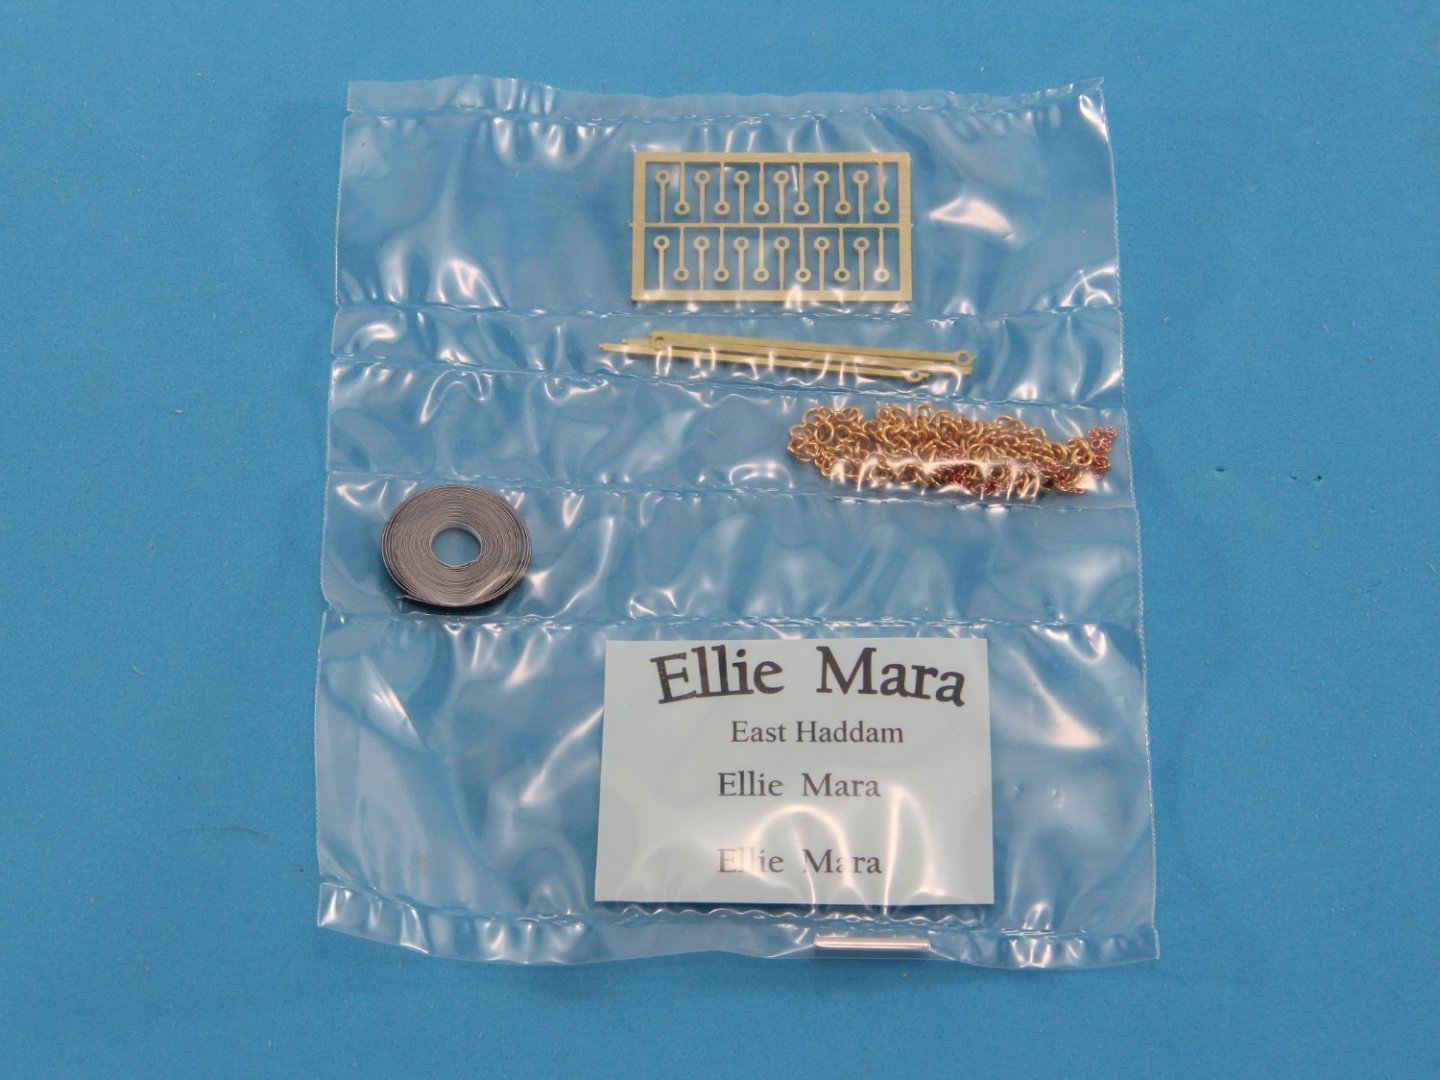
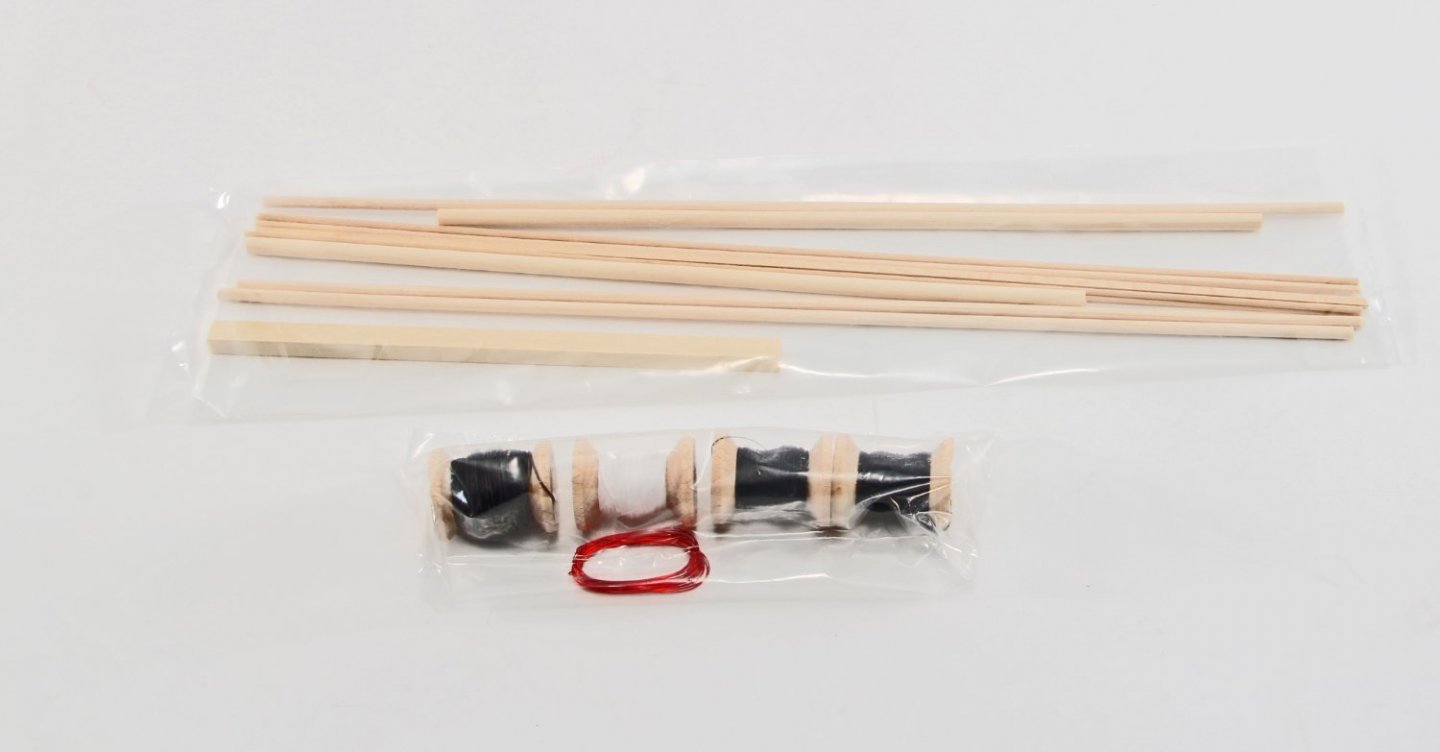
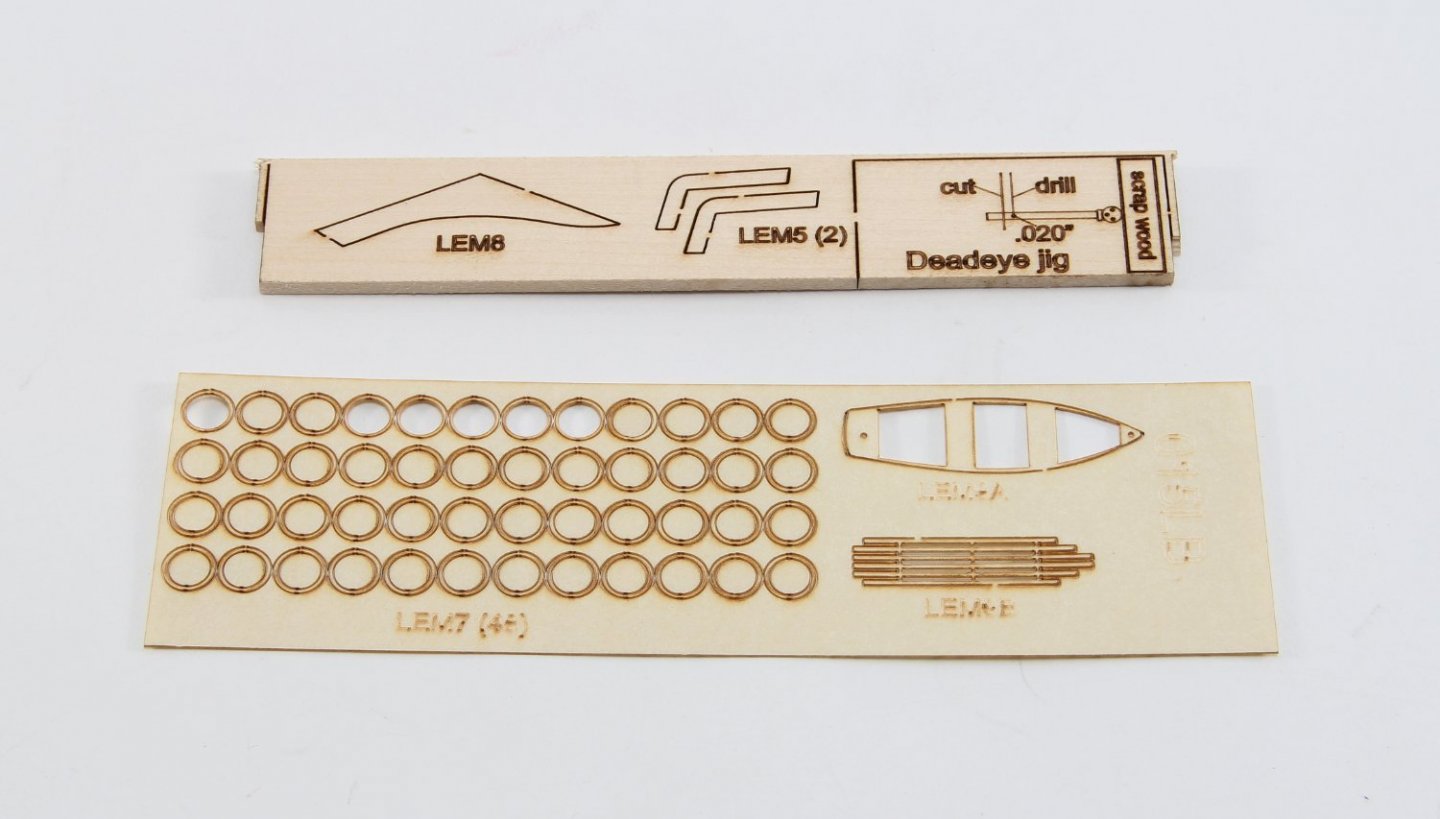
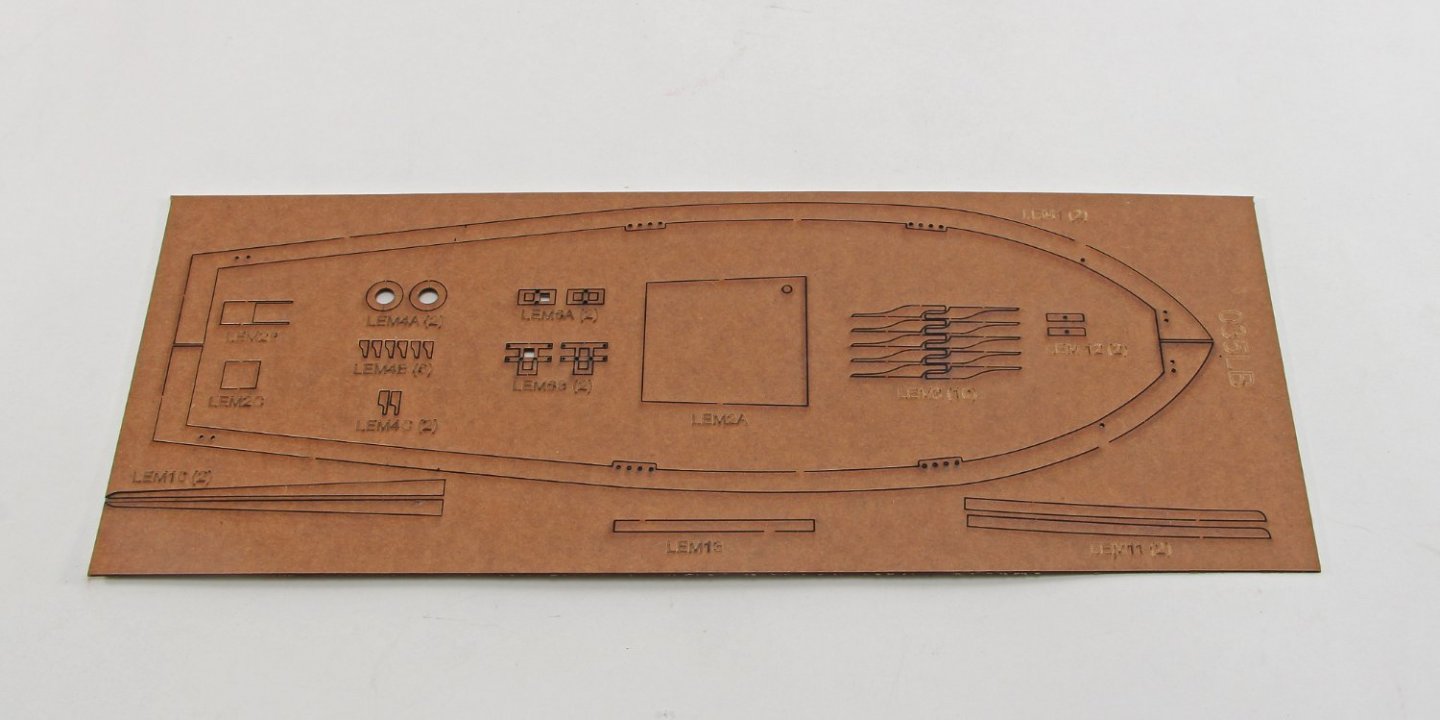
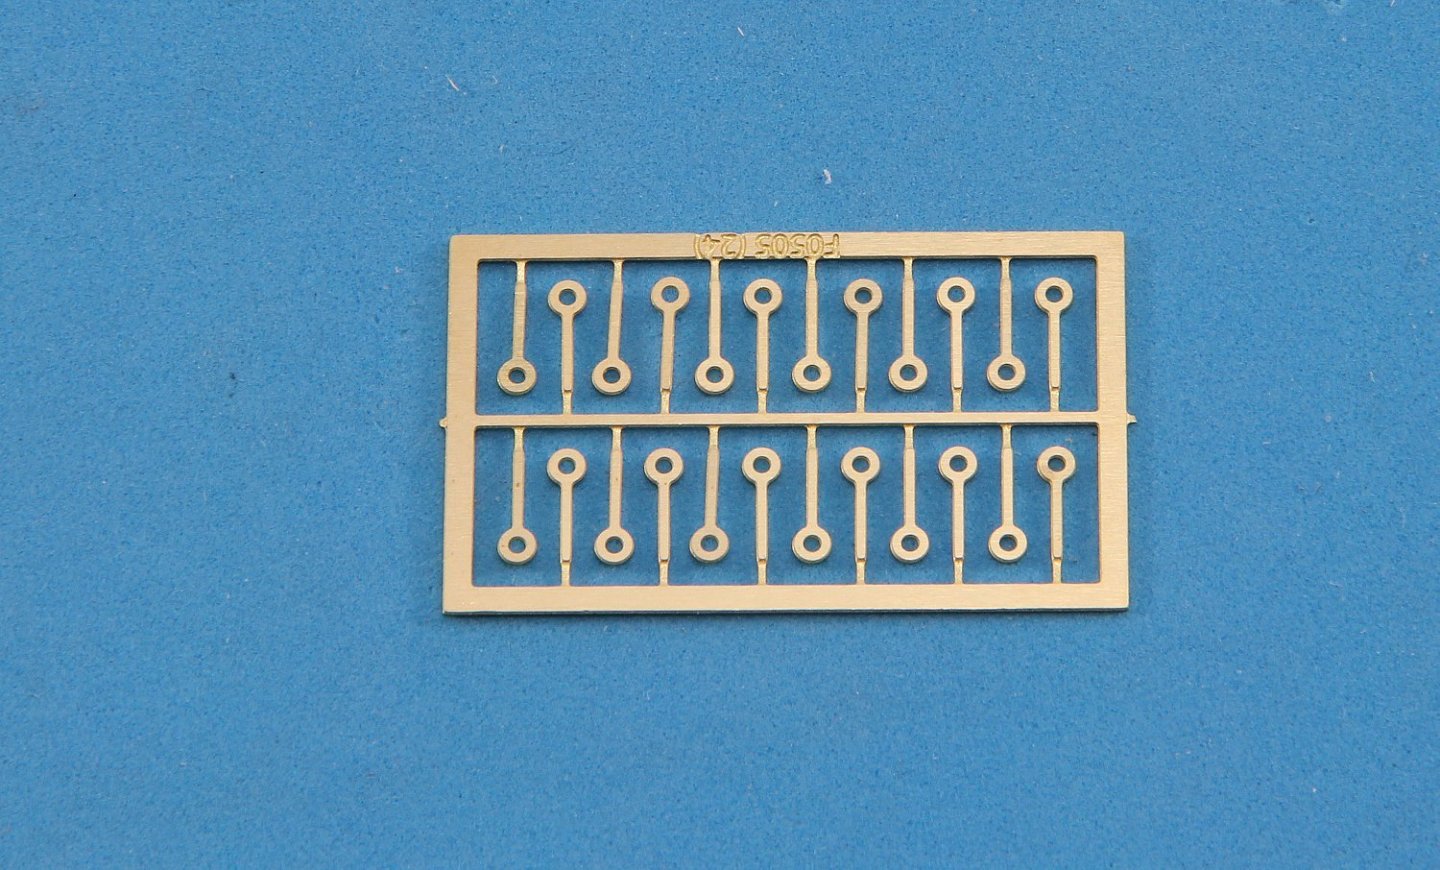
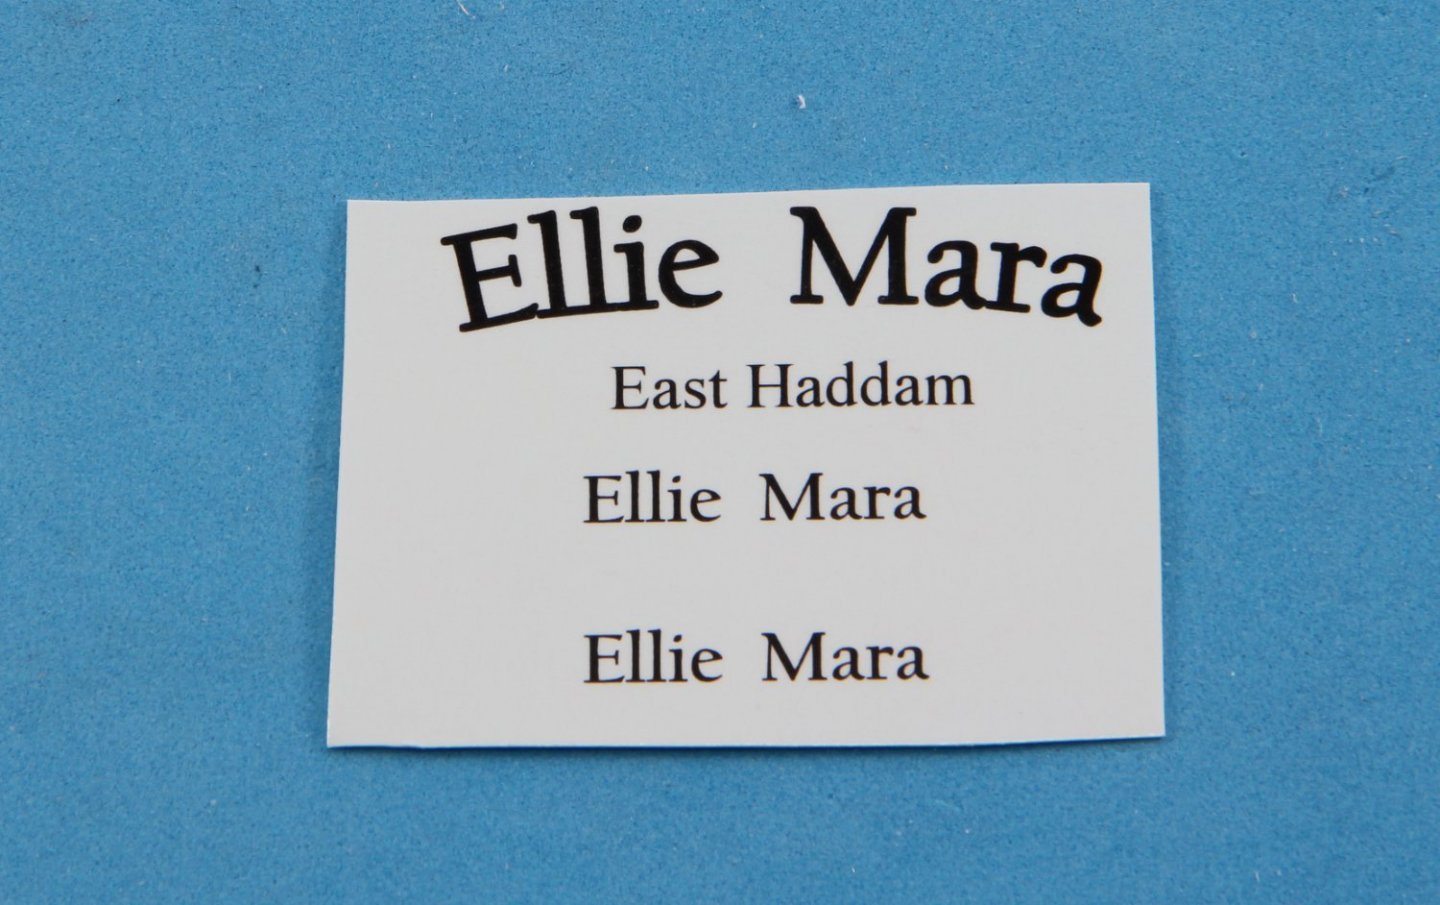
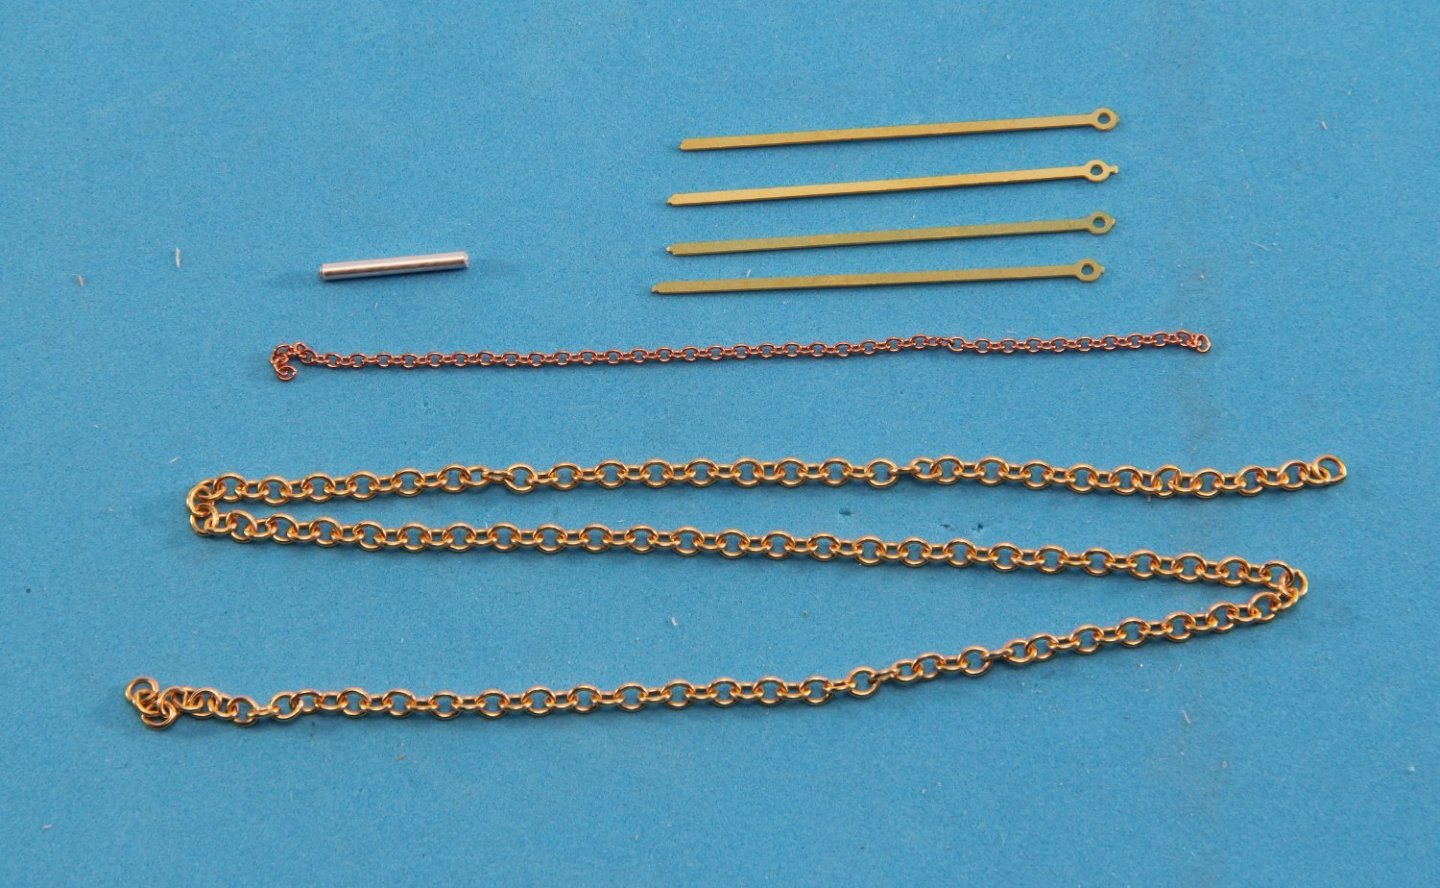
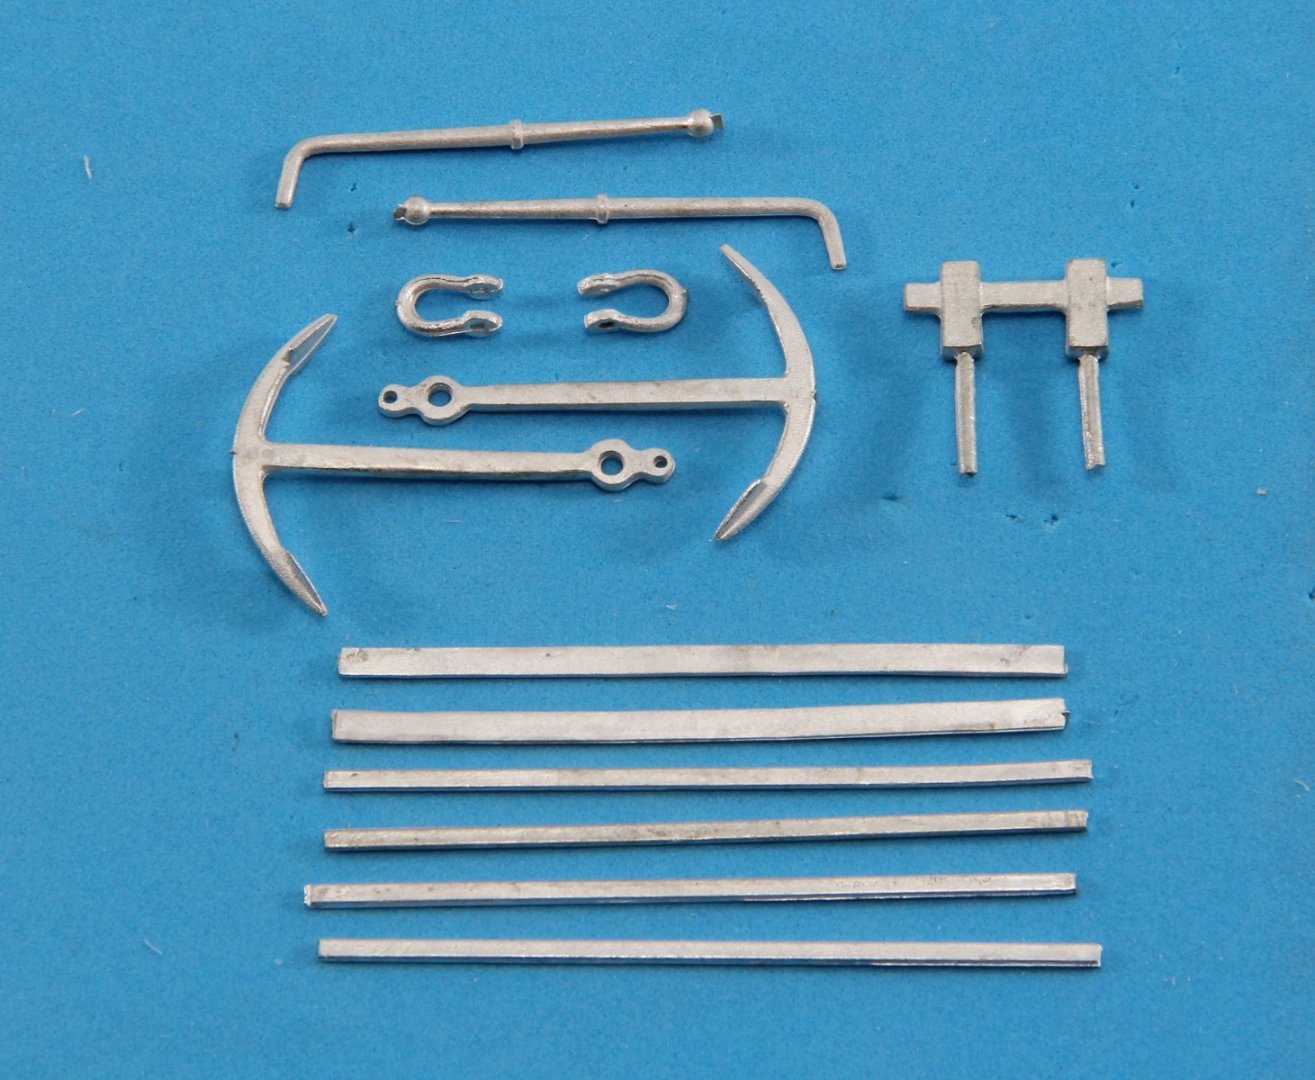
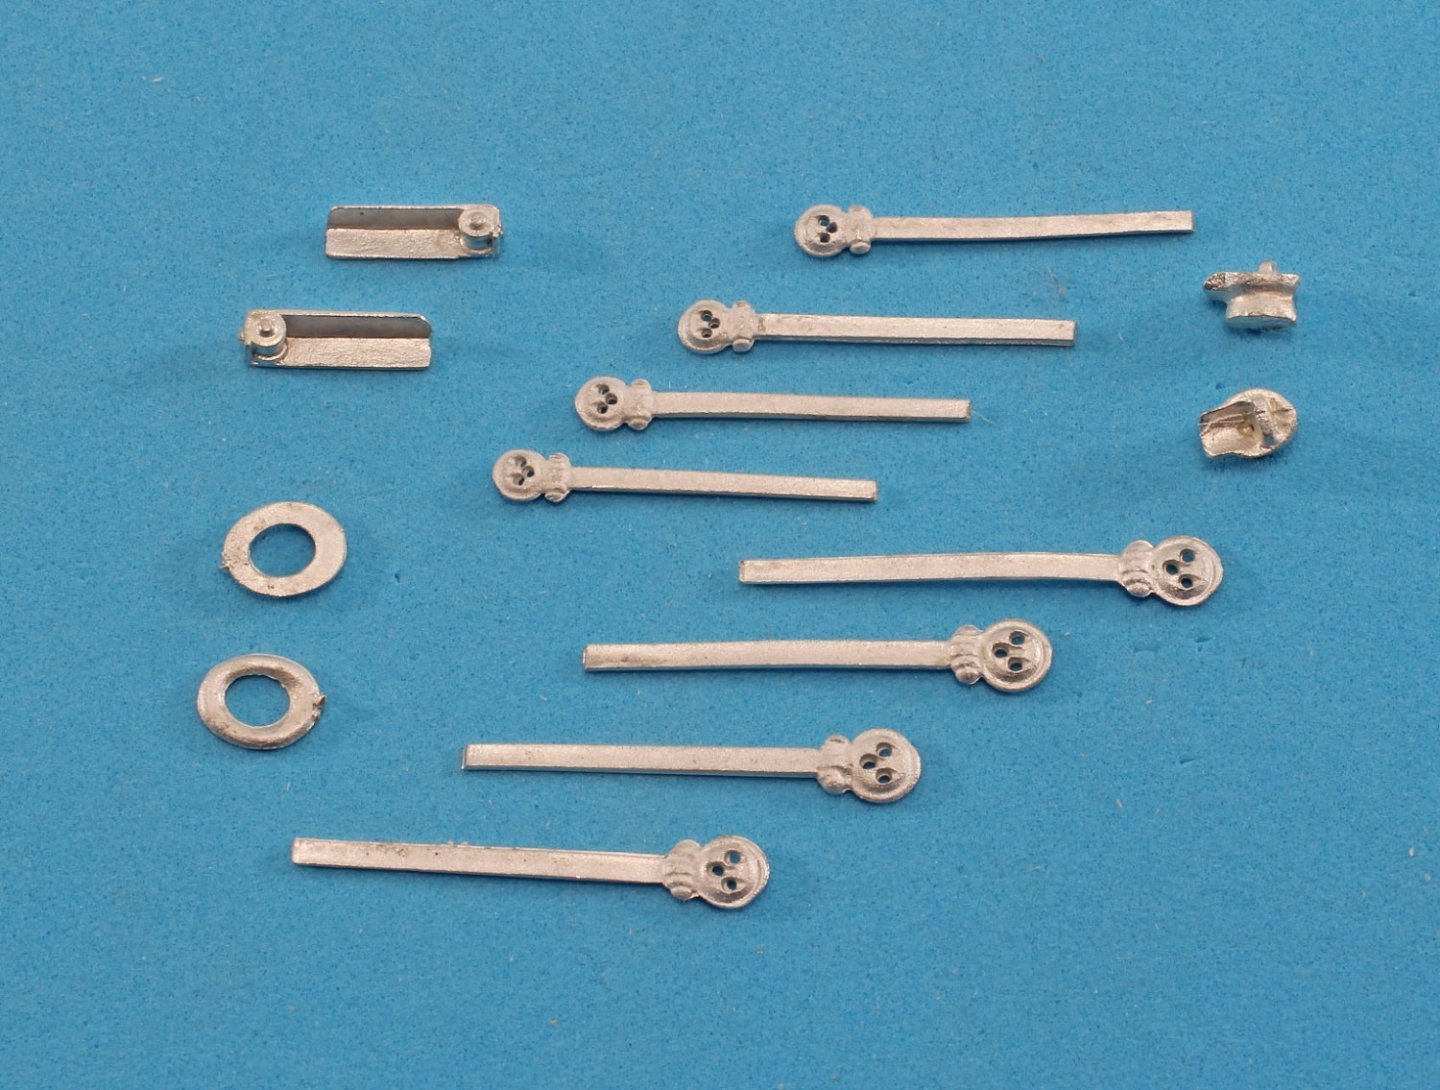
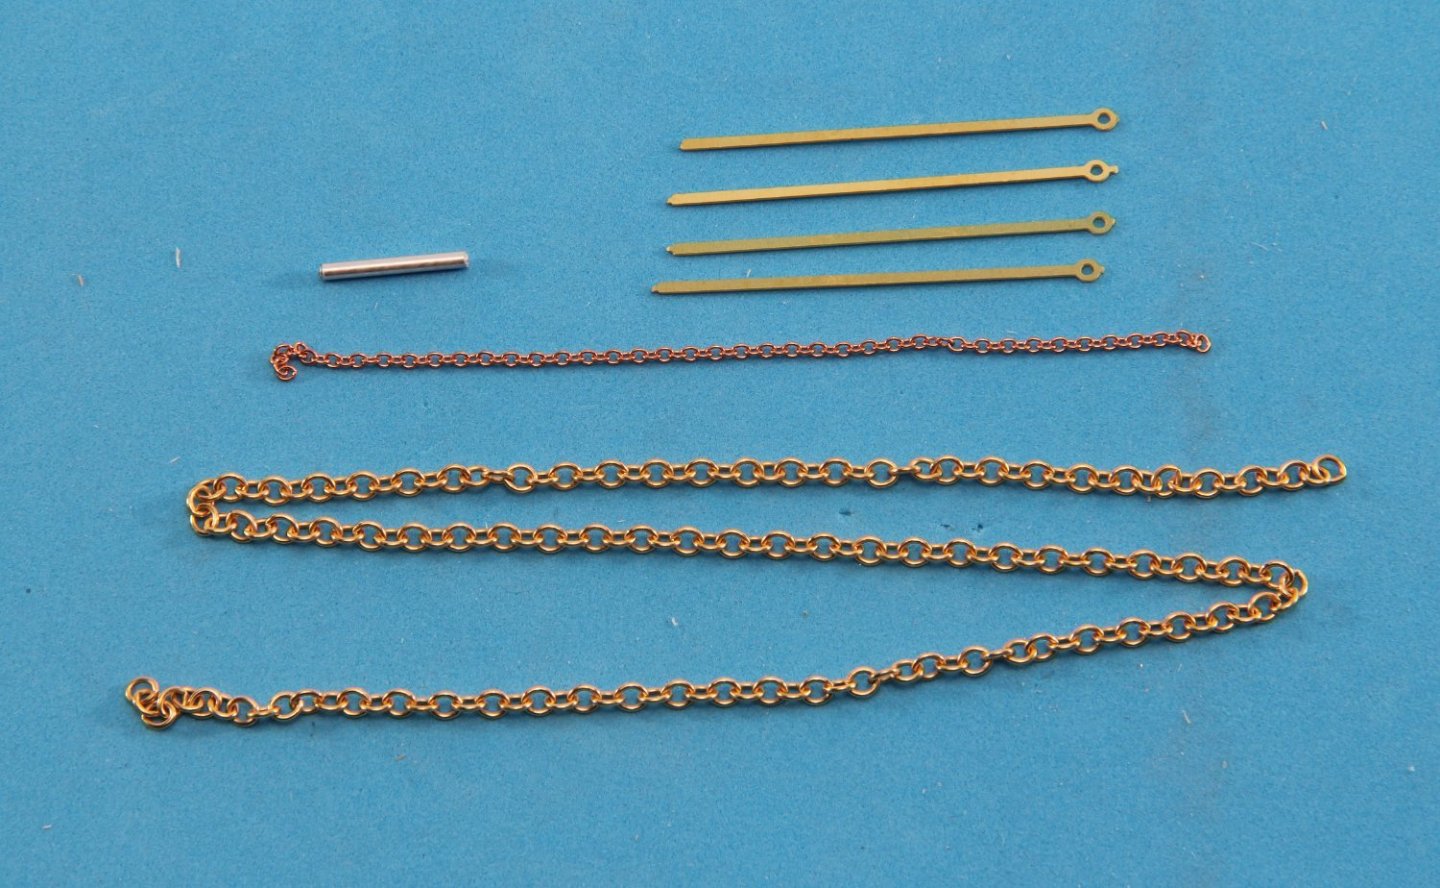
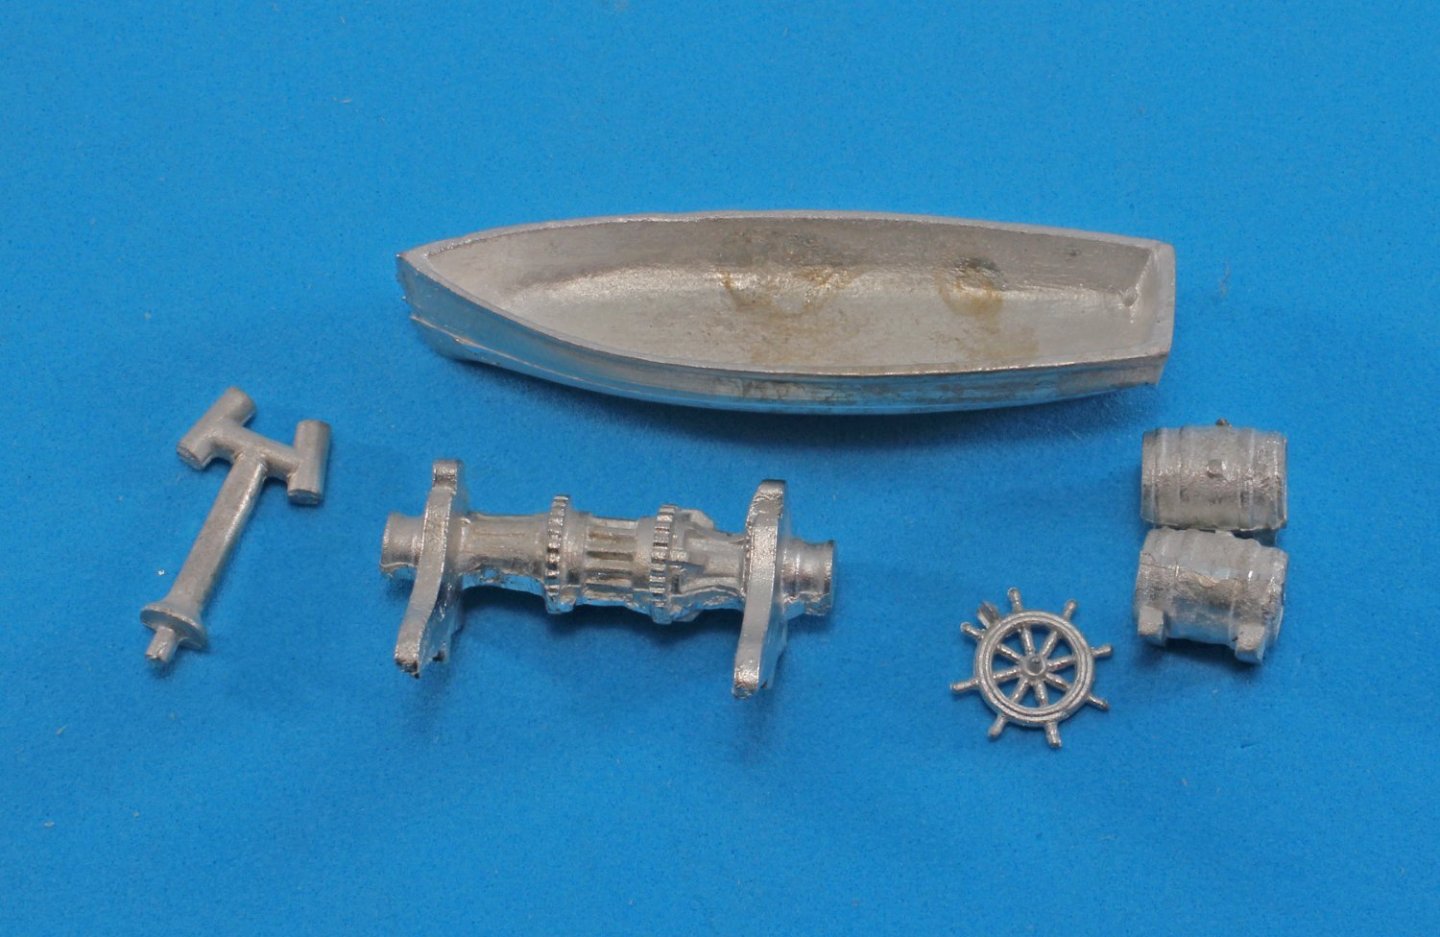
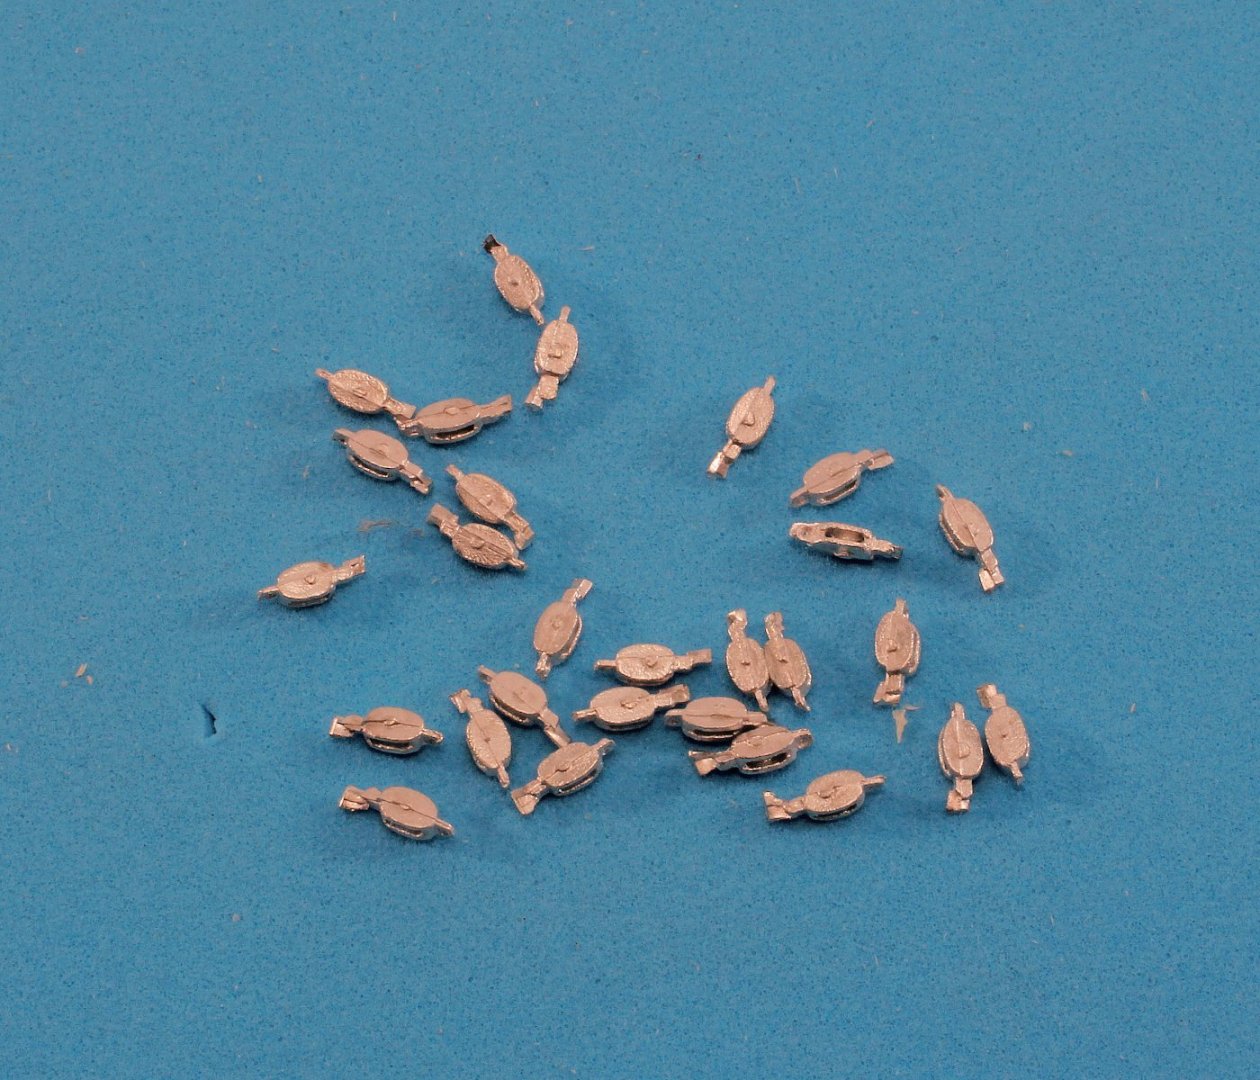
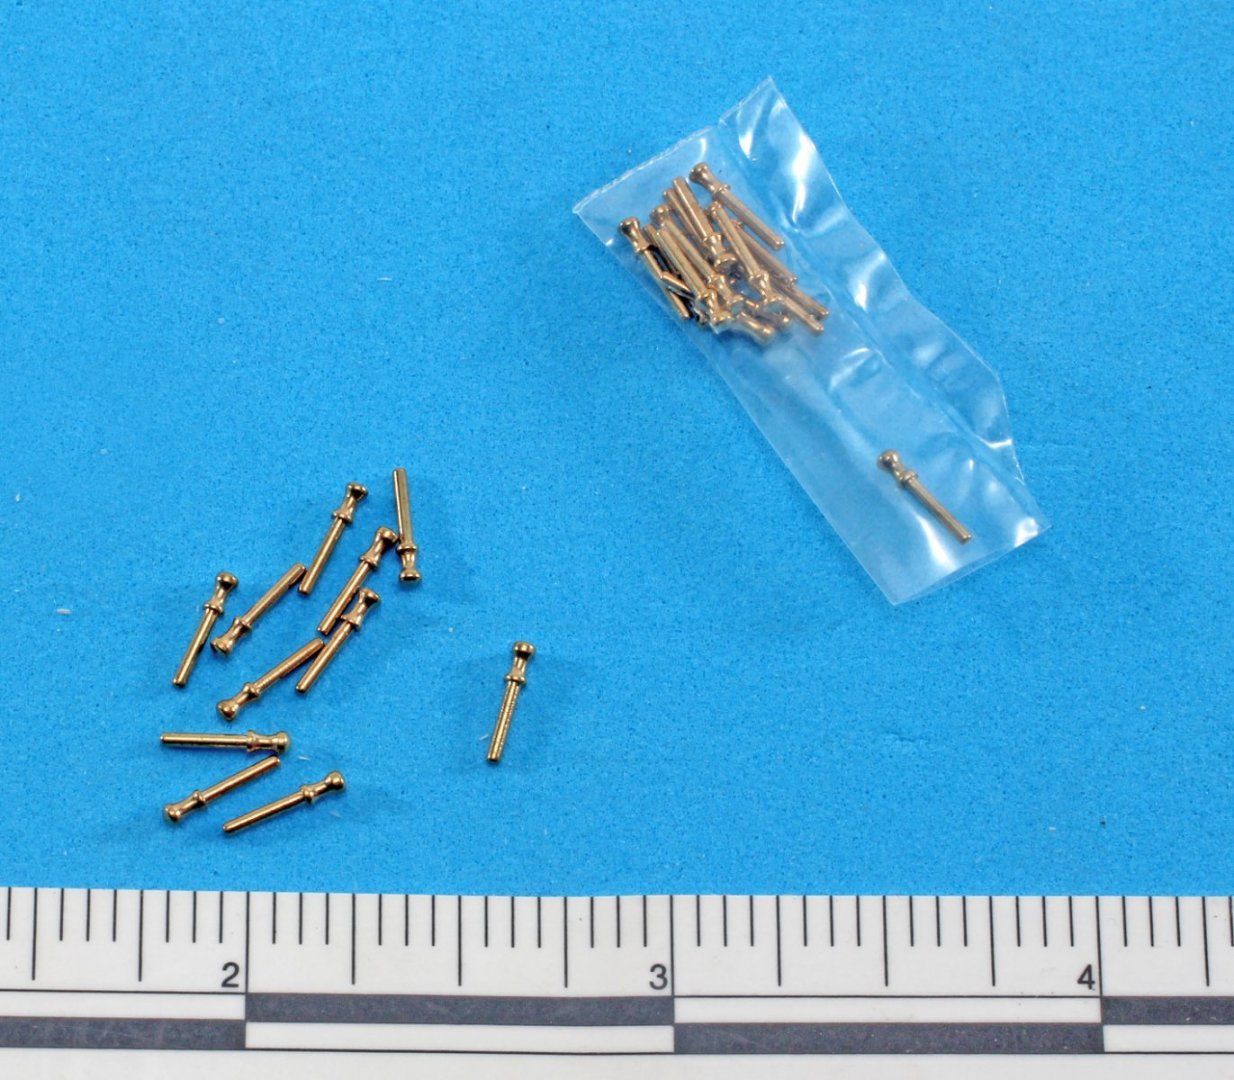
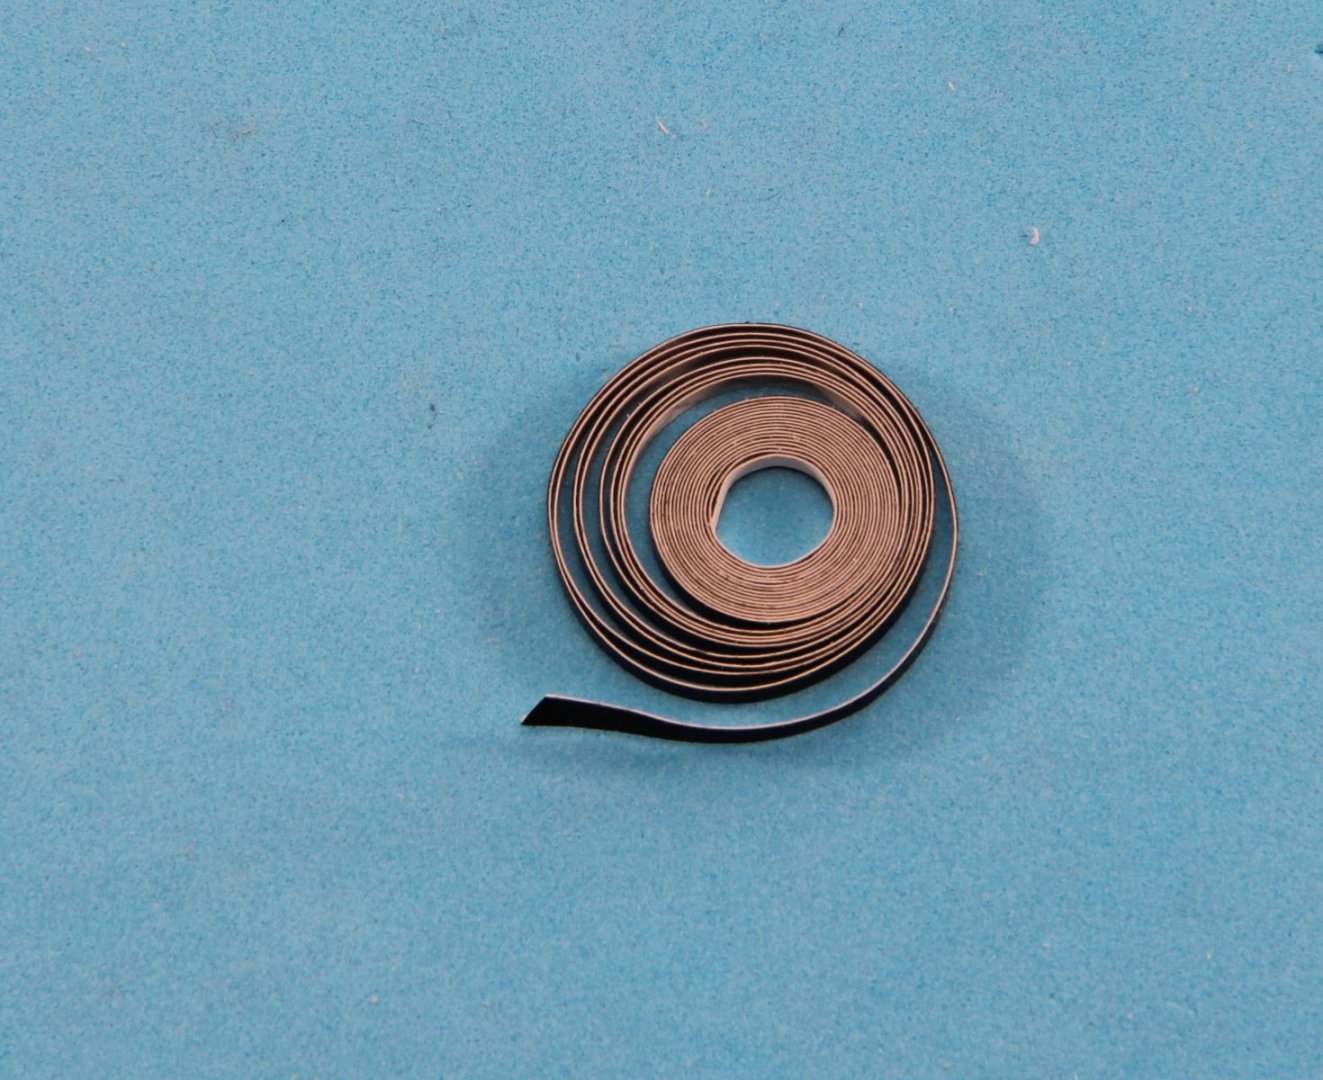
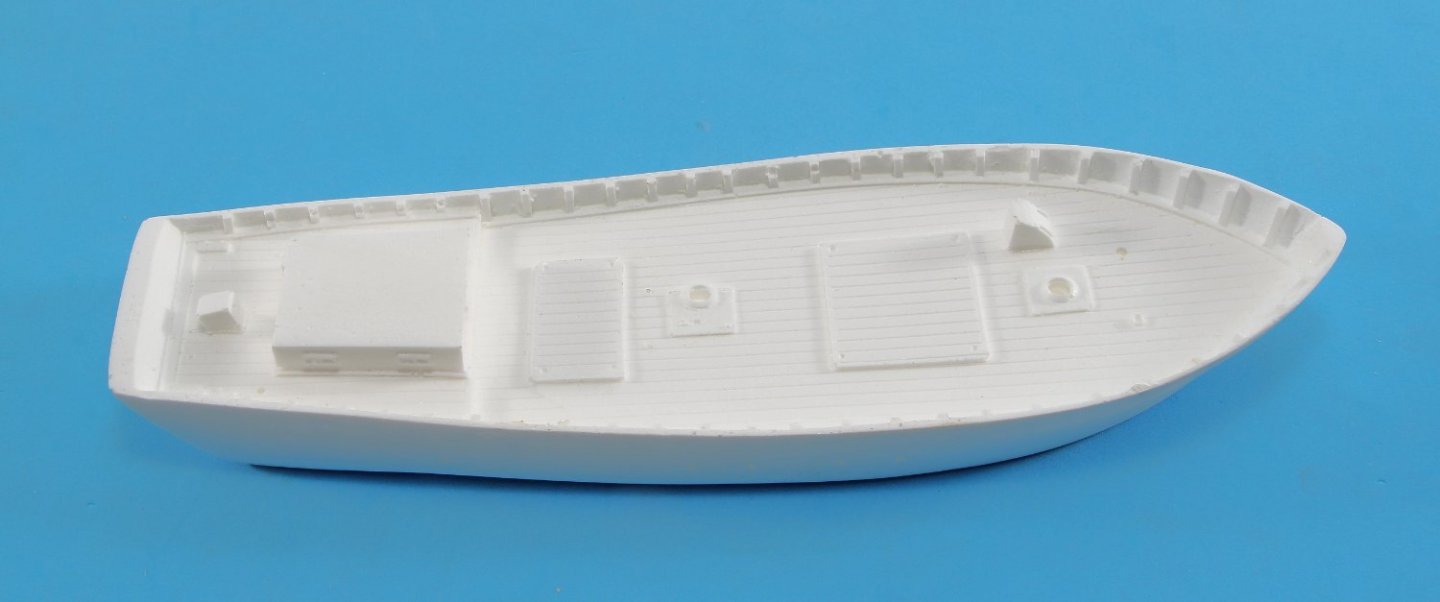
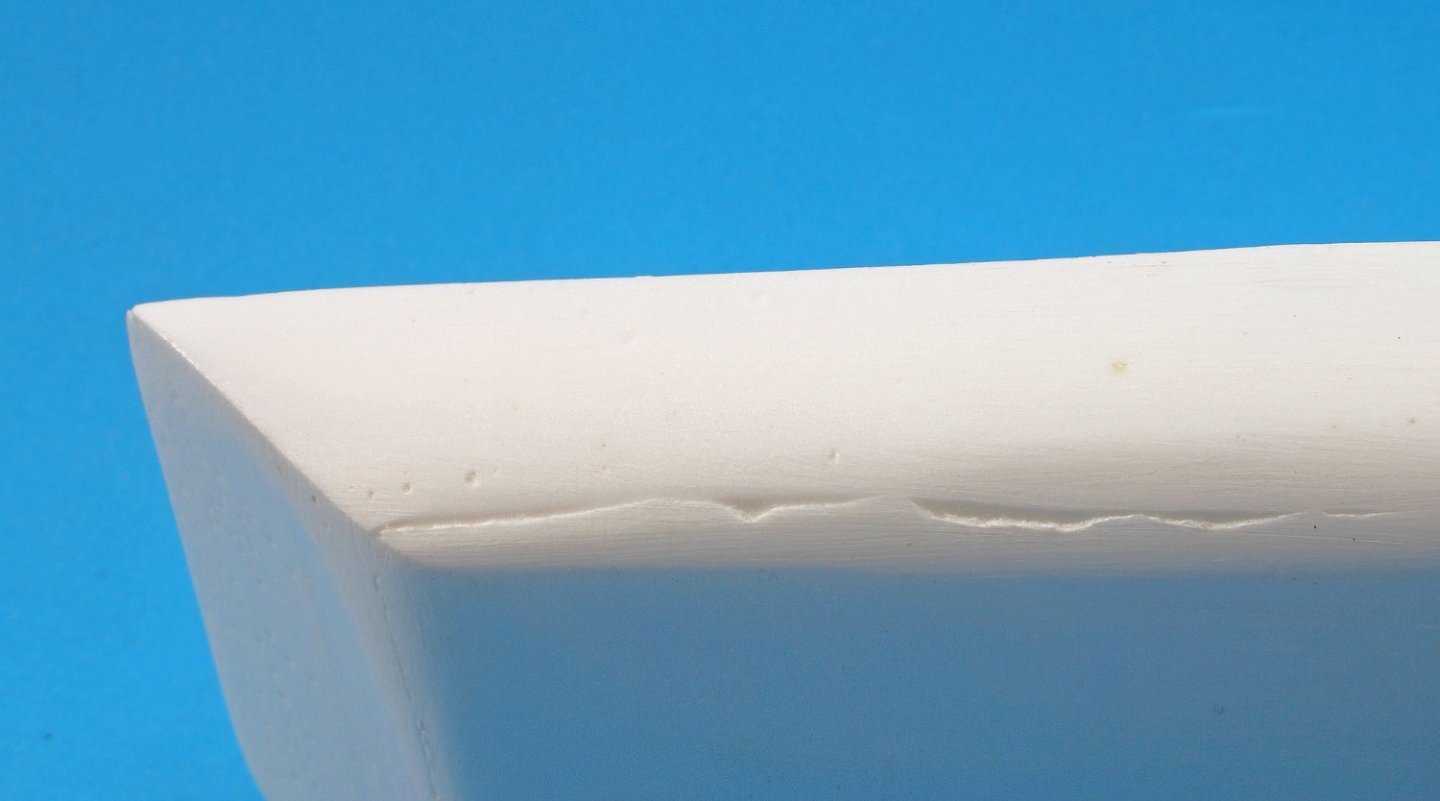
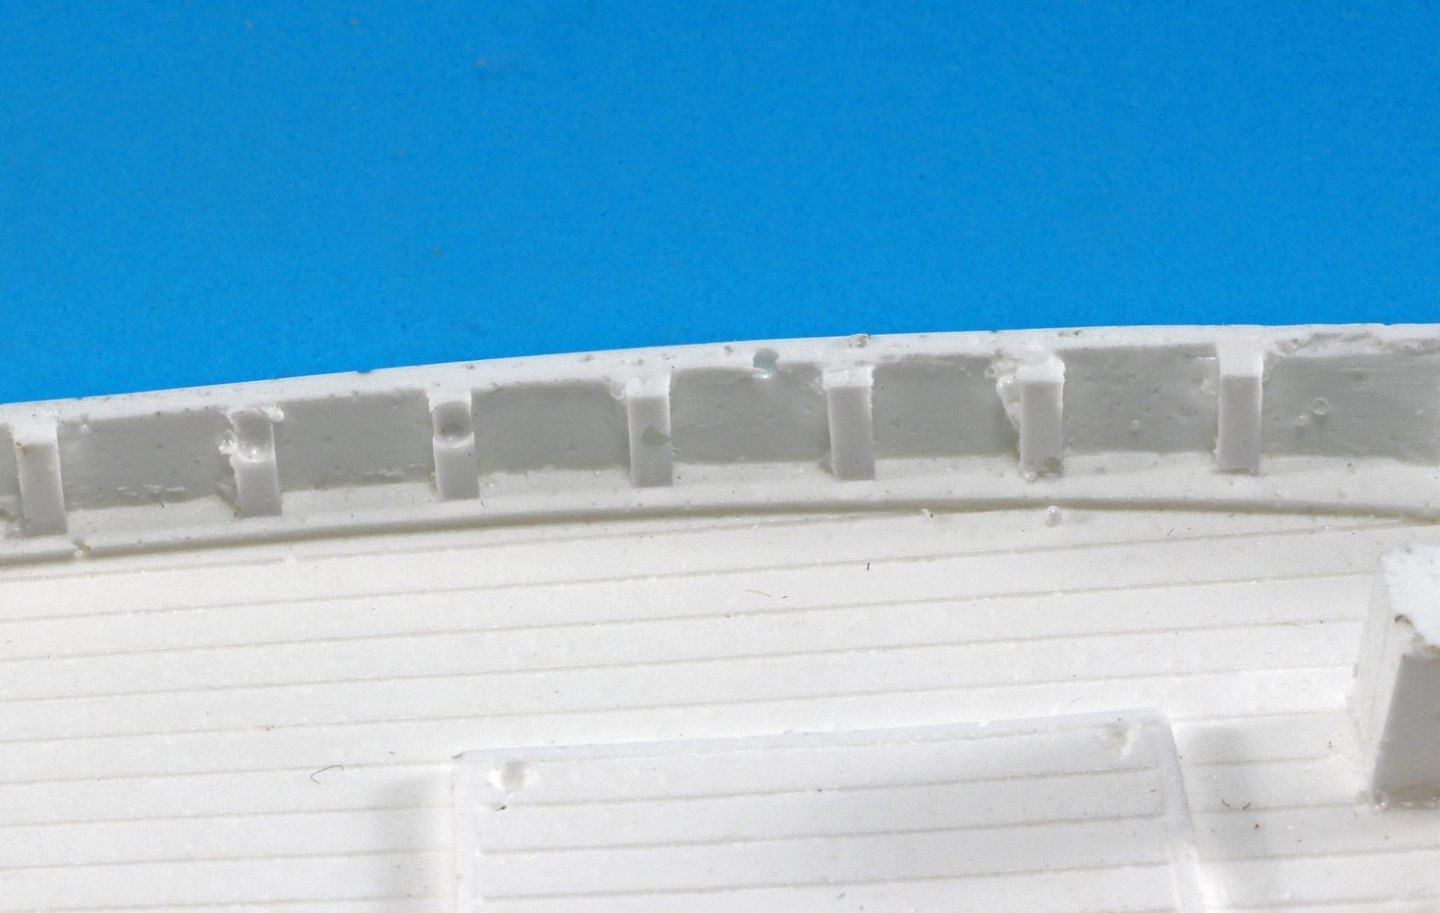
REVIEW OF BLUEJACKET'S – ELLIE MARA KIT #1115 Scale: 1/87 - HO Scale Length overall: 15" Height: 12" Beam: 3 1/4" Skill Level: Upper end of their Ensign level. Cost: $124.00 Photo by BlueJacket HISTORY This kit is an HO scale waterline model of a late 19th century centerboard Maine coasting schooner. The model is based on the 72' GRACE BAILEY built in 1882 in Patchogue, NY by Gilbert Smith for Edwin Bailey and named after his daughter Grace Bailey. She was rebuilt in 1906 and renamed MATTIE. She was restored in 1989-1990 and was renamed back to the original name GRACE BAILEY the name she currently holds. She is still sailing in the "Windjammer" fleet providing sailing cruises along the coast of Maine. She was declared a National Historic Landmark in 1992 and is one of the four remaining two-masted wooden-hulled schooners, once the most prolific type in the American coasting trade. In keeping with tradition, the kit name of ELLIE MARA is the name of the daughter of BlueJacket's owner Nic Damuck. INSTRUCTION BOOK AND PLAN SHEETS The kit comes in a 16 3/4" x 6 3/4" x 4" box. A big box for a 10" long hull but some 12" long wood and Brass pieces and the folded plans make a longer box necessary. I suspect that this might be the smallest box BlueJacket stocks. PHOTO 1 The box requires a good amount of "packing paper" to fill the extra space. My review kit arrived in perfect condition attesting to careful packing. Upon opening the box and discarding all the packing papers I suggest that the next item to be removed after the hull, wrapped in bubble wrap is examined should be the instruction manual. PHOTO 2 Open it to the last page of the manual with the parts lists. Use the two pages of parts to do an inventory of the kit to make sure you have everything accounted for. PHOTOS 3 & 4 The manual is a total of 16 pages, printed double sided. Besides the two pages of part lists there are four pages with eight color photographs of the completed model. All areas and details of the model are shown in these photographs. PHOTO 6 PHOTO 1 PHOTO 2 PHOTO 3 PHOTO 4 Pages two and three contain a very short history of the prototype boat, a listing of tools and materials needed, a couple of tips to help with the build and a list of paints needed and where each is used. PHOTO 5 Pages four through ten are the actual instructions with very clear descriptions of how to build the model. Bold type is used for NOTES and CAUTIONS to make it clear to the modeler to pay attention to them. There are no drawings or photographs within the well written instructions area but with the plan sheets and the color photographs in the manual they are, in my opinion, not needed. The two plan sheets are 24" x 36" and there is color used on each sheet to make some details clear and the rigging very easy to follow. PHOTO 5 PHOTO 6 THE KIT PARTS The parts are all contained in sealed clear plastic "bags". I removed the parts from the kit "bags" to be able to photograph the parts due to the difficulty in seeing the parts while in the "bags". They are very well sealed to prevent loss in shipping and being able to count them while doing the inventory. PHOTOS 7 & 8 PHOTO 7 PHOTO 8 The laser cut wood piece and the two pieces of laser board are in a plastic bag together. Laser board is coming into use for parts in model ship building but the model railroaders have been using it for some time. The following link to the subject "Laserboard, what material and where to get it" here on MSW is below. https://modelshipworld.com/topic/15915-laserboard-what-material-and-where-to-get/?tab=comments#comment-781873 I think the use of the 0.035" (scale 3") Laserboard for the cap rails is a perfect use for this material as it is smooth, grain less, and it bends to the shear with no force required. It is also used for the cabin roof. The sheet of 0.015 (scale 1.3") is used for the mast hoops, the ships boat's floorboards and cap rails. The 0.015" laser board does the job better than most modelers, me included, could do with wood in this dimension. PHOTOS 9 & 10 PHOTO 9 PHOTO 10 The rigging line is provided in three sizes 0.005", 0.010" and 0.020" in black and 0.010" in white. PHOTO 11 PHOTO 11 There are two sizes and lengths of chain provided. A 3" piece of small links for the Bobstay and a 12' piece of larger links for the anchor chains. Also shown are four brass chain plates that are used in the construction of the two davits. PHOTO 12 PHOTO 12 CAST BRITANNIA PARTS PHOTO 13 shows one of the three type/size of blocks provided. There are six stropped 3/32" double blocks, six stropped 1/8" double blocks and 30 stropped 1/8" single blocks provided. PHOTO 13 PHOTO 14 shows the ships boat, galley stack, windlass, ship's wheel and two casks. PHOTO 14 PHOTO 15 shows the hawse lips, running lights, two sizes of stropped deadeyes, and two bilge pumps. PHOTO 15 PHOTO 16 shows the anchors, shackles, anchor stocks, double bitt, two wide Britannia strips and four narrow Britannia strips. PHOTO 16 Not shown are 12 deadeyes – once you have seen one deadeye you have seen them all..right? Actually, I left these in the original "bag" for safe keeping and they do not show well in a photograph. WOOD: STRIPS AND DOWELS The strip wood consists of three sizes of plain strips and two pieces of single bead strips of bass wood. There are three sizes of wood dowels with two of birch and five of bass. PHOTO 17 PHOTO 17 BRASS PARTS The 26 Brass belaying pins are very nicely proportioned and flawless. Be careful when you open the "bag" containing these parts – they are tightly packed and good luck if you drop one in the carpet. PHOTO 18 PHOTO 18 There is a single photo etch fret containing eyepins. Leave them on the fret until needed. PHOTO 19 PHOTO 19 MISCELLANEOUS PARTS Miscellaneous parts are the decal with the ship's name PHOTO 20 and a three-foot-long roll of black tape PHOTO 21. PHOTO 20 PHOTO 21 A 1/2" piece of 1/6" aluminum tube is provided and shown in PHOTO 12. THE RESIN HULL The hull is shown in PHOTOS 22, 23 and 24. PHOTO 22 shows the entire hull and PHOTOS 23 and 24 show close ups of details. Overall, the casting is good. It is the rare resin cast hull that does not have numerous voids caused by air bubbles in the resin and this hull has several such voids. However, they are all able to be fixed easily. There are also a couple of shallow longitudinal voids in the sides of the hull – again, easily fixed. The hull is without distortion, and it sits flat on its bottom. The next hull may have many less voids, or it might have more. Each will vary and if the number of voids or the size of the voids will present an actual problem, the manufacturer will not sell the casting. PHOTO 22 PHOTO 23 PHOTO 24 Telling how to fix defects in the hull is not a usual part of a kit review, but so modelers reading this review who have not made a resin based kit are not dissuaded from buying this kit, I think its worth explaining that its no big deal to make the kind of repairs this hull needs. PHOTO 24 shows the port side. To fix the voids in the stanchions and bulwarks is a simple matter of using a filler material to fill in the void. Use a flat faced tool to square off the faces of the stanchions and let it cure. Sand if necessary and after removing the dust add more filler to fill in any shallow areas. Repeat this process as needed. The same procedure is used to fill the longitudinal voids shown in PHOTO 23. This type of void is easily filled. Use a putty knife type of tool to fill the voids with filler. After the first application cures, sand the area knocking down the high points of the filler and after removing the dust apply an additional coat to fill in the shallow areas. Repeat as needed. CONCLUSION In my opinion this kit is a good product. The instructions, plans and photographs work together to provide adequate guidance in building and finishing the model. It's reasonably priced for the intended skill level and the parts supplied give the modeler what he/she needs to make a very nice model that can be displayed in a place of honor in the home. I think the kit is a good starting point for a more advanced modeler to do some upgrading by substituting some parts with scratch-built pieces making it into a unique model. END
-

NRG VIRTUAL WORKSHOP
kurtvd19 replied to kurtvd19's topic in NAUTICAL RESEARCH GUILD - News & Information
Yes it will. We post all the Workshops for members. It will take a bit of time as we have one guy who can do the posting and he's real busy with his work right now. We will let members know when it is posted. -

NRG VIRTUAL WORKSHOP
kurtvd19 replied to kurtvd19's topic in NAUTICAL RESEARCH GUILD - News & Information
Thank you to the 135 who showed up yesterday to the Virtual Workshop. Your attendance means a lot to the Guild and the speakers. The many questions during and following the presentations showed you were listening and coming up with well thought out questions. Some of the questions will a help in making some additions of information to address those questions in the future. Very satisfying to the speakers as they showed you were listening attentively. Take care, Kurt -
Dear Ship Modelers, Thank you everyone who has participated in the Sea Watch Books experience and for helping it become a world-known publishing company. I have enjoyed working with SeaWatchBooks and have appreciated everyone’s efforts in making the company grow. SeaWatchBooks has been sold, and I know will continue to grow and support the modeling world. The new owner is Mike Ellison. Mike has been building models since his youth starting with plastic kits (his first ship model was USS Enterprise, which he built at the age of 14). But, as is often the case with modeling, life intervened and college, professional, and family obligations took center stage for many years. He returned to modeling about 10 years ago and is now an avid wooden ship modeler (his MSW handle is Sonofasonofasailor). Mike graduated from Syracuse University in upstate New York in 1994 with degrees in Finance and Marketing. It was here where he met his wife Caroline and they got married a few years after graduating. After starting his career on Wall St., he had an opportunity to join his father in launching and building a marketing research firm, which has grown to nearly 100 people in New York City. His father is largely retired from the business and Mike plans to use his experience to continue to grow and build SeaWatch. He and Caroline currently reside in New Jersey and are soon to be empty-nesters. Their oldest son is a sophomore at Skidmore College and their daughter will be going to Connecticut College in the fall. I hope you will enjoy working with him in the future. And once again, thank you so much for being a part of my dream. Best wishes on your modeling, writing, publishing, and sailing. May the wind always be at your back. Bob Friedman Posted at the request of Bob Friedman
-

Painted waterline too thick
kurtvd19 replied to Dave_E's topic in Painting, finishing and weathering products and techniques
No need to retape. Using acrylics the port side should be OK to apply another coat when you finish the starboard side. Keep going from side to side until you have adequate coverage - do not brush towards the tape - go along the length - avoid a build up at the tape edge. -

Painted waterline too thick
kurtvd19 replied to Dave_E's topic in Painting, finishing and weathering products and techniques
When masking and using acrylic paints remove the tape ASAP to allow the paint to self level. When I say ASAP I mean within just a few minutes after you conclude the painting is done. I usually have the tape off well within 5 minutes after the airbrush is hung up. Also, if there is a slight ridge and the paint is dry to the touch you can drag the back side of a fingernail along the line where the two colors meet - sort of like burnishing but using a very light touch - it doesn't take much but the ridge will be be compressed a bit and the self leveling properties of acrylic paints will do the rest. Like Jan said above multiple thin coats will work better than a heavy coat. Kurt -
NRG VIRTUAL WORKSHOP SHARPENING SLITTING SAW BLADES FOR OPTIMAL WOOD CUTTING & PAINTING WATERLINES WITH MINIMAL MASKING Saturday, March 26, 2022 10:15 AM Central Time (11:15 AM Eastern, 9:15 AM Mountain & 8:15 Pacific) The NRG is inviting MEMBERS to a scheduled Zoom meeting. Topic: SHARPENING SAW BLADES & PAINTING WATERLINES Bob Filipowski will demonstrate and explain a way to sharpen slitting saw blades, so they cut wood better and easier. Your Preac saw is not underpowered if you sharpen your blades as Bob will show you. This technique will work for all saws using slitting blades. Kurt Van Dahm will show and explain how to paint waterlines with minimal masking and will provide masking tape tips to help you achieve a flawless waterline. PRE-REGISTRATION IS REQUIRED NRG MEMBERS - REPLY TO THE NRG OFFICE by 3-24-2022 – I will attend the March Workshop - with your name and email to nrghomeoffice@gmail.com There is some time before the workshop starts at 10:30 AM Central so everybody can get settled in. Please do not sign in before the start time shown. The workshop will be recorded so we ask all to observe the microphone muting requirements. Unmuted microphones can cause problems for the audience. Sorry, but if your microphone is unmuted and causing a disruption, we will have to drop you out of the meeting – when you rejoin be sure you are muted. Please note that we will ask for attendees to turn off their cameras and their microphones after joining the meeting. The speaker will explain when questions can be asked. When asking a question your microphone can be unmuted but please mute it again after asking your question. Registered members will be sent the required link to the ZOOM meeting on Friday, March 25, 2022.
About us
Modelshipworld - Advancing Ship Modeling through Research
SSL Secured
Your security is important for us so this Website is SSL-Secured
NRG Mailing Address
Nautical Research Guild
237 South Lincoln Street
Westmont IL, 60559-1917
Model Ship World ® and the MSW logo are Registered Trademarks, and belong to the Nautical Research Guild (United States Patent and Trademark Office: No. 6,929,264 & No. 6,929,274, registered Dec. 20, 2022)
Helpful Links
About the NRG
If you enjoy building ship models that are historically accurate as well as beautiful, then The Nautical Research Guild (NRG) is just right for you.
The Guild is a non-profit educational organization whose mission is to “Advance Ship Modeling Through Research”. We provide support to our members in their efforts to raise the quality of their model ships.
The Nautical Research Guild has published our world-renowned quarterly magazine, The Nautical Research Journal, since 1955. The pages of the Journal are full of articles by accomplished ship modelers who show you how they create those exquisite details on their models, and by maritime historians who show you the correct details to build. The Journal is available in both print and digital editions. Go to the NRG web site (www.thenrg.org) to download a complimentary digital copy of the Journal. The NRG also publishes plan sets, books and compilations of back issues of the Journal and the former Ships in Scale and Model Ship Builder magazines.


