


rafine
-
Posts
2,932 -
Joined
-
Last visited
Content Type
Profiles
Forums
Gallery
Events
Posts posted by rafine
-
-
Thanks so much Nils, Terry and the "likes".
Bob
-
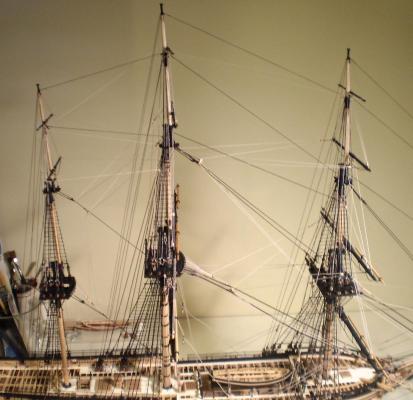
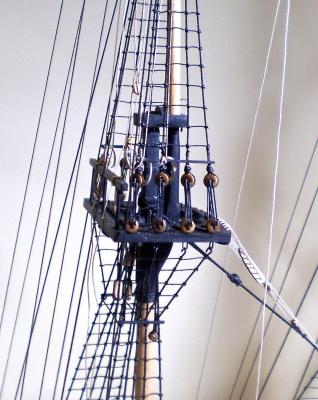
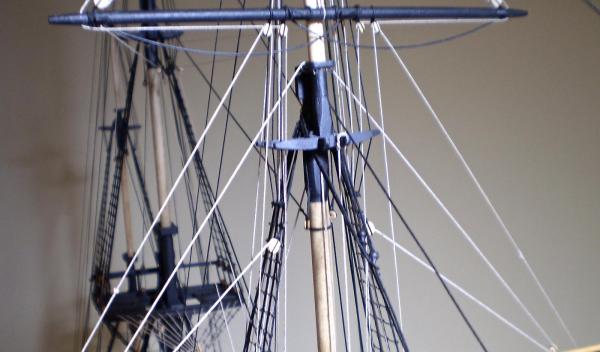
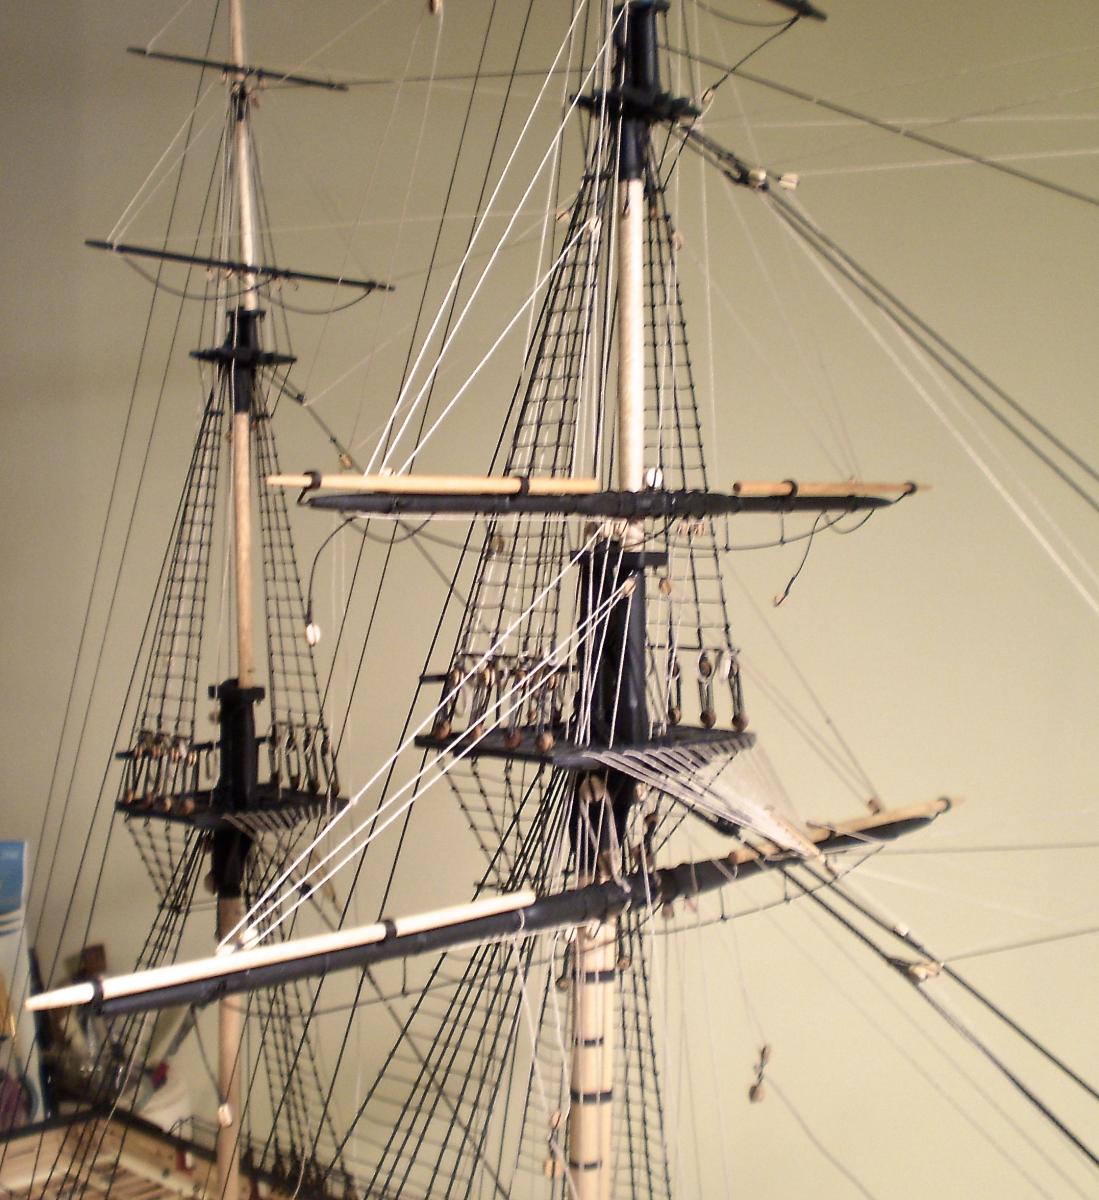
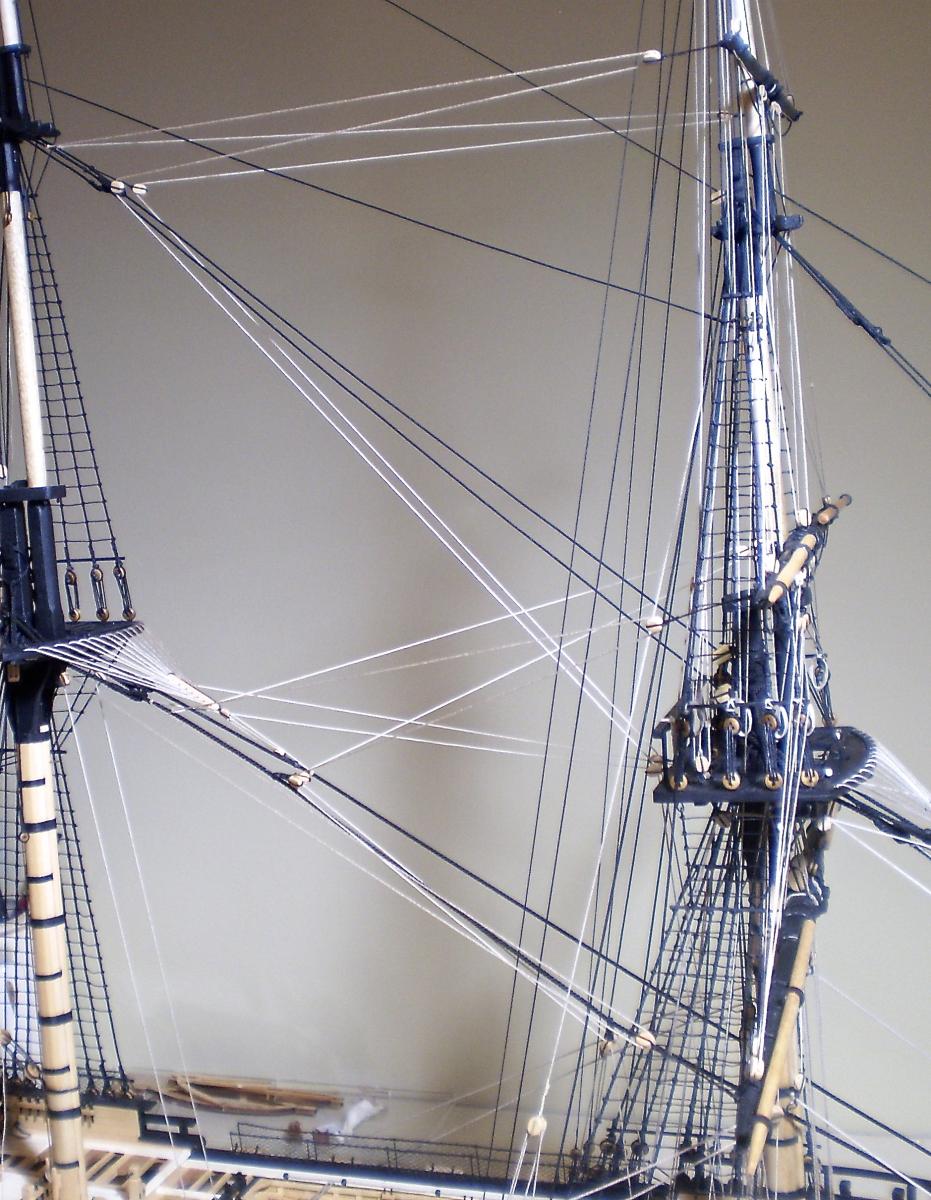
I've now done the main lower and topsail yards and their rigging. The making of the yards was identical to that shown for the comparable fore yards. The rigging was also very similar, although the increasingly tight spaces in which to work have made the process slower and more difficult.
With this work, the main mast is now complete, except for a few lines that seem better left until the mizzen is done ( topsail and lower braces, lower sheets). I'm now making the mizzen topsail and lower yards and the boom and gaff. The end is in sight.
Bob


-
-
Tim:
The original kit bulkheads were all one wood, but were terrible in every way: completely wrong in both size and shape; plywood too thick; not fully laser cut etc.
The castings were as you show them and largely unusable, as you say. I scratch built the stern galleries and got a carved figurehead from Janos. I ended up using the cannon barrels (with a fair amount of work) because I couldn't find anything in the correct size and didn't choose to scratch build them and I used the wheels. I'm looking for a lantern now (sadly, Chuck's are too big).
Bob
-
-
Nils, your rigging is simply amazing.
Bob
- Mirabell61 and Omega1234
-
 2
2
-
-
-
She not only looks like a ship Joe, she looks like a really beautiful ship. Great work.
Bob
- gjdale, jwvolz, CaptainSteve and 1 other
-
4
-
-
Thanks so much Janos and the "likes".
Bob
-
Thanks so much to all of you for the overly generous comments and for the "likes". It's just what I need to keep the arthritic fingers moving

 .
.Tim, I'm very curious as to just how much change ME has made to the kit. I'd be as much concerned about the drawings as the parts.
Bob
- mtaylor, augie, Mirabell61 and 1 other
-
4
-
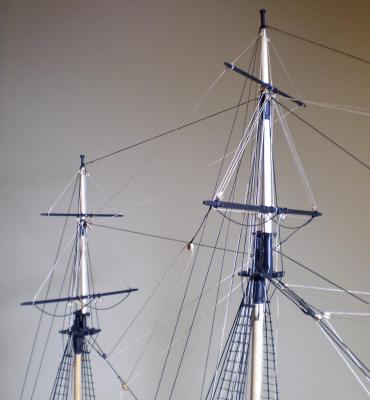
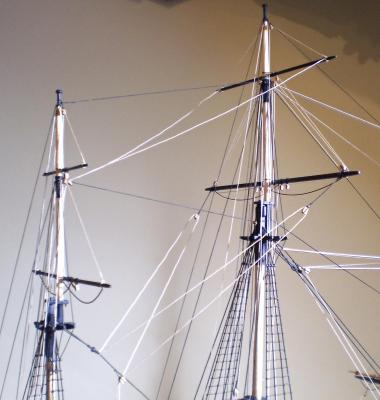
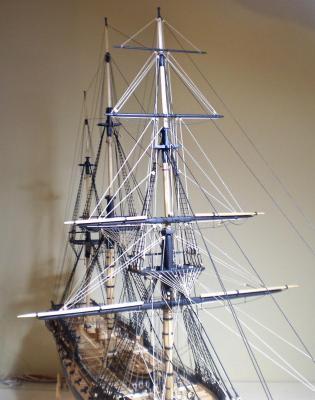
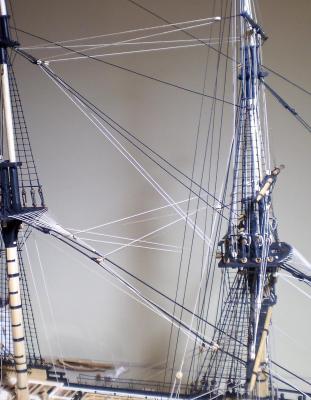
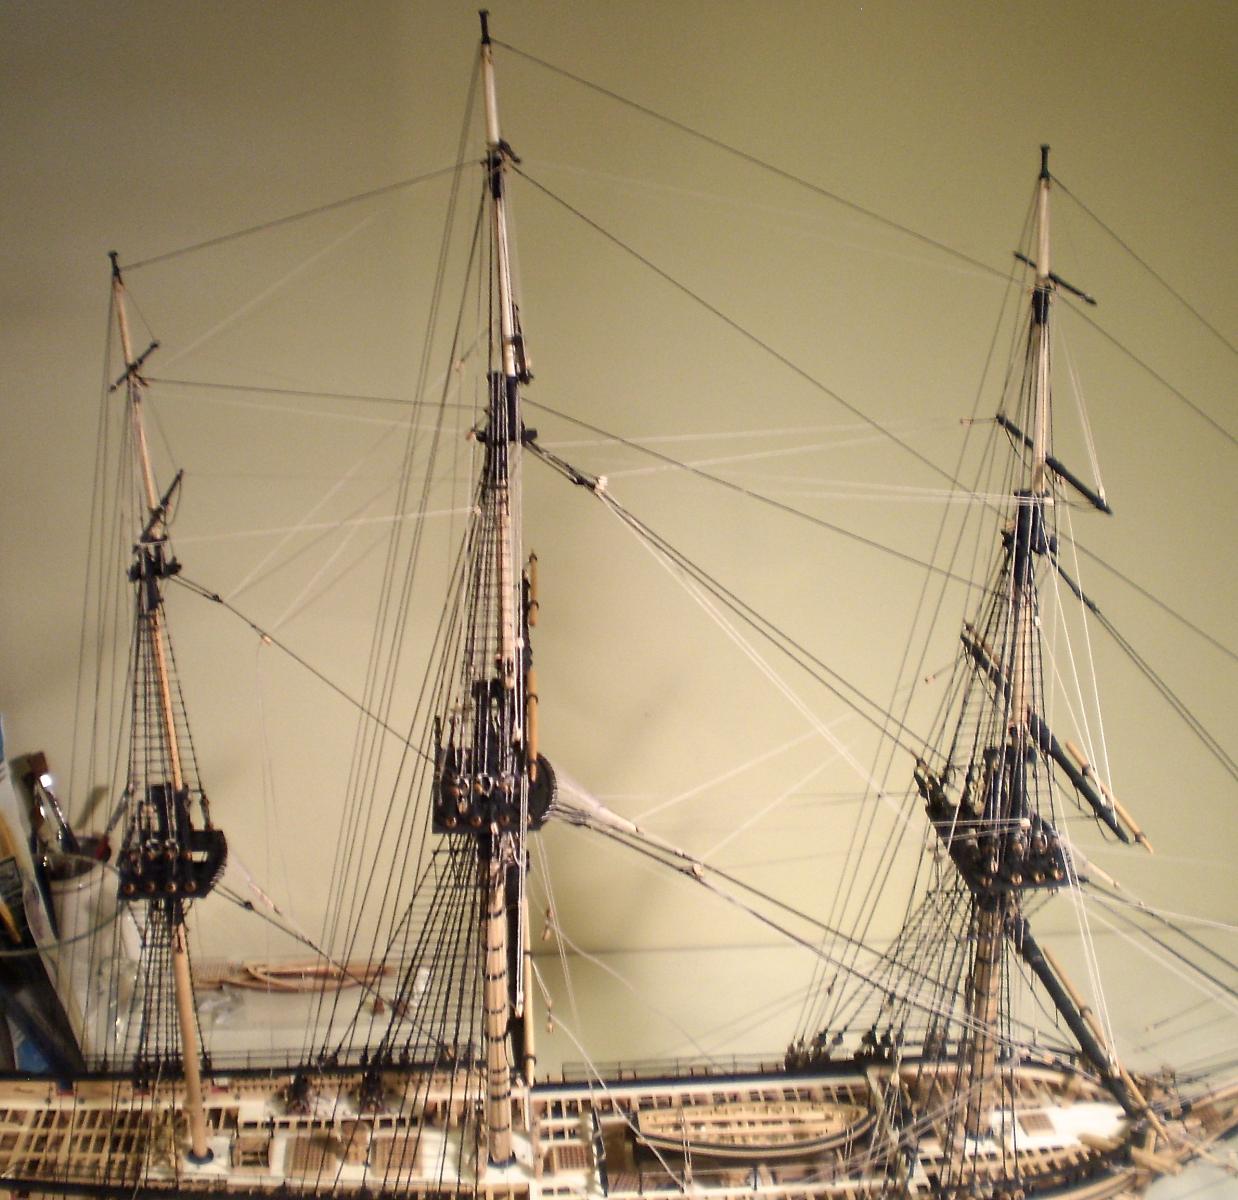
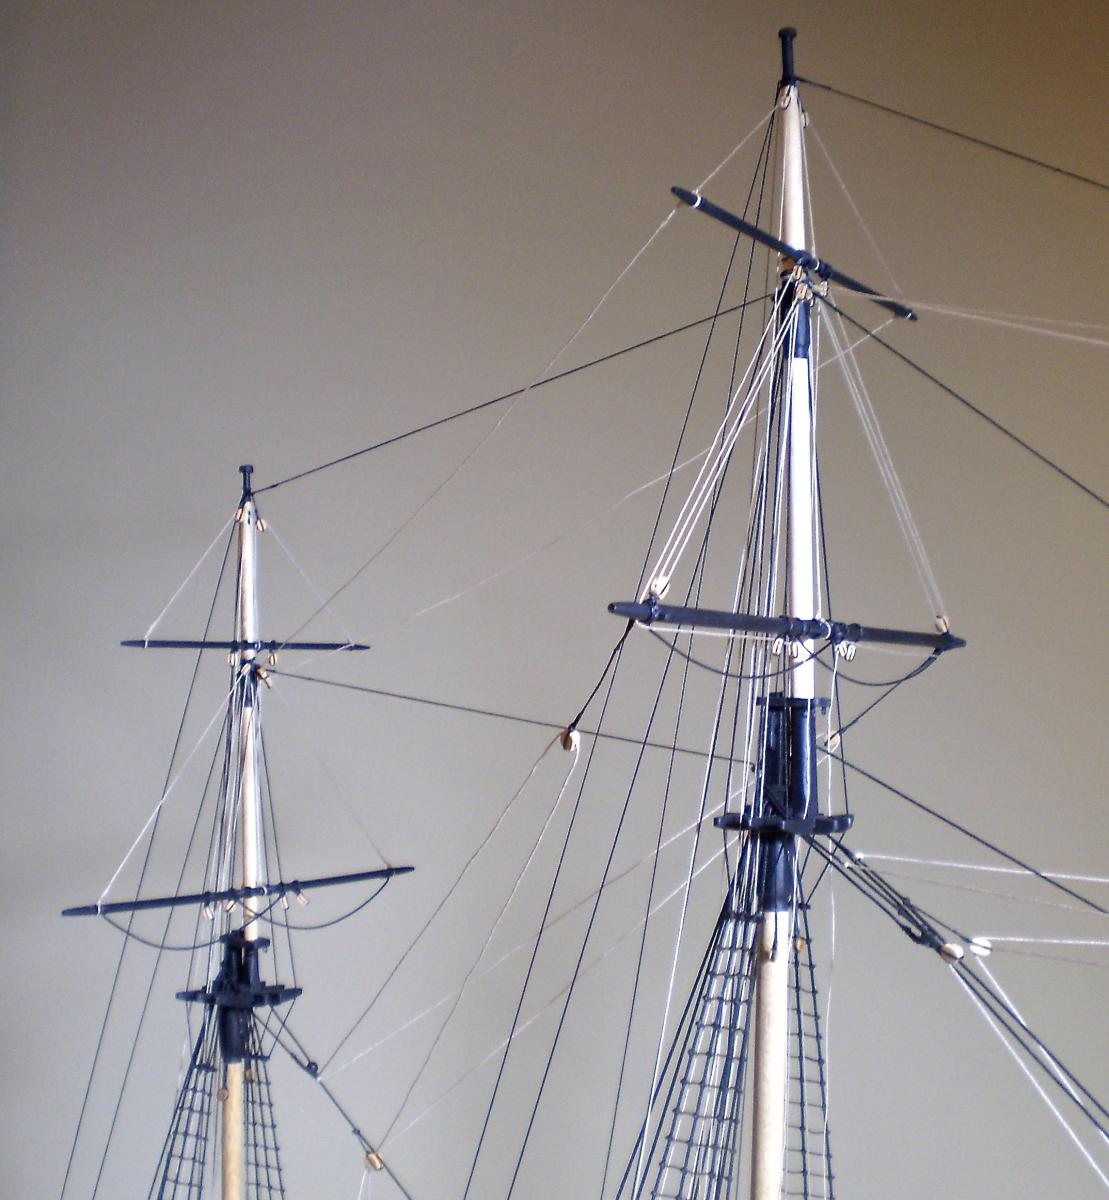
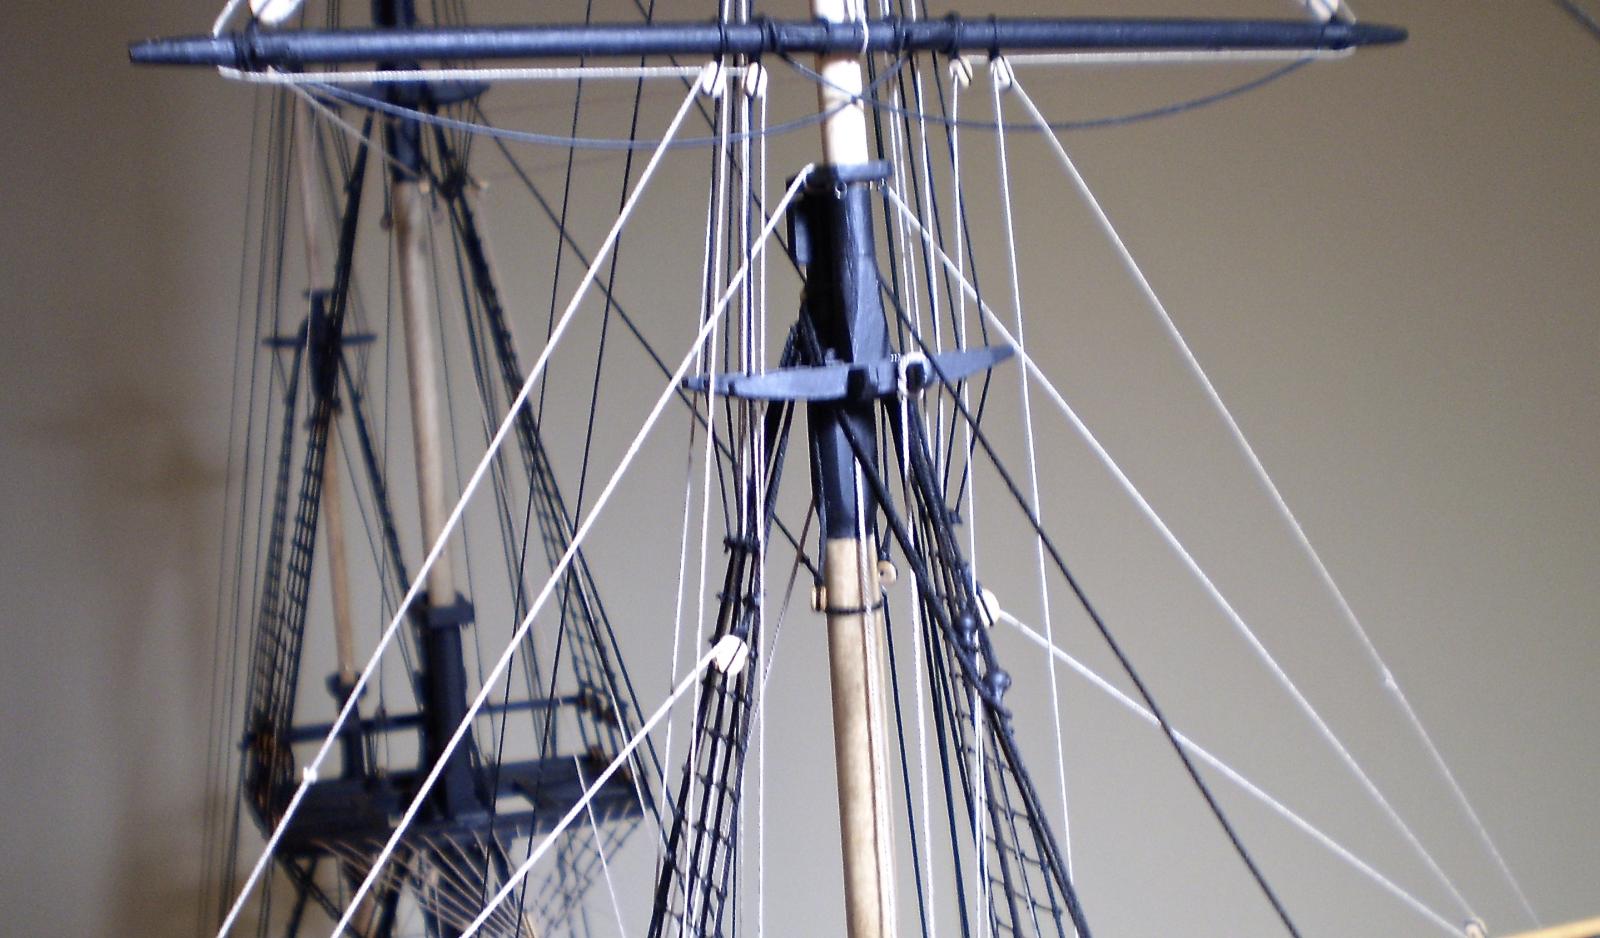
The end of this journey is now in sight, although not yet just around the corner.
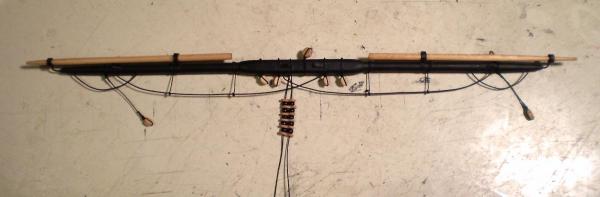
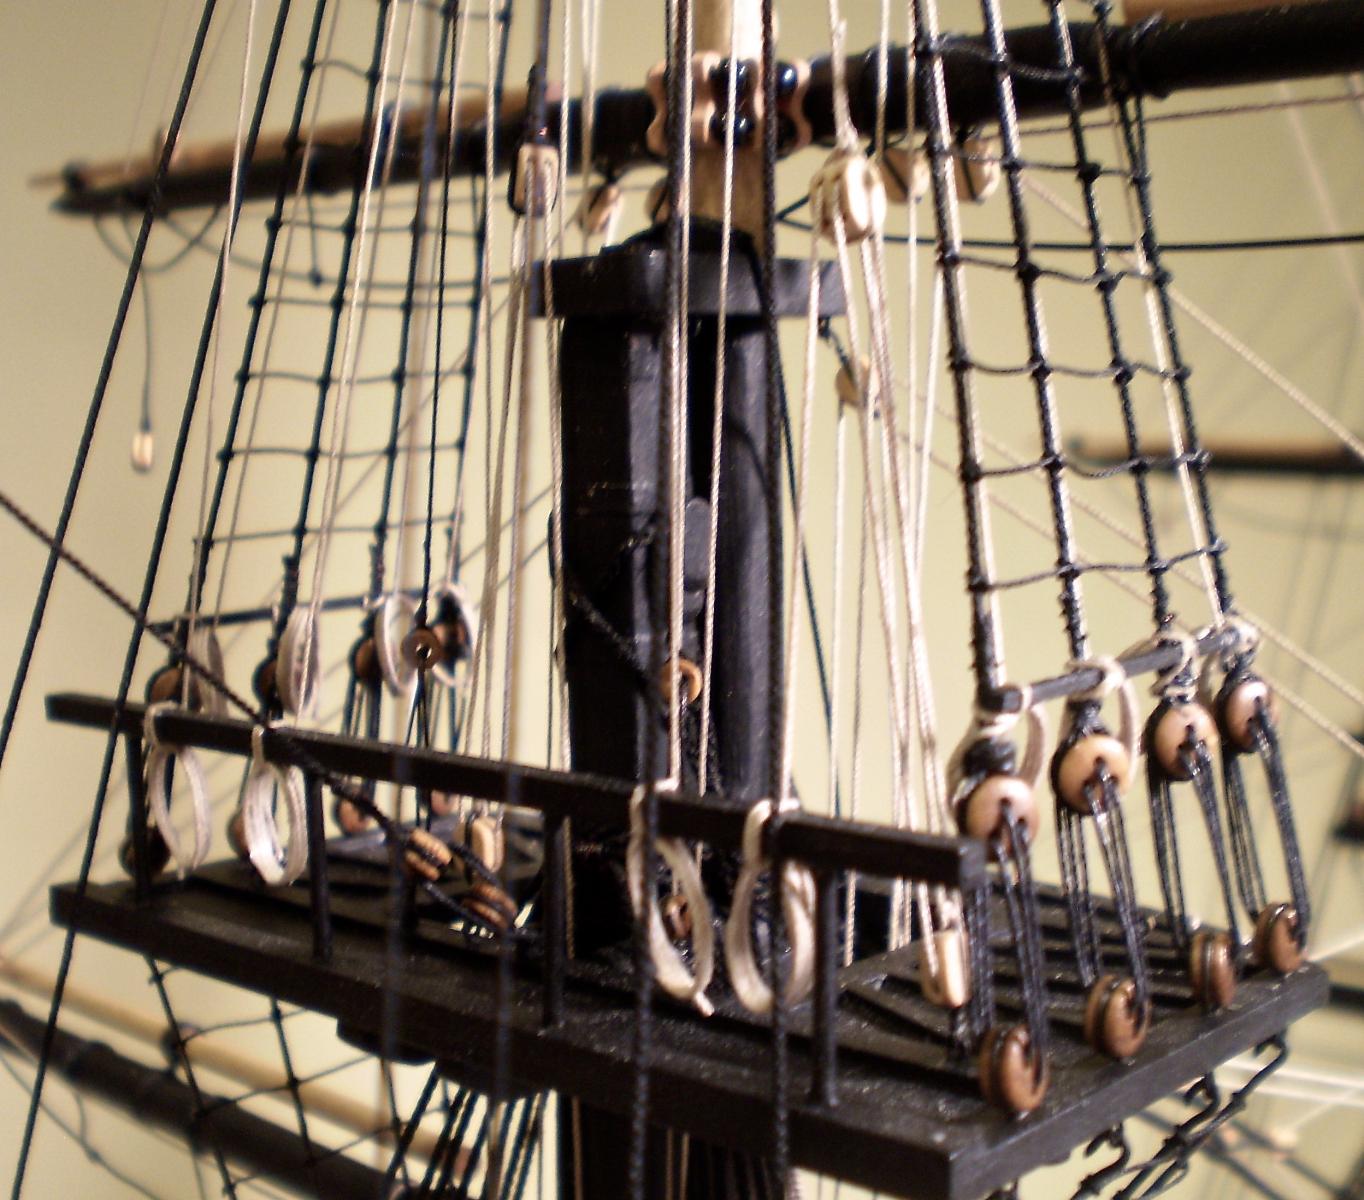
I decided to do the topgallant and royal yards on both the main and mizzen masts at the same time. I made this choice because of the criss-crossing of braces between them and the tightness of the space. I think it was a good choice. Work in this area has not been completed because I ran out of some rigging line and blocks and am awaiting my next delivery from Chuck (they come quickly). In my haphazard way of planning, I consistently and continually underestimate my needs for line and blocks and have to order more. In any event, this seemed a good time for an update showing current progress.
Upon arrival of my delivery, I will complete work on the rigging of these yards and then move on to the topsail and lower yards, as well as the boom and gaff.
Bob
-
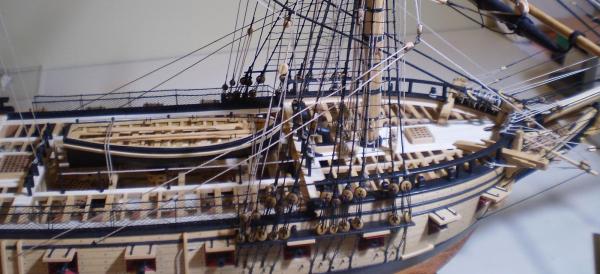
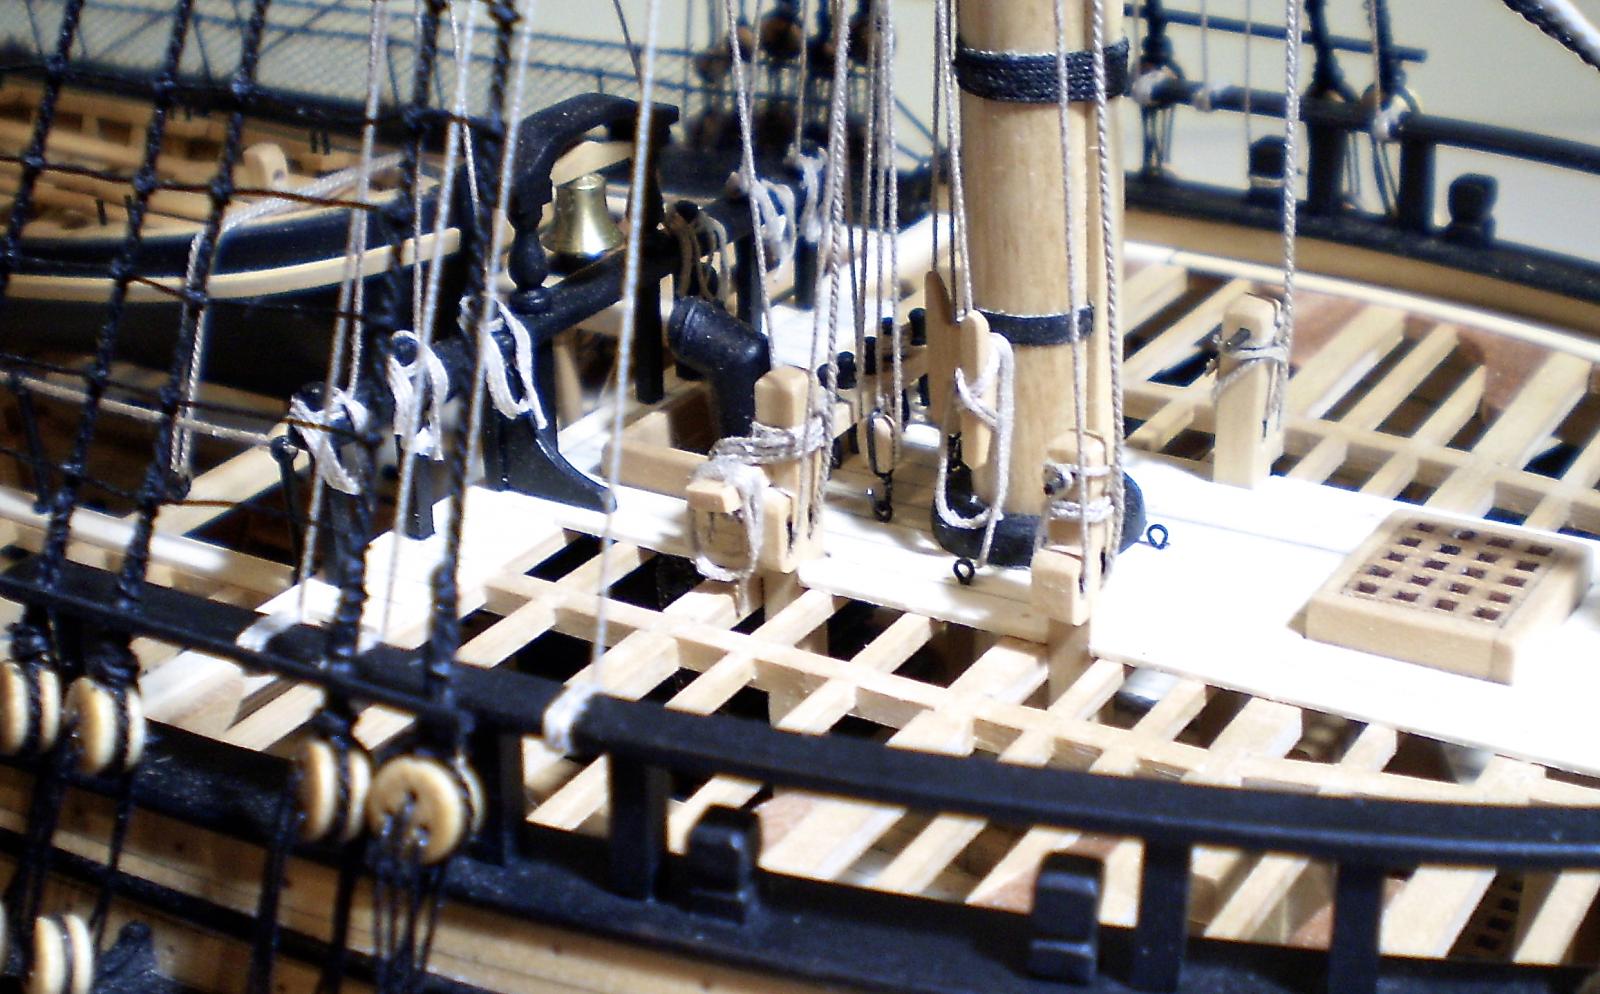
While I have no problem with bringing greater clarity and definition to the categorization of builds on MSW, I remain confused over just how that would be done here. Taking my current Essex build as an example, I still have no idea how you would classify it. I started with the kit plans and framing, but had to significantly modify the framing and disregard the plans. I replaced all of the visible wood, scratch built virtually all of the deck furniture and fittings ( but used some kit items like gun barrels) and added considerable detailing. I then added scratch masting and rigging to a kit model that was not designed for it. What have I got? I've called it "kitbashed".
Truthfully, I enjoy what I do and don't particularly care what label it is given, but I would be happy to adhere to any categorization that most could agree upon.
Bob
-
-
A great big "WOW" Nils. It looks terrific.
Bob
-
-
Thanks so much Sjors.
Bob
-
Thanks so much Larry. It was a fun build and a nice, manageable way to get into a framed scratch build. Go for it.
Bob
-
Thanks so much Gary, Grant, Ken, Thomas, Terry and the "likes". I am blown away by the praise and support.
Gary, you make me wish that I were more confident that I've gotten some of it right.
Terry, I'd be happy to accept.

Bob
-
Thanks so much Rusty, Scott, Augie, Nils. Tim and the "likes". Your comments are very generous and greatly appreciated.
Bob
-
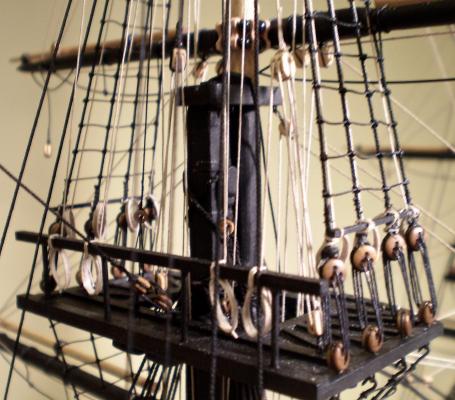
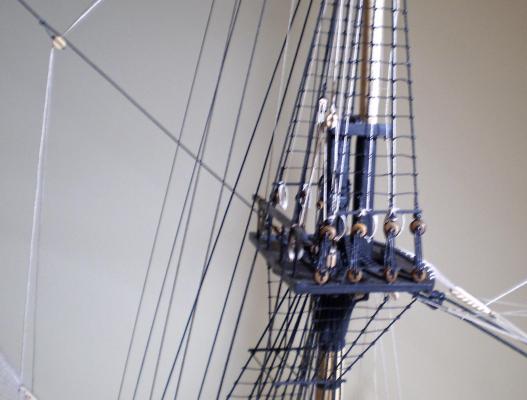
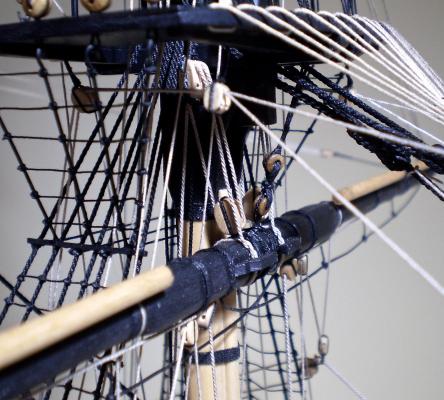
It's taken me a bit, but I've now finished the yards and rigging of the fore mast. Aging eyes and hands, combined with small scale, have made this a slow and difficult task.
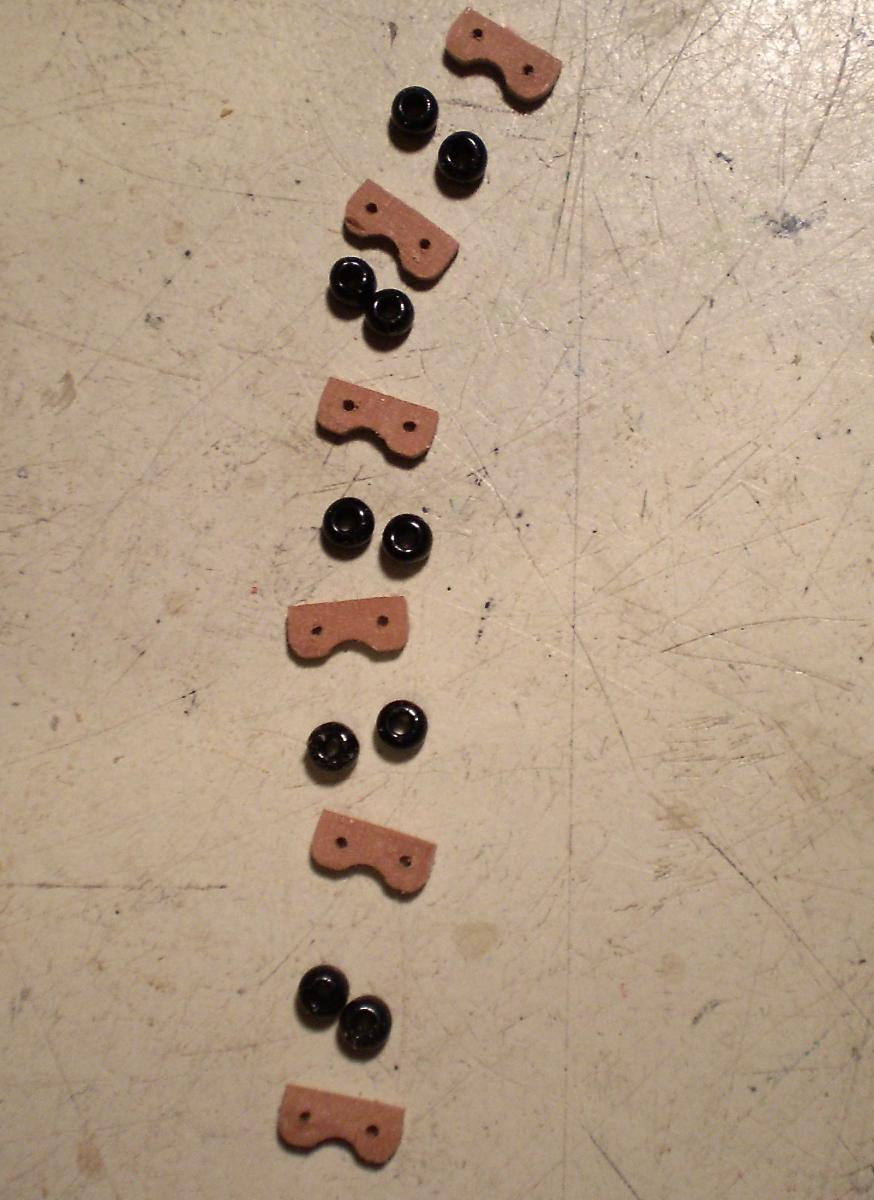
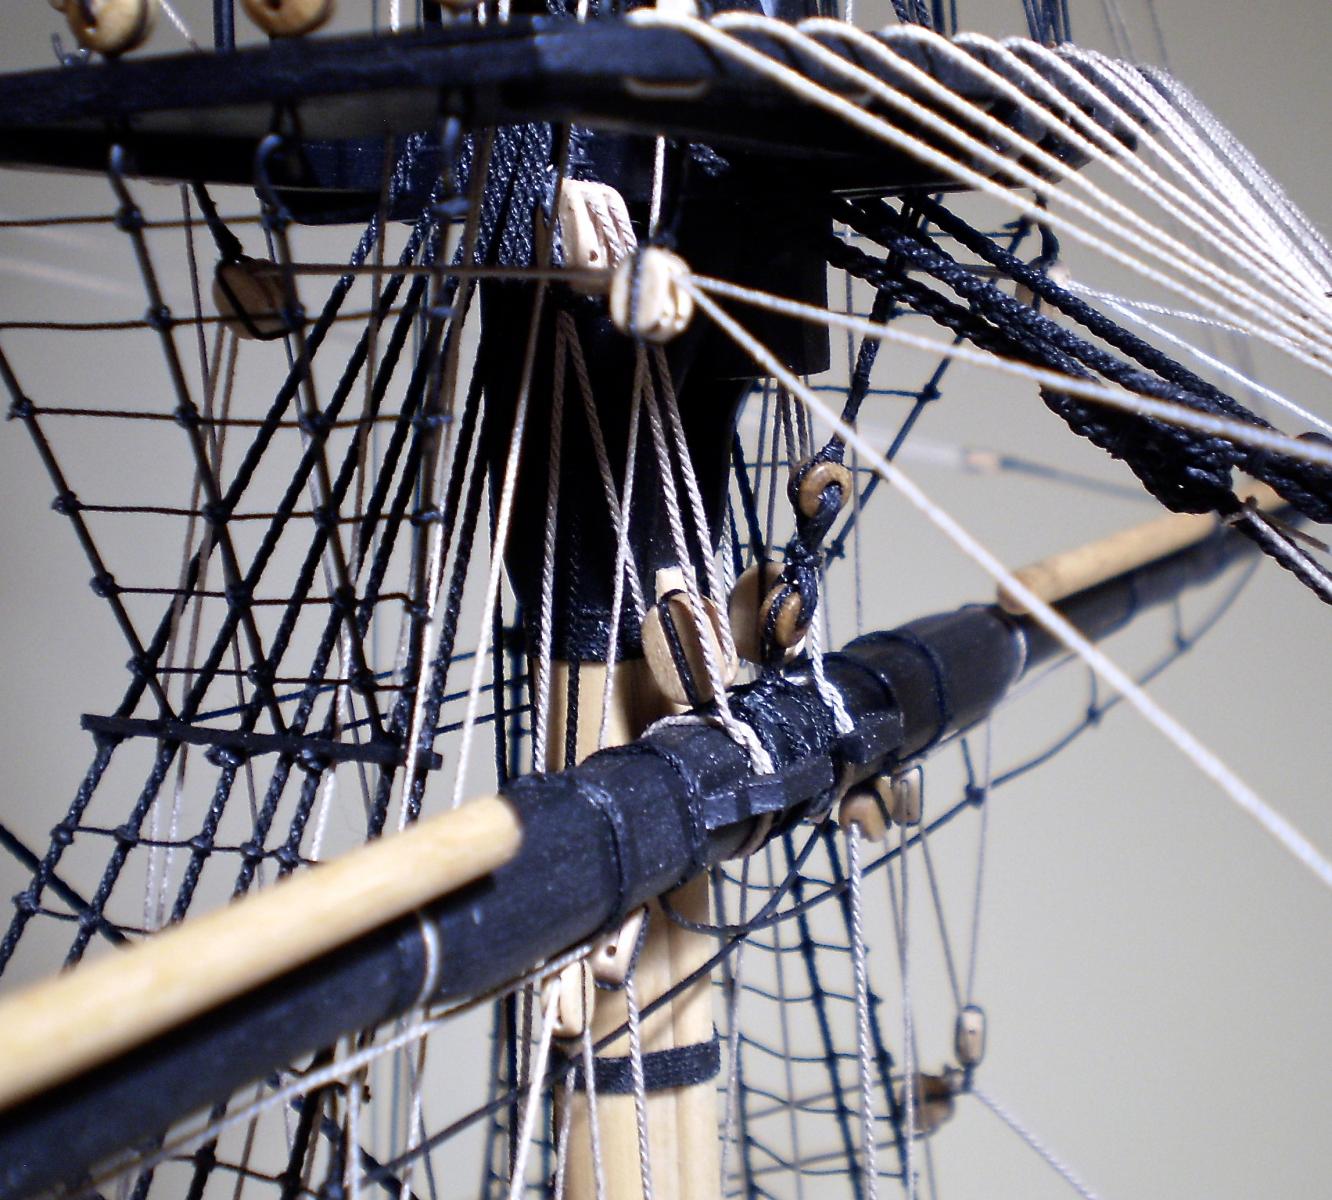
After my last update, in which I had finished the lower yard and started the topsail yard, I completed that yard and mounted them both on the pins in the mast. The only item of note on the topsail yard is the parrel, which I made up from pear strip, shaped and drilled, and small beads.
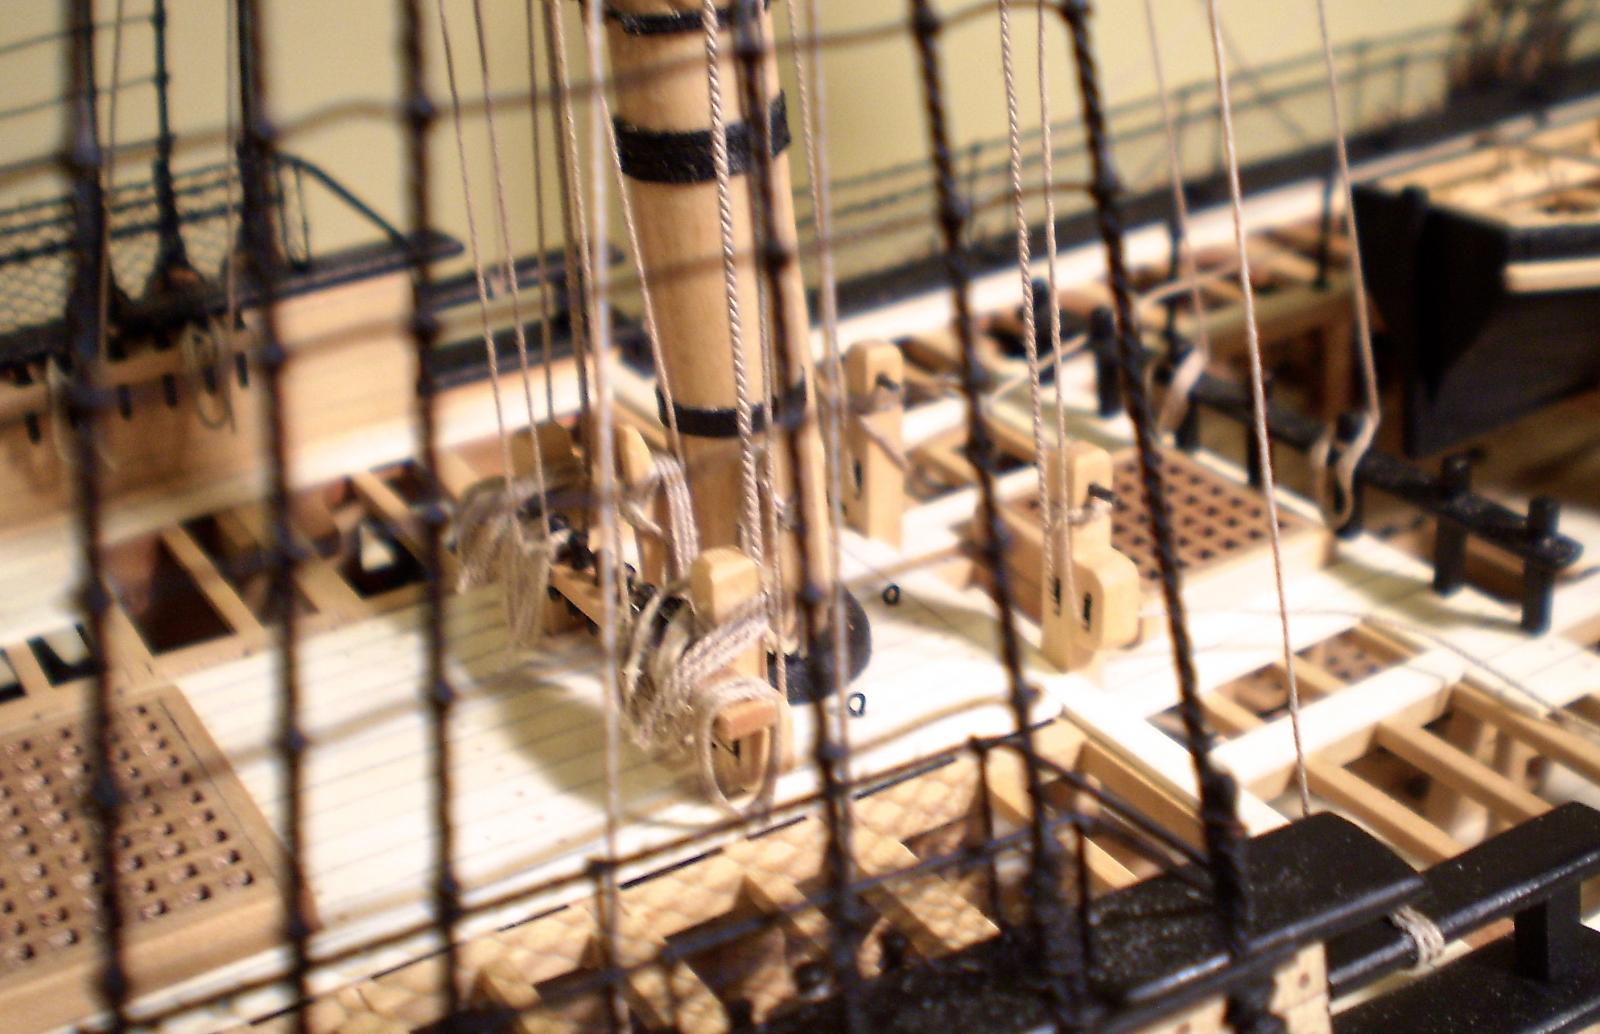
The rigging then proceeded through the jeers, slings, trusses, parrel, lifts, clews, sheets, tyes, halliards and braces, and ended with the lower clew garnets, sheets and tacks. The lines were tied off to various timber heads, pins, rails and bitts and rope coils were added.
Now I get to repeat this process on the main and mizzen.
Bob


-
-
Fantastic job on her Steve. The pressures on to make Conny even better.
Bob


USF Confederacy by Augie & Moonbug - FINISHED - Model Shipways - 1:64
in - Kit build logs for subjects built from 1751 - 1800
Posted
It looks great Augie.
Bob