-
Posts
67 -
Joined
-
Last visited
Content Type
Profiles
Forums
Gallery
Events
Posts posted by gsprings
-
-
So, it's been a long hiatus on this project, but I'm looking to draw it to a close. I've made much undocumented progress since my last post, and am at the point where the rigging has been finished. (Will post a current status pic soon.)
Question: All the rigging is hitched to all the appropriate cletes, etc., and I need advice as to next steps. Do I glue the hitched line on the cletes and cut off any excess rope? I want to create rope coils off the model and hang them from the cletes as I don't think I've got the skills to use the actual excess line to create the coils.
How do most folks do this? Thoughts? -
-
-
-
-
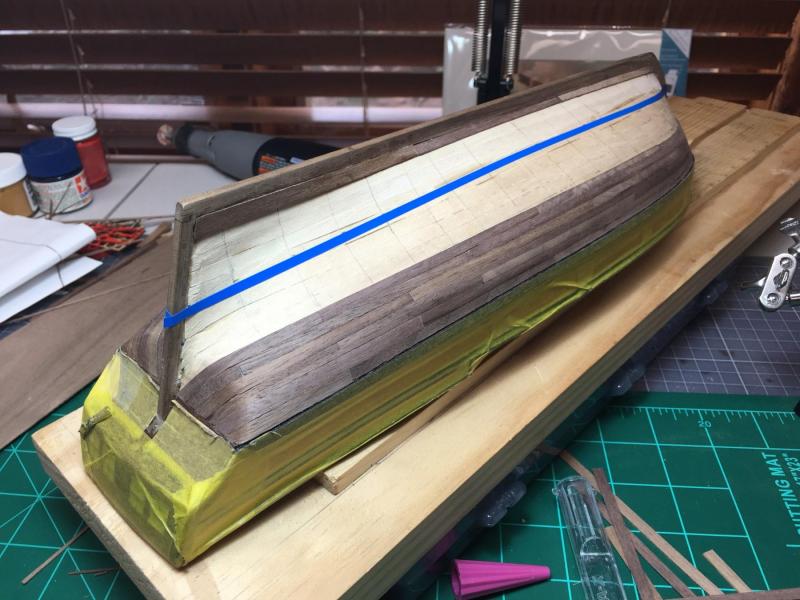
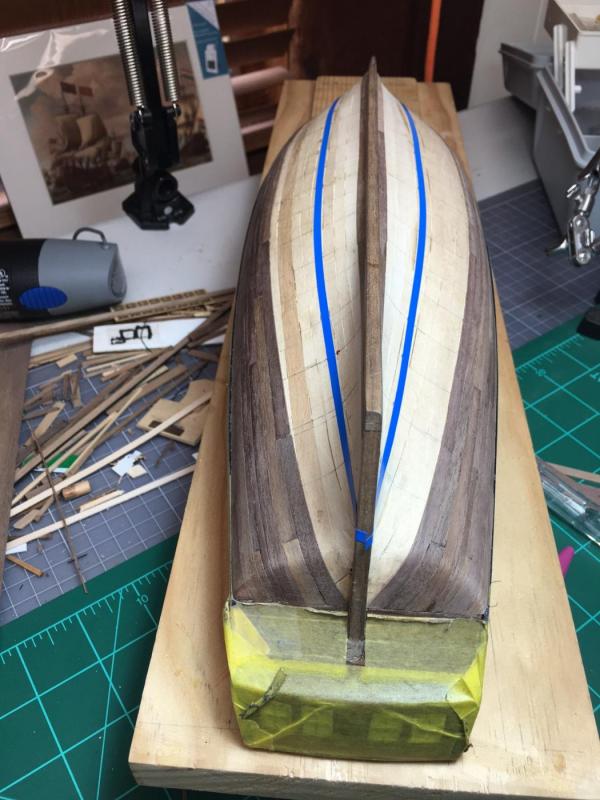
Progress to report! Second-layer planking has begun!
Finally got up the nerve to start laying down the walnut layer of planking. I think I've said it before, but I'll say it again -- planking really intimidates me. However, so far, it seems to be going okay. I am focused on learning rather than on getting all the rules of butt joints right and all that. (I misread my practicum and screwed up the butt joints -- I've got the joints repeating every four layers instead of every five.)
So for me that means a smooth layer with as few gaps as possible and no user of stealers or drop planks, if I can help it. I've got the first belt and the garboard strake done on both sides. Used water to bend the planks around the stern. So far, so good.
For me, based on the first layer, the hardest planks are the ones that hit at the transition between the transom and the sternpost. We'll see how that goes ...
-
Great looking start, Captain! Will be jealousy watching as your progress zooms ahead of mine. Stupid job.
- recife4o and captain_hook
-
 2
2
-
Thanks guys.
Come on in Greg! I've referred back to your thread quite a bit. Your AVS is looking great. I really like the way your stern looks. I realize in the pics that you have already applied a satin finish to the walnut on the stern but for some reason the walnut planks in my kit do not look as good. I hope the satin finish brings out the grain in mine. I'm talking about the really thin planks. My parts lists states that they are .030. The plans and practicum say .020.
After looking at yours more, your planks look thicker. Maybe I have been looking at the wrong ones.
I just went to look at the Hunt practicum to see what wood planking I used for the transom walnut layer. Specifically, I looked at chapter 2.2.3, which details the two layers of planking for the stern transom.
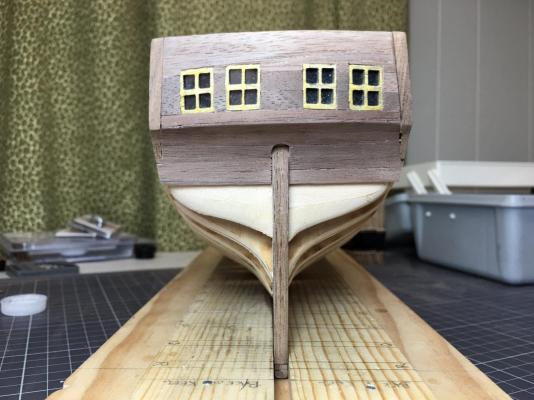
I actually couldn't find any specific mention in that chapter of the thickness of planking to use for the walnut layer (walnut planking starts on chapter 2, pg. 19). So, like you, I used the thinnest walnut planking in the kit, which is listed as 0.020" in the kit instructions (page 14) and 0.030" in the parts list.
I would note that I sanded the transom and recoated it with satin multiple times to get the finish that you see in the photos. However, now that I've got some paint down, inboard and out, and coated with satin finish, I'm not sure that I like the glossier look. I may end up flattening it down with clear flat spray.
-
-
Chris just resurfaced this week with news that the Victory is done. Check out this thread for news and pics of the finished model:
http://modelshipworld.com/index.php/topic/985-amati-and-chris-watton/page-33
- zoly99sask, Canute and mtaylor
-
 3
3
-
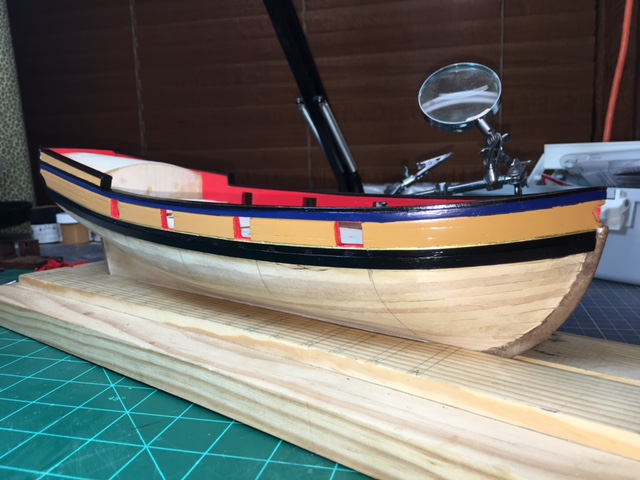
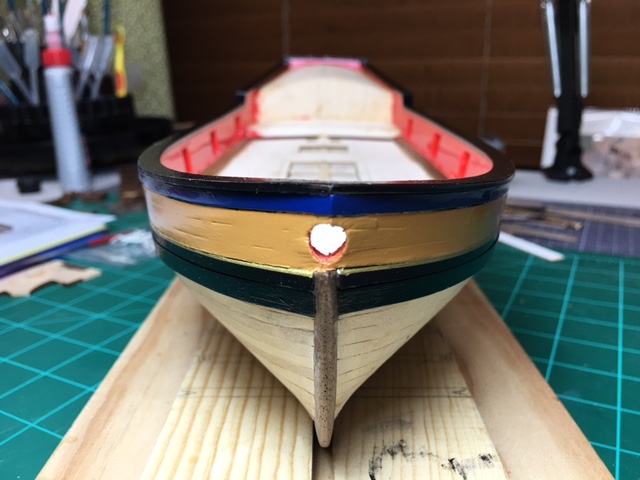
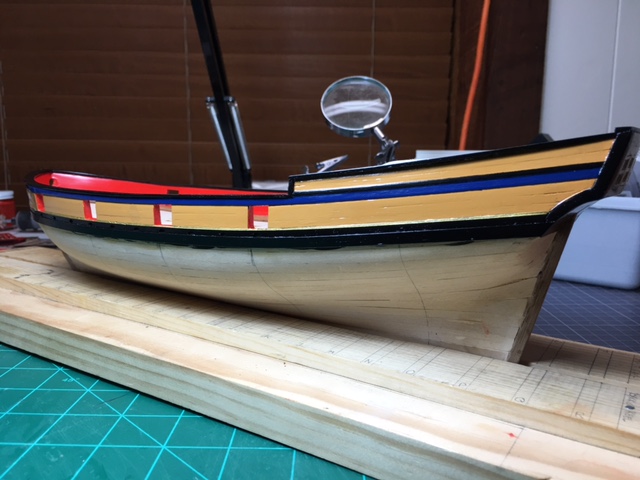
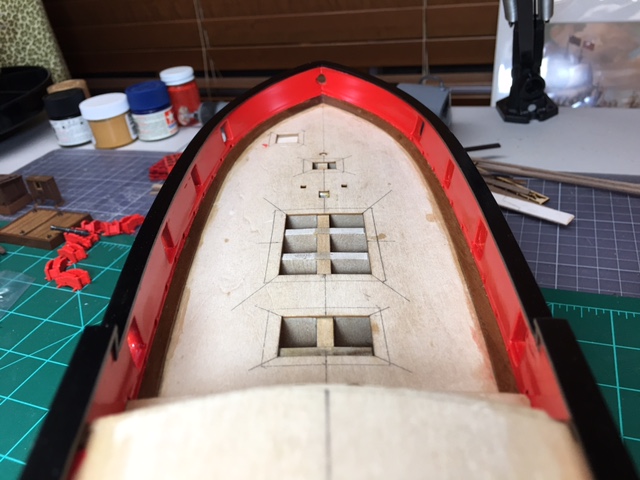
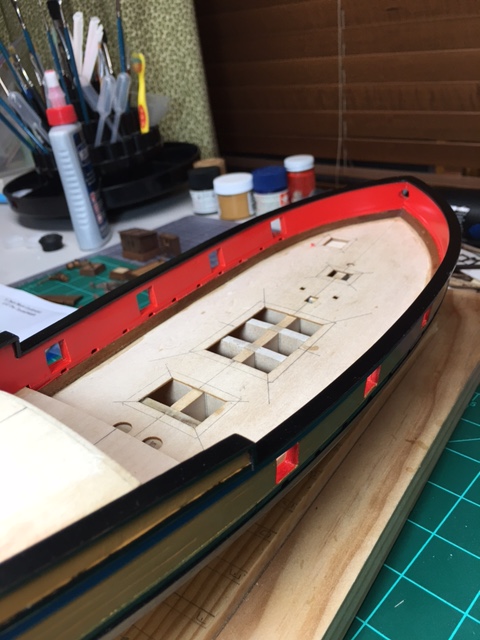
Much time consumed over than past 4-6 weeks doing the painting and applying rail caps. I am not a huge fan of painting, and this process taught me a couple of things:
1) Do NOT use spray cans because you're too lazy to set up, take down and clean the airbrush. It's too easy to flood the area.
2) Be choosy about how you use different kinds of masking tape. I love the blue stuff, because of its ability to conform to compound curves, but it's a little thick, which creates some places where the lines are not so clean. Should have used the thin yellow Tamiya stuff in those places.
Here are some pics of the current state:
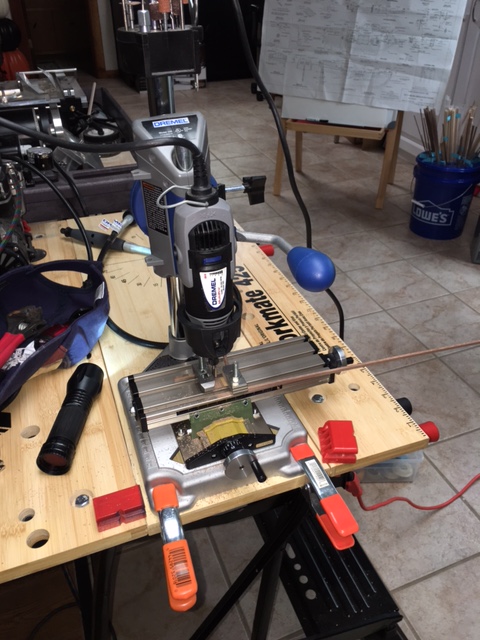
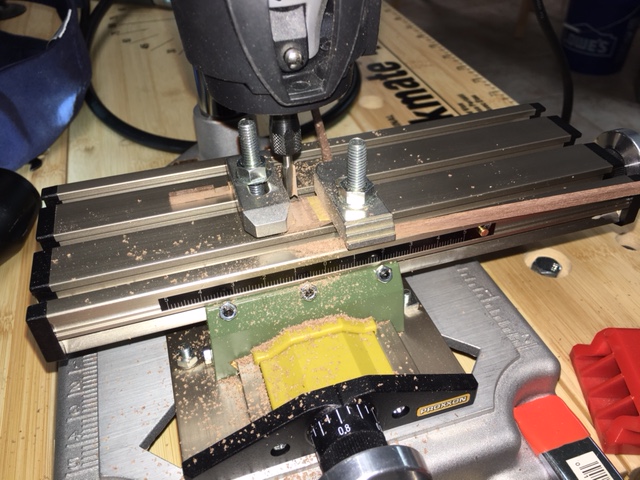
I've had a ton of time to work on other stuff (e.g., deck furniture) while waiting for coats of paint to dry. One of the things I'm most happy with is my new makeshift mini-mill. Rather than buy one, I mounted a Proxxon X-Y table to my Dremel workstand, bought a bunch of compatible routing bits and voila, instant mill! (Hat tip to Cap'n'Bob for the inspiration!)
I tried it out to carve the channels in the swivel gun stancheons. Here are some pics:
-
Thanks, guys.
JP, I am definitely planning to spray paint. I bought the Bulwarks Red acrylic paint from Model Shipways, which I had planned to airbrush on, but the color looks a little too bright to my eye. So I've bought a few different spray can reds to see if I can find a version of red that I like better.
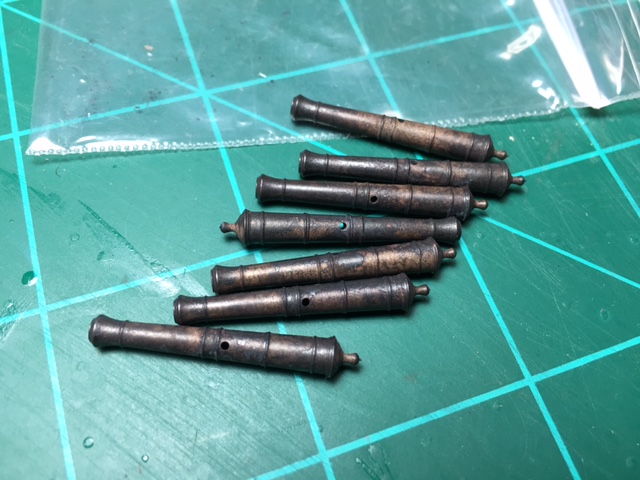
In the meantime, I've had quite the odyssey with my Syren brass cannons (all my fault). I originally blackened the cannon using the Birchwood Casey Brass Black and got them all polished up. They came out really well and I was very pleased. So I put them all in a small plastic bag for safekeeping. The next morning, when I got back to the workbench, the cannons had developed a pinkish "crust" on them. Best I can figure, without really knowing the chemistry, is that I did not wash off all the blackening chemical and it continued to react with the metal overnight, somehow bringing the copper in the brass to the surface. Here's how they looked:
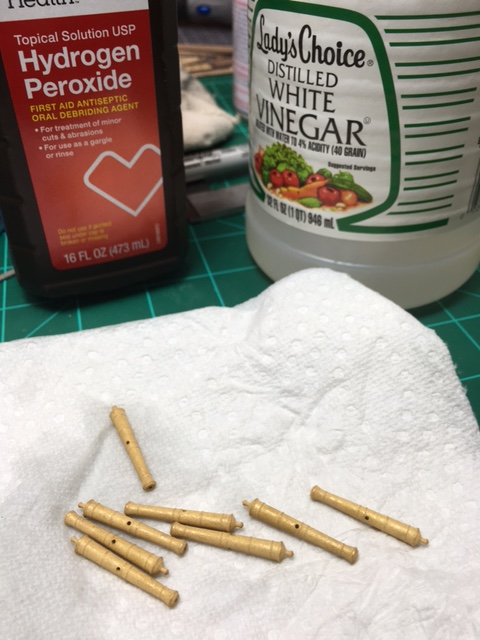
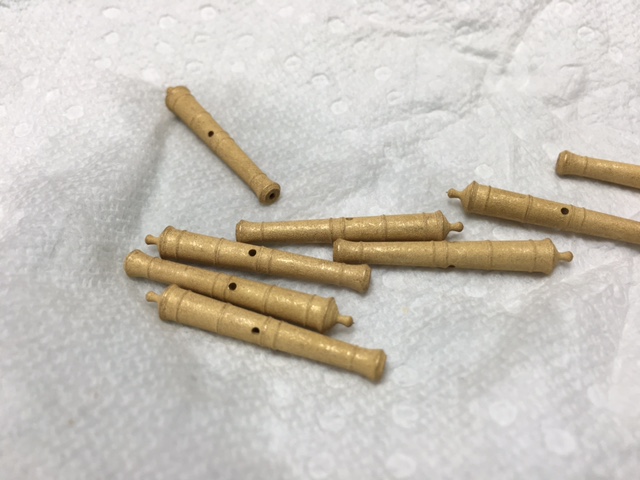
So, after some research into how to clean them, I soaked the cannons in a 3:1 mixture of hydrogen peroxide and vinegar and scrubbed them clean with a soft toothbrush. They cleaned up pretty well, but unfortunately there was a good deal of pitting on the metal, which I could not polish out with sandpaper without losing the details. Here's how they looked after cleaning.
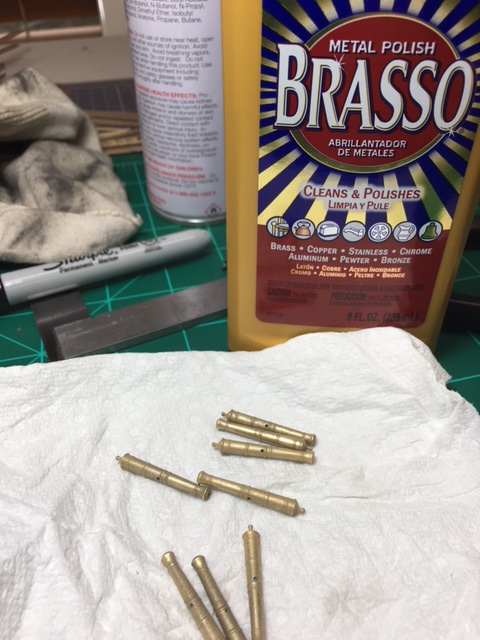
I thought it might be helpful to polish them the best I could before trying to re-blacken them. So I used Brasso and the Dremel with a polishing pad to see if it would help. Only helped a little bit, given the pitting.
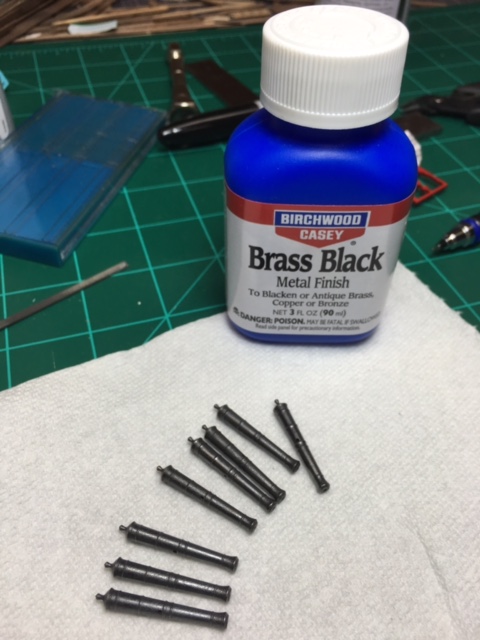
Assuming that I had done as much as I could to get the cannon back in shape, I went ahead and used the Birchwood Casey Brass Black to reblacken the cannons. They came out pretty well. The pitting is harder to notice with the blackening color applied. This time I made sure that all the chemicals were cleaned off.
I have seen some actual cannon that have an irregular surface to them, so I am going to pretend that's the effect I was going for with the pitting. And I'll chalk it all up to a learning opportunity.
-
So all the summer activities really slowed progress. But I did take a couple of snaps to show what I've been able to get done.
In progress on the companionway:
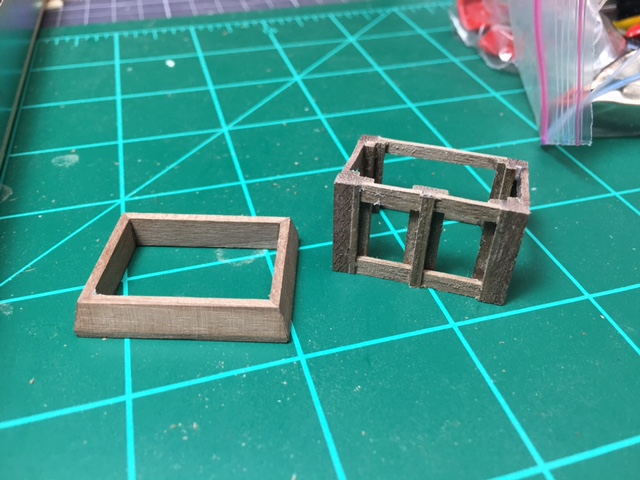
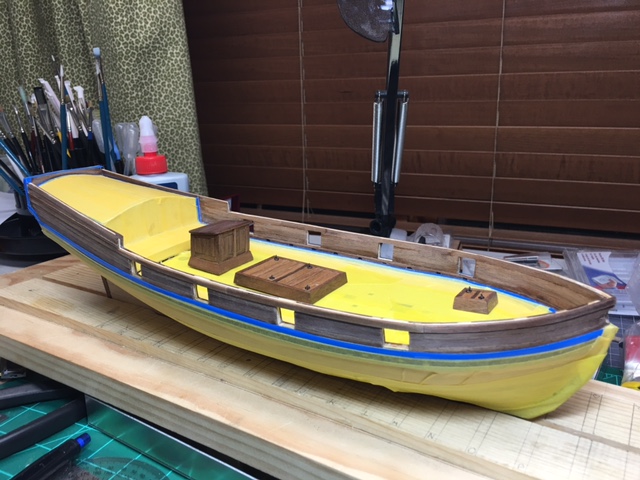
More deck furniture, completed and located on deck (masking in place in preparation for painting):
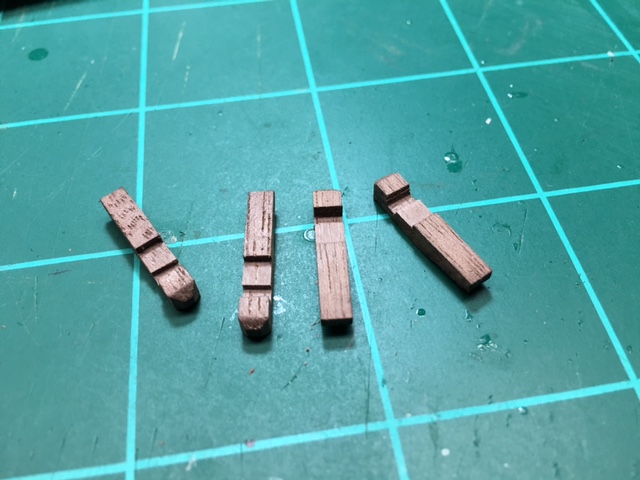
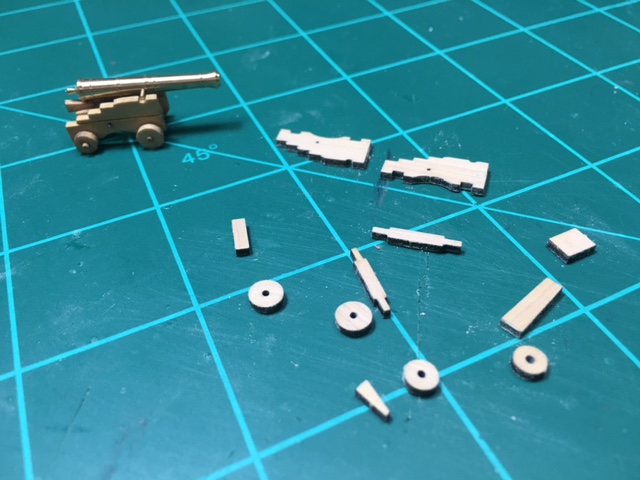
The piece parts of Syren's cannon and carriage:
Template for locating drill holes for carriage ringbolts and boltheads:
I'm looking to accelerate progress over the next few weeks. Painting awaits. I wanted to get the cannon carriages done so that I could do the red on the bulwarks and the carriages all at once. (I should mention that painting is not my favorite thing to do.)
-
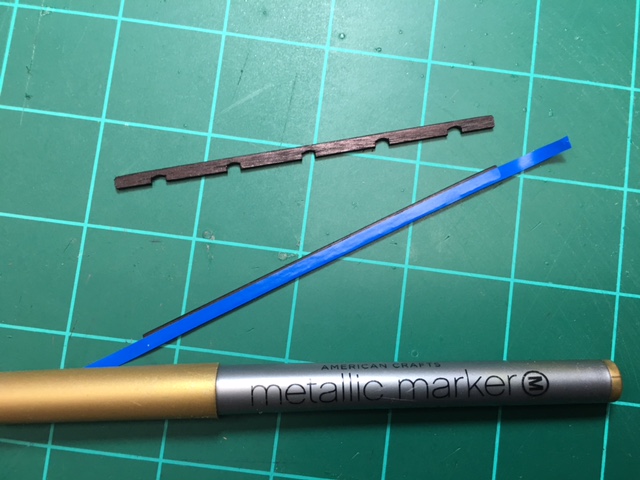
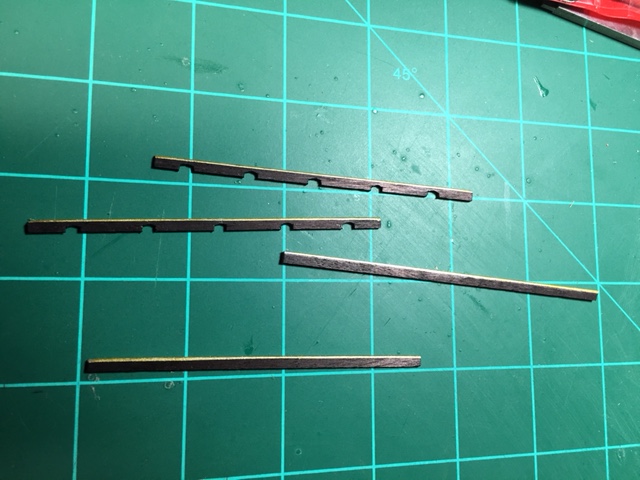
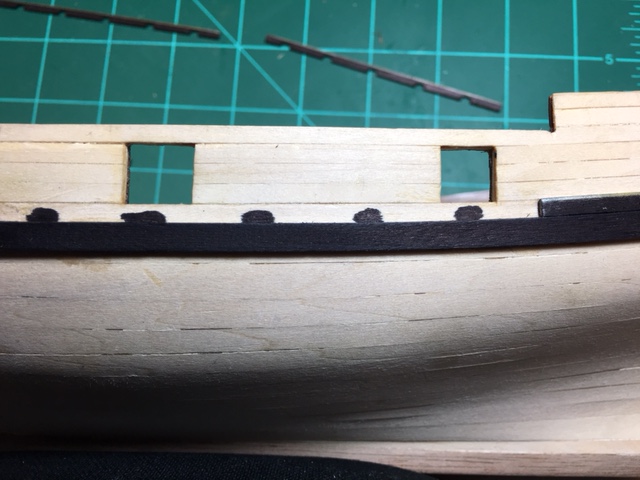
Have made more progress and will post a fuller update with photos later, but wanted to do a quick photo essay on my approach to creating the scuppers and gold pinstripe on the top of the black strake.'
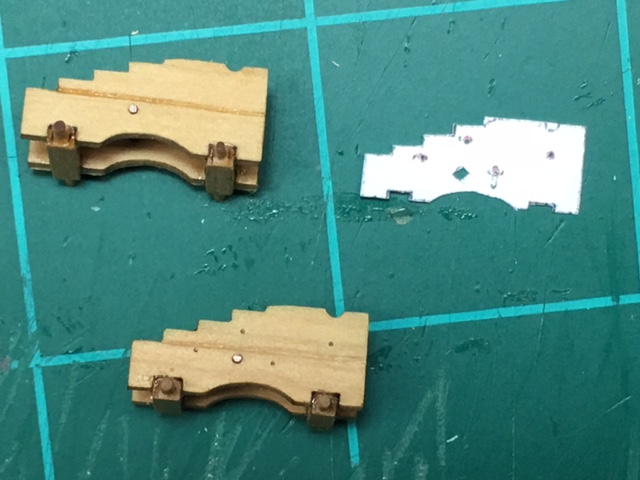
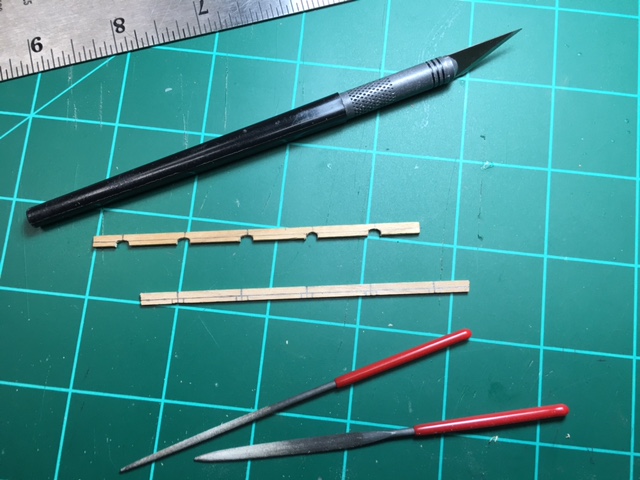
First, I measured, cut and filed the scuppers. I am not very happy with the overall shape of the scupper. Not rounded enough. But in the interest of making progress, I'll live with what I got. The overall shape is not going to be very visible anyway, once I blacken the planking behind the scuppers.
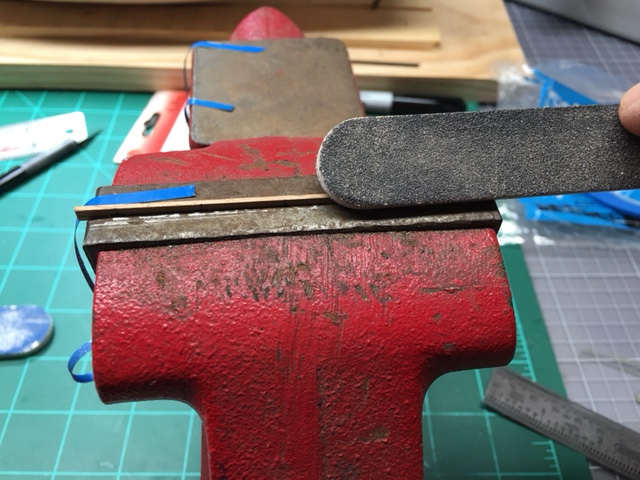
Then I clamped the piece in a vise and sanded to round the top outer edge ...
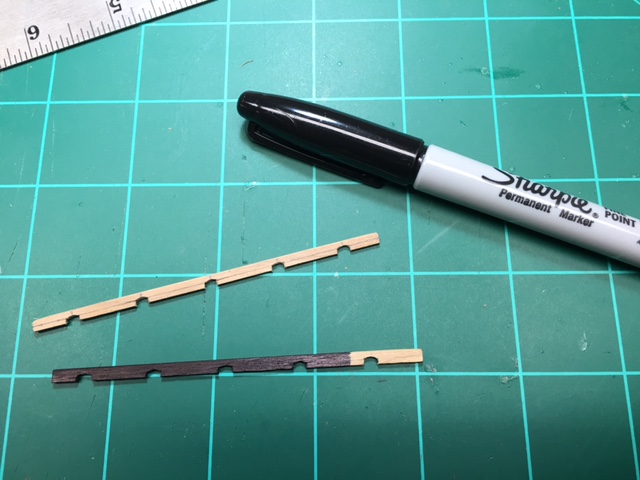
With that done. I used a Sharpie to "paint" the piece. Much easier than painting and looks the same under poly ...
Then I used 3M blue masking tape to mask for the gold stripe that goes at the top of the black strake ...
I found that a gold metallic marker was highly effective at "painting" the gold stripe. Gave me a lot of control ...
Then I darkened the planking behind the black strake where it will be visible behind the scuppers and installed the black strake a piece at a time ...
-
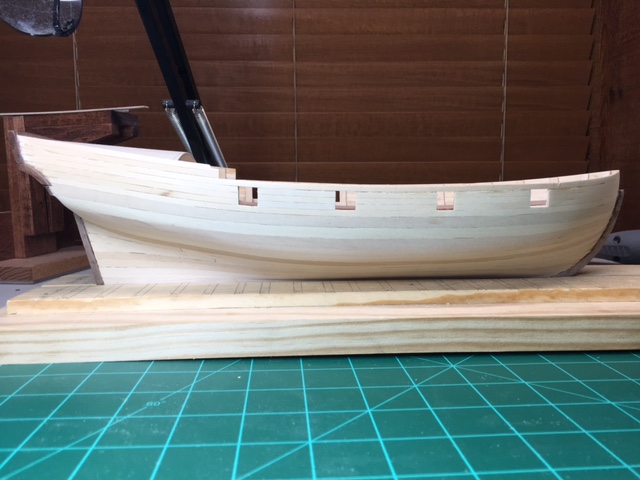
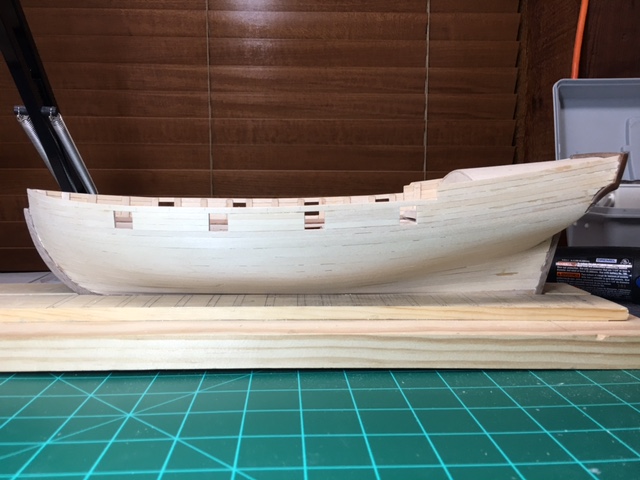
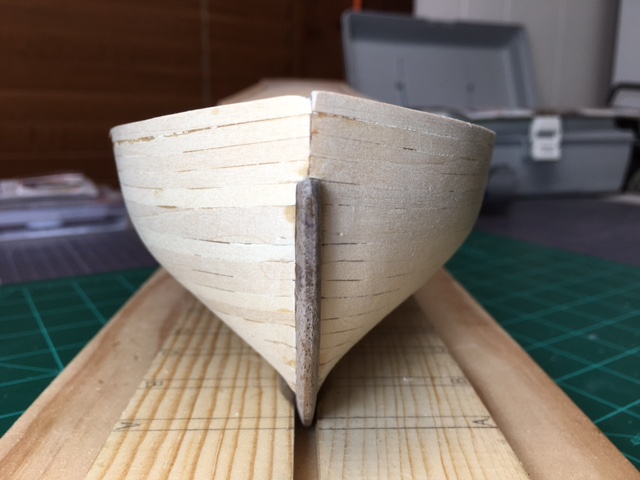
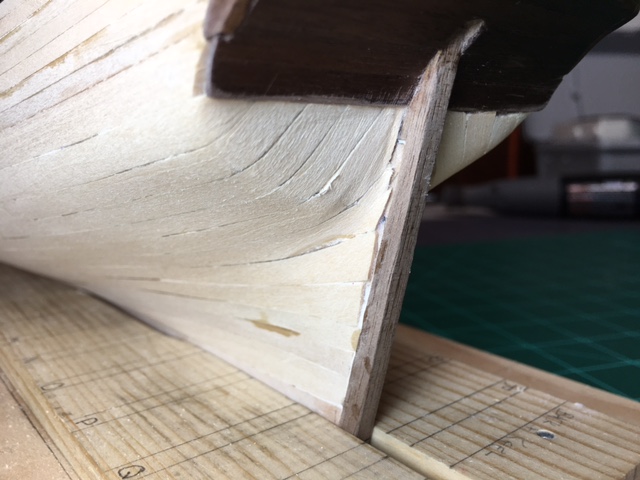
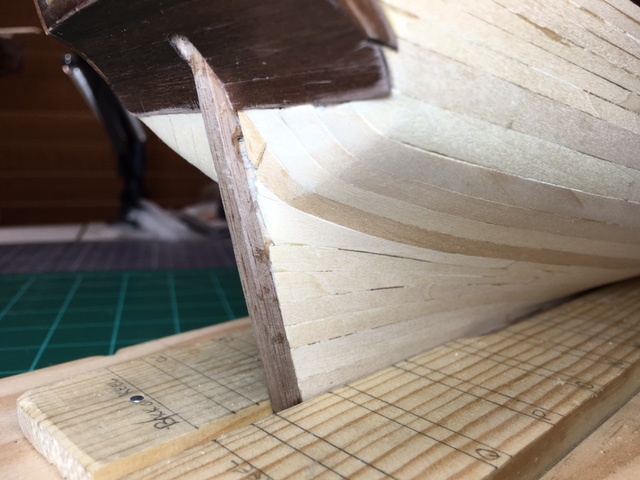
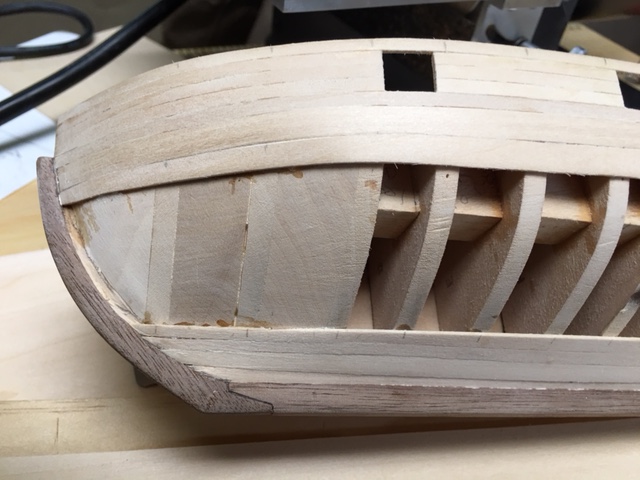
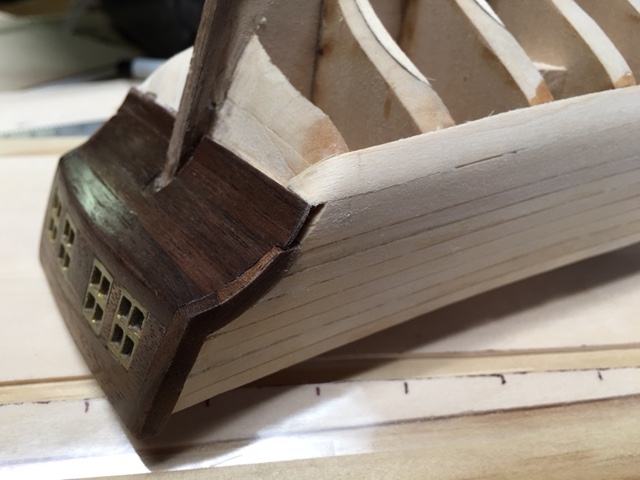
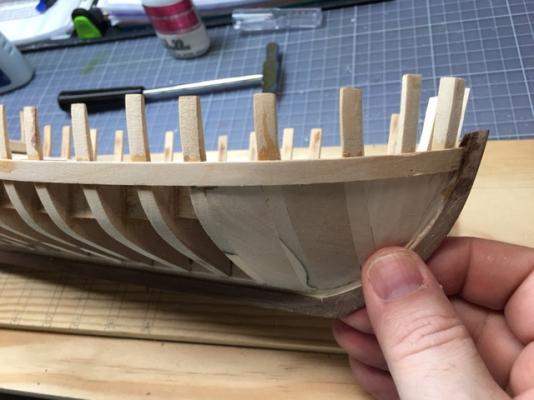
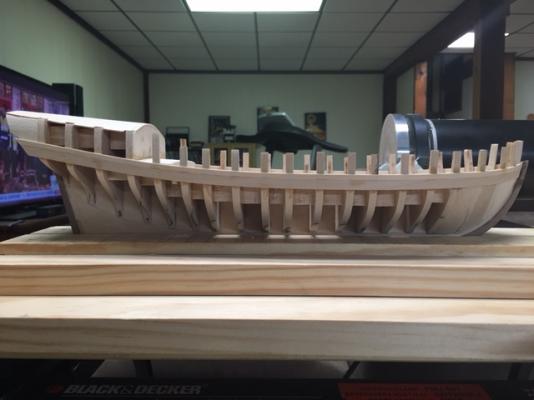
I found that the most challenging part of the planking process was getting the width of the planks right, especially at the stern where they need to be wider. I was trying very hard to do the planking without adding any stealers, but ended up with some ugly looking planks at the stern, especially the ones where the lay of the planking goes from running flat to the stern to where they need to bend to run up to the counter. These two planks were difficult to shape and difficult to install, so I'm not sure I took the right approach.
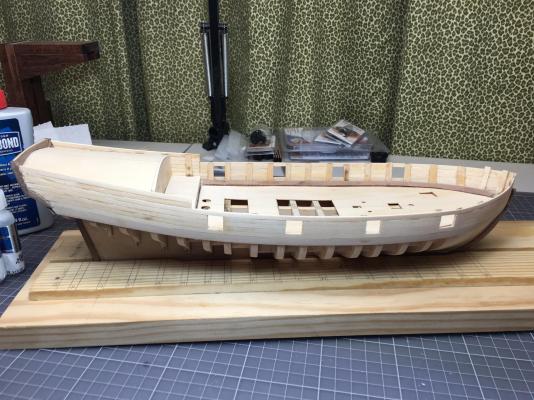
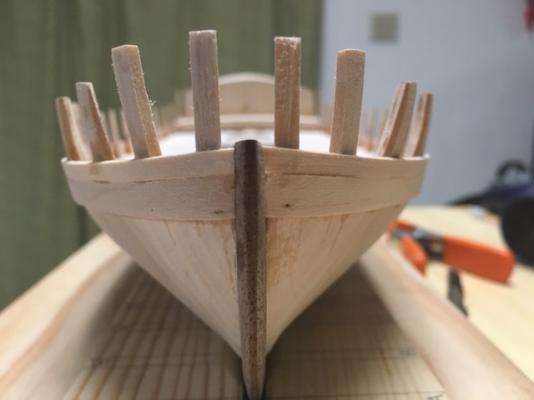
Since this was just a base layer of planking, I didn't worry too much about getting the planks aligned perfectly at the bow, nor did I worry too much about filling the gaps between planks with sawdust filler. (I just used gap-filling CA.) You can also see that I was not very good at mating the planks cleanly where they meet the stern.
I'm happy with the results as a first effort, but I have a long way to go. Hoping what I learned with this layer will give me a much better result with the walnut layer, where my standards will be much higher.- Altduck, captgino, Ryland Craze and 6 others
-
 9
9
-
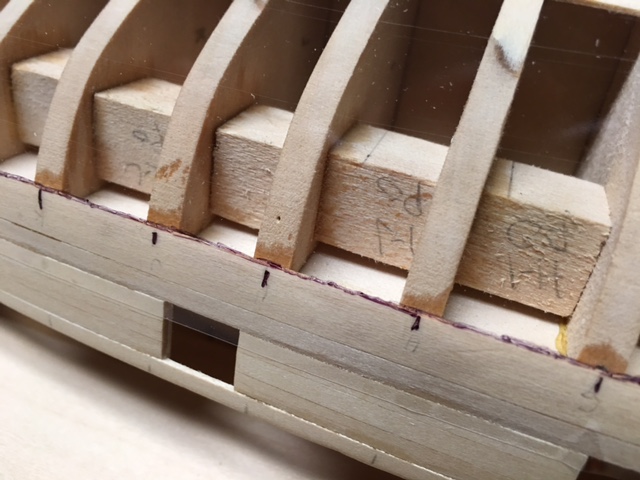
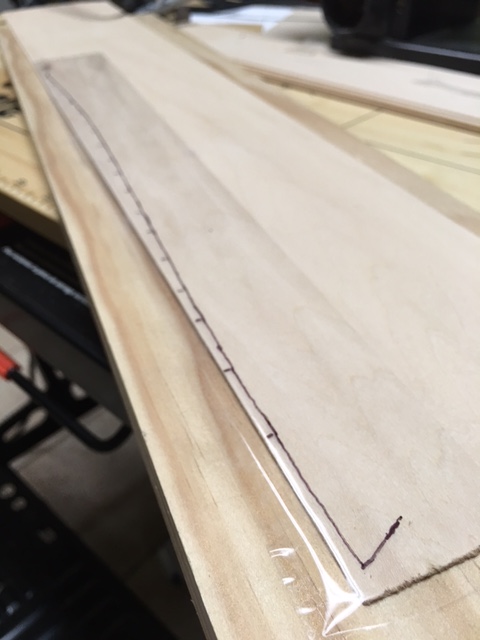
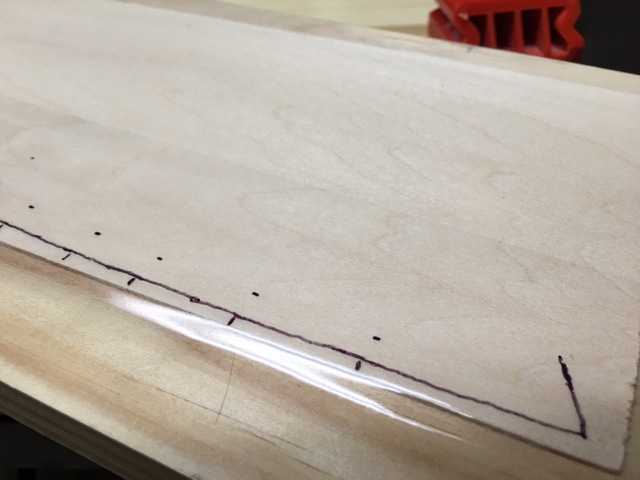
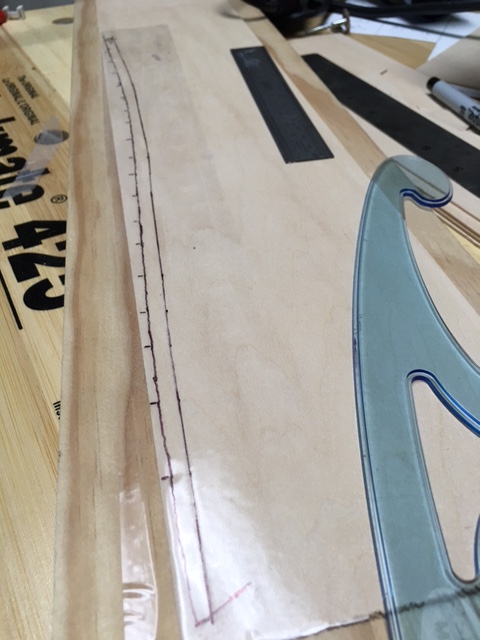
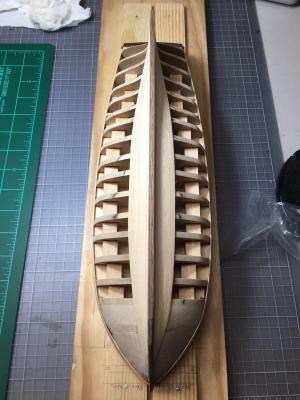
Got the first layer of planking done and will post pictures, but I wanted to share a few pictures of the process first. I decided to try to use a method that I saw in a PPT presentation available here at MSW. The methodology involves marking off the plank width at each bulkhead then using packing tape to get the spiling profile for each new plank.
Step #1: Lay packing tape over the adjacent plank already on the model.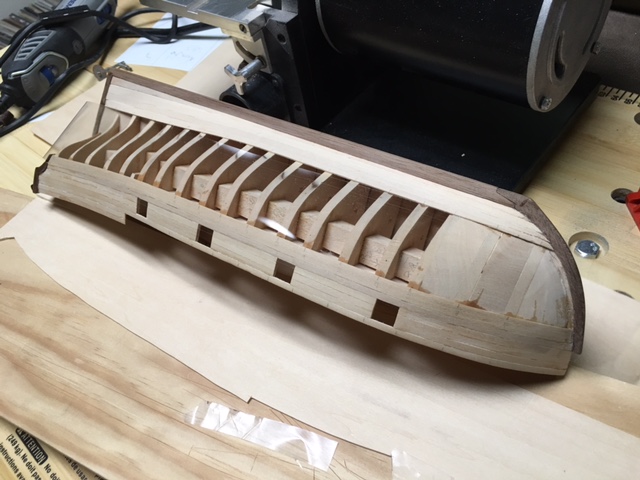
Step #2: Use a fine-tip sharpie marker to copy the line of the existing adjacent plank and the position of the bulkheads onto the tape.
Step #3: Affix the tape to a piece of planking stock of the appropriate thickness.
Step #4: Using the planking widths that were previously determined at each bulkhead, mark the width of the new plank on the tape.
Step #5: Connect the width marks using a french curve to determine the line of the other side of the plank.
Step #6: Affix the new plank to the model, snugged up as tight as possible to the existing adjacent plank. In this case, it was the diminishing plank, so you can see the bend that was required around the stern.
- alde, DocBlake, popeye the sailor and 4 others
-
 7
7
-
-
-
-
Brian and Popeye: thanks for the suggestions on white glue. I think that if I had more time to spend on the model, I'd use it for the planking. But my time is so limited that I feel like I need to use CA to make measurable progress. I am inspired by Chuck Passaro, who also uses CA on his planking with literally no staining whatsoever. So for now, that's my goal.
Made a bit of progress on the weekend. Got the satin poly layers on the transom, which I think turned out well. Also completed the bottom belt of the first layer of planking. It looks like the rabbet cut on one side was a bit deeper than the other, so the belt's are about 1/8" inch off of each other. My approach will be to do the top belt, making sure that the planks on each side look even at the bow, then use the middle belt to correct the difference that exists in the bottom belt.
-
The admiral was off on business for most of the weekend, which is the necessary ingredient to making lots of progress on the sloop.
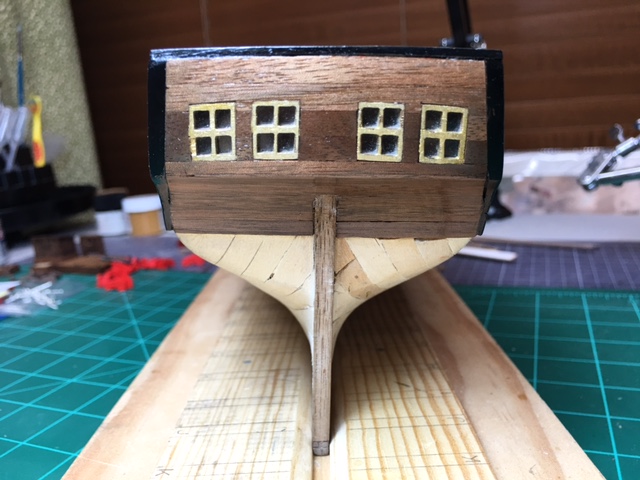
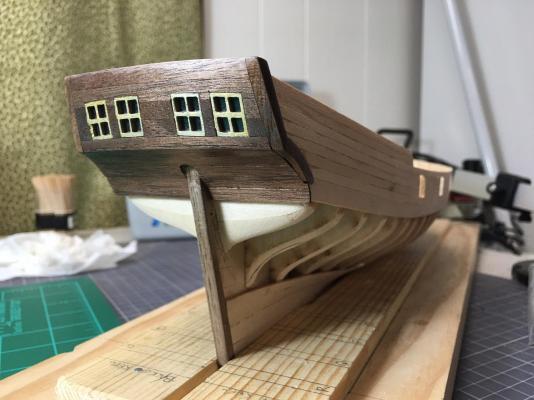
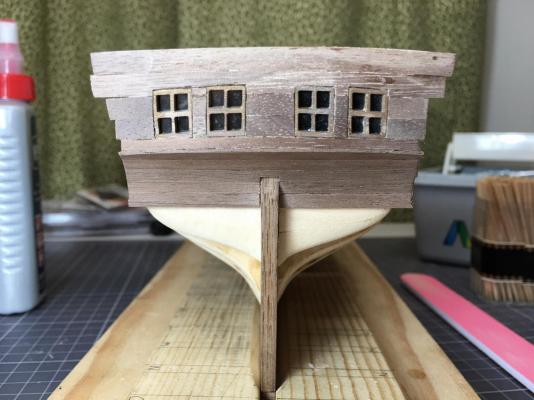
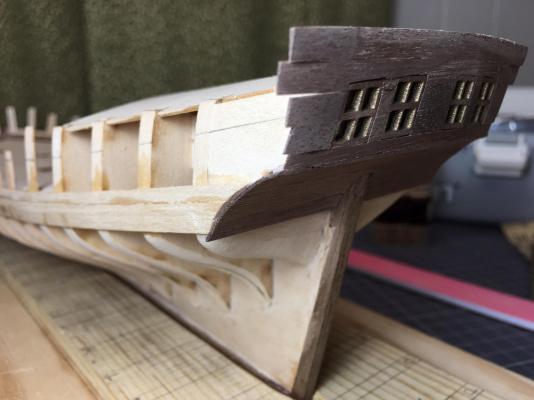
First off was the transom. I applied the walnut layer of planking atop the basswood layer and made and installed the fashion pieces. Reapplied gold paint to the stern light frames then started the coats of poly. Dave, I agree with you that the Feldman profile is more attractive that MS boxed transom. The photos make mine look pretty boxy, but I was pretty happy with how it turned out.
Here are some pics of the transom in progress and completed:
Went to work on the upper basswood planking and gunport framing. Learned a few things ... I need to go easier with the CA (which I am sure you can tell from the pics) and I DO NOT like edge gluing, which became necessary for the top side planks on the sides of the hull adjacent to the poop deck.
Then, much intimidated, I started planking the hull. Garboard strake first. You might notice that I used thin walnut scrap planks to provide padding for the clamps. I can't tell you how apprehensive the planking process has made me.
As usual, critiques and comments most welcome.
-
Brian, Dave and Popeye:
Great feedback -- thanks for the input. I had wanted to match the width of the transom to the plans, which would have required building up the side filler blocks and a few of the bulkheads near the back of the hull in order to avoid the issues that you pointed out, Brian. However, despite measuring the first plank I laid at the bottom of the transom, it looks now like it's short of the length shown on the plans. (Not sure exactly how that happened.)
So, rather than tear up the walnut planking that I've finished on the transom, I'm going to go ahead and fashion the transom at the width of the side filler blocks like everybody else seems to do. Should make the back of the hull look more streamlined. And since the ship isn't based on an actual historical vessel, I guess there's no issue with verisimilitude.
More pics to come ...
-
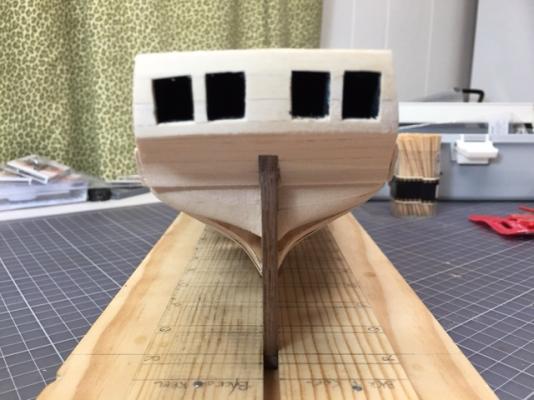
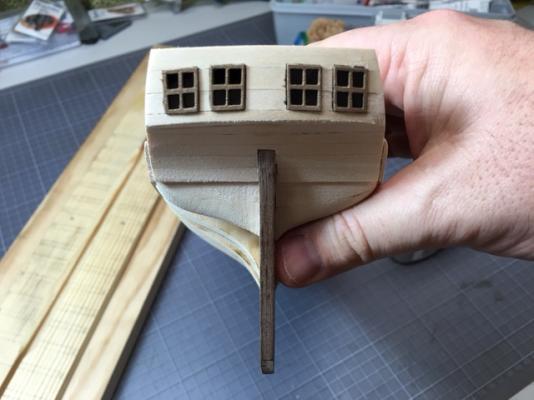
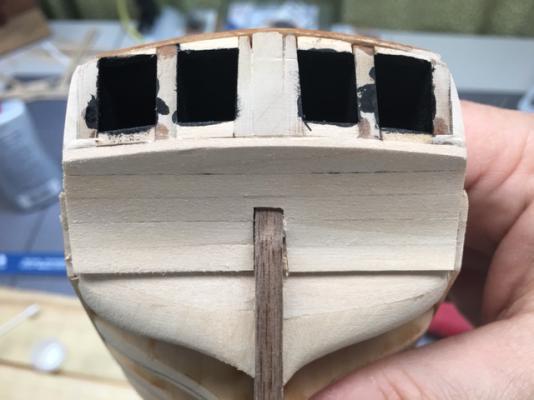
More work completed over the weekend ... I finished the first layer of basswood planking on the transom and cut openings for the stern lights (i.e., windows). Then I painted the windows gold, glued some clear acetate film on the backs of the windows to simulate glass and installed them in the openings.
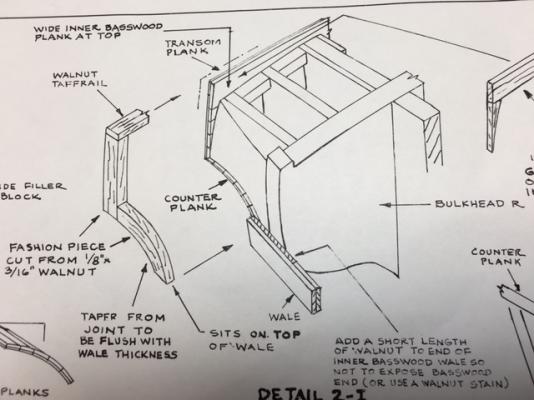
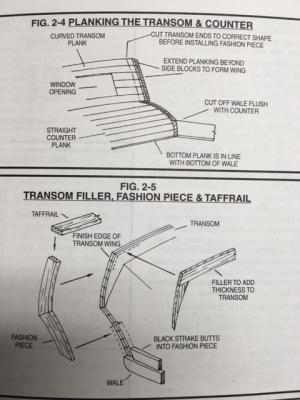
I have started planking the second layer with walnut (pics to come later), but have hit upon a choice in how I want to complete the transom. Many AVS builders here on MSW appear to shape the ends of the transom to the profile of the side filler blocks. Then they shape and glue the fashion pieces onto the edge of the transom planks and the side blocks. (This also happens to be the build methodology shown in the practicum that I am using.)
However, my read of the plans suggest that the transom is actually wider, on both ends, than the transom planks and side blocks and that the fashion pieces glue to the edges of the first and second planking layers on the transom rather than the side blocks. (See the note on the plans that says "Extend planking beyond side blocks to form wing." Also note that the drawings pretty clearly indicate that the transom planks are meant to go beyond the outside edges of the side filler blocks.)
I am tempted to try to do it as per the plans (even though affixing the fashion pieces to just the edges of the planks seems harder than using the filler blocks) because I assume that the kit's designer had some historical reason for the dimensions he recommends for the transom.
Any thoughts out there on which way to go?
-
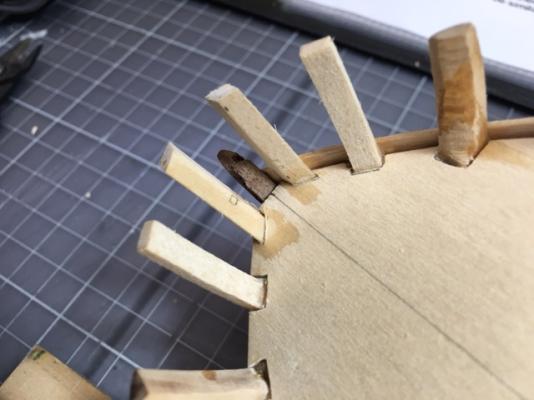
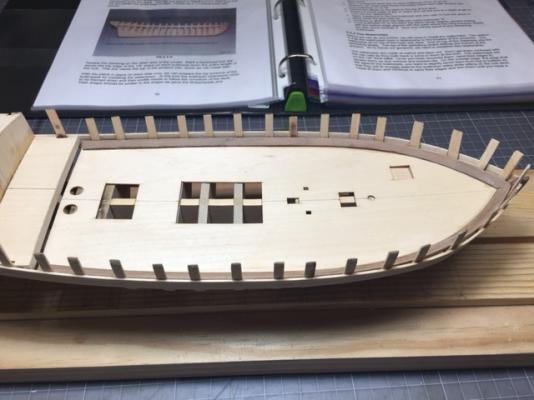
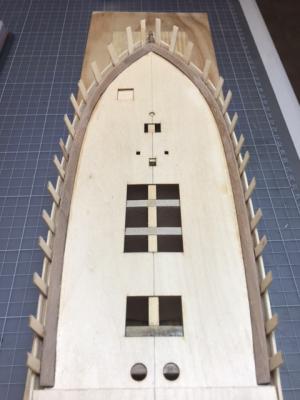
More progress on the AVS this weekend. I carved the rabbets for the bow timbers (the knightsheads and the timberheads) and fashioned the timbers using the profiles provided in the kits plans. They're probably too tall, but I can cut them down later once I get the above deck planking completed.
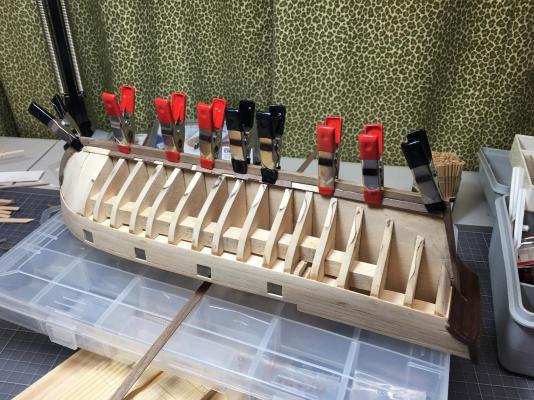
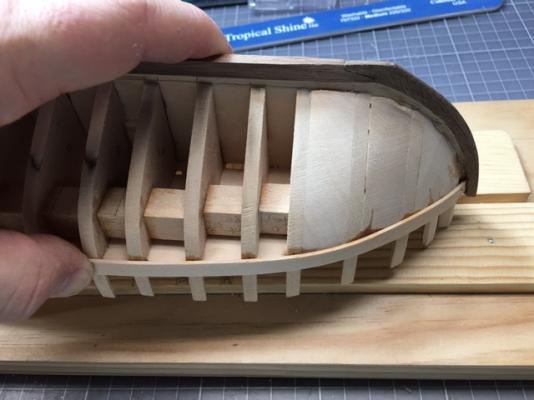
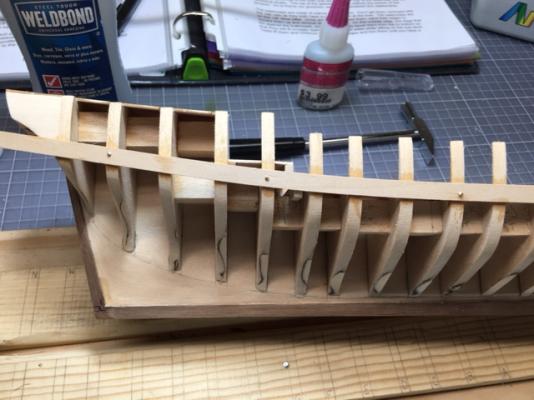
In order to thin the bulkheads to the appropriate width to install the waterways, the practicum that I'm using recommends installing a couple of exterior first layer planks to provide stability. This reduces the possibility of breaking the thinned bulkheads off near the deckline, which I've already done once of twice. So I installed the planks using a few pins to hold in place while I used superglue. I would have preferred to to do some edge bending on the bow portion of the plank, rather than use pins to hold, but the width of the first plank (1/4") seemed to limit the amount of bend that I could get in the plank.
And here are the planks once installed ...
Then I turned my attention to the waterways, which are installed along the inboard edges of the bulkheads. These pieces have to be beveled to allows the cannon carriages to get closer to the bulkheads. I used a compass to mark the edges of the bevel on the inboard and topsides of the waterways and used a sanding disk on the Dremel to cut the bevel. I wanted as sharp an edge to the bevels as possible. This was the best way that I could think of the get that, short of carving the bevels.
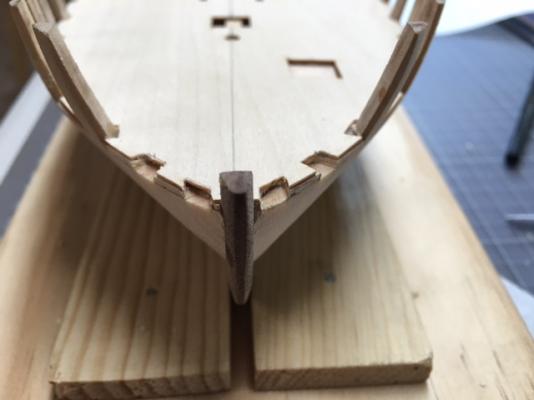
With the waterways installed, I moved on to start the first layer of planking on the transom. First, though, I painted the interior of the stern frames black so that one wouldn't see raw wood when peering in through the stern lights. I wasn't clear whether the stern planking is meant to butt up against the side planking or vice versa, but I'm not too worried about it for the first layer of planking.
As usual, all comments and feedback are welcome ... especially any constructive criticism.


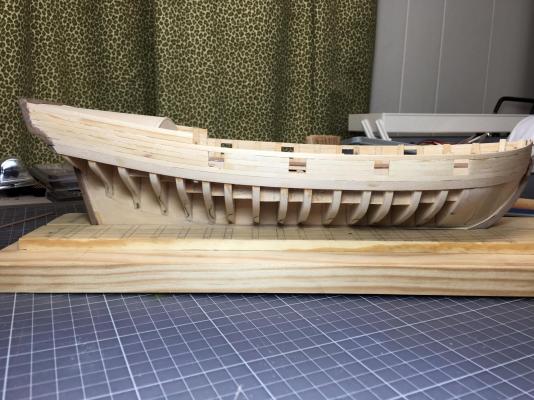
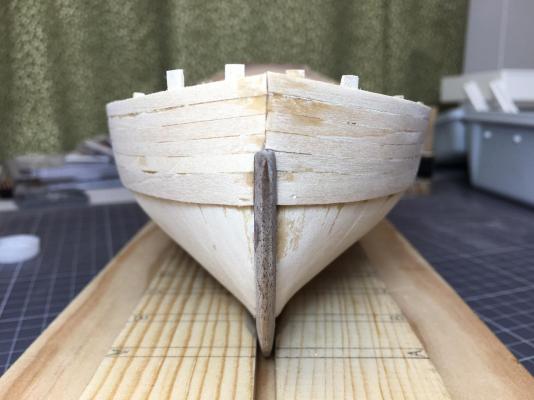
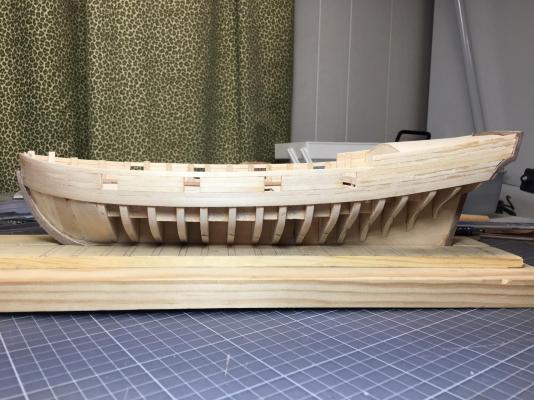
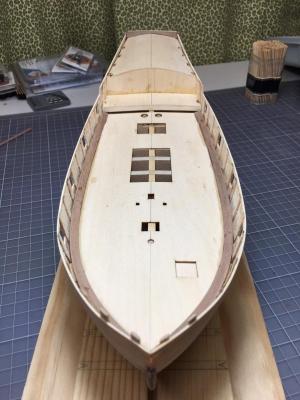
Securing Lines in Preparation for Hanging Coils
in Masting, rigging and sails
Posted
I am nearing completion on my first major effort (it's been a long journey) and have a fairly basic question.
All the rigging is hitched to all the appropriate cleats, etc., and I need advice as to next steps. Do I glue the hitched line to the cleats and cut off any excess rope? If so, what glue best to use and how closely should I clip the line to the cleat or other belaying point. I want to create rope coils off the model and hang them from the cleats as I don't think I've got the skills to use the actual excess line to create the coils.
How do most folks do this? Thoughts?