


aydingocer
-
Posts
857 -
Joined
-
Last visited
Content Type
Profiles
Forums
Gallery
Events
Posts posted by aydingocer
-
-
-
-
-
-
-
-
Build day 103-104: 6,5 hrs / Total 229,5 hours
Foremast Part 2.
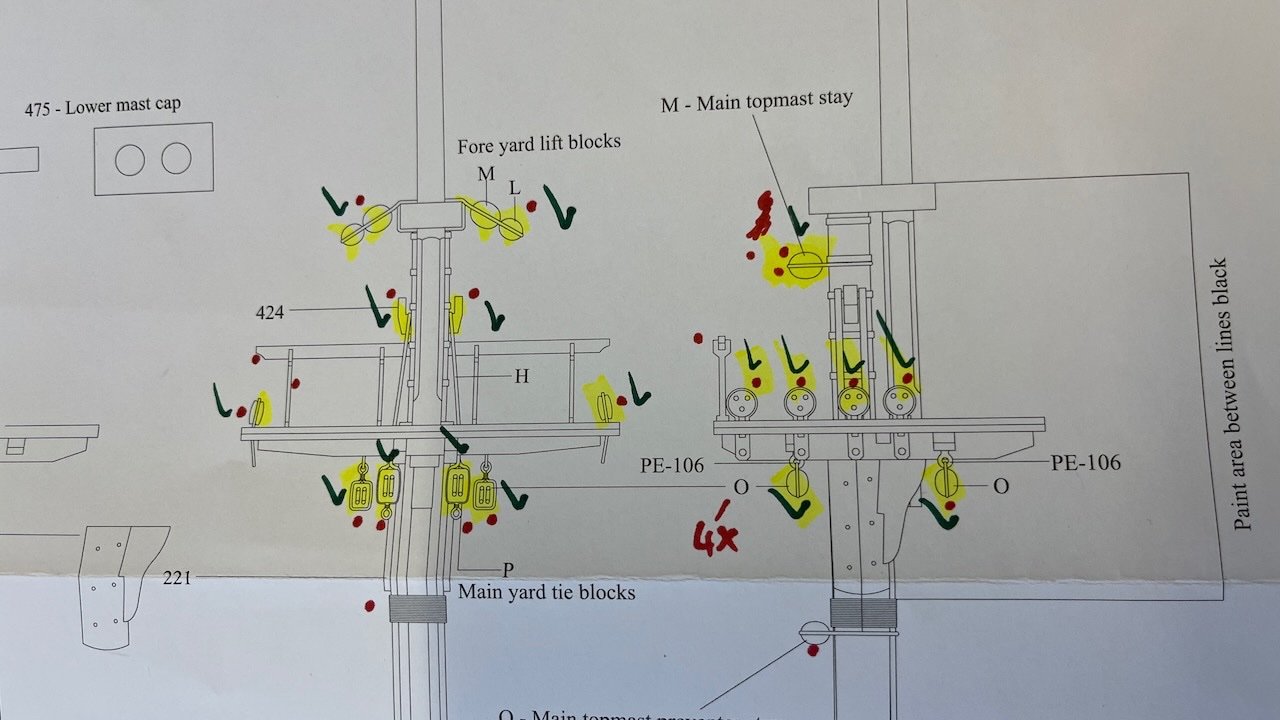
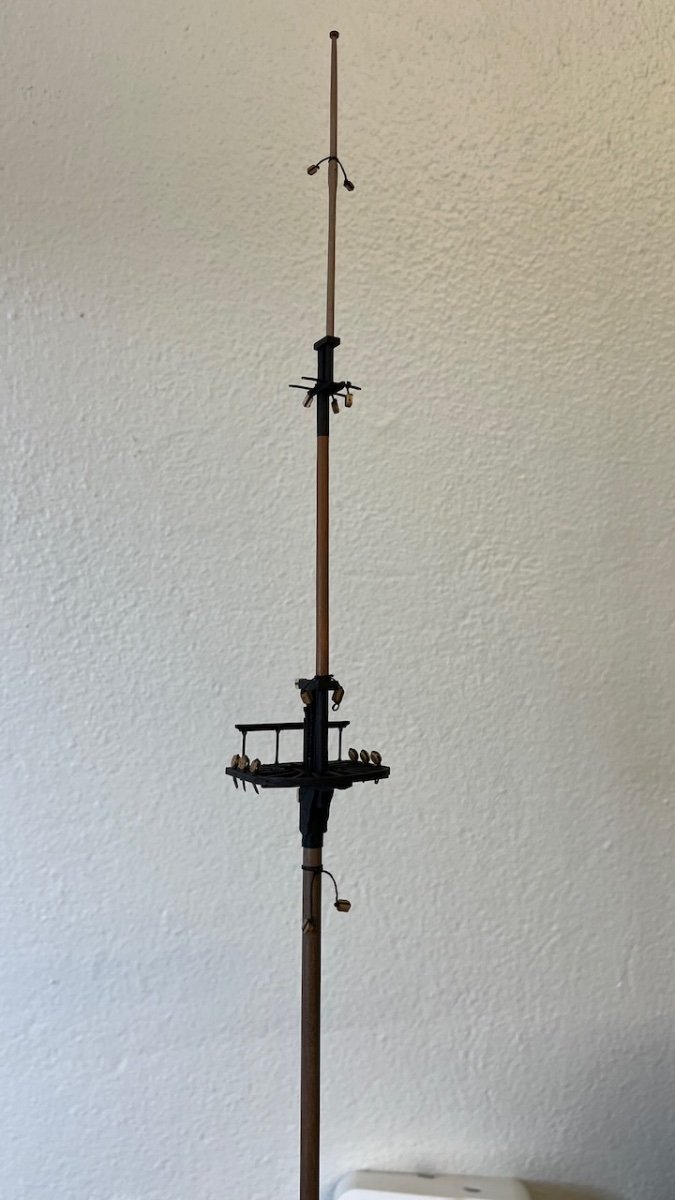
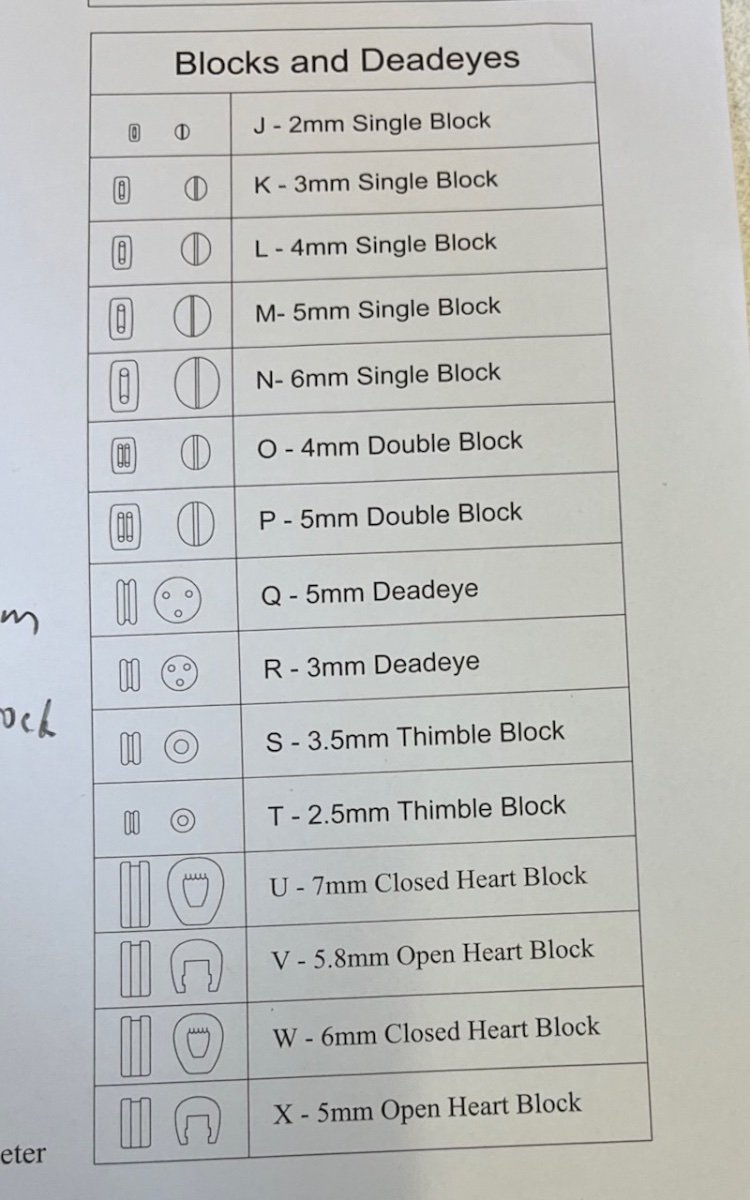
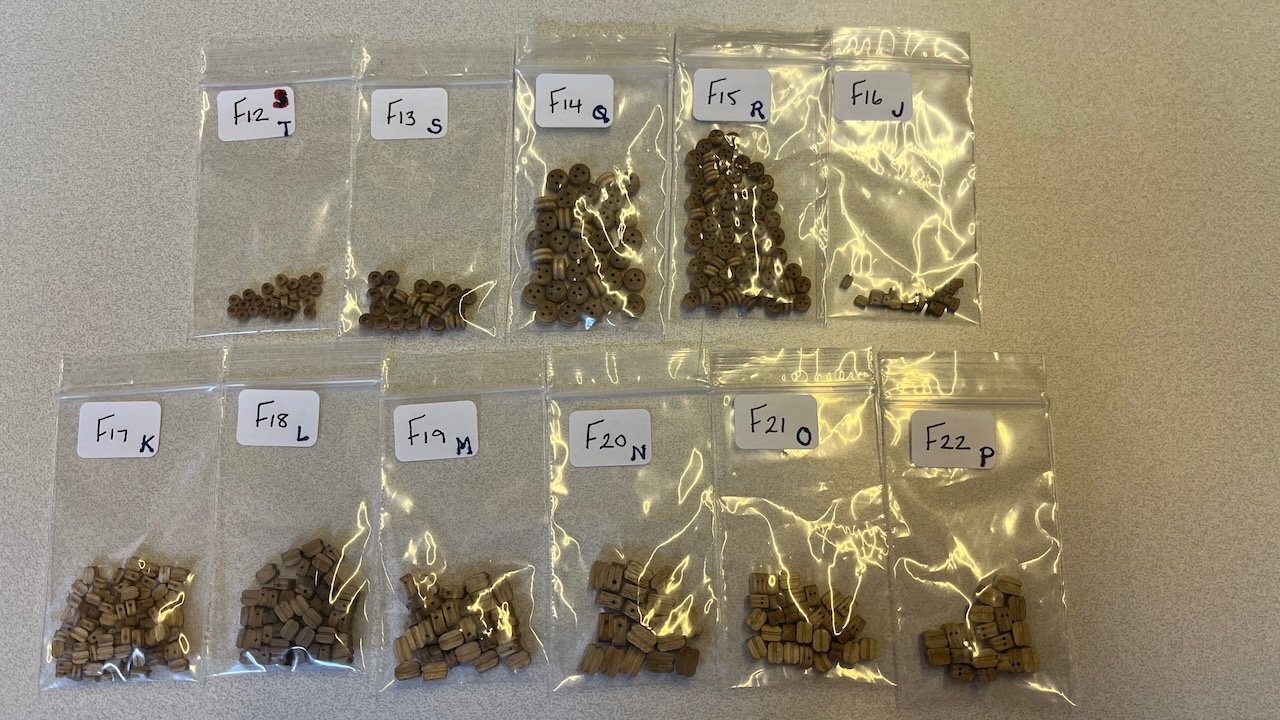
Photos 726: This is how I keep track of the accessories to ensure I "leave no man behind". It will be a nightmare if you realize during rigging that you have missed installing a block. Red dots are "to do", green checks are "done".
-
1 hour ago, James H said:
I don't doubt there's probably a few more anomalies on my rigging, but don't tell anyone if you see them 😆
I figured Chris didn't need me hassling him any more than I normally do during a prototype build, so I go into 'get it done' mode more often than not.
Deal
") . Anyway, inaccuracy in instructions is common even in the most major manufacturers' kits and often they occur more than in this one. As opposed to with other brands, what we builders have here with Vanguard Model kits is the privilege to get instant first hand response to our questions from Chris and you and it is a big deal.
. Anyway, inaccuracy in instructions is common even in the most major manufacturers' kits and often they occur more than in this one. As opposed to with other brands, what we builders have here with Vanguard Model kits is the privilege to get instant first hand response to our questions from Chris and you and it is a big deal.
- mtaylor, HardeeHarHar, hollowneck and 1 other
-
 4
4
-
24 minutes ago, James H said:
More likely me not knowing anything about rigging and just wanting to get the job done.
Do it the way Chris explains.
This is also a reason I hate doing rig for instructions as I am clueless with it.
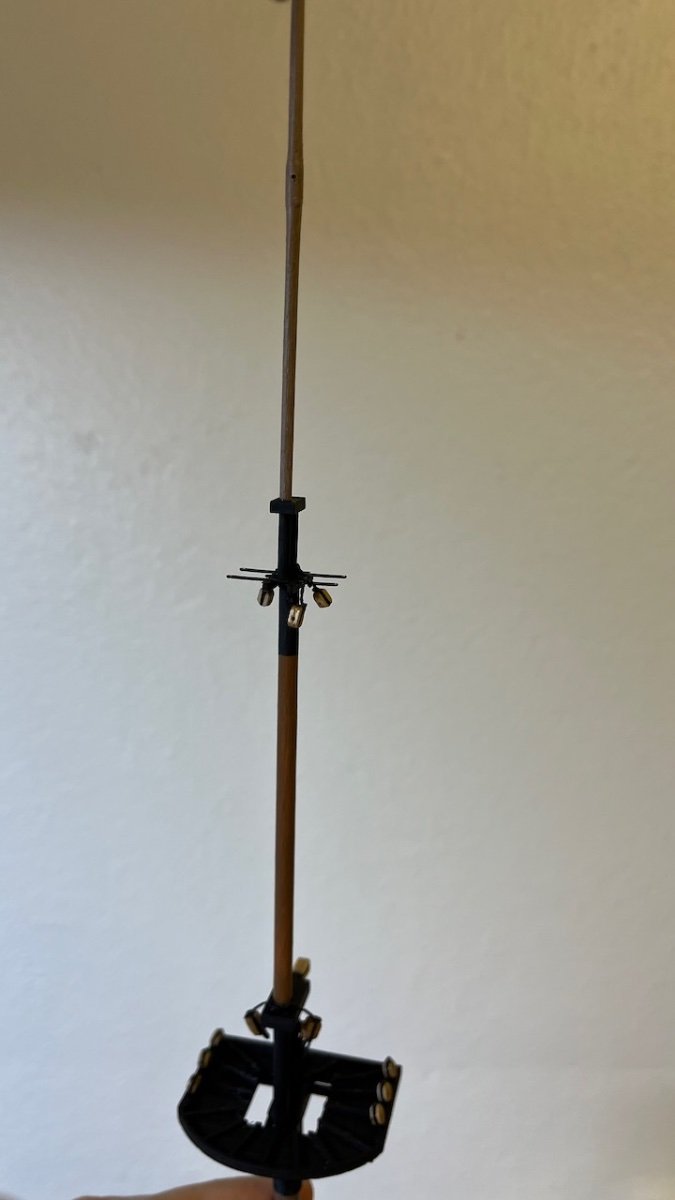
Alright. I'll do the Main Mast and Fore Mast like that. I have already done the Mizzen Mast like in the photo, but I guess I can wrap a dummy thread around the mast cap just to make it look like in the plan. Thanks Chris and James for clarification.
-
57 minutes ago, chris watton said:
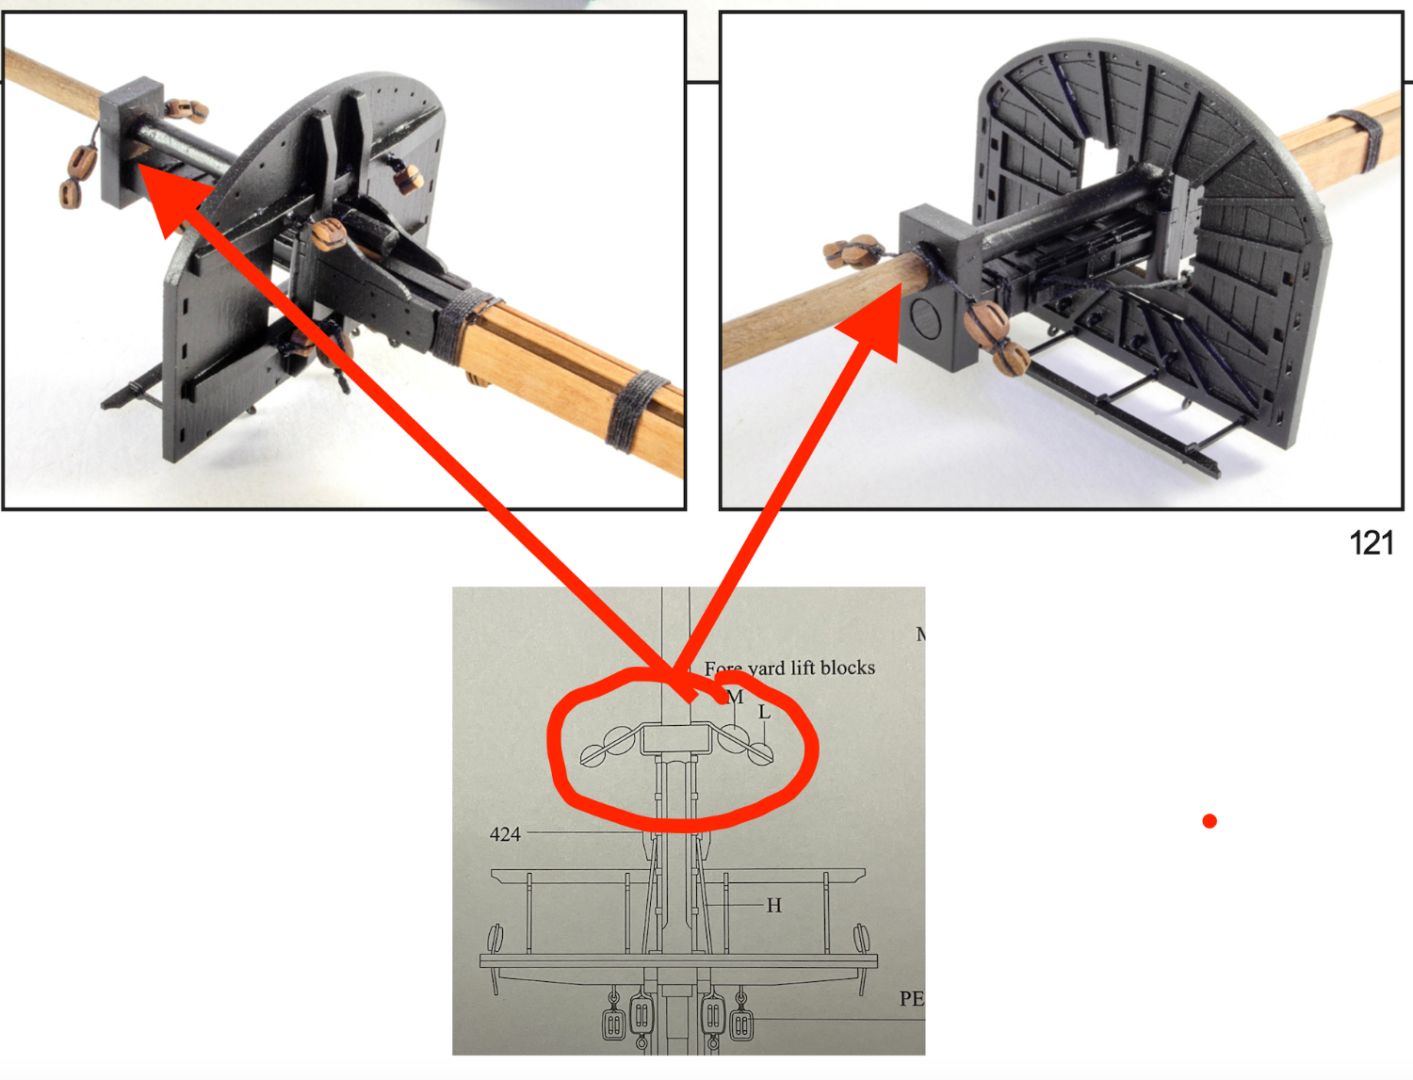
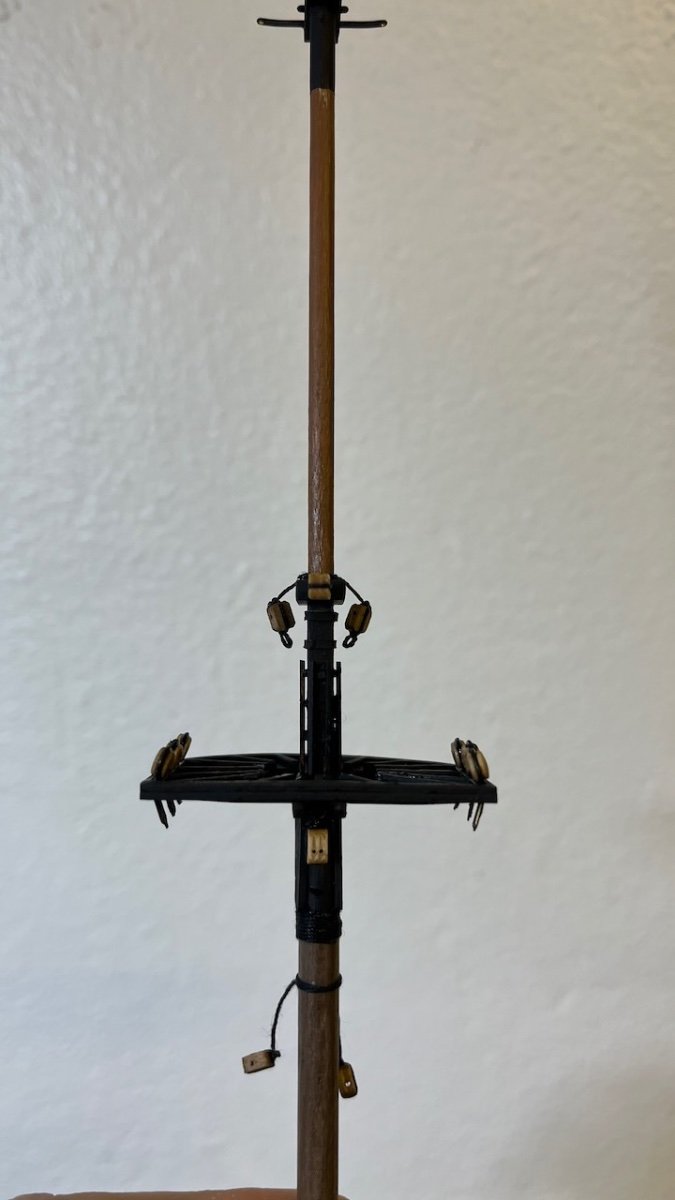
Those [] are the drawings for the thread that the blocks are attached to. The thread wraps around the mast cap for the lower yard lifts. The loop at the end of each block indicates where the running tackle starts for the lift.
OK what gets me confused is that if I see correct, in the instruction photos (page 121) the blocks are wrapped around the mast, not around the mast cap. Is this a change from the prototype?
-
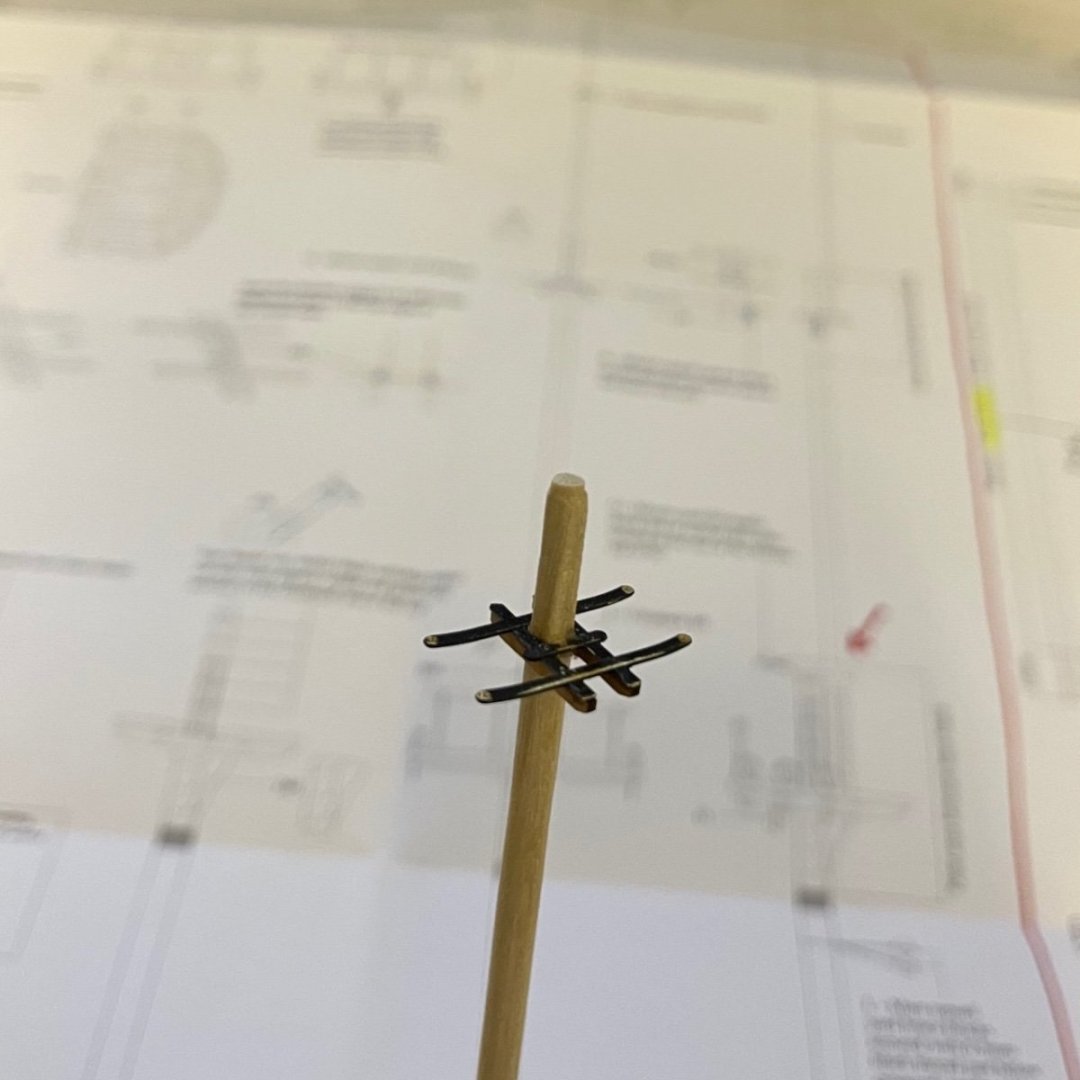
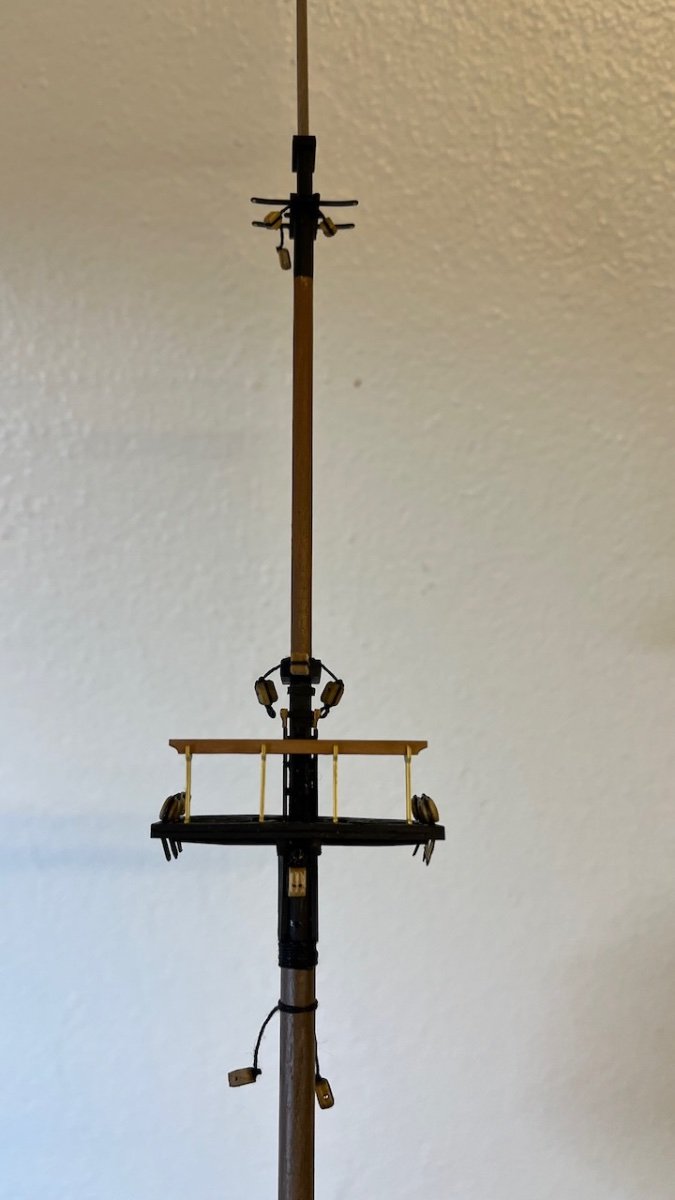
Photo 724: I am left with one confusion. What are the "[" and "]" shaped drawings around the mast caps? See the photo from the plan where I marked them (Ignore the question mark pointing at the loop at the block). At first I thought if they are the threads used for the crossjack lift blocks but it is not the way the blocks are tied. There is no such thing in the photos either. This is the case in the plan for all three masts. Any clarification is appreciated.

That's all for now. Thanks for watching!- Mr Whippy, mtaylor and Knocklouder
-
3
-
-
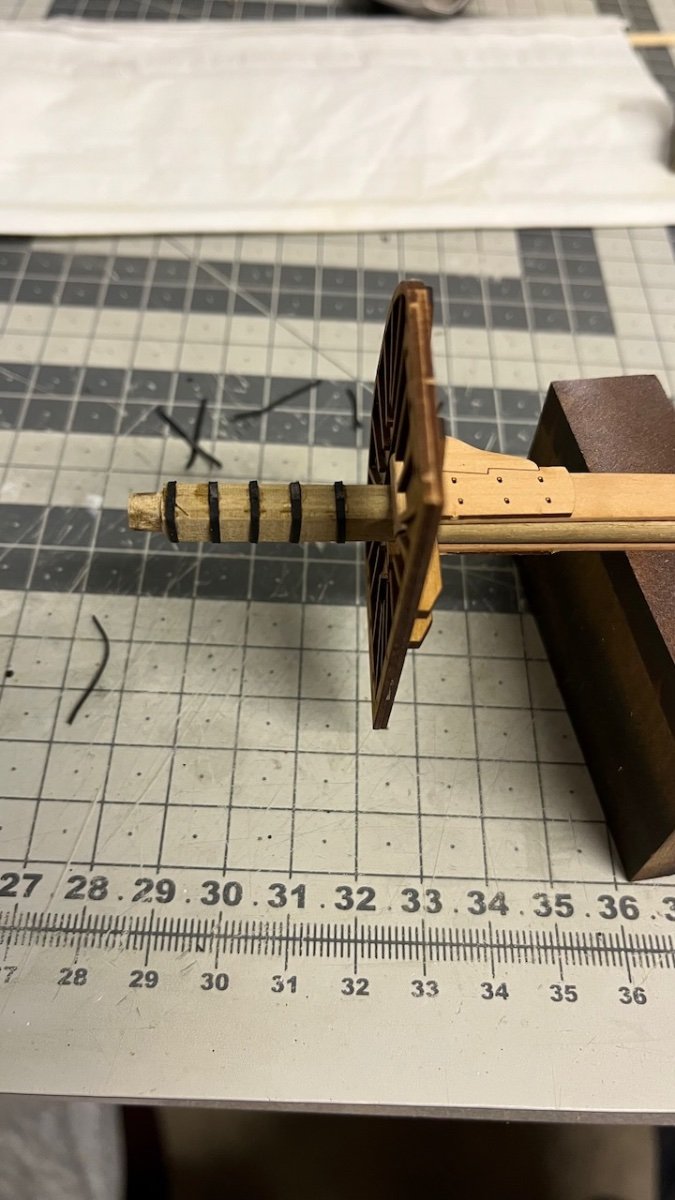
Build day 102: 3,5 hrs / Total 223 hours
Today I spent around 3,5 hours to complete Mizzen Mast Part 2 (i.e. the details)
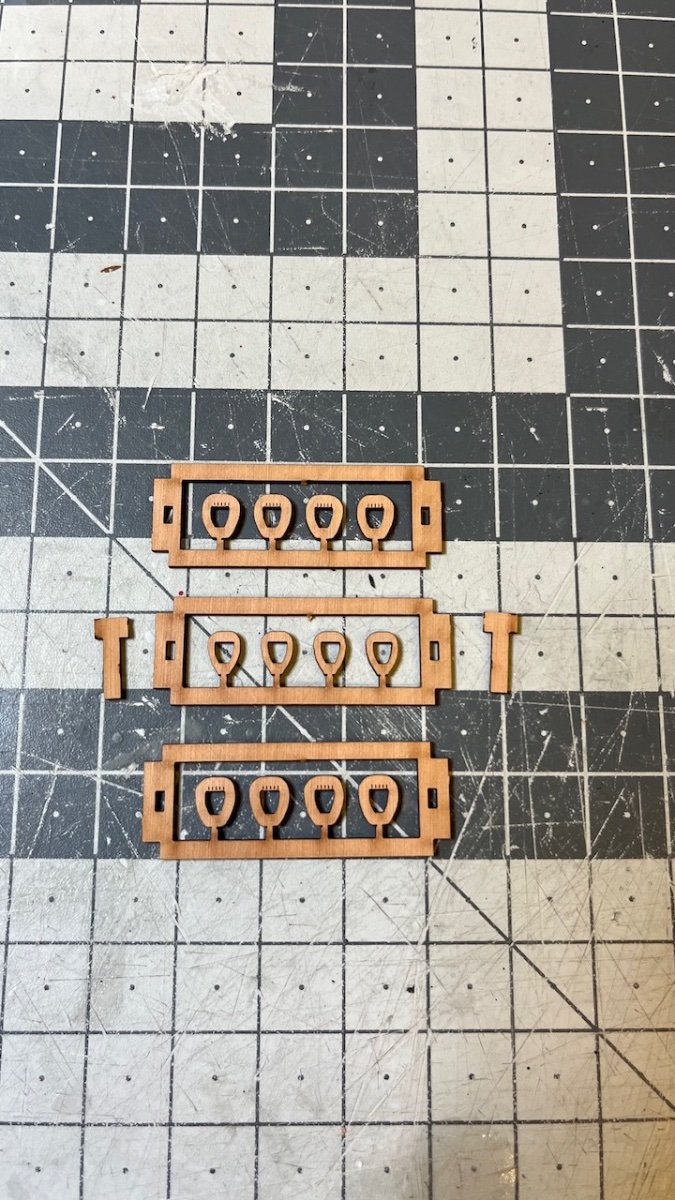
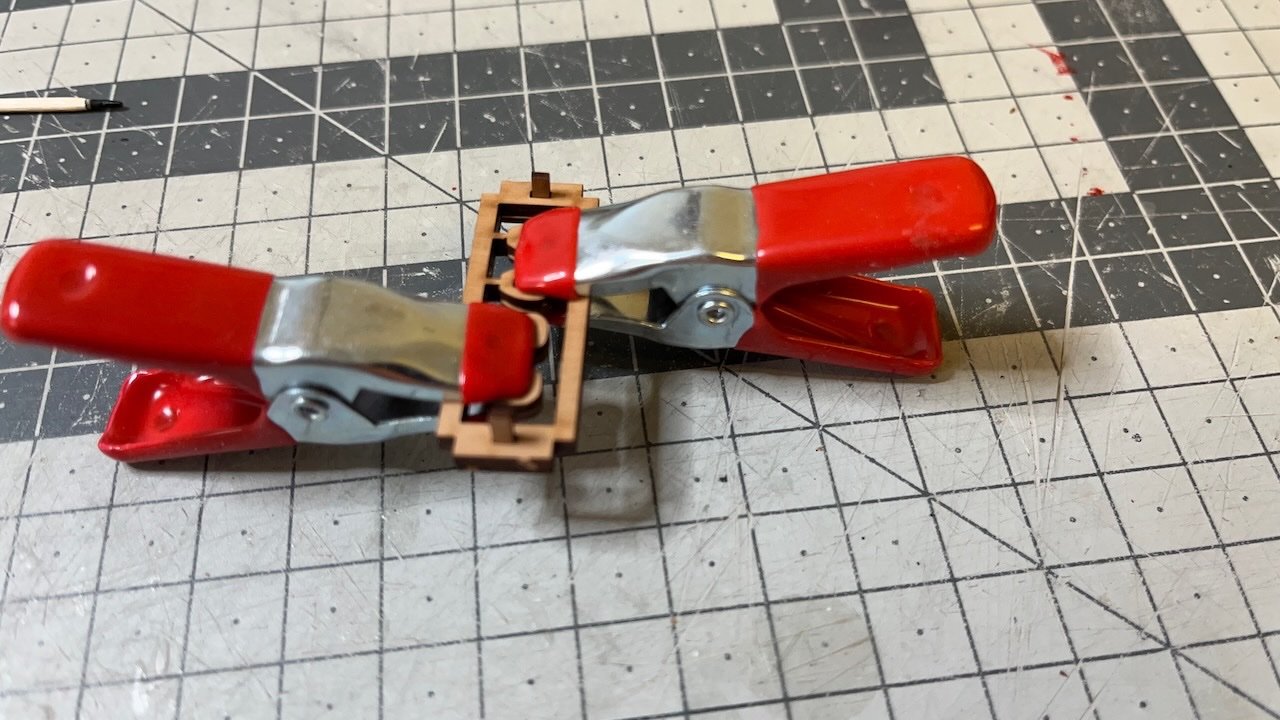
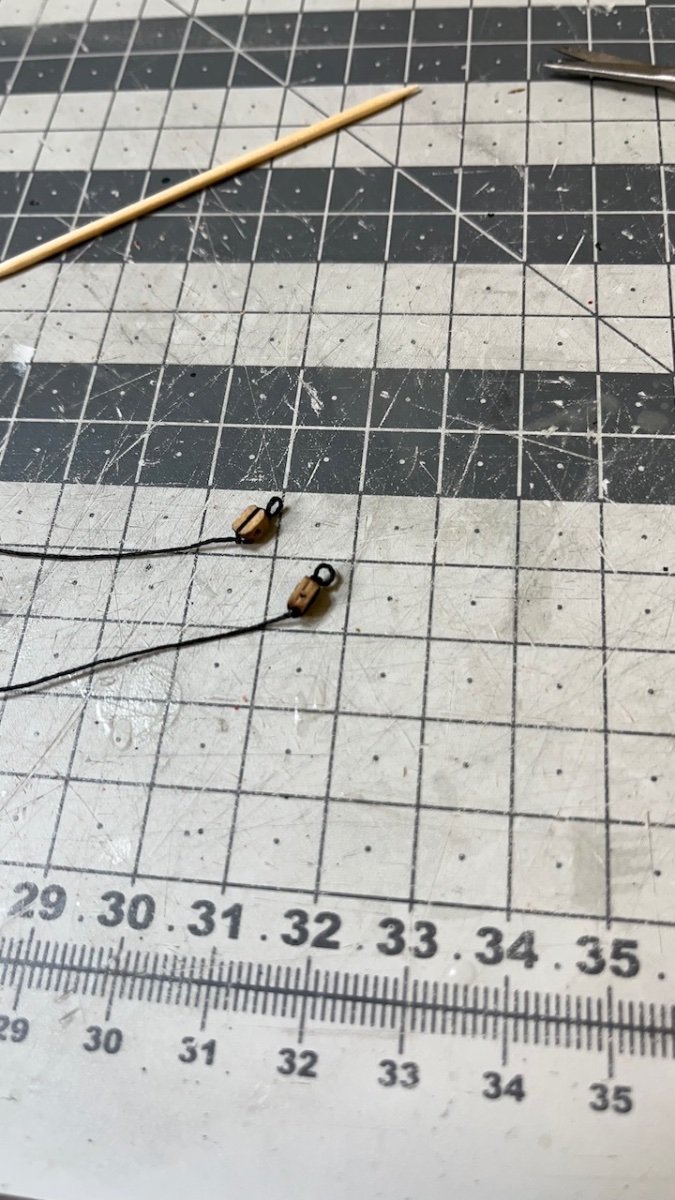
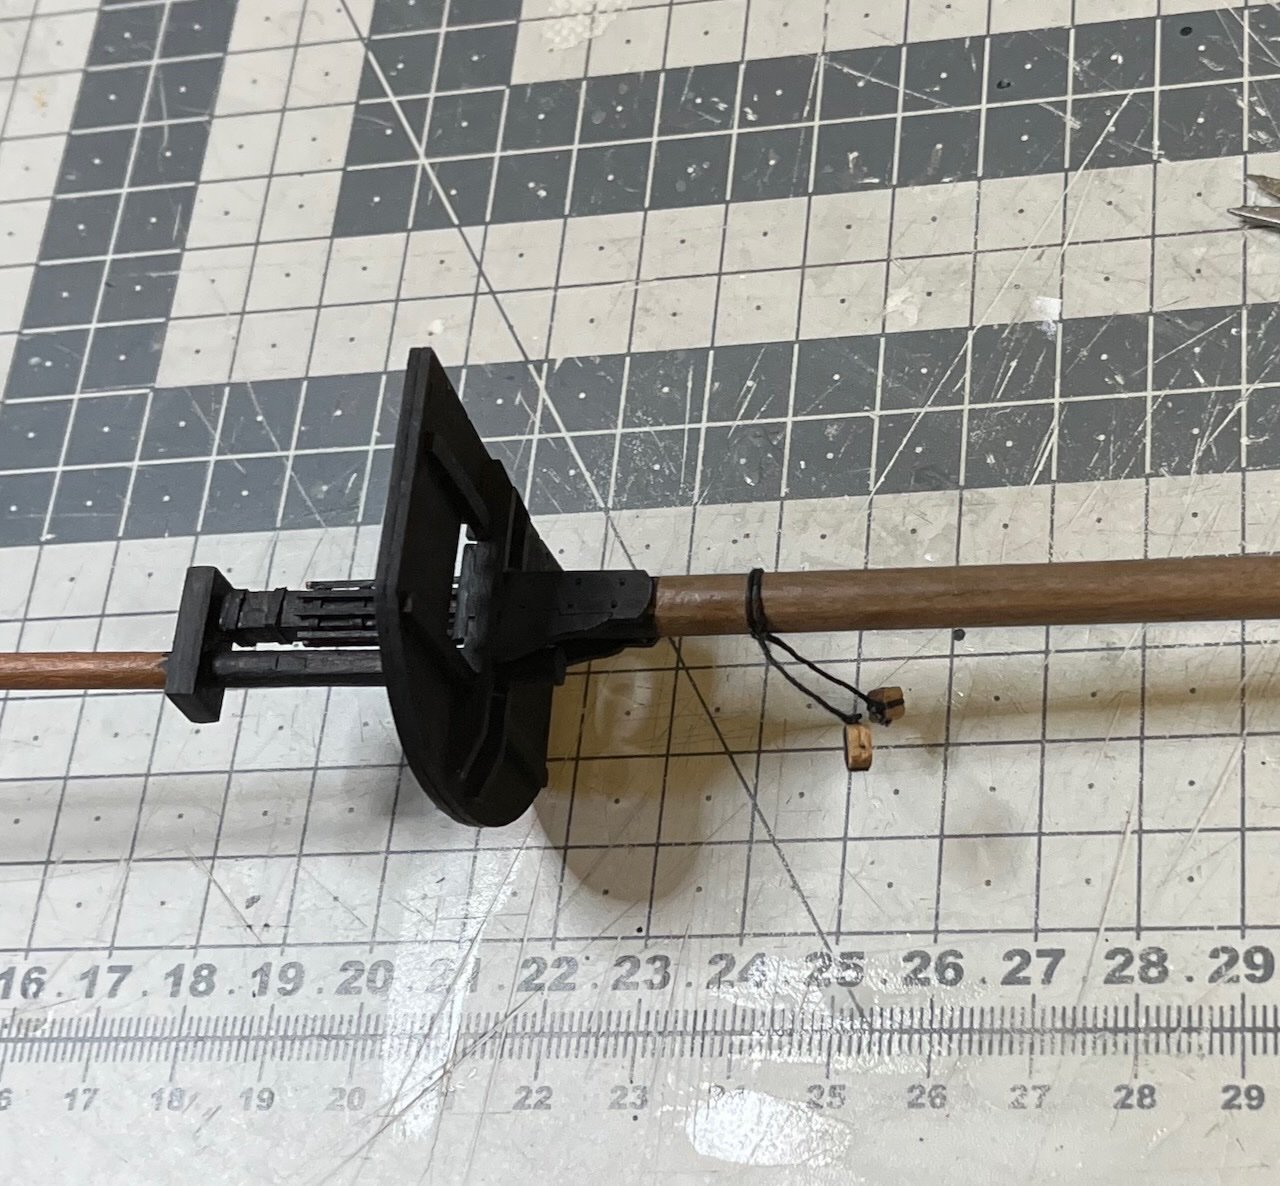
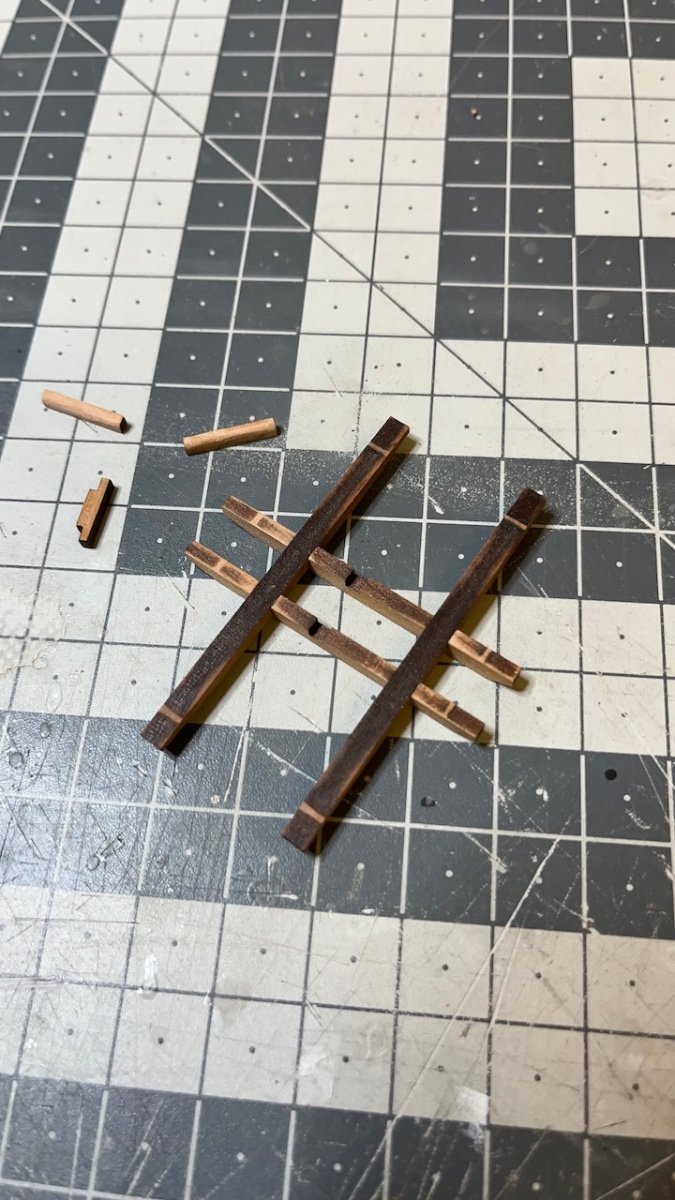
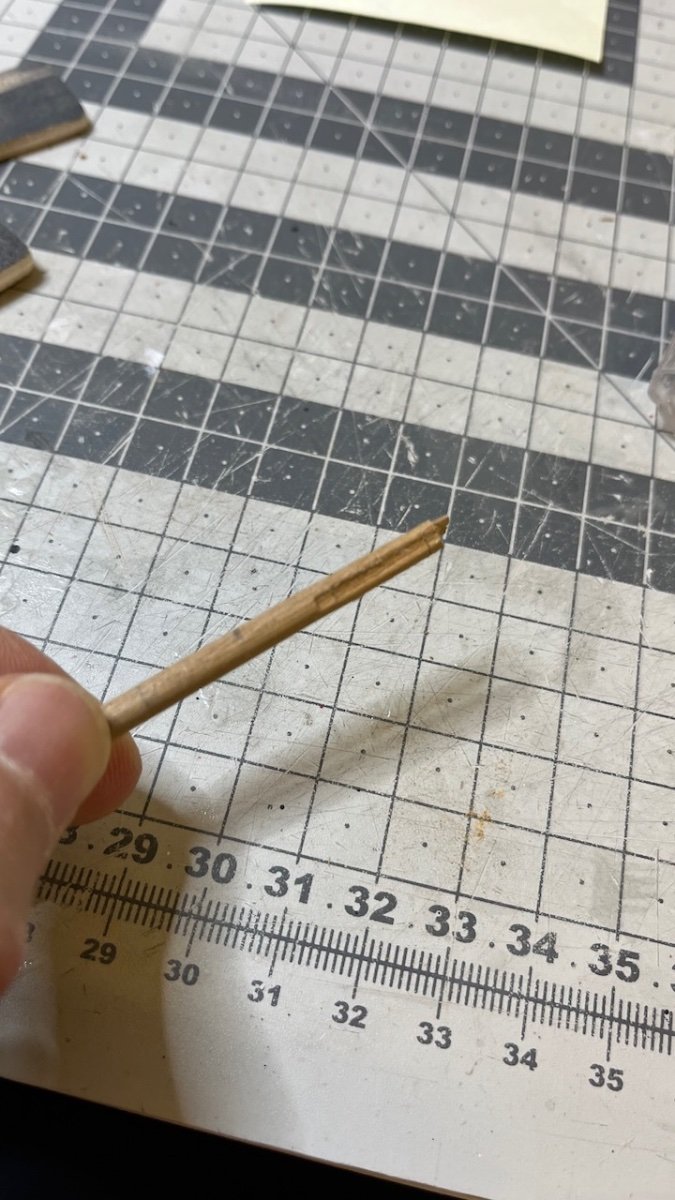
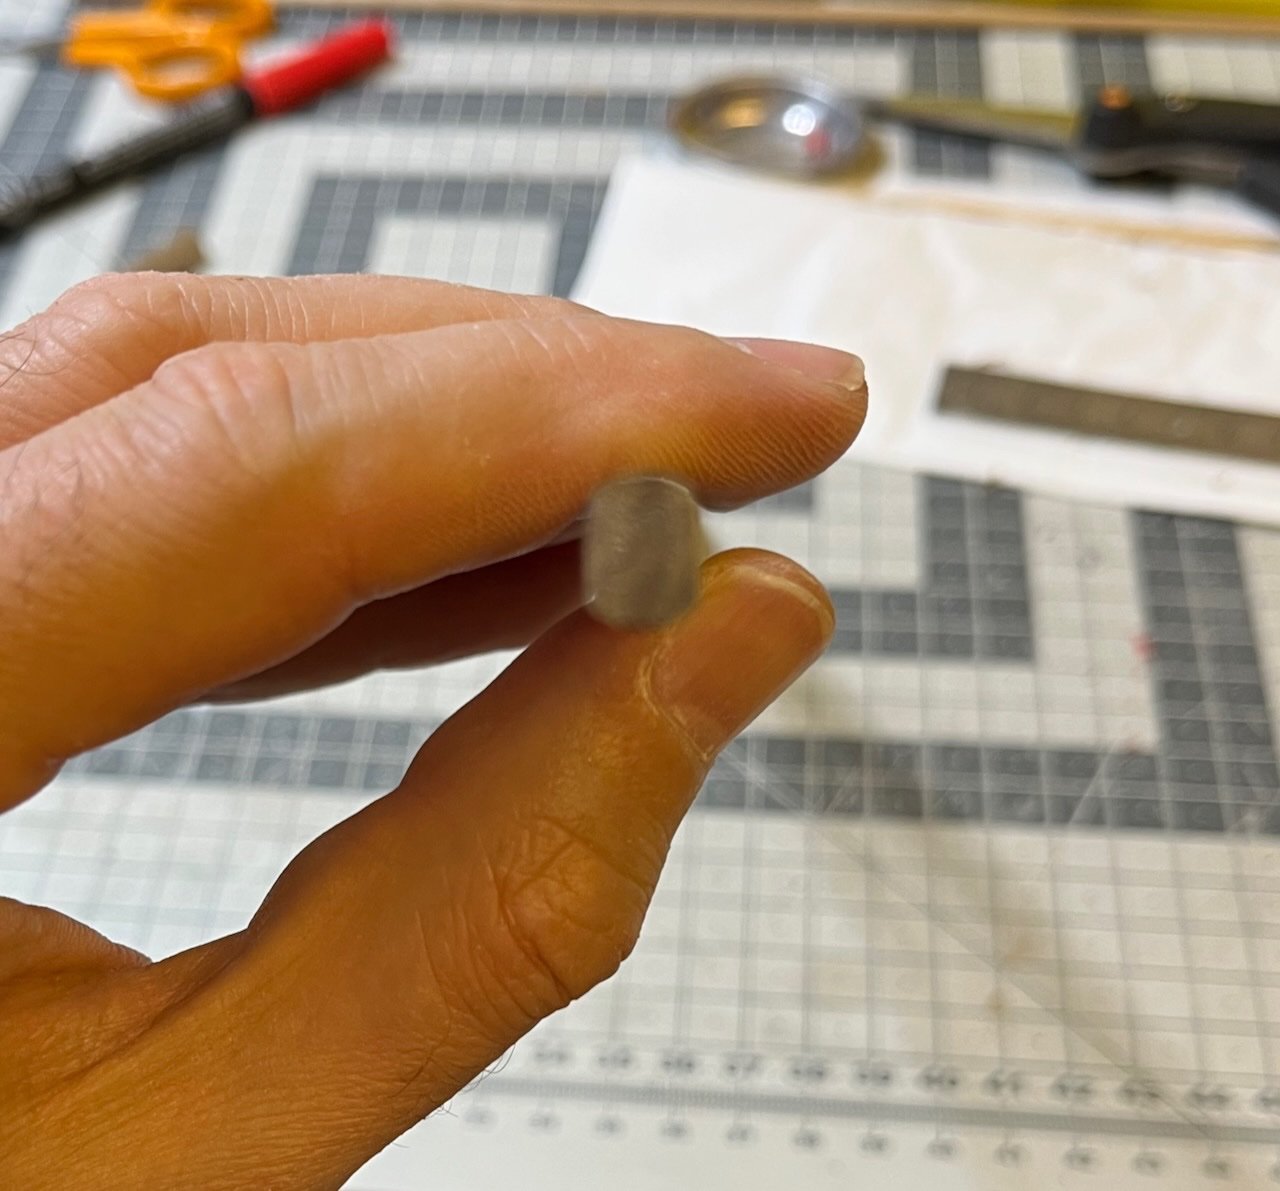
Photos 715-716: Some blocks have a loop at their end. In my previous models they have always been made of wire, but in Sphinx you'll make them from thread. I made them with the help of a toothpick as below:
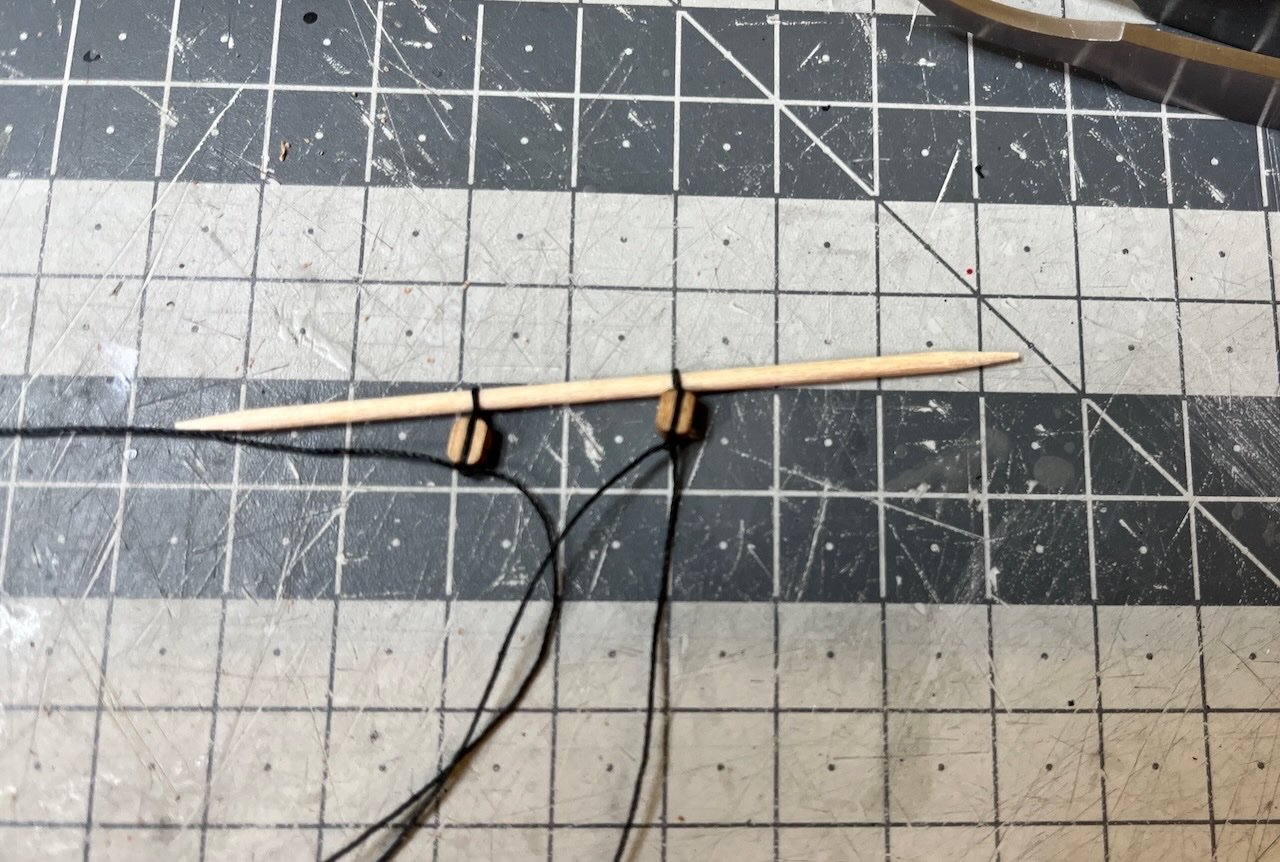

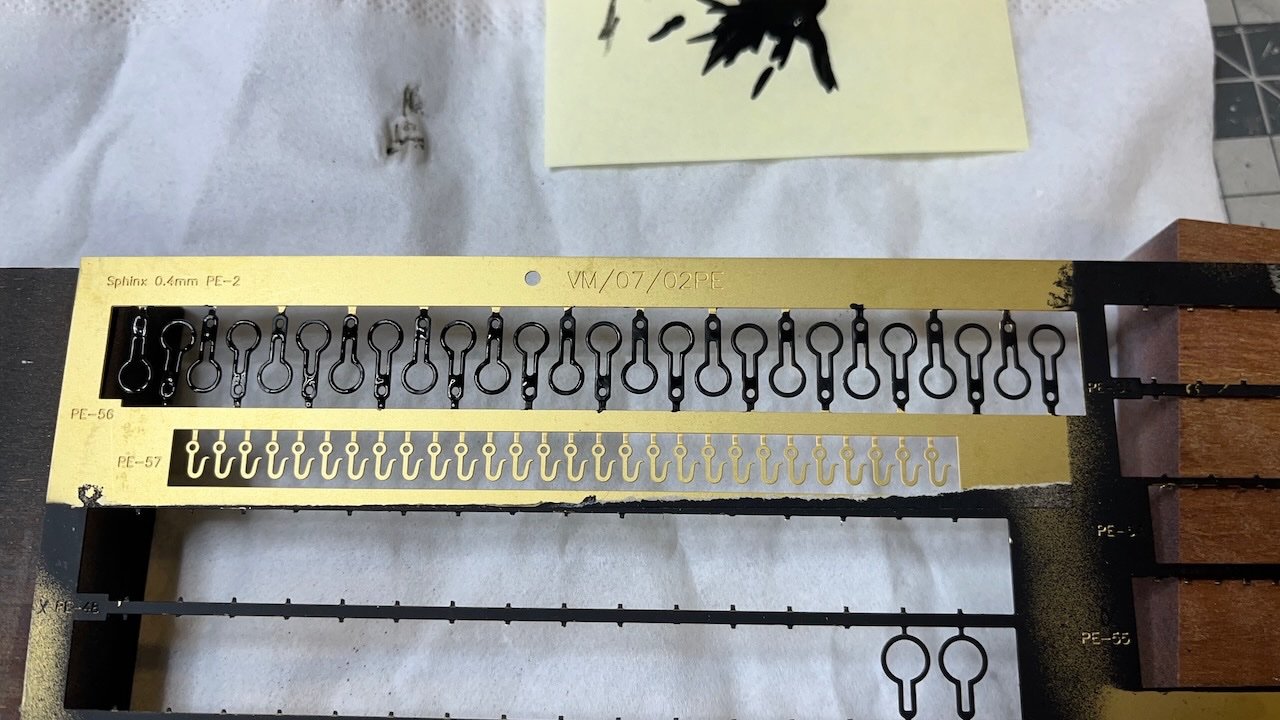
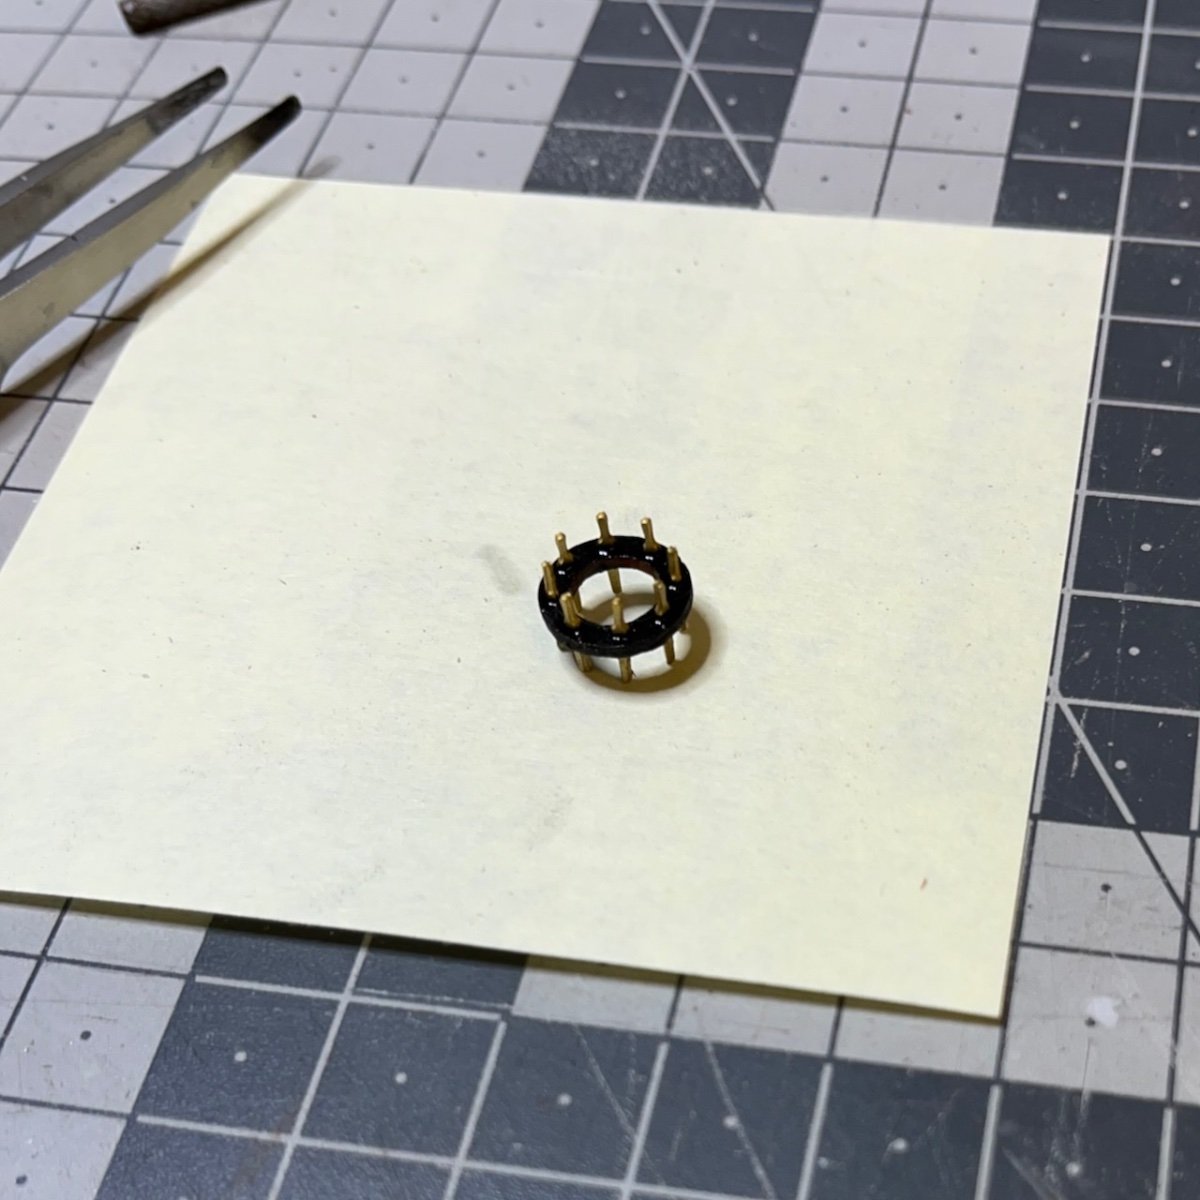
Photo 717: PE parts painted, waiting to dry. Those in the photo are for deadeyes.
- Glenn-UK, mtaylor and Knocklouder
-
3
-
-
-
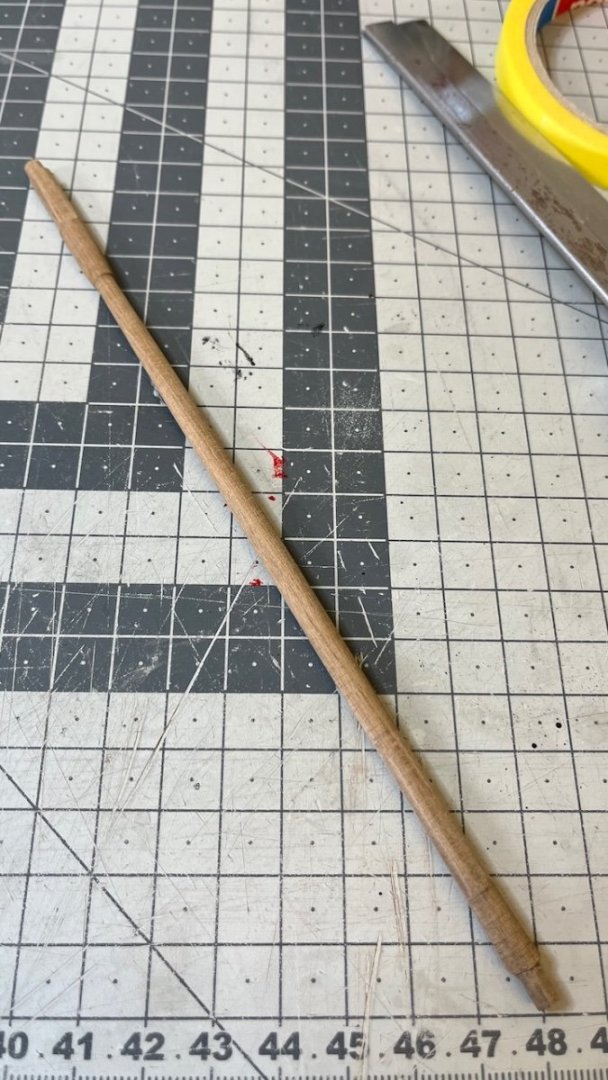
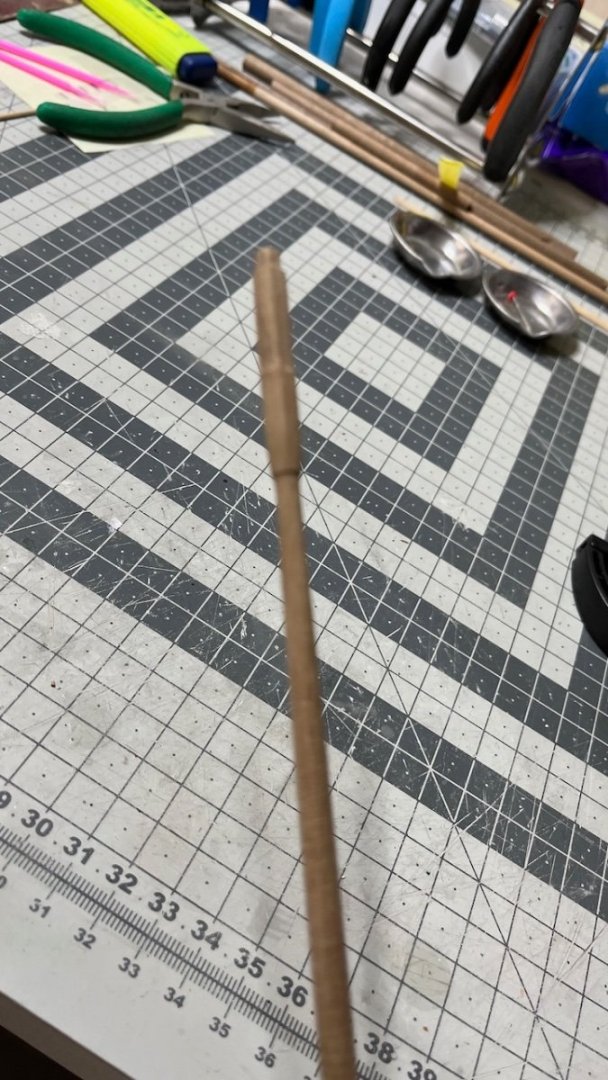
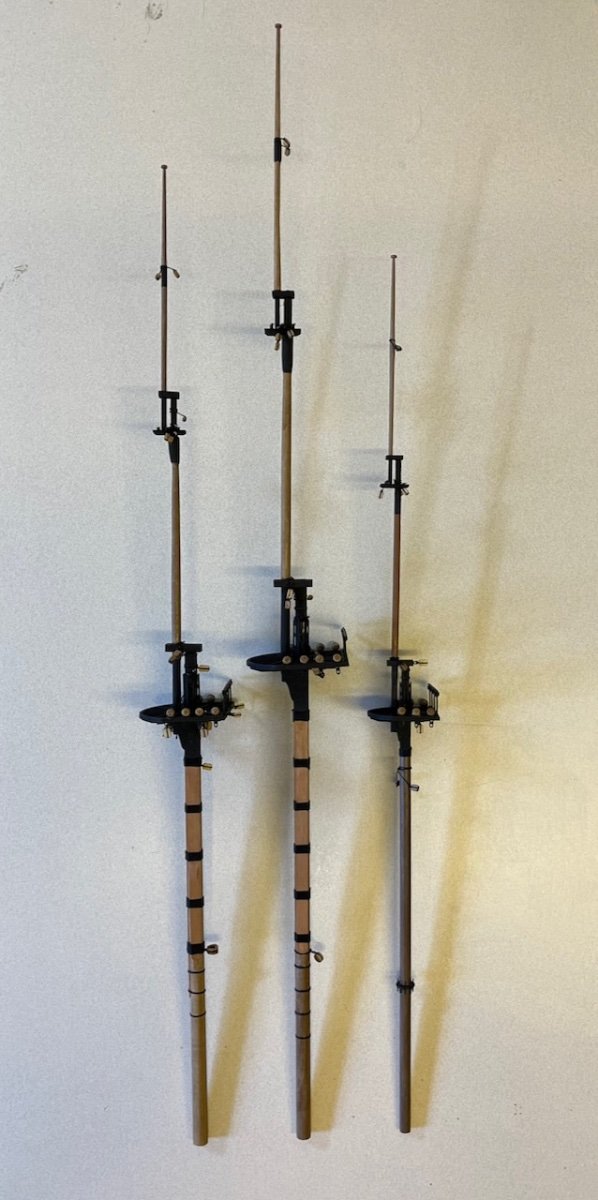
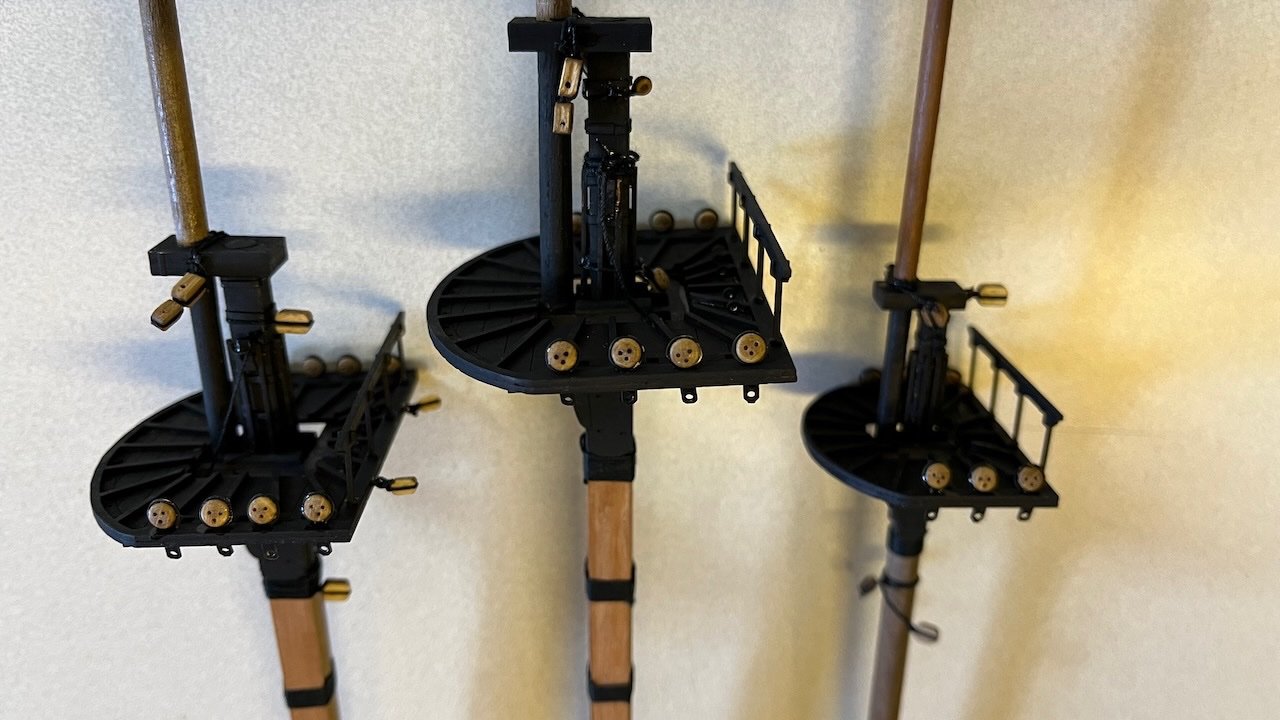
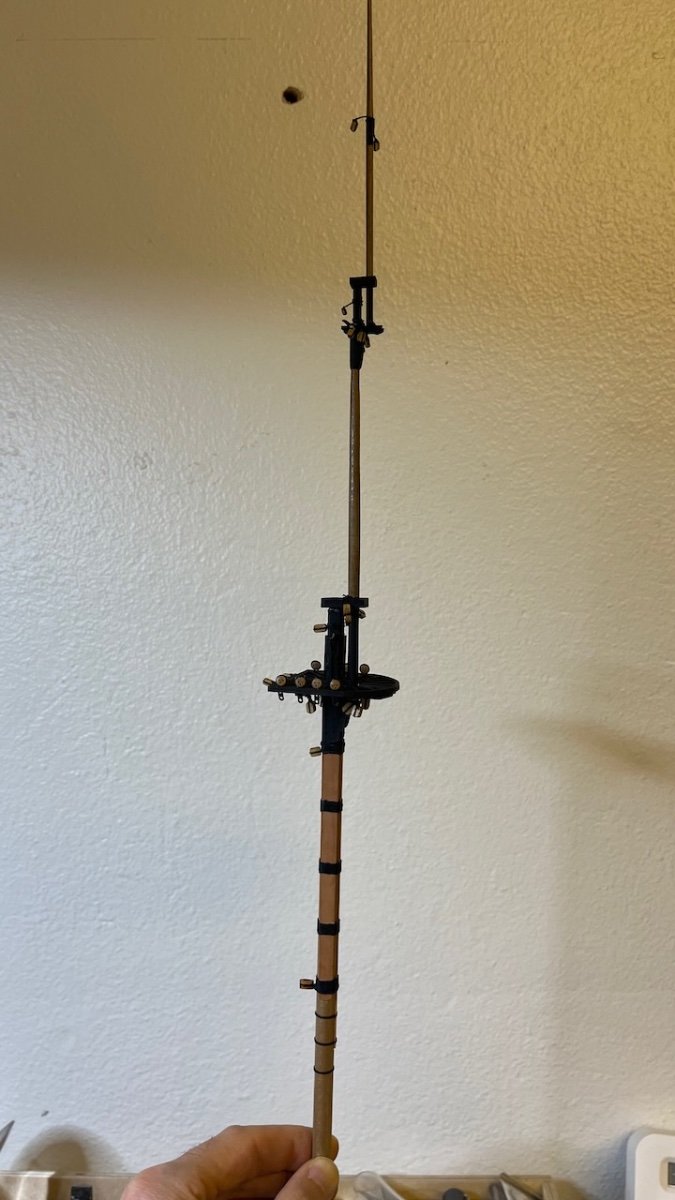
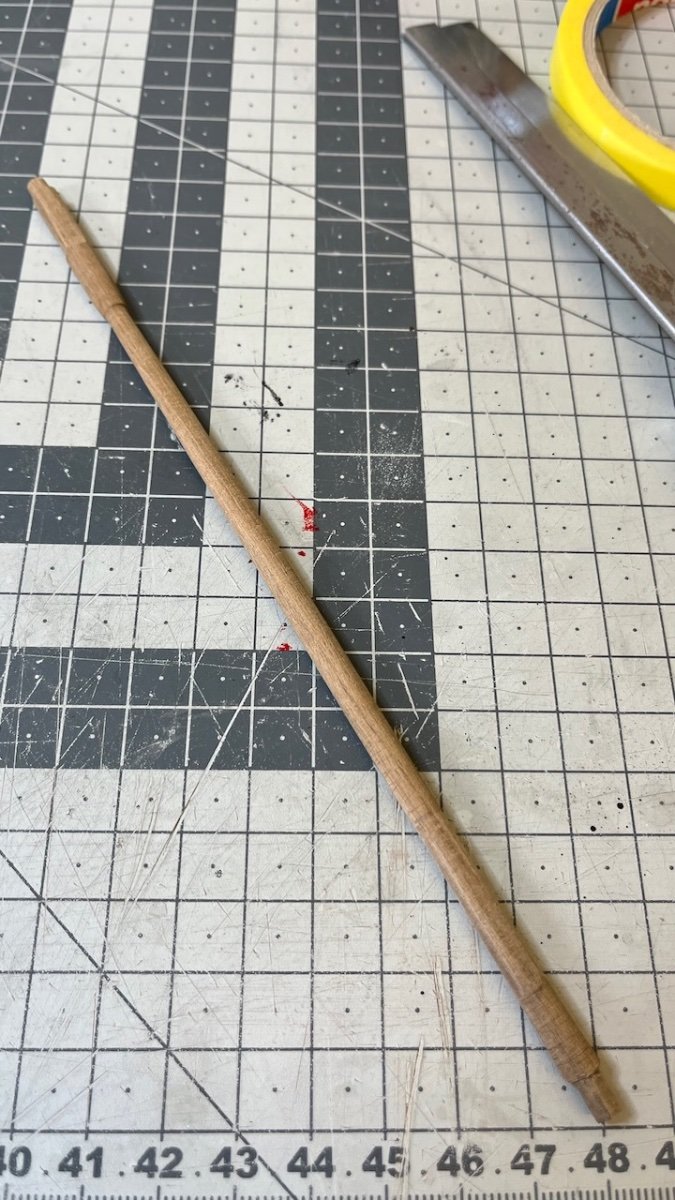
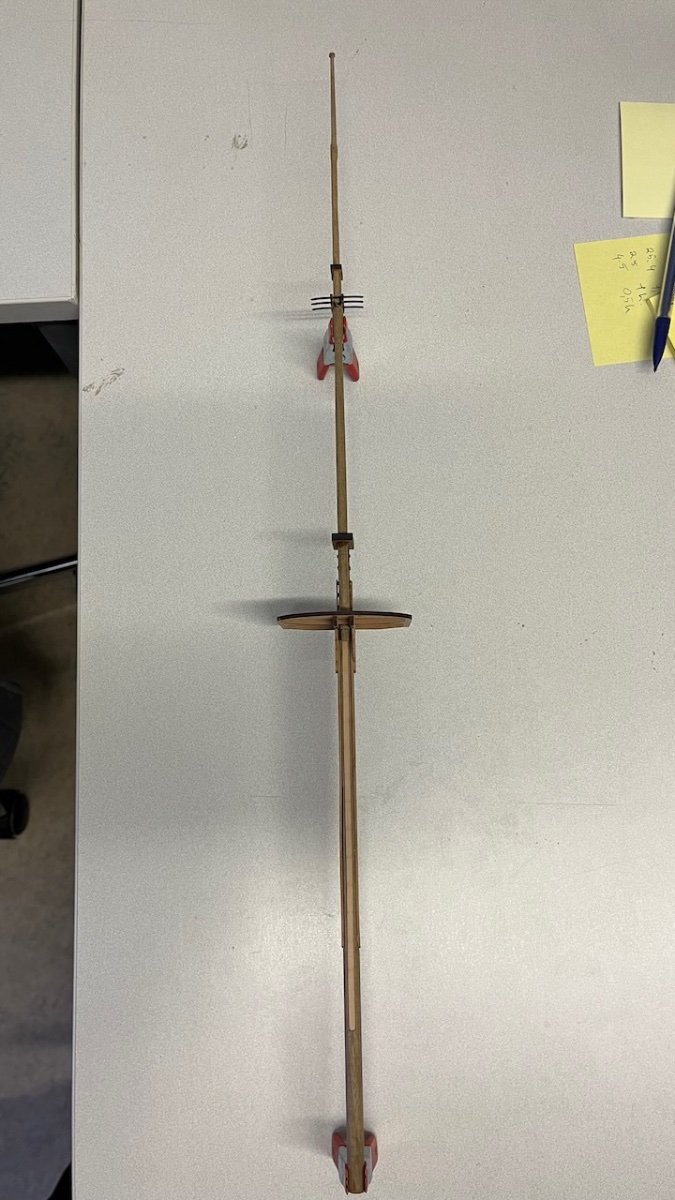
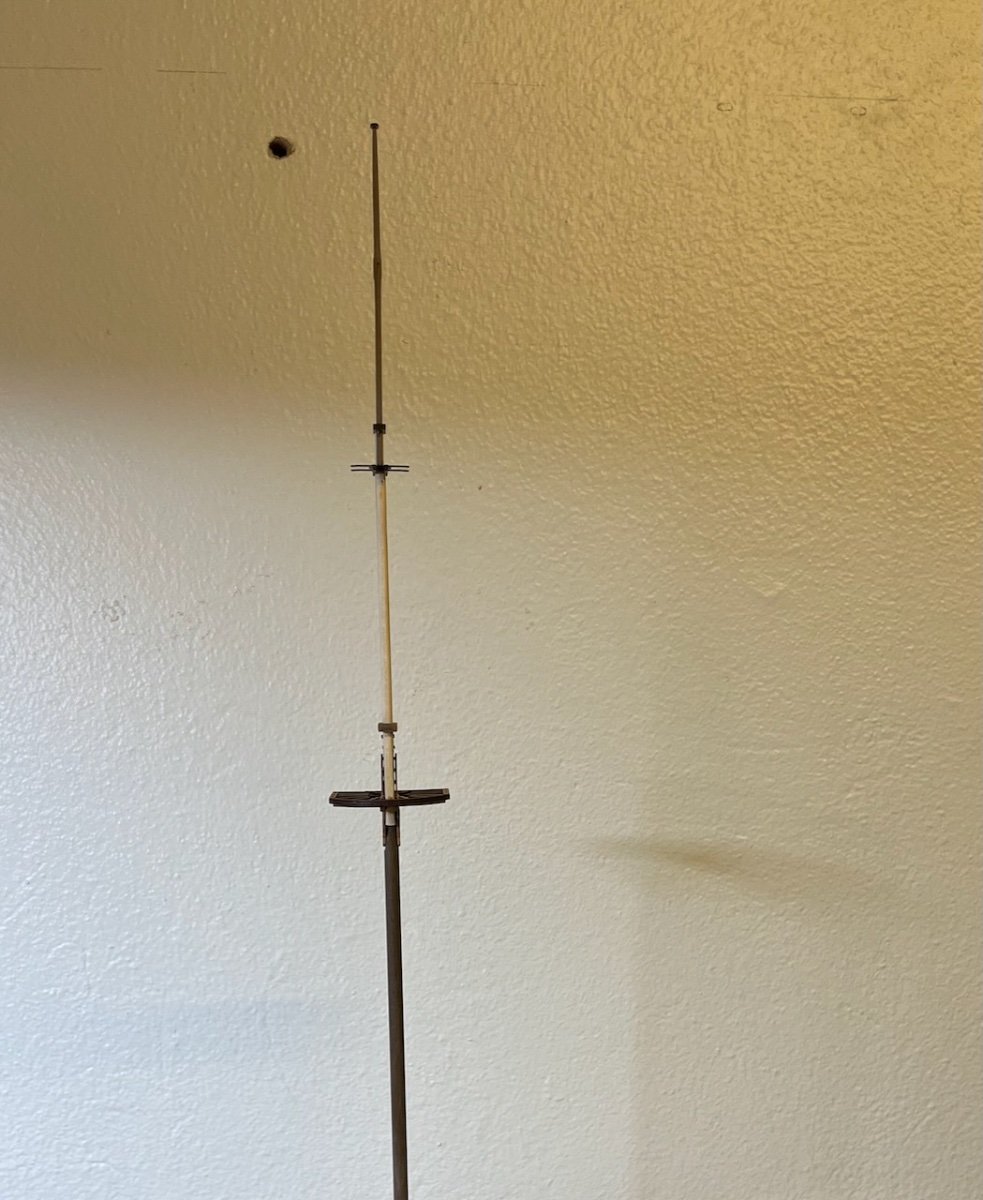
Build days 99-101: 5 hrs / Total 219.5 hours
Foremast Part 1, took altogether 5 hours in 3 separate days. Some photos showing the progress.
Also with this post I am leaving 100 build days behind! With 220 hours of work, it is around an average of 2hrs per build day.
Photos 706-711


-
Build days 94-98: 8.5 hrs / Total 214.5 hours
After a total of 8.5 hours of work spread to 5 days, main mast Part 1 is ready. As I indicated before, by "Part 1" I mean leaving the details (eyelets, blocks, cord wraps etc) for later to do together with all three masts, in accordance with the instructions. I have already posted some of the work in the post above. Here are some of the remaining photos:
Photos 700-705
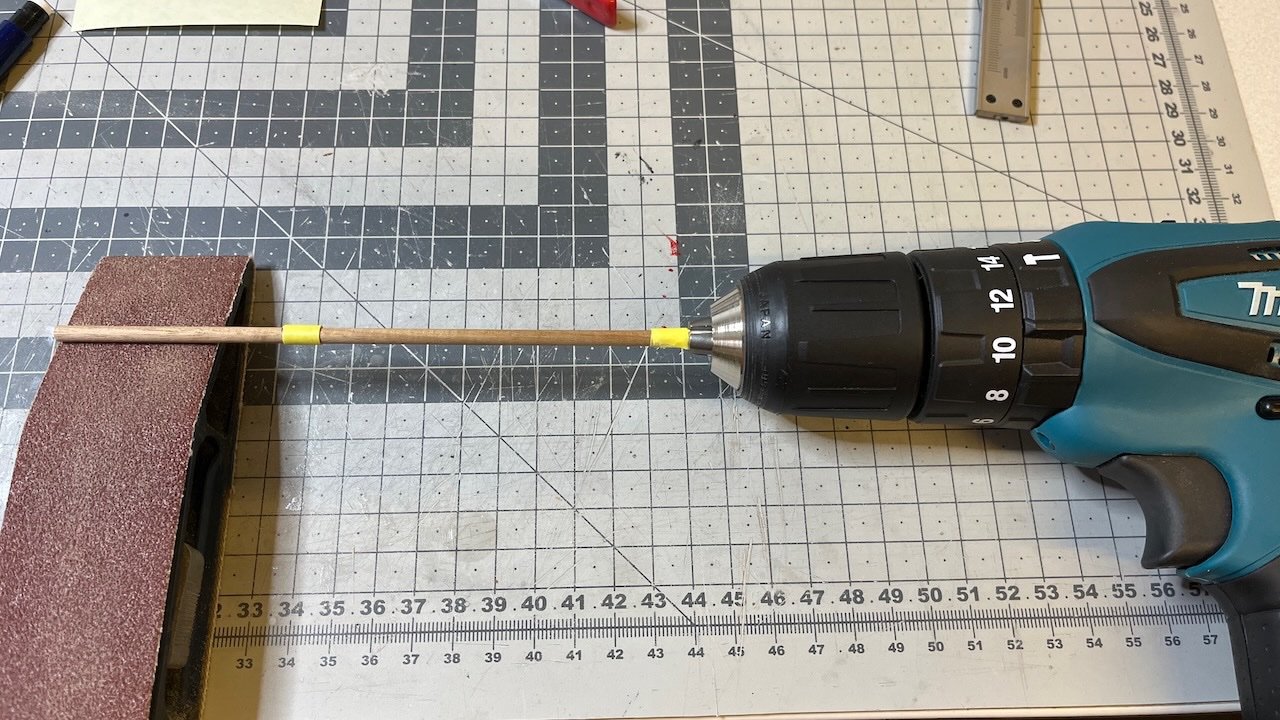
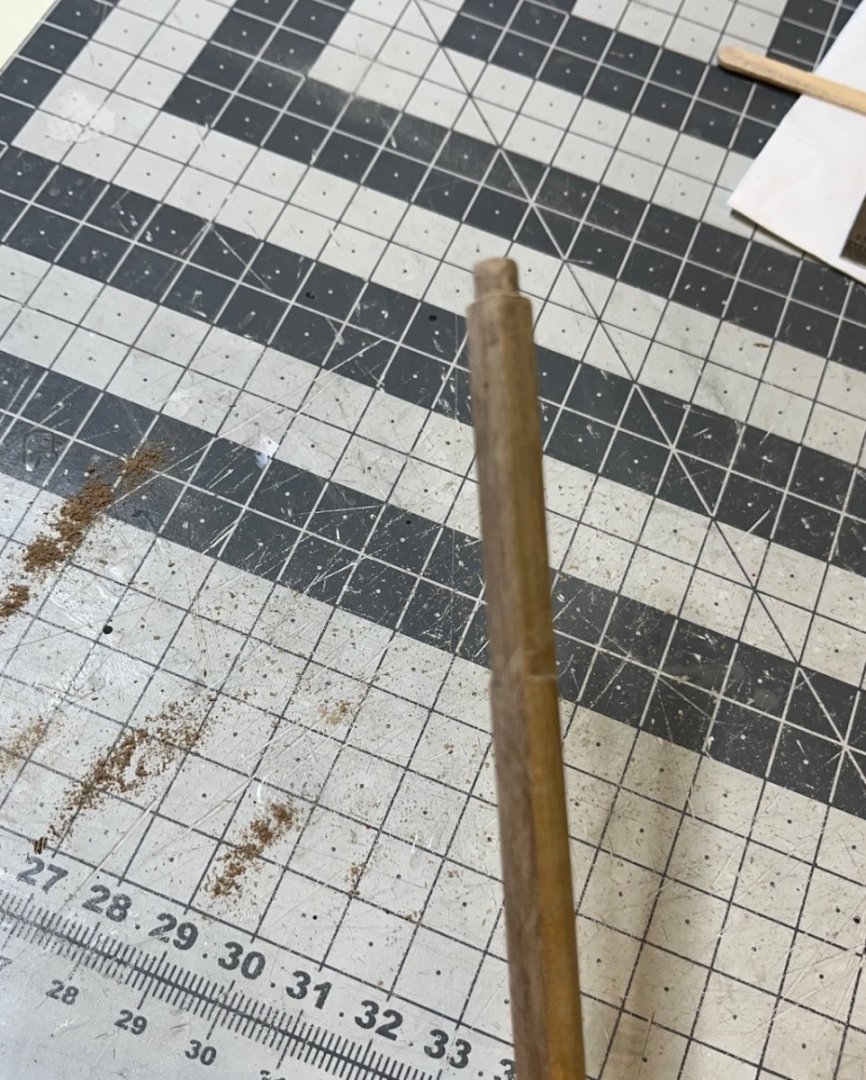
This is how the drill chuck squeezes the dowel. Needless to say, you cut the dowel in excess enough length to accommodate for inserting the drill machine chuck:


That's all for now. Thanks for watching!
-
-
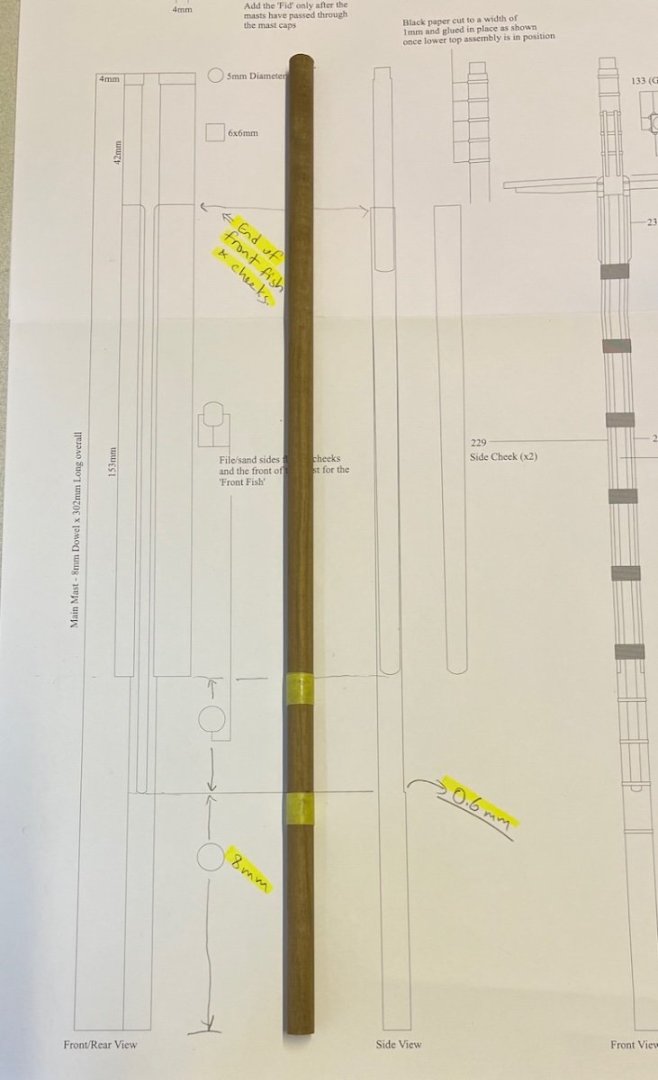
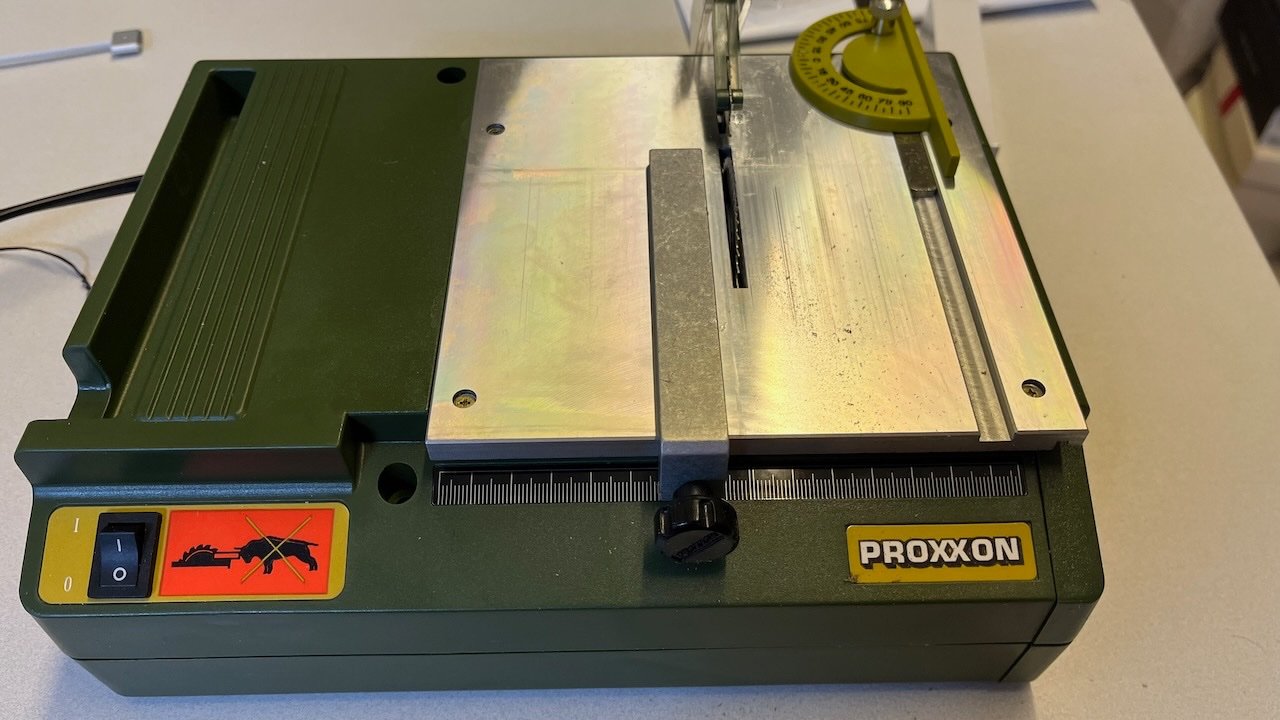
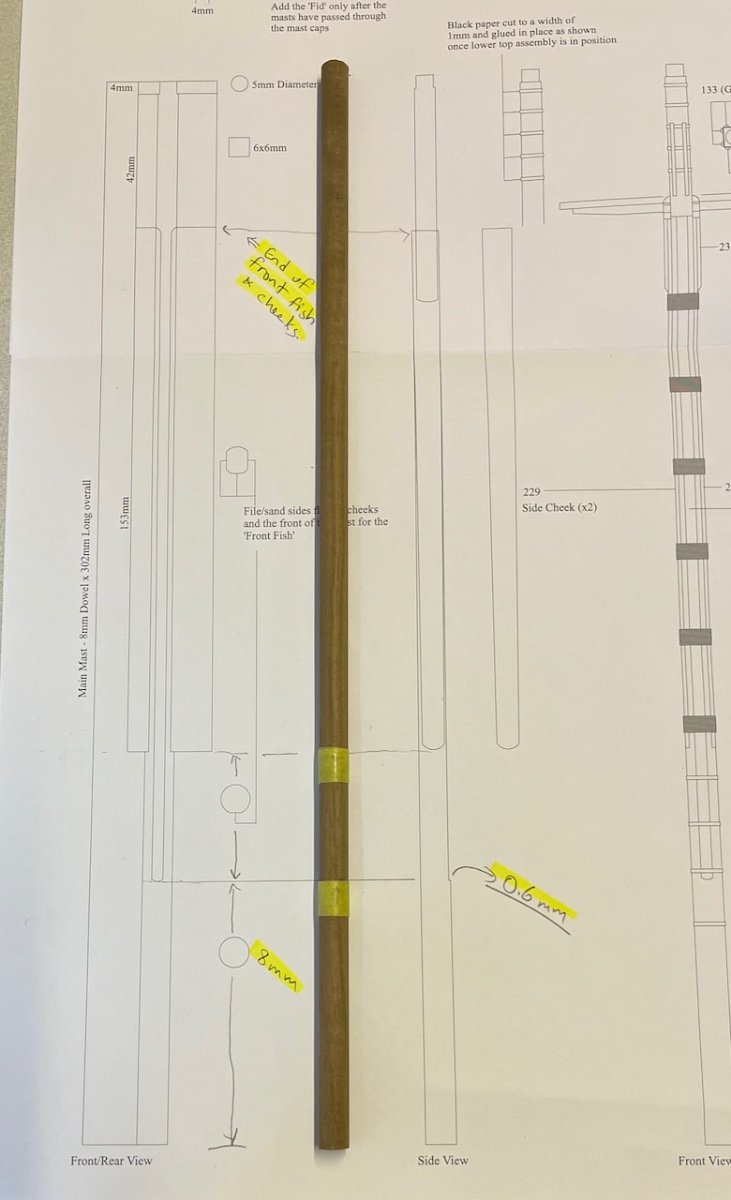
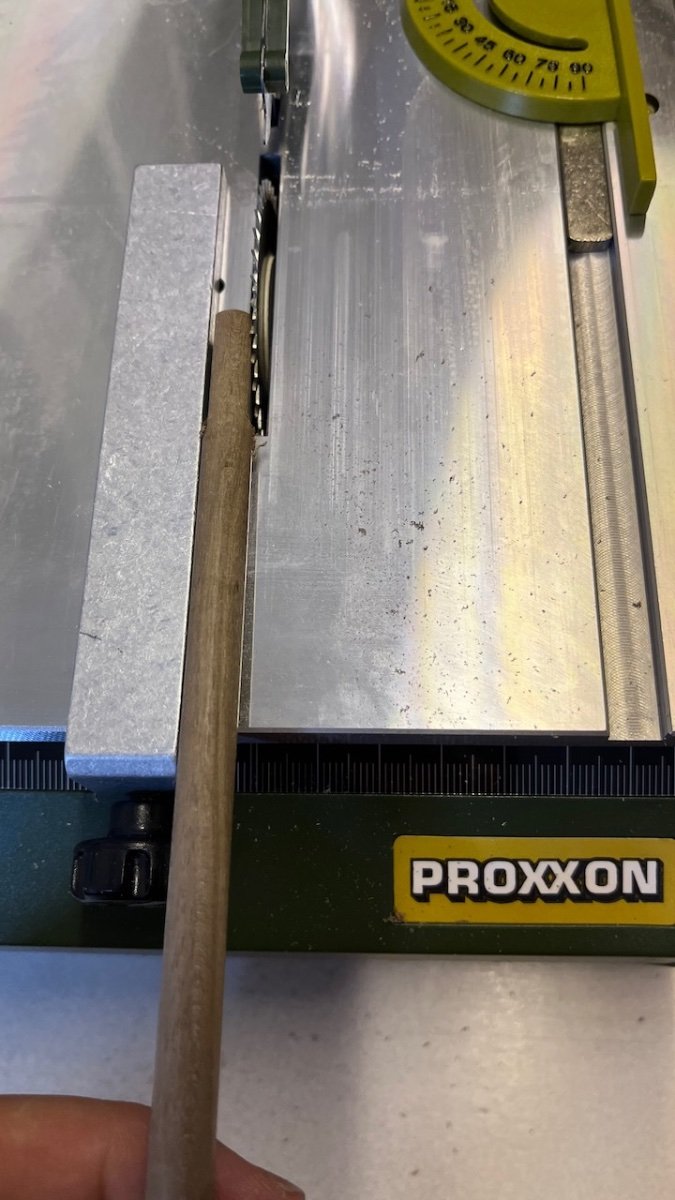
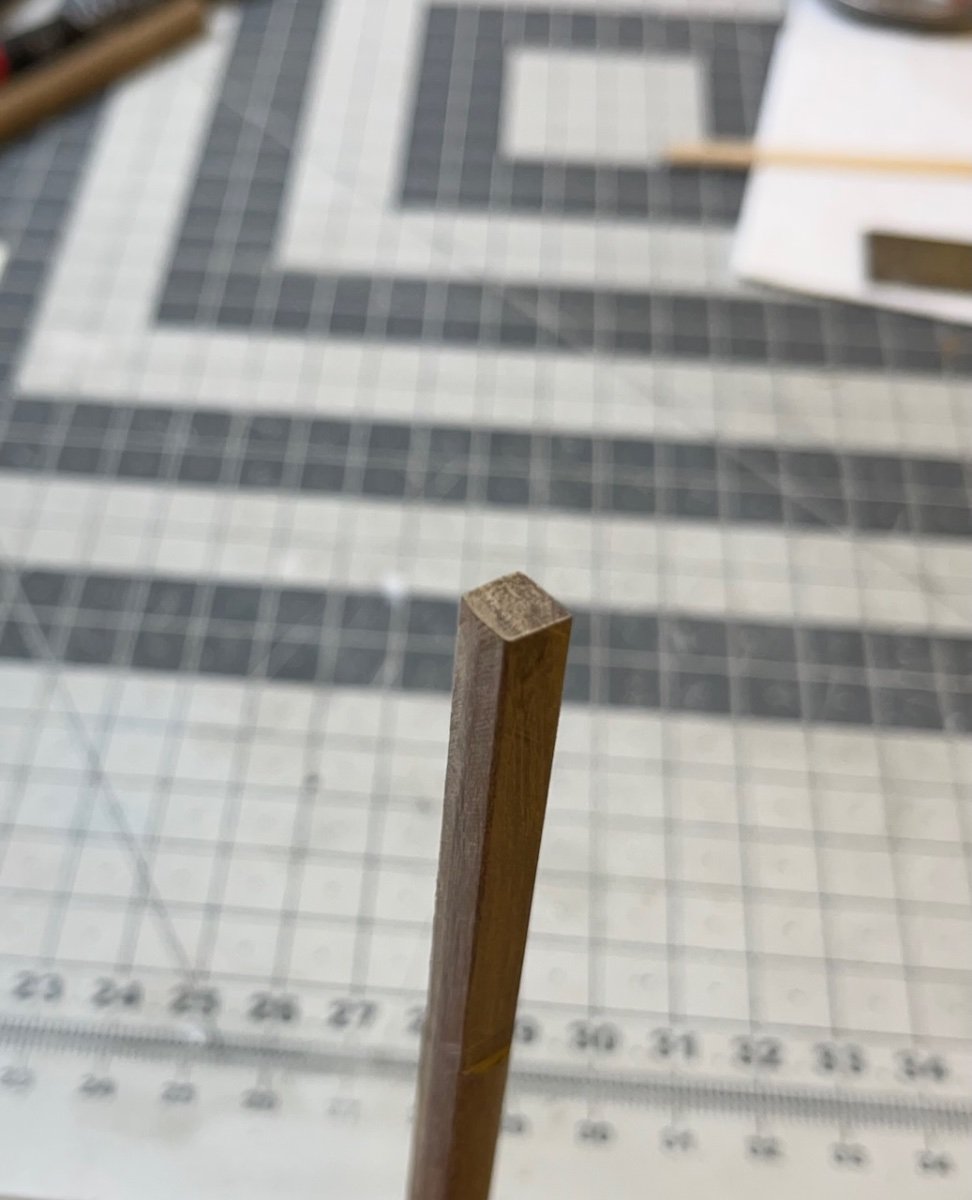
Quick update: I am now continuing with Main Mast. Main mast goes several shapes from bottom up, as you see in the plan. I realized I could try my Proxxon Bench Circular Saw (Model KS 230), which has been sitting on the shelf for a long time I even forgot I have it. It worked well. Here I wanted to post some photos showing how it worked.
Photos 693-699:


-
-
-
-
Build days 90-93: 4,5 hrs / Total 206 hours
Continued with the Mizzen mast with 4,5 hours of work spread into 4 days, concluding what I call "Part 1". This means leaving the details (eyelets, blocks, cord wraps etc) for later to do together with all three masts, in accordance with the instructions.
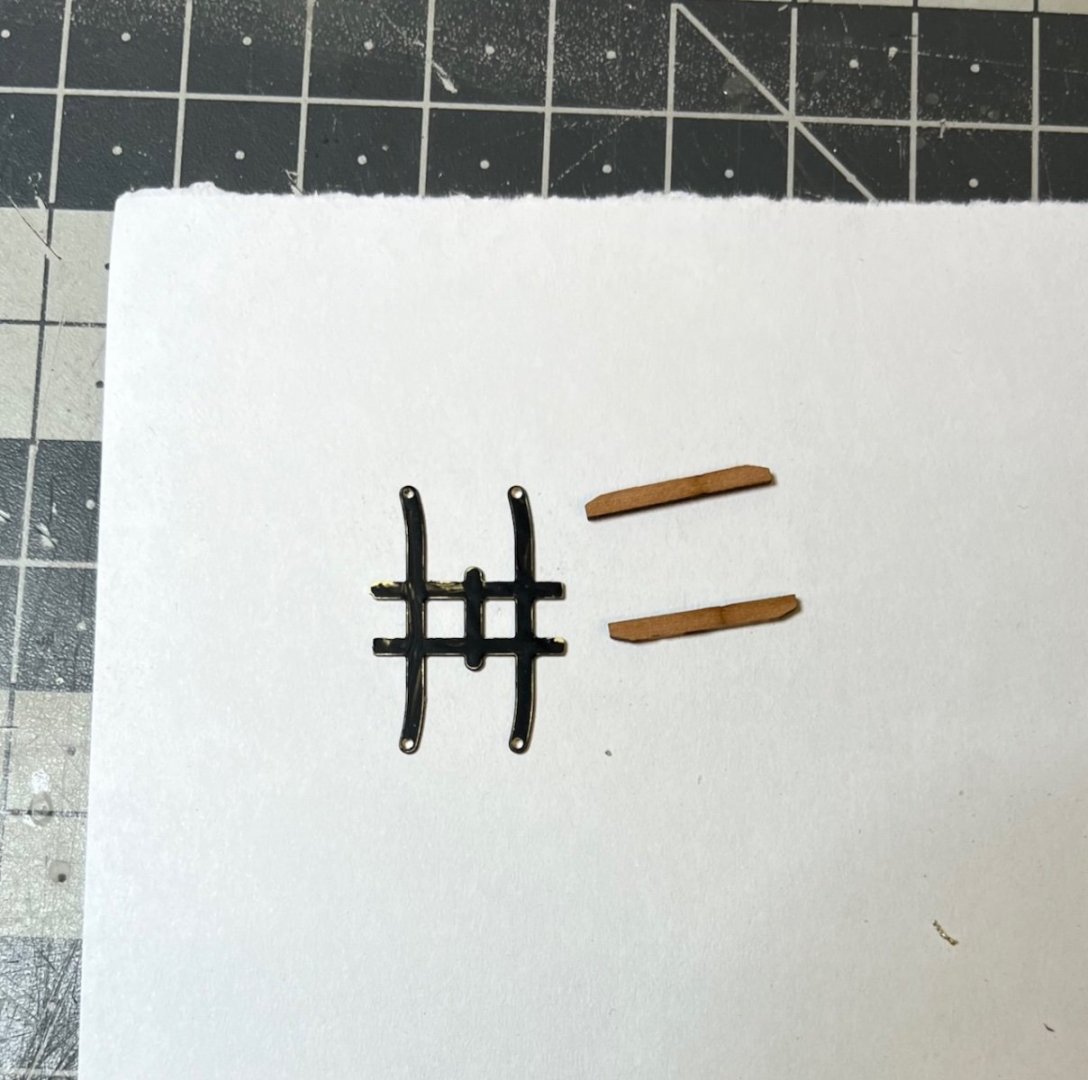
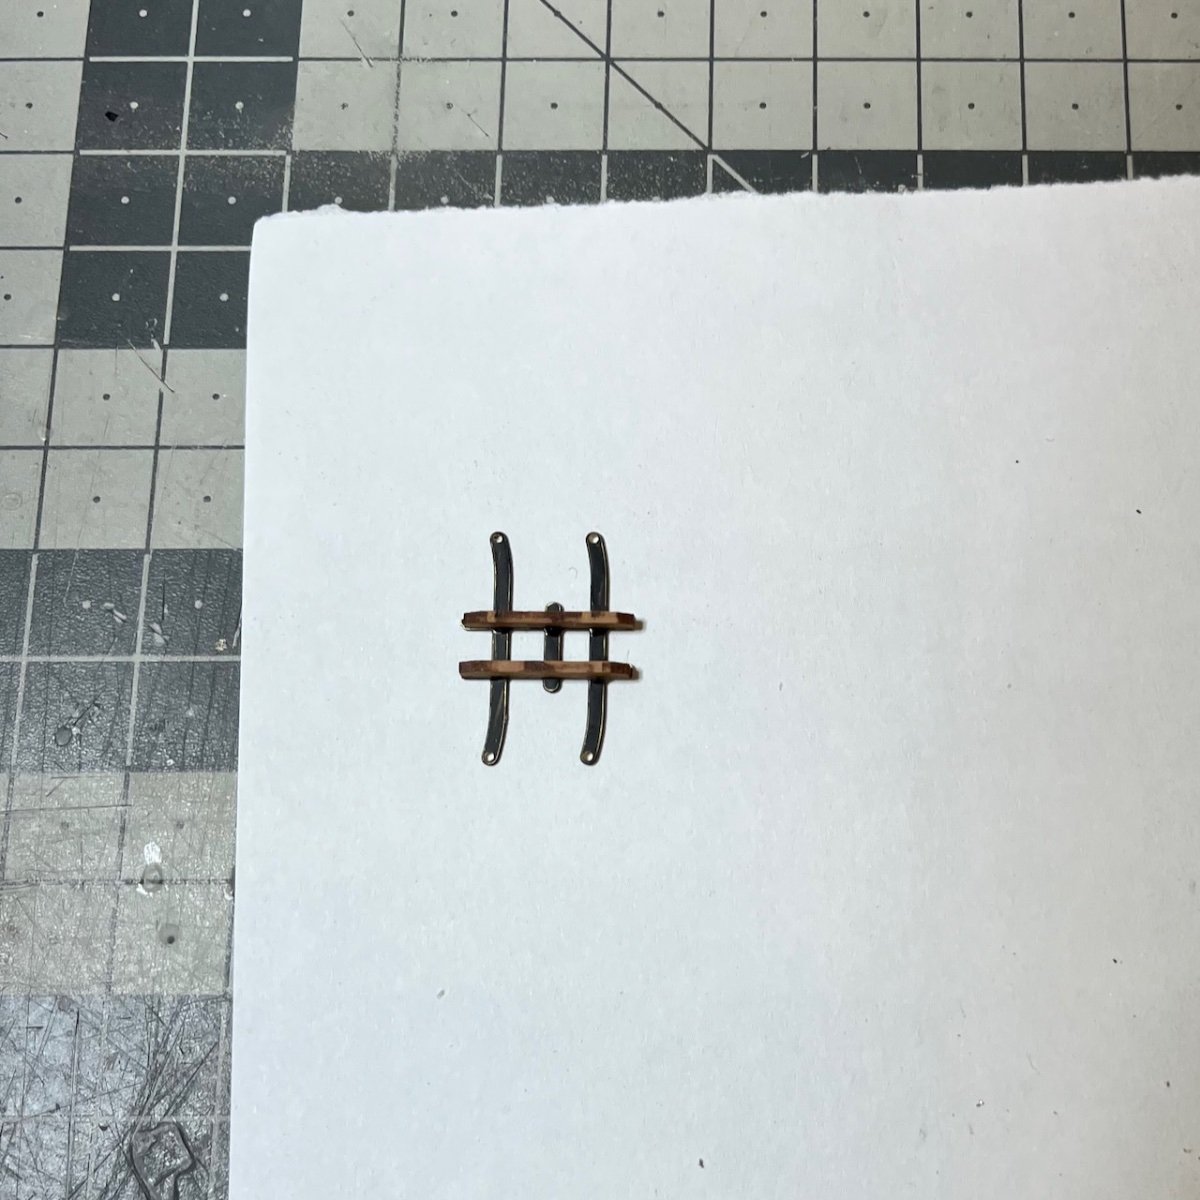
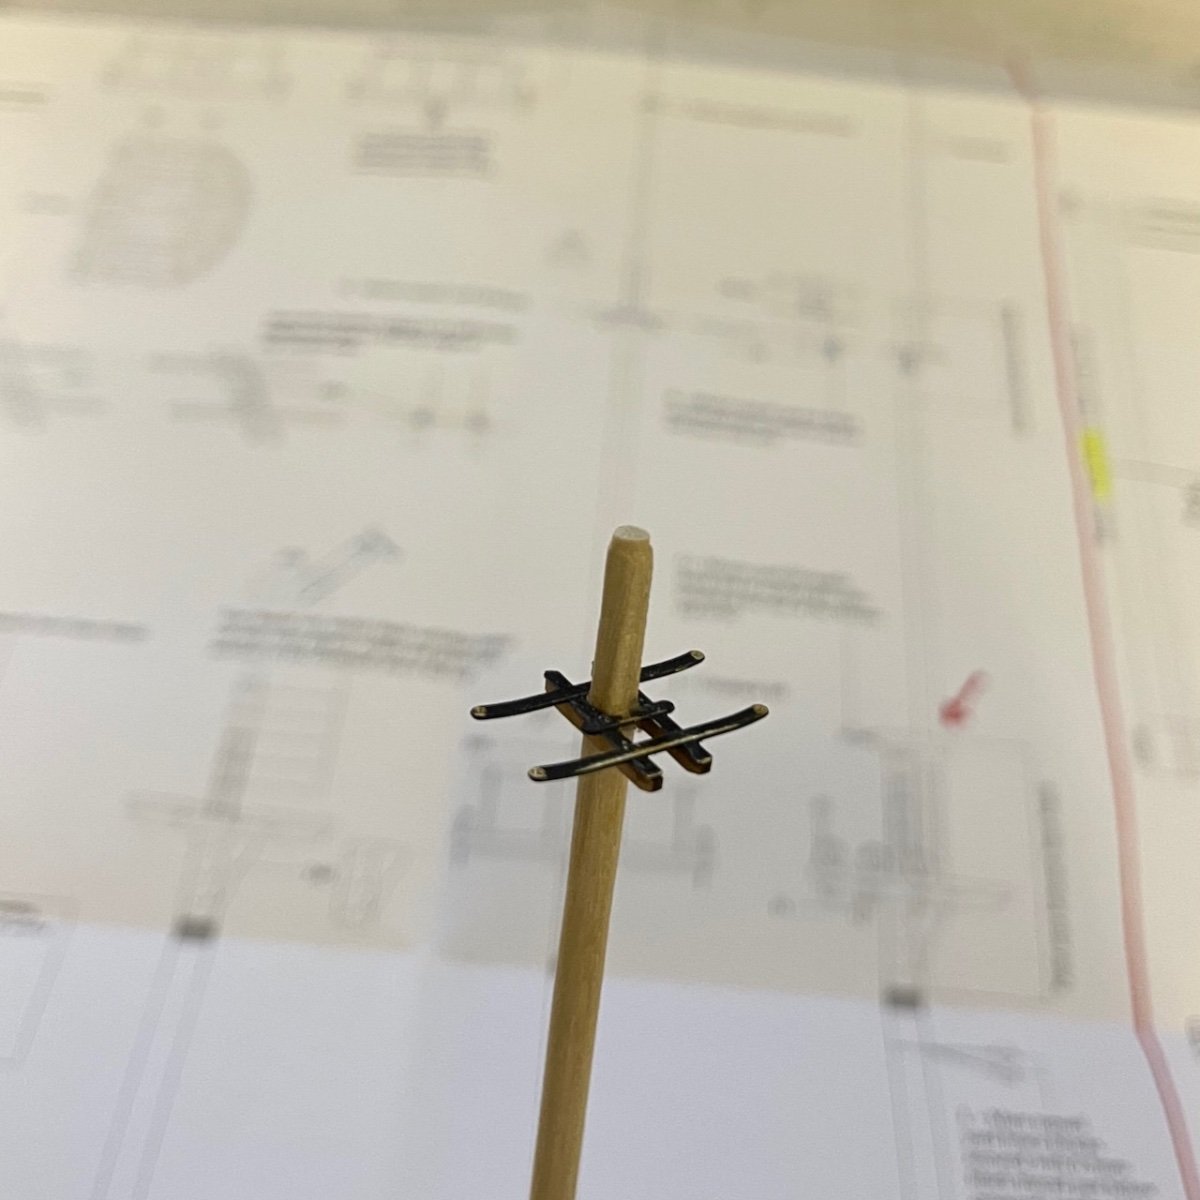
Photos 686-688: Mizzen topmast cross tree construction. Black part in the picture is from the photo etched sheet.

-
3 hours ago, paul carruthers said:
If you have to enlarge the hole use a band of cartridge paper to hide the gap, it’s all painted black and will not be seen
2 hours ago, glbarlow said:It would be easy to remove the mast cap and slide it over the top of the mast. If CA use acetone, if PVA use denatured alcohol to remove. Done carefully and slowly you’d never know later.
Thanks for very useful tips. I have actually managed this section now but I will definitely refer to these tips in the coming steps. There are still several similar tasks ahead with the masts.


HMS Sphinx 1775 by aydingocer - Vanguard Models - 1:64 - Revision #2
in - Kit build logs for subjects built from 1751 - 1800
Posted
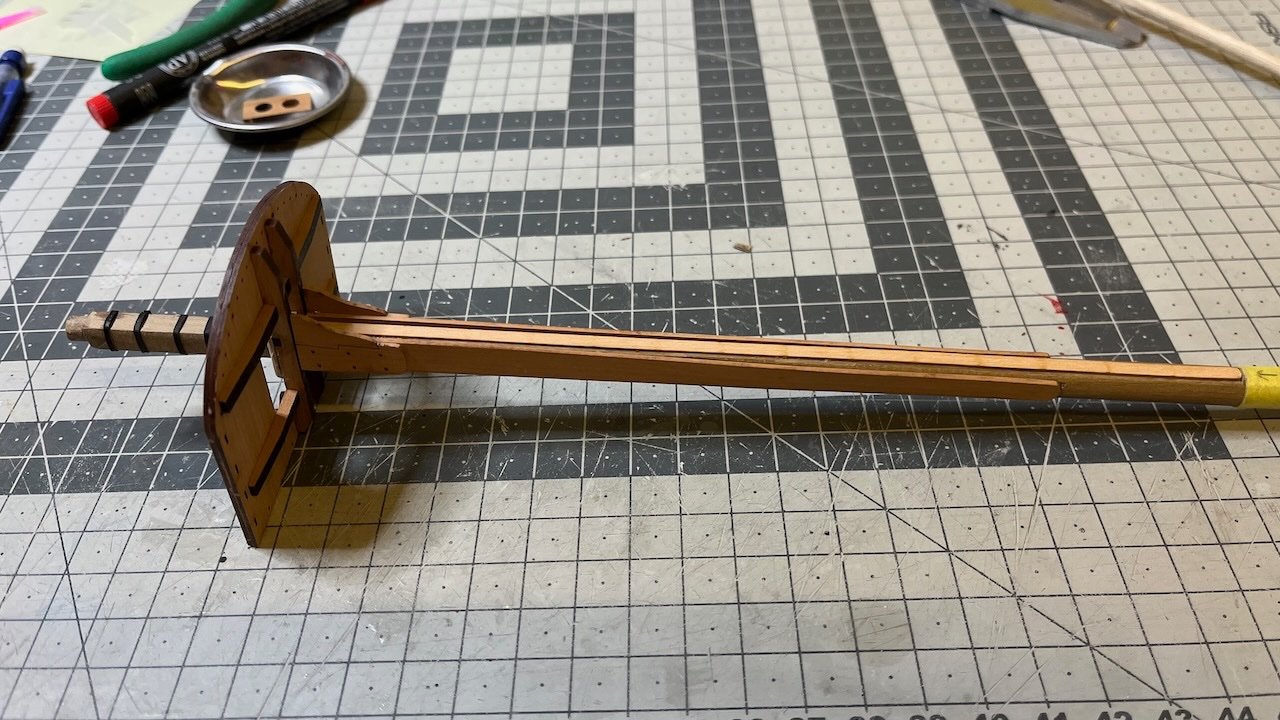
Build day 108: 2 hrs / Total 236,5 hours
Bowsprit construction starts.
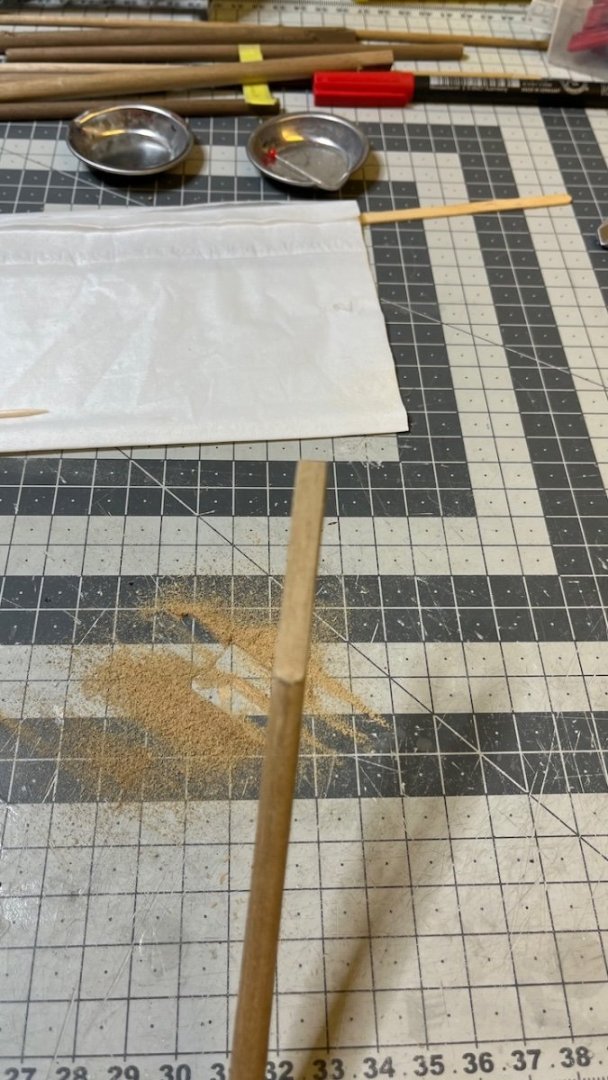
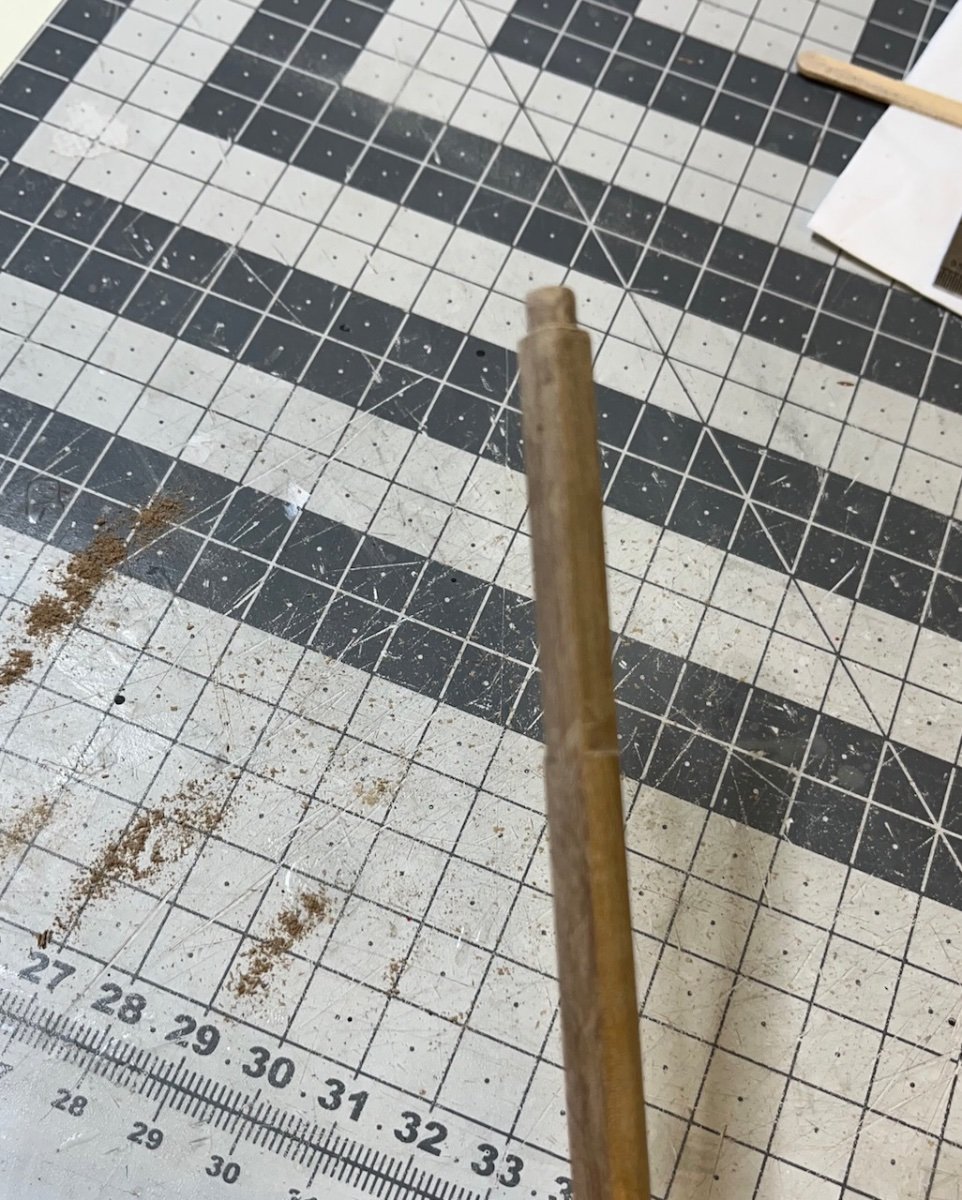
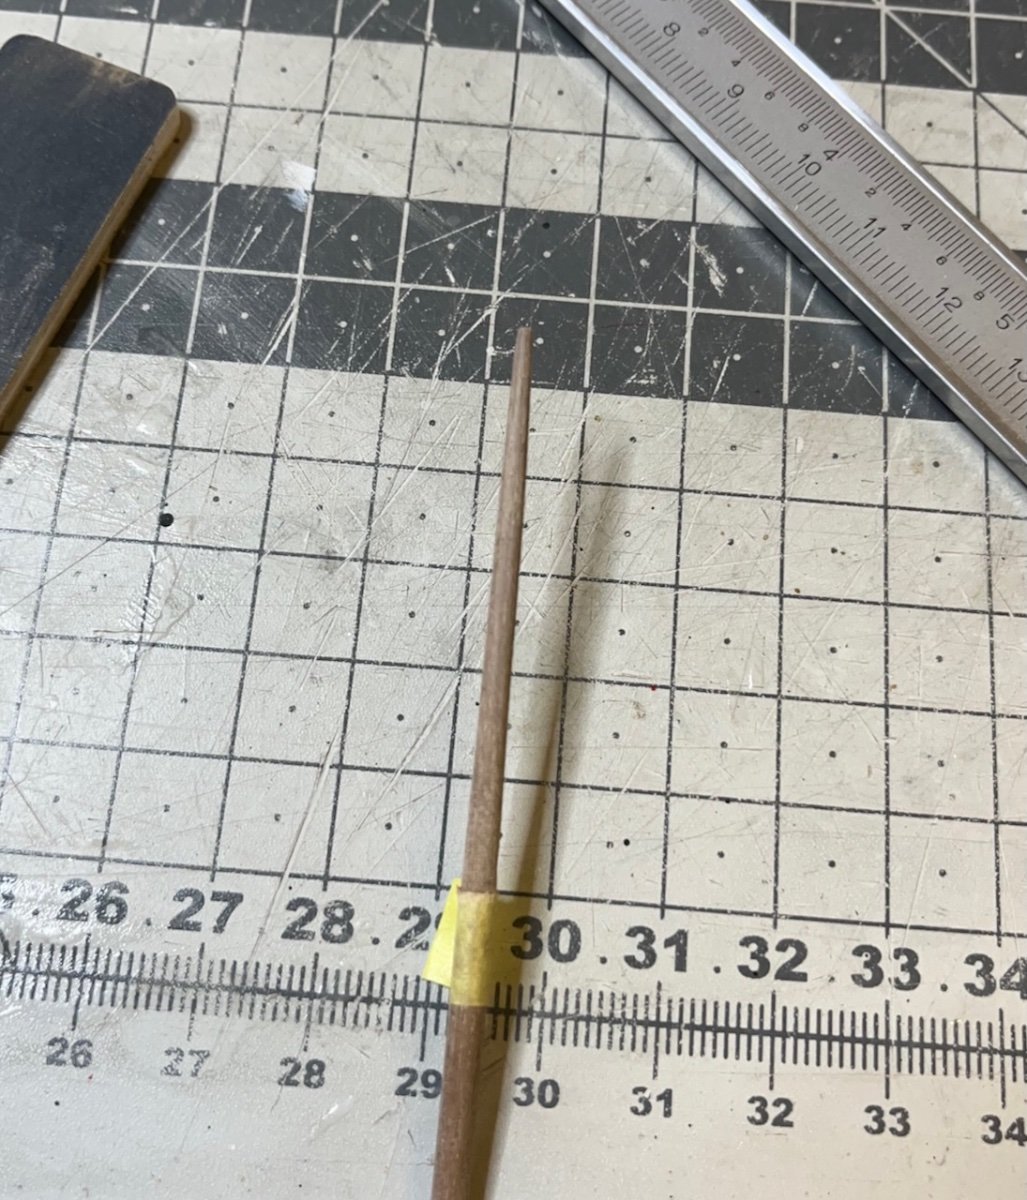
Photo 733: I use this rough sand paper for flattening one end of the dowel. It works like a rasp, but with a better control.
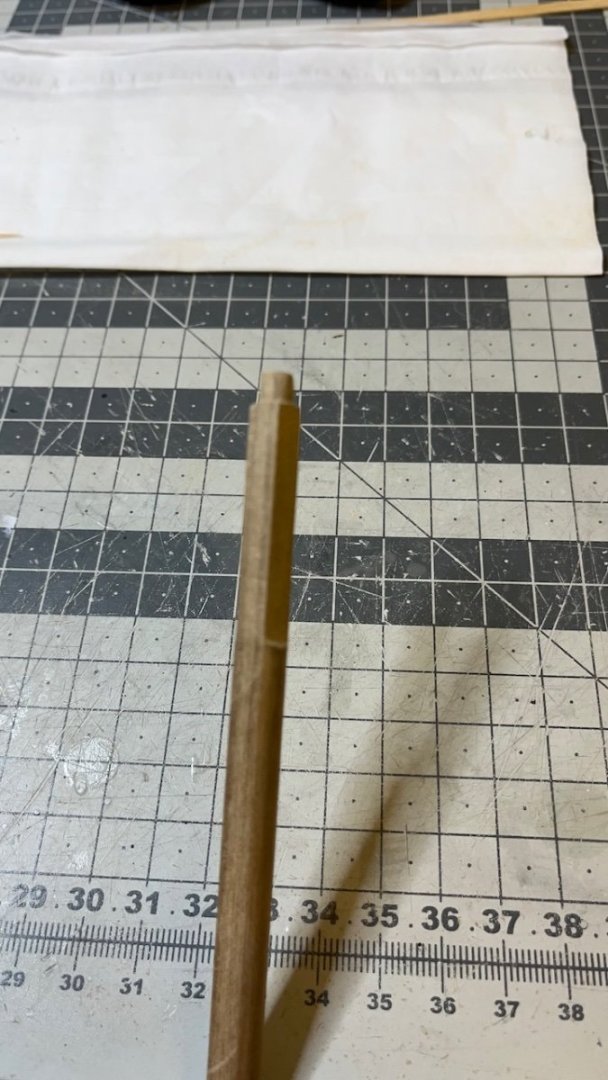
Photo 734: Dry fitting with the cap during sanding. Here the cap has been already trimmed to the shape and holes treated to fit the dowels with an angle.
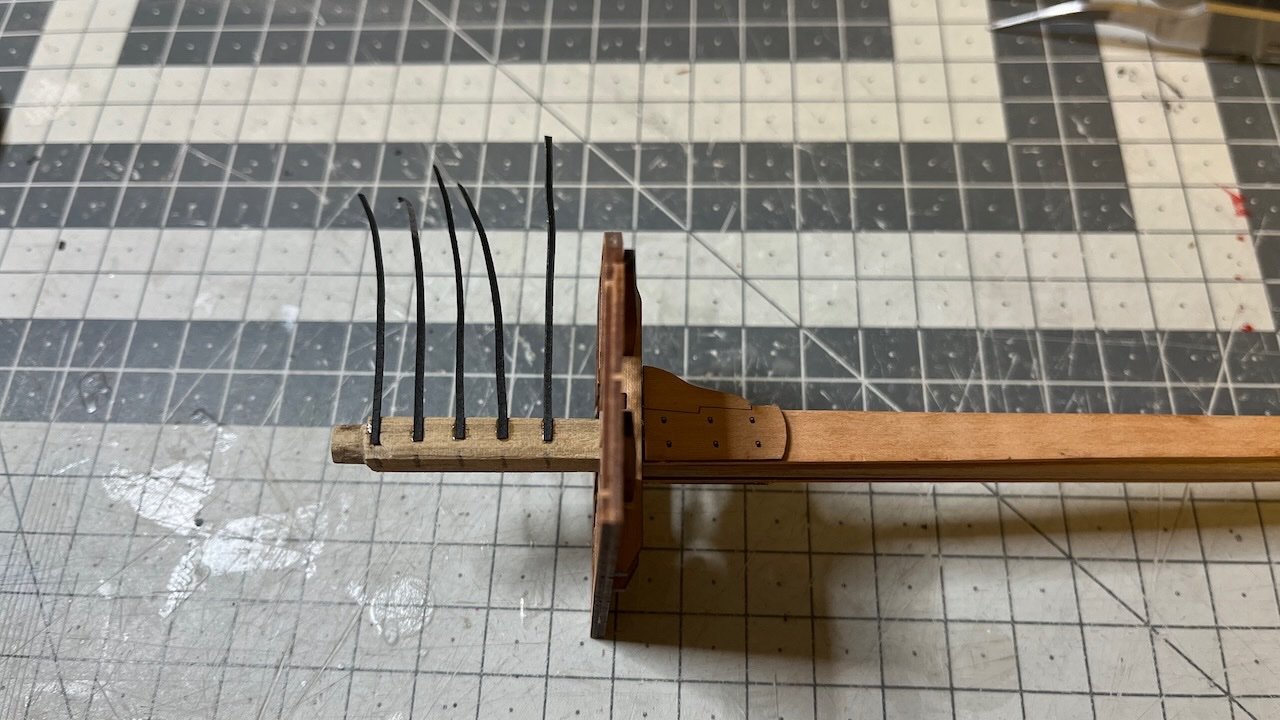
Photo 735: Bee and the cap glued in place.
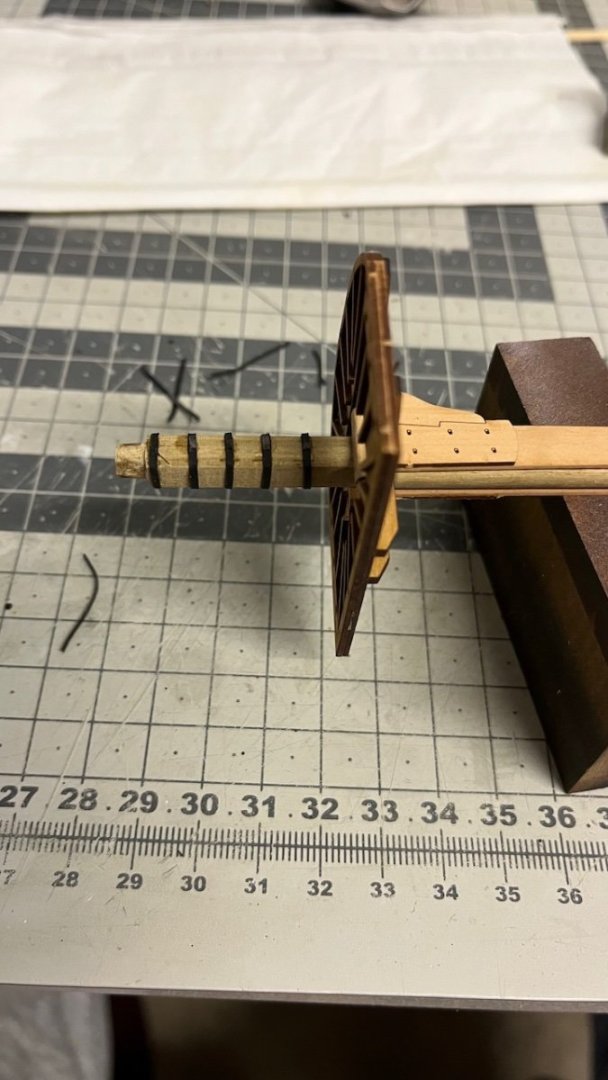
Photo 736: Filling the gaps with the wood filler. Work pauses here for now, waiting for the filler to dry.
That's all for now. Thanks for watching!