HOLIDAY DONATION DRIVE - SUPPORT MSW - DO YOUR PART TO KEEP THIS GREAT FORUM GOING! (Only 13 donations so far - C'mon guys!)
×


michael mott
-
Posts
5,197 -
Joined
-
Last visited
Content Type
Profiles
Forums
Gallery
Events
Everything posted by michael mott
-
 I hear you! Good to see that you are still getting work done Dave, in the end it is my opinion that it really does not matter on what one works so long as the reason for doing it, is to bring you peace of mind (isn't that why we work at hobbies). Have fun in the new year. Michael
- 742 replies
-
- 5
-

-
- constitution
- frigate
- (and 1 more)
-
Daniel, That is some superb precision fitting those stringers, (I think that is the correct term). Michael
-
lovely work on the snatch block in the cockpit Mark The rest of the rigging looks great too. it doesn't loot like there is too much weather helm on the boat even with that much heel. Must be very nicely balanced. Michael
-
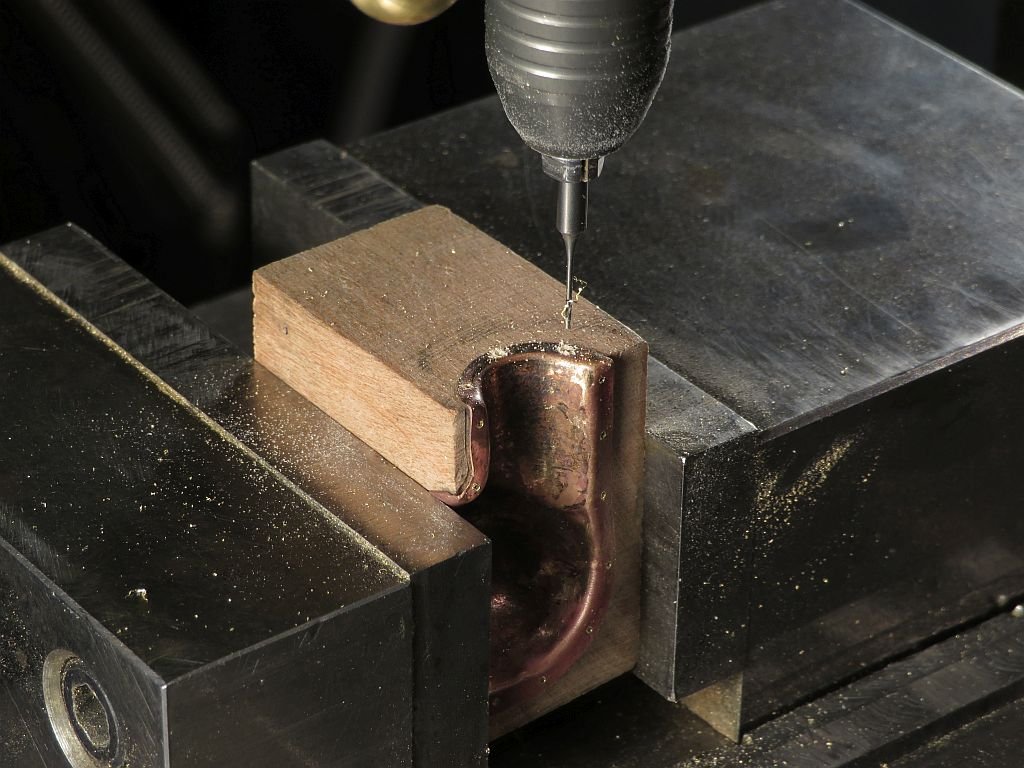
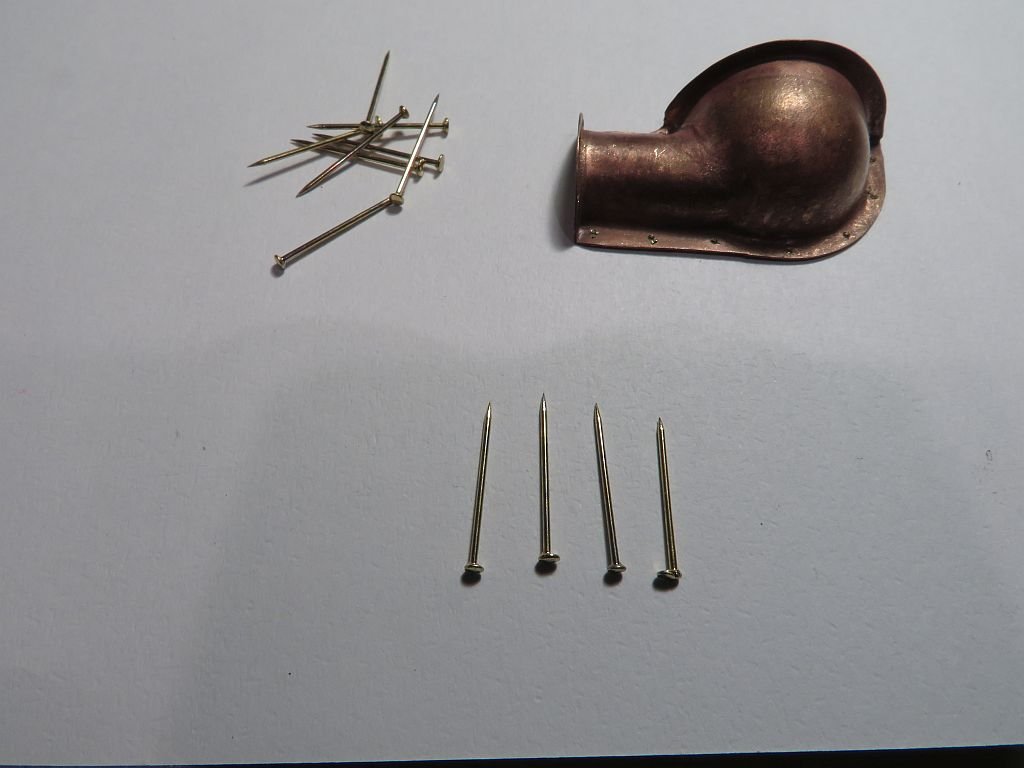
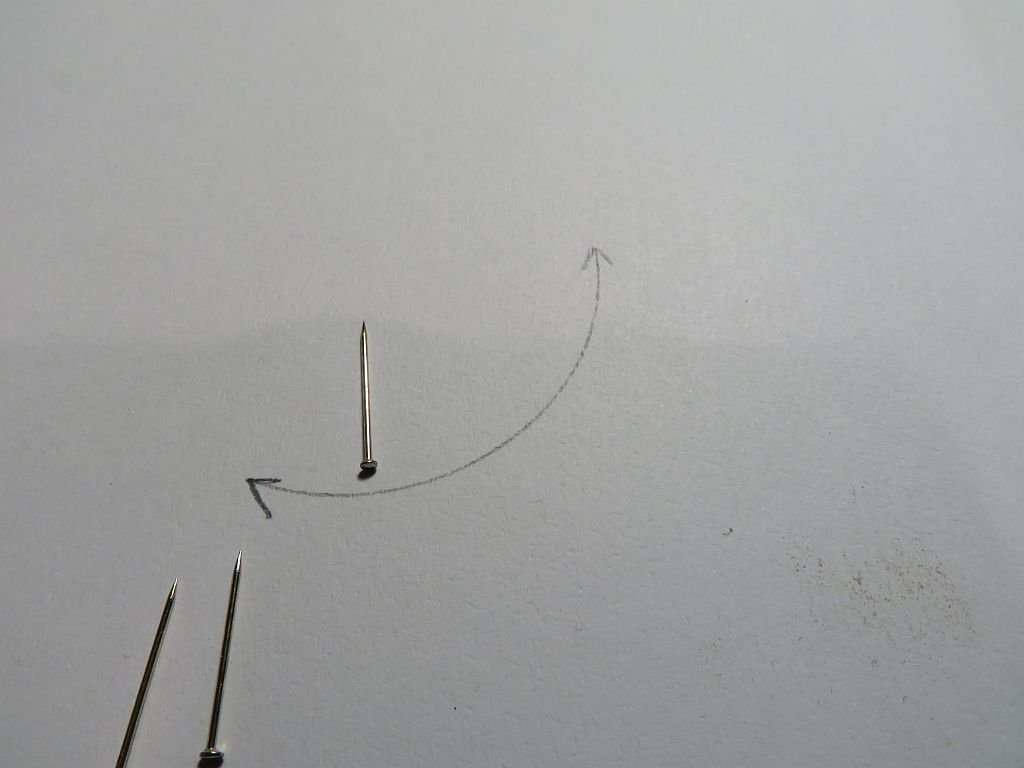
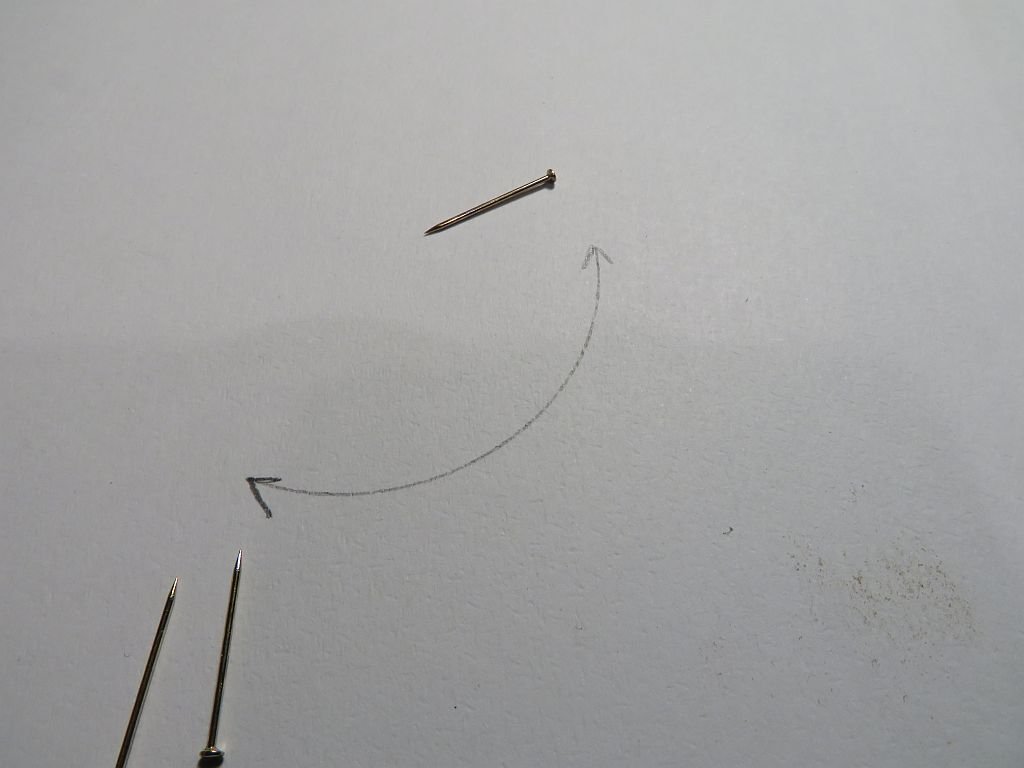
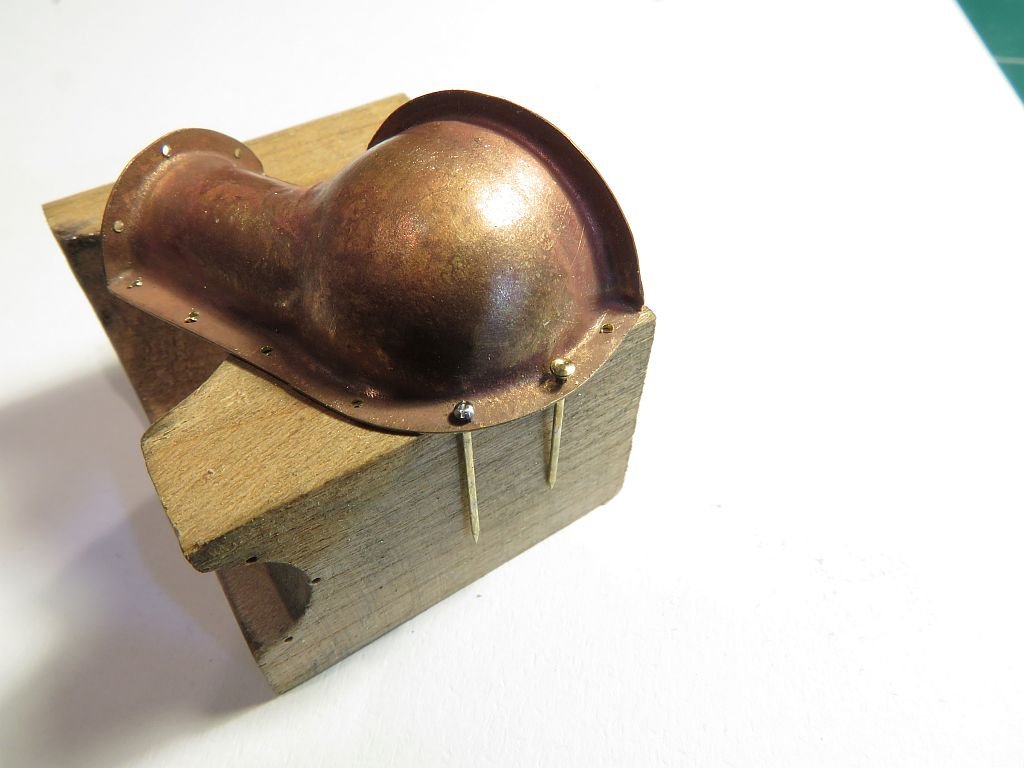
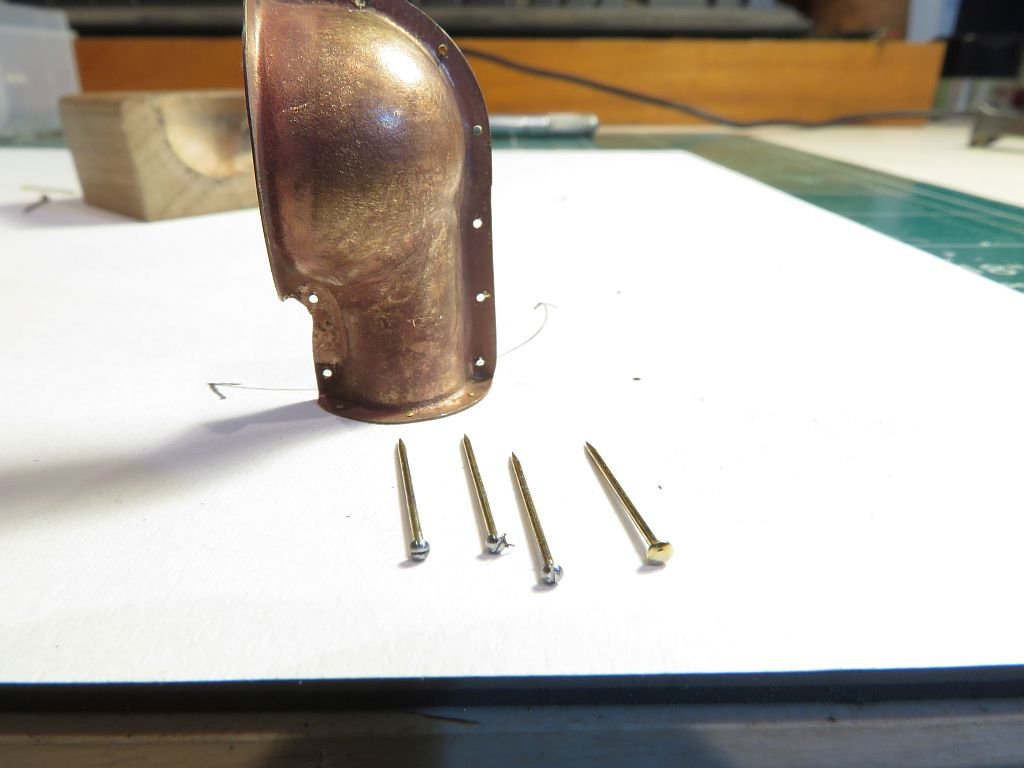
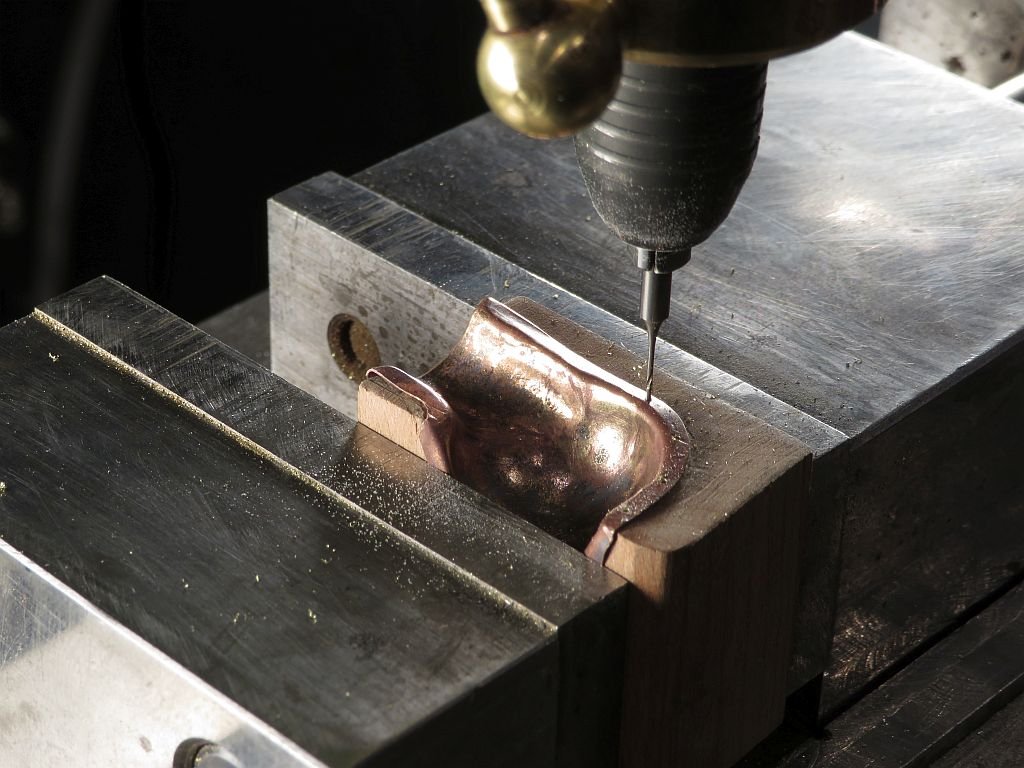
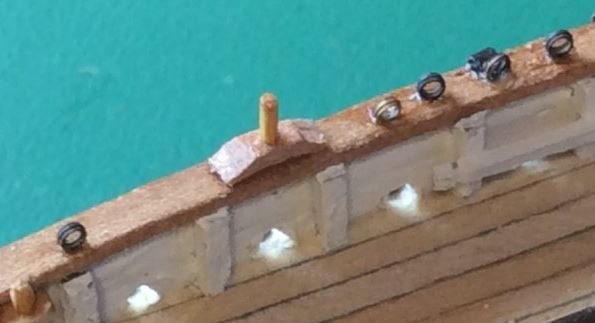
First a happy new year to one and all. Thanks to all who have visited and pushed the like button. A tiny bit (no pun intended) of an update. Drilling the mounting holes in the dorade vents with a .020" drill bit. Next I needed to sort some pins, the reason they need to be sorted is because the heads are stamped and some are really out of whack. You can really see the difference in the next picture. Then once the heads were chosen for size a second sort was done by setting up a test for concentricity. this was a simple roll test and if it rolled a good distance then it was OK. Next the were set up in the small pin vice in the lathe and filed down to about half the head size, I didn't measure this but it is around .031" they were rounded polished and then a slot put in to create faux round head screws, which are actually pins that will hold the Dorade vents to the cabin sides. Test fitting the "screw" in the vent next to a "standard" pin That's it for now. michael

-
HMS VICTORY 1765 by albert - 1/48
michael mott replied to albert's topic in - Build logs for subjects built 1751 - 1800
Albert What an amazing start, I shall be following along as well. And a Merry Christmas and happy new year to you and your family. Michael -
John, what a great new year you have in store! Fantastic news about your health, I look forward to seeing a bit more progress on the ship, which is looking great by the way. Merry Christmas sir Michael
-
Thank you for this Chuck. Johann your rope looks beautiful. Michael
-
Hello Mike, welcome to the best site on the web in my humble opinion for sharing and learning about model ships and boats. I rather like the smaller craft like the one you have built. Michael
-
Eric, Your decision to rest will likely be a good way to heal your shoulder. You know your body better than anyone else so as long as you listen to you mind you will be ok. Michael
- 599 replies
-
- 5
-
-
- sidewheeler
- arabia
- (and 4 more)
-
Very Nice, I am looking forward to seeing how you finish the sails. Michael
-
micro drill adapter for mill
michael mott replied to michael mott's topic in Modeling tools and Workshop Equipment
Thanks Carl. Eberhard, thanks the wheels on the bib mill are pretty good in that respect, plus I have added the dials to give very accurate feed to the X , Y and Z axis and I have the gib strips set such that the table moves smoothly without too much effort without slop, even though it is old it has not been pushed hard. Gaetan, thanks for the info regarding speeds. Michael -
micro drill adapter for mill
michael mott replied to michael mott's topic in Modeling tools and Workshop Equipment
Yes you might be right there Druxey. Hi Geoffs, the small diameter cutters require a much higher speed than My big mill is capable of, and I am not yet familiar enough with the data to give you a meaningful answer. perhaps those with more knowledge of the very small burs and cutter will be able to give you a better answer. I will know better soon though. Michael -
I have been sidetracked for a couple of days working on this new tool for the mill Michael
-
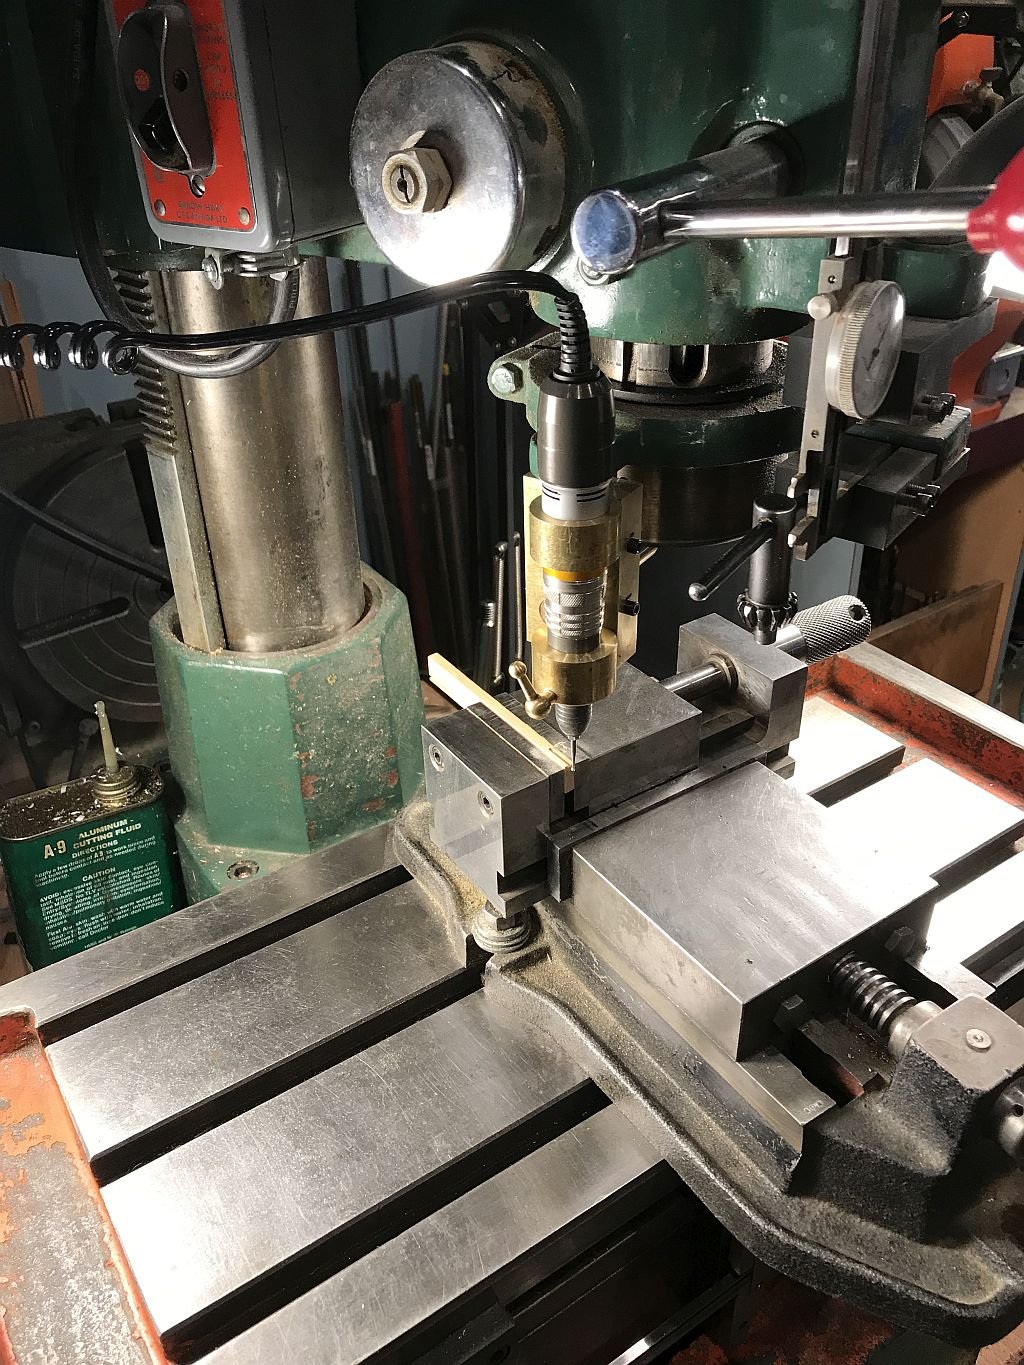
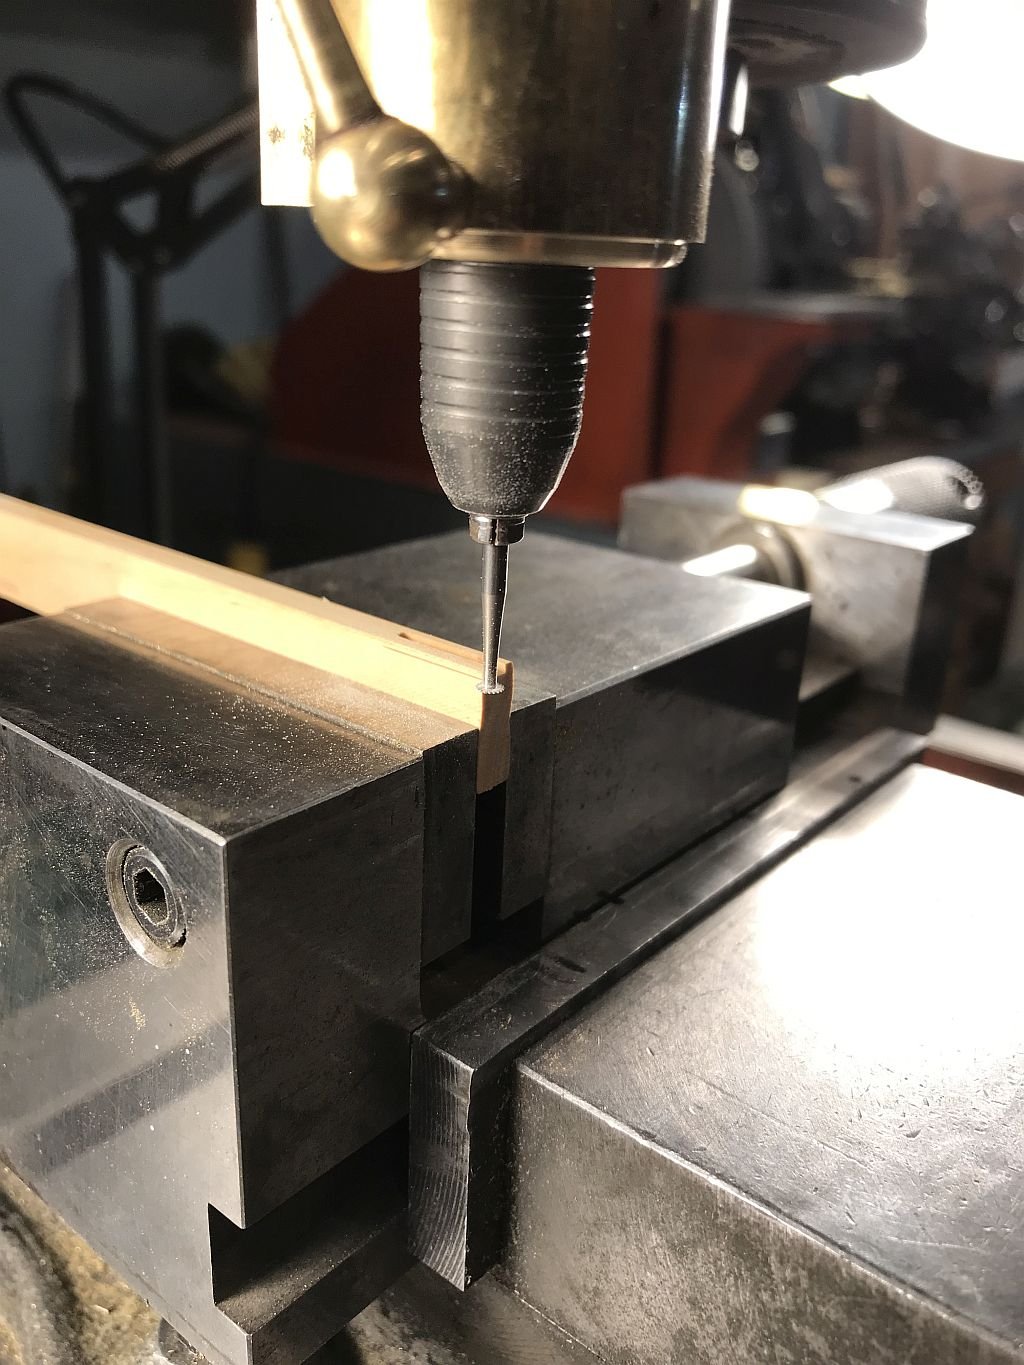
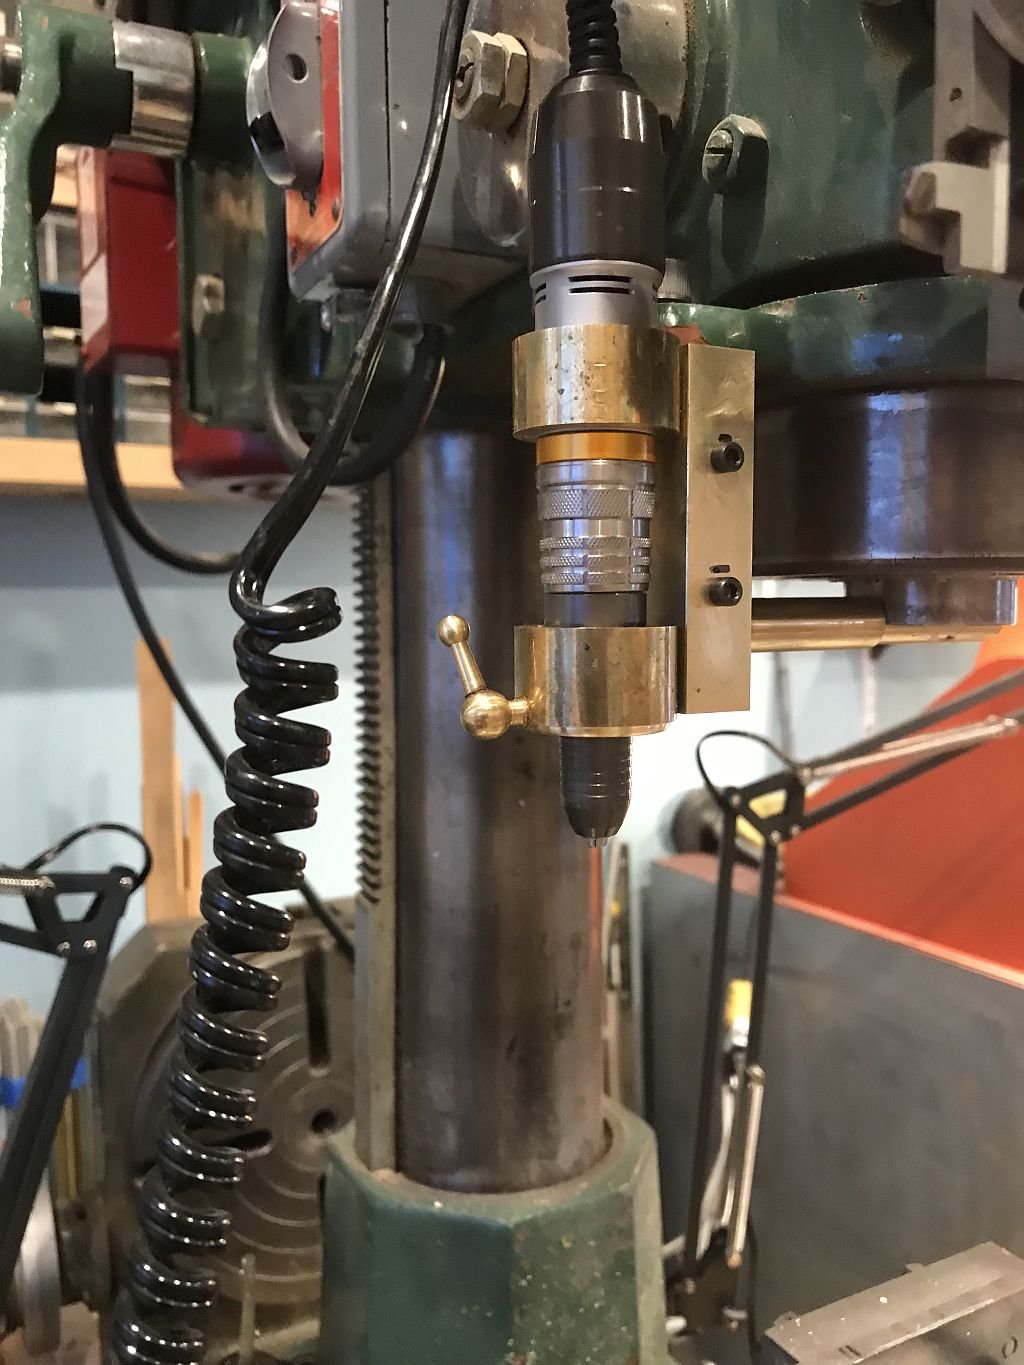
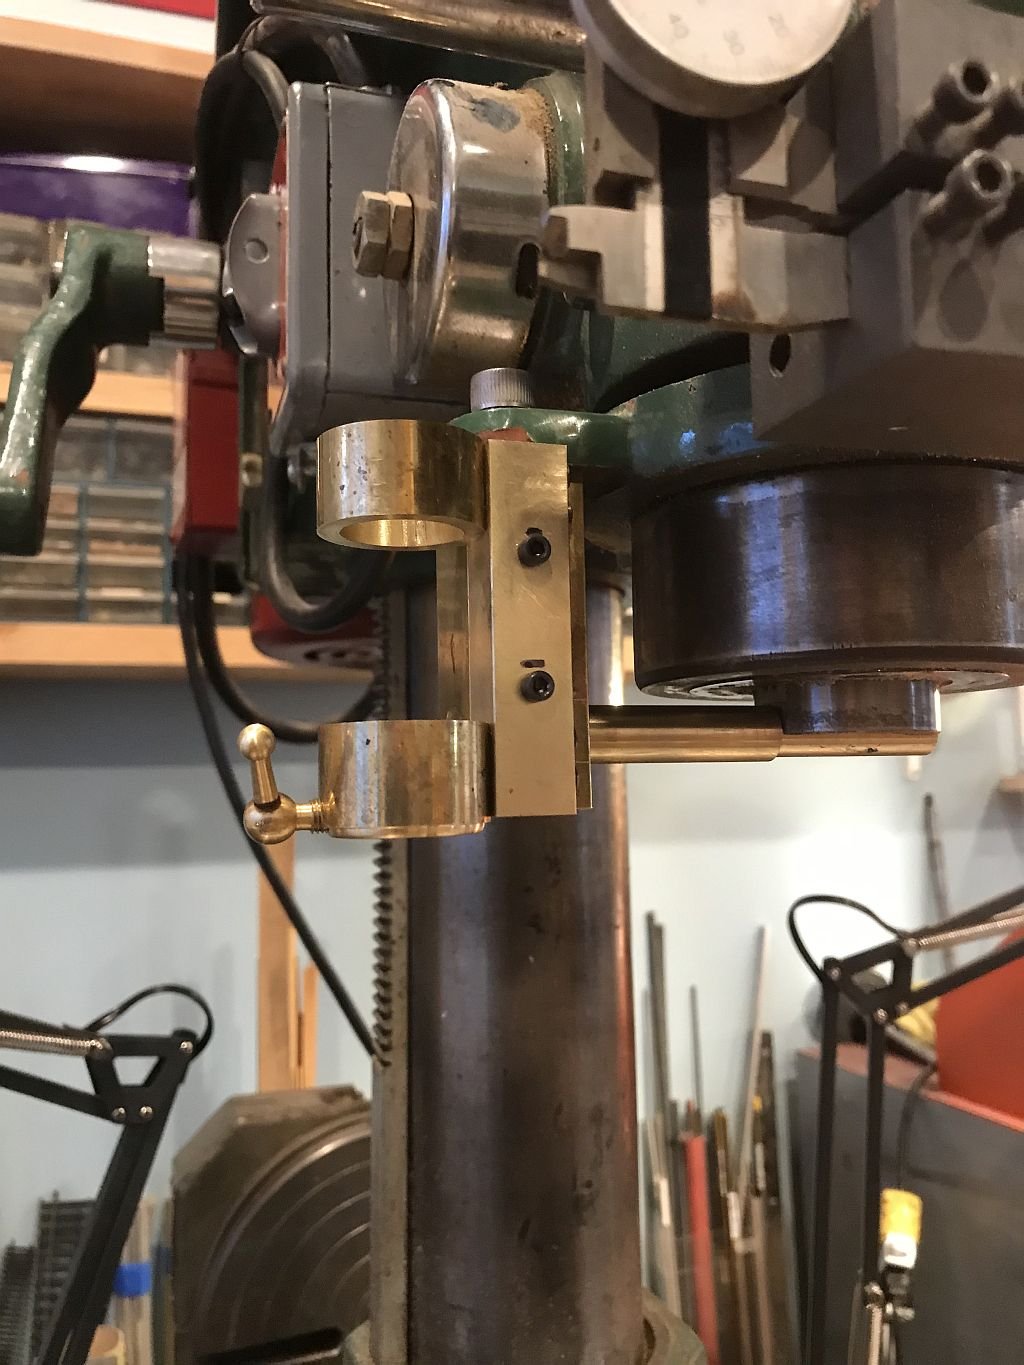
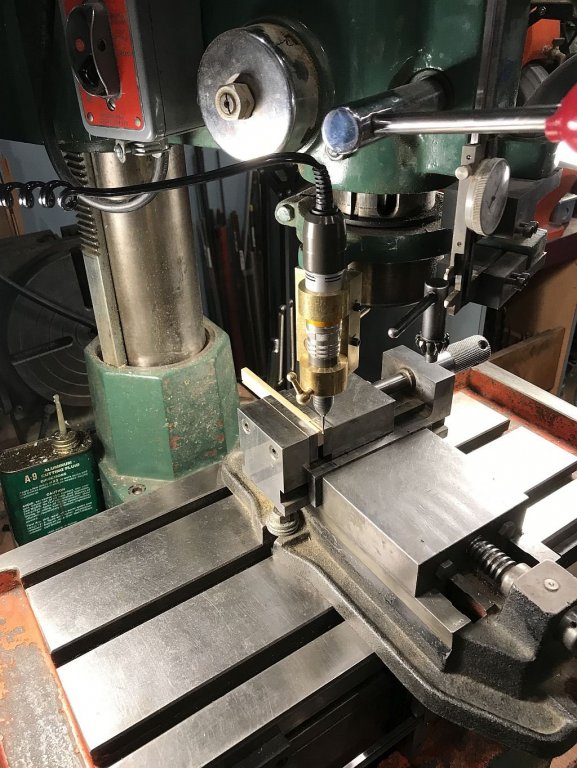
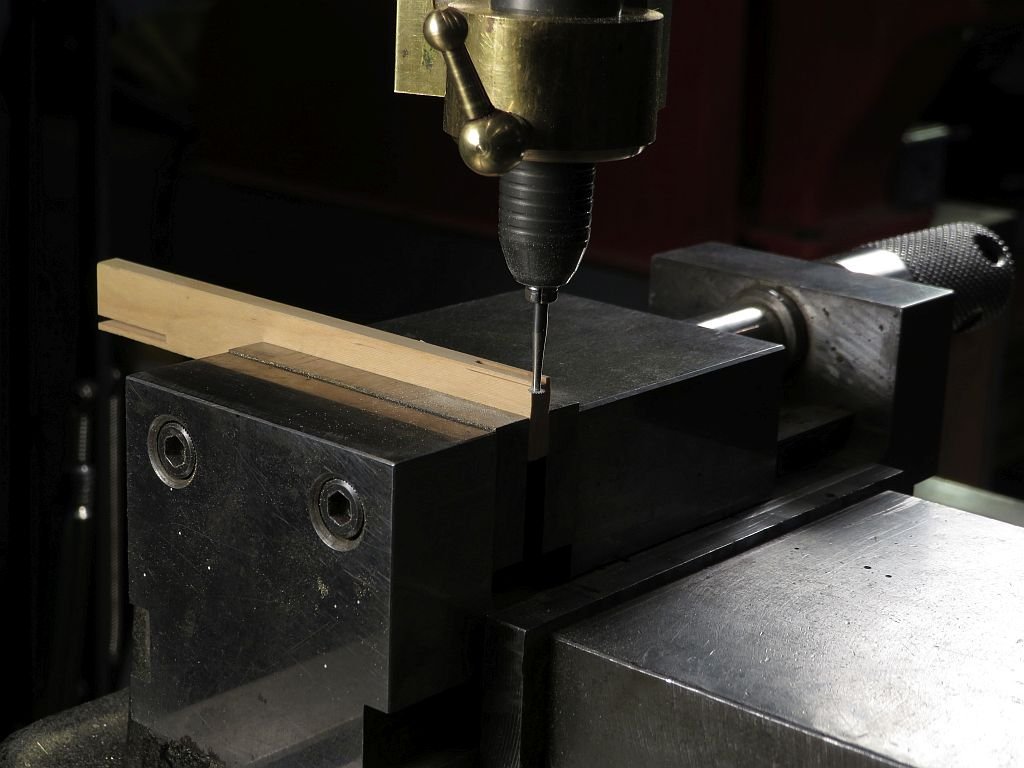
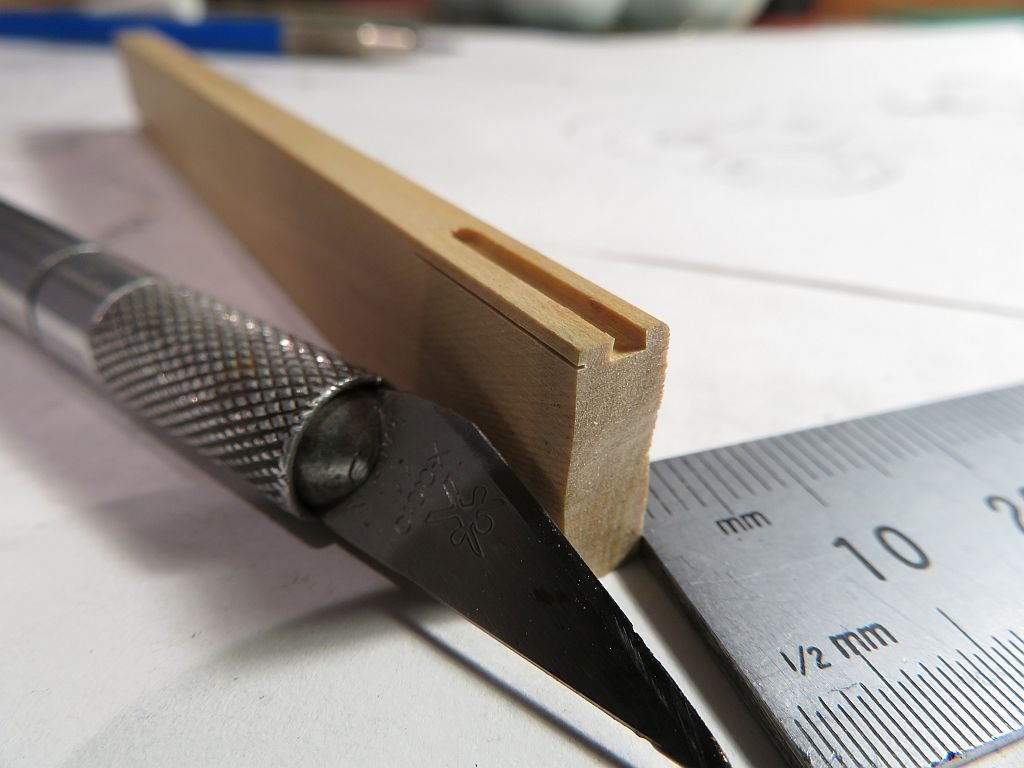
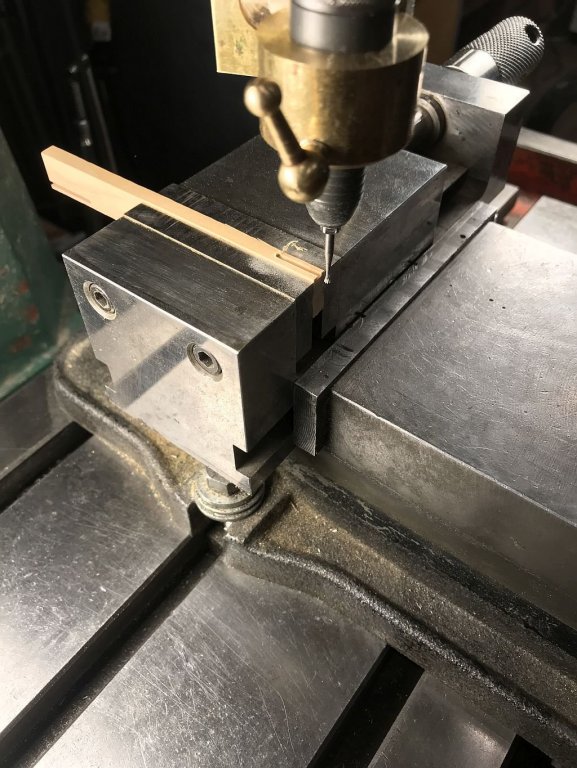
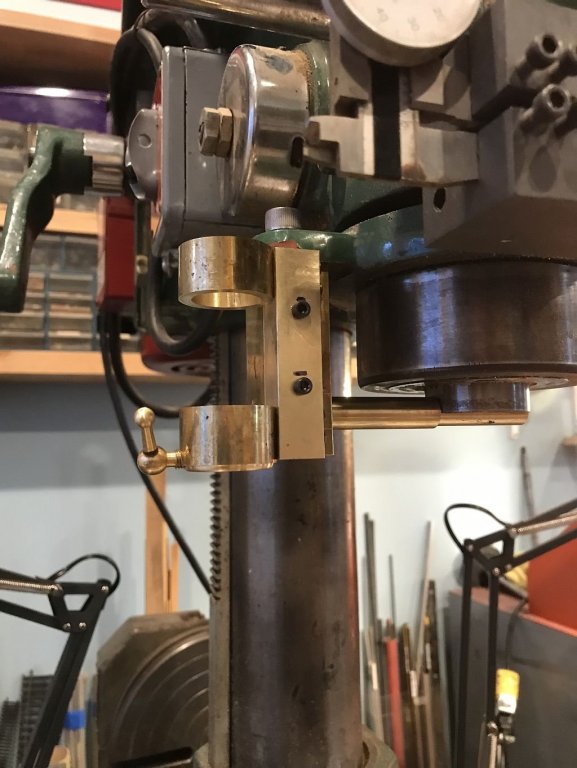
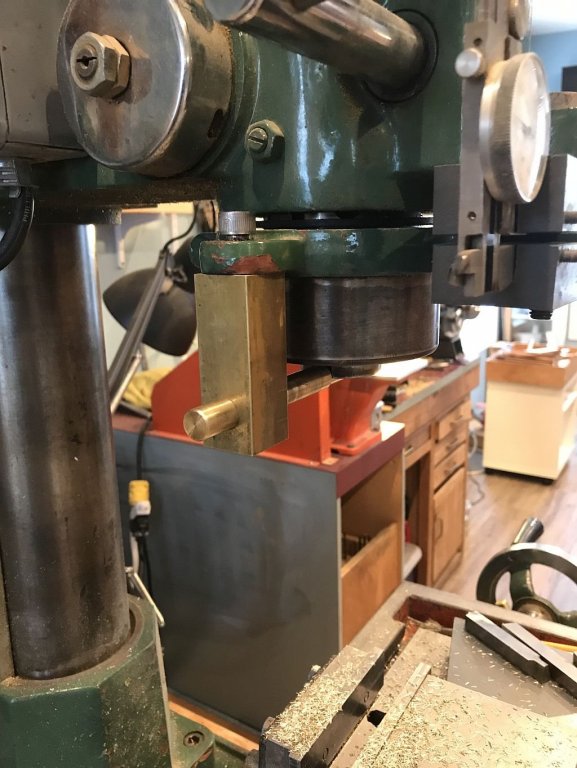
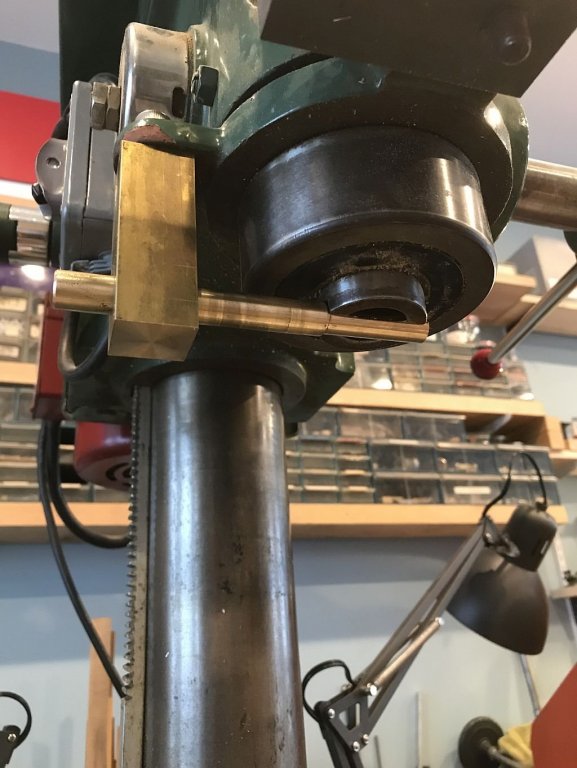
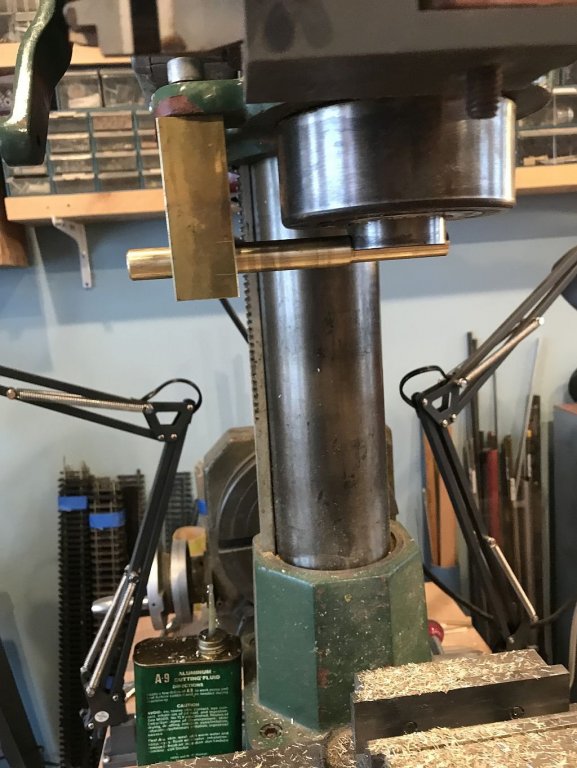
I was looking at a very smooth operating drill at my local Jewellery tool supplier, it was nice but outside my budget. What I liked was the positive lock and vibration free running of this tool. Evidently the local wood carvers really like this tool. I have never really liked my dremel flex shaft for hand work it just doesn't suit my way of working. so not wanting to give up the manager/owner of the store said to me "I Have and older version take it home and try it" What I like is it takes the 3/32 shaft drill bits and burs. and runs up to 30,000rpm. also it has a decent amount of torque. I wanted to be able to hold it securely in a fixture added to the mill drill. First picture shows the basic block to hold the fixture and the method to stop it from rotating, I did not want to do any machining on the mill drill but just wanted to use what was already there for attaching to. the tab sticking off the side of the quill was for the original drill stop I squared up a bit of 1" square brass bar on the lathe and turned down a bit of 1/2 inch bar to locate within the slot where the #3 morse taper fits in it is helt in place with a threaded rod through the quill normally . This arrangement ensured that the 1 inch bar cannot rotate but is easy to fit or remove. Next the holder for the mini drill was made from some 1 1/4" diameter brass round and sme 5/8" brass square bar. this was attached to the 1" carrier bar with a couple of allen head cap screws The 2 sections of round that the tool slips into were made independently so that they were a snug fit in the locations that were chosen Both of them were held together and flattened on one side to accept the 5/8 bar the 2 parts were slipped onto the tool then the bar was glued to them with ACC as a temporary measure in order to drill and tap the permanent fixing screws. The tool slipped in and a 1/4 x 28 locking screw was all that was needed to secure it in place. Now I have the full scope of the mill table and up and down movement of the quill for precision milling at high speed which was not available before. so to test this i used a taper dovetail type cutter and cut a slot in some Castelo. Next I switched cutters for a micro slitting cutter and so I can use it for drilling with the proper speed for the very fine drills and for micro milling on larger Items. I am going to test it out on a few tasks and then decide whether to keep it. It uses a foot control pedal to turn it on and off. Michael


- 9 replies
-
- 17
-
-
Oh if only you knew about my Music 8% and English Lit 33% English Grammar 30% I did make it as a back up for the back up for the soccer team once. and it is good that we have the game of scrabble which helped wiv spellin. Thanks so much for the compliment though. Michael
-
Javier and Eberhard, thank you for the clarification. Javier your comment made me smile. Michael
-
I have to agree with Rob on his observation. Michael
- 1,035 replies
-
- 7
-
-
- royal katherine
- ship of the line
- (and 1 more)
-
Javier in this photograph of your eyebolts they appear to be made of two pieces a flat part with a rounded part wrapped around them. can you clarify this for me. Thank you. Michael
-
Hi Druxey, I thing that because the shape is not to difficult and the fact that the shim stock was only .008" might be the reason. Now I am wondering about thin copper stock and who supplies it. I have lots of it in the 16g and up size but not much saller other than the wire I ran through the rollers to form small strip. Eberhard The only drawback to the cell-cast that I encountered when i was building Architectural Models for a living was the variation in the thickness of the cast material. We got into the habit of sorting the cut 8'x4' sheets into thick and thin 1/8th or 1/4 and 1/16. The 1/16 came in smaller sheets, once this was done it helped with the assembles when cutting multiple parts because the parts would be more consistent. Michael
-
Thank you Javier for the information. Michael
-
Eberhard the formers would be challenging with small tools I was able to use the large mill drill to form the basic block which was then cut in half. I have been using brass but I keep thinking about the metalwork done by Ed Tosti with copper. I have done a fair bit of forming thicker copper for Model steam boilers but had not thought about using thinner material for this sort of application. Copper being very pure and extremely malleable would likely be easier to form. I suppose you could make a master in solid plexiglass (I prefer the cell-cast type because it machines beautifully, which the extruded does not) somewhat along the style of the half of a sand mould. then make a cast of that with some JB weld as the form in which to form the sheet metal. I have used this method and it does work for a limited number of parts. A little less toxic than the etching process perhaps. Michael