-
Posts
715 -
Joined
-
Last visited
Content Type
Profiles
Forums
Gallery
Events
Everything posted by gak1965
-
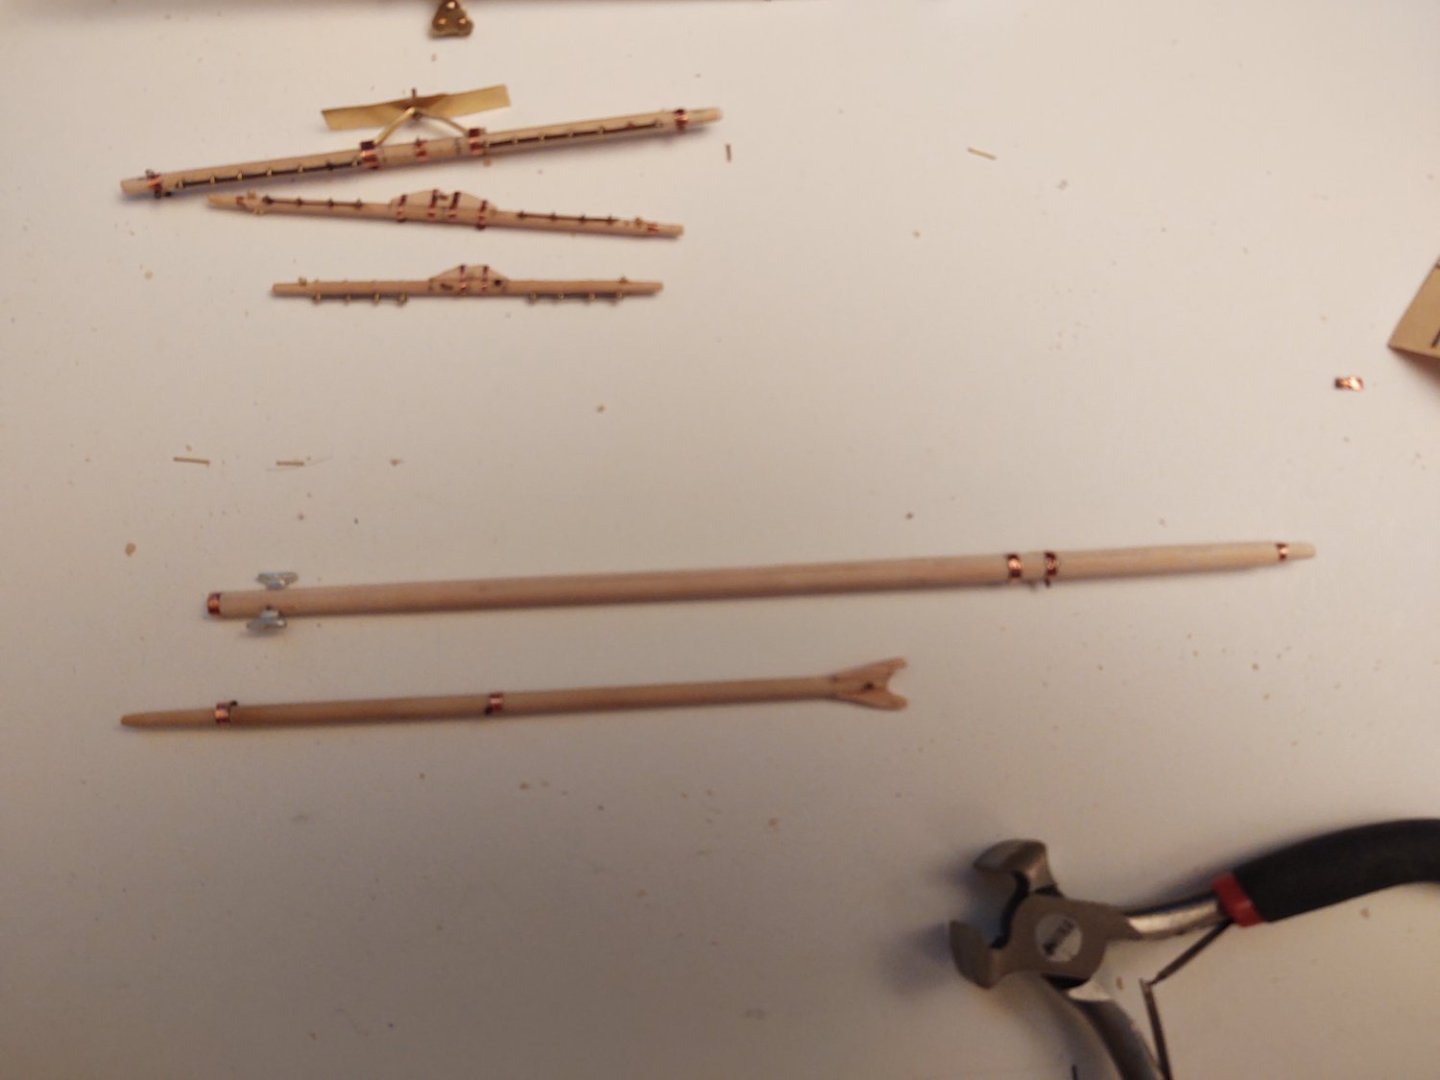
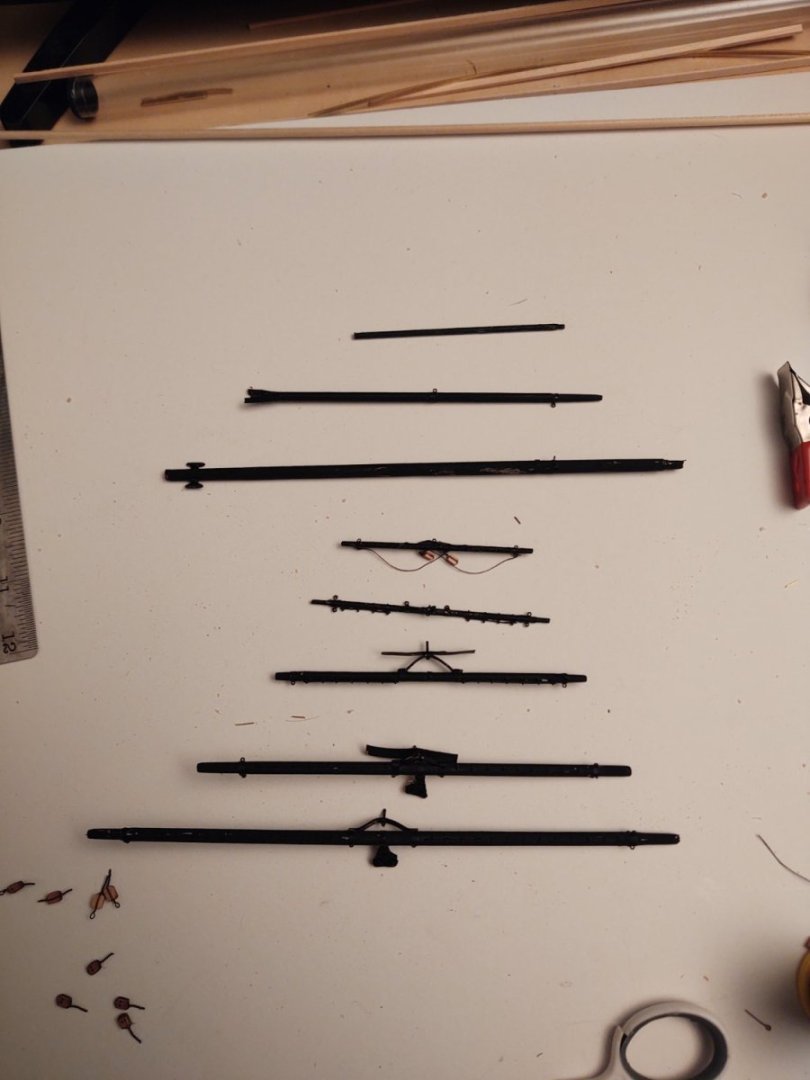
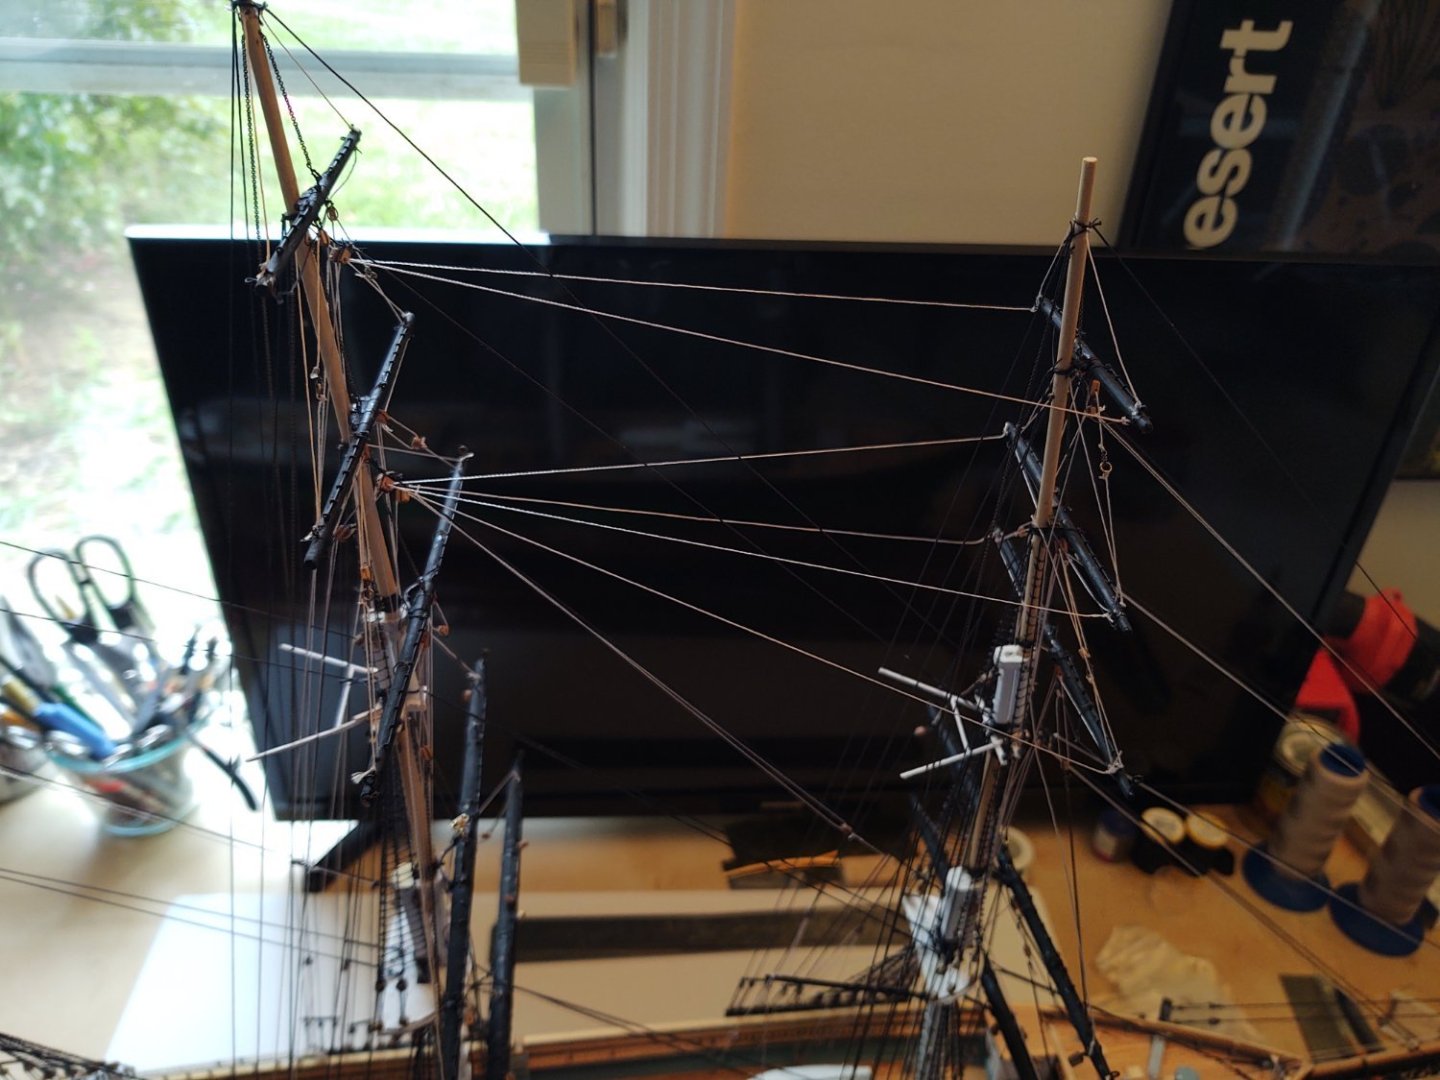
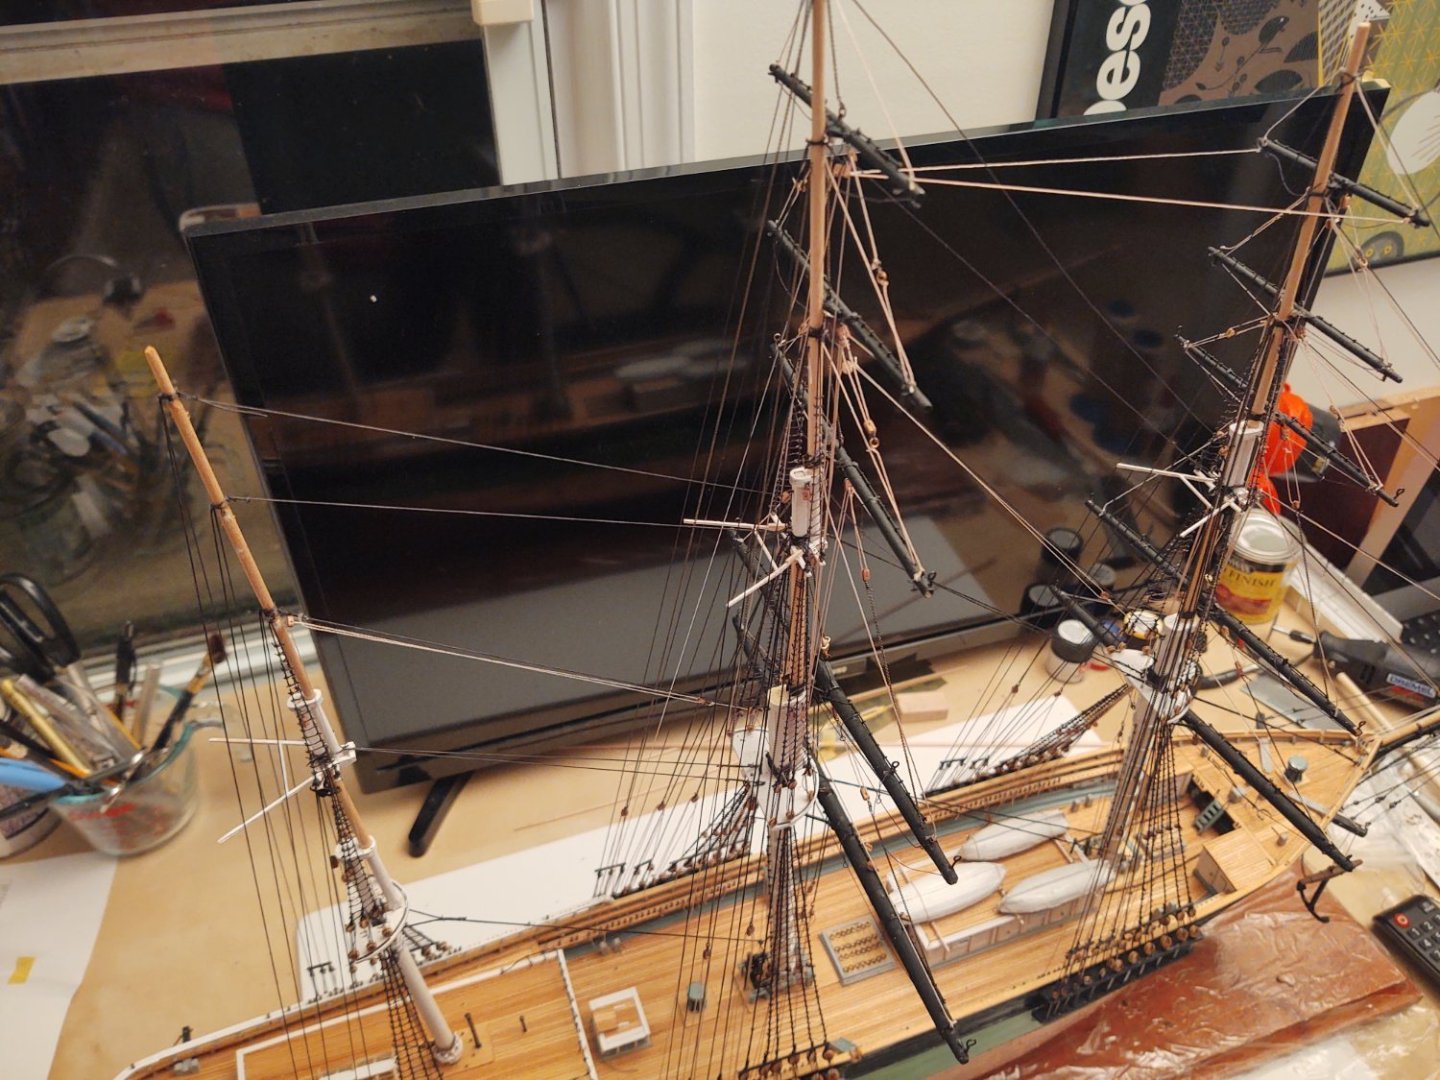
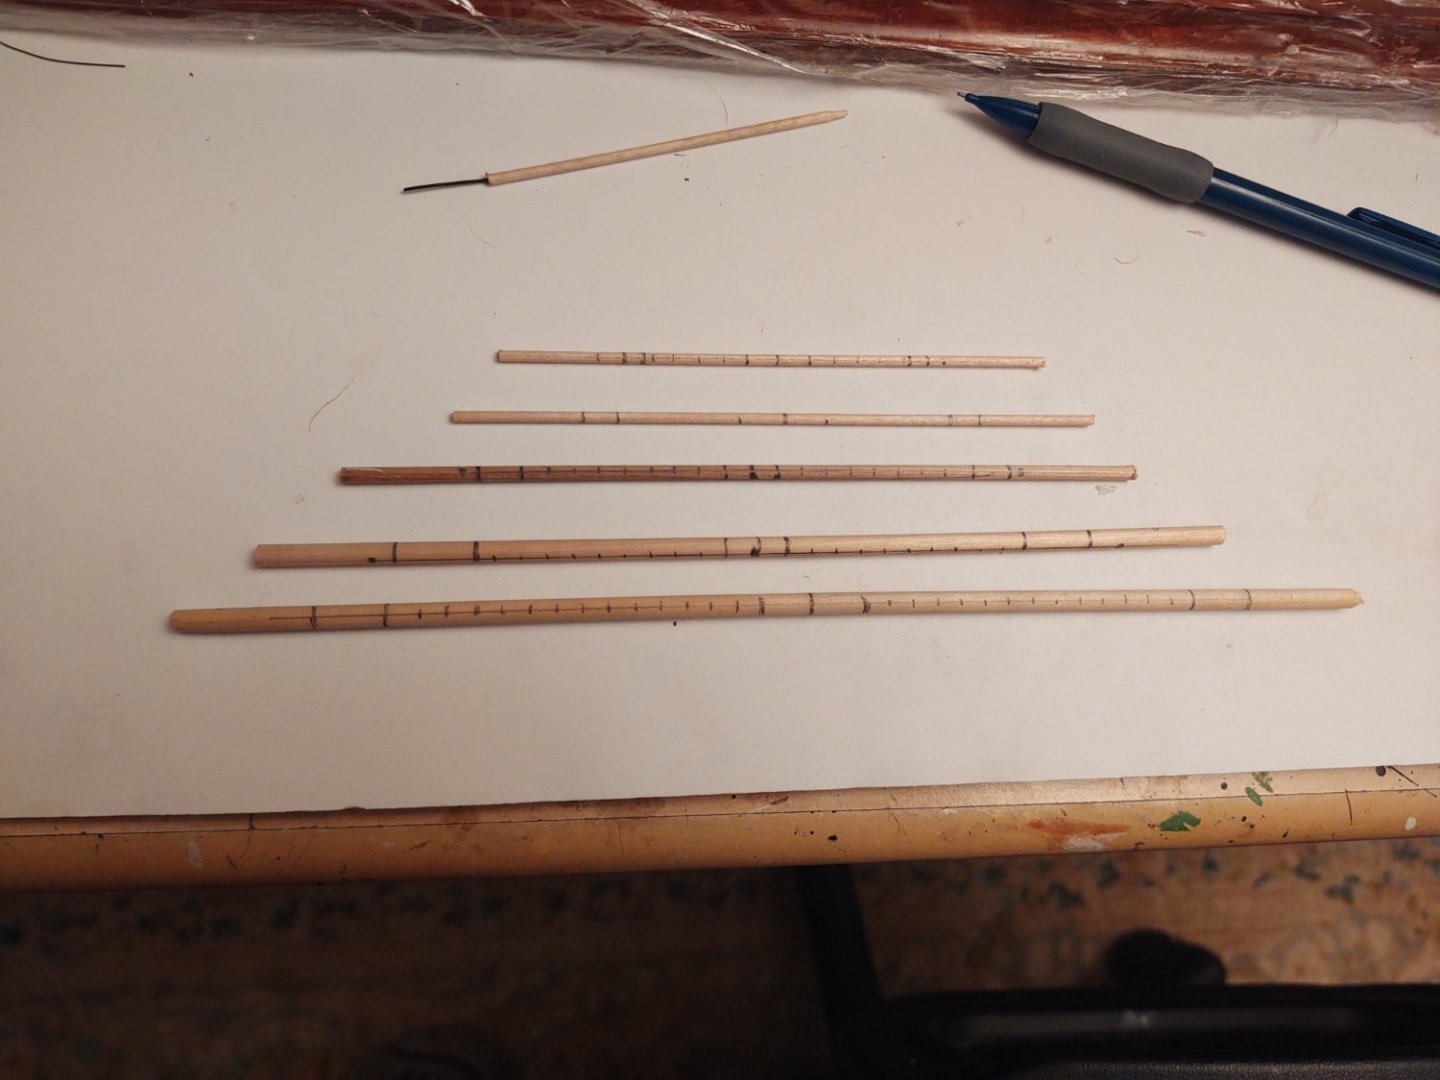
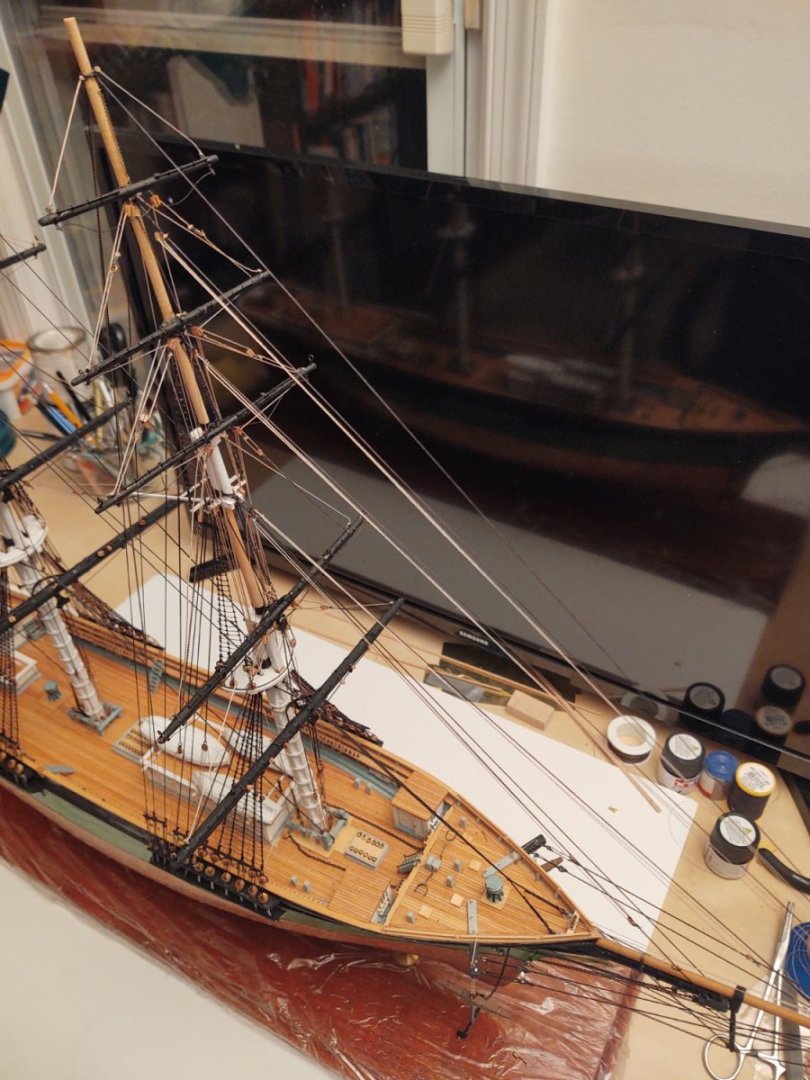
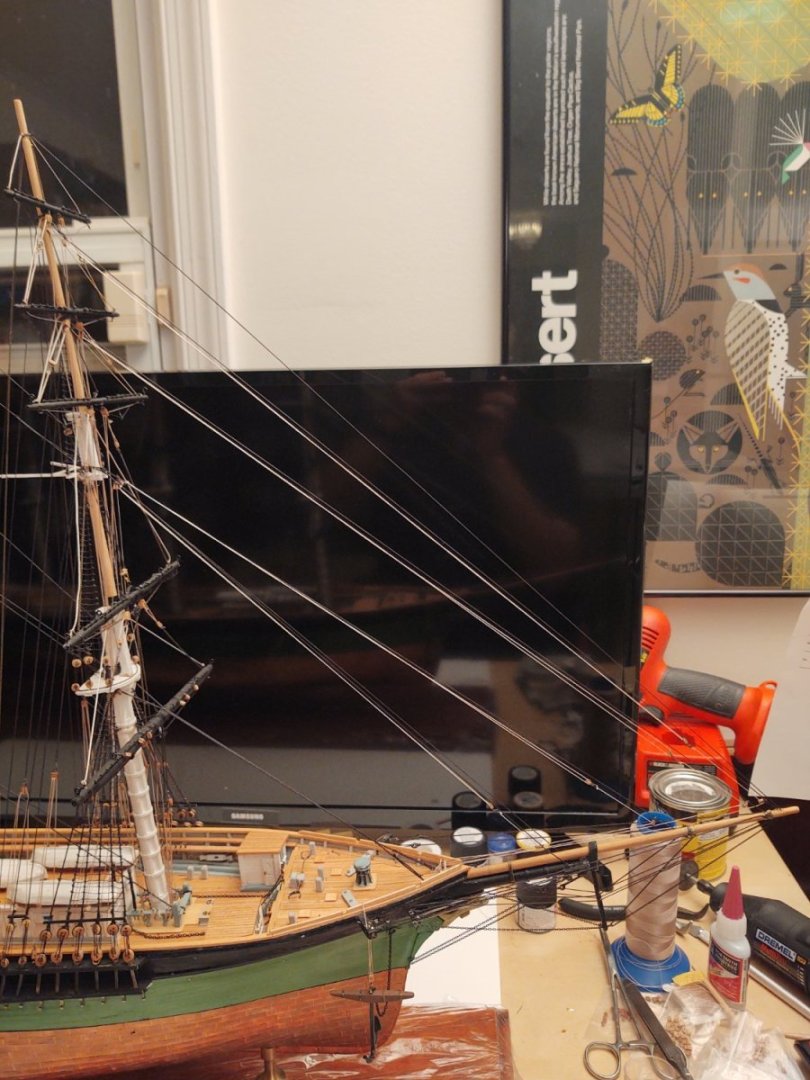
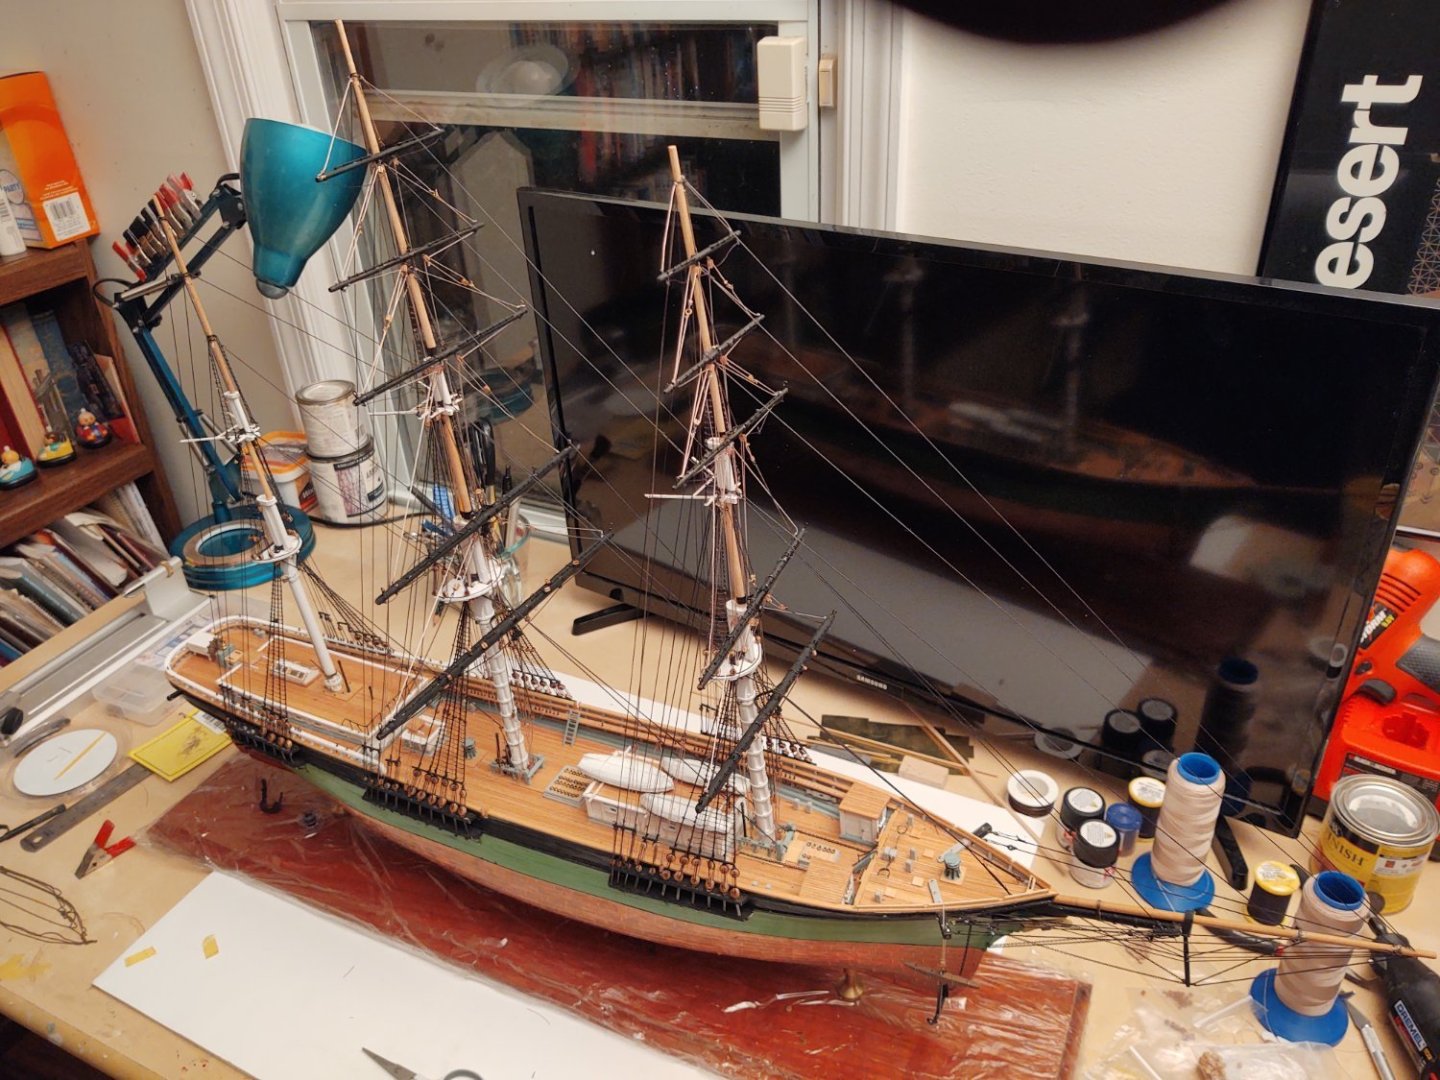
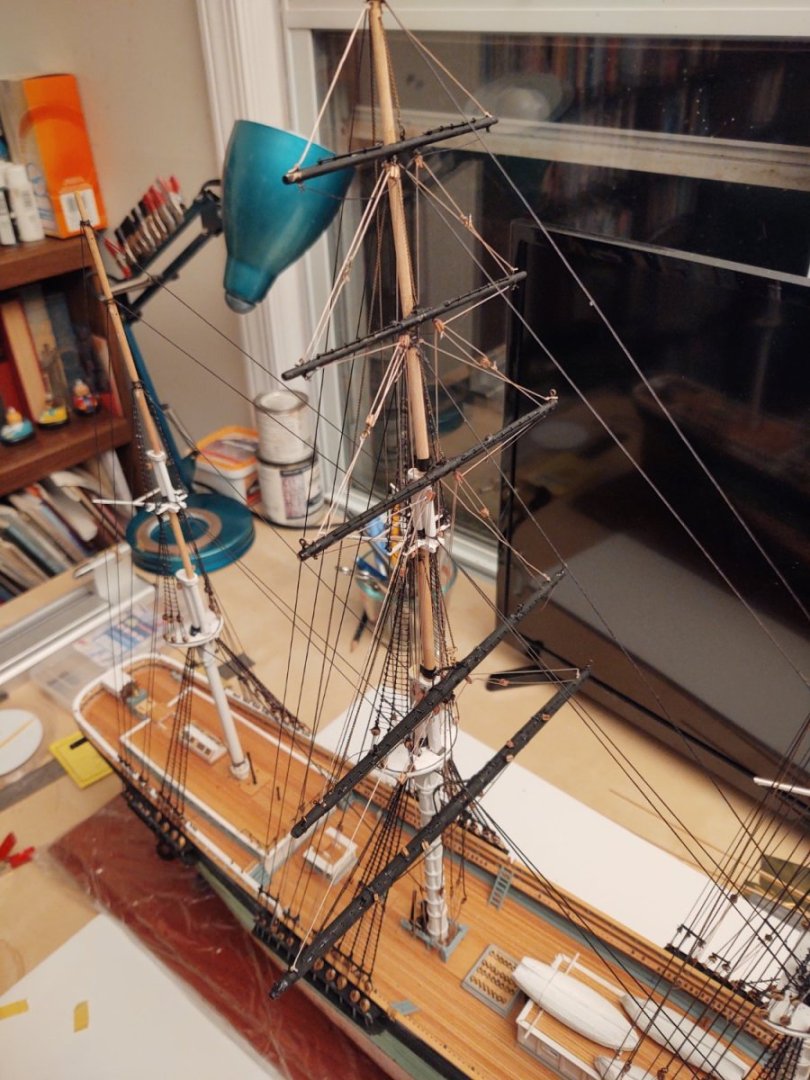
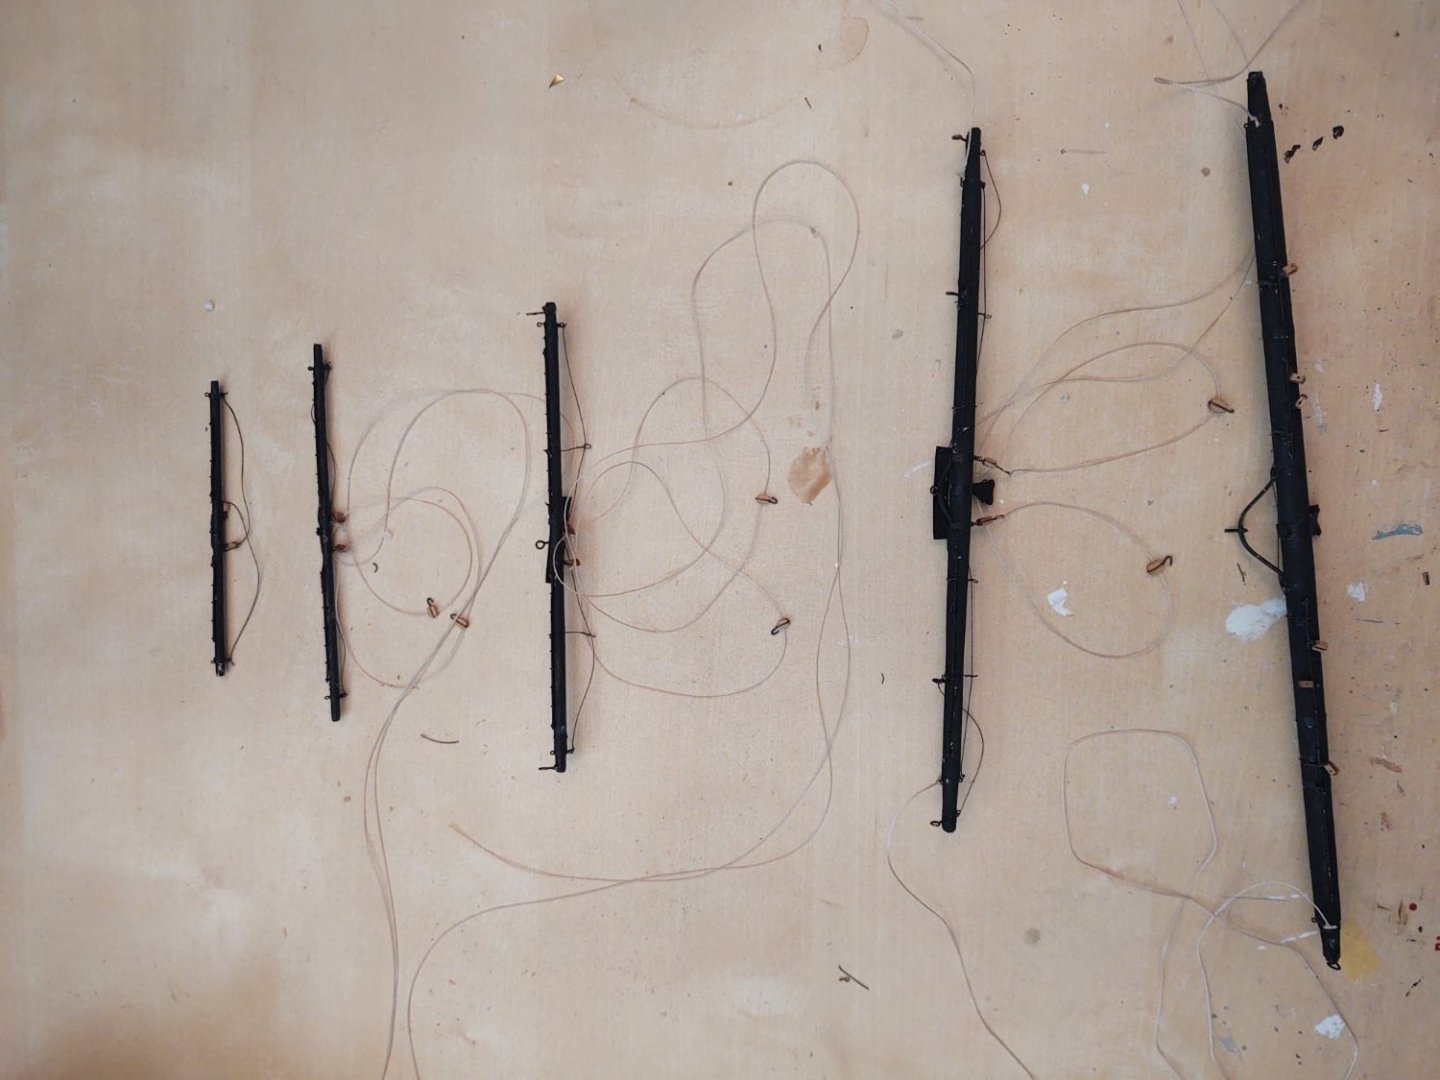
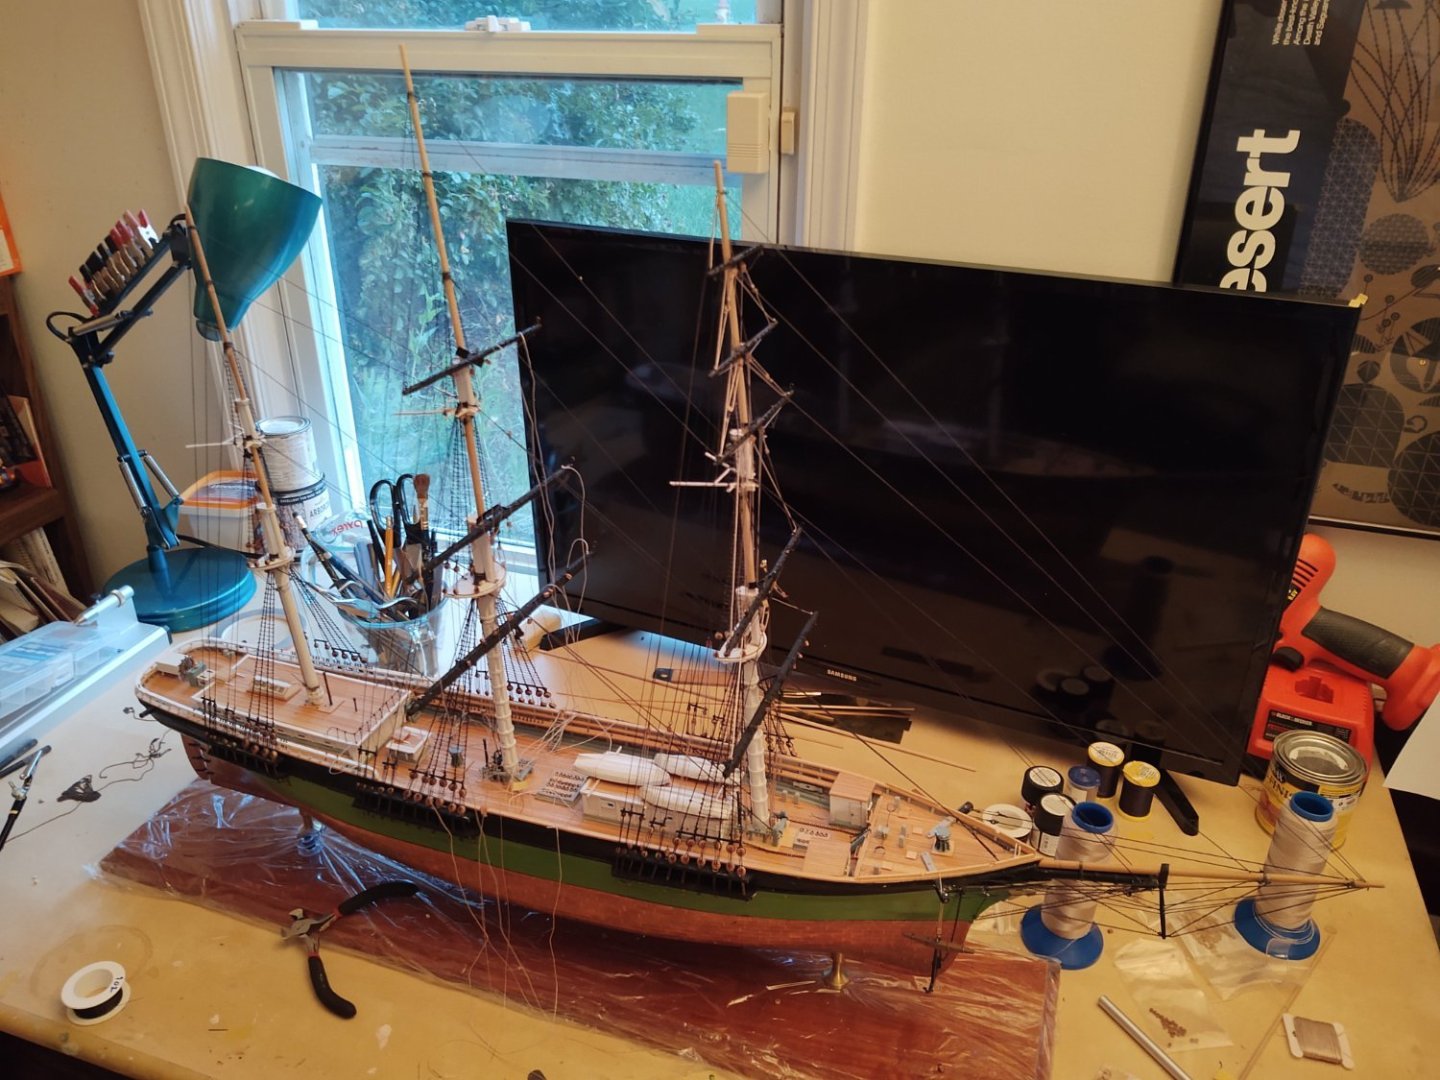
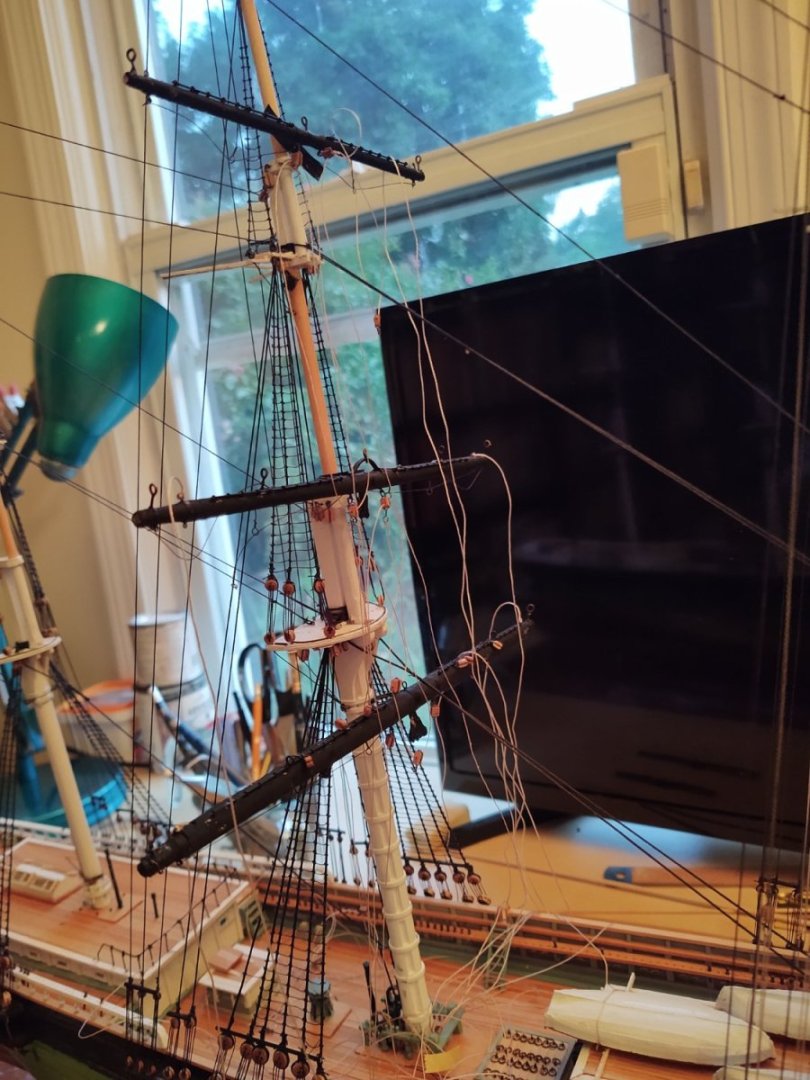
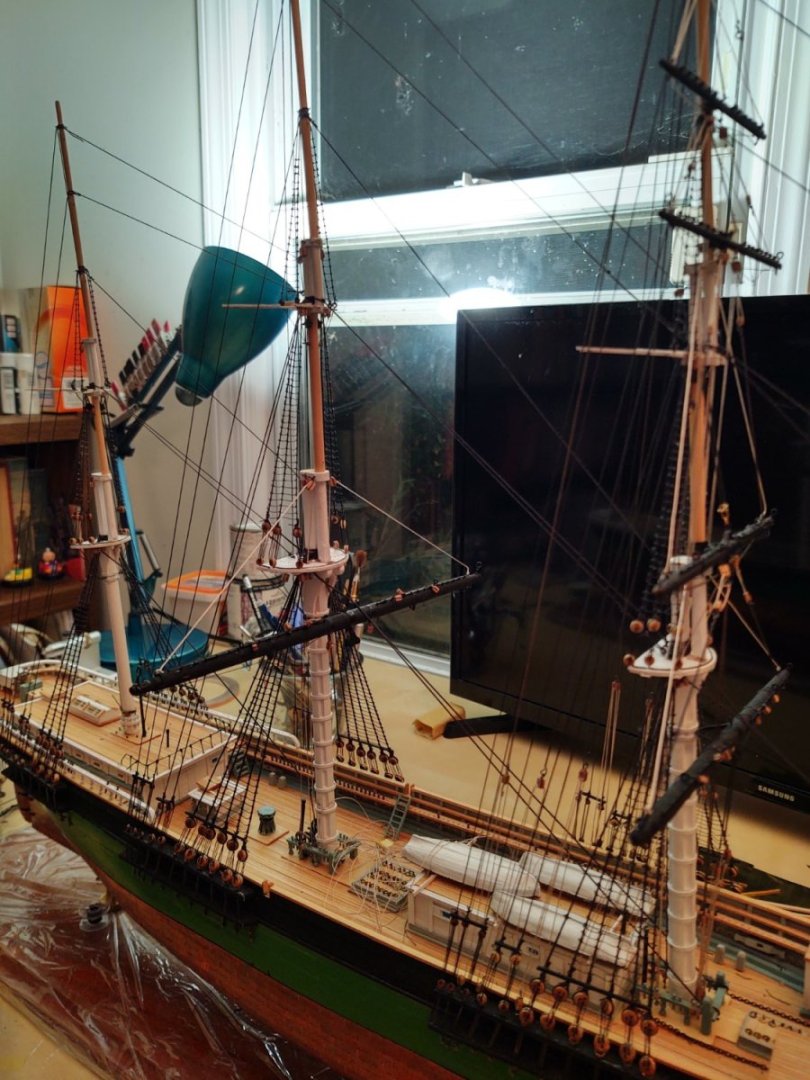
Starting to see the light at the end of the tunnel, so another update. First, made the spanker boom and gaff: Everything painted black. Top to bottom spencer, spanker gaff, spanker boom, mizzen yards. Two yards prepped with foot ropes and key blocks skysail (above) and course (below): And first mizzen yard bent: The free ends of the lifts (or more to the point their tackles are not yet fully in place, so I can't knock them off the list, but coming. One thing I found out is that I am going to hit a wall after the mizzen top yard because (deep sigh) I don't have enough 1/8 double blocks. More on order, not sure when they will arrive. If I finish the top yard before the extras arrive, I guess I'll work on the stuns'l booms. So, the list: mizzen yards: 5 4 Jib halyards: 4 lifts: 10 Jib downhauls: 4 sheets: 8 Staysail halyards: 2 clews: 10 Staysail downhauls: 2 halyards: 4 Spencer gaff: 2 1 Braces: 30 24 topping lifts: 2 1 Stun'sl booms on hull: 2 vangs: 4 2 Stun'sl booms on yards: 12 Spanker boom: 1 Davits: 4 sheets: 2 Boat tackle: 4 Spanker gaff: 1 Decals: 3 throat halyard: 2 Gilded balls on mast trucks: 3 peak halyards: 1 Fairleads on shrouds: 8 topping lifts: 2 outhaul sheets: 2 vangs: 2 ensign halyard: 1 Change: +8 (shroud fairleads) -1 (mizzen course yard) +0 (corrected 8 sheets and 10 clews, not other way around) Net = +7 Remaining items: 114 For some reason my list keeps growing every time I add things to the ship. I feel like Achilles, perpetually unable to catch the tortoise. Hopefully, no more major additions, and I should be able to get one more yard, 4 lifts, 1 halyard, and maybe some stuns'l booms if the new blocks take some time. Thanks for looking in! George
- 602 replies
-
- Flying Fish
- Model Shipways
-
(and 2 more)
Tagged with:
-
It is defined in the general notes in sheet 4 of the '94 plans, but sheesh; add the extra 2 letters and be clear.
- 345 replies
-
- Flying Fish
- Model Shipways
-
(and 1 more)
Tagged with:
-
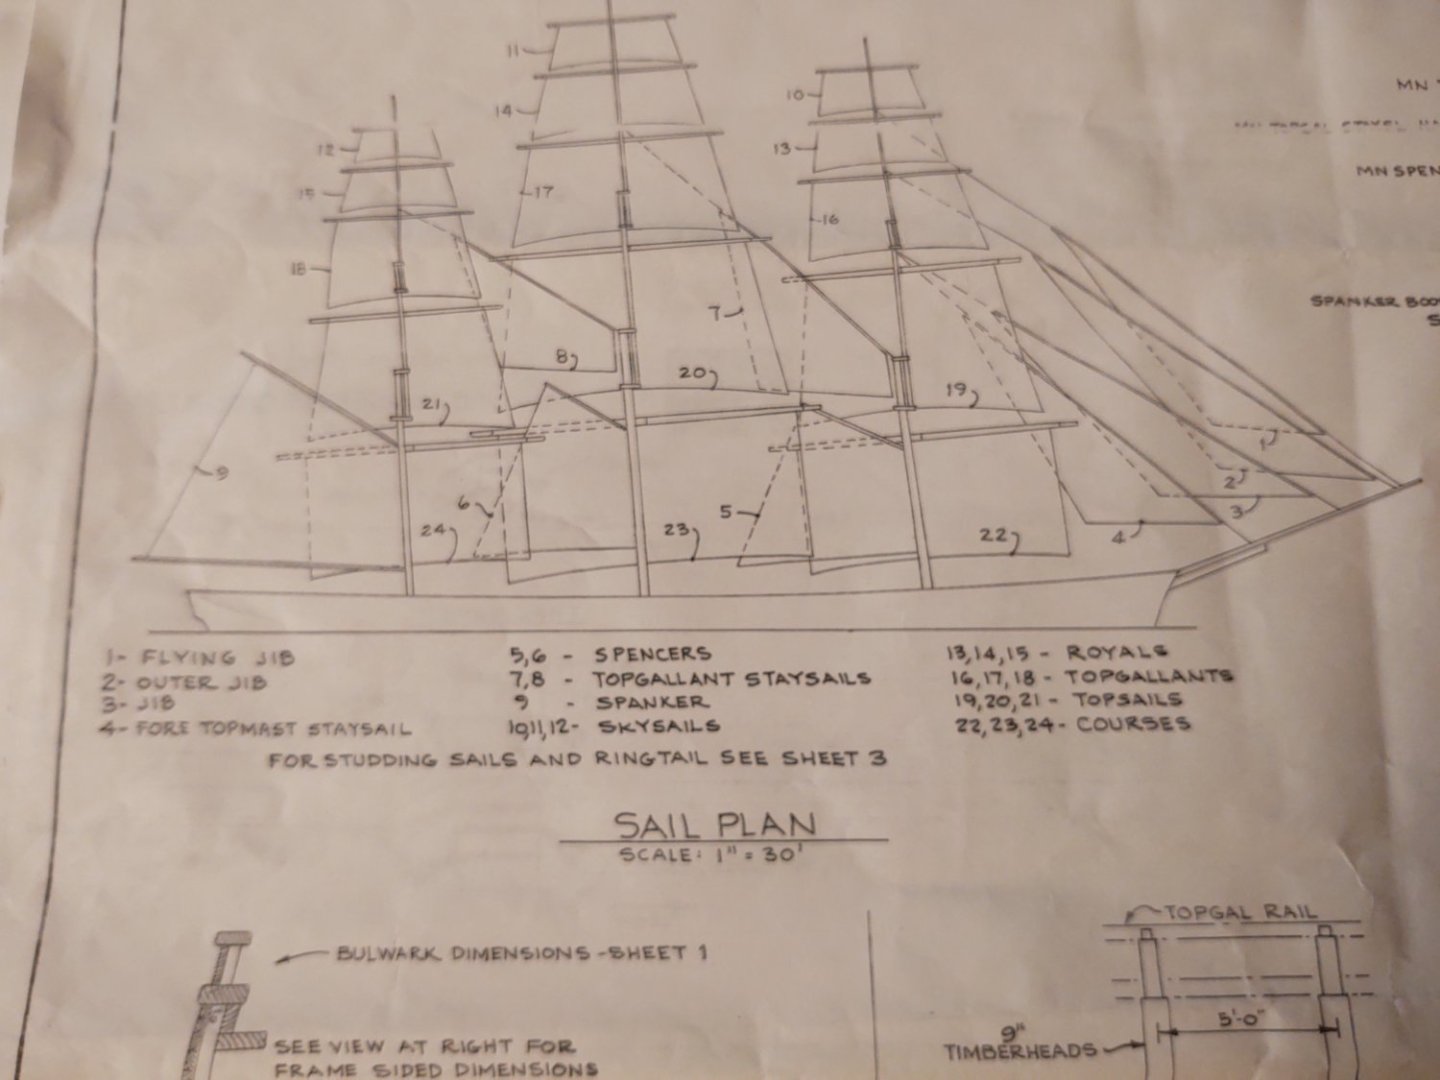
Rick, My 1994 revision of the plans label the sails as you describe (see photo, sails labelled 1-4), and the belaying plan uses the same terms (although it annoyingly uses sts'l for staysail which I originally interpreted as stuns'l). The belaying plan uses those terms and I belayed the downhauls to the 4 pin rail in the stem, and the halyards to the fore fife rail. No sails, so no sheets. Not sure what your older version of the plans show. If they disagree I'll DM you the pin locations on the '94 plans Regards, George belayed the jib
- 345 replies
-
- Flying Fish
- Model Shipways
-
(and 1 more)
Tagged with:
-
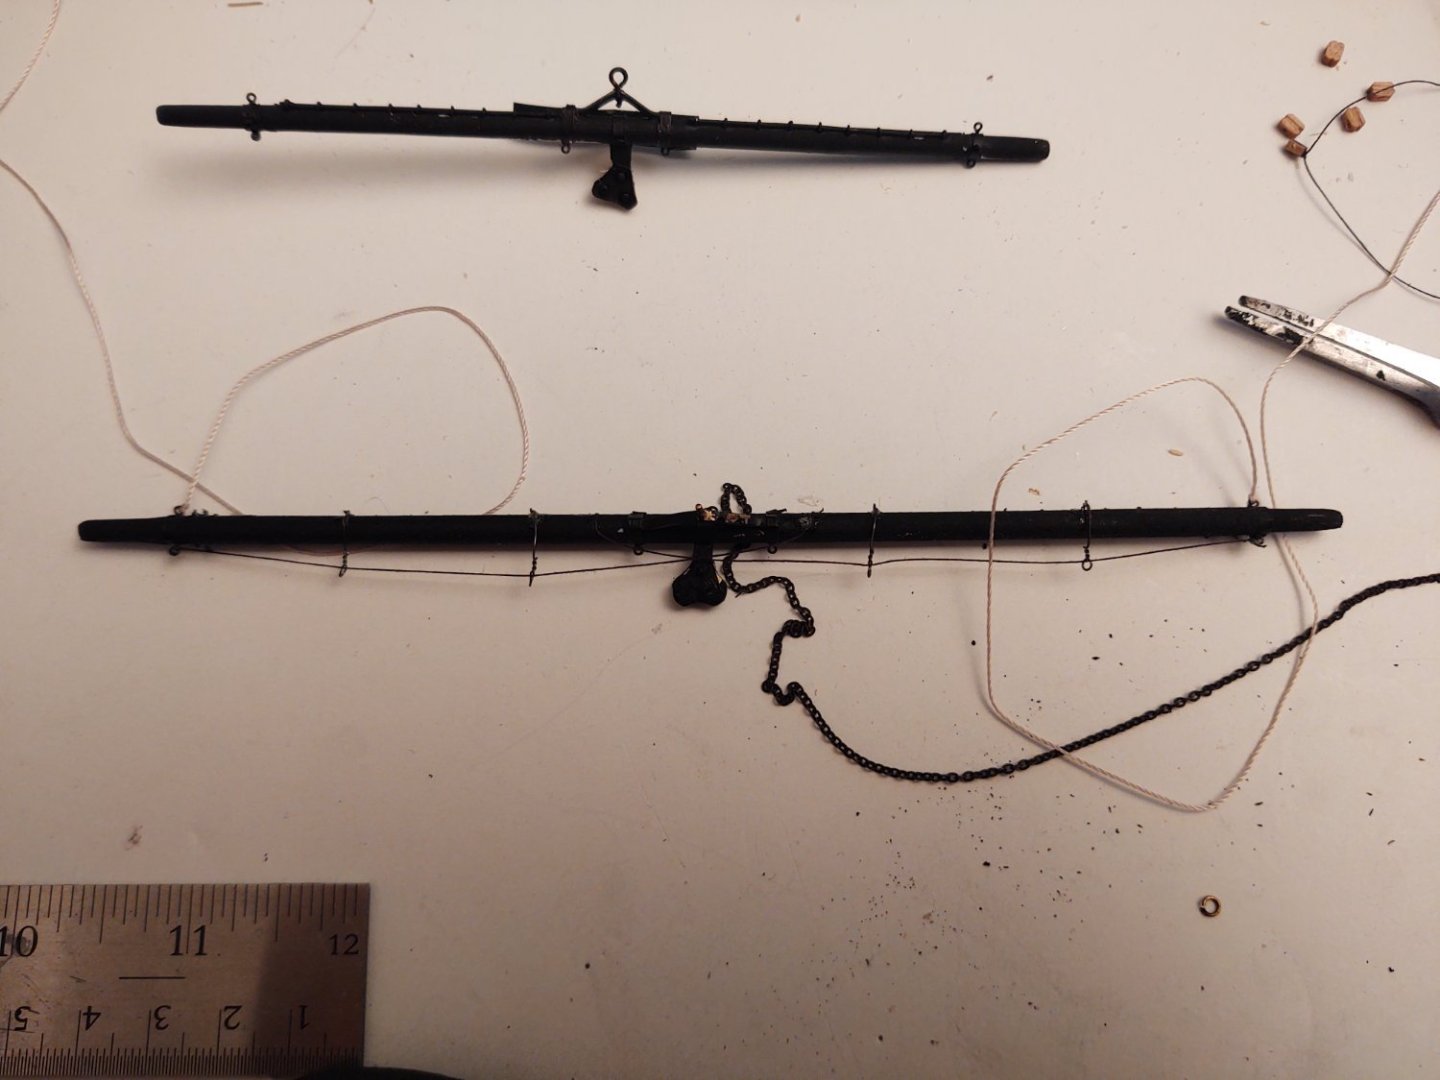
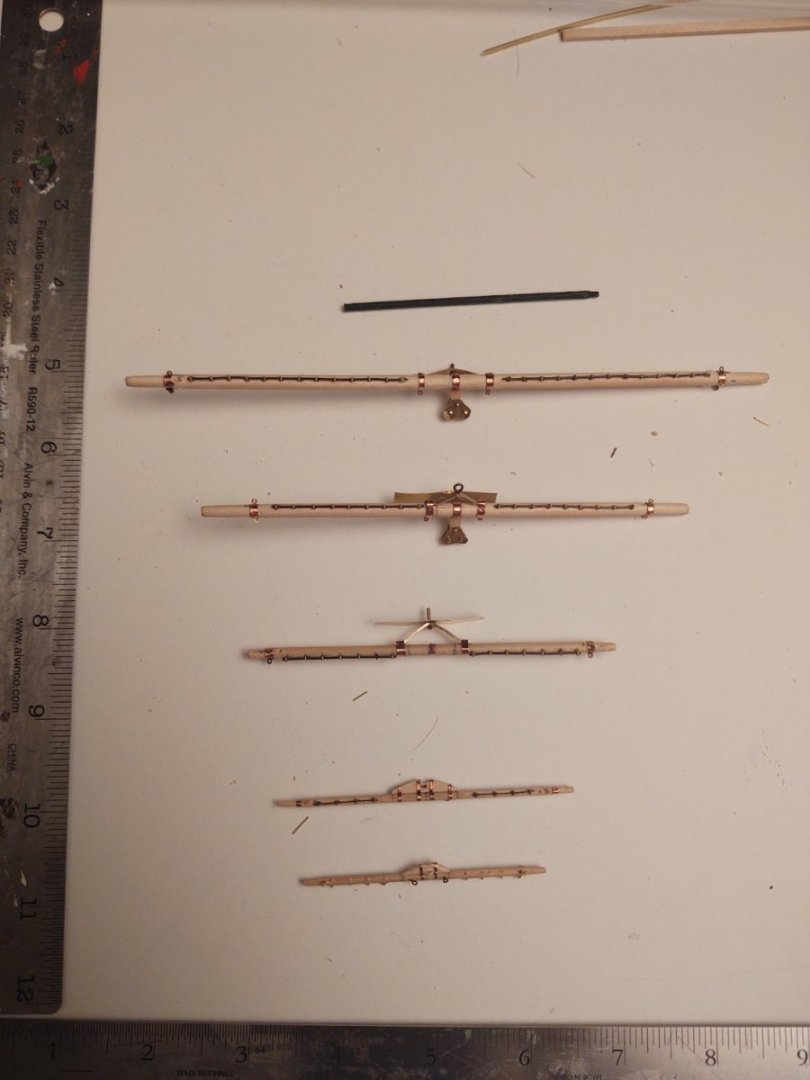
Thanks Vlad, it does feel like I am getting close to the end, although despite my current work, I have to add to the list of things to do with no items removed. So, the mizzen yards are built. Photo below shows them, and I put some rulers in the frame to indicate size. These are way smaller than the main and fore (the skysail yard is only 2.5 inches wide). I wound up buying some extra 1/8 and a package of 1/16 inch dowels to make the topgallant and royal/skysail yards respectively. The 1/16 yards will be useful for the stuns'l booms as well, as the 5/64 (7.5 inch at scale) dowels were too large for all but the main course yard. This way, I'll have less to shave off and will be more likely to make better formed booms. Anyways, "iron bands" and eyebolts done, cranes in place, iron sheet blocks built and attached and jackstays in place; ready to paint. The black yard is the main spencer boom, just need to put it on once the mizzen yards are in place. So, the list. I realized that I forgot the mizzen halyards, so the list is now: mizzen yards: 5 Jib halyards: 4 lifts: 10 Jib downhauls: 4 sheets: 10 Staysail halyards: 2 clews: 8 Staysail downhauls: 2 halyards: 4 Spencer gaff: 2 1 Braces: 30 24 topping lifts: 2 1 Stun'sl booms on hull: 2 vangs: 4 2 Stun'sl booms on yards: 12 Spanker boom: 1 Davits: 4 sheets: 2 Boat tackle: 4 Spanker gaff: 1 Decals: 3 throat halyard: 2 Gilded balls on mast trucks: 3 peak halyards: 1 topping lifts: 2 outhaul sheets: 2 vangs: 2 ensign halyard: 1 Change: +5 (mizzen halyards) -0 (nothing off the list Net = +5 Remaining items: 107 [sigh] Well, the braces (24) will go quickly once the yards are in place. And, once painted (and with the foot ropes in place, it was only about 2 weeks to clear what is basically 37 items (yards, halyards, lifts, clews, and sheets) for the main, so maybe not too long before we see yards on 3 masts... Thanks for looking in, George
- 602 replies
-
- Flying Fish
- Model Shipways
-
(and 2 more)
Tagged with:
-
Welcome from a 58 year old. But still years from retirement, I'm afraid... George
-
There is always a minor disaster and once you are finished no one will notice. On my Niagara my drill caught a line and ripped the jibboom in half (while rigged). Took hours to repair but no one notices. On the Flying Fish I accidentally yanked a sheet tackle out of the deck, and in the process (a) failed initially to reinstall it, (b) drilled a new hole only to accidentally CA glue a drill bit attached to my pin vise into the deck, and then (c) break both sheets and the yard truss holding it to the mast removing the pin vise and drill bit. Despite all that, I doubt anyone would know if I didn't tell them. Consider this the modeling equivalent of how Amish quilters supposedly put intentional mistakes in... Regards, George
- 89 replies
-
- Cutty Sark
- Revell
-
(and 2 more)
Tagged with:
-

Brig Niagara 2023 sailing season ending early
gak1965 replied to gak1965's topic in Nautical/Naval History
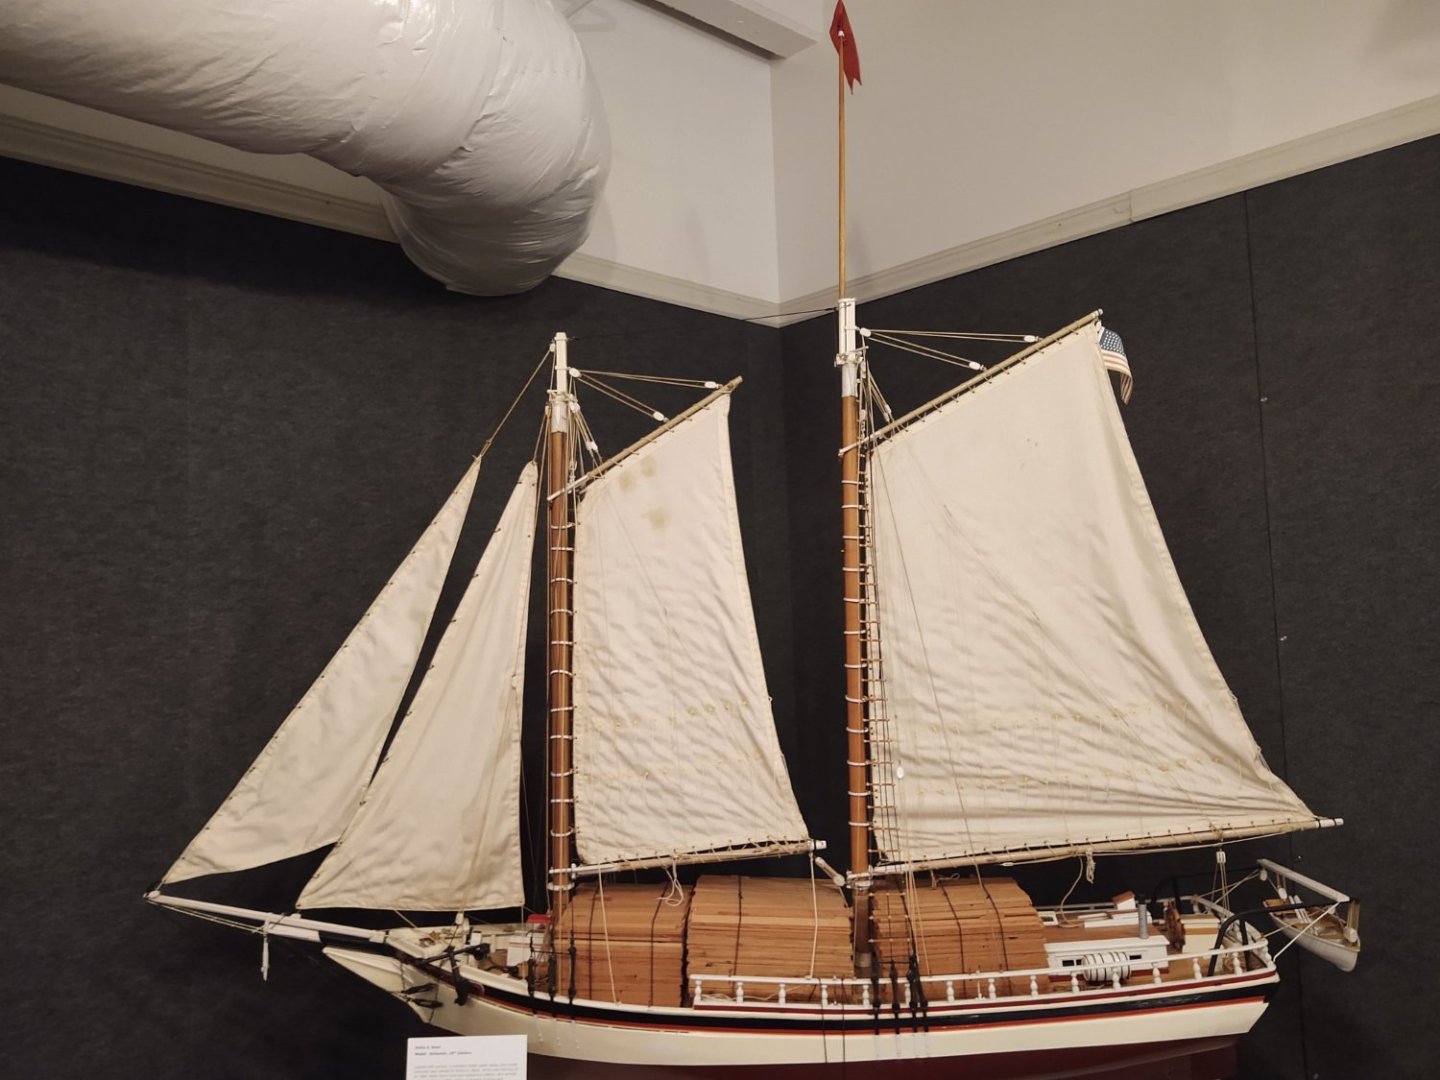
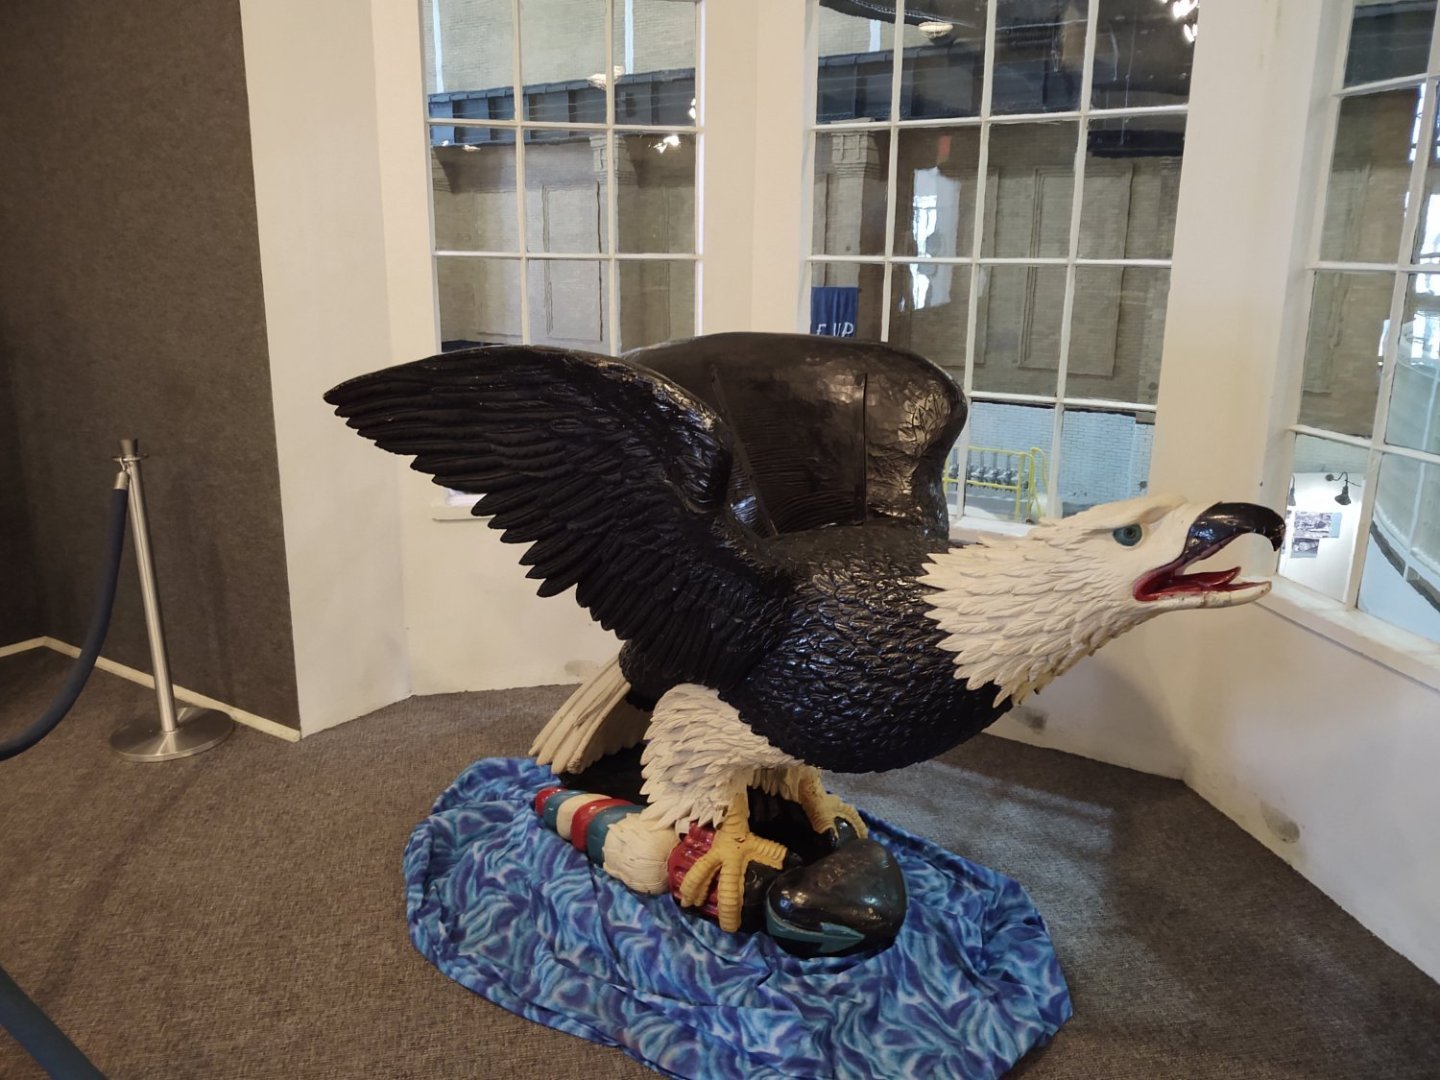
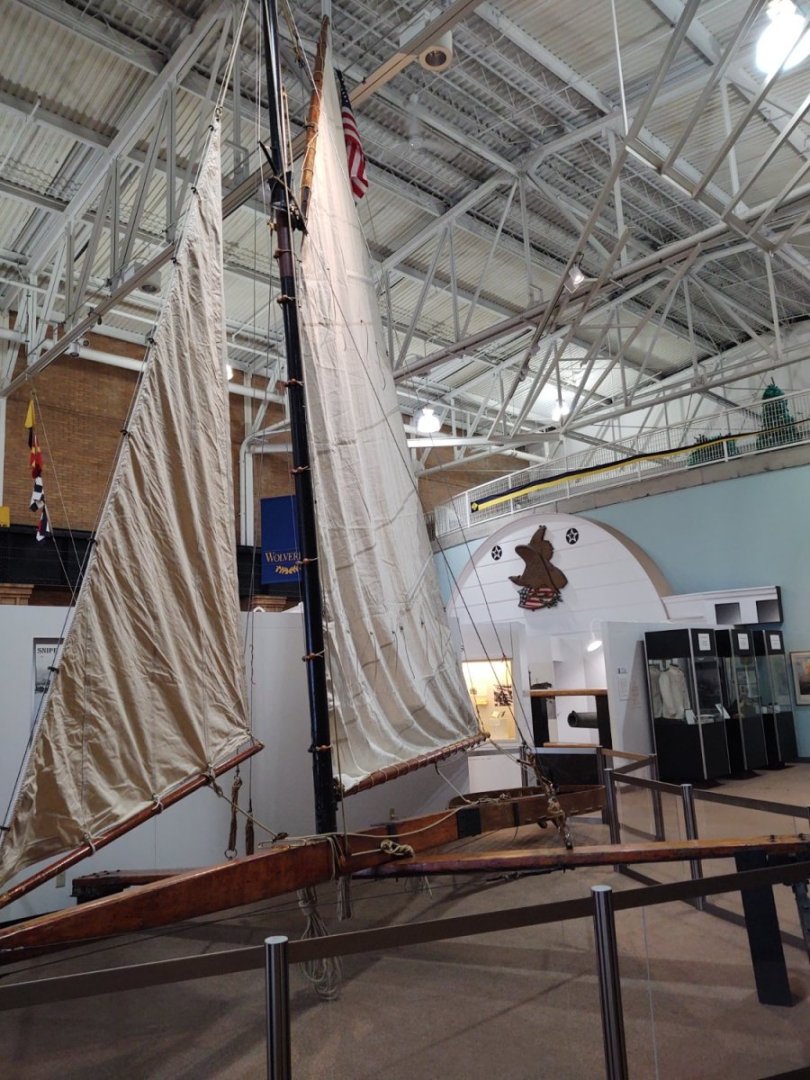
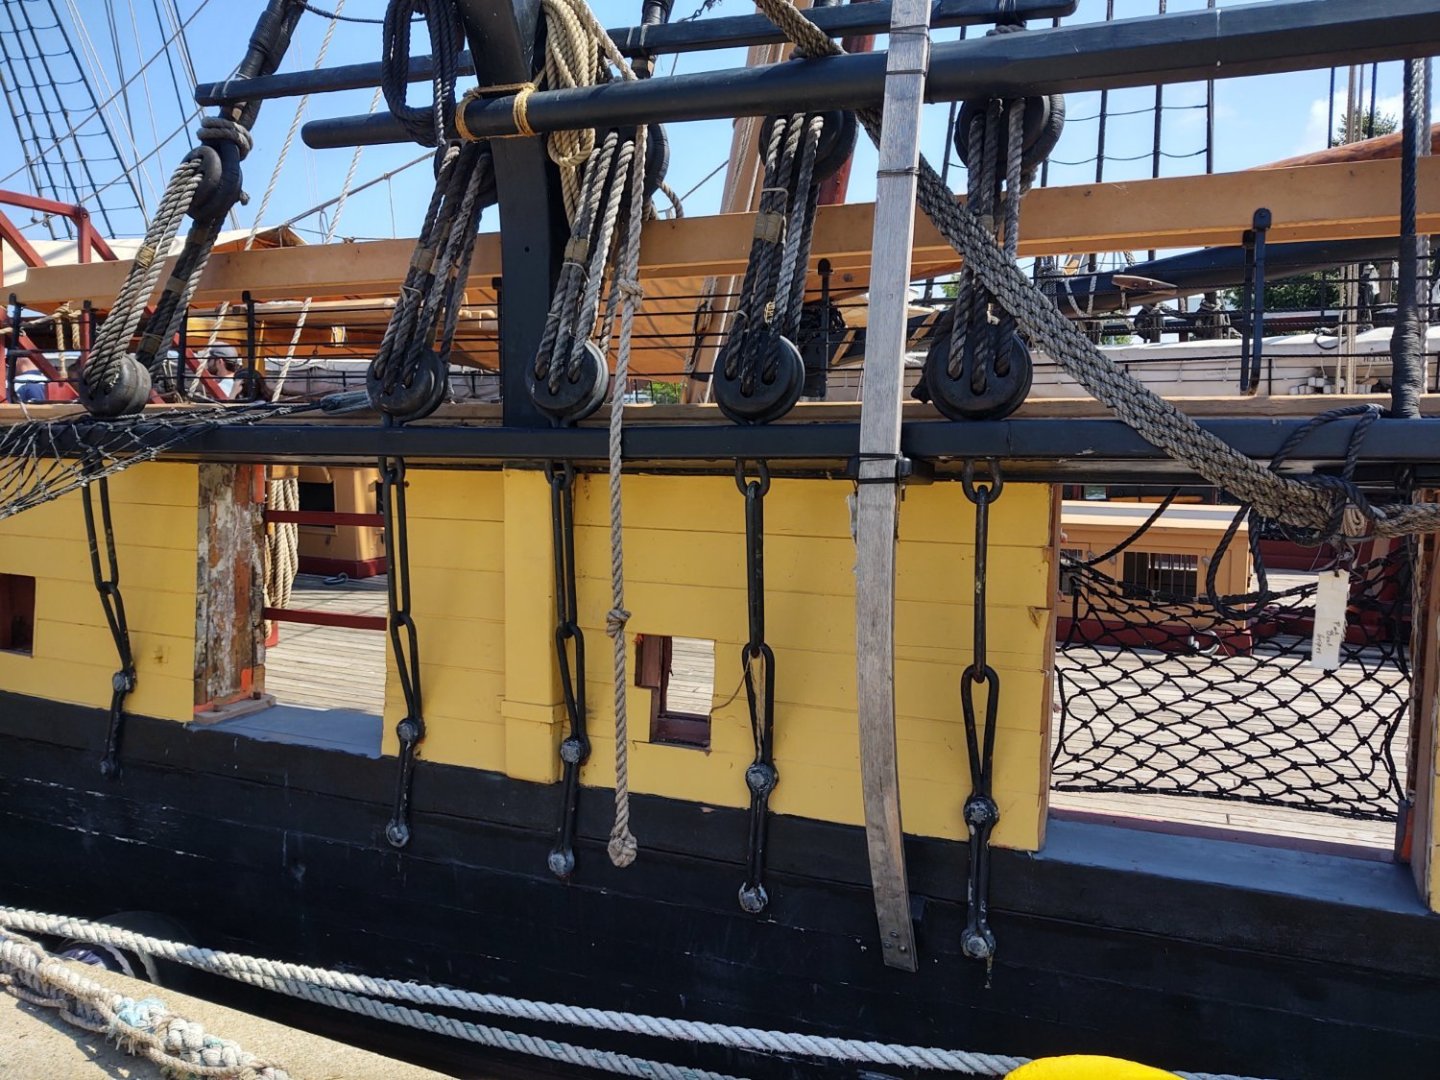
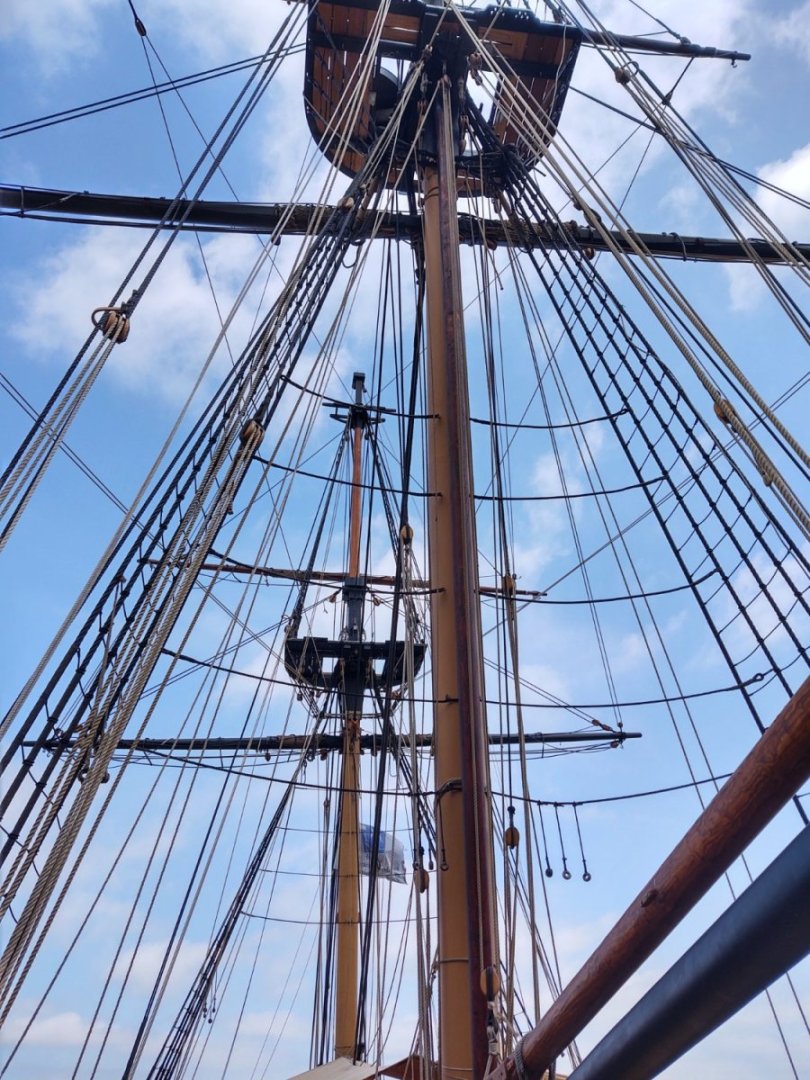
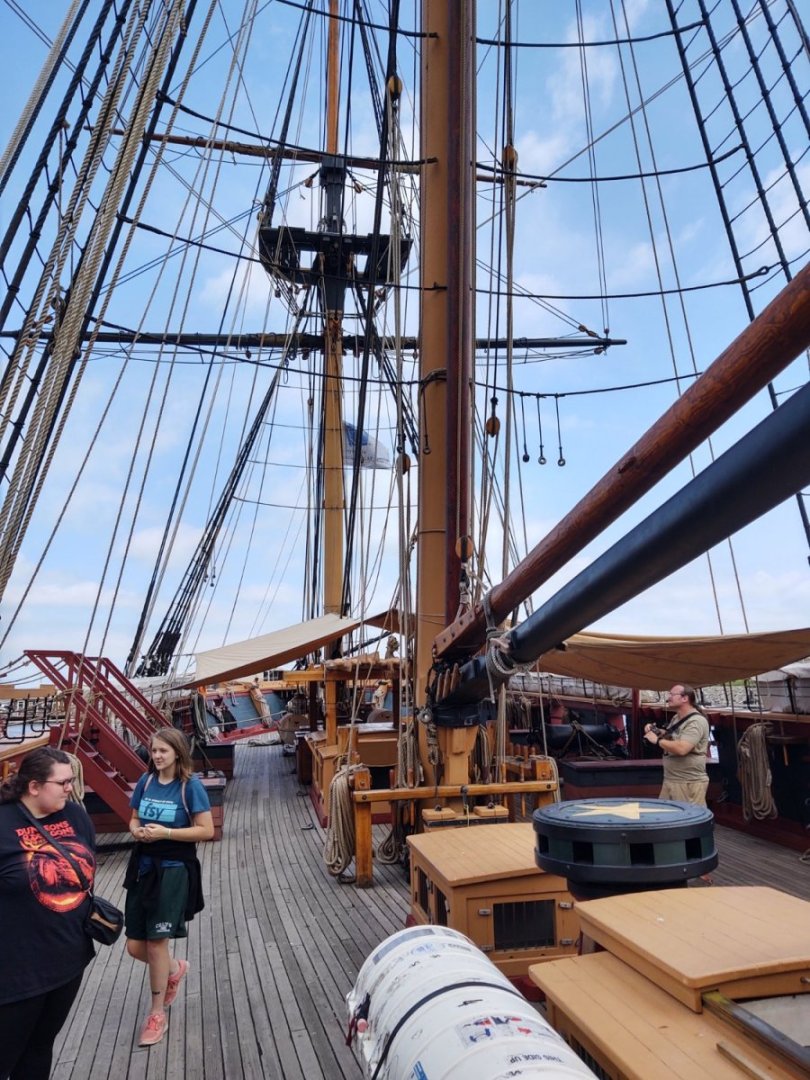
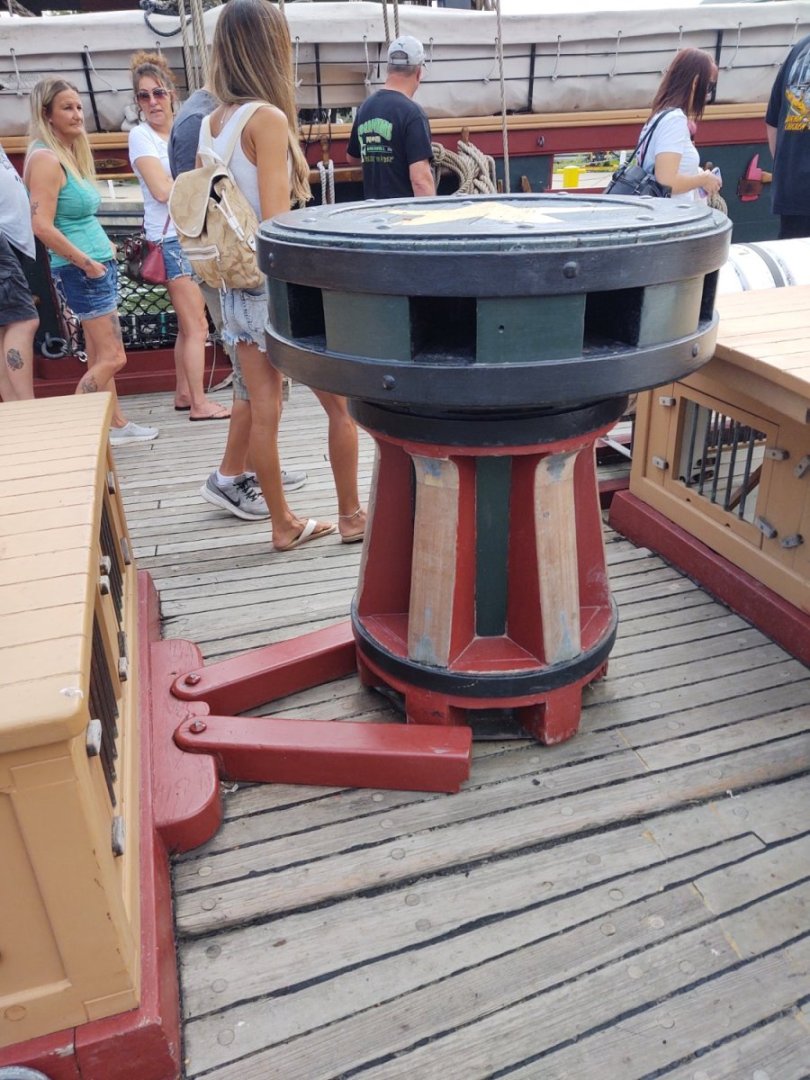
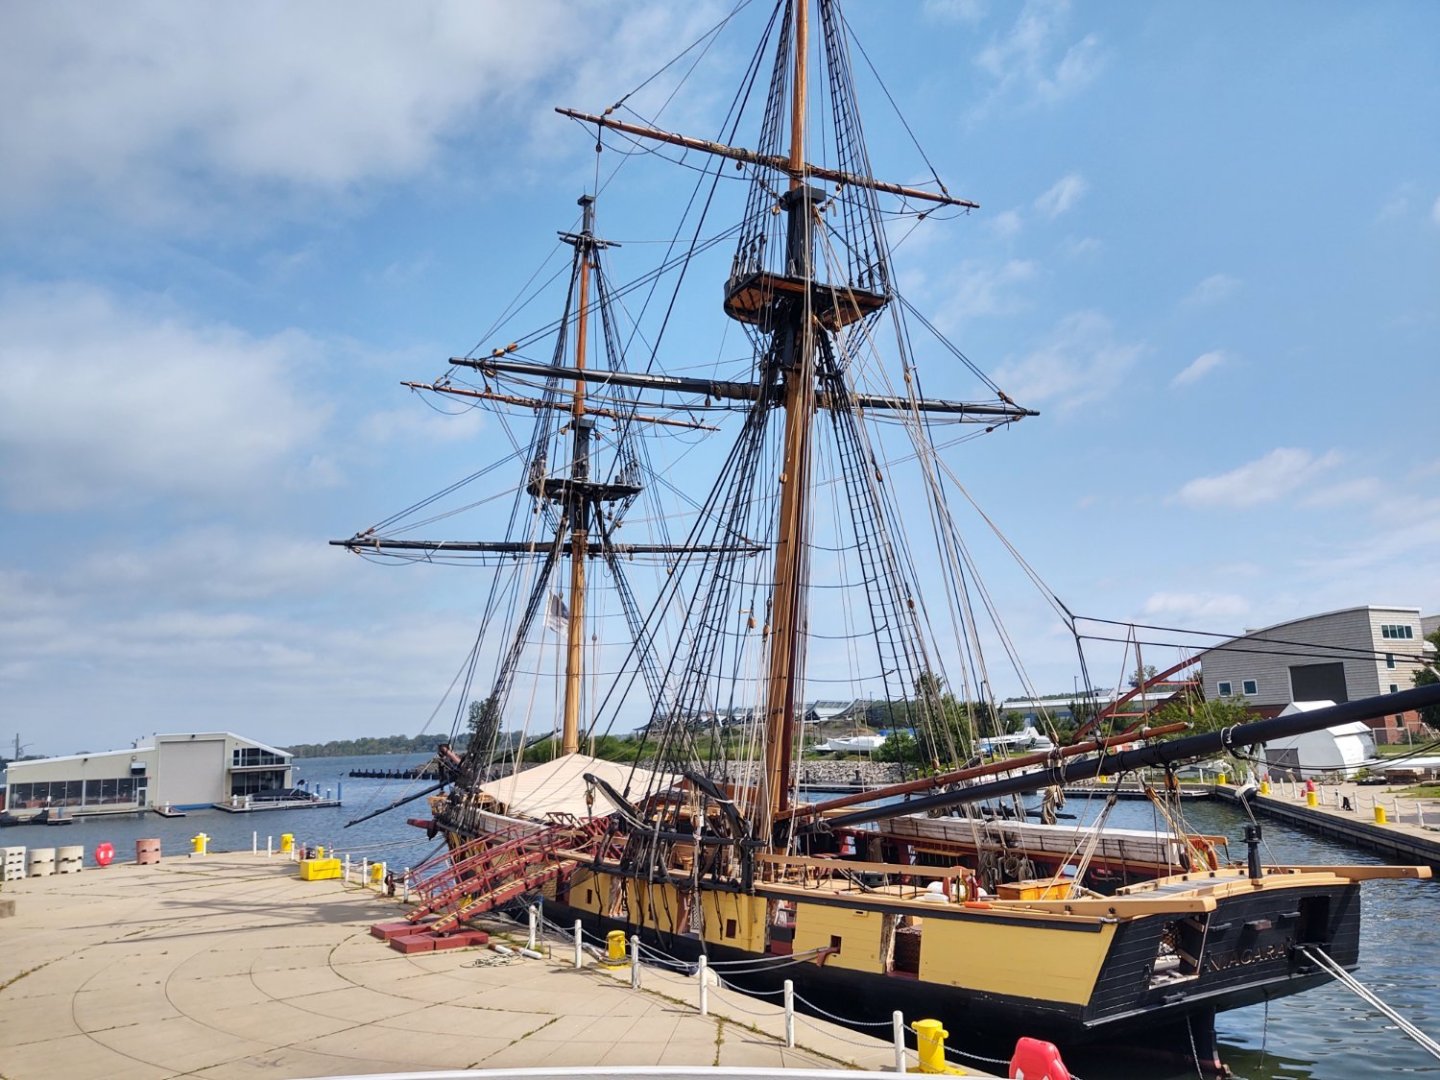
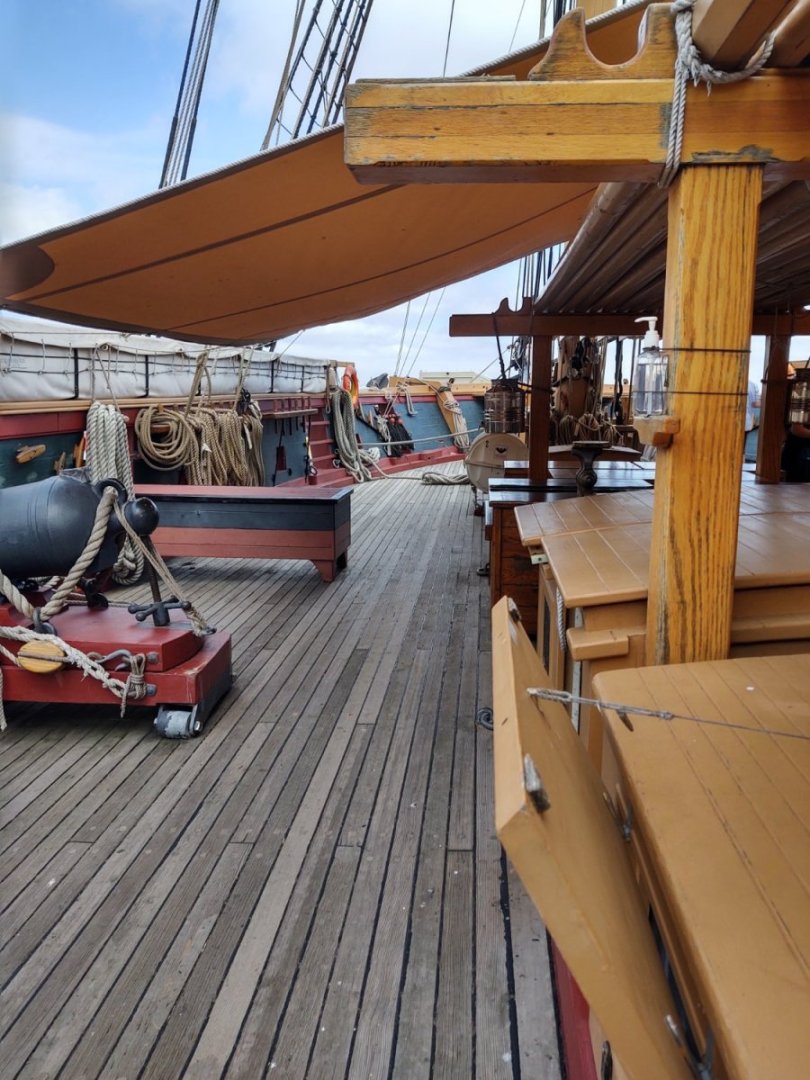
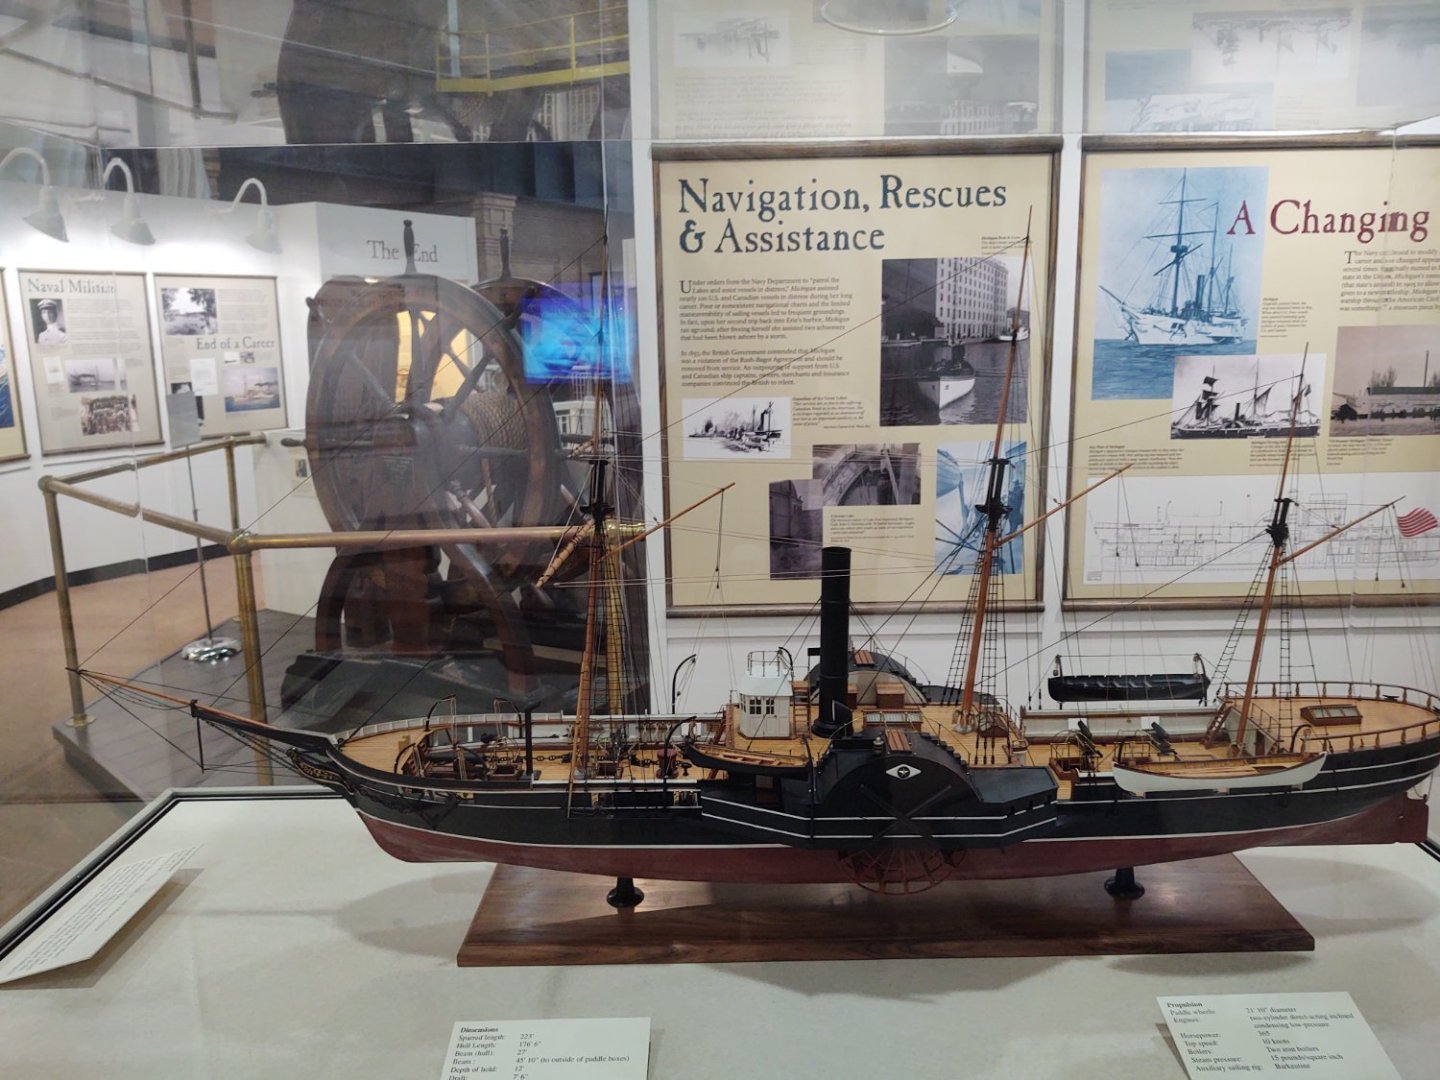
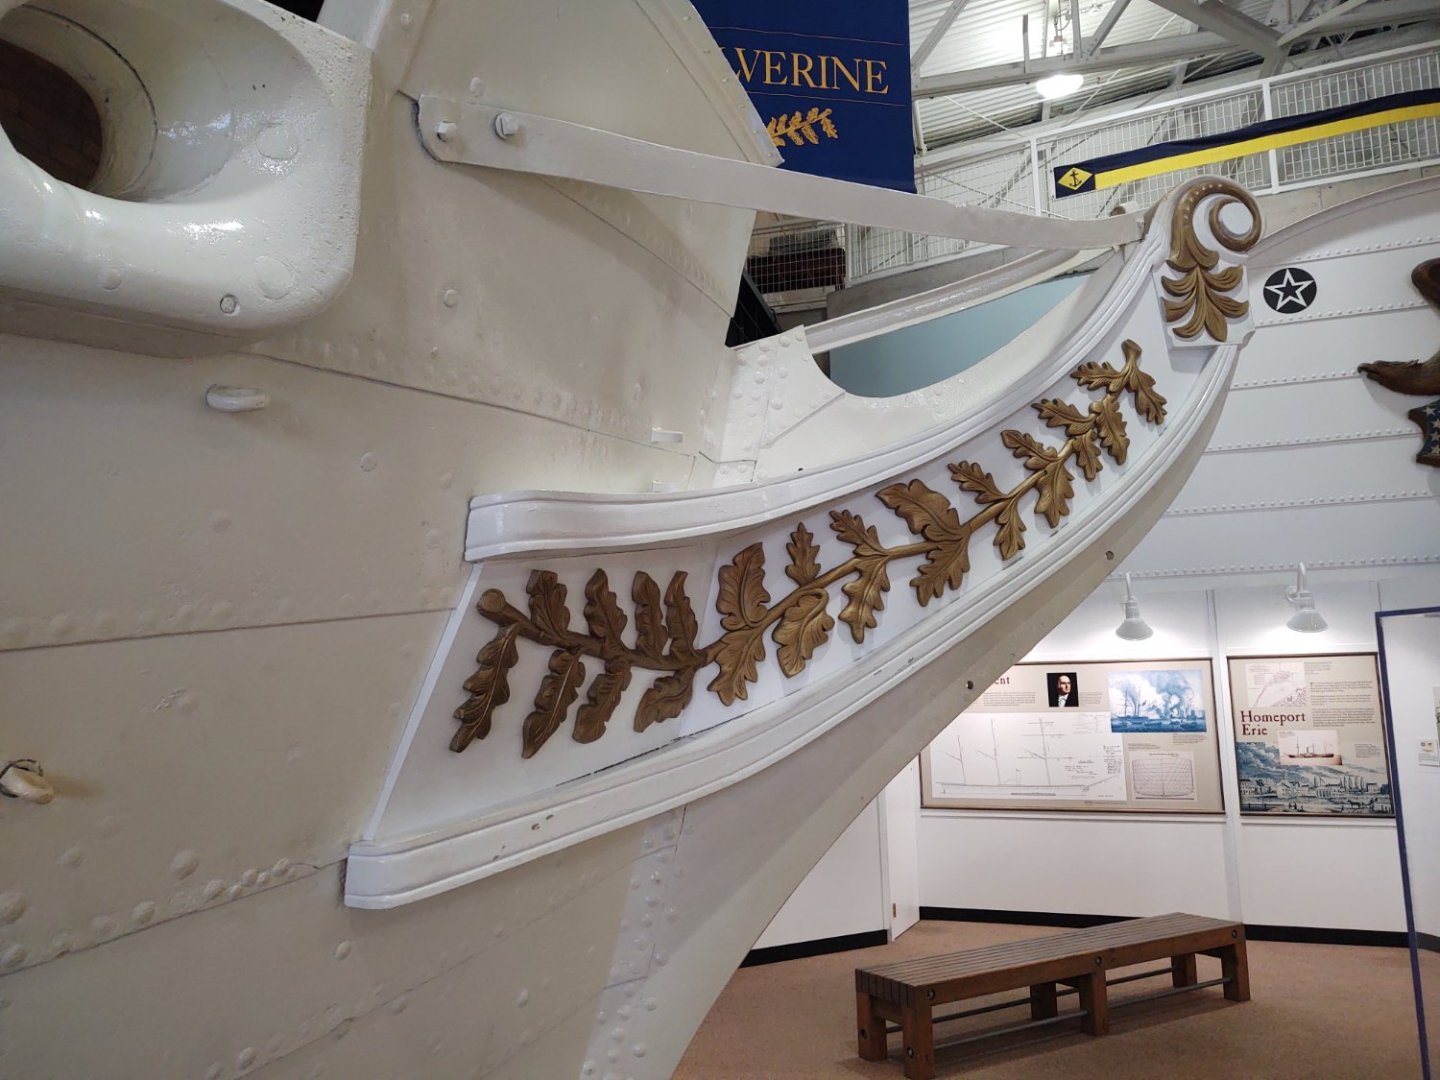
So having gone to the museum and now toured the ship, I was talking to one of the crew and it turns out that they didn't damage a prop, they lost a prop. They were motoring into the harbor, engines start sounding really bad. After they dock a pair of them dive to have a look, and the prop is just missing. Still, interesting tour of the ship. And some cool things in the museum which has an exhibit on the USS Michigan (1843) including her bow and a model as well as various other artifacts: a decoration from the cabin on a coast guard cutter.. Other models: And a classic iceboat -
Looks good! The ironwork on the top is really nice; I just faked it with some 24 gauge wire. Before you permanently mount the lower masts, you might want to drill the holes (but not necessarily install either the bolts or tackles) for the top and topgallant sheet and course lift tackles. The area inside of the fife rails becomes hard to get to once the mast is in place, particularly for a pin vise, although preinstalling the tackles (as I did) didn't work all that well. FWIW, I found I could fit 24 gauge wire into the small jackstay eyebolts supplied with the kit, but your bolts look like they worked a charm. One thing I am not sure of is what the diameter of the real jackstays on the yards were. 24 gauge wire is pretty thin, but it's 2 inches at scale, I wonder if we should use finer wire, particularly on the mizzen yards. Regards, George
- 431 replies
-
- Flying Fish
- Model Shipways
-
(and 2 more)
Tagged with:
-
I think the bigger issue would be standing next to the stacks. Those things must have been hotter than Hades, bump into them and get a real burn, not to mention the general heat.
- 393 replies
-
Yeah, I did that for my table of yard sizes, although I find the text doesn't zoom well. I also tried rendering an HTML table but it rendered as the HTML tags rather than as a table...
- 602 replies
-
- Flying Fish
- Model Shipways
-
(and 2 more)
Tagged with:
-
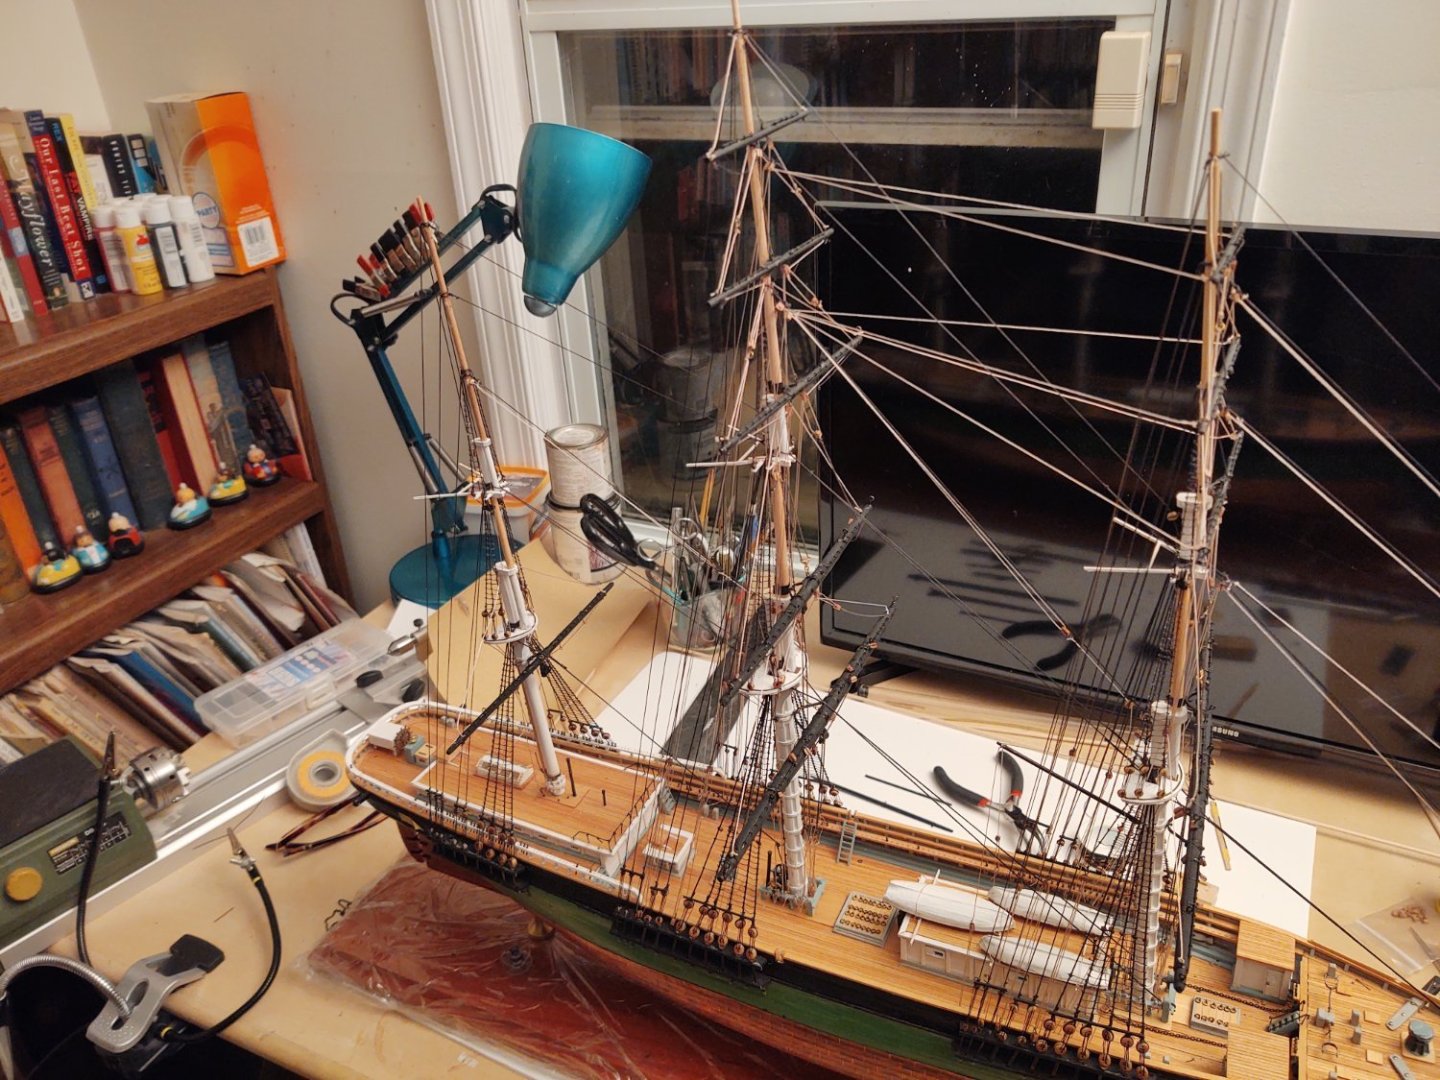
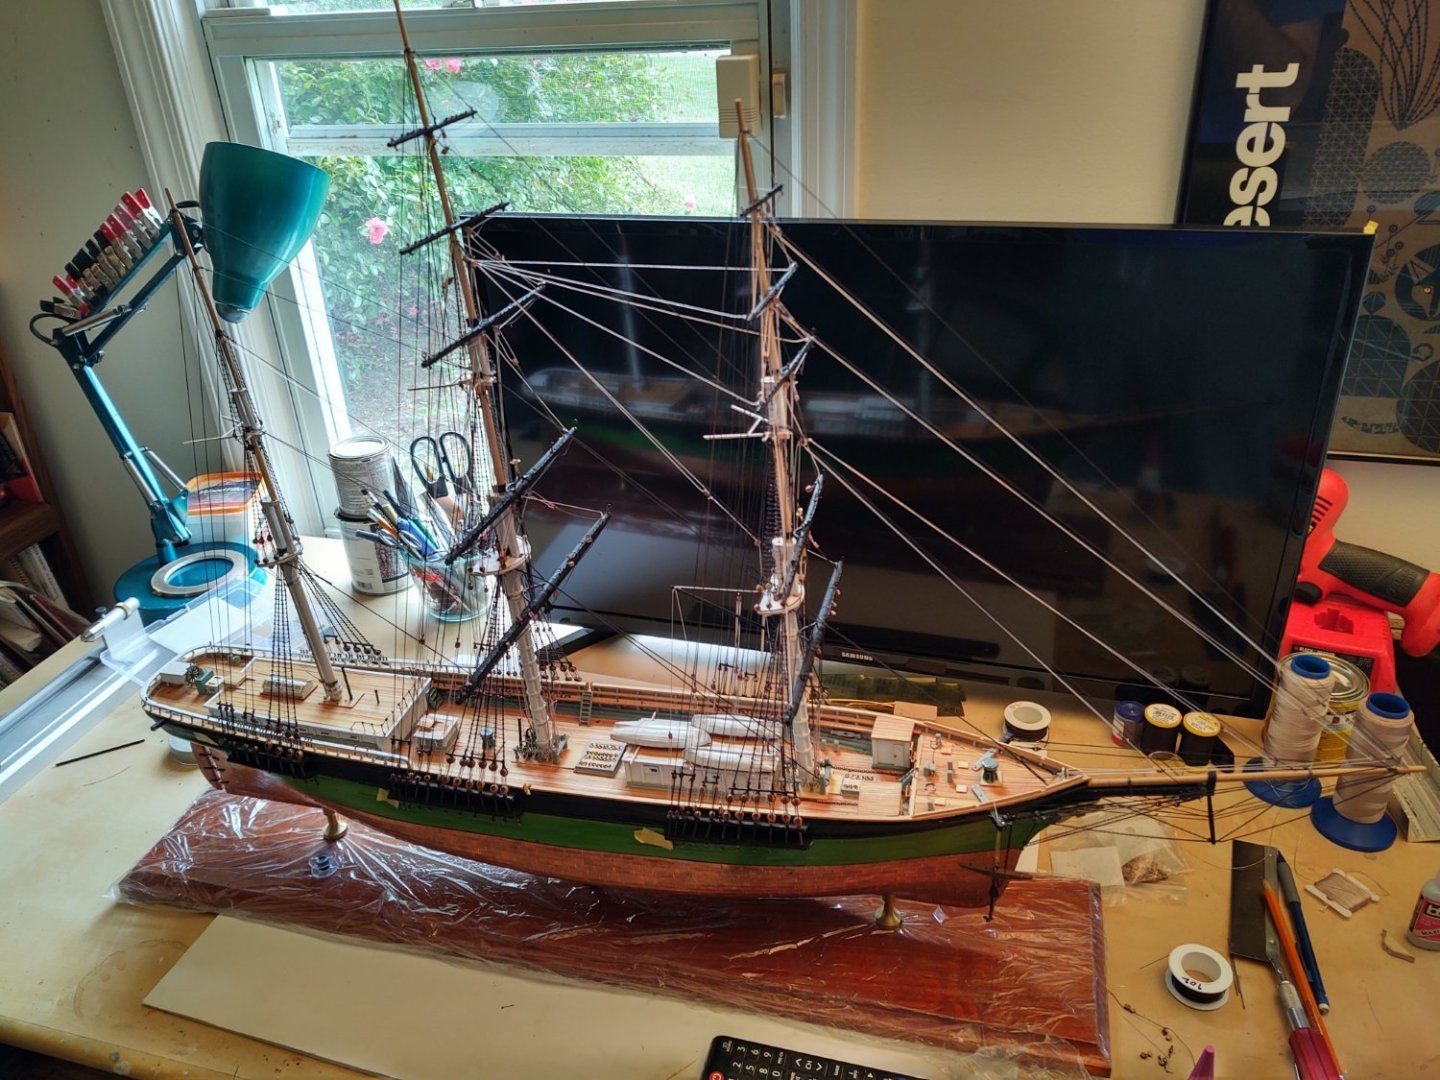
Short update. Fore spencer gaff mounted and rigged. Fore royal and topgallant braces rigged: Whole ship: Current status of list: mizzen yards: 5 Jib halyards: 4 lifts: 10 Jib downhauls: 4 sheets: 10 Staysail halyards: 2 clews: 8 Staysail downhauls: 2 Spencer gaff: 2 1 Braces: 30 24 topping lifts: 2 1 Stun'sl booms on hull: 2 vangs: 4 2 Stun'sl booms on yards: 12 Spanker boom: 1 Davits: 4 sheets: 2 Boat tackle: 4 Spanker gaff: 1 Decals: 3 throat halyard: 2 Gilded balls on mast trucks: 3 peak halyards: 1 topping lifts: 2 outhaul sheets: 2 vangs: 2 ensign halyard: 1 Change: +2 (spanker sheets) -8 (1 spencer gaff, 1 spencer topping lift, 2 spencer vangs, 4 braces) Net = -6 I made the other spencer gaff, but I'm not going to install until the mizzen yards are in place. Similarly, I put some of the blocks on for the fore and main top braces, but I'm not going to actually mount the braces until the mizzen yards and the associated topgallant, royal, and skysail yards, because once the lower and top braces are in place, it's going to be even harder to get my hands in there, so I need to get moving on the yards. At least the mizzen yards don't need stun'sl irons. Regards, George K
- 602 replies
-
- Flying Fish
- Model Shipways
-
(and 2 more)
Tagged with:
-
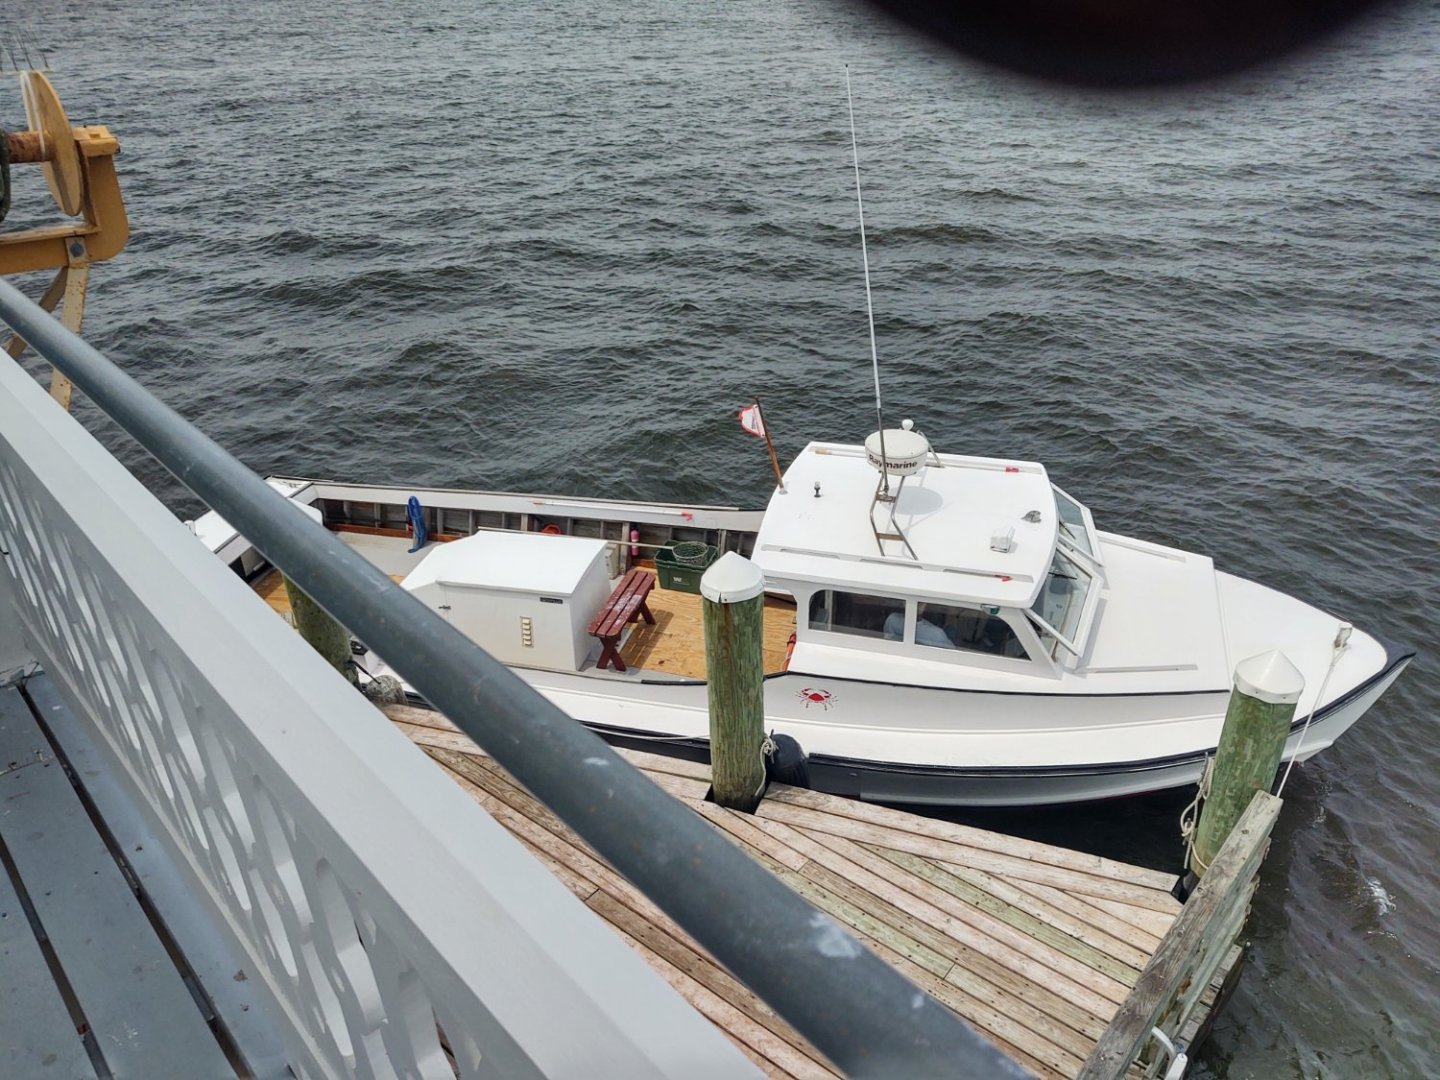
Thanks Rick, next time we are up that way, I'll take you up on that! Hi Scott. Thanks. It definitely does look like a USCG utility, and I think this is a 40', although it has a single prop. Mizzen yard construction has begun. Got the right size dowels and mark them up for the myriad holes that need to be drilled for the myriad jackstay eyebolts, and the locations of the yardarms, and the centers where the cranes or yokes reside. Spencer gaff on top; the black piece coming out the back is a bit of wire that is going to be used to mount it on the mast (there is an eyebolt just waiting for it above the spencer jackstay). Since I was doing the jibs, I figured, what the heck, I'll do the staysails, as shown below. And since the only thing left between the fore and main are the spencer and the braces, I figured I'd start on the fore braces, working my way down from the skysail. By the time I get to the topmast, I think I'm going to have to have the spencer in place, b/c I think once I get the top and course braces in place the pins are going to be a lot less accessible. But, by that time, hopefully putting the mizzen yards in place. So, progress on the list: mizzen yards: 5 Jib halyards: 4 lifts: 10 Jib downhauls: 4 sheets: 10 Staysail halyards: 2 clews: 8 Staysail downhauls: 2 Spencer yards: 2 Braces: 30 28 topping lifts: 2 Stun'sl booms on hull: 2 vangs: 4 Stun'sl booms on yards: 12 Spanker boom: 1 Davits: 4 Spanker gaff: 1 Boat tackle: 4 throat halyard: 2 Decals: 3 peak halyards: 1 Gilded balls on mast trucks: 3 topping lifts: 2 outhaul sheets: 2 vangs: 2 ensign halyard: 1 I figure if I put 2 braces on per day, I can really make what otherwise will look like a big job go quickly. Two notes. While working on the ship yesterday, I was trying to install part of one of the staysails, and knocked the main course yard. This yanked the starboard main top sheet crane from the deck. Trying to repair that found me with my pin vise partially glued into the deck at the main fife rail, and pulling that out, led to breaking the port top sheet chain, and knocking the main course yard askew. [VERY DEEP SIGH]. It took about 2 hours to repair everything. I doubt anyone would ever notice, but sheesh. One step forward, 8 steps back. I had something similar happen with my Niagara where my drill caught a line on the bowsprit and it took me hours to repair all of the damage. In both cases, thank heaven for modern adhesives. Second, remember that the mooring chocks may interfere with the belaying pins. I had to pull a couple and cut them shorter, otherwise I couldn't get the lines around the bottom as they pin bottom was touching the chock. Just something to think about. As always thanks for the likes and looking in. Regards, George K
- 602 replies
-
- Flying Fish
- Model Shipways
-
(and 2 more)
Tagged with:
-
Thanks Rick. I love that part of Maine. Back in '94 my wife and I biked up the coast from Portsmouth to Bar Harbor, and included a stop at Pemaquid Point, and one of our daughters used to go to/work at a camp in Maine, so we would come up many summers. We've stayed at the Hotel Pemaquid a couple of times over the years, and it's hard to beat blueberry pancakes at the The Seagull. George
- 602 replies
-
- Flying Fish
- Model Shipways
-
(and 2 more)
Tagged with:
-
Jib rigging: The list: mizzen yards: 5 Jib halyards: 4 lifts: 10 Jib downhauls: 4 sheets: 10 Staysail halyards: 2 clews: 8 Staysail downhauls: 2 Spencer yards: 2 Braces: 30 topping lifts: 2 Stun'sl booms on hull: 2 vangs: 4 Stun'sl booms on yards: 12 Spanker boom: 1 Davits: 4 Spanker gaff: 1 Boat tackle: 4 throat halyard: 2 Decals: 3 peak halyards: 1 Gilded balls on mast trucks: 3 topping lifts: 2 outhaul sheets: 2 vangs: 2 ensign halyard: 1 By the way, if anyone knows how to embed a more proper two column view - I'd love to know - otherwise I'll just copy/paste this sorta messy version. Will probably do one of the staysails next, followed by the spencers while working on the mizzen yards. As always, thanks for looking in! Regards, George K
- 602 replies
-
- Flying Fish
- Model Shipways
-
(and 2 more)
Tagged with:
-
FYI. The Admiral and I were planning a weekend in western New York in mid-August that was going to include a day-sail on the US Brig Niagara in honor of having built the Model Shipways kit a few years ago. However, we got a notice today that they were going to be refunding our money because the rest of the sailing season has been cancelled. The announcement is here: https://www.media.pa.gov/pages/phmc-details.aspx?newsid=438. It appears that there was damage to one of the (restored|replica) ship's propellers and they won't be day sailing until they are replaced and maintenance is done on the ship's engines. I called, and they said that the ship will likely be in Erie until sometime in September, and that you can still tour it as part of museum admission, or go on the Lettie G. Howard, a a two masted gaff schooner built in 1893 (space available) that's on loan from the South Street Seaport musuem. Regards, George
-
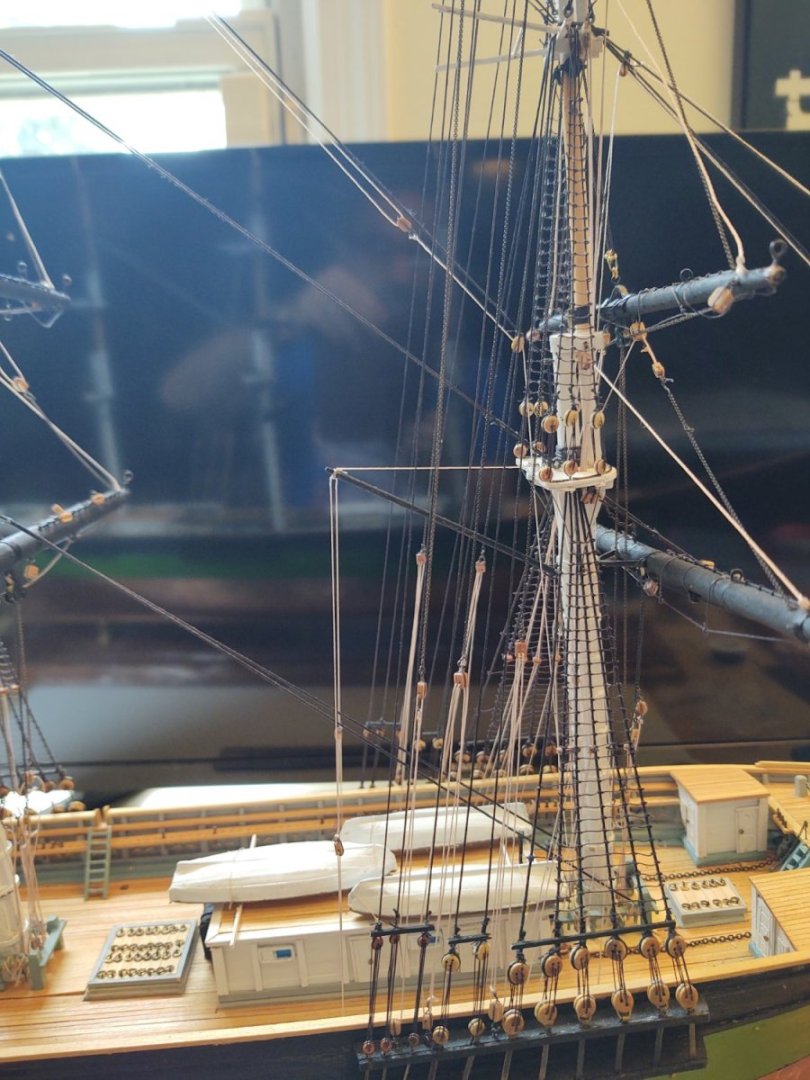
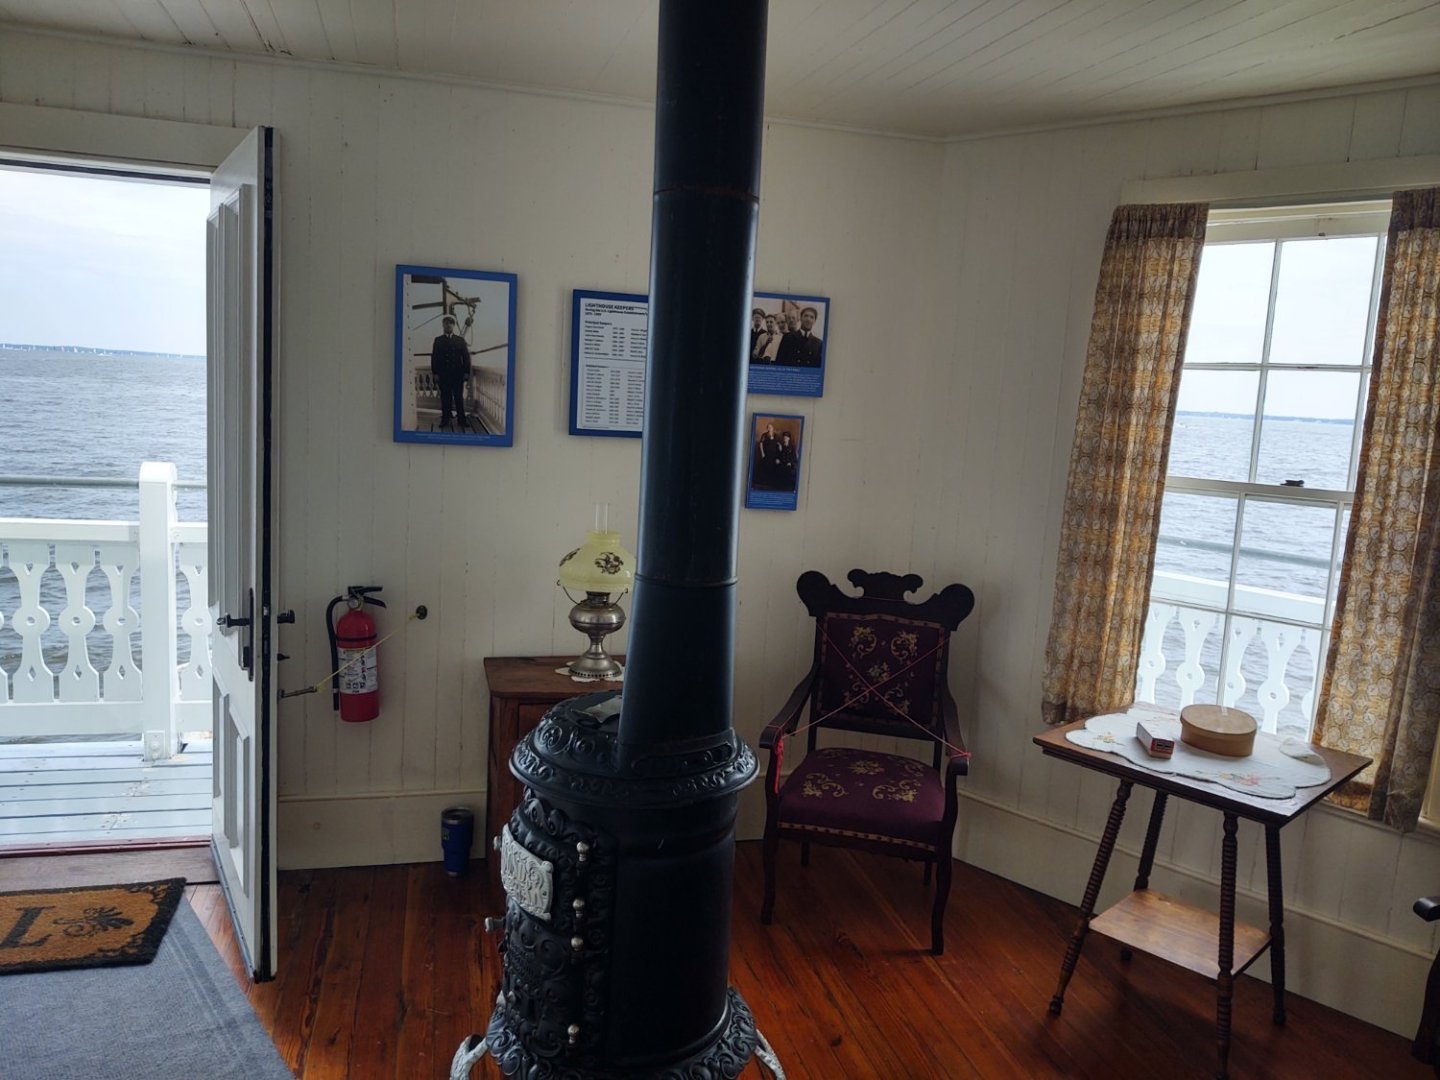
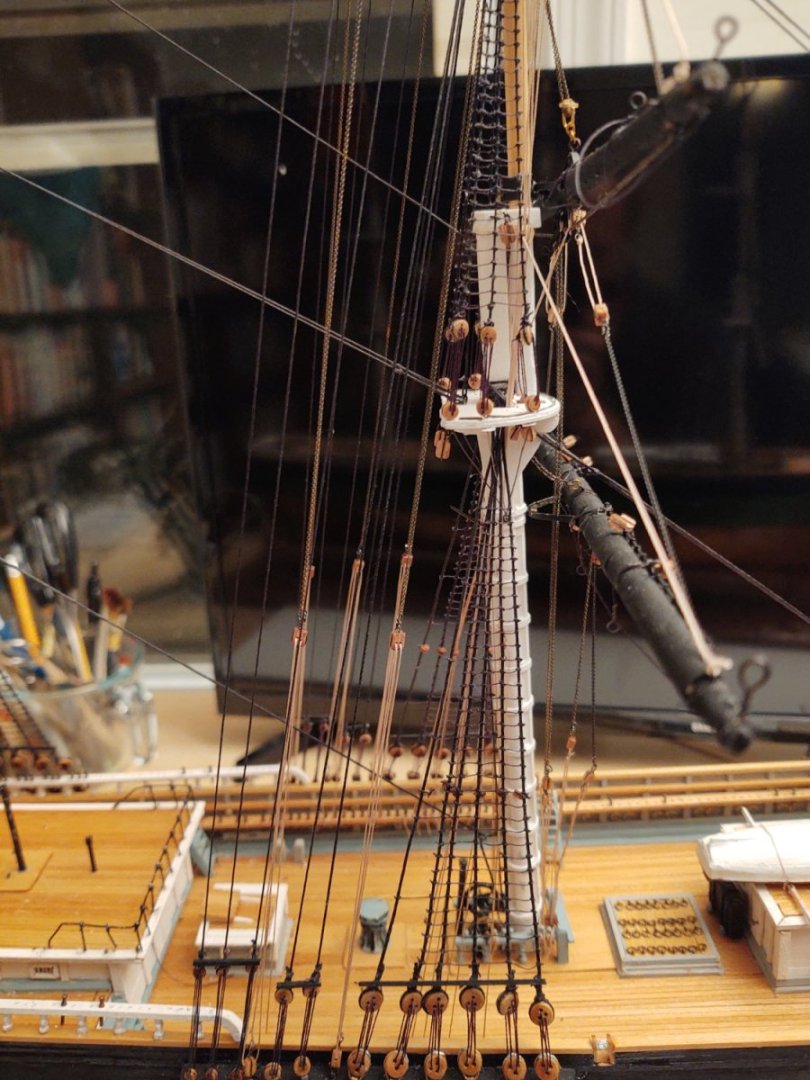
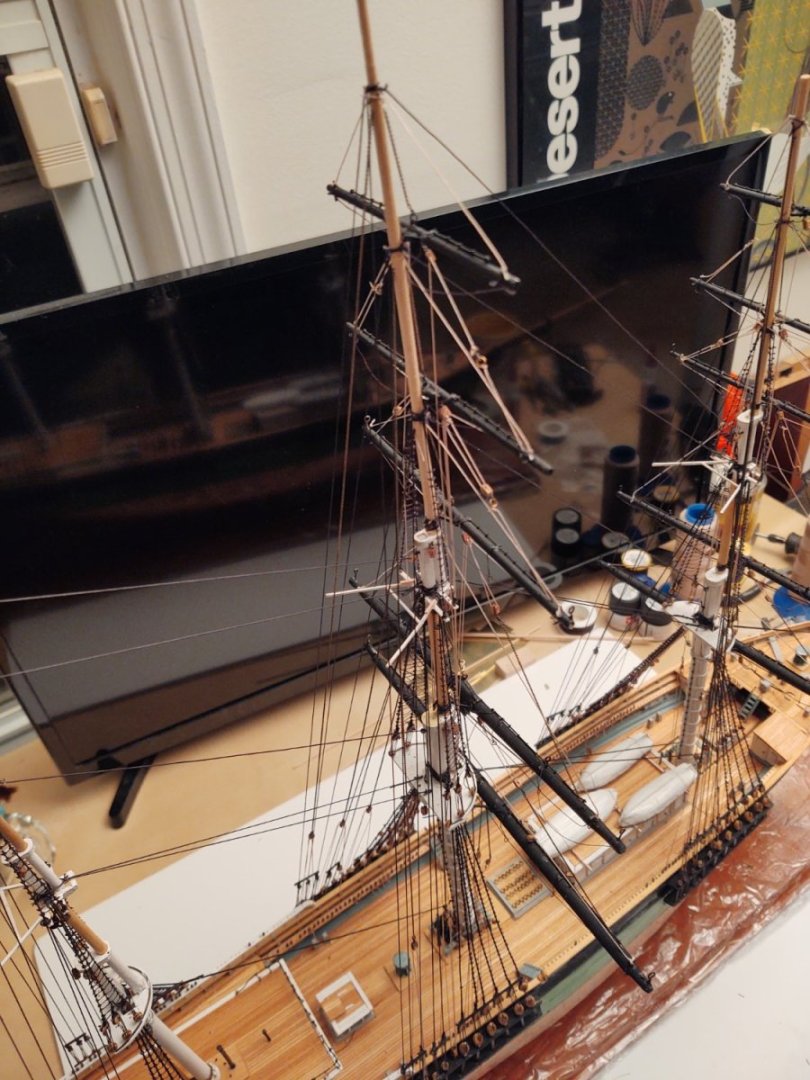
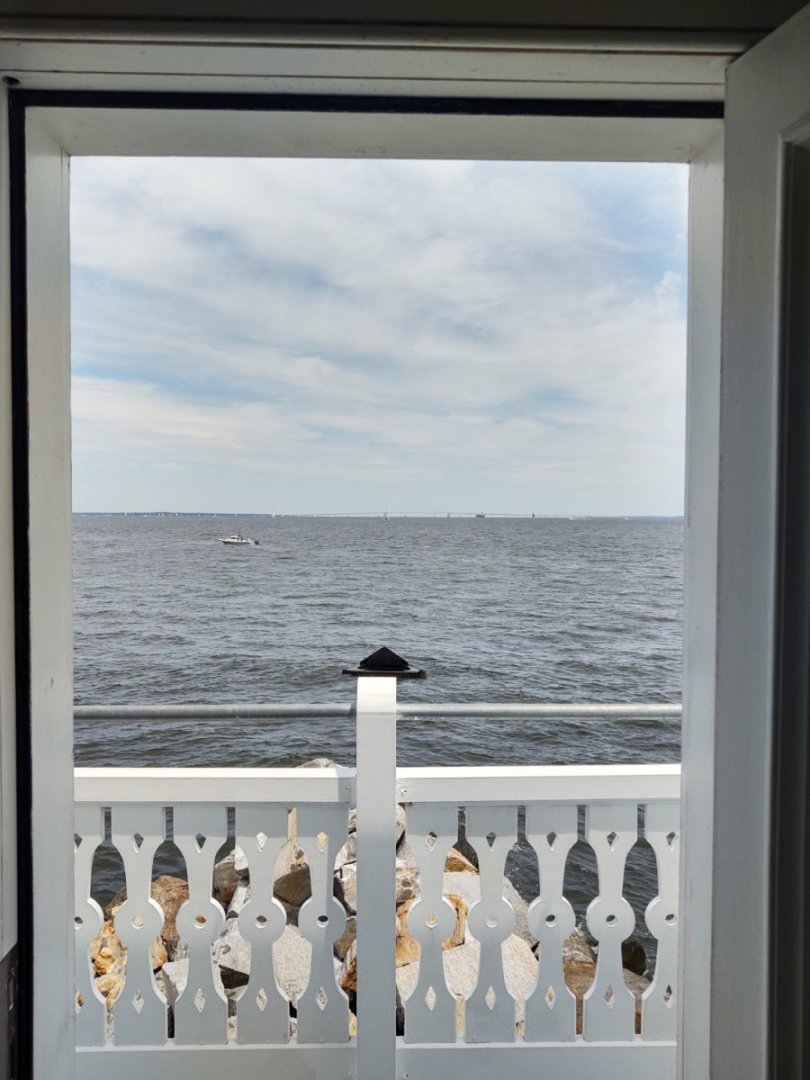
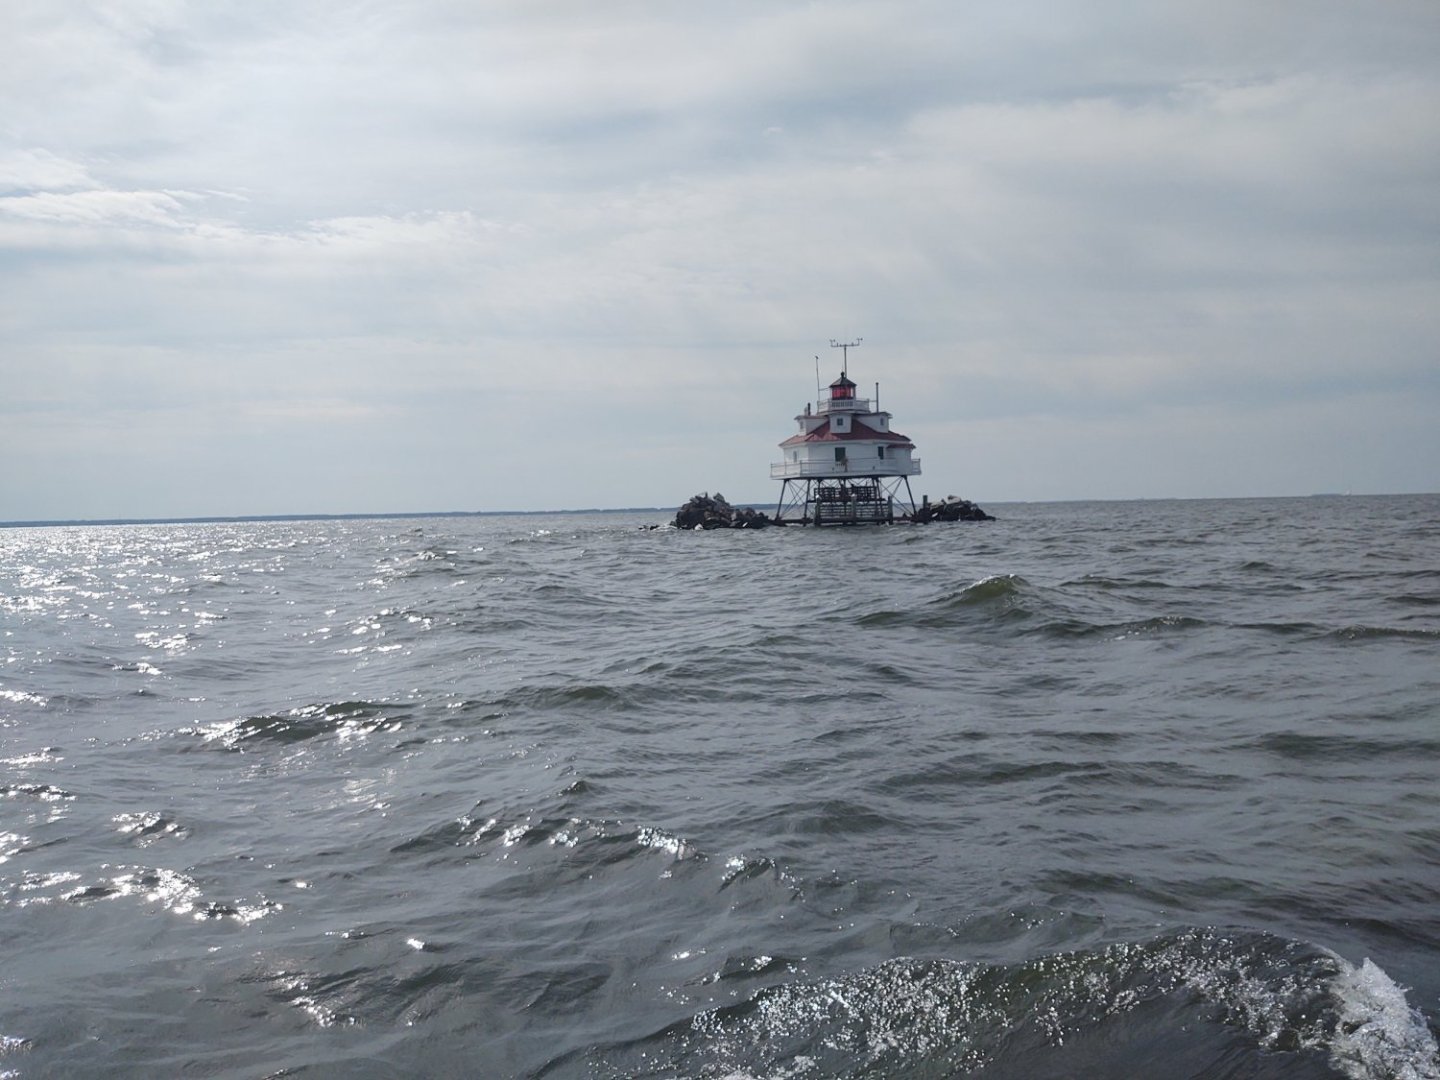
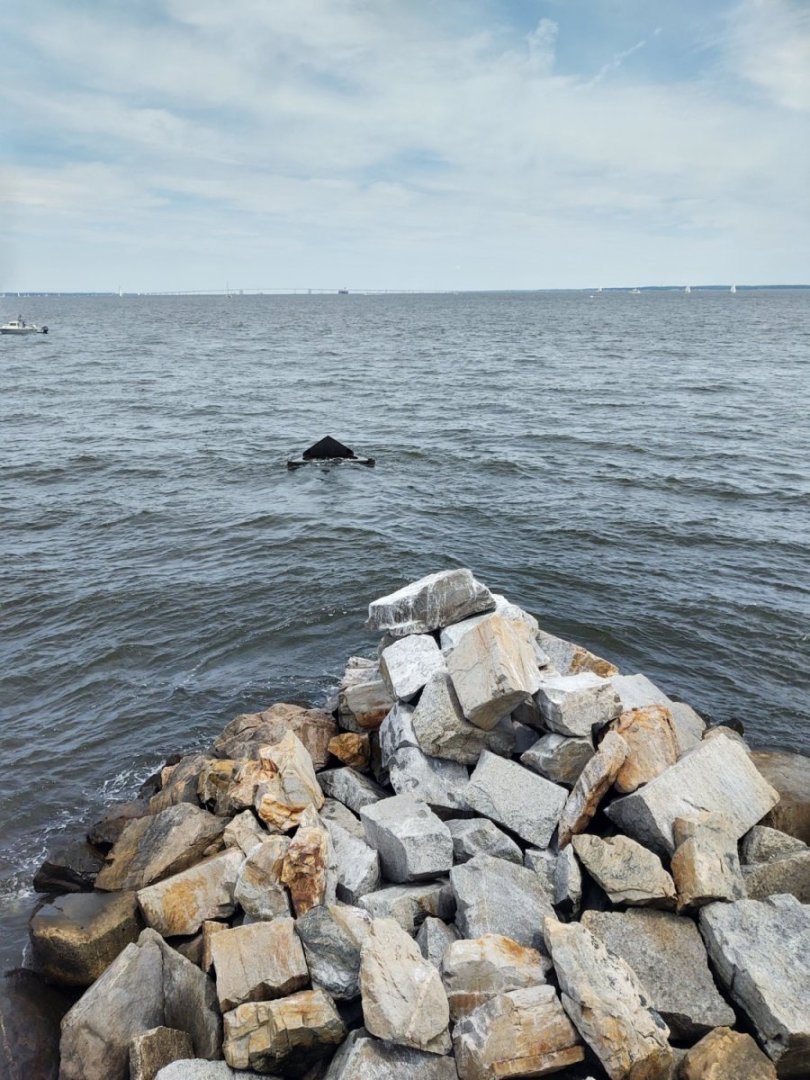
Thanks @Rick310 and @Jared. We are going to have a bunch of finished Flying Fish on the site relatively soon I expect. Well, the main mast is done (minus the braces) - more anon. Nothing major to describe, but here is a couple of photos: Interestingly, it appears I may have spoken too soon about the chain. I've been building mostly from the plans, and was looking at the instructions the other day, and it appears that I (a) misread the plans to think that all the halyards are chain, and (b) shouldn't have over-interpreted for the fore and mizzen off the drawing of the main. At a minimum, the fore and main skysail halyards should have been rope. Since I made the fore skysail halyard from chain, I decided to make the main match. For the mizzen I will follow the instructions and make the royal and topgallant halyards from rope, although I have enough chain. They are the lightest of the yards, so it makes sense. I probably should have either RTFM first, or ignored it completely, allowing for bliss in ignorance. One more error that I will be aware of and no one else will be. With all that said, I think that I can actually put a list of what remains to be done that won't make me depressed; a list I can mark things off as we go. At this point, I believe I have: mizzen yards: 5 lifts: 10 sheets: 10 clews: 8 Spencer yards: 2 topping lifts: 2 vangs: 4 Spanker boom: 1 Spanker gaff: 1 throat halyard: 2 peak halyards: 1 topping lifts: 2 outhaul sheets: 2 vangs: 2 ensign halyard: 1 Staysail halyards: 6 Staysail downhauls: 6 Braces: 30 Stun'sl booms on hull: 2 Stun'sl booms on yards: 12 Davits: 4 Boat tackle:4 Decals: 3 Gilded balls on mast trucks: 3 Not a zero list, but there is light at the end of the tunnel. I didn't mention the other two ship's boats. I may model the ship with them on a task away. If I do include them, I'm probably going to make a cover so that I don't have to detail the interiors of what are a rather meh Brittania casting. Finally, just a couple of fun photos from a work day I did over the weekend at the Thomas Point Shoal Lighthouse (https://en.wikipedia.org/wiki/Thomas_Point_Shoal_Light) in the Chesapeake Bay. The light was built in 1875, and is a wooden structure on top of an iron screwpile. As with any wooden and iron structure exposed to salt water and time, it requires more or less constant maintenance, so that's what we were doing - mostly painting on Saturday, but also replacing a window, and some hardware. I can't imagine what it was like to actually live there - it's only accessible by boat (we came in the Chesapeake Bay deadrise shown in the photo). The light has about the same amount of space as my younger daughter's not particularly wonderful Boston apartment and you couldn't go down the street if you go annoyed at the other people there. Even the lightships must have been better - they certainly had more spaces. Anyway, some photos. The light from the boat as we approached: The boat we came in on "Audacious" Ice was a a constant danger for these screw pile lights, so rip rap and an iron ice breaker. Chesapeake Bay bridges in the background. The bay from one of the doors: And the restored parlor. One of the other rooms is set up for a different historical period - 1986 - when the light was fully automated and the last Coast Guard crew left. This is worrisome, as there should not be 'historical displays' from when I was an adult. As always, thanks for looking in and the likes. Regards, George K.
- 602 replies
-
- Flying Fish
- Model Shipways
-
(and 2 more)
Tagged with:
-
Are you planning on scaling down the rigging? By which I mean that a lot of the lines that are on the ship currently (those braces for example) are way too thick for the scale. I ask b/c if you are talking about adding a lot of additional lines you are going to have to use much smaller lines (which will contrast oddly with the existing braces if you reuse) or use similar sized lines, and drilling the fairleads will reduce the tops to swiss cheese. My thought would be to replace what rigging is there (I think you mentioned replacing the braces), but that's your opt obviously. Regards, George
-
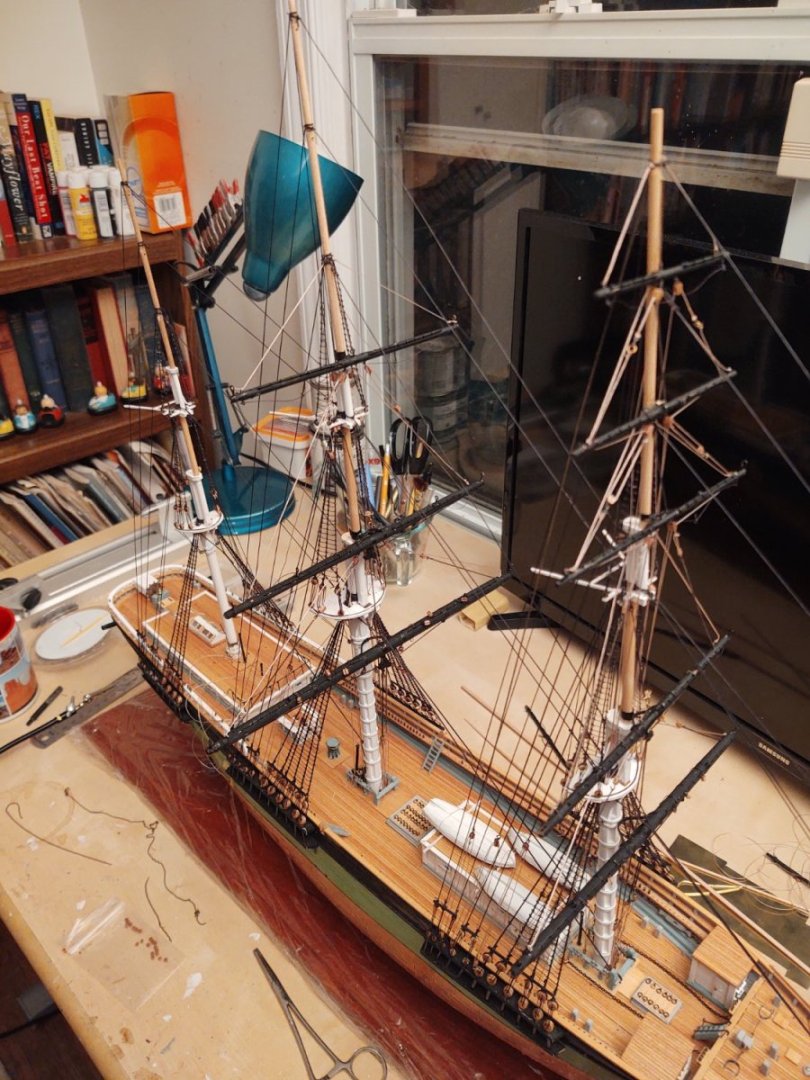
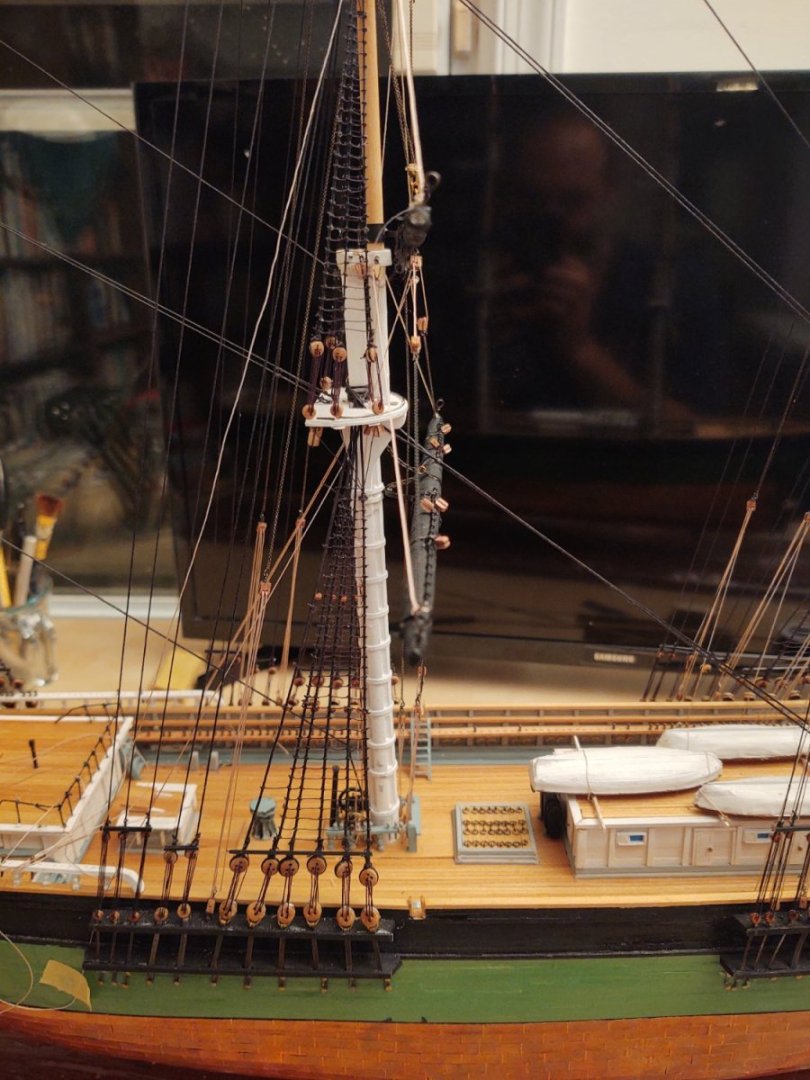
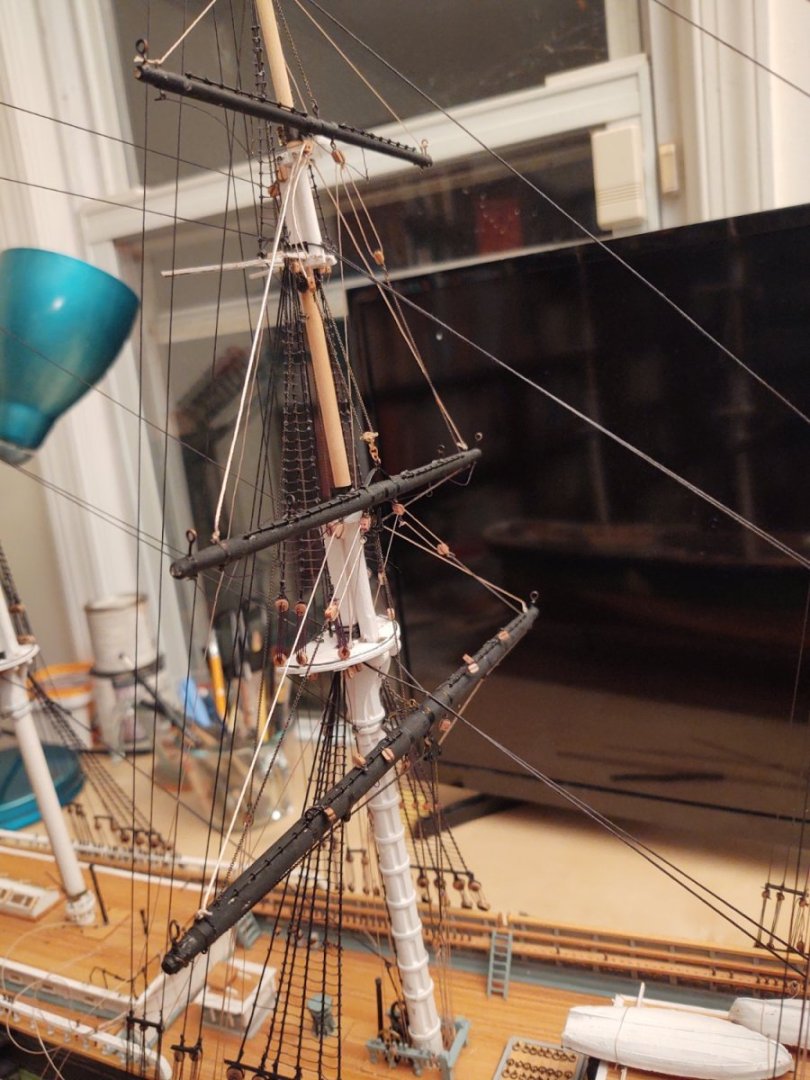
A brief update. Work on the main mast proceeds apace. I've permanently mounted the course, top, and topgallant yards, along with their lifts, halyards, and the top and topgallant clews, and 3 of the four sheets chain sheets. The trucks are now in place as well, so the task of anchoring the lines continues. Here are a couple of photos showing the ship in its current configuration: A couple of observations thus far, for anyone also doing the Fish. Trucks: It took me forever to find an efficient way to attach the trucks. I finally landed on using a cutting wheel on my dremel to make a notch in the truck, CA glue it into place, and then tie it to the shroud with some thread, using a dot of glue to secure the knot. Seems to work, although it took until I only had the 8 mizzen trucks left. The hardest part is holding the tiny deadeye tight enough so that it didn't fly away, but not so tight it split into 2 or 3 pieces. Chain: Model Shipways gives you 25 feet of chain, and it is not nearly enough. As it was, I bought some larger chain for the anchors, bobstays, etc., and I still don't have nearly enough. When (hopefully this week), I mount the royal and sky yards, I won't be adding the halyards right away because I only have enough chain left to make the remaining topgallant sheet and that is it. I bought another 10 feet from Model Shipways which I hope will be enough. The reality is that you need like 8-10 feet for the sheets, and maybe 6 or 7 feet for the halyards per mast, plus some for the bowsprit, and that is assuming that you manage to not have any wastage. I mean, maybe someone doing things perfectly could get it done with 25 feet, but I don't see how. Jackstay eyebolts: Along with the chain, I bought my second extra order of jackstay eyebolts. Between the jackstays on 15 yards, plus the Spencer jackstay on the fore and main, plus using them to make the iron work on the yards, and anchor points for various and sundry blocks, etc., etc., etc., you go through these things like they are going out of style. Anyway, not trying to be too harsh on the kit. I've said before, in general Model Shipways makes a good kit with a few exceptions (e.g. certain Britannia fittings) but you are likely to need additional materials by the time you are done. As always, thanks for looking in and the likes. Regards, George
- 602 replies
-
- Flying Fish
- Model Shipways
-
(and 2 more)
Tagged with:
-
That looks much better. Having the tension from the fore stays makes a huge difference in terms of keeping everything shipshape. You have a ways to go but this is real progress! George
- 89 replies
-
- Cutty Sark
- Revell
-
(and 2 more)
Tagged with:
-
+1. Entertained my kids while they were teenagers as well as interest their parents. The Calvert Marine museum at Solomons on the other side of the bay is smaller, but also nice. Both have relocated screwpile lighthouses, Hooper Strait at St. Michaels, and Drum Point at Solomons. When I was a kid the Drum Point light had been abandoned, and sometime before it was moved in 1975 a bunch of my friends and I went up the ladder and had a look around. It was in terrible shape, and on the way down I wound up slicing my foot open on the rusty old sharp ladder. Small wonder I was always getting tetanus shots... George
-
Well, finally making some progress on the main mast. First step, blocks, stirrups, foot ropes, flemish horses, and the clews and some of the lifts. And after careful review of the plans, adding a bunch of additional blocks and eyes on the main mast for braces. So, here are the lower three yards test fitted on the ship. Lines hanging everywhere, nothing permanently atached: Finally, the course yard attached, and with the live lifts attached, the ends secured to the tackle, and the ends of the tackle secured to the fife rail. I can add the top yard with lifts, but after that I need to attach the (not yet attached) trucks to the shrouds to act as fairleads. In an ideal universe I would have added the trucks before putting the course yard on, but I was so sick of doing work that didn't really change the appearance of the ship that I did this first (and will probably add the top yard as well), while I work on those frustrating things. As always, thanks for looking in! Regards, George
- 602 replies
-
- Flying Fish
- Model Shipways
-
(and 2 more)
Tagged with:
About us
Modelshipworld - Advancing Ship Modeling through Research
SSL Secured
Your security is important for us so this Website is SSL-Secured
NRG Mailing Address
Nautical Research Guild
237 South Lincoln Street
Westmont IL, 60559-1917
Model Ship World ® and the MSW logo are Registered Trademarks, and belong to the Nautical Research Guild (United States Patent and Trademark Office: No. 6,929,264 & No. 6,929,274, registered Dec. 20, 2022)
Helpful Links
About the NRG
If you enjoy building ship models that are historically accurate as well as beautiful, then The Nautical Research Guild (NRG) is just right for you.
The Guild is a non-profit educational organization whose mission is to “Advance Ship Modeling Through Research”. We provide support to our members in their efforts to raise the quality of their model ships.
The Nautical Research Guild has published our world-renowned quarterly magazine, The Nautical Research Journal, since 1955. The pages of the Journal are full of articles by accomplished ship modelers who show you how they create those exquisite details on their models, and by maritime historians who show you the correct details to build. The Journal is available in both print and digital editions. Go to the NRG web site (www.thenrg.org) to download a complimentary digital copy of the Journal. The NRG also publishes plan sets, books and compilations of back issues of the Journal and the former Ships in Scale and Model Ship Builder magazines.


