HOLIDAY DONATION DRIVE - SUPPORT MSW - DO YOUR PART TO KEEP THIS GREAT FORUM GOING! (89 donations so far out of 49,000 members - C'mon guys!)
×


kmart
-
Posts
195 -
Joined
-
Last visited
Content Type
Profiles
Forums
Gallery
Events
Everything posted by kmart
-
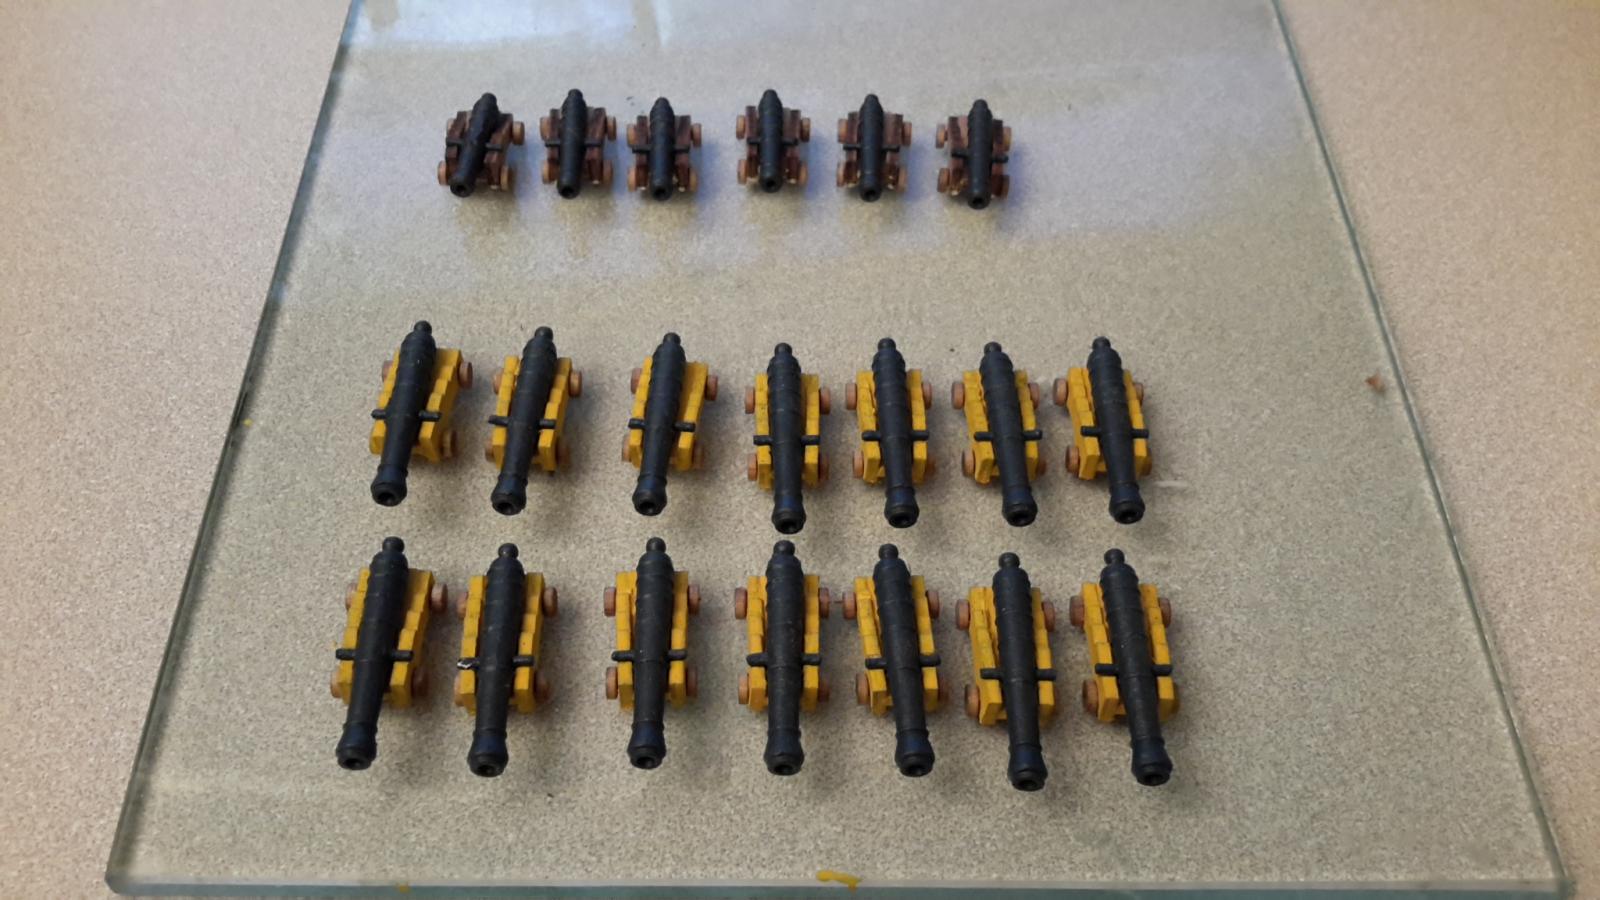
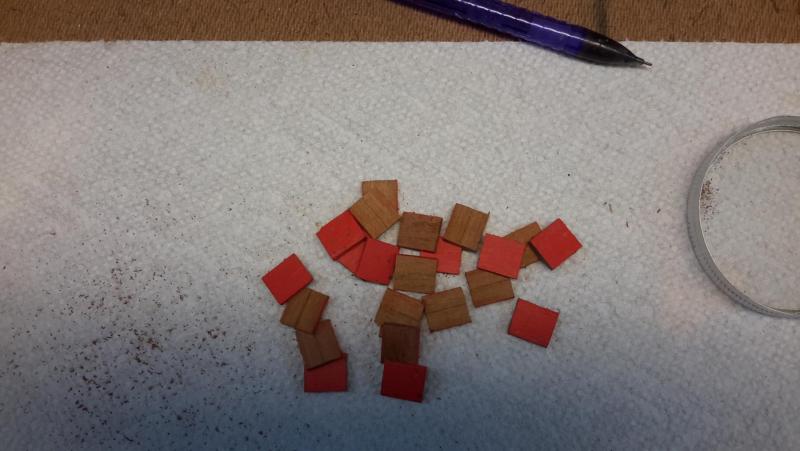
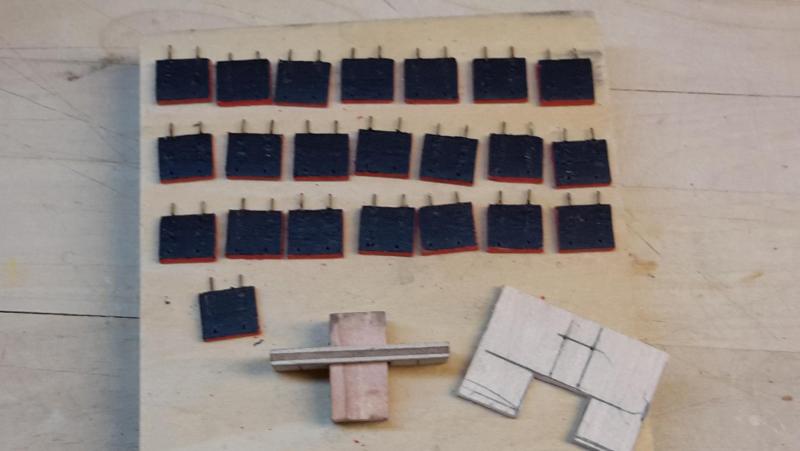
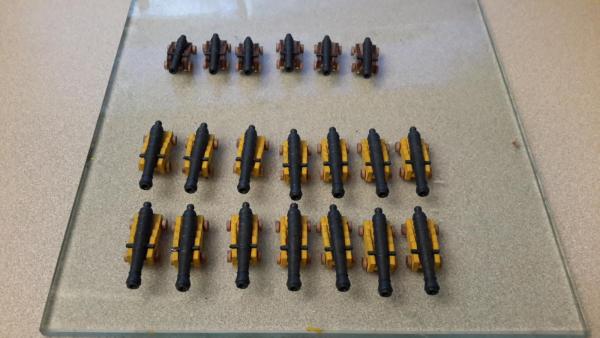
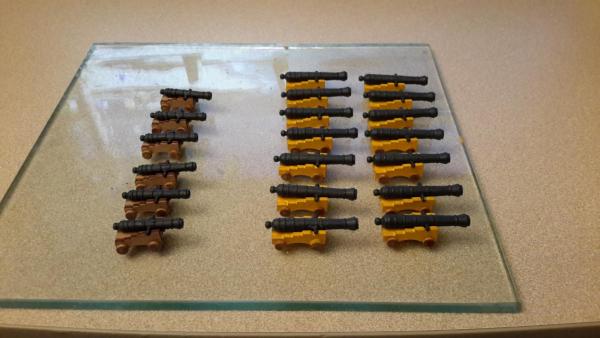
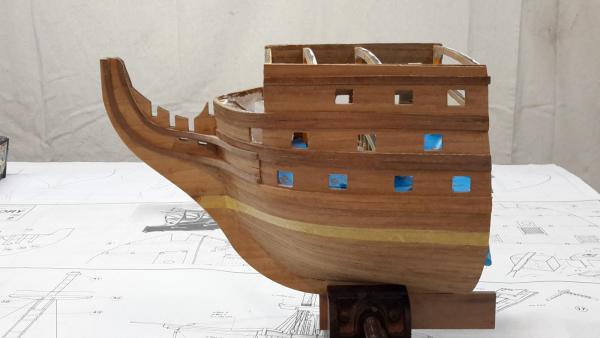
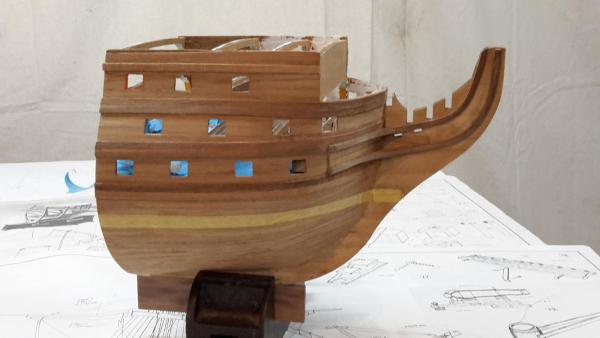
So my last post I just finished the coppering the hull. Next up was gun port lids. (20 in all) For this, the actual lids were not too bad to mass produce. But I had some trial and error to figure out some respectable gun port hinges. You can see my options in the 3rd picture. The ones that came with the kit we way out of scale (top row middle). I then tried using some plastic strip material from the hobby store... but that look just plain ugly ( Top row left). Next I tried some hinges I had left over from a prior model copper (Top row right). Those looked great. The problem was... I need 20 pairs for my model. And I only had.... (Wait for it....) 16 pairs of hinges. I could not find a source for the needed 4 more pairs... Ugg.. So then it hit me. I liked the copper ones. and I had lots of left over copper foil tape from the hull. I cut thin strips the width of the hinges. Used my pounce wheel to put one row of rivets in each, Fastened the taped in place. Then panted over in black. The look is subtle, and doesn't show very well in the picture. but on the model, you can see the hinges, and they look to scale (not too thick). You can make out the rivets if you look close. And the copper color just peaks through the black paint. I'm happy how they came out. Fourth picture is all the lids ready to install. Also in the fourth you can see my jig. This was used for three parts. To mount the lids.. I drilled two holes in the edge of the lid inline with the top of the "foil" hinges" I used the jig to align the holes consistently. Then I put in some brass pins in the holes. Then using the same jig... part of it fits snug in the gun port wit the corresponding matching hole position to drill for the the lid, Then the last part of the jig positions two more holes properly spaced above the holes for the lids... for the lines that lift the lids up. Hopefully that explanation makes sense. Anyways. That completes making and preping to install the the gunports lids.


-
Well I just found your log. I ot to saw you have incredible work. Your Vic is beatifull. I'm especially impressed as that's your first ship build???? K
- 708 replies
-
- 1
-

-
- victory
- constructo
- (and 1 more)
-
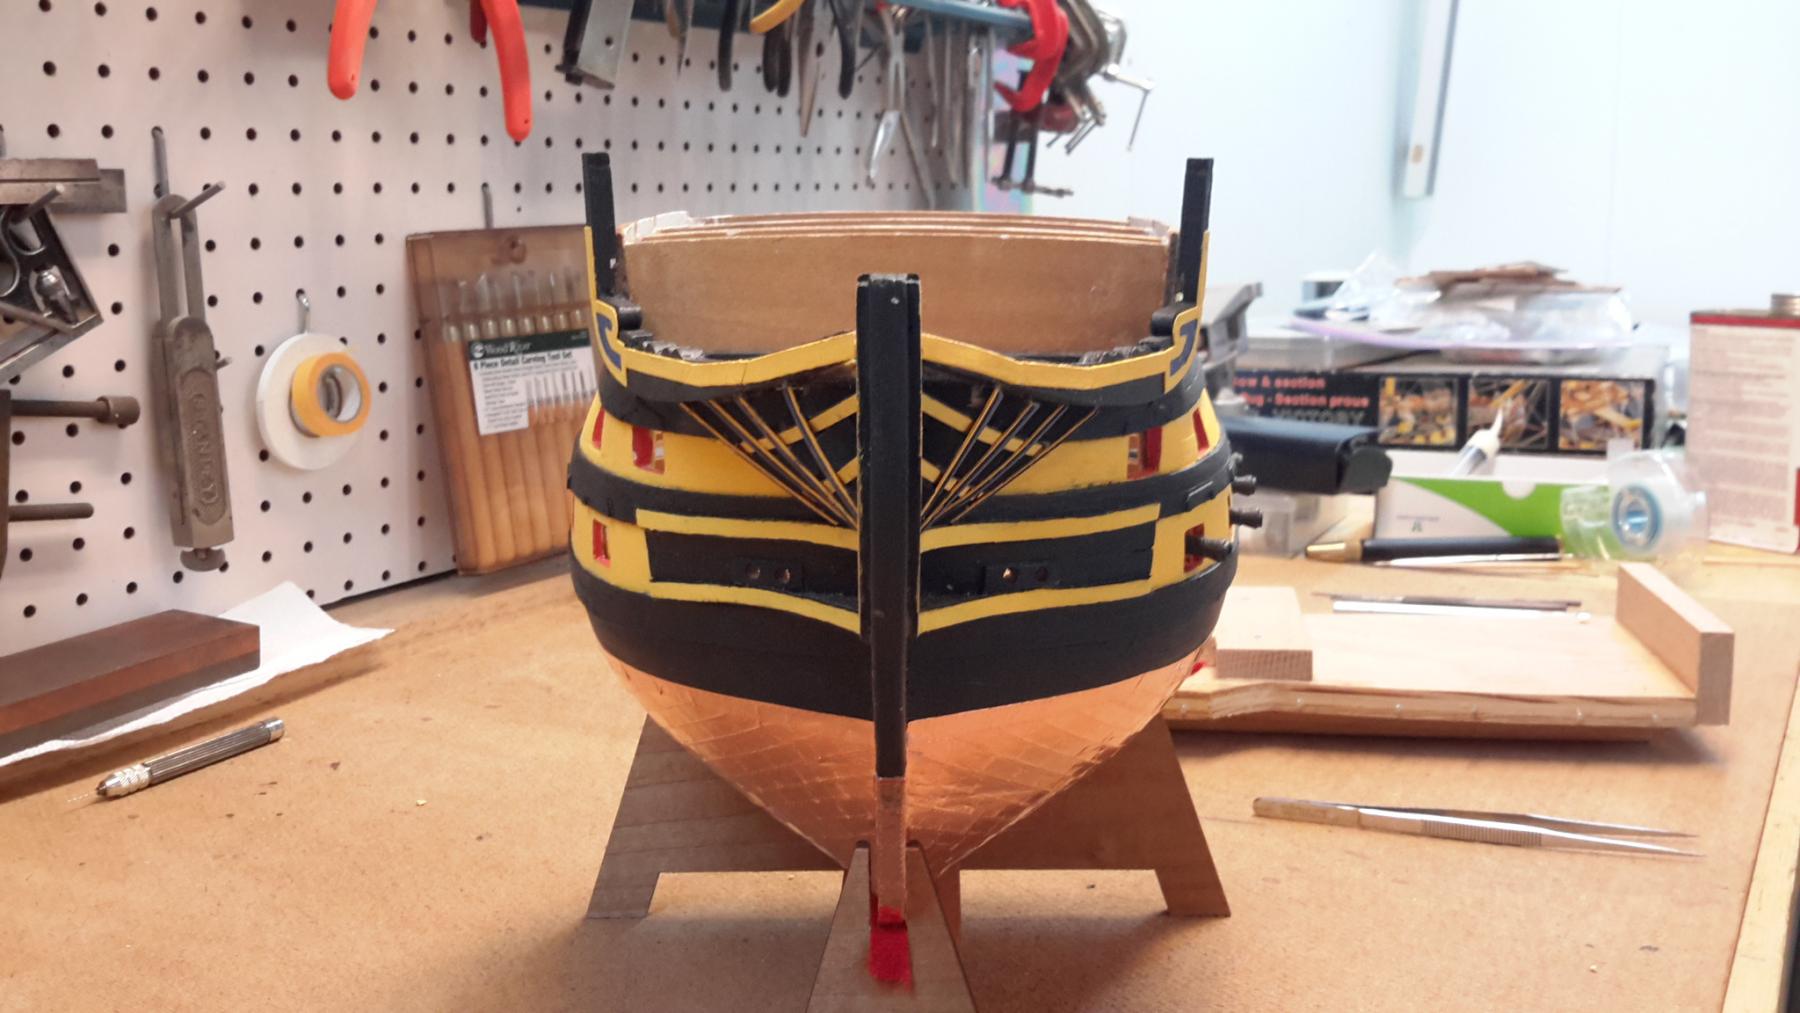
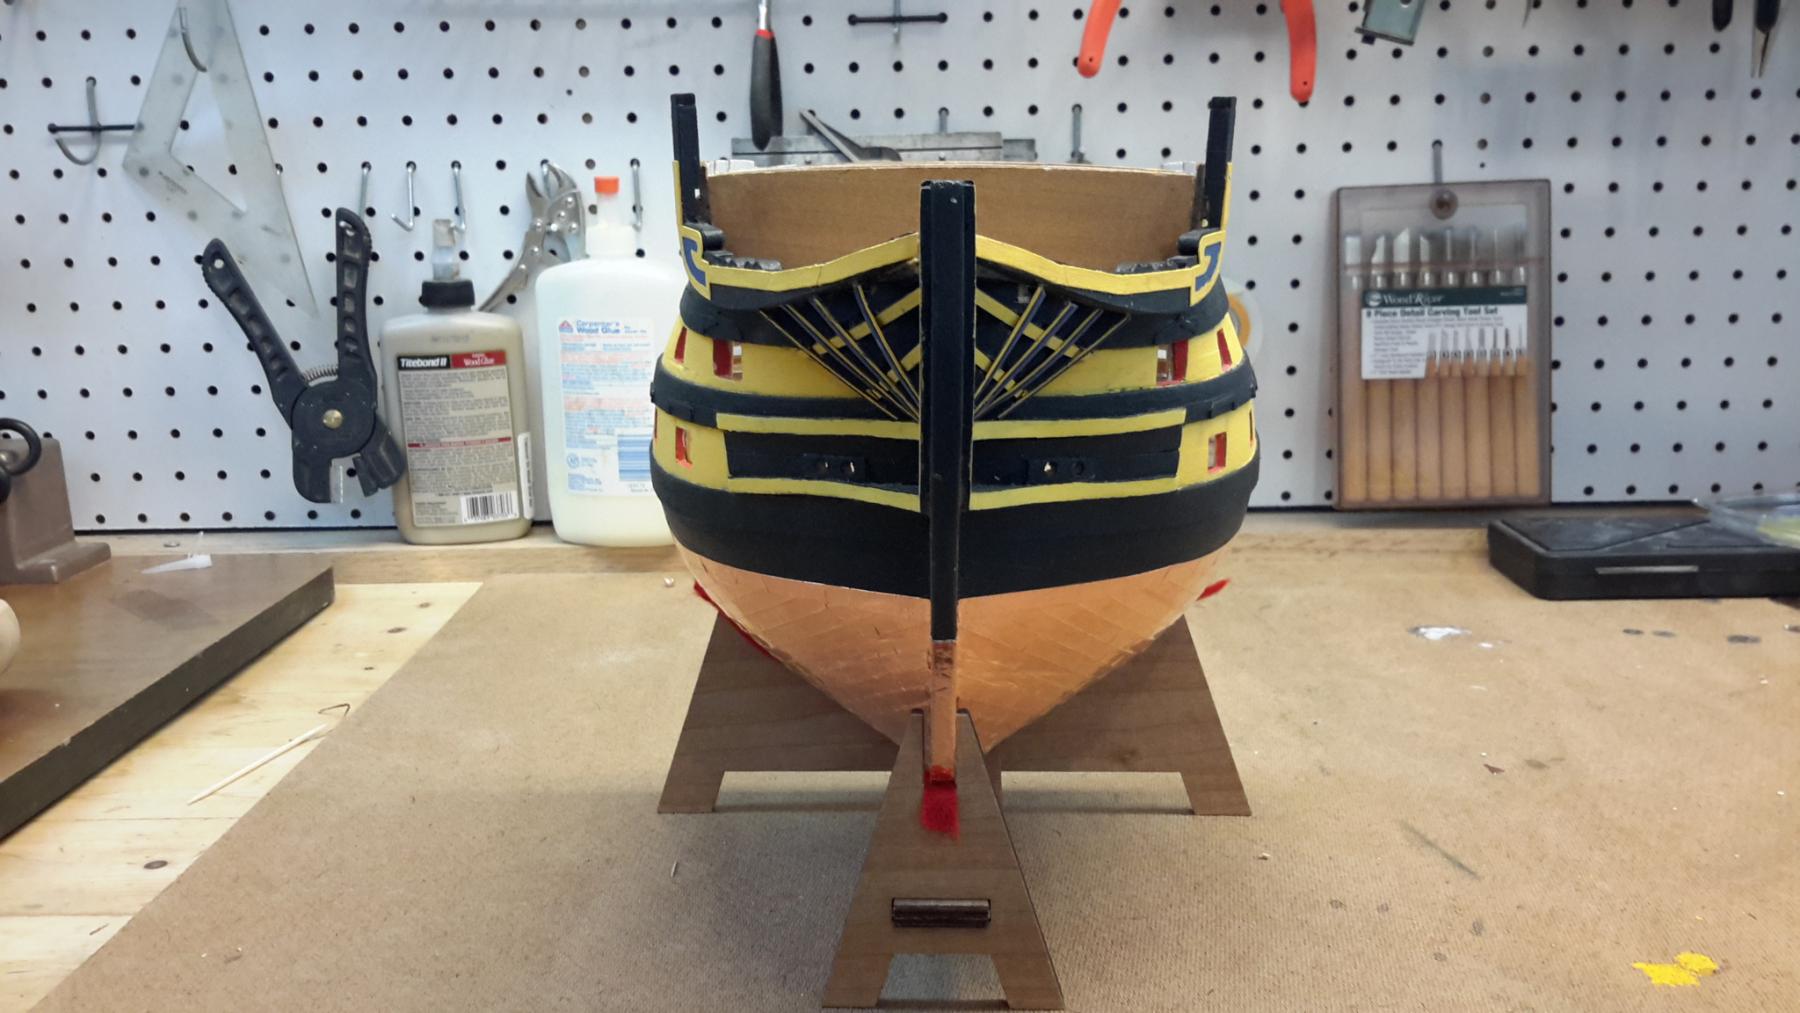
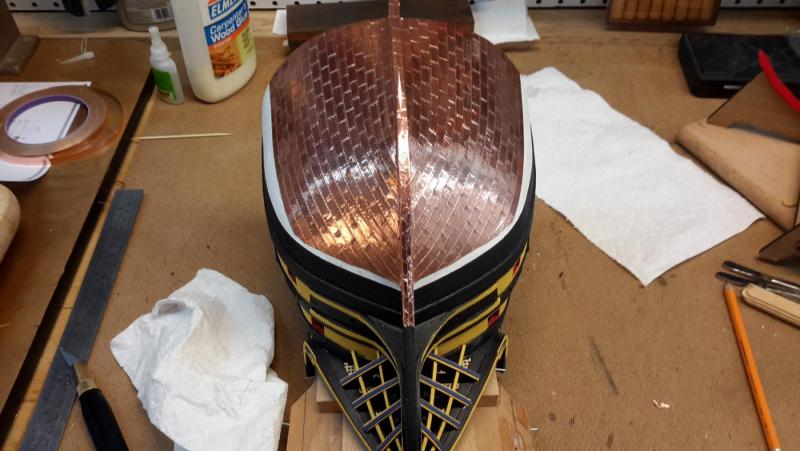
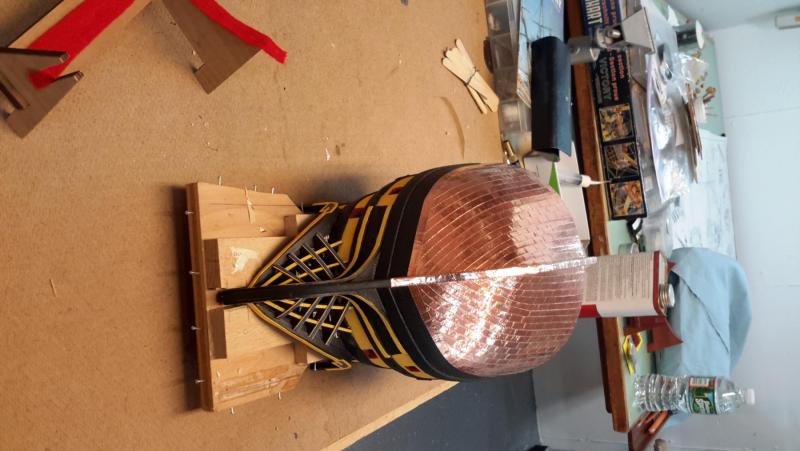
Part #3 ; Just had to see what she will look like with some teeth. Also a Question. Think I want to keep the copper color and not turn the patina / green. What do people tend to coat the copper with to protect it and stop the oxidation. Also flat/dull or shiny. I know ....personal preference... just curious to what other think. Thanks K


-
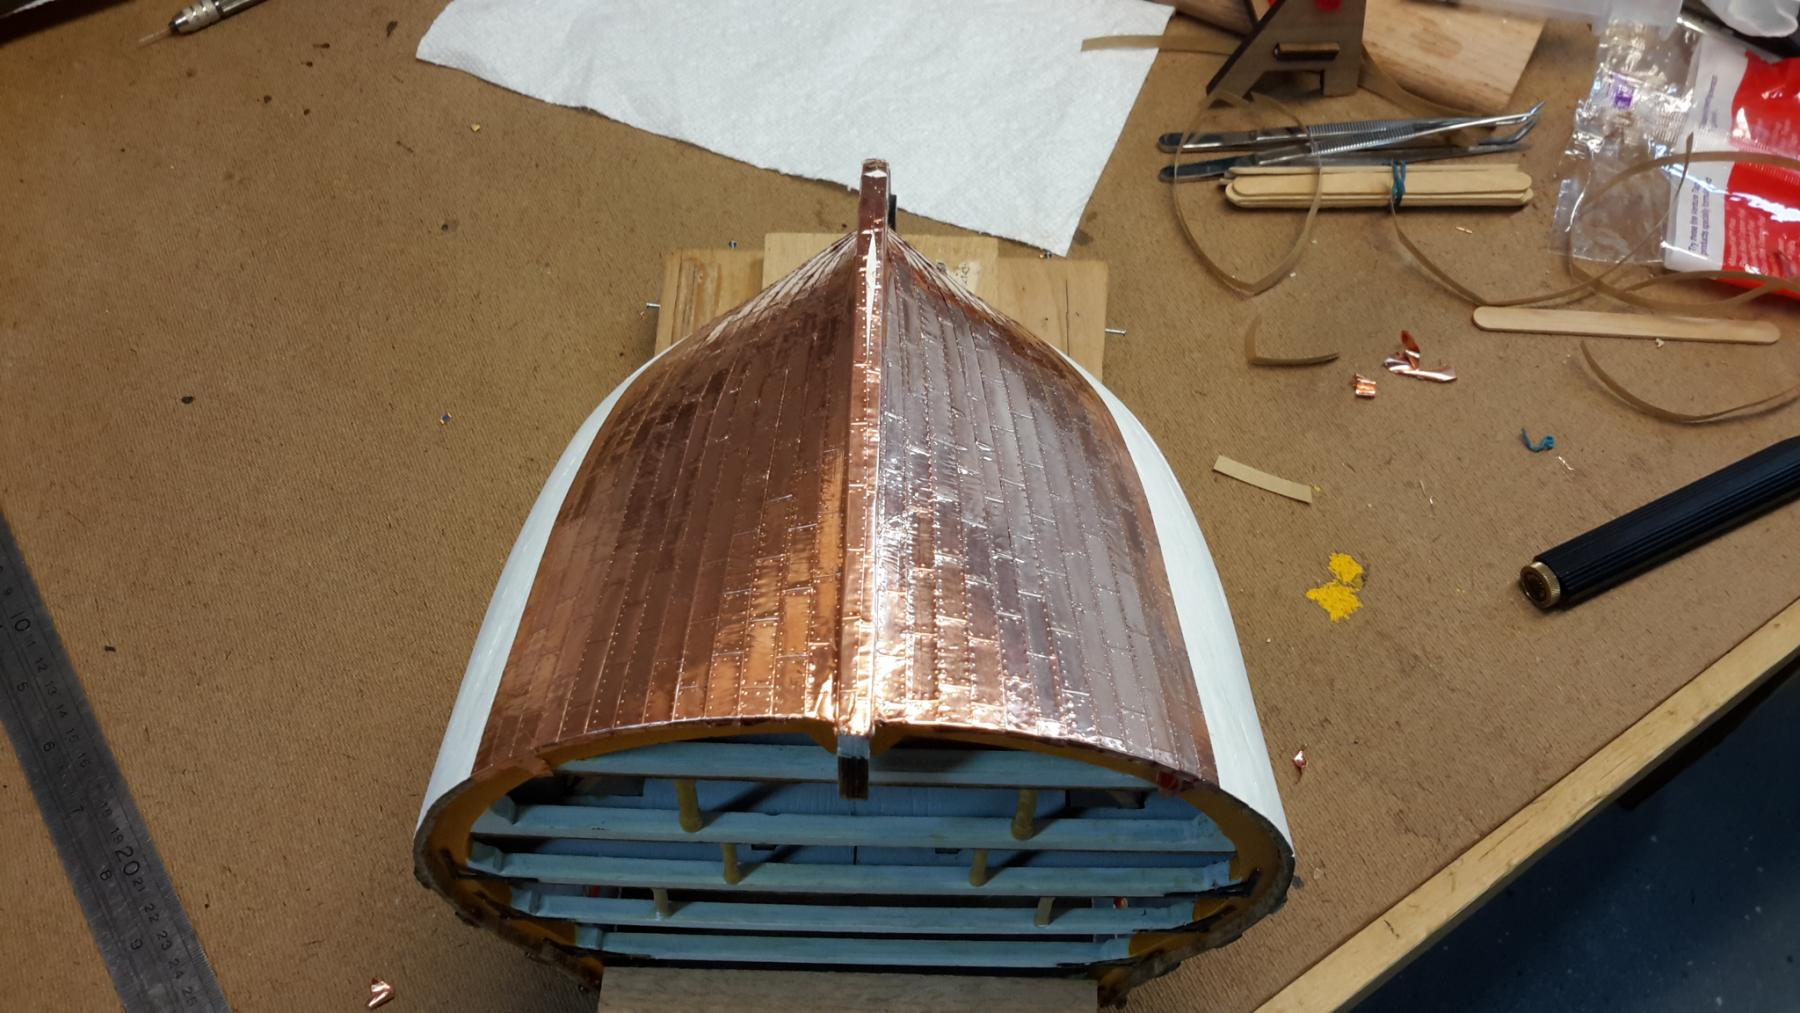
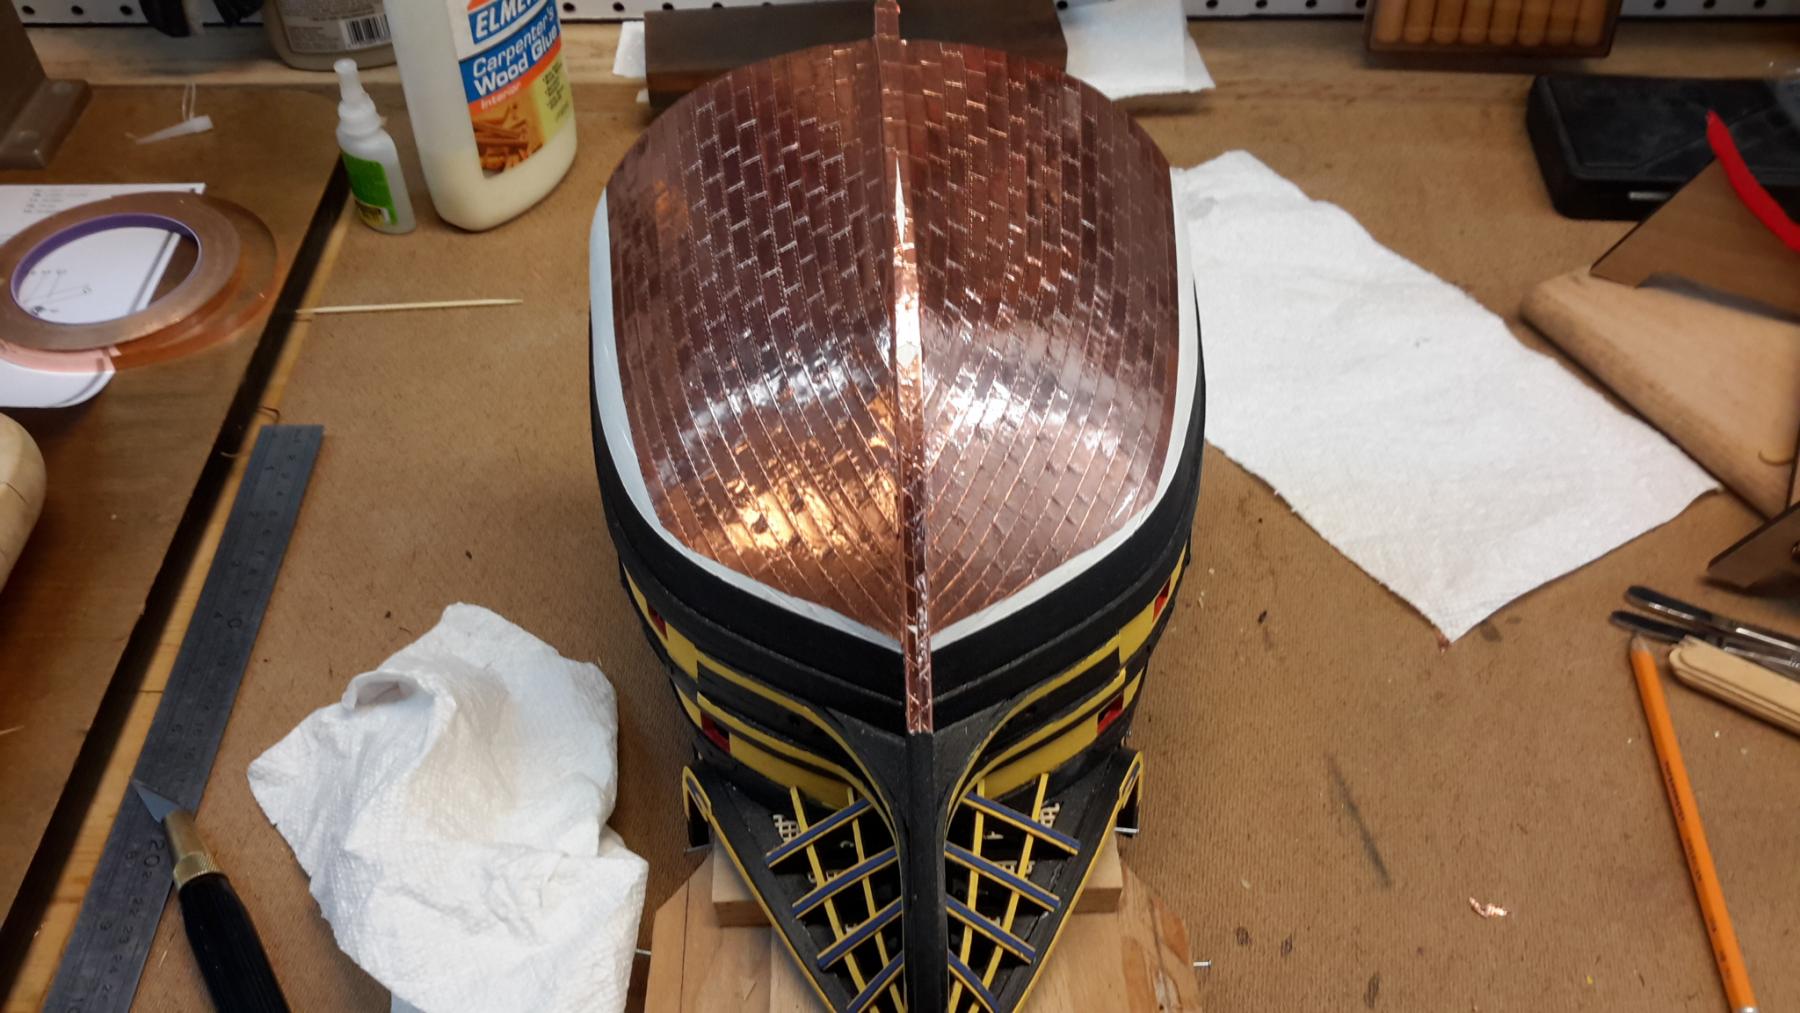
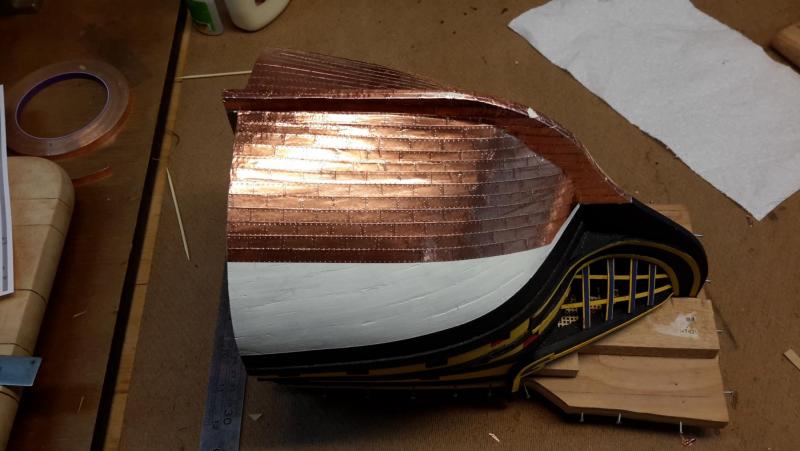
Part #2. Onto the Copper. This is my first time ever coppering a hull. I used the copper tape as apposed to the individual plates that came with the kit. Got a pounce wheel to make all the rivets. Scored the tape with the back side of a #11 blade to show individual plates. If you look close, you can see wrinkles in the foil. It's more pronounced under the harsh light and on camera... but from normal viewing distance under normal light ...it actually came out quite good for my first time. (At least I think it did). Makes up for the gratings. This was practice for my next build "MS Connie" That I'm itching to start :-)


-
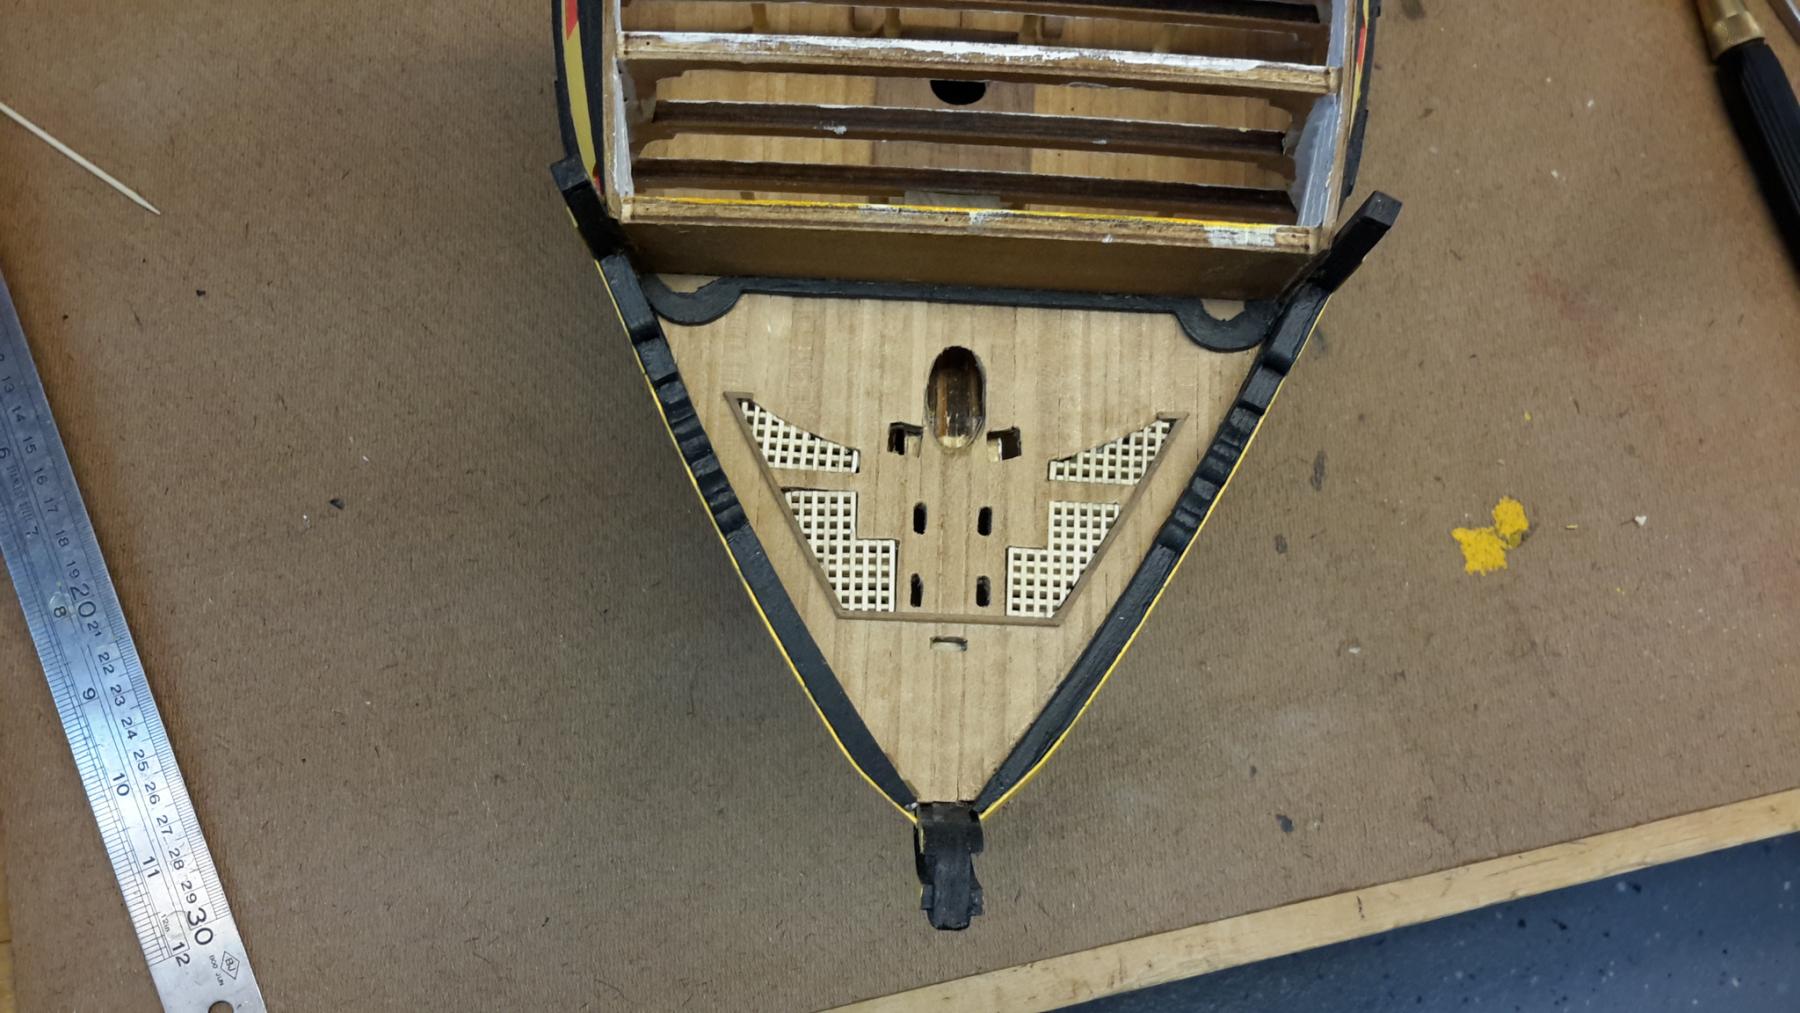
So I was on hiatus from model building for awhile. But I'm back at it now. Made some progress... Work on the head rails and the gratings at the bow. Not really happy with the gratings.... That was my third and best attempt at them. The edges keep breaking off when cutting the curves. Ugg. Good enough as I wanted to move onto the next section.... Coppering the bottom. But I think the head rails came out pretty good


-
I just found this build. Your Vic looks incredible. Inspiring! Ken
-
Thanks for the info on the pic. On my smartphone, pic was to small as to not see info on the top. Case anyone's interested.. I did track down a high resolution version of it https://www.ibiblio.org/hyperwar/OnlineLibrary/photos/images/h85000/h85542kc.htm.
- 1,350 replies
-
- 1
-
-
- constitution
- model shipways
- (and 1 more)
-
Love that pic. Do you know the name of that painting...artist? Where can I get a large scale image of it. Would make a great background pic!
- 1,350 replies
-
- 2
-
-
- constitution
- model shipways
- (and 1 more)
-
Somewhat related... Movie on Netflix... "Admiral" about Holland .. and Admiral DeRyter several ship battles with ships very similar to Friesland....
-
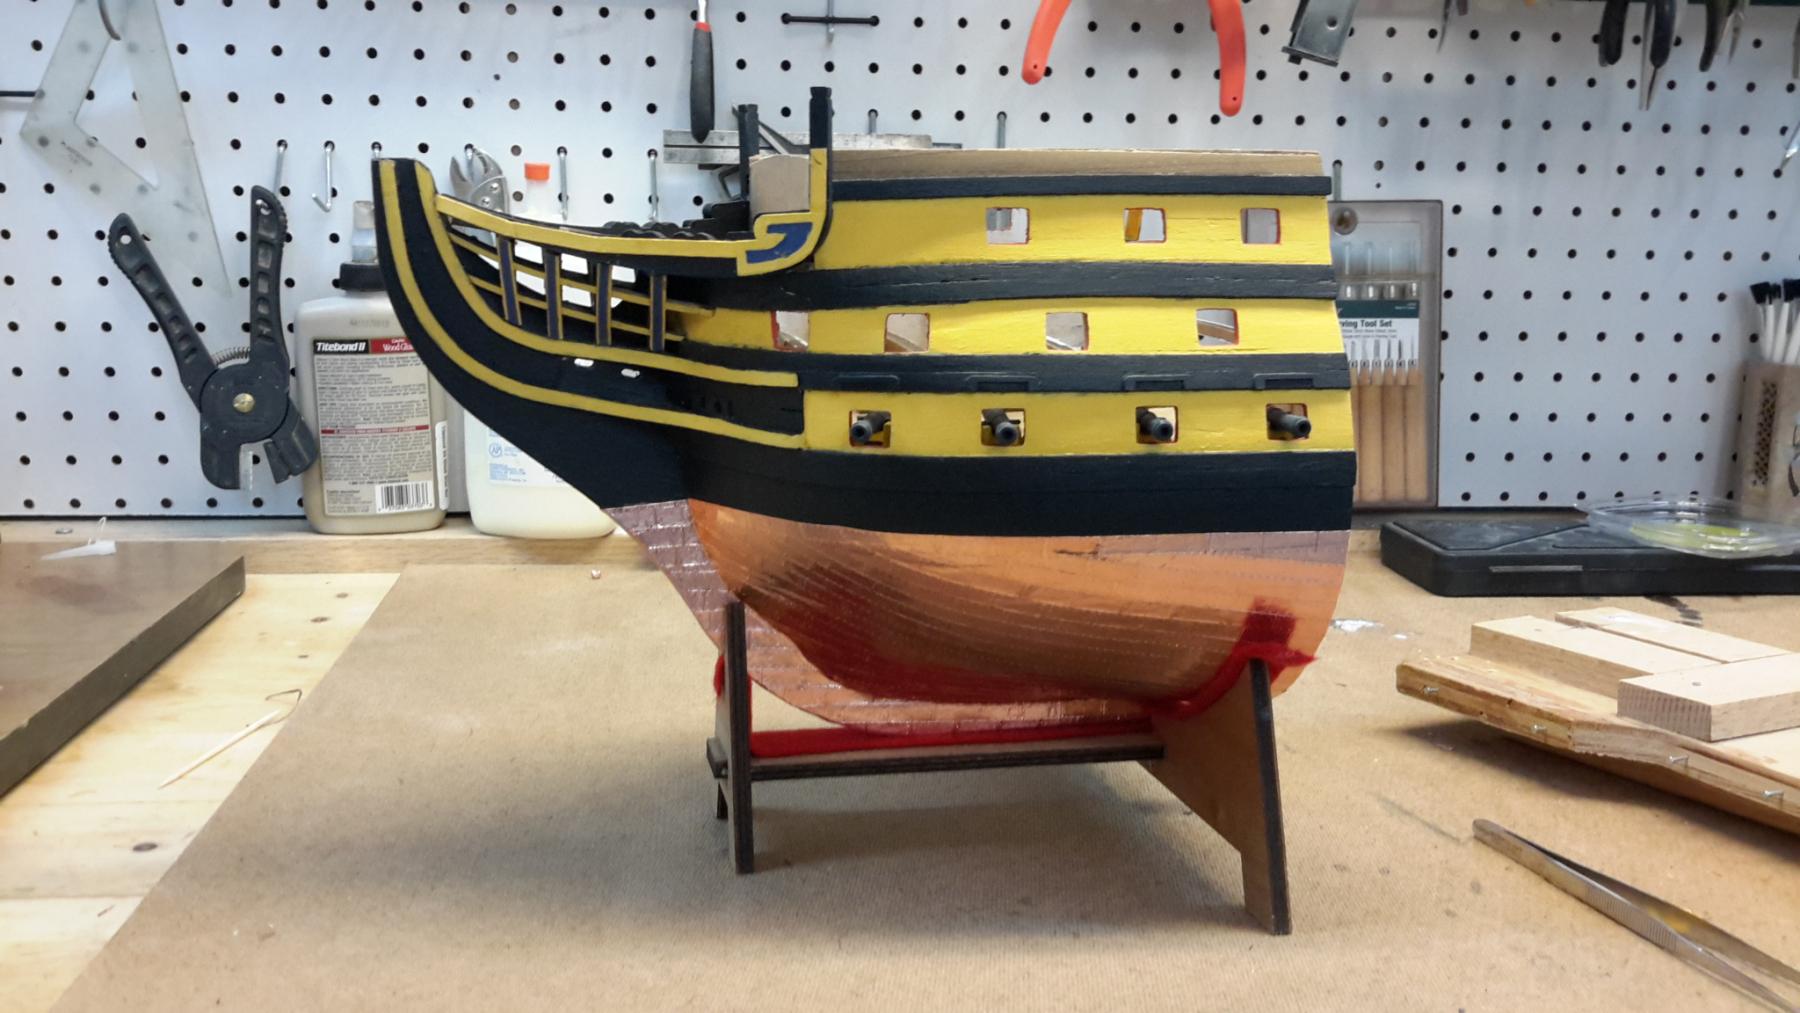
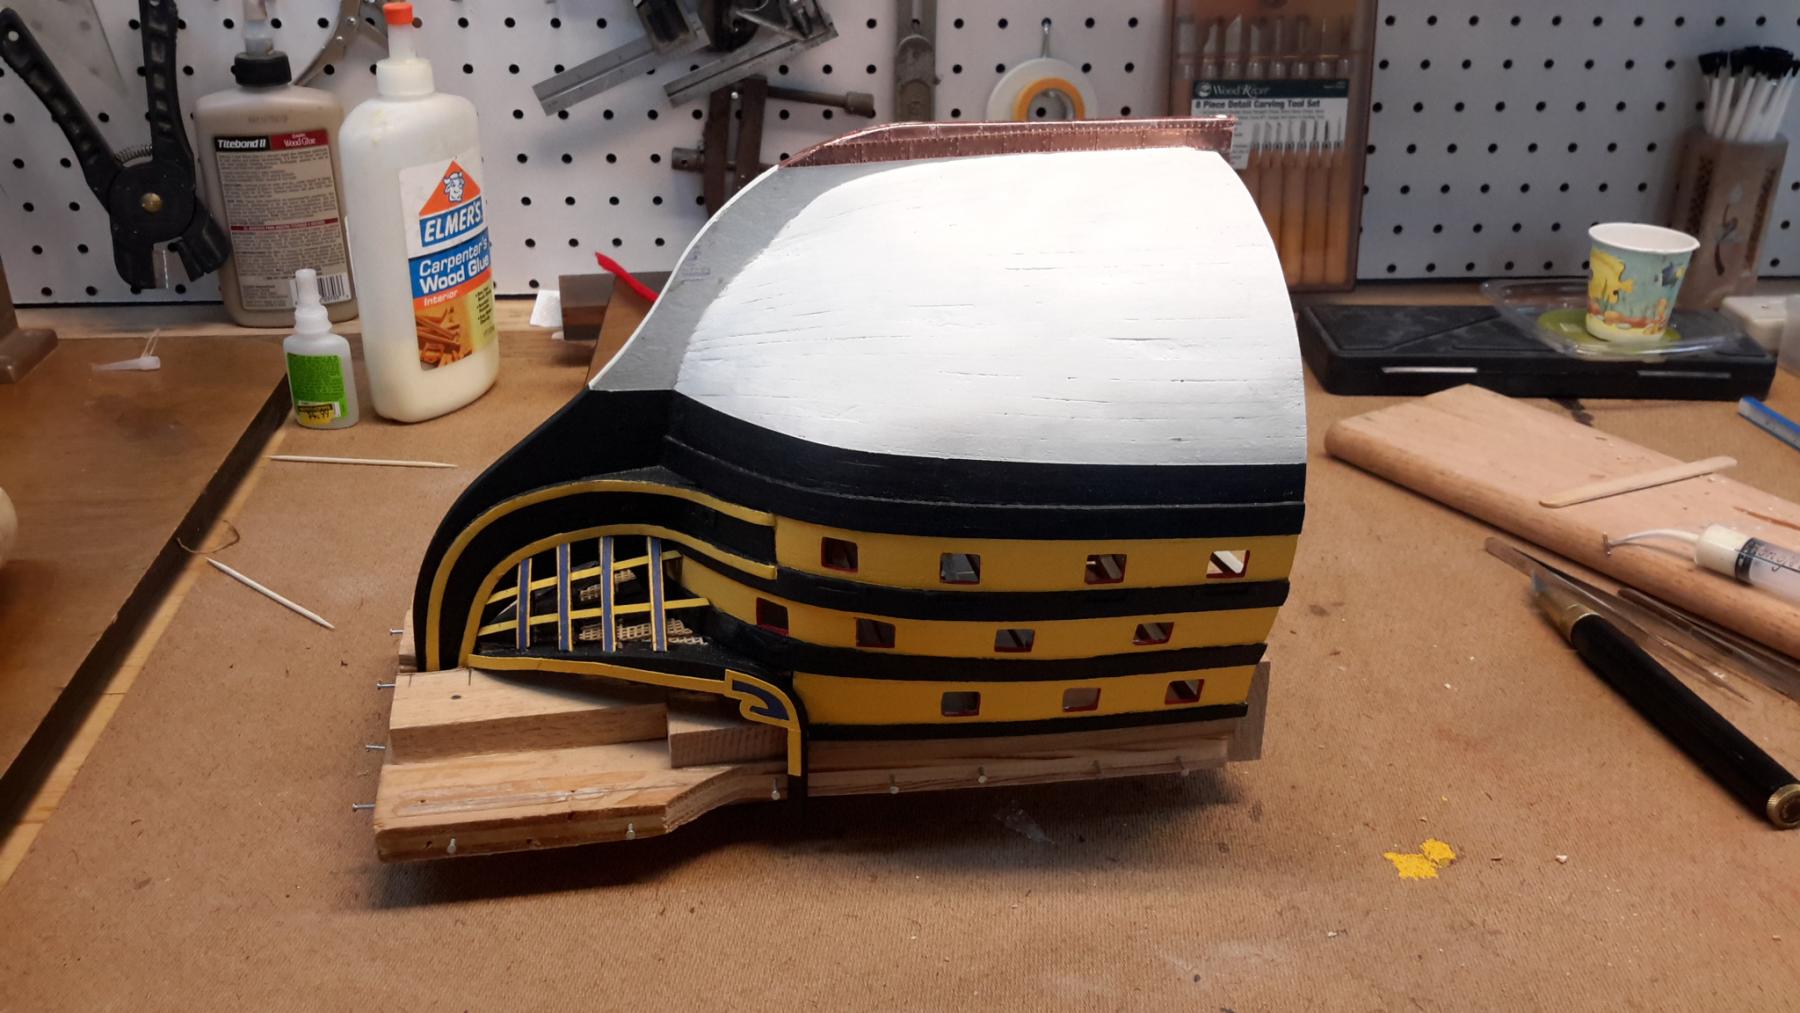
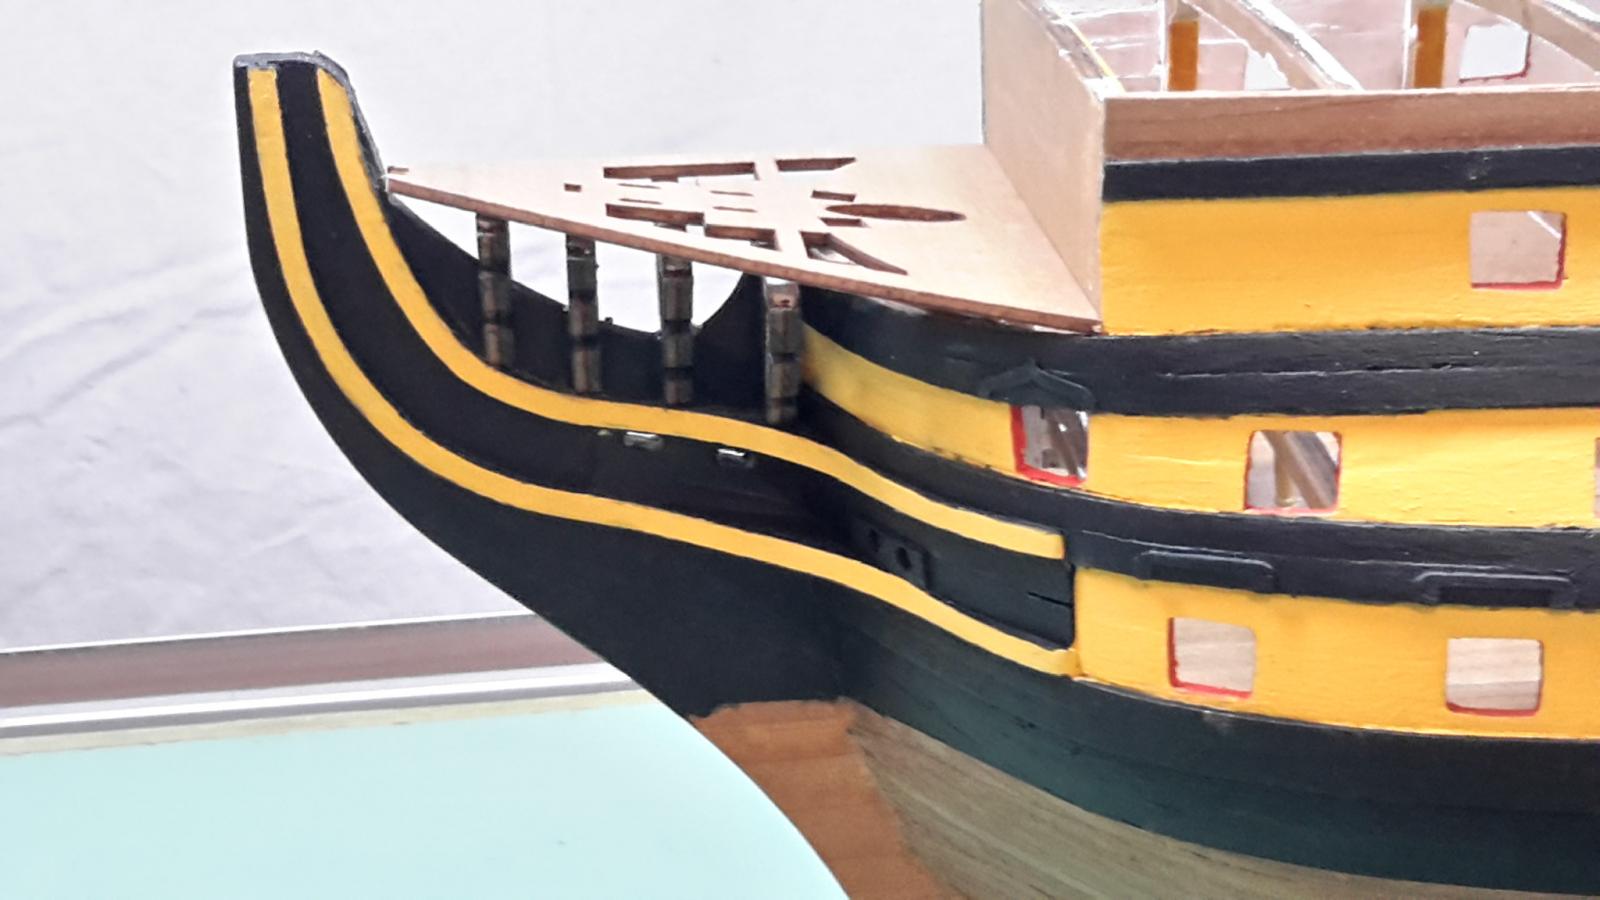
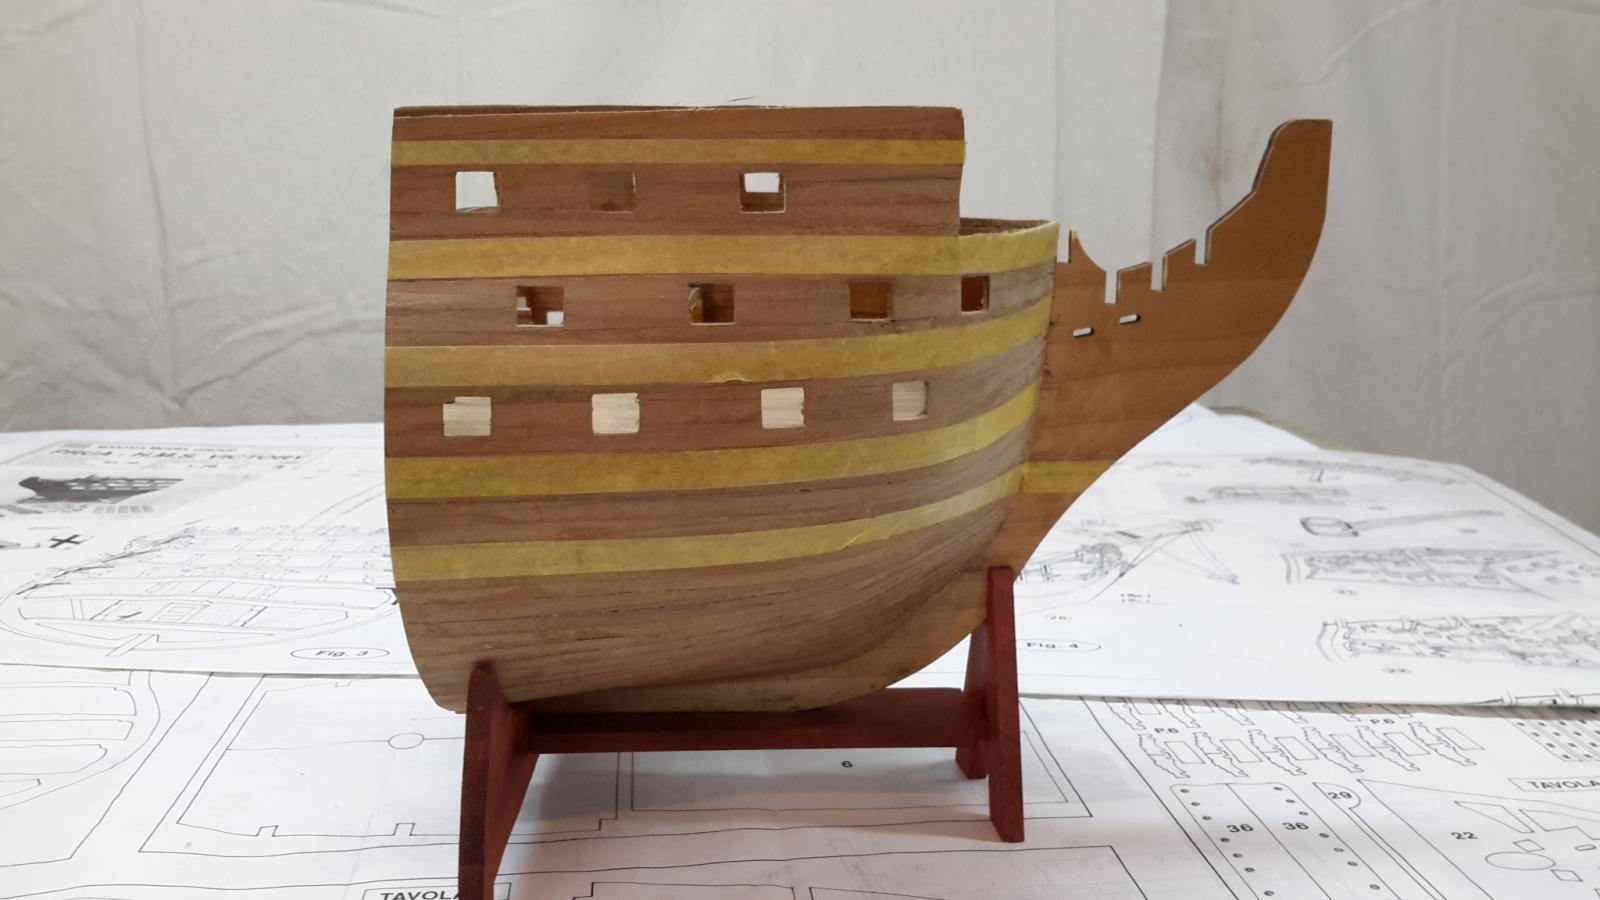
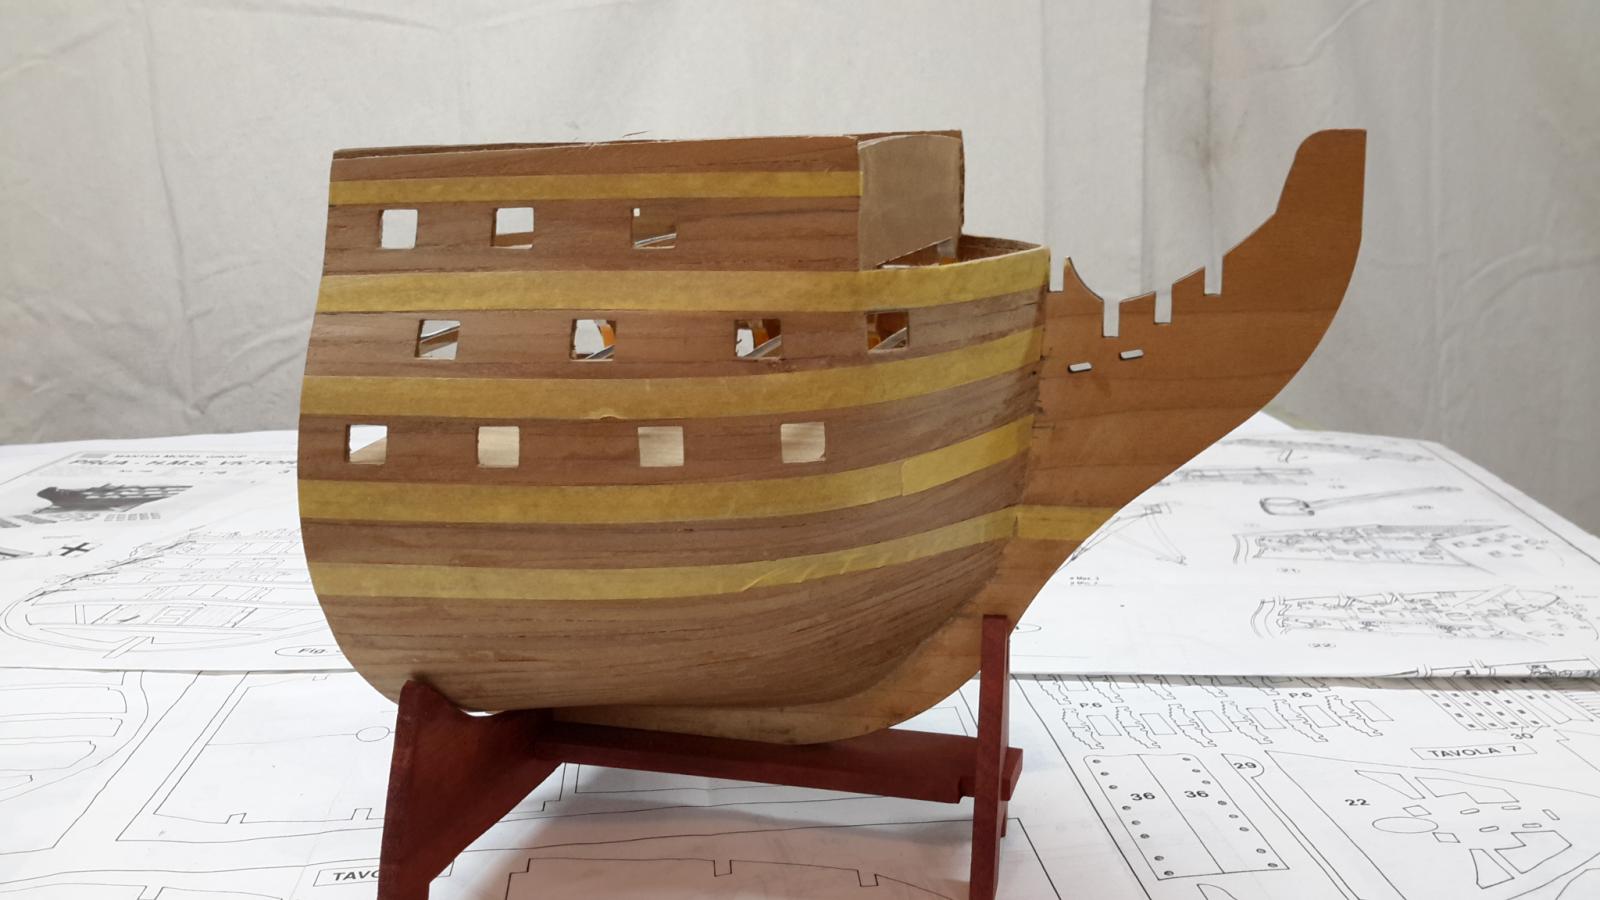
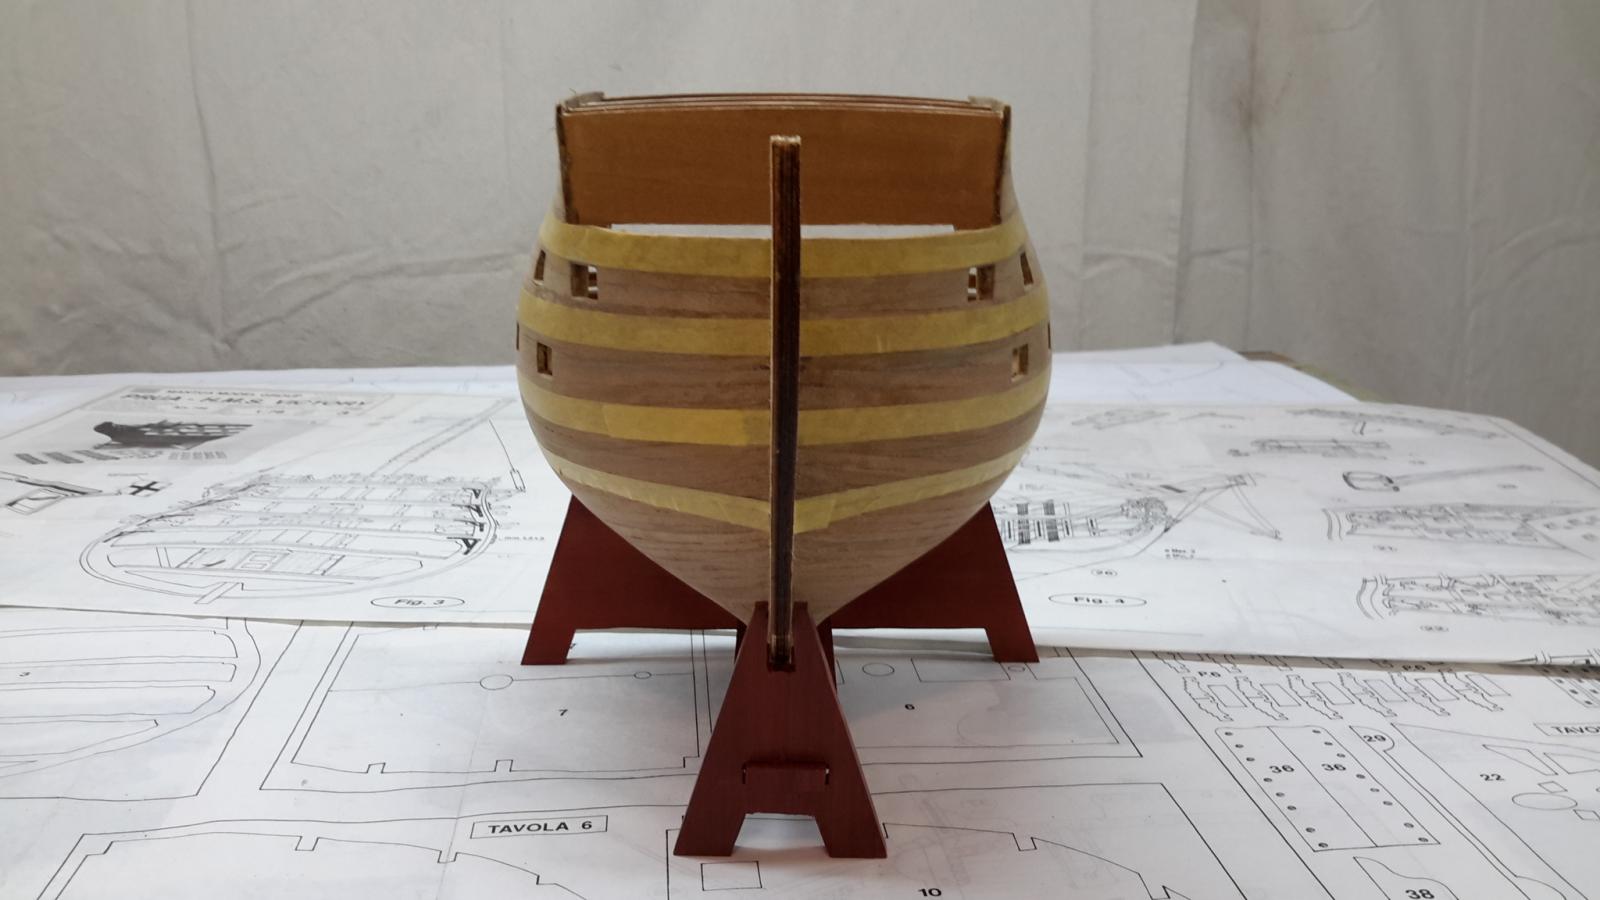
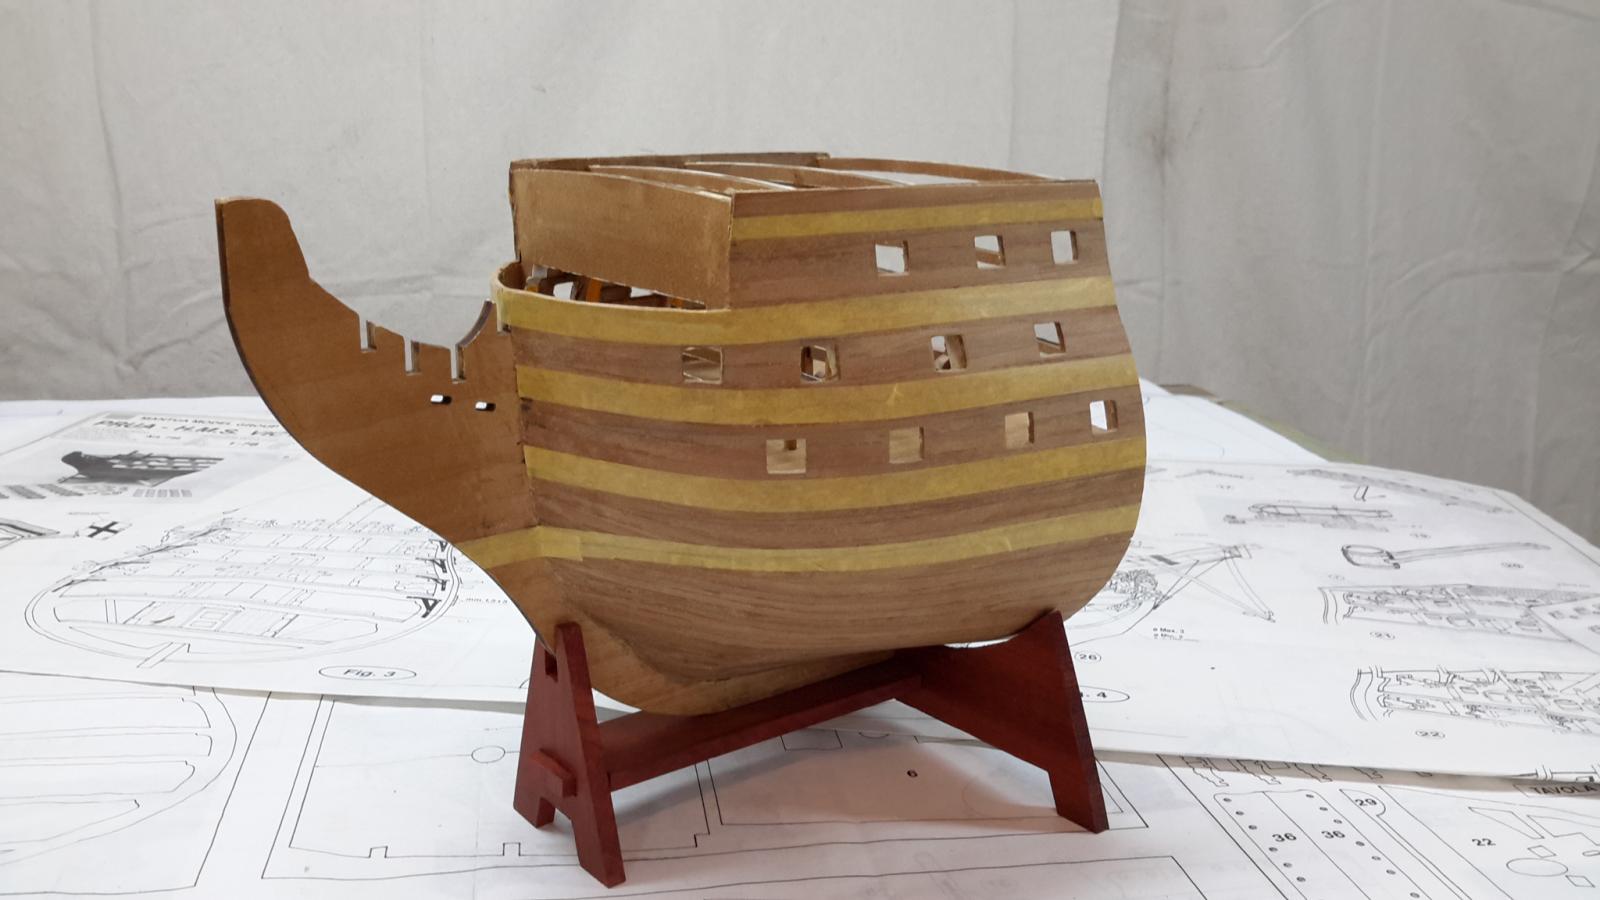
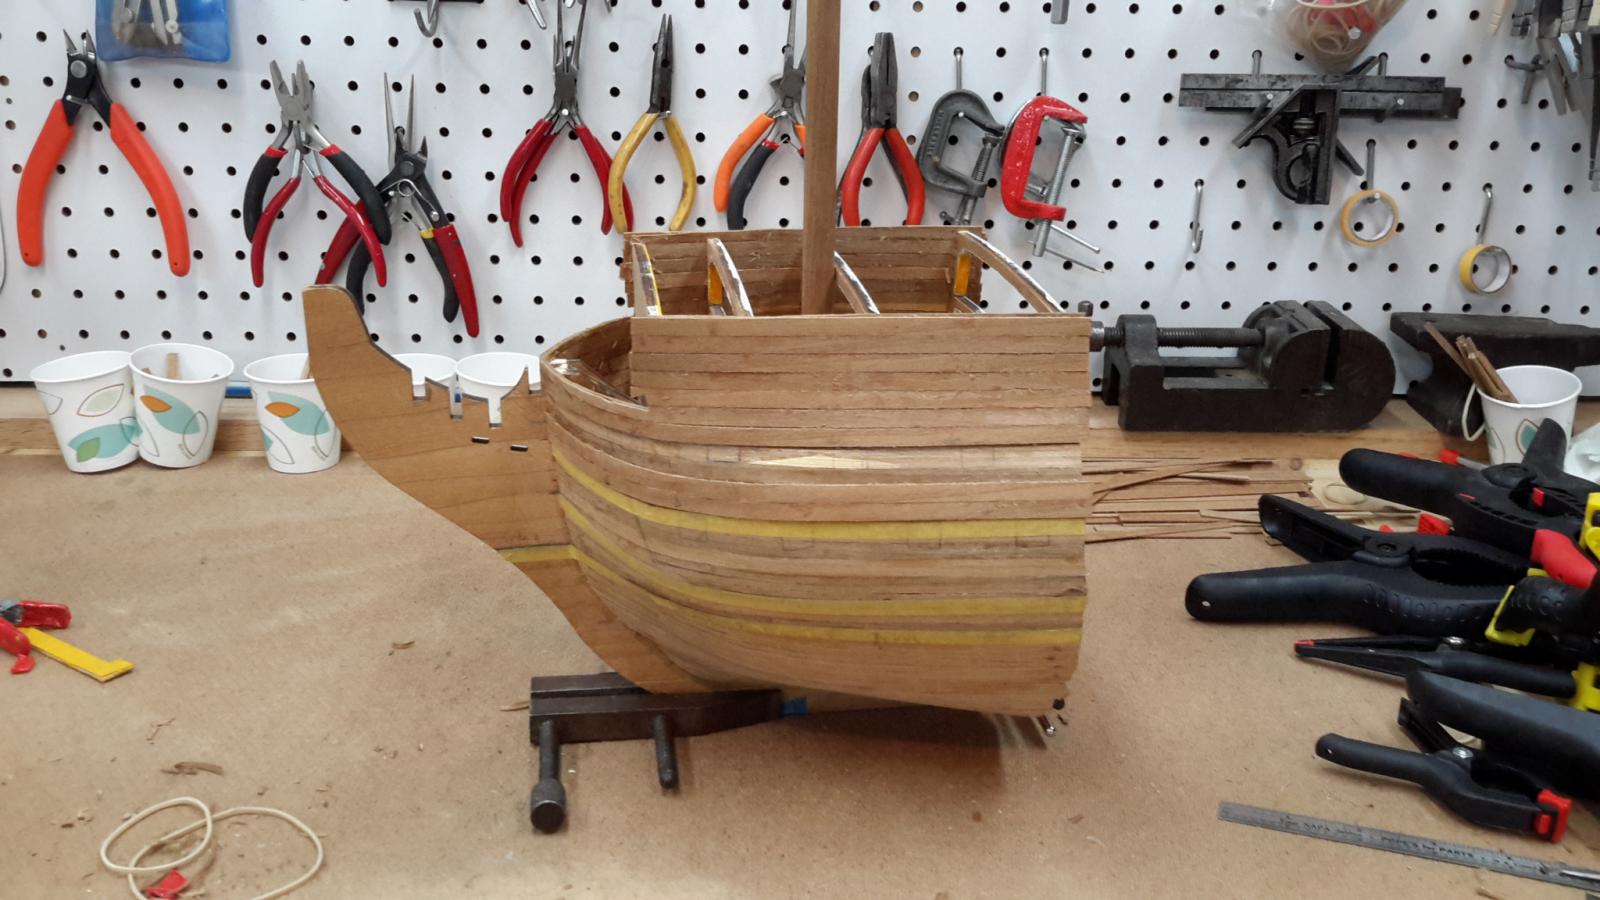
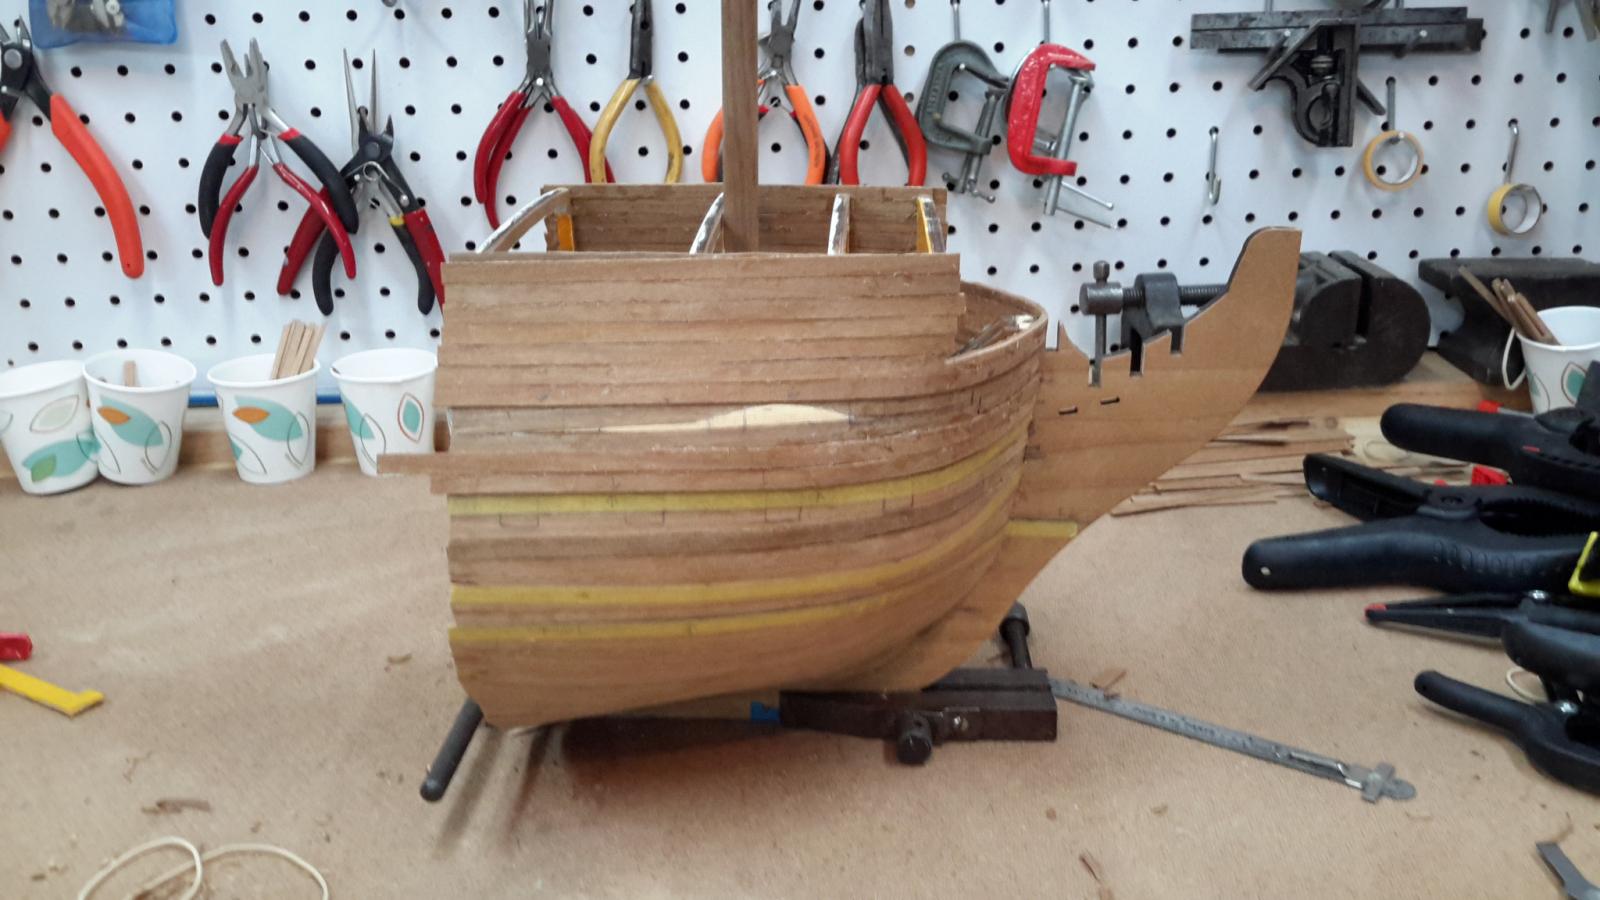
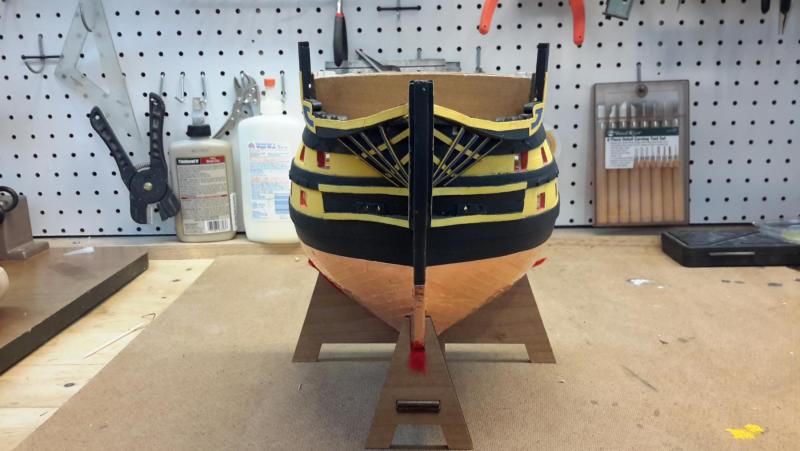
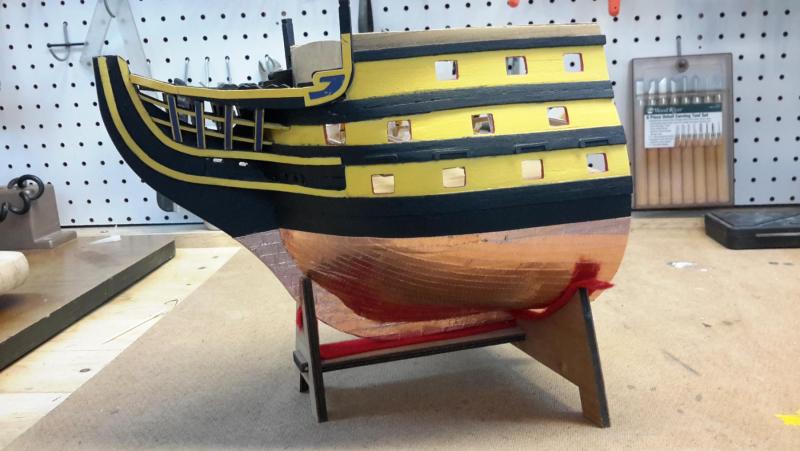
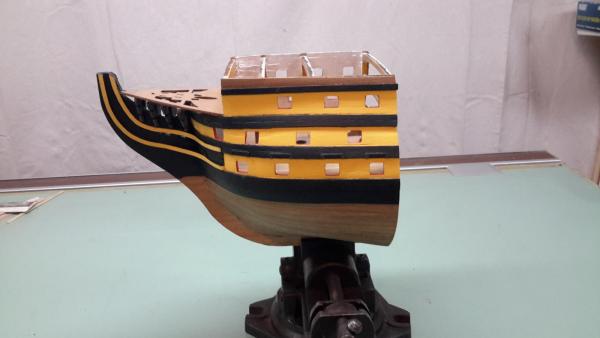
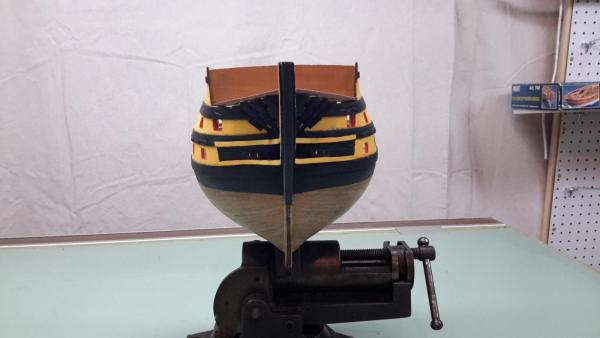
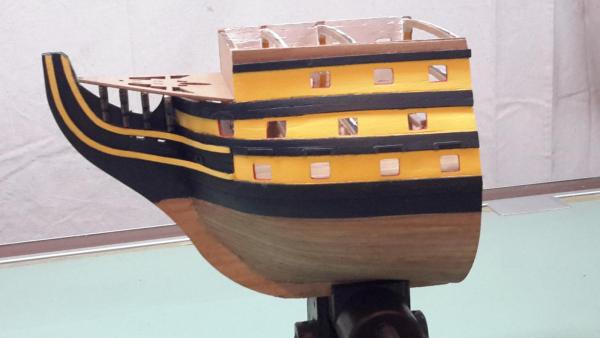
What is everyone's opinion on the shade of yellow? I tried half a dozen shades of yellow. Picked the one I thought closest. Test strip looked good. Once I applied to entire hull....seems too lemony. Too late to change. I'm starting to grow on it. What do you think? Honest opinion please! :-)
-
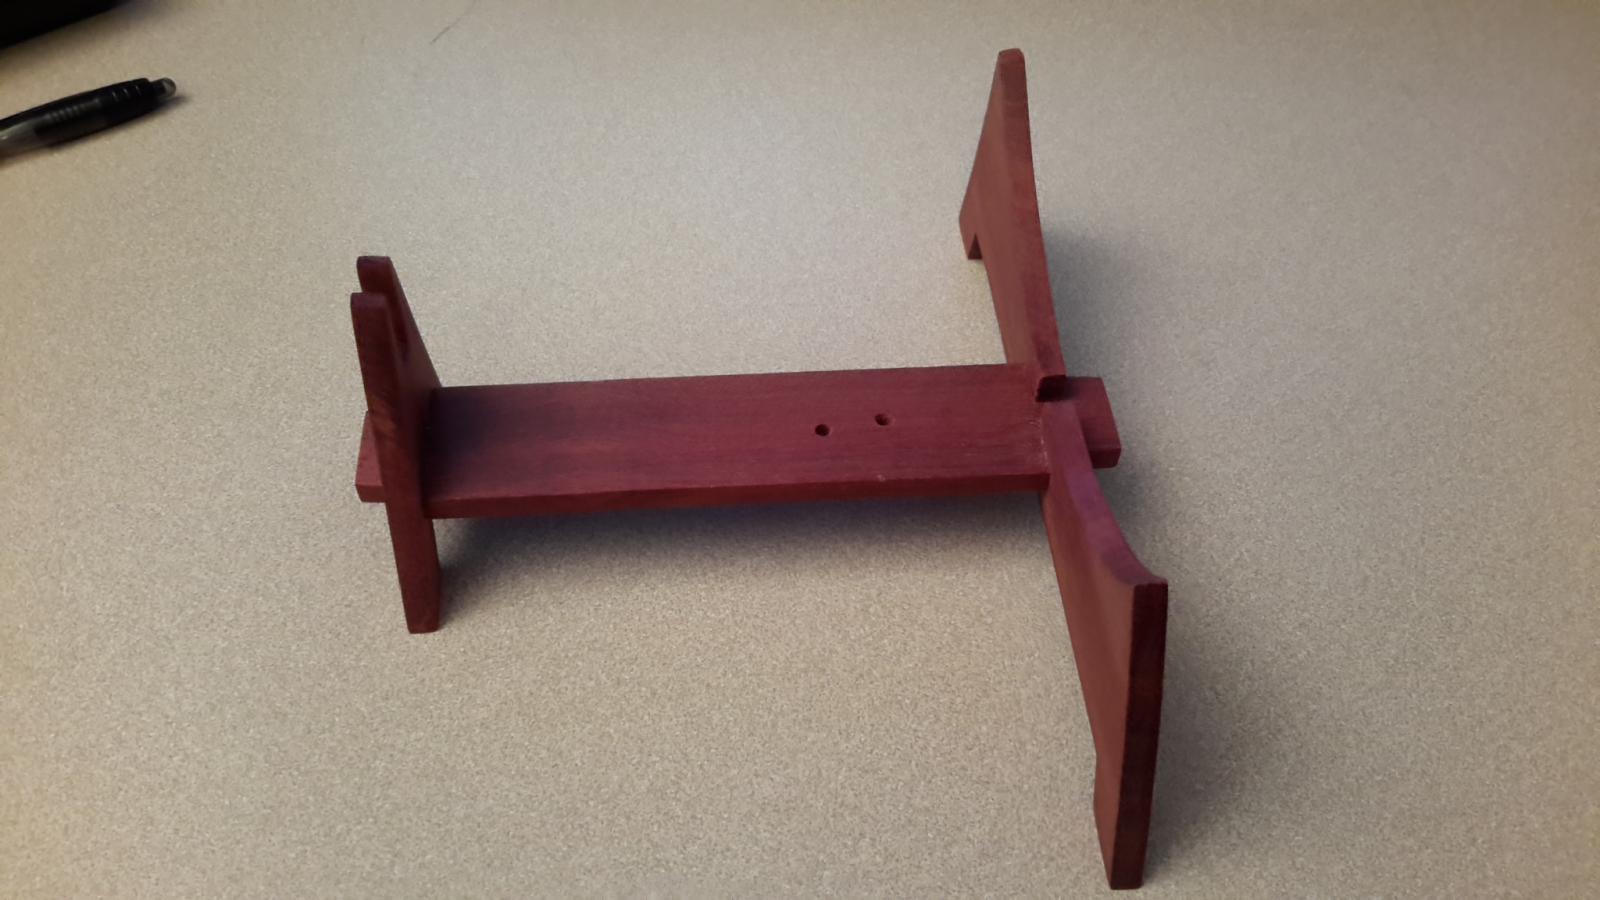
So.....it's been awhile since my last post. But I have made some progress. Put some paint on. Some more work on headrails...and started the canons. Built a stand out of blood wood. I didn't like the plywood stand


-
Made some progress. Put the wales on. Then the first part of the headrails. 4 pieces of wood took 2 weeks if you include the planning and thinking about how to do it and building jigs, failled,broken pieces etc..the headrails néeded to bend all in all 3 dimensions and they need to match. I am very happy with how it turned out.

-
Also. I didn't like the plywood stand so I rebuilt it using a piece of blood wood that I had. It came out ok. Blood wood looks really nice but its a tough wood to work with. Kept spintering and chipping on me
-
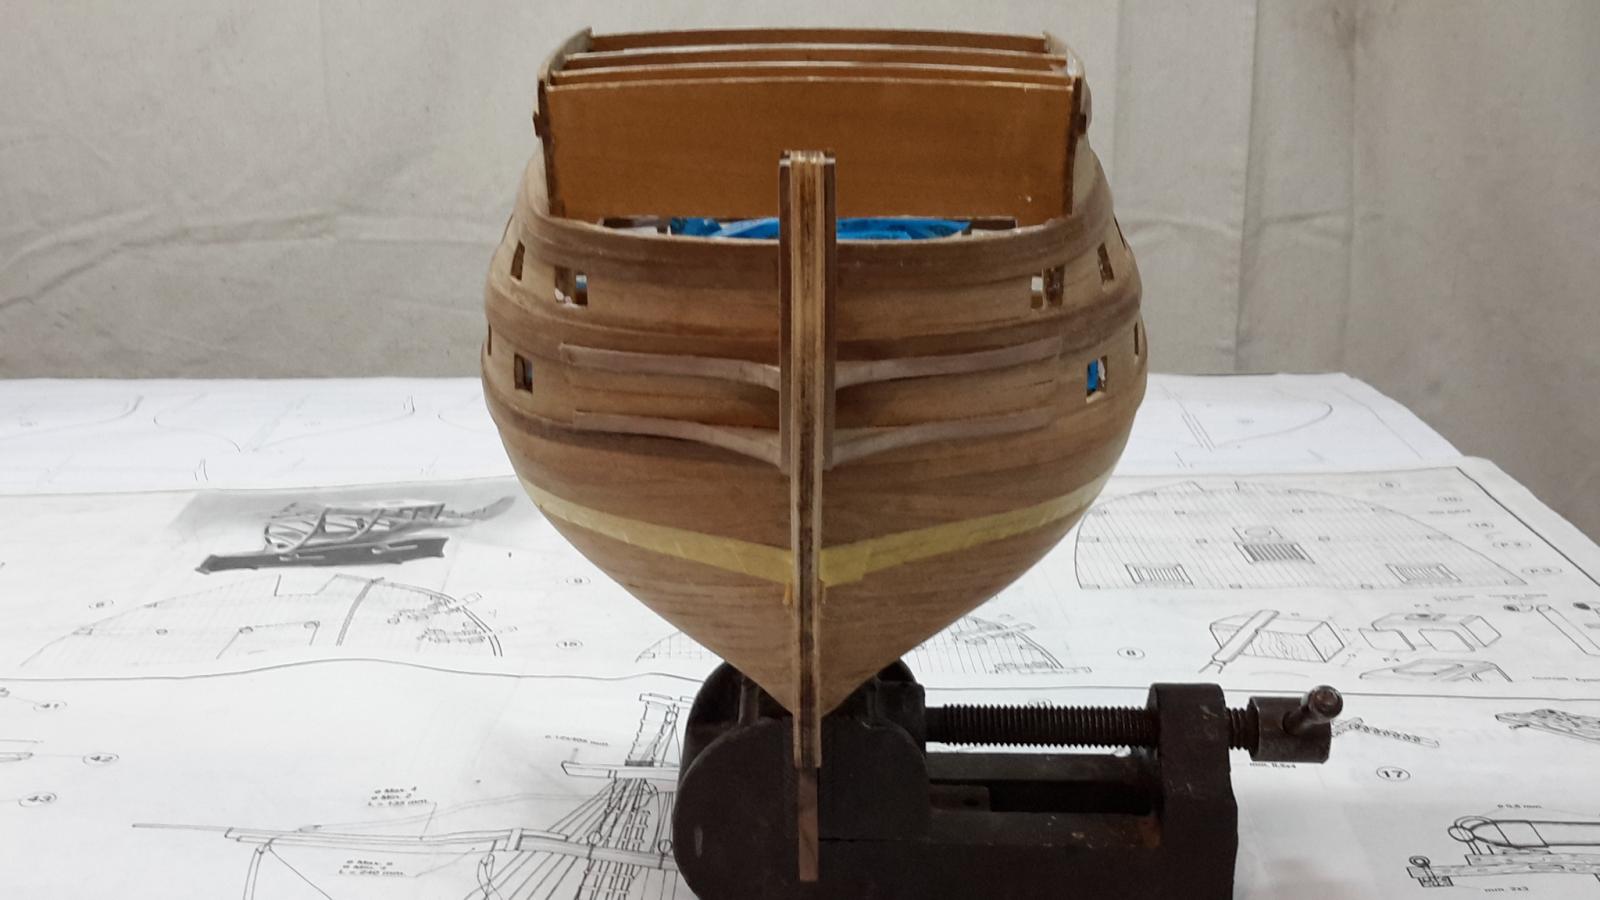
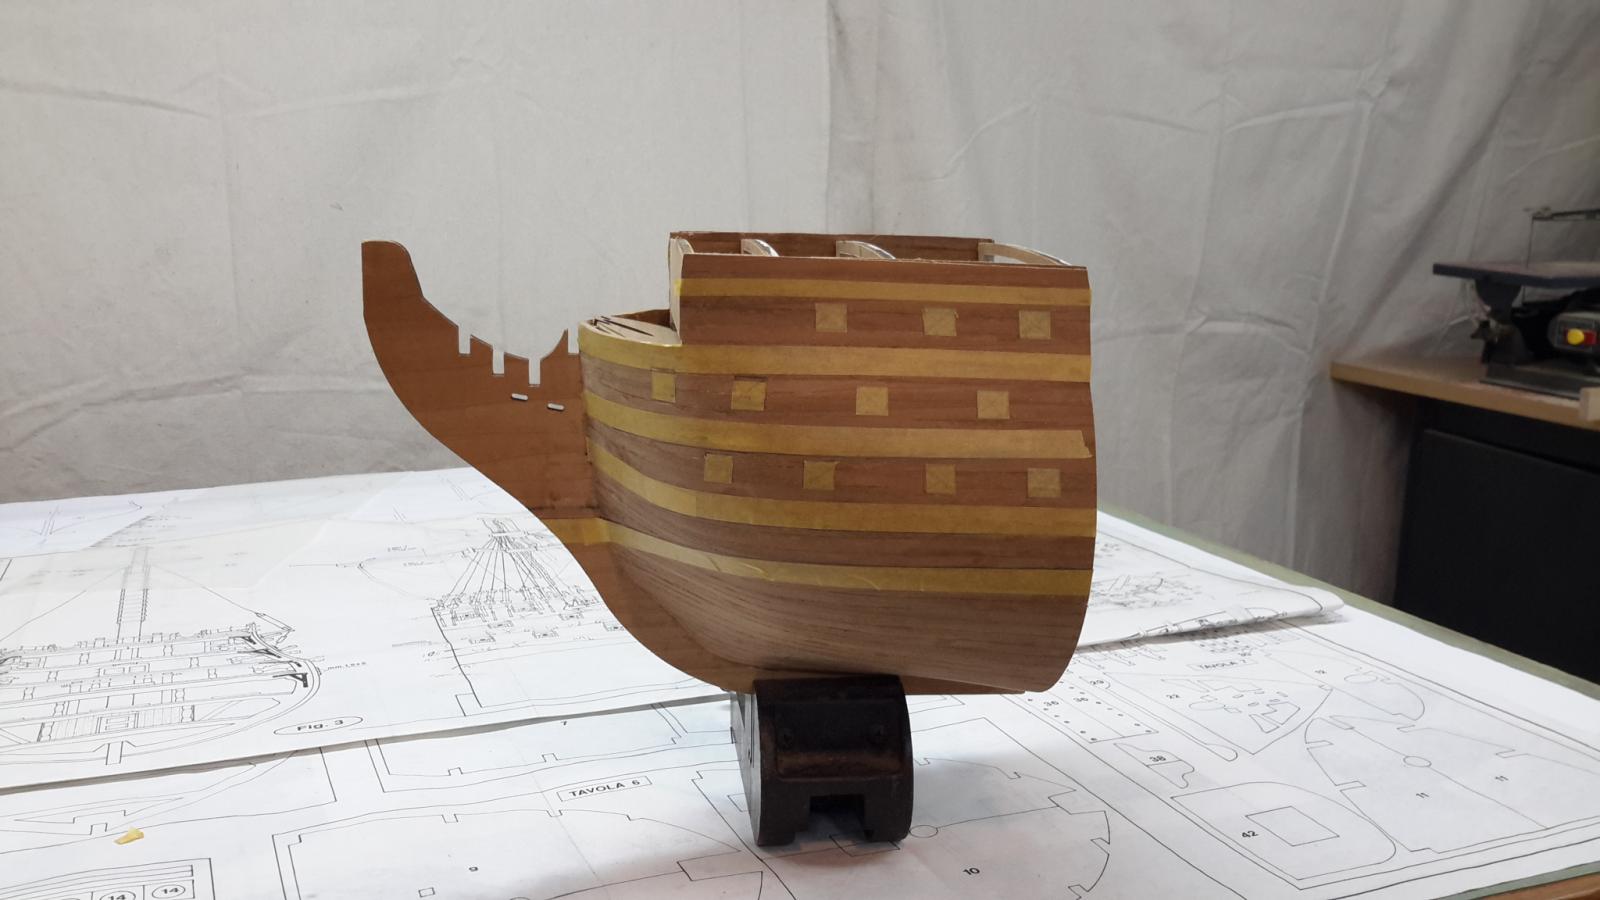
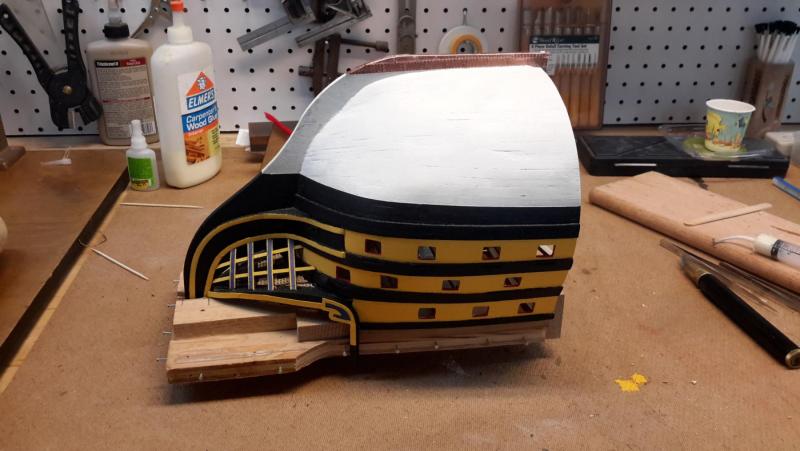
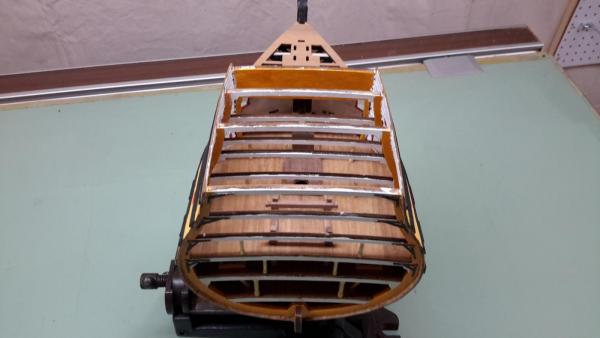
Time for a update. Planking took awhile but I finally finished the second layer. No too bad only needed 1 stealer on each side. Next I'm laying out positions of waterline, the wales and gunports before I commit and cut out the gunports


-
Chris, Your Friesland is looking great. Yes Ratlines take forever on this ship , but it pays off when you see them all finished.. Same with the gun ports when you look down the side and see them all lined up. I actually built this ship as well a good 10 years back. Took me a couple of years to complete. You may already know this but there is at least one, maybe two Dutch replica ships that are very similar to Friesland. Google TS Holland. Best
-
One plank, two plank, three plank, four........ slowly getting there on the second layer. I'm down to 10 planks left on each side. Last few are getting tough as they need to bend/curve more severely upwards towards the bow. No stealers. Yet...


-
One plank, two plank, three plank, four........ slowly getting there on the second layer. I'm down to 10 planks left on each side. Last few are getting tough as they need to bend/curve more severely upwards towards the bow. No stealers. Yet...
-
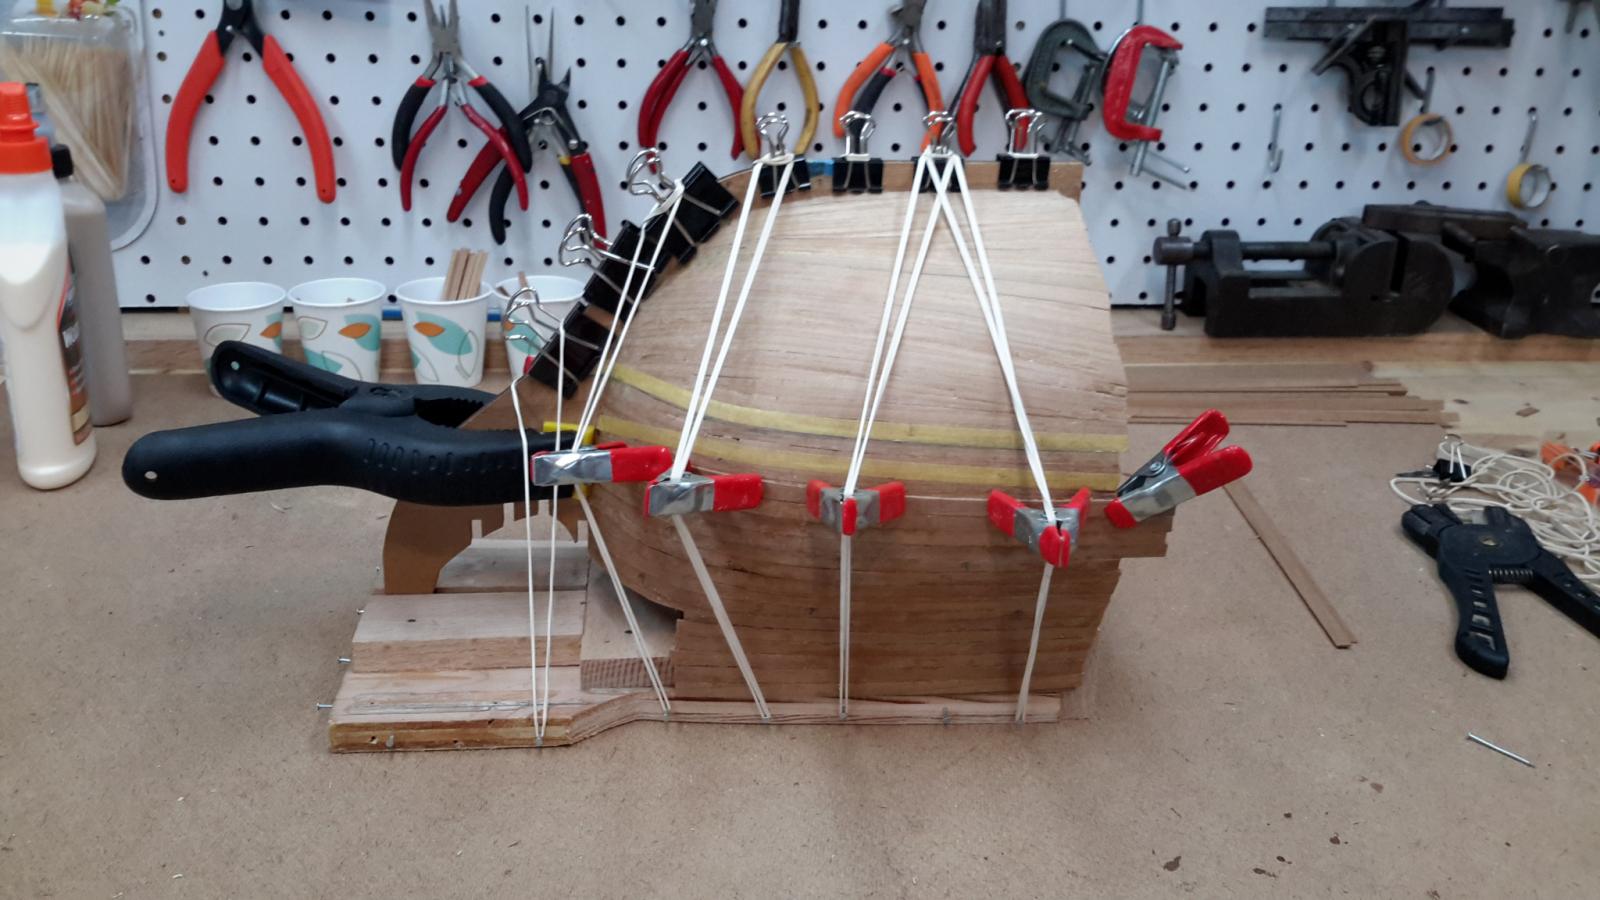
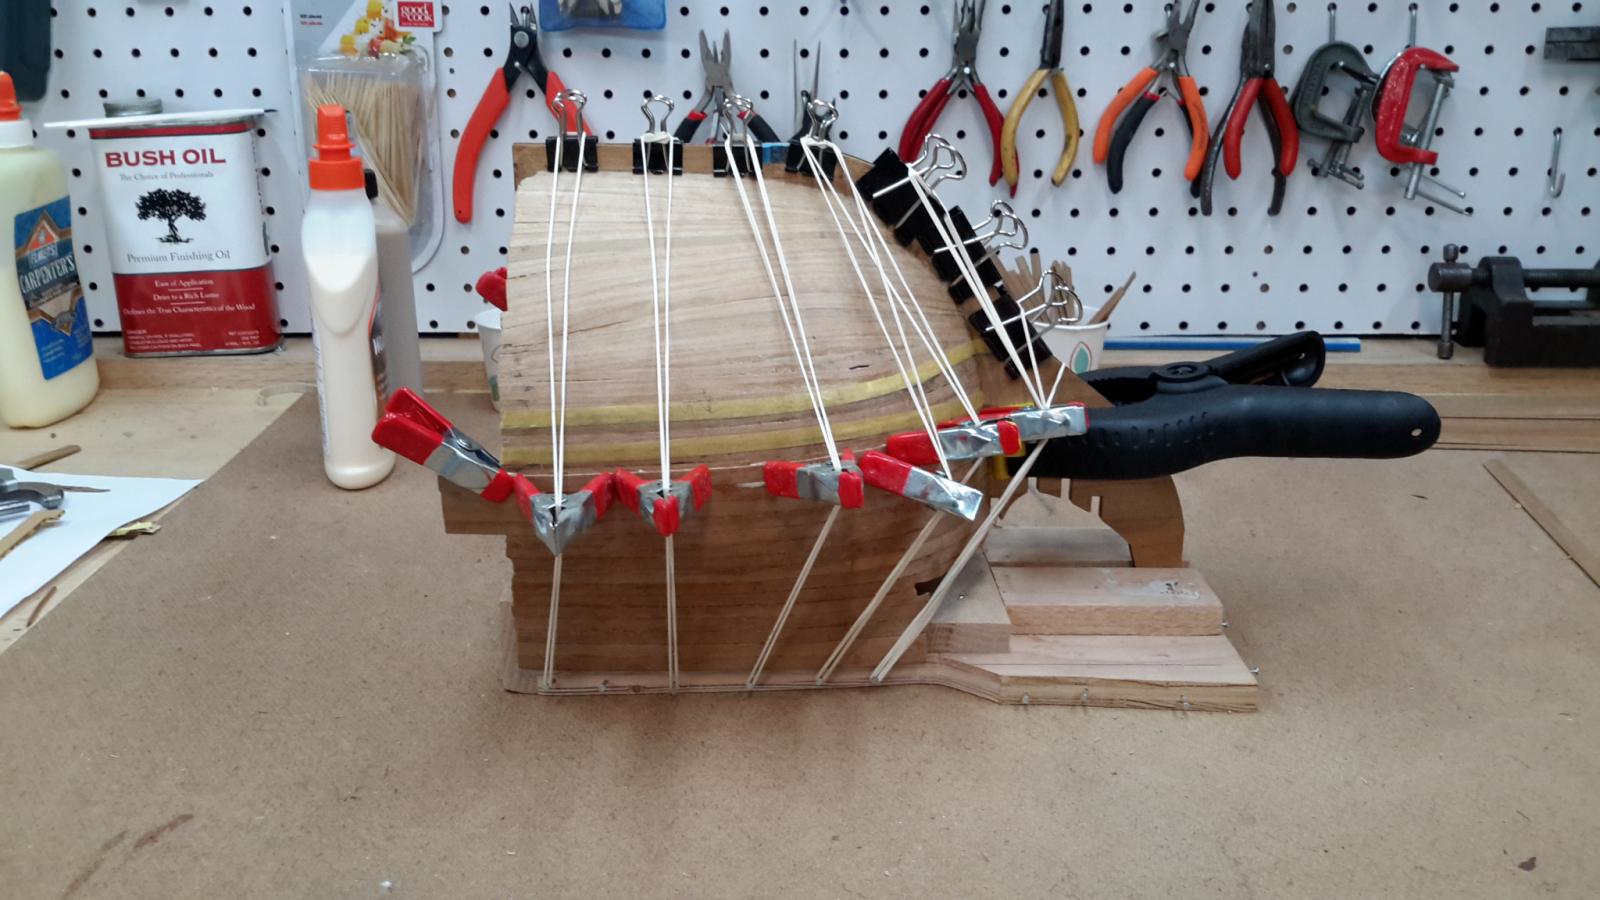
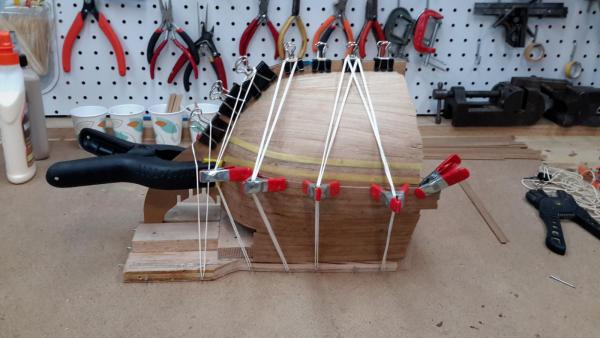
Slowly Maki g progress on the second layer of planking about 1/3 way done. You can see my jig and rubber band contraption for holding planks in place while the glue sets

-
Wes beatififul work. I gotta ask though when you going to go back your Connie. That's my next one to start soon. I went though your log. Incredible work. ...
-
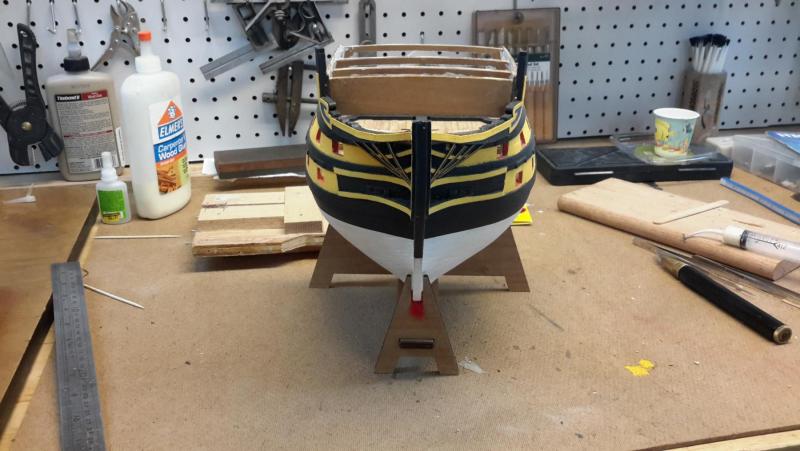
As you can see in my pics.. I put yellow tape where the water line and the wales go. It took me hours and hours to line them up to where I think they are right. I think they are accurate. After second planking is done... I'll get to figure them out again. And they need to be correct relative to the gun ports. Any tricks you guys use for getting the run of the wales right. And for positioning the gun ports correctly. The way I did it.... Taking measurements from the plans, and using the equivalent of a waterline marker...I measured straight up vertically from the bottom of the keel. (Not following curvature of the hull. just straight up vertically) and marked the position of top and bottom of the wales. By eye,,, they seemed to come out right. Any better suggestions on how to do this?
-
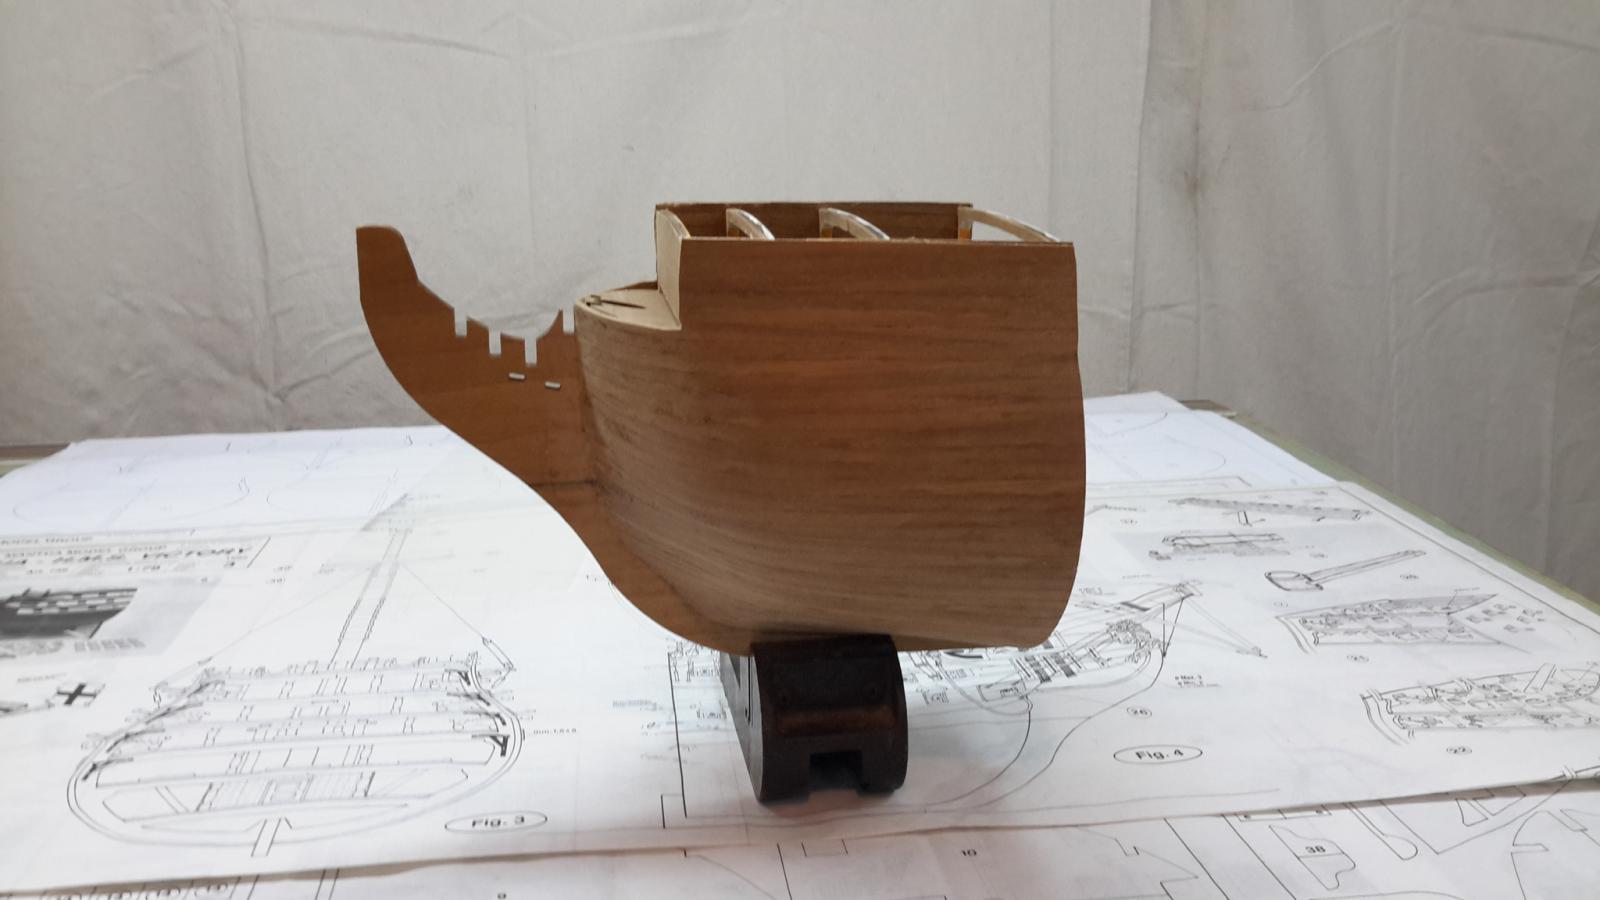
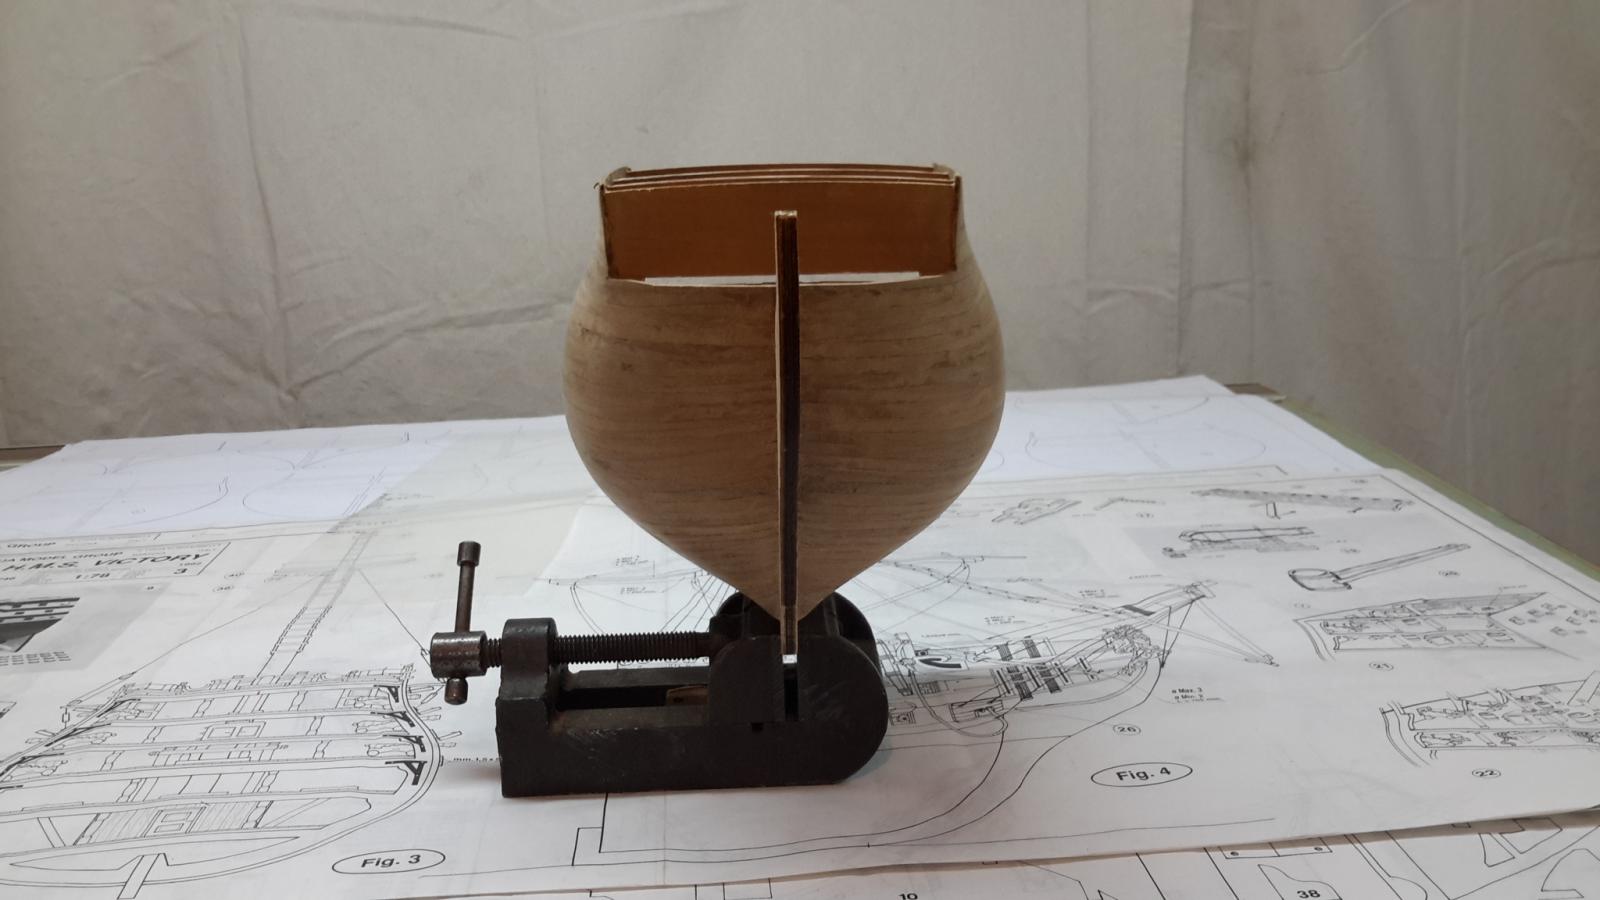
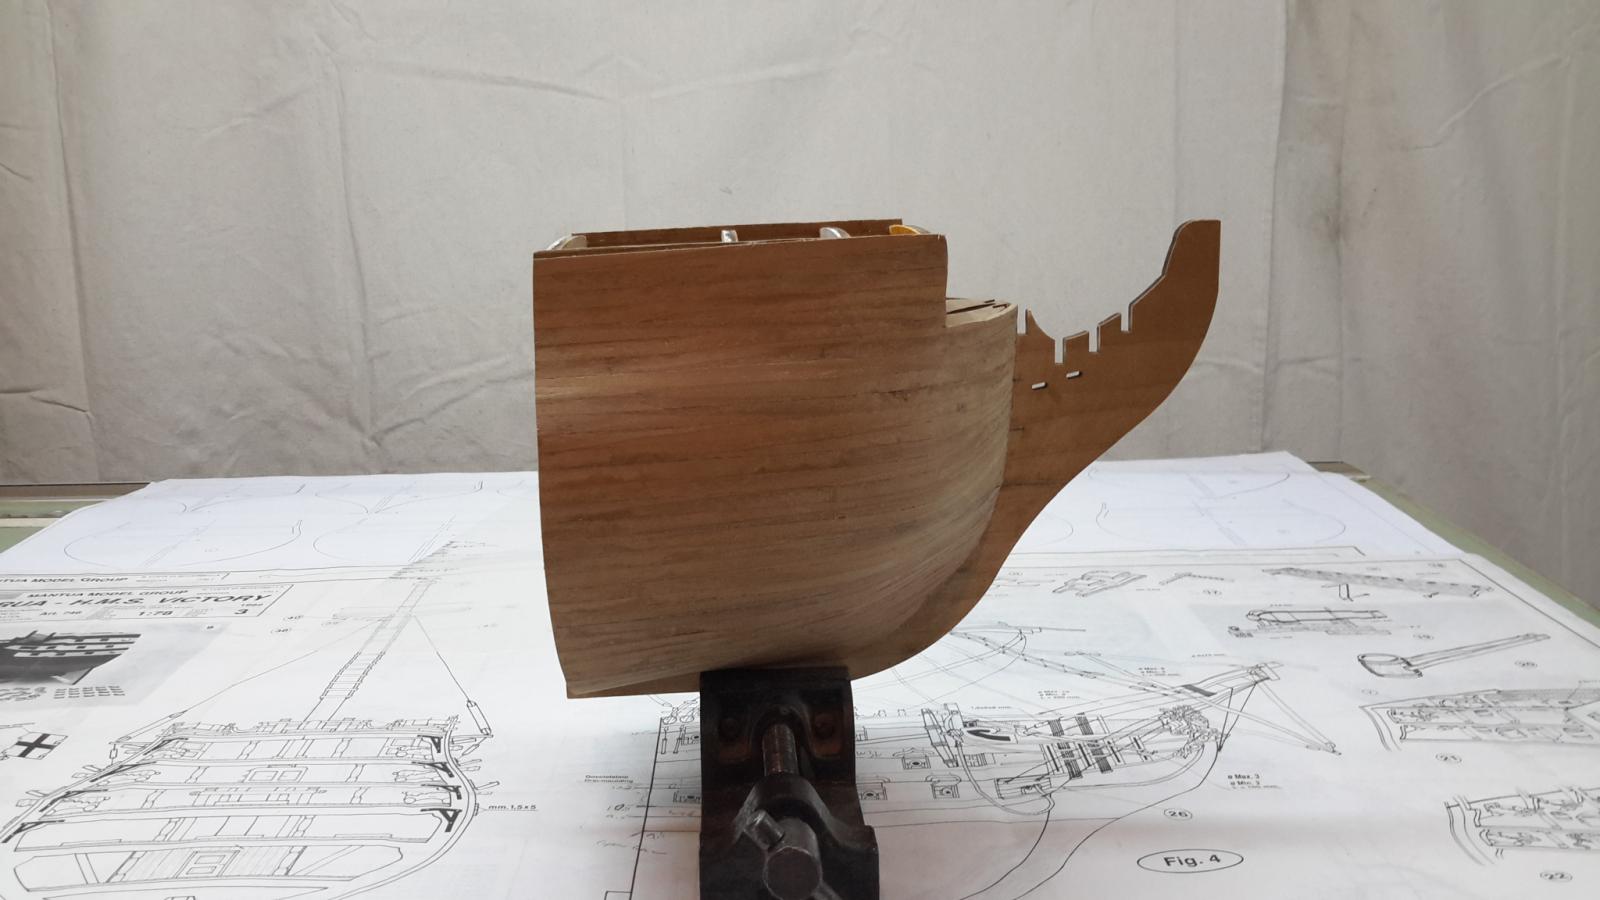
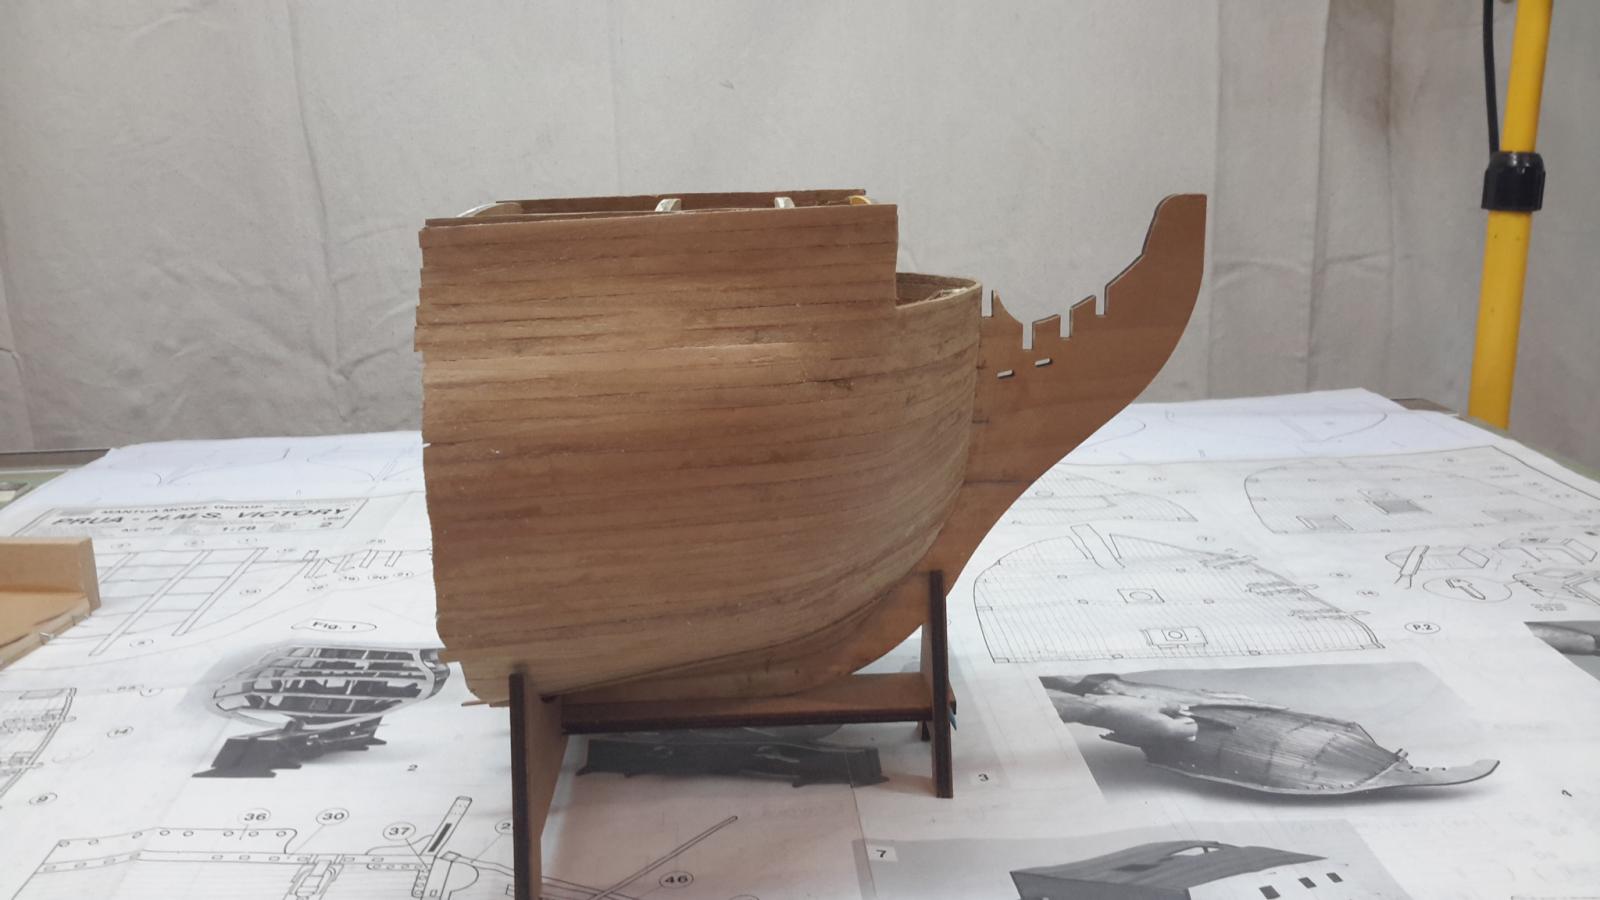
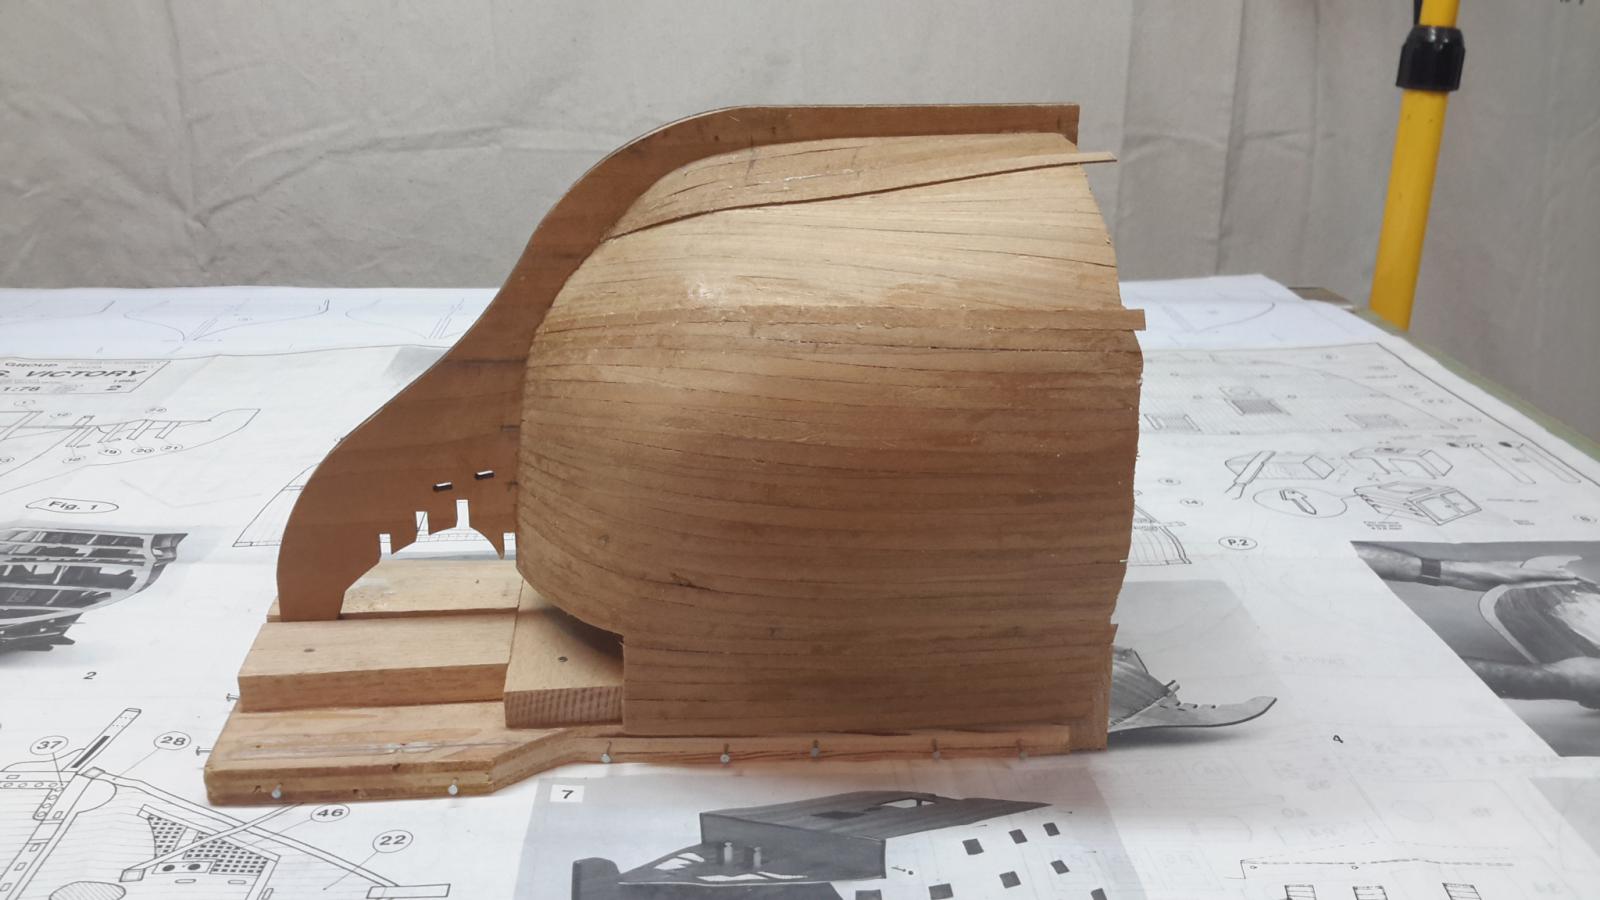
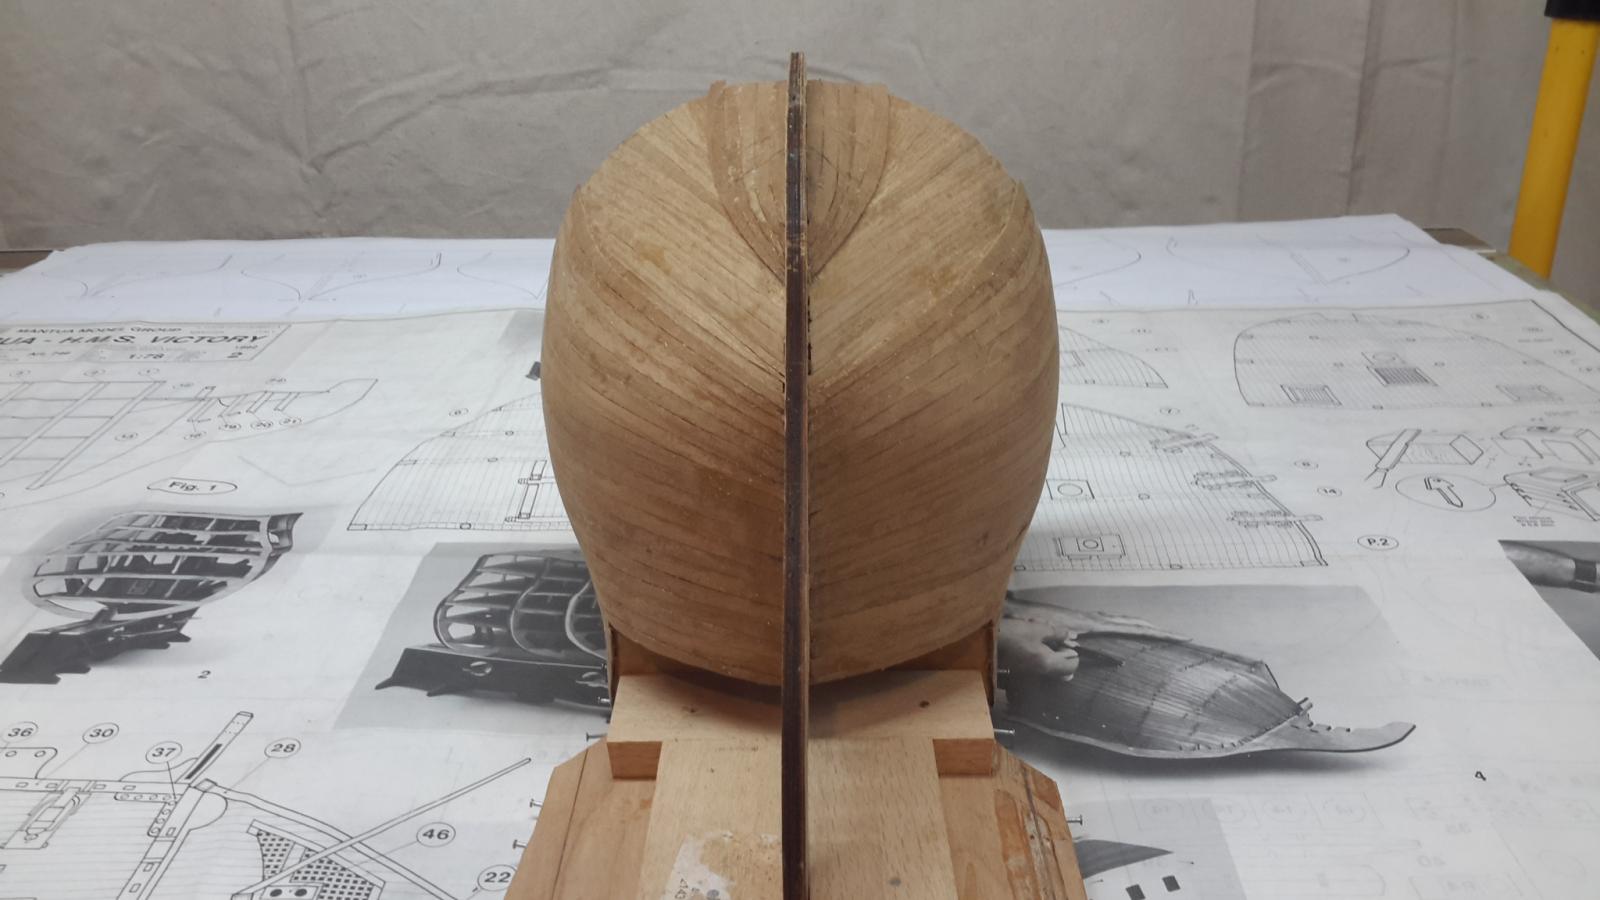
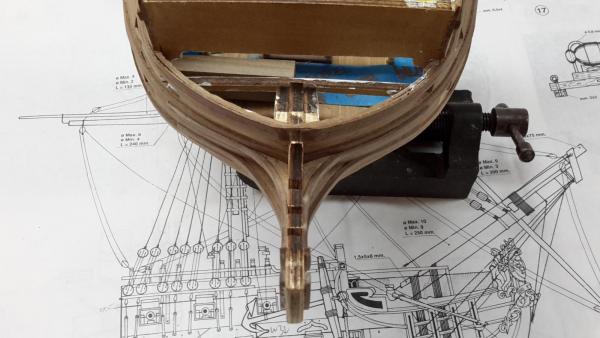
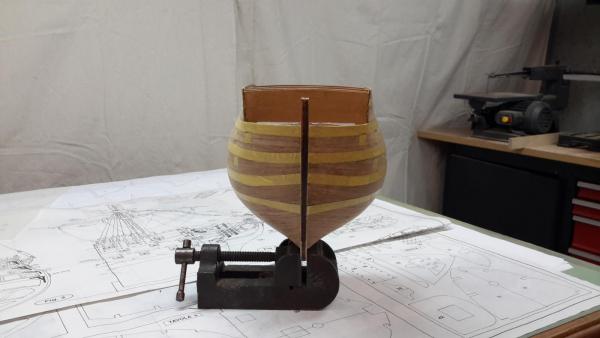
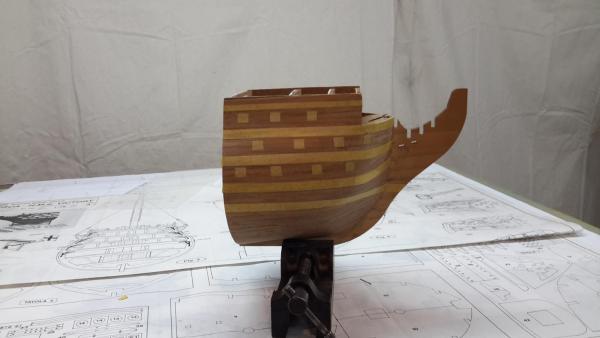
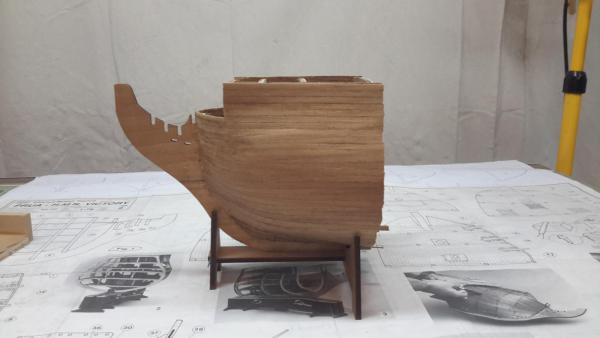
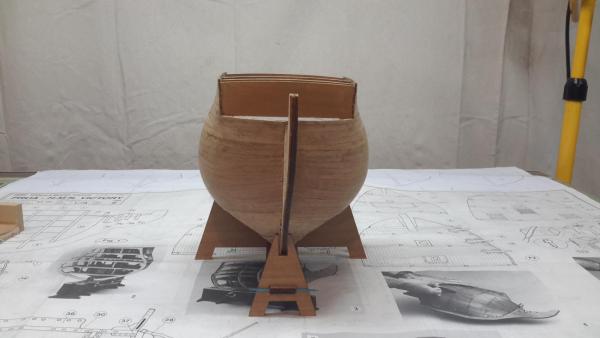
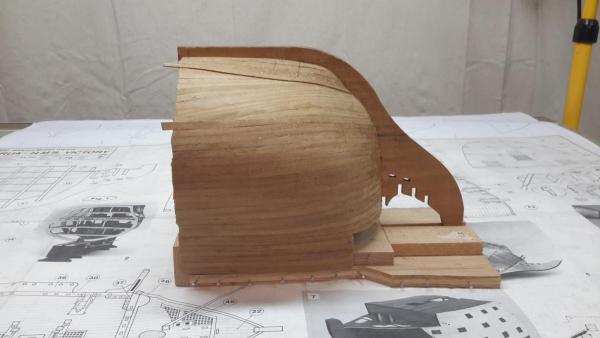
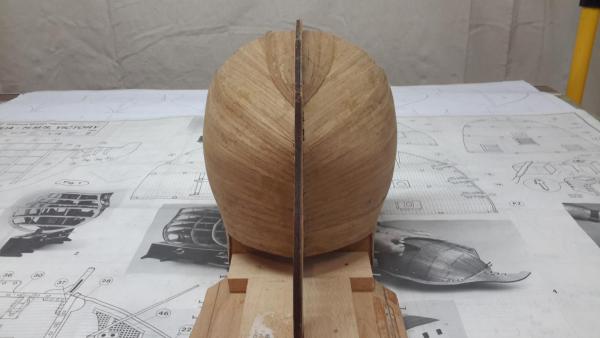
So my first build log. This model was actually a present to my father. He started the model and got as far as completing the frames and orlop deck. But he passes away a few year ago. I recently found his started model. So I will complete it for him. I've been following JeffE build of the same model and will "borrow" some of his ideas. As his build is turning out beautiful. As I model on and off as time and life permits. I'm counting on the knowledge and encouragement of this group to keep me progressing 🙂 So away we go.
-
L'Hermoine was in Newport RI this summer . She is a beautiful ship. I tried posting some pics here but they are all much bigger than the allowed 2 mb size
-
Jeff, Not sure if you already said earlier in your log. What color paint / manufacturer did you use for the Nelson yellow stripes on hull ... and inside bulwarks.... Cannon carriages? Is it same shade of yellow for all?. I have several shades of yellow.. some from model expo. Yellow Ocher etc... But none really look even close to the right pale shade of yellow. Thanks K Ken