-
Posts
7,719 -
Joined
-
Last visited
Content Type
Profiles
Forums
Gallery
Events
Posts posted by CDW
-
-
-
-
Just now, mikegr said:
Not sure about availability in your area. Car painting products are all high quality. Also i use one ingredient car filler, P1000 Liquid. Superfine, great apply and easy to sand.
The very best spray cans I ever used were of DuPont automotive lacquer paints, but I have not seen those cans available in many years. An adjustable flow nozzle sounds very unique. I am not familiar with any spray paint cans that have this feature, but I am going to have a look to see.
- mikegr, popeye the sailor, Canute and 2 others
-
 5
5
-
Just now, mikegr said:
I use epoxy car primer.
It comes in spray cans with adjustable flow. It covers all shinny metal surfaces and dries in 15-20 minutes.
That's good to know. Any particular brand?
- mtaylor, Old Collingwood, Canute and 2 others
-
 5
5
-
Whether you buy one pre-made, or make one yourself, you will want it to have lights, a turn table, and a fan that vents the air to blow outside your window using ductwork as seen in this item advertisement from Amazon.
- mtaylor, popeye the sailor and Canute
-
 3
3
-
Just now, king derelict said:
Thanks for the advice Craig
The treated glass that comes with the V2 has a smooth side so I am thinking of flipping it and trying it. Who knows I may have a sticking problem.
I took your advice and bought the magnetic pad you suggested. Many Thanks. I would really like to get the reliability of printing improved. Its spoiling the fun at the moment.
Thanks again
Alan
Alan
I should have mentioned to be sure to buy one that matched your print bed size/range. Once I started using that pad, it solved my issue of the print coming off the print plate. I tried glue sticks, hair spray, and just about everything else, to no avail. One day I visited a 3D print shop here in Tampa and they turned me on to the need for a pad. That did the trick.
Hate to say it in fear I may jinx you, but filament coming off the spool smoothly is another area of failure. Several times I had issues where the filament would get hung up, similar to what happens on a fishing reel...a bird's nest backlash sort of thing. We have to trust the filament has been wound onto the spool from the factory so as to not be "crossed". I think it's very easy to accidentally get the filament out of sorts when you finish one print job and use the same spool to start another print. Unless great care is taken, that filament can become wound underneath itself and as a print job progresses, it comes to a point where it can no longer come off the spool.
- Old Collingwood, Egilman, mtaylor and 4 others
-
 7
7
-
Hedgehog's a beauty!
- lmagna, Old Collingwood, Canute and 1 other
-
 4
4
-
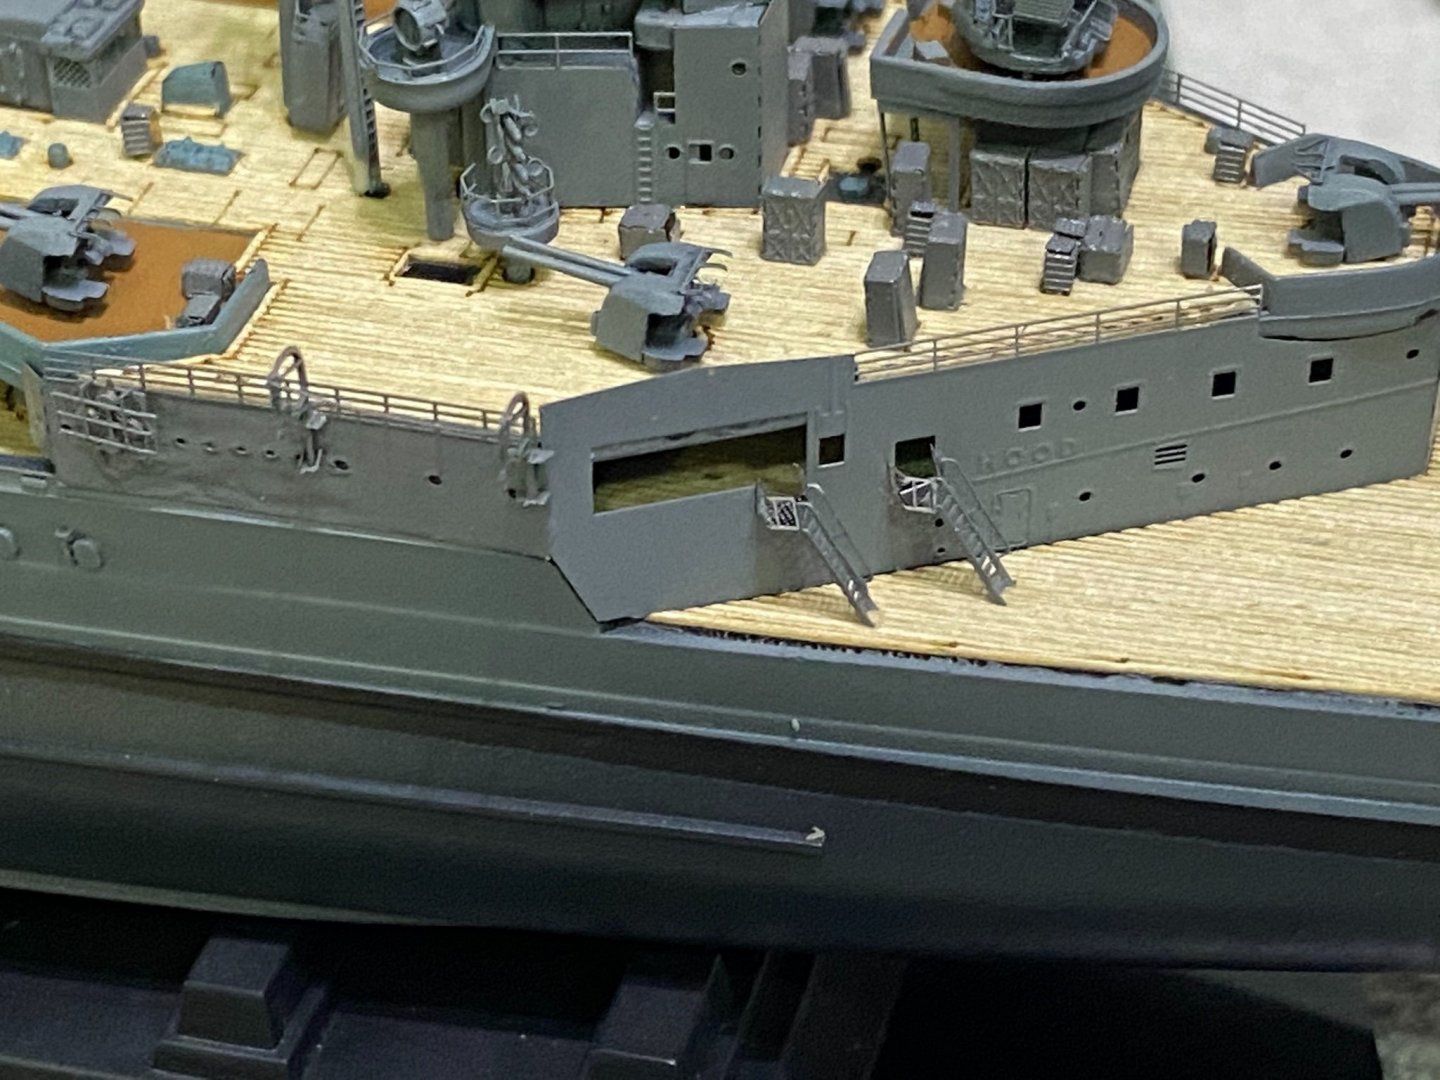
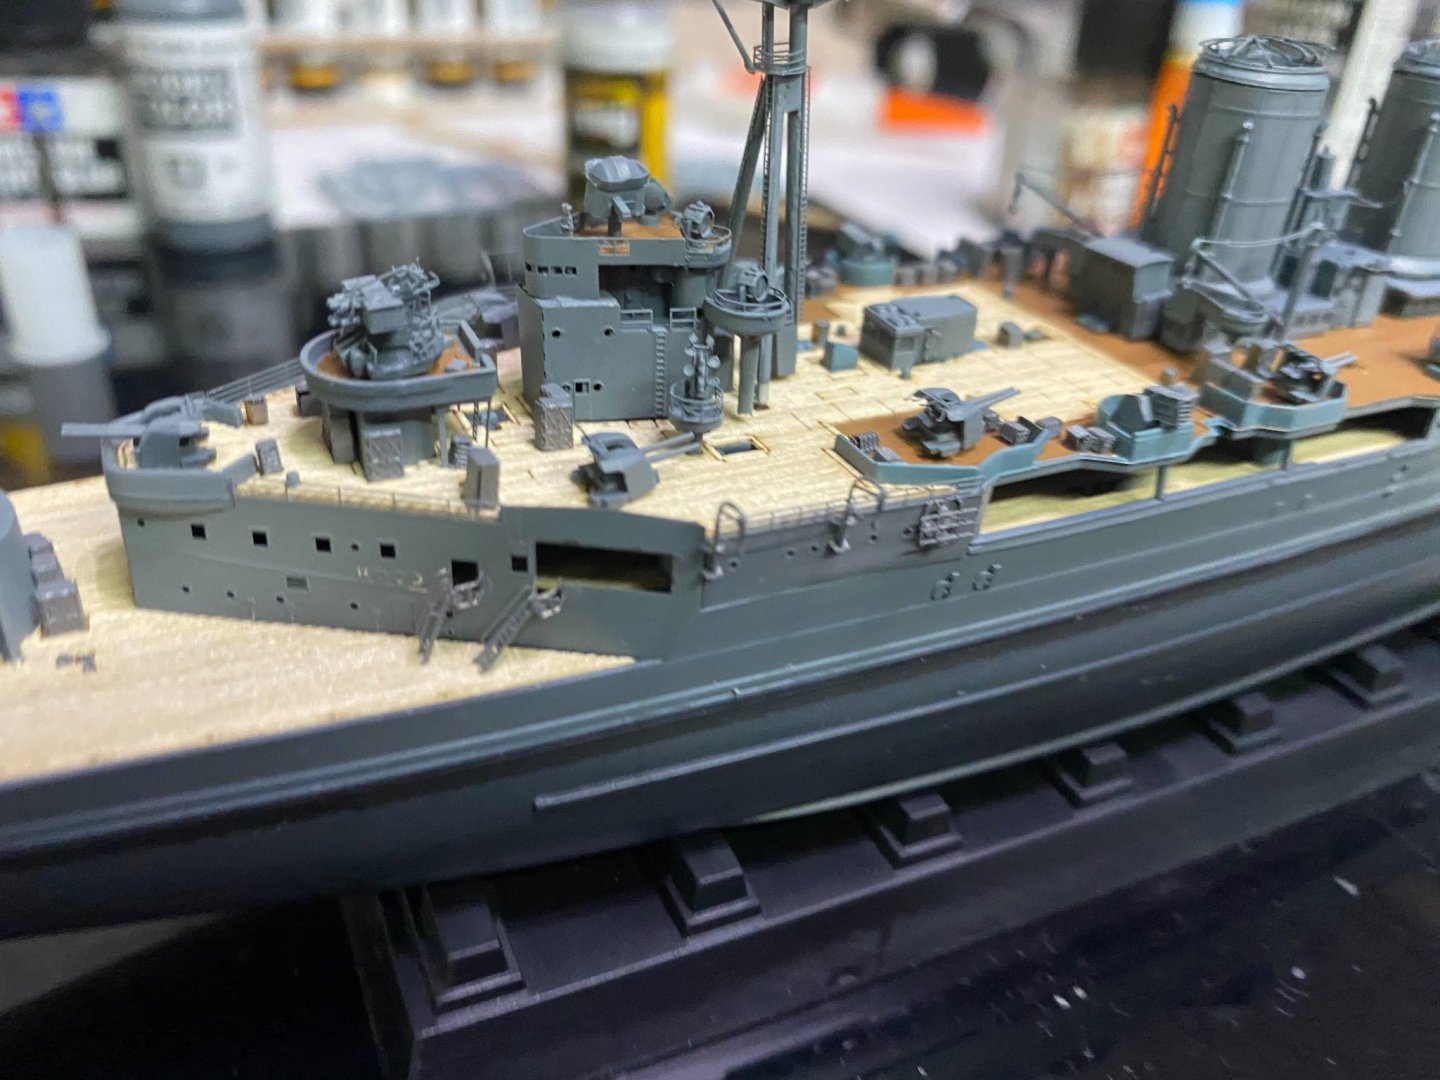
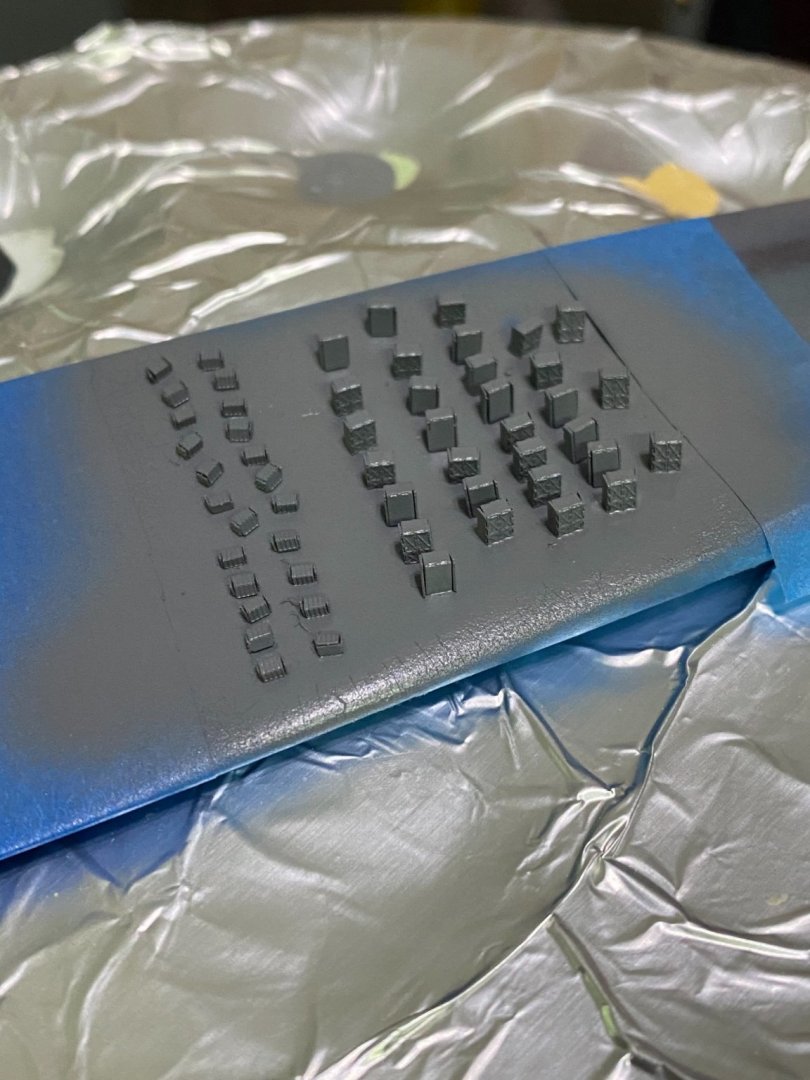
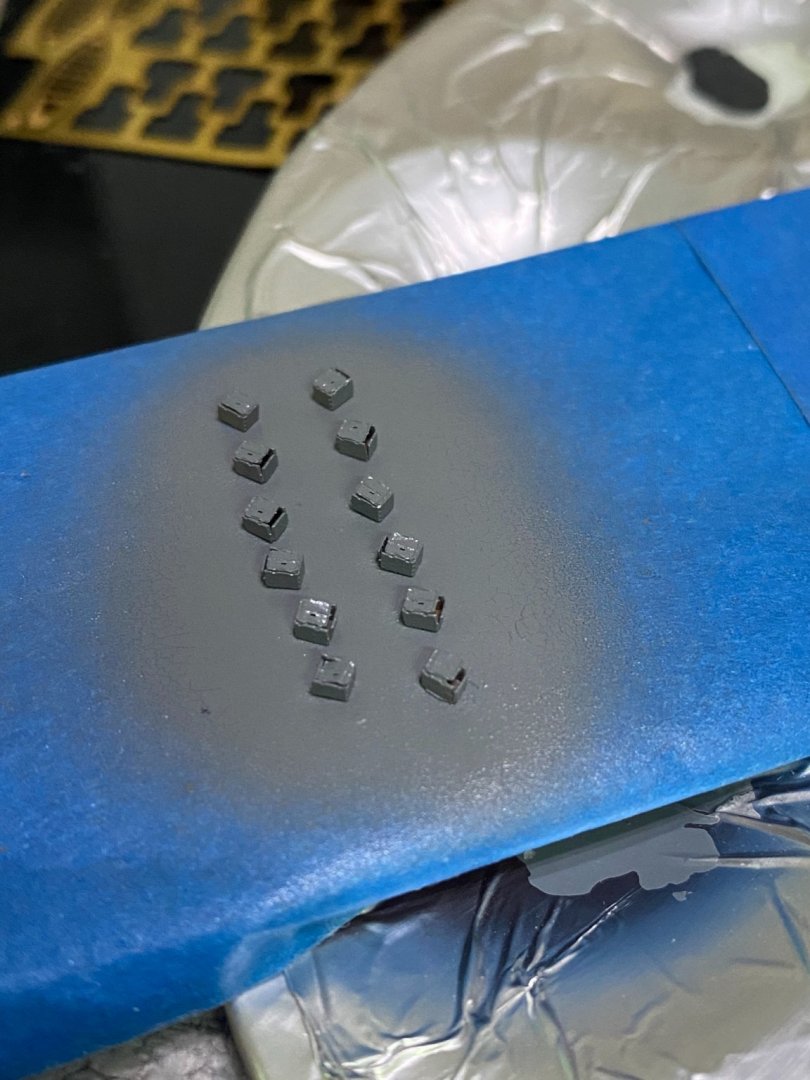
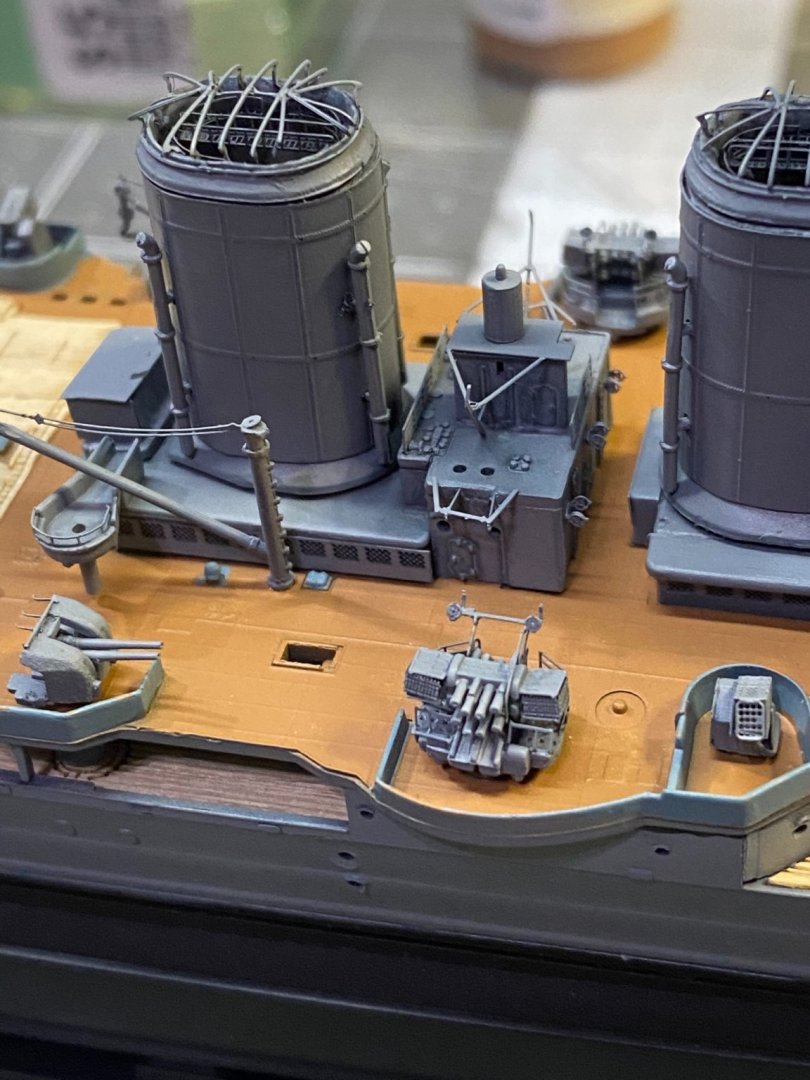
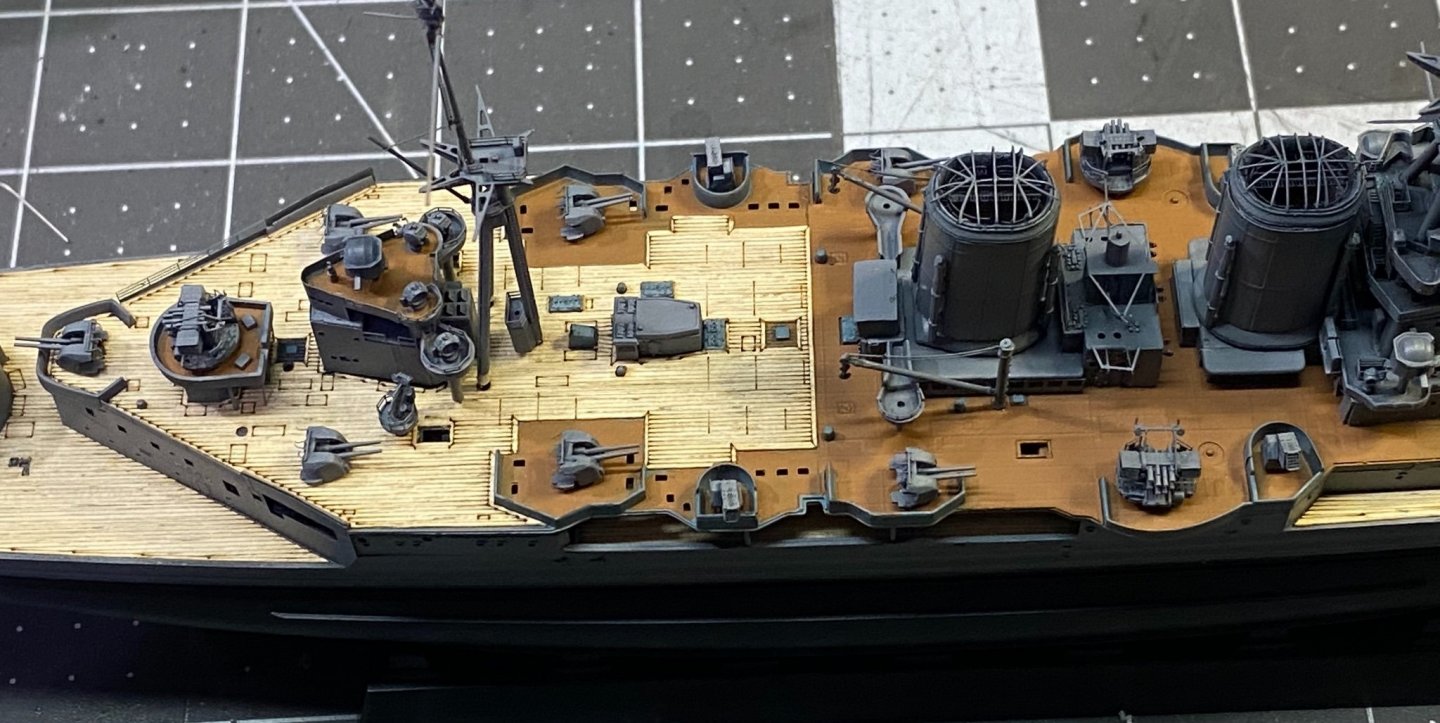
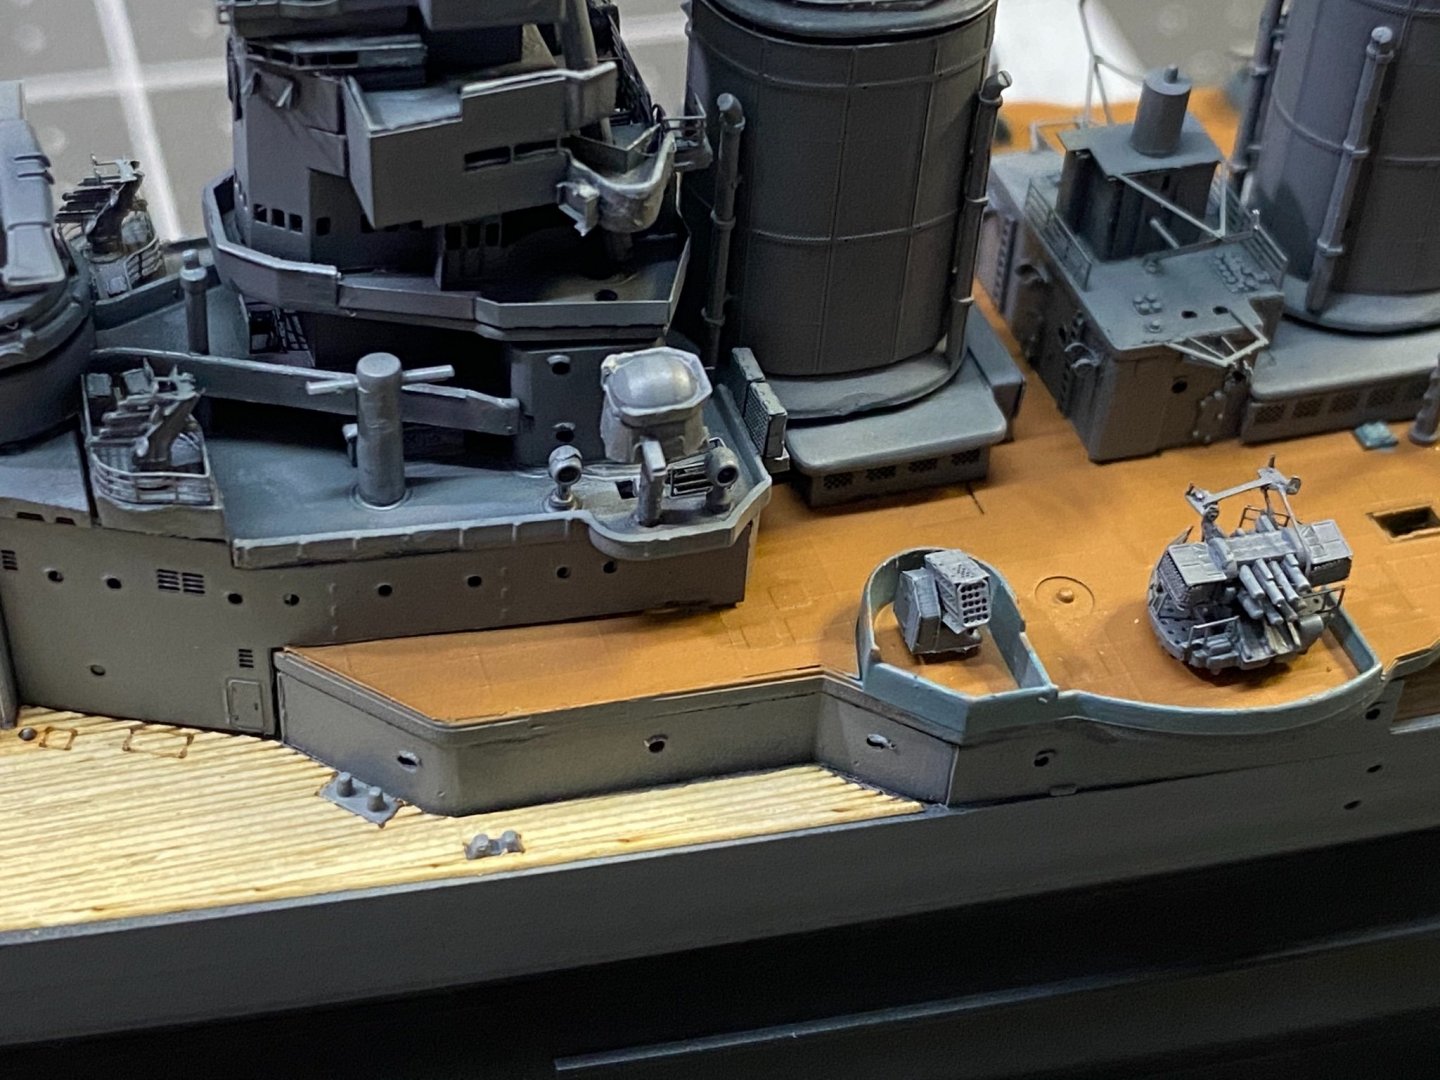
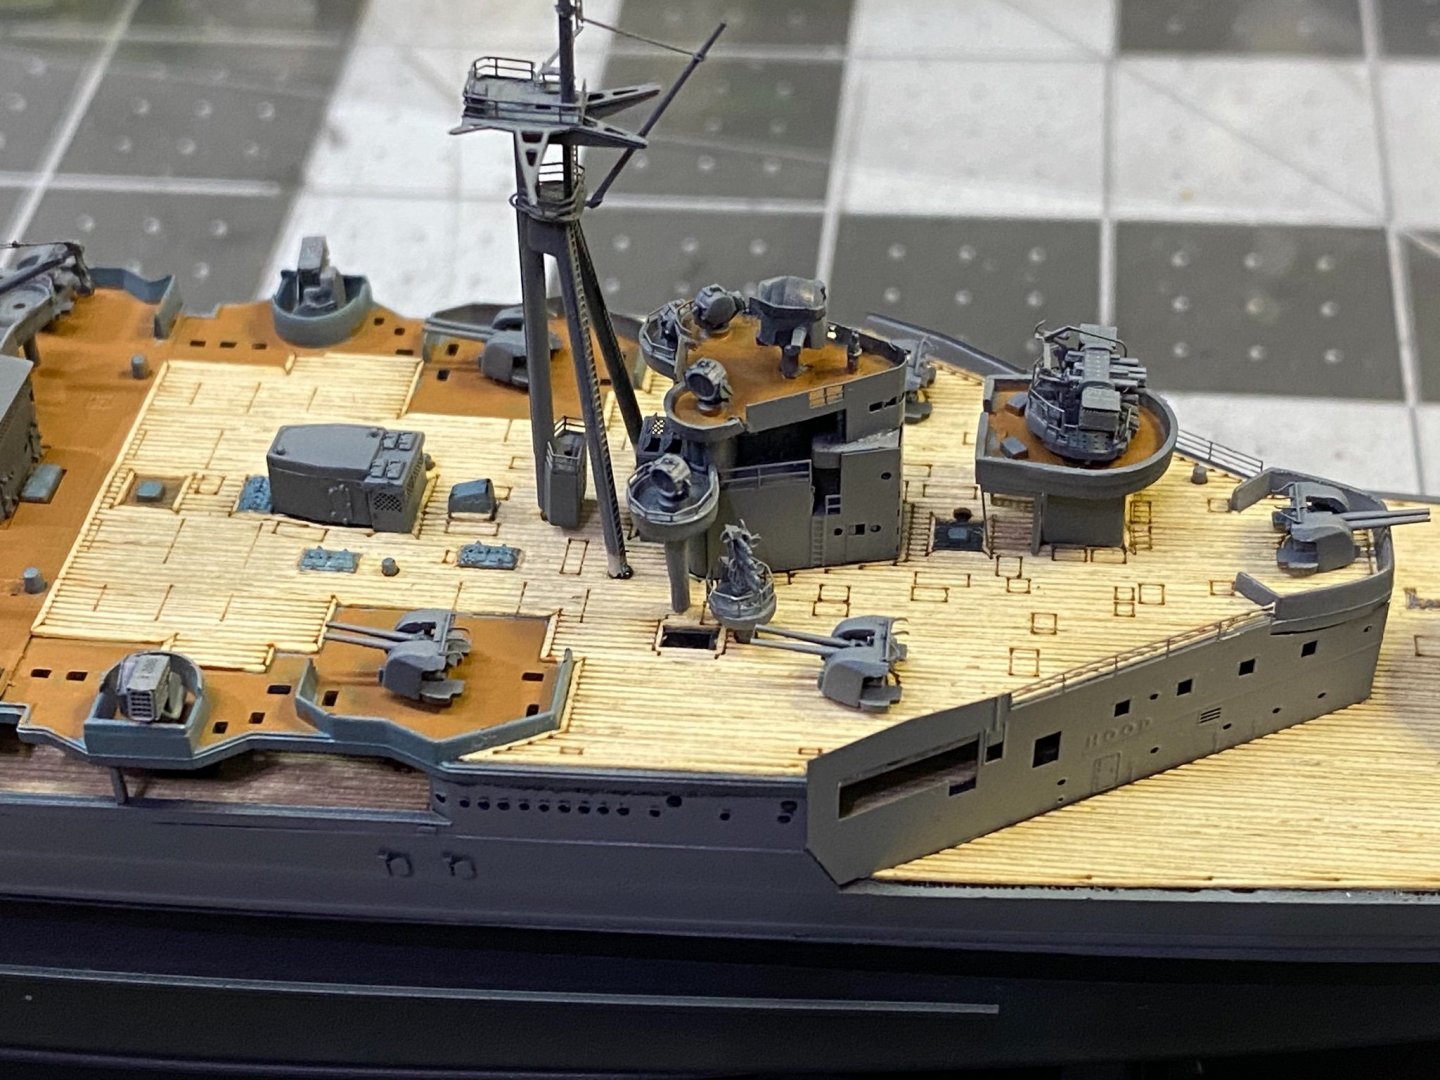
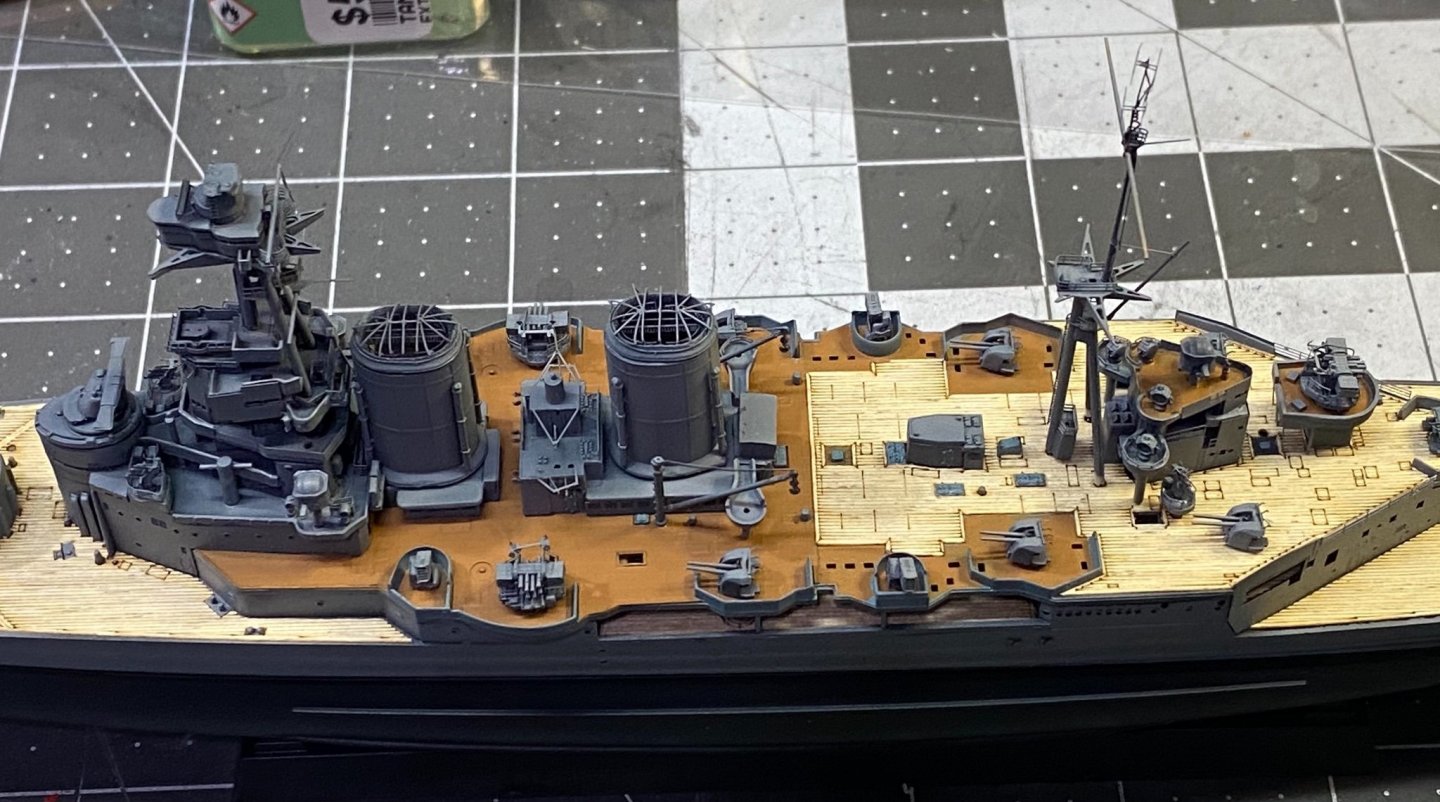
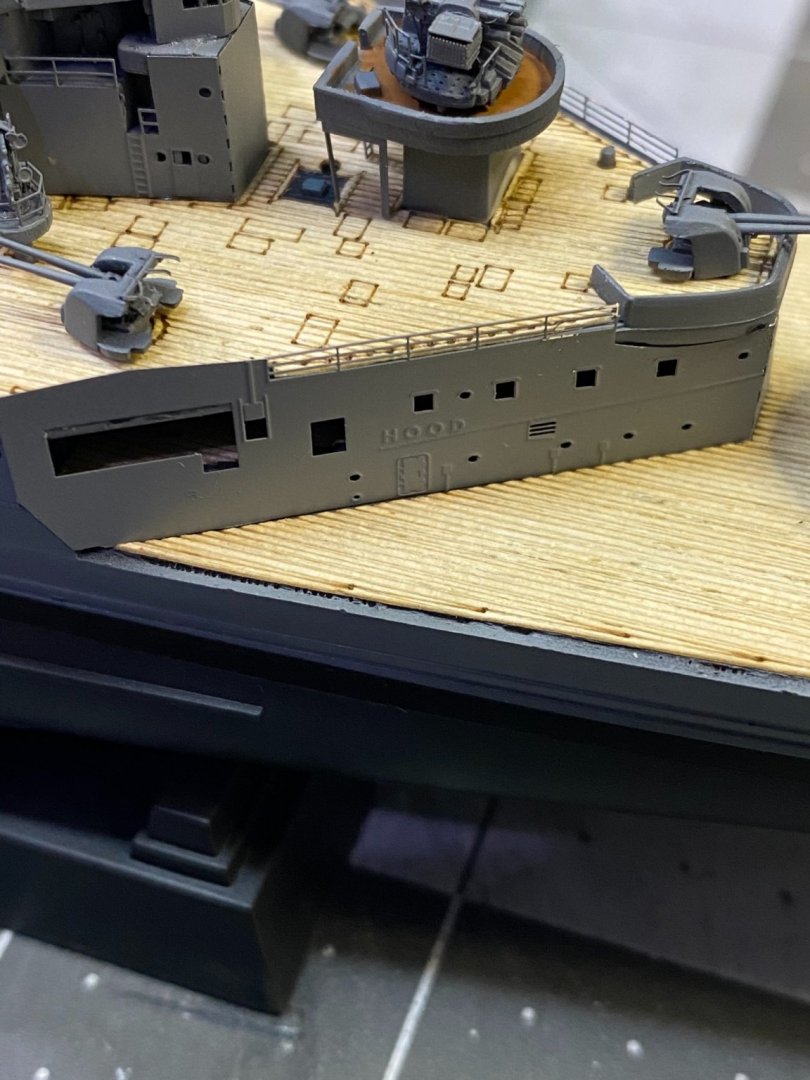
Oh, by the way, I tried out Mig Ammo One Shot primer for the first time on the photo etch ammo lockers seen in the previous photos. The primer is (gray or black) acrylic, and it seems to cover photo etch very well with no tendency to peel or flake off.
-
One inexpensive change you can make is to use a mirror instead of the glass bed that came with your machine. Mirror glass is much flatter and less likely to be deformed.
Also, cannot emphasize enough how much difference a build pad can make. Like this for instance: 3D Printer Magnetic?Hot Bed Sticker Pads for Ender-3 Build Surface 235 X 235 MM | eBay
- yvesvidal, Canute, Old Collingwood and 4 others
-
 7
7
-
-
15 hours ago, king derelict said:
Yves
You are working masterfully on this.
I set up my newCreality printer and downloaded the Flower corvette files and so far have failed to print anything. Eight attempts failed to adhere to the bed and either created a ball of spaghetti as the filament detached or quickly deformed the hull section as part of the print moved on the bed. I have gone to using a brim around the part which may give me dimensional issues later but that has stuck to the bed at last but then nine hours into the print the filament snapped; looks like an air bubble in the filament. Attempt number ten is three hours in and we shall see what happens. 😄
Thanks for the inspiration to try this
Alan
Alan
Sounds like your extruder is too far away from the print bed. If too far away, the filament cools too quickly and does not adhere well to the bed. If it's too close, the extruder will push the filament on the bed.
PS: At one time, I had all kinds of problems with my project moving off the print bed and tried all sorts of things to correct the problem. Finally, I bought a print pad and that solved my adhere issue. The print pads are cheap and it's worth a try if you cannot get your issue sorted out. Printing directly on glass just did not work well for me.
- lmagna, Egilman, Old Collingwood and 4 others
-
 7
7
-
-
Going to be a stunning model. Looks great!
-
Just now, lmagna said:
Wow Craig
Your Hood is really coming about. I think it is not a stretch to say that it possibly may be the best Hood build I have ever seen, in ANY scale! Hard to believe there is still more to come and it is not even done!
Thanks for the compliments Lou. it's been fun to build this far and look forward to more offerings from this company. Keeping my fingers crossed, they are an excellent value for the dollar spent.
-
Just now, Old Collingwood said:
Will you be doing same as I did on my Warspite - and cutting out the small pieces of decking under all those rectangles?
OC.
I don't plan to cut or remove any deck portions not pre cut.
-
Just now, RogerF said:
I have now posted pictures to the gallery for the very first time. 7 photos of my Revell 1/44 U-Boat with Griffon upgrade. Not perfect by any means but I'm pleased with it as a starting point.
Very nice model Roger! Loved seeing the photos of it.
-
Great choice OC! You will get a lot of pleasure with the airbrush system.
95% of the problem issues new users experience with airbrush relate to learning the correct ratio of paint to thinner for the particular paint you're using, and keeping the airbrush clean and free of clogs.
Like Ken said, practice, practice, practice,
Congratulations on your new purchase.
-
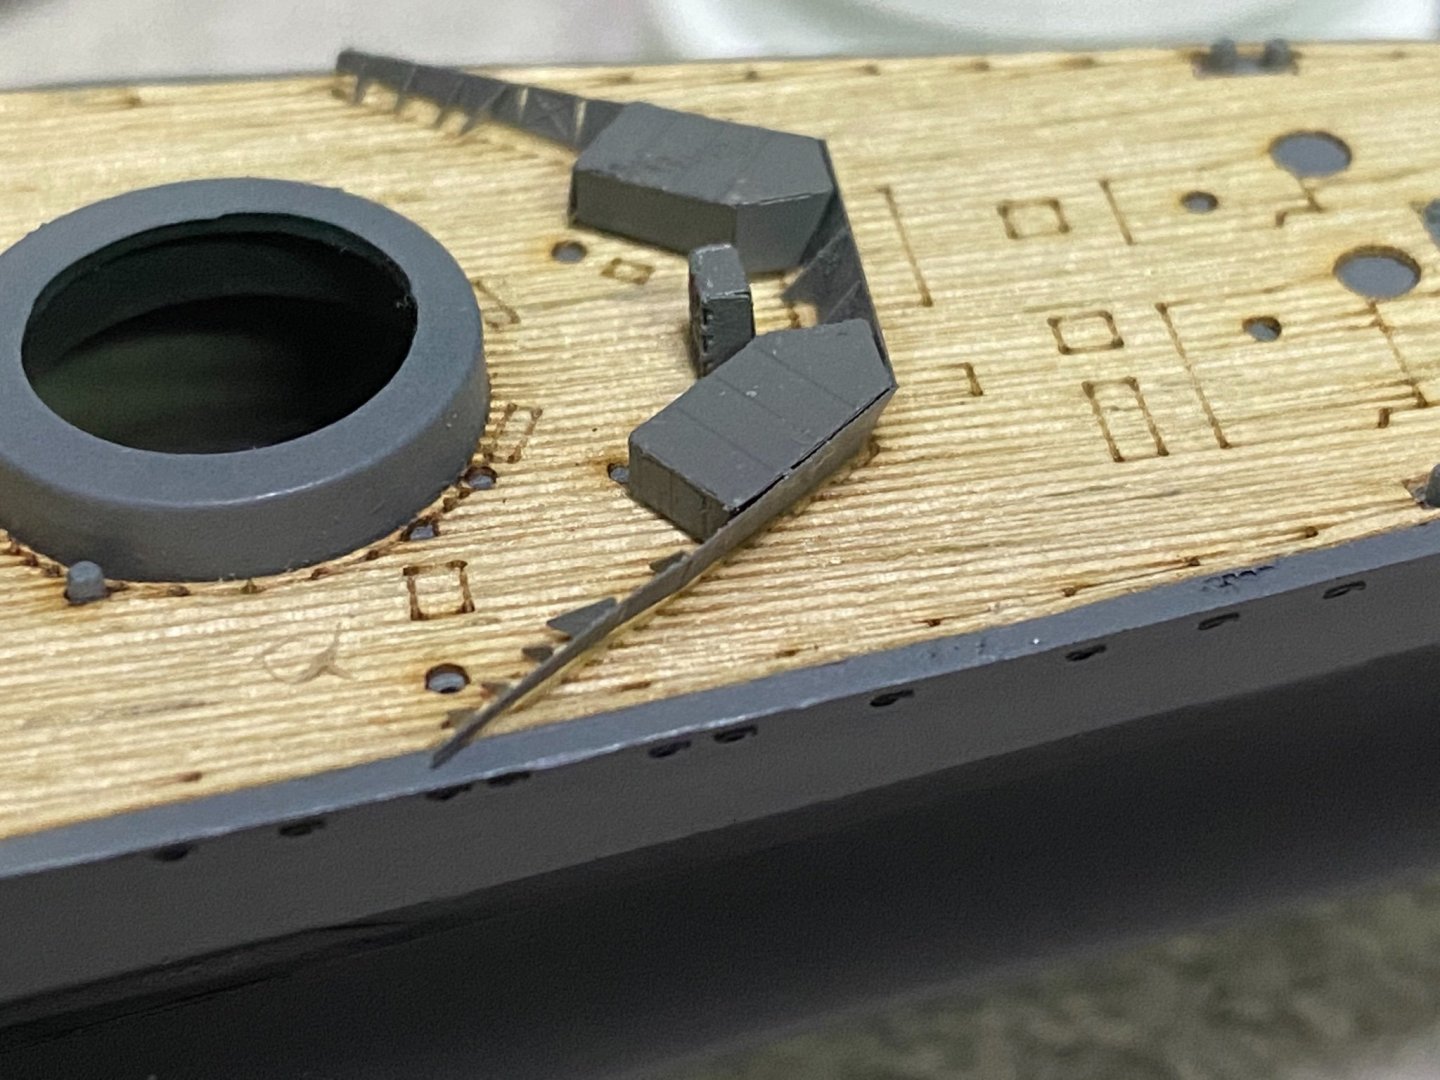
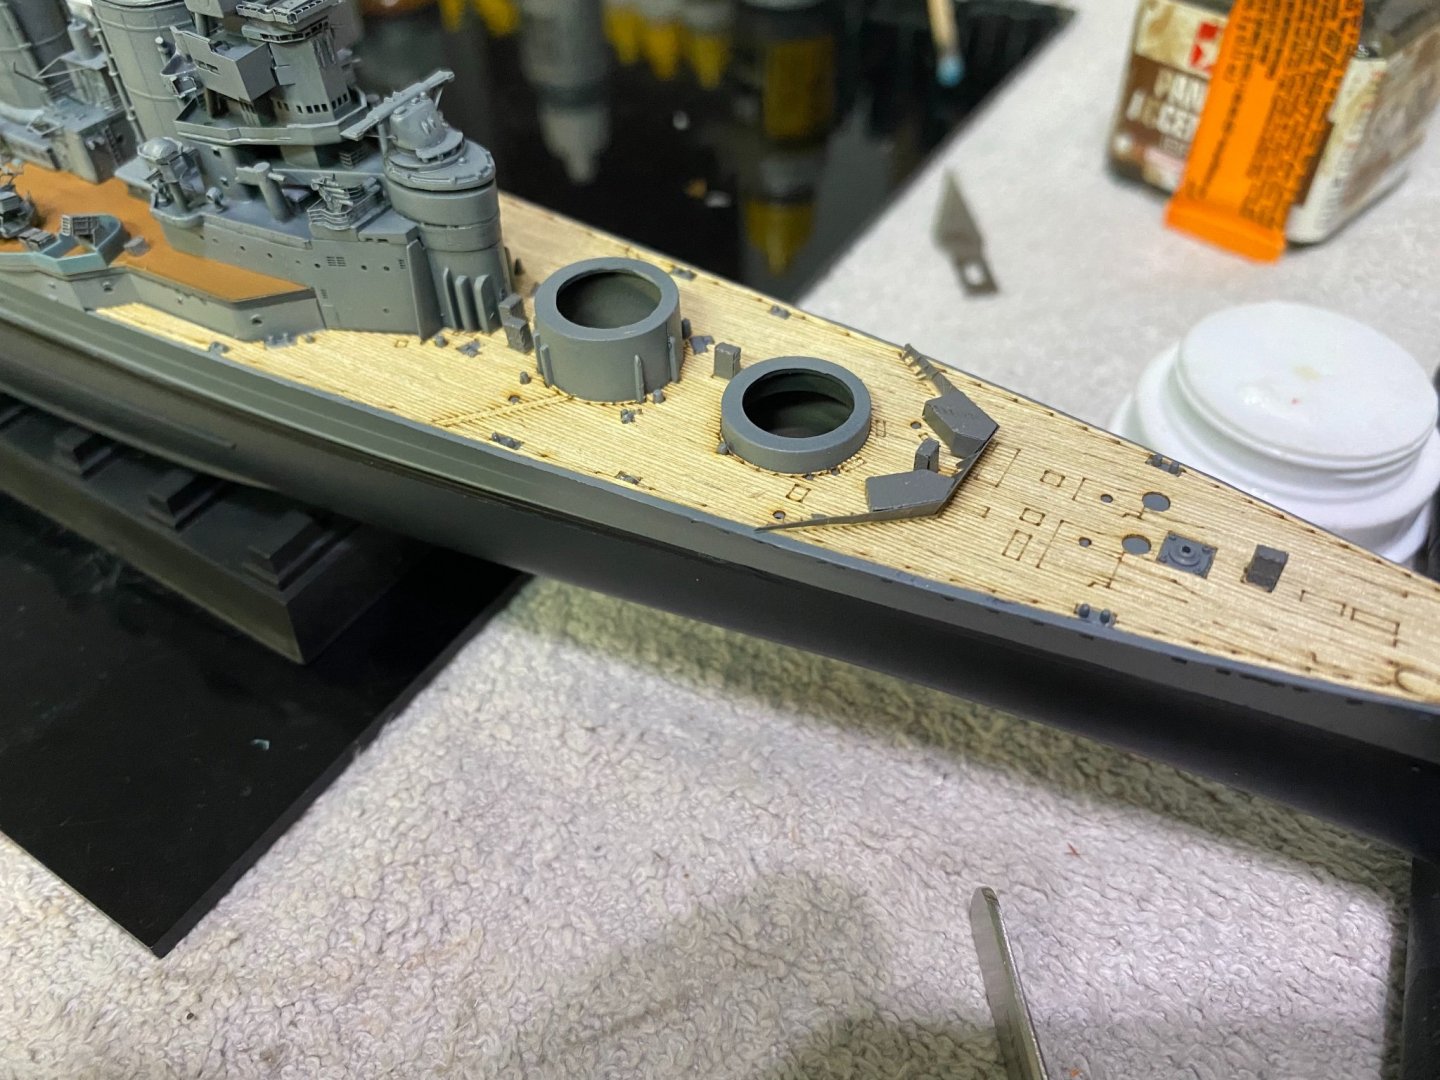
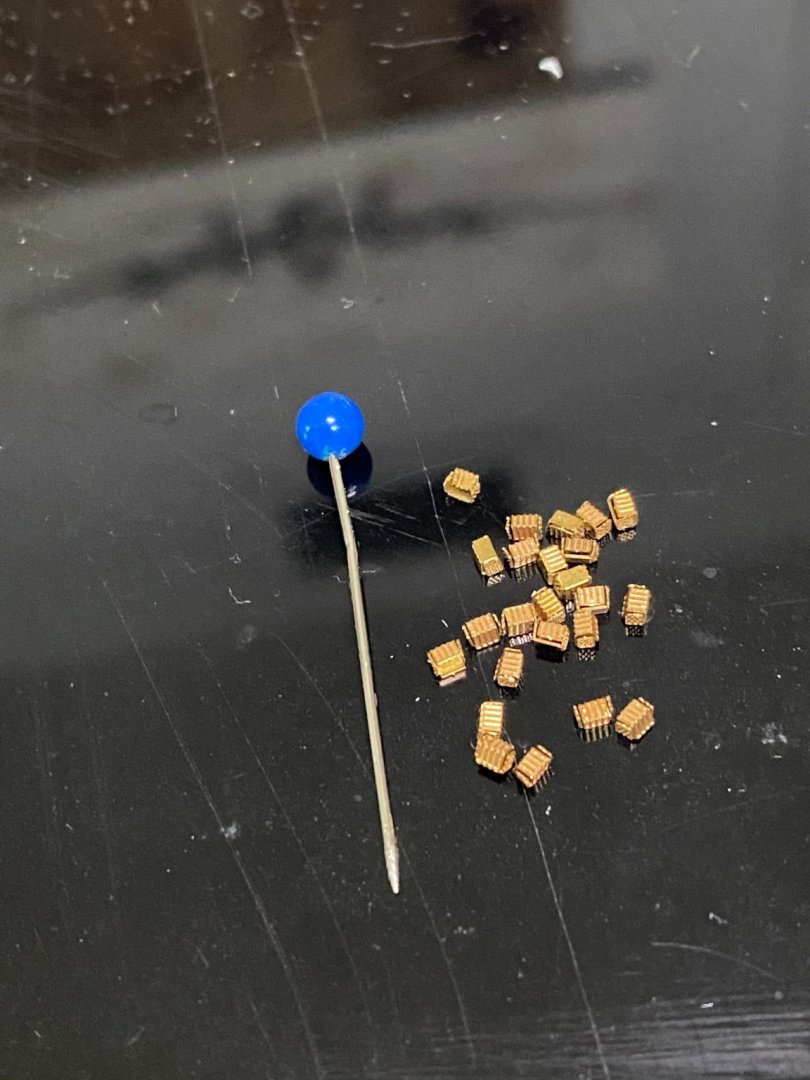
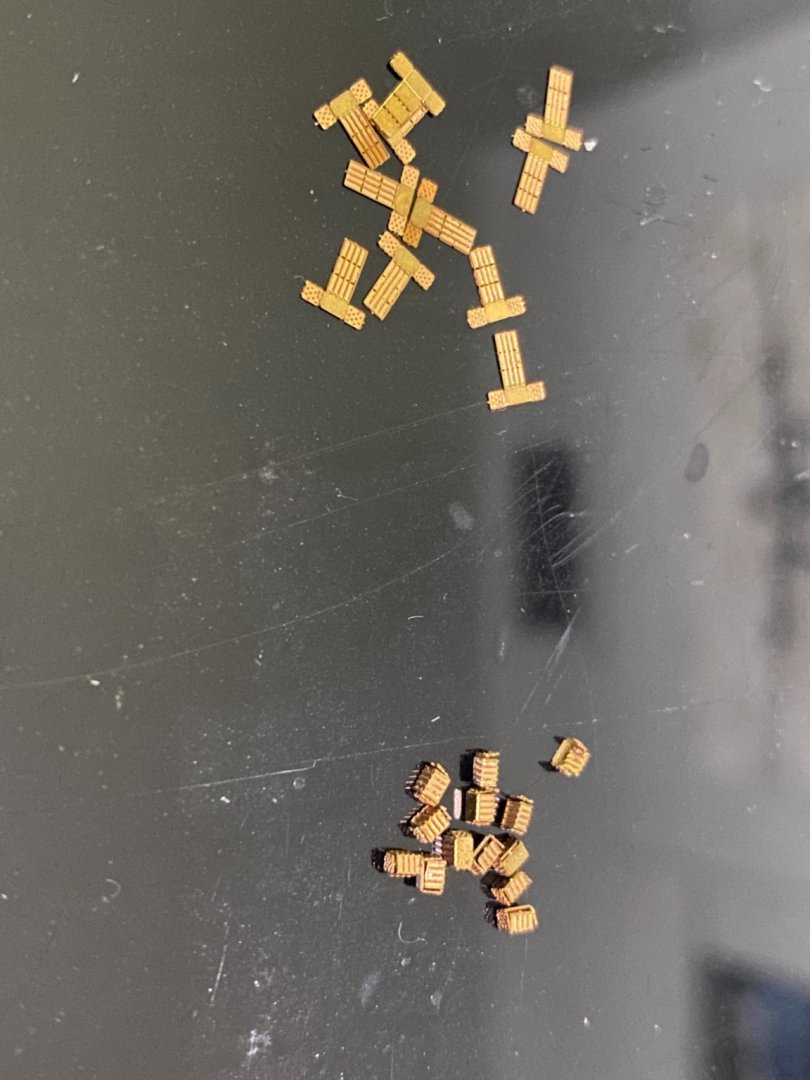
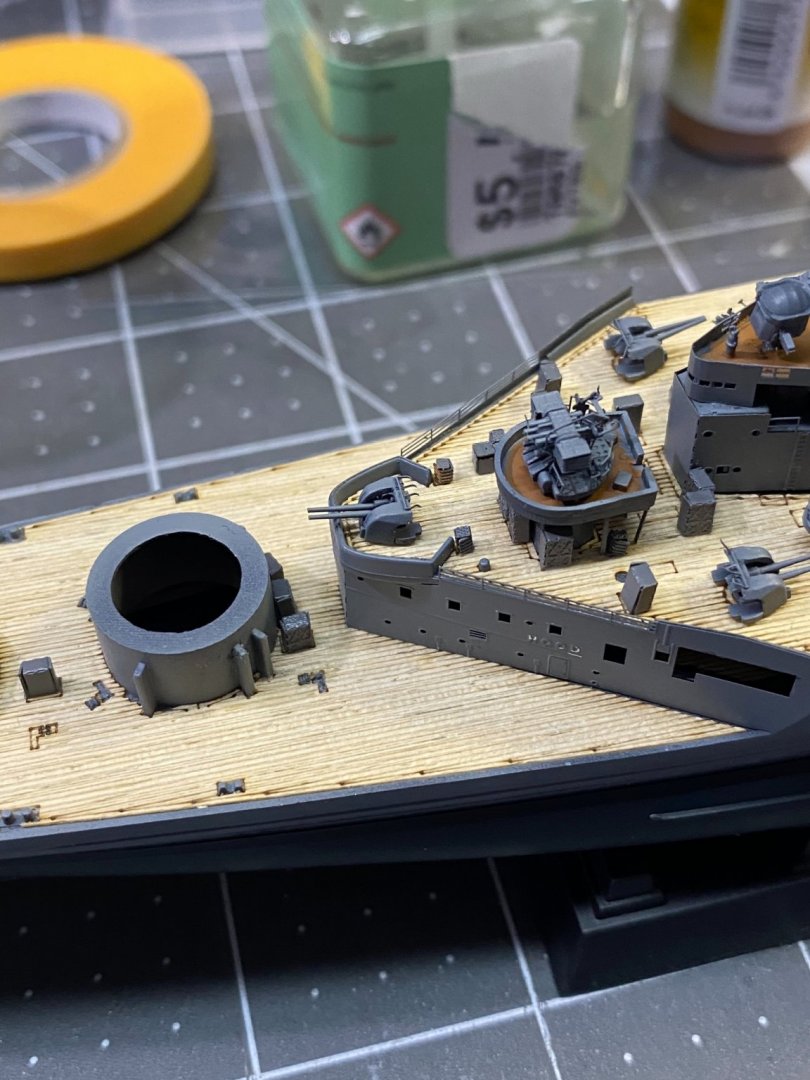
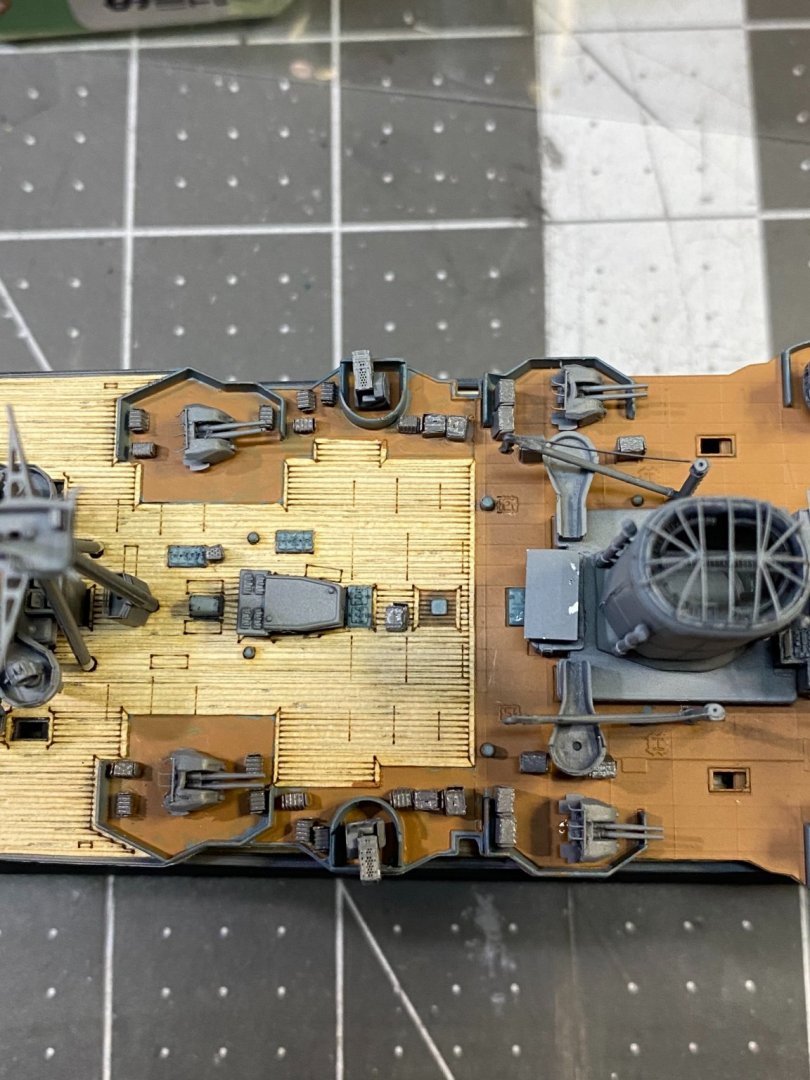
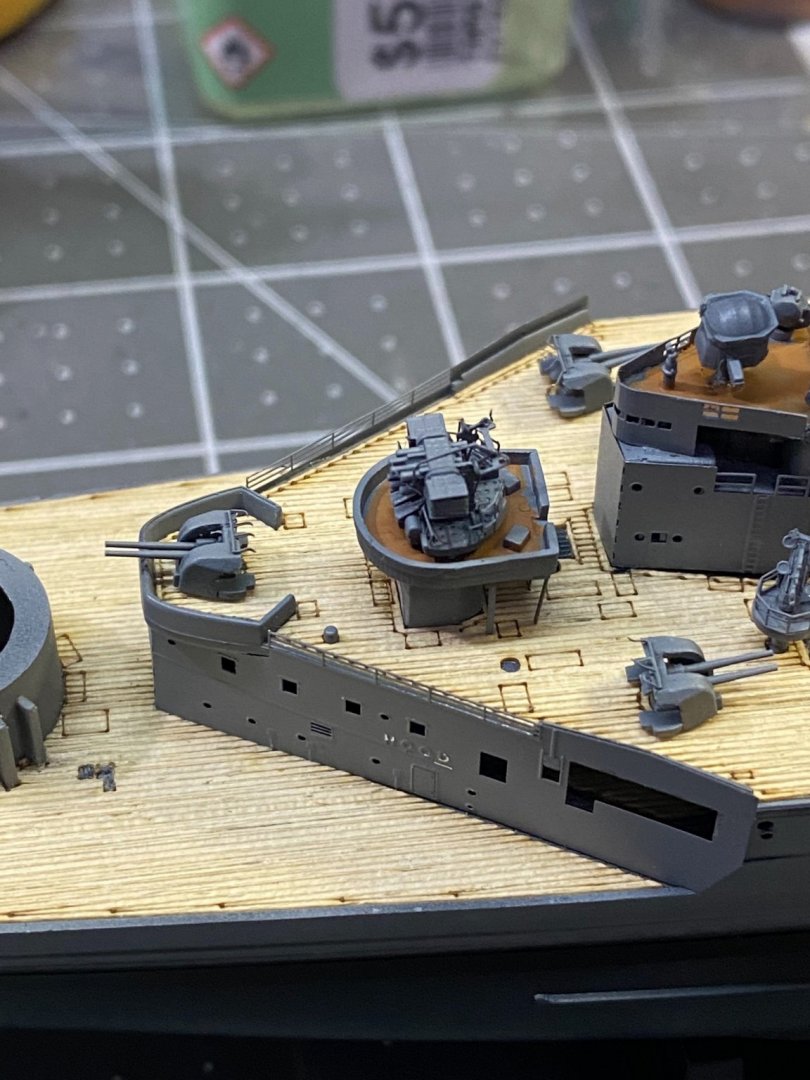
If you look closely at the decks, there are numerous rectangles scattered all over, about 50 or 60 of them. These are locations for storage lockers and ammo boxes for the most part. Got a whole lot of micro "hold-and-fold" photo etch to create the lockers and boxes, then primer and paint them before installing. Not really looking forward to that but will grit my teeth and getter done.
-
-
40 minutes ago, Old Collingwood said:
Would I need a 3 ltr tank?
OC.
Yes, it's much better than no tank. It keeps your compressor from constantly running.
- mtaylor, Canute, popeye the sailor and 1 other
-
 4
4
-
I would choose the first setup, the compressor with the air tank attached. It's worth the extra money to get that compressor with the air tank.
And by the way, that is a very good airbrush.
-
11 minutes ago, Old Collingwood said:
I am seriously looking into getting an airbrush kit, it will be my last chance to get one if I do - I just think it will make some of my kit painting easier than using rattle cans outside, I have been looking in Flea Bay and seen a few (one that impressed me was not just the low noise 54db but its from an actual UK airbrush specialist.
Is it a case of getting a fairly good one taht would serve me over the years - or would any cheap one do as long as it was quiet under 55db?
OC.
Think about it as learning to ride a bicycle. After you have learned to ride one and used it a couple of years, you can then appreciate a higher quality one. Until then, you are concentrating more on learning to use it than you are the quality of it. So I would say yes, a cheap one should be fine to get you through the learning curve which will take a while. I'm going to be honest and tell you it took a year or more before I ever got the hang of proficiently using my airbrush. And even after that, you learn more and more the more you use it year after year.
- Ryland Craze, Canute, king derelict and 2 others
-
 5
5
-
Just now, Landlubber Mike said:
So you just purchase the CAD plans from someone that has drawn them up, scale the parts up or down, and then print them out?
It's not as simple as using a CAD plan. To be suitable for 3D printing, special attention is required to massage the CAD plan so it can "guide" the 3D printing process. The holy grail is learning to prepare your own 3D plans so that way you can model anything you wish, but man, that is an intimidating and long process learning to do it not to mention the cost of the drawing software. Purchasing a tried and proven plan such as Yves has done is the way to go, but there are a lot of CAD drawings out there not suitable at all for 3D printing.
- mtaylor, popeye the sailor, AON and 7 others
-
 10
10
-
Just now, yvesvidal said:
1/32th makes for a giant model..... In 1/48th, the hull is 1.25 meter long.
Yves
That is very impressive. The inner detail makes it extraordinary.
- Canute, lmagna, popeye the sailor and 3 others
-
 6
6

.jpg.7e80607770d9078b2f0b470e8c9c33ac.jpg)



Flower-Class Corvette by king derelict - FINISHED - Bensworx Virtual Kit - 1/48 - a log for the less gifted
in - Kit build logs for subjects built from 1901 - Present Day
Posted
Those new springs will help a lot I think.