


Overworked724
-
Posts
1,218 -
Joined
-
Last visited
Content Type
Profiles
Forums
Gallery
Events
Posts posted by Overworked724
-
-
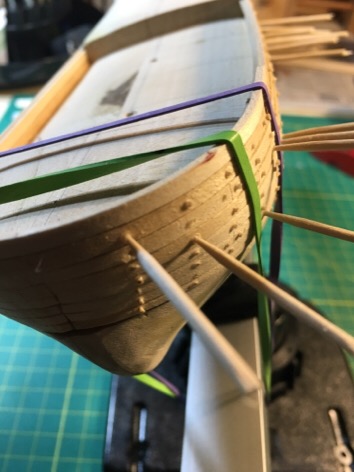
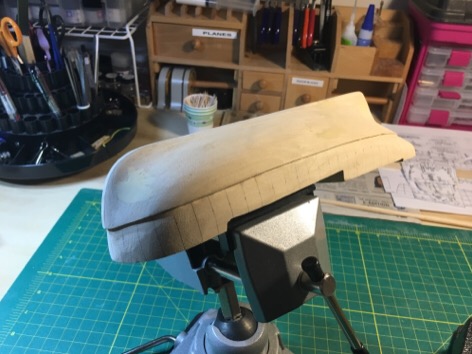
Well - a couple of problems.
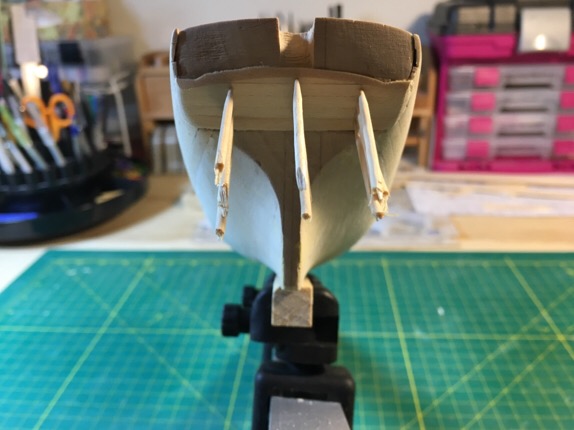
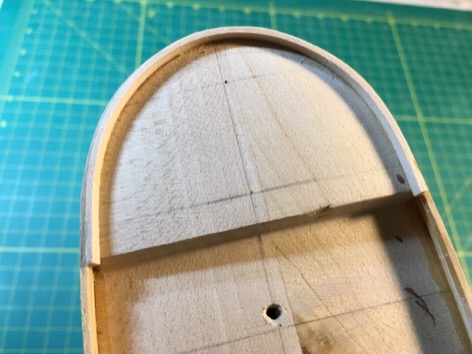
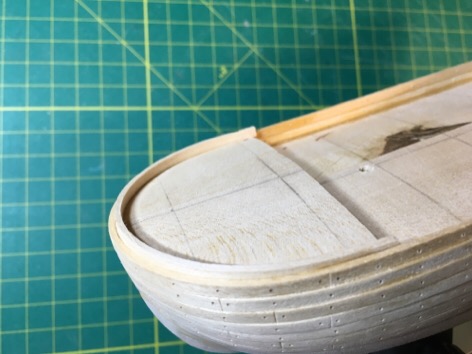
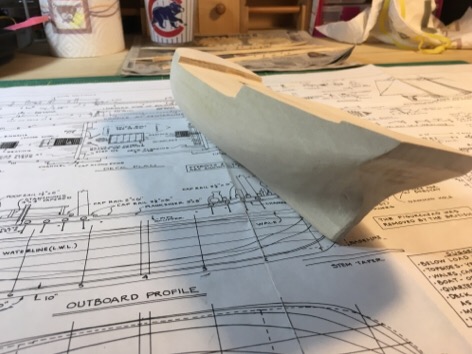
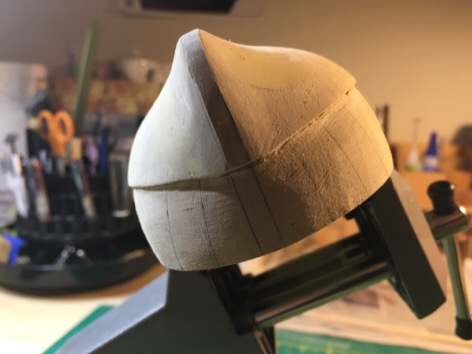
1. Keel sanding - where it meets stem is 'rounded' as you see in the pics.
Not my fault in this case and the uncarved hull came this way from ShipWays. Will do my best to address with filler, but not exactly skilled as a putty master. I could shave the stern and put in a filler bock - then reshape the hull to obtain a nice sharp corner, but not entirely certain I wouldn't screw other things up (i.e. over sand the keel as I shaped the stern). Thinking safety here...try wood filler first then Plan B is adding wood and shaping.
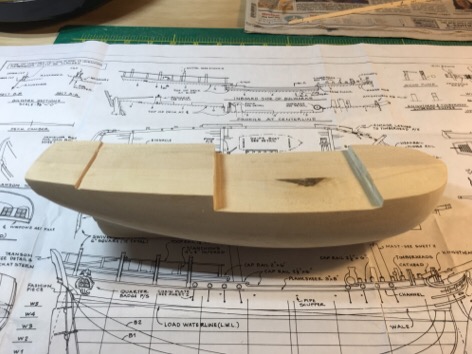
2. Deck shaping/Bulwark removal - when I was following Chuck's practicum, I overshaved both the bow/stern 'steps' to the forecastle/quarter deck.
Crap. (I christen thee...the USS WhatInTheHellDidIJustDo) So...as 'wood is forgiving', I will fill it in with wood. But what wood? Since I have only overshaved by approximately 2-3mm on both sides, I can simply 'add' a veneer on both sides and shape appropriately. So, this is where I will veer off script a bit and do my own thing – because it is my model!
Instead of basswood or balsa veneer – which would simply be painted, I am thinking to use a veneer of dark walnut. This would allow a visual break in viewing the painted inner bulwarks. I think it might be a pleasant modification if I also stain the wood to help it blend better with the amber color of the bulwark paint.
Note – I have not yet mixed the bulwark paint, and there is no way I am using flat red – too bright and garish. So an darker rust or amber color would be less gaudy, and more easy on the eye. Not trying for historical accuracy – I’m trying to enjoy myself and make a nice looking model! (Also, my wife said she didn’t like the red painted bulwarks in Chuck’s practicum – so her request and only input is to choose a different shade of bulwark red. =-)
3. Cap rails - I over sanded in the side near the forecastle deck rail meets the main deck rail.
This means my cap rail might look 'odd or lopsided' if I stick in on without trimming down the respective width of the cap rail - which may impact overall appearance. Nothing to do at this point but see how it goes - the cap rails on the forecastle deck have to be carved out of a larger sheet - but if I thin them down on the ends, it may impact how I can make the volutes for this rail. TBD
- Cuda1949, Bishophobbies, husky1943 and 2 others
-
 5
5
-
Tung oil. New found respect. Holy moly...what a difference. After the experiments and feedback from forum and club mates...the use of stain would have been a disaster. Thanks guys!!!
Moving on!!!

- thibaultron, husky1943, Chuck and 1 other
-
4
-
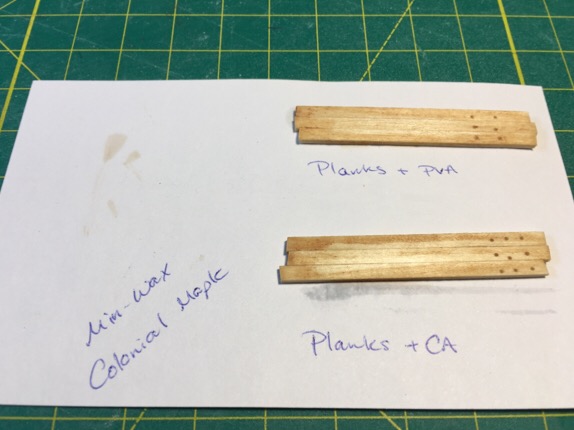
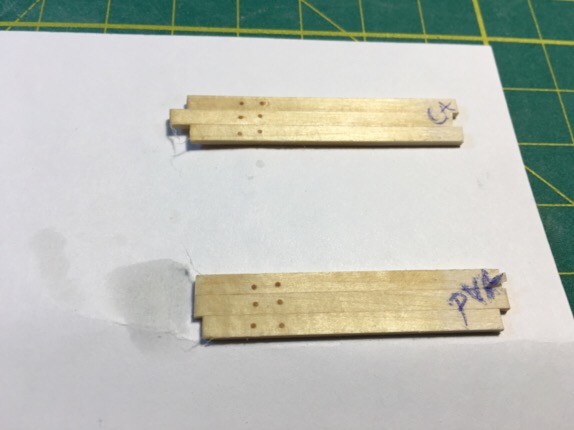
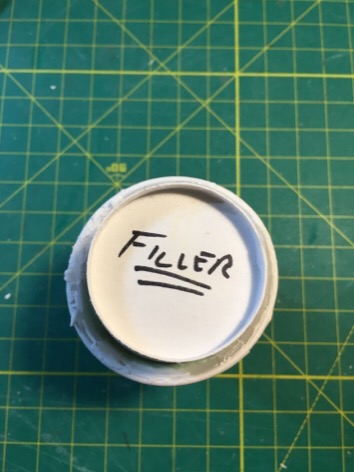
A note on staining. Had my heart set on a deeper color stain. However, I noticed that superglue keeps stain from absorbing into the wood. My club mates recommended I use ting oil. My bad for mixing PVA and CA during the planking process. Since I don't want to paint over the wood and trunnels (after all that work) considering to go with ting oil. See pics below for some experimental planking using CA followed by staining. Yikes.
- thibaultron, husky1943 and Elijah
-
3
-
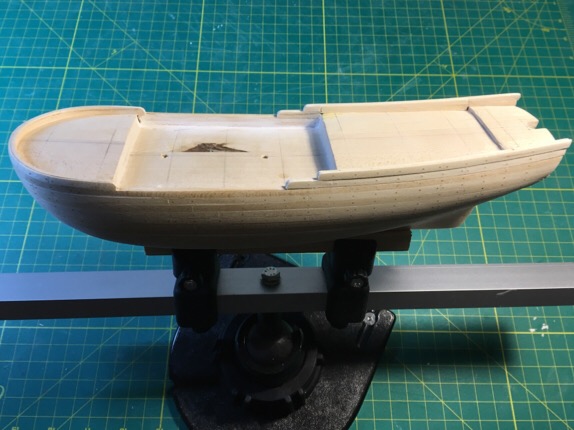
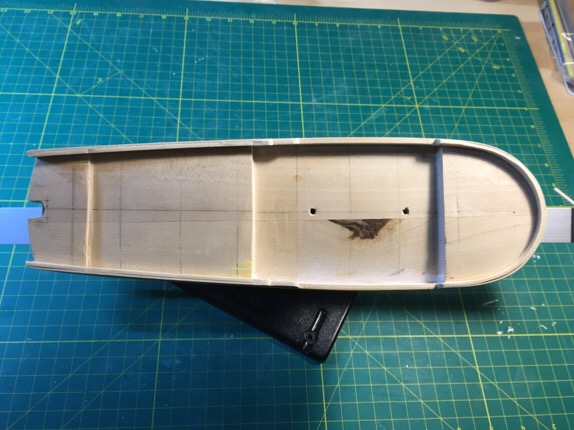
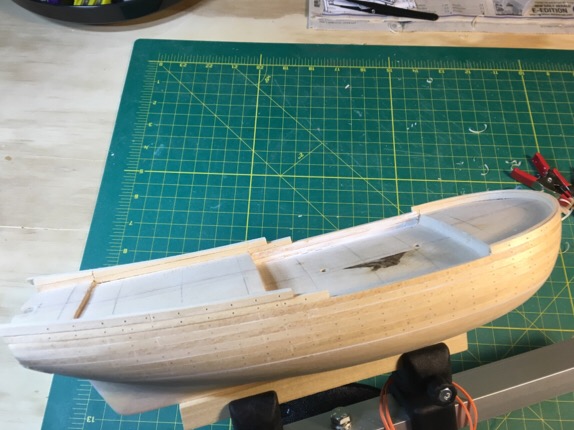
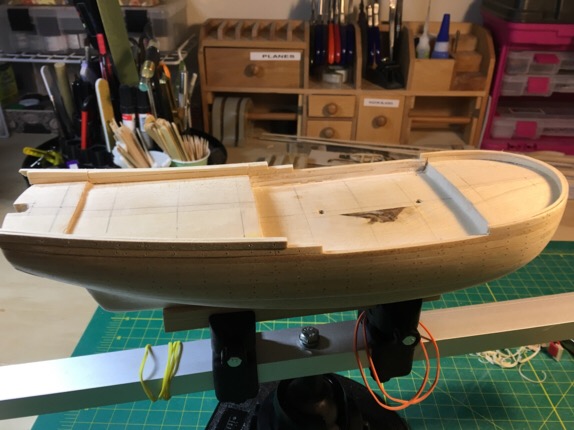
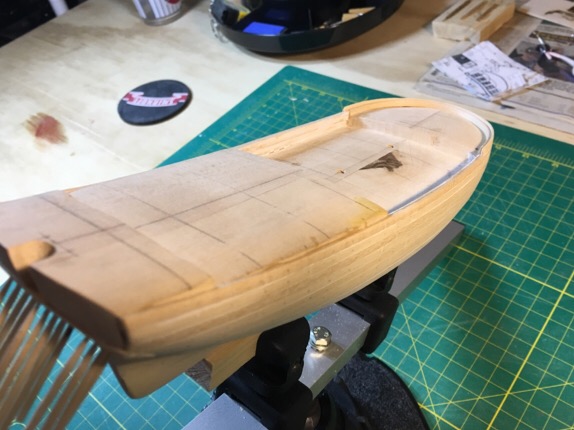
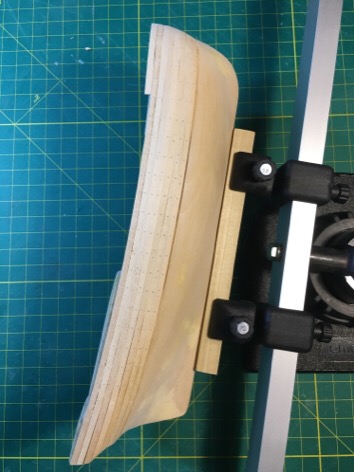
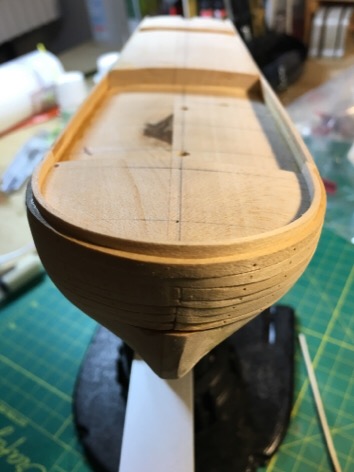
It's strange how this website orders photographs. Attached are a few pics of my ship after final planking and treenails. Now I'm ready to paint the bulwarks and get the deck started.
Think I over sanded near the bow caprail where the volutes will go...oh well. Will adjust.

-
Not sure if the tree nails are accurate but they look nice.
Sanding, staining and painting in my future.
Also remaking stem as over sanding the interior curve led me down the 'rabbit hole' and I lost my perspective.
-
Planking almost done. Amazing how much strength that inside layer adds to the bulwark.
Pressing on!....

-
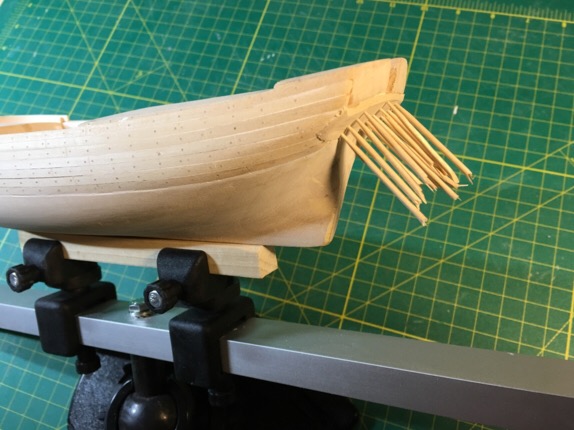
Laughed when I saw the pic of the tree nails in the stern counter. Had this vision of my ship screaming "Oooouch!!"
- thibaultron and Elijah
-
2
-
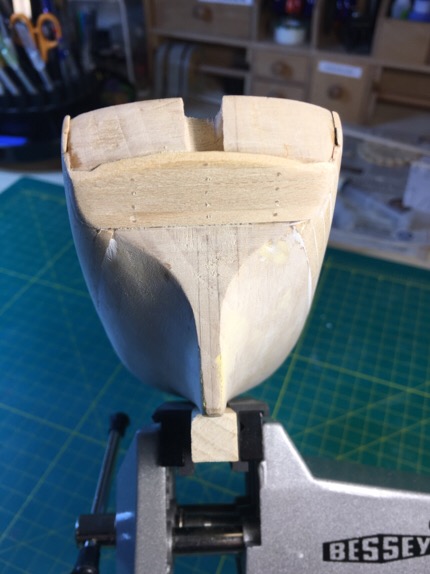
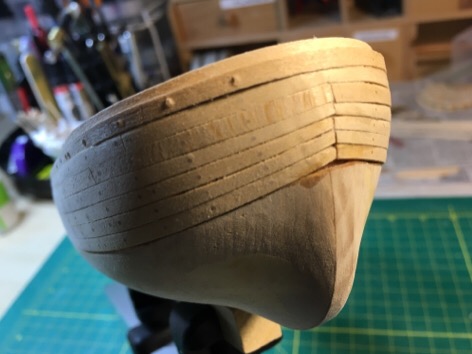
Counter in...think I might have over angled my sanding strip but the stern whale piece should cover it. Also built up the bulwarks and trimmed down the port side at main deck. Wood filler to the rescue in evening out bulwark walls...
Taking it slow now.
- Elijah, thibaultron and BLACK VIKING
-
3
-
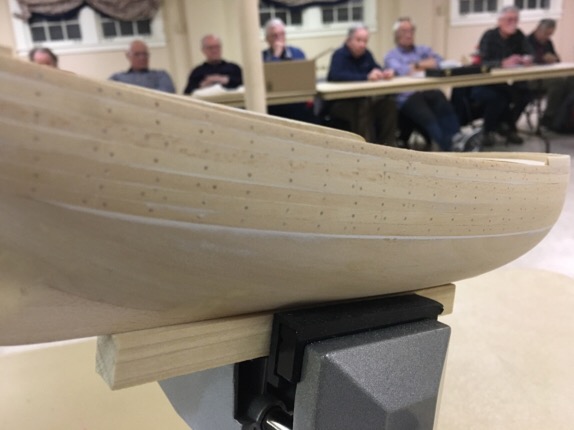
Just a fun pic. Nice shot of my ship with my mates in the background at last night's Midwest Model Shipwrights meeting. ⚓️
- thibaultron, Stoyne, Elijah and 1 other
-
4
-
-
Good Luck! Building this same model myself...but got sidetracked temporarily on a solid hull model!
- John Allen and Dutchman
-
2
-
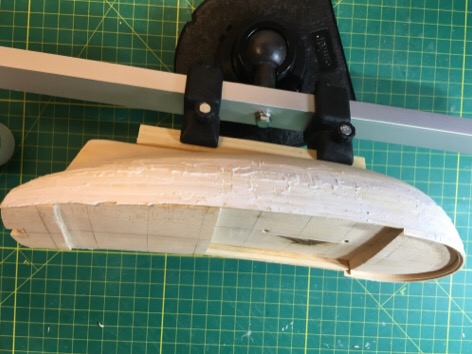
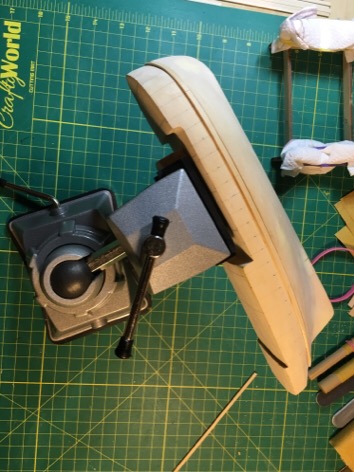
I actually have two kinds, both shown above in the pics. I use them both, and they have heavy bases so don't need to be bolted down, but you can if you wish.
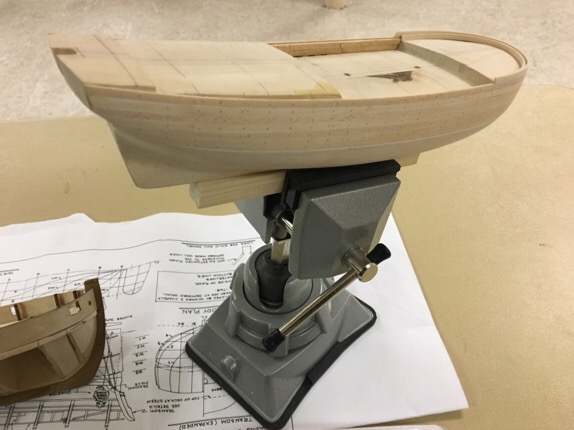
I attached a mounting block on the main deck so I could work on the underside of the ship. And also drilled pilot hole into the keel for mounting purposes later...and can attached a block through them if I wish to mount it upright. For a small ship like this, I can use both without fear. A longer ship would be best using a keel clamp as the two points of attachment give it great stability.
Panavise:
And Ship Modeler's Vise (keel clamp):
Hope that helps. I use them both a lot!
- thibaultron and Elijah
-
2
-
-
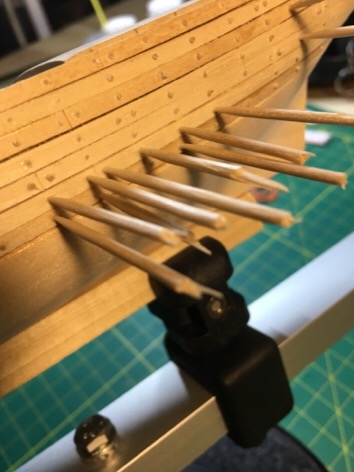
Quick picks of my toothpick/eElmer's glue tree nail process. Yes...cost savings from getting the cheapie toothpicks because you get 2 tree nails per toothpicks. Think green people!
Pics of gaps in the planking. Kills me but wood filler(Elmer's color change stuff) is water soluble. Thin it out with some water and it spreads like butter.
Might have to recarv the fake butt joints.
Good night all!


- dcicero, Elijah, jablackwell and 3 others
-
6
-
Agreed! Also good to see him kit bash a junior level kit to give you a sense of limitless possibility in building a modeL!
- Elijah and thibaultron
-
2
-
Amazing...looking back on the pics I am missing so much. I'll do better as I go along.
- Elijah and thibaultron
-
2
-
A brief word on my planking. Chuck's practicum fails to mention (or I missed it...which is possible)...every ship and build are different. If you trim the bow to look and feel like a can of soup...yes, the planks will be adjustable and easily stackable from stern-bow-stern. But hull geometry (which is a wierd and wonderful thing) will dictate how you can lay your planks. In my case, I had more bow curvature which forced me to consider how to even out the lay of planks. You can see that the first 5 rows of my planks above the wales requires trimming towards the bow. I had to do some math to figure out how much to trim off (and from where) in order to achieve a single flat plank that wrapped around the ship on planks #6/7.
Your ship is unique...so referencing anyone else's build log should be for information and ideas....NOT for direction..,.at least where planking is concerned.- Elijah and thibaultron
-
2
-
Sad. 2 months of work distilled down to 30 min on a MacBook to start and catch up my project.
Life goes on. Next, completion of stern inner bulwark and planking...followed by transom prep, deck, and cap rail.
Amazing. I actually know what I am(almost) talking about.
- thibaultron and Elijah
-
2
-
Planking above the Wales. Harder than it looks but a plank bender makes life easier)
Wales predetermined based on plans but need a lot of check/recheck.
Simulated trunnels (tree nails) using #73 drill in Dremel followed by wood glue and toothpicks in the holes. Shave off with straight razor...and sand down for final finish. (Have bandaids ready)
Work in progress.
- thibaultron, oscarmate, russ and 3 others
-
6
-
Sanding...(inhaled 50% of the sawdust...invested in face mask)
Trimmed bulwark down and remove 1mm external hull to allow room for planking per Chuck's great practicum (cut myself numerous times...no hospital bills were incurred. Luckily)
- thibaultron, Elijah and jablackwell
-
3
-
I have read logs on Sultana. As this was the first wooden model kit I bought – I was SO eager and vibrating with excitement to get my hands dirty and start building…only to get overwhelmed with the minutia of what tools/jigs/materials I needed to make a perfect job of my first attempt. So…this kit quickly got sidelined by a bit of frustration (as I am a bit of a perfectionist) on me part. Subsequently, started a build log for a plank on frame for newbies (Lady Nelson). However, life got in the way, and so did planking! (A skillset that will take some time to develop is planking) Fast forward many months, and the Lady has been sidelined by the Sultana. Having overcome one major obstacle…my fear of failure. Yes, I no longer care if I screw up – because that was what was holding me back from trying new things! That mind set was really killing my love of modeling (I have built many plastic models but always wanted to get into wood ship models). So….damn the torpedoes…the build logs/post/forums/ship club members really helped recharge my self confidence…and the fact that great ship models are nothing but a series of skilled mistakes overcome by patience, experience, laughter, and some wood filler. (Haha)
With that said, I can honestly say that my model's name, Sultana, could be replaced with more colorful Names….for instance:
The Bloody Thumb
The WhatTheHellDidIJustDo
The Chuckling Asymmetry (My favorite)
So…I have made some progress on my Sultana and intend this to be my first finish! I will be updating this posts with a variety of pics and lessons learned. Stay tuned!
-Patrick
- Pierretessier, WaltB, jablackwell and 4 others
-
7
-
Brilliant. Love it. Using it.
I am working on my first ship - need all the help I can get!!!
- mtaylor, -Dallen, thibaultron and 1 other
-
4
-
-
Sultana by Overworked724 (Patrick) – FINISHED - Model Shipways – Scale 1:64 – Solid Hull – First Wooden Model Ship
in - Kit build logs for subjects built from 1751 - 1800
Posted
Here is a pic of my rough step forecastle and quarter deck step veneers. Wonder if this will work as good as I hope.