Baker
-
Posts
4,286 -
Joined
-
Last visited
Content Type
Profiles
Forums
Gallery
Events
Everything posted by Baker
-
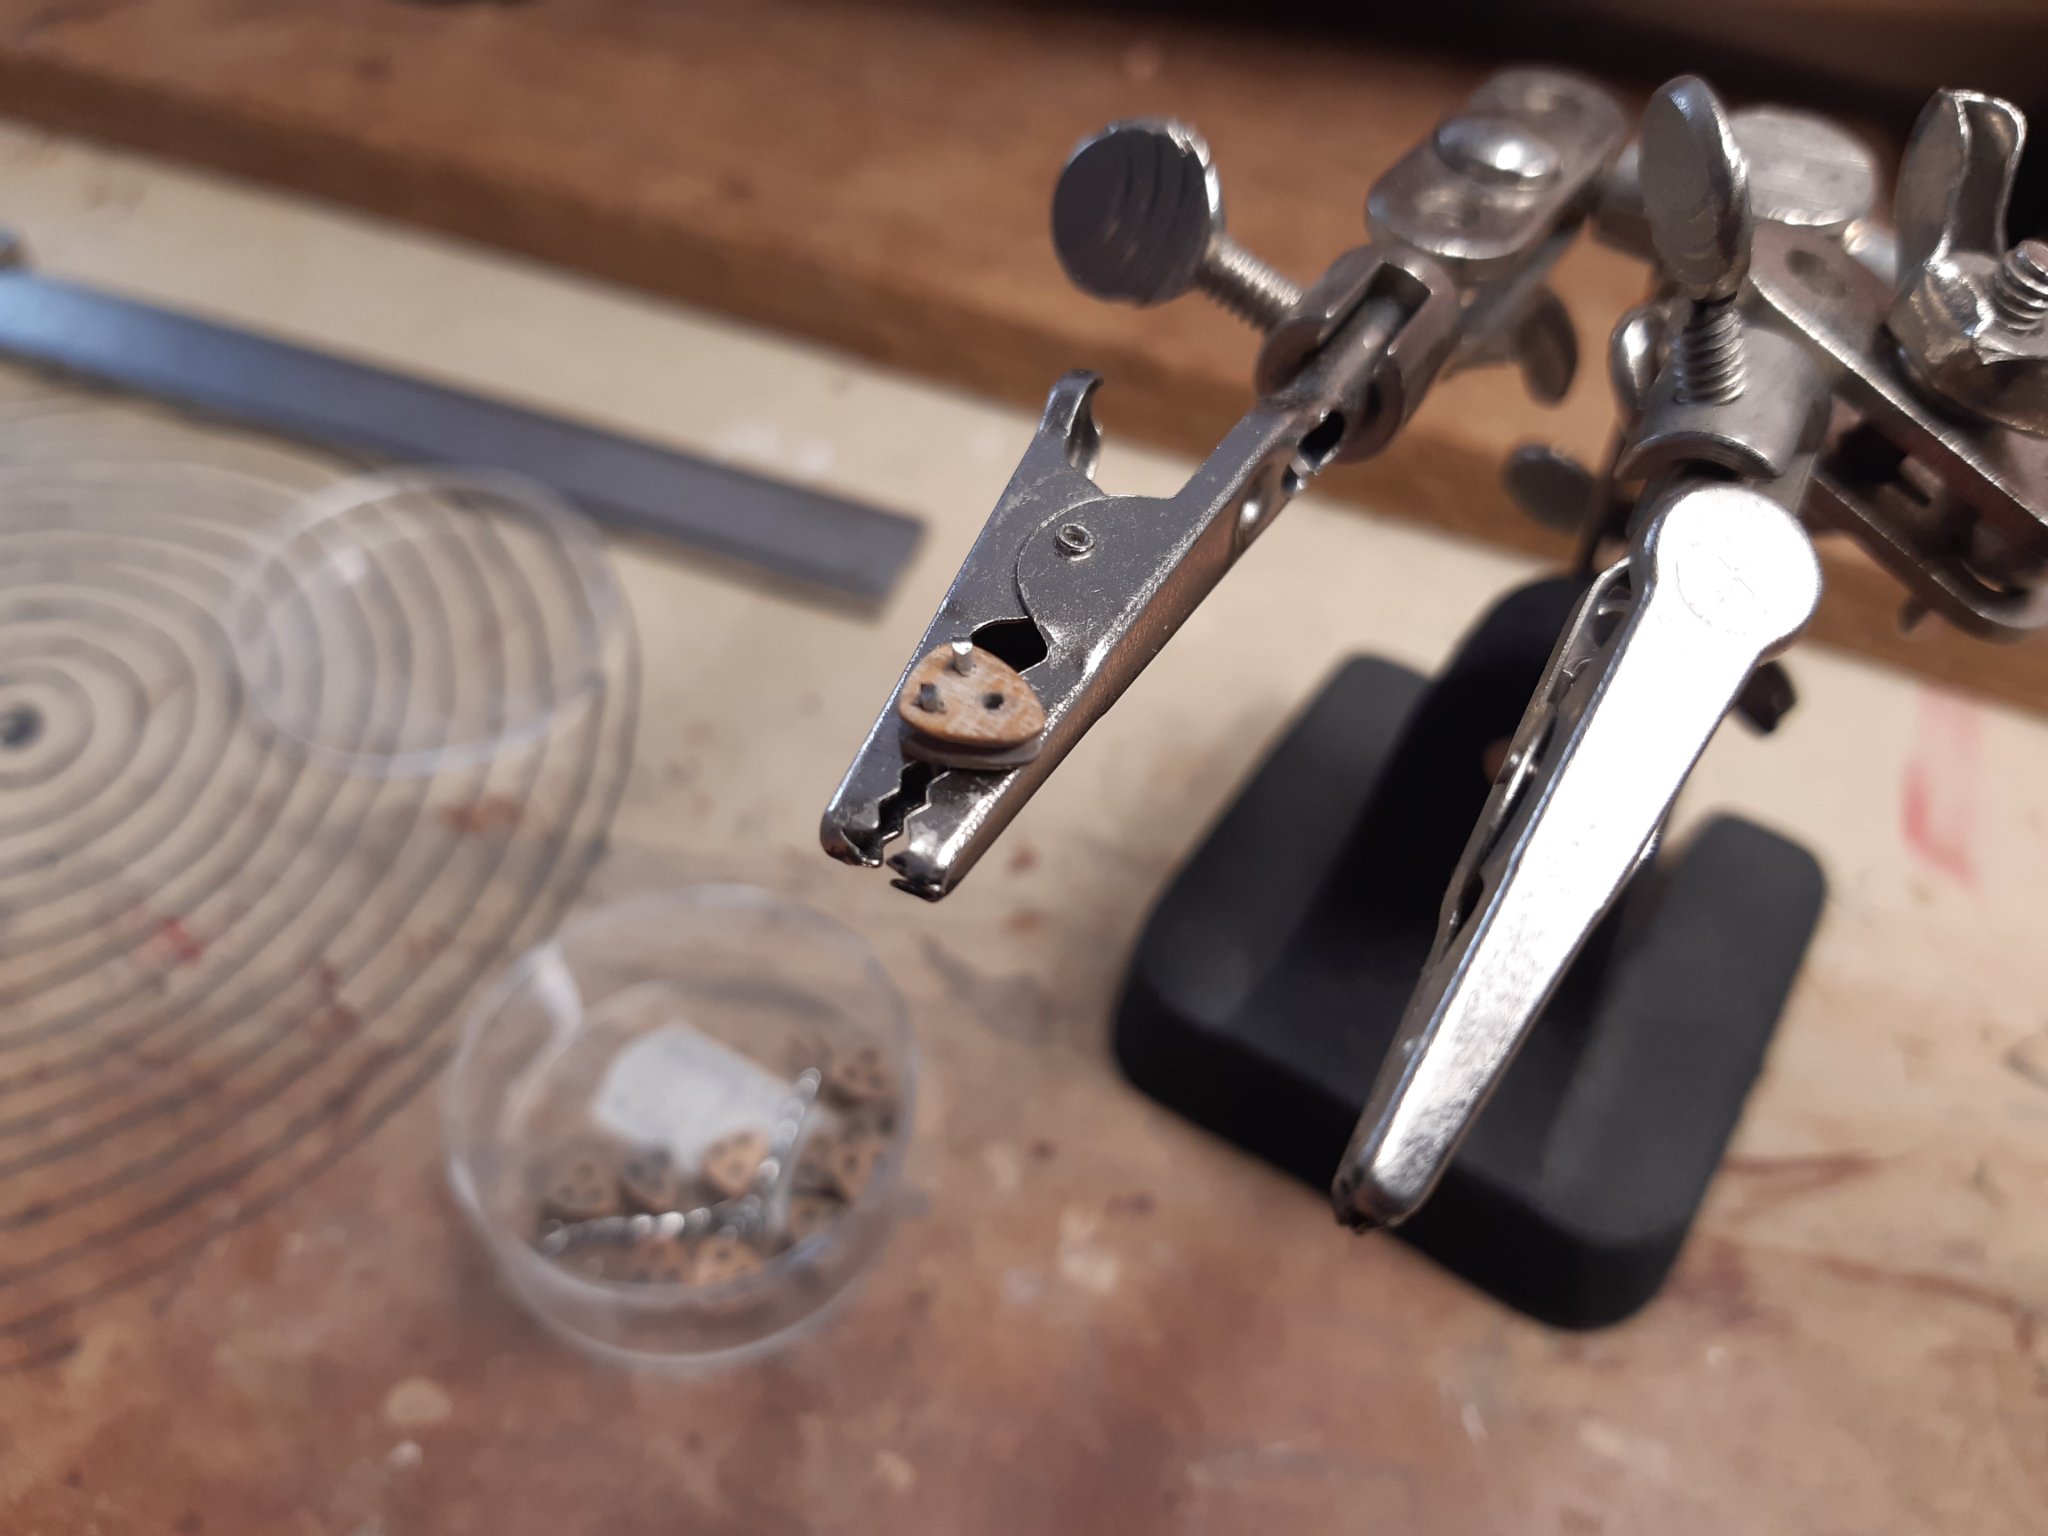
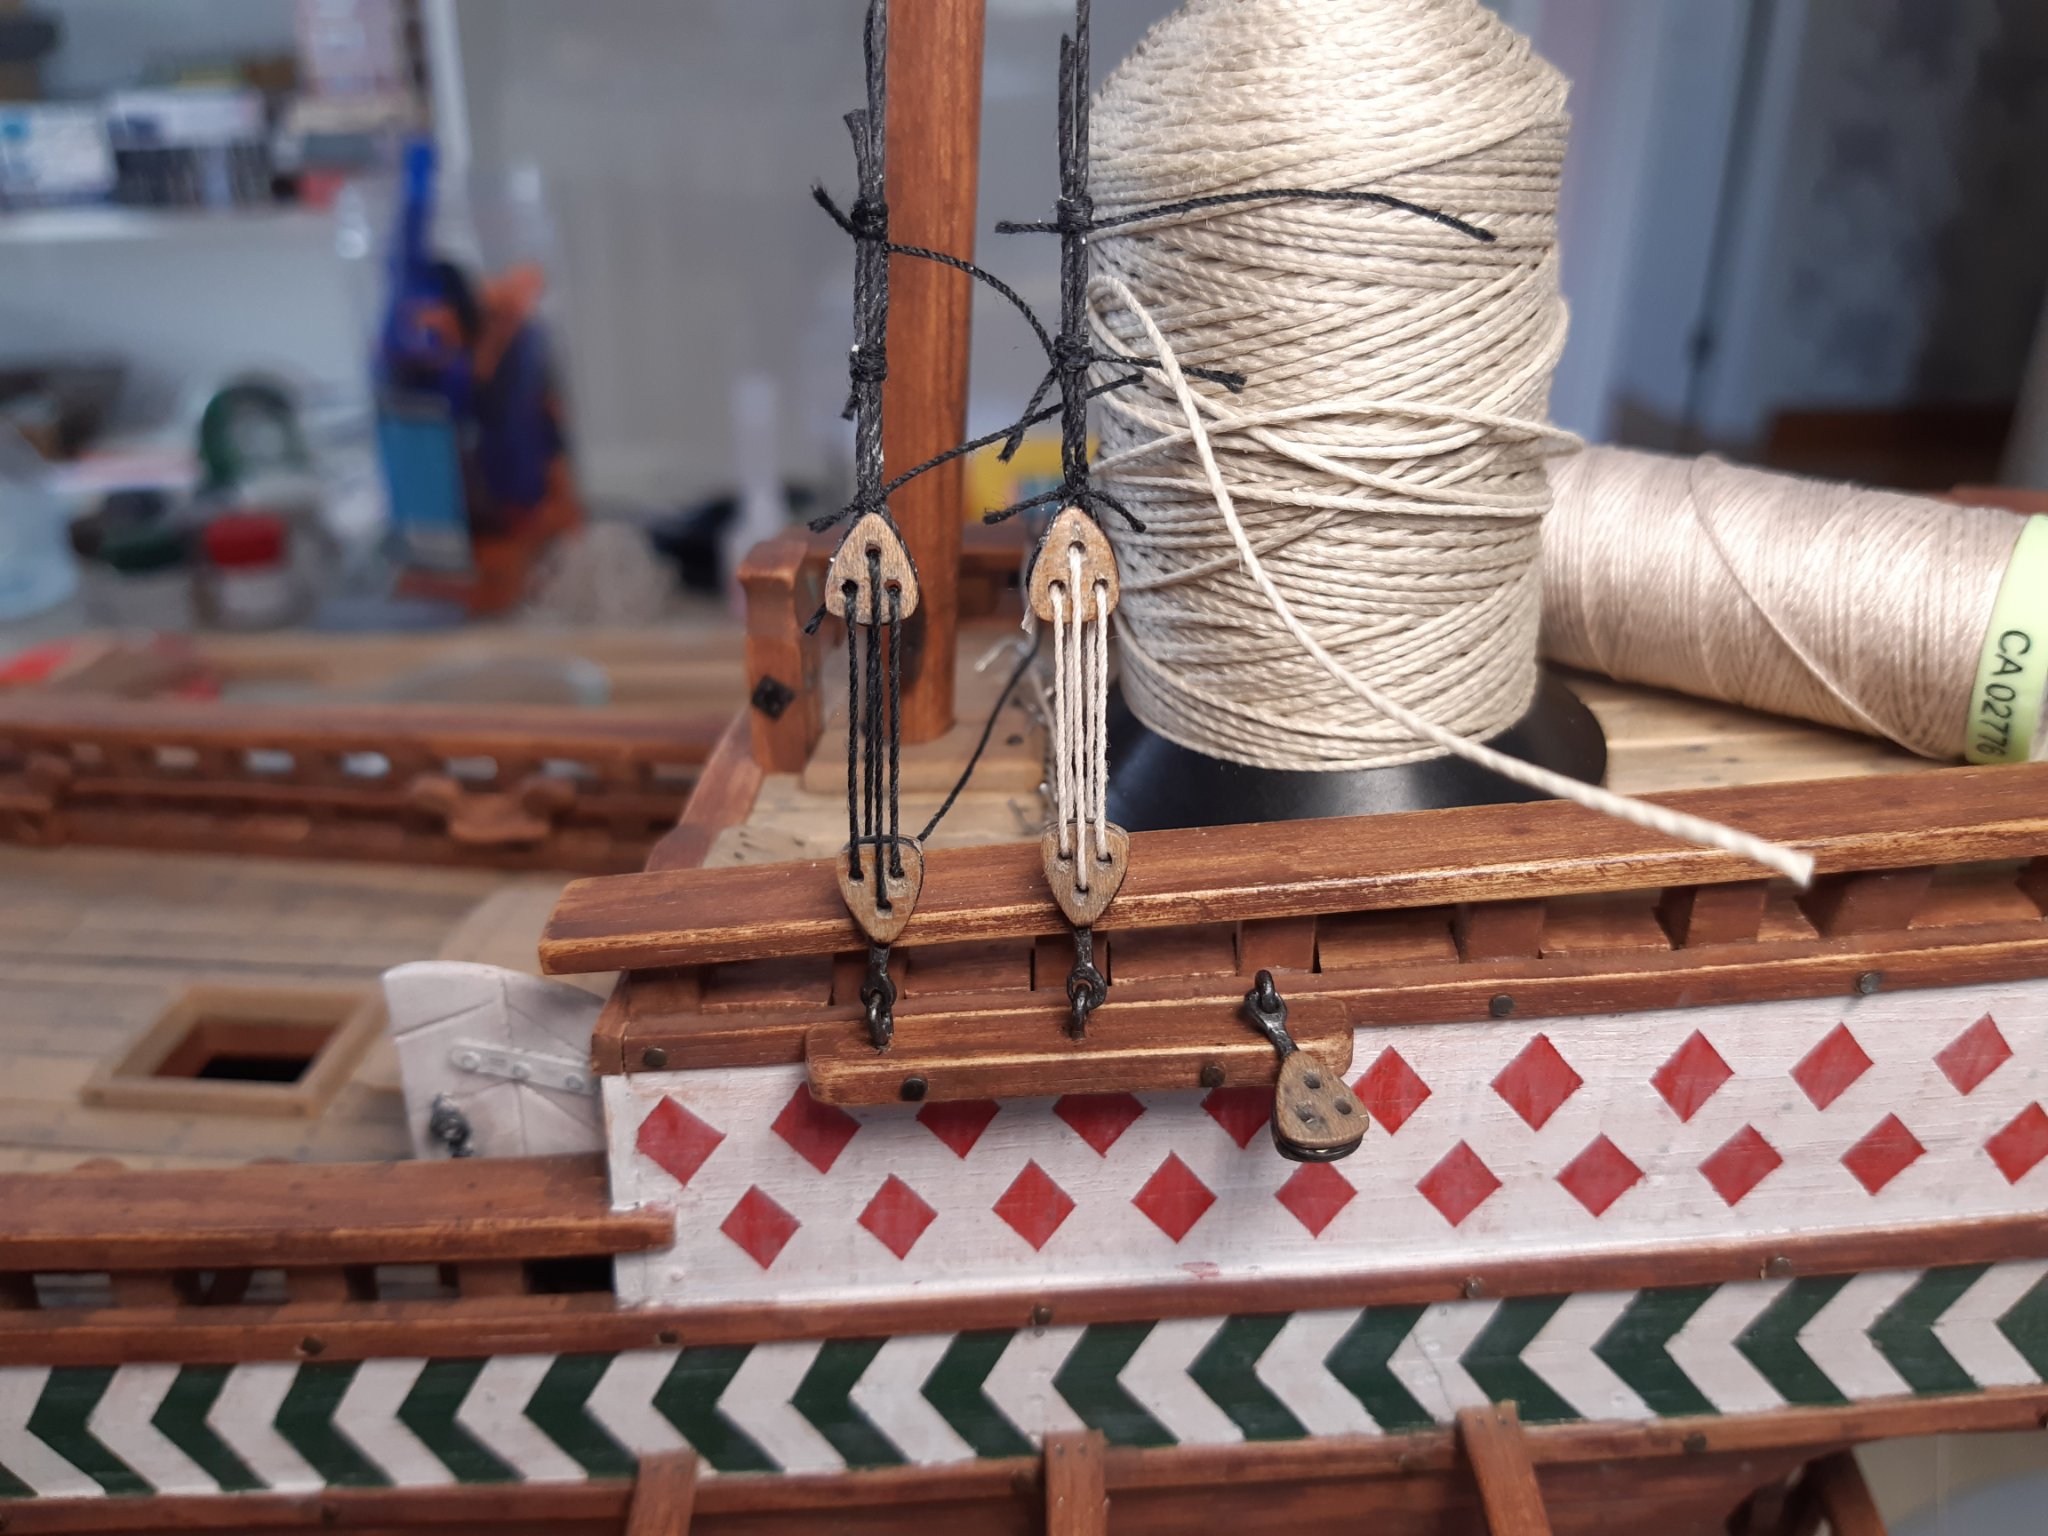
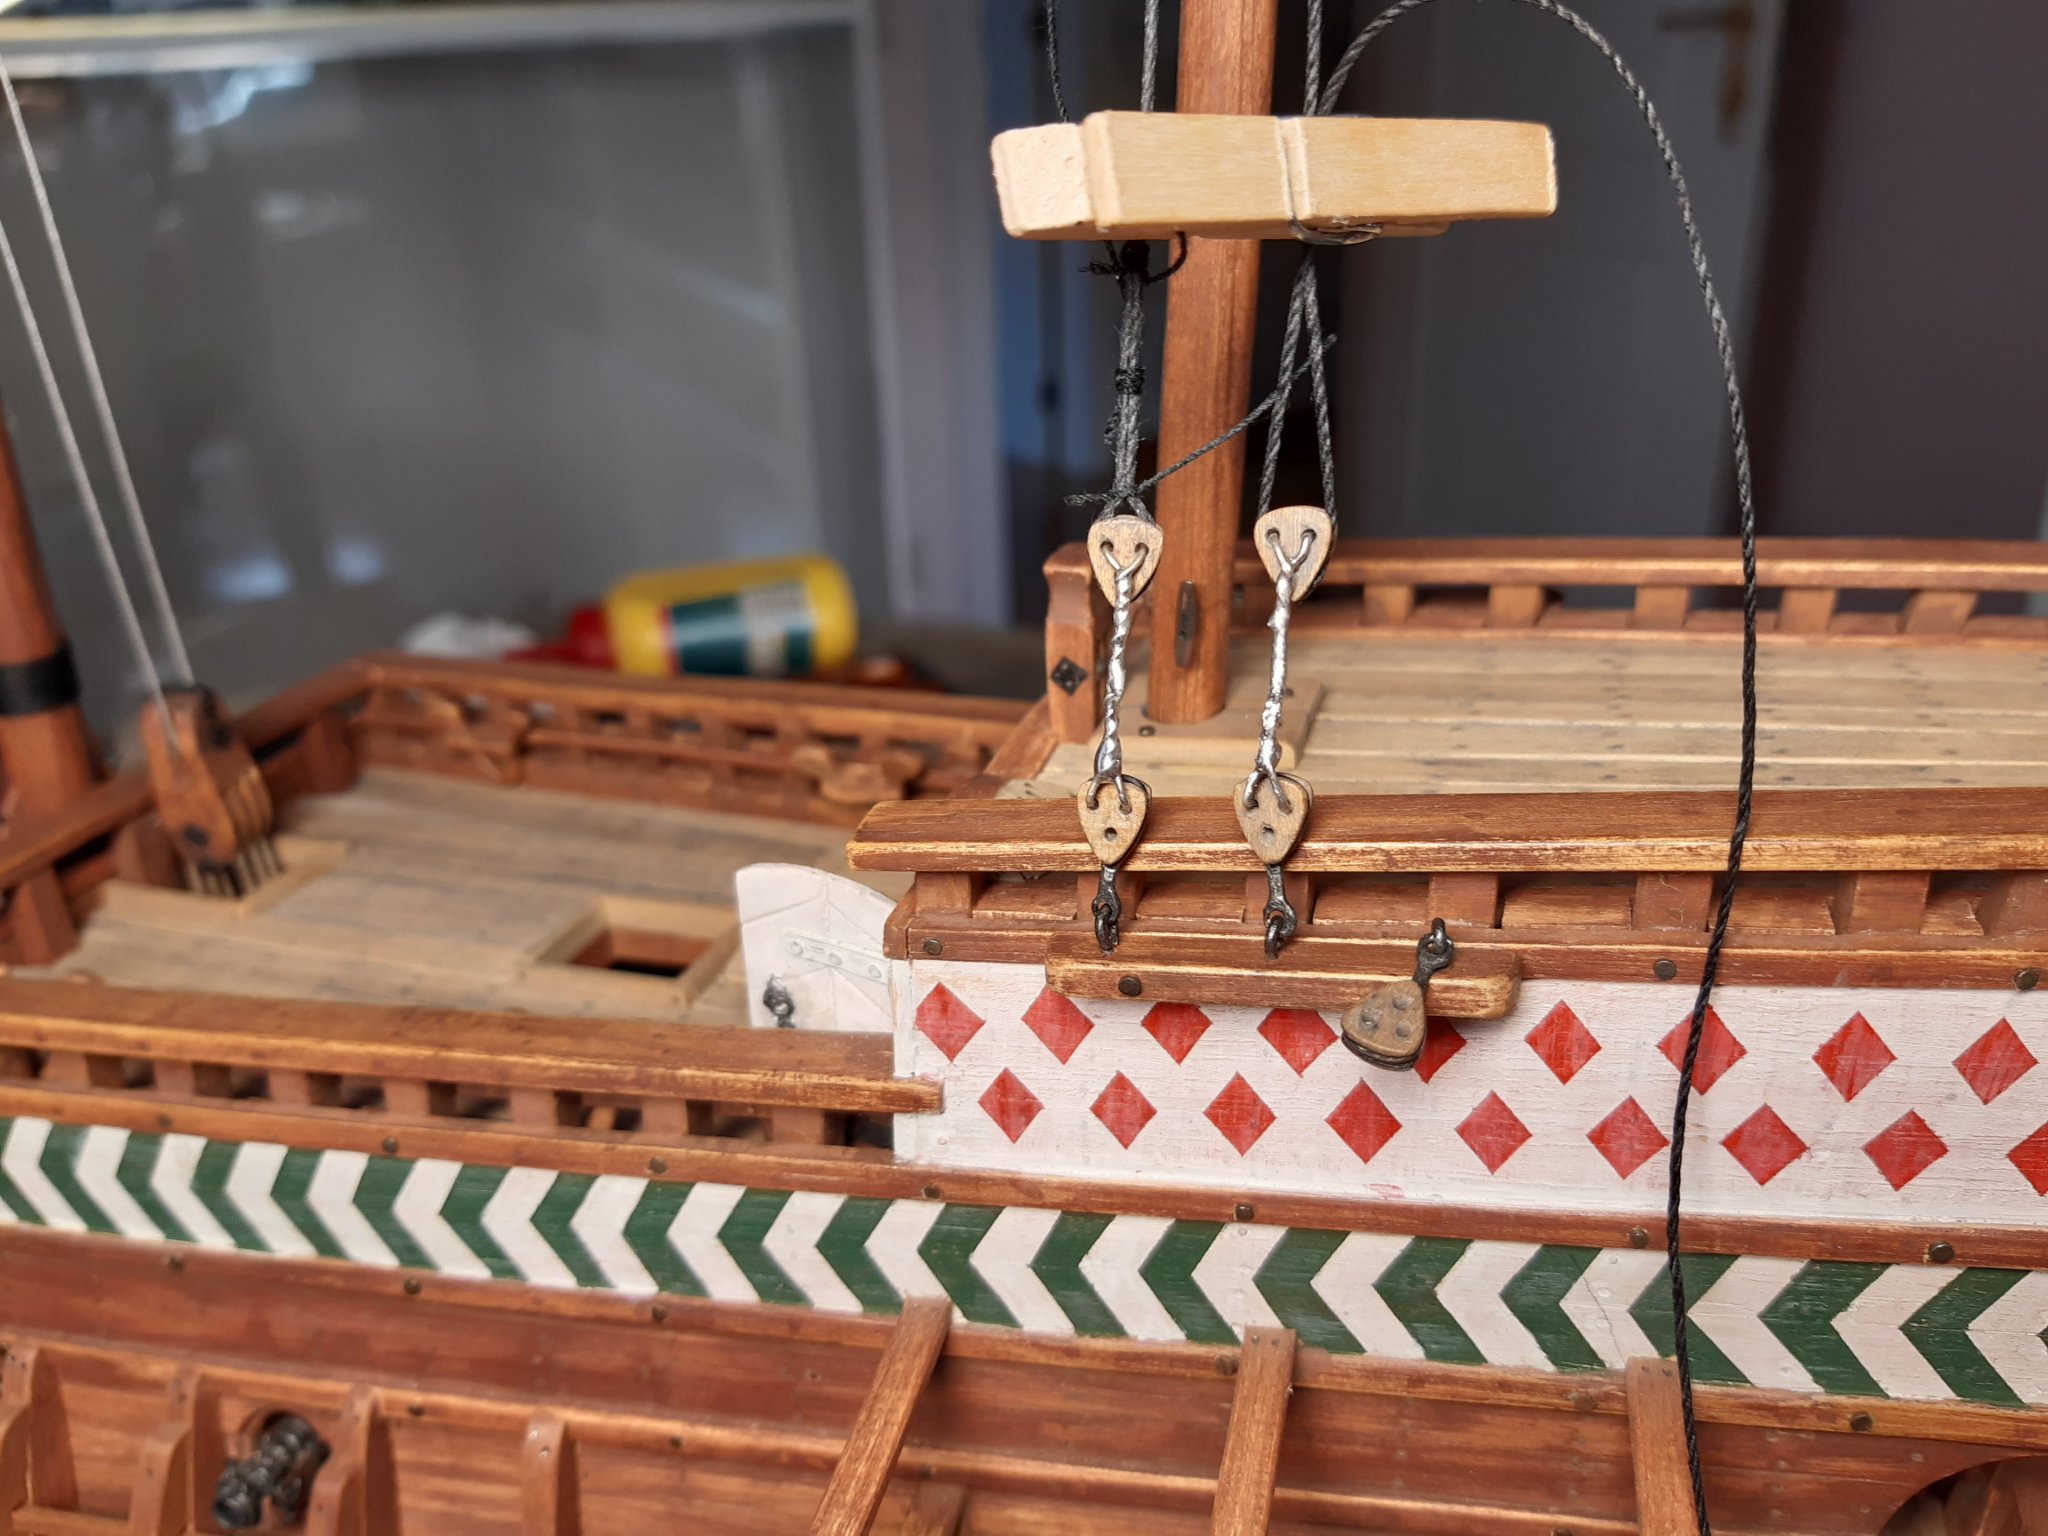
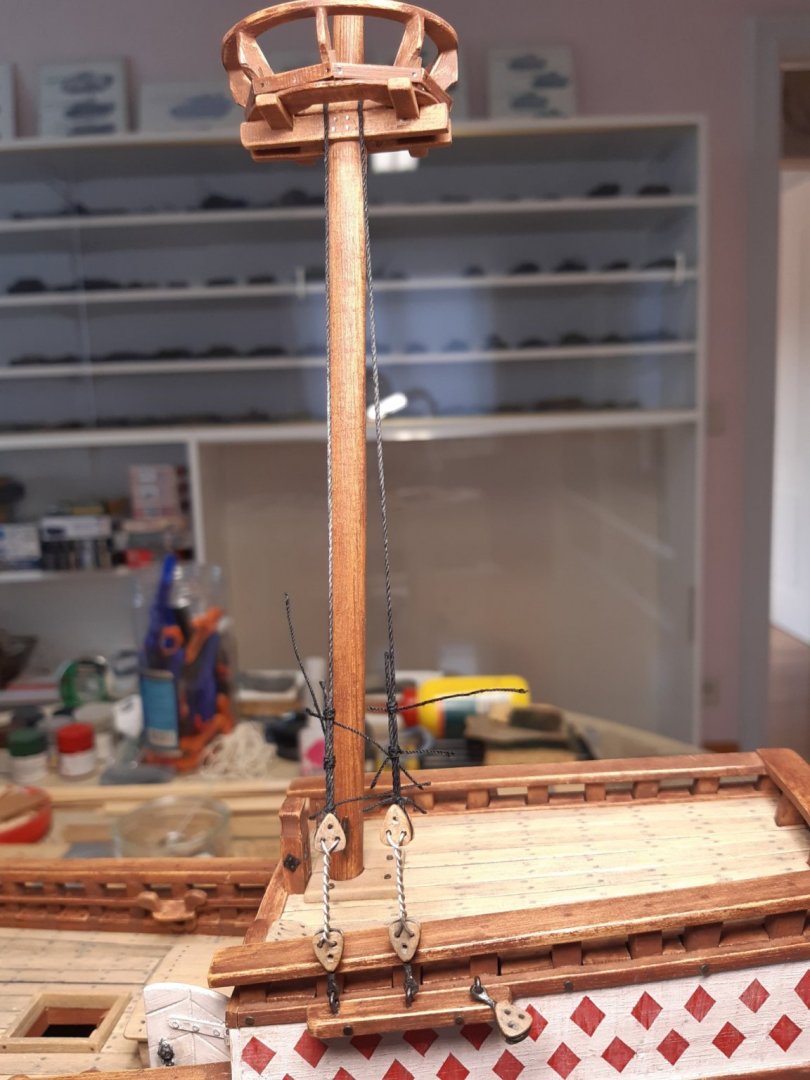
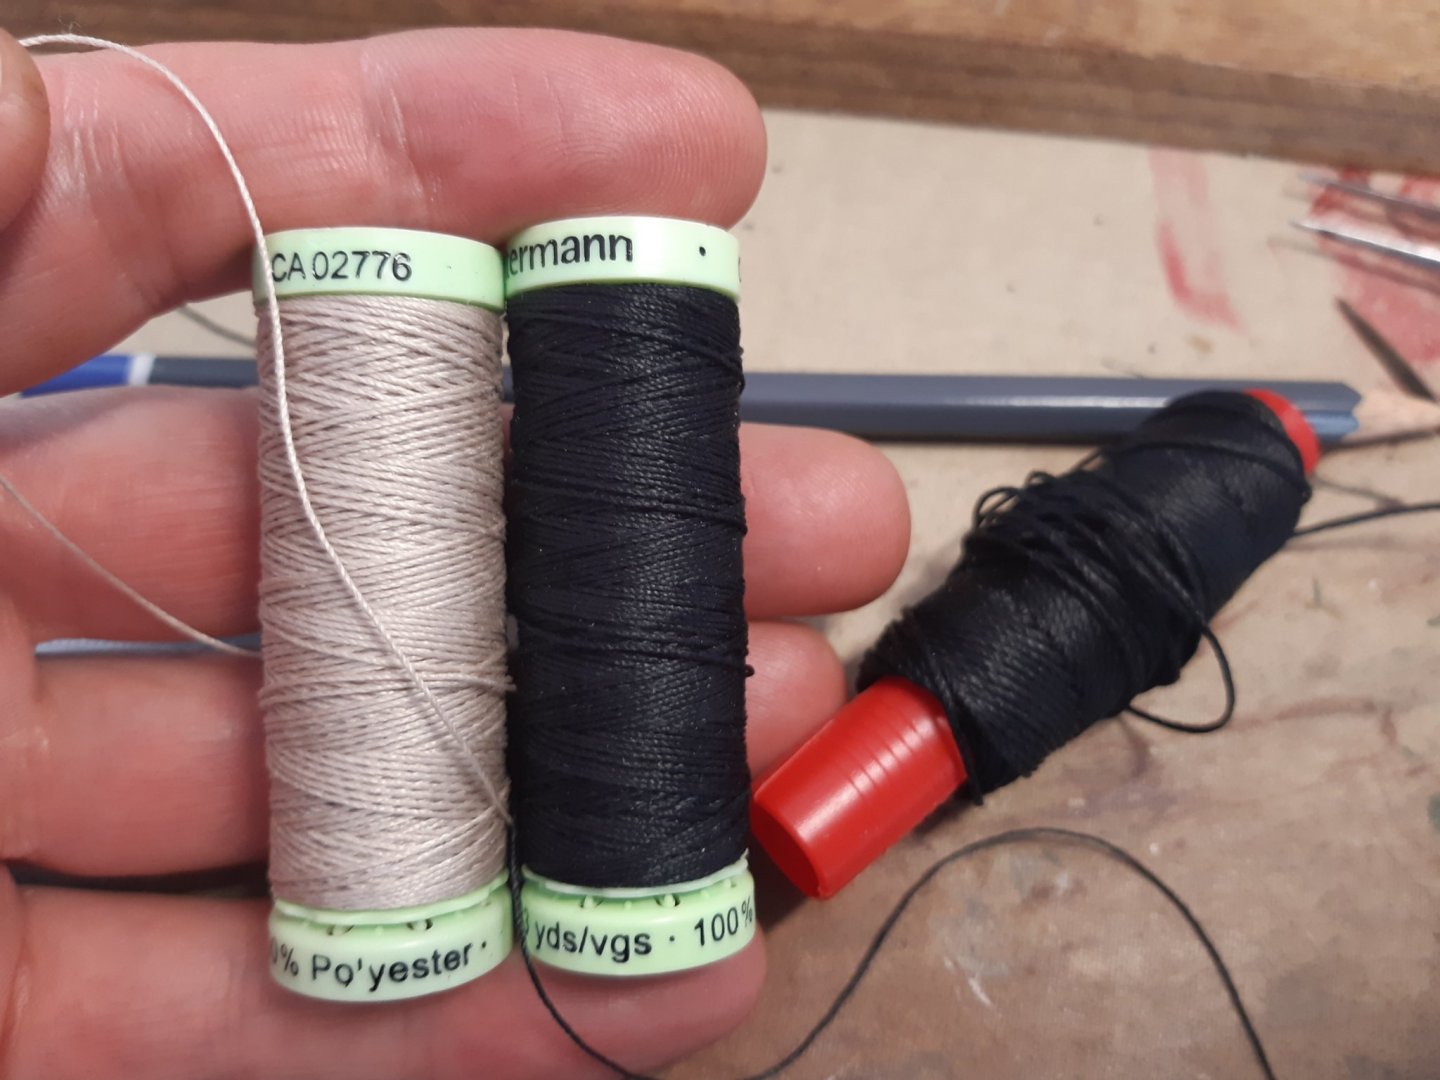
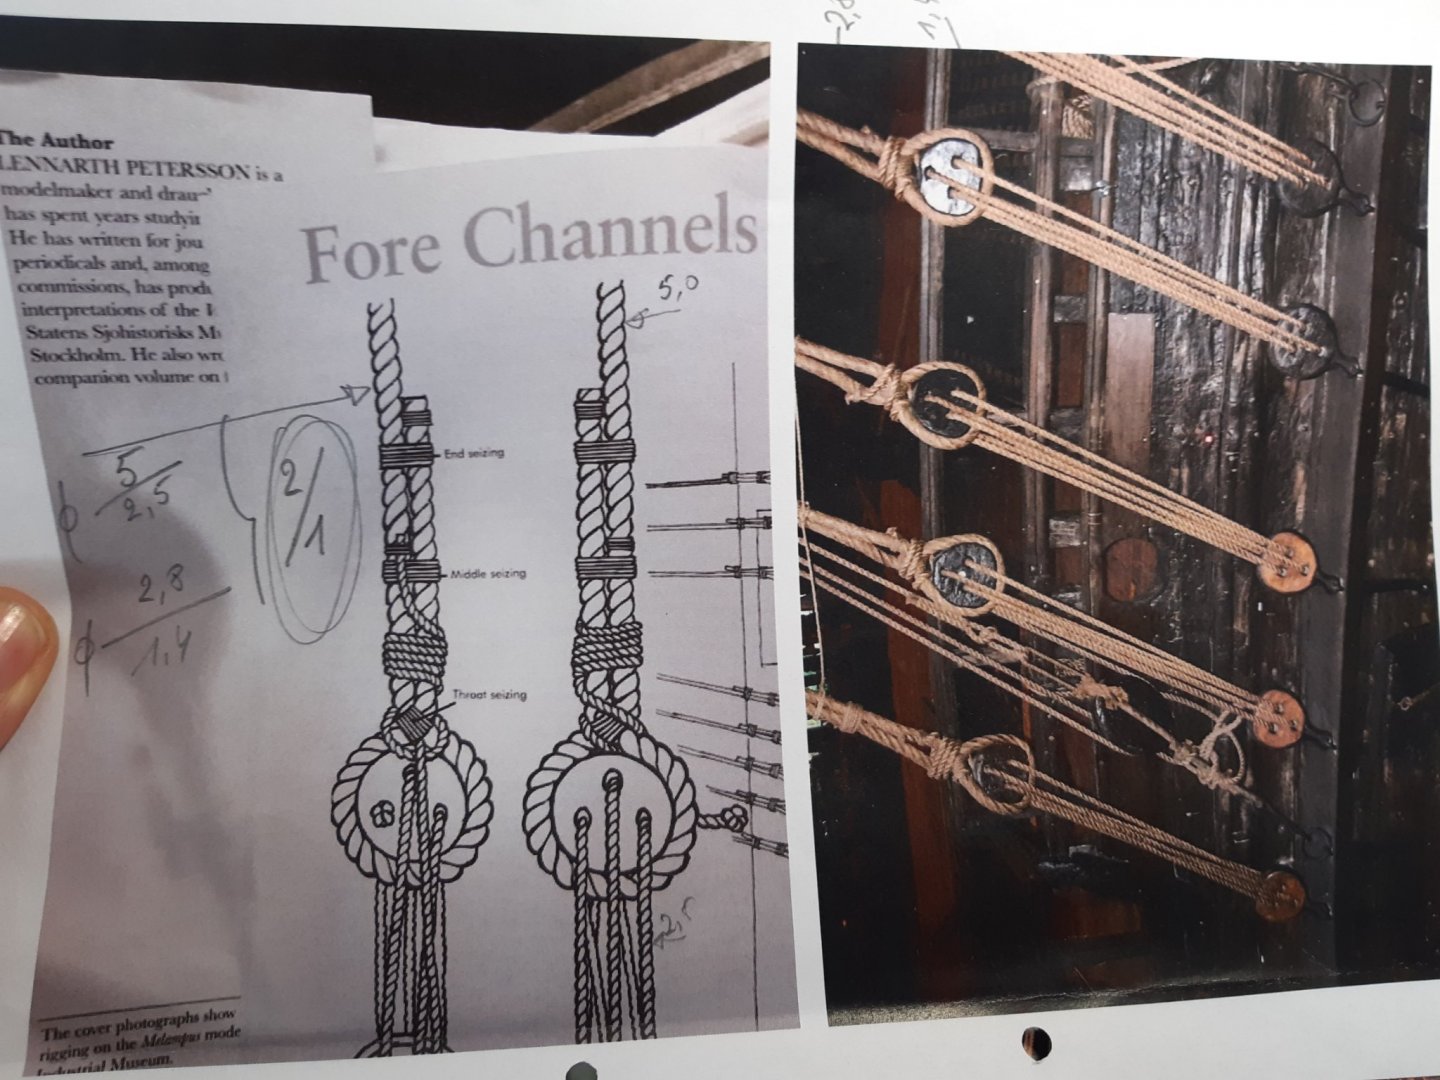
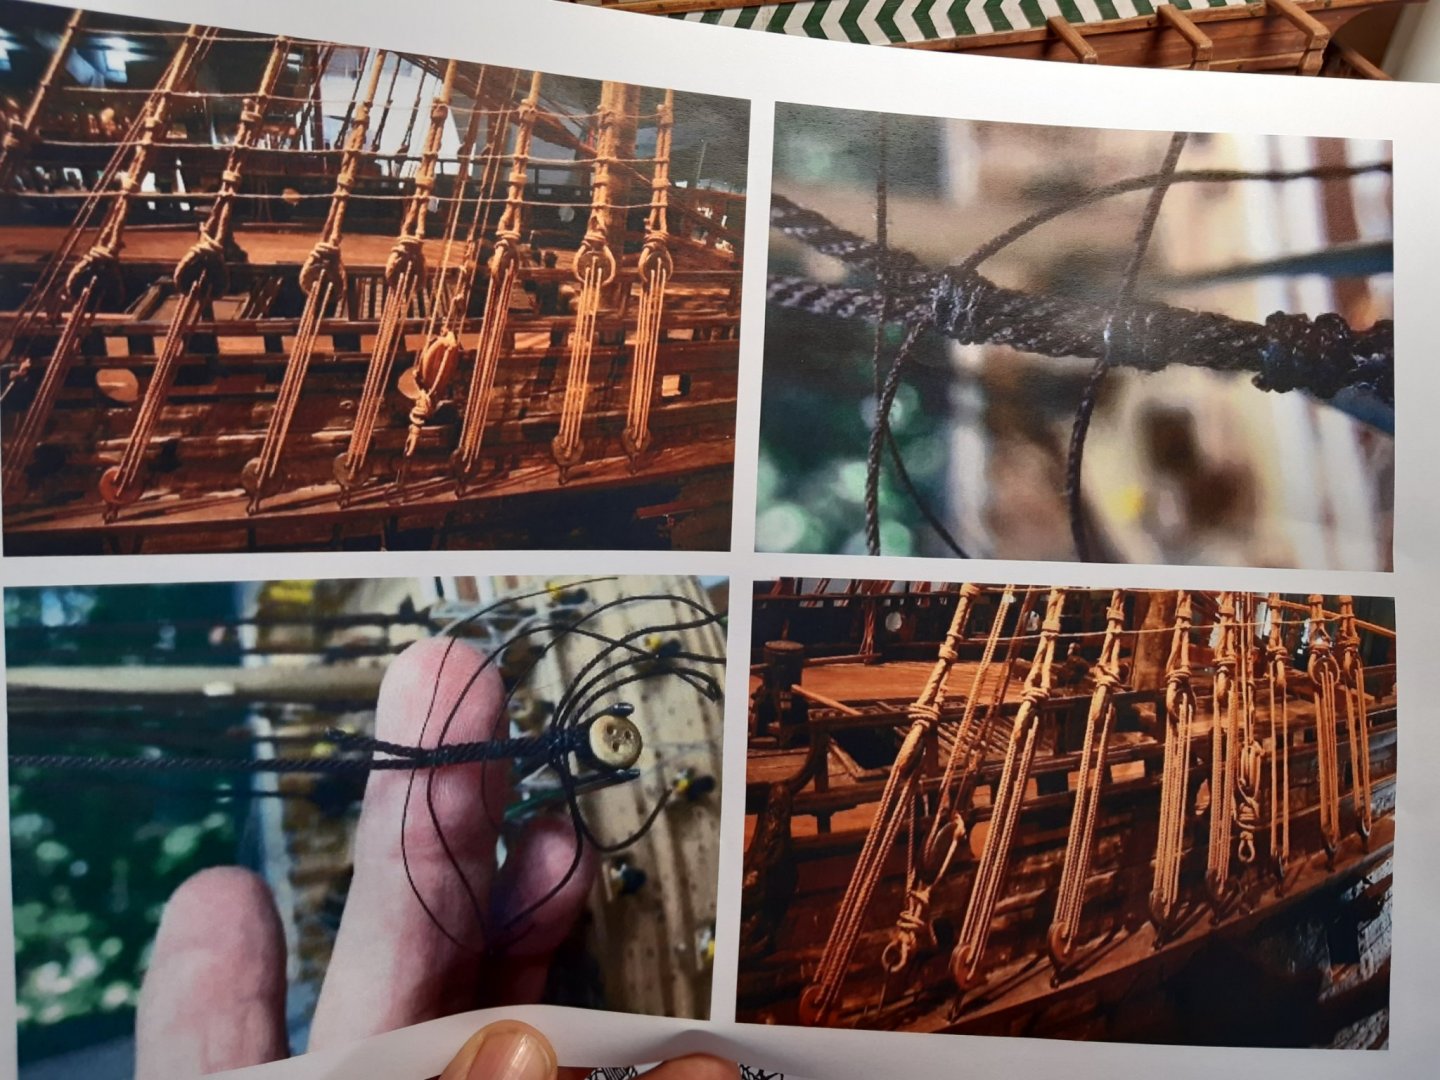
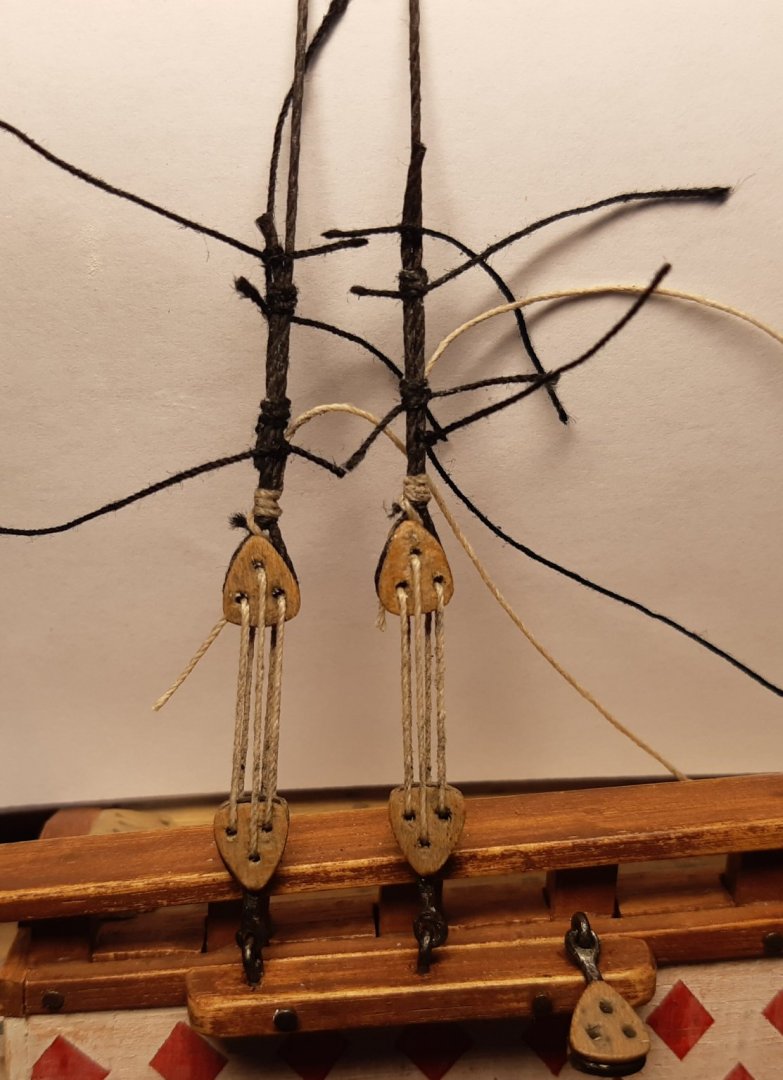
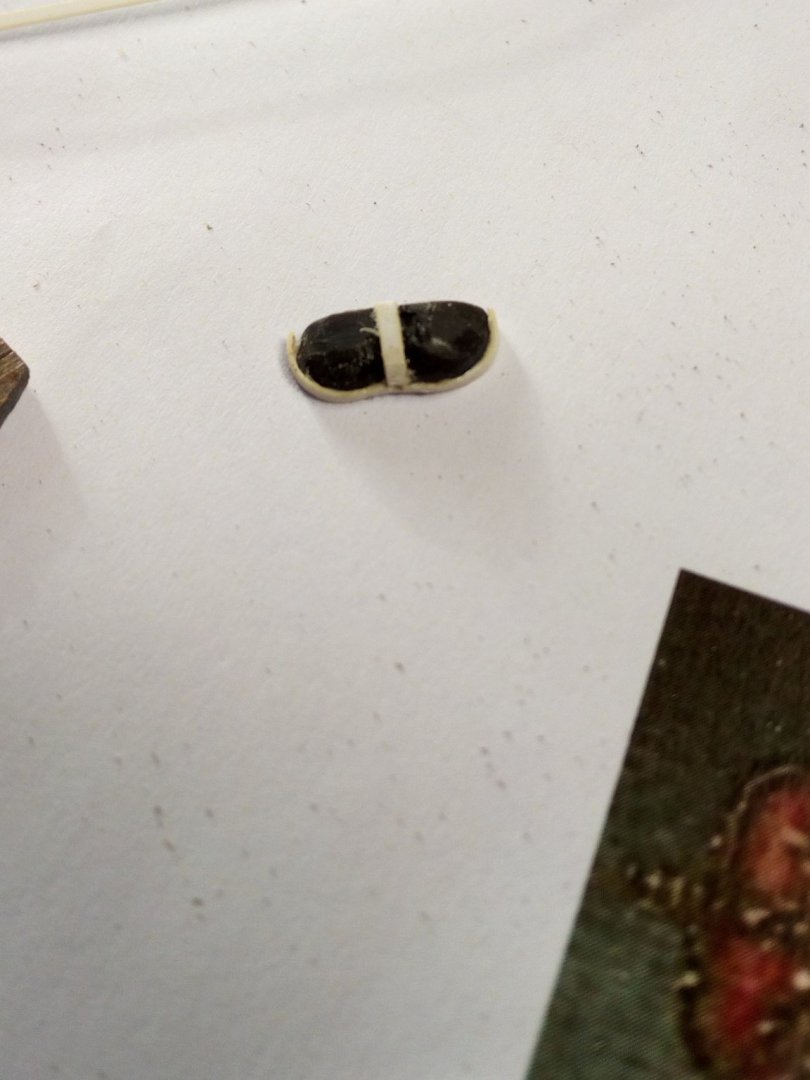
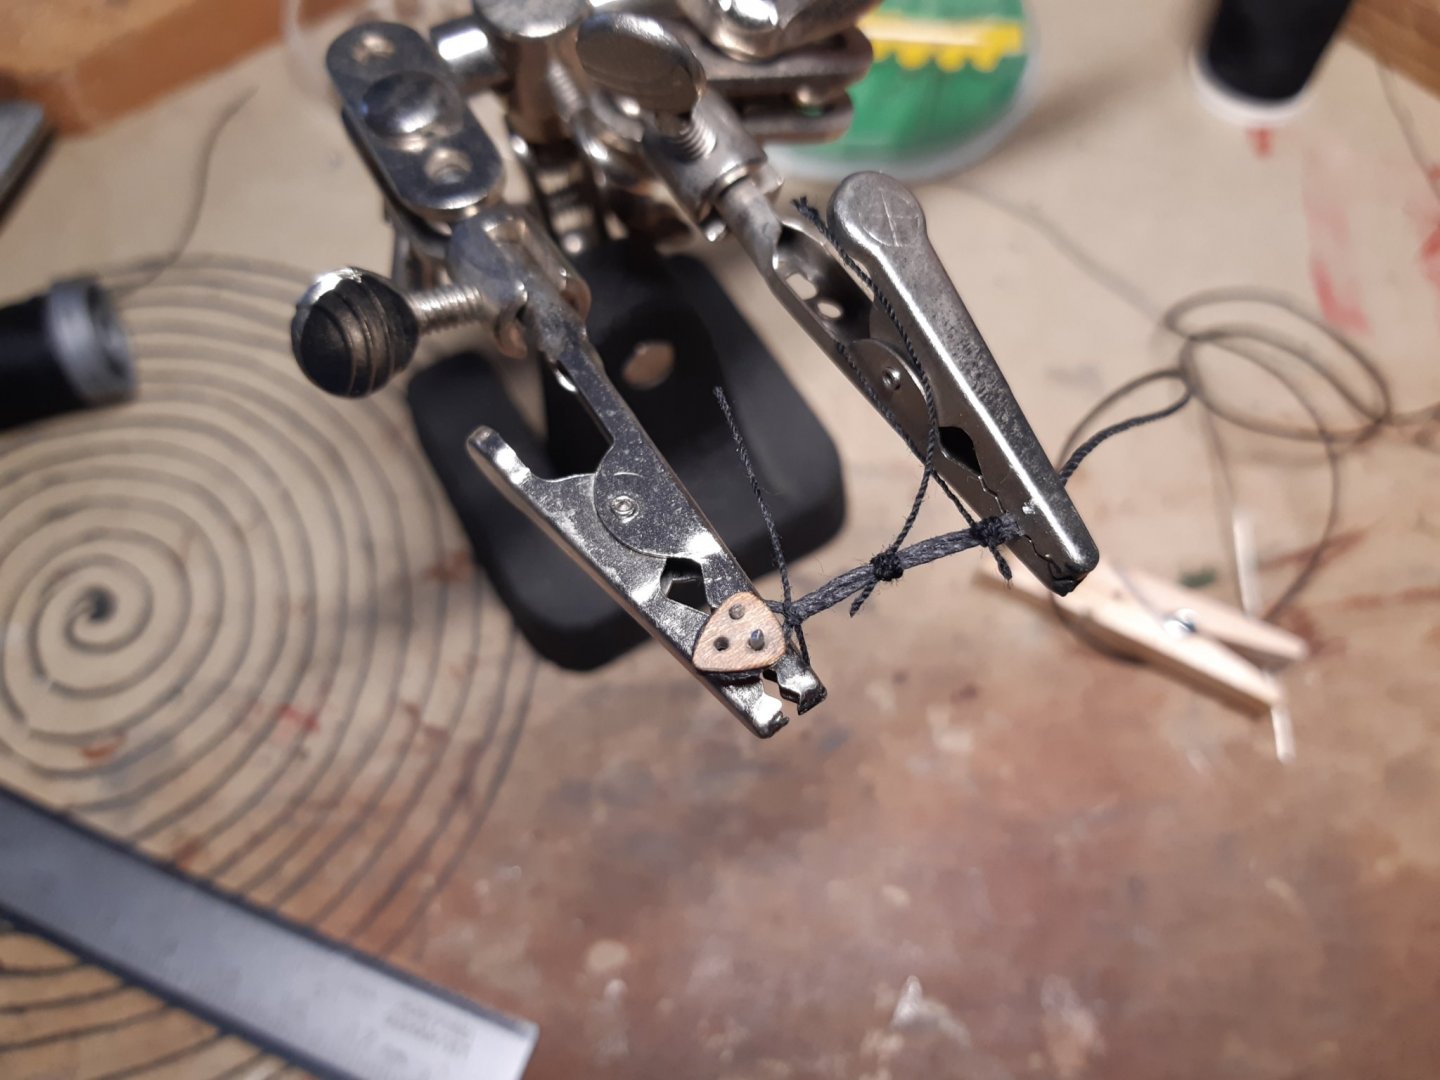
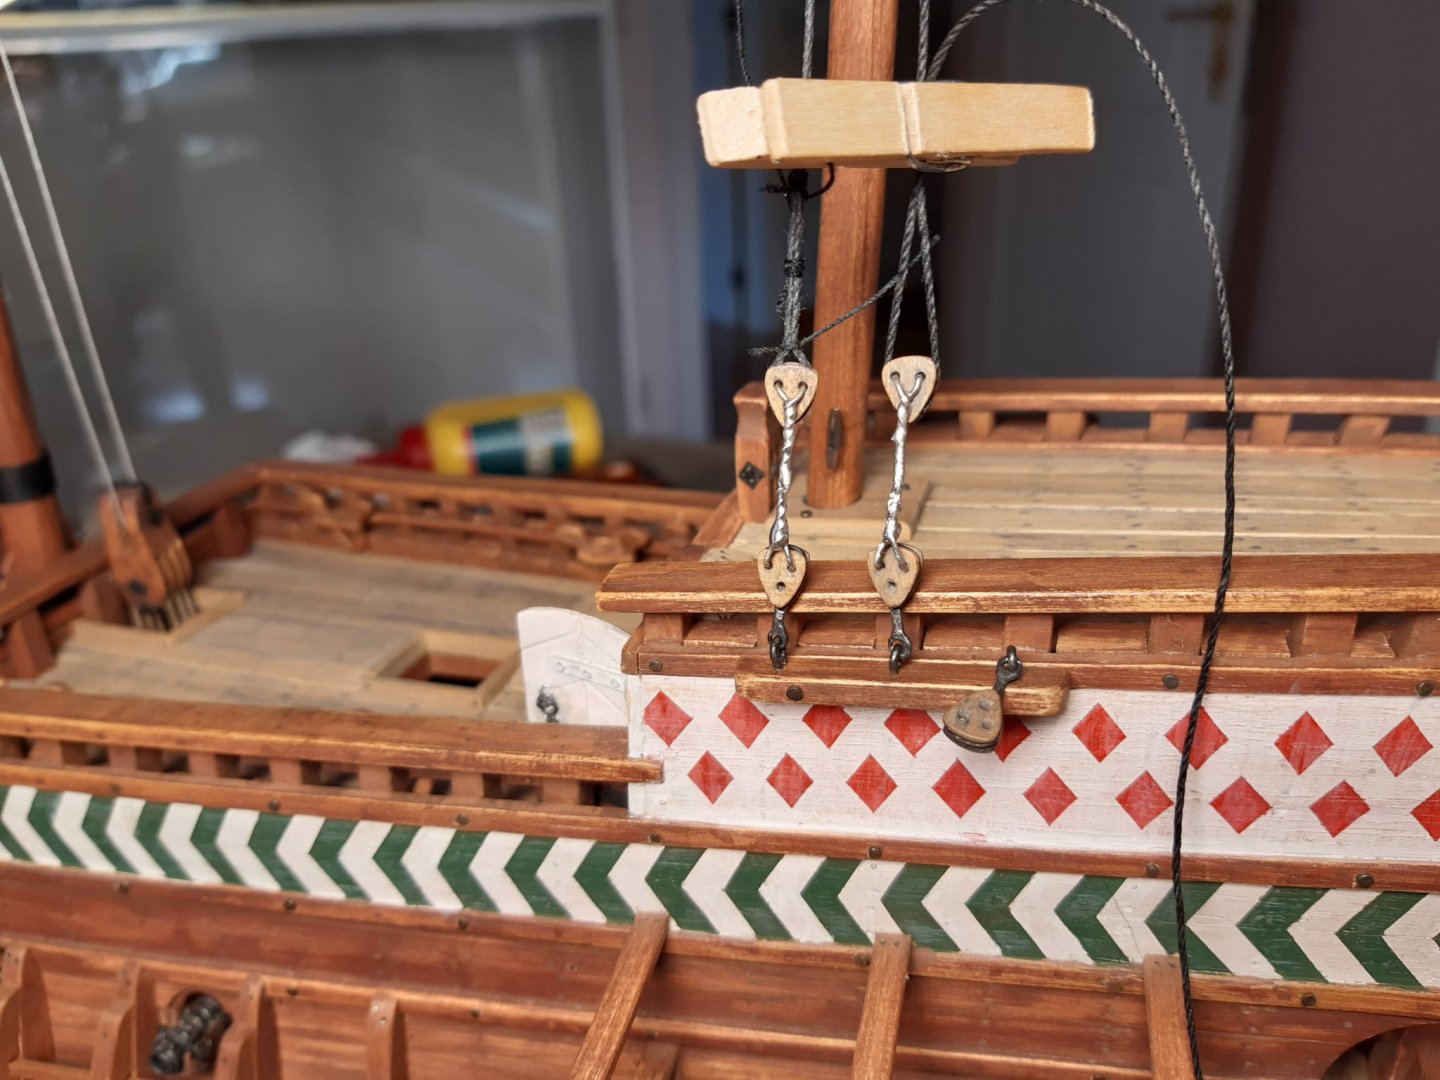
 The first steps in rigging. The idea is to follow the drawing and the Vasa as examples. The drawing is how it should apparently be perfect. The Vasa follows almost completely with some minor deviations. (And someone will see his work in some of the photos). Wire comes from Amati and Gutermann. 1 mm of Amati is used on the mizzen mast. 1.3mm Amati will be used on the fore and main mast. The Gutermann wire is about 0.5 mm and is used for the deadeyes. Black for the schrouds and natural for the deadeyes. A "U" bent wire was made to hold the deadeyes in the clamp First 2 schrouds. Black or naturel.. Naturel This is what the result is. The naturel rope has had a wash with thinned mat Black Knots yet be glued with diluted PA glue and then cut away the excess wires I will not continue on this before Saturday or sunday, If anyone here sees something wrong, "shoot". Thanks for following.
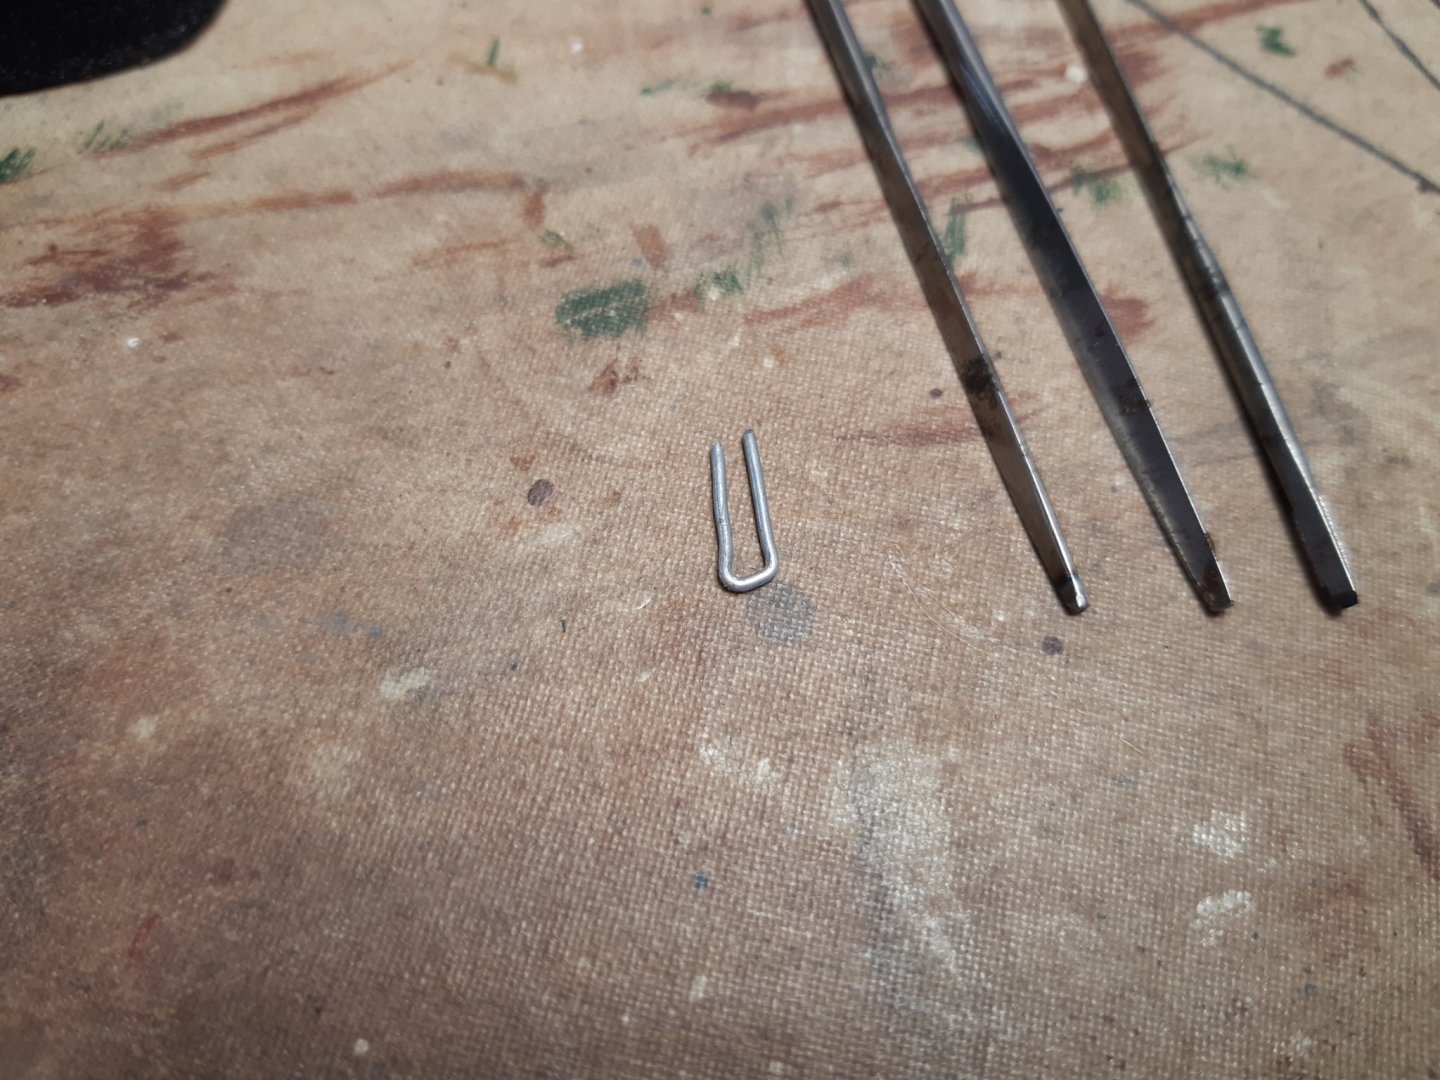


- 756 replies
-
- 12
-

-
- galleon
- golden hind
- (and 2 more)
-
Red, excellent choice 👍 Try painting the inside of the cannon ports one with black or dark grey (Only the back where you glue the canon on ). Then you create "depth" in these holes. (Start with one if you want to try this)
-
Roter Löwe 1597 by Ondras71
Baker replied to Ondras71's topic in - Build logs for subjects built 1501 - 1750
Unfortunately not. I have often asked myself this question, but have not yet found a proper solution. Because I'm gonna get in trouble with my Pelican build with this. -
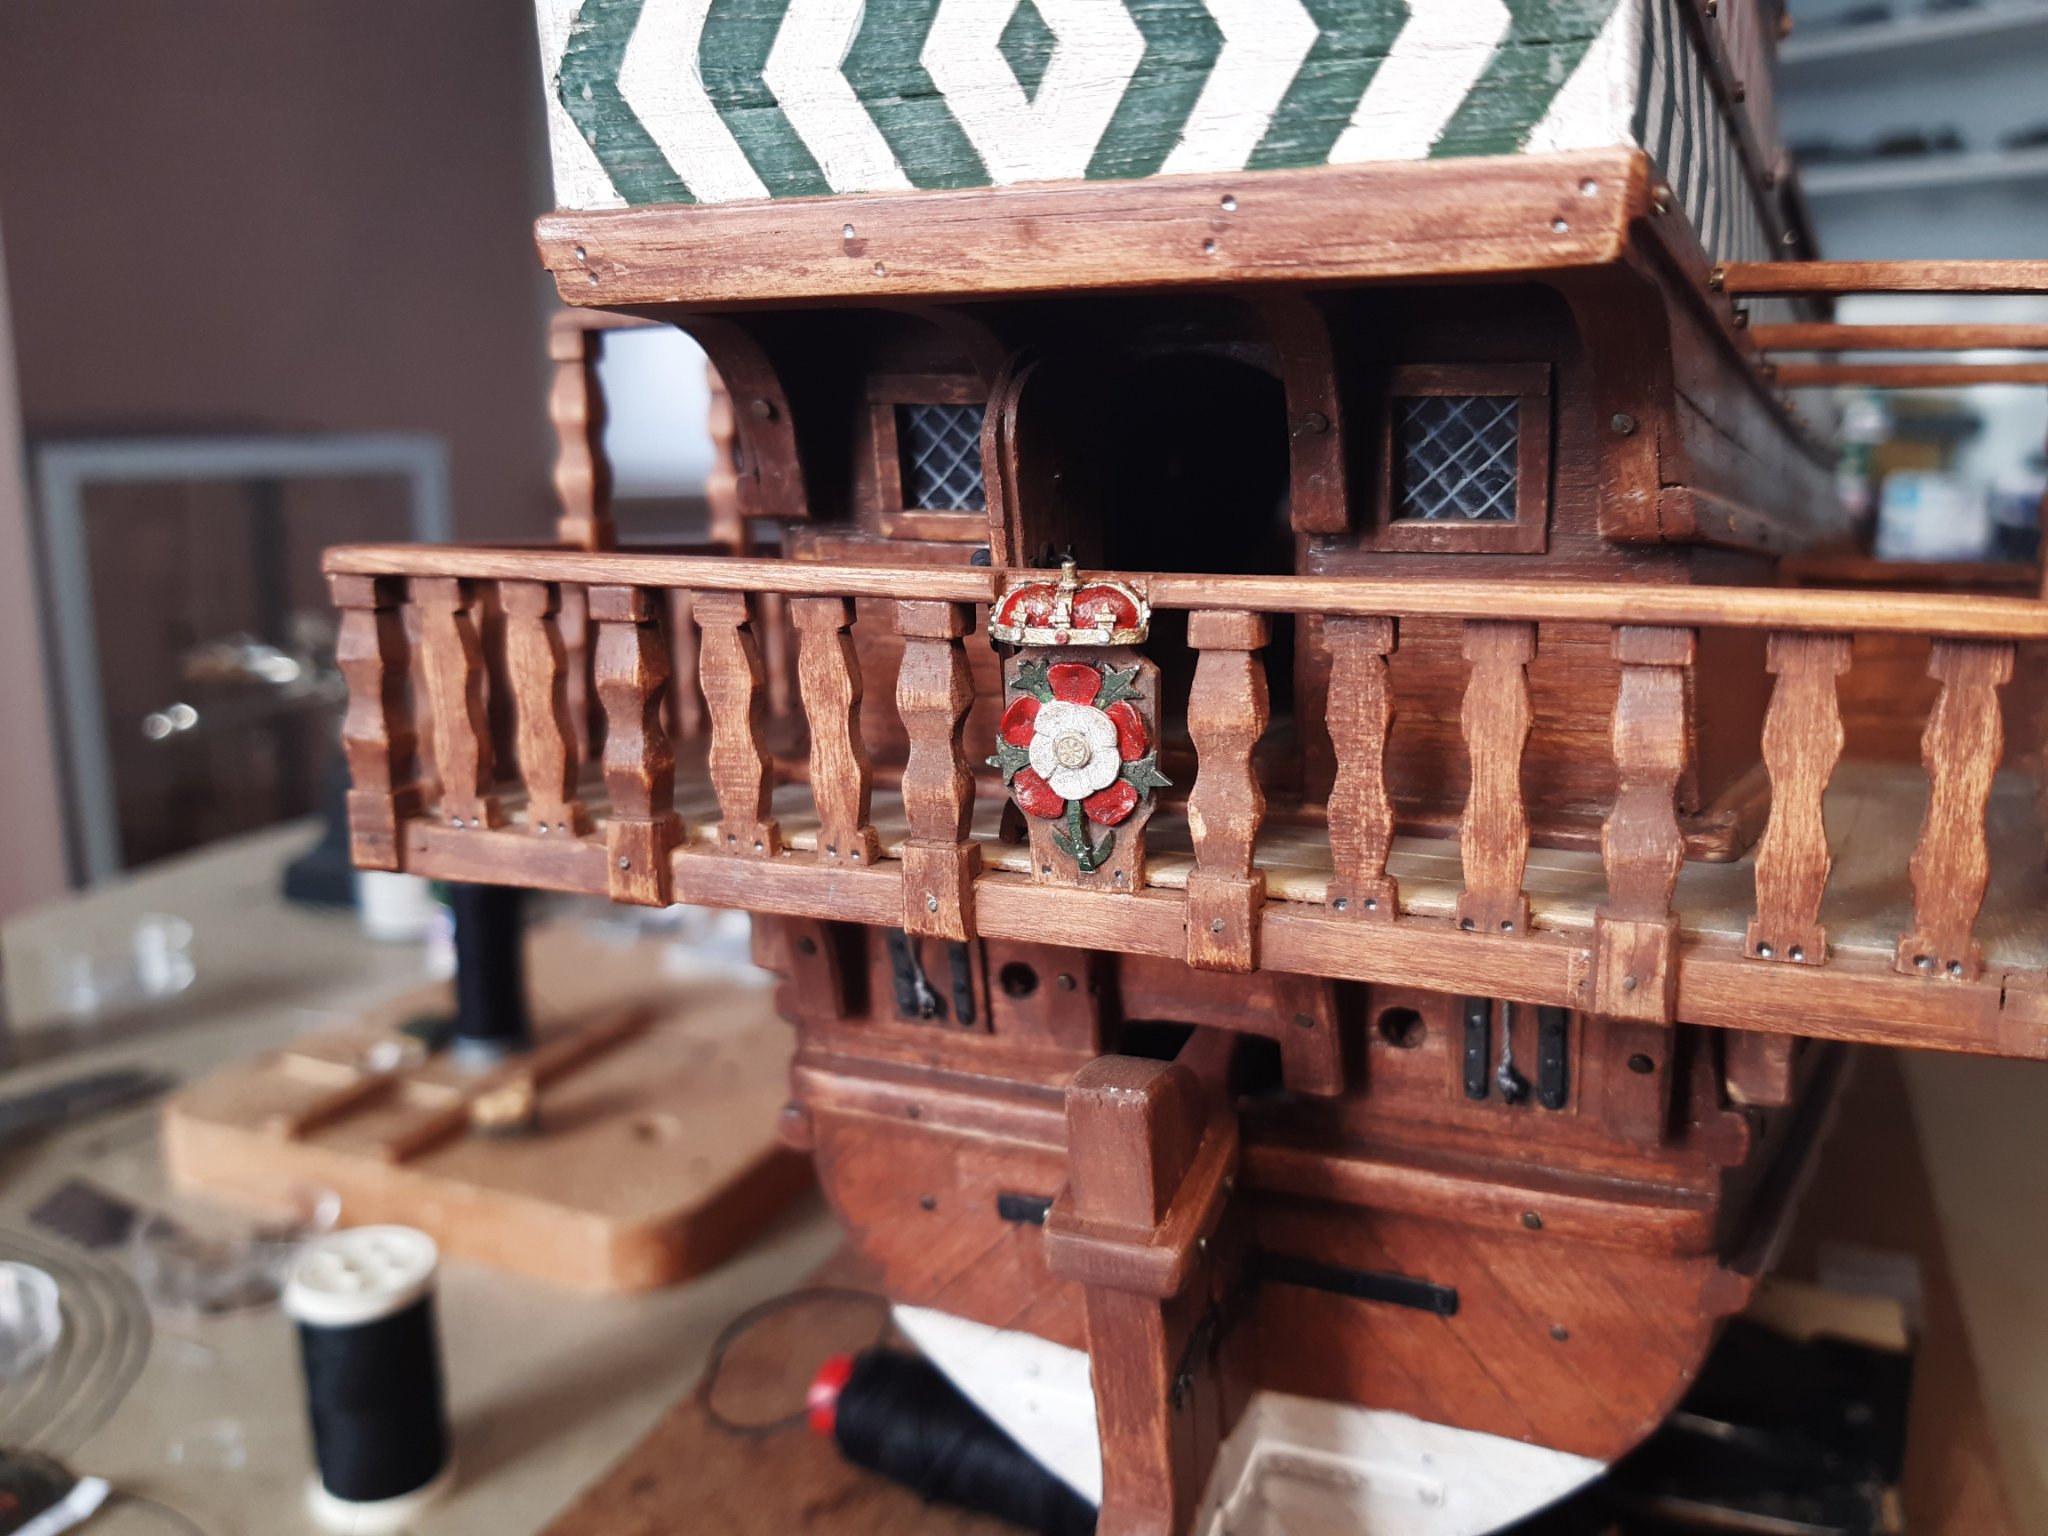
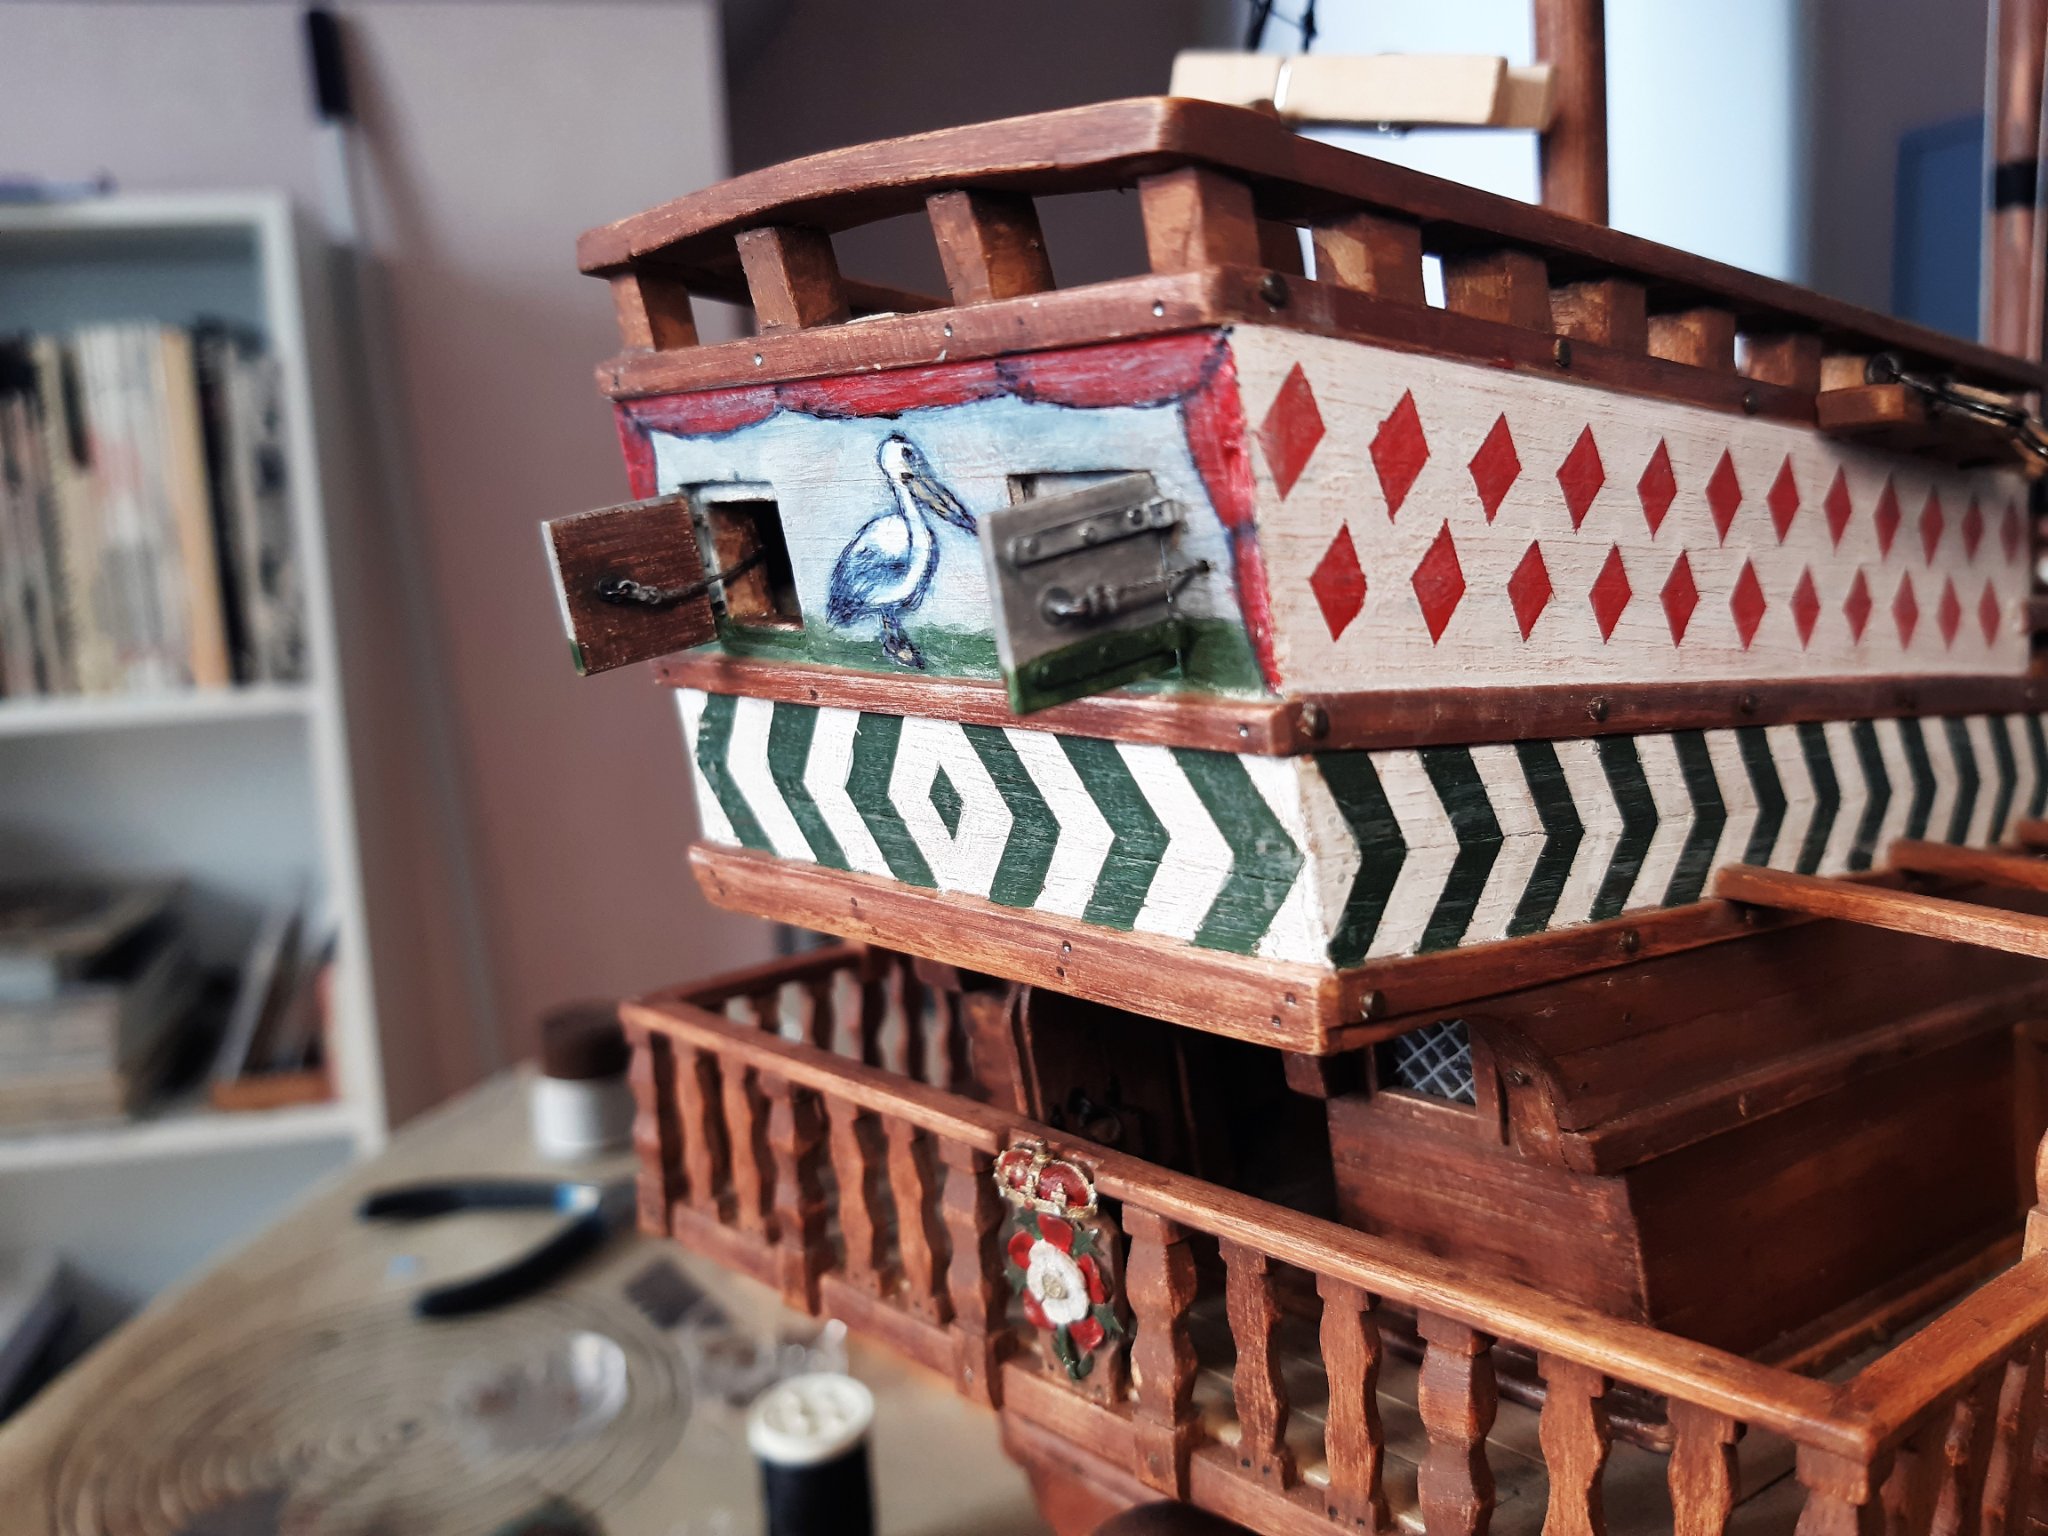
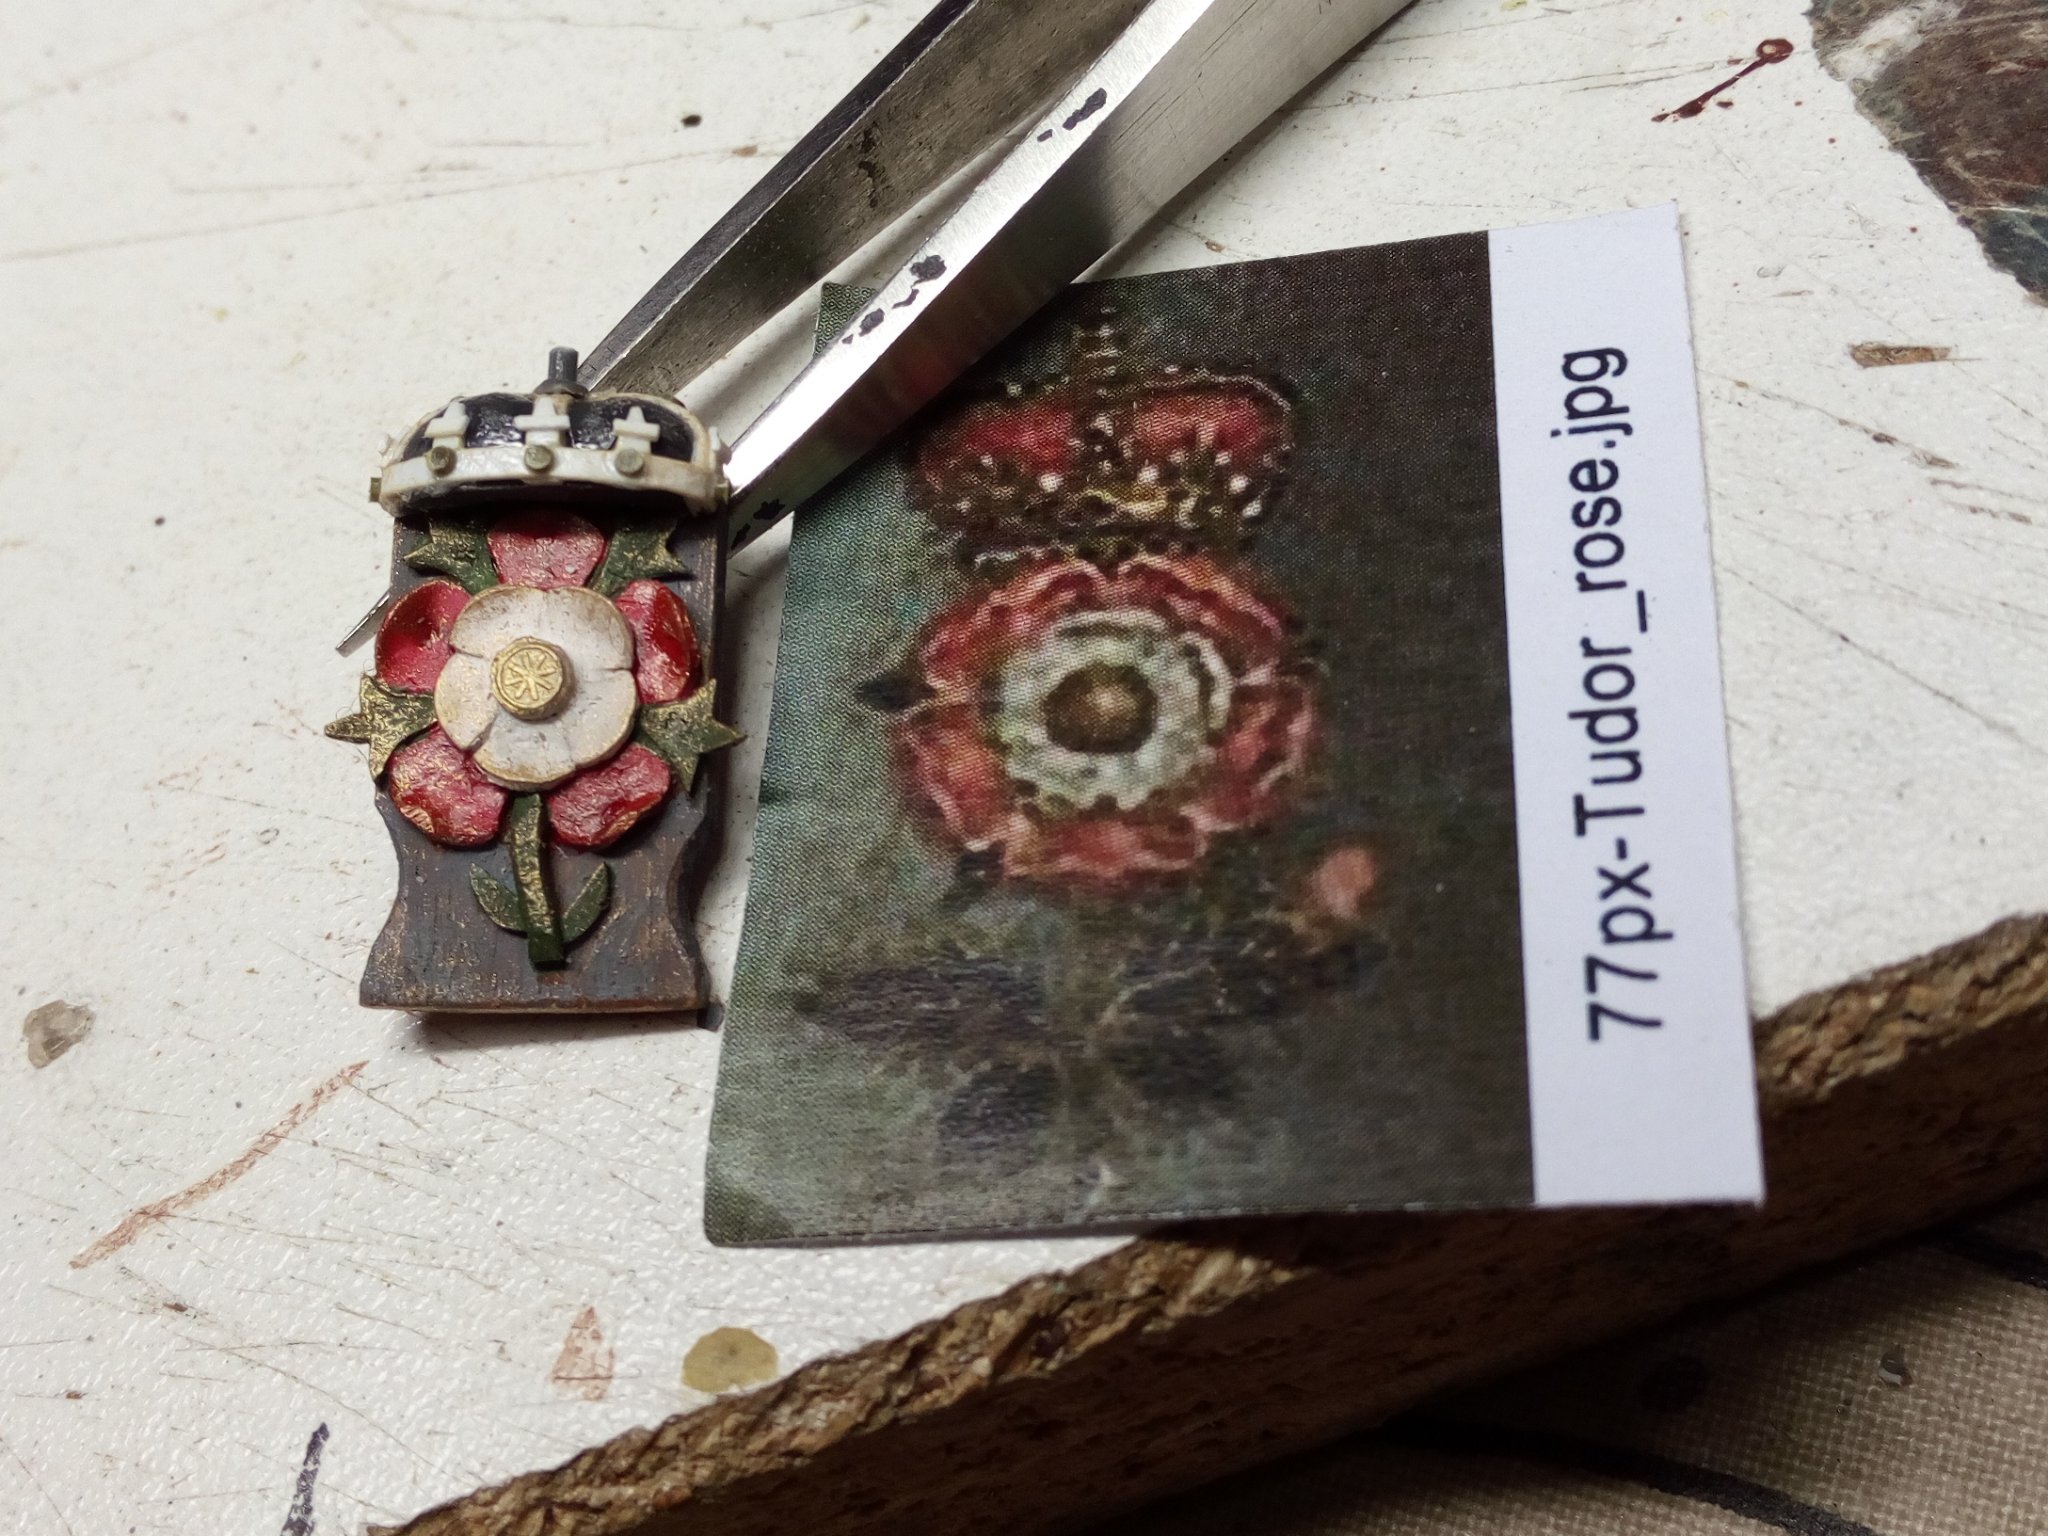
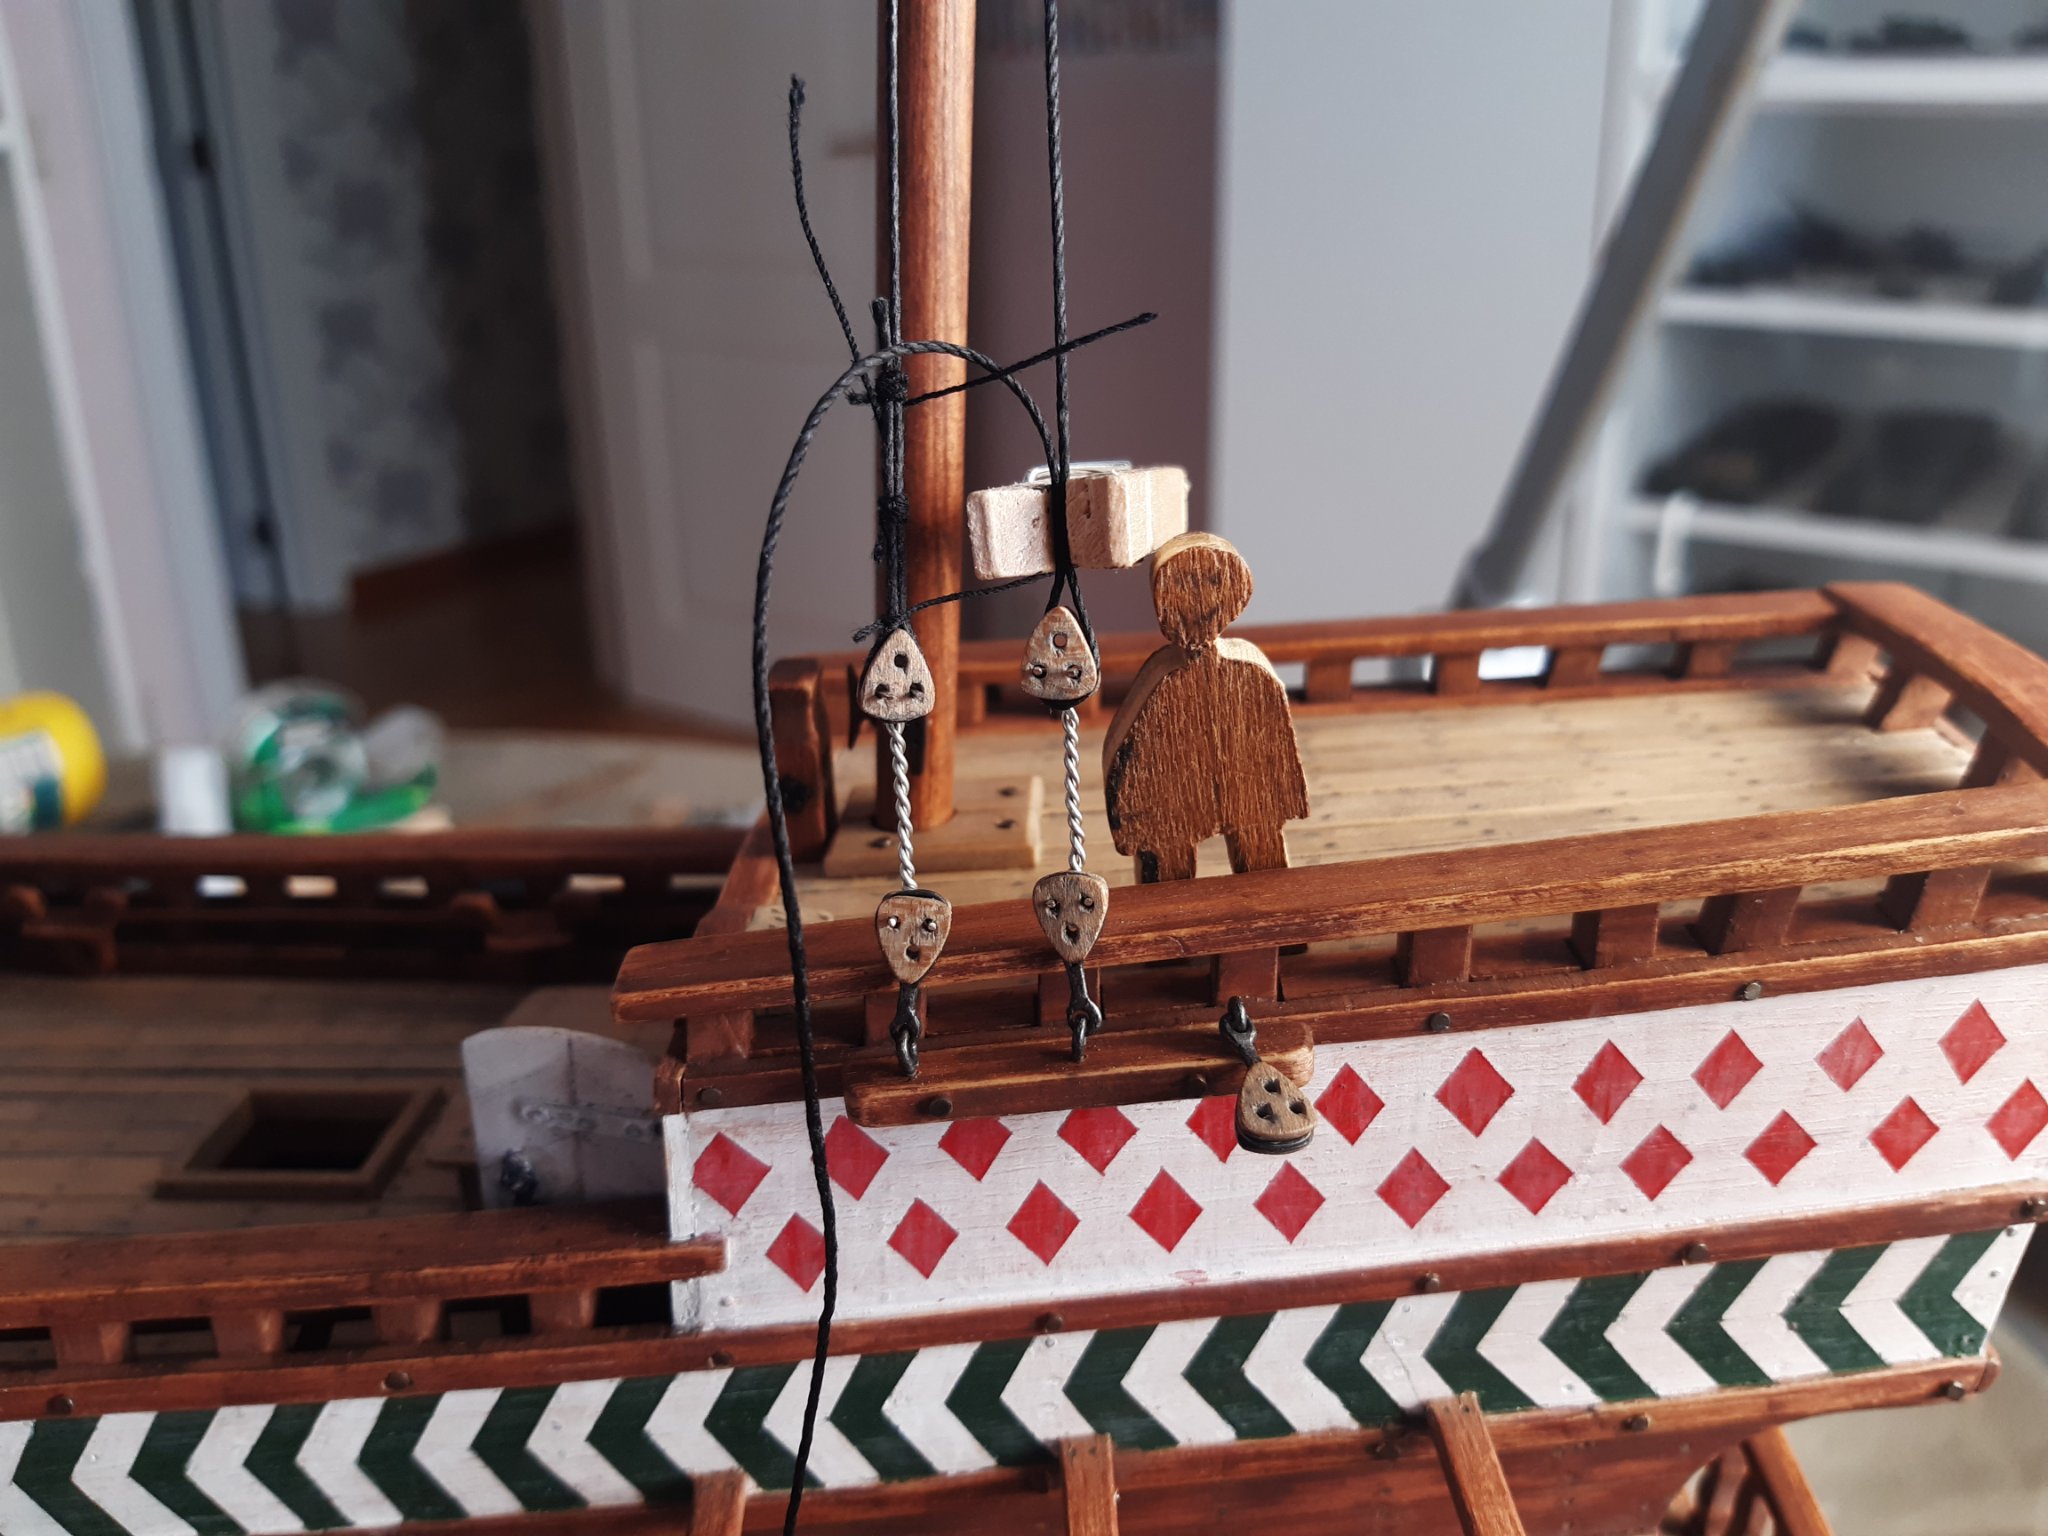
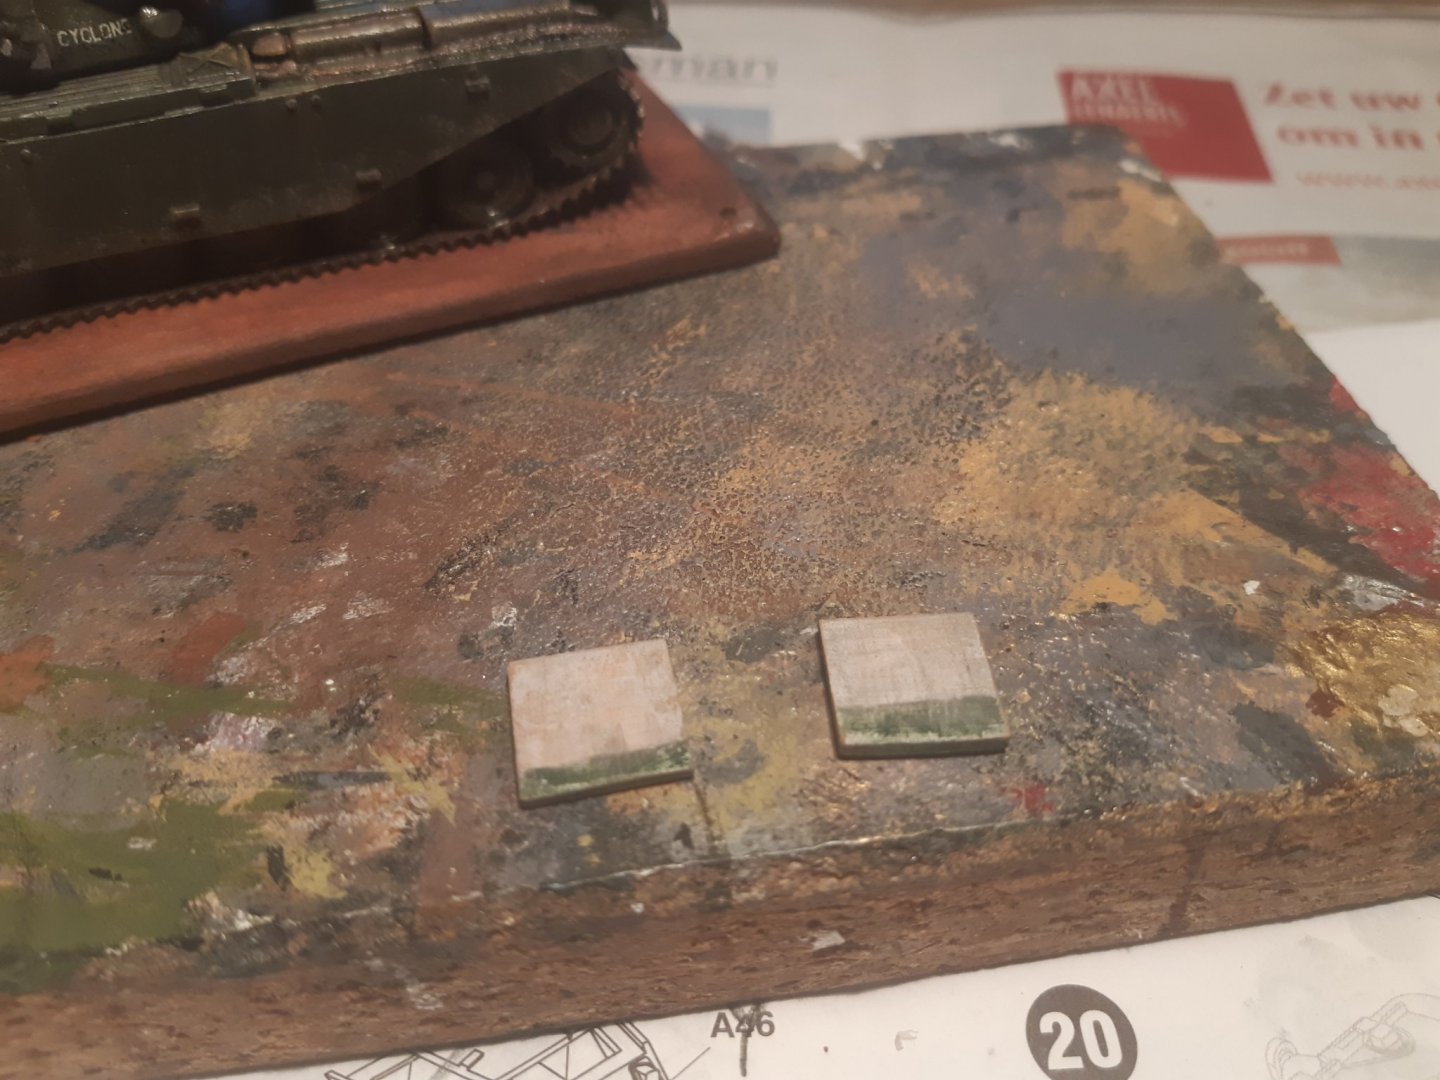
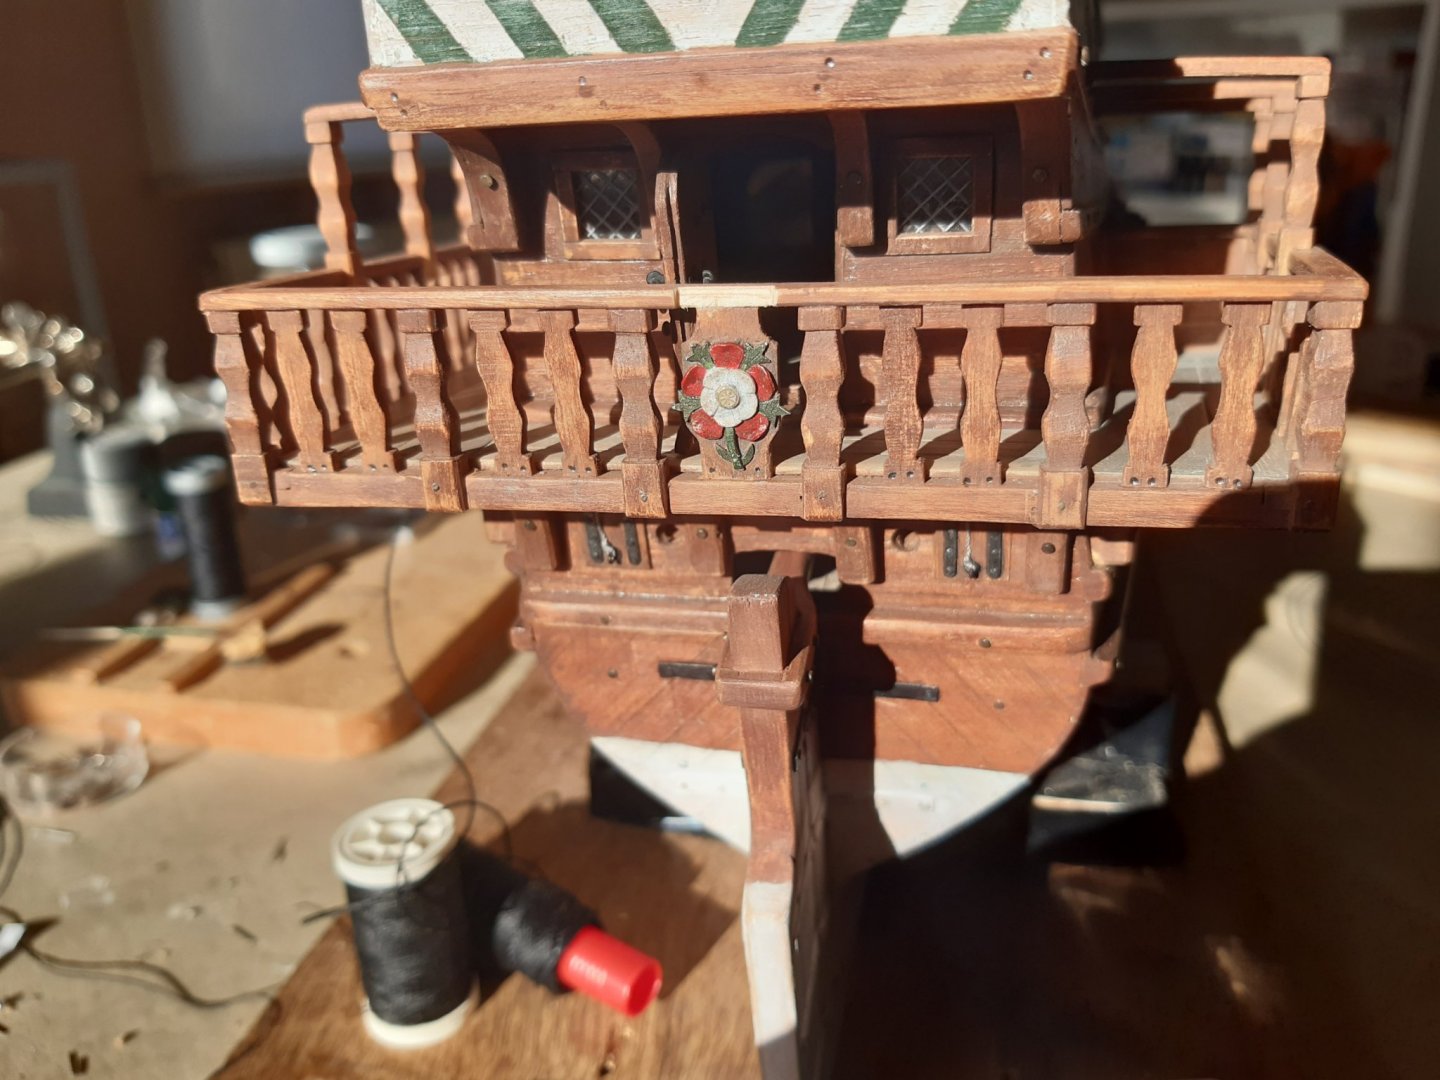
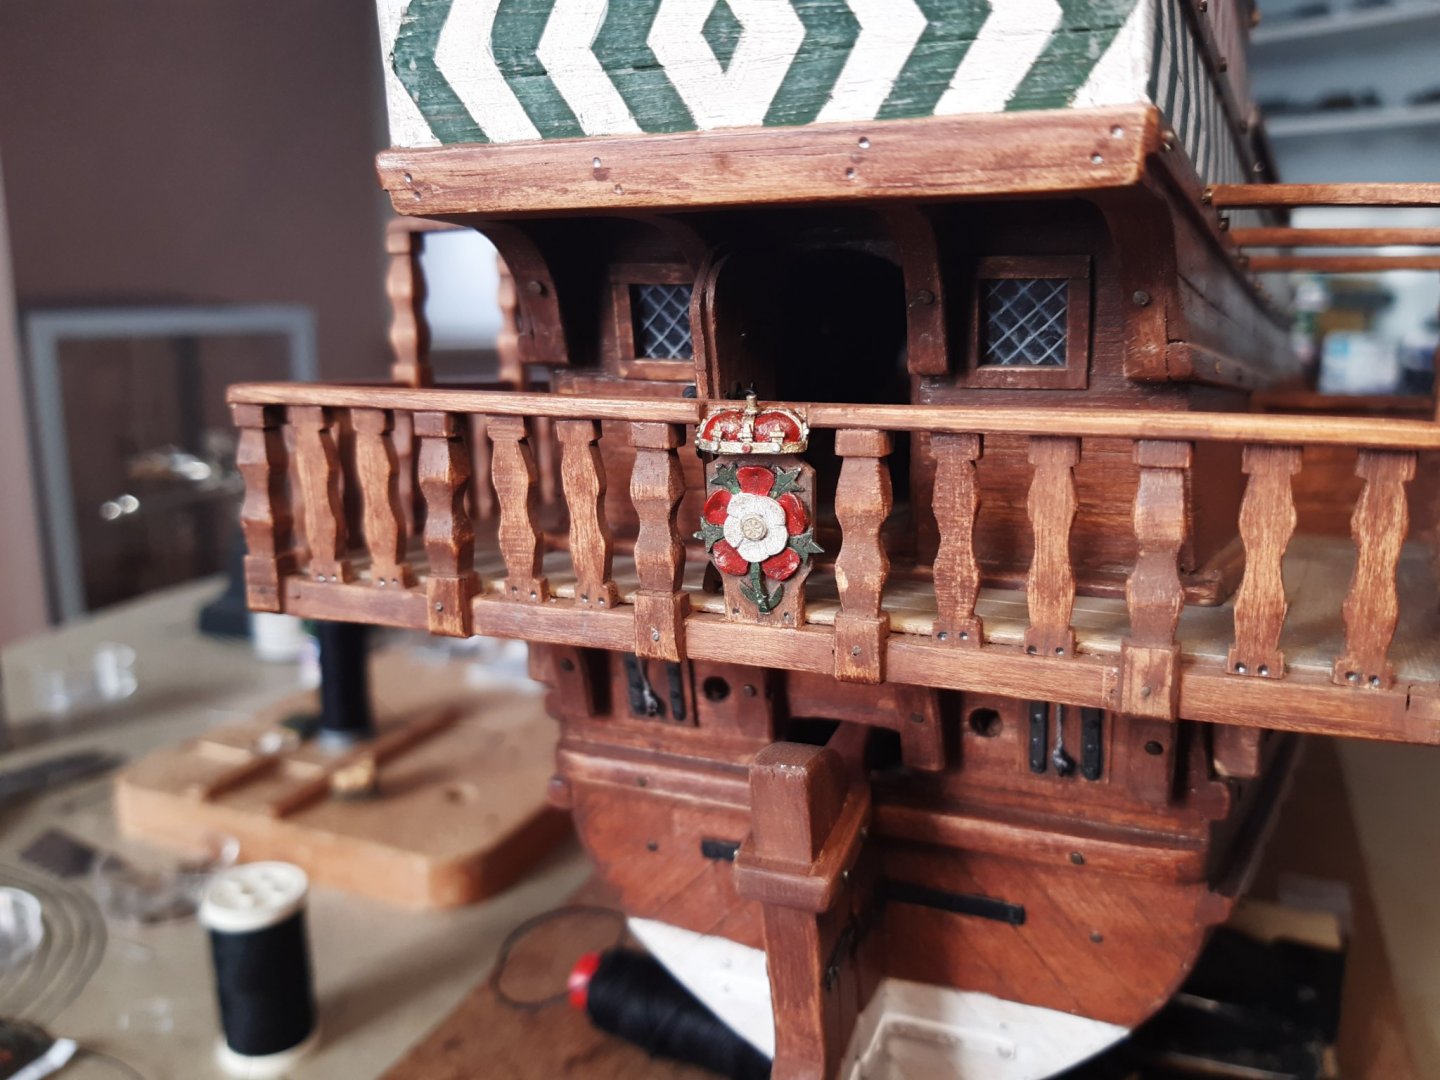
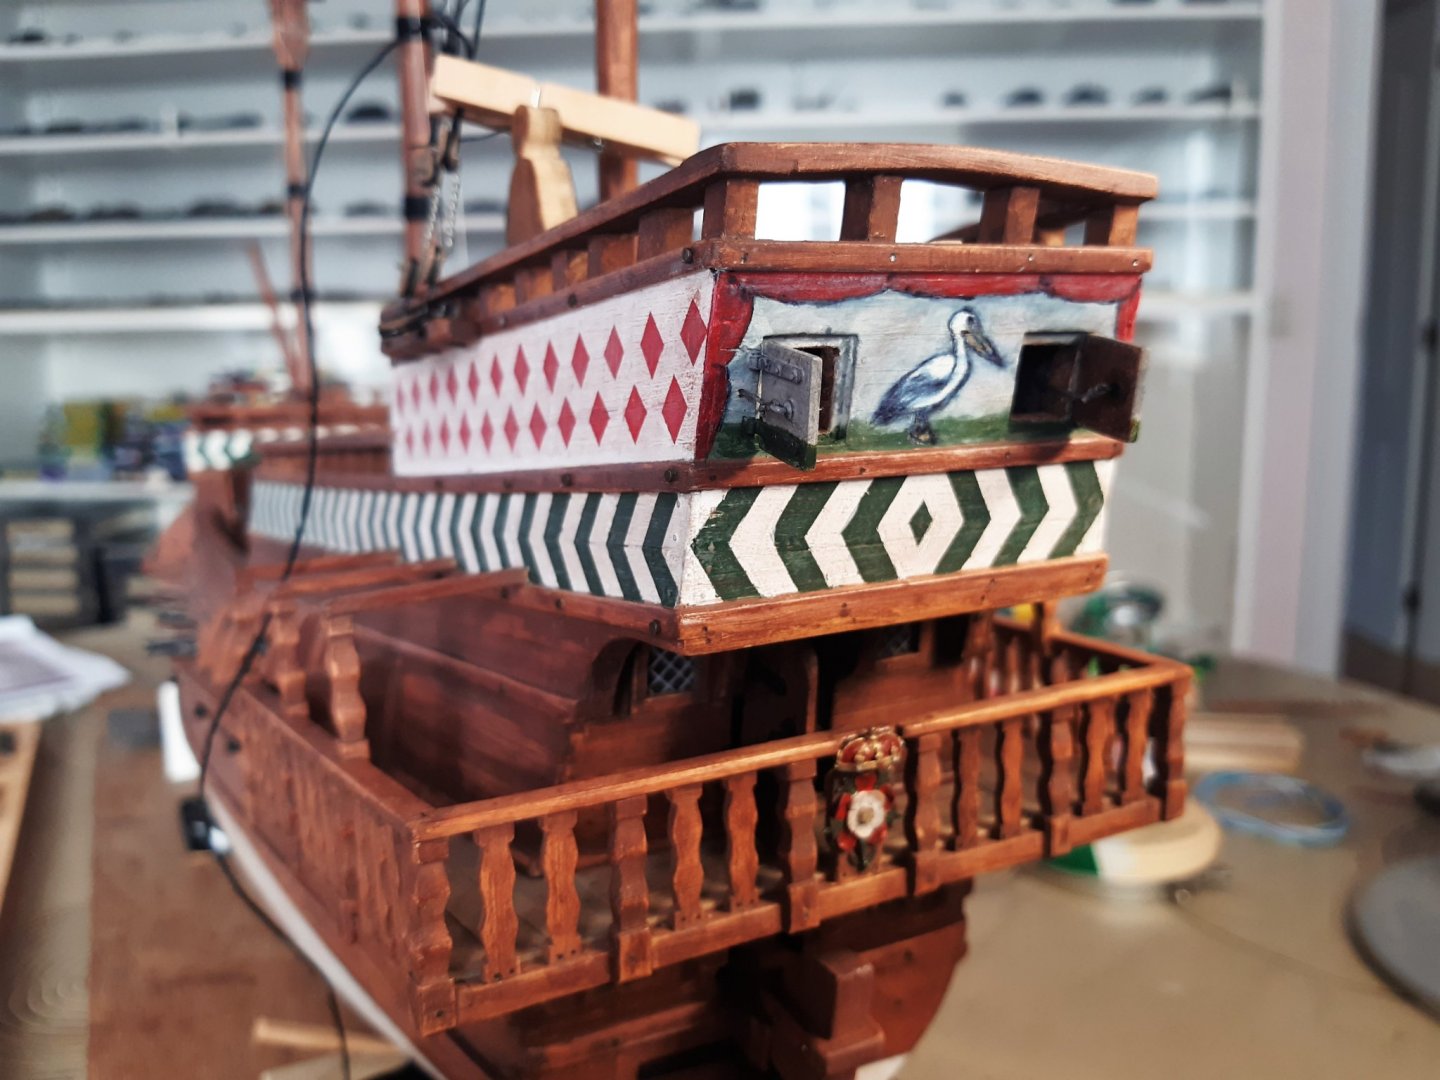
A small update Two hatches were made in between production of the military models. The hinges were metal color first. Didn't like this and later painted them in white and green. I also made a crown while building the Tudor rose. After hesitating for a long time to ad it or not on the model, it was also placed above the rose. And the first steps in rigging immediately went wrong 😳 Corrected Thanks for following


- 756 replies
-
- 16
-
-

-
- galleon
- golden hind
- (and 2 more)
-
Roter Löwe 1597 by Ondras71
Baker replied to Ondras71's topic in - Build logs for subjects built 1501 - 1750
As far as I have found, there are no belaying pins on ships from your period. Not on racks or in the railing. Van de Velde (Peter) was born in 1654. Suppose he only started painting ships when he was about 20 years old, then we are in 1674. Perhaps he took ships from this period as an example. It may be that this arrangement is correct in the second half of the 17th century (dont now), but certainly not at the end of the 16th century. If you build exactly according to your plan (competition) then this explanation is only informative. Then you just have to follow the plan. And you succeed very well in this Ondras. -
NEW Vasa kit from Artesania Latina -- looks to be quite good
Baker replied to md1400cs's topic in Wood ship model kits
Looks very good at first glance -
M29 Weasel family 1/72 (scratch) by Backer Finished
Baker replied to Baker's topic in Non-ship/categorised builds
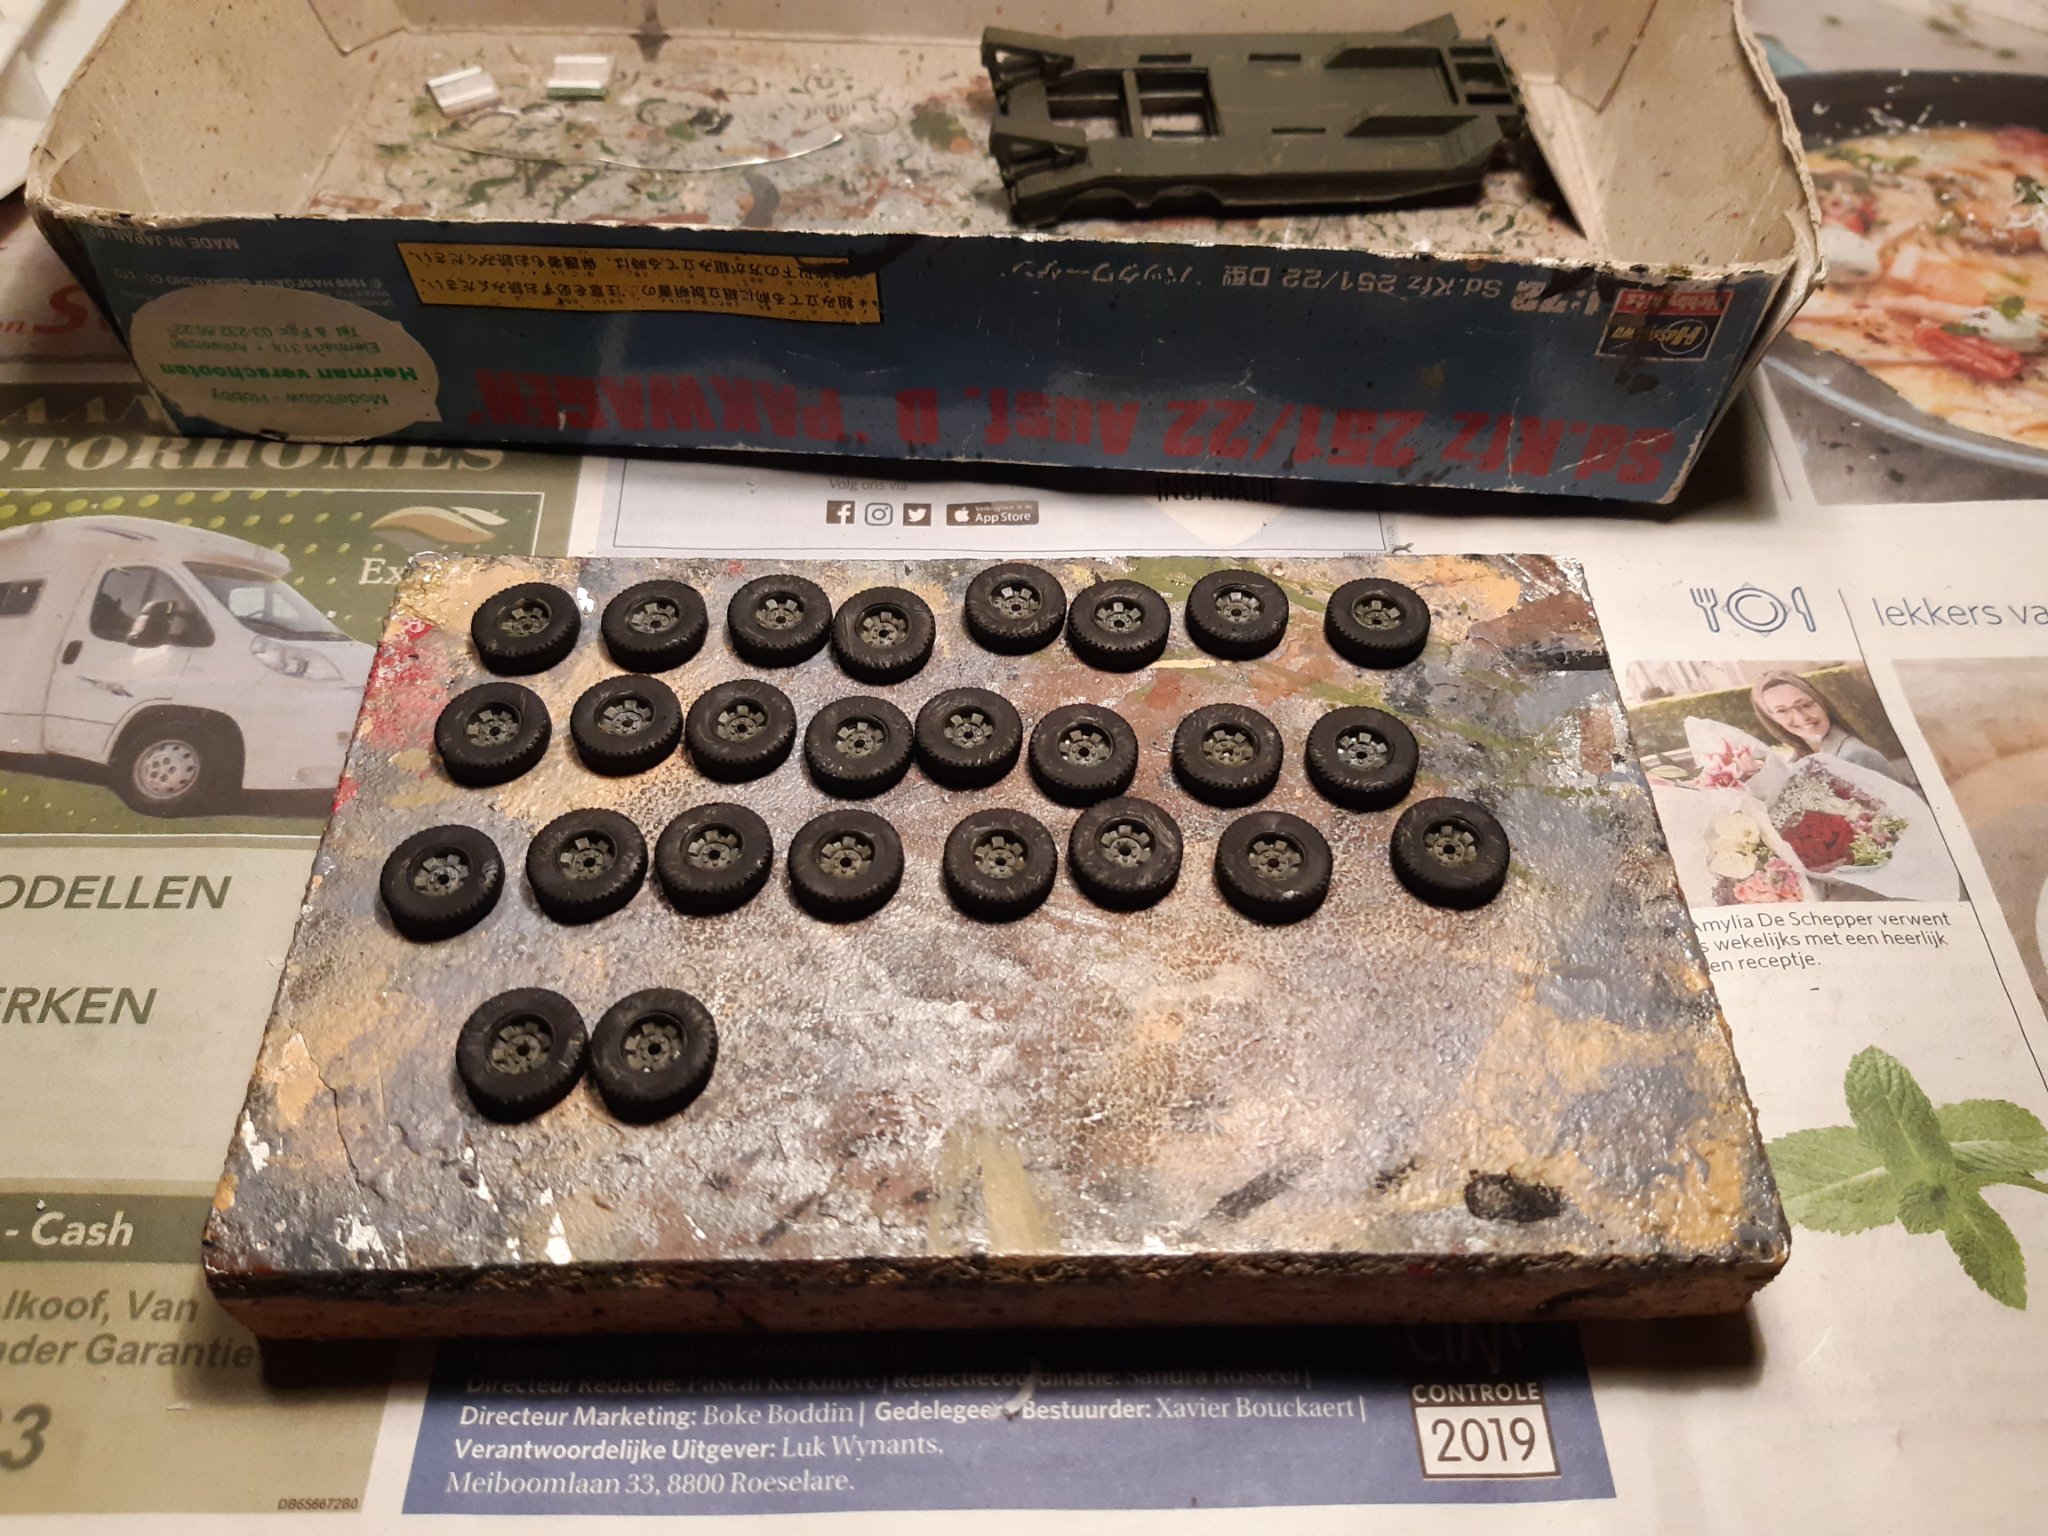
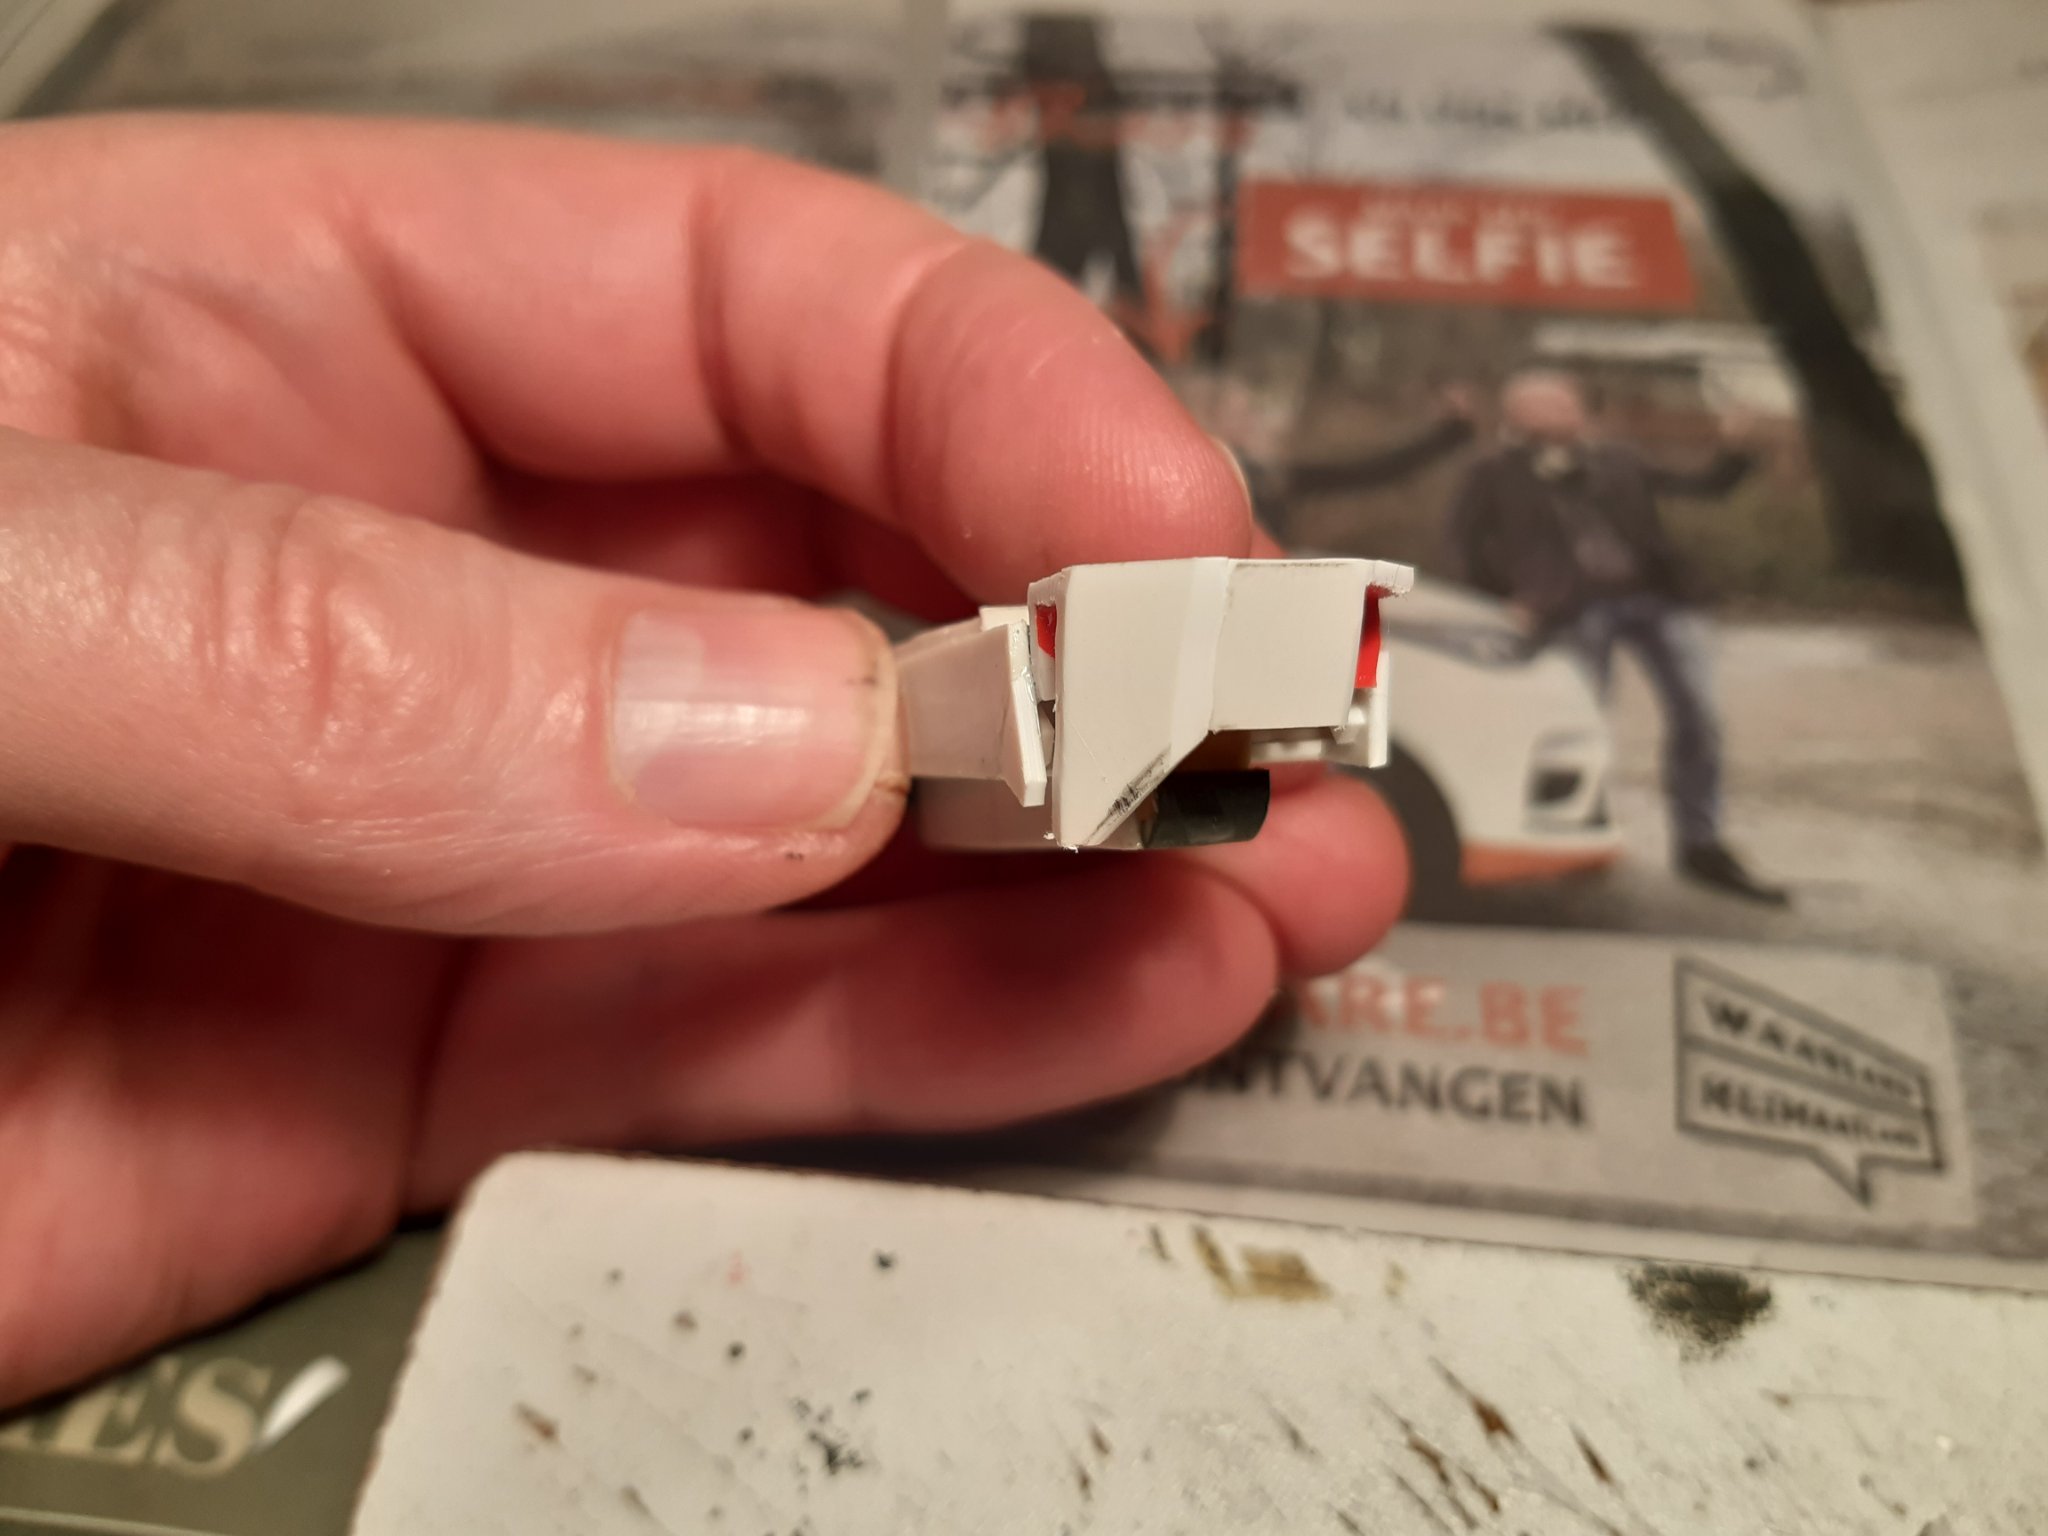
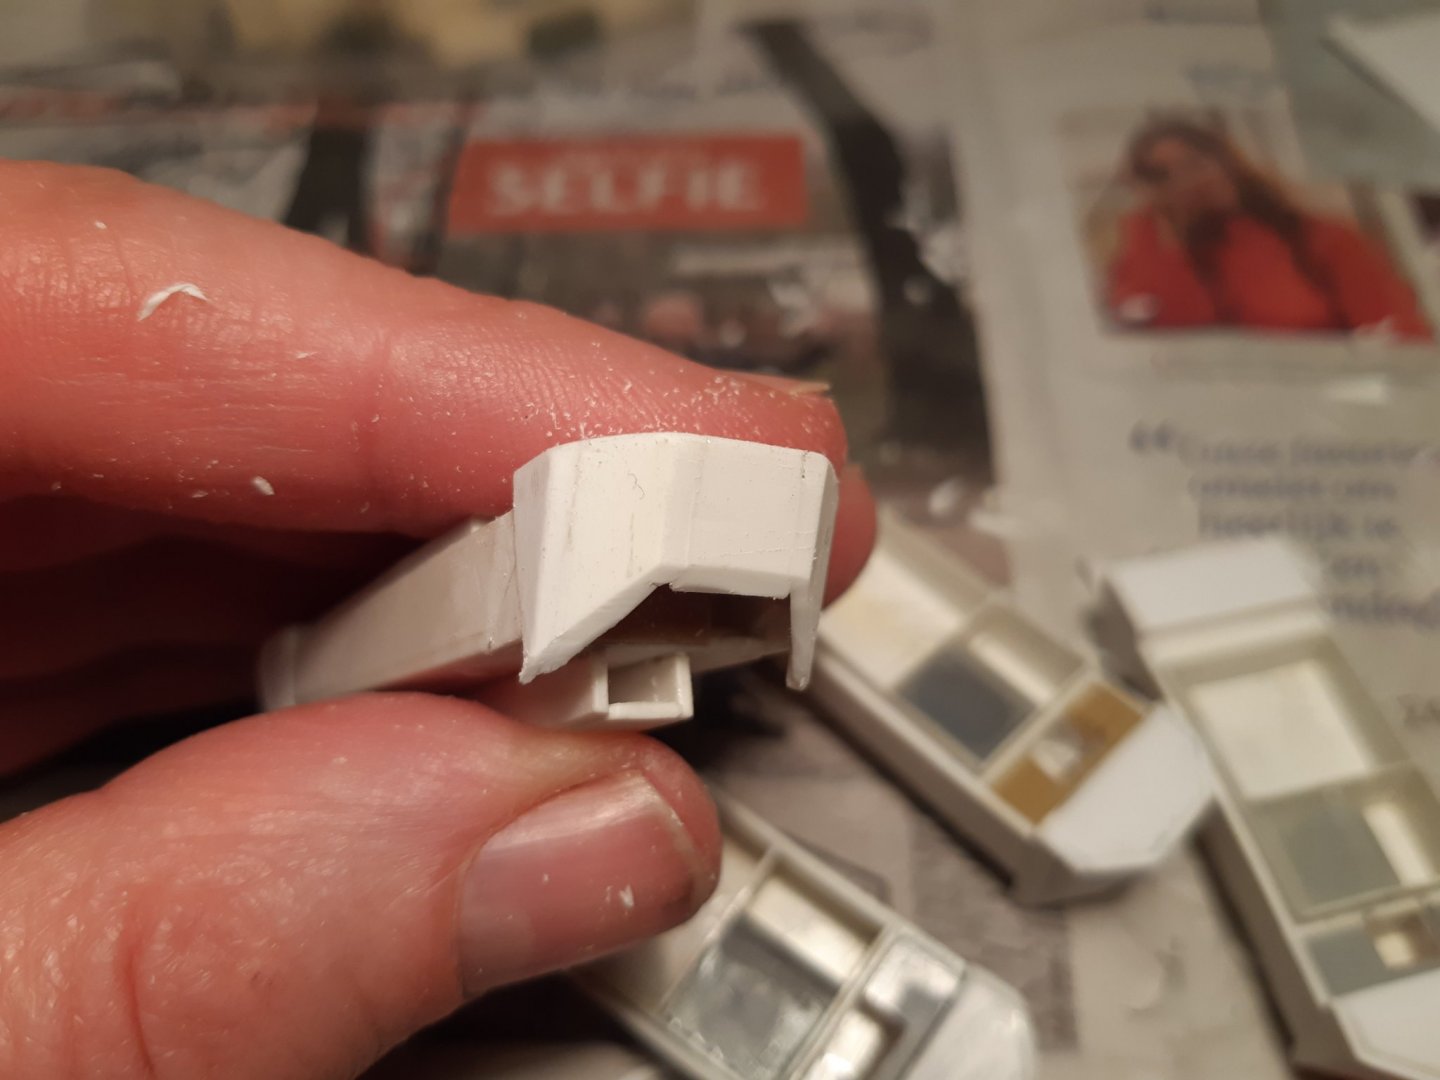
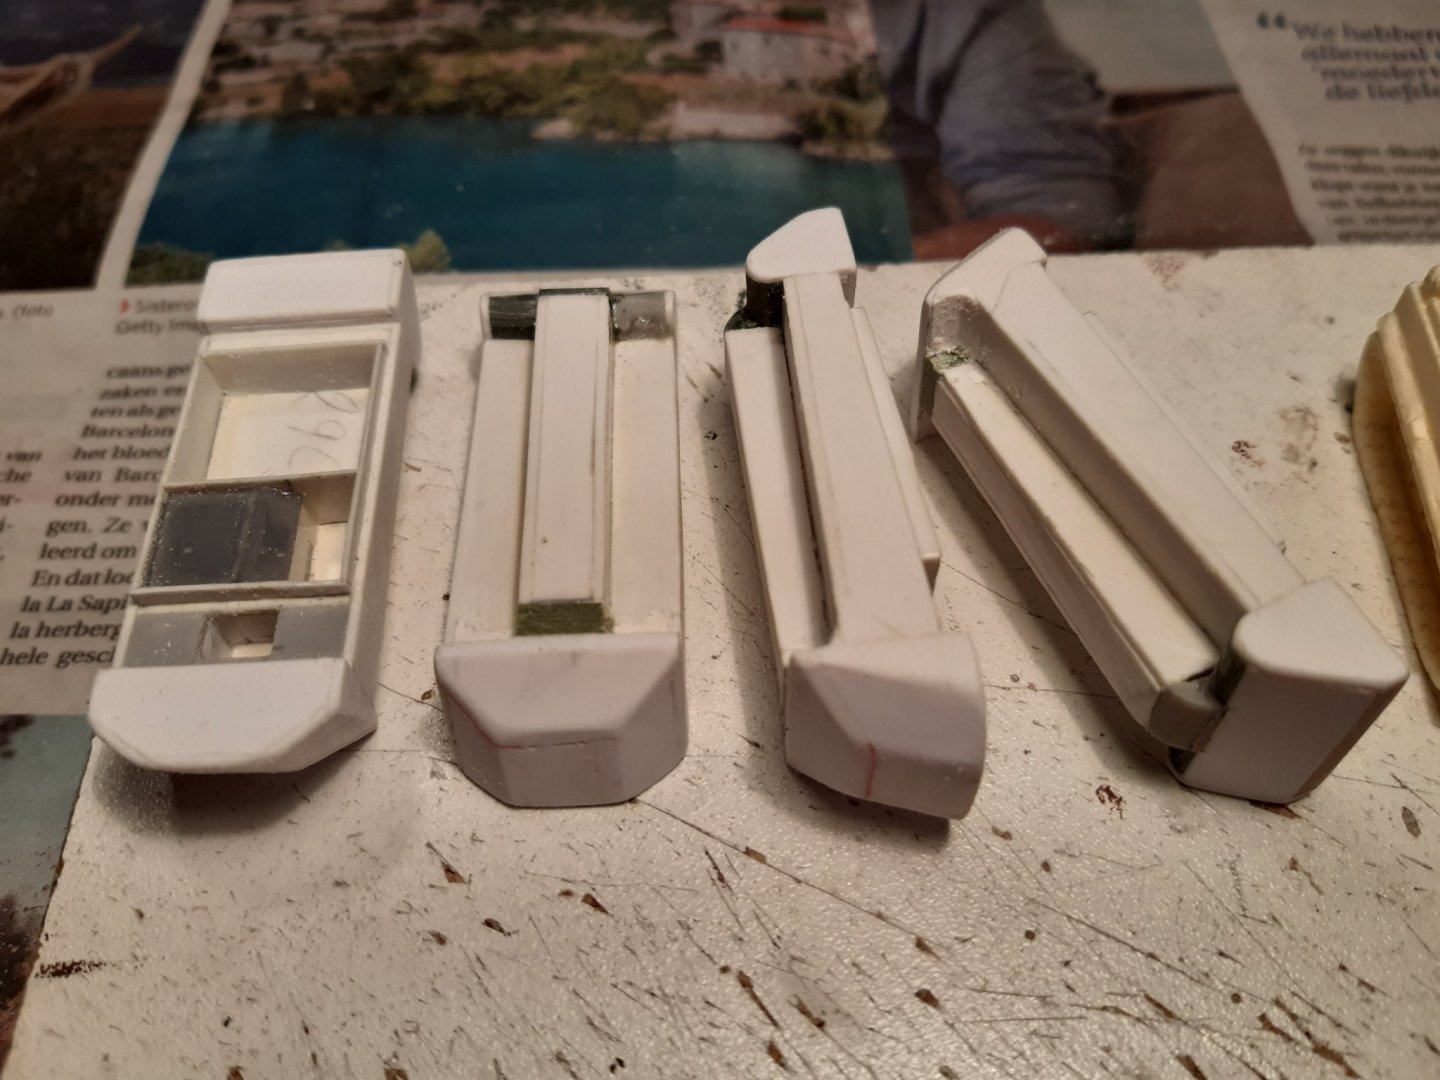
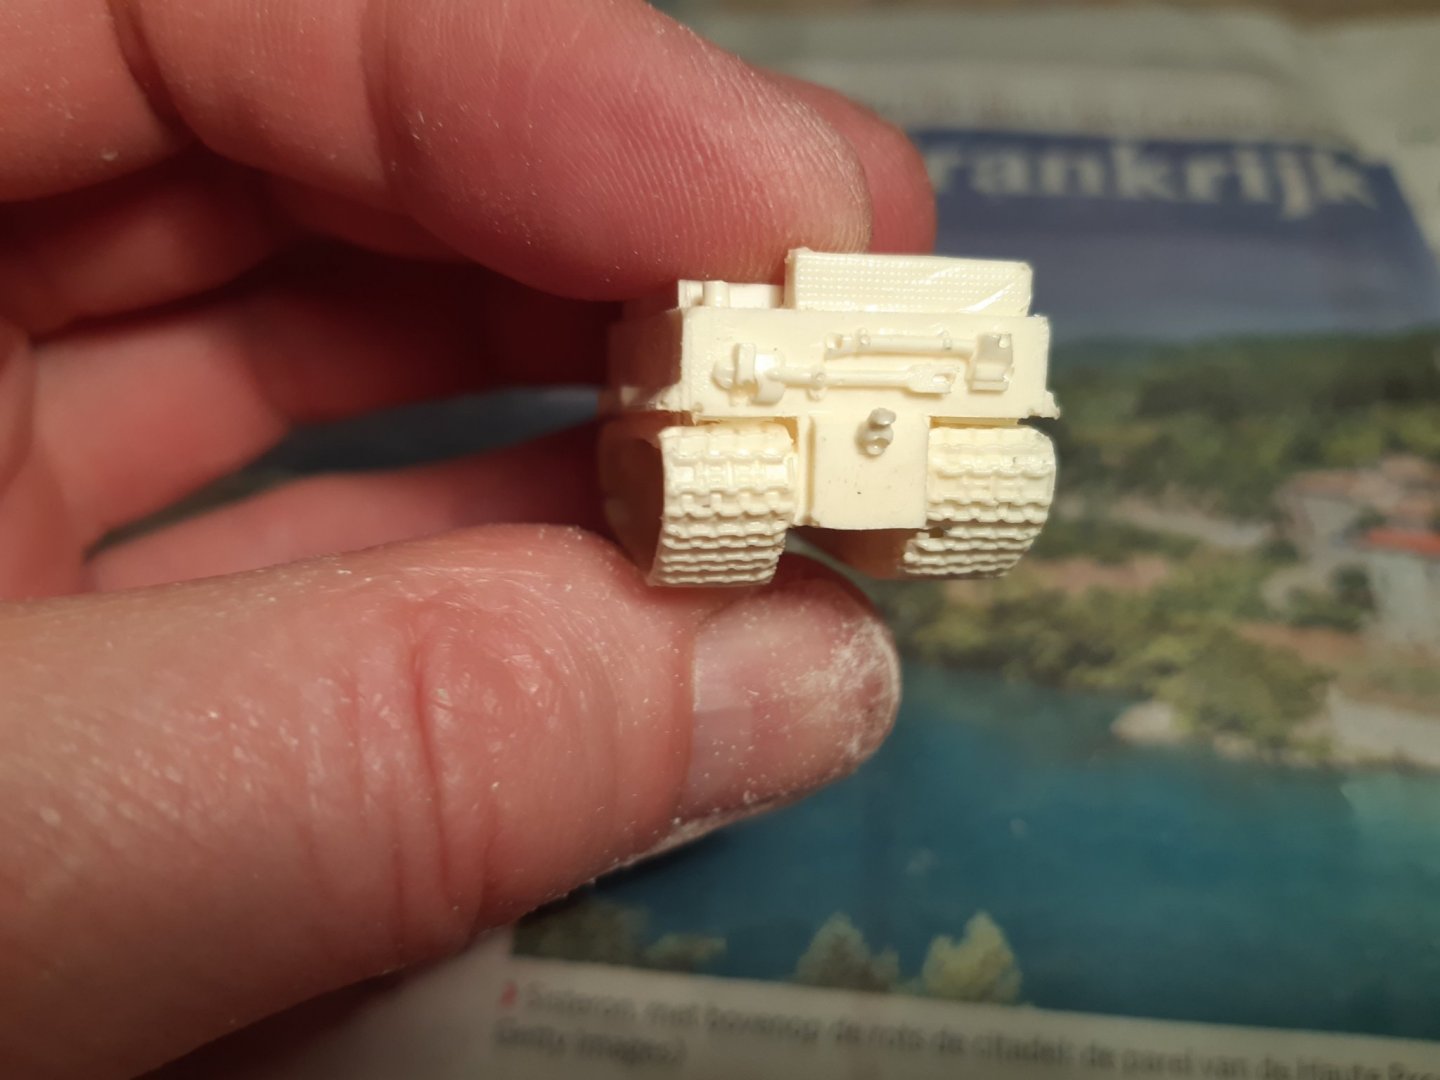
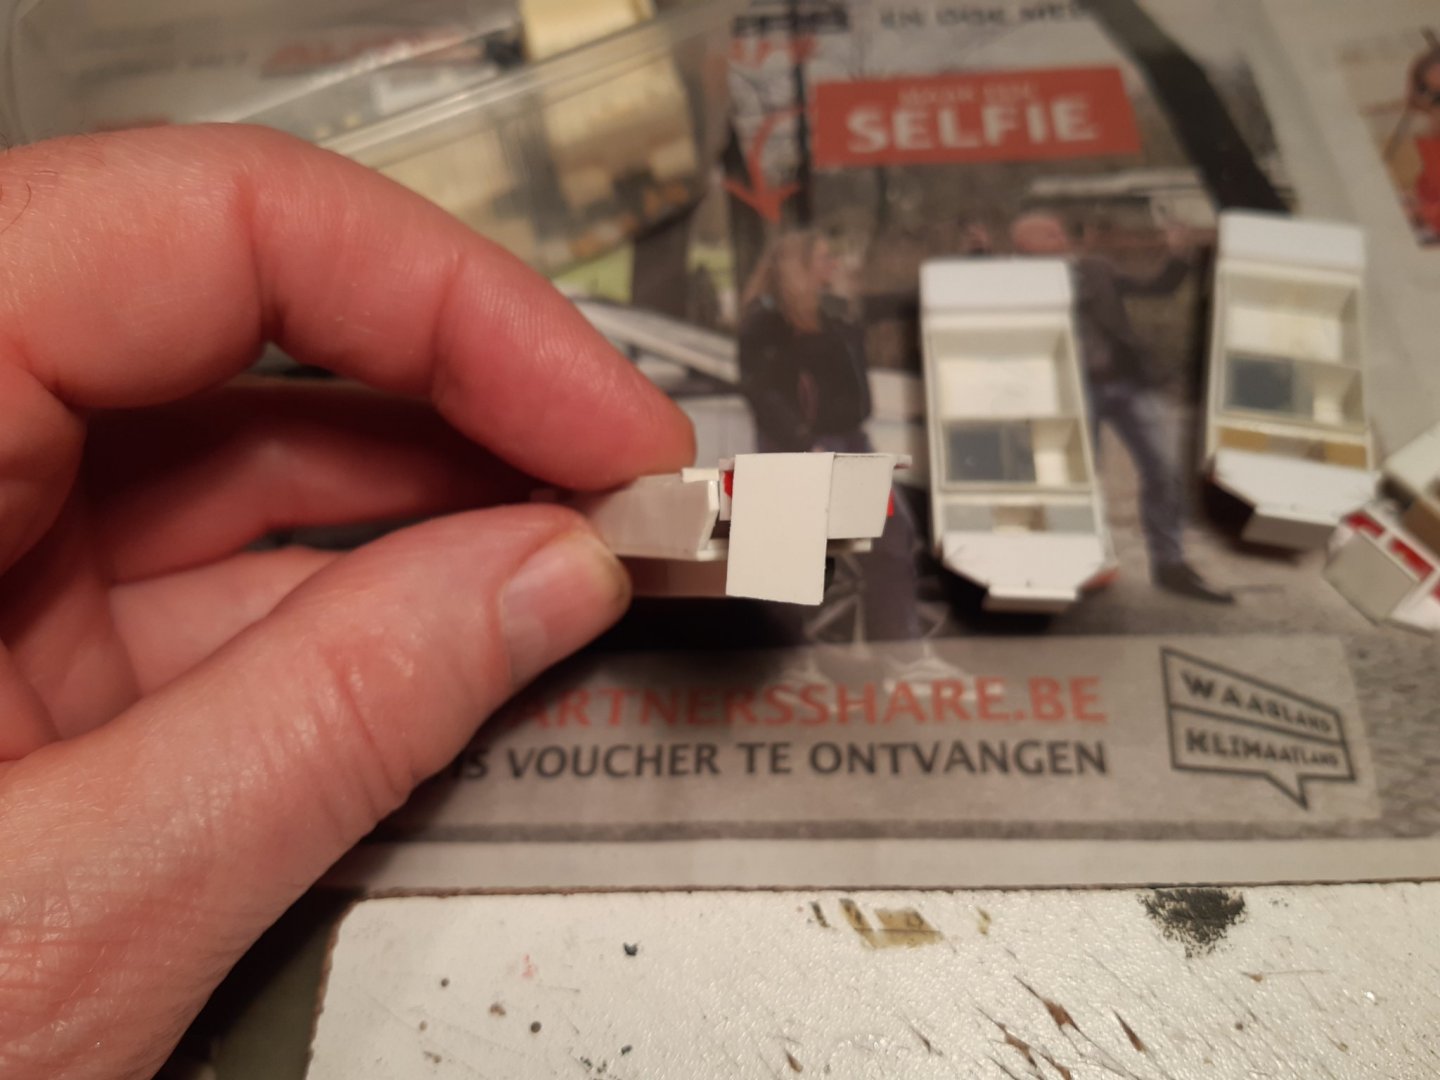
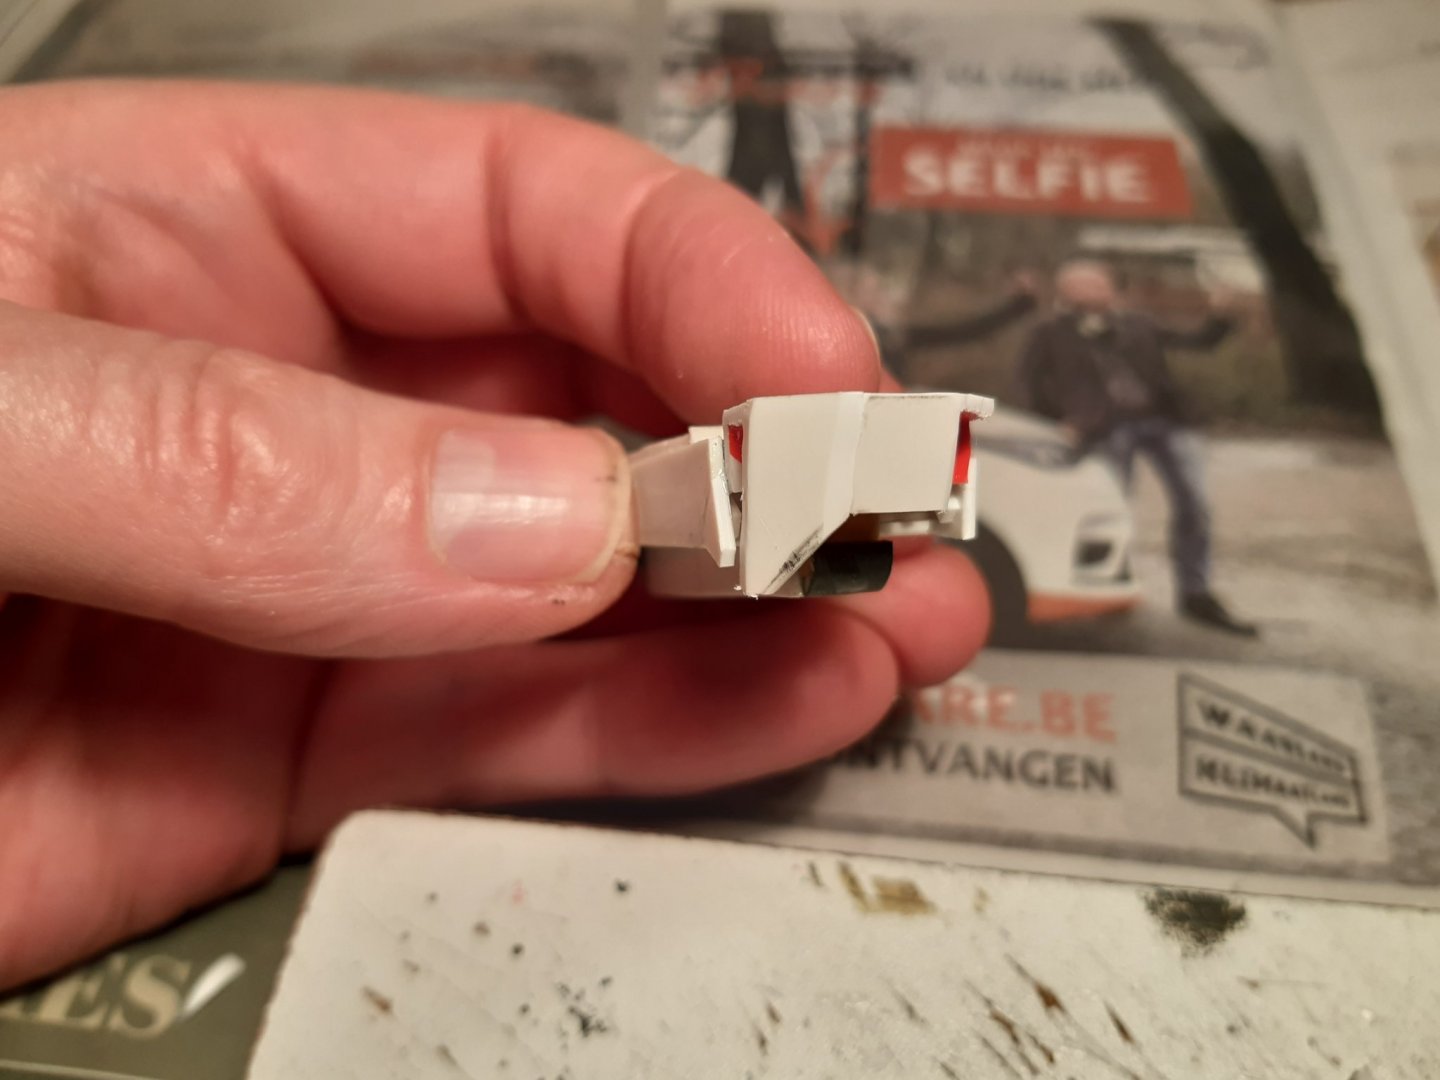
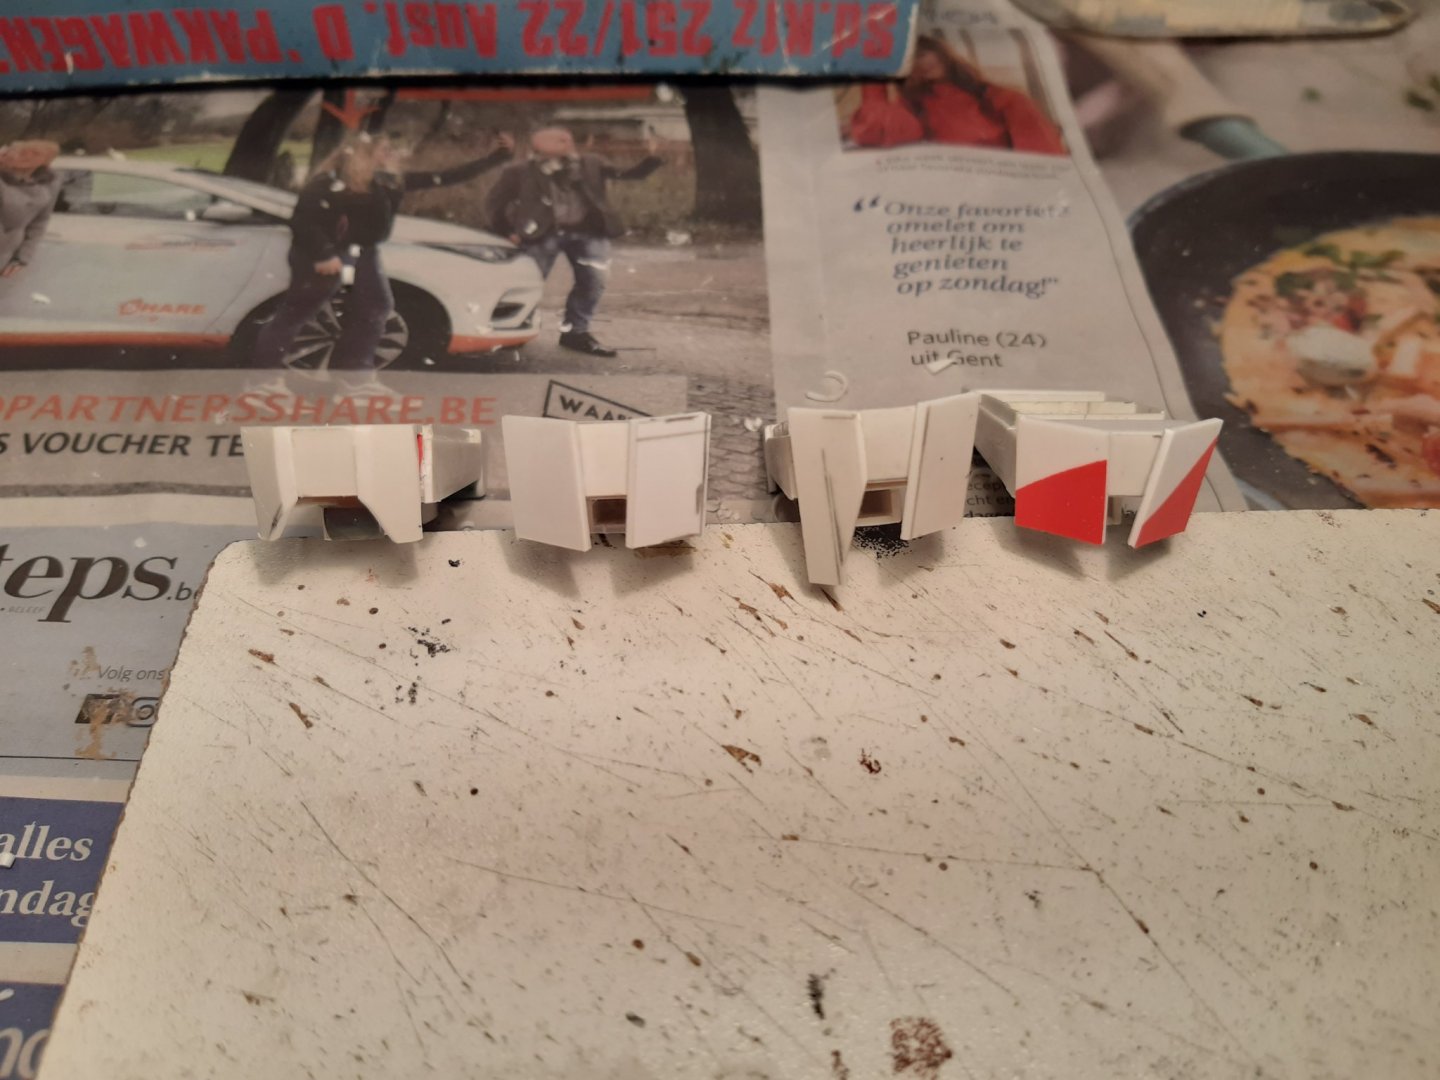
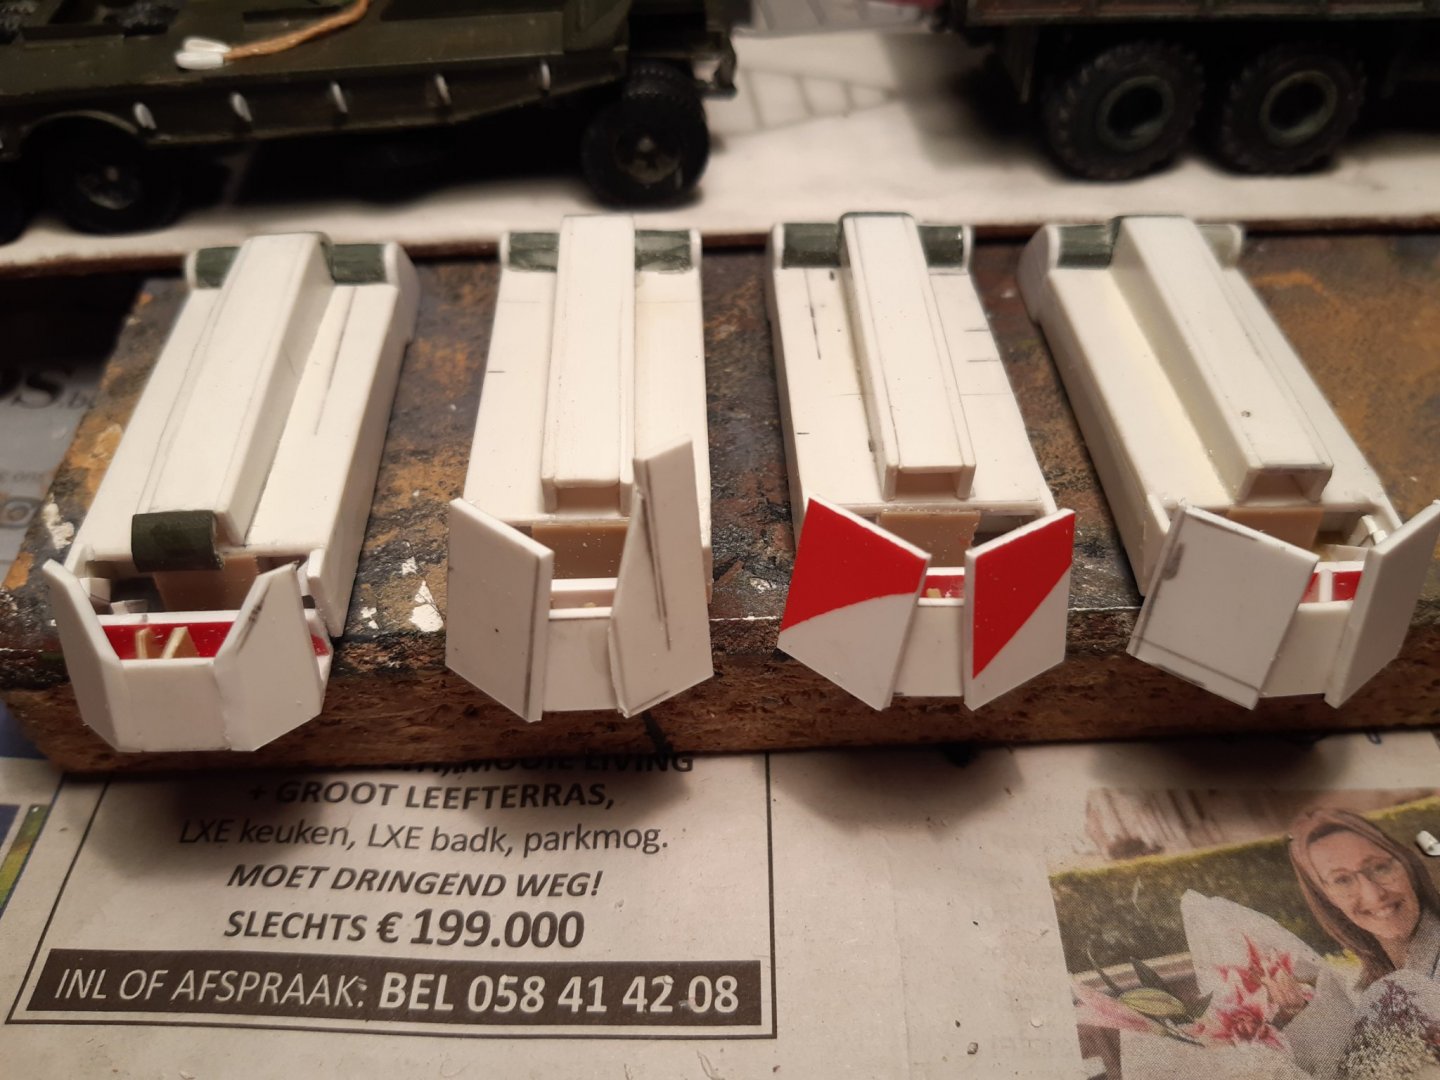
Indeed, this was something with a lot of wheels 😉. The basic shape of the front floating tank is ready Lost my patience and switched to filler for this 🤣 The basic shape of the weasels is ready On the epoxy model they used T34 tracks... If I have to make 4 sets of tracks for the 29c. then I can also make 1 extra set for the epoxy model. Thanks for following, likes and comments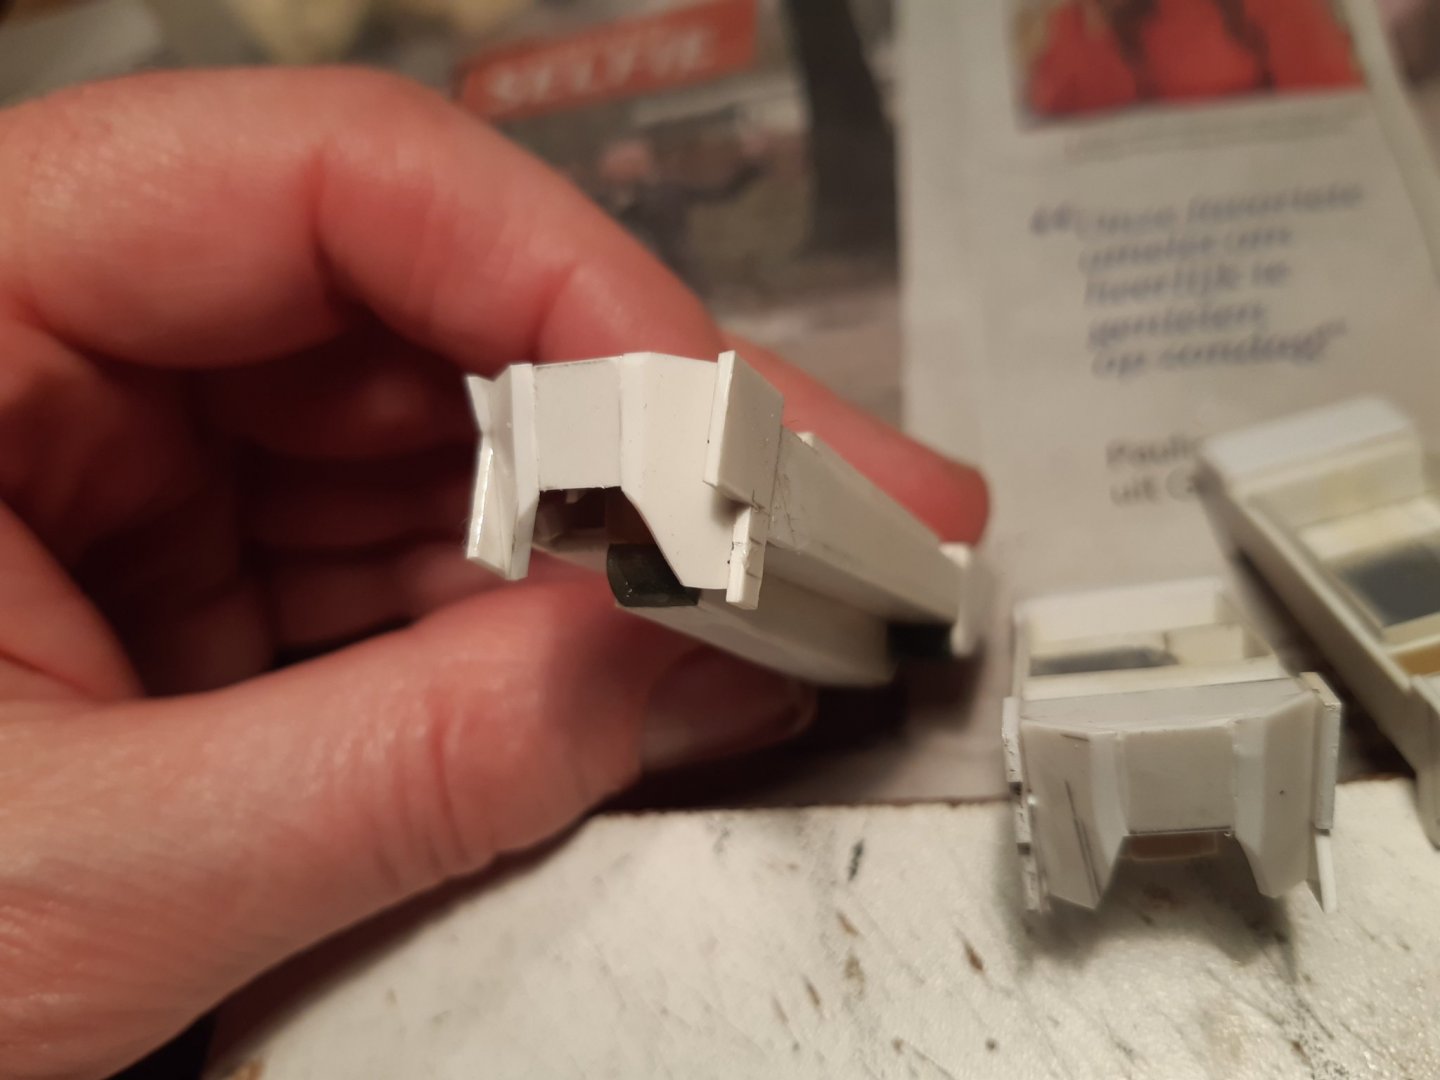

- 50 replies
-
- 10
-
-
Very well done. Congrats on this nice model.
-
Nice work Rodolfo
-
Nice work.
-
Great update Michael 👍
-
Nice colors for the deck 👍. Indeed A red background with colored figures is historically correct. But quite a challenge to paint on this small scale Blue with gilded figures is not correct. But perhaps easier to paint and also very nice to look at. As mentioned before. Your model your colors. Ps, The collors on my Vasa are not the correct colors.
-
La Toulonnaise 1823 by ward - FINISHED - 1/50
Baker replied to ward's topic in - Build logs for subjects built 1801 - 1850
Proficiat Ward- 26 replies
-
- 1
-
-
- schooner
- la toulonnaise
- (and 1 more)
-
ben beginner met ervaring bouwen Smit Rotterdam. veel plezier maar niet perfect. nu de Endeavour van Occre gekocht en wil deze met jullie hulp tot een mooi einde brengen. Zijn er al tips waar ik bij aanvang op moet letten? ik sta open voor alle hulp en kritiek. In English I am a beginner with experience building the Smit Rotterdam, a lot of fun but not perfect. I now bought the Endeavor from Occre and with your help I want to bring it to a good end. Are there any tips I should pay attention to at the start? I am open to any help and criticism. To kloppie I would say. Step one : start a build log
-
Dutch yacht by henry x - RESTORATION
Baker replied to henry x's topic in - Build logs for subjects built 1501 - 1750
Plans and a set of sails are still available if required https://www.cornwallmodelboats.co.uk/cgi-bin/ss000001.pl?page=search&SS=Stadt+von+Bremen+sails+&PR=-1&TB=O&ACTION=Go! Good luck with the restoration and have fun -
I just changed the title of this build. The Billings Vasa is on scale 1/75. Grimbergen ... one of the many good Belgian beers, is always availeble in my refrigerator 👍
-
M29 Weasel family 1/72 (scratch) by Backer Finished
Baker replied to Baker's topic in Non-ship/categorised builds
Smal update Since I only continue on this build occasionally, progress is slow. As expected, the front float tank is not an easy thing to make. So there is a lot of fitting and measuring to do. And for now, nothing has been done wrong that needs to be removed again 😉 Meanwhile : wheels, wheels, wheels for a russian tank trailer. The ChMZAP-5208 under construction and a heavy truck from the shelf Thanks for following, comments and likes.


- 50 replies
-
- 11
-
-
Welkom kloppie
-
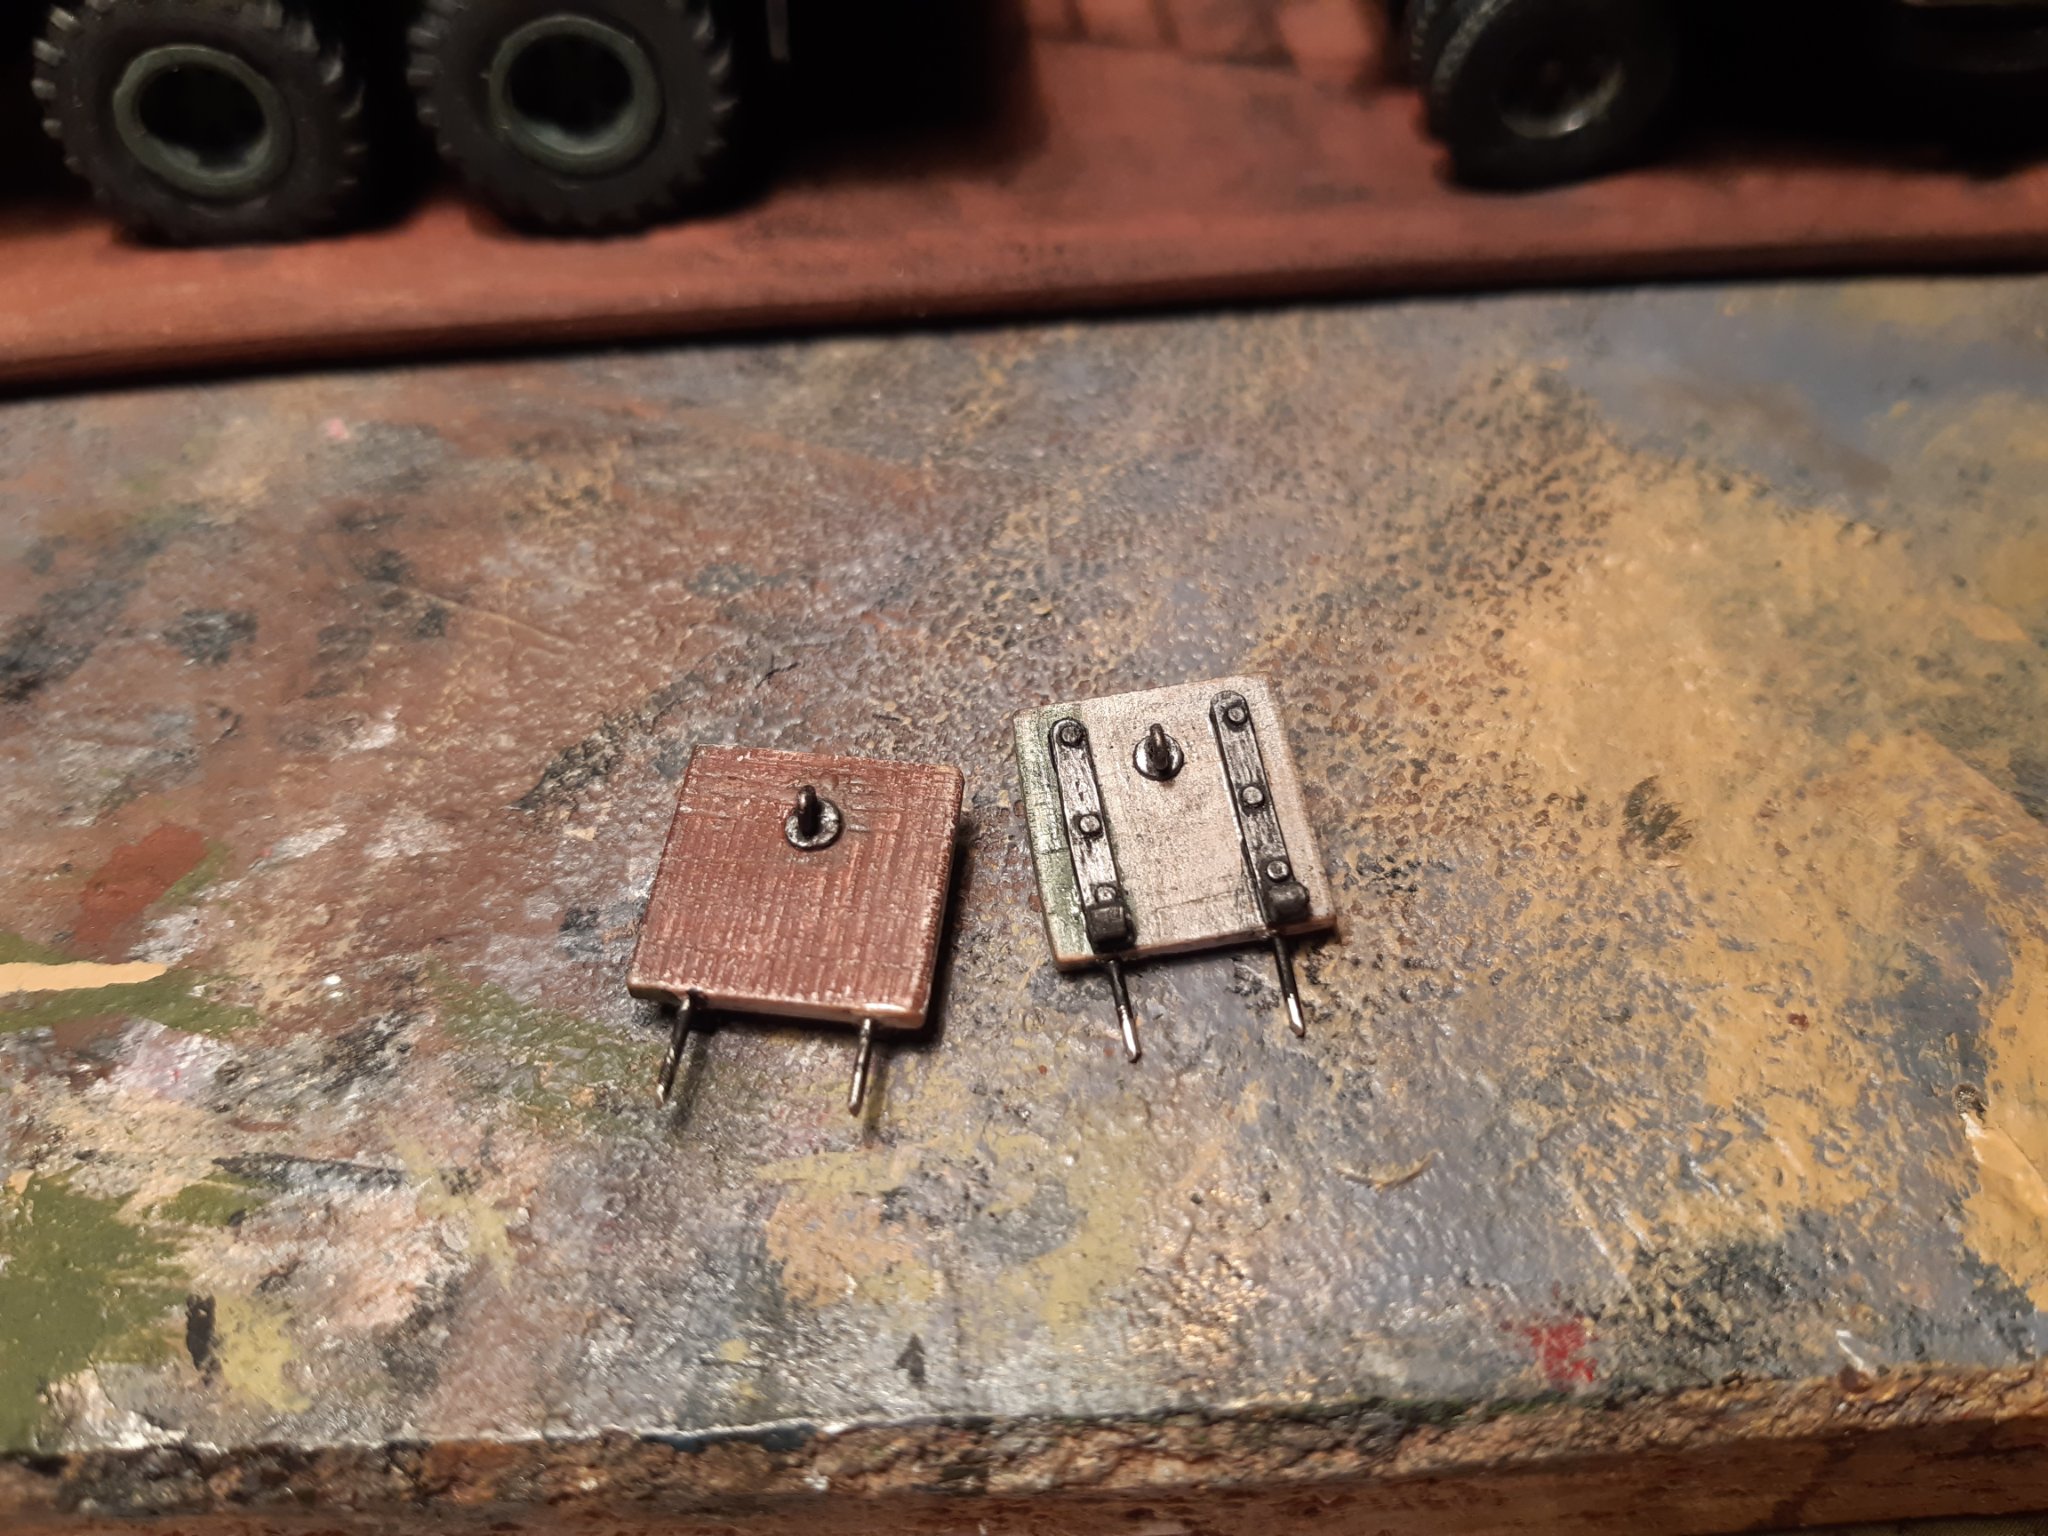
Nice painting. But with his poor foot in that sharp clamp. Ouch 😬😉
-
Of course not. Already looking forward to your little Vasa Build No, this was a good comment. The white rigging was really "not done" I have learned a lot with this model. And I made some euros on it after i sold it.
- 63 replies
-
- 1
-
-
- vasa
- billing boats
- (and 1 more)
-
VW samba bus conversion by kpnuts - Revell - 1/16 - PLASTIC
Baker replied to kpnuts's topic in Non-ship/categorised builds
Interesting project Am looking forward to the finished model(s)