MORE HANDBOOKS ARE ON THEIR WAY! We will let you know when they get here.
×


Baker
-
Posts
4,181 -
Joined
-
Last visited
Content Type
Profiles
Forums
Gallery
Events
Everything posted by Baker
-
ben beginner met ervaring bouwen Smit Rotterdam. veel plezier maar niet perfect. nu de Endeavour van Occre gekocht en wil deze met jullie hulp tot een mooi einde brengen. Zijn er al tips waar ik bij aanvang op moet letten? ik sta open voor alle hulp en kritiek. In English I am a beginner with experience building the Smit Rotterdam, a lot of fun but not perfect. I now bought the Endeavor from Occre and with your help I want to bring it to a good end. Are there any tips I should pay attention to at the start? I am open to any help and criticism. To kloppie I would say. Step one : start a build log
-

Dutch yacht by henry x - RESTORATION
Baker replied to henry x's topic in - Build logs for subjects built 1501 - 1750
Plans and a set of sails are still available if required https://www.cornwallmodelboats.co.uk/cgi-bin/ss000001.pl?page=search&SS=Stadt+von+Bremen+sails+&PR=-1&TB=O&ACTION=Go! Good luck with the restoration and have fun -
I just changed the title of this build. The Billings Vasa is on scale 1/75. Grimbergen ... one of the many good Belgian beers, is always availeble in my refrigerator 👍
-
M29 Weasel family 1/72 (scratch) by Backer Finished
Baker replied to Baker's topic in Non-ship/categorised builds
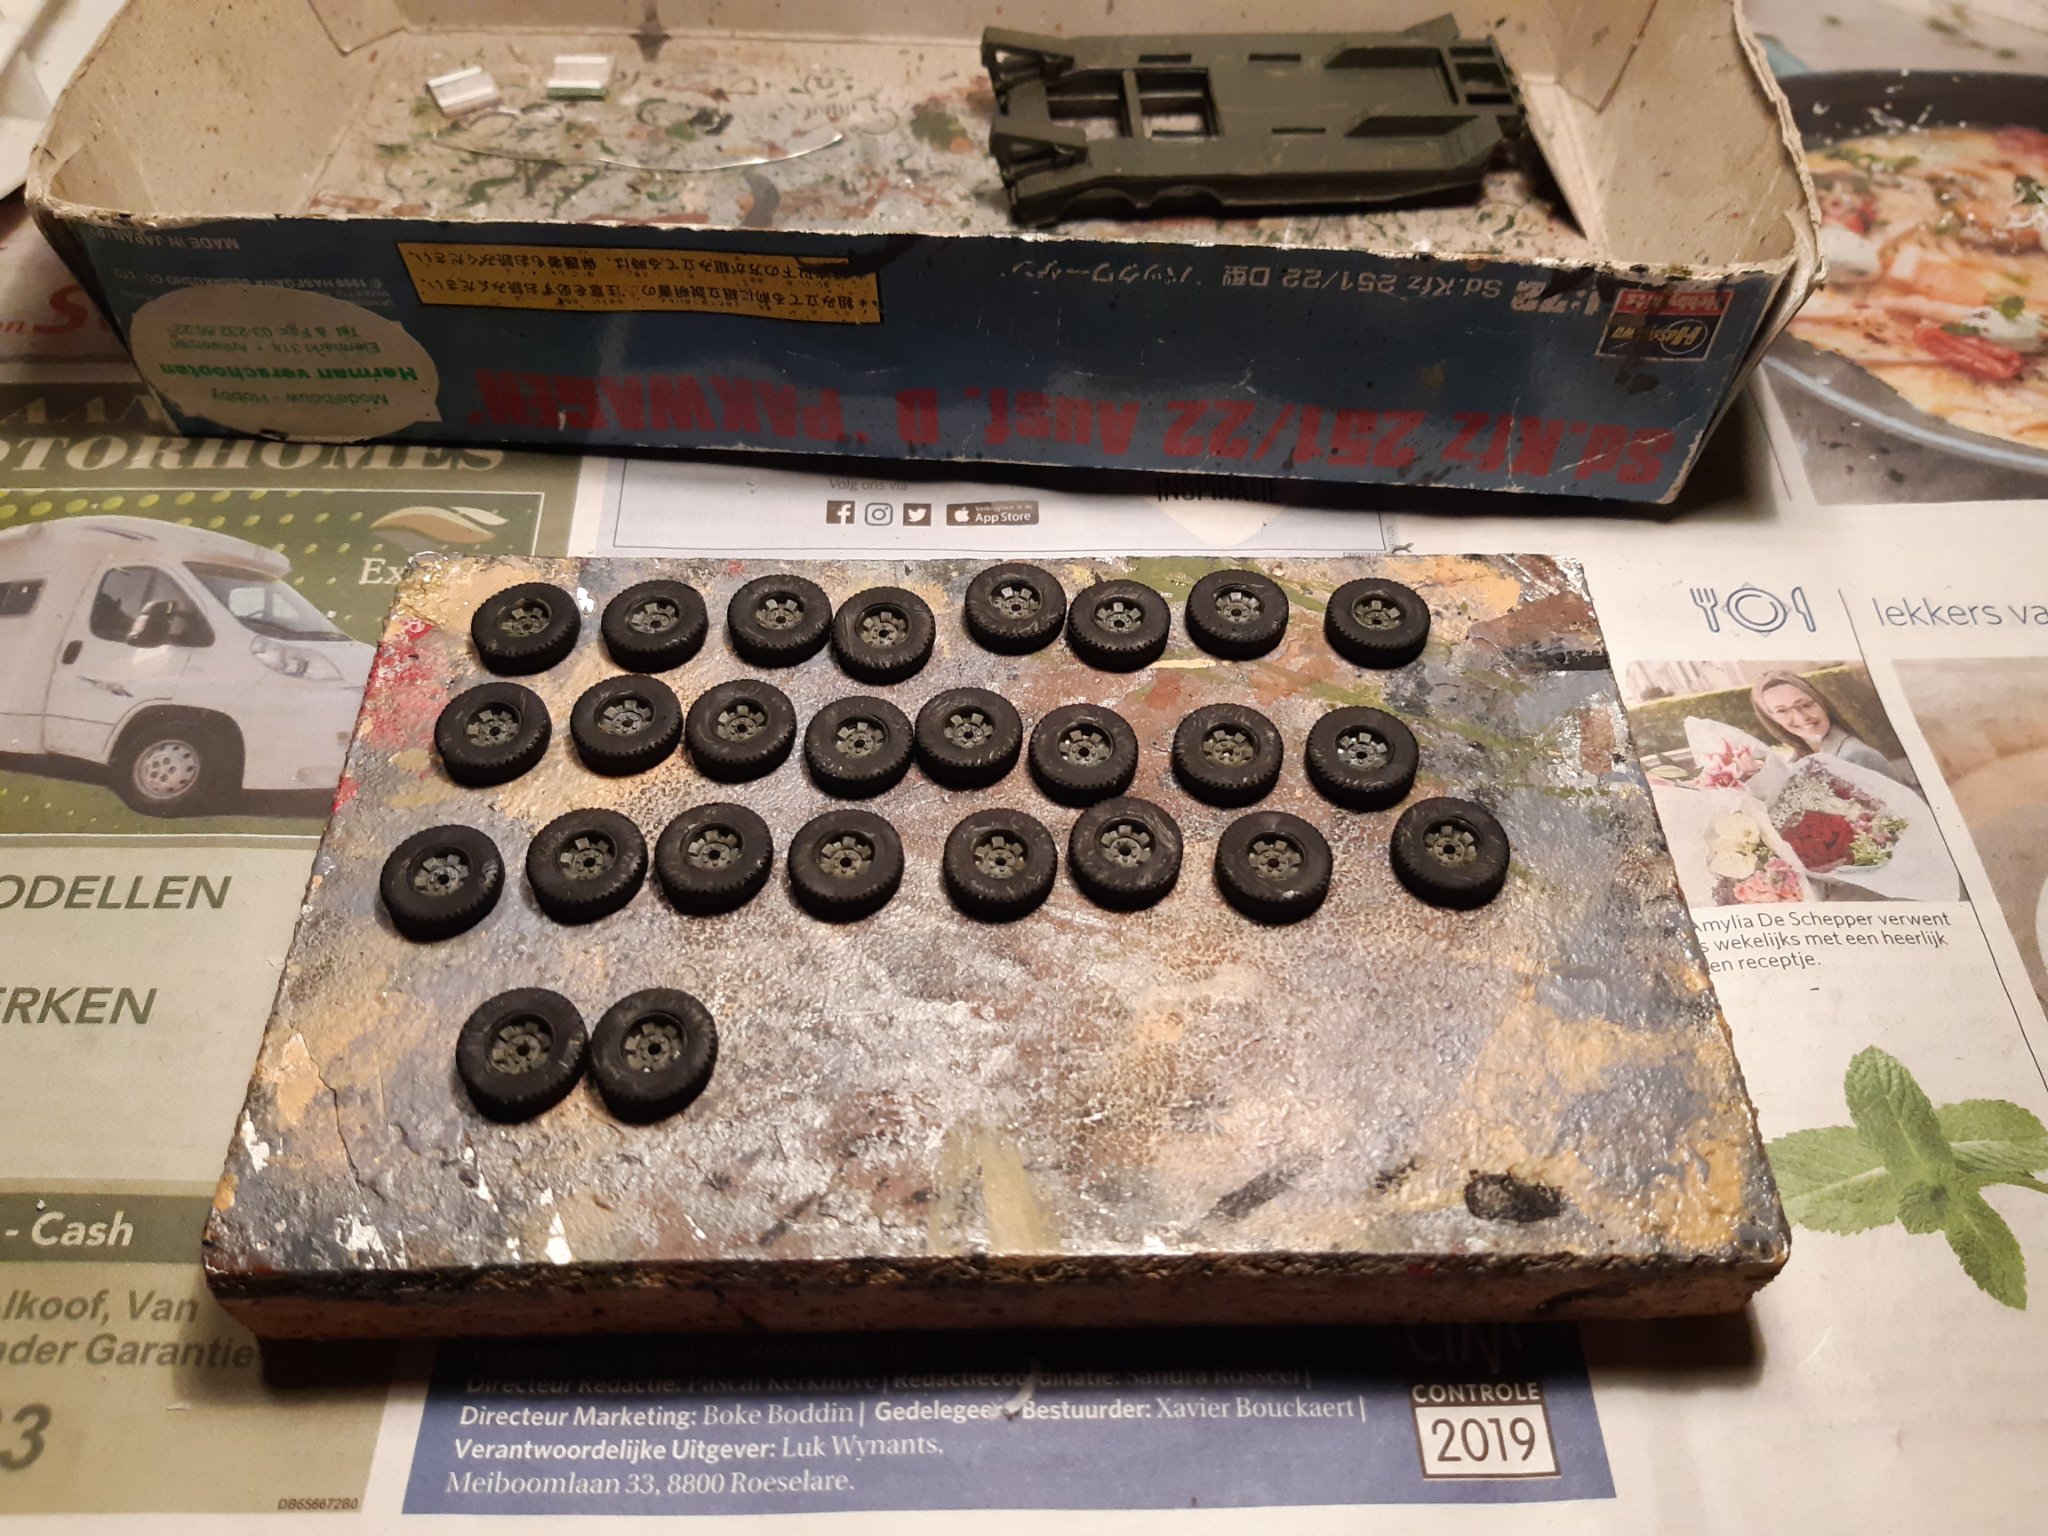
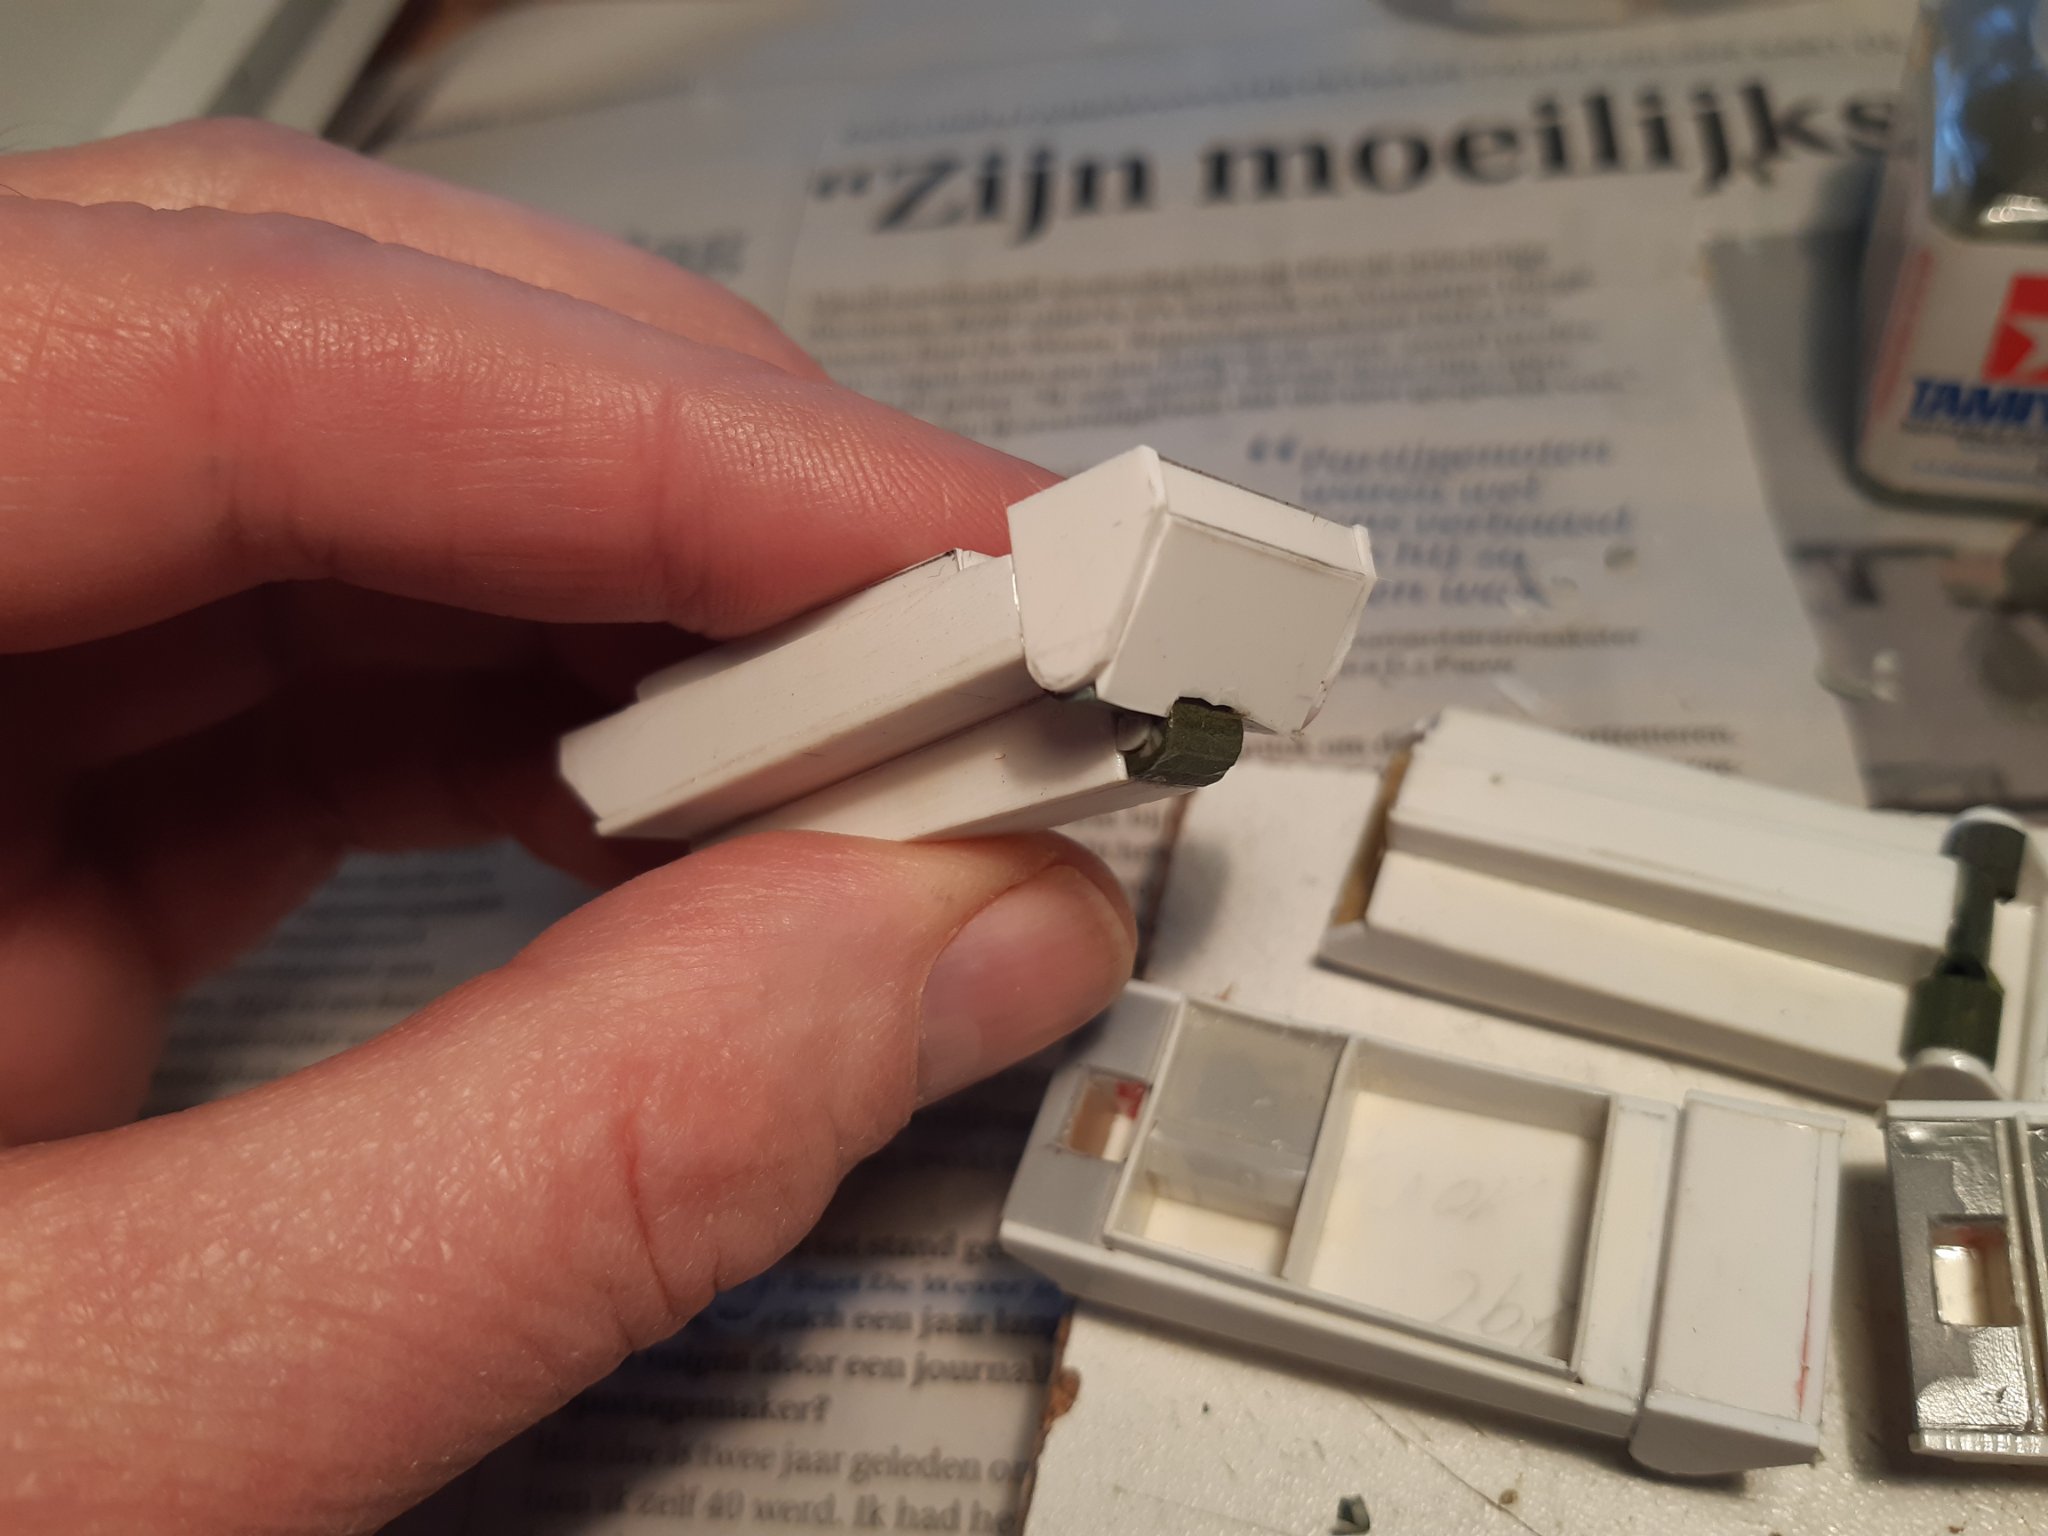
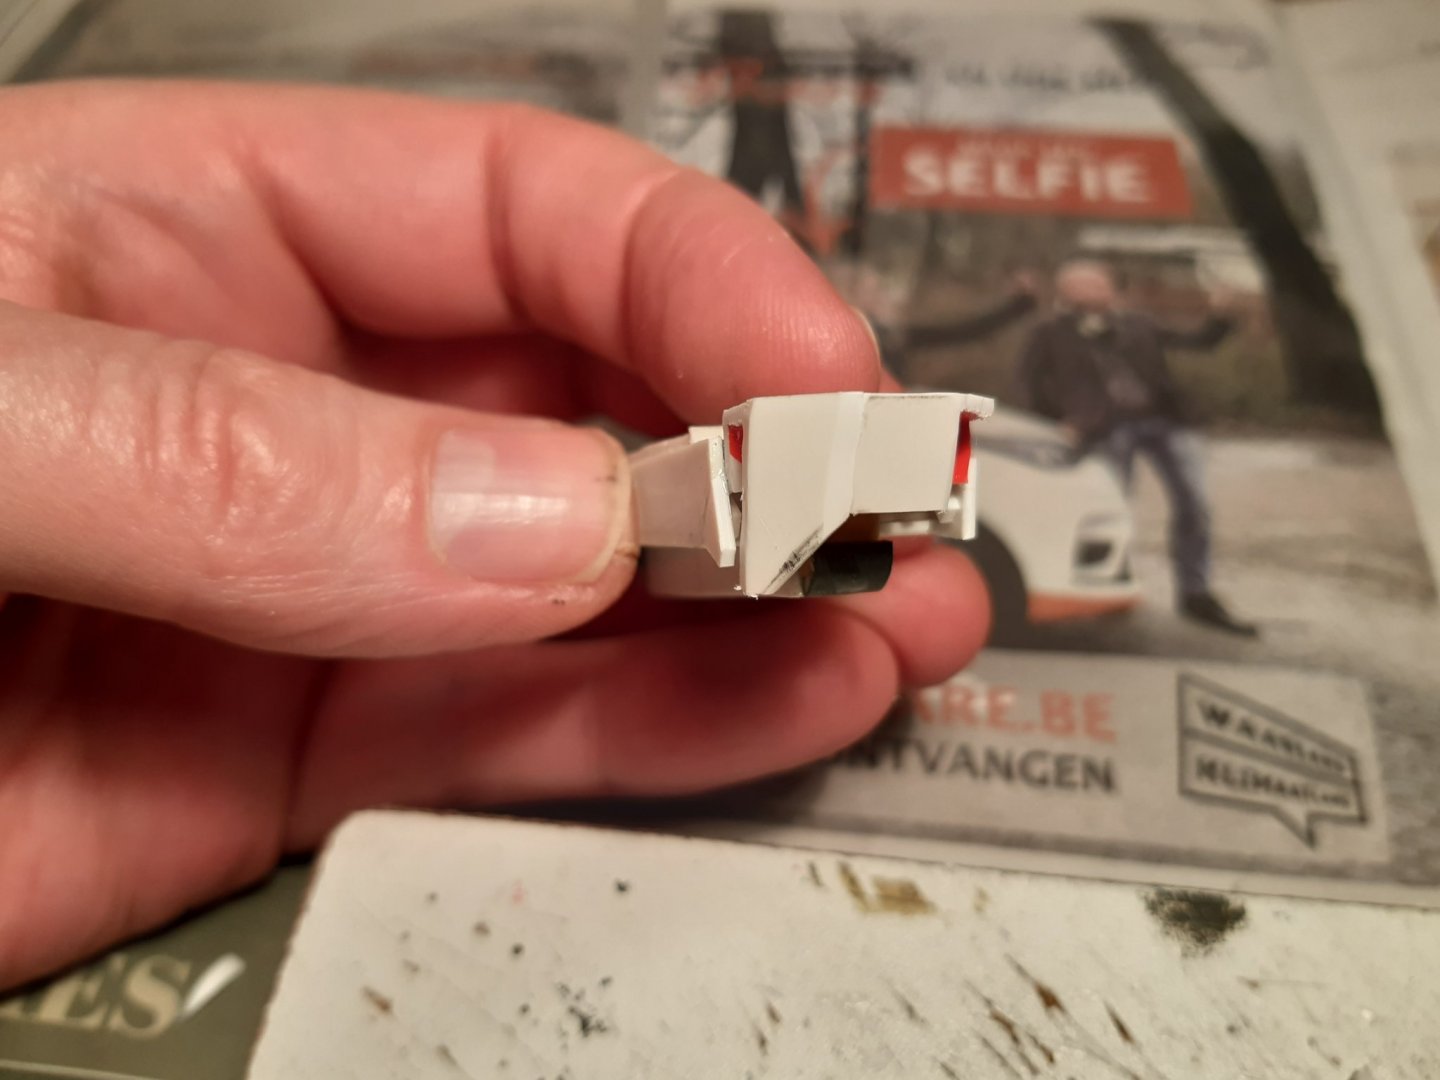
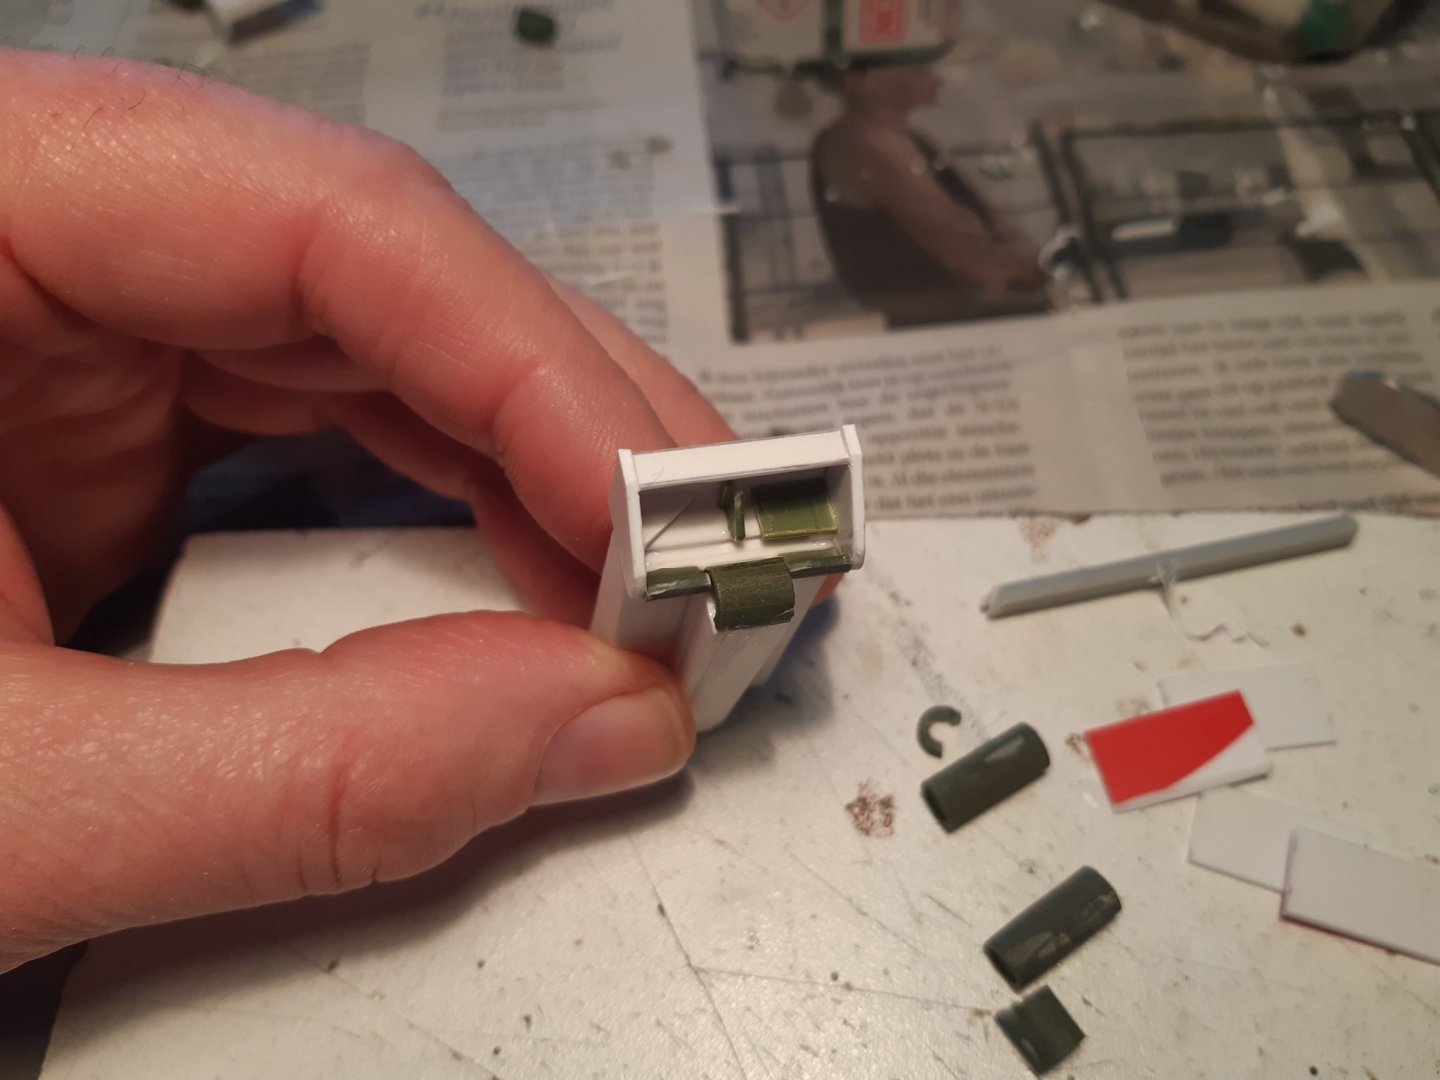
Smal update Since I only continue on this build occasionally, progress is slow. As expected, the front float tank is not an easy thing to make. So there is a lot of fitting and measuring to do. And for now, nothing has been done wrong that needs to be removed again 😉 Meanwhile : wheels, wheels, wheels for a russian tank trailer. The ChMZAP-5208 under construction and a heavy truck from the shelf Thanks for following, comments and likes.


- 50 replies
-
- 11
-

-
Welkom kloppie
-
Nice painting. But with his poor foot in that sharp clamp. Ouch 😬😉
-
Of course not. Already looking forward to your little Vasa Build No, this was a good comment. The white rigging was really "not done" I have learned a lot with this model. And I made some euros on it after i sold it.
- 63 replies
-
- 1
-
-
- vasa
- billing boats
- (and 1 more)
-
VW samba bus conversion by kpnuts - Revell - 1/16 - PLASTIC
Baker replied to kpnuts's topic in Non-ship/categorised builds
Interesting project Am looking forward to the finished model(s) -
Hello from a newbie with L plates on!
Baker replied to Pirategirl's topic in New member Introductions
-
Congrats on the Mayflower and
-
-
very well done! Congrats
-
-
-
M29 Weasel family 1/72 (scratch) by Backer Finished
Baker replied to Baker's topic in Non-ship/categorised builds
I imagine I'm Henry Ford I invented a "assembly line" for plastic models. haha 😂 -
M29 Weasel family 1/72 (scratch) by Backer Finished
Baker replied to Baker's topic in Non-ship/categorised builds
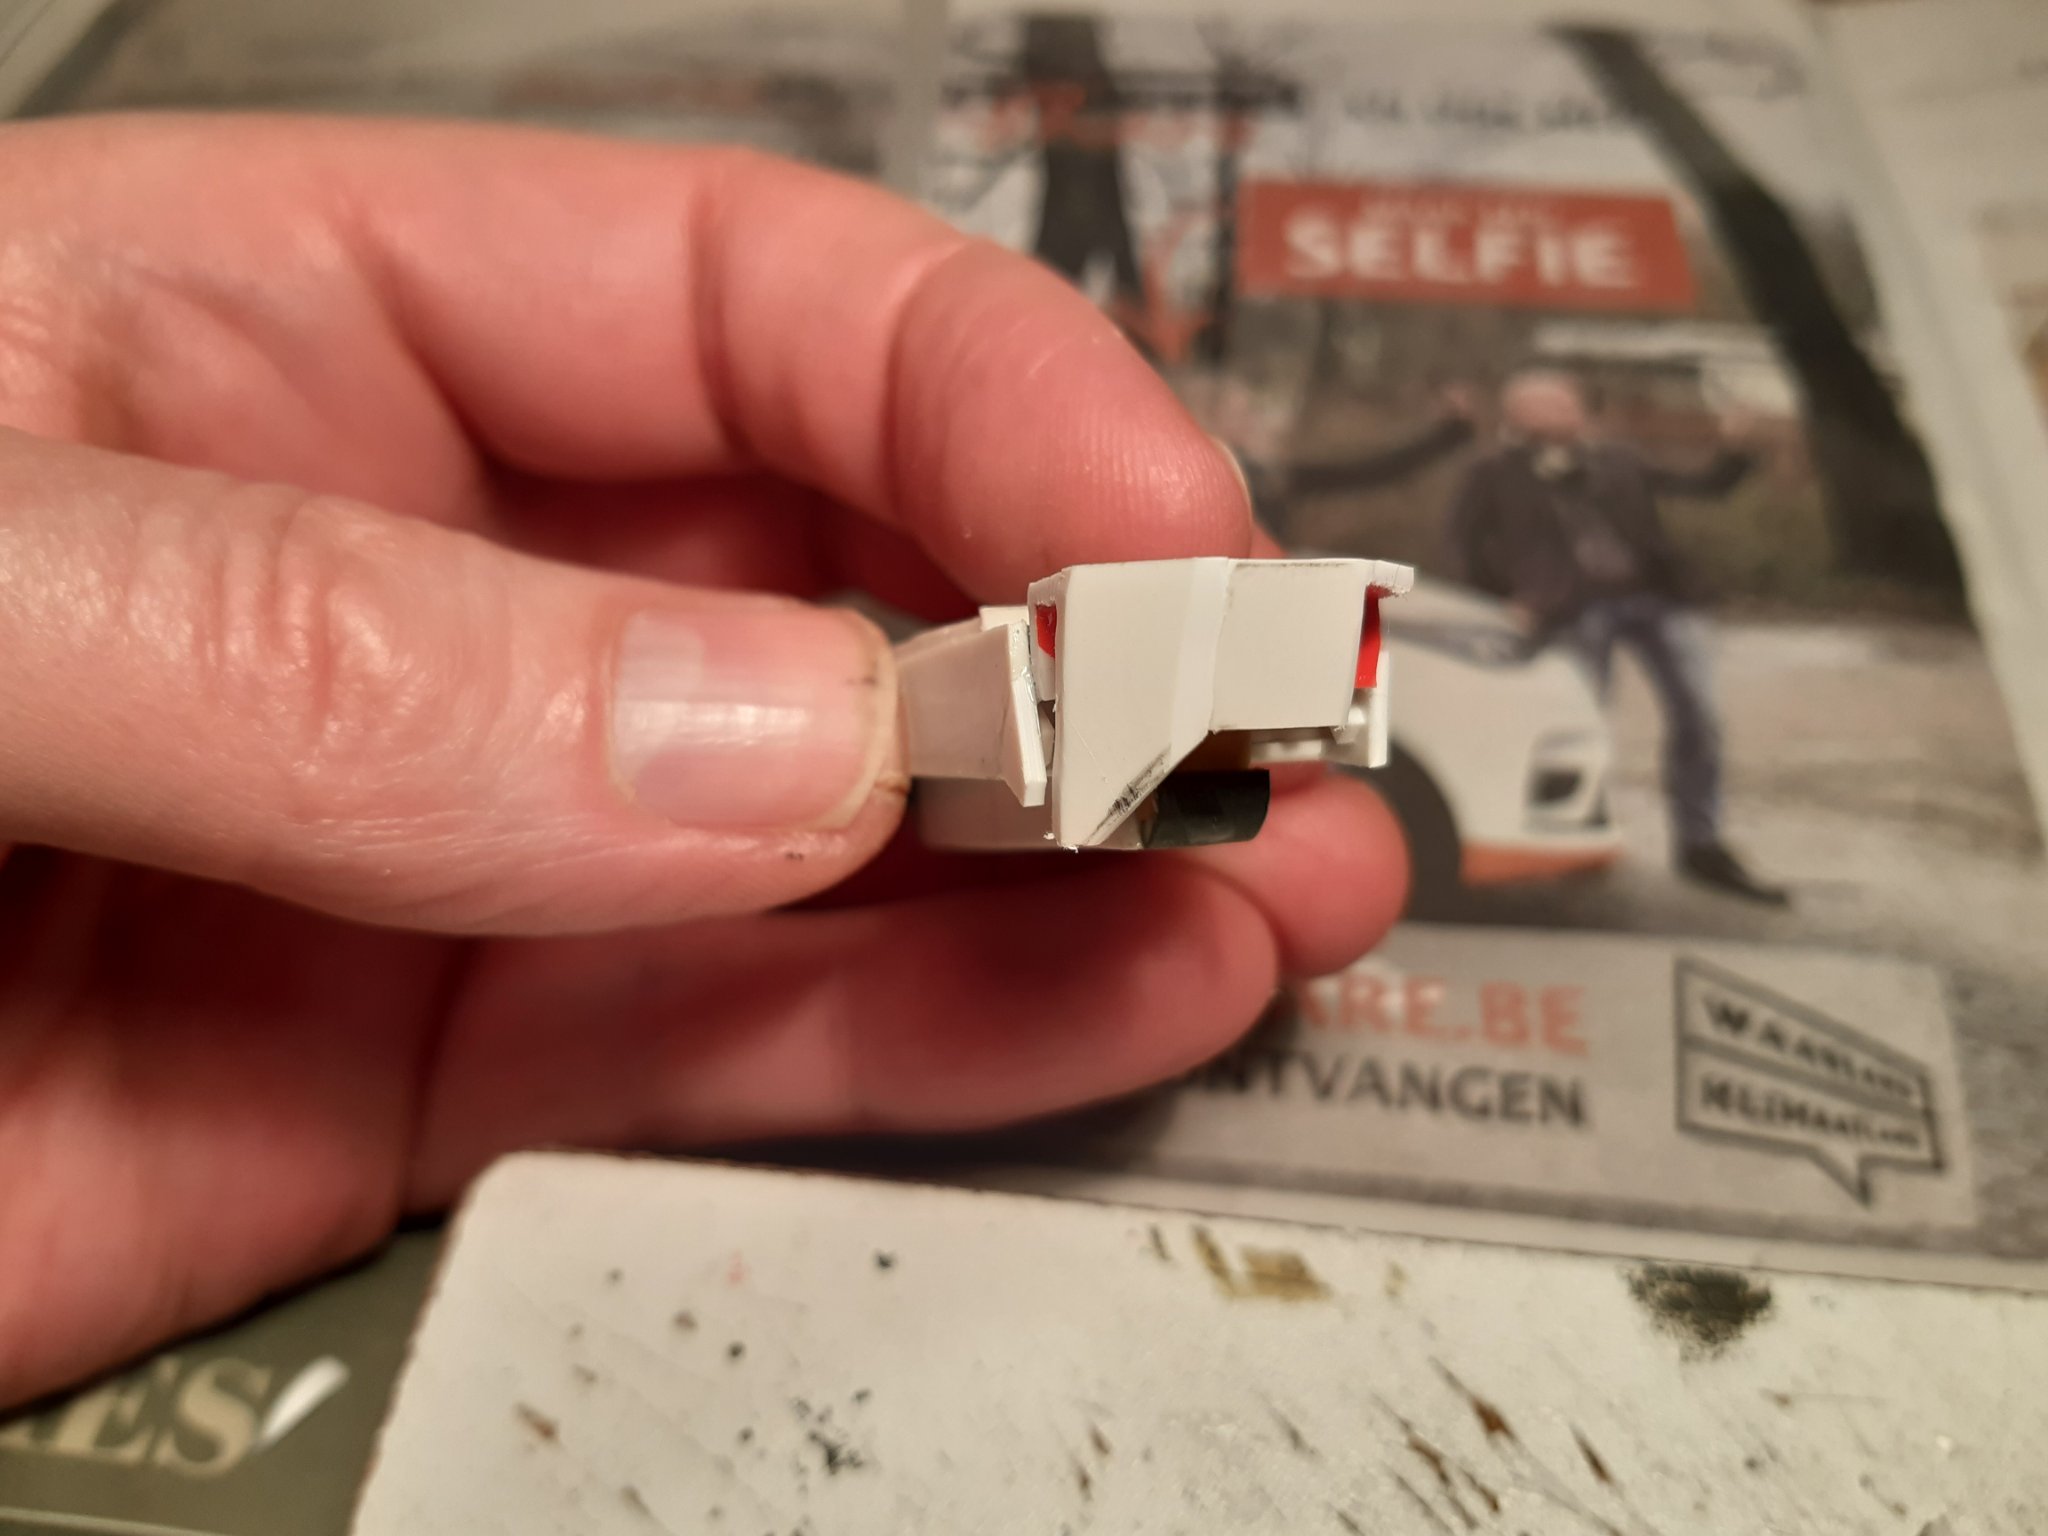
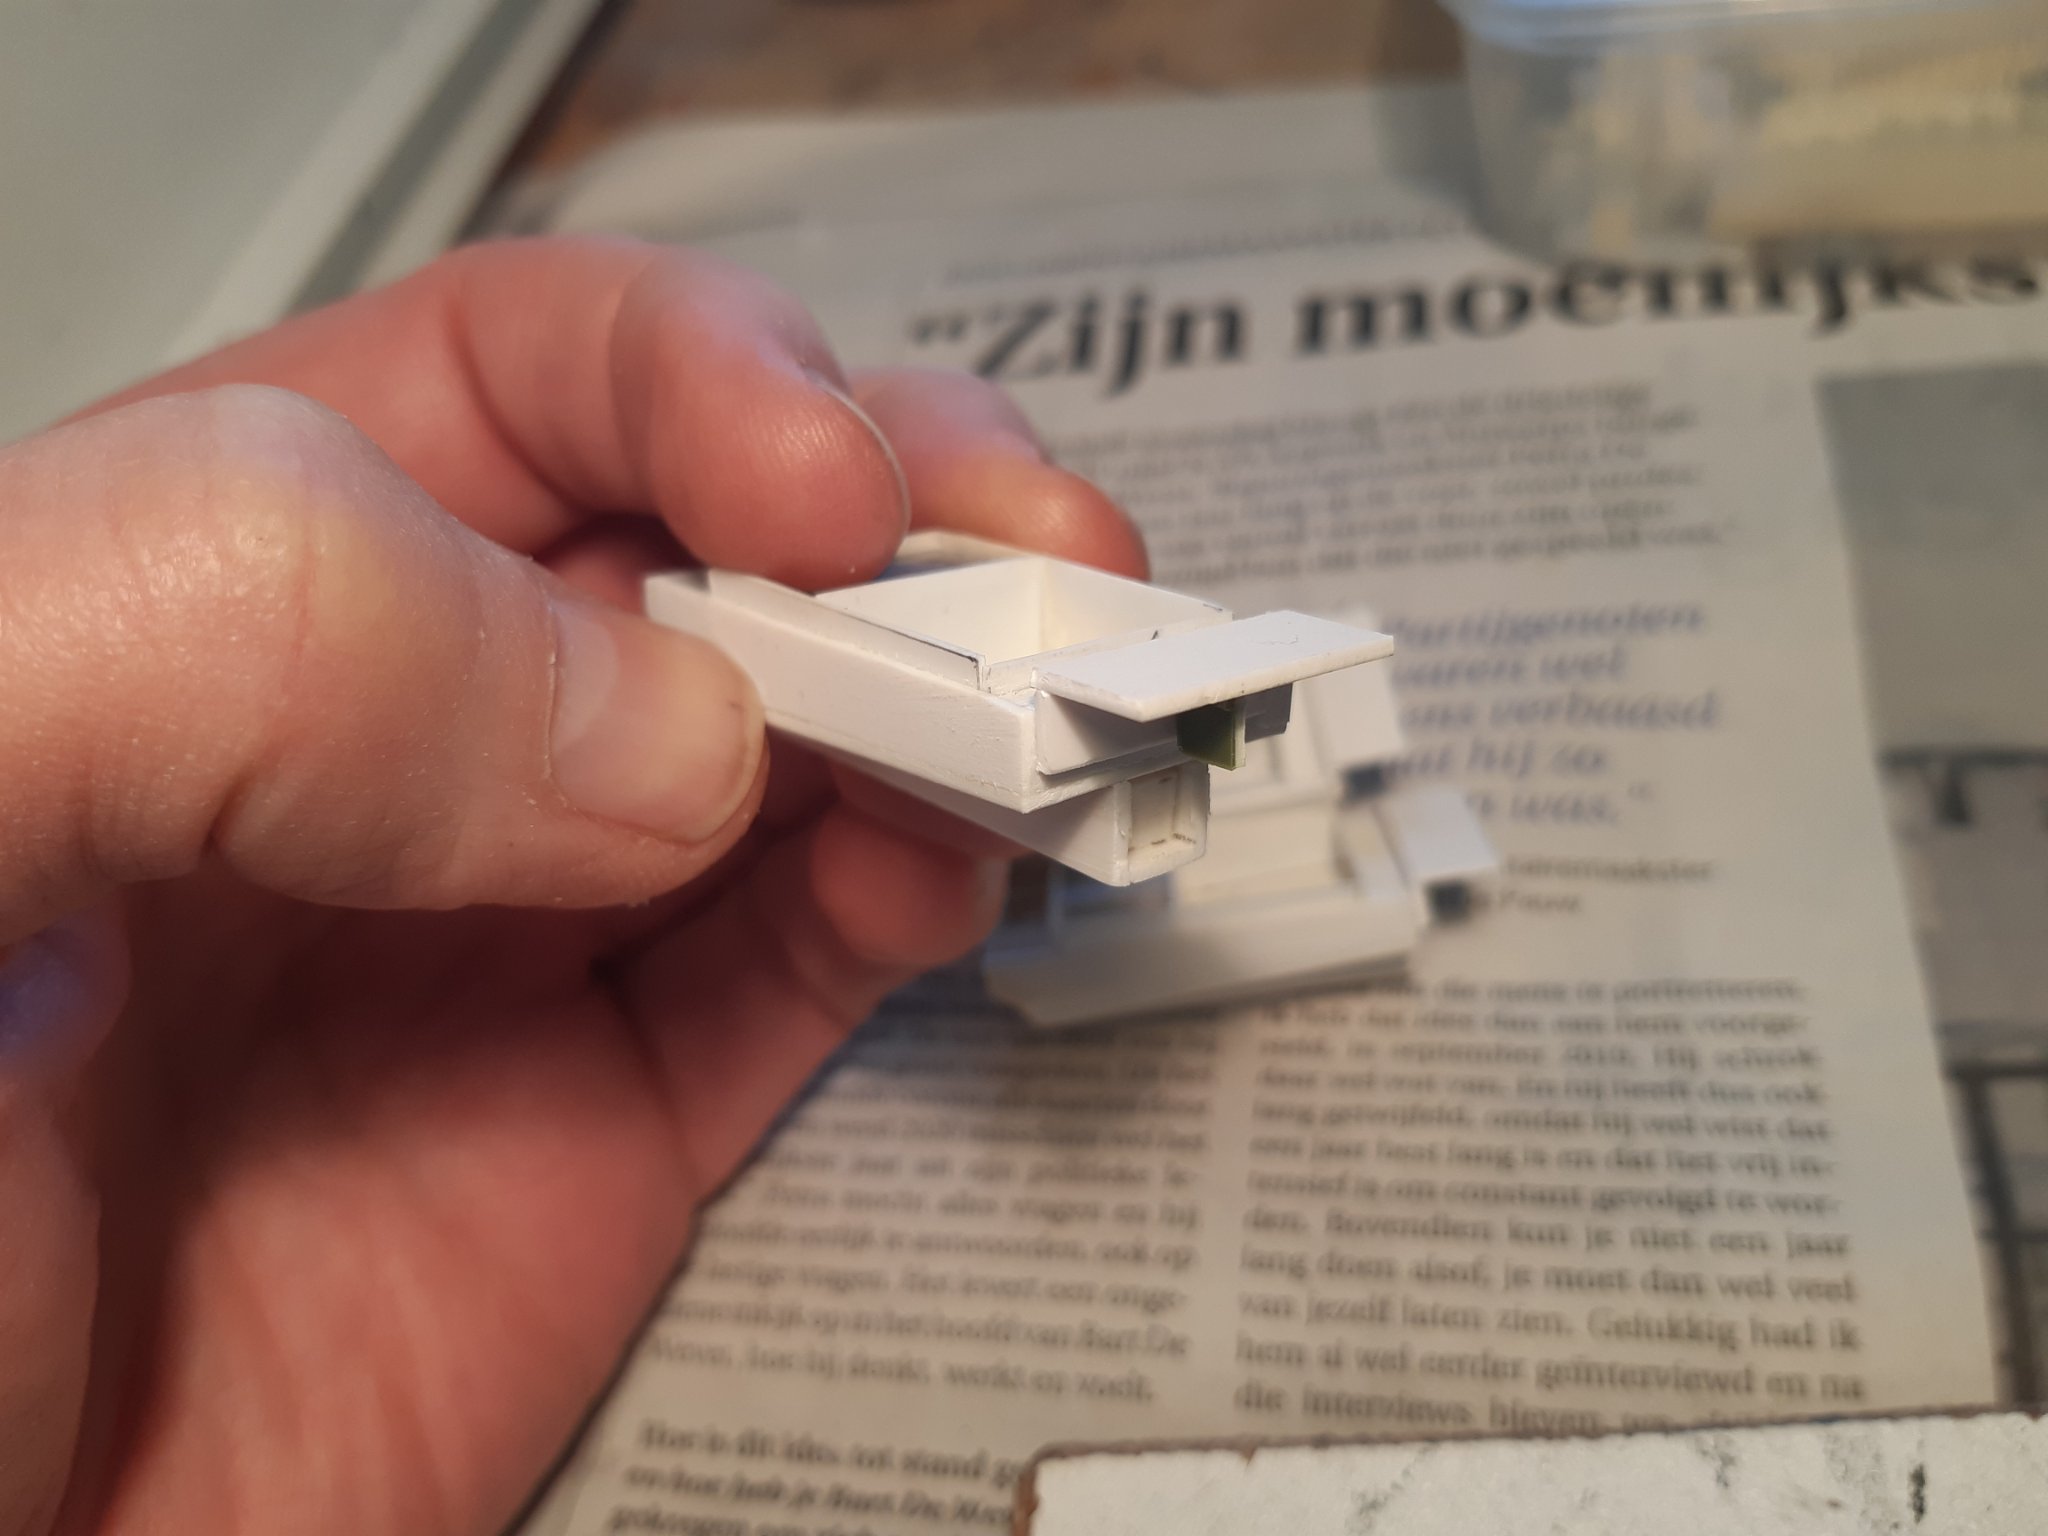
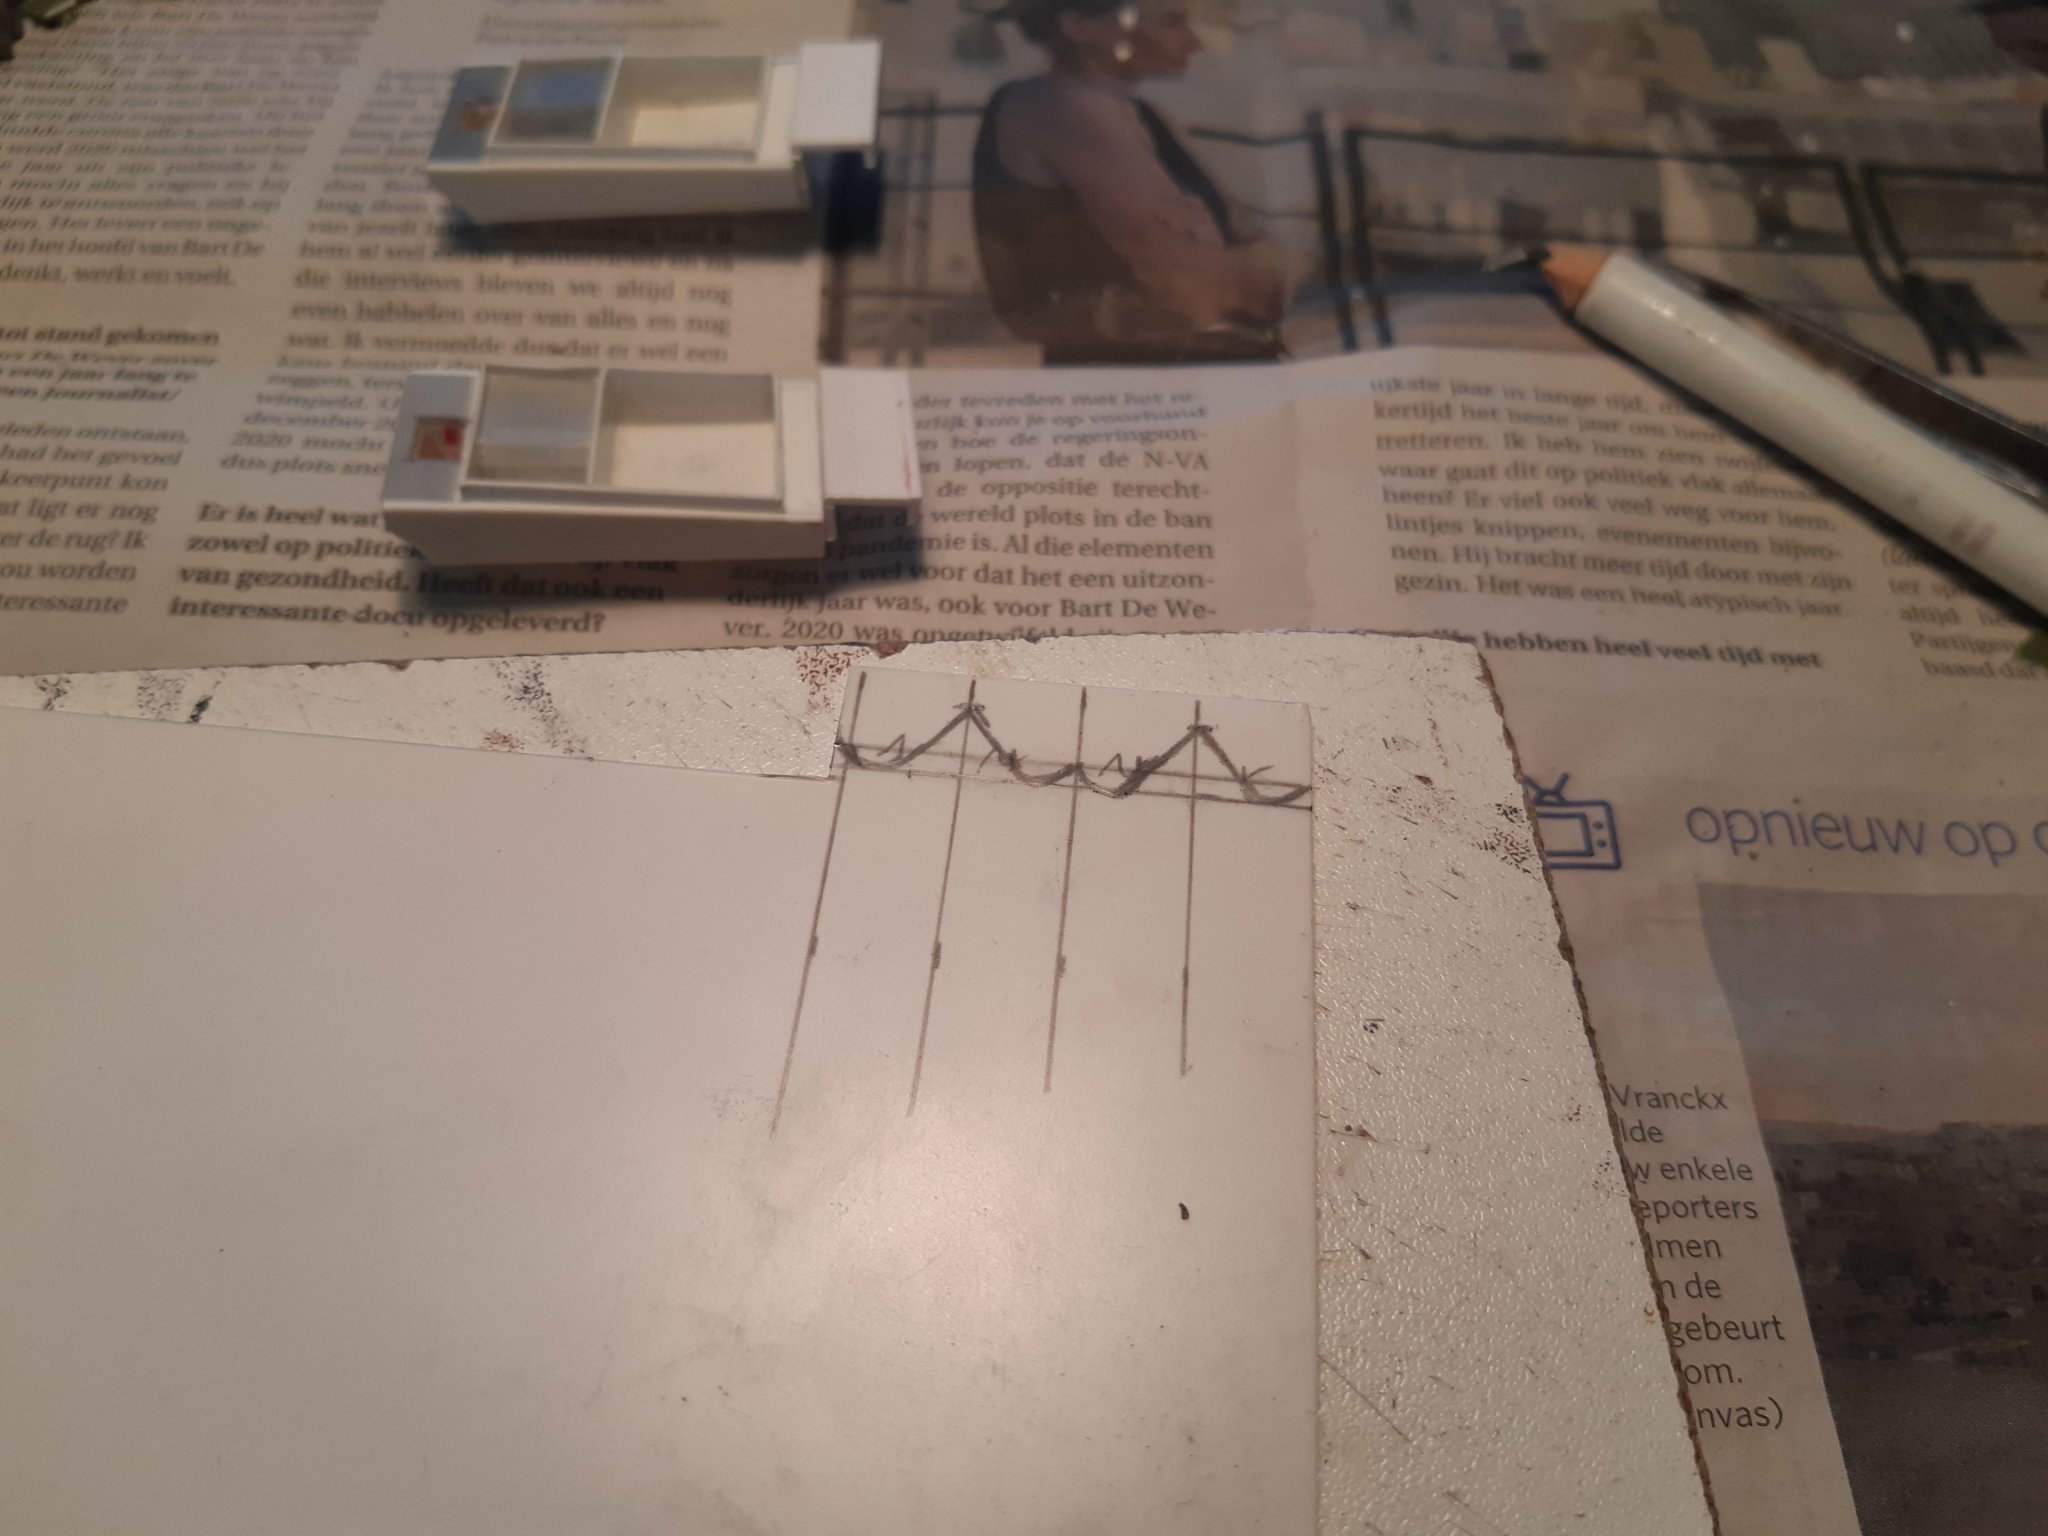
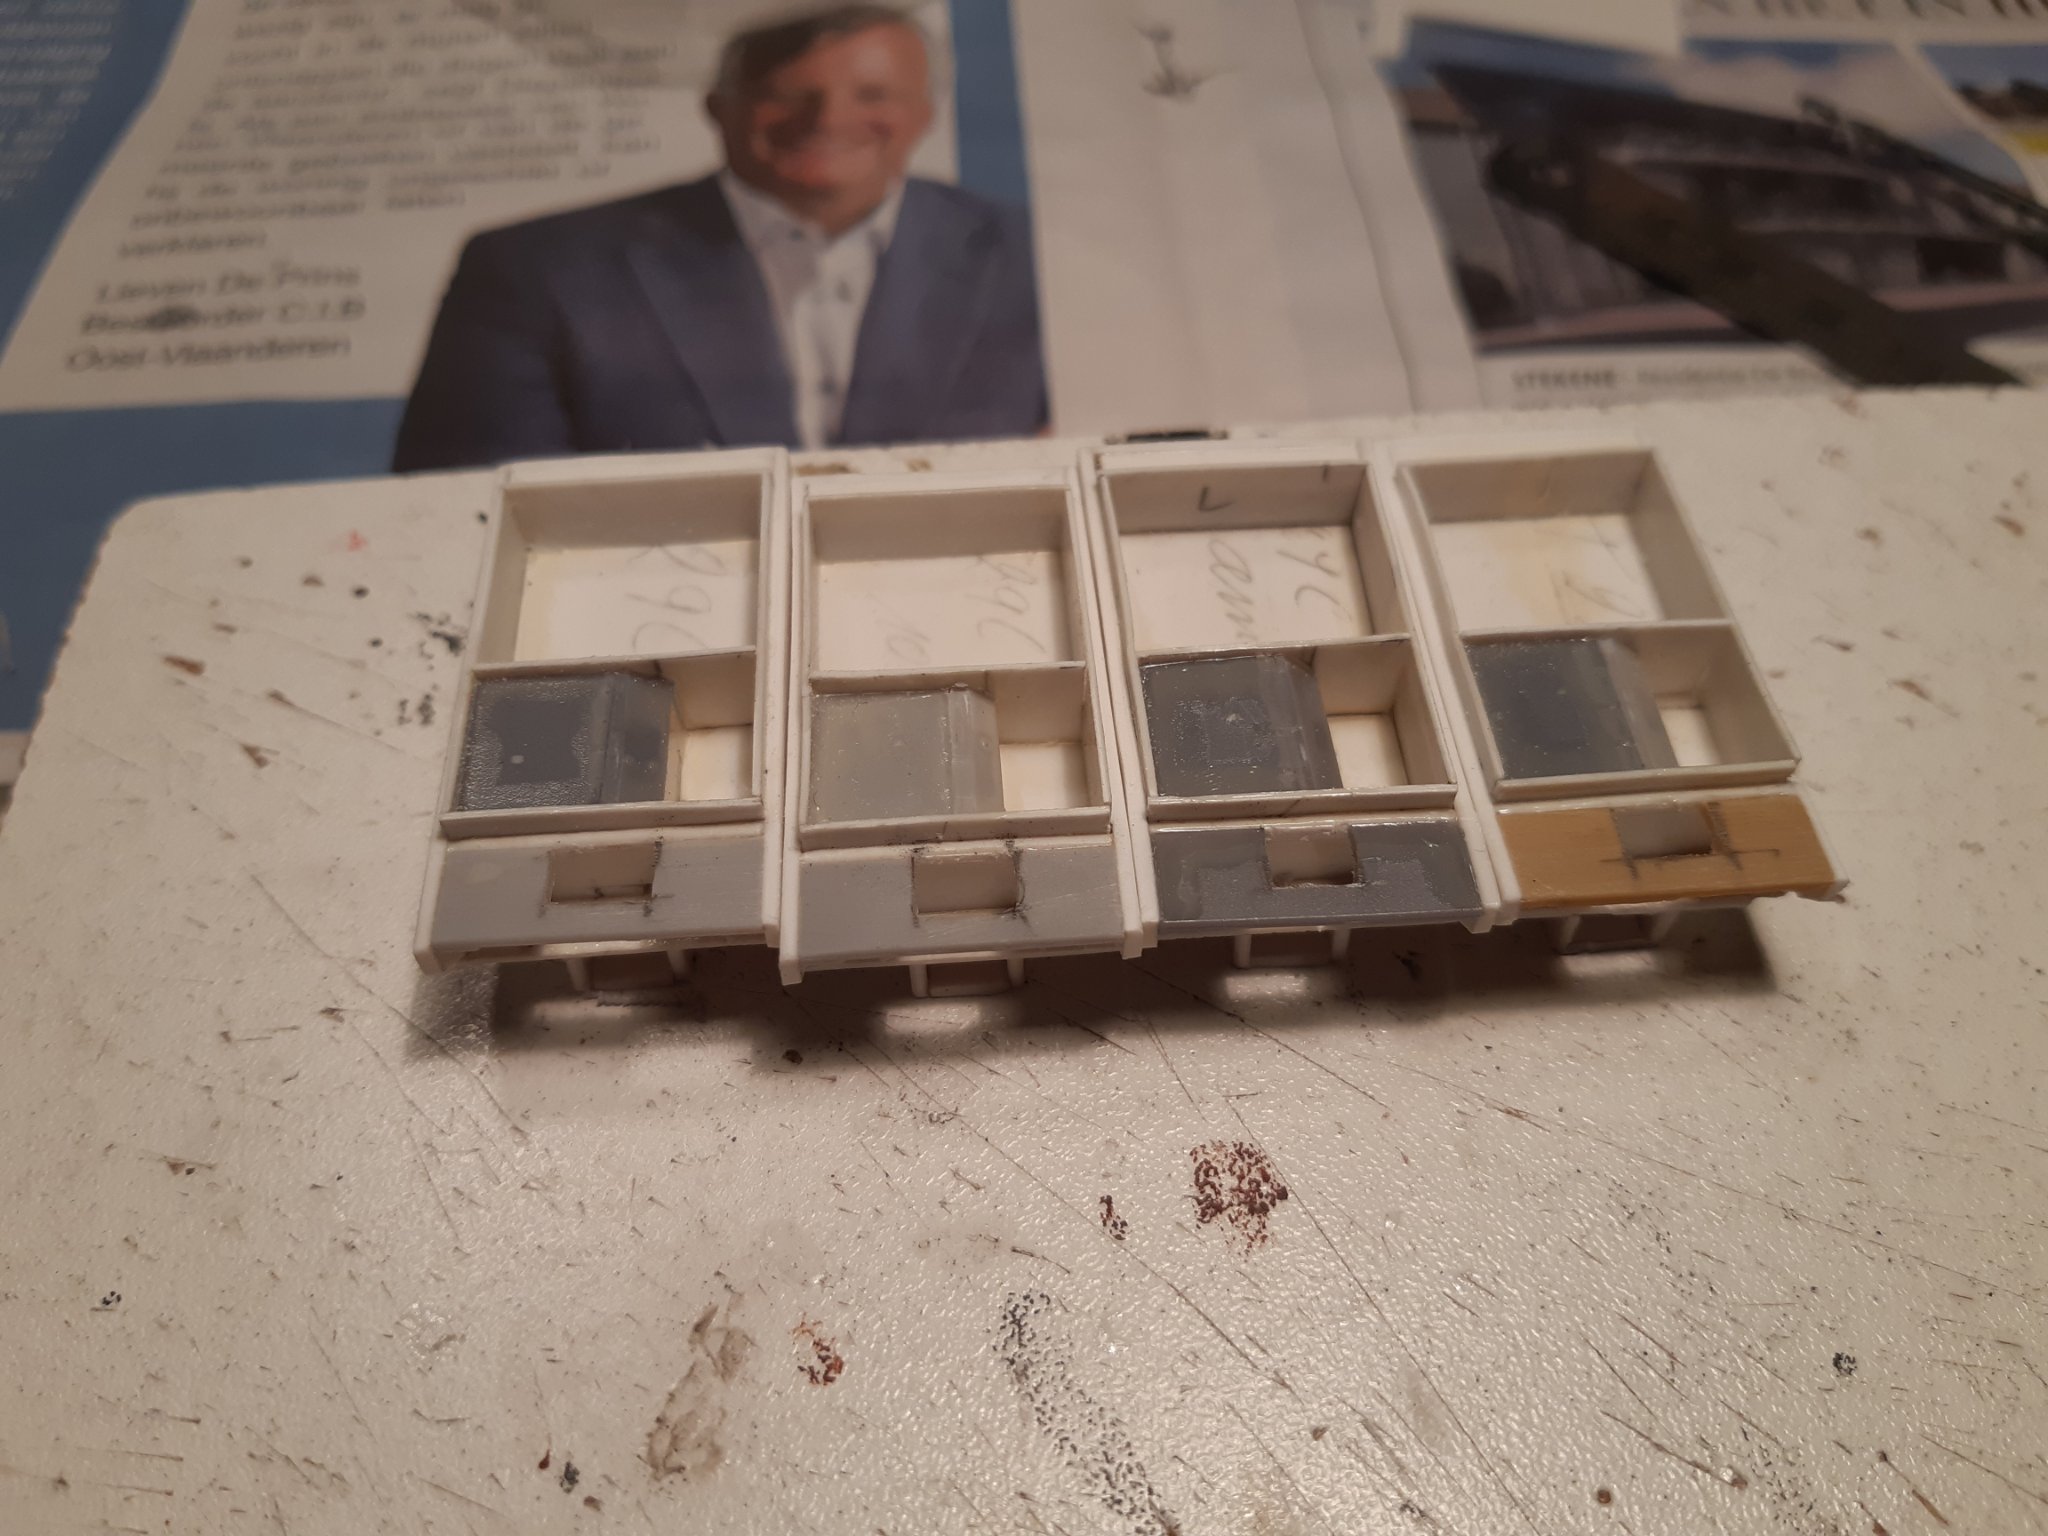
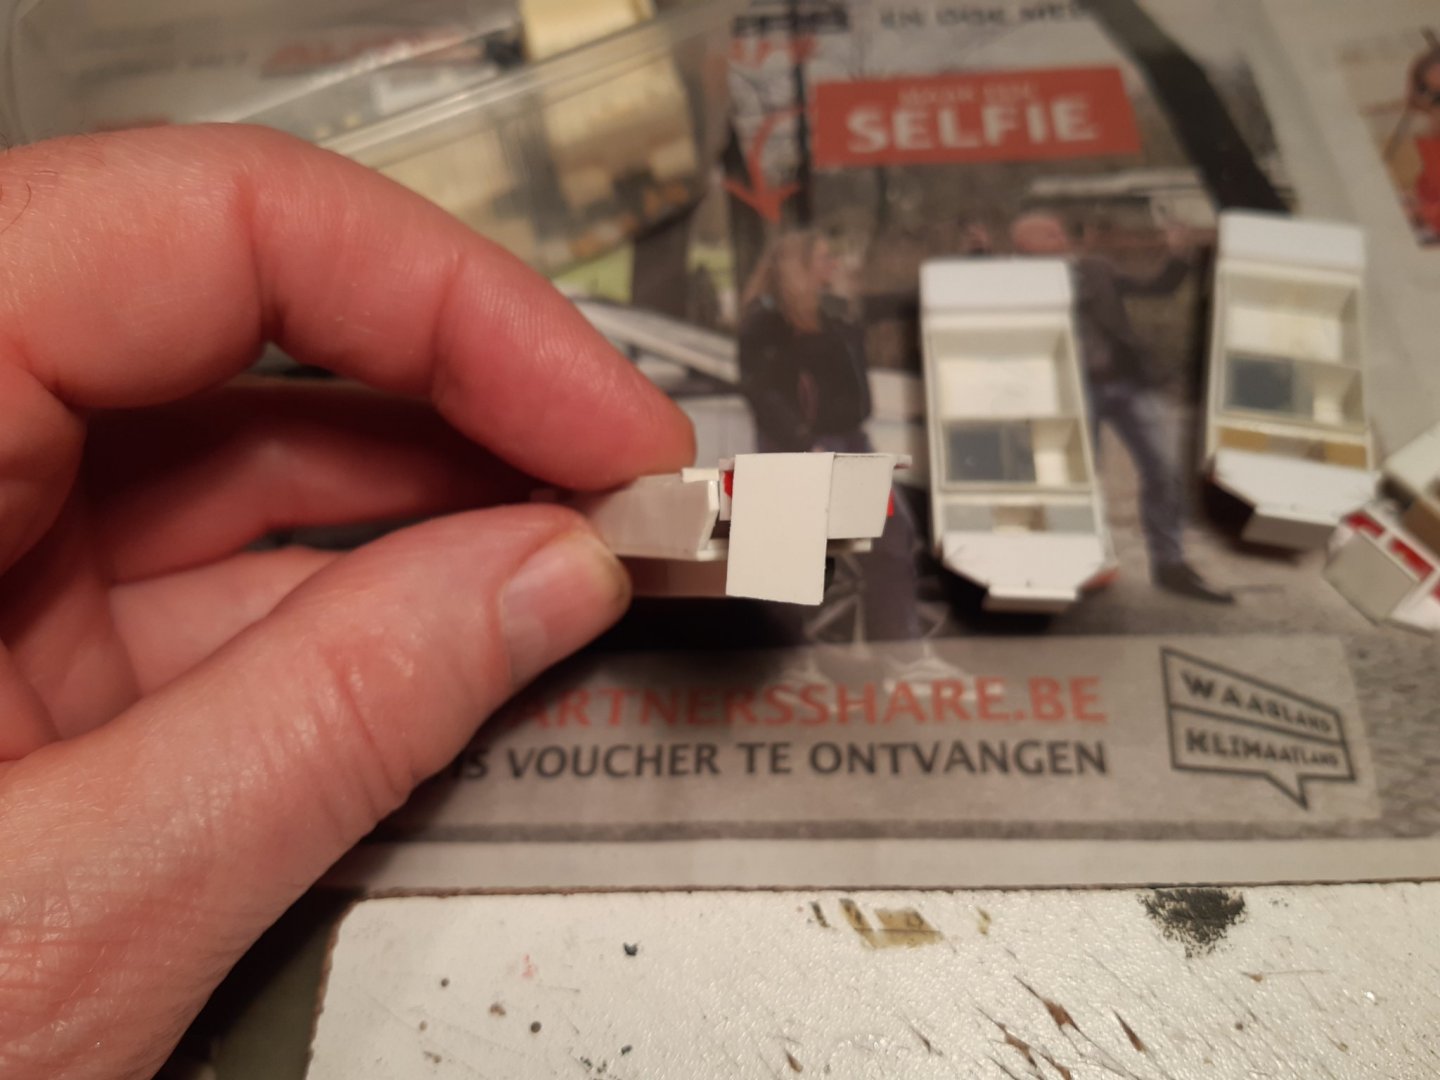
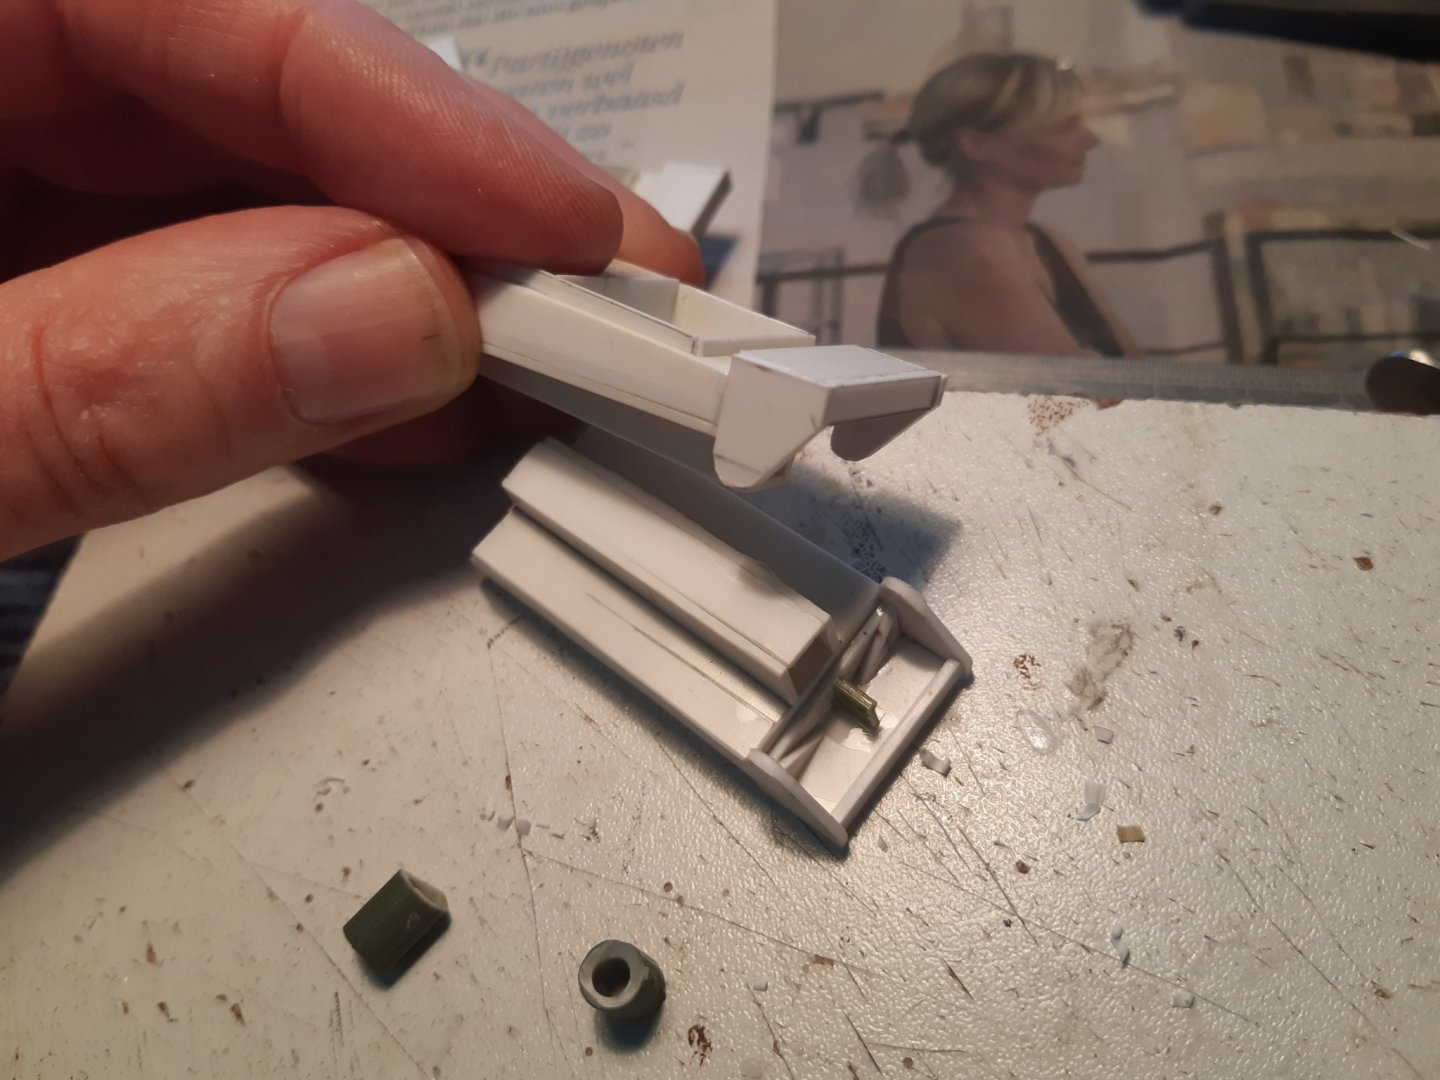
Building the rear "floating tank" This seemed to be the simplest of the 2 to build, so I started with this. Top sides "bottom" rear plate Ready for sanding an cutting rough shape ready Next to do, the front floating tank. Thanks for following


- 50 replies
-
- 13
-
-
Nice canoe!
-
M29 Weasel family 1/72 (scratch) by Backer Finished
Baker replied to Baker's topic in Non-ship/categorised builds
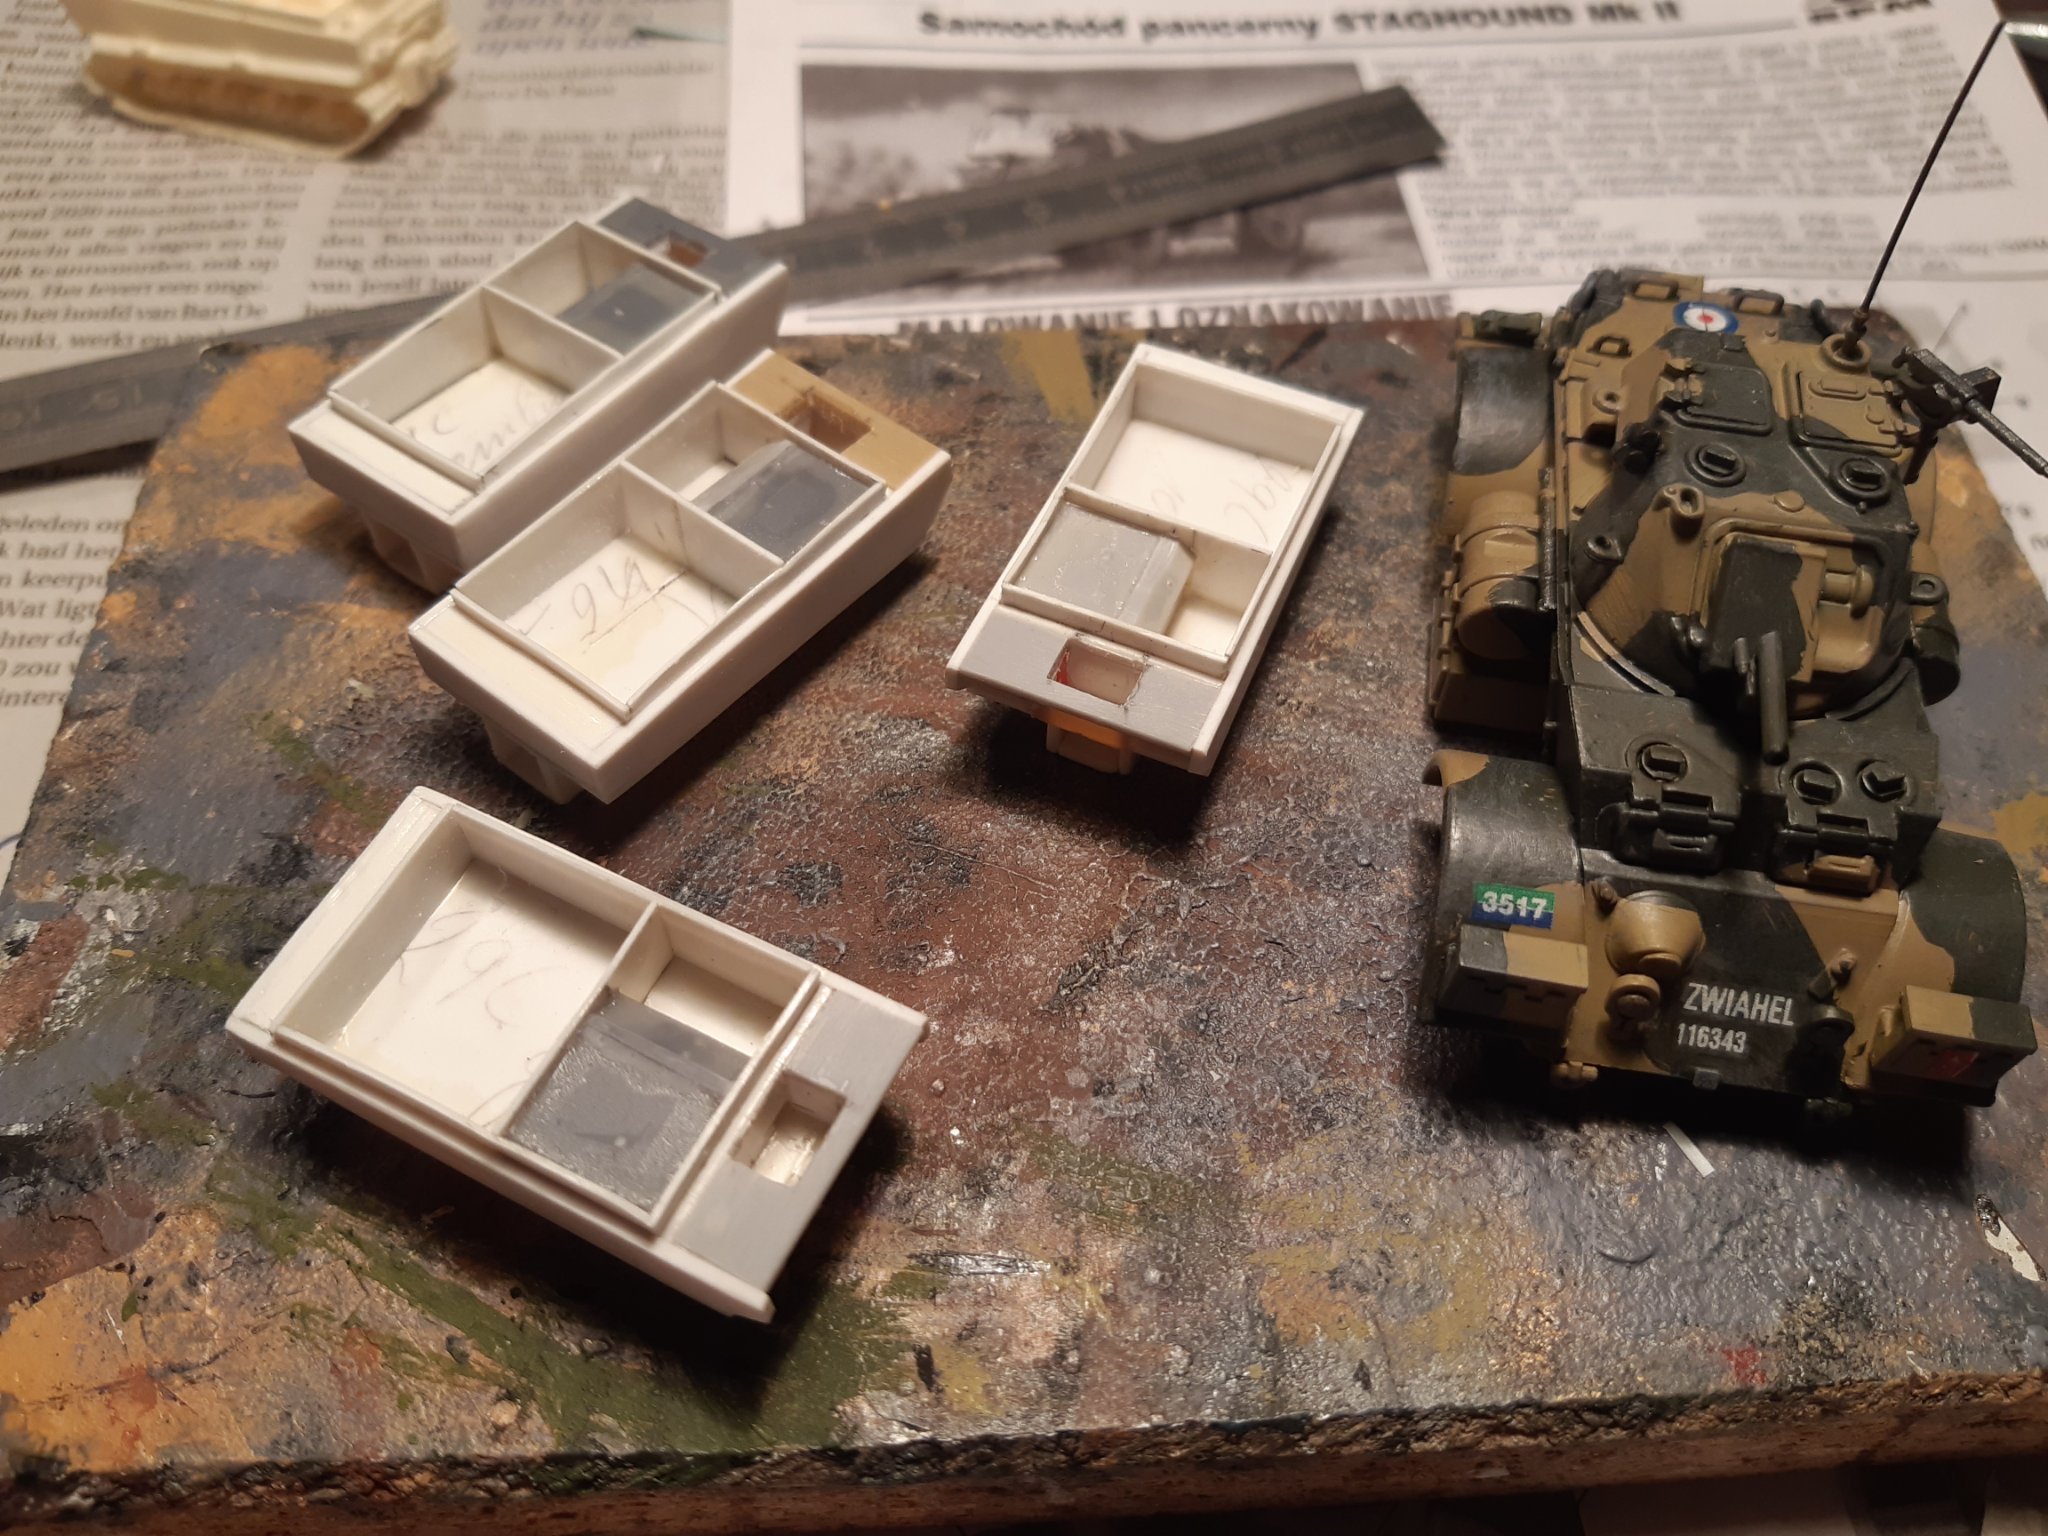
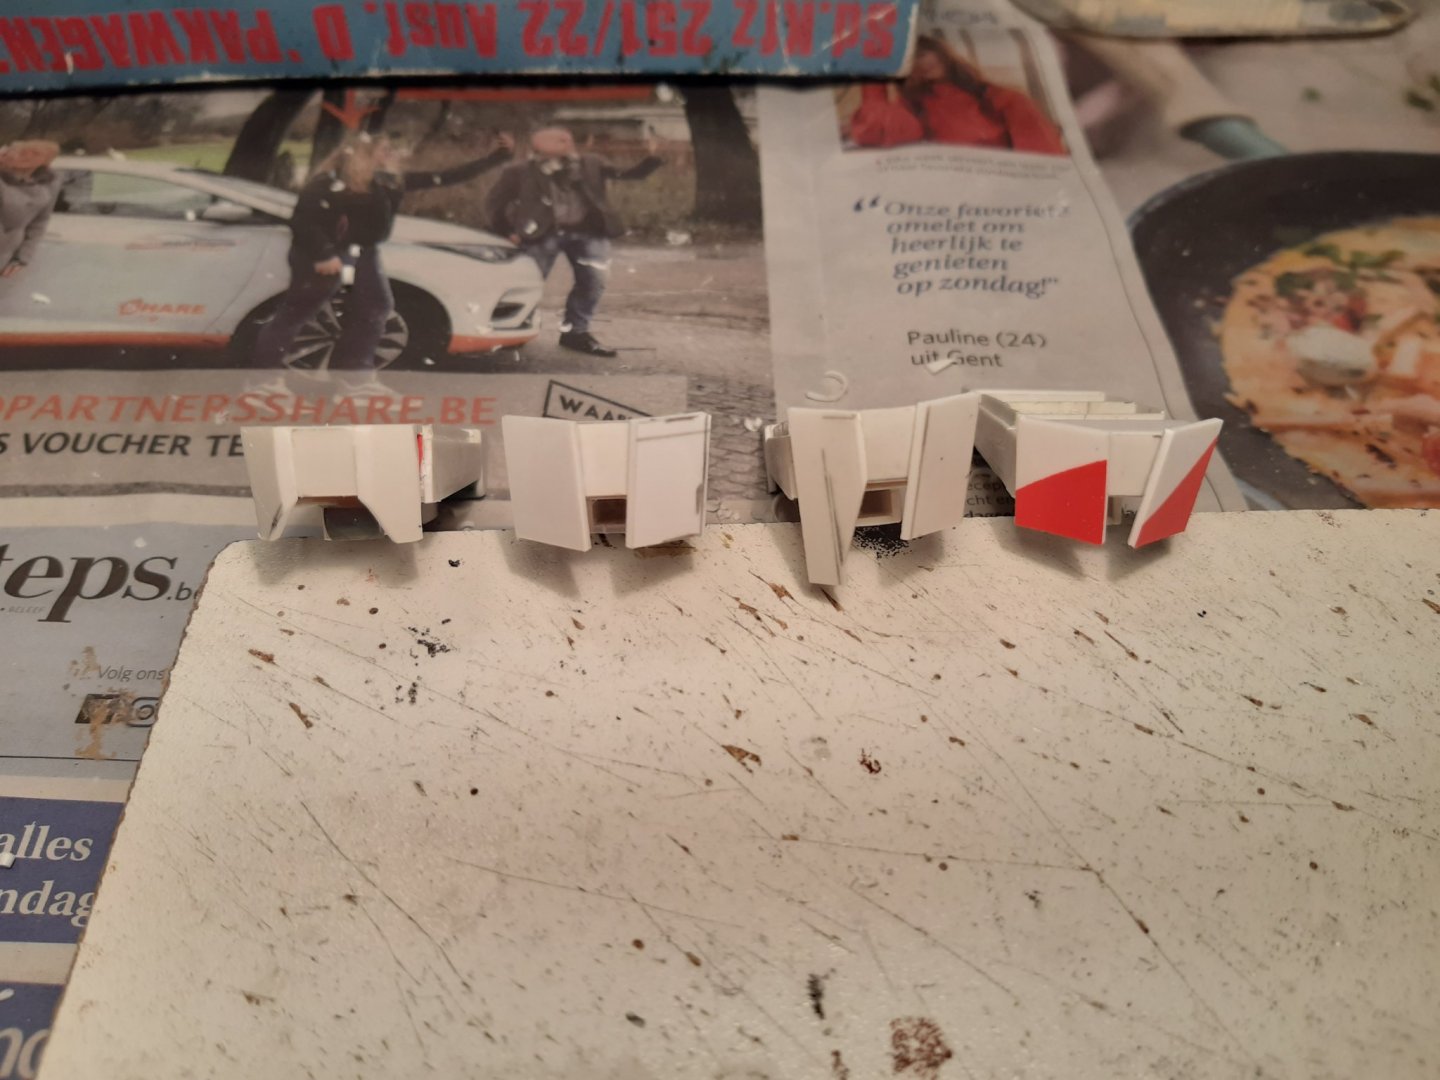
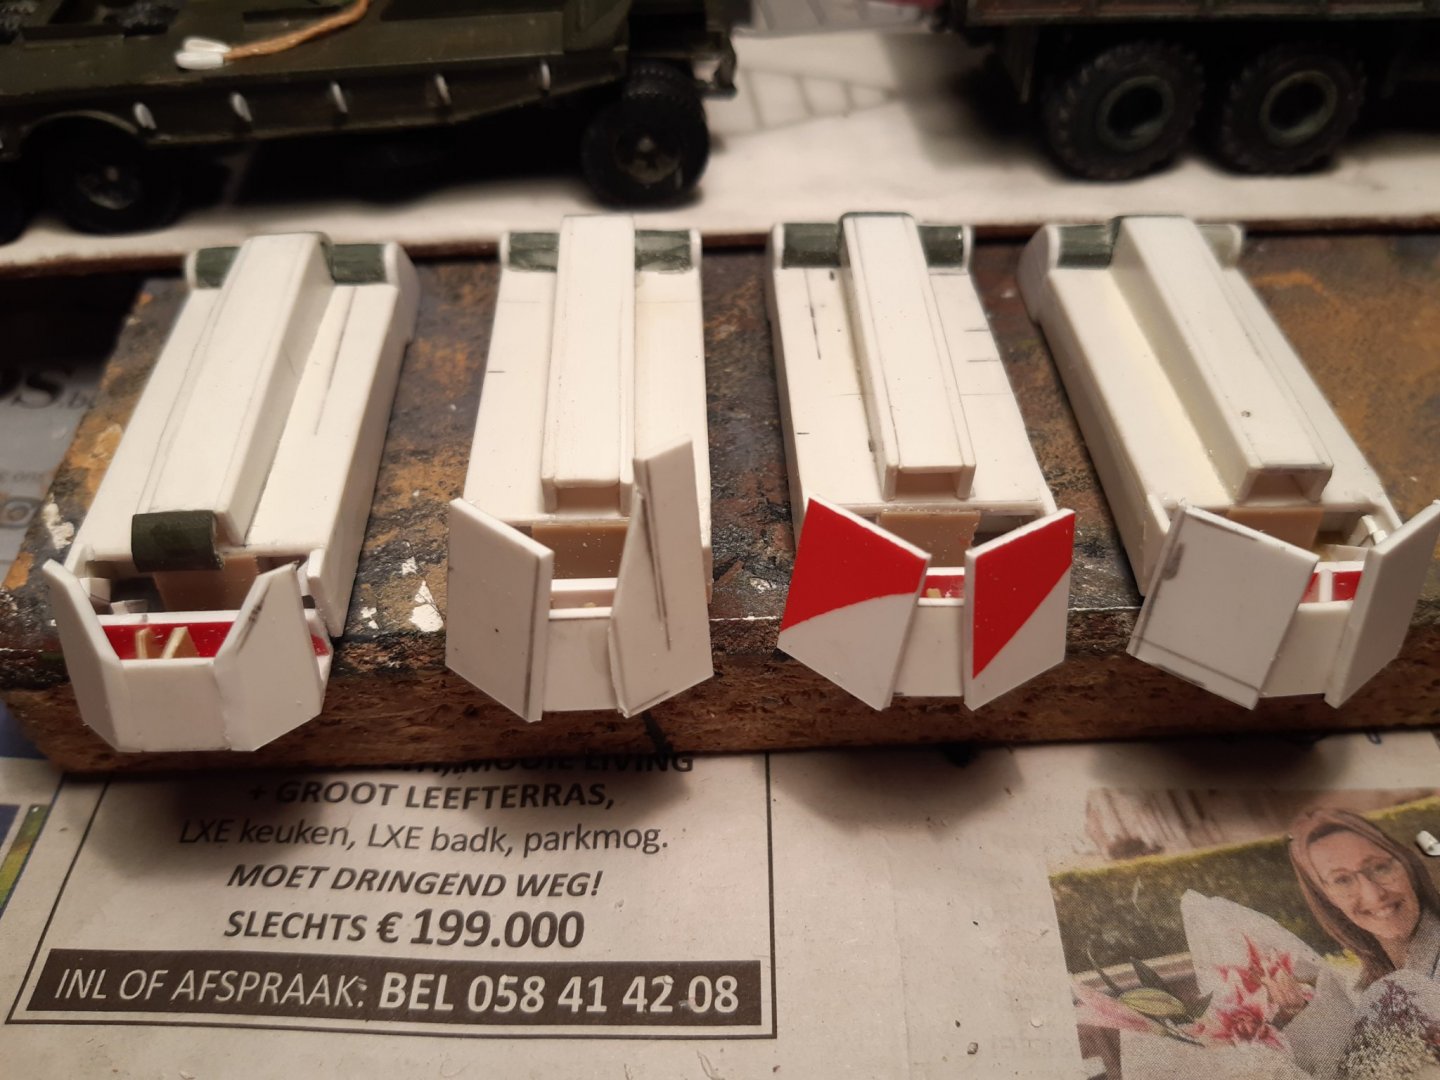
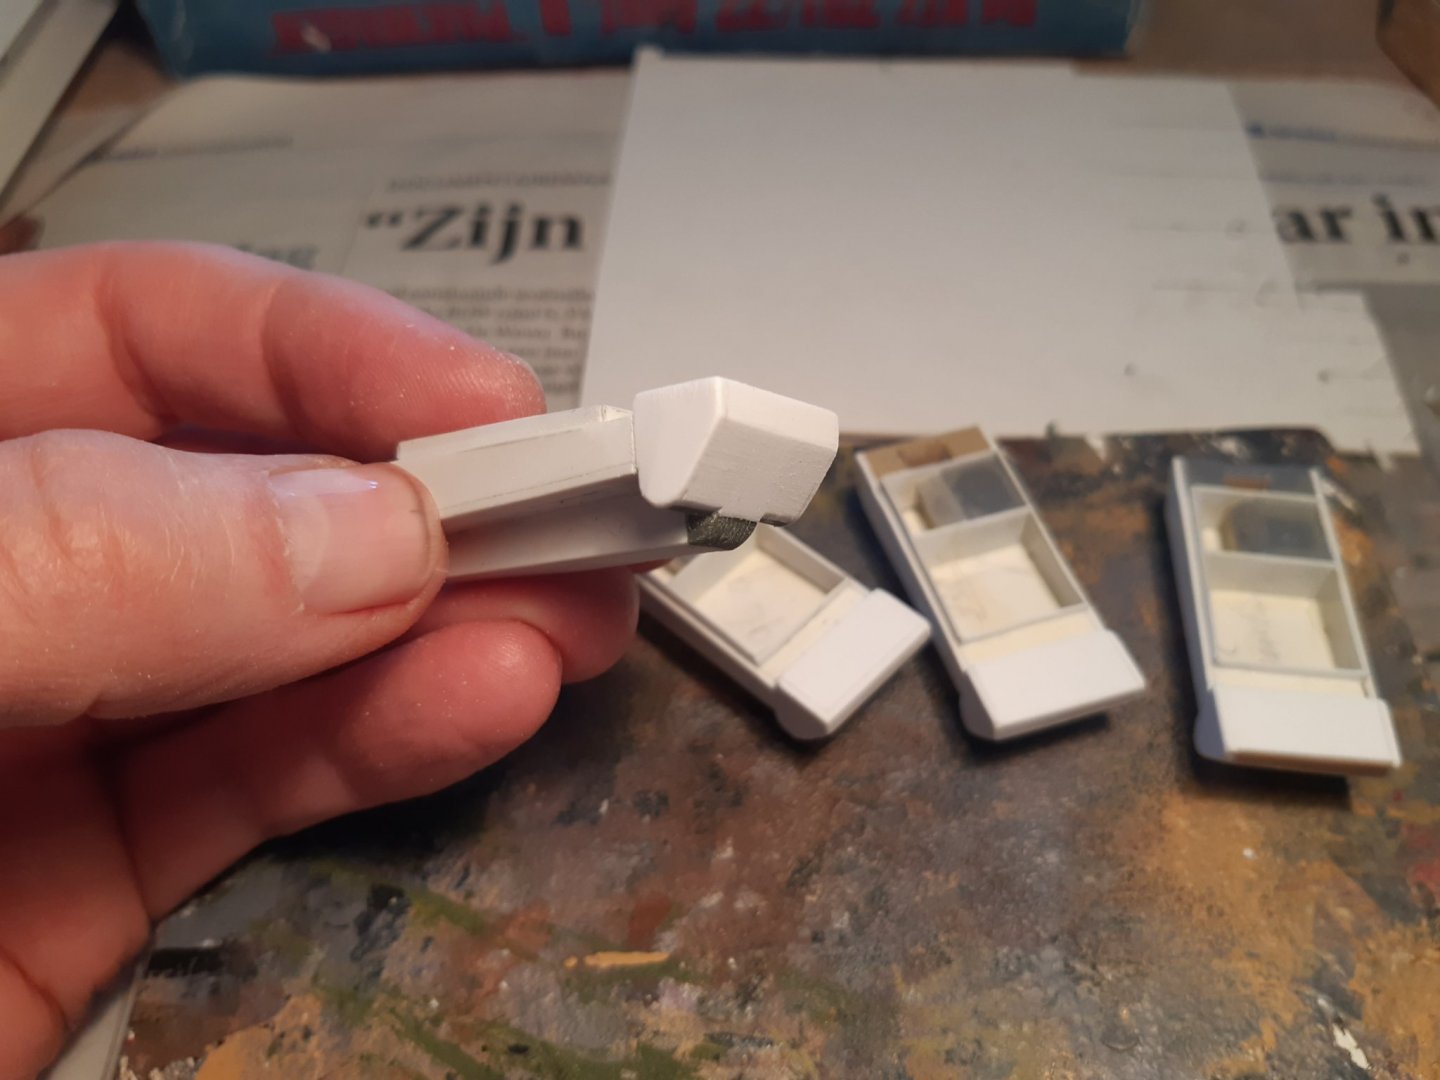
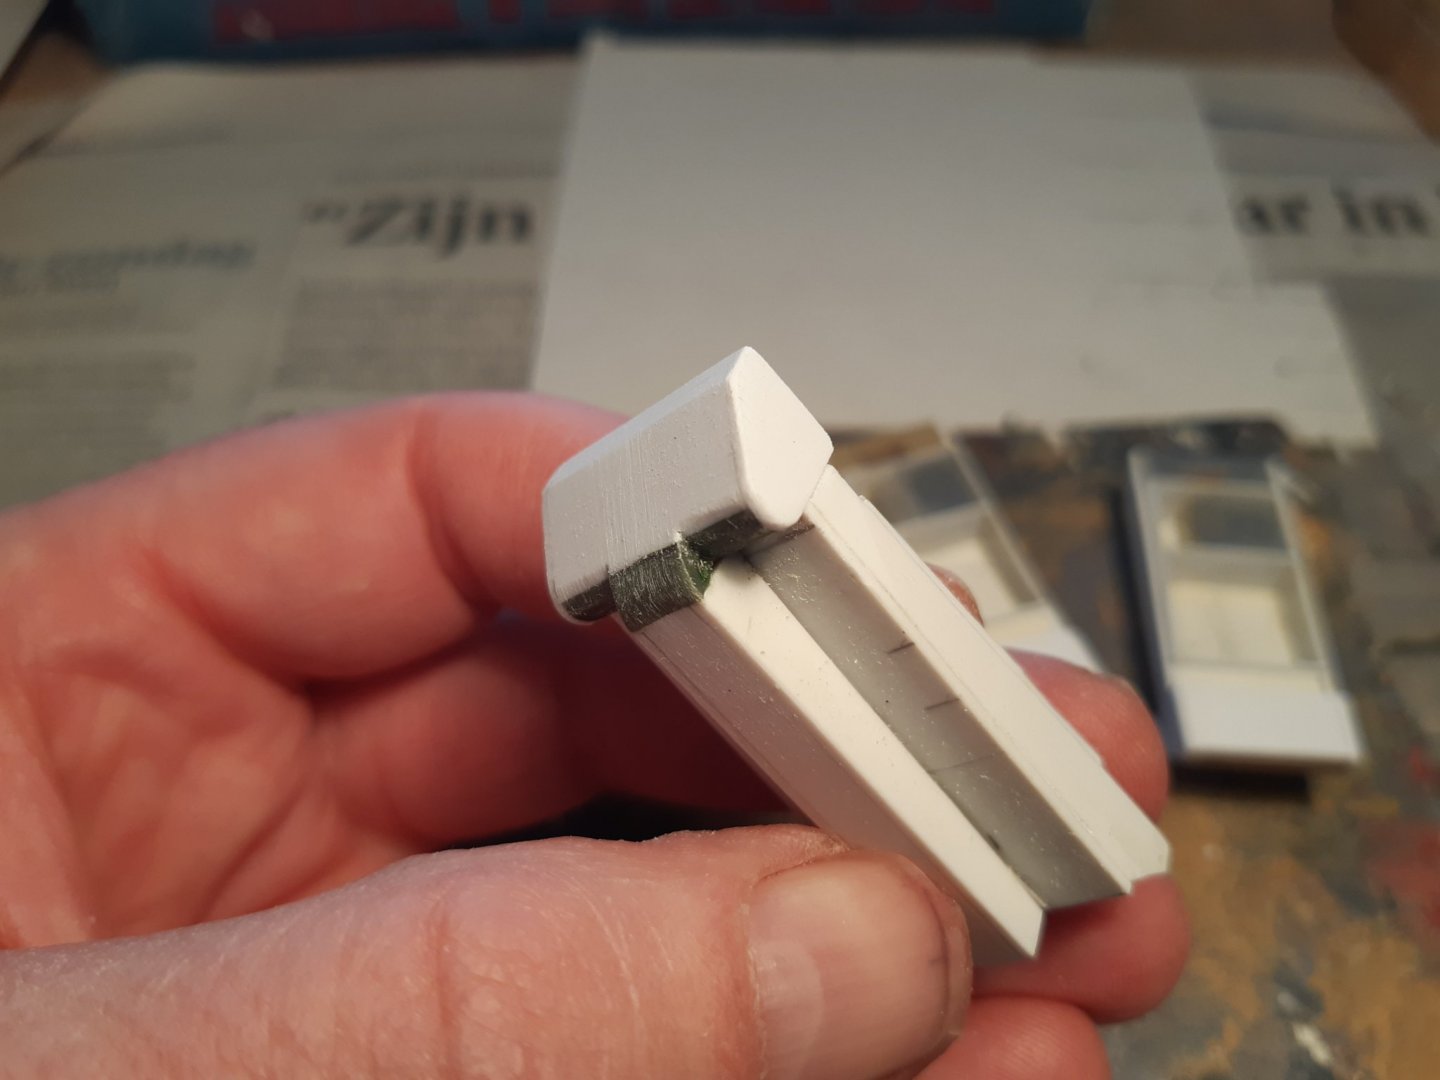
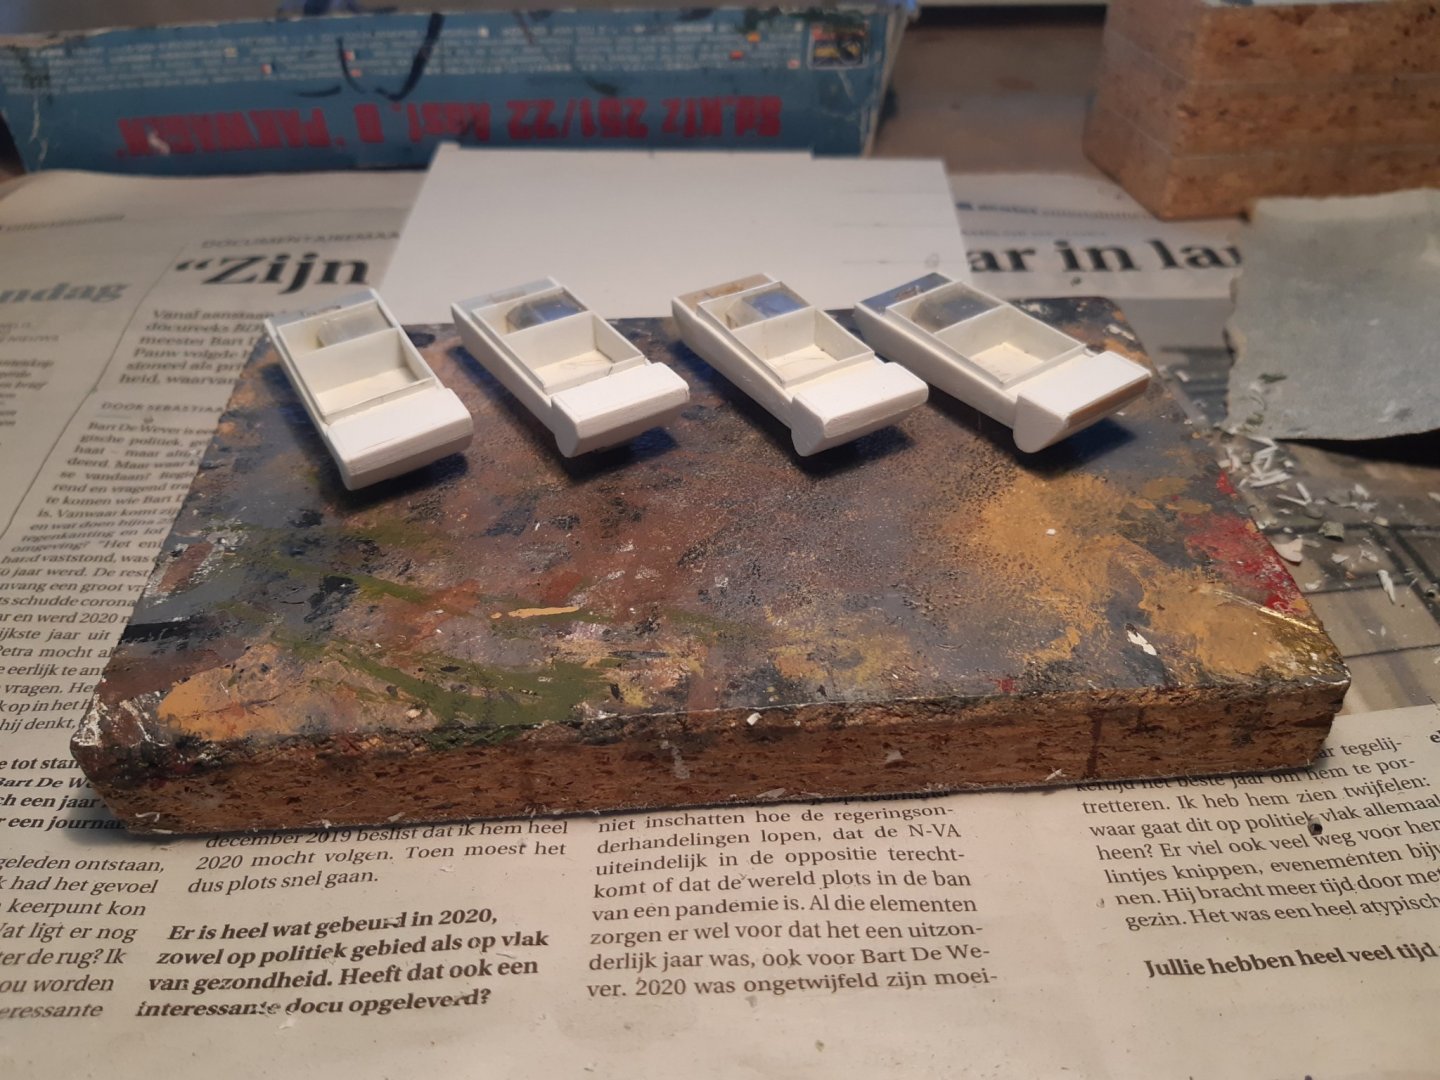
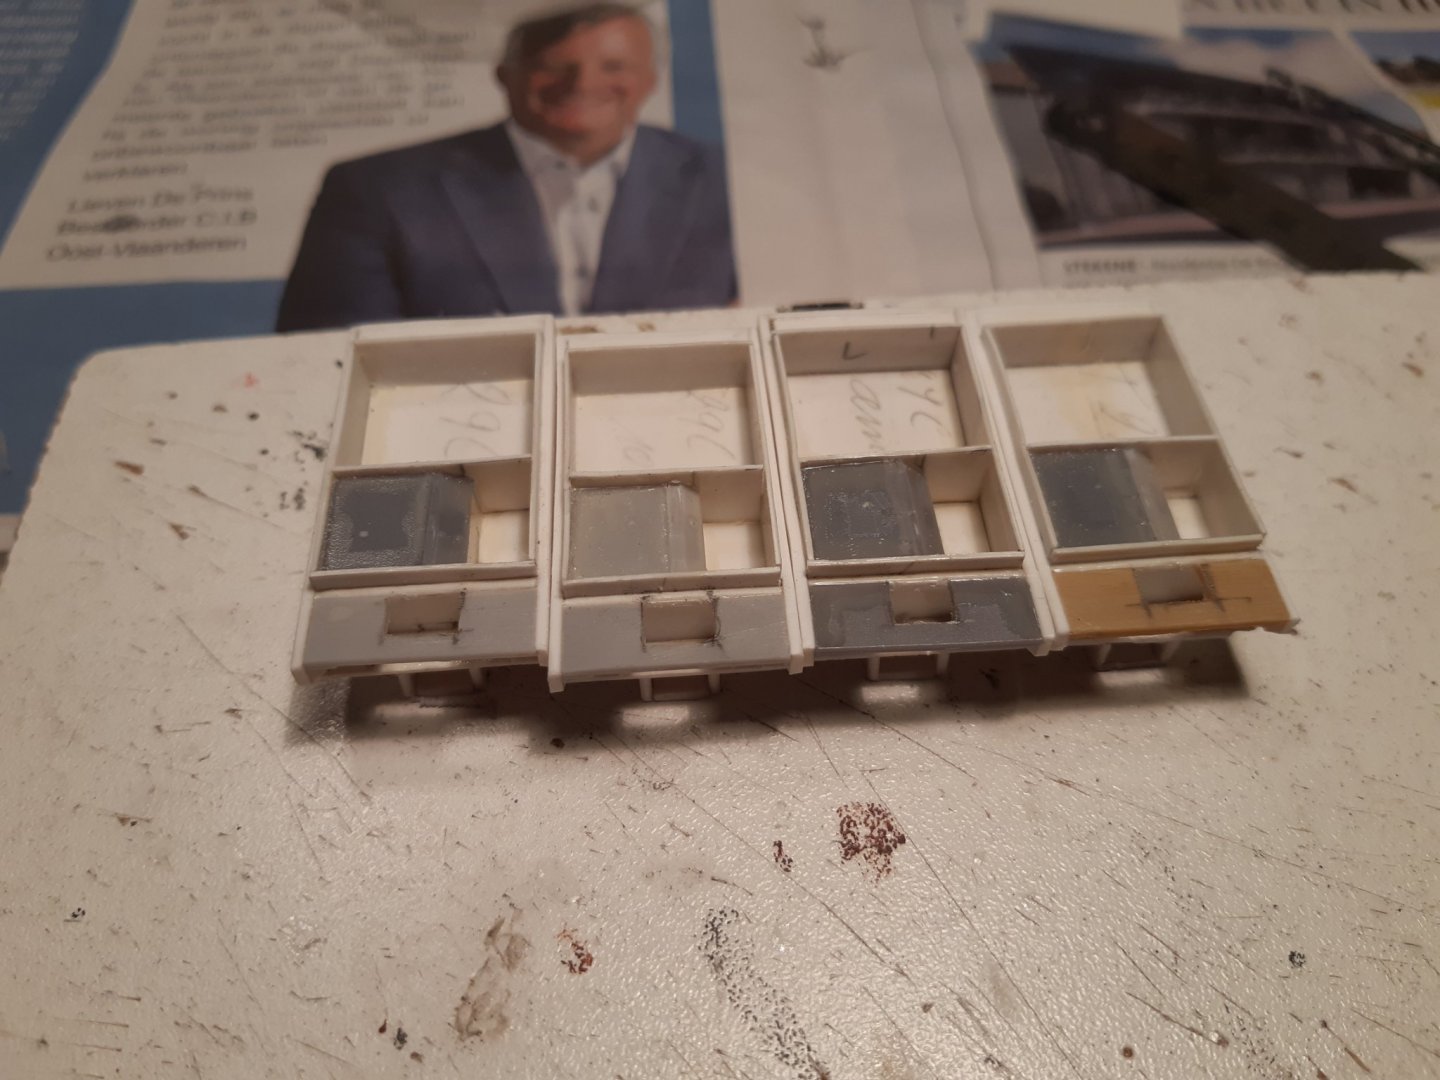
Update, Progress , with a Staghound Mk.2 under construction. The first step is backwards. Everything that was not good has been removed. Building the hole in front of the vehicle. The radiator of the engine will be placed in this later. These 4 will all become c models. A standard, a ambulance, a 75 mm recoiles and a Wasp flametrower. Thanks for following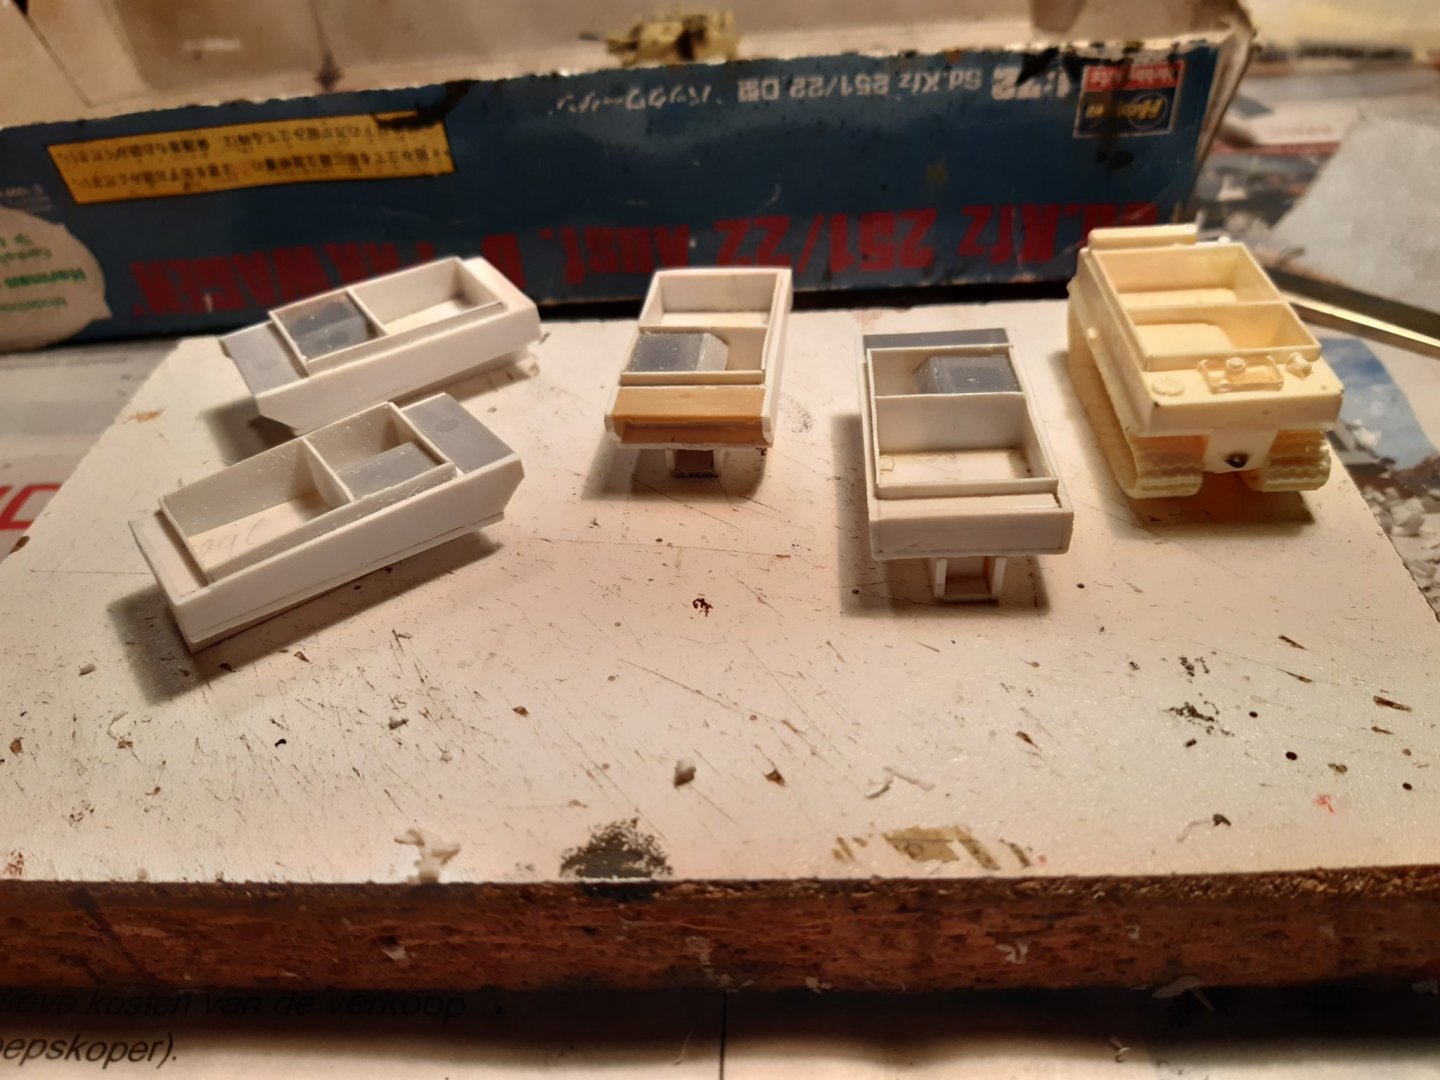

- 50 replies
-
- 10
-
-
Die Kogge Von Bremen by kentyler
Baker replied to kentyler's topic in - Subjects built Up to and including 1500 AD
Well Belgium is a difficult country politically. Believe it or not for the administration of 11 million residents we have 5 governments ... Explaining this whole political question is a very long story and a hopeless task. 😟 To make a long story short. Everyone wants to decide about everything, but no one wants to pay for it The cog Found in 2000 and disassembled. Then the question, what do we do with it, where do we place it, and especially who will pay for it Parts stored for 10 years in containers with water. In 2010 an investigation whether the parts were still suitable for restoration (luckily yes) Return to storage in containers with water. 2014 - 2017 money has finally been found to treat the parts. The planned reconstruction will start in 2023. However, a museum must first be built... I hope I live long enough to ever see this cog 😉 In Dutch http://schoolvoorscheepsmodelbouw.be/wp/specials/kogge-de-middeleeuwen-in-3d/