Baker
-
Posts
4,286 -
Joined
-
Last visited
Content Type
Profiles
Forums
Gallery
Events
Everything posted by Baker
-
impressive for a first build 👍
-
 Nice work Geert! Busy, busy, busy. Not even a coffee or tea with a cookie during working hours ??
 -
Very nice work Nick
-
I see this too late It is best to turn the blocks 180 ° then it looks like the rope goes around the "disk" in the block
-
CA gel (i used Pattex CA gel) Received this advice and I am very satisfied with it (starts at post 556 and further) The polyester Gutermann wire can be glued reasonably well with thick plastic glue, but CA gel is better.
-
Well I'm just getting started on rigging, but this is how I'm planning to do it 1 Schrouds mizzen mast 2 forestay mizzen mast 3 Backstays main mast 4 schrouds main mast 5 forestay main mast 6 Backstays fore mast 7 schrouds fore mast 8 forestay fore mast This is on a 16th century ship, but I think the general order is about the same with your ship
-
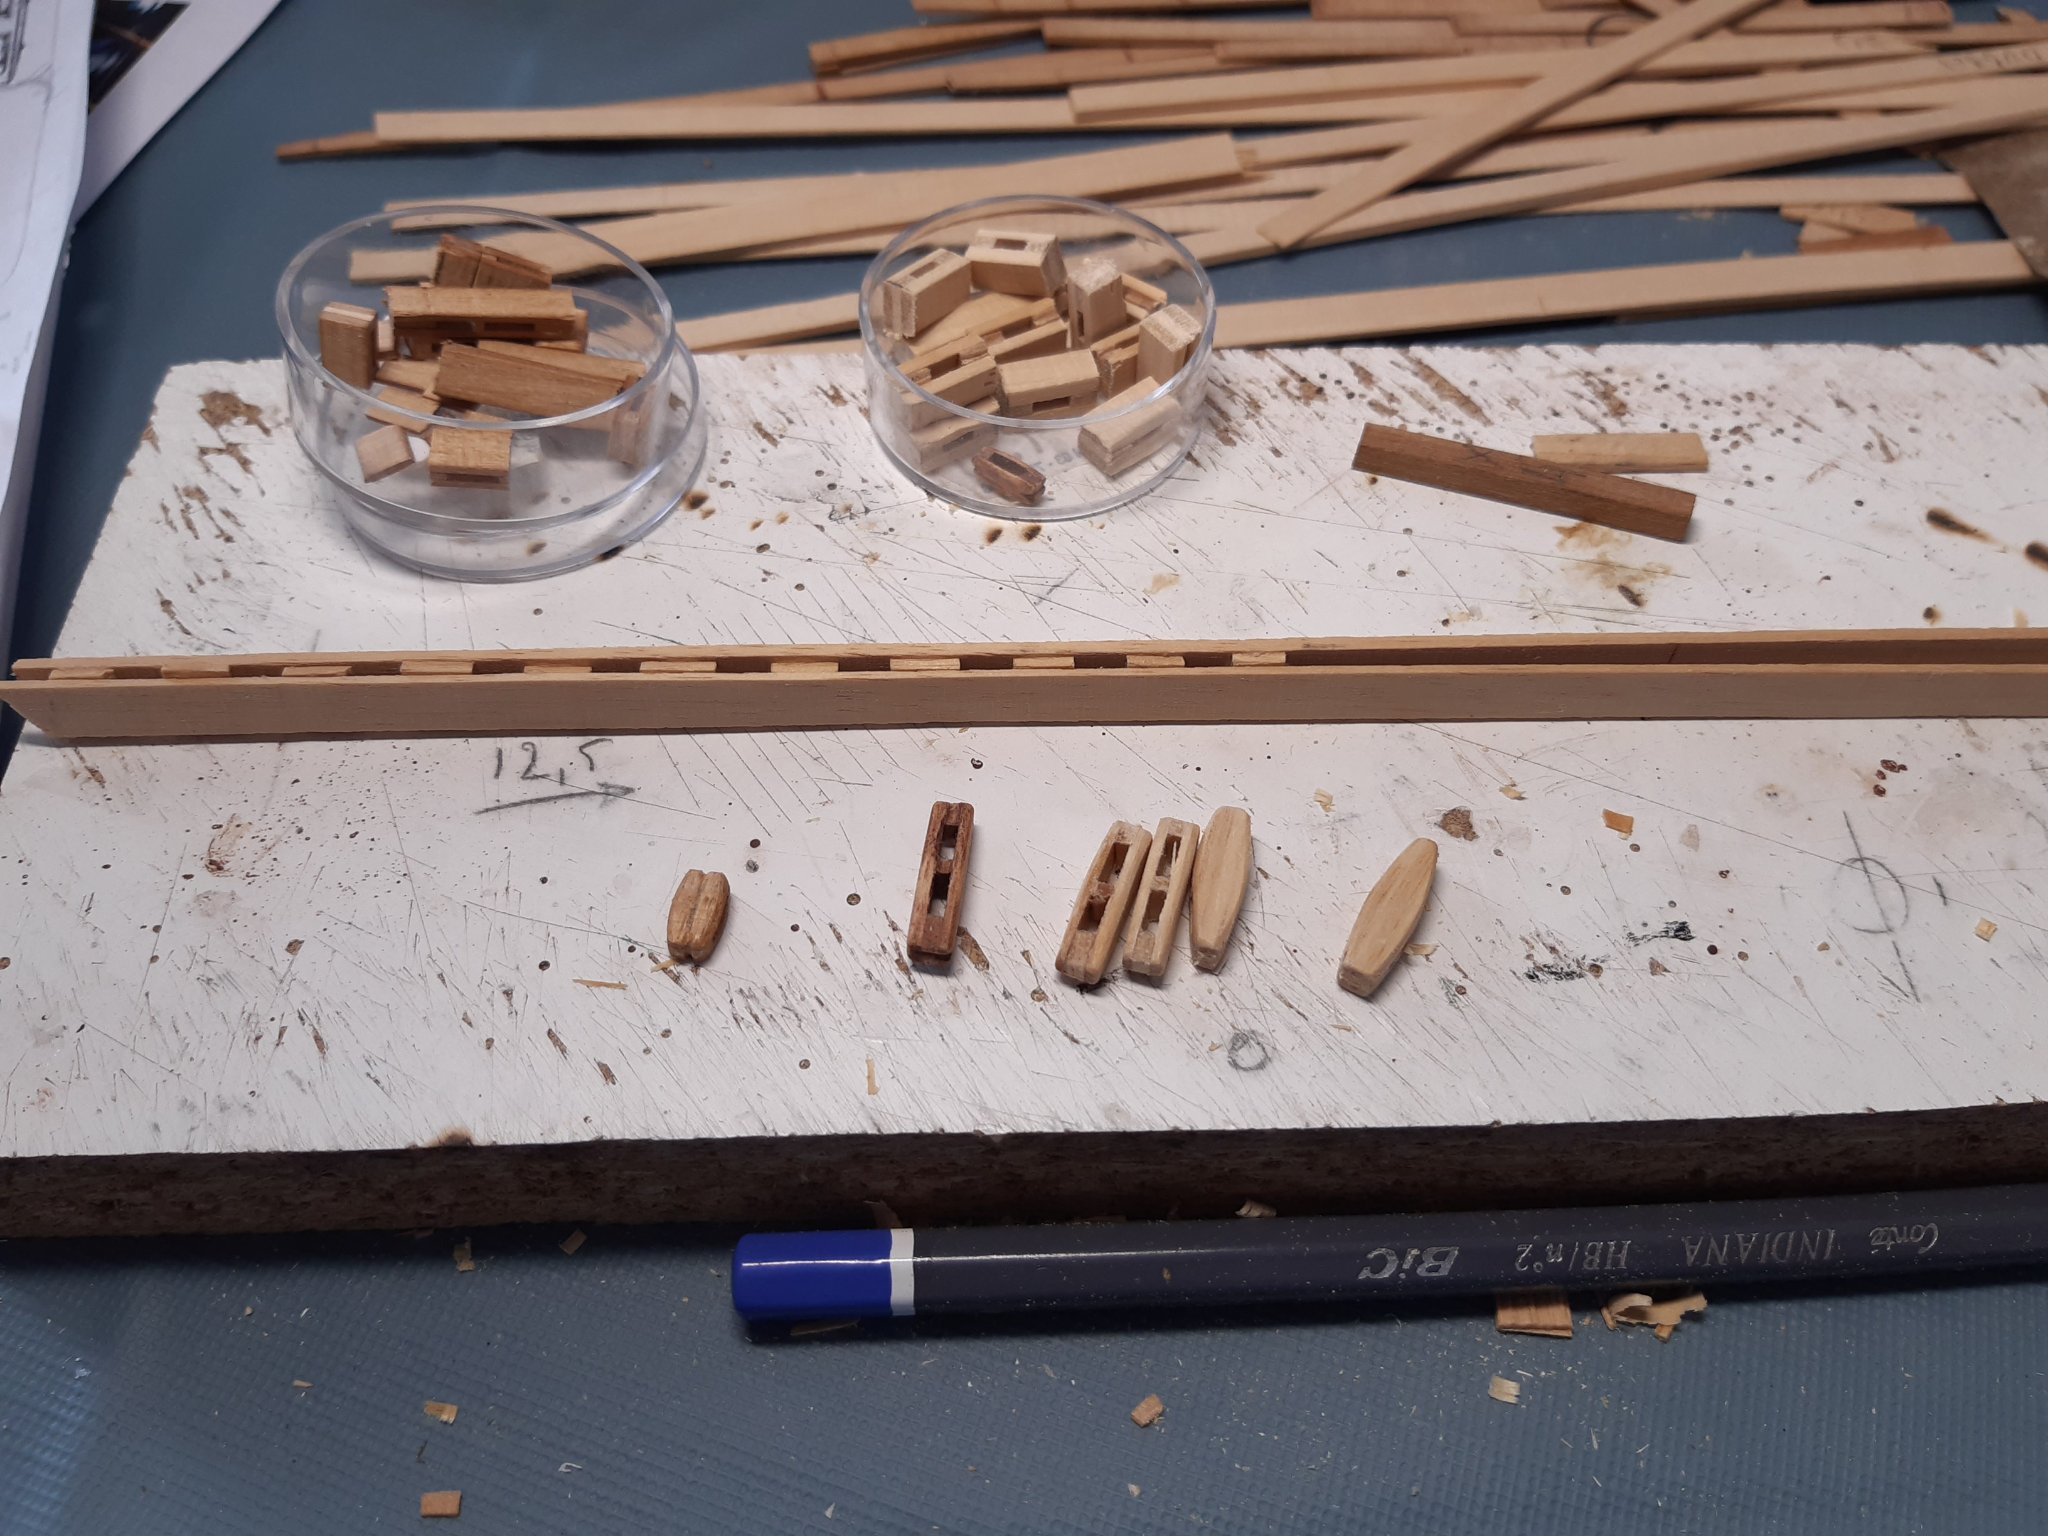
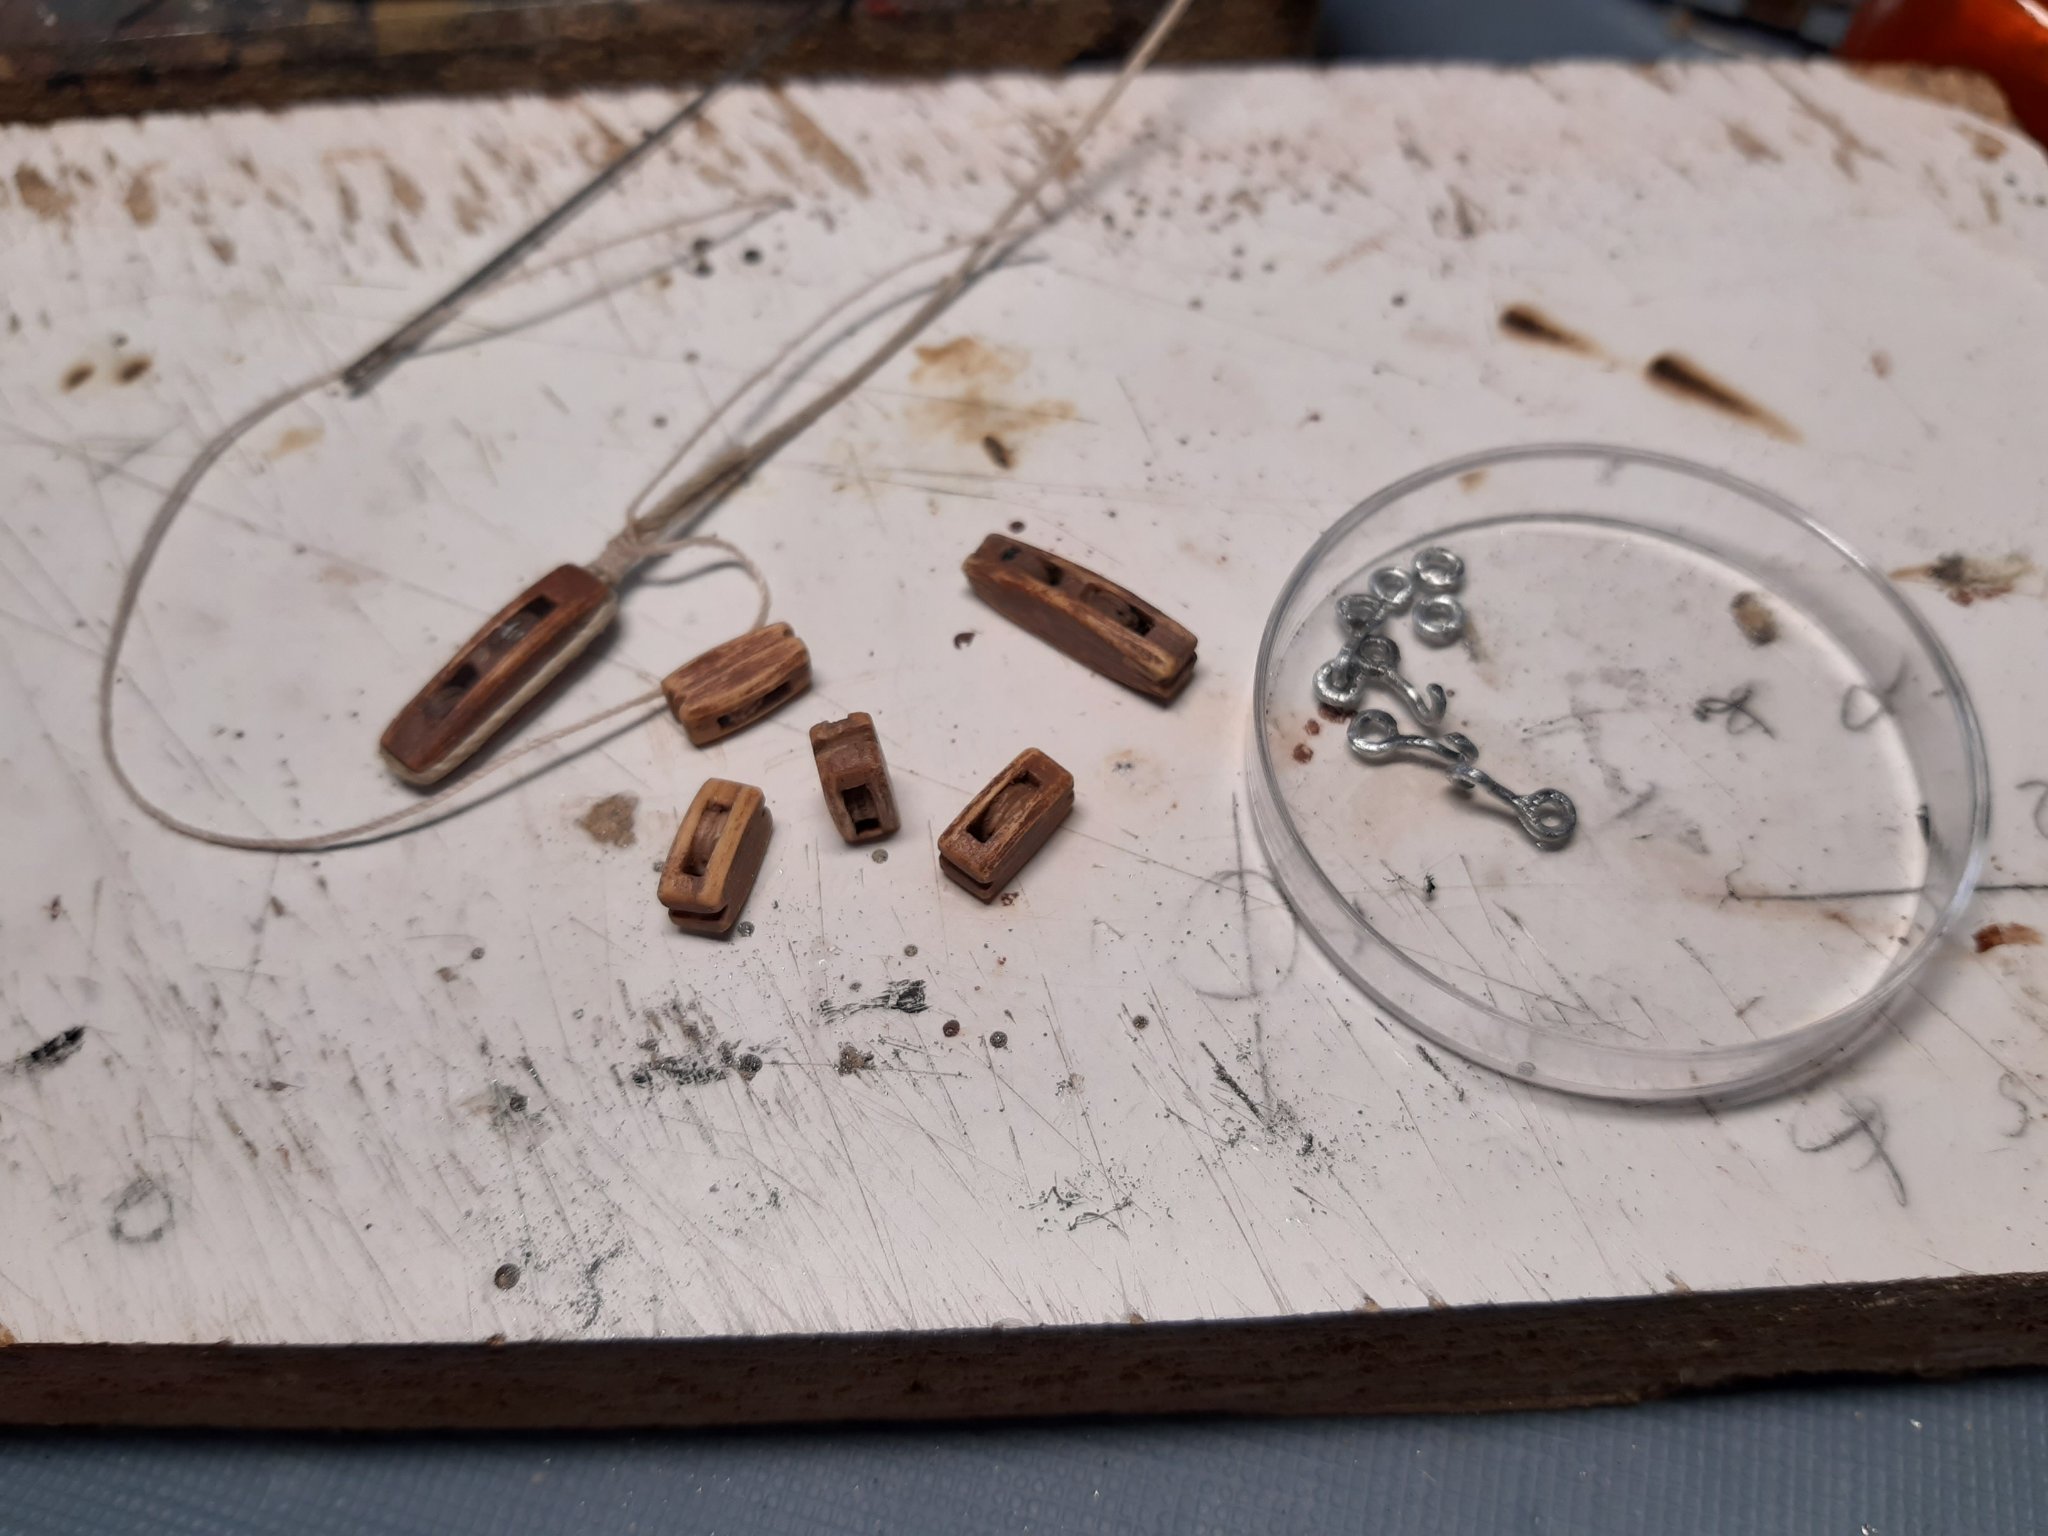
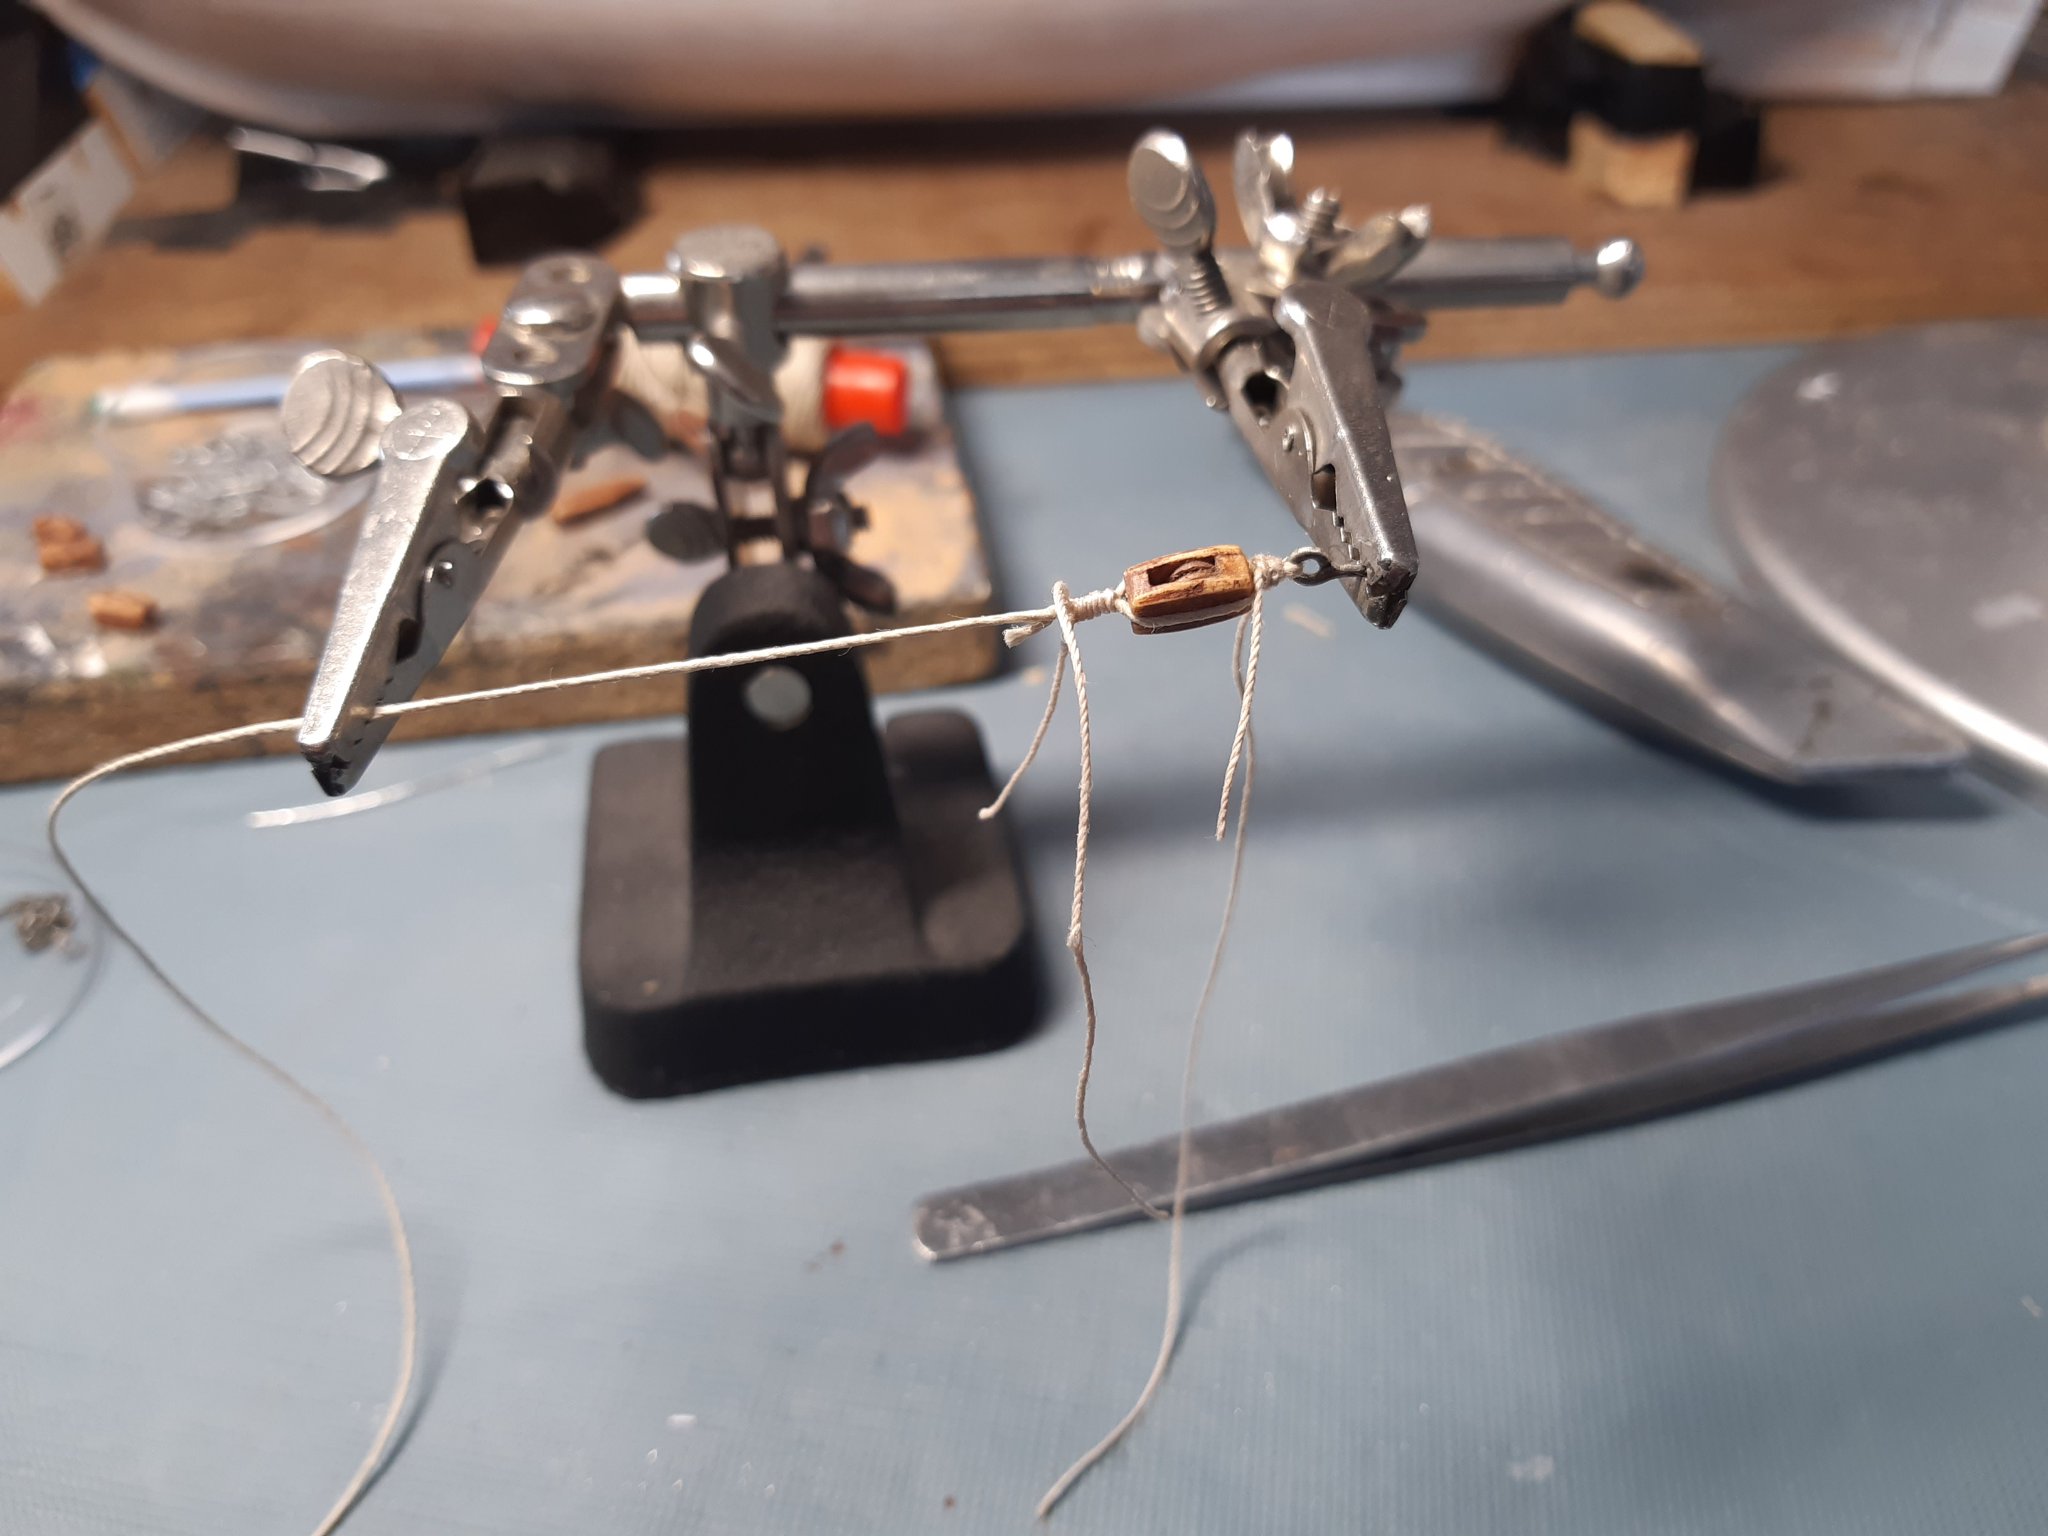
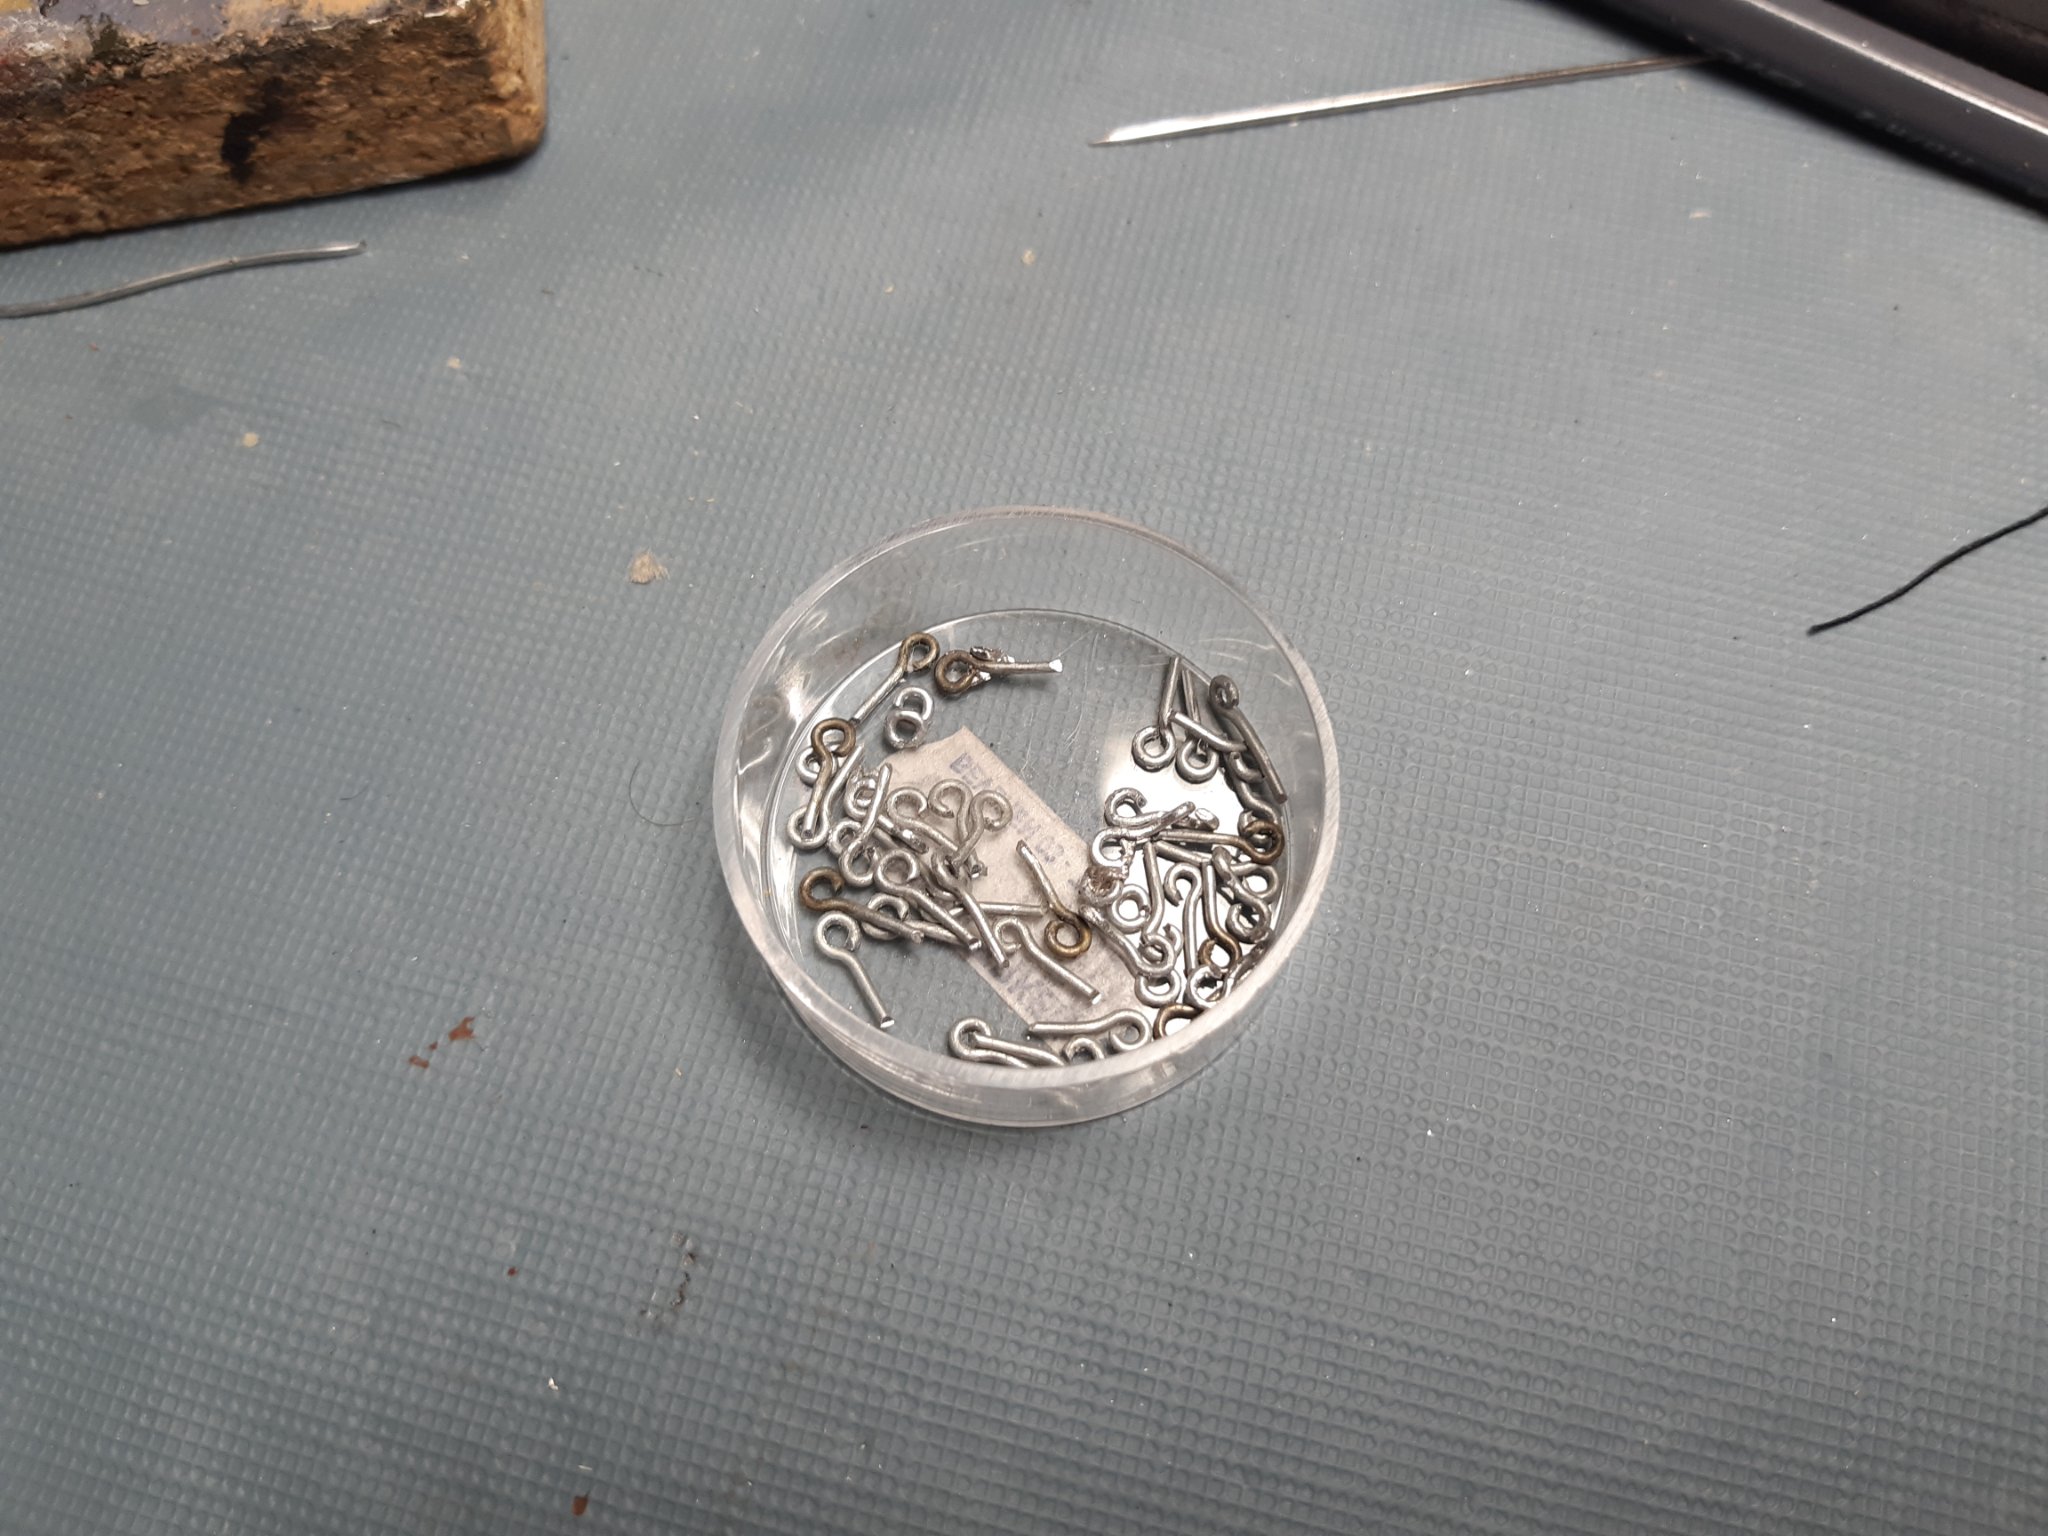
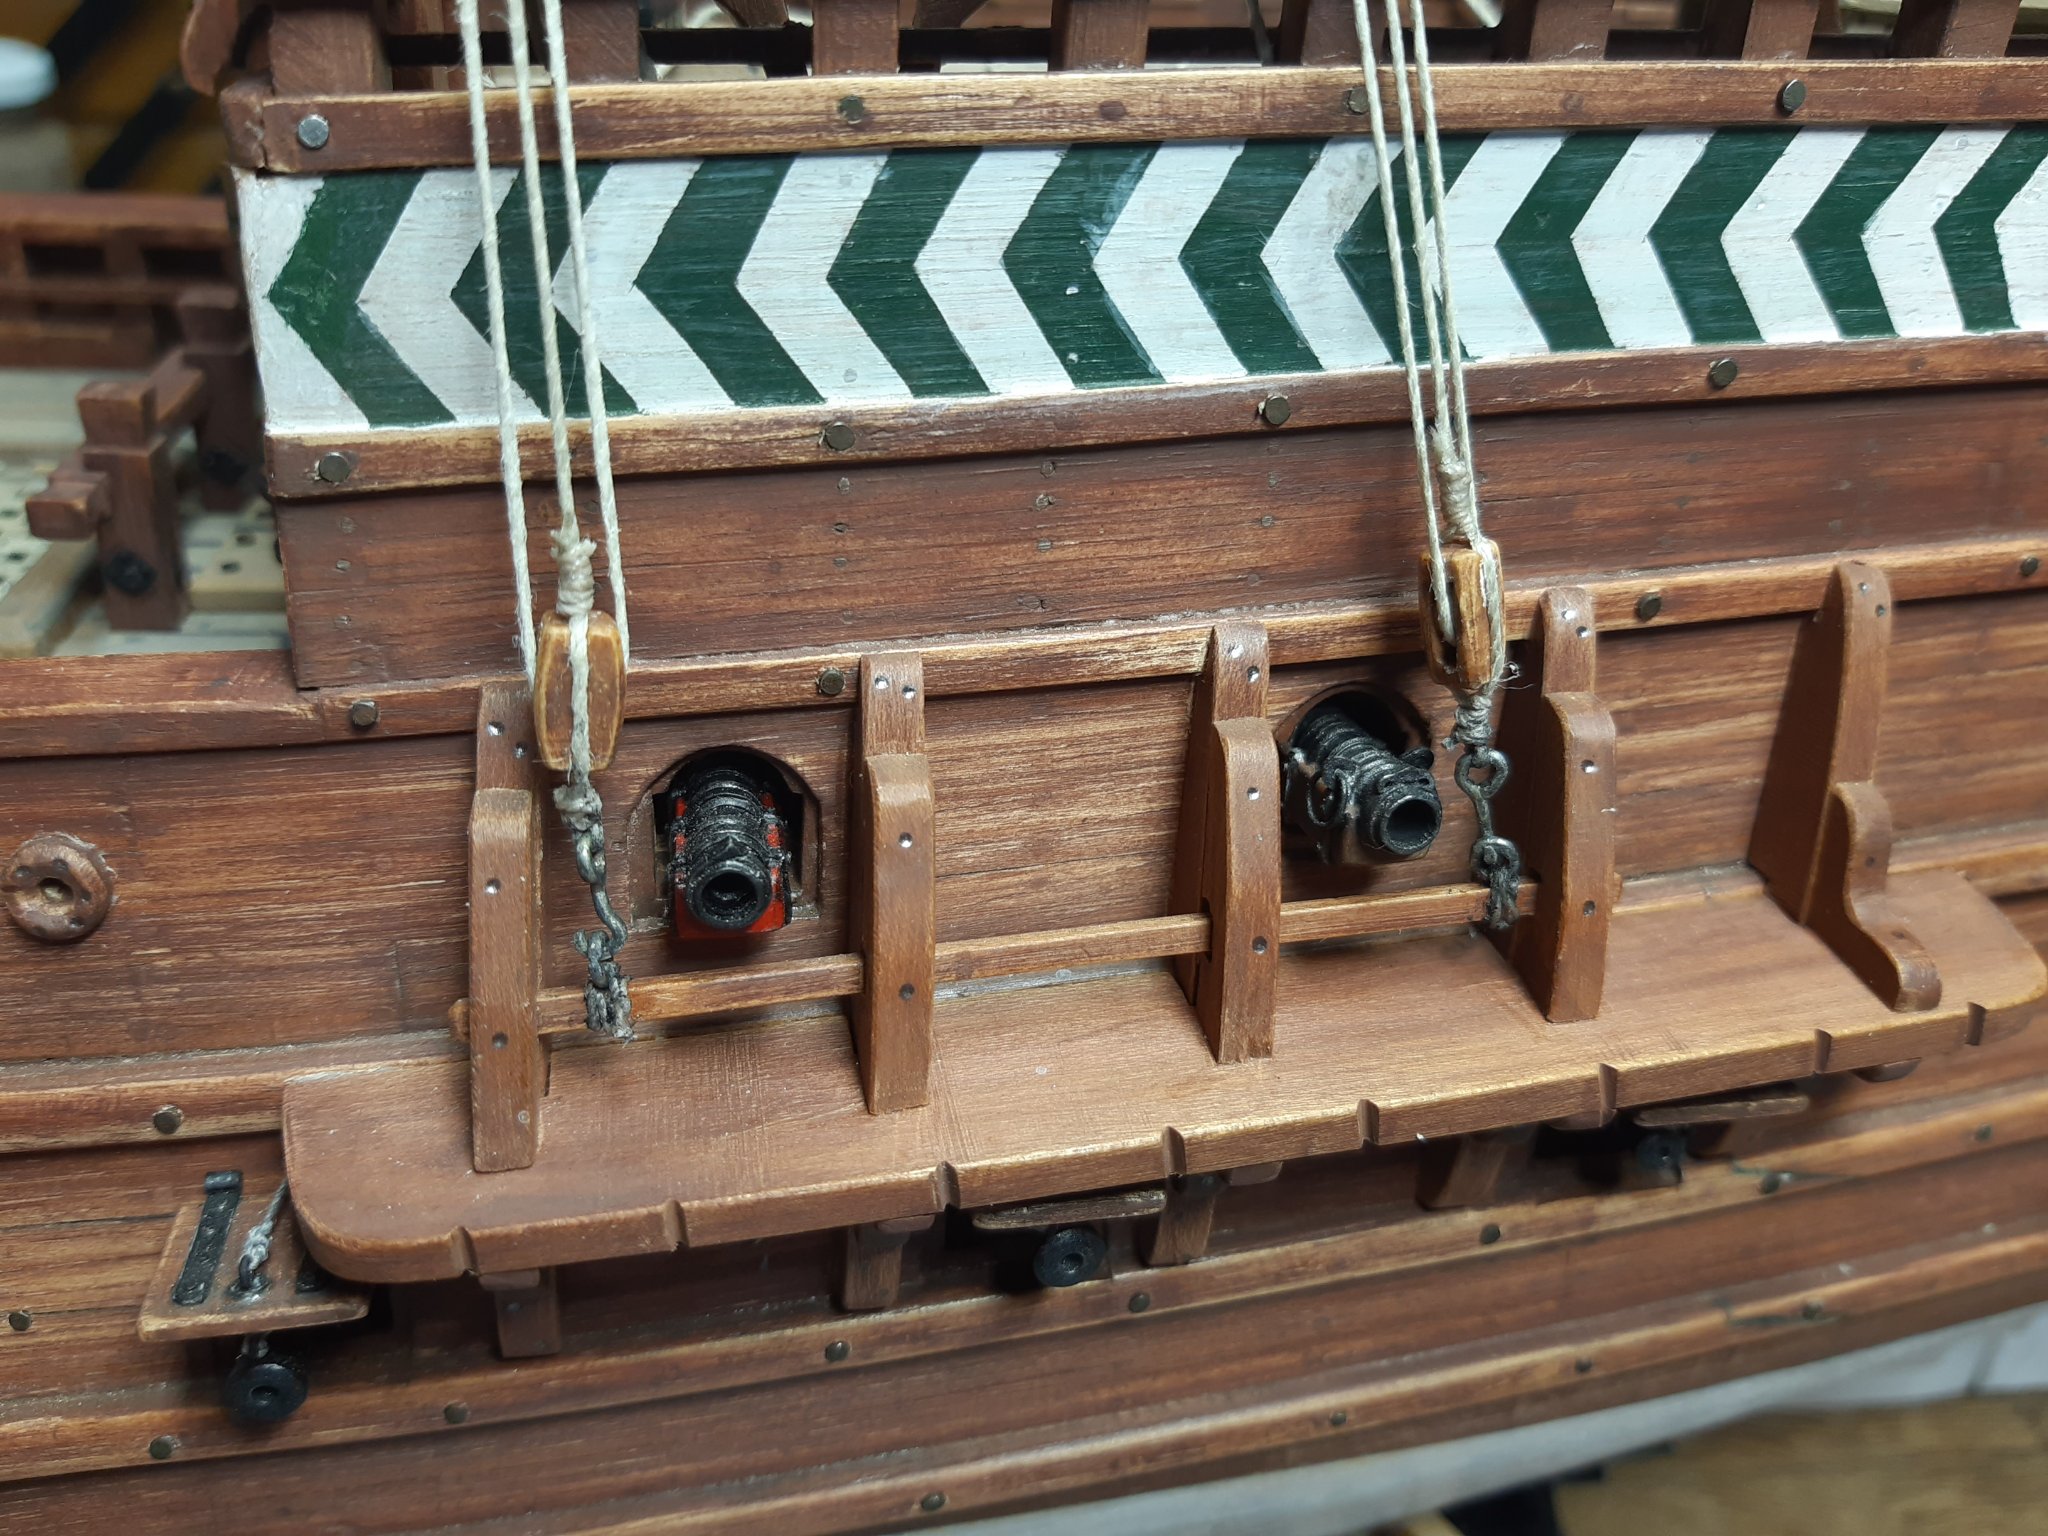
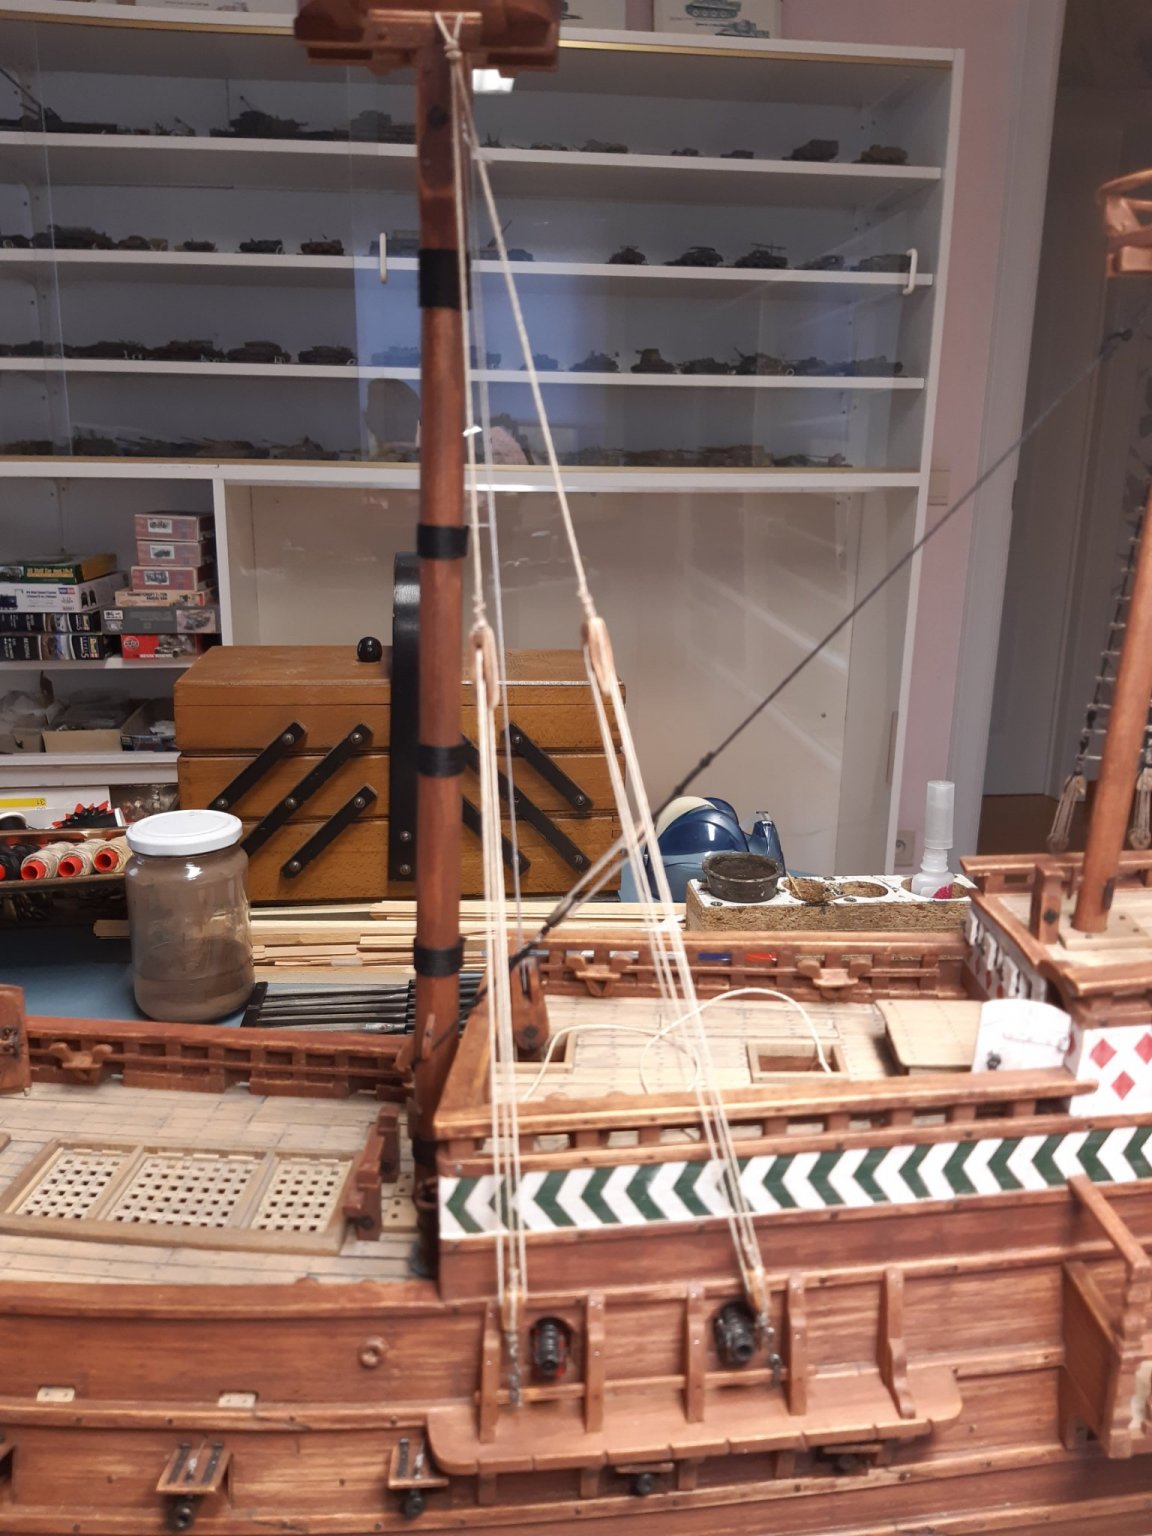
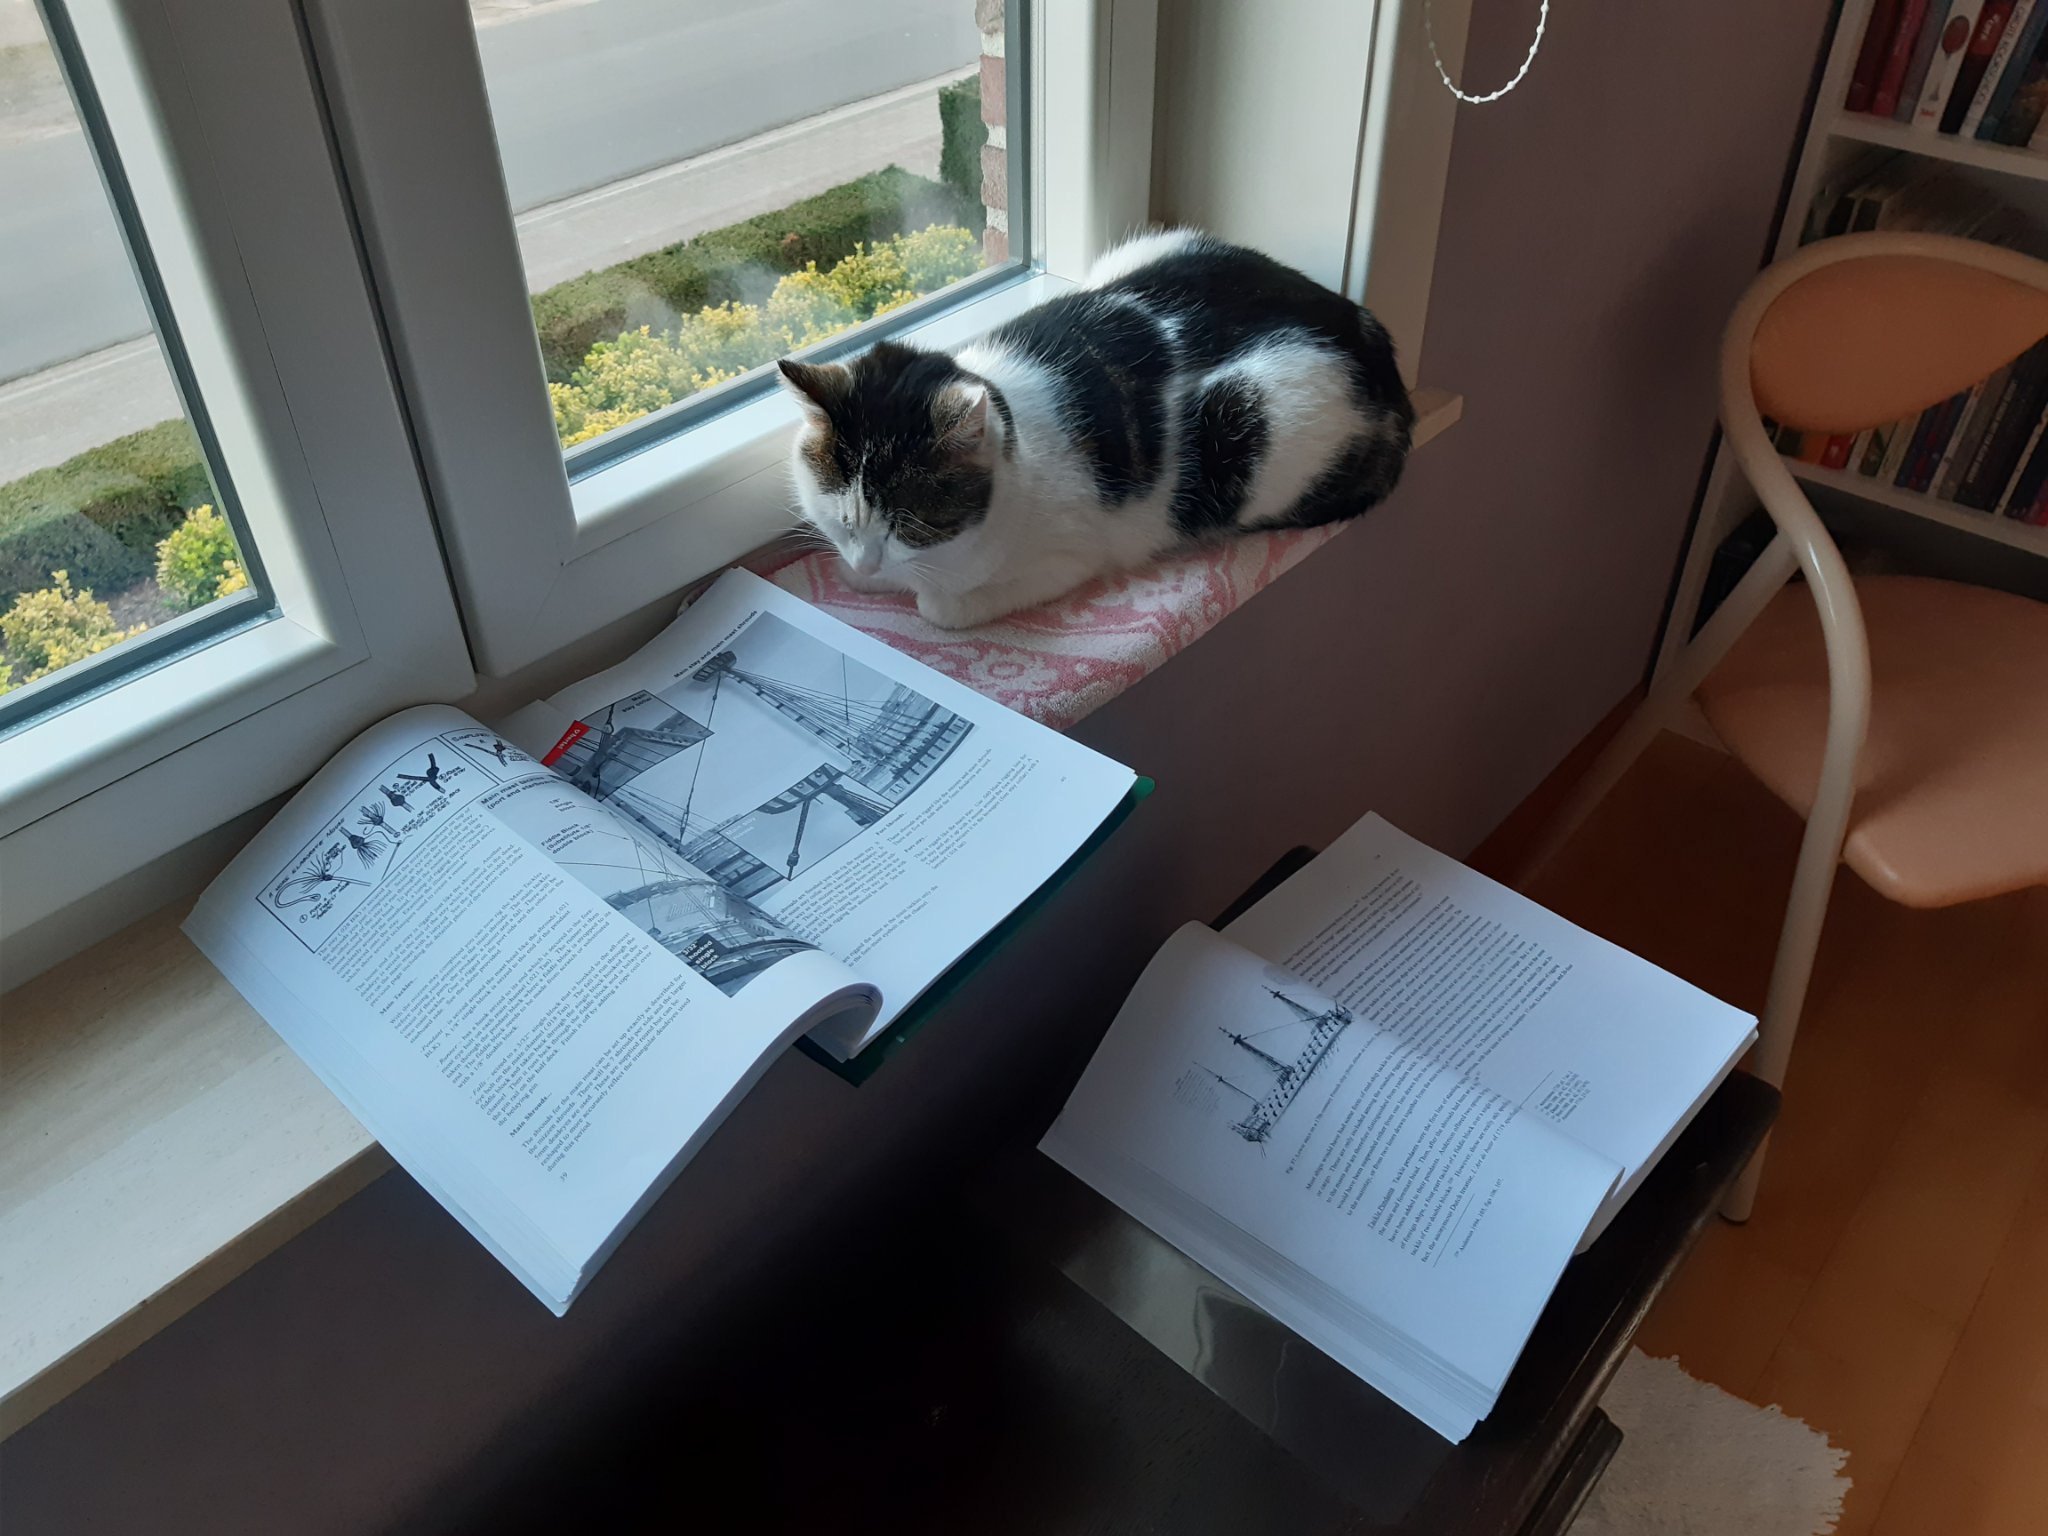
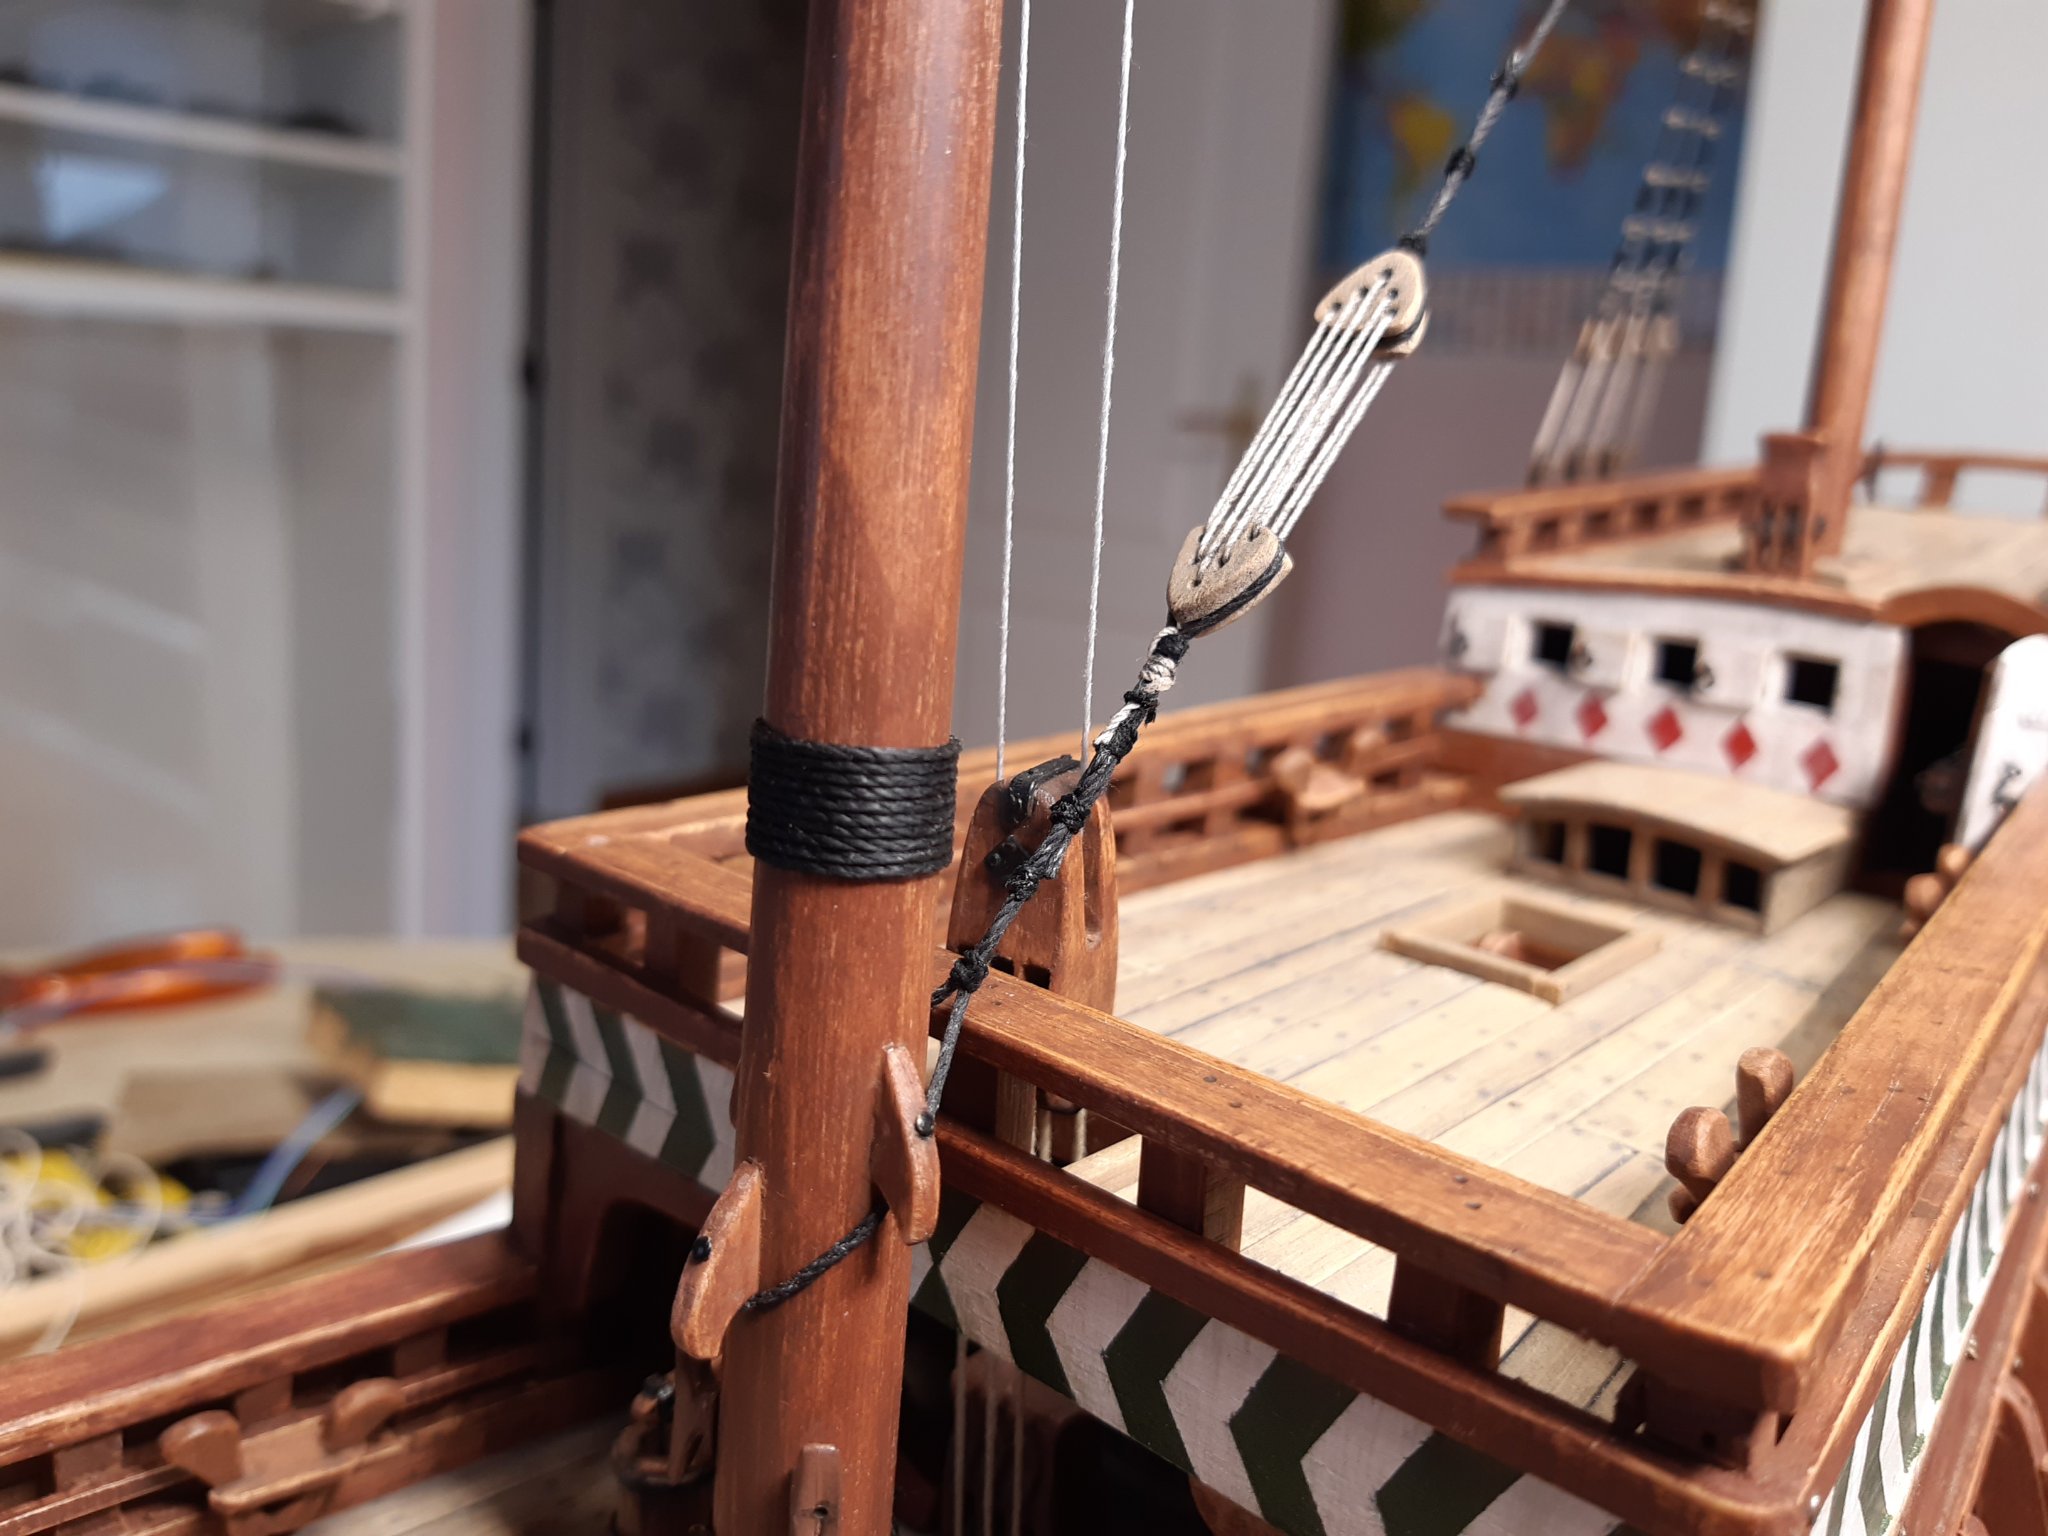
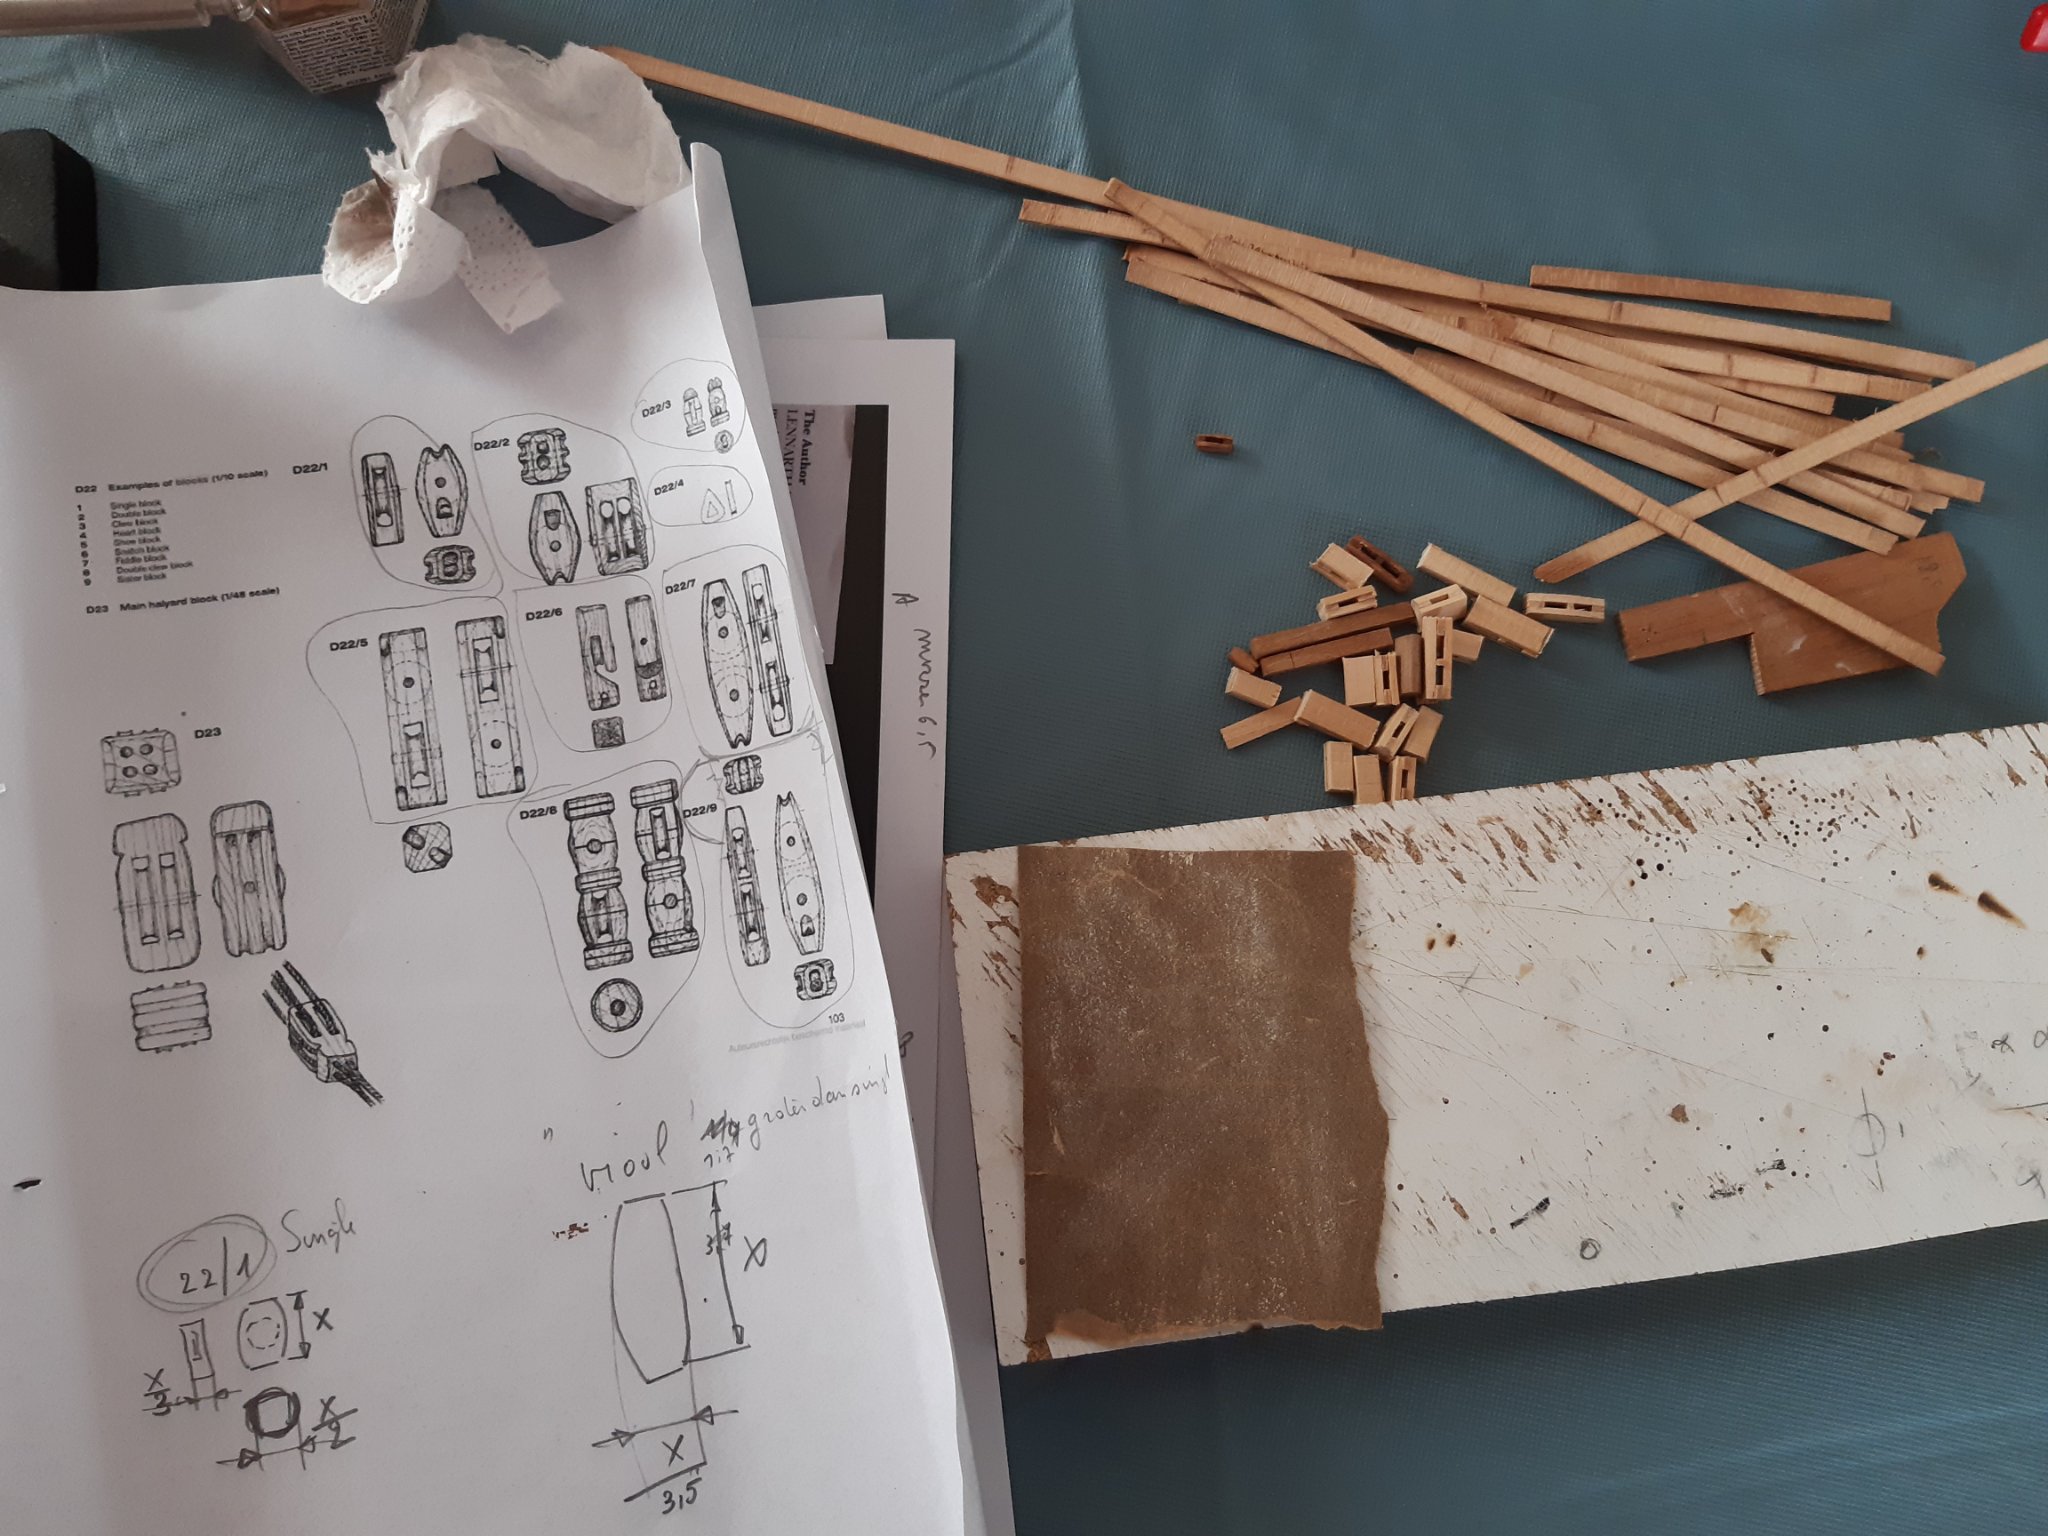
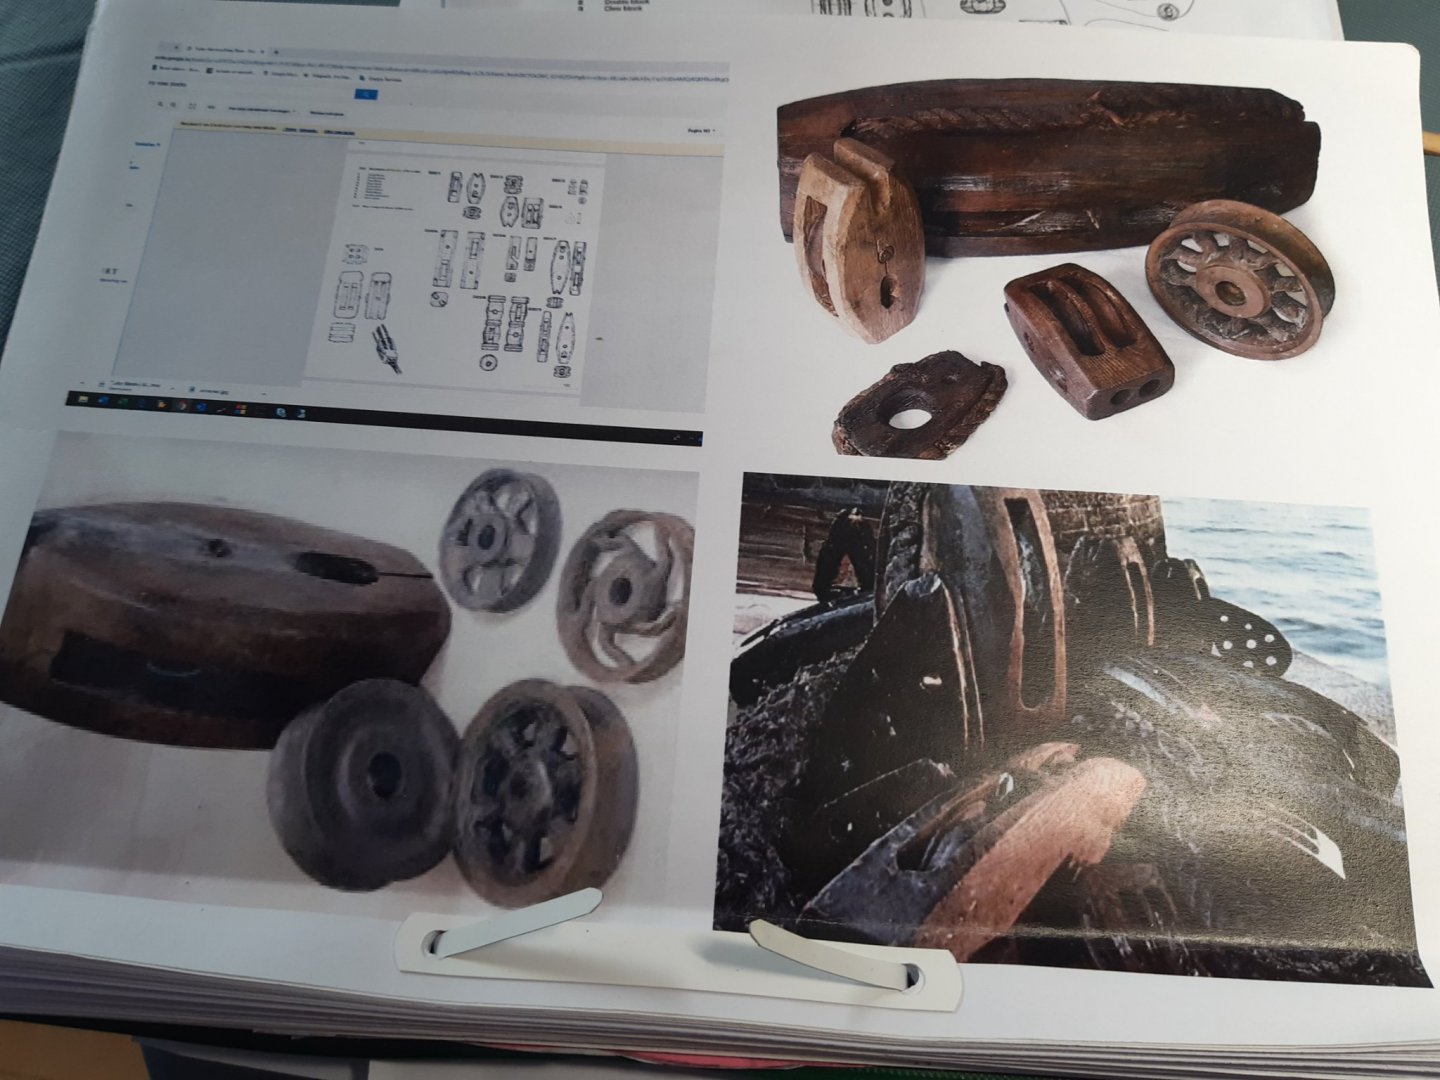
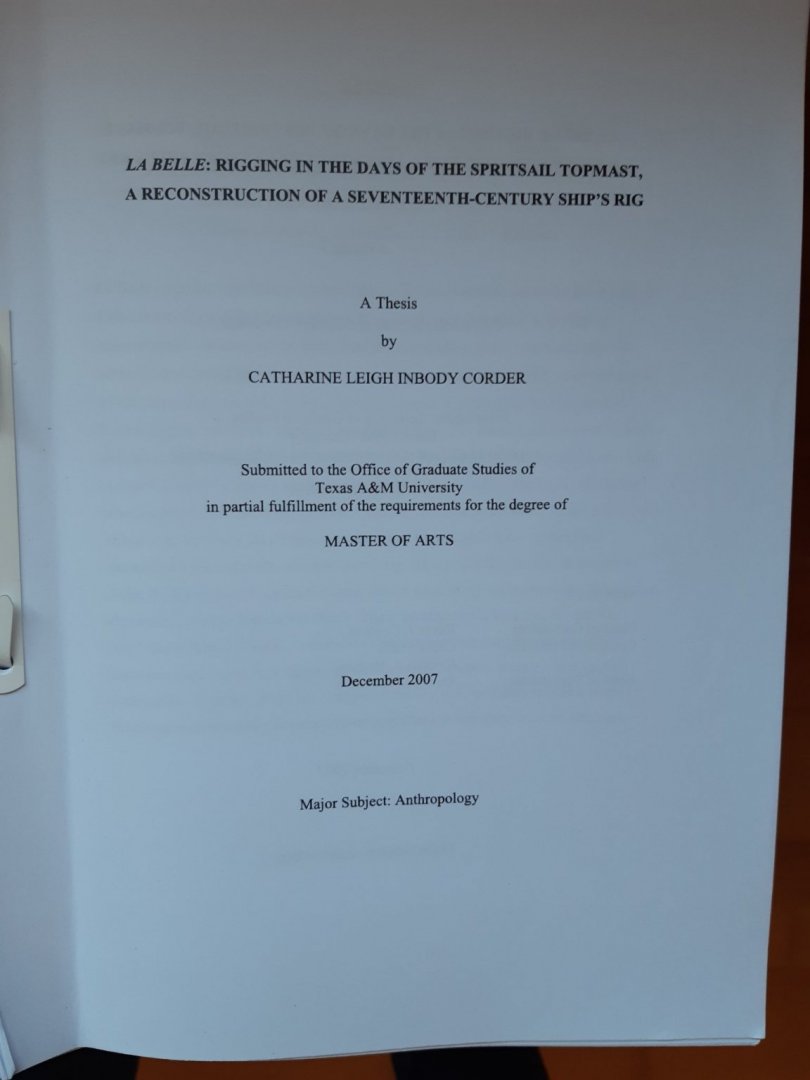
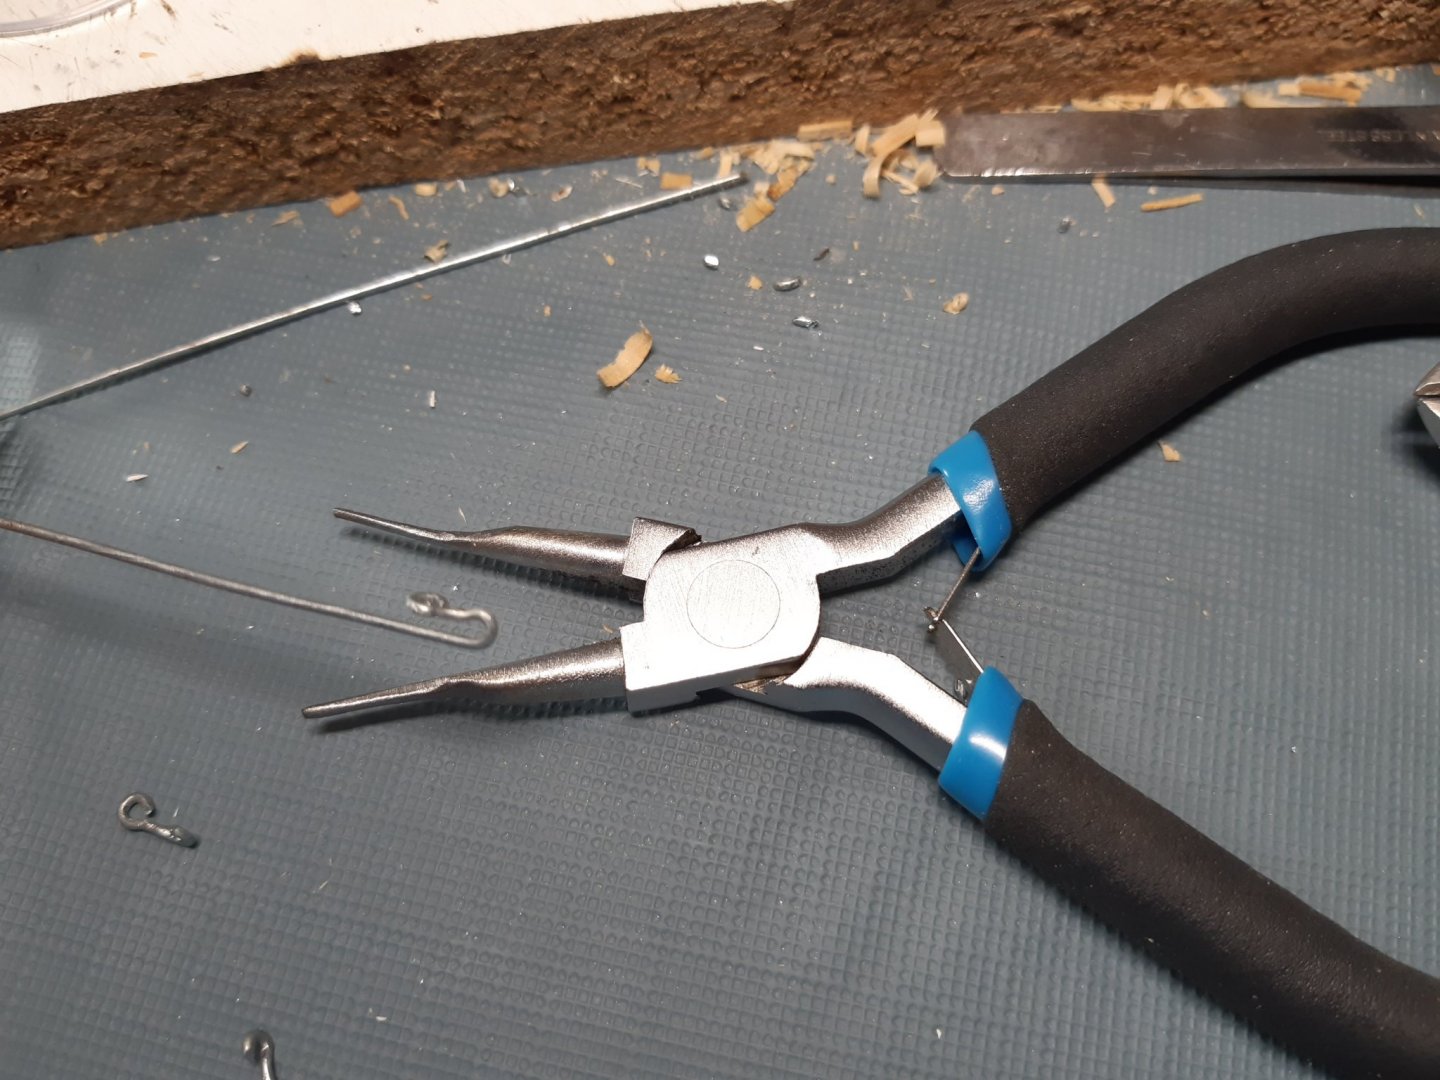
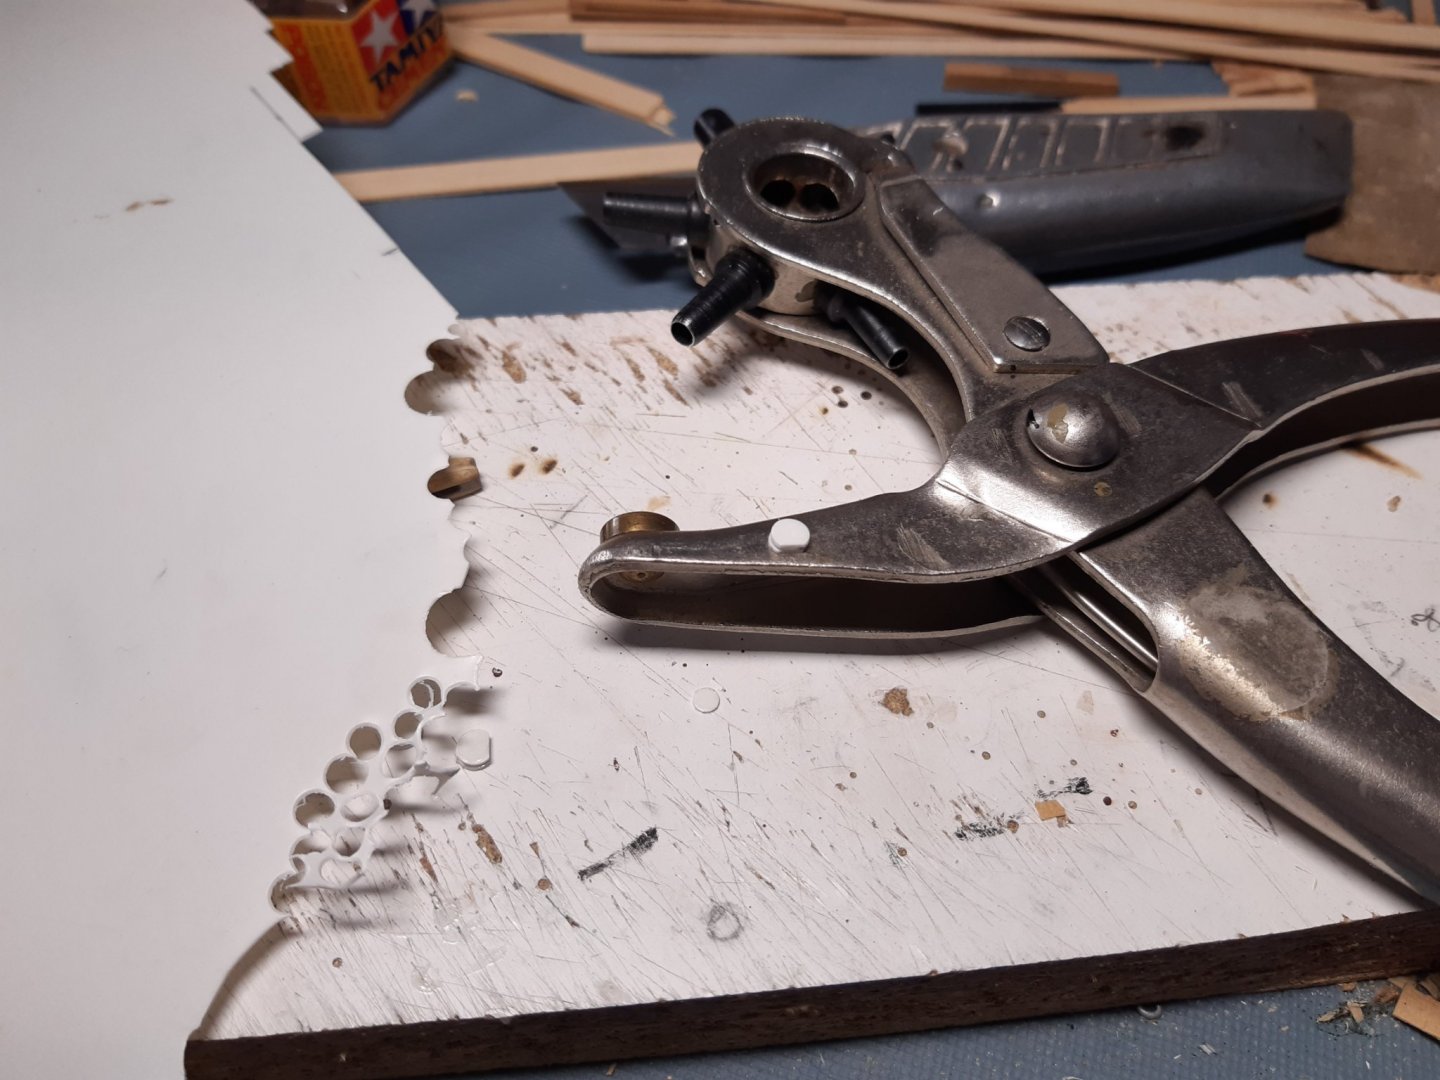
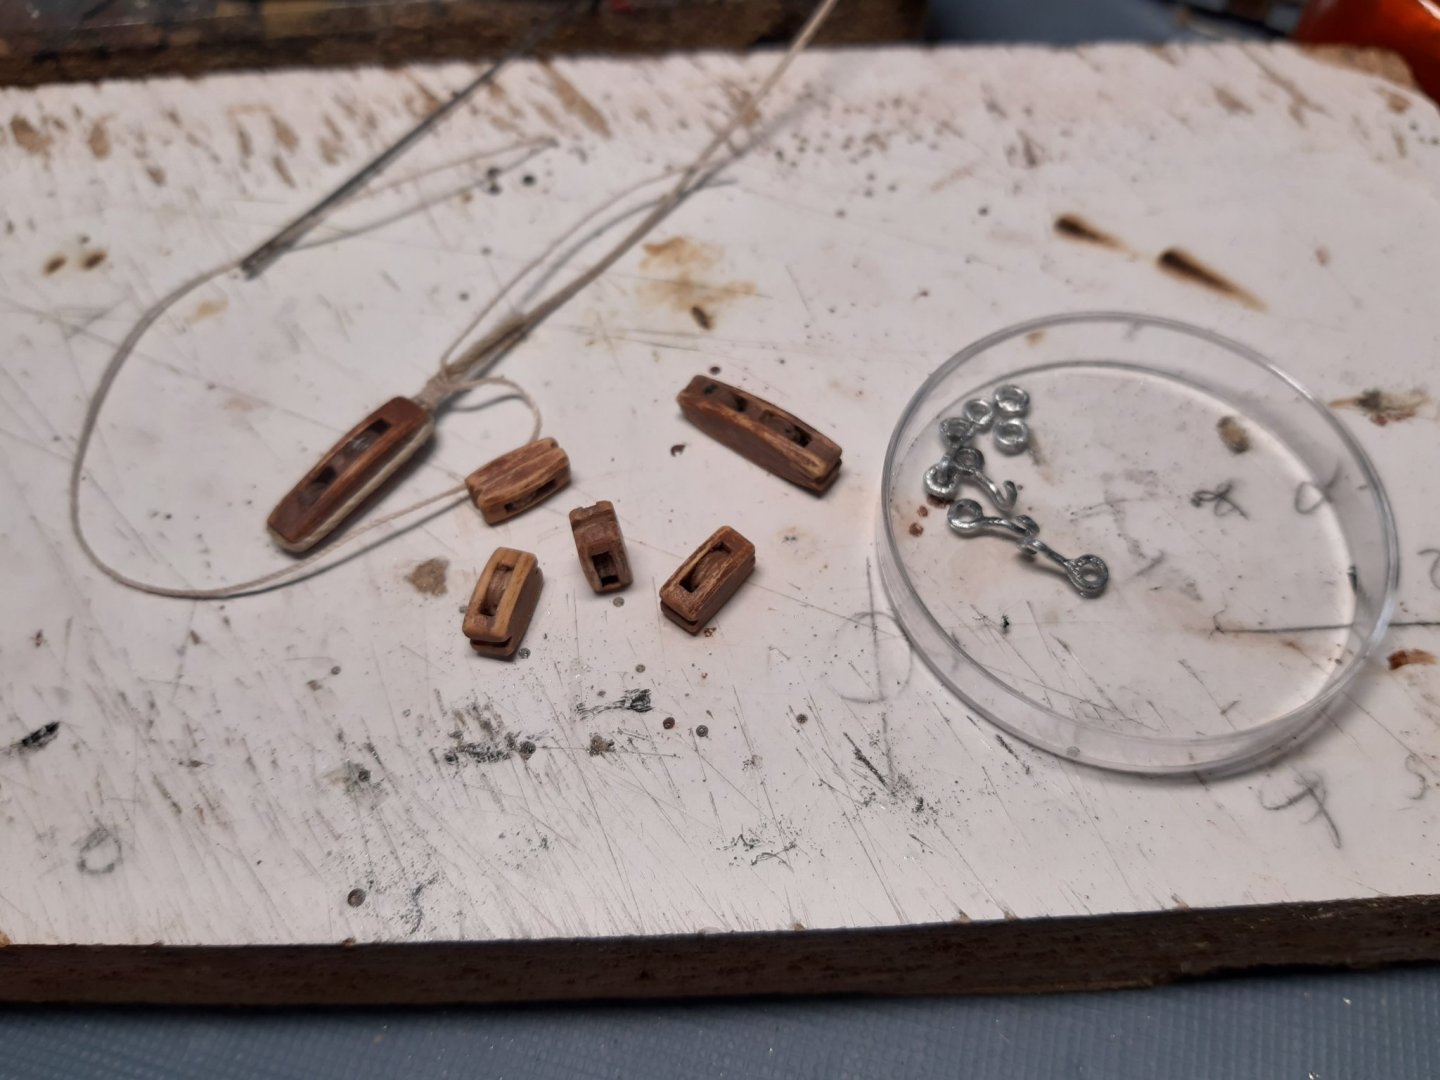
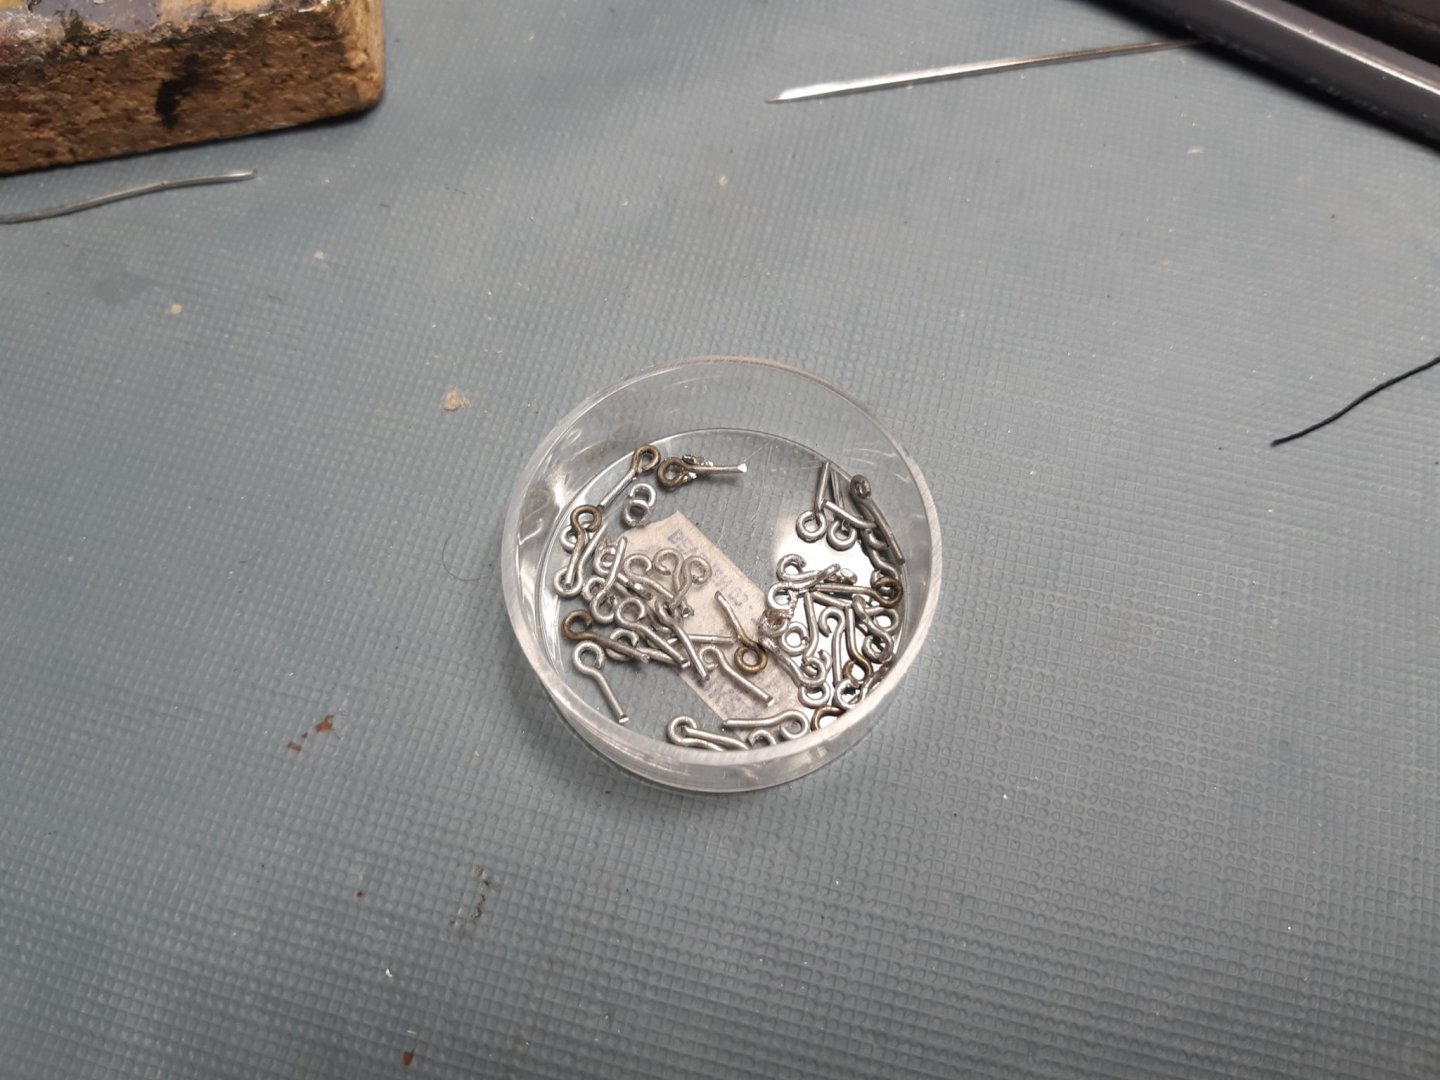
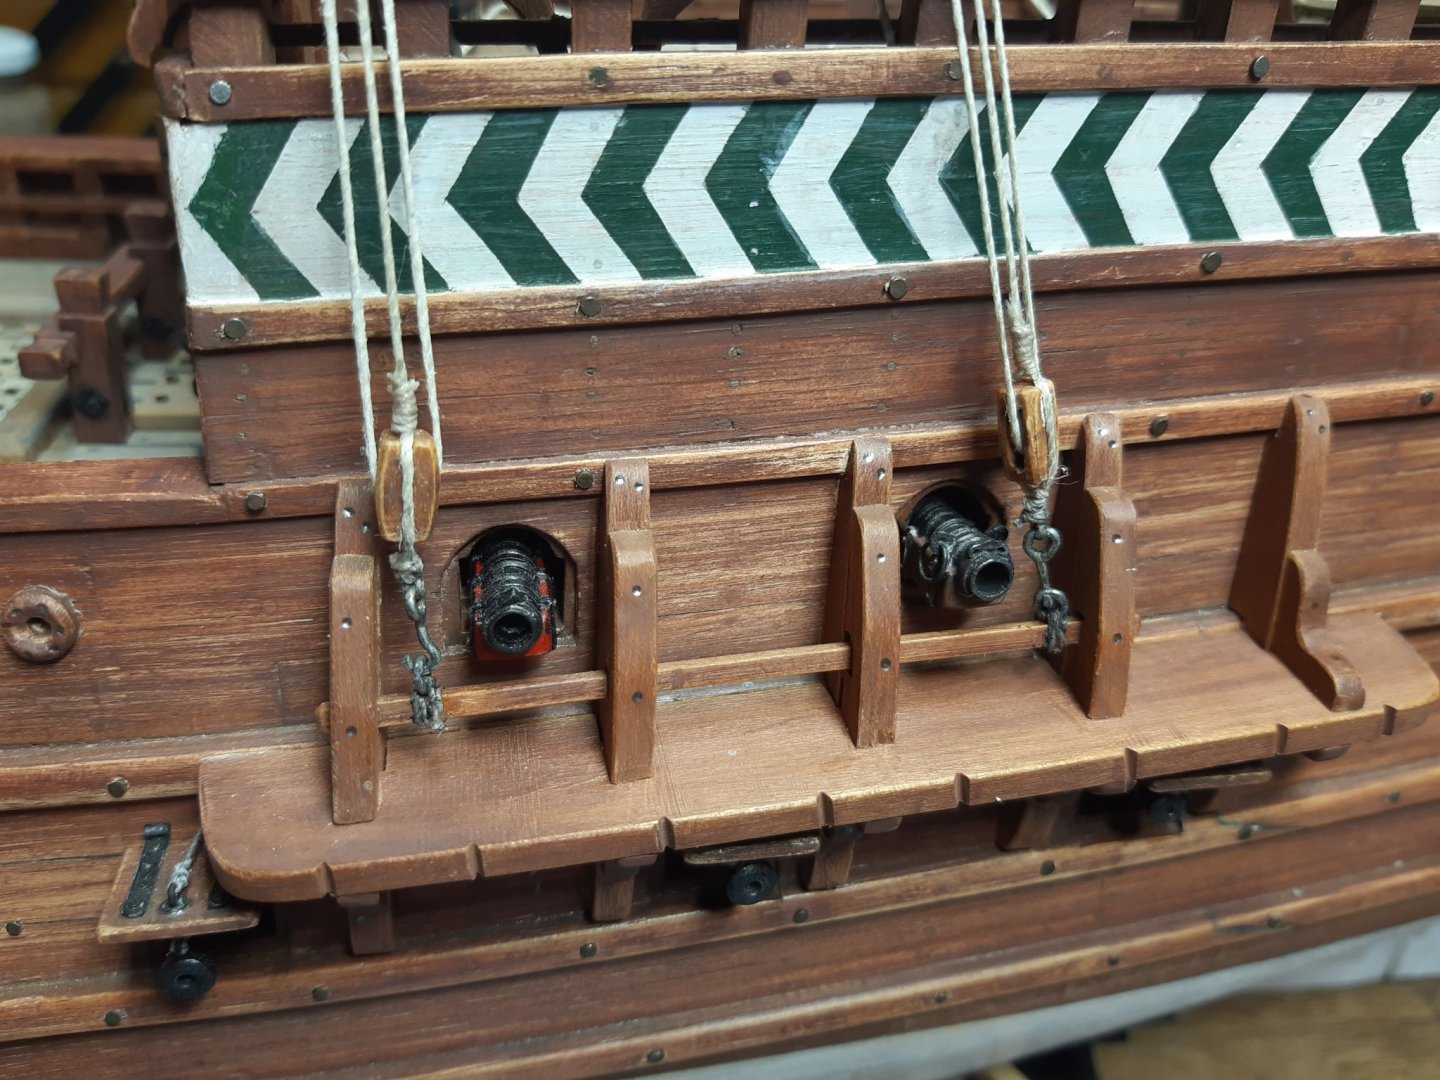
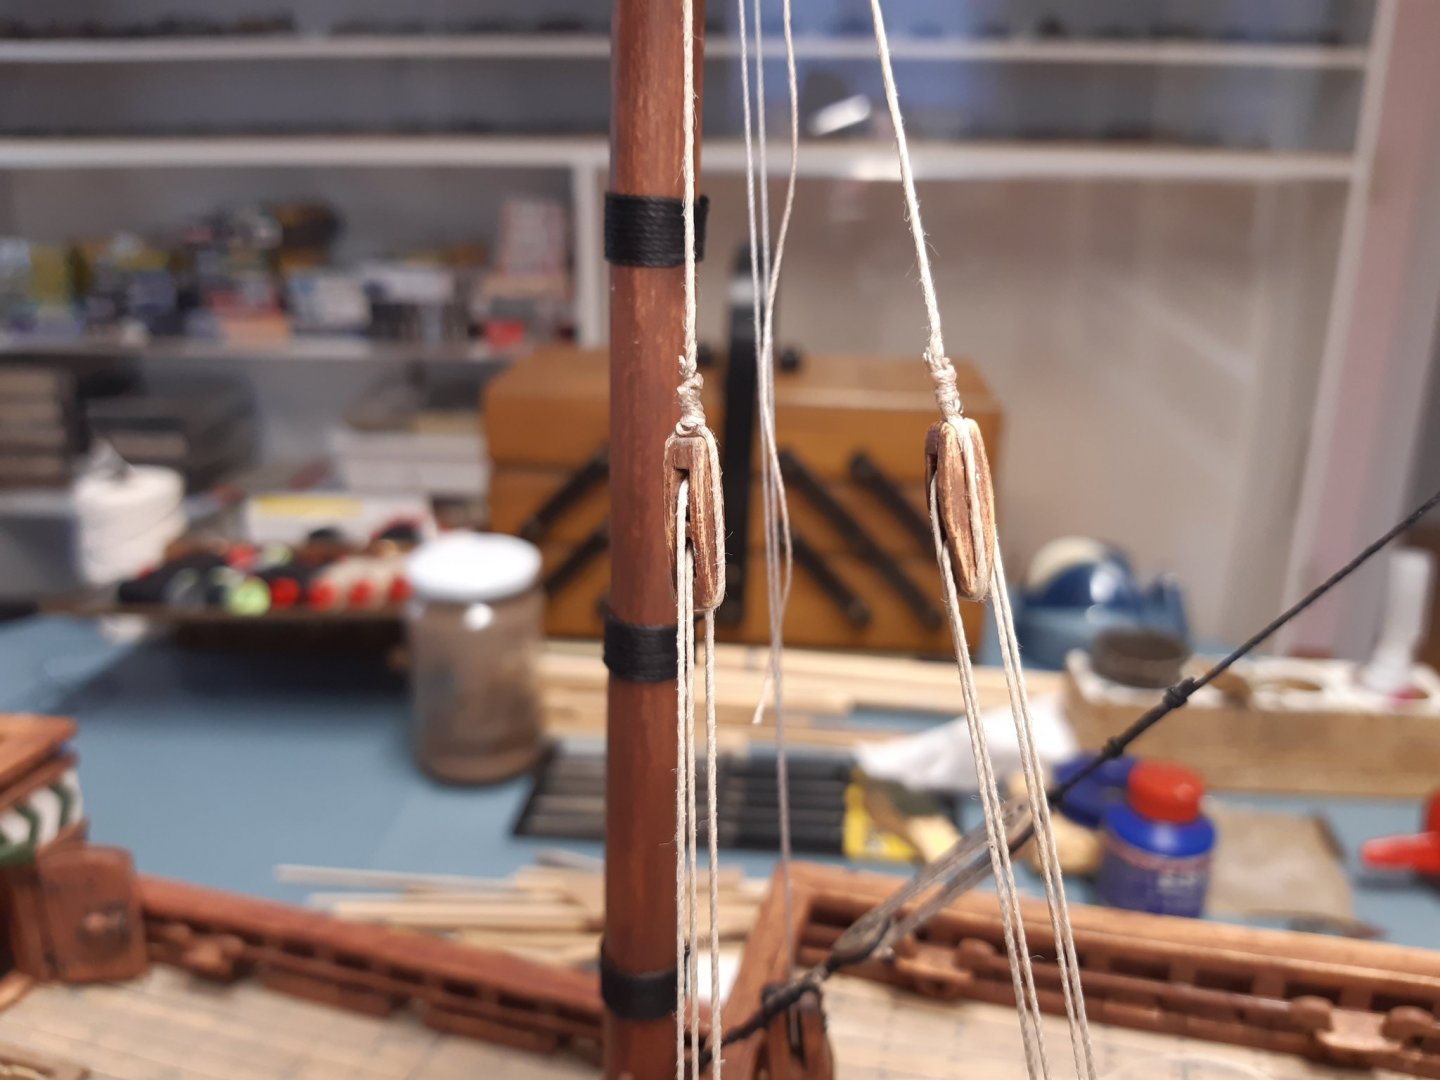
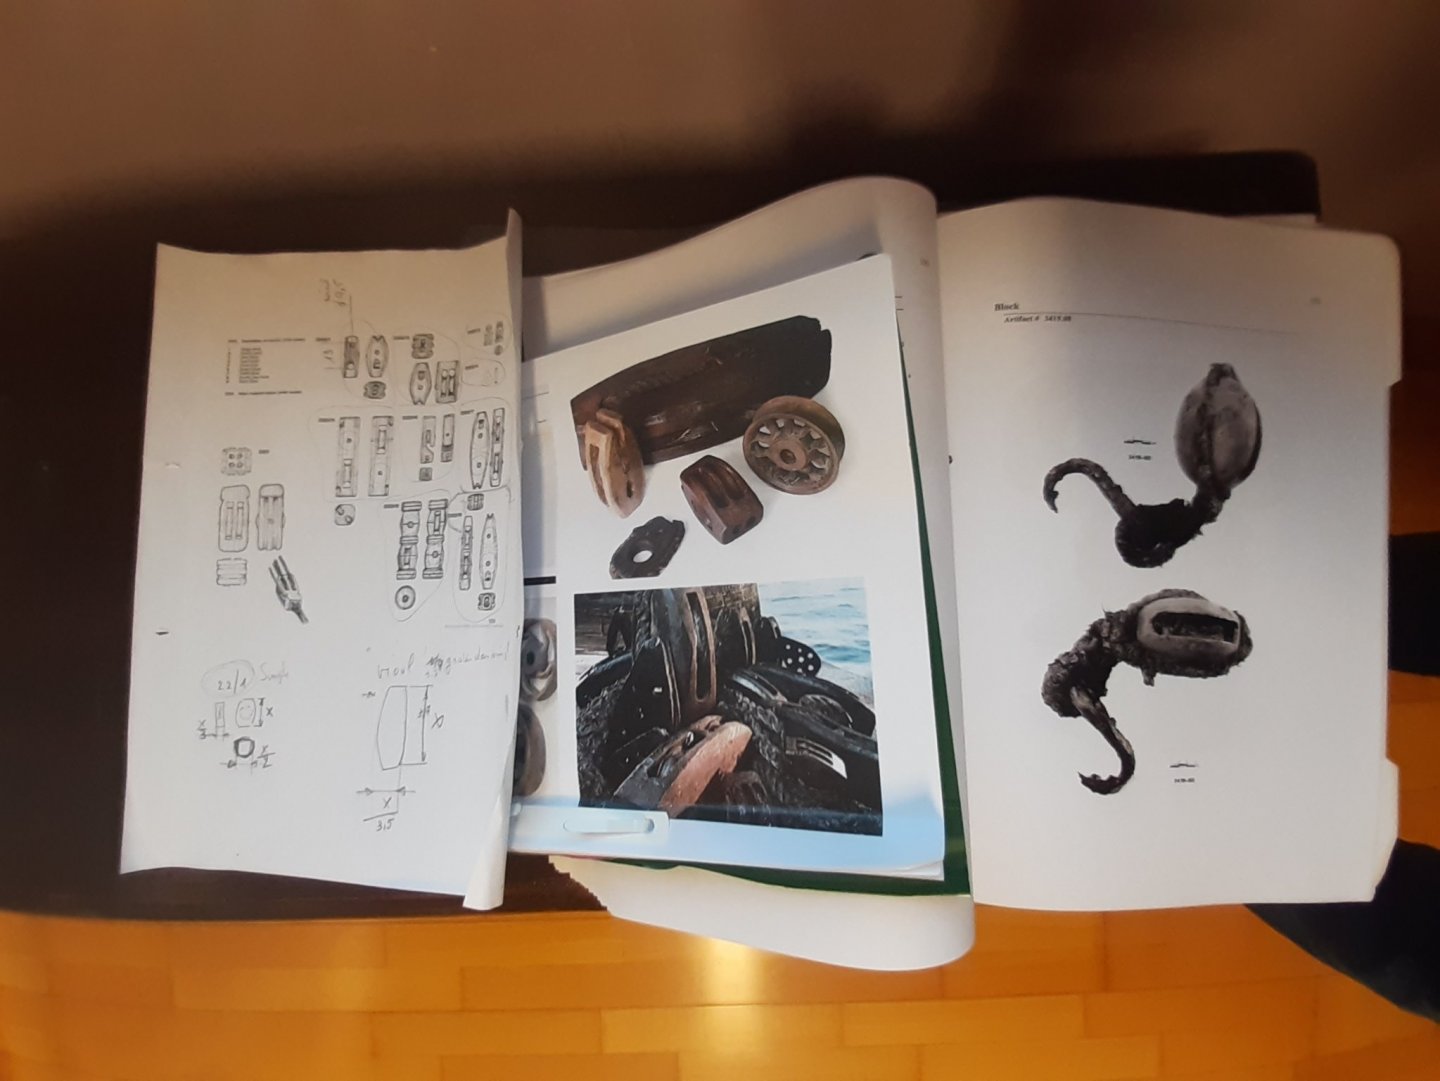
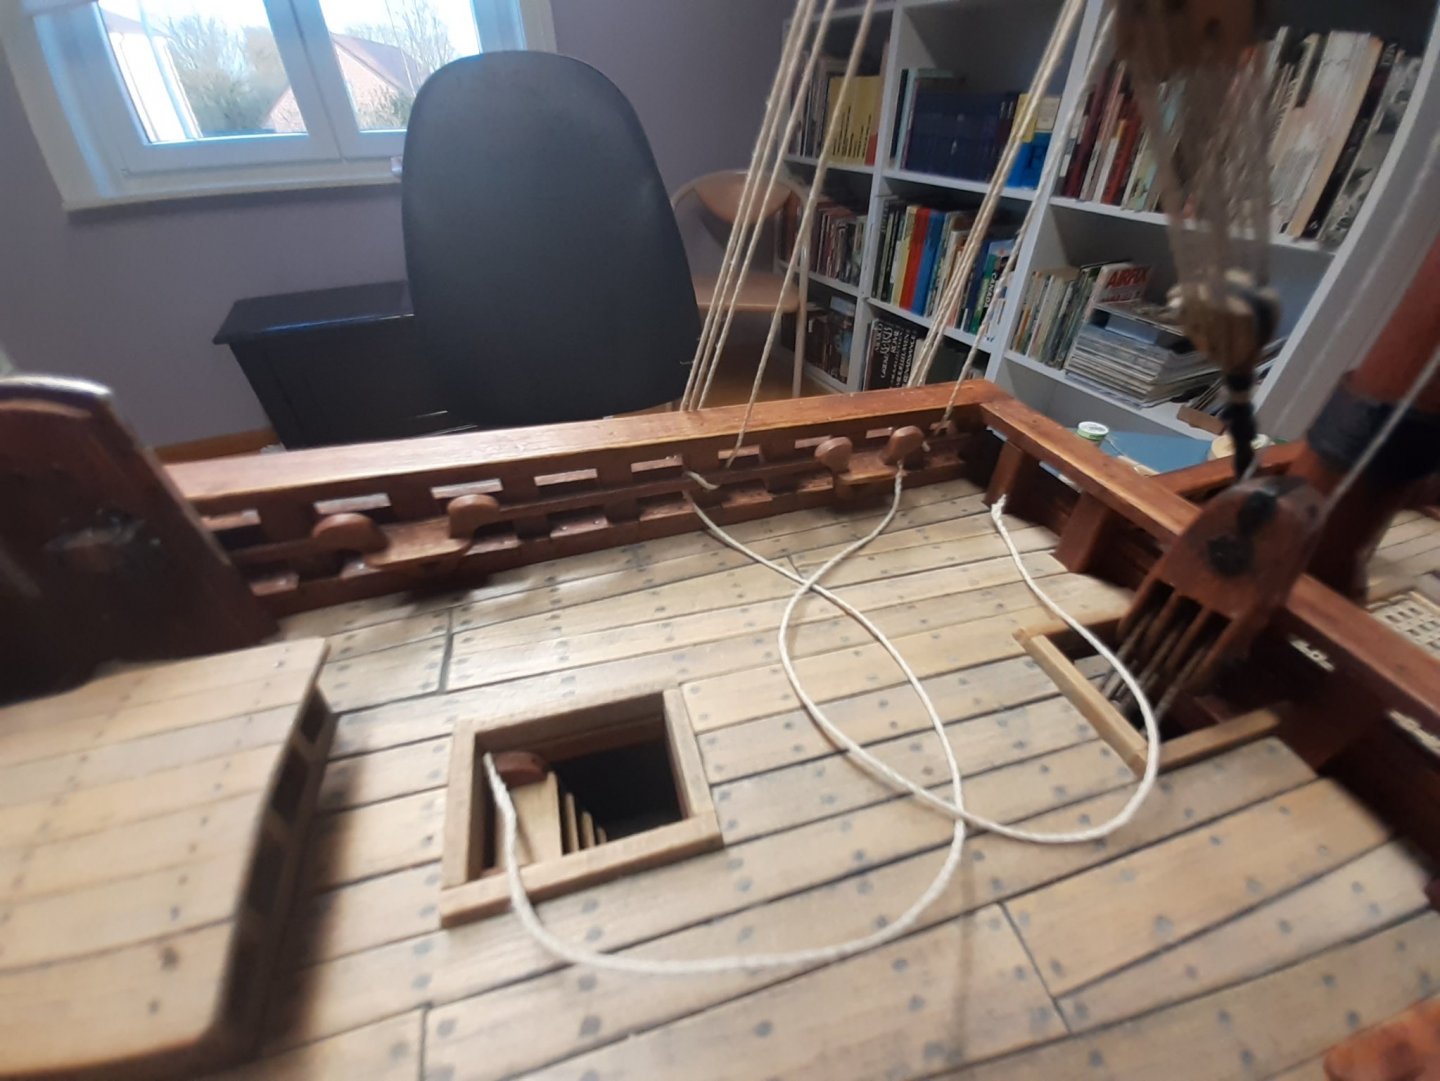
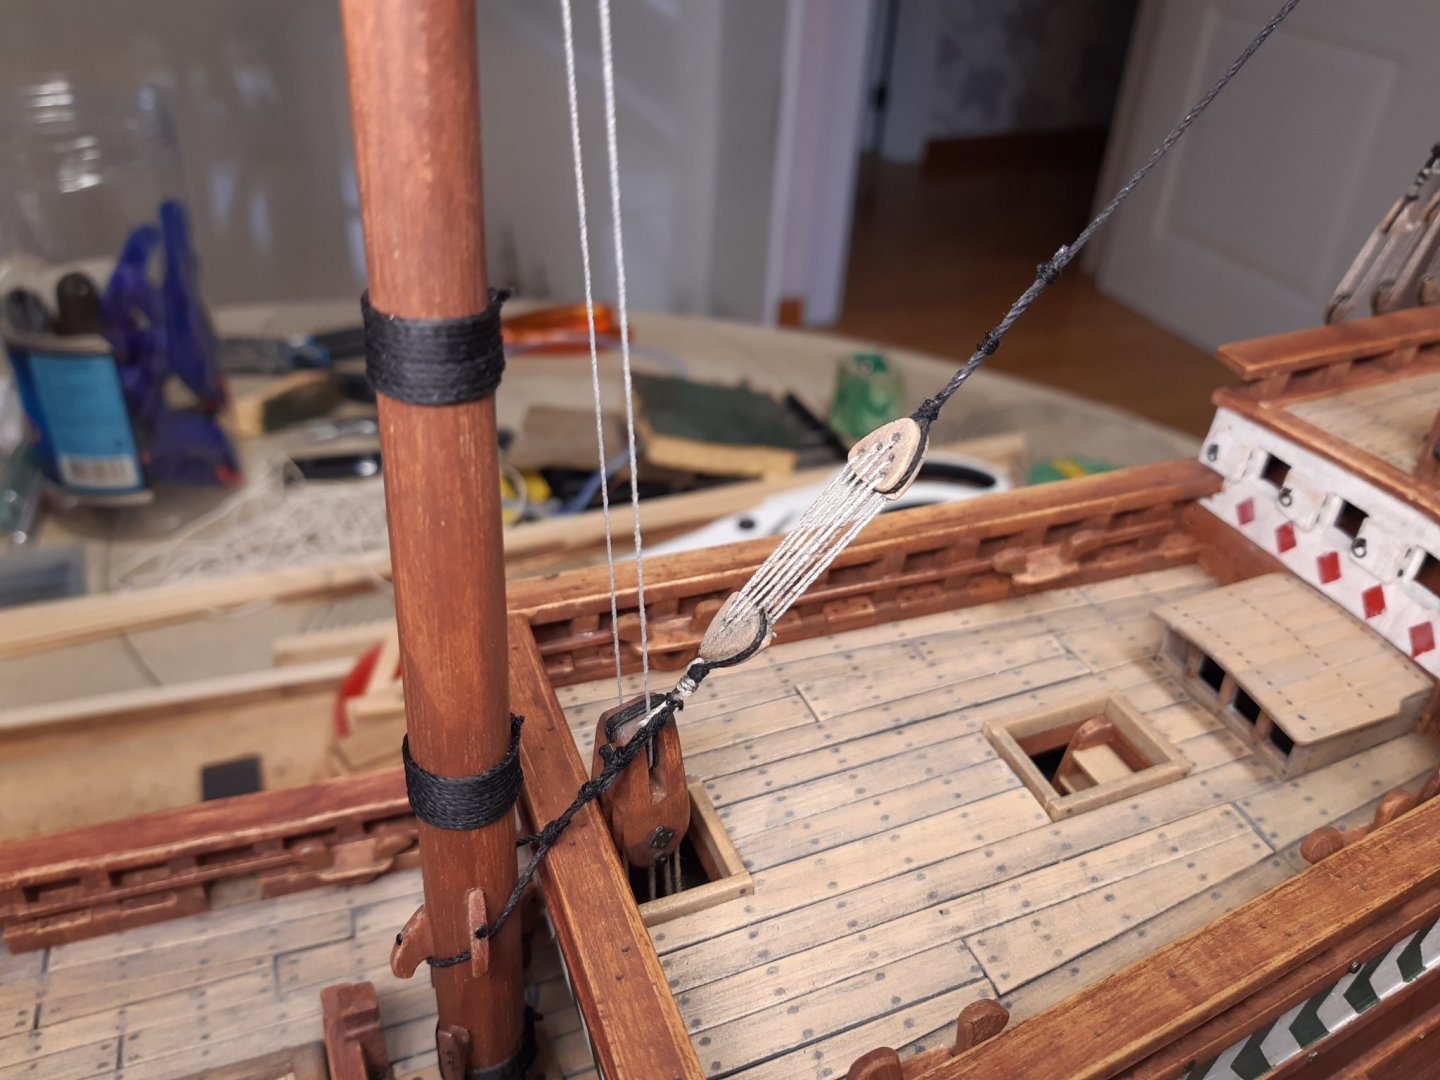
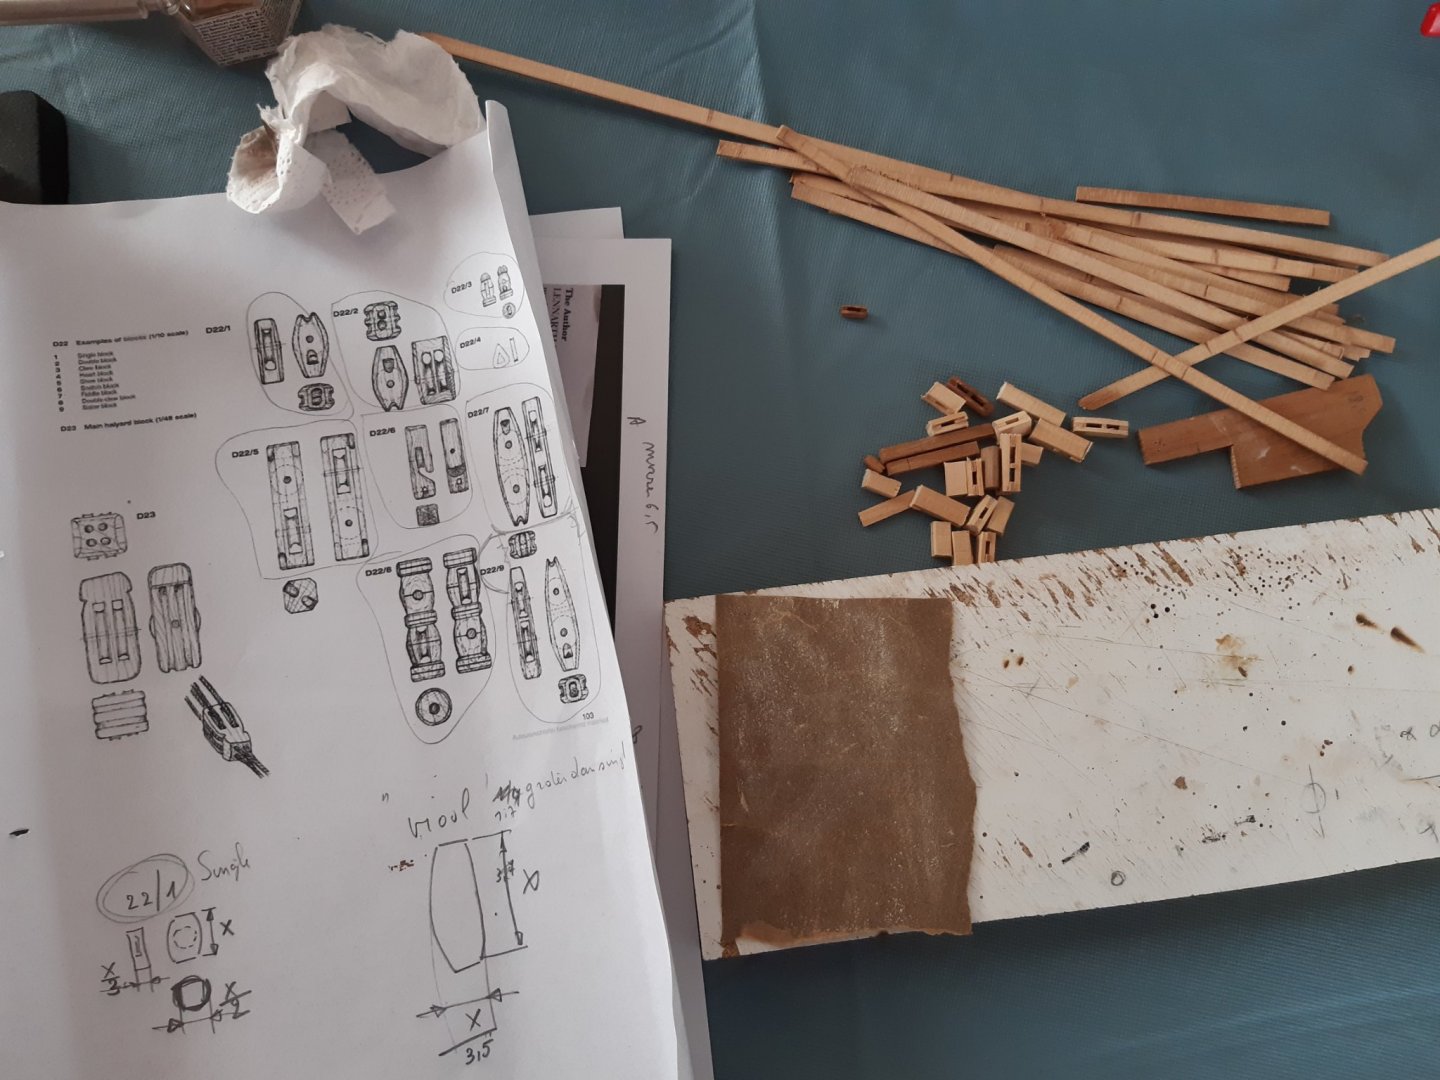
Weekly update. Making blocks, hooks, eyebolts and rings. With as examples The Mary rose (16th century) blocks (general shape) And the rigging info of the La Belle (17th century) for approximately the dimensions. This is a pdf which is freely downloaded and very interesting Rigging "is very interesting" Even for Felix Nope, zzzzz... Blocks Discs ironwork "Custom made" pliers Blocks collored and ironwork soldered ropework One side in place This is what the small beam at the supports of the channels is for. The problem of not having any belaying pins. Not yet fully tied . I hope this can be the right solution ? Thanks for following, likes and comments


- 756 replies
-
- 14
-

-
- galleon
- golden hind
- (and 2 more)
-
Nice work When I see all this I start to consider buying this kit.
- 39 replies
-
- 2
-
-
- Billing Boats
- Finished
- (and 1 more)
-
This will be nice to follow. Did you find this link, very helpfull http://www.wasadream.com/Index/indexenglish.html
-
Billings Vasa is not a simple kit that you can build quickly. And if you try to do that, you will regret the time and money you spend on it. free advice Try building a small plastic model. Done quickly and costs little money
-
And cheap. I read somewhere that these were made from captured beds .
-
Fokker Dr.I triplane by cog - multiple - 1:72 - PLASTIC
Baker replied to cog's topic in Non-ship/categorised builds
I hear my name buzzing around ?? Nice little planes Carl -
Are "sea tourists" with experience on ferry boats and cruise boats also allowed to follow 😉. As always, a very instructive and educational build 👍
- 153 replies
-
- 2
-
-
- Ancre
- Bruno Orsel
- (and 2 more)
-
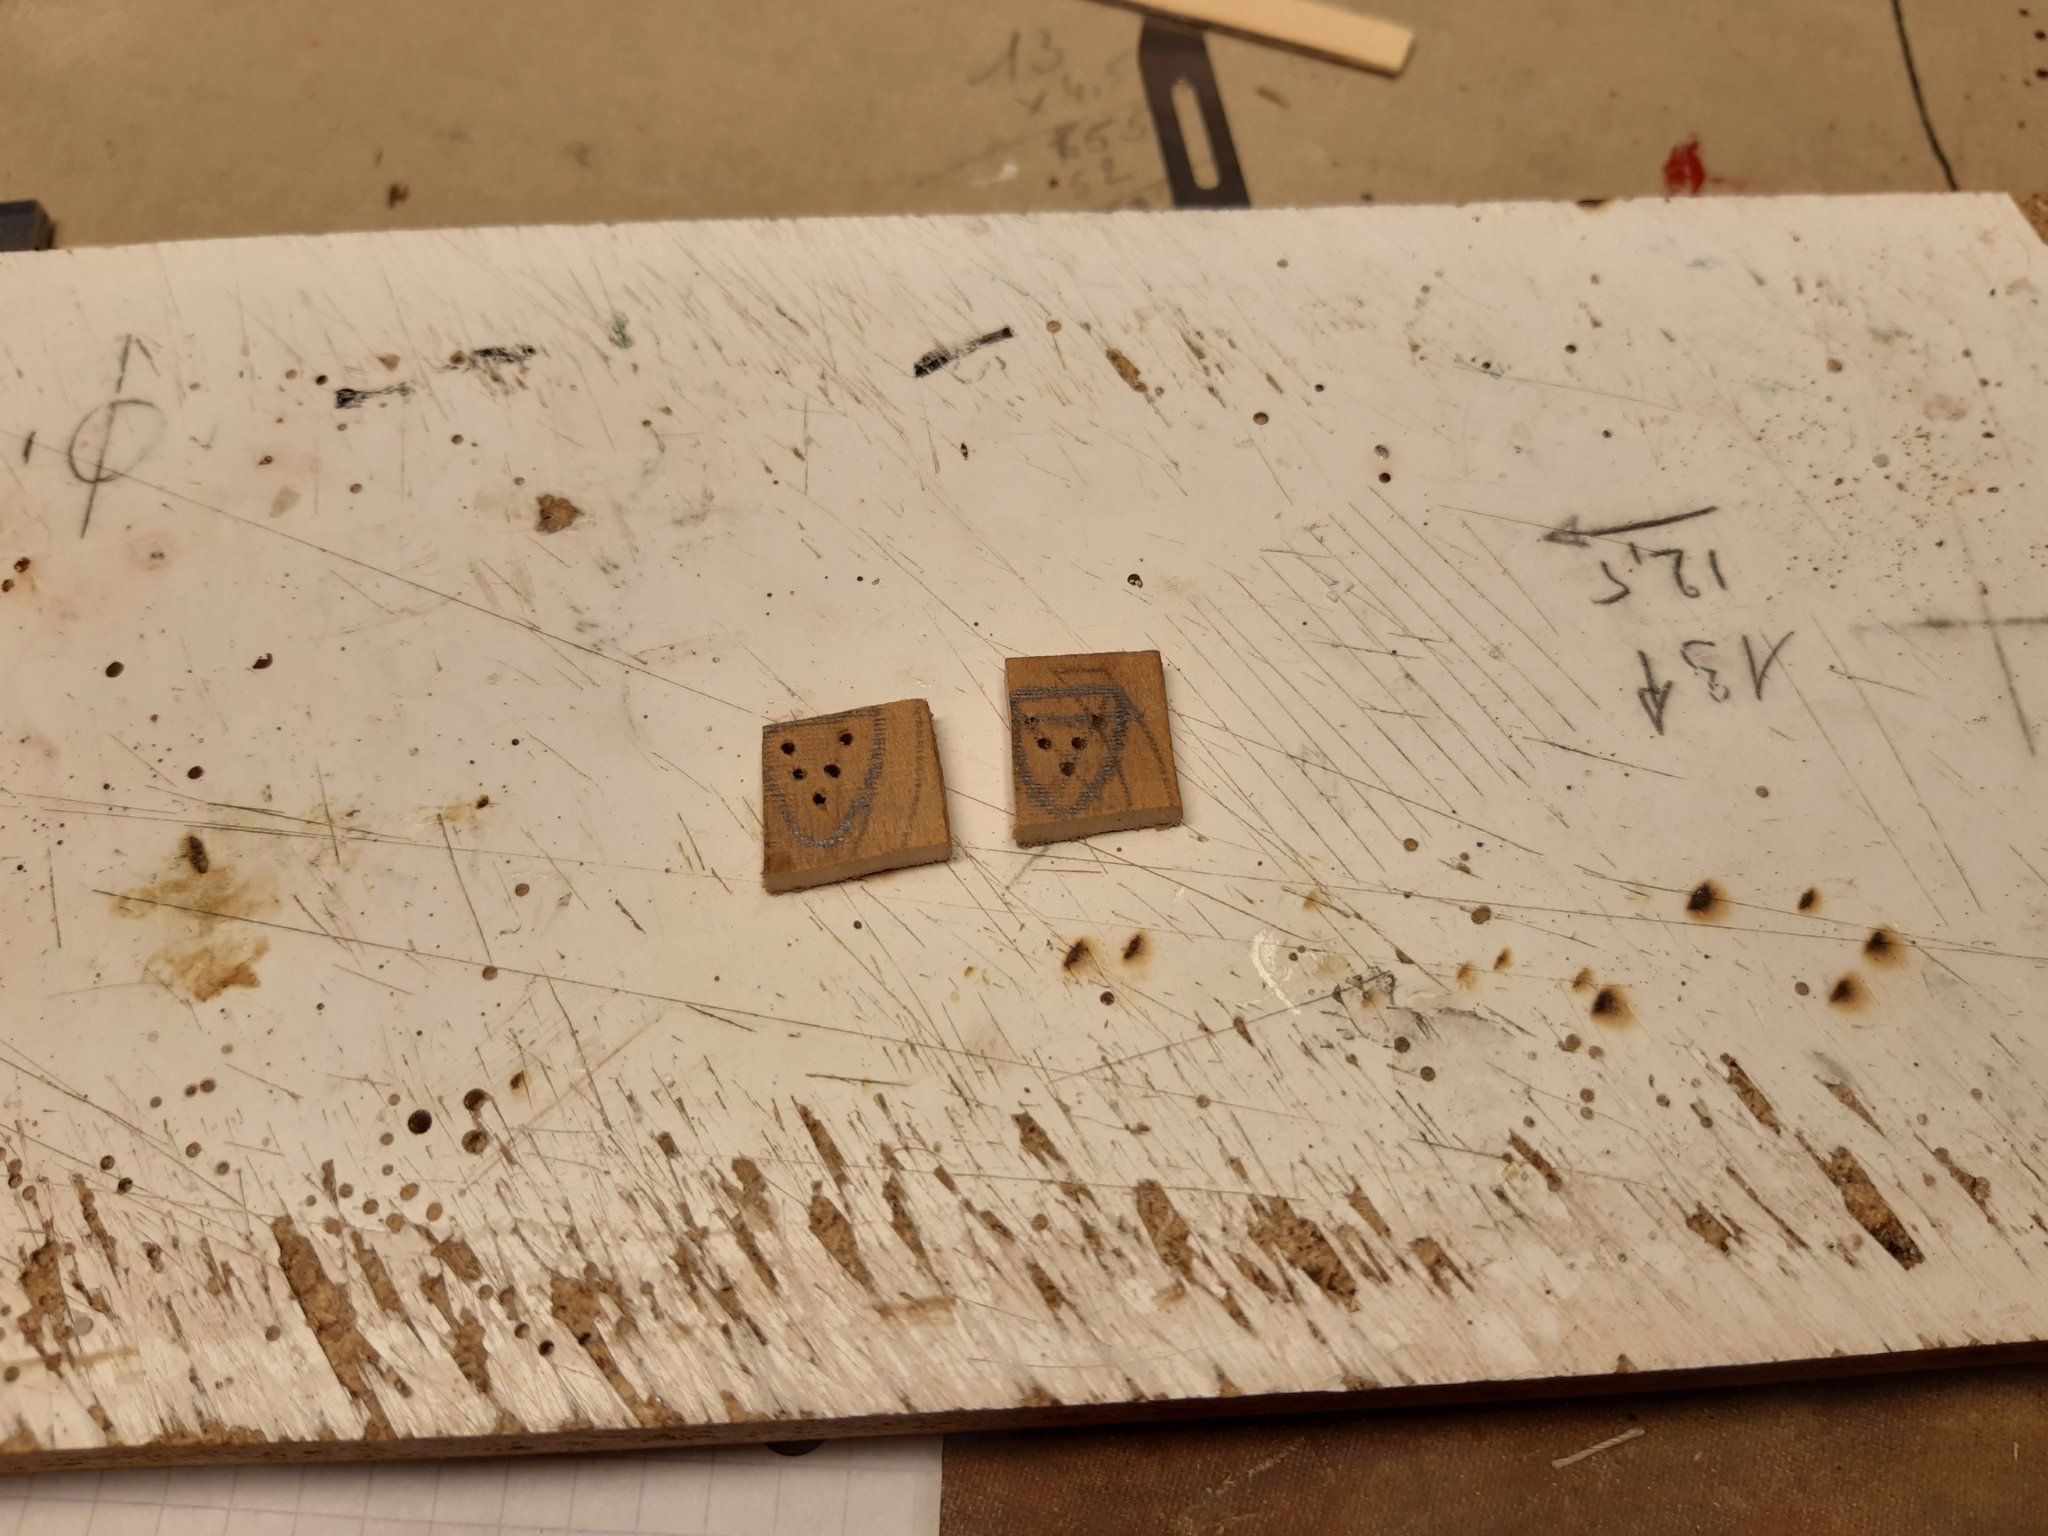
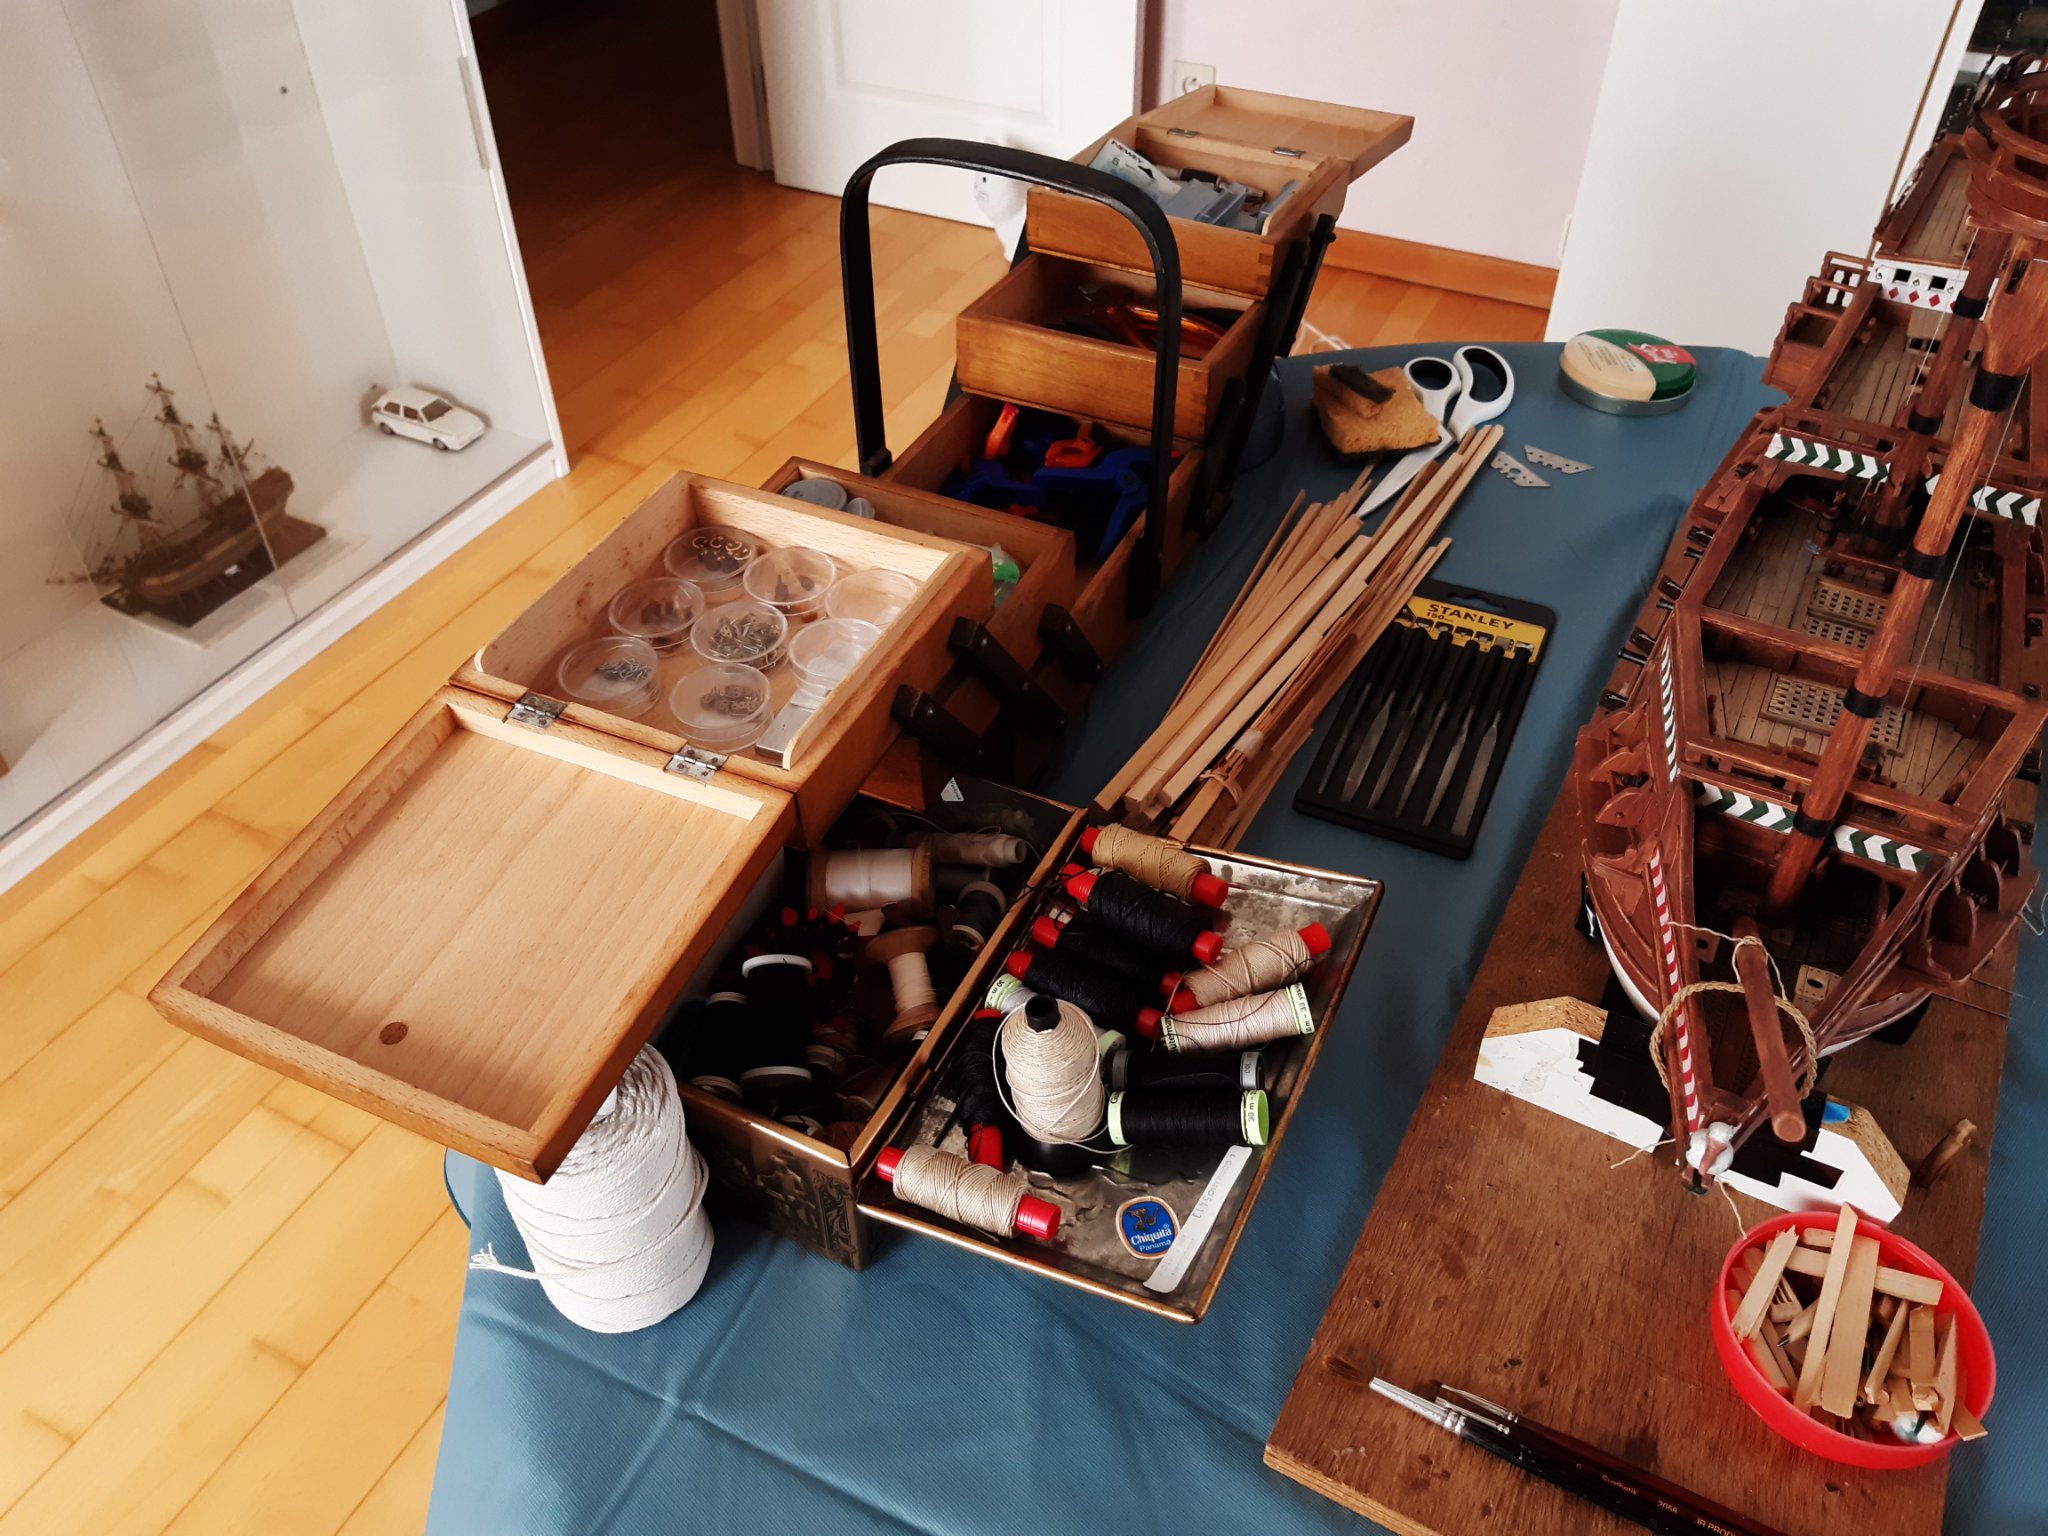
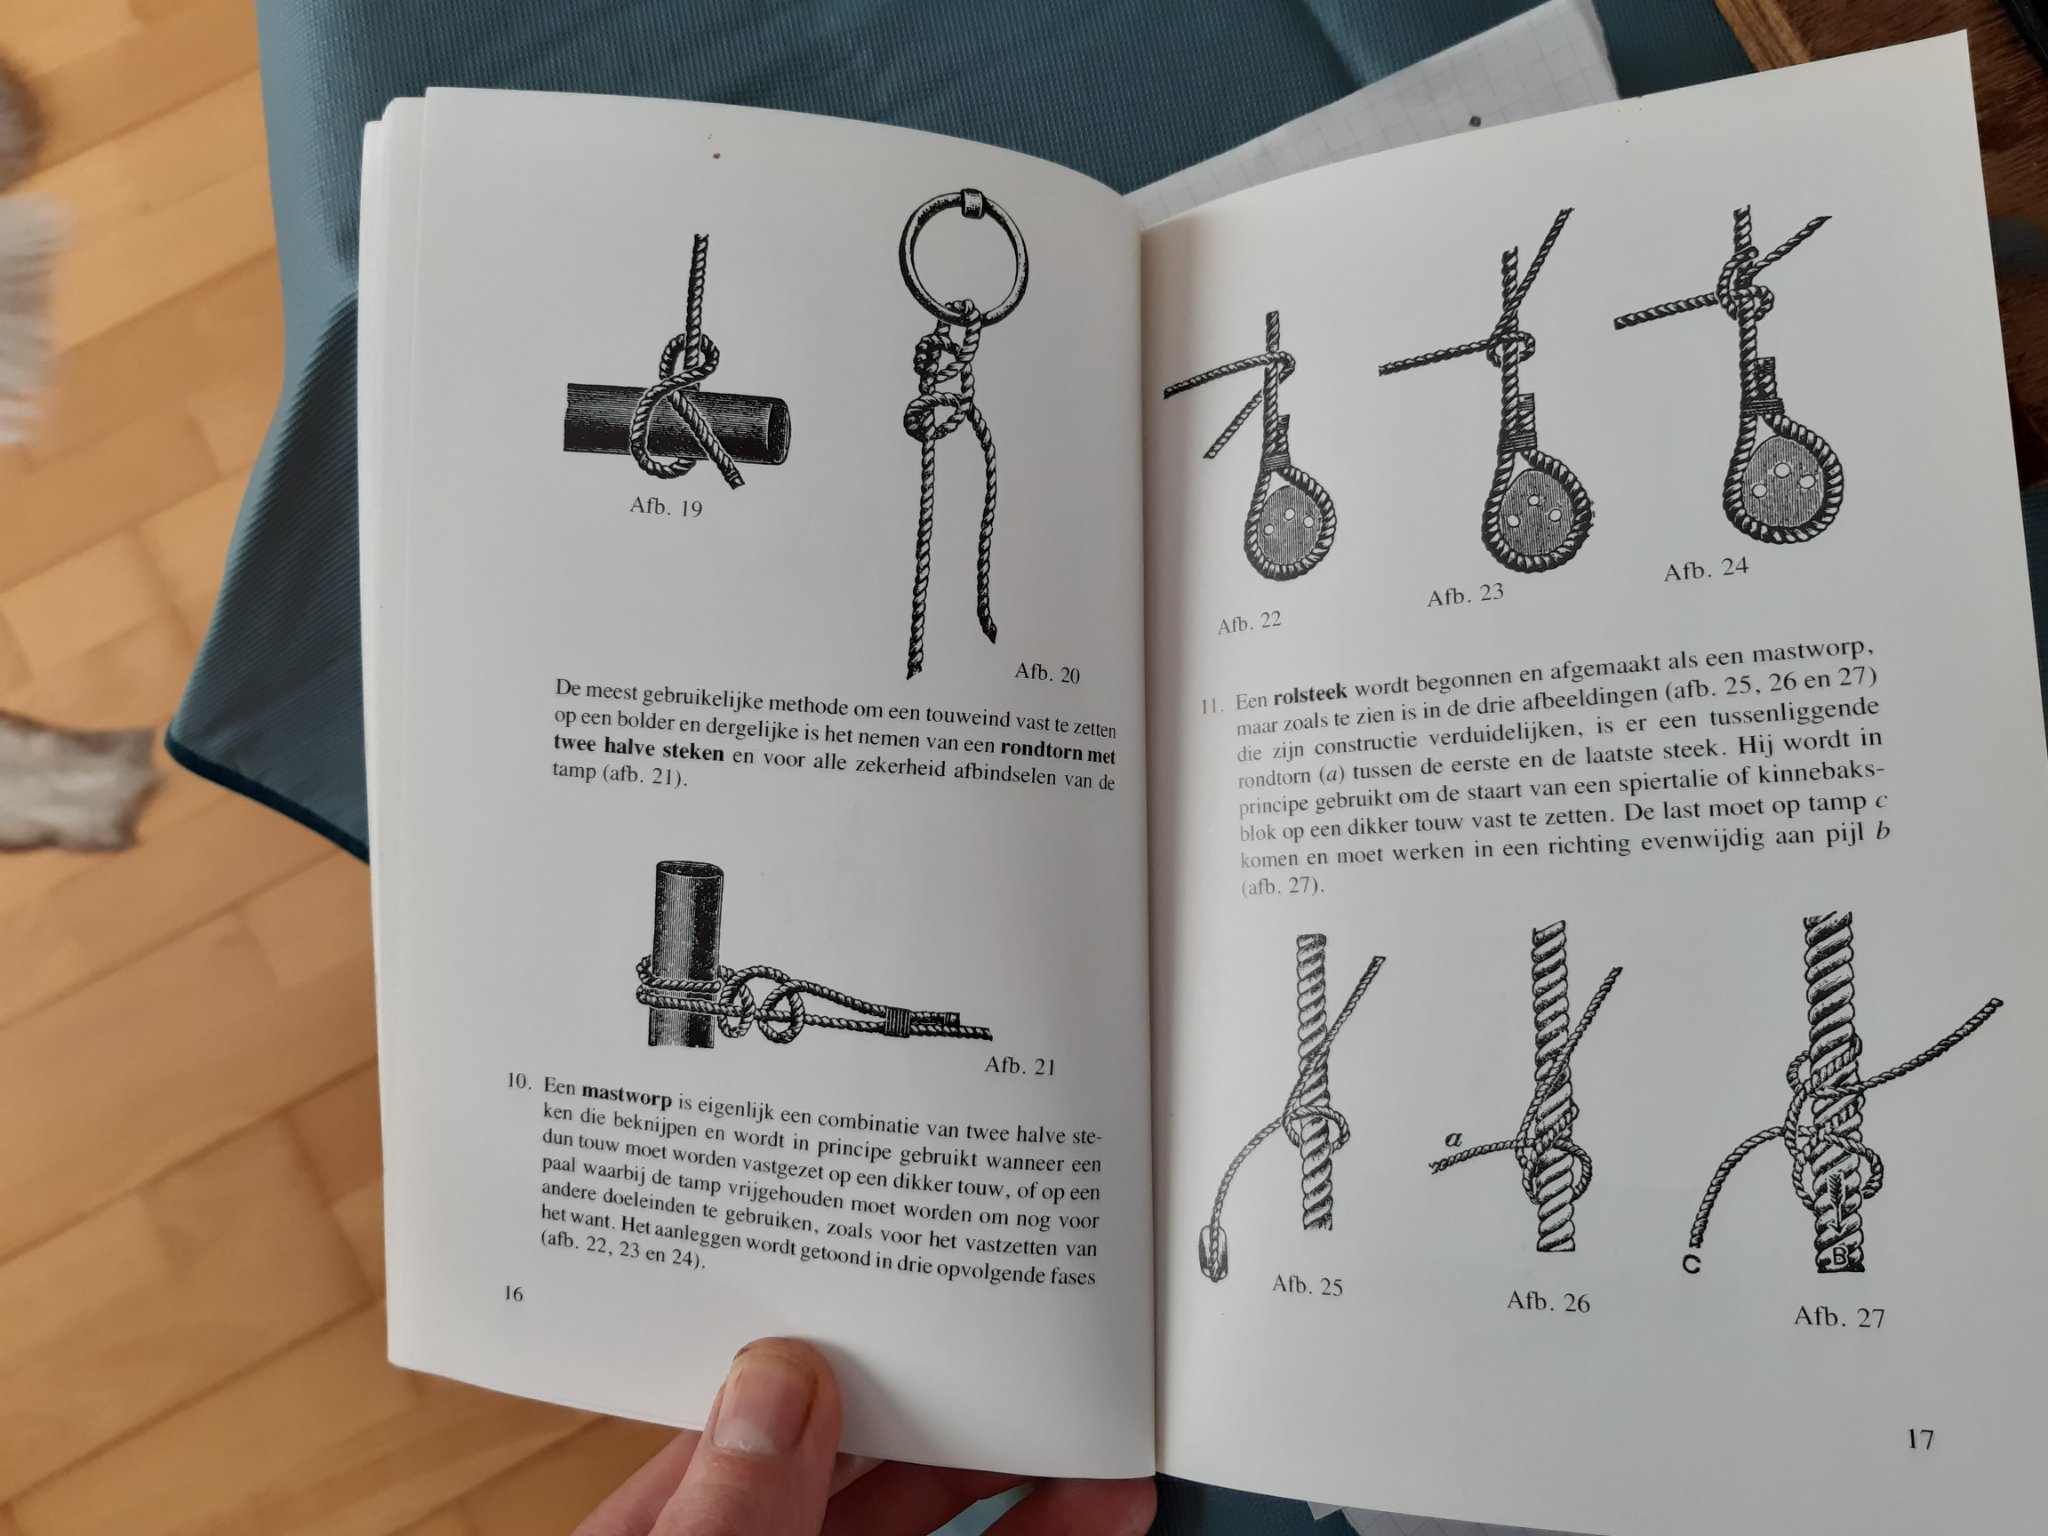
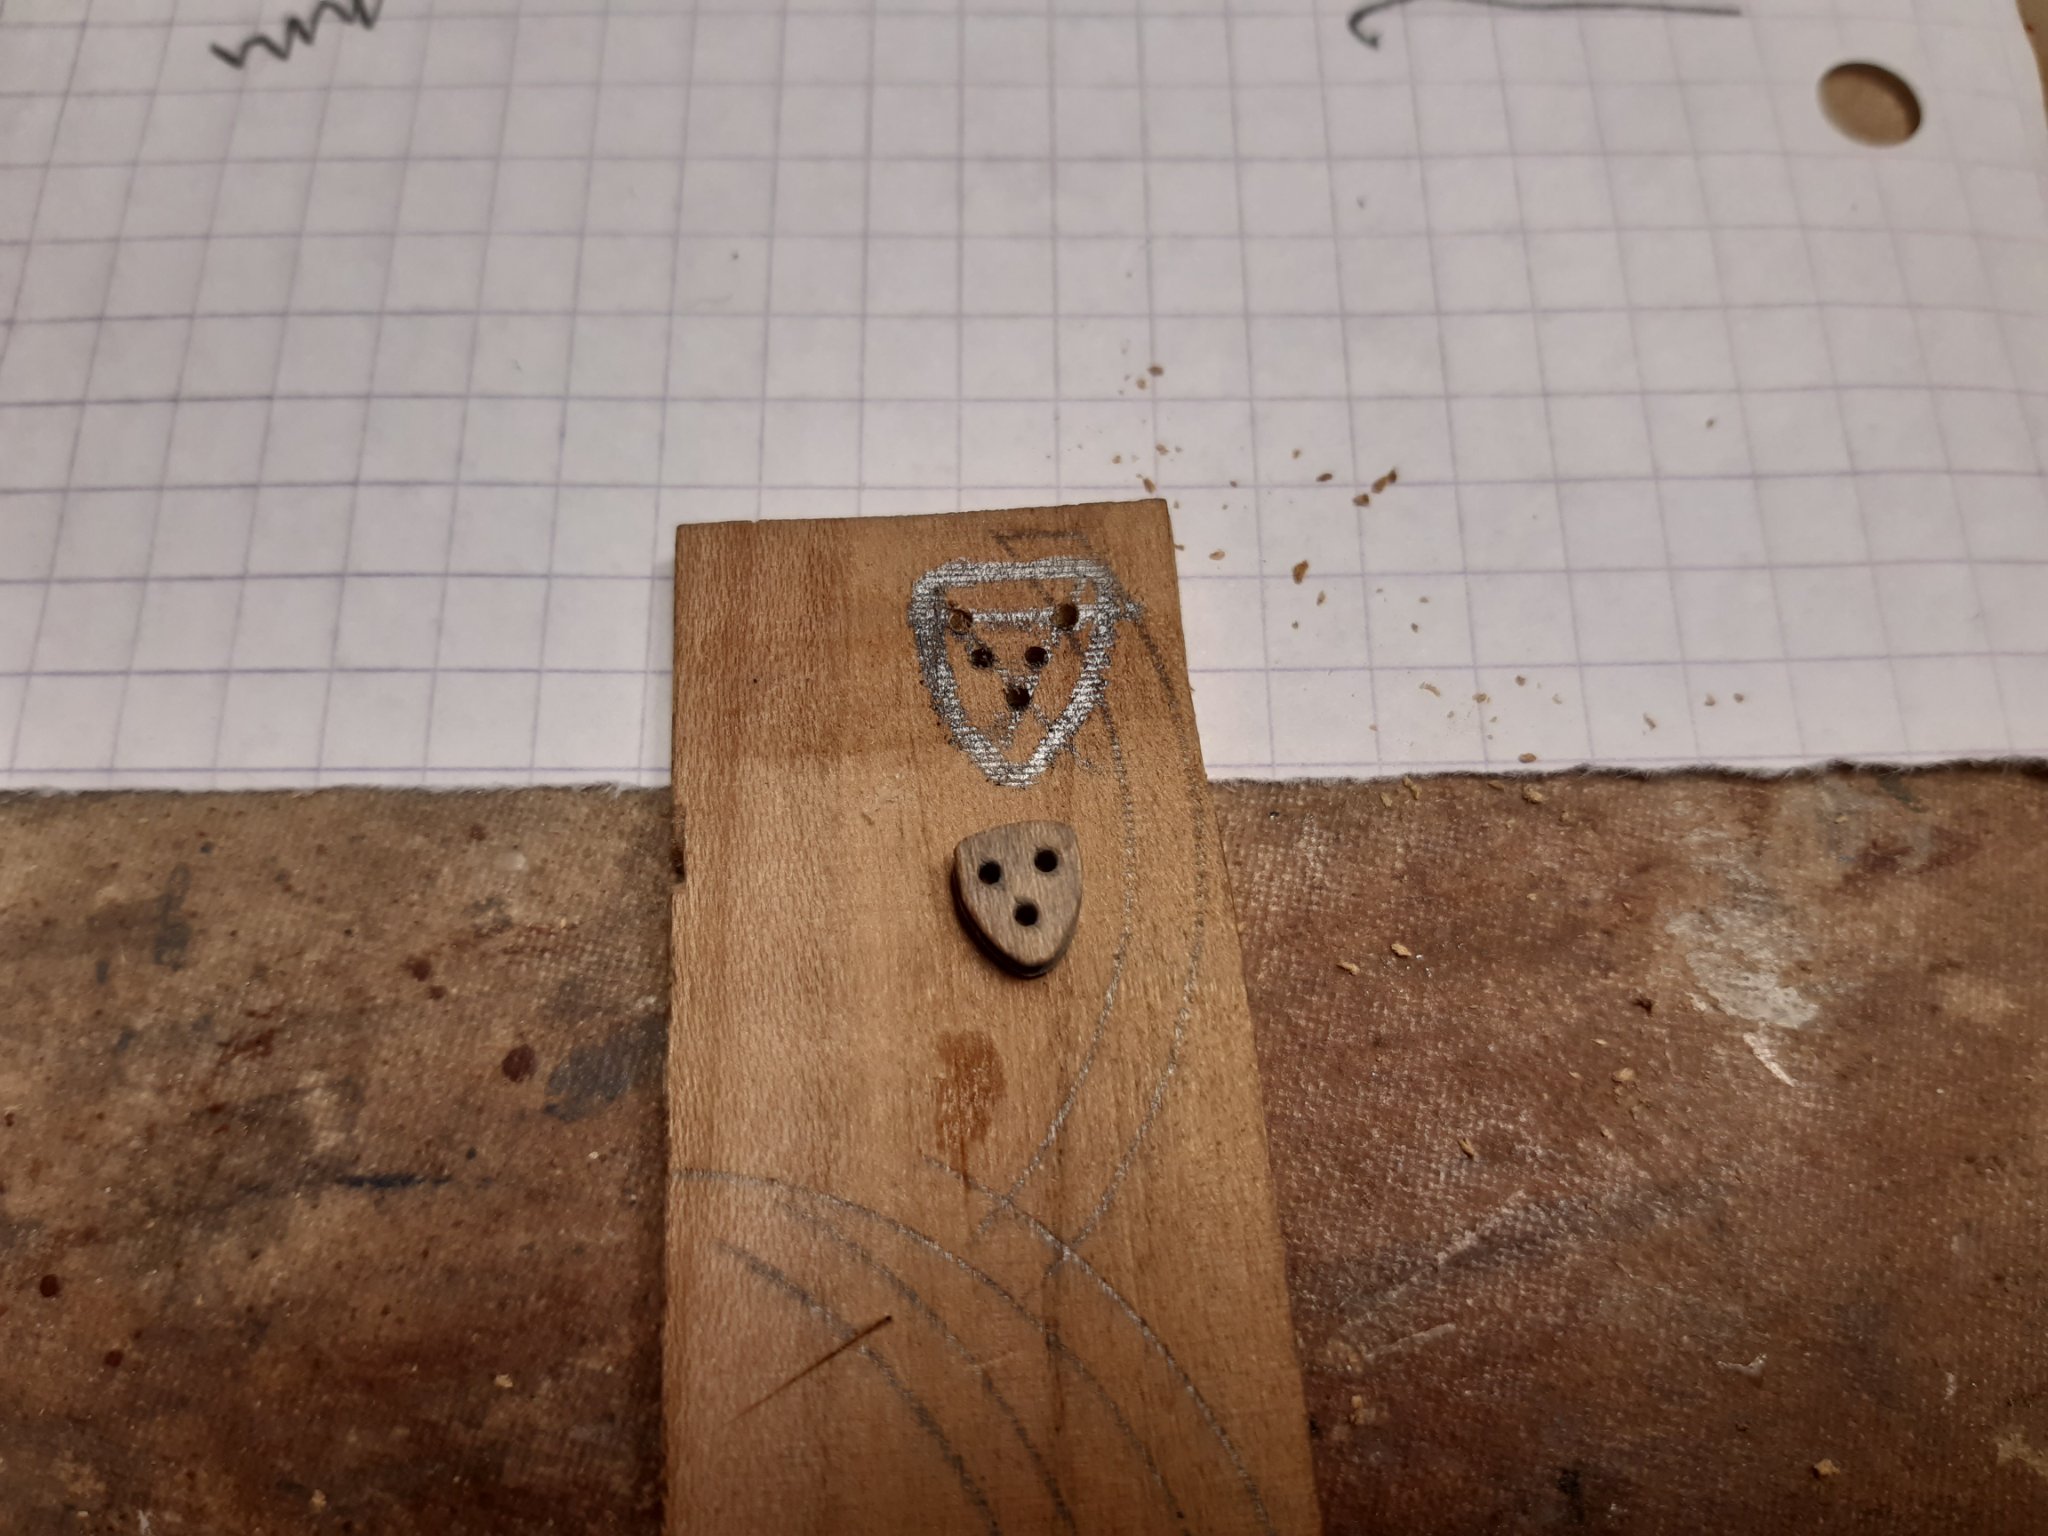
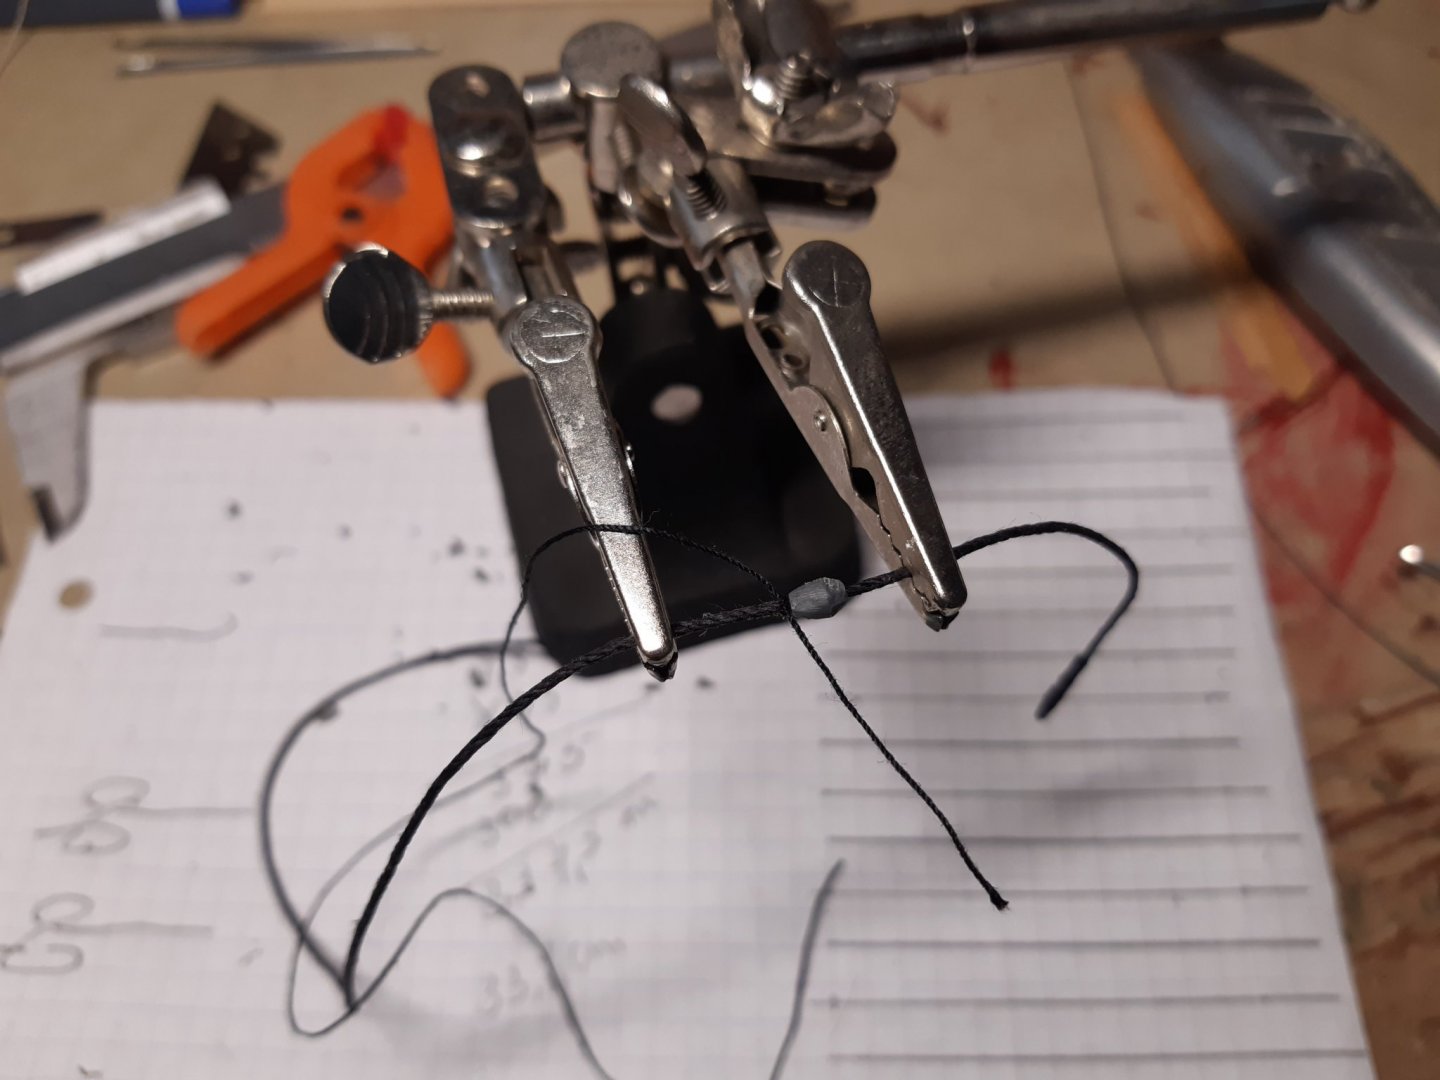
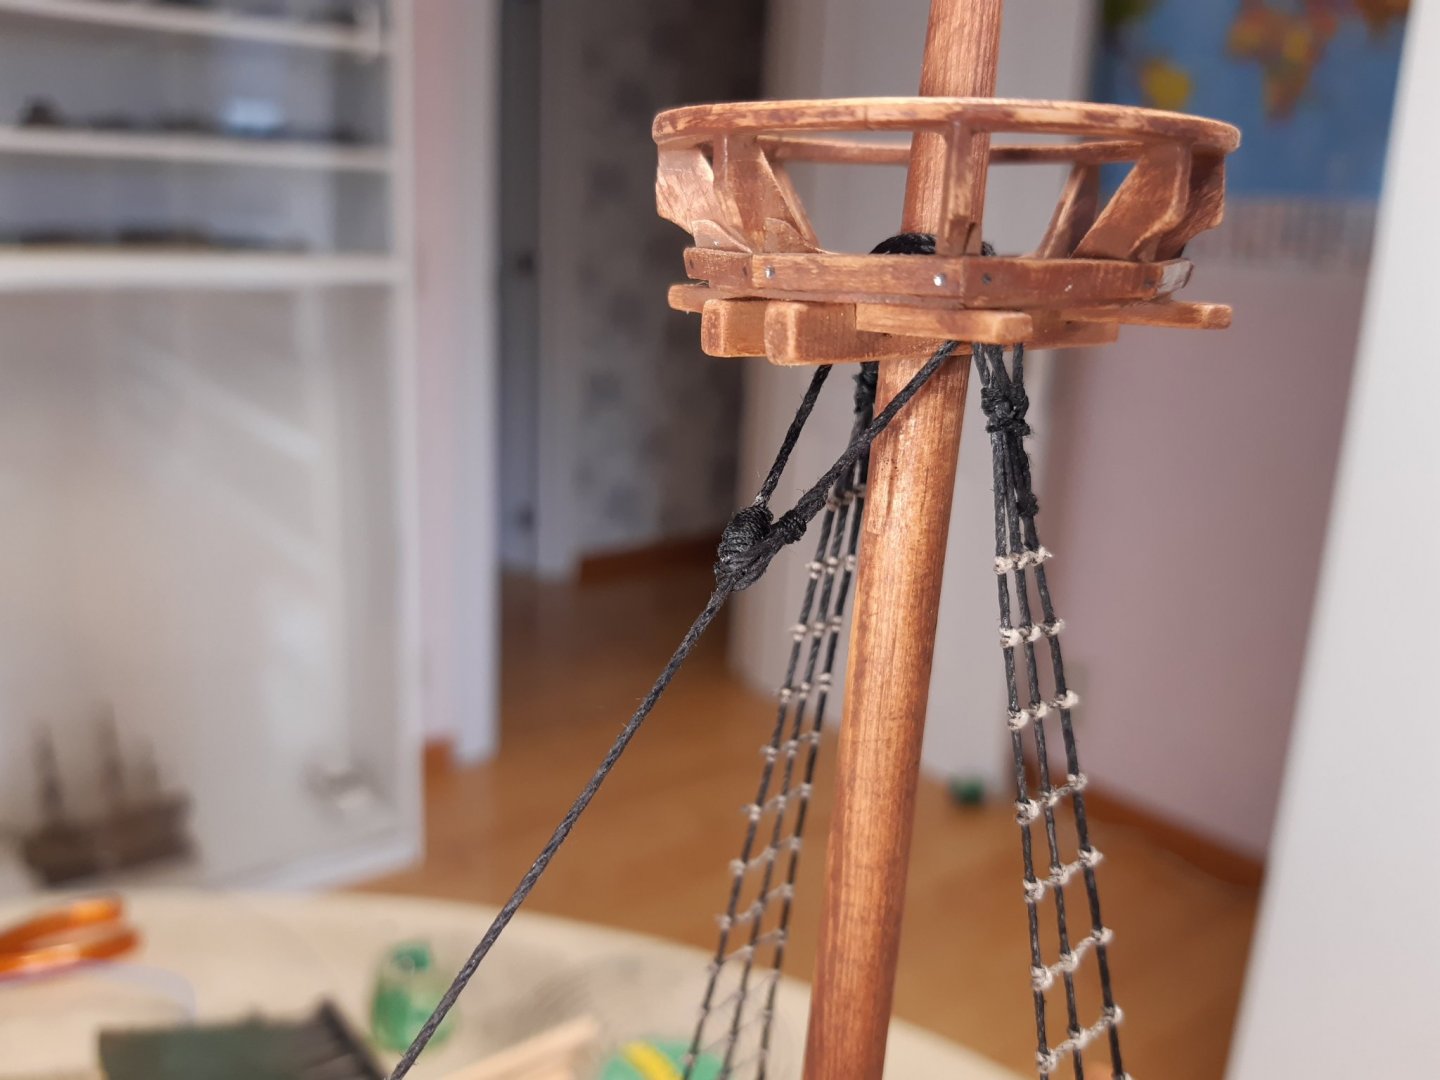
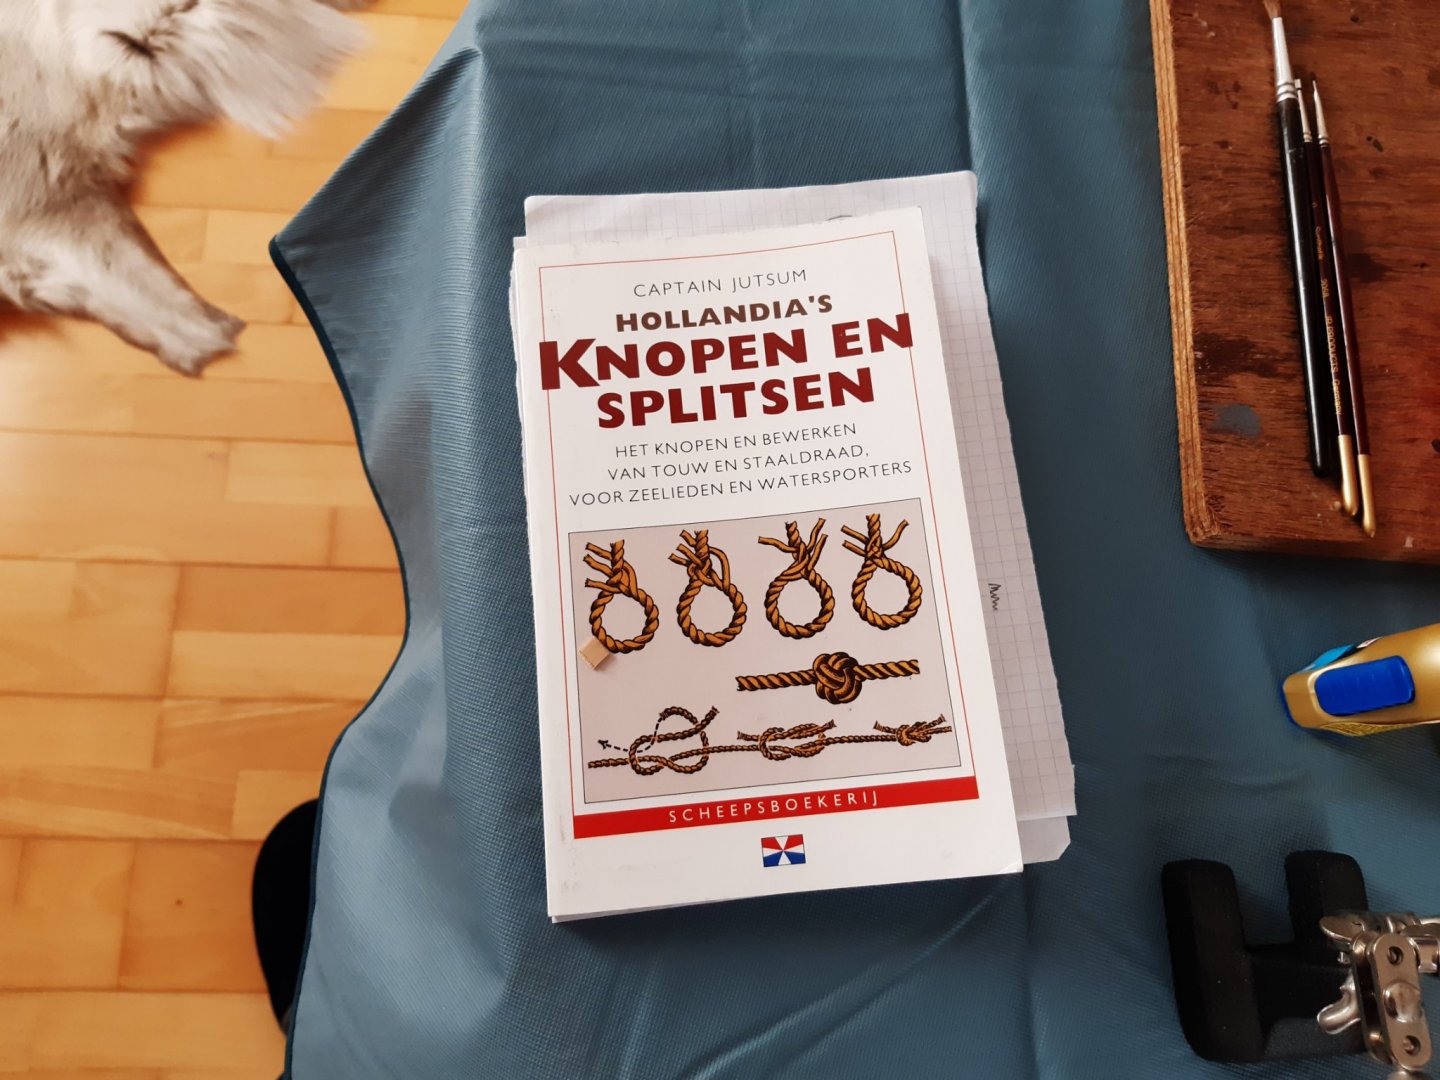
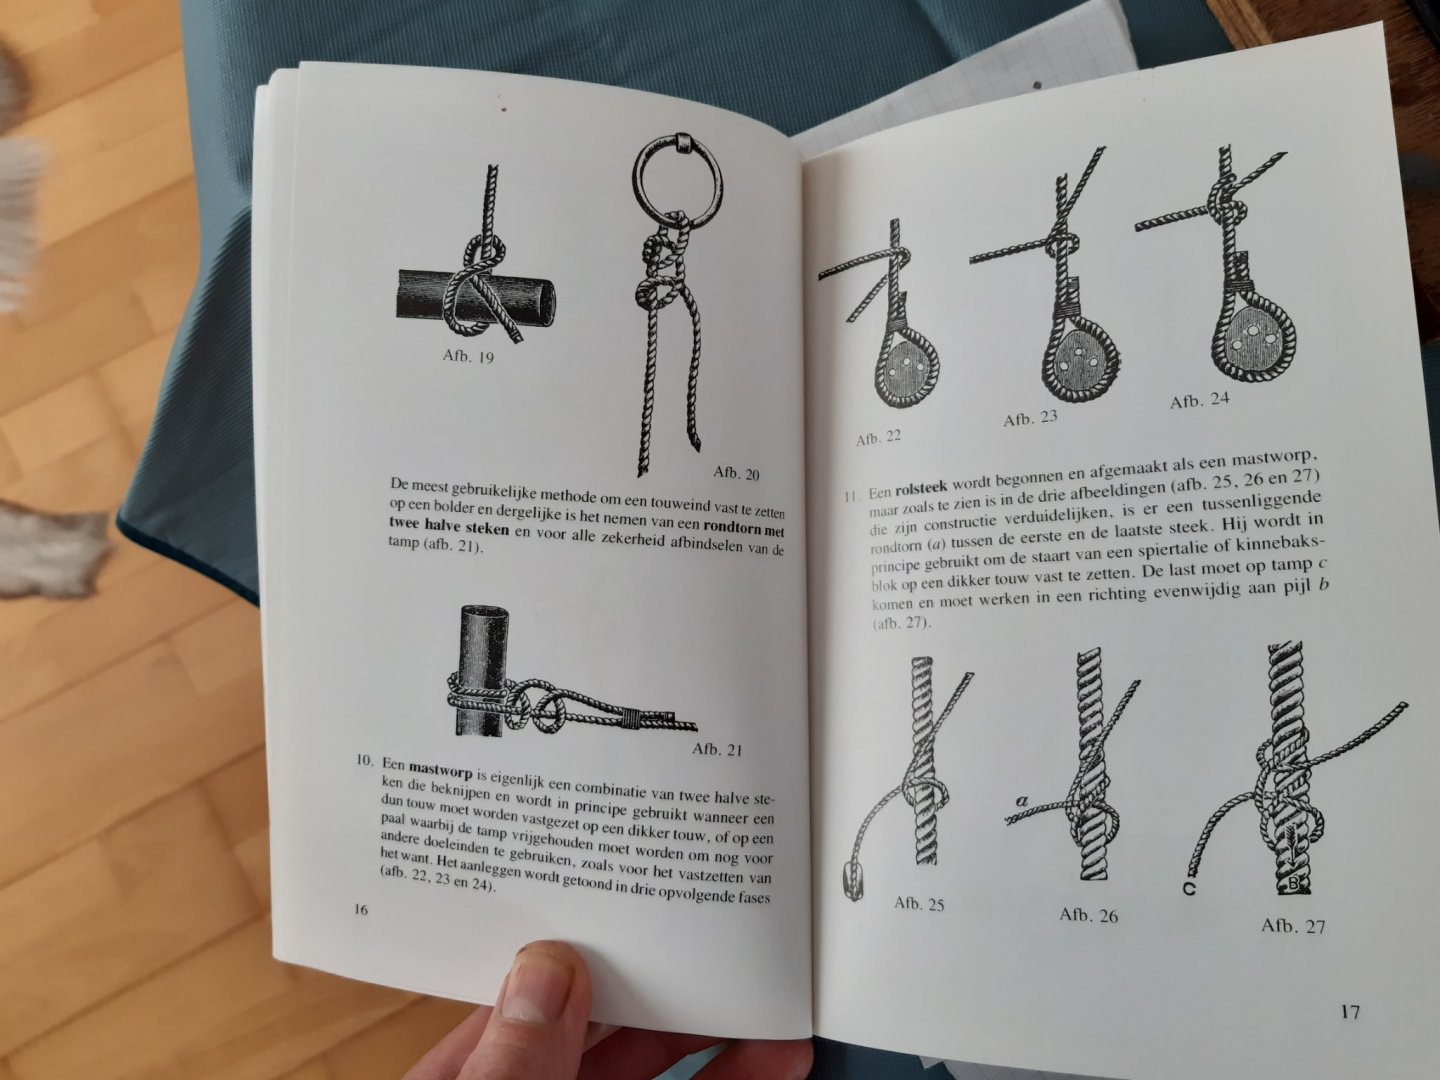
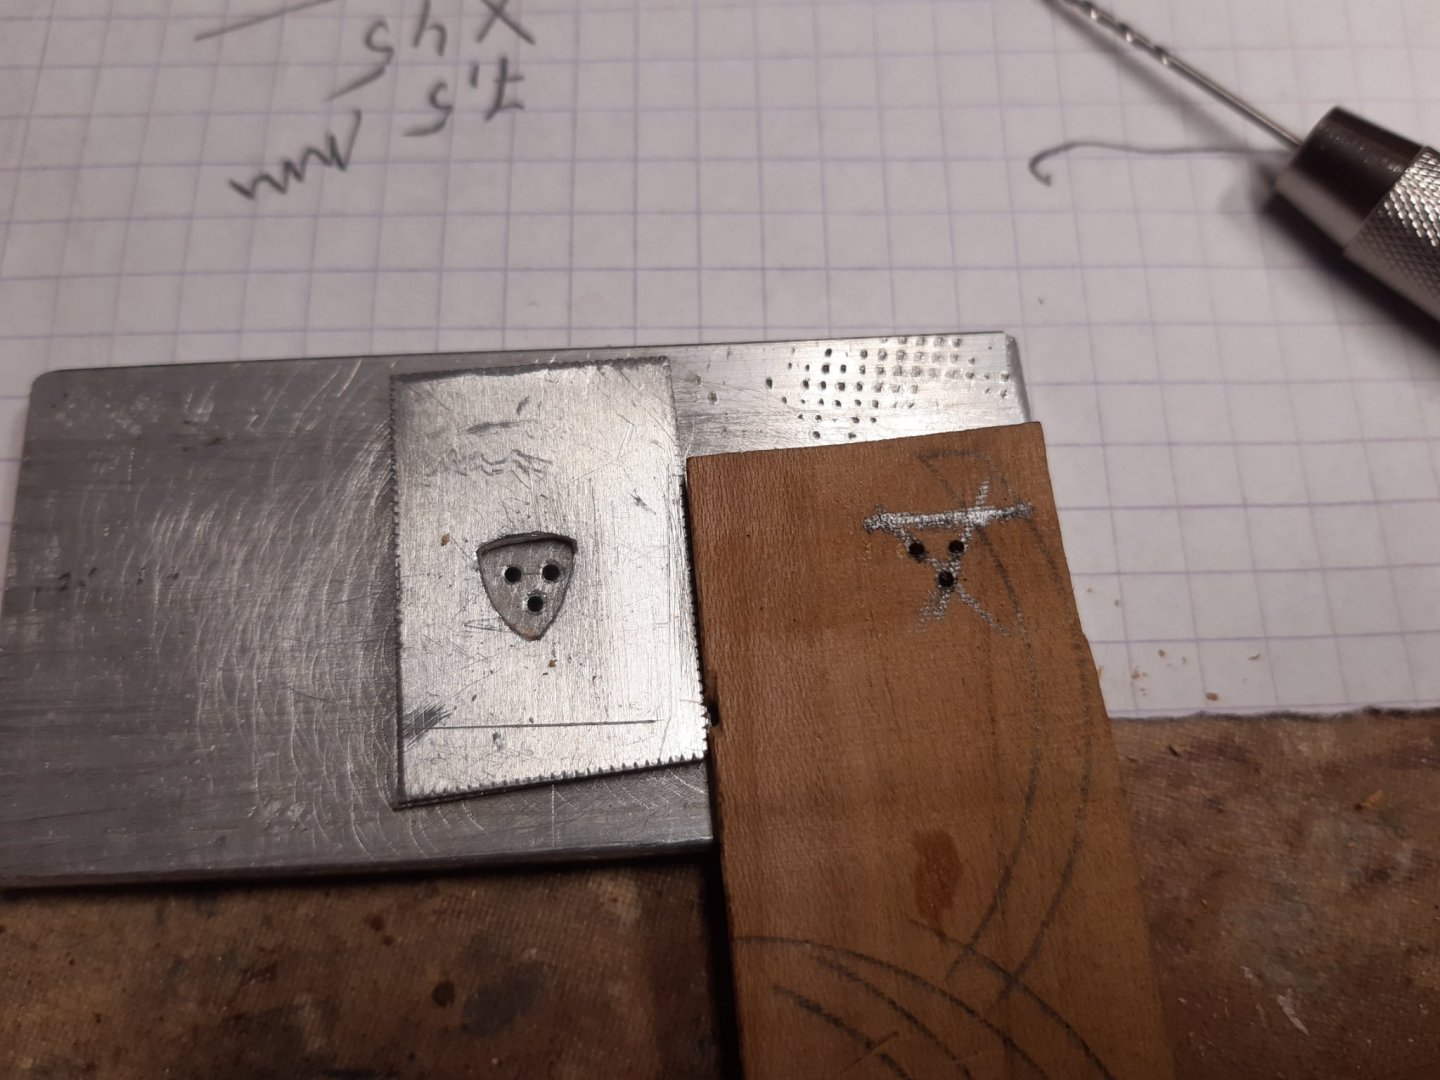
Thanks Geert, Bought specifically for this occasion and forgot I had it. (Forgetting things, one of my corona effects ). The clove hitch, de mastworp. The forestay of the mizzenmast Made 2 bloks. Used the mold from de deadeyes as basis. Drilled 2 extra holes Then they are cut and sanded In place The "mouse" started from a piece of plastic sprue. in place Next to do are the backstays of the mainmast. But first i have to make blocks. at the moment these are "think and test" work. And we are a little more organized. My late mother's old sewing box is back in service. And my wife bought me a new tablecloth. For how long will this nice cloth stay clean ? 😇


- 756 replies
-
- 9
-
-
- galleon
- golden hind
- (and 2 more)
-
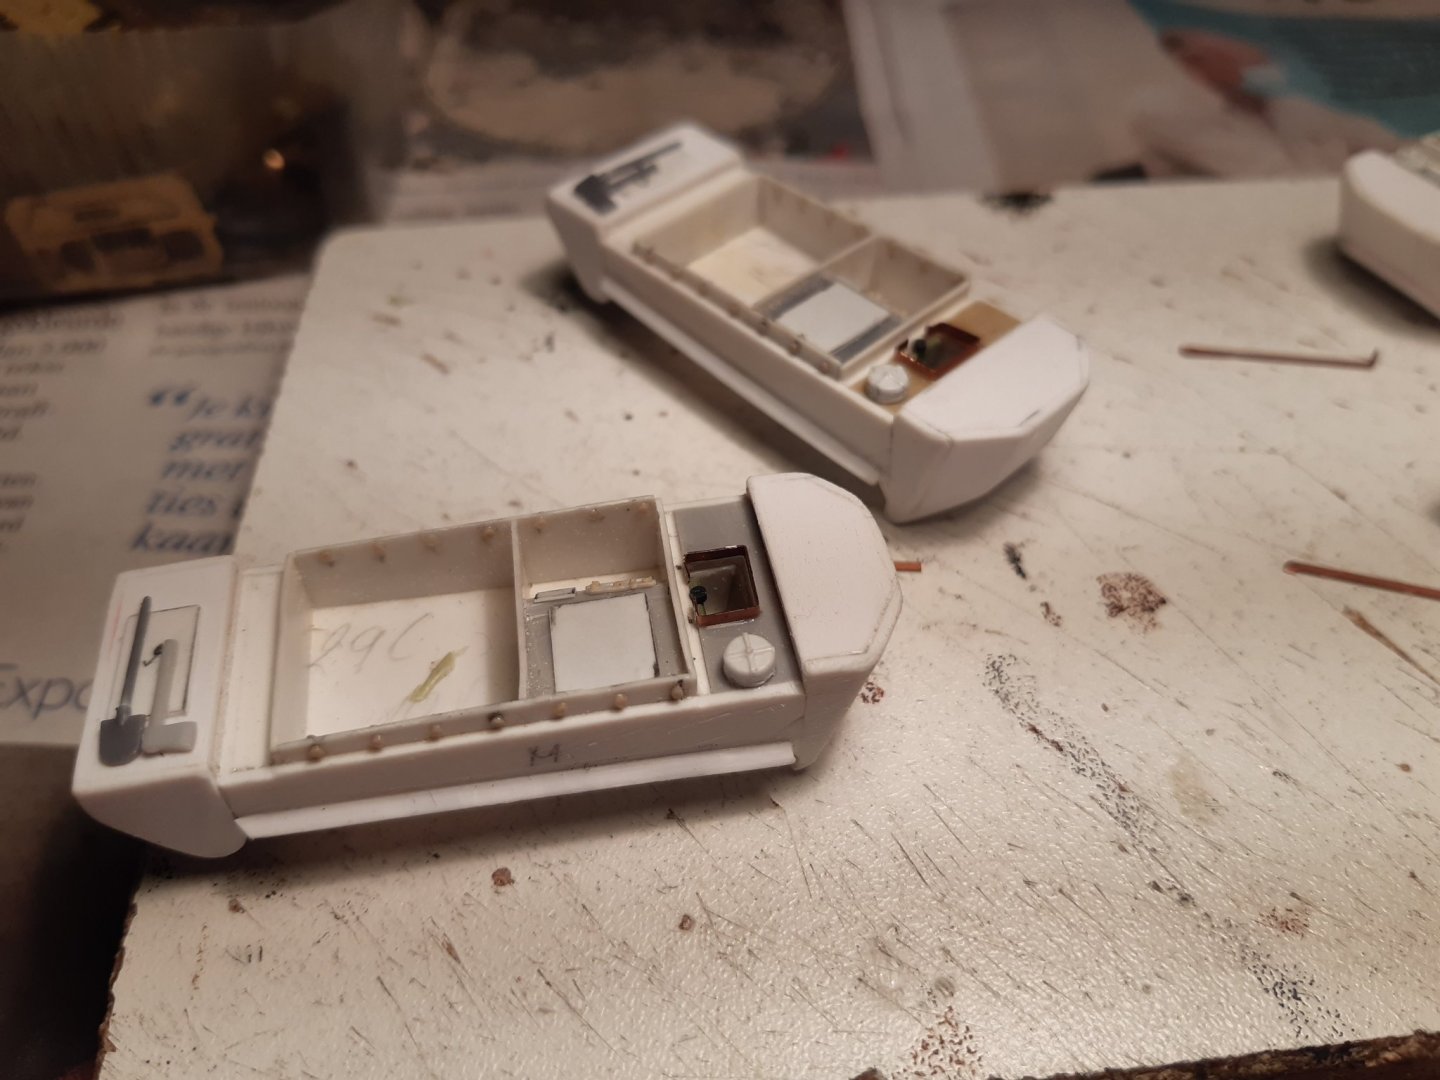
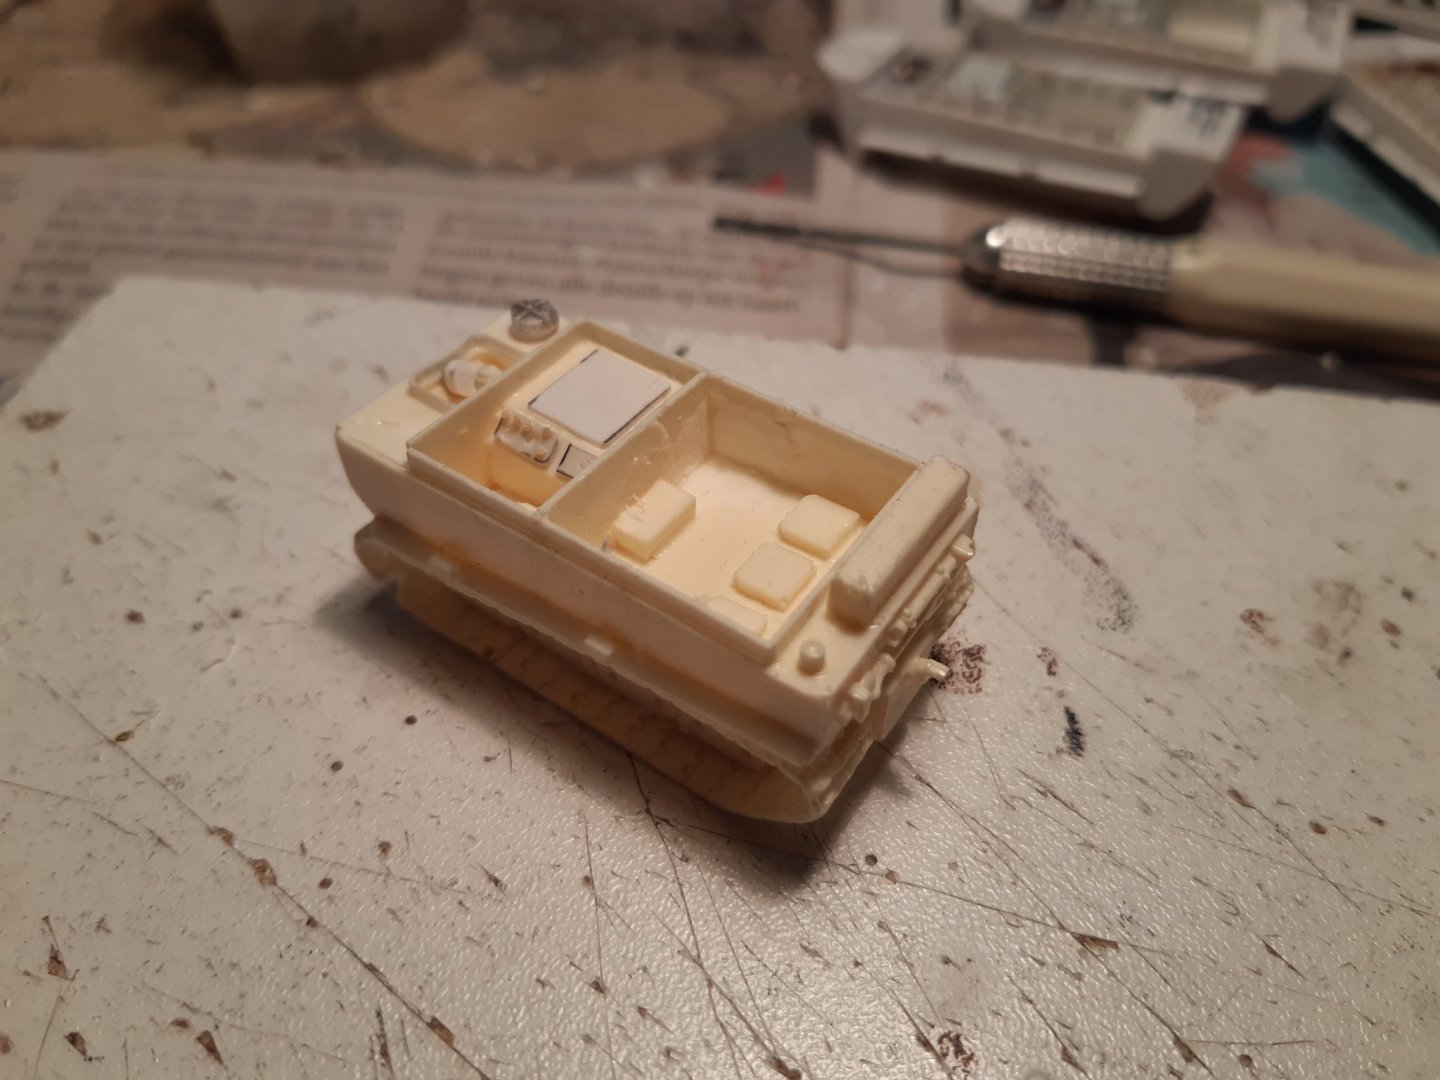
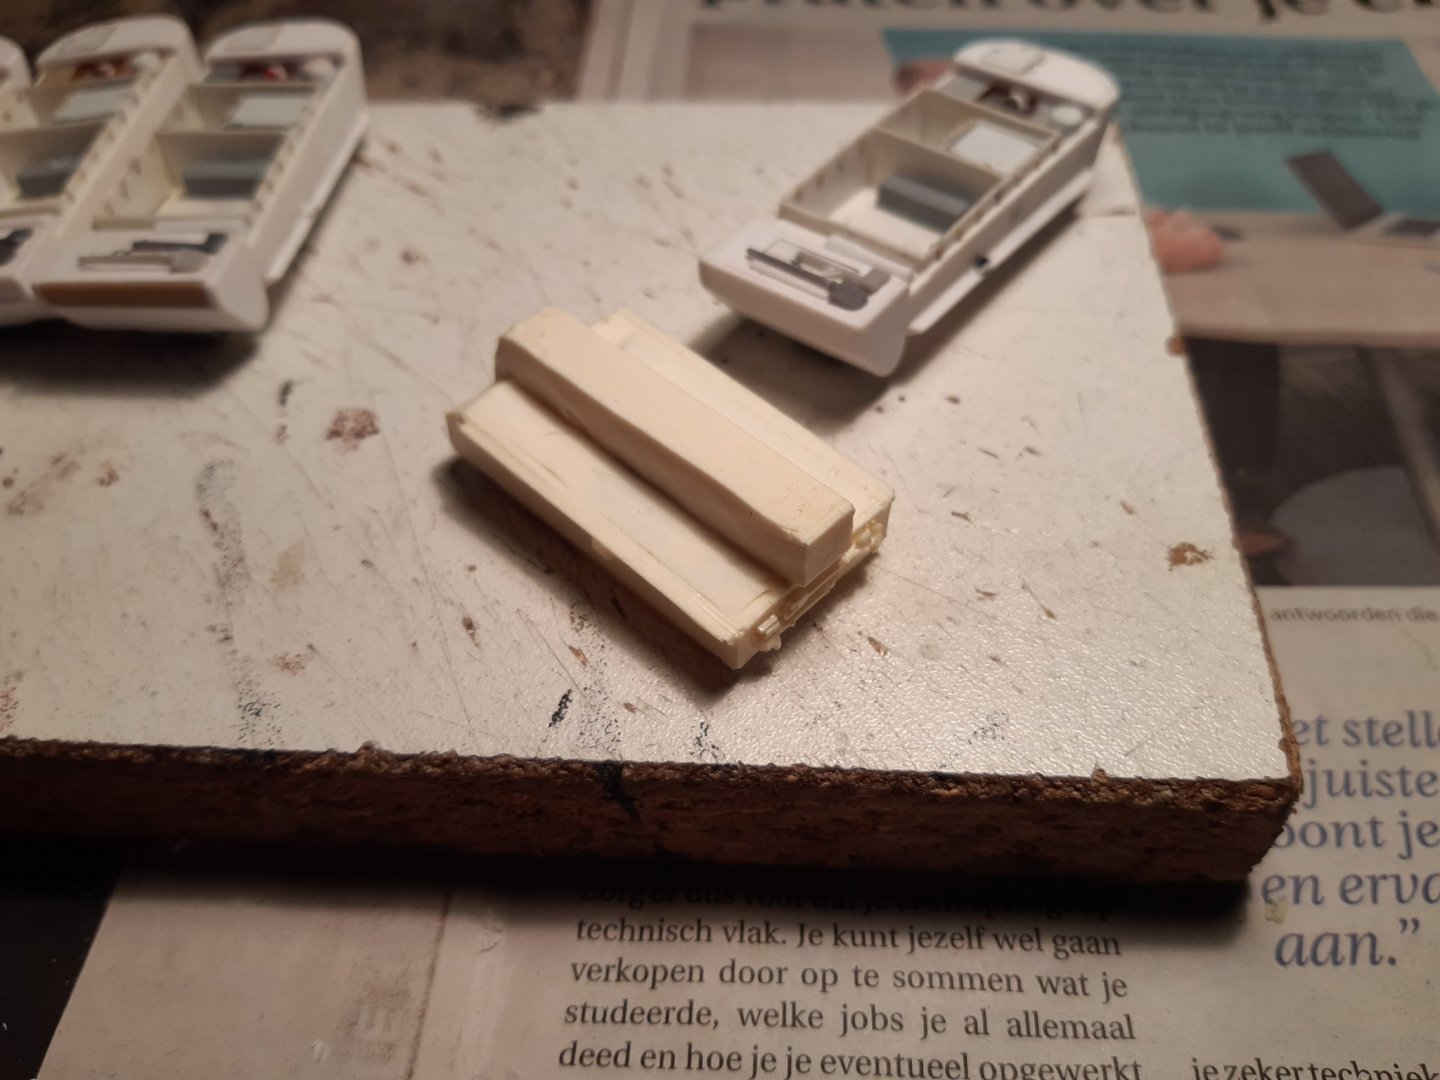
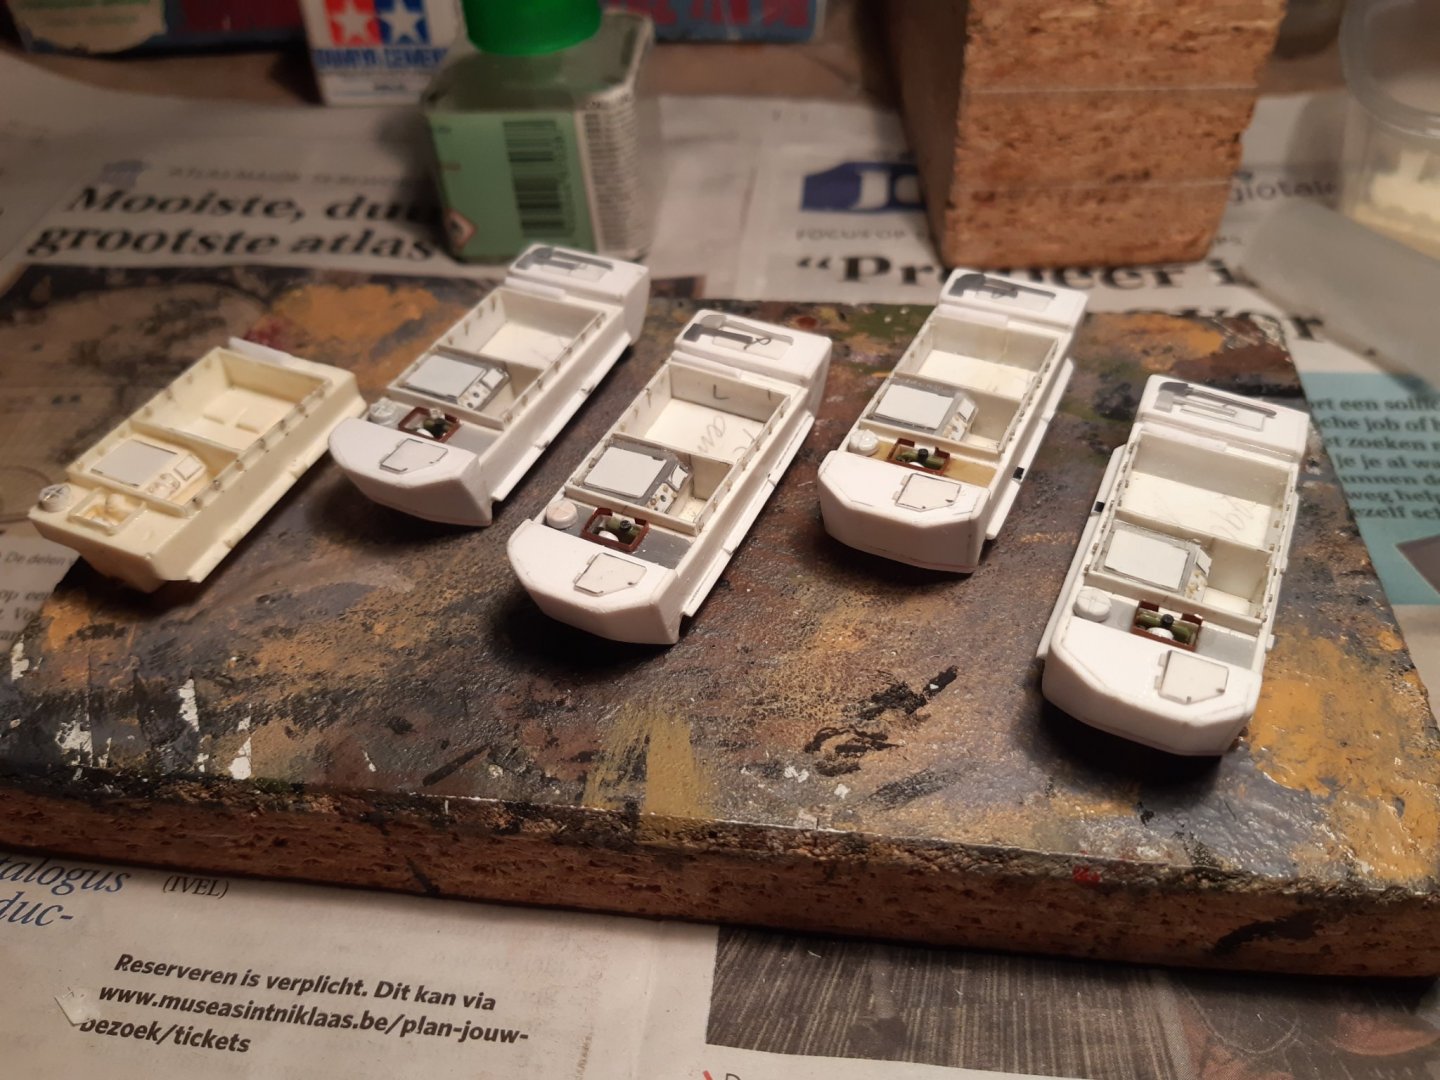
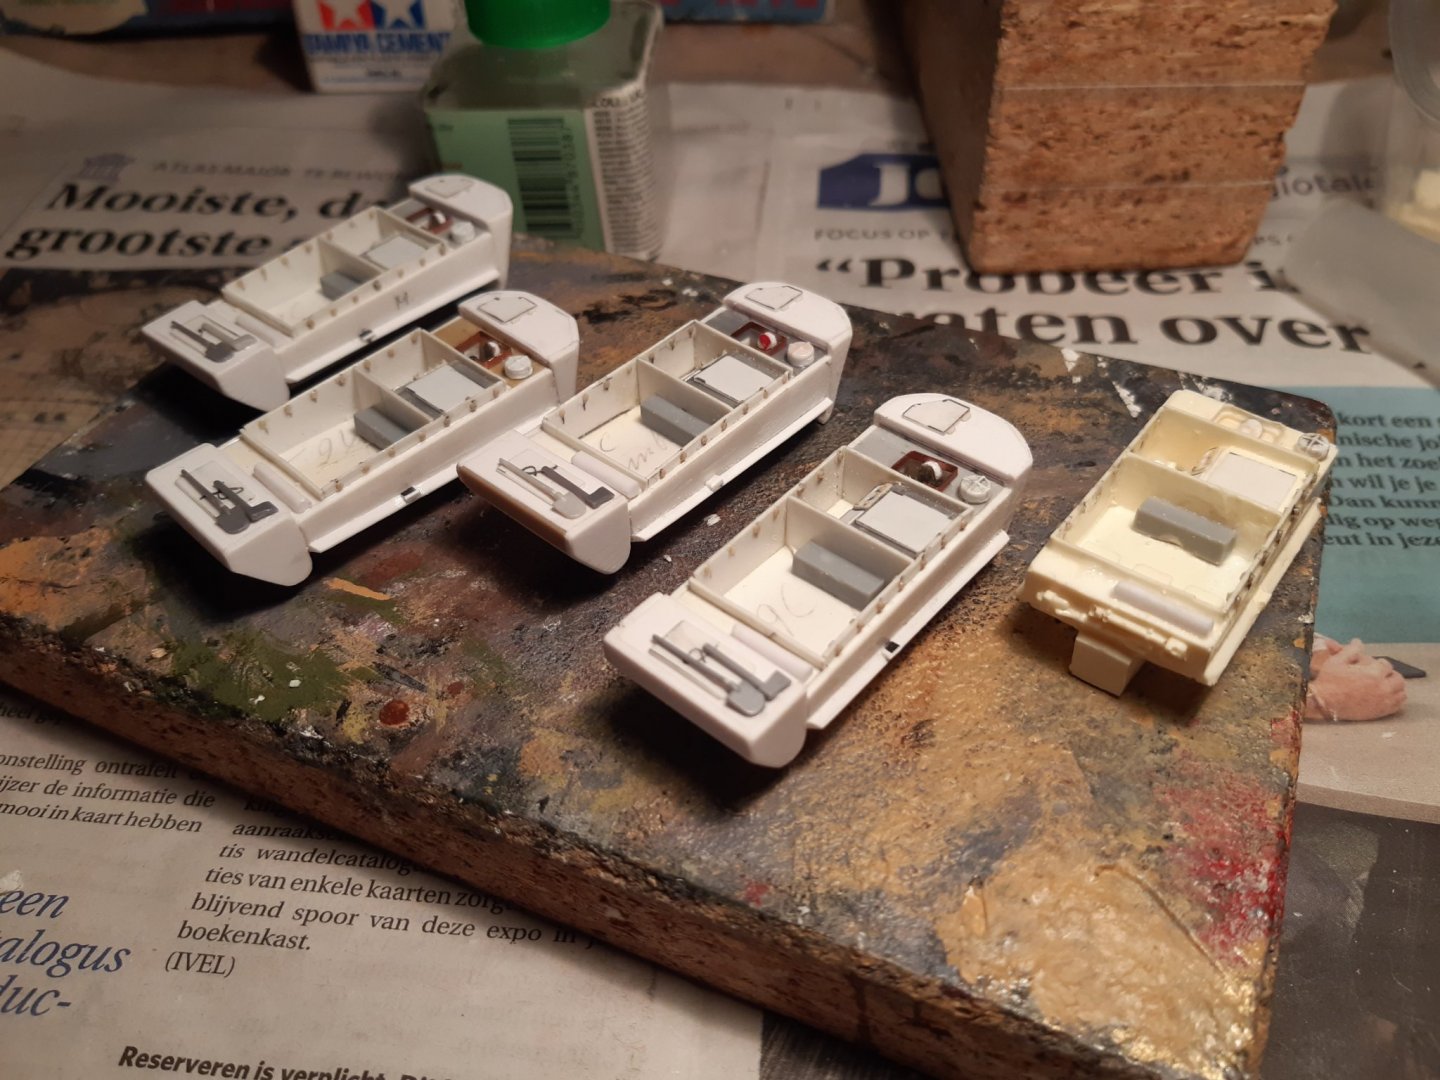
M29 Weasel family 1/72 (scratch) by Backer Finished
Baker replied to Baker's topic in Non-ship/categorised builds
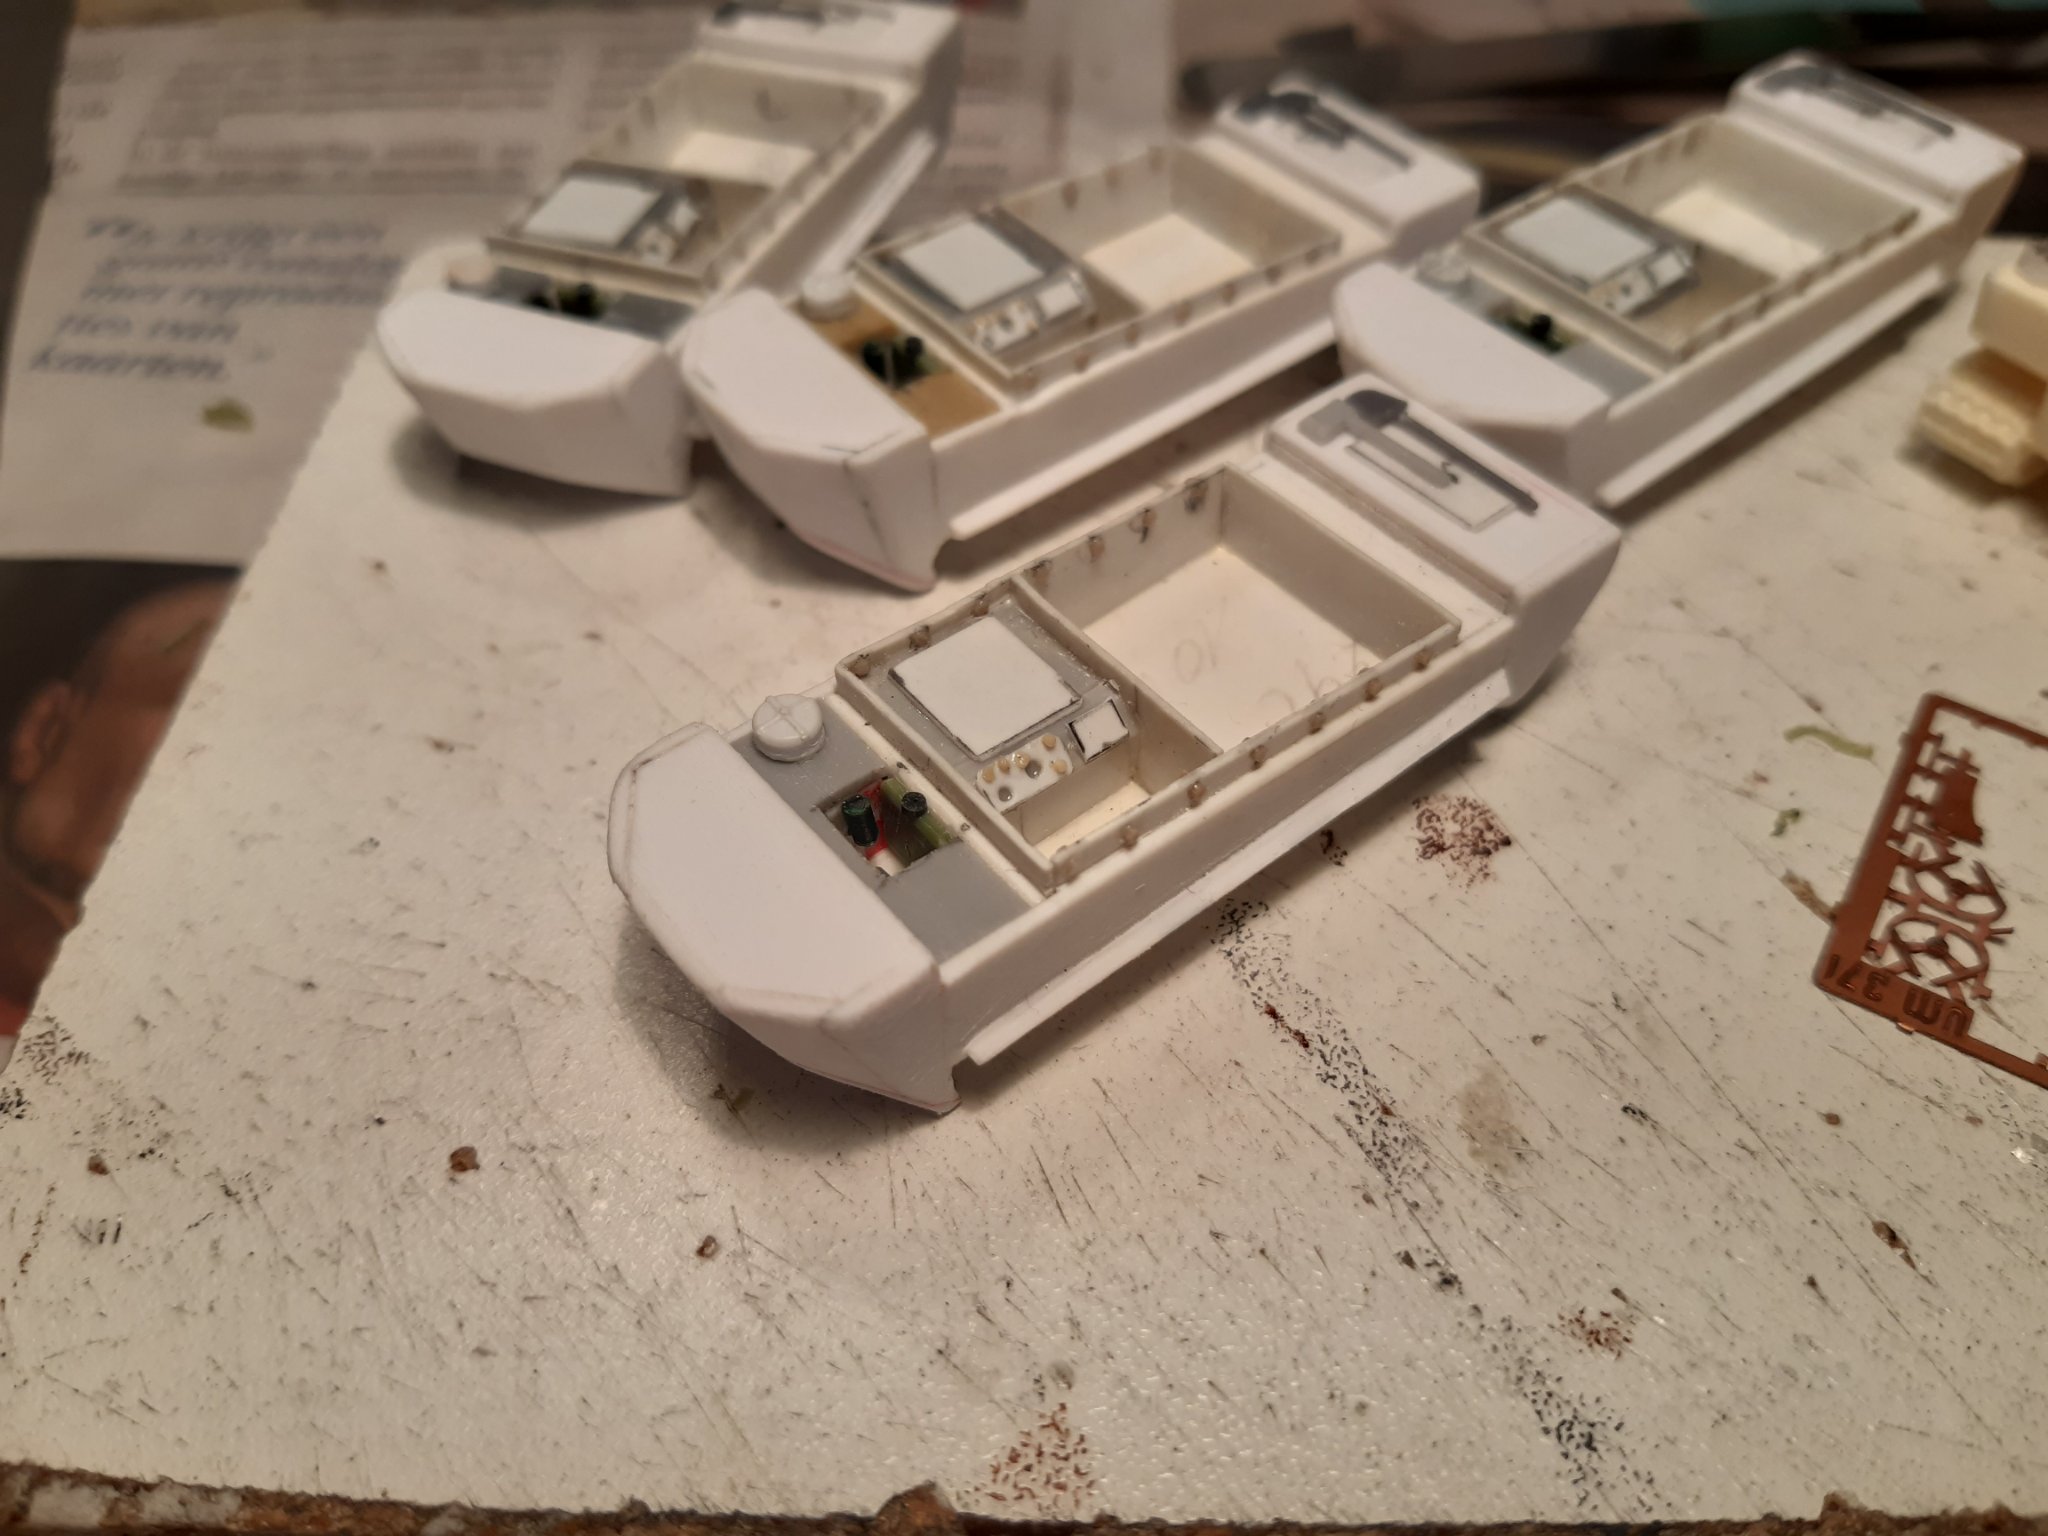
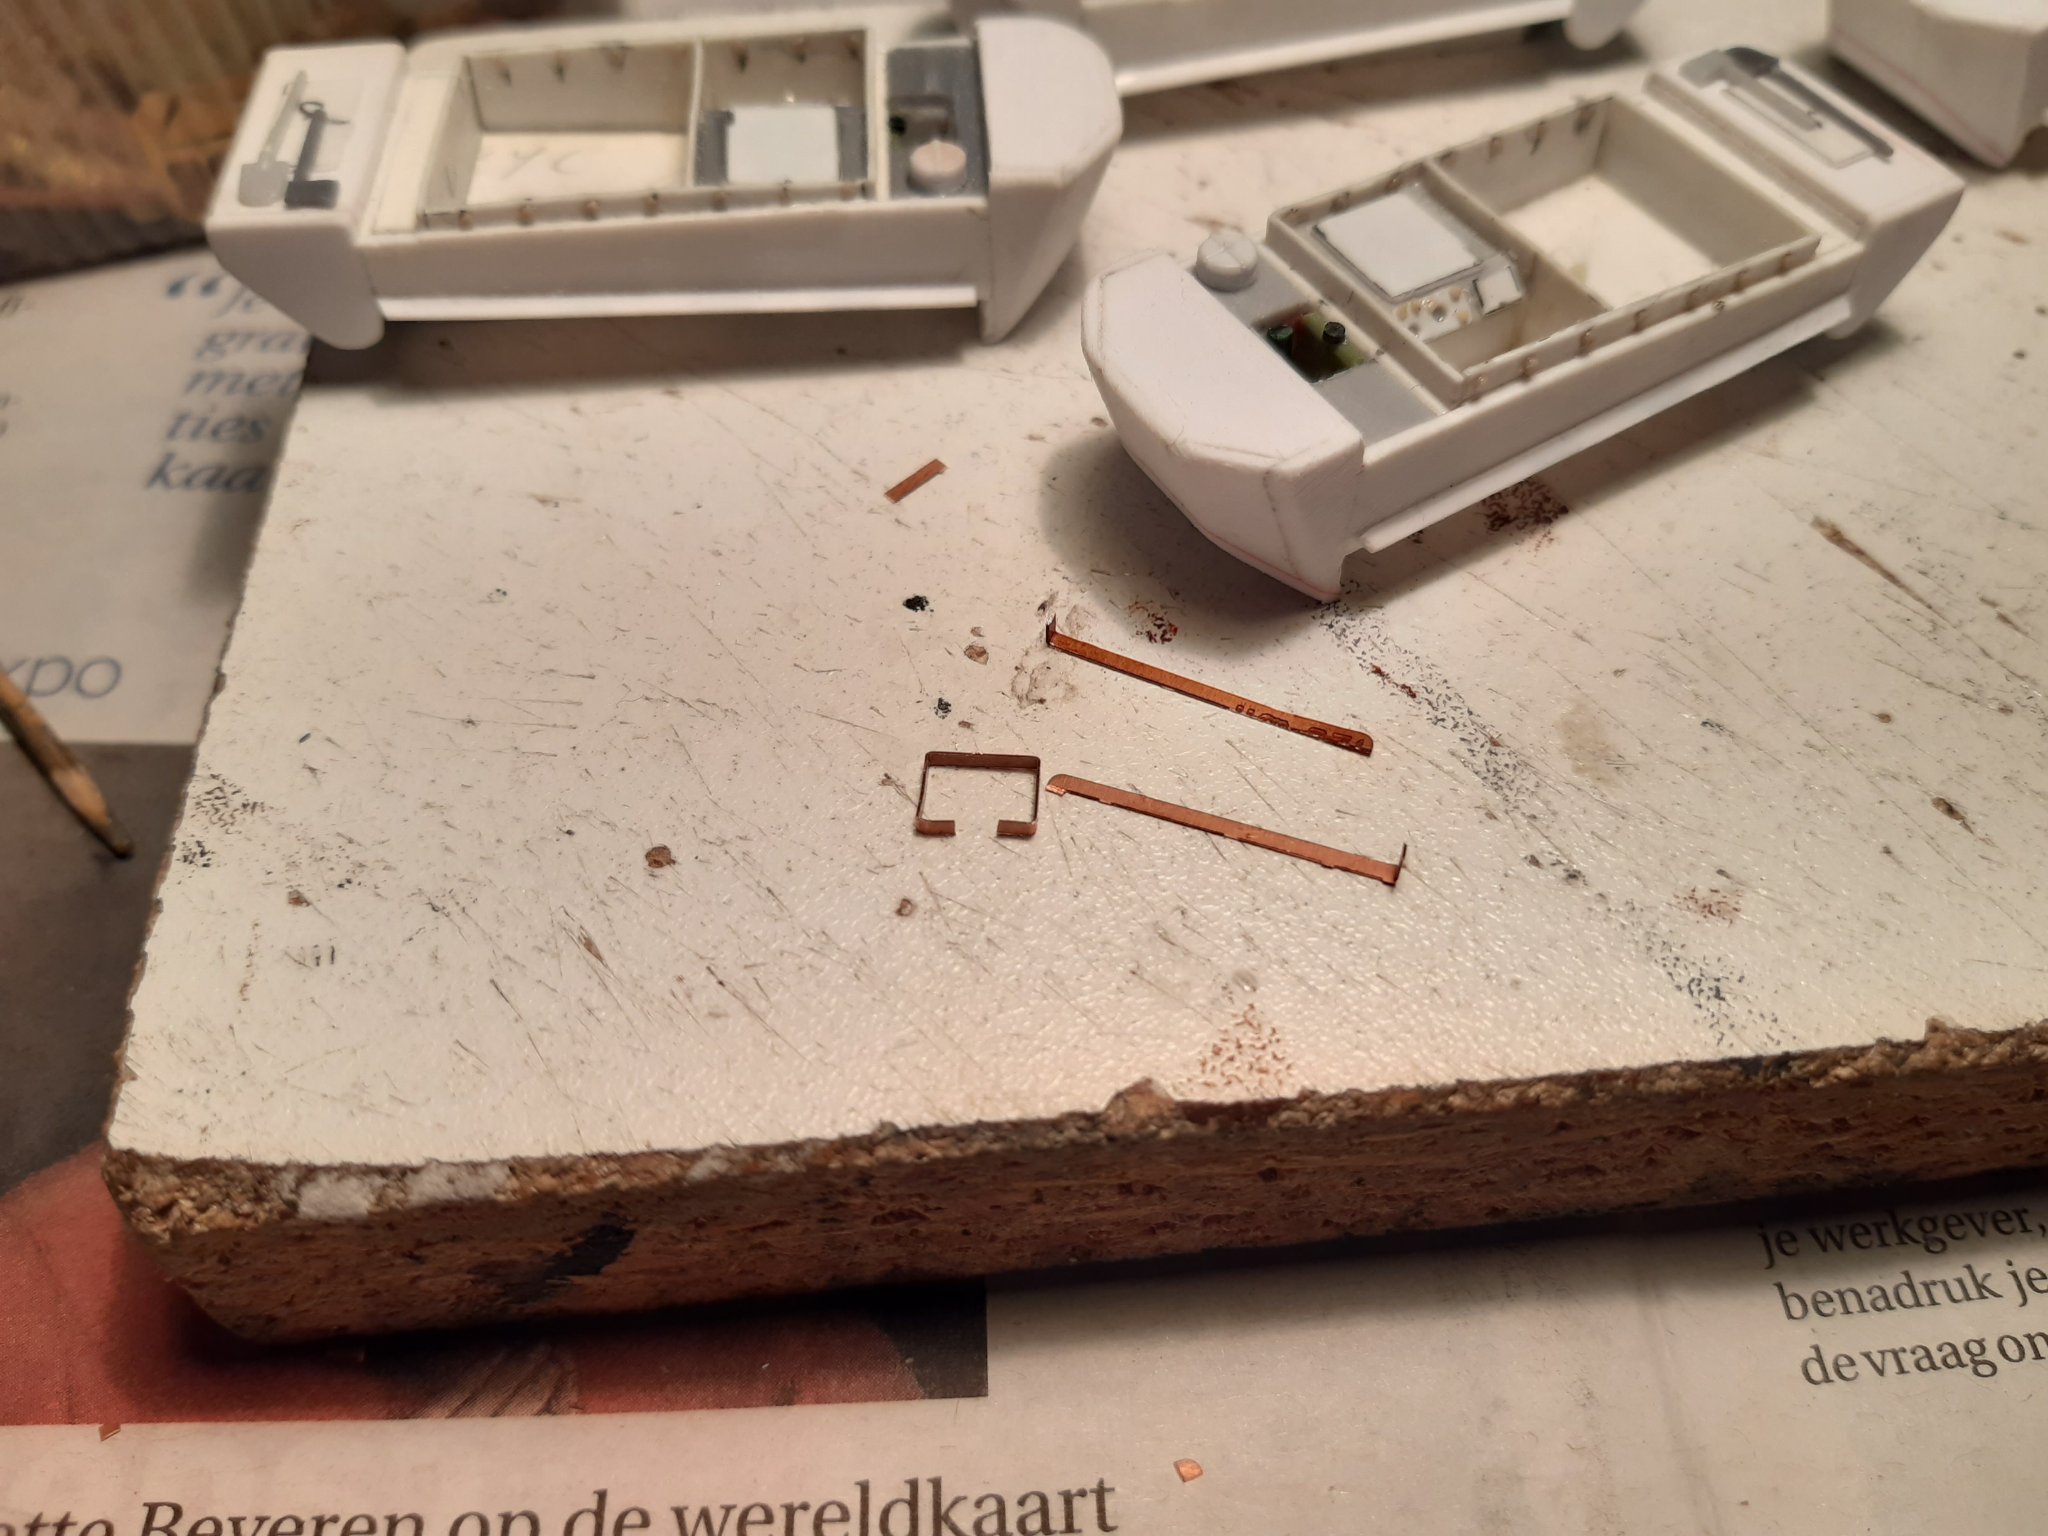
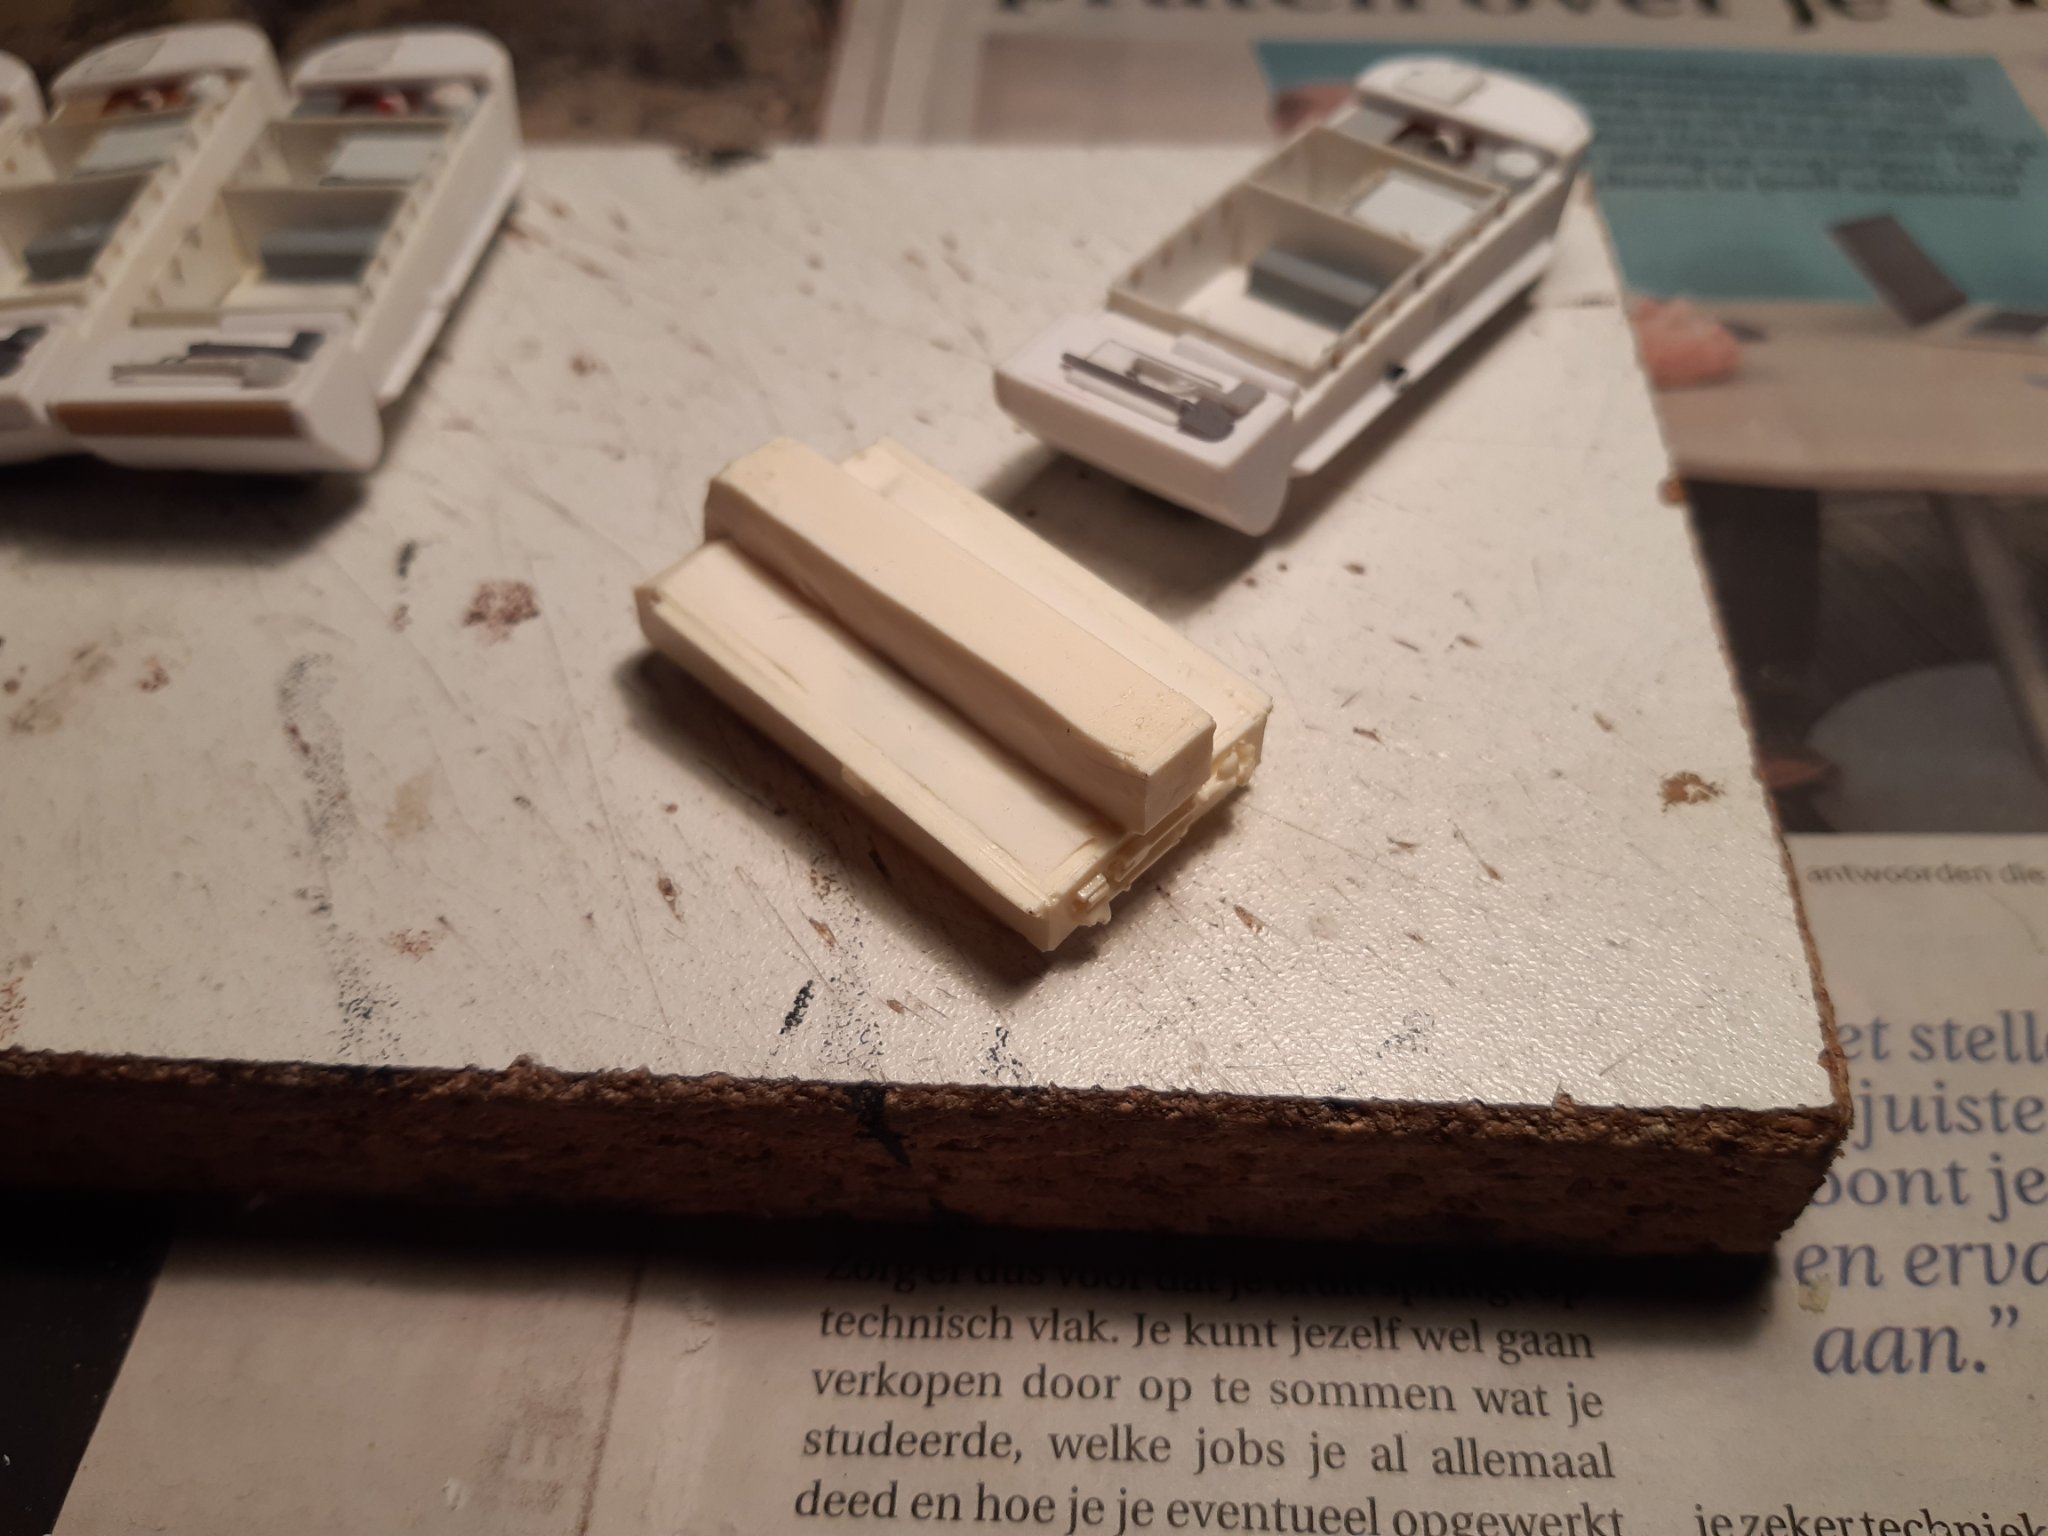
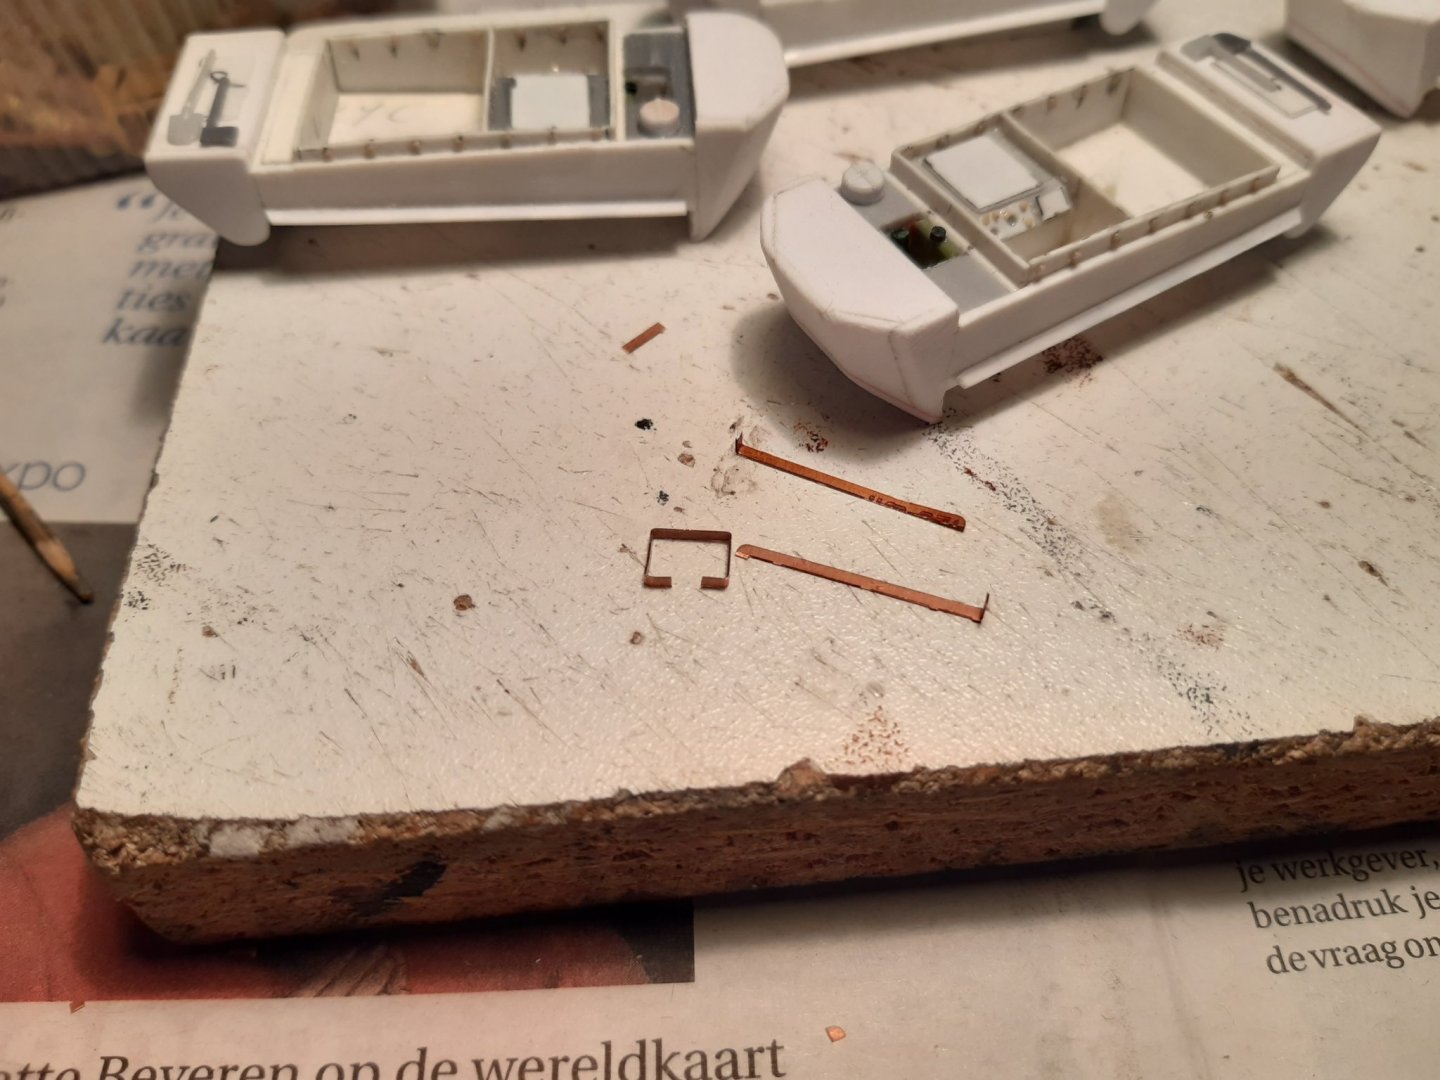
More smaller parts have been added. Instrument panels in the driver compartiment. And a radiator en some other small parts in the front opening. Some copper around this opening Removing parts from the resin model ( interior, exhaust) And. the wheels and tracks. current status The Weasel family is now temporarily in summer sleep. In spring and summer I will continue to build the Pelican (and gardening, cycling, walking...) This build will continue in October, November this year. Thanks for comments, following and likes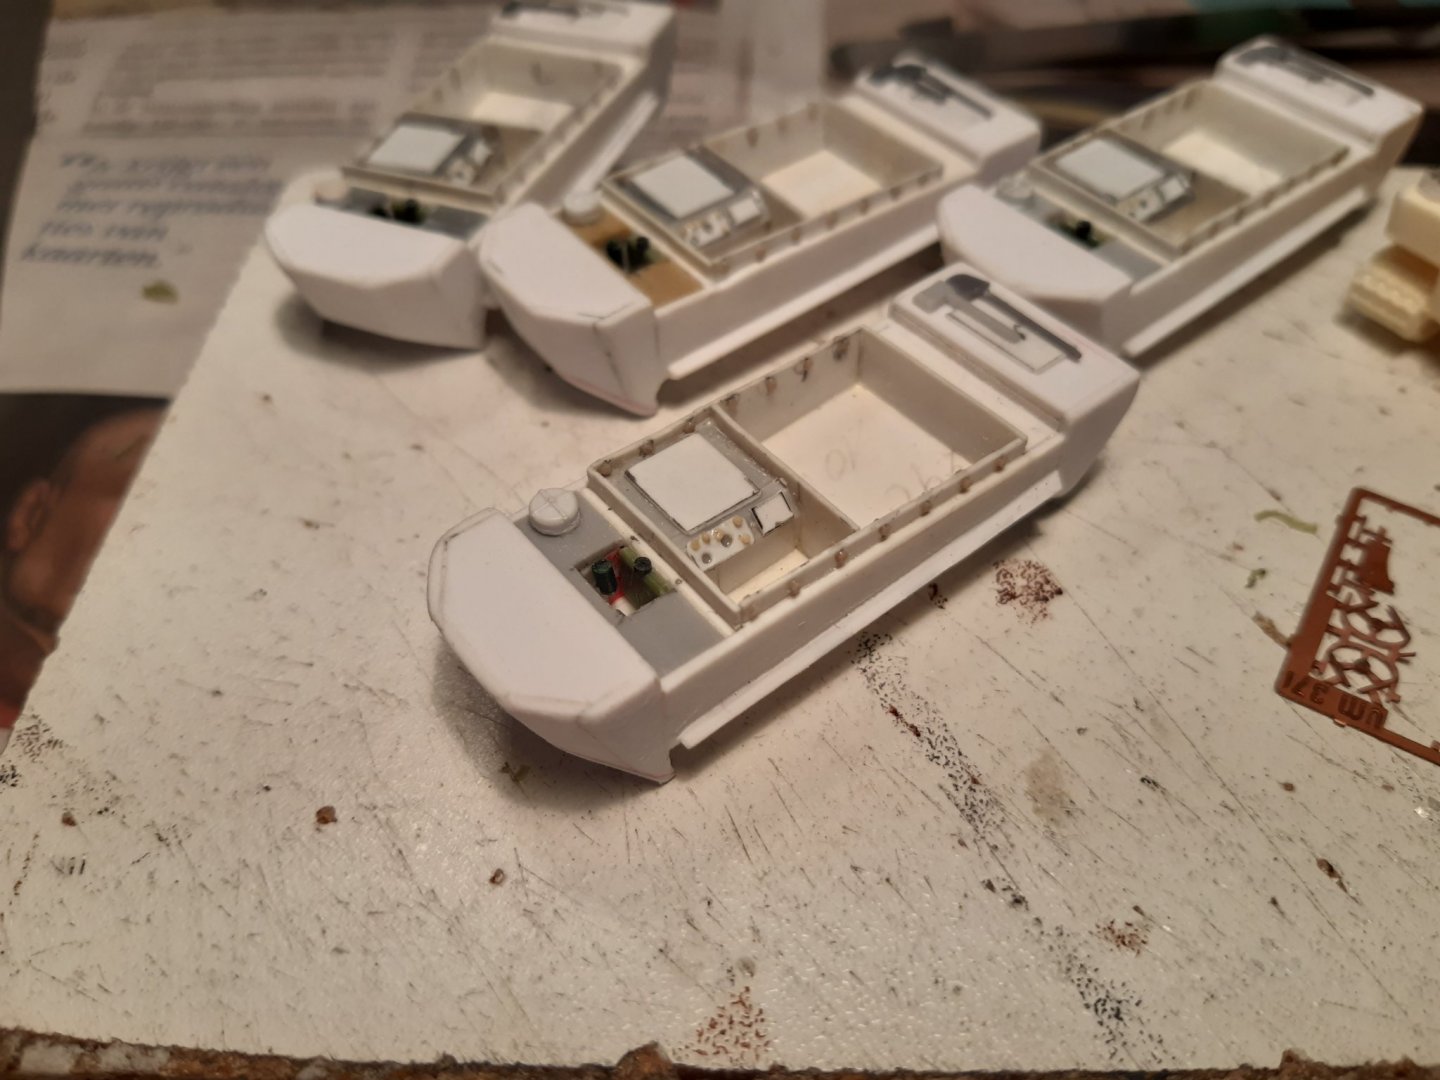
-
very well done. Nice tracks and wheels.
-
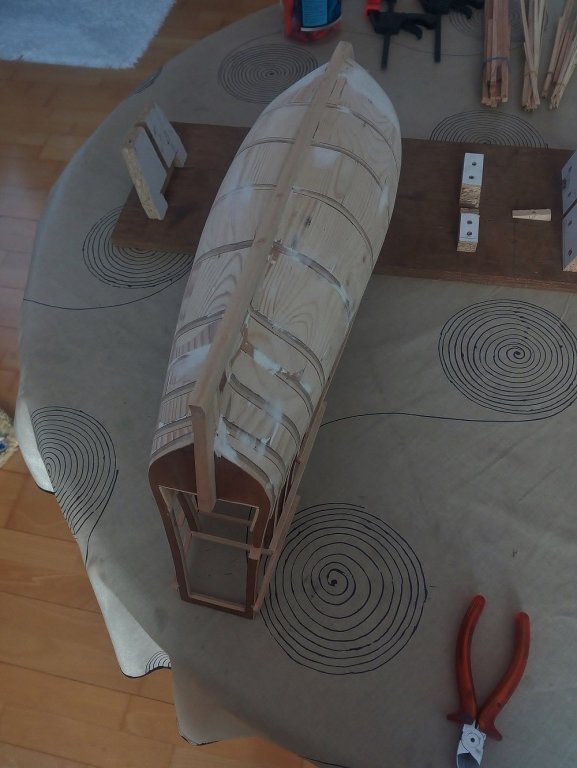
Nice planking and workshop If I remember correctly when planking my Vasa . Indeed. Some more filler blocks between the front and rear frames would have been easier to apply the planks. And will give more support when sanding I did this on my 2nd wooden model Indeed "overdone" but planking in 1 layer works much easier after doing this
- 19 replies
-
- 2
-
-
- Billing Boats
- VASA
- (and 2 more)
-
Well done for your first time http://www.wasadream.com/Index/indexenglish.html
- 19 replies
-
- 1
-
-
- Billing Boats
- VASA
- (and 2 more)
-
And good luck with the build
-
Nice work Steven Tell your wife what you are going to do. Women are very good at remembering what their husbands have to do. The only disadvantage : Do this, do that, do this, do that (all day long) 😂
- 740 replies
-
- 7
-
-
- Tudor
- restoration
- (and 4 more)
-
Fortunately, I also like wine 👍 Corona : A weird little creature, with annoying side effects. Stay as far away from it as possible. That is the best advice I can give.