Baker
-
Posts
4,286 -
Joined
-
Last visited
Content Type
Profiles
Forums
Gallery
Events
Everything posted by Baker
-
 Covid 19...We've had that here too. Indeed, you have no energy, don't feel like doing anything, nothing tastes good After 5 months, beer still tastes bad to me, it even stinks sometimes ... Can you imagine.. A Belgian who no longer likes drinking beer I hope you soon recover completely and nice work on the plane
- 136 replies
-
- 10
-

-

-

-
New to the site and starting out my hobby here
Baker replied to Robp1025's topic in New member Introductions
-
How to connect yards to masts??
Baker replied to ObviousNewbie's topic in Masting, rigging and sails
The file of the picture is too large. If you reduce this, the problem is solved.jpeg.0a0d2bd4eff1e86d2abe71a874ff459f.jpeg)
-
Nice work, But i dont think that clove hitches are the right way. And how it should be done correctly, i still have to figure that out myself 😳
-
M29 Weasel family 1/72 (scratch) by Backer Finished
Baker replied to Baker's topic in Non-ship/categorised builds
Started adding details. Spade, ax, bolts etc. Thanks for following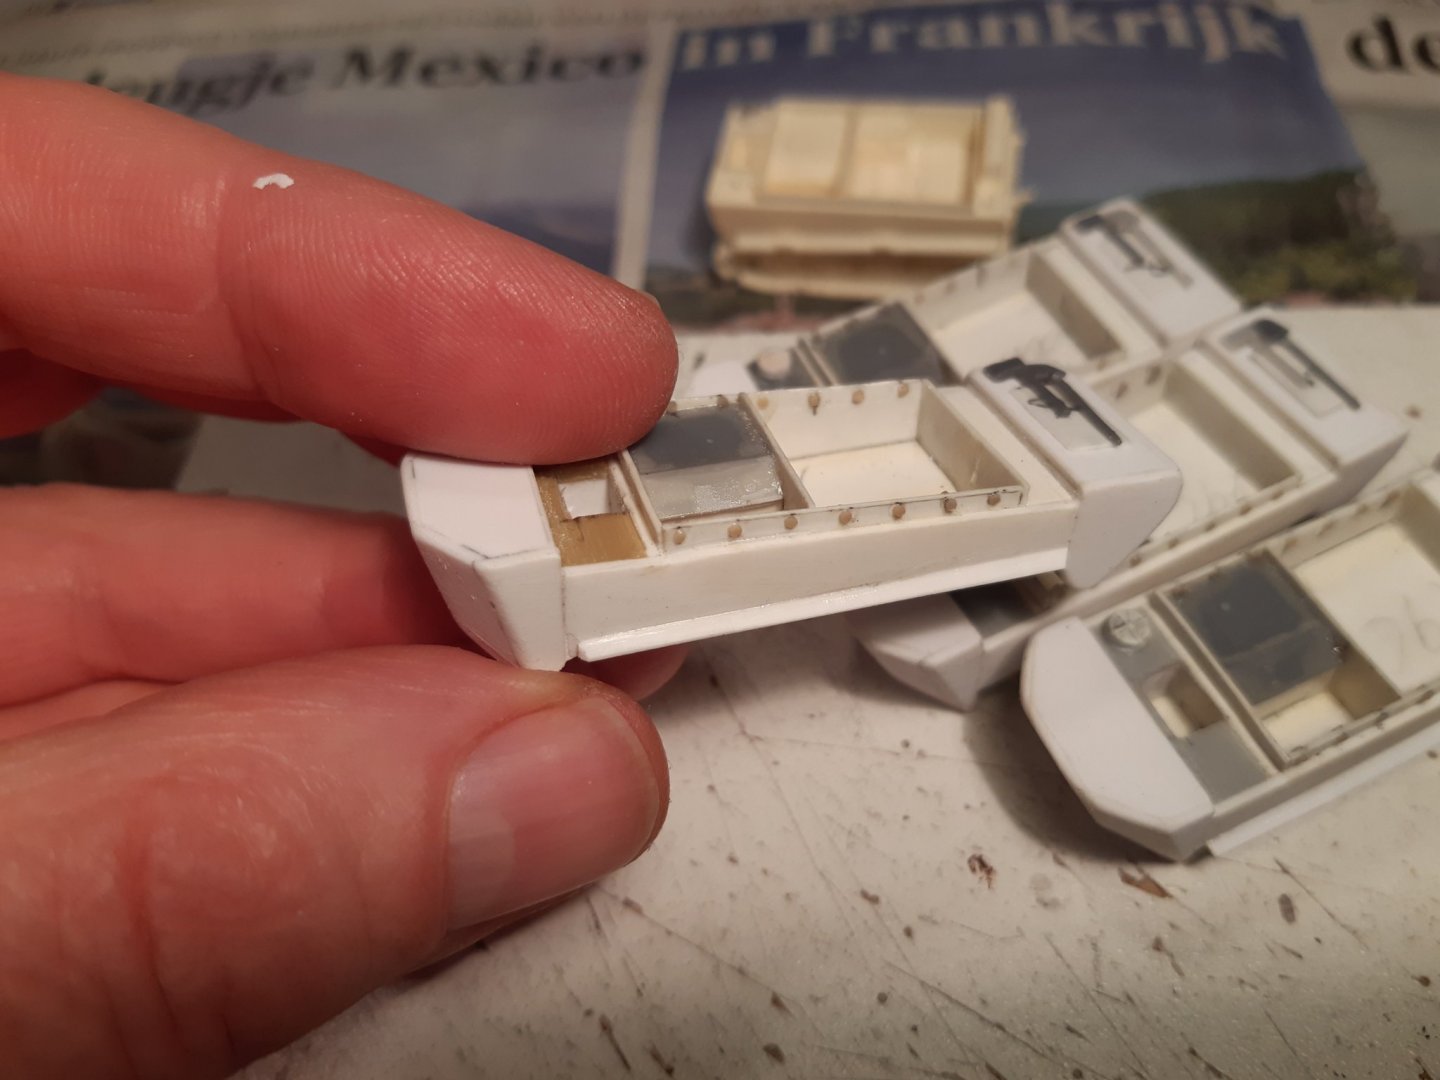

- 50 replies
-
- 12
-
-
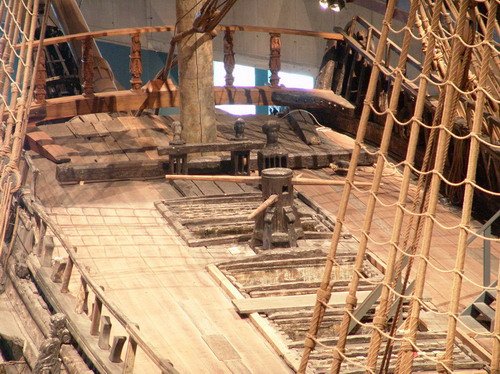
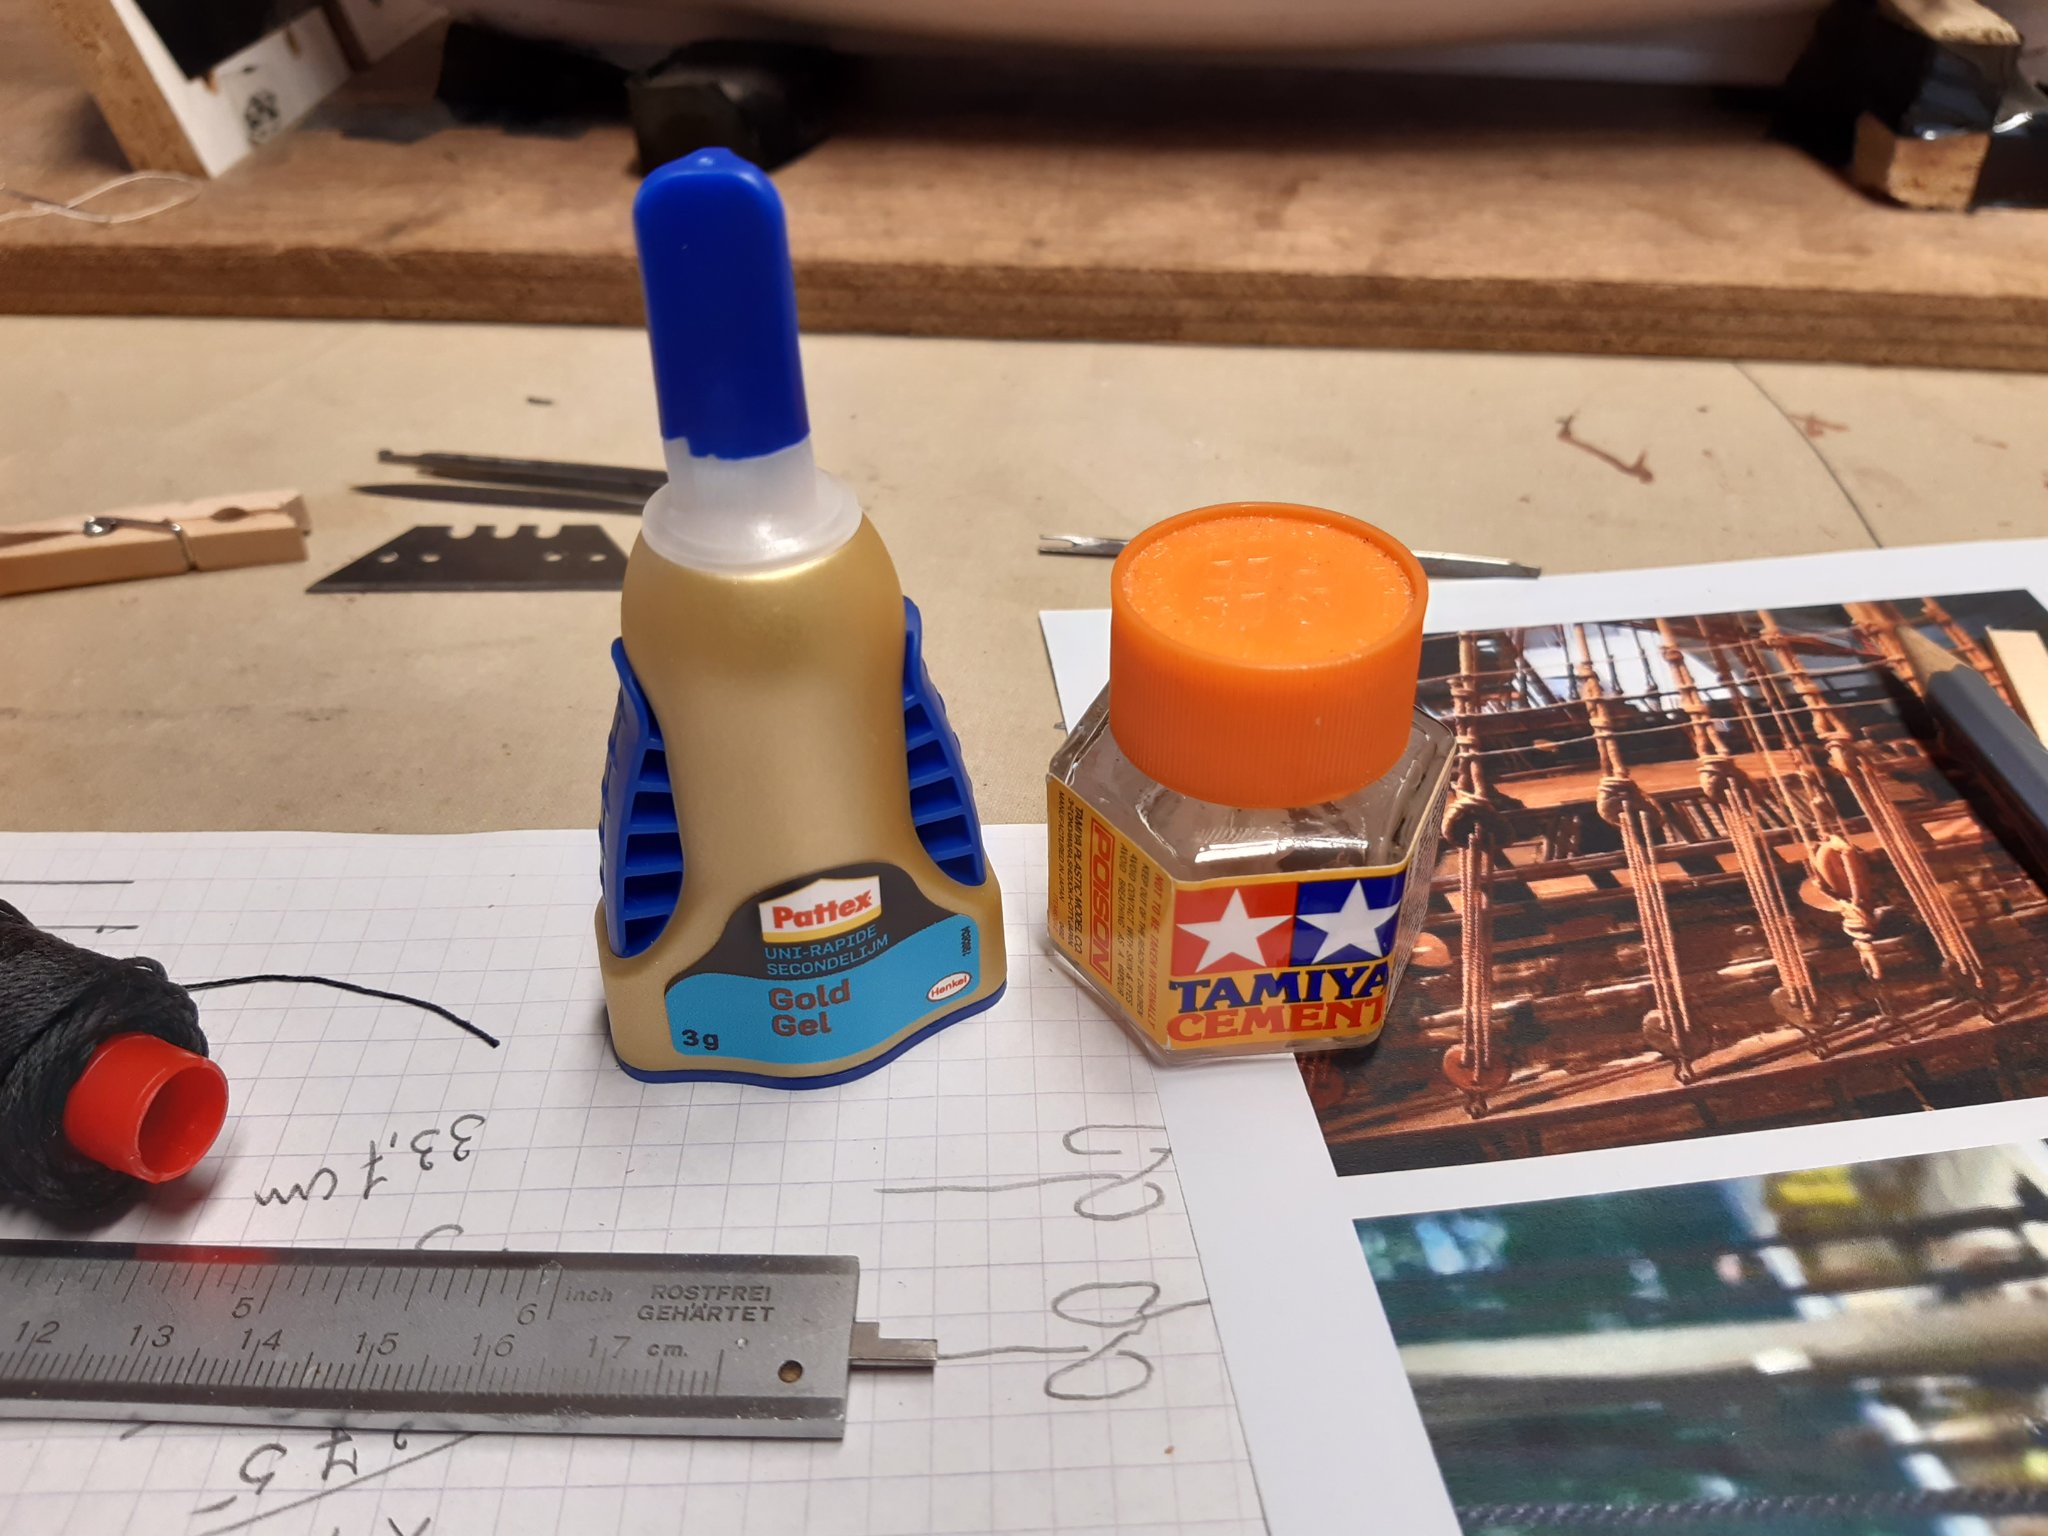
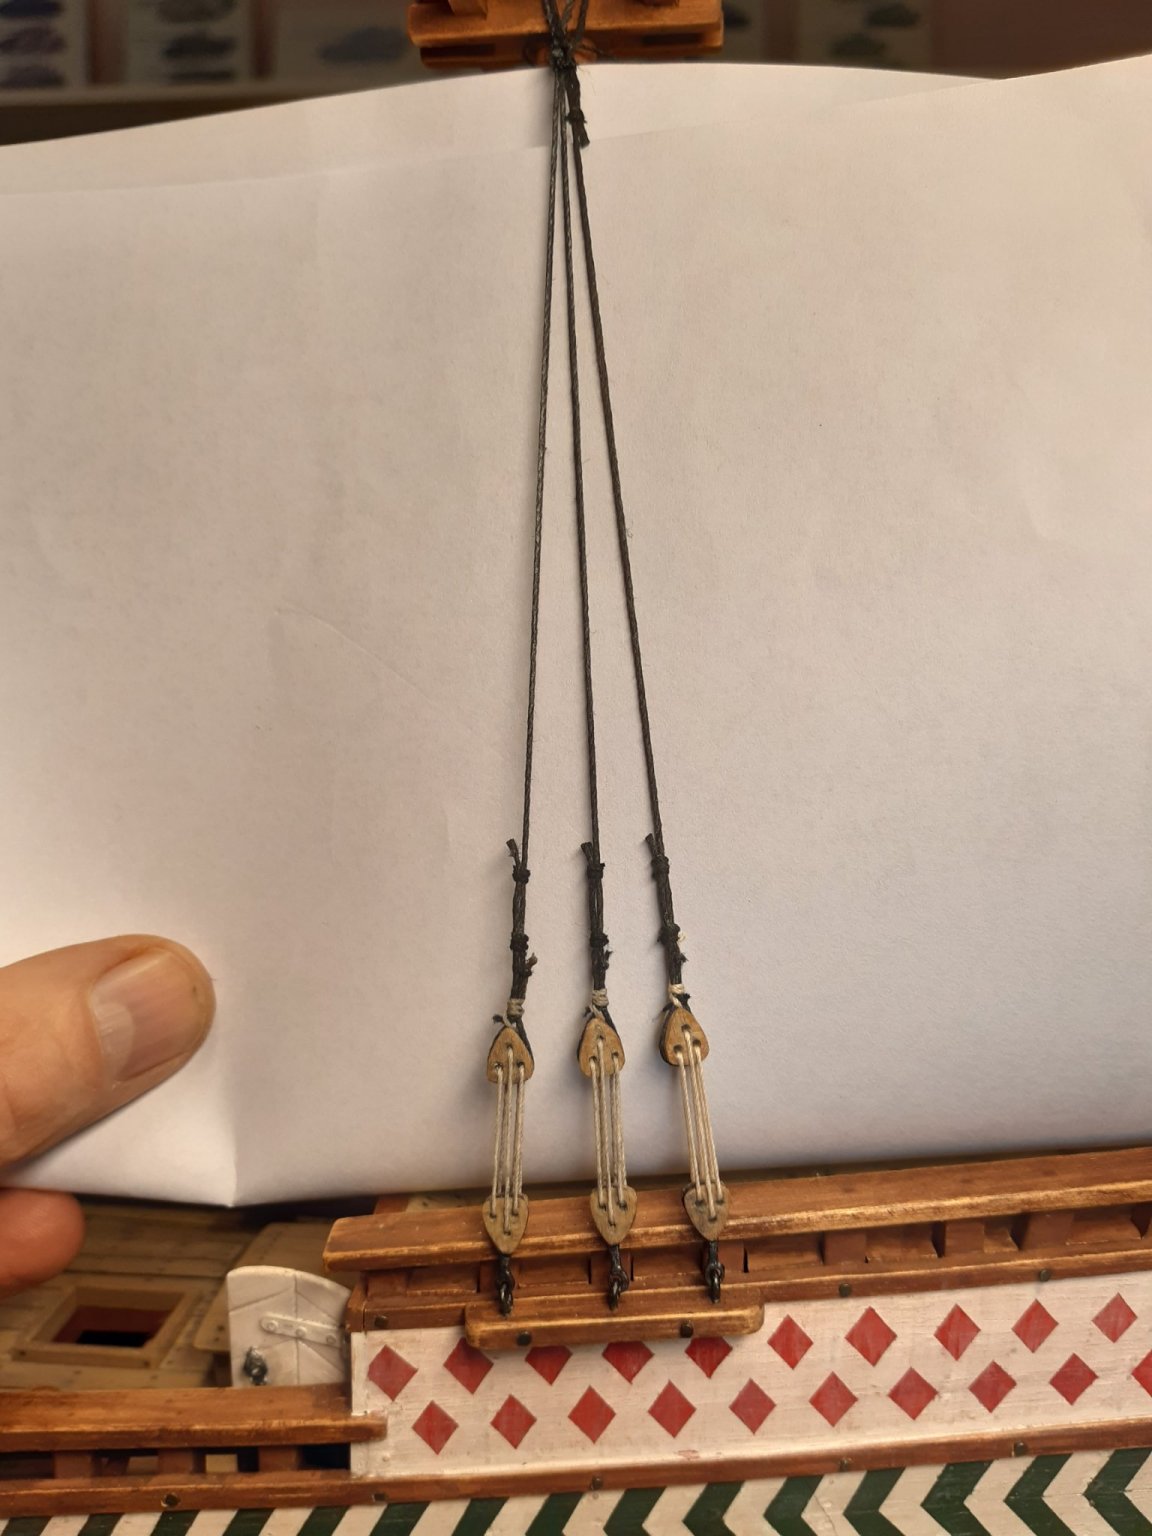
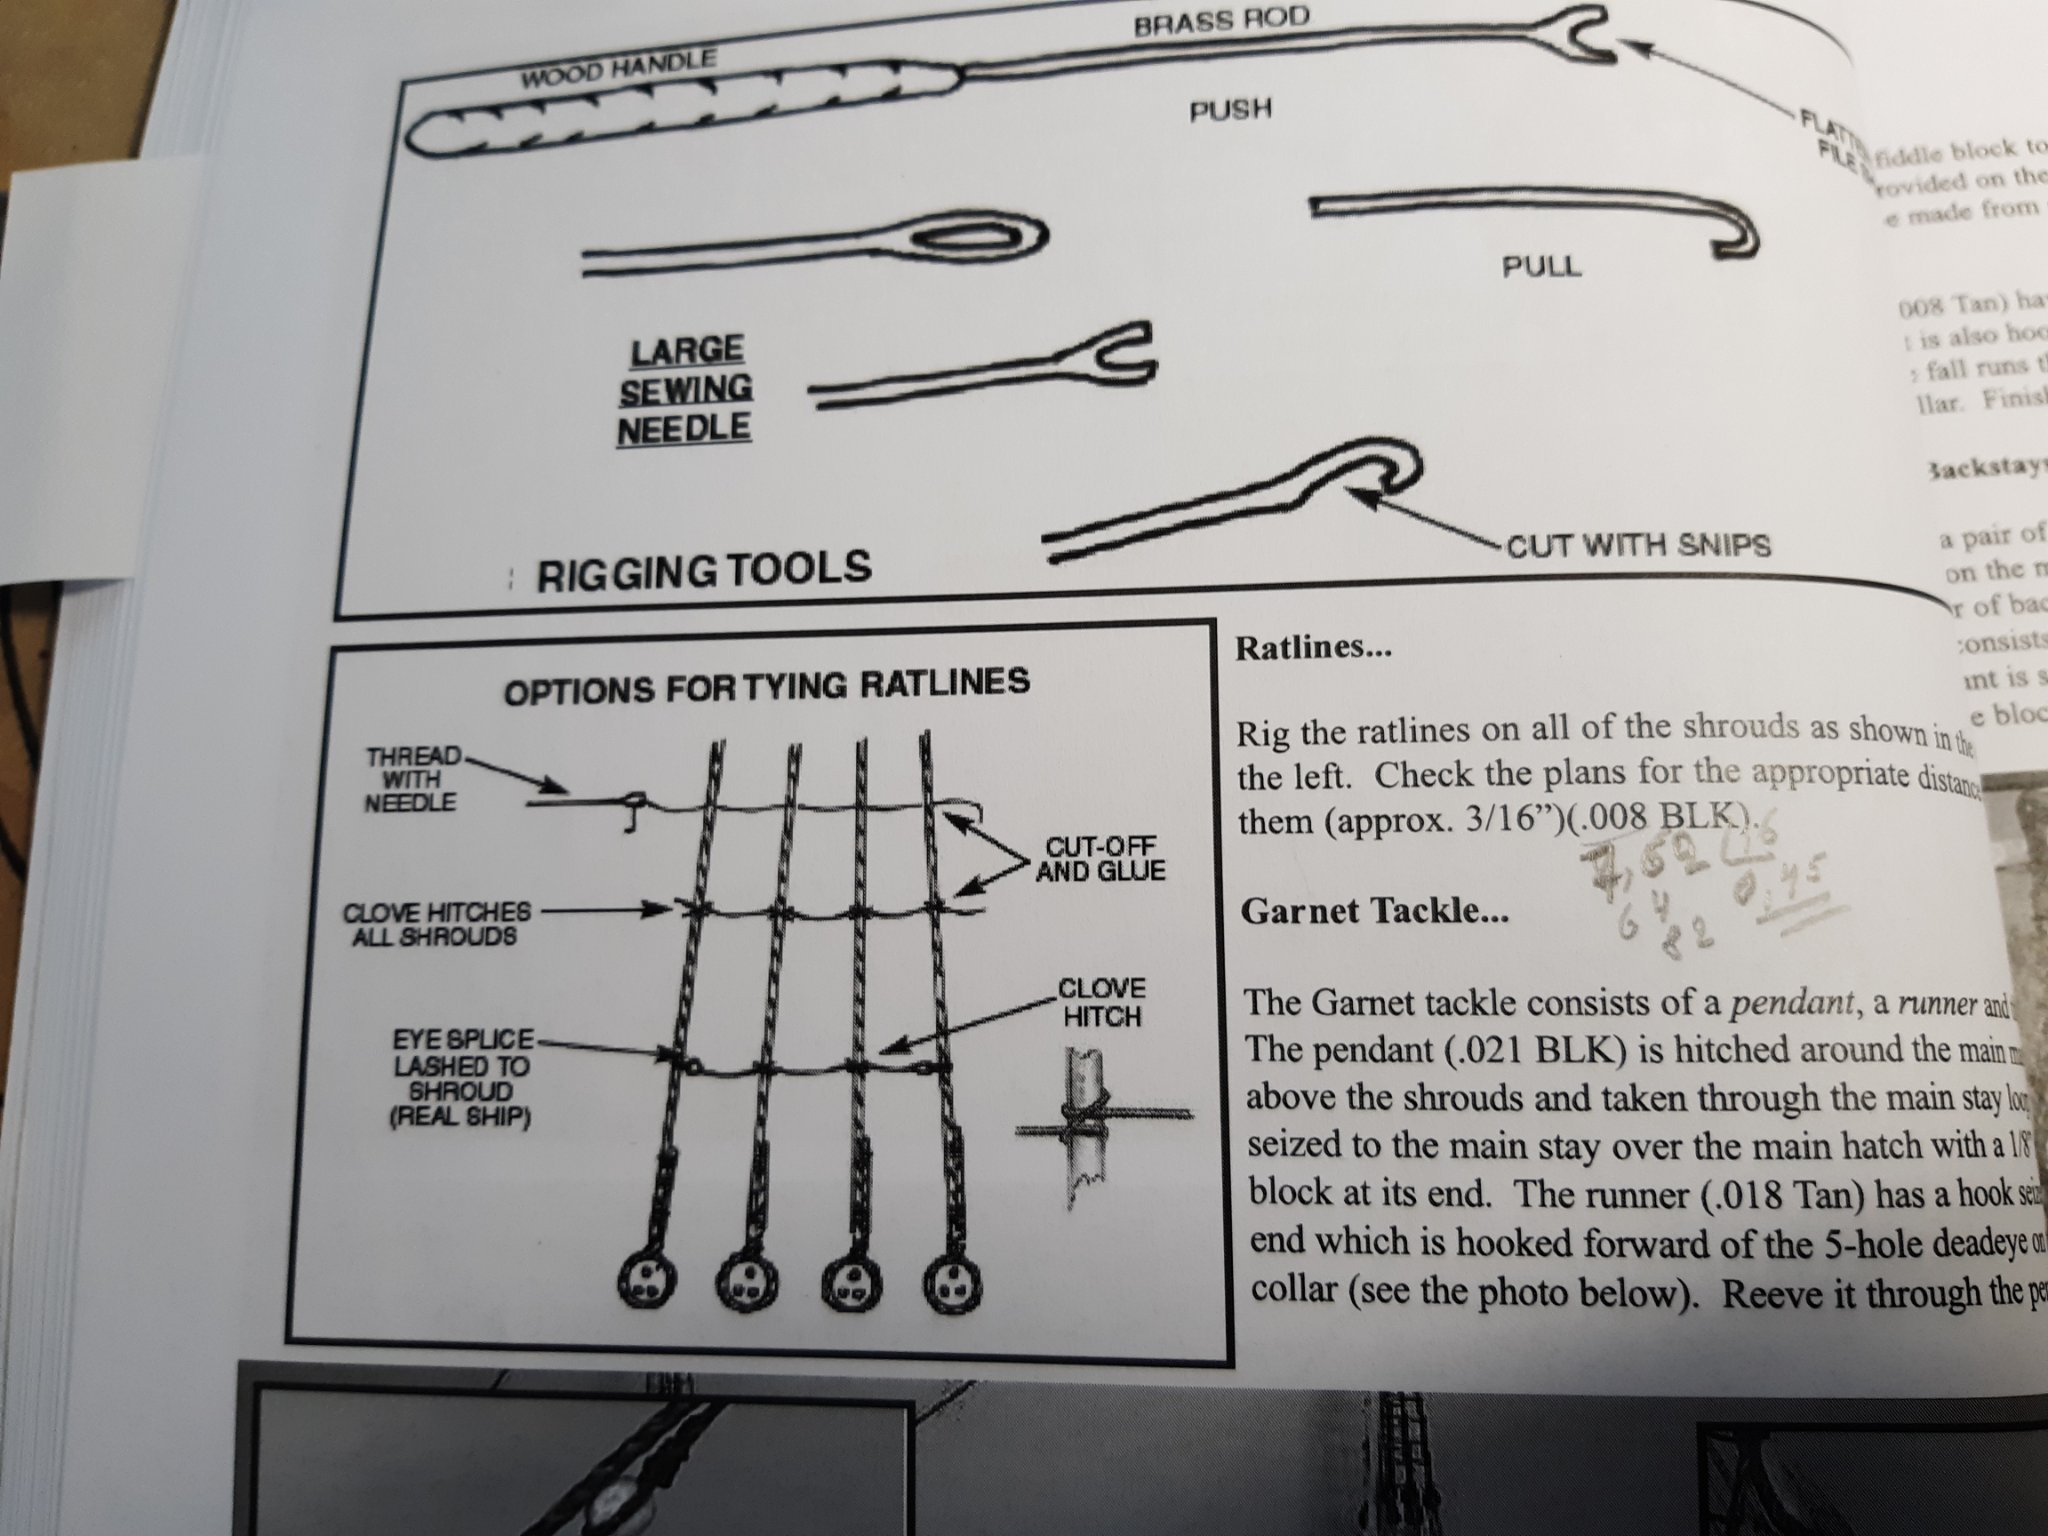
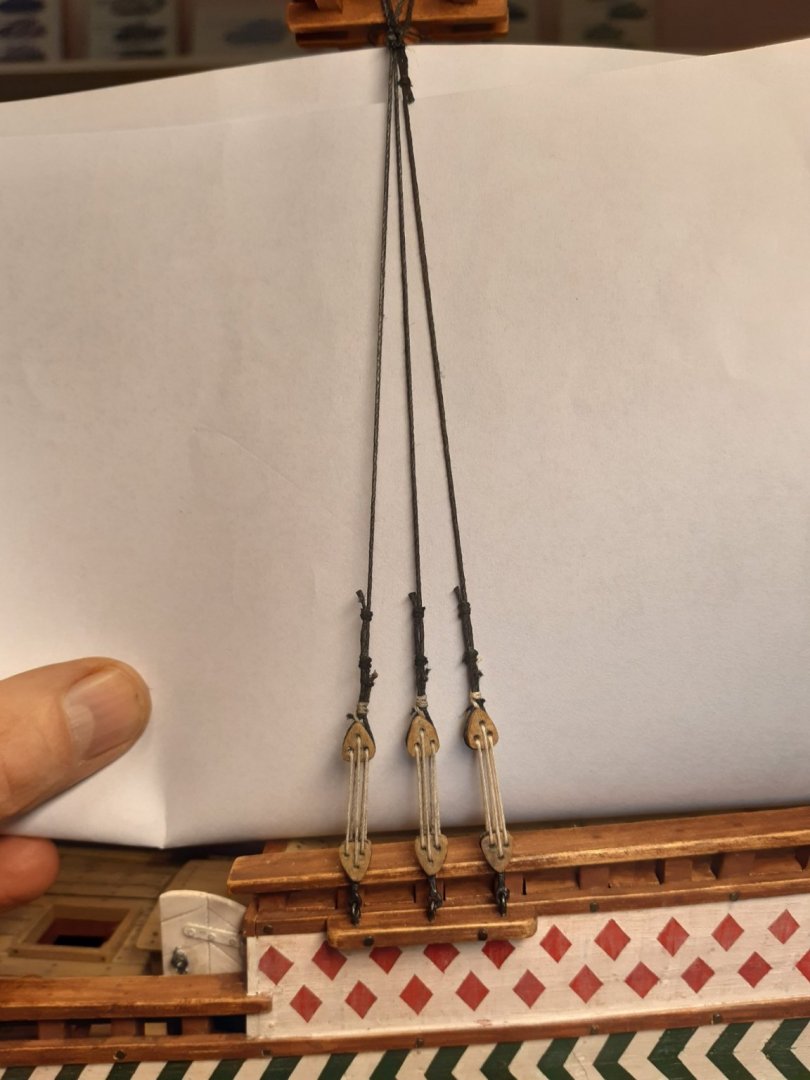
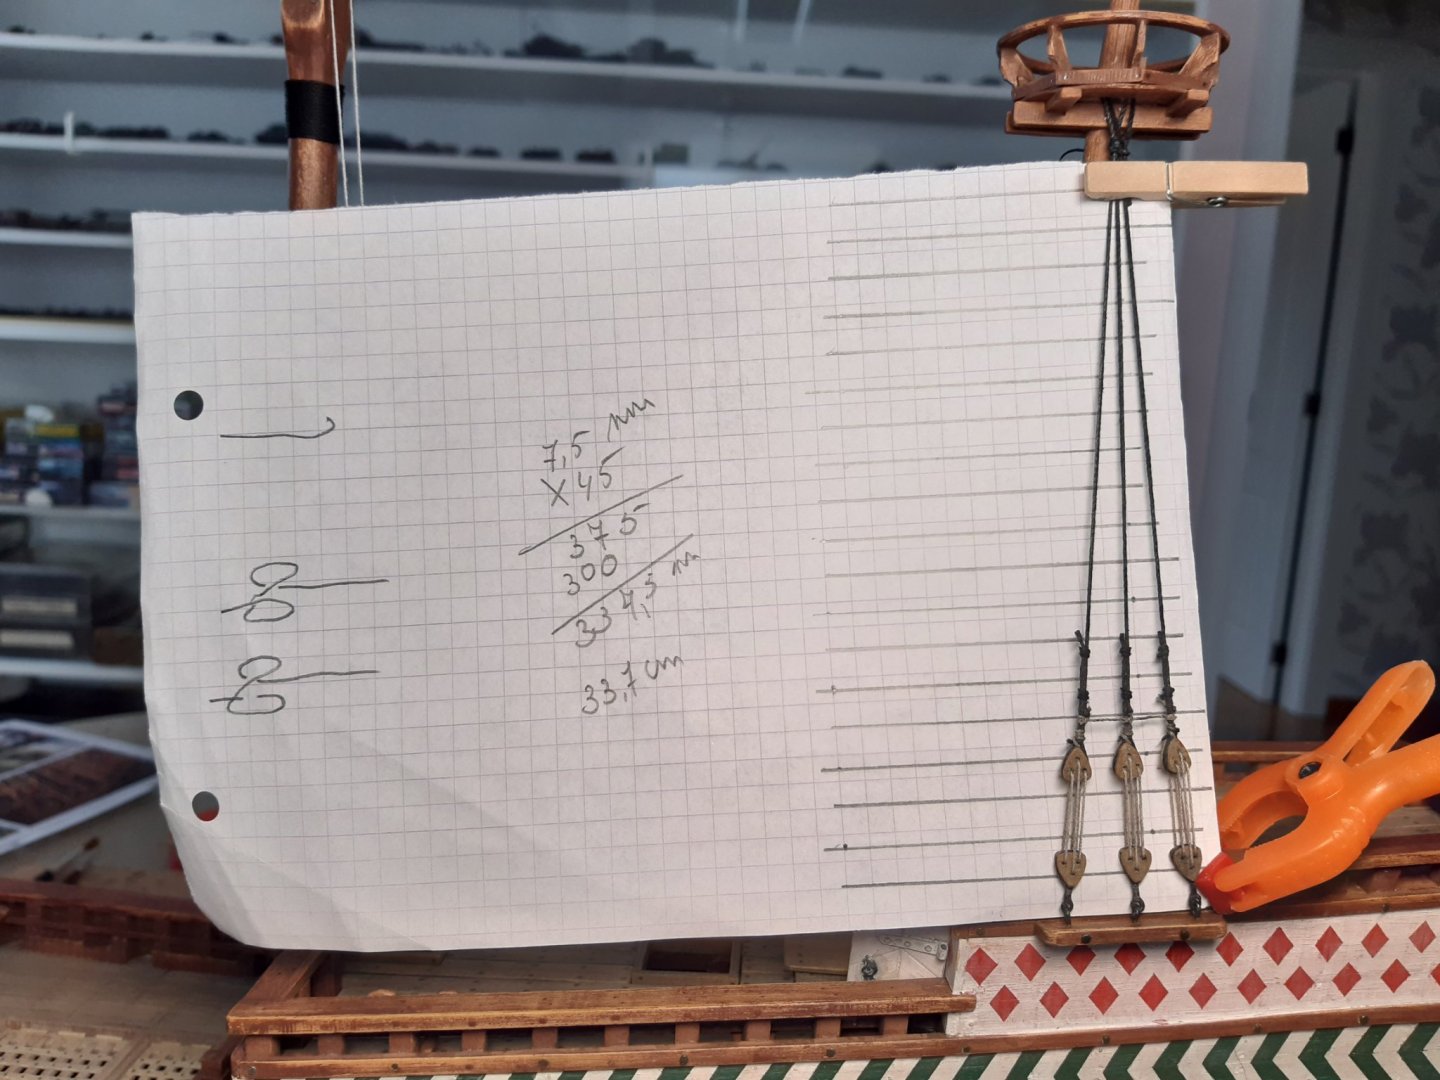
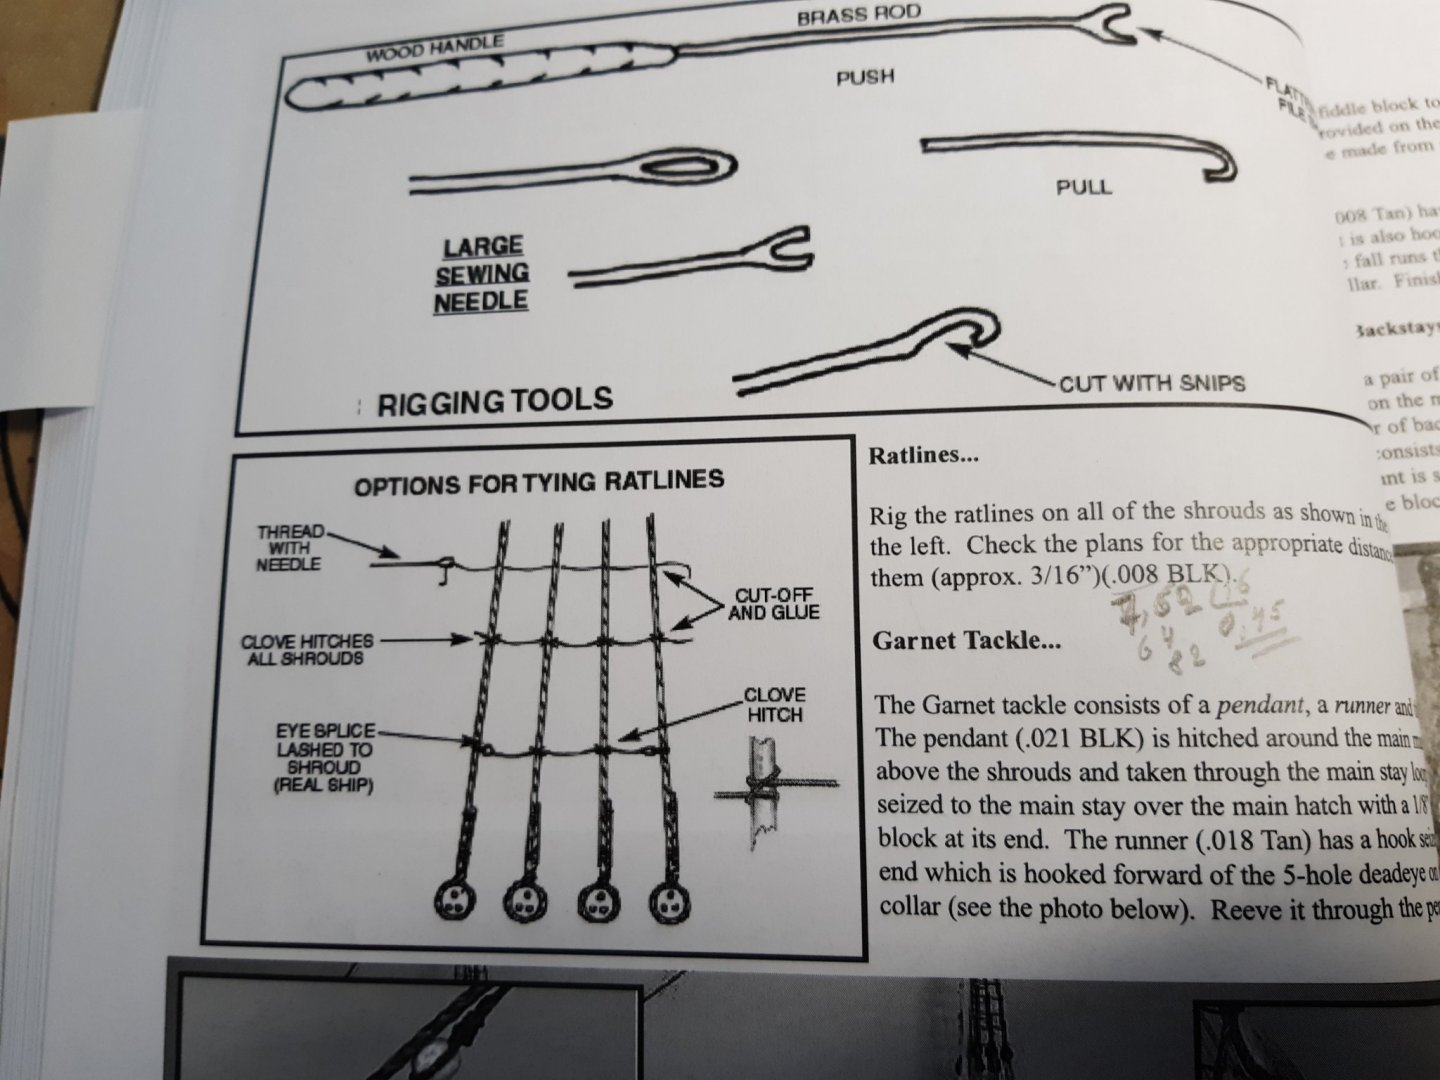
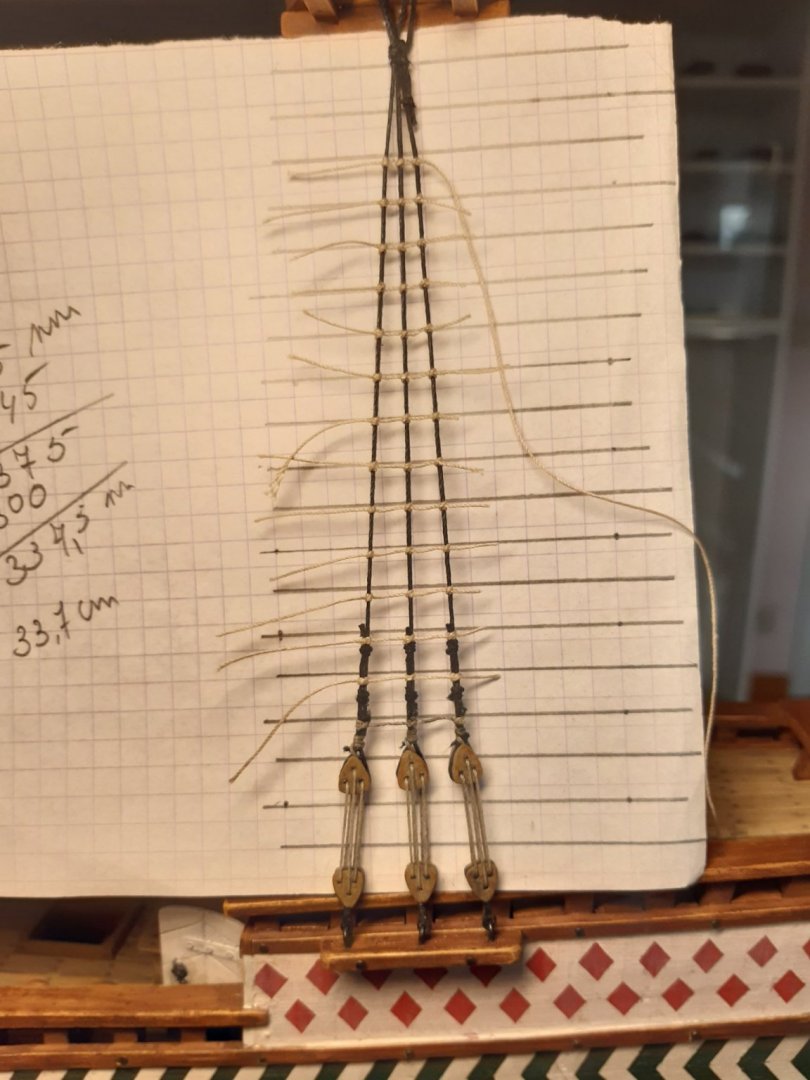
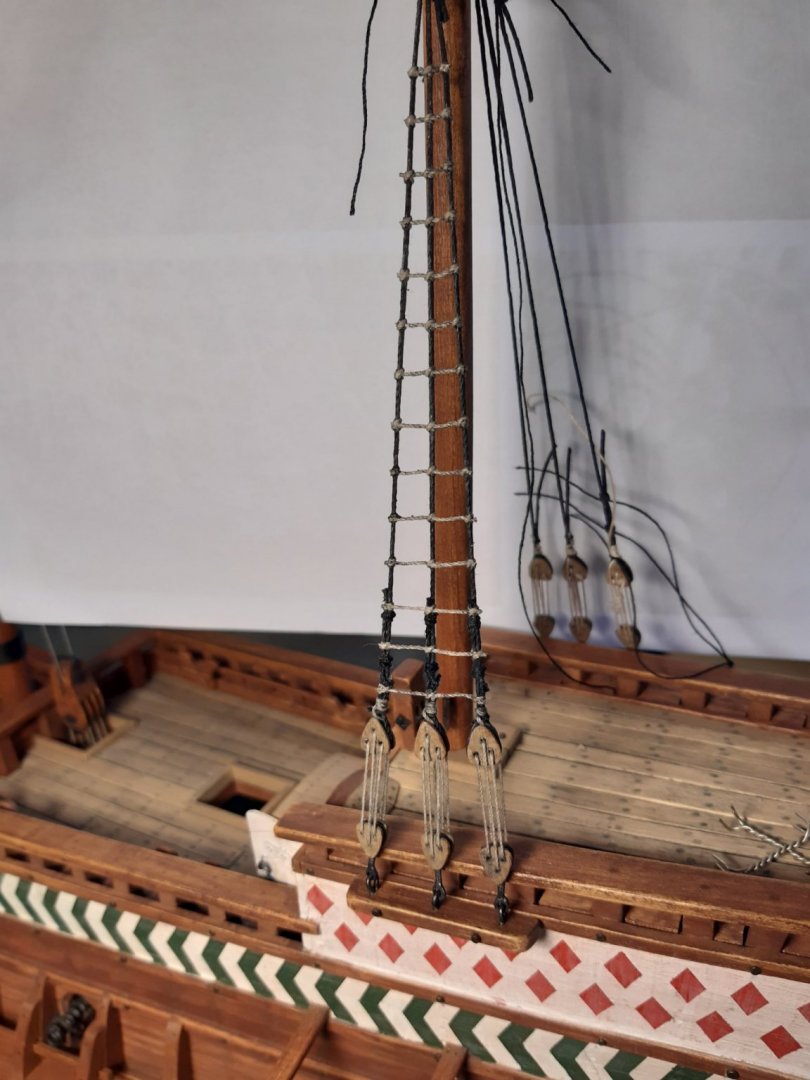
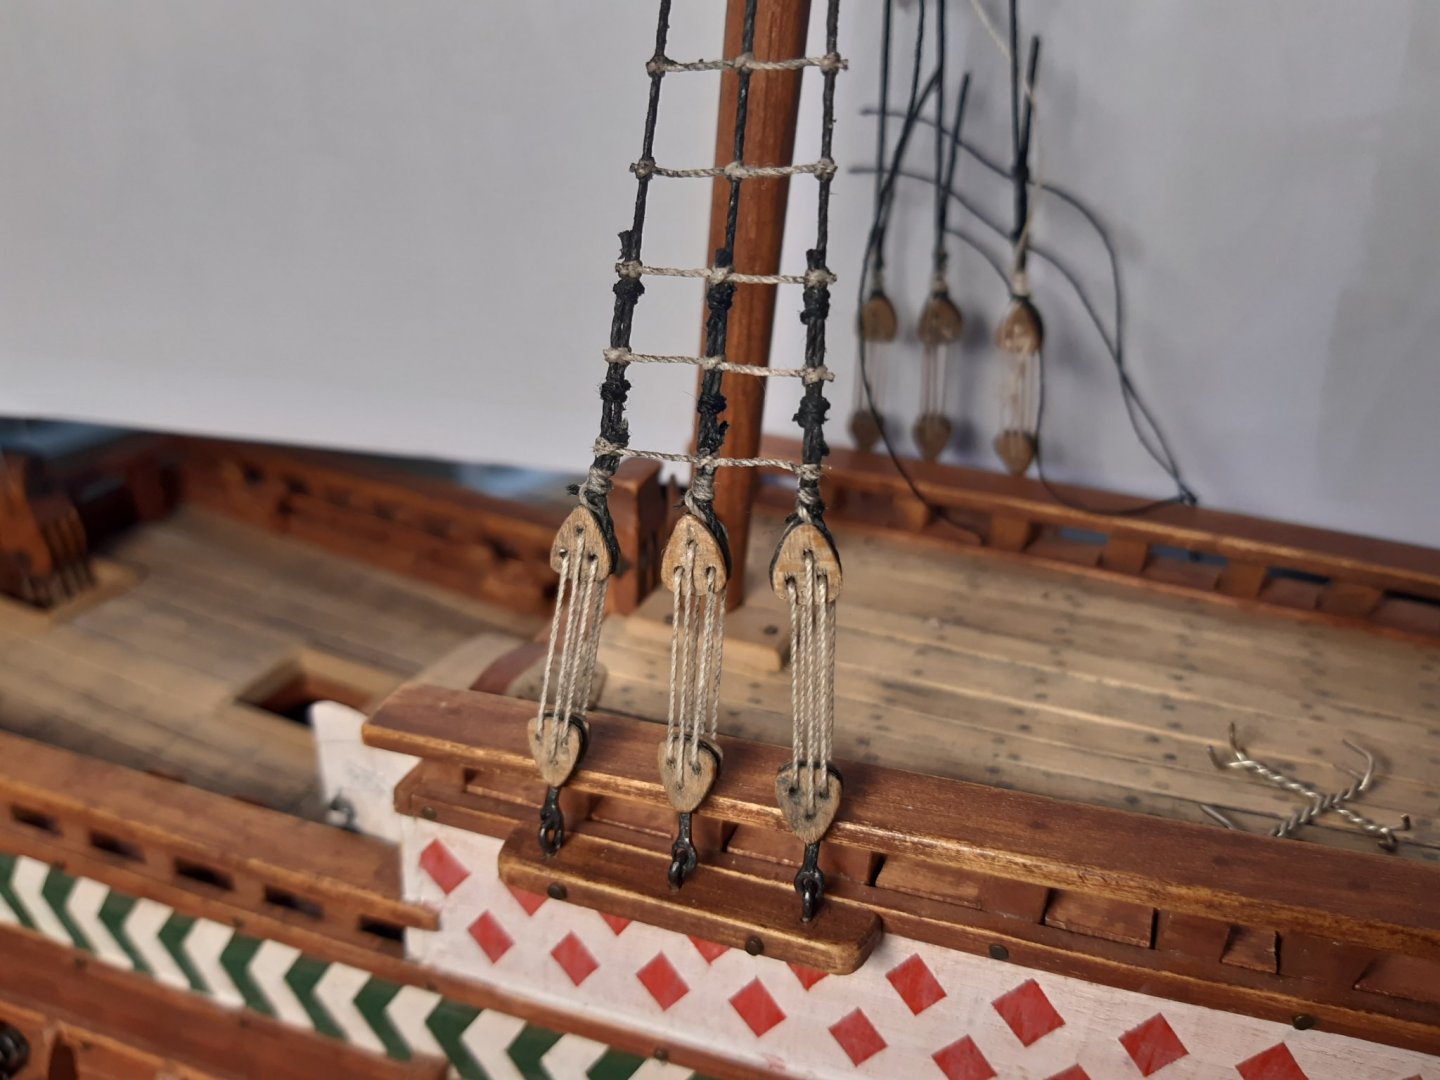
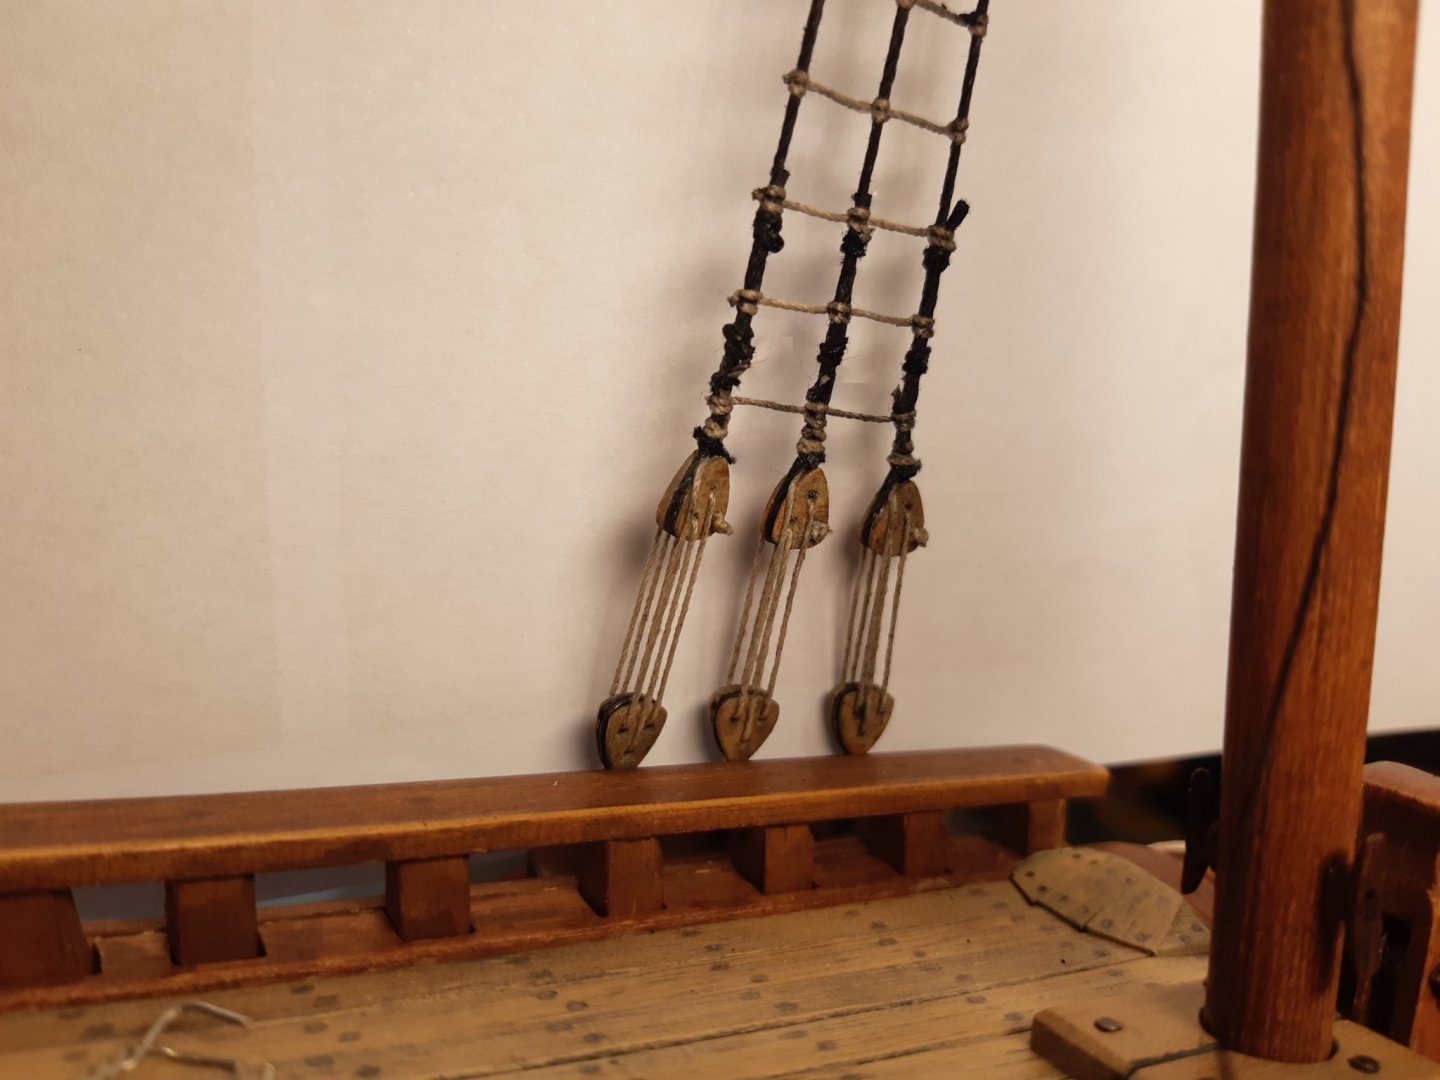
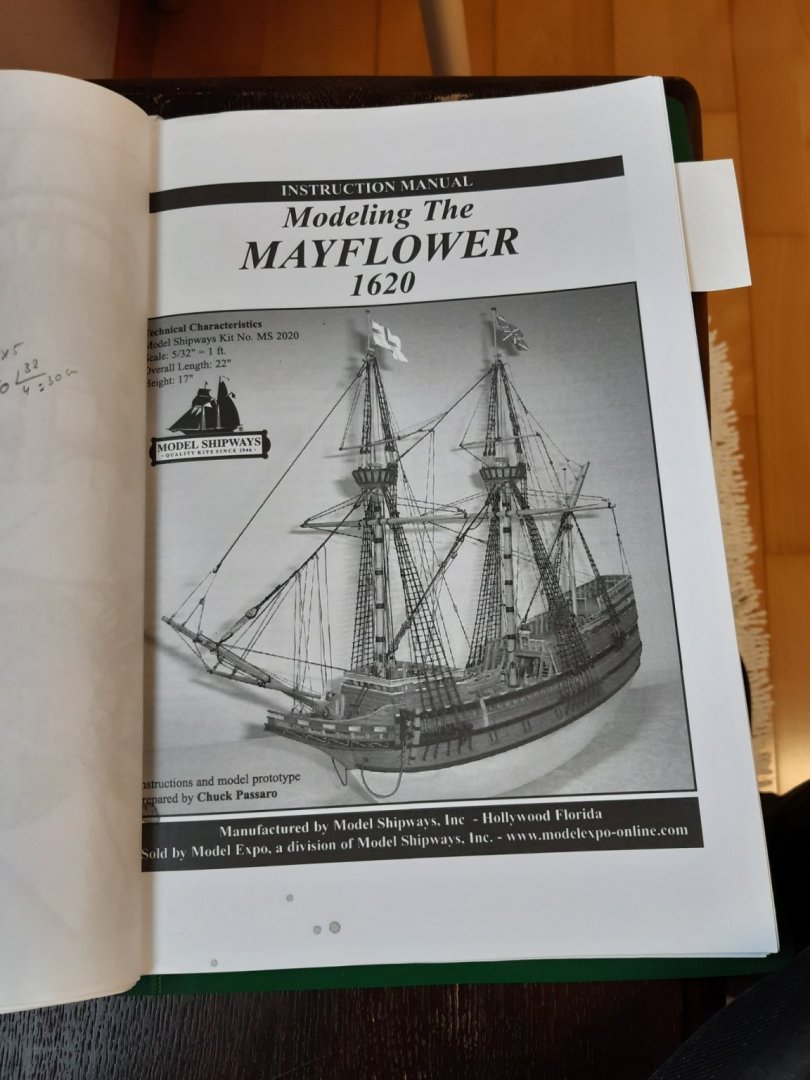
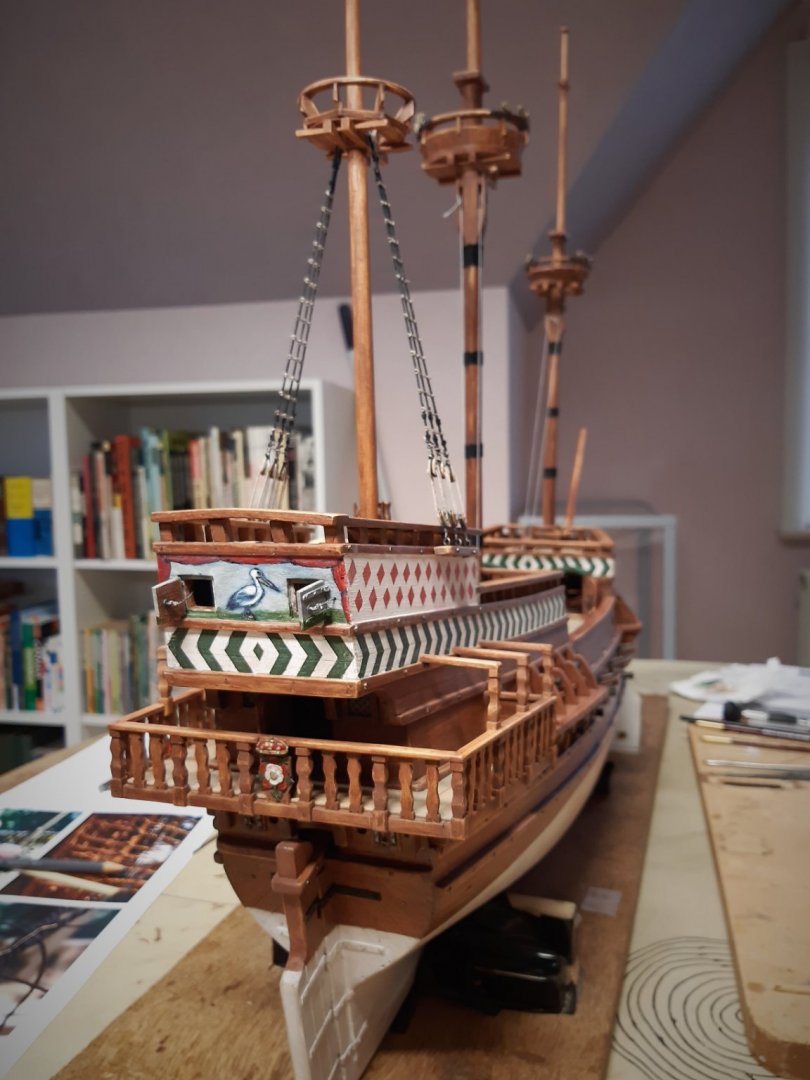
Indeed, looks very good. Thanks for the advice Michael 👍. I did not use Gorilla CA gel, but CA gel from another brand (Pattex, easier to get in this part of the world). I was a bit skeptical about this fancy plastic bottle at first. But with the 2 "squeezers" on the side, dosing is very easy. no hassle with needles or toothpicks. Just a little squeeze and always the right dose in the right place. The thin polyester thread is also lightly treated with the Tamya glue . Schrouds in place. Ratlines, The Model shipways Mayflower instruction (so much better dan the instructions with the Billings Vasa.) Very helpful to me, now I finally understand what clove hitches are... Ratline spacing. 7.5 mm at scale 1/45 is about 33.7cm in reality here they found 12" to 15" Start "Ratlining" Knotted, glued, cut, and lightly treated with diluted matte black Result Thanks for following, comments and likes


- 756 replies
-
- 14
-
-
- galleon
- golden hind
- (and 2 more)
-
Greetings from the shores of Lake Michigan!
Baker replied to Jayhawk's topic in New member Introductions
-
Wheels ...Are very important 😳 A tank without wheels, is like a pub without beer 😜
-
Nice color.
-
And welcome back
-
☕ cheers with a cup of tea (it is now morning here) Nice work 👍
-
Nice work !
-
A good way to find Bounty's. Kit build logs from 1751-1800 and search in "This forum"

-
Very good. Then we can go fishing North Sea shrimps. An eat "tomaat garnaal" (tomato with shrimp). And Belgium fries ??
-
A challenging project. Good luck
-
Beginner mistake
-
👍👍 What Jack said.... +2 Or some matte varnish And, nice work